
Far Cry 4 Guide Bonus Missions
Shangri-La Missions
The Hunt for Rakshasa
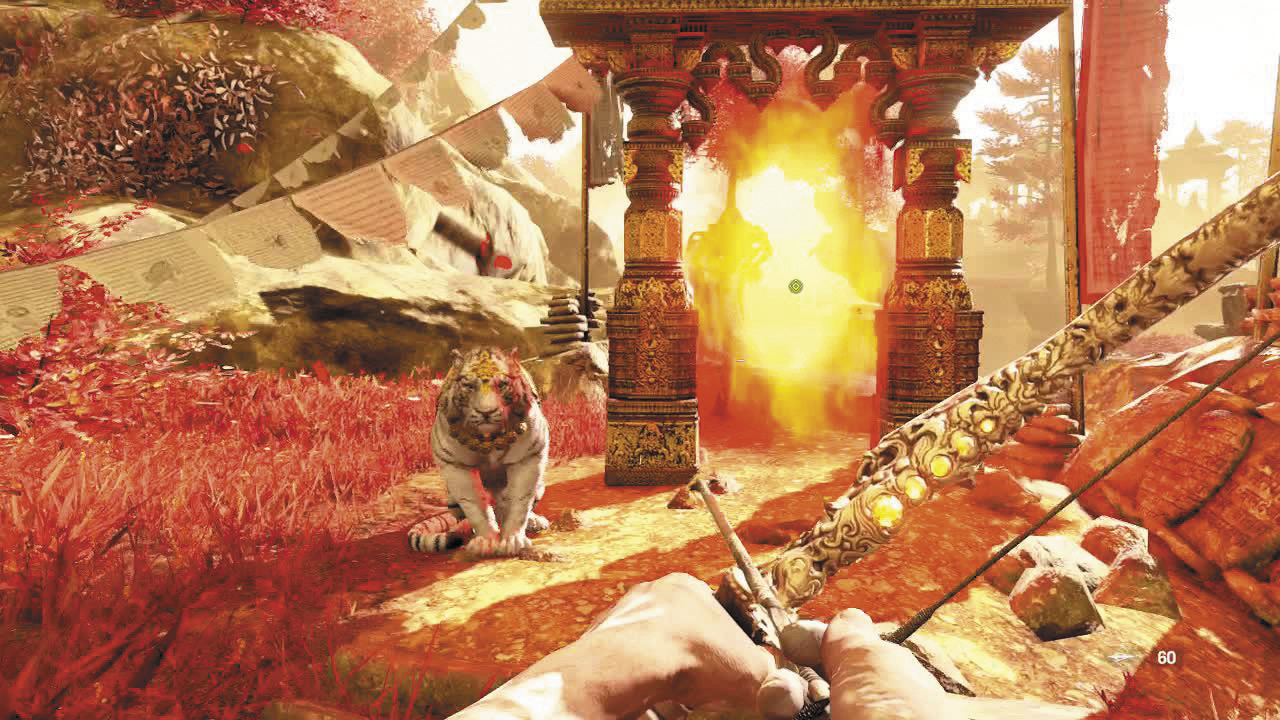
Getting to the game’s second thangka piece is practically a quest all on its own. To start, look for a grapple point at x:213 y:520, just west of the Crazy Cock Bar.
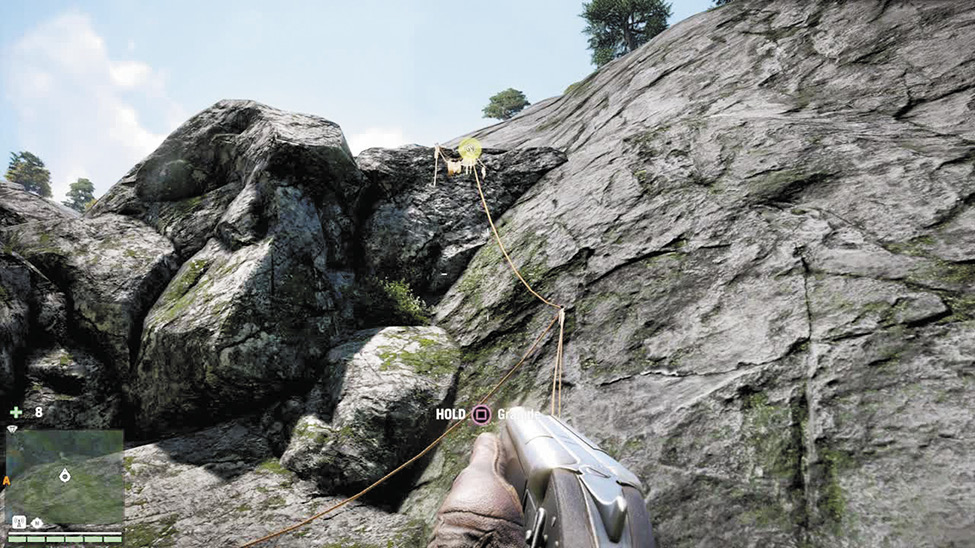
Climb it, then follow the trail east to another set of grapple points, arranged like a downward-pointing triangle. Climb the bottom “tip”, then switch to the one on your left. As you climb it, you’ll see another grapple point to the north (your left), but you can’t quite reach it yet. Climb all the way up, then creep left along the cliff and you’ll see that northern grapple point.
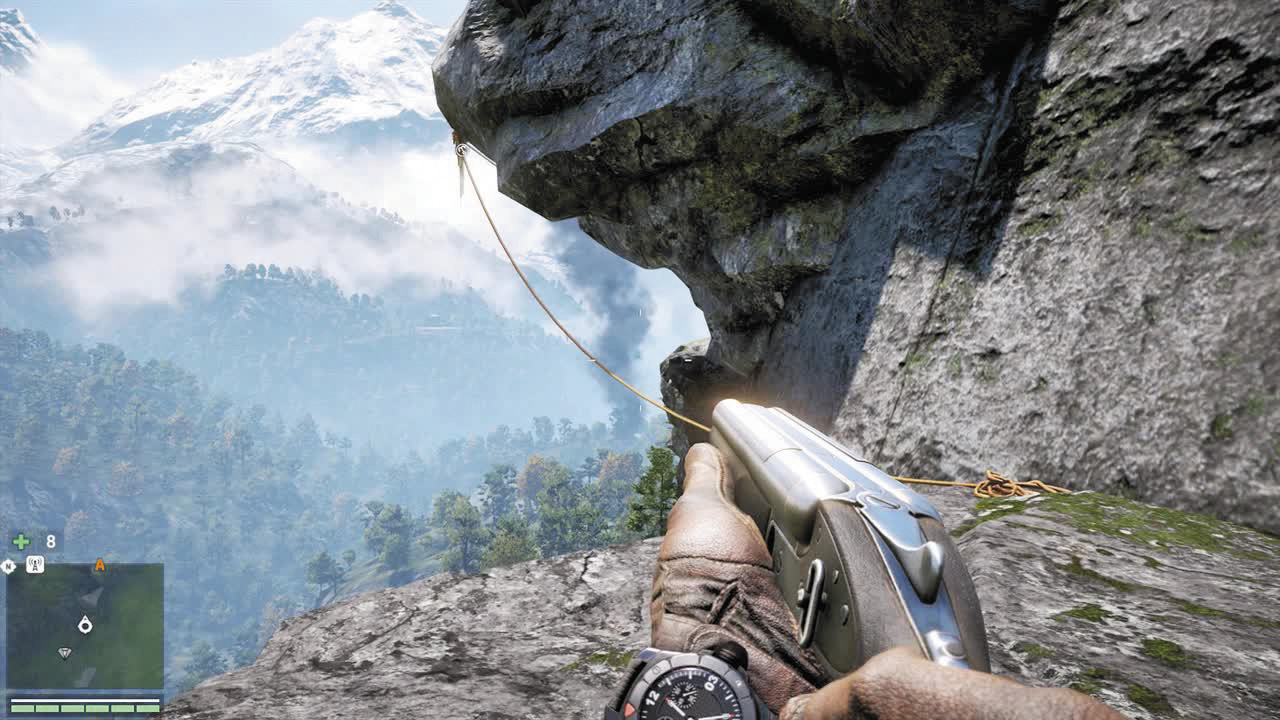
Make like Tarzan and swing across the gap. Follow the trail and climb the ledges to another two-step grapple swing.
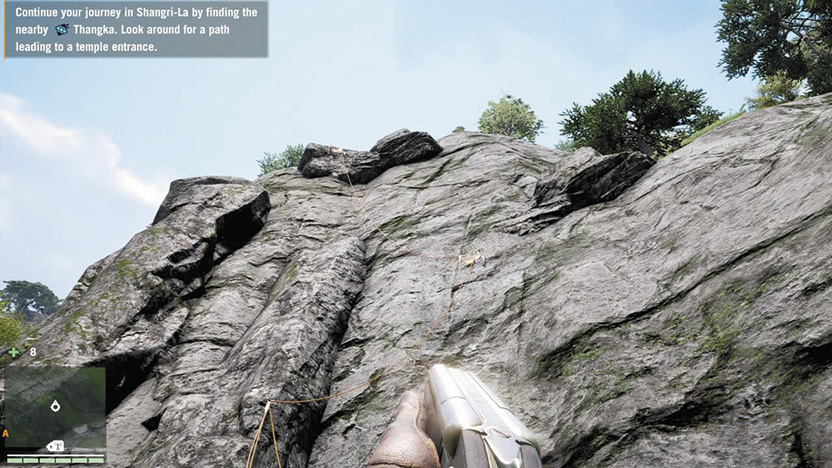
Nearly there. Look for another two-part grapple ascension around x:240 y:516.
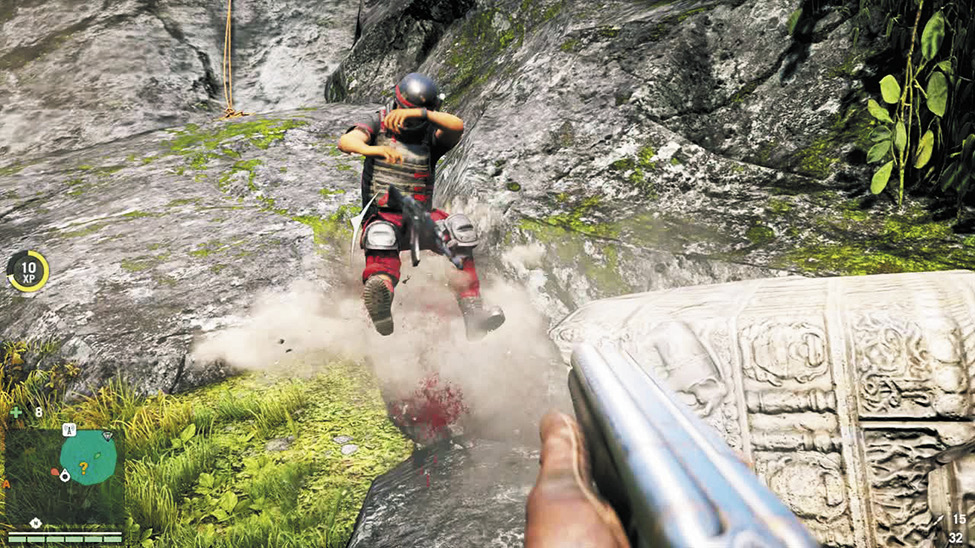
Go up and to the left, as usual, until you come upon one more grapple swing. (You may see some enemies here as well.) And then, finally, you find the cave mouth, also known as “Kalinag’s Door”.
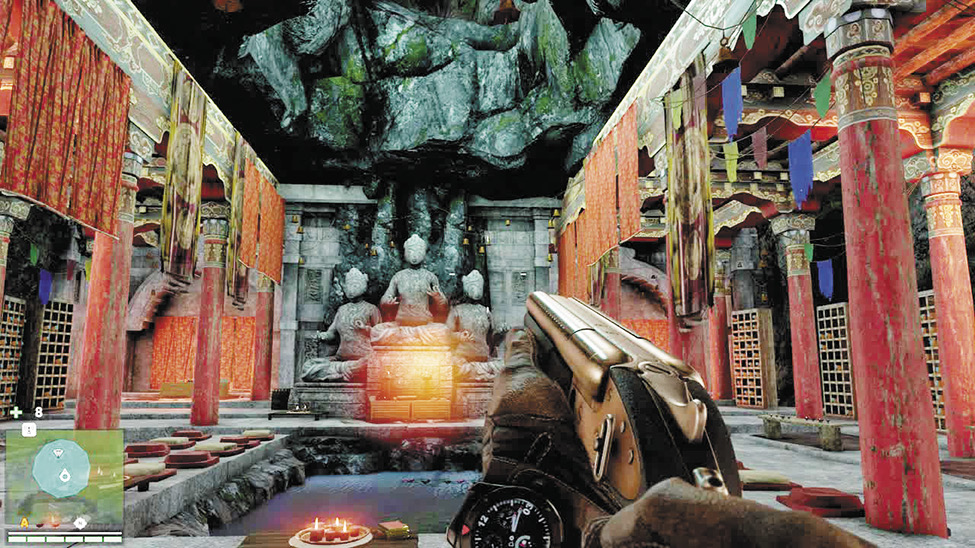
Head inside and grab the thangka. Time to take a trip.
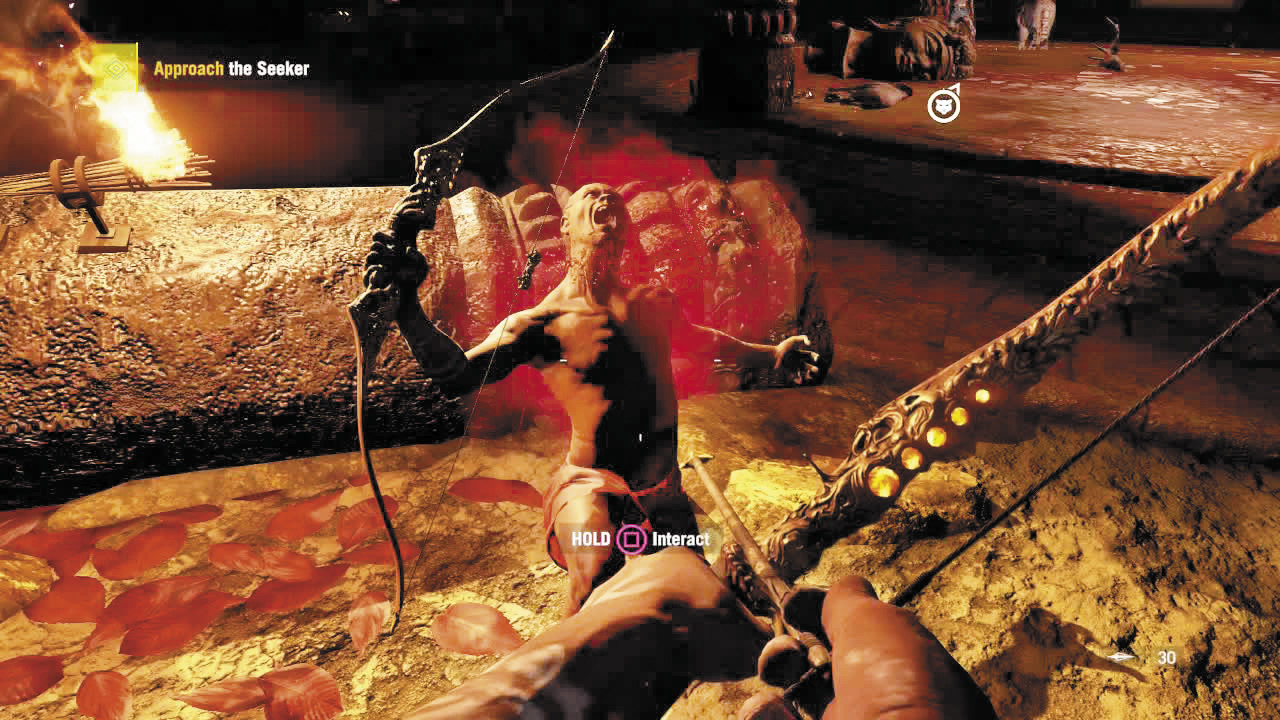
Back in Shangri-La, say hello to your feline friend and follow the path until you reach a seeker. He’s not one of the three hidden seekers in this level, so he doesn’t grant you a health boost. But he does give you a killer new weapon.
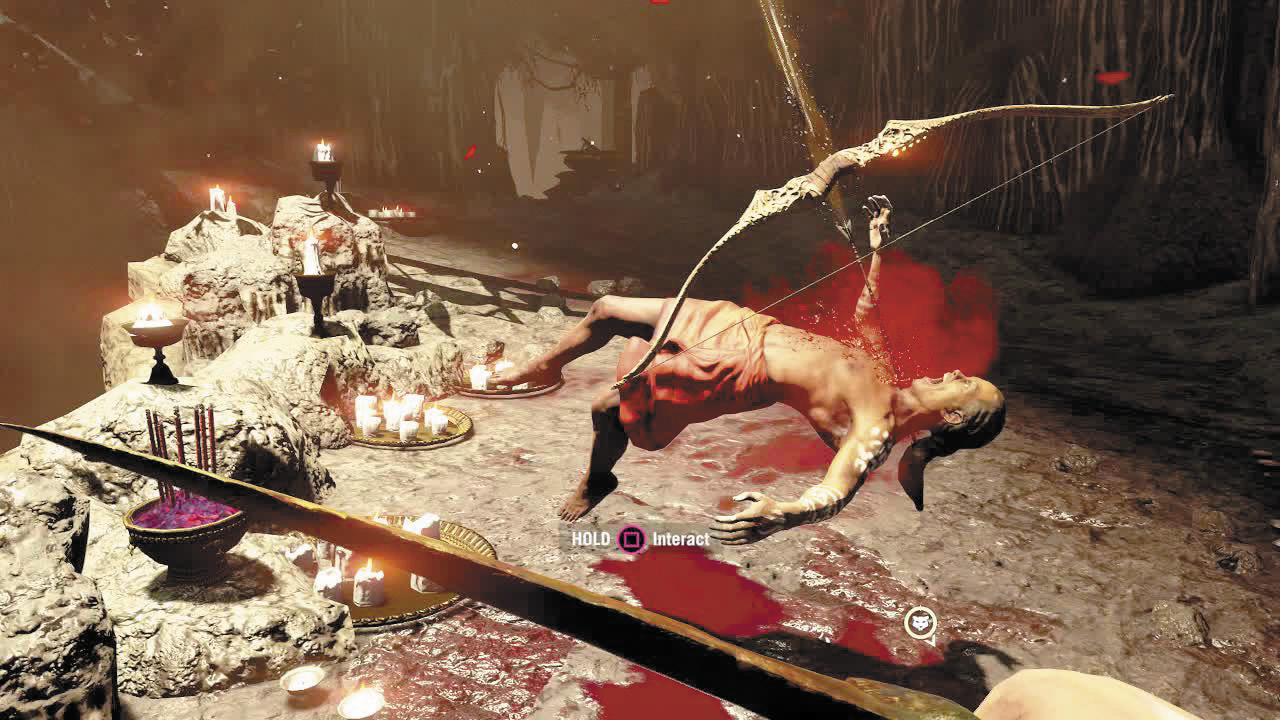
Bow and Arrow 2.0
Two things you should know about the time pulse bow:
1. Its arrows do not arc back to Earth. They travel straight as a sniper shot. And quickly, too.
2. When you aim down its sights and draw the arrow back, the bow slows down time. The lights indicate how much time-slowing juice it has left, and it recharges any time you’re not actively aiming.
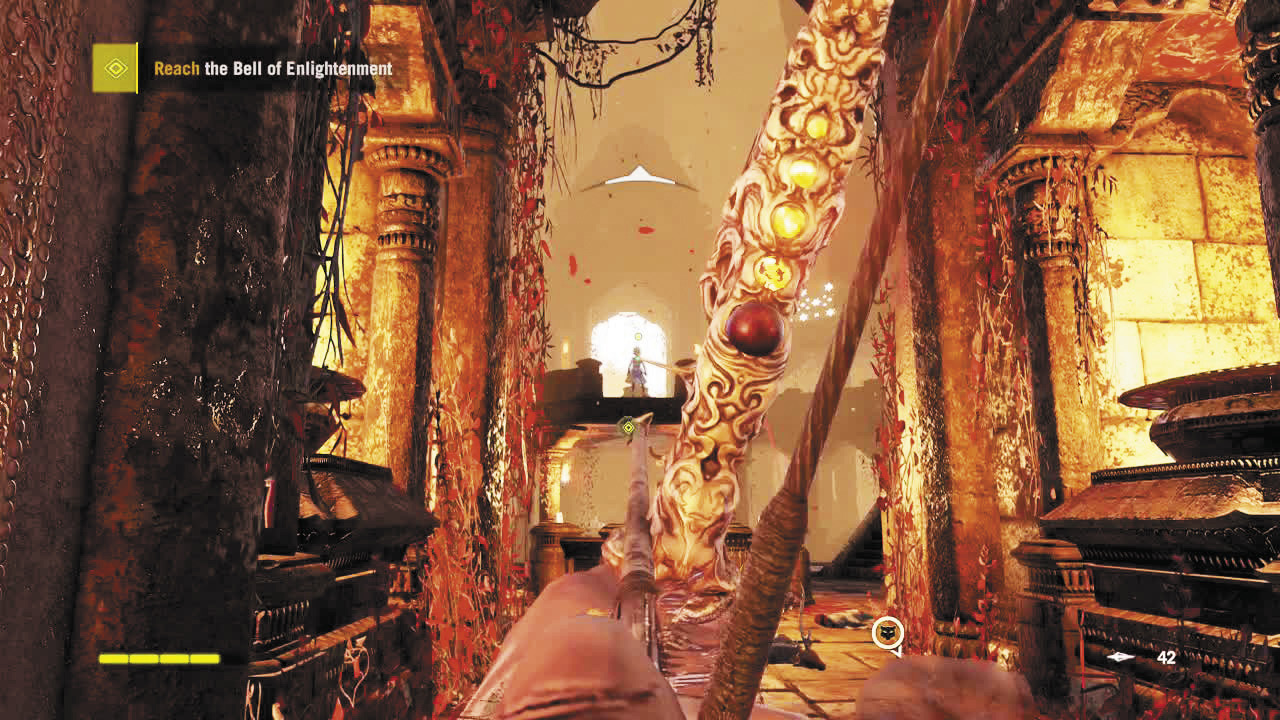
It may look like a bow, but it’s really a sniper cannon. Wherever you put that little green dot on its sight is where the arrow hits and something dies.
You can’t stealth through the next room—a circular, multi-level area—and you aren’t meant to. Stay in the doorway to avoid getting backstabbed, shoot as many demons as you can, and sic your tiger on any demons you can’t shoot. However, do eventually work your way counterclockwise around the room, so you can drop off the ledges and find the first of this level’s hidden seekers tucked under the white-lit stone bridge.
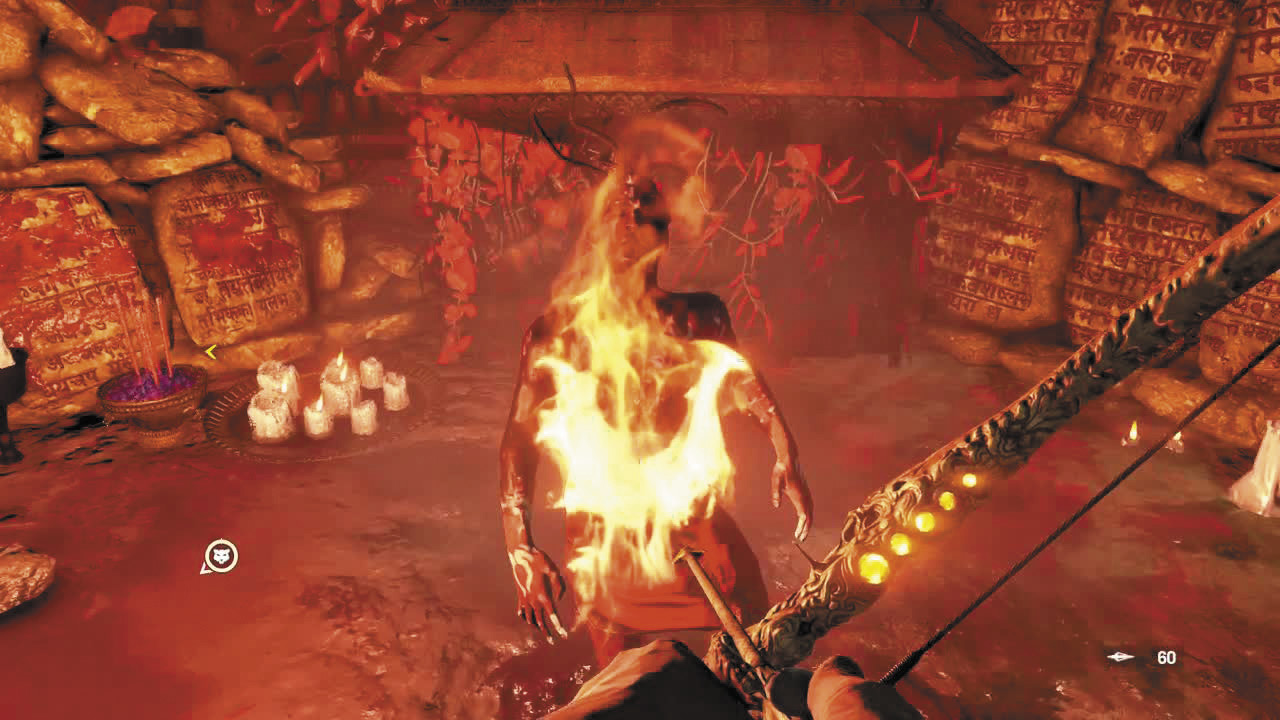
Tiger, Tiger, Burning Bright
Take a look at the tiger icon on screen. Not only does it tell you where the tiger is and how much health the tiger has (the recharging ring), it shows if the tiger is currently calm (white face), invisible and stalking (black face), in battle (orange face), or waiting to respawn (icon in lower left, face greyed out).

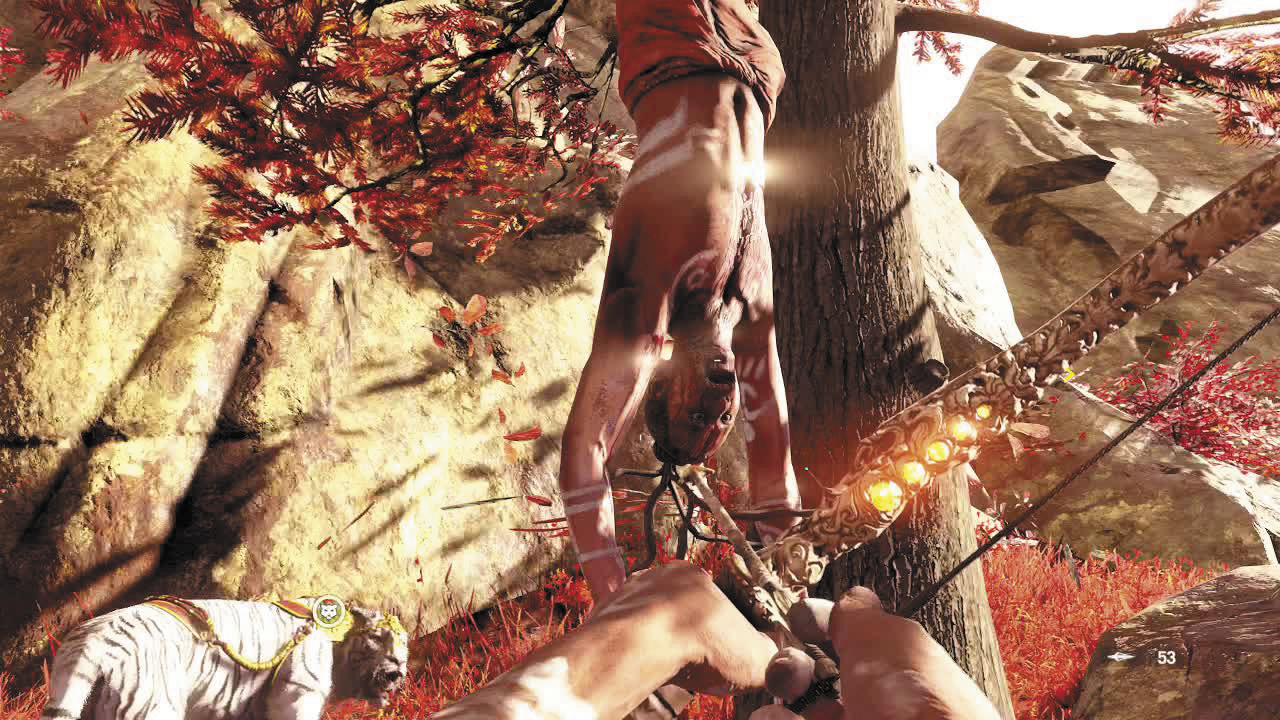
When the battle is finished, follow the quest icon through the waterfall and into a broad, outdoor area where a red river leads to a glowing portal. But before stepping through the portal, follow the river back upstream to find the second hidden seeker hanging from a tree.
The area through the portal looks more confusing than it is. It’s basically a series of interconnected islands, but no matter where you wander, you’ll always find yourself led back to one of three glowing doorways.
So how is that not confusing? Because the doors all lead to the same place: a hexagonal, walled-off area on one of the islands. You can take any doorway you choose, spin the mani wheel in the hexagon, and head back out through—you guessed it—any doorway you choose.
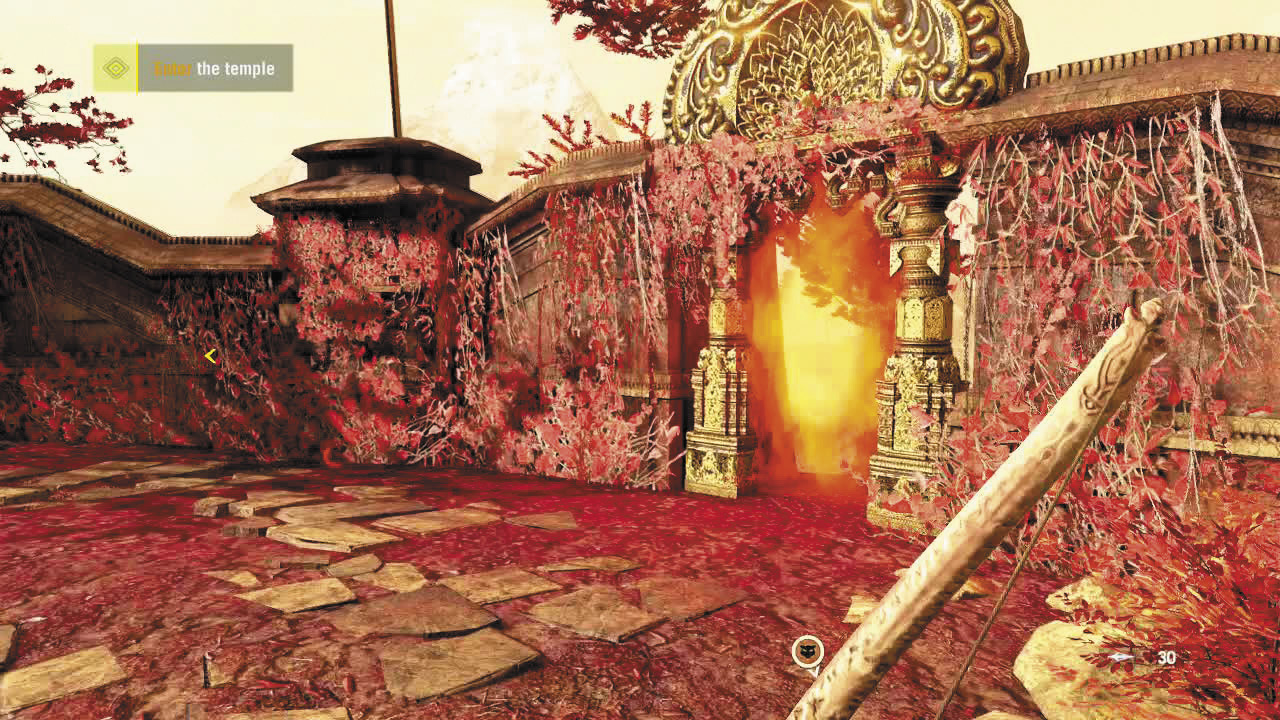
Realize, though, that each door leads back to its specific mate in the main level—which is actually a great way to dodge attacking enemies if you get overwhelmed. Just duck back into a portal and zip away to a new, hopefully safer spot of the map.
Back in the main level, you now have a new path to travel. It is infested with demons, including a fire breather. But if you’re not up to battle, you can just run to the temple gate and it will open.
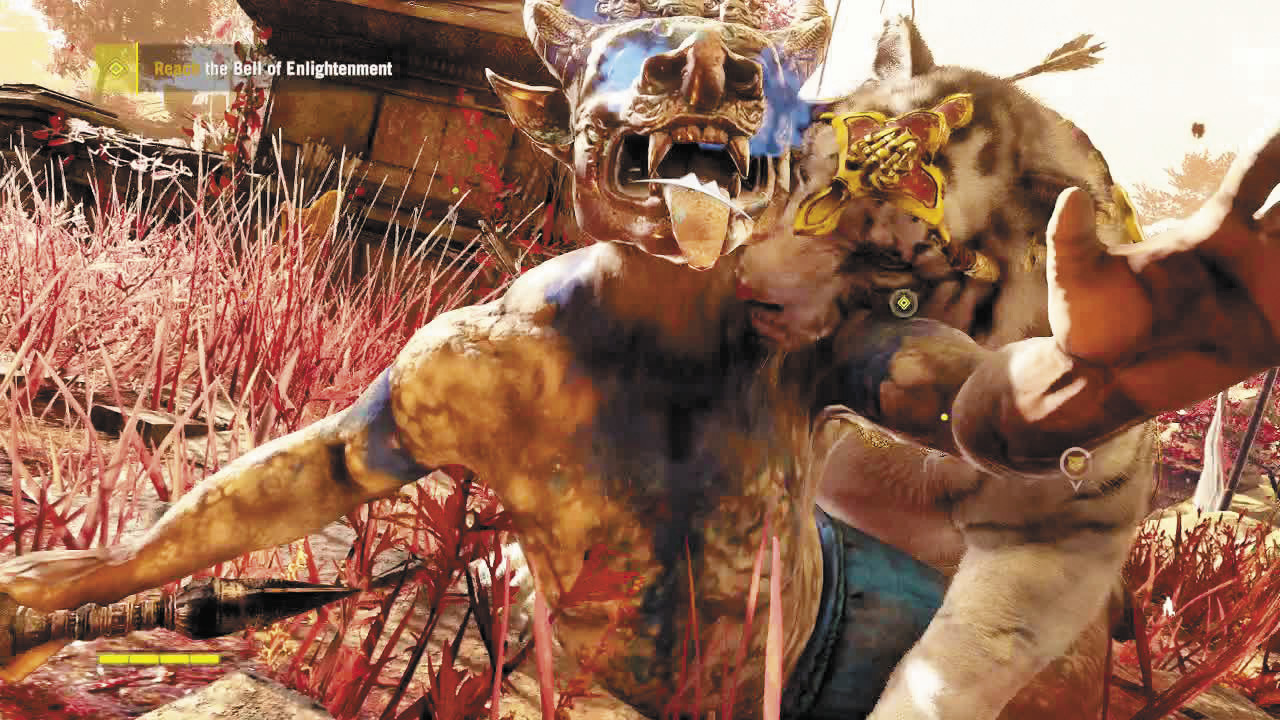
Once inside the temple, the fight to reach the bell begins. You’ll meet a new enemy here that looks like a skinny, furless dog wearing a mask. These are “beasts.” And the thing you need to know about beasts is that they explode.
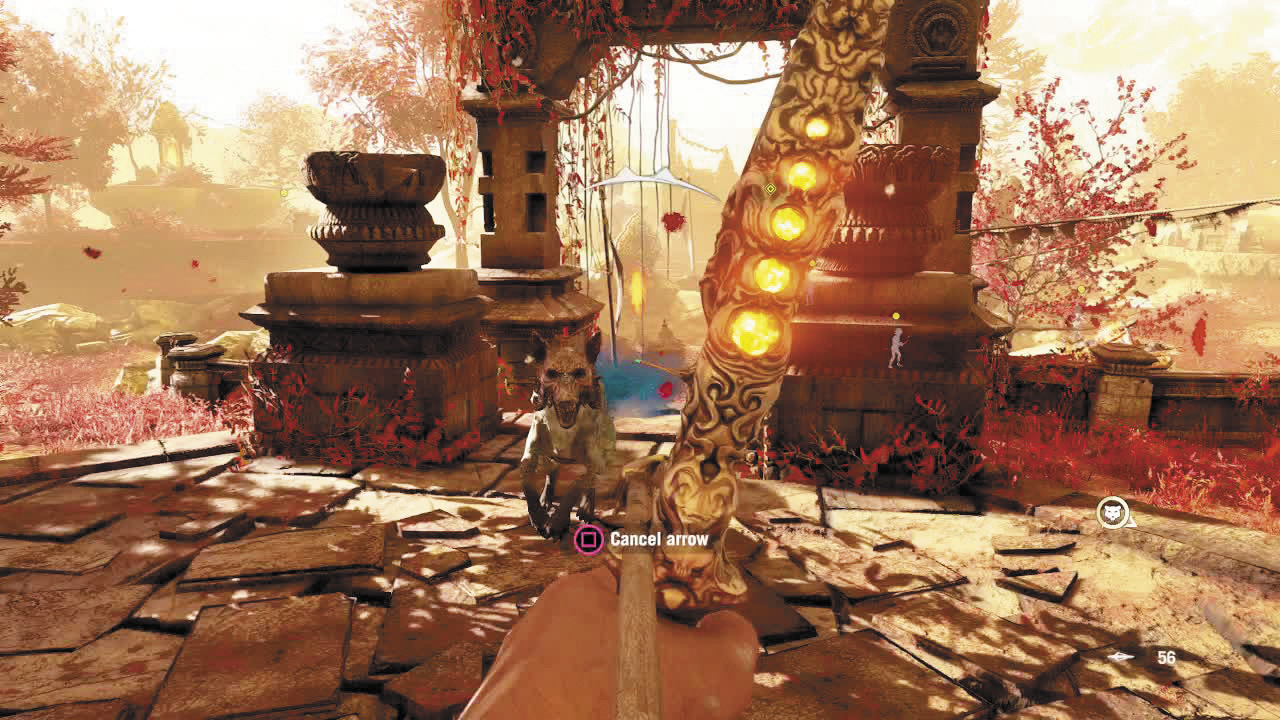
Before.
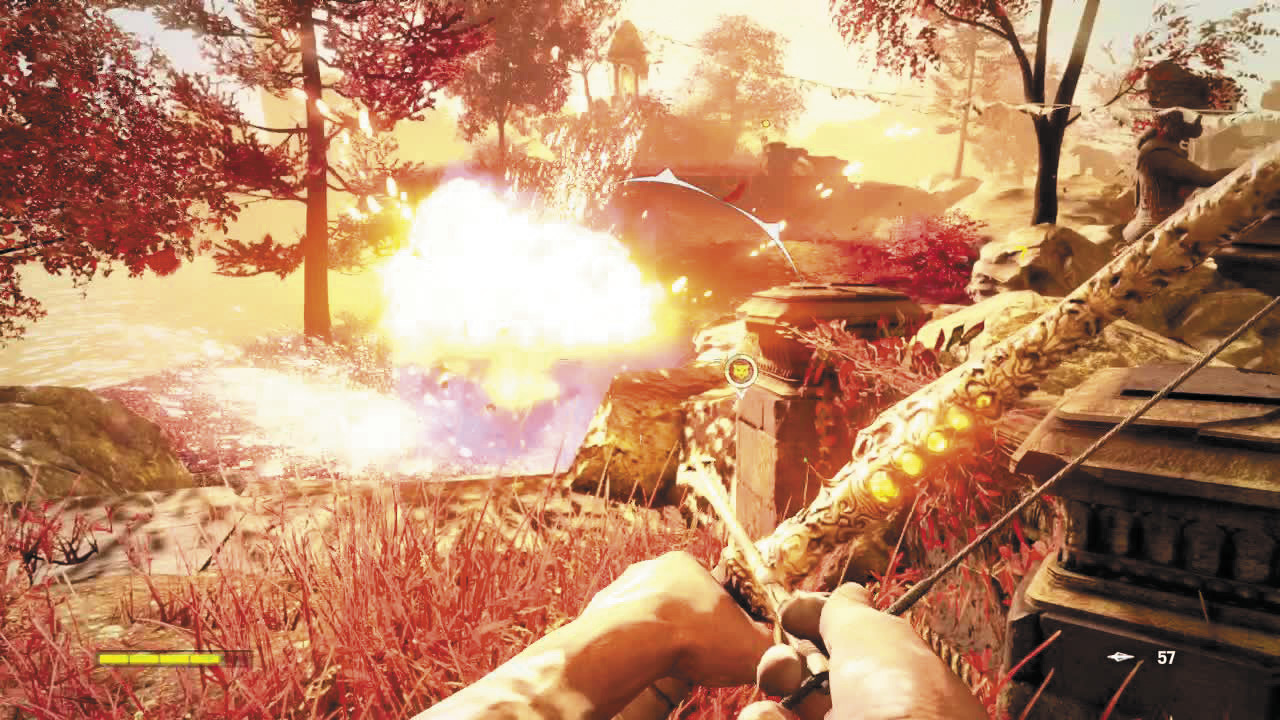
After.
This is usually bad, such as when a beast runs up to you, shakes for a second, and then goes kablooey. However, if you can kill a beast before it explodes, it will leave behind a blue-smoking corpse that you can detonate on purpose by shooting it. That could come in handy some time.
Know Your Enemies
Shangri-La has four basic enemy types, and as of this level, you’ve seen them all.
1. Butchers are the garden-variety enemies, equipped with basic bone daggers. Their battle plan boils down to “run-at-target-like-a-crazy-slasher-man.” Not the most nuanced strategy, but you don’t always need tactics when you have insanity.
2. Lurkers look a lot like butchers, but they carry bows instead of daggers. They’re deadly from range, they summon beasts, and sometimes they dip their arrows in poison, which blurs your vision. They are not cool.
3. Beasts, as you now know, are greyhounds crossed with grenades—the canine equivalent of a red barrel.
4. Scorchers are the giant guys with the flamethrowers and the “hobbies include horror movies, serial murder, and the consumption of human flesh” look about themselves.
After the battle, but before going up to the exit, approach the Kyra statue by the pool and take the steps to its side, then loop back behind the statue to find this level’s third and final hidden seeker.
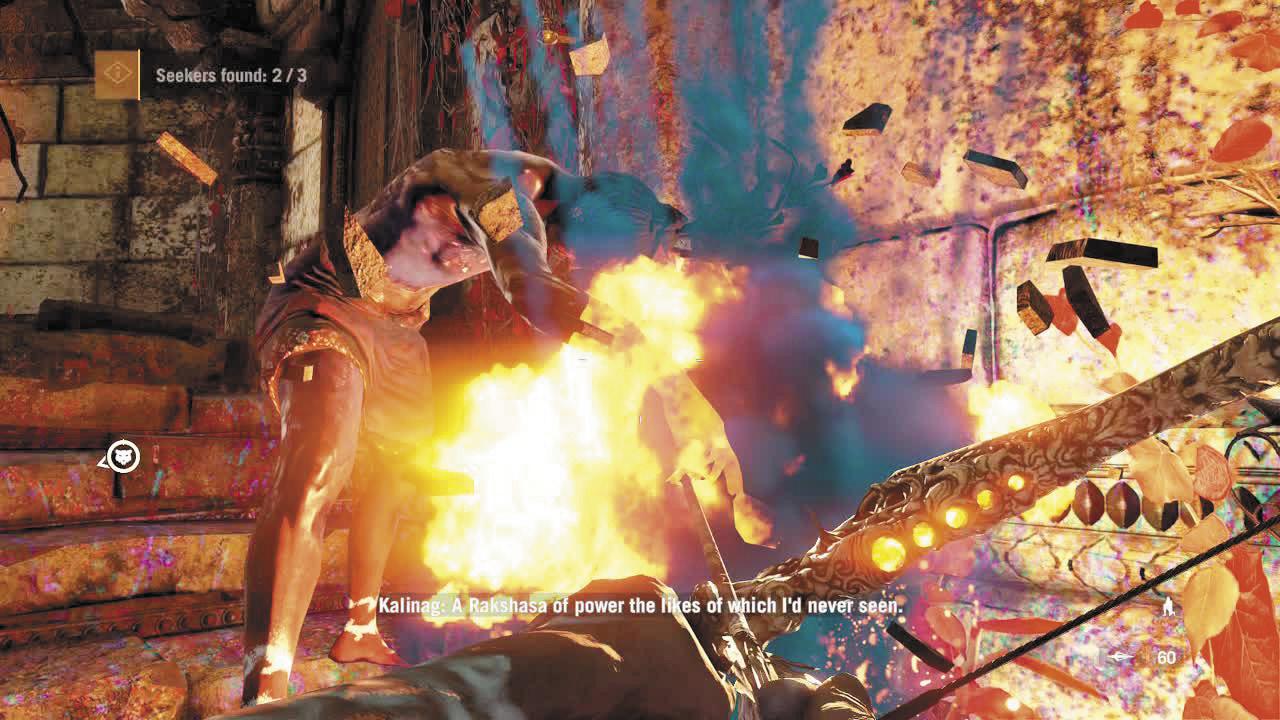
Step through another portal and into a heavy shootout with demons all around, most of them spawning beasts. It’s fine to play a long-range game here, sniping from behind the columns and using the tiger to protect your flanks. When you see a lurker squat and make the universal gesture for “I’m doing something evil” (palm upward, fingers in claw formation, arm shaking and slowly rising), he’s summoning a beast that will likely charge right for you and try to explode in your face. Needless to say, do your best to shoot these doggies before they make a mess on the carpet.
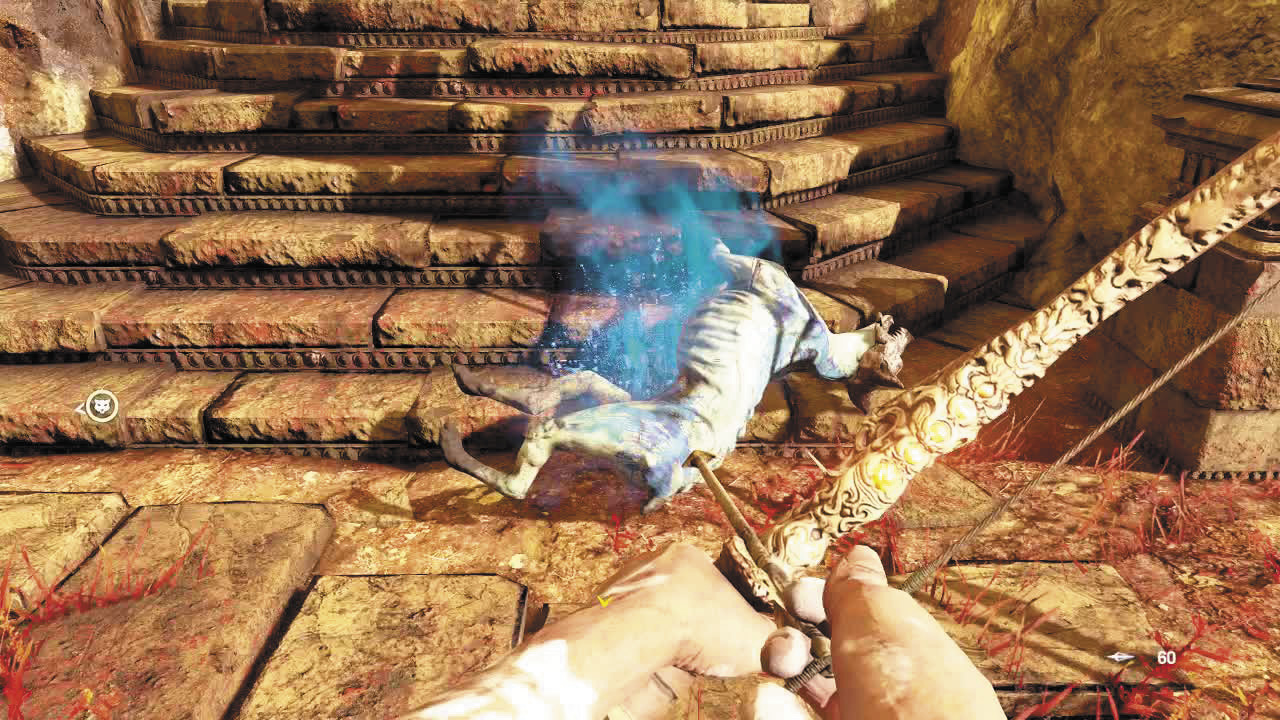
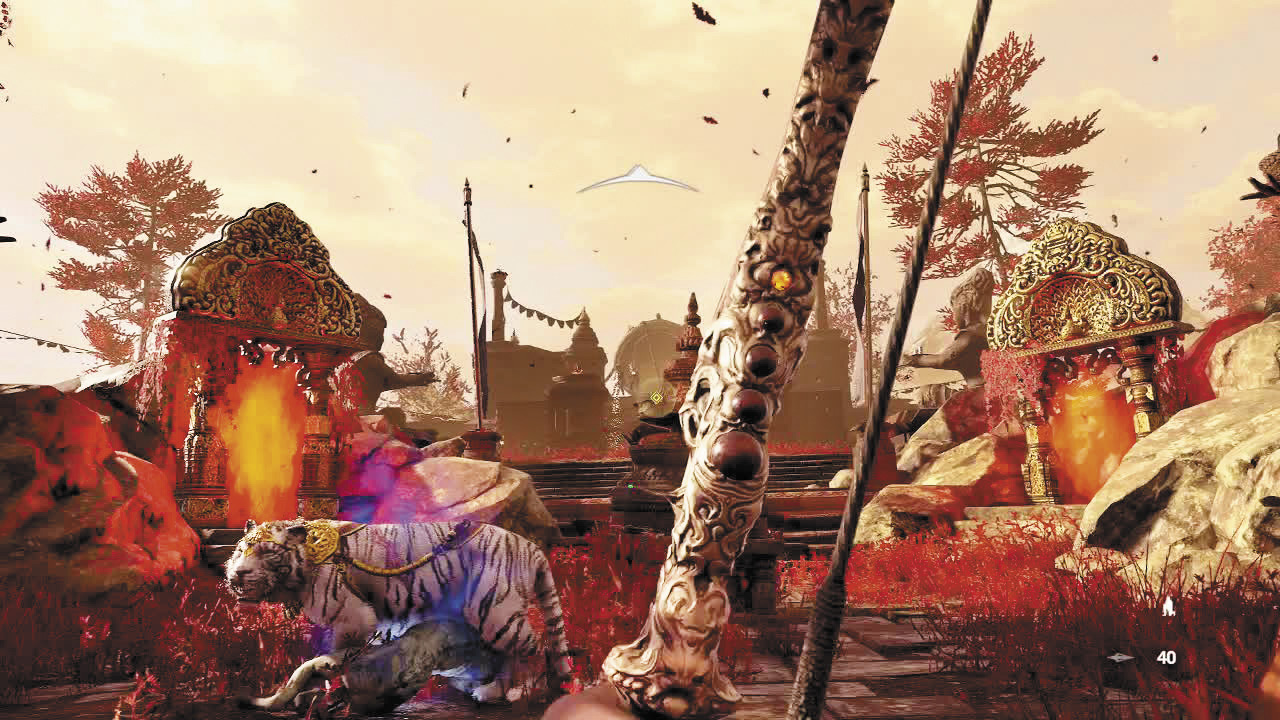
Keep yourself healed, and when a scorcher gets close, either cooperate with the tiger to put a finishing move on the scorcher at the proper time or just snipe it in the back of the neck. (If you hit it juuuust right, this is a one-shot kill.) Eventually, only two enemies will remain—the two scorchers guarding the bell. Snuff them out and the bell is yours for the ringing.
The Surrender to Paradise
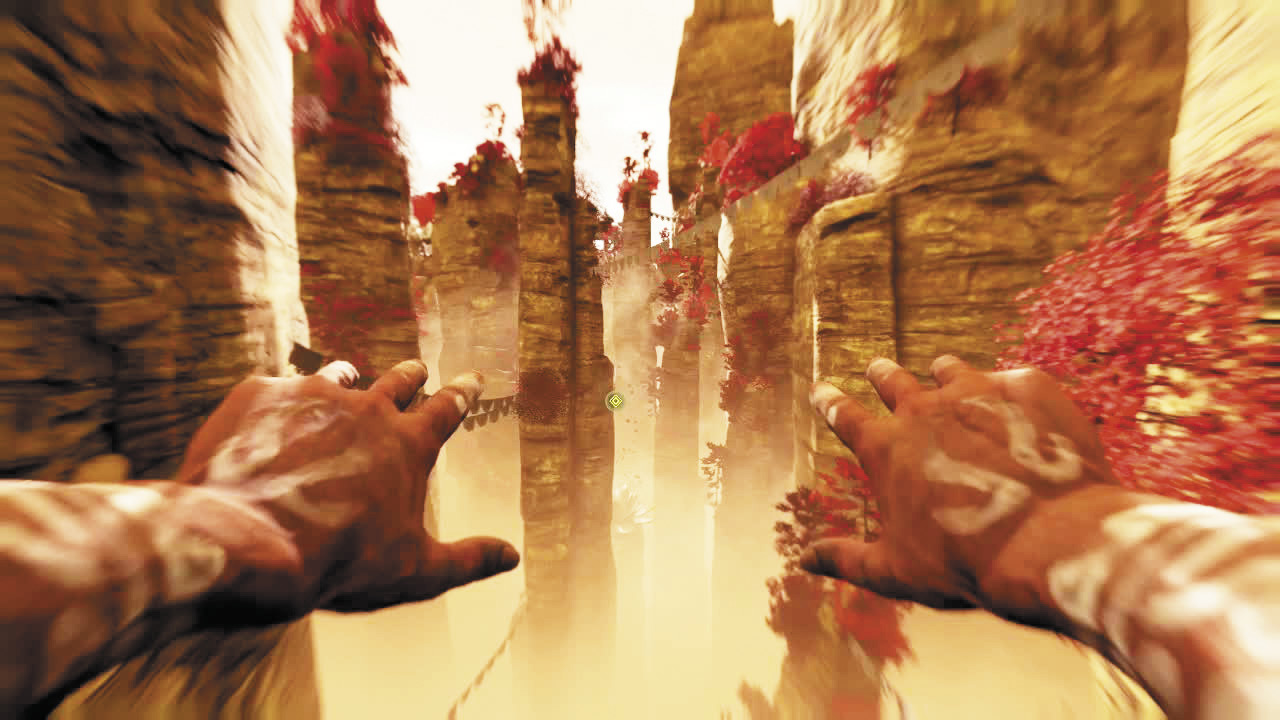
To reach the thangka, start around x:553 y:455, where a small bell hangs mounted in front of a cave entrance. But ignore it for now; you’re here for the stairs and the climbable ledges off to the right. Scale them.
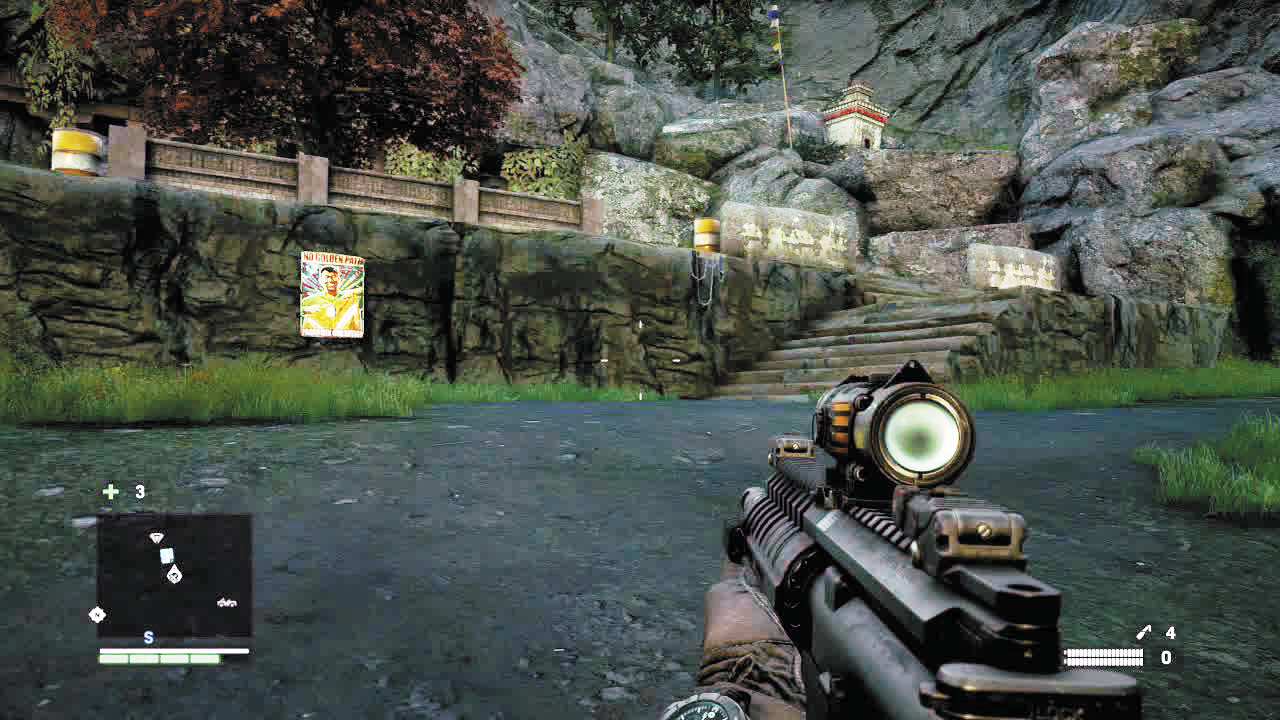
Follow the trail that goes up and to the left (north) until you hit a grapple point.
Grapple up, leap across to two ledges and a grapple swing, use the log to cross the gap, climb and leap across more ledges, and follow the trail north to a waterfall. This is Kalinag’s Descent.
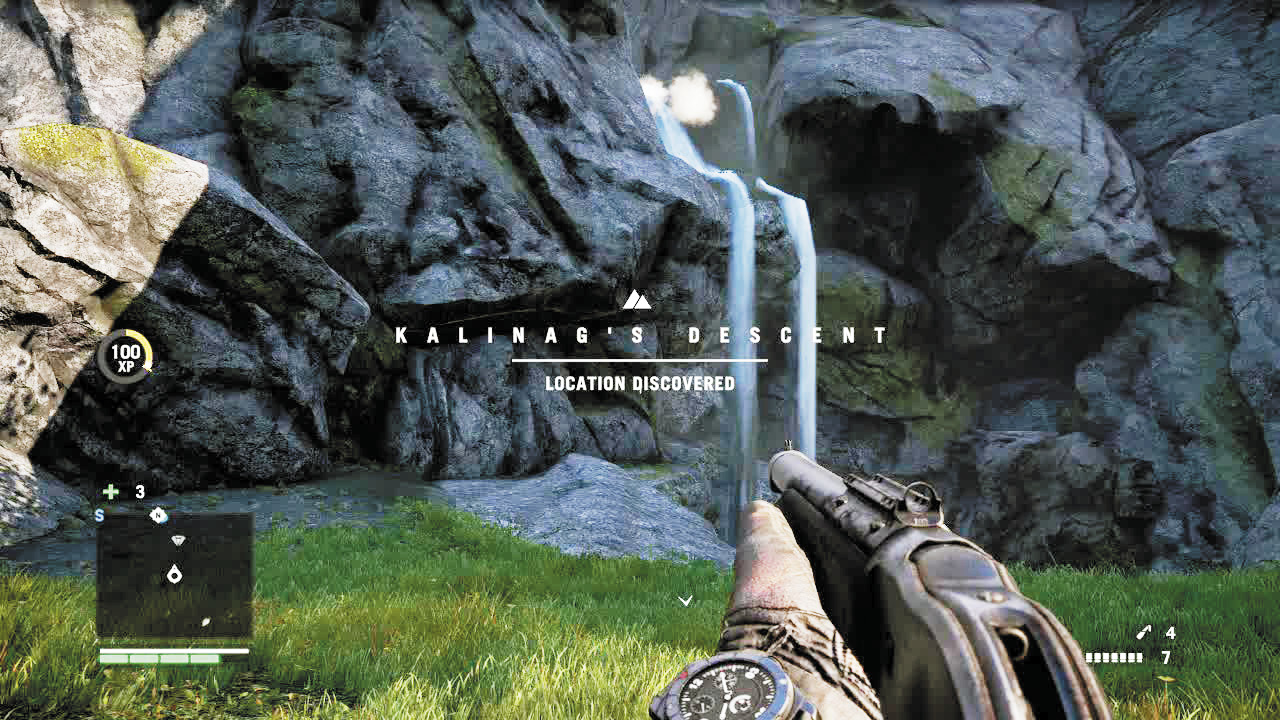
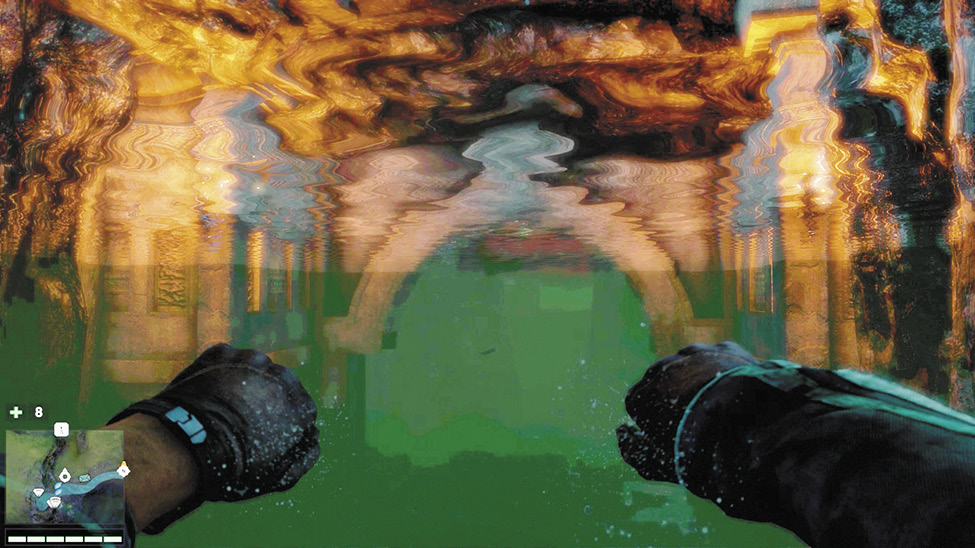
Use the grapple point to go down into the hole the waterfall drains into (look for a lost letter in a cave part way down) or just dive all the way down into the pool at the bottom. There, swim through the underwater passage to the west and make your way into the thangka chamber.
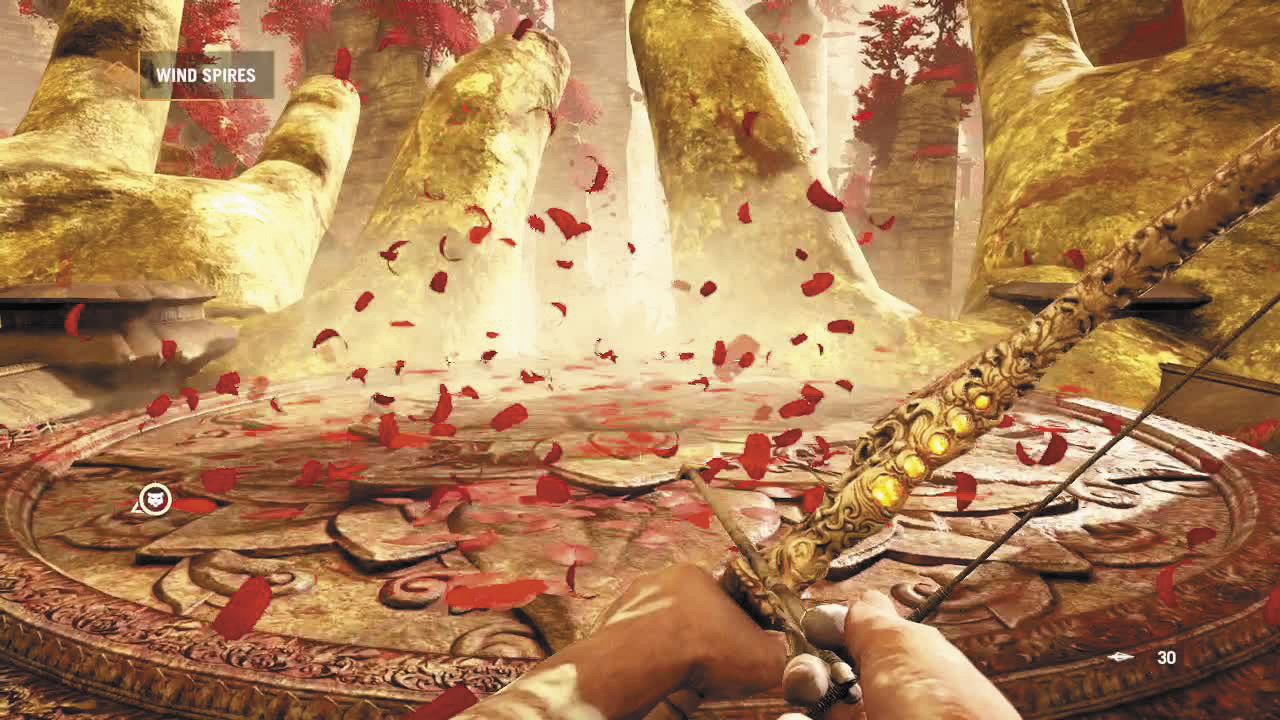
Once in Shangri-La, you’ll learn to use wind spires, this realm’s version of the wingsuit. The swirls of red leaves boost your altitude, so you’ll need to aim for them if you want to stay airborne.
After a quick test flight, walk forward to find a seeker and a new power for your bow: a five-arrow blast. It shoots in a wide spread if you tap the fire button and a tight formation if you hold it and release. Is there any doubt things are about to get demon-y? (Answer: No, there isn’t.)
As with the previous quest, you’ll still have three hidden seekers to find on this level.
Move through the portal and up the stairs to a shootout with beasts and demons in a dark room. Stick to the stairs here, so you can retreat and give yourself a narrower area to defend. Near the door, this level’s first hidden seeker is taking off his necklace the hard way.
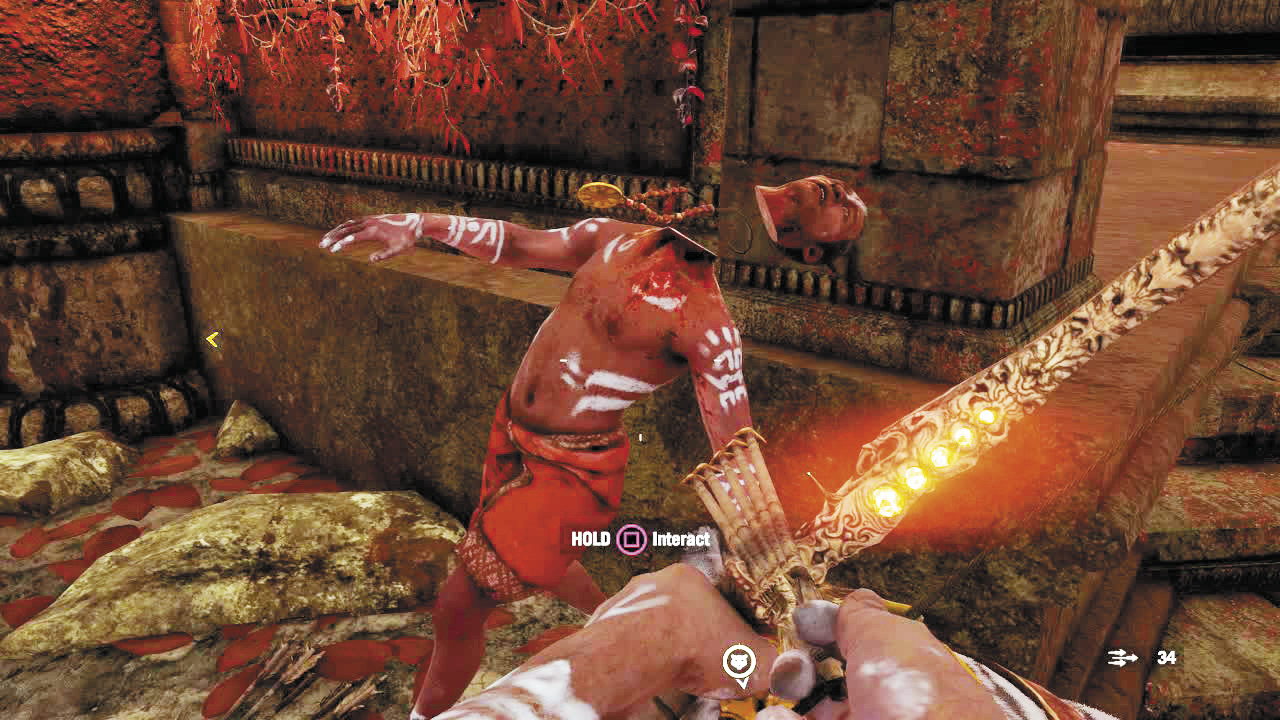
Through the door, either leaf swirl will shoot you on a wild path from spire to spire. You can go in either order, but we’ll take the left one first. You’ll eventually land in a demon-infested courtyard in front of a multi-level structure with a wobbly mani wheel on a high balcony.
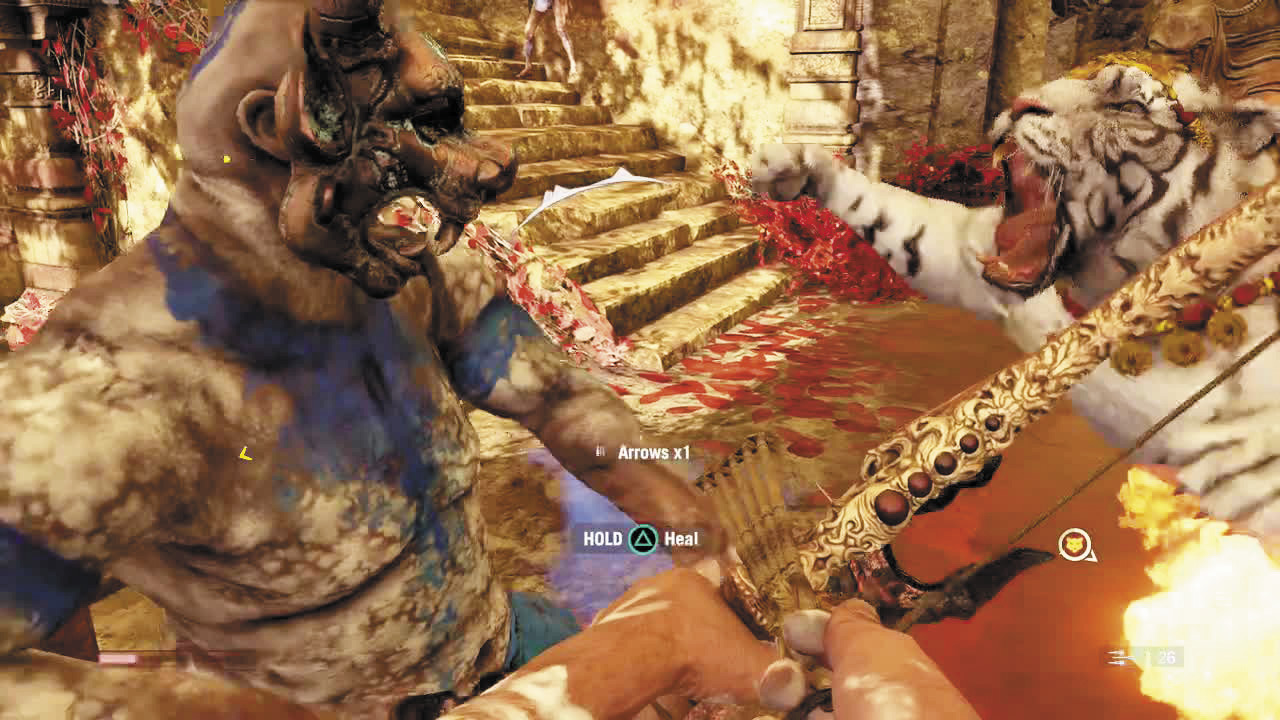
This battle can get crazy. Just pace yourself and remember all the tools you have: the bow’s time-slowing power, two fire modes, your old-fashioned takedowns (great for conserving arrows), and the tiger. Watch your health, don’t be afraid to retreat (especially when your tiger’s on time out), and you’ll be fine.
Oh, and watch out for these explode-y little buggers.
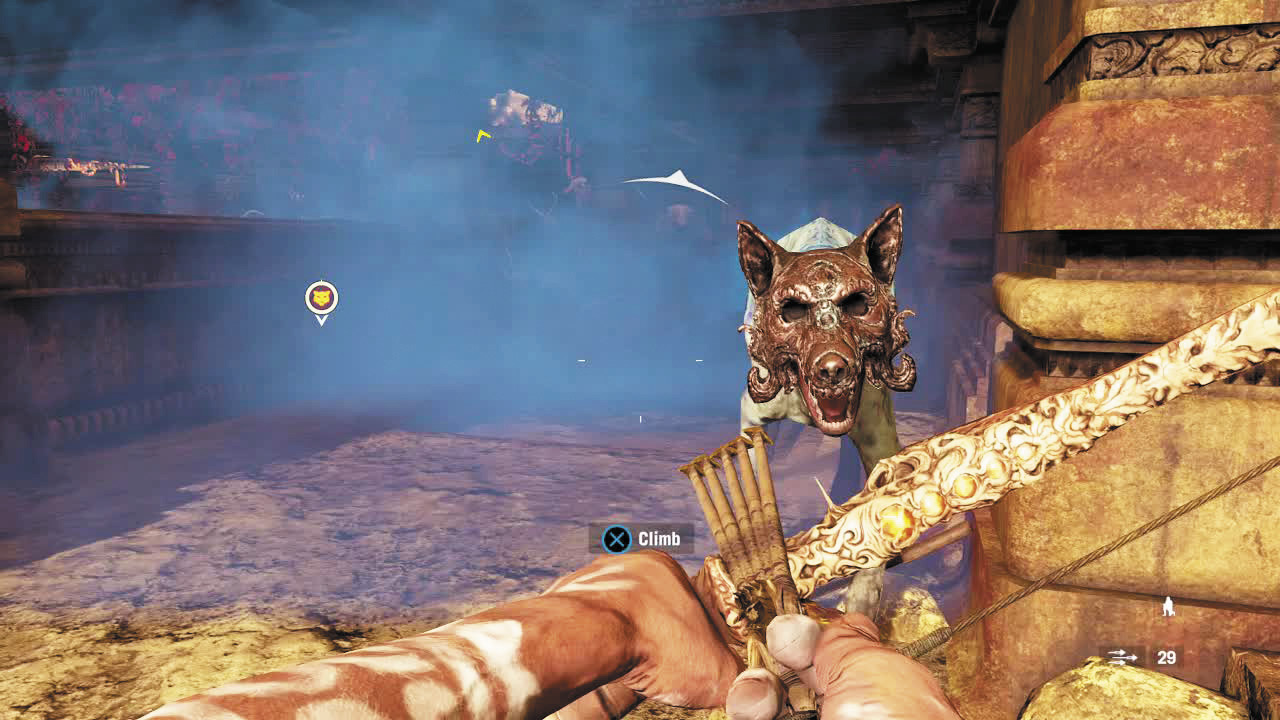
After the battle, check the right corner of the middle level (the one with the blood pools) to find the second hidden seeker. Then spin the mani wheel and head back to the wind spire, which will send you to the right-side swirl’s battle.
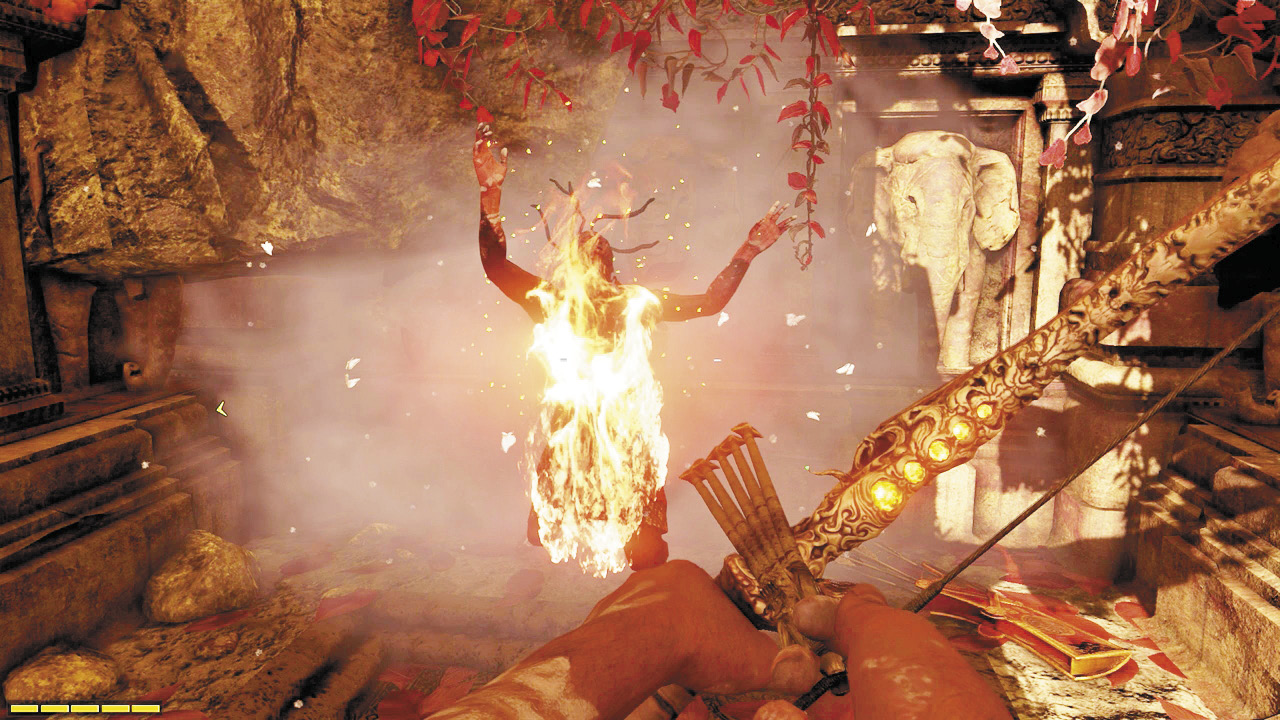
Same slaughter, different demons. This level is a positively Escher-esque maze of stairs and platforms, but that gives you a ton of hiding and even sneaking places. Also, note the red pots with flames on top explode when shot.
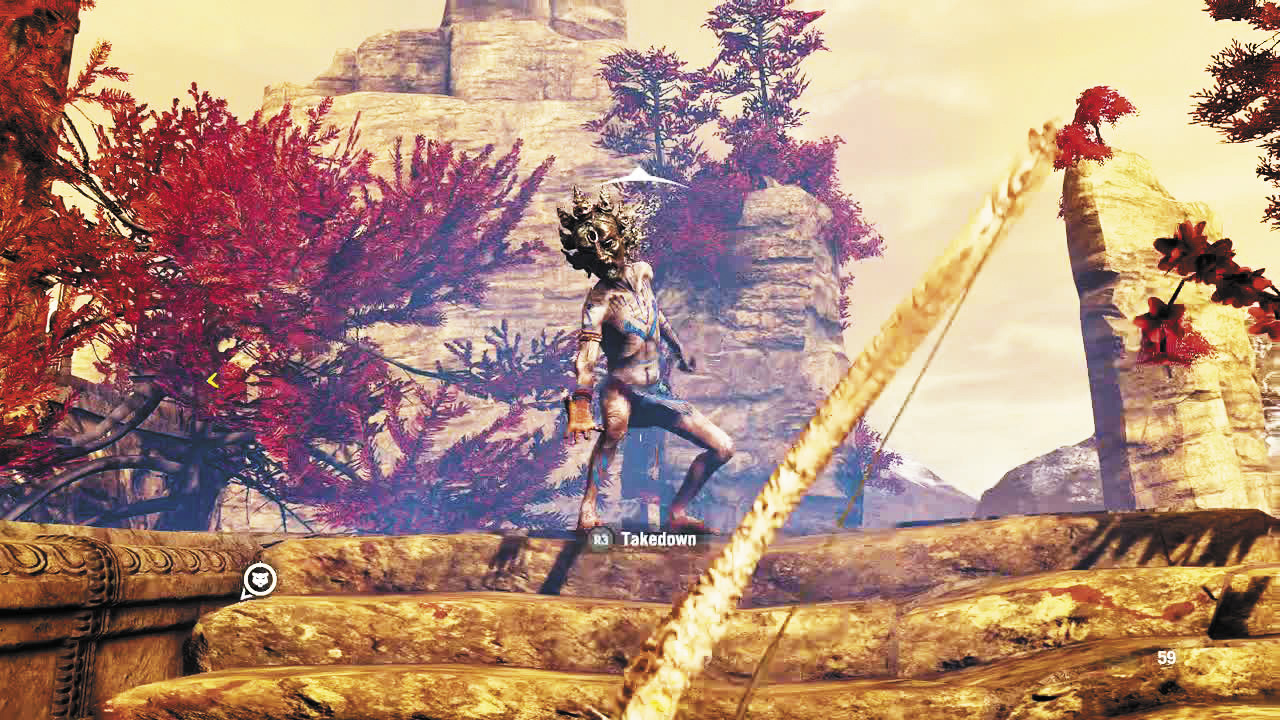
When the battle is over, just before heading up the stairs to the wobbling wheel (they’re the stairs with a torch on either side and a large tree overhead), turn around and drop down the ledge on the left to reach the third hidden seeker.
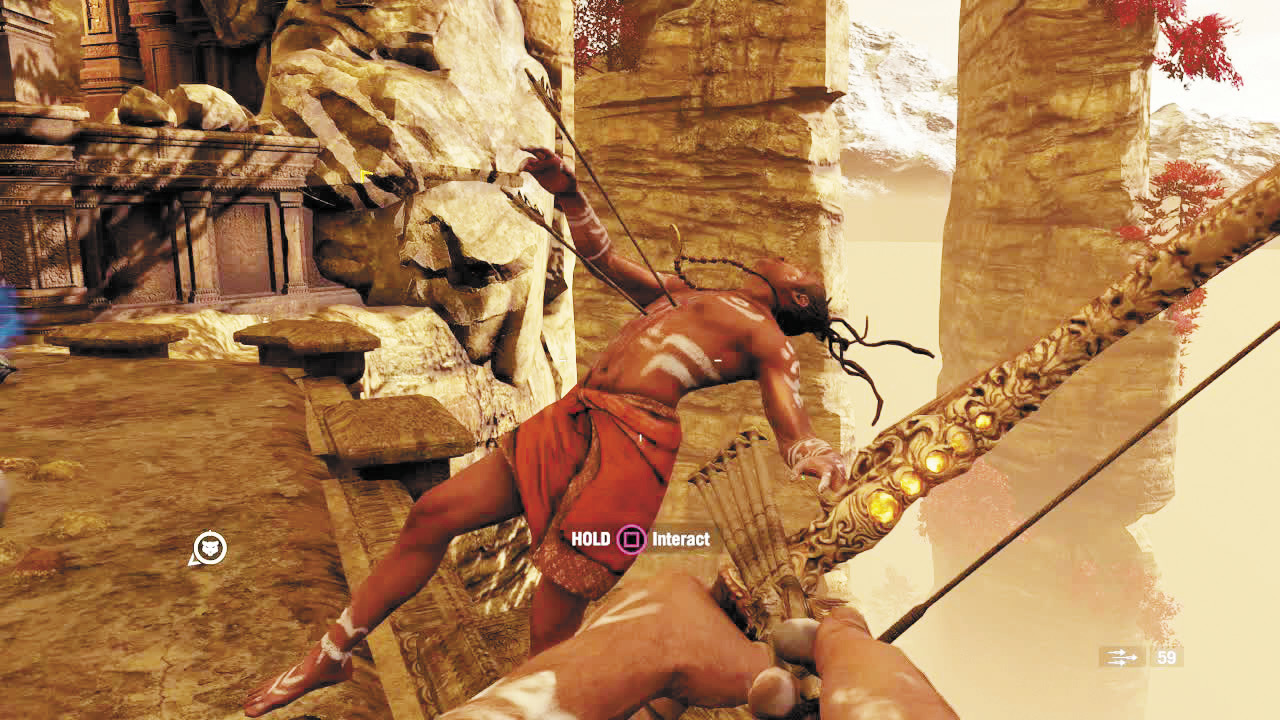
Then head to the wheel, the spire, and an exhilarating (but tricky, so be sure to follow the mission markers through all the boost swirls) flight to one last battle.
Start by teaming with the tiger to take out the scorcher right in front of you. Then zip back and crouch behind cover. Several demons will charge you. Meet them all with takedowns (but be careful to move if a beast reaches you). Once they’re out of the way, you can concentrate on sniping down the long-range enemies and get to that bell.
The Paradise Destroyed
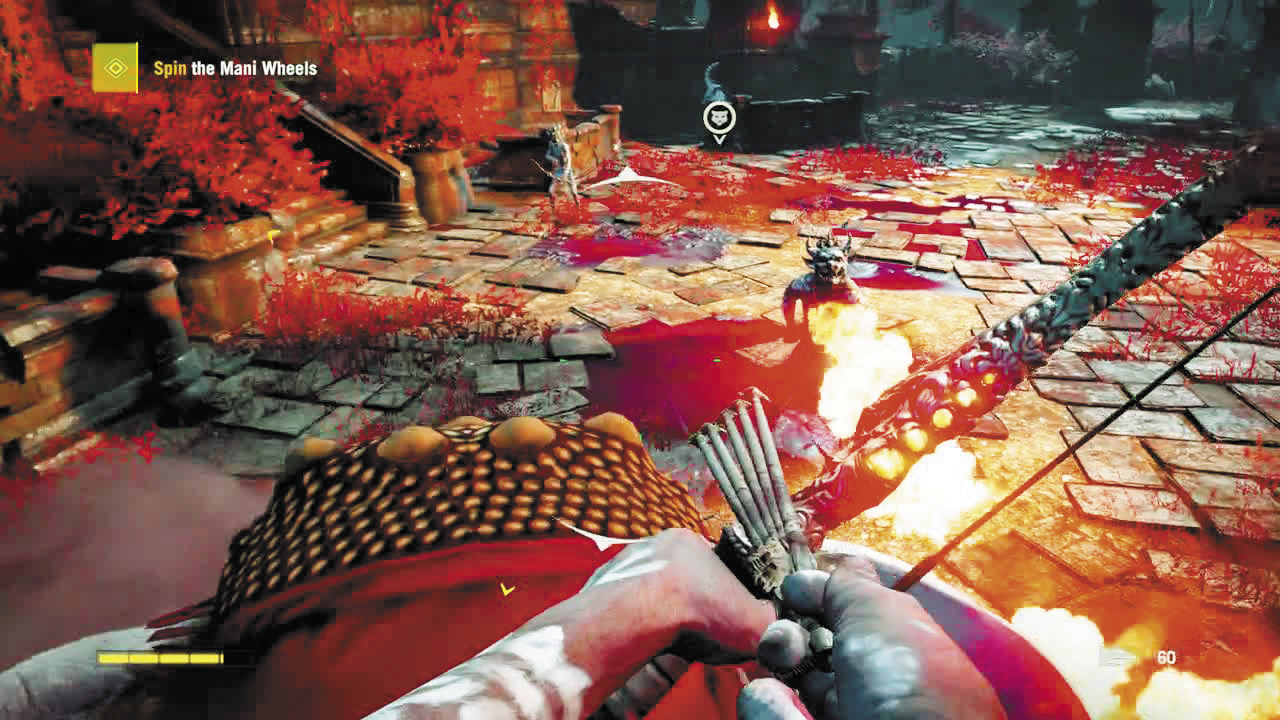
You’ll start your search for this thangka piece on a boat, floating southeast along the river near Jalendu Temple and Ratu Gadhi fortress. There are several spots where you can move from sea to land, but we suggest landing on the western shore next to the gun nest around x:670 y:596.
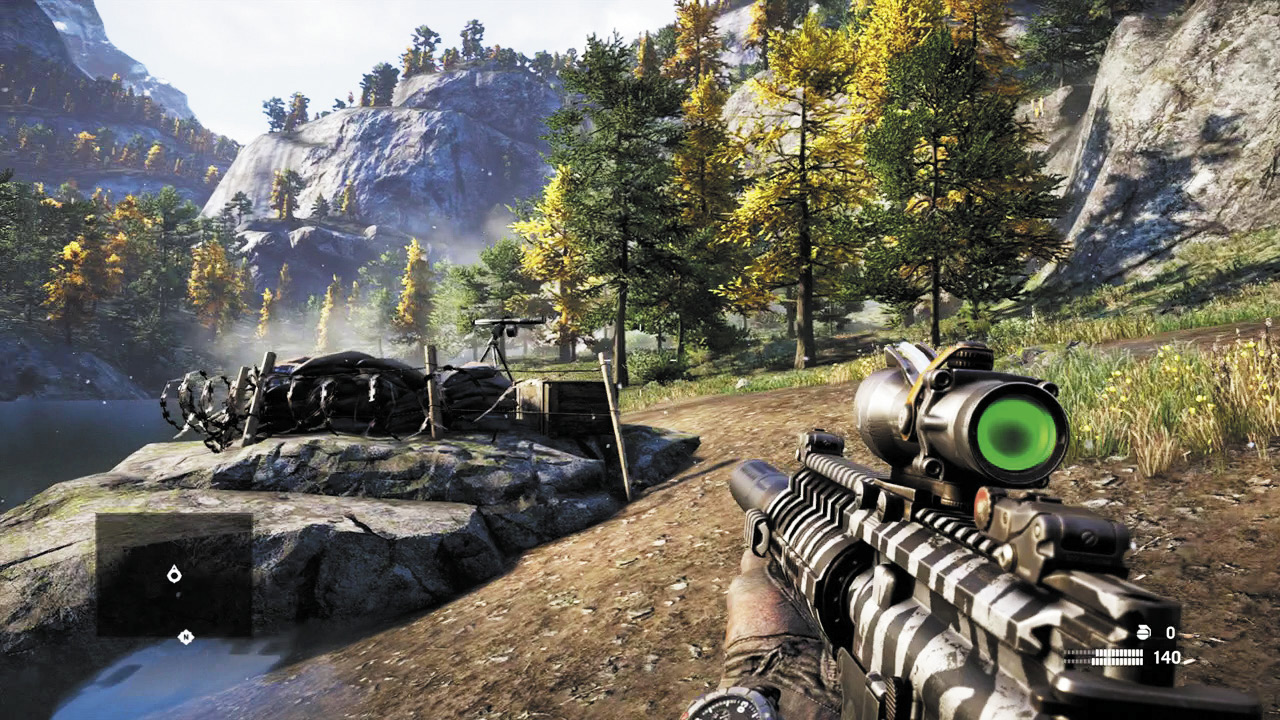
Take the trail to the southwest, where you’ll see a grapple point up the cliff almost immediately. Scale it, then run straight west until you reach another cliff. Move just a bit south and you’ll find another grapple up. Take that, and follow the trail southwest to the caved-in mine entrance. Here, turn southeast and scramble over the rocks. The trail will continue and lead you to the miners’ lodge. Just past the building, you’ll find a short downward grapple near a stack of bricks.
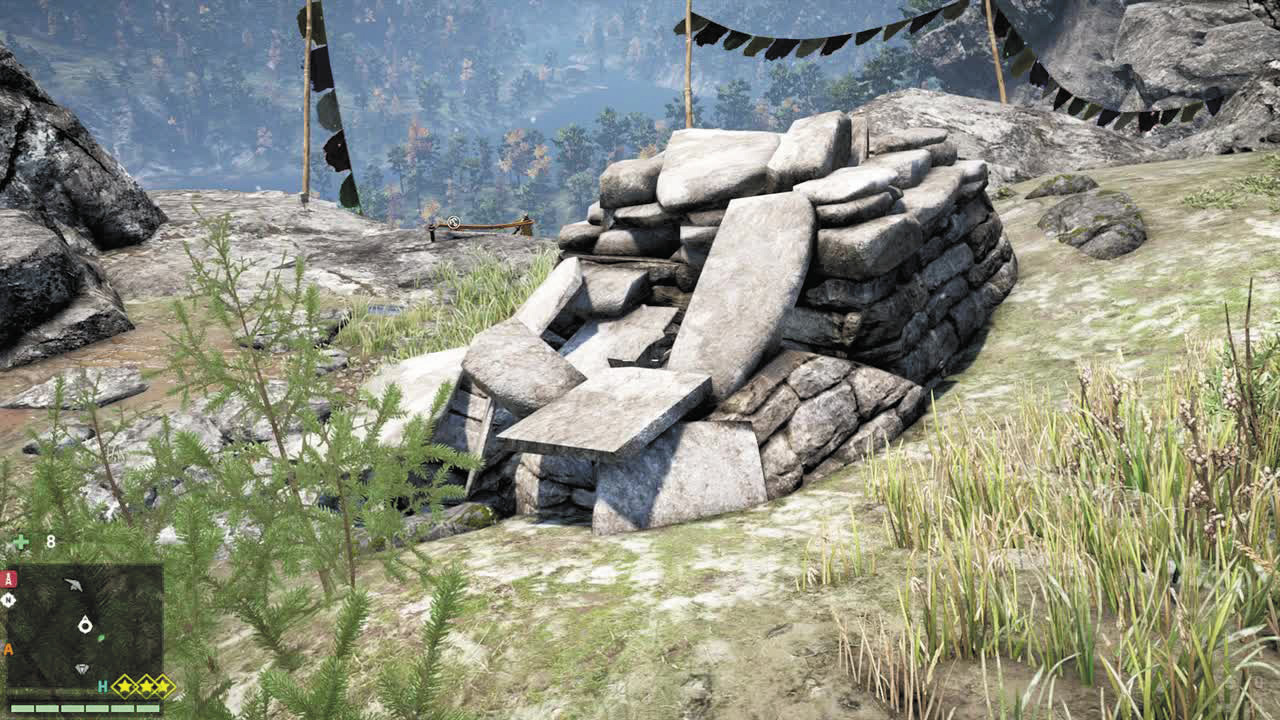
This leads to a trail, a hanging grapple, and a log bridge with a breathtaking view of a high waterfall.
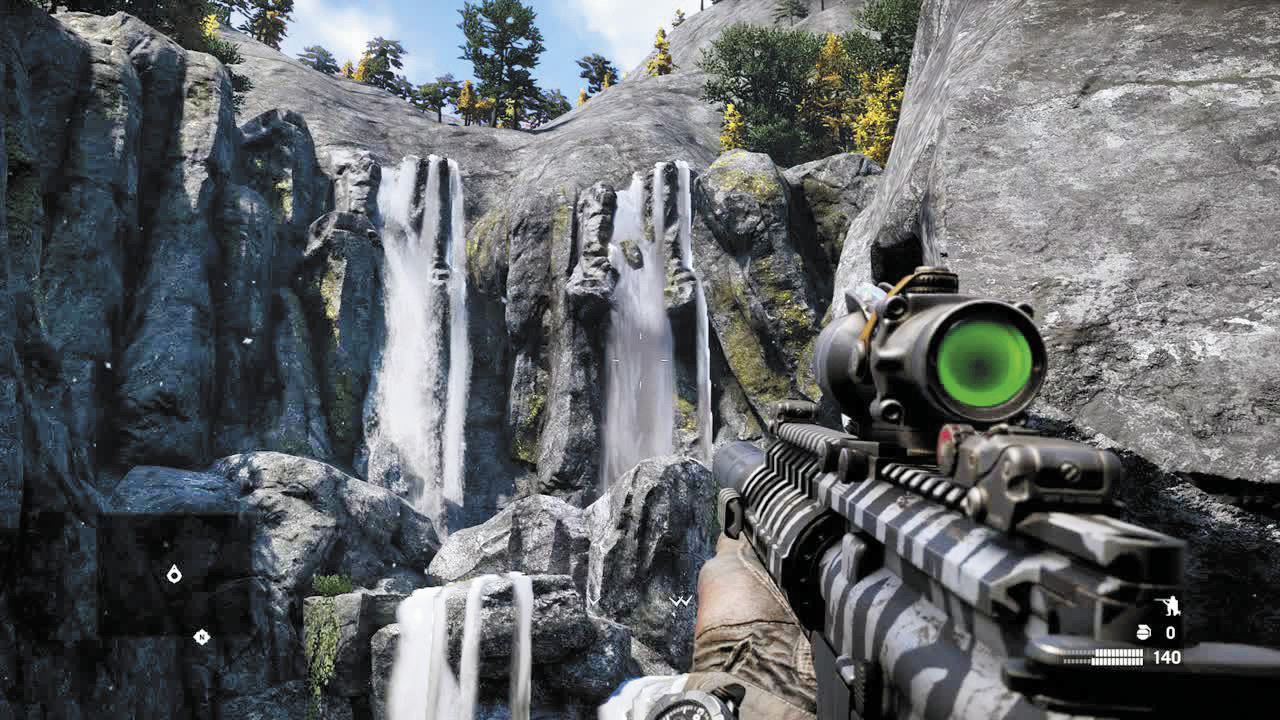
Cross the log, follow the trail as it curls around the mountain to the cave entrance (at last!) at approximately x:678 y:560.
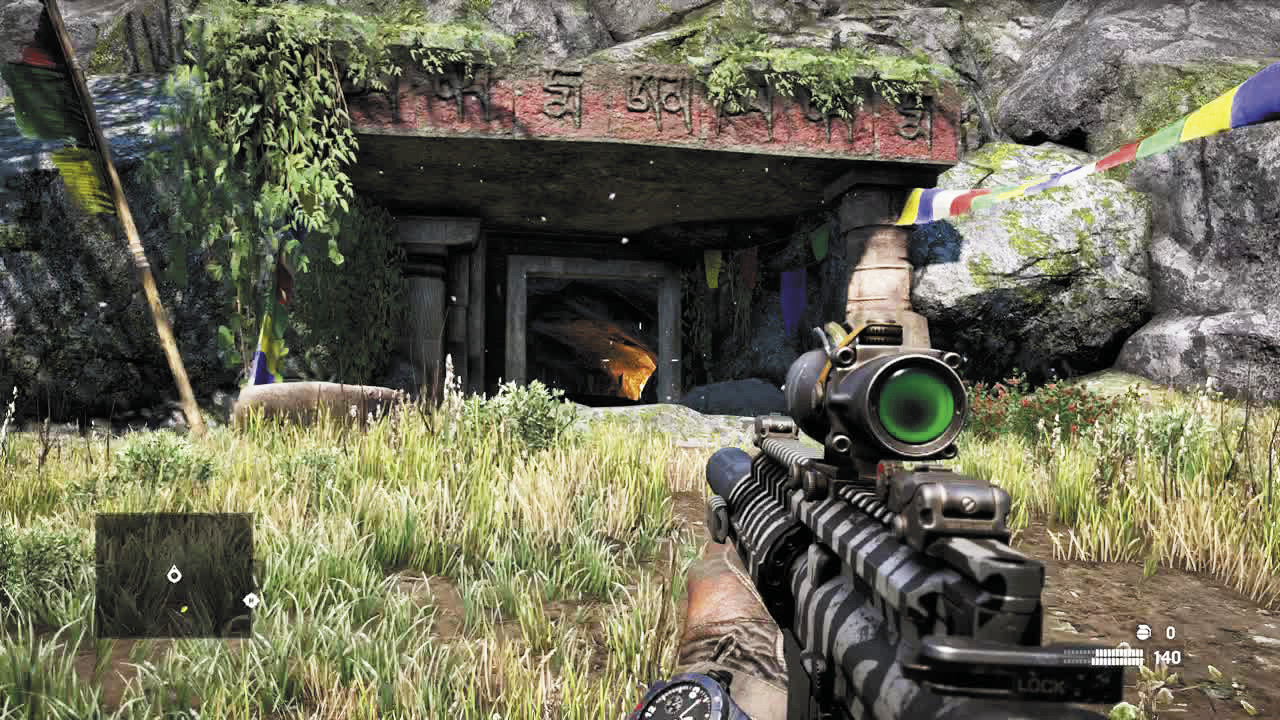
You’ll touch down in a Shangri-La decidedly less golden than before. At least your tiger-striped wingman is still here. And is that the sound of elephants in the distance?
When you round the bend and get your first good view of the level, you’ll come to a gaggle of beasts lurking near an archway. Kill them, but before continuing, turn left and take the uphill path to a gazebo, where you’ll find this level’s first seeker.
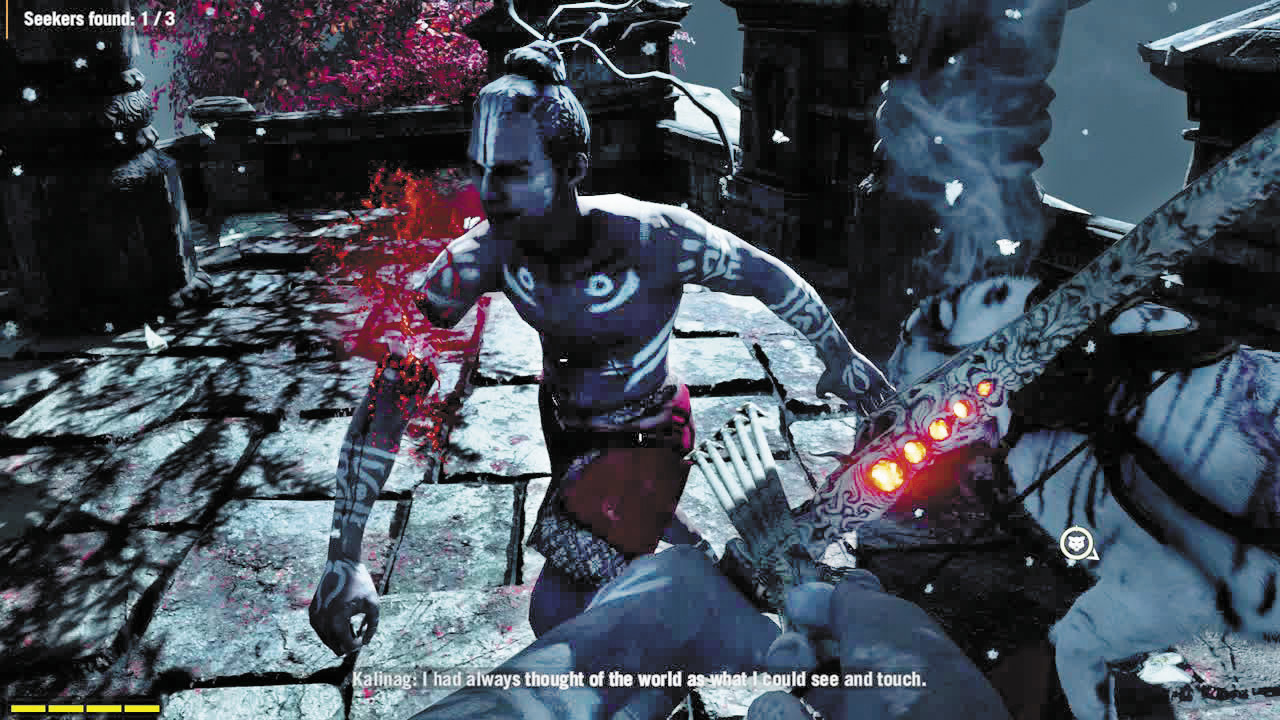
Return to the main path, which will take you to a group of demons torturing an elephant. Rescue it and the benevolent giant will reward you by declaring itself your very stylish new ride.
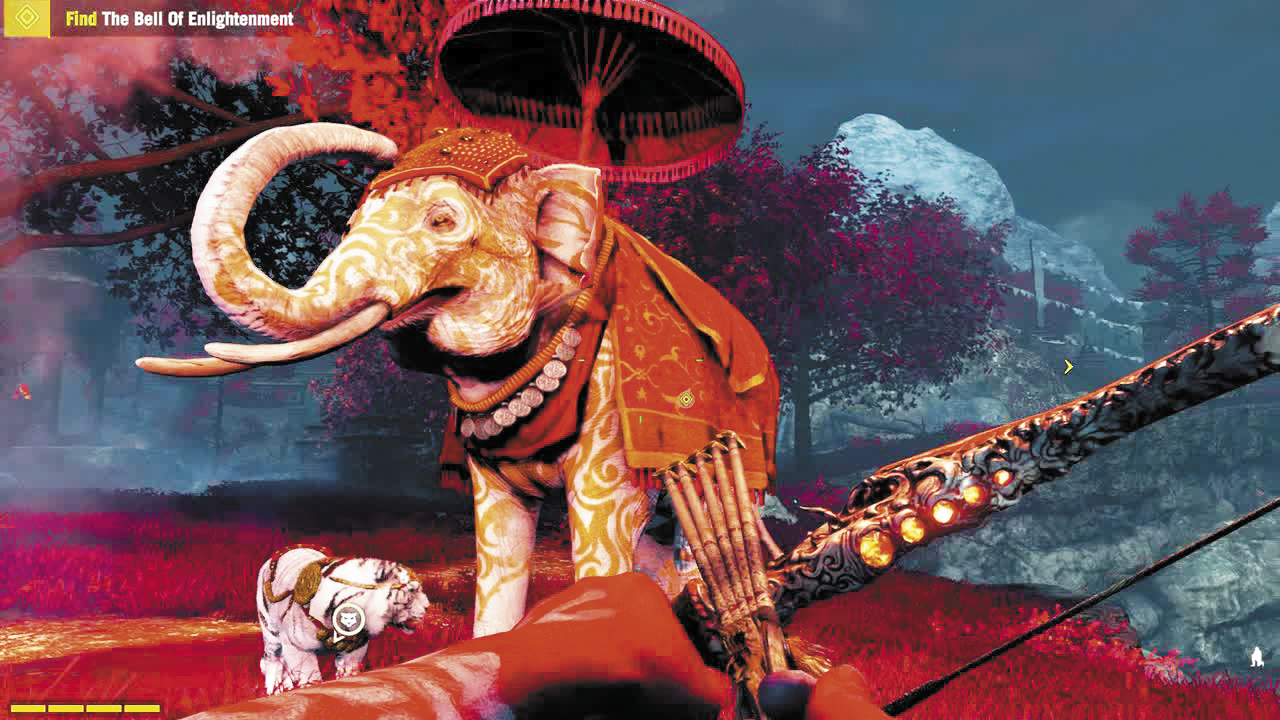
Tonight, on a very special episode of Pimp My Pachyderm . . . .
Hop on and follow the path. When it splits, take the right fork but pause just past the fallen tree to climb the ledge. It’ll lead to a small shrine and the second seeker.
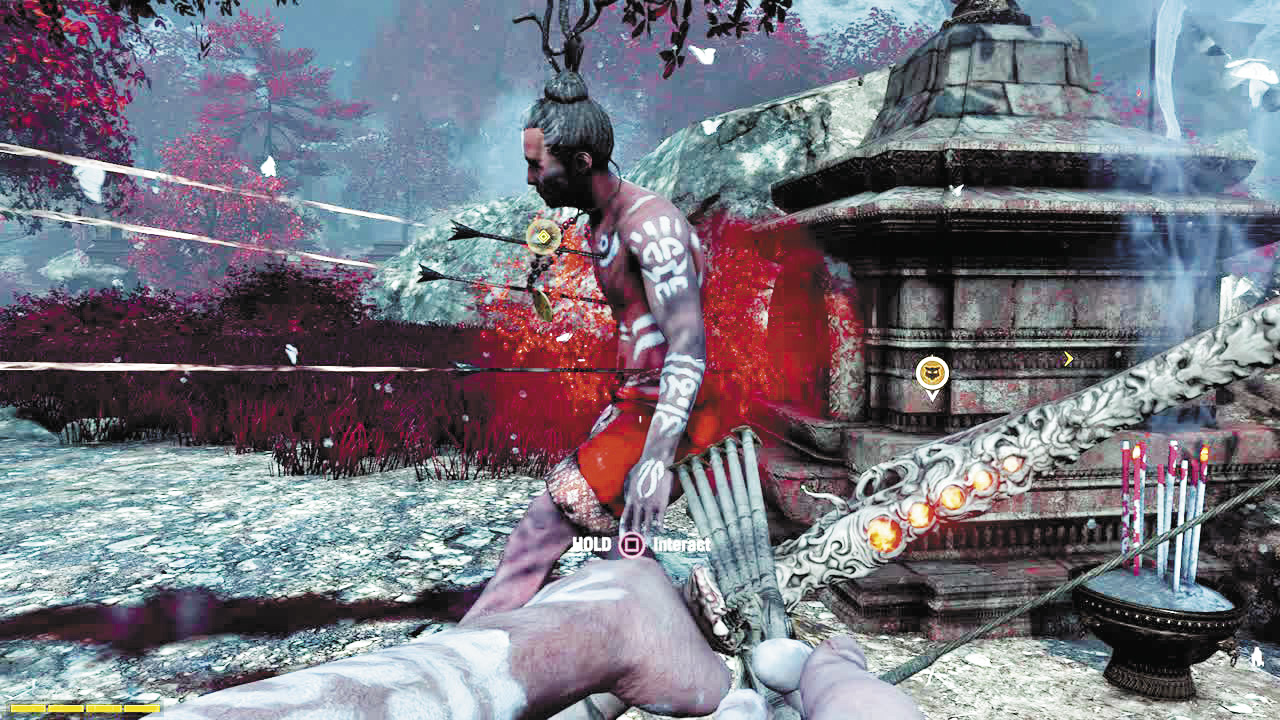
To your right, you’ll see a burning tree and catch a glimpse of one of the battles ahead of you. Let’s head back to that elephant, shall we?
As usual, your task in this level is to spin a pair of wobbly mani wheels. We’ll take the one farther down the right-side trail (the one with the fallen tree) first. The trail leads to a circular courtyard ringed by a raised walkway that connects to the mani wheel platform. The elephant can charge right through the fallen tree, no worries, but it can be tough to maneuver once you get inside the circular courtyard beyond. Aim for the heavies, whom the elephant can toss like confetti, and then jump off and work on foot. The elephant can’t go up the steps to the wheel anyhow. Note that there are several explosive vases here if you need them to help thin the enemy herd.
Once that wheel is spun, head back to the fork in the path and take the left fork, which leads through several arches flanked by statues. When you reach the walled courtyard with the wheel inside, climb the ledge to the left to find the third seeker.
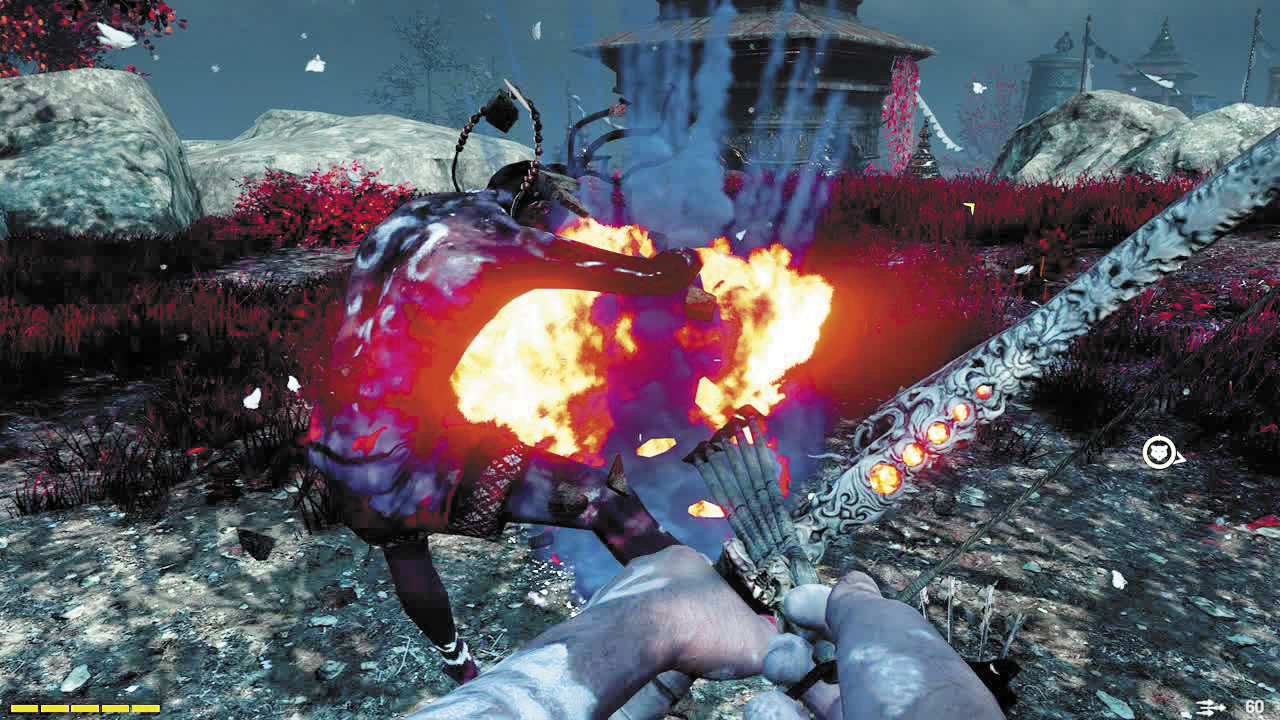
Back to the elephant (which loves to wander, so you may have to track it down) and the second wheel. The main path is blocked, so you’ll have to make a choice: drop down from the area where you found the seeker, or go around and use the elephant’s trunk toss to remove the debris from the other entry arch. Your call. Either way, you won’t find much resistance here until you spin the wheel. Then demons will spawn and your elephant will burst in (whether you rode him here him or not) and start clearing out the joint.
Now your task becomes finding the bell of enlightenment. The path to it is clear, but blocked by demons and a particularly flowery gate that might as well be tissue paper as far as your elephant is concerned.
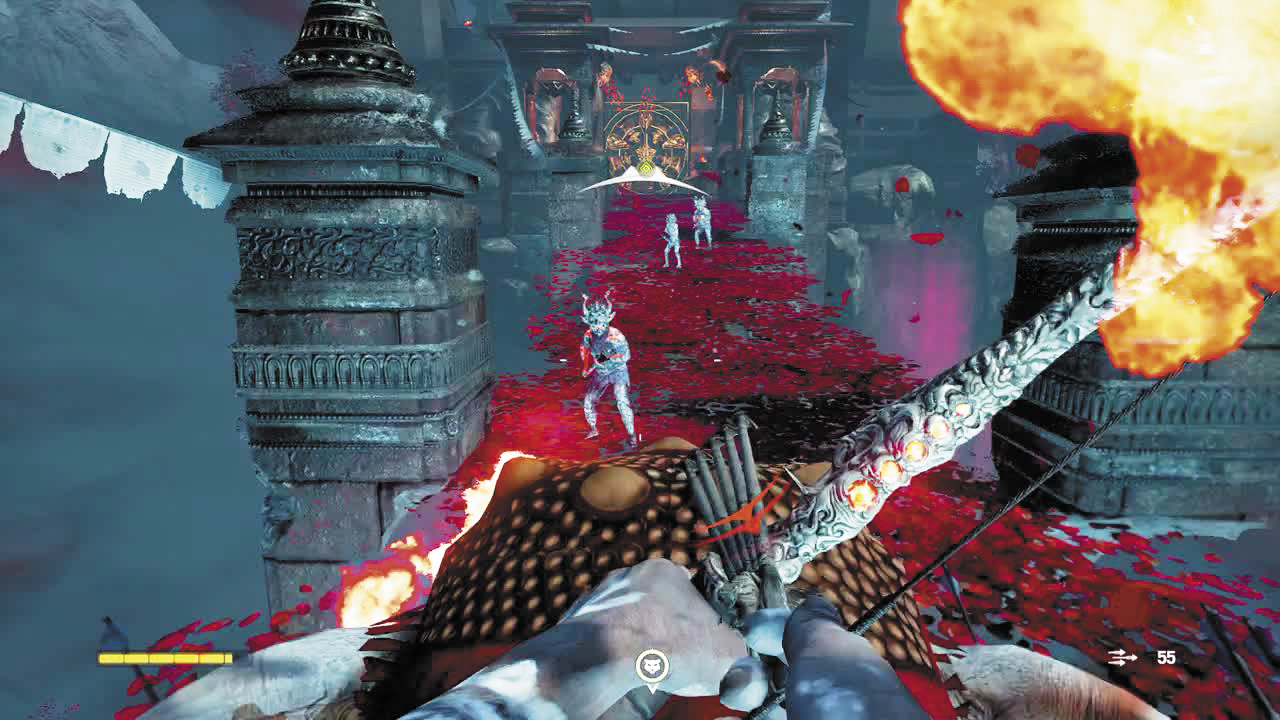
Stampede down the bridge, trampling the enemies in your path and ignoring those on either side, until you bash through the second gate into a large rectangular area with raised walkways on three sides. It’s likely the elephant will phase out here because there’s plenty of cover for you to hide behind, but nothing big enough to hide an elephant wearing a parasol. Disembark so he has a better chance (elephants fight better without a rider) and if he poofs away, don’t worry. He’ll return, just like the tiger.
As for you, focus on taking out the scorchers first, coordinating your attacks with the tiger’s, and don’t be afraid to drop into cover or peg an exploding jar to stanch the flow of regular enemies. Some of the enemies you just ran past on the bridge will probably trail you in as well, so watch for damage that may be coming from behind you.
Follow the quest marker up the stairs to a room with a towering golden statue with many arms (Kyrat’s interpretation of Shiva, most likely) and many flights of stairs. As you move up, enemies of every type will continue to spawn. Take your time, especially with the scorchers.
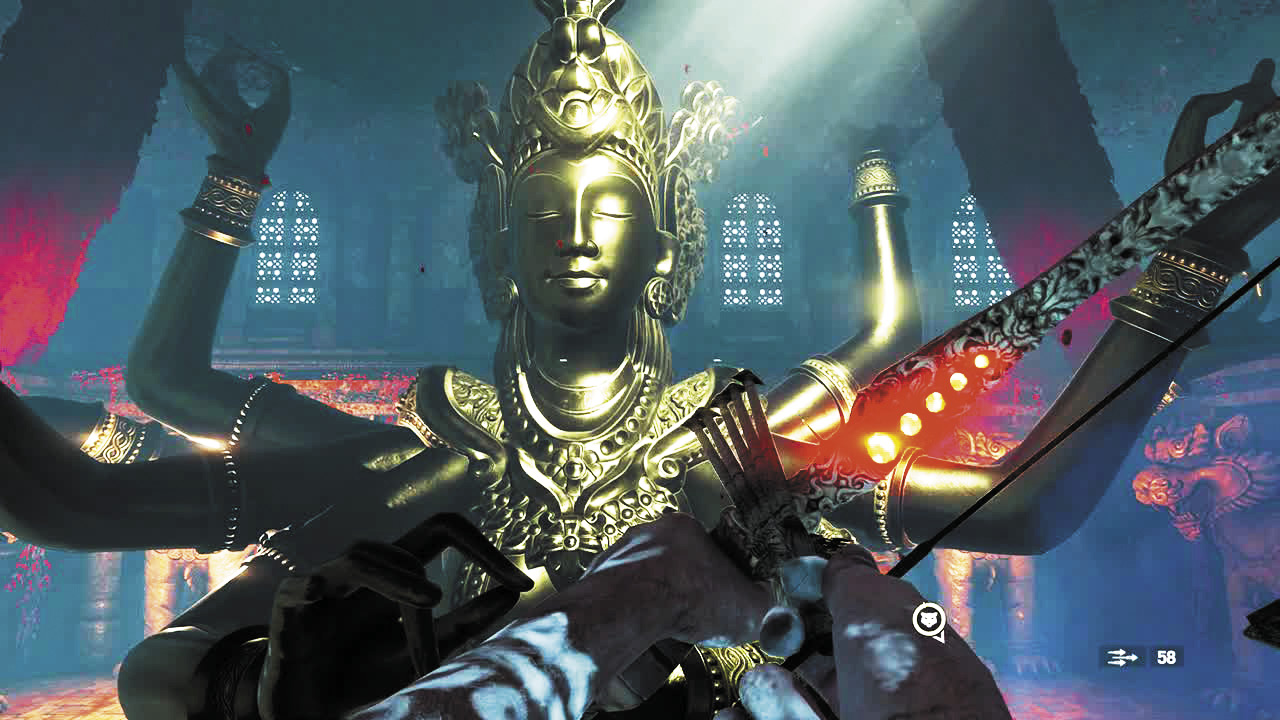
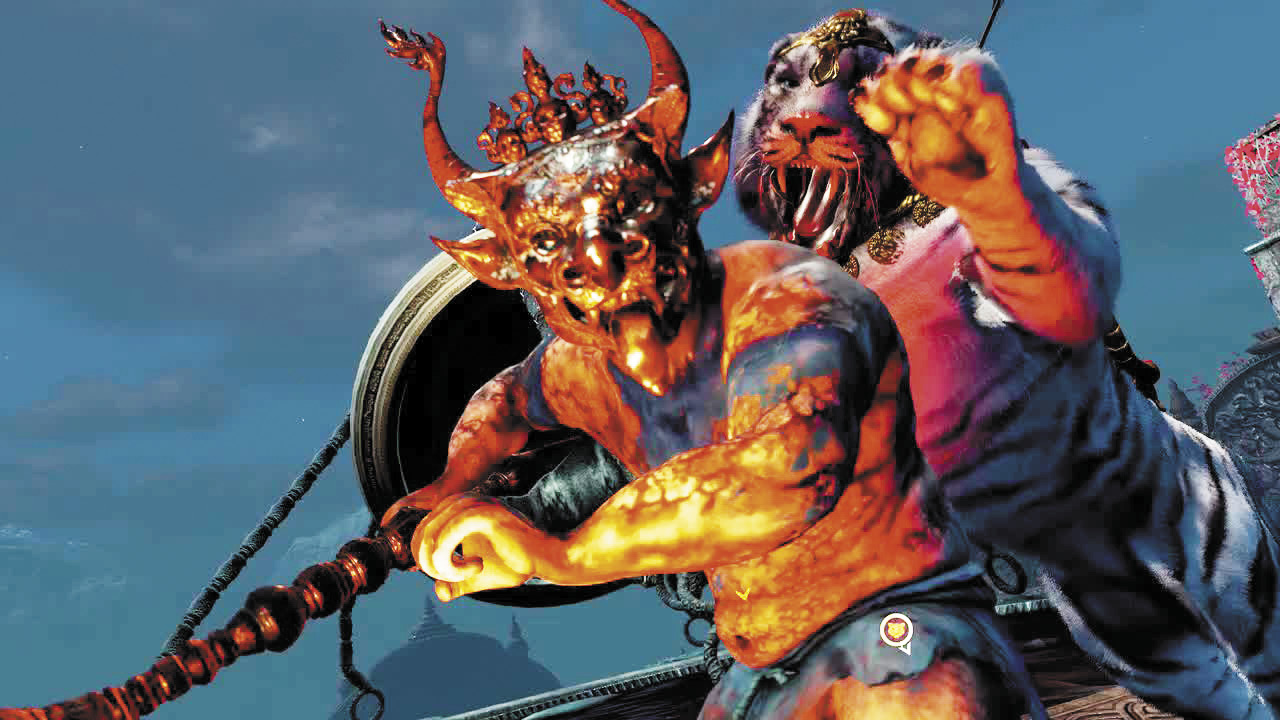
At the top of all the stairs waits the bell. You’ll have to fend off the usual suspects here, but it’s actually one of the easier battles of this level.
And it looks like your final visit to Shangri-La is going to be a doozy.
The Unpainted Future
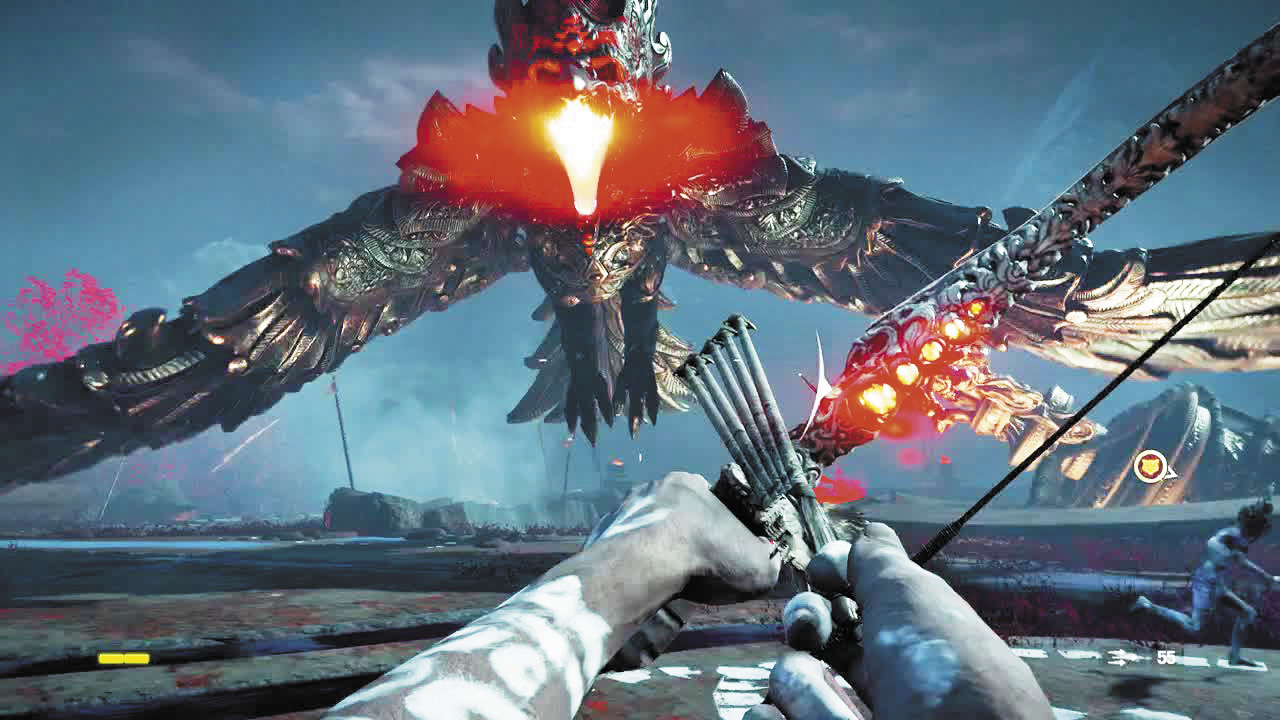
You have one more trip to Shangri-La to take. Why wouldn’t you need to take a crazy route to get there?
Drive on the road to x:756 y:795, almost straight south of the thangka icon. You should see a trail leading up to the northeast. Follow it. It’s curvy, but it should dead-end at a cliff and a grapple point. Go up, and at the top, slide a little to the right until you can see another grapple point above you. Take it.
Climb the ledge at the top and step forward to discover Anadekh’i Ruins. Climb the trail behind it until you reach a dead-end and a treasure chest. Grab the treasure, and then take the grapple point up. Take the three hanging grapples to the west, then follow the trail west and you’ll find another of the game’s trademark giant, ominous holes. Grapple down, then use the second point to go even deeper.
Drop onto the rafters of the thangka chamber, then into the chamber itself. And get ready for a workout.
This is a boss battle, pure and simple. Rakshasa will wheel around above you, screeching and summoning demons three or more at a time. You and the tiger need to fend off these summoned demons and, when Rakshasa pauses to screech and taunt you, stick some arrows down his lava-orange throat.
The ring-shaped arena offers small bits of cover—a fallen column here, a crumbled tower there, and a sunken area along one edge. There are also exploding vases, which are fair for killing regular demons but useless against Rakshasa. Just take the demons down as fast as you can and heal any chance you get.
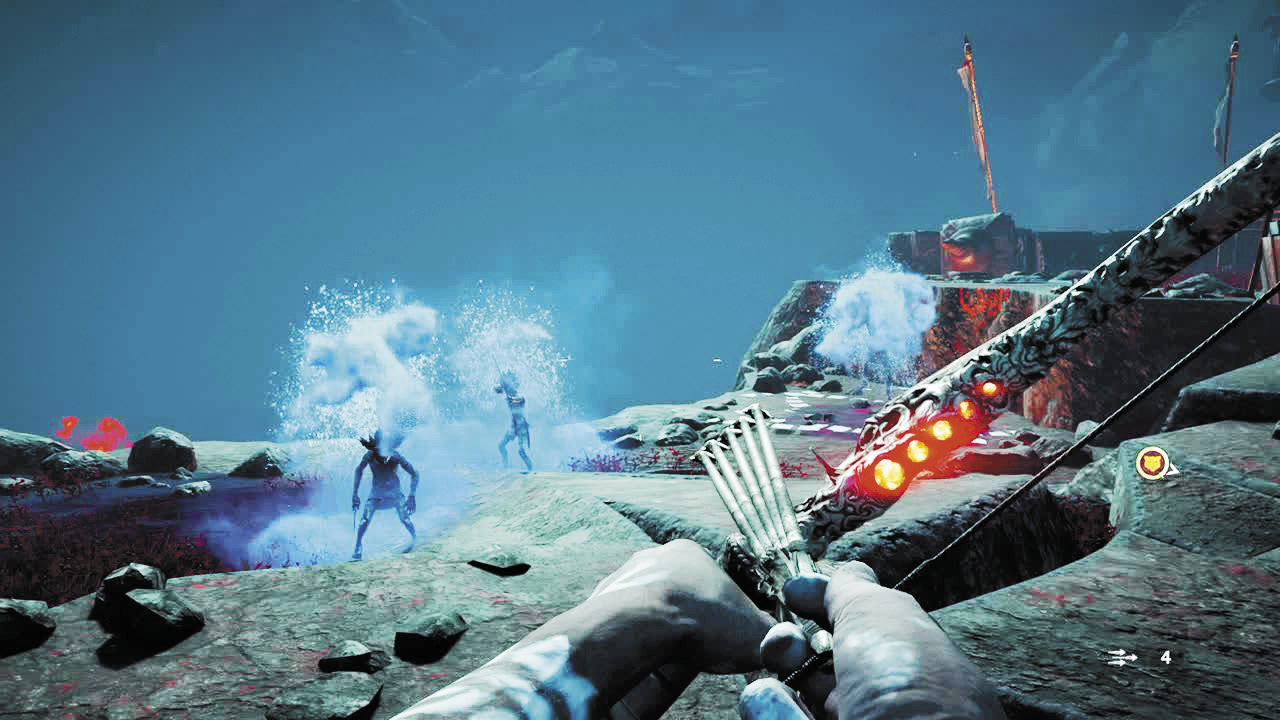
The trick is learning to keep track of the swooping Rakshasa and recognize his animations. There are three in particular to watch for:
1. Wings crossed in a sort of self-hug.He’s summoning. So forget him (he’s invulnerable anyhow) and concentrate on taking out the three to six enemies about to materialize in puffs of blue smoke. Note that they don’t spawn near him. They spawn near you. So it’s very easy to find yourself surrounded. You may want to run a few steps in any direction once he starts this animation, just to decrease the odds of enemies spawning all around you.
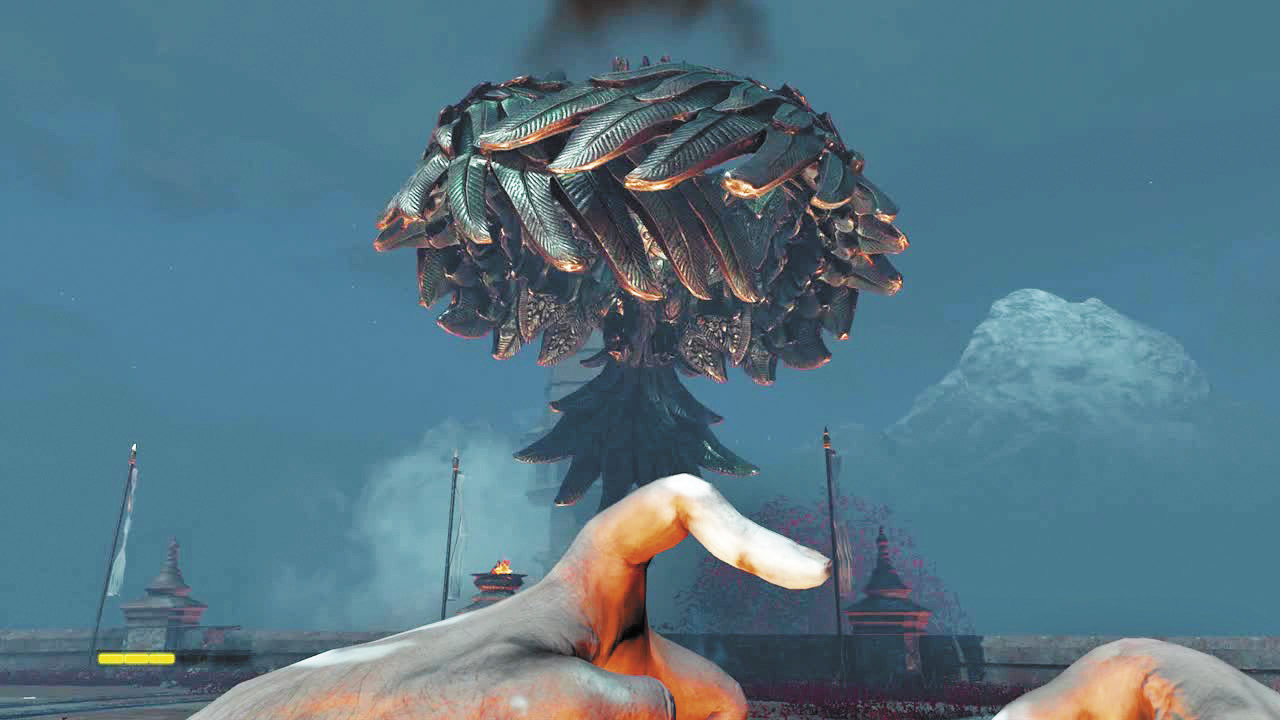
2. Taking a deep breath, with puff of flame at the mouth.He’s about to launch a barrage of earth-shaking fireballs. He doesn’t pivot much though, so just take a few steps sideways as they launch and they should all fly wide of you. Note that hiding yourself behind cover may not stop you from taking splash damage.
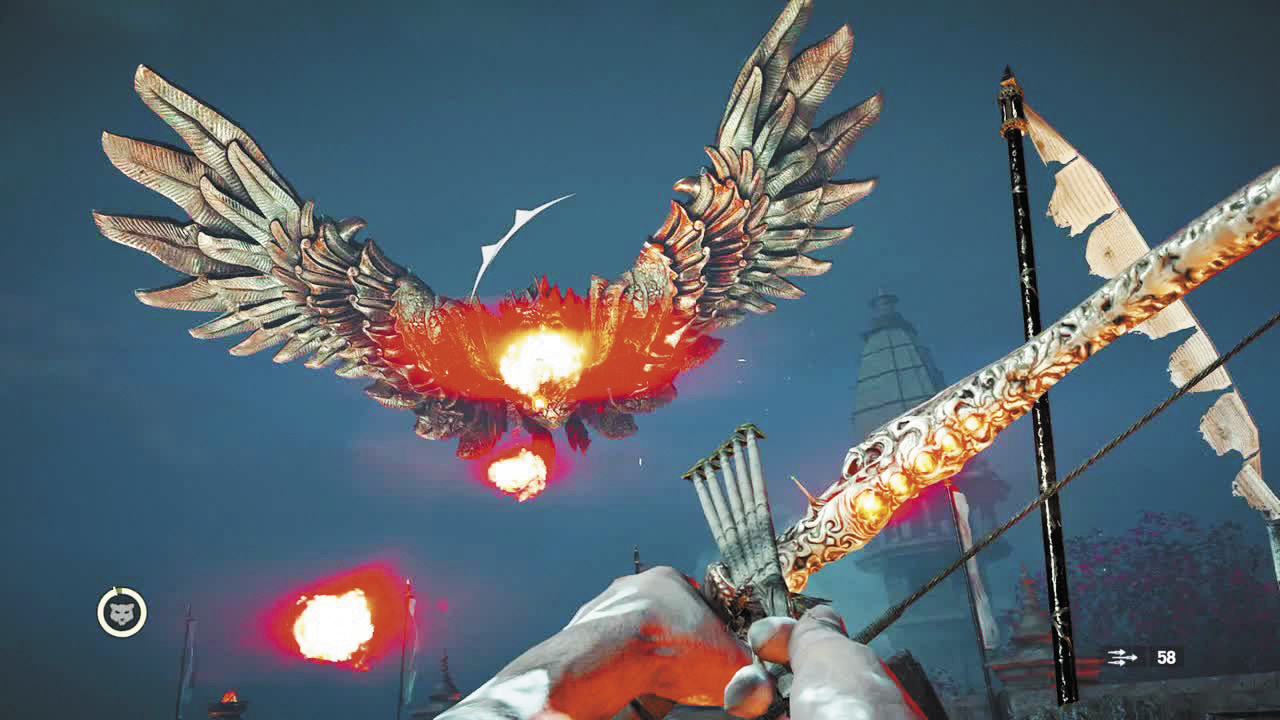
3. Taunting you with mouth open, orange tonsils clearly exposed. This is your chance. Trigger your bow’s slow-time effect and sink an arrow right into his glowing maw. If you connect, you’ll see a small explosion and he’ll fly across the arena to regroup, giving you a moment to heal and/or collect more arrows.
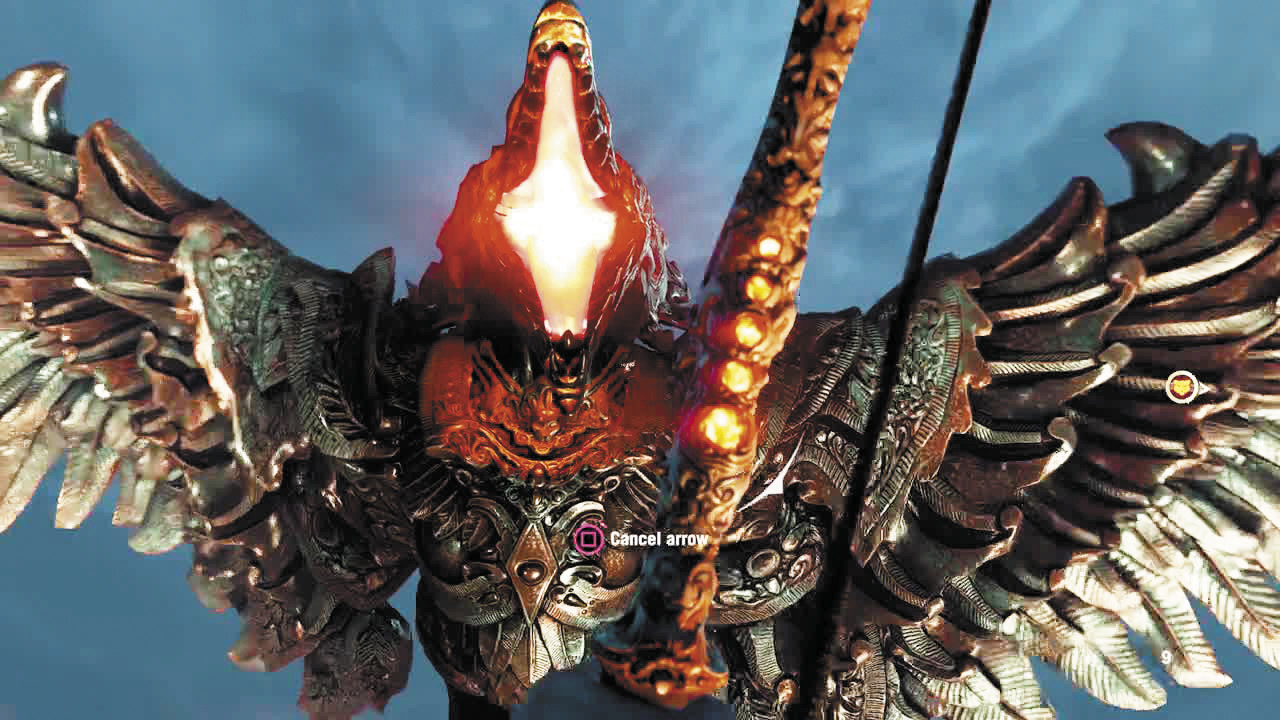
This is your shot.
After three clean shots down his throat, Rakshasa will fall to the ground. Send the tiger to attack him, and as they struggle, fire another arrow down his throat. After several moments, the battle will resume, only now the metal bird will summon even more enemies, including beasts, and spit fireballs more often. Use the same “shoot the mouth until he falls, then send the tiger in” strategy again. And again.
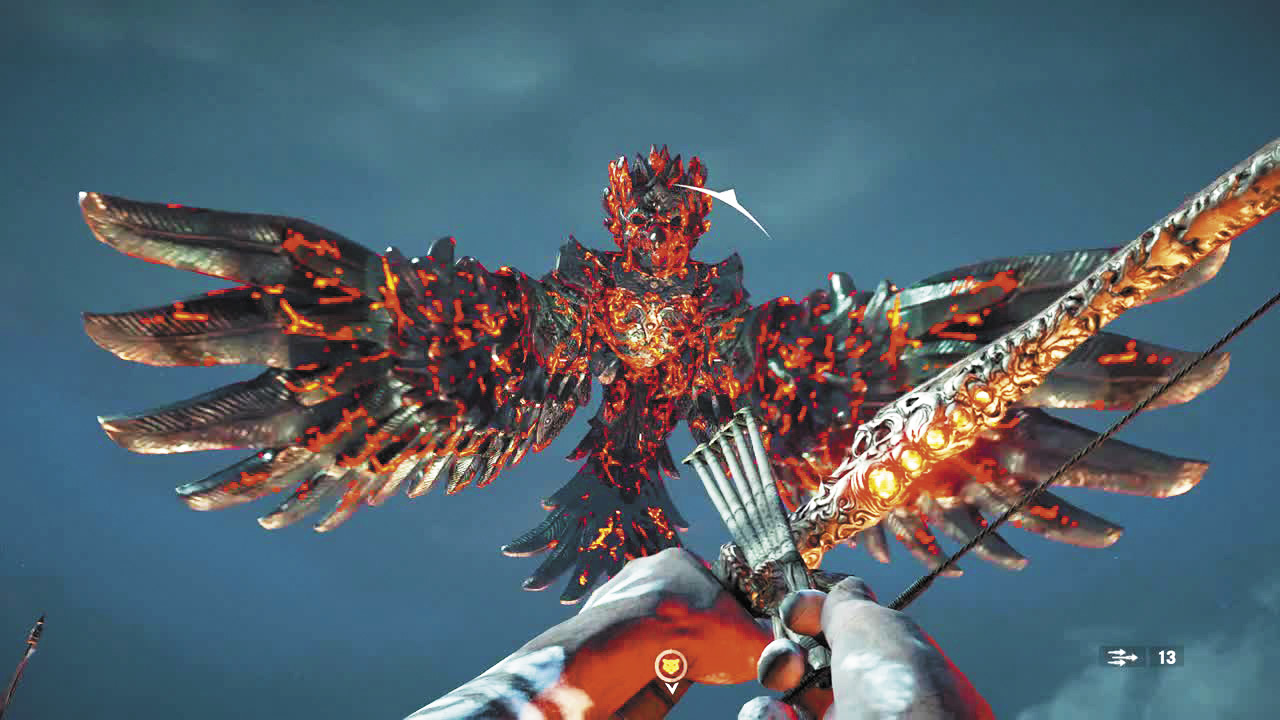
Over time, Rakshasa will show more and more battle damage.
You’ll have to complete the cycle three times in order to bring Rakshasa down for good. Turns out, saving paradise from a demonic invasion is hard work. Good to know.