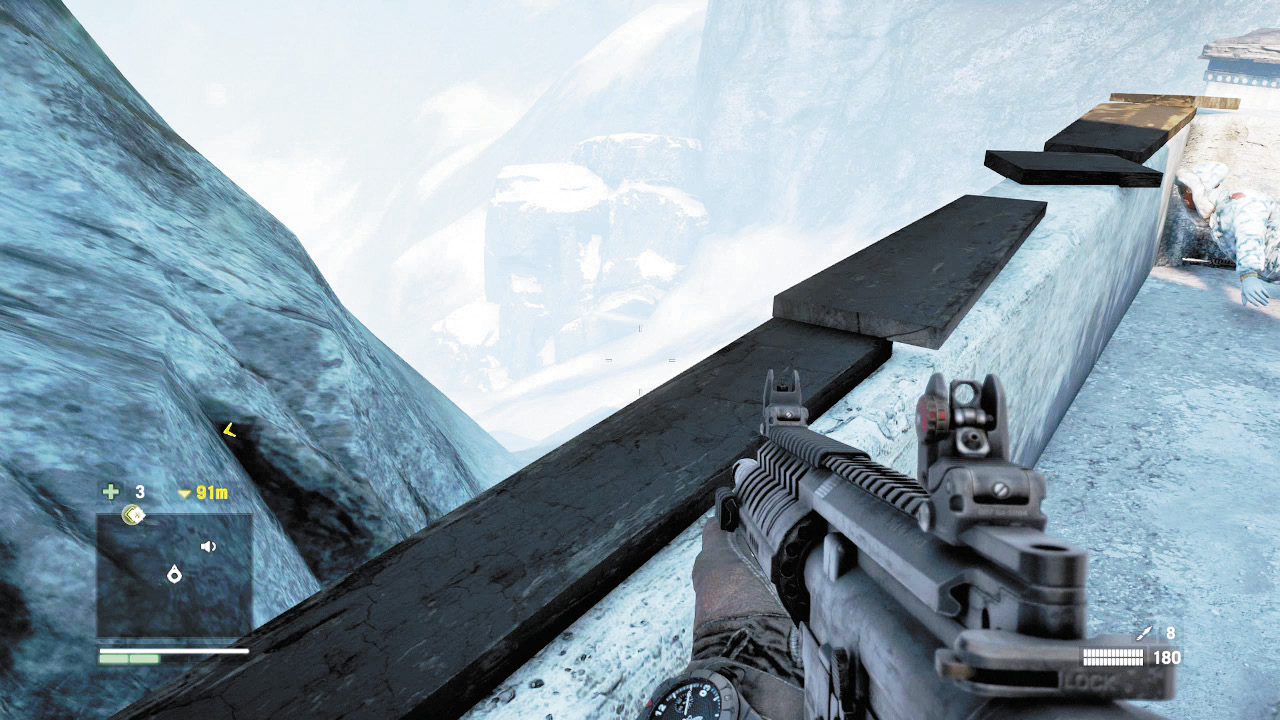
Far Cry 4 Guide Campaign Missions
Prison Escape
Okay, this is . . . progress? Now you’re in a prison camp. But at least you won’t plummet to your doom if you roll over in your sleep.
Creep forward until you see the heavy and his dog, and wait for them to pass. Once the heavy has moved down the slope to the right, sneak over to the strung-up body and grab some throwing knives. If the dog is hanging back you may want to euthanize him at this point. If not, no worries. You can probably still sneak past him later.
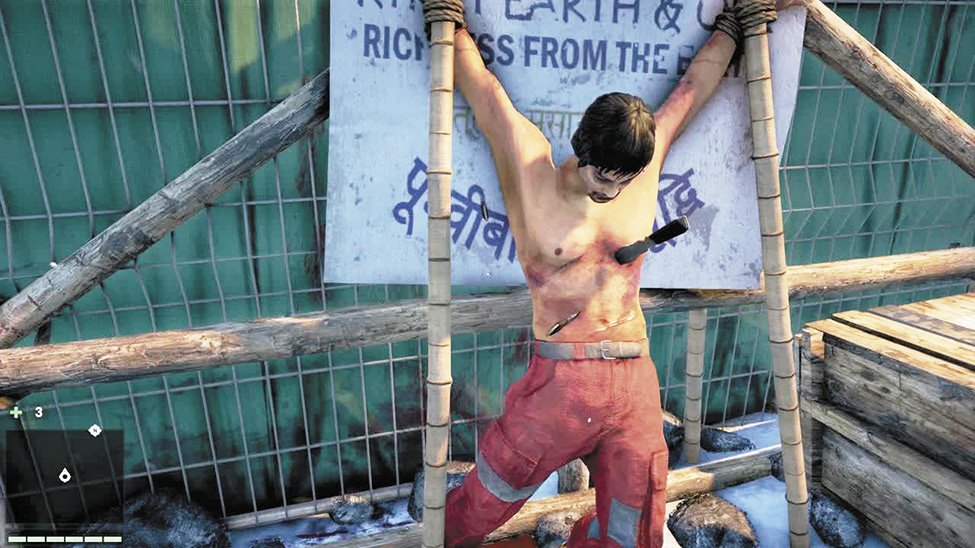
No shirt? In this weather?
Use the zipline west of the shack to get down near the lone guard, but remember you still don’t have takedowns. Throw a knife in his back and grab his AK47. Now you at least have a gun. But you’re still outnumbered and have very few bullets, so discretion is still advised.
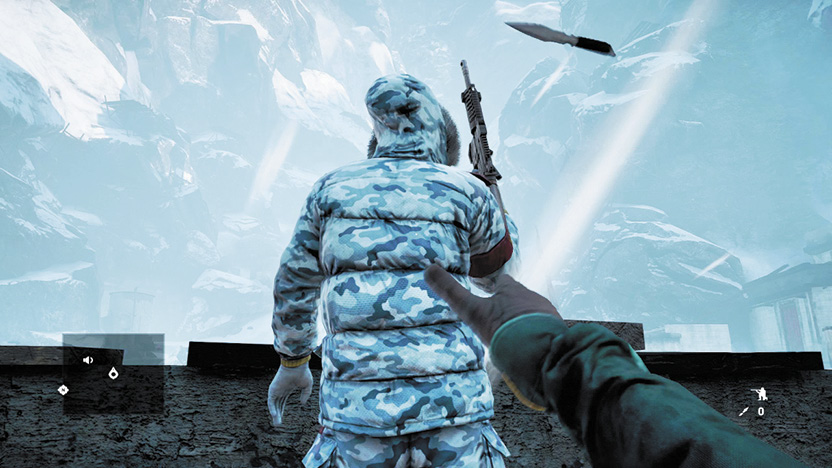
Throwing knives are not a guaranteed one-shot kill. Get as close as you can, try to take your target by surprise, and aim for the base of the skull.
From your location, you can see two alarm poles—one to the north and one to the west. Sneak across to the north one first, keeping an eye out for the the heavy already patrolling this area and the first one, who should be trudging down the mountain any time now.
Next comes the most critical move of this mission. You have to hit the guard by the alarm with a throwing knife before he (or anyone else) sees you. Target him and the heavies with your gun so you can see which way they’re facing and hide in the hut until you’re ready to make your move.
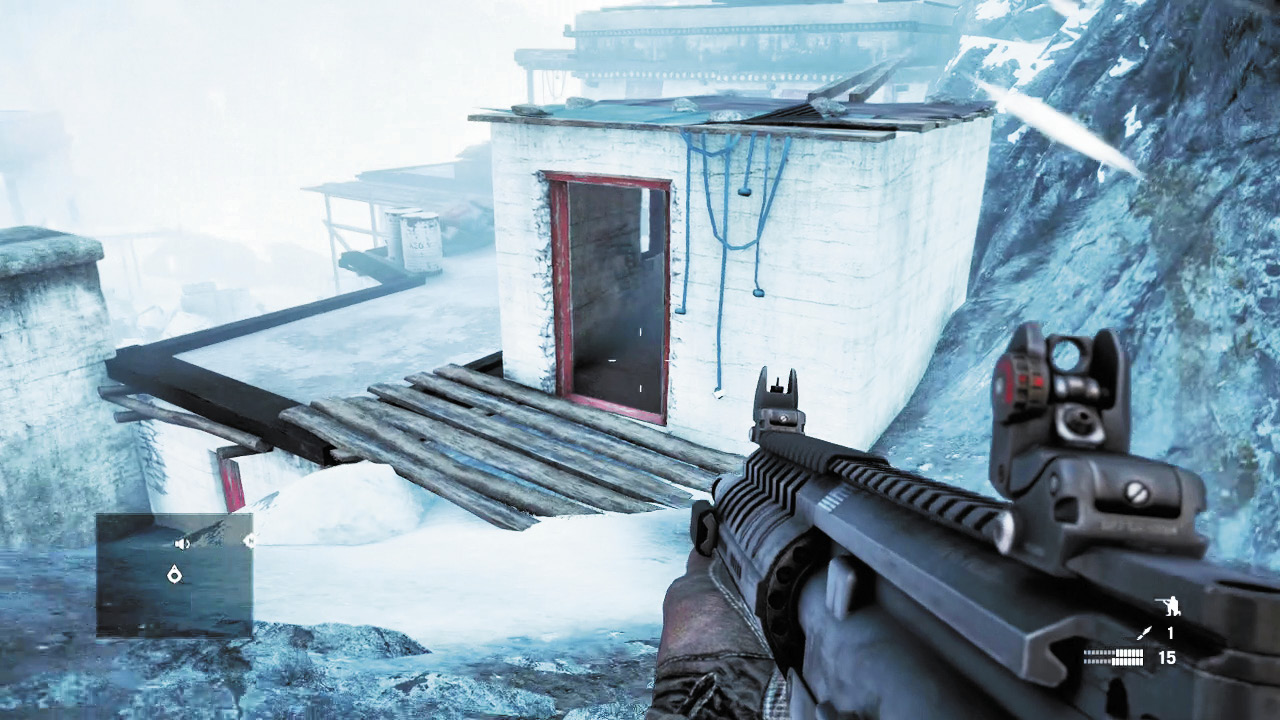
Disable the guard and the alarm, then drop down the east side of the roof (but note the ammo crate on the west side) and slip across to the other alarm.
You’re looking for a ledge next to a cement stairway. Climb the ledge, and you’ll see another stairway. Check the crates beside it for the auto-cross, which will make this level much easier. Since you’re here, go up the stone steps and south to reach a ladder leading to the second alarm. Disable it too, then hug the canyon’s southwest wall and make for the bell tower.
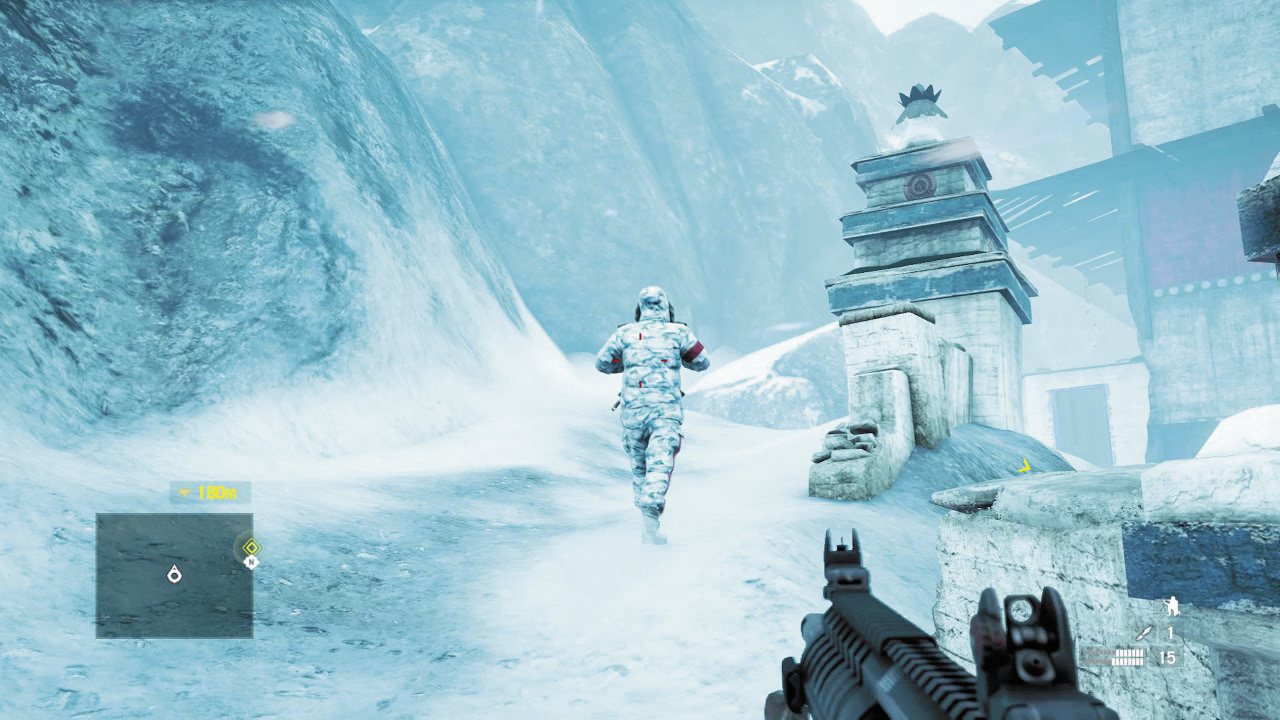
Down the slope, you have a choice: left or right. The right is smooth sailing until you get to the exit, where you’ll encounter two alarms, plenty of guards (including the four-legged kind and heavies), and to top it all off, a snow leopard cave on the high northeast side. If you want a shootout, that’s your money-maker. But if you’d rather survive, stick to the left path. It leads to the bell tower, and there is but one single guard to secretly dispatch along the way.
Grab the weapons and ammo on the bottom floor of the tower, then begin your climb-and-grapple upward. When you reach a ladder, climb it and silent-kill the sniper on this level. Then grab either his SVD or a fresh one from the rack.
You’re going to take the zipline, which drops you right below an alarm pole just to the side of the main gate. If the weather’s clear enough, it’s a good idea to tag the guards here with your sniper scope, so you know which way they’re facing.
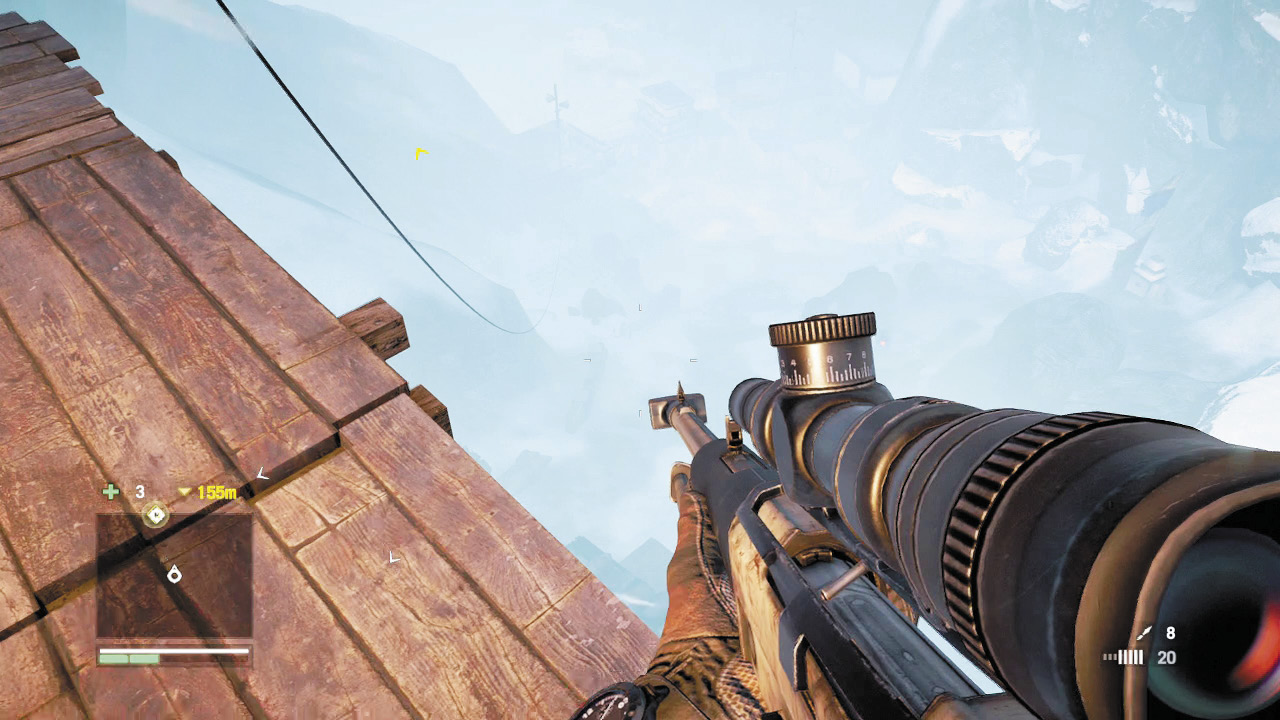
Wait for clear skies, or just go? The game reloads faster than the weather changes, so it’s your call.
Once you’ve zipped down, climb up the ledge onto the roof and take out the guard (if any) at the alarm. You could disable the alarm as well, but it doesn’t really matter. Go to the corner of the roof, where the building meets the canyon wall, and hop over. You’ll slide safely down the canyon wall and into a quick, uncontested sprint to freedom.