Fortresses
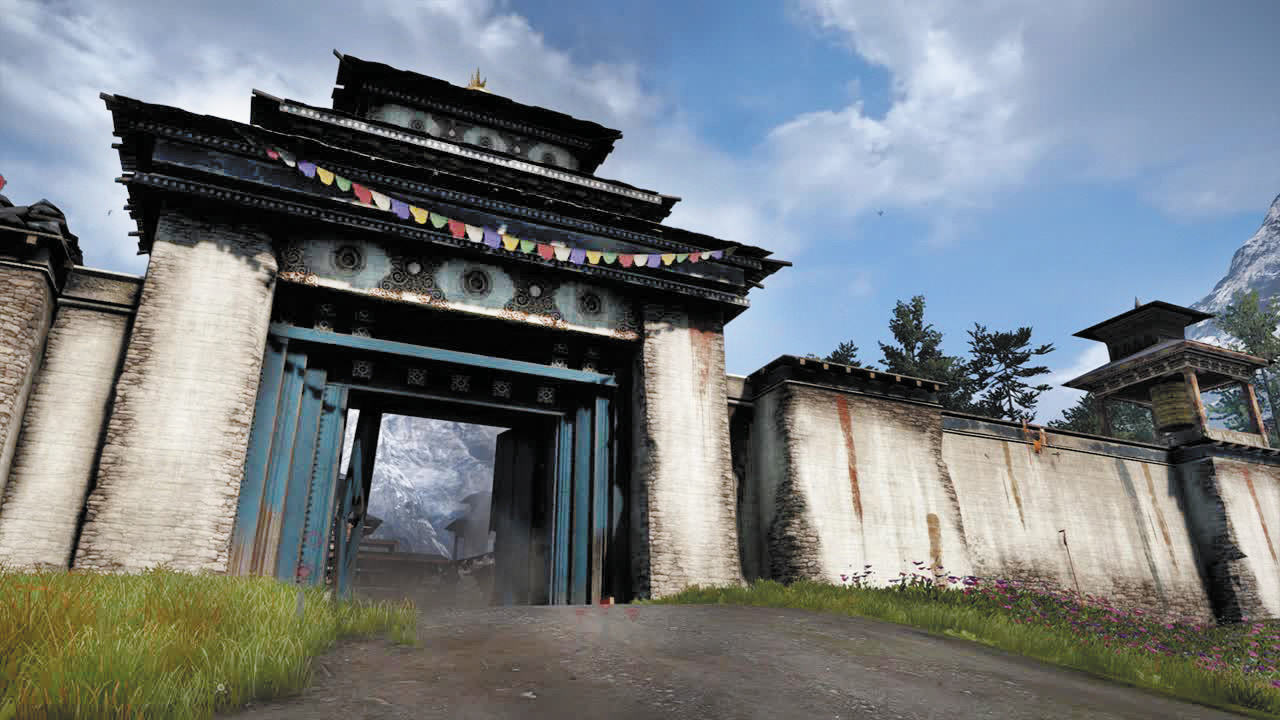
Bigger and tougher than outposts are Kyrat’s four fortresses. Huge, imposing strongholds with high walls and multiple alarms, each fortress is ruled by one of the four bigwigs in Min’s operation: De Pleur, Noore, Yuma, and Pagan Min himself. In fact, the strength of each fortress is directly connected to its ruler. If the overseer is still alive, the fortress will be at full strength. But once the corresponding boss is deposed, the fortress will weaken as well. For instance, Varshakot has three alarms (and therefore three available waves of reinforcements) while De Pleur is in power. Once you’ve removed him, the number of alarms falls to one. A weakened fortress also has a reduced number of enemies, the main door is destroyed, and the mine field around the fortress is gone.
No matter when you choose to tackle each fortress, the maps and tips on these pages should help get you through (especially if you take out the alarms first). But know that the reinforcements listed here are the post-boss numbers, so you may see another wave or two if you’ve decided to tackle a fortress before taking care of its boss.
Baghadur
Location: x:196 y:600 Overseer: Noore Najjar
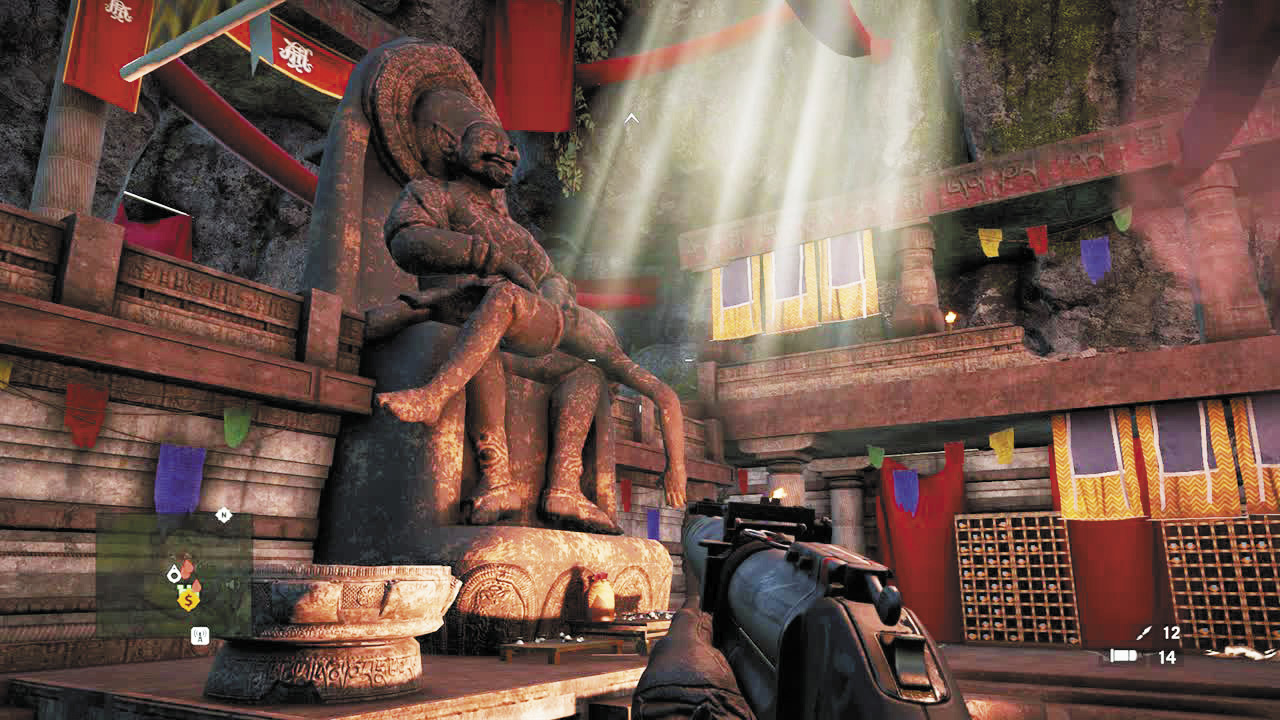
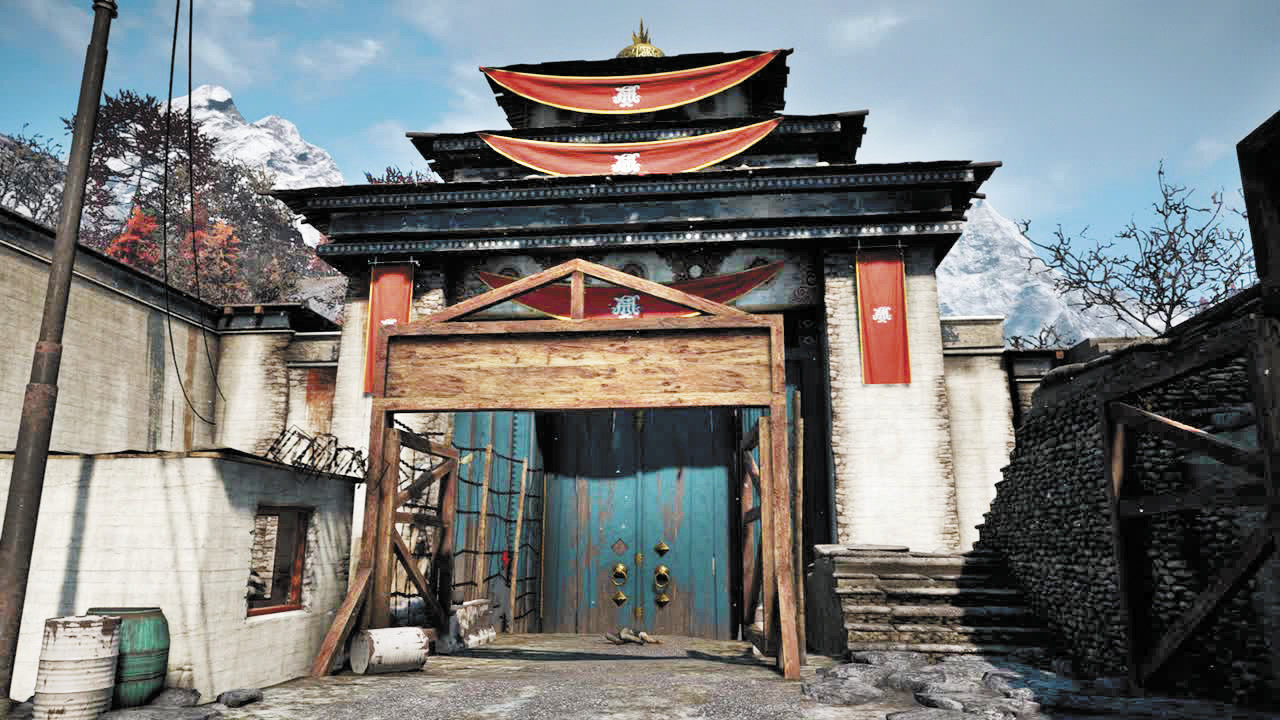
A high-walled stronghold cut straight into a mountain, Baghadur seems as timeless and impenatrable as the cliffs around it.
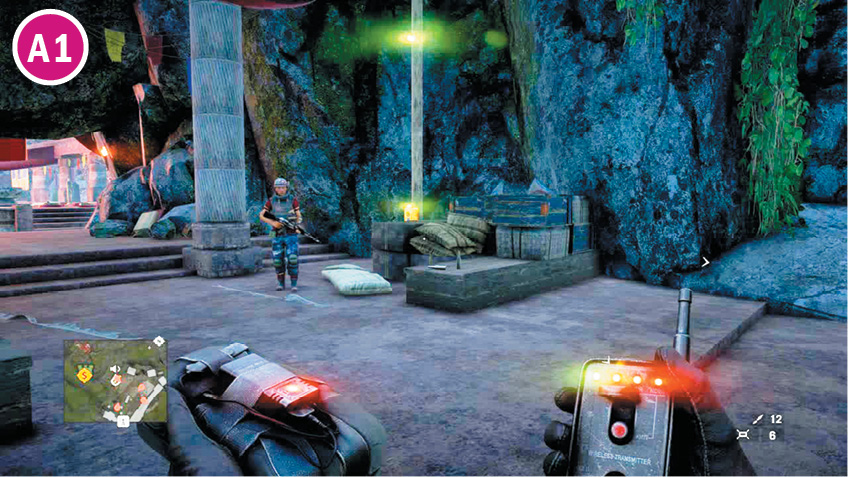
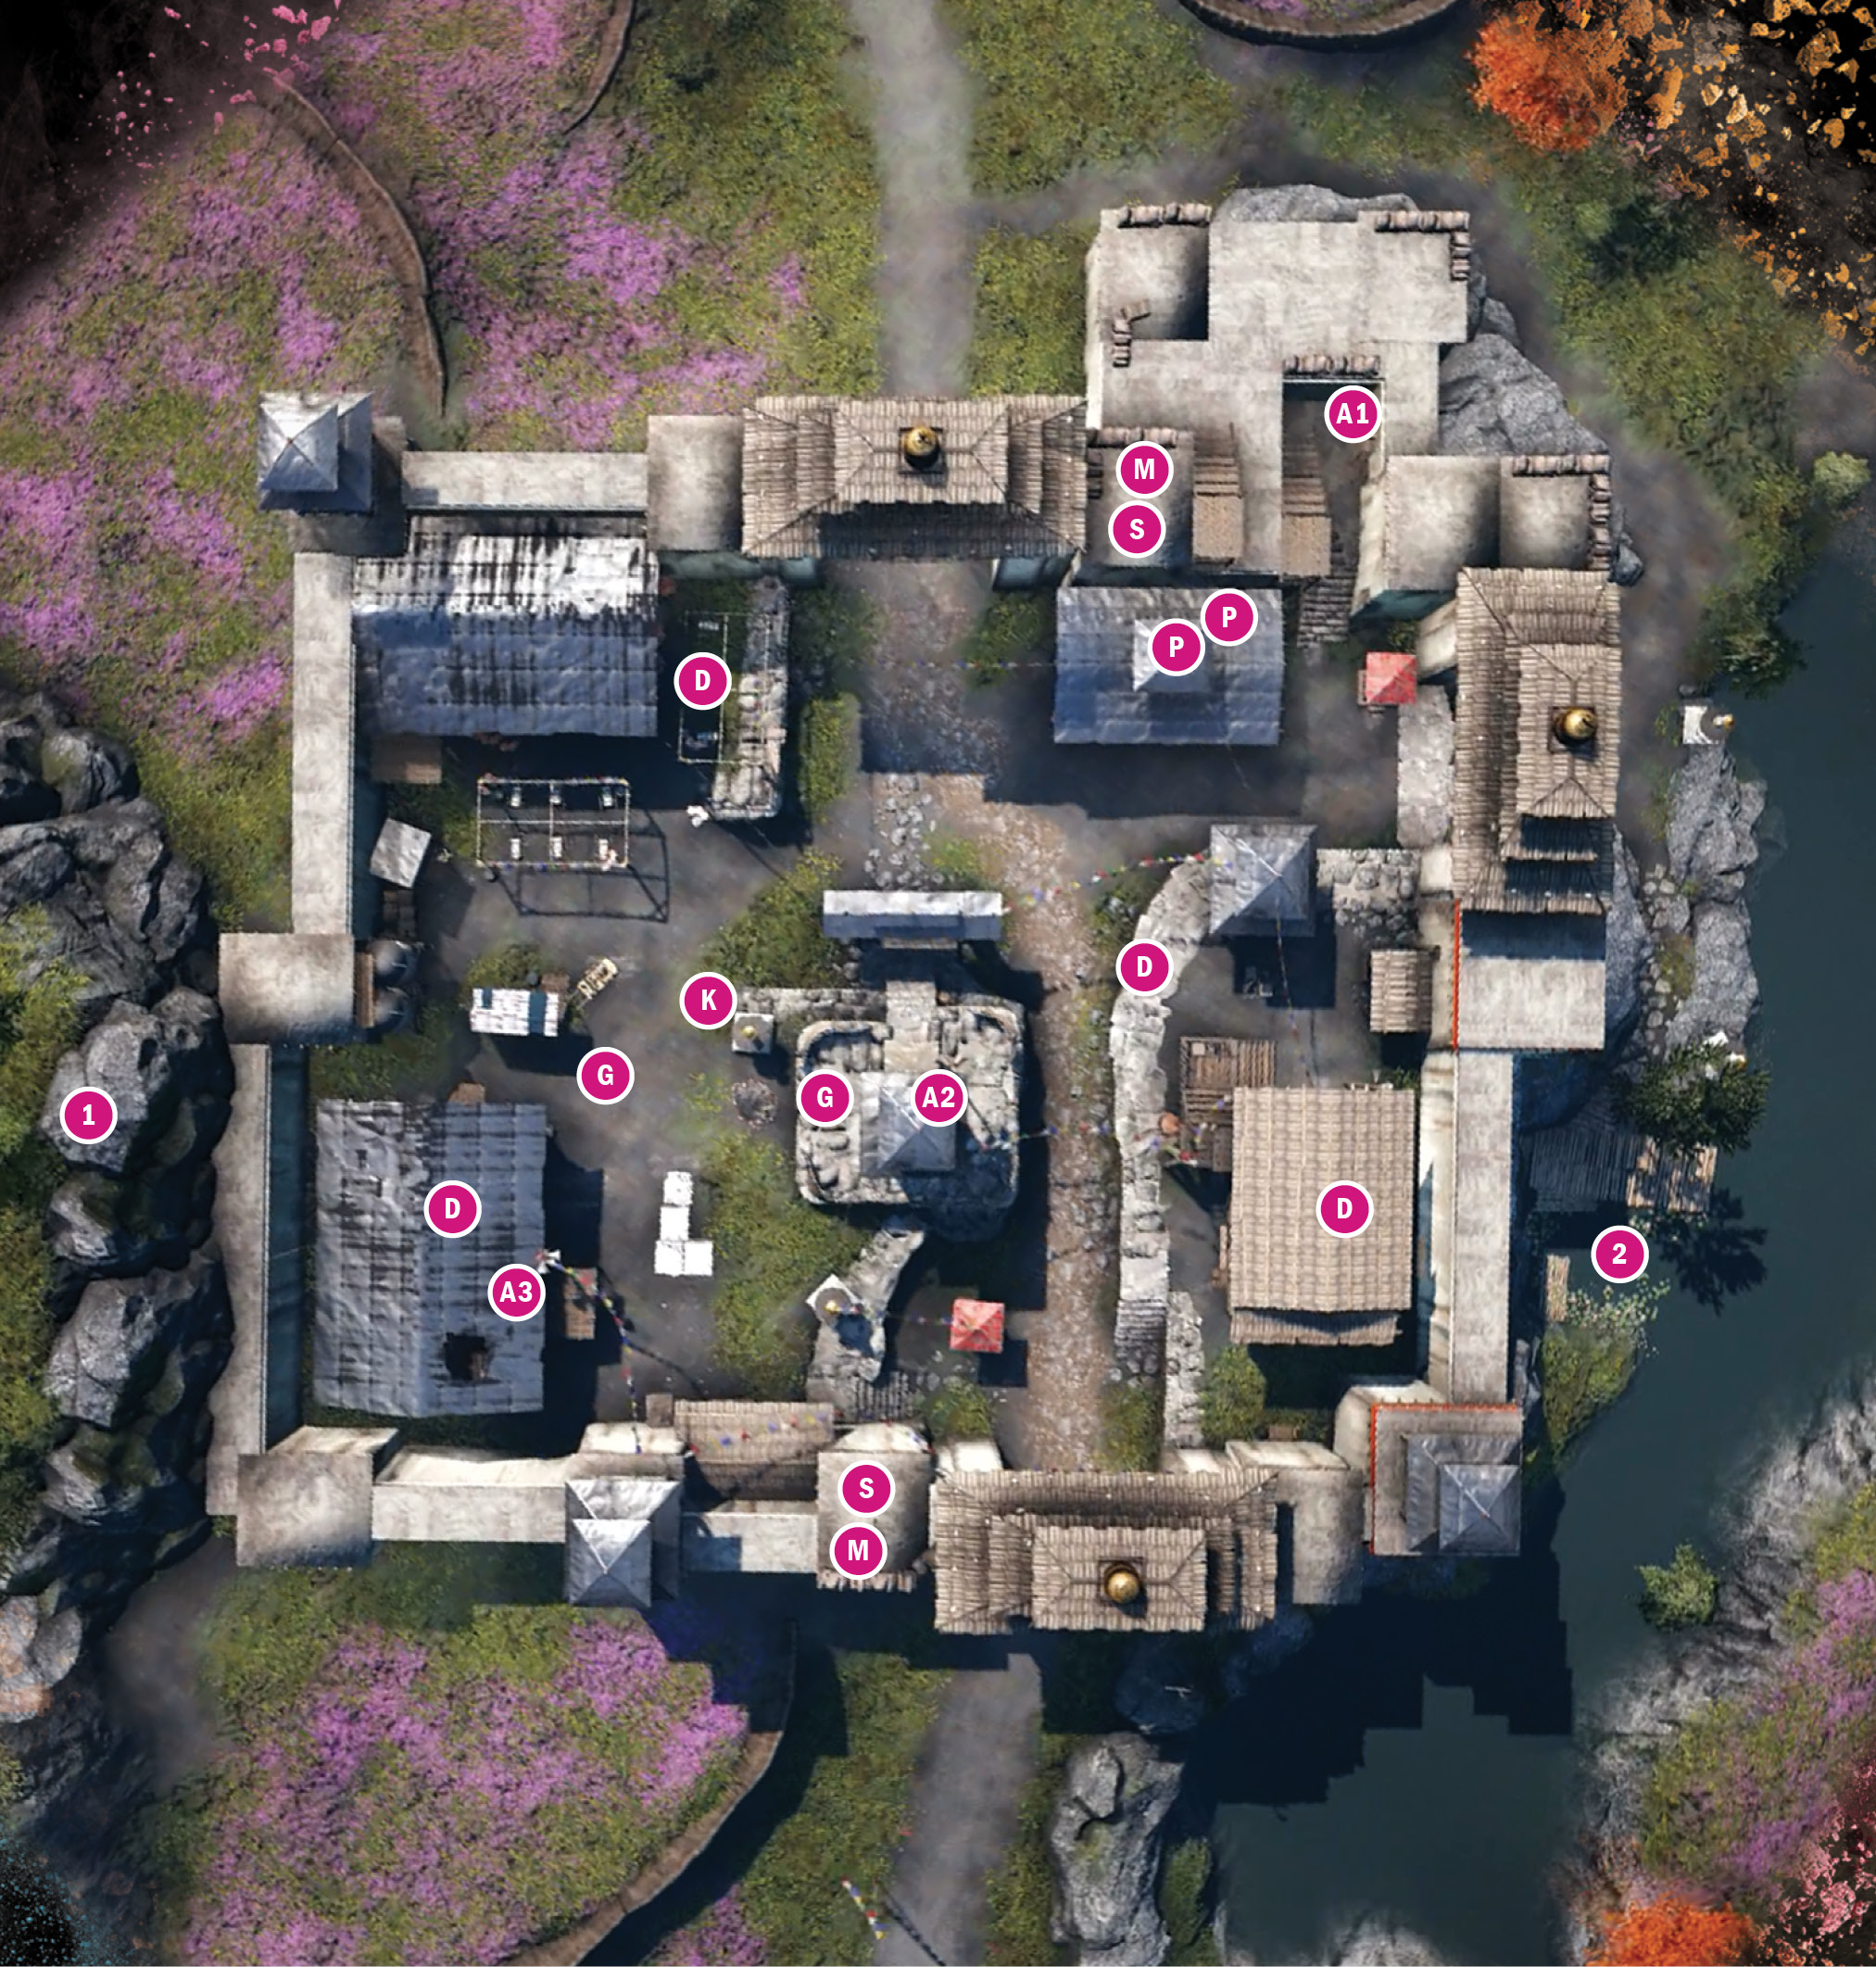
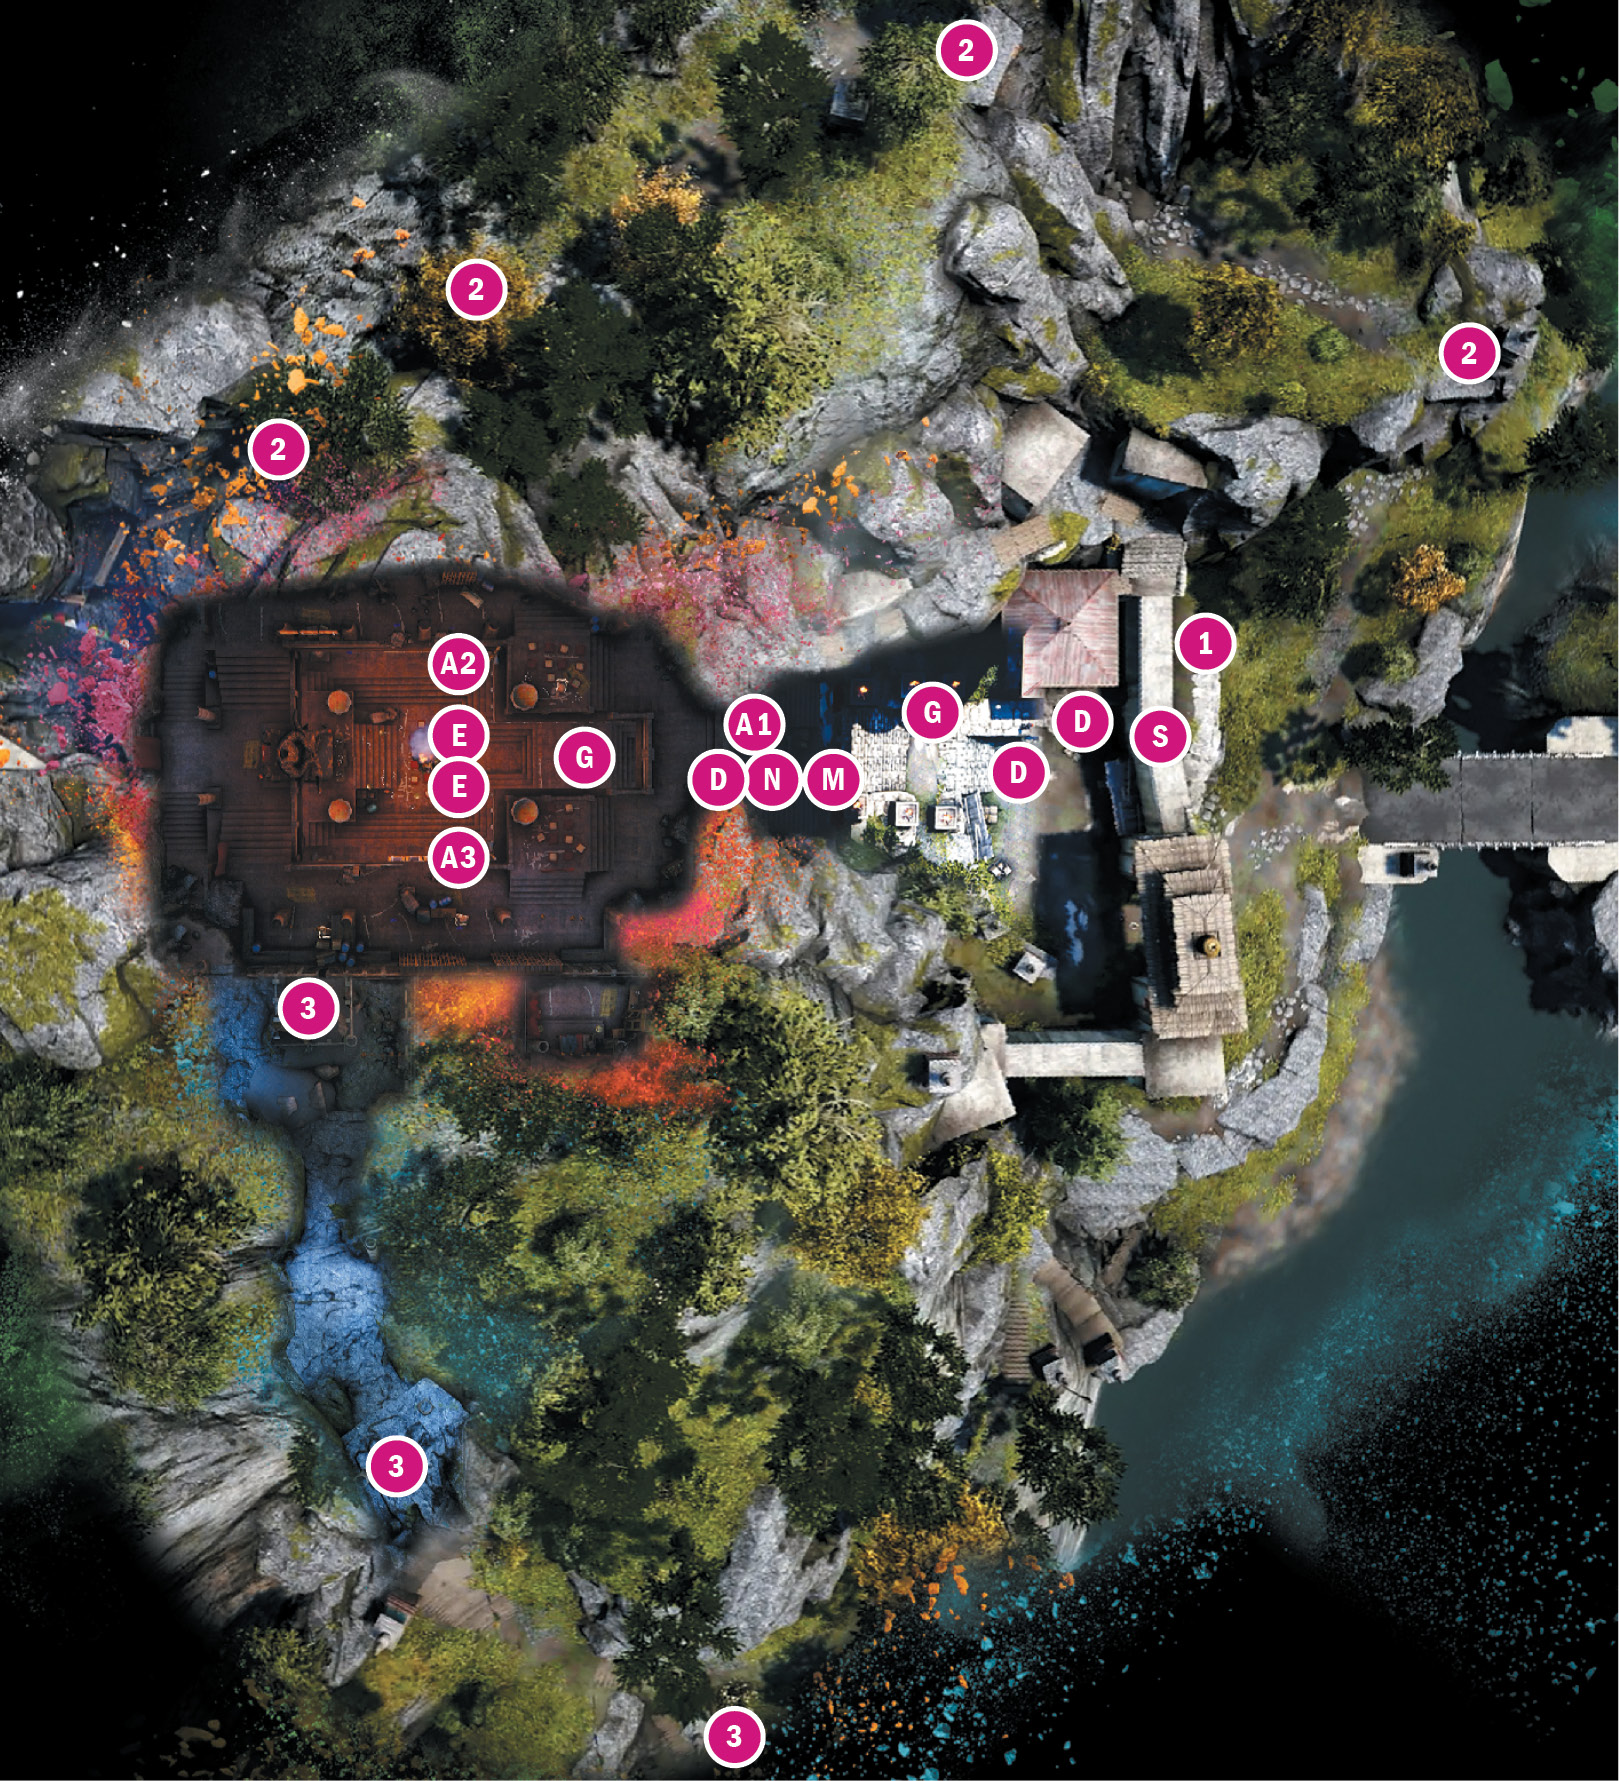
If you assault this fortress after the mission “Shoot the Messenger”, alarm A1 will be inoperable. But if you come to Baghadur early, be aware that the alarm is located on the high balcony, with the mortar, not on the ground level with the machine gun. You can grapple up to it or take the path described next.
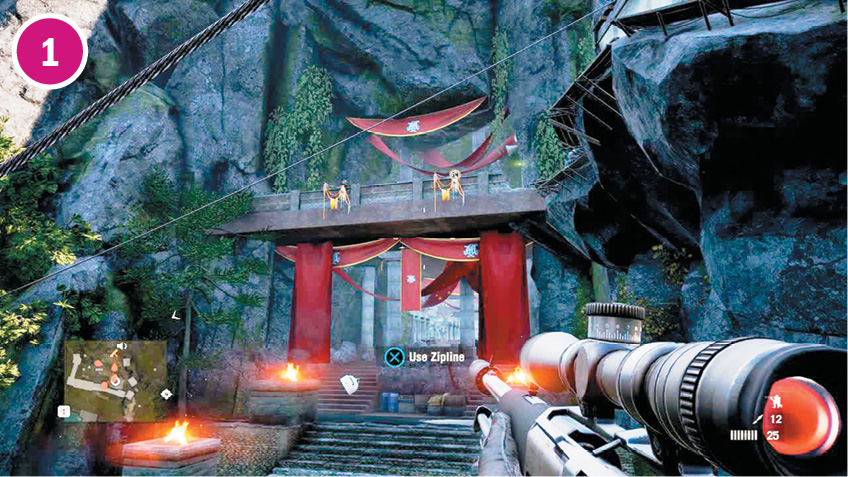
If you come up via the grapple point on the north edge of the main wall, you can walk onto the red, pyramidal roof or follow the trail up and around to the balcony with the mortar, the lone defender, and alarm A1.
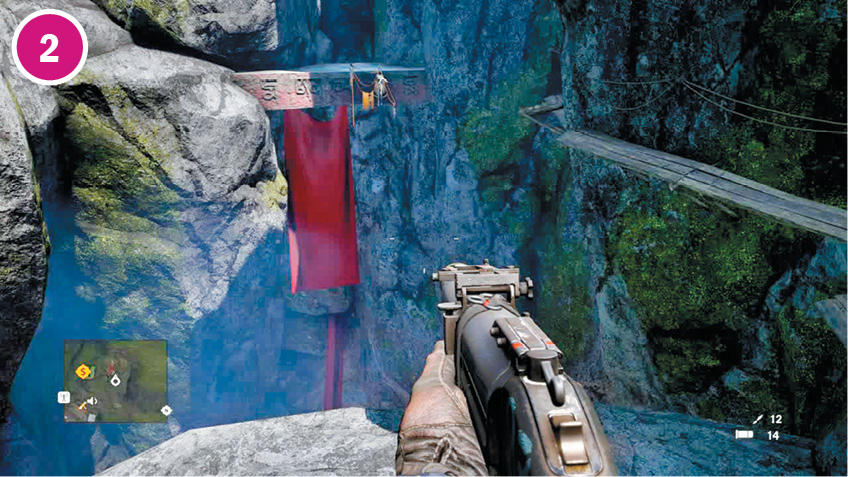
Don’t feel like dealing with the entrance courtyard? Then skip it. Go farther north (right) along the wall and look for a grapple in the cliffs. Take it, climb the ledge at the top, then go northeast to a second, higher grapple. (It might be tough to trigger, but you can do it.) Then, follow the path forward until you reach a third grapple, a sort of maroon shelf at the edge of a large hole. This one lowers you right into the central chamber, where alarms A2 and A3 wait, along with two beheaders and a heavy gunner. So be sure to dump all your explosives into the hole before descending.

Falling into that hole isn’t bad, either. You can walk on the ribbons, and two ziplines cross the area, either of which will deposit you safely onto the chamber’s raised upper level, very near alarm A1.
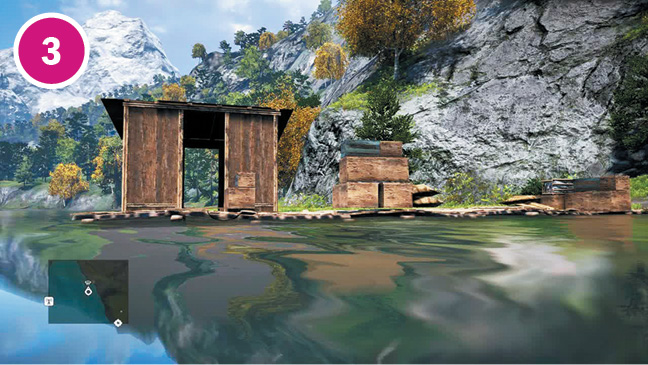
Afraid of heights? No problem. Swim south until you reach the shack on the shore. Go ashore and follow the trail here to a cave entrance that will lead you directly to the central chamber. You can snipe alarms A2 and A3 from the spot where you enter, and the steps to alarm A3’s level will be to your immediate left.
Notes:
 If you’re on the ground floor, it can be tough to find your way up to the floor where alarm A1 lives. Try the stairs behind the giant statue.
 There’s an ammo chest in the southeast corner of the main room’s upper level.
 If you enter the fortress through one of the side methods (and you should—there’s no reason to use the front door unless you want to make things tougher), you’ll have your choice of mortar or mounted gun to deal with the troops in the front courtyard.
 Reinforcements will arrive in the form of helicopters that drop an assortment of defenders and beheaders, then stick around to shoot at you.
Baghadur
 –
–  Alarm
Alarm
 Defender
 Beheader
 Heavy Gunner
 Mortar
 Machine Gun Nest
 Sniper
Note: Enemy locations on map are approximate. Enemies often roam or go on rounds. Always scout ahead.
Rajgad Gulag
Location: x:811 y:795 Overseer: Pagan Min
Surprisingly, Pagan Min’s fortress lacks Min-like touches such as pink velvet curtains or a lavish dining room with golden plates and flatware carved from the bones of exotic animals. Instead, it’s a multi-level killbox of razor wire and twisting pathways.
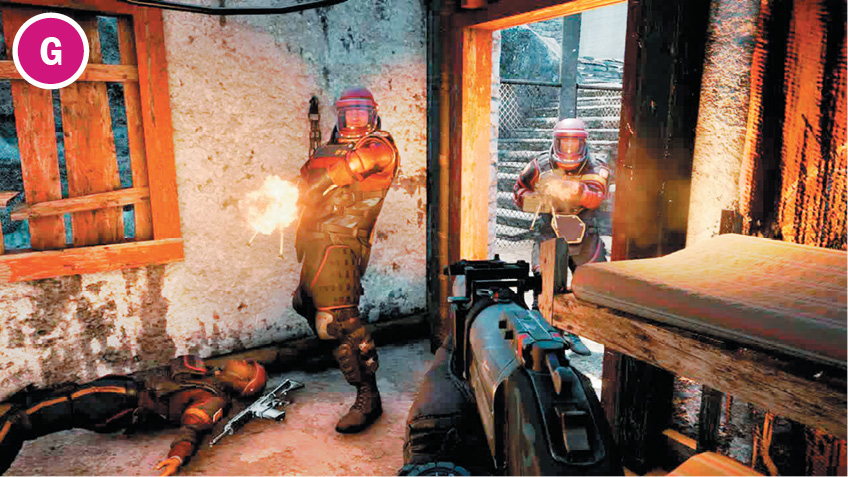
Careful. With these narrow paths and easy-to-get-stuck-on chain link and wire everywhere, heavy gunners can turn you into a soup strainer in a heartbeat. And as always, everyone is mobile. One heavy gunner walks a rectangle around the structure with the defender and mounted gun on top. Another heavy gunner walks jagged laps around the central structure, ranging from ground level to the roof. The defender guarding alarm A3 spends some of his time on the roof and some of his time in the house and porch below. Get the point?

Avoid a messy situation by popping the snipers from the hills outside before you even enter the compound. No other troops visit the snipers’ rooftops, so their bodies will remain undiscovered.
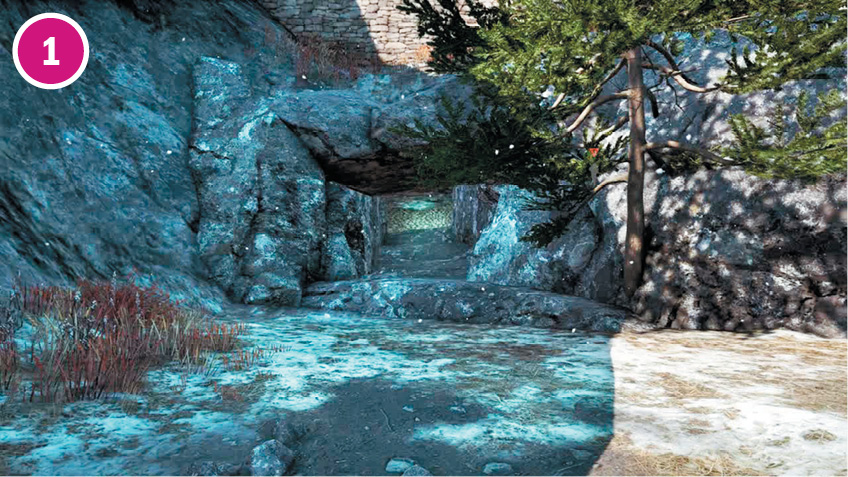
Feel like avoiding the front courtyard entirely? From the main gate, turn left and take the dirt path to the northwest, which leads to a cave that brings you up, through the gulag’s cells, and lets out just a few feet from the alarms.
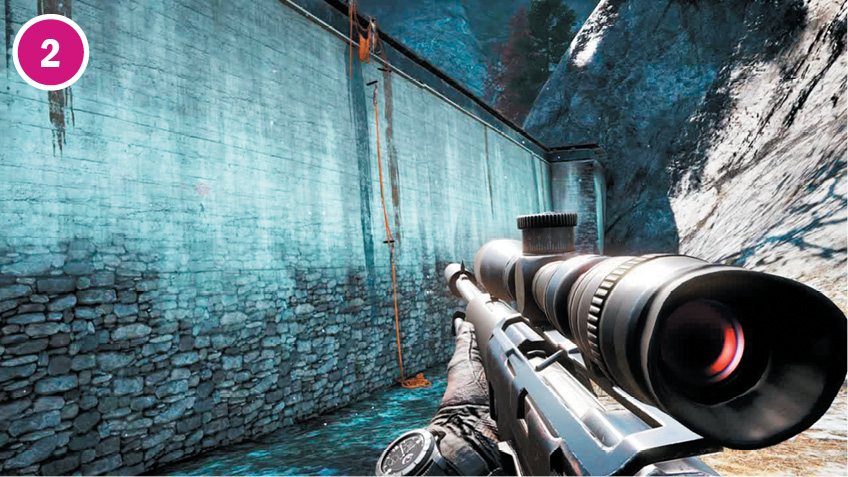
Most fortresses have grapples somewhere on the wall that you can use to gain the high ground. Rajgad’s is on the east, but the ground around the walls is packed with hidden mines. Minimize your exposure by coming in straight from the hills to the east instead of running along the wall from the south.
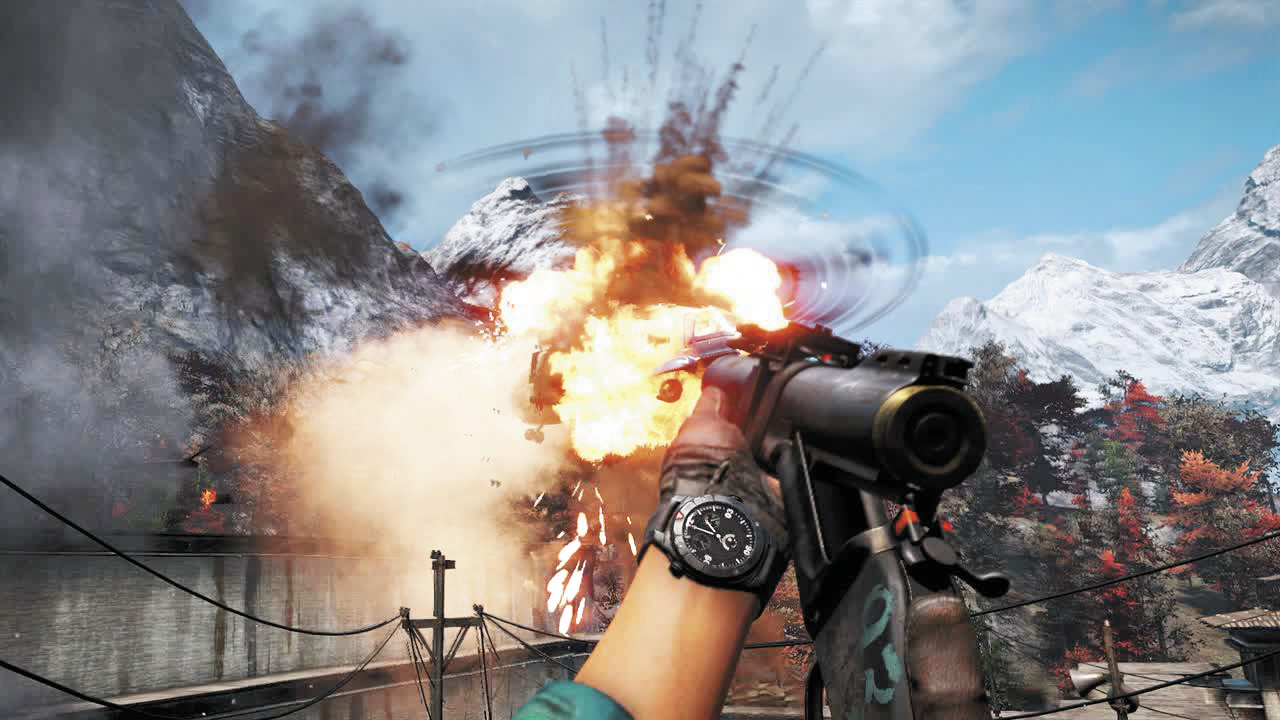
Rajgad has a whopping four alarms if you tackle it before finishing the campaign. Also, in a change of pace, one round of reinforcements will blast through the main gate on foot instead of coming from the air.
Notes:
 Sure, you could walk around all the little huts and rooms in the courtyard. But sometimes, walking through them offers better protection from searching enemy eyes.
 The houses underneath alarms A1 and A2 each contain an ammo crate and a ladder to their respective rooftops.
 You can run south along the west wall all the way from the alarm houses to the heavy gunner on lookout.
Rajgad Gulag
 –
–  Alarm
Alarm
 Defender
 Heavy Gunner
 Mortar
 Machine Gun Nest
 Sniper
Note: Enemy locations on map are approximate. Enemies often roam or go on rounds. Always scout ahead.
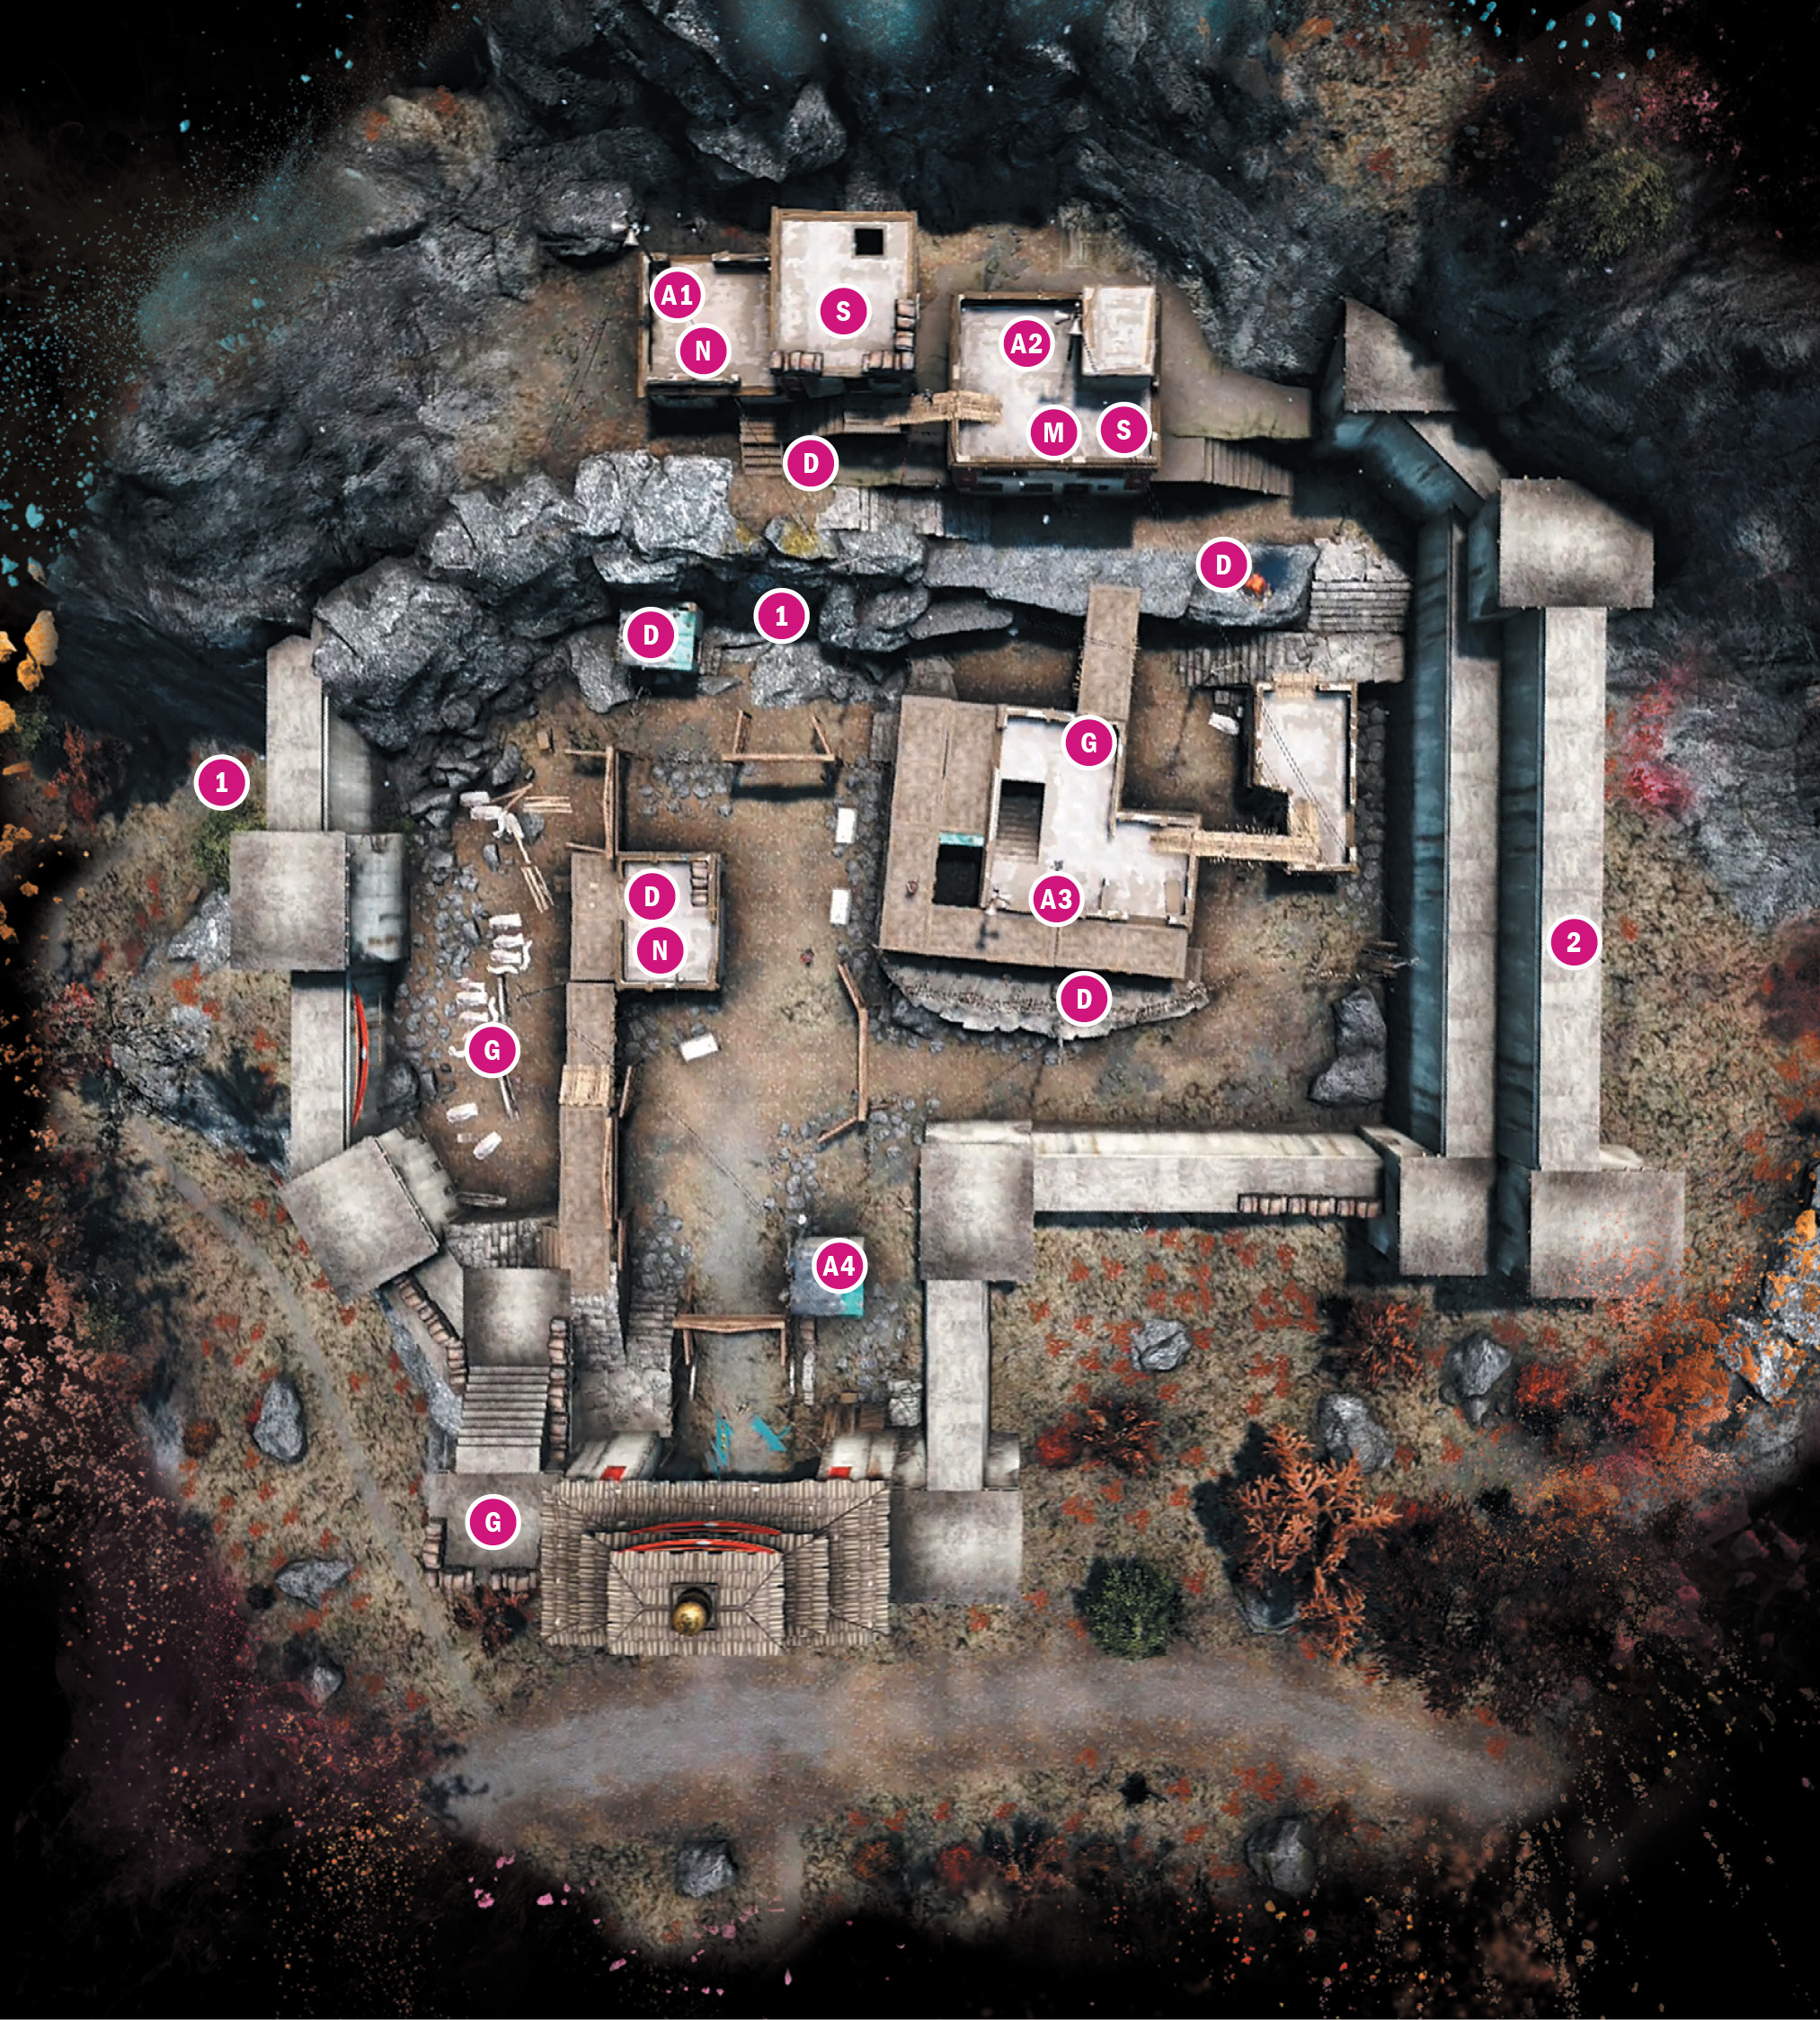
Ratu Gadhi
Location: x:562 y:604 Overseer: Yuma Lau
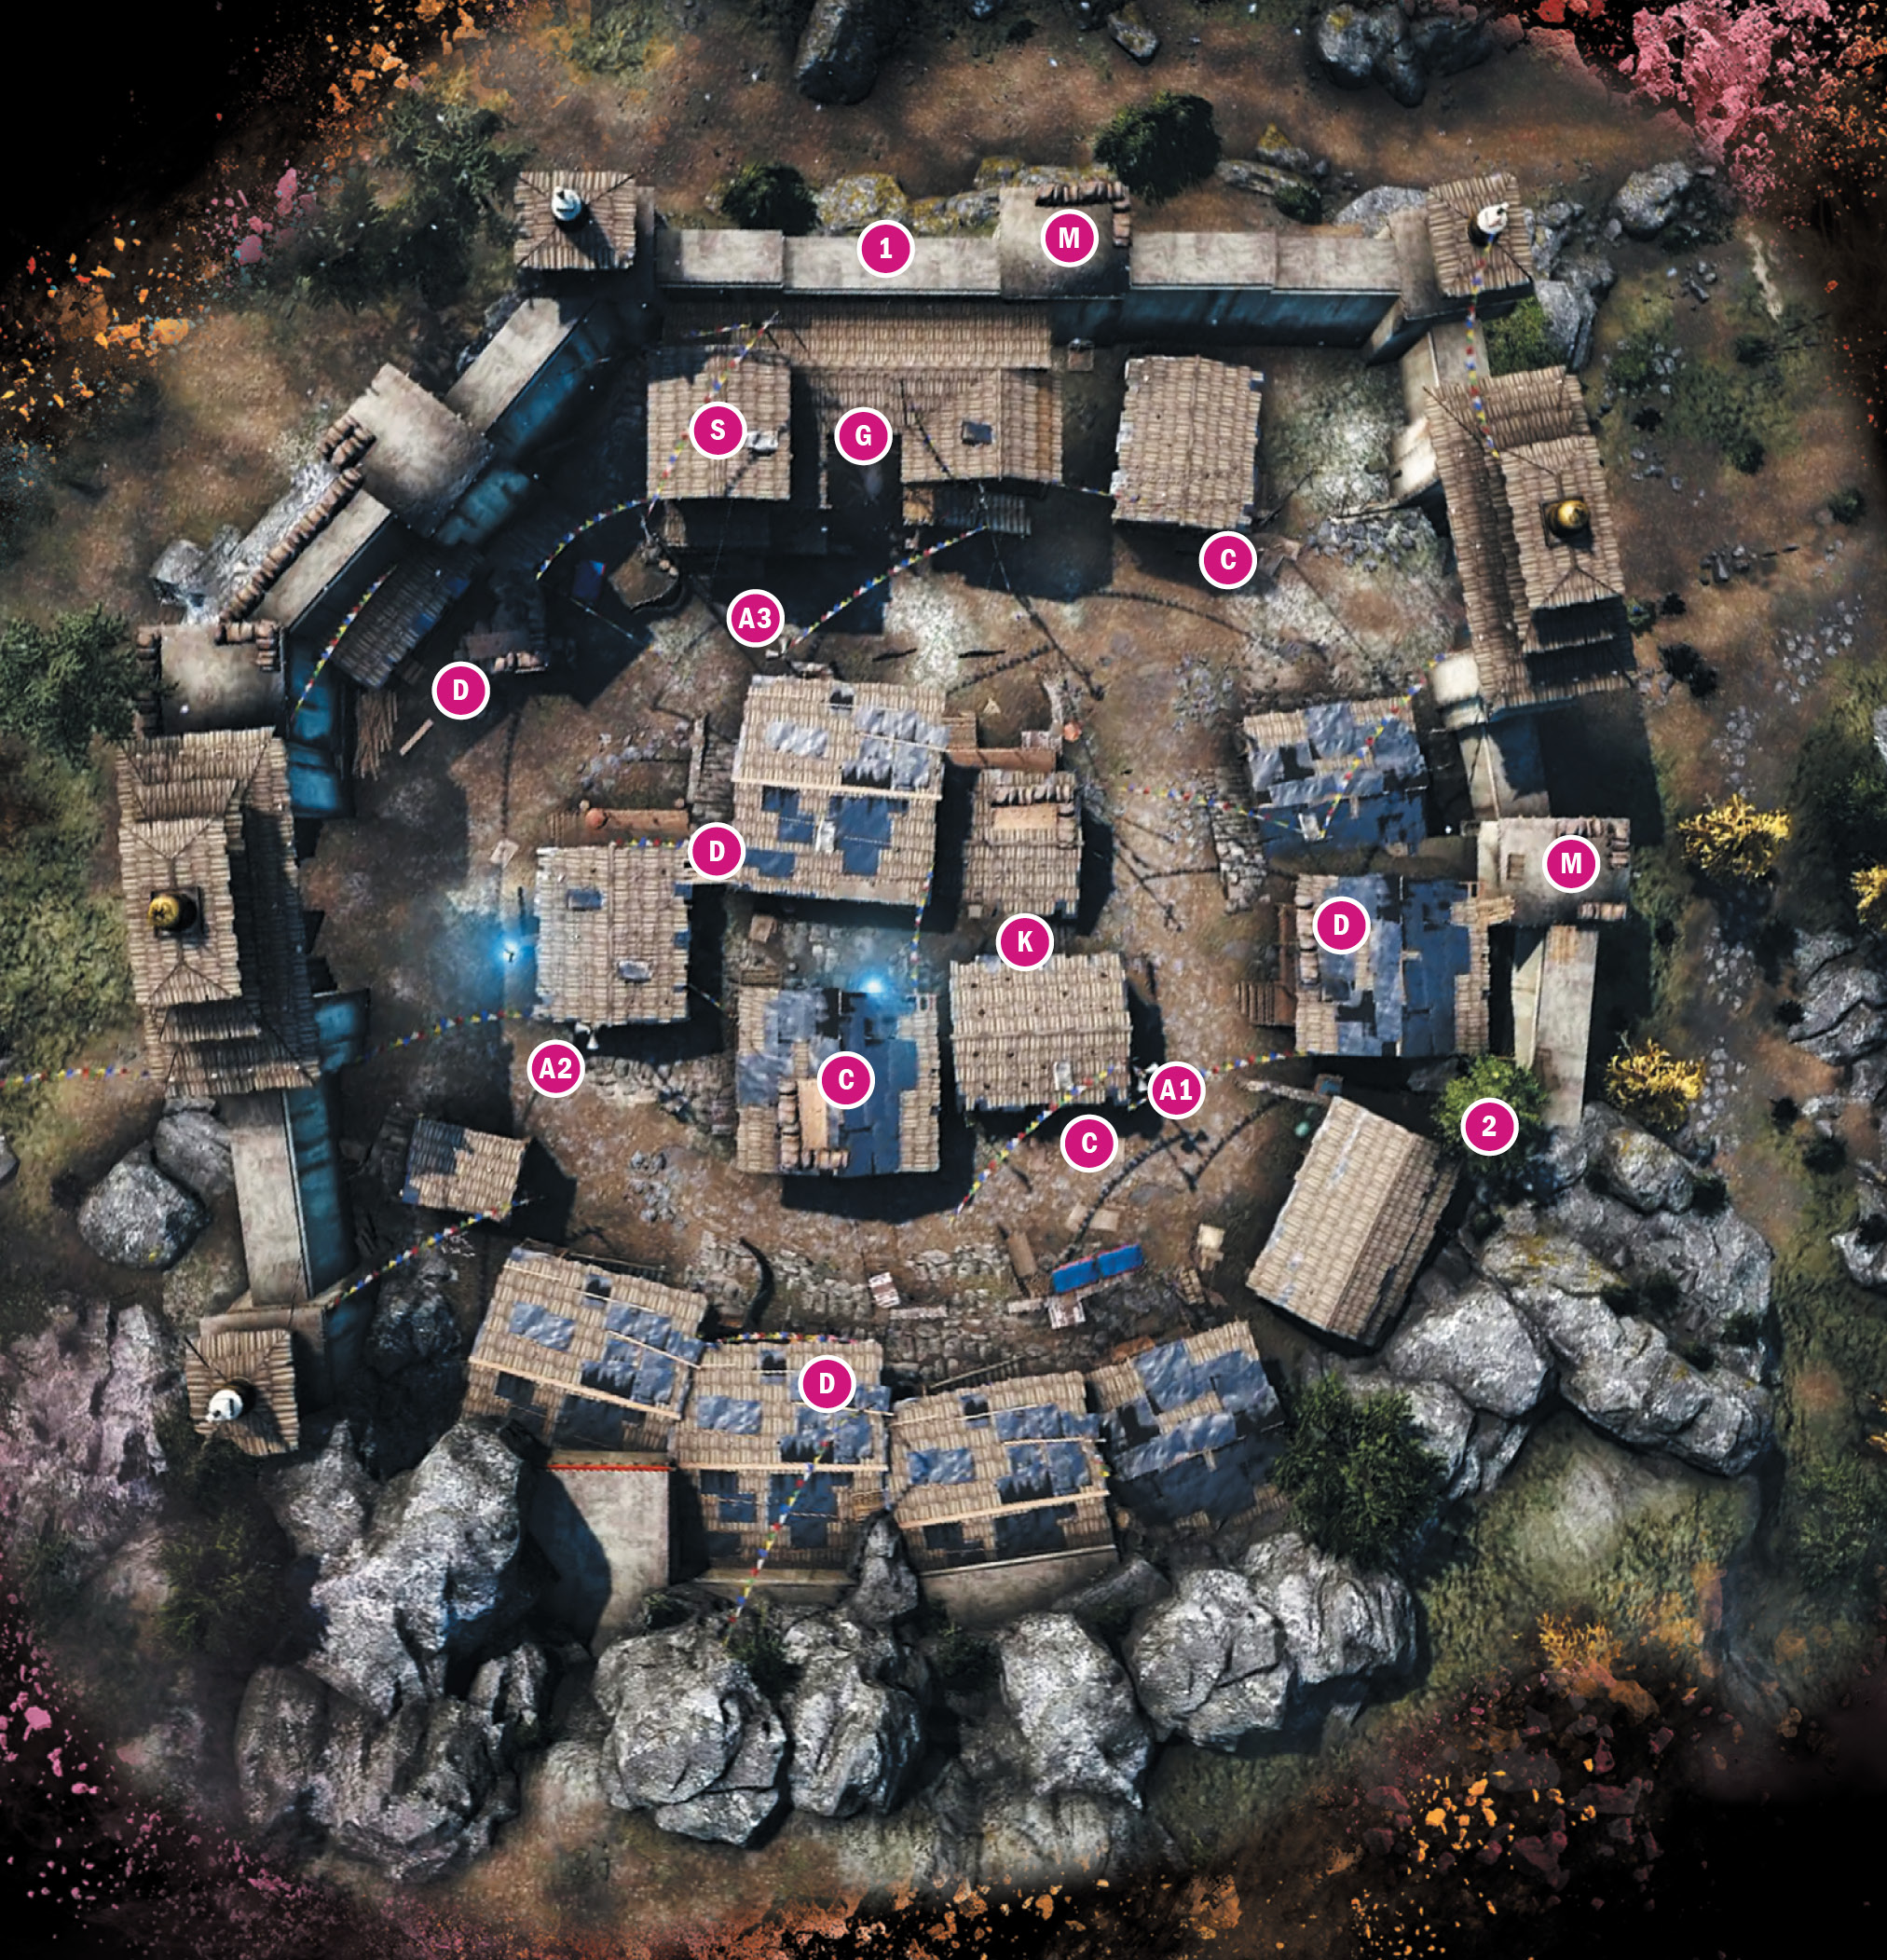
A whorl of huts corralled by a high wall, Yuma’s fortress is well-suited for rooftop traversal. And death from above.
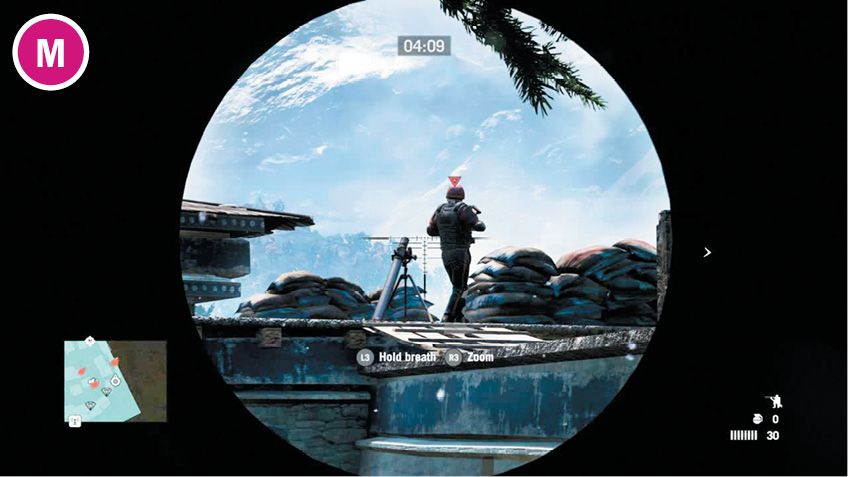
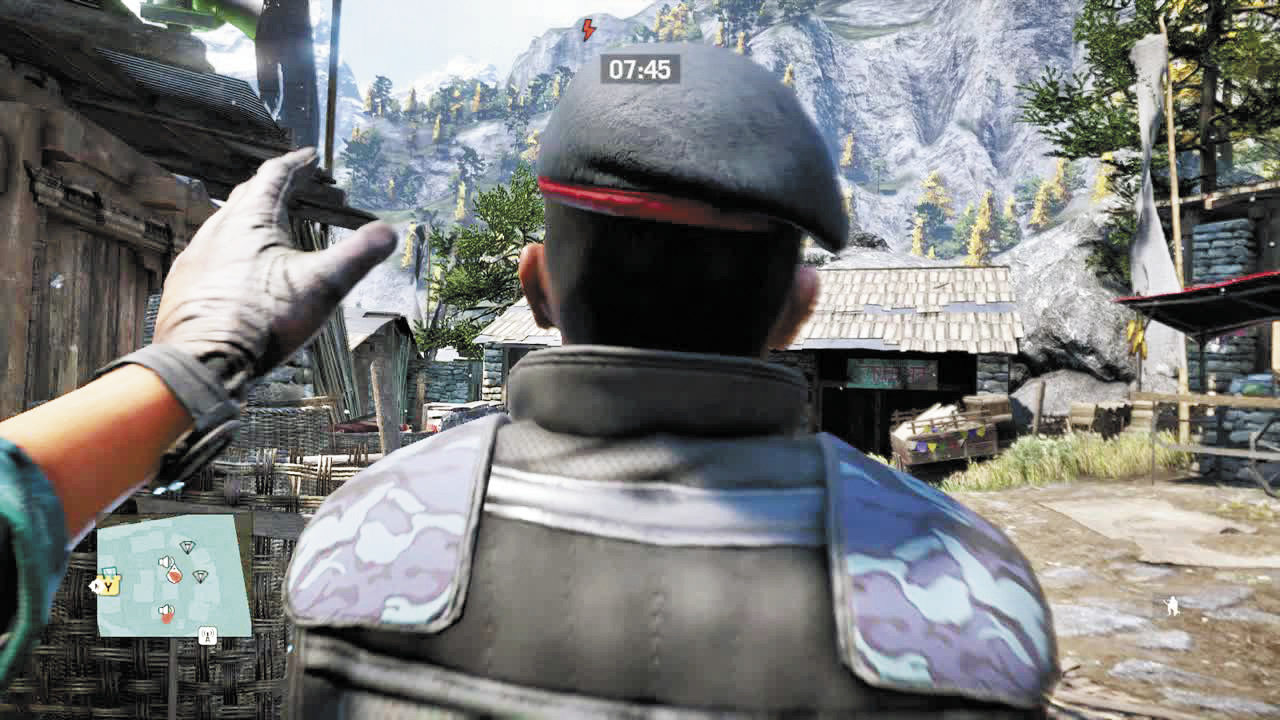
Nearly every strategy will begin with taking out the defender near the mortar in the east. There’s a greater chance of his body lying undiscovered if you kill him while he stands at the mortar platform, which is lower than (and therefore blocked by) the house’s roof. Either wait for him to step down onto it or lure him there.
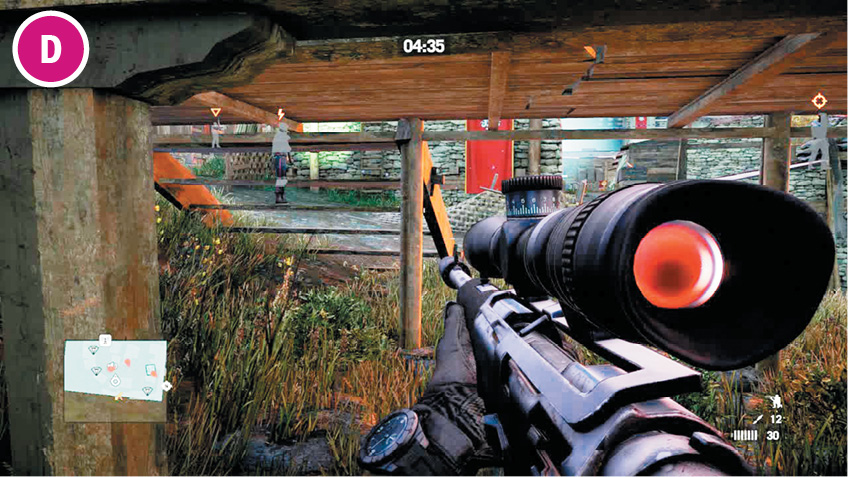
The building the mortar defender stands on has a crawlspace underneath. Great hiding spot.
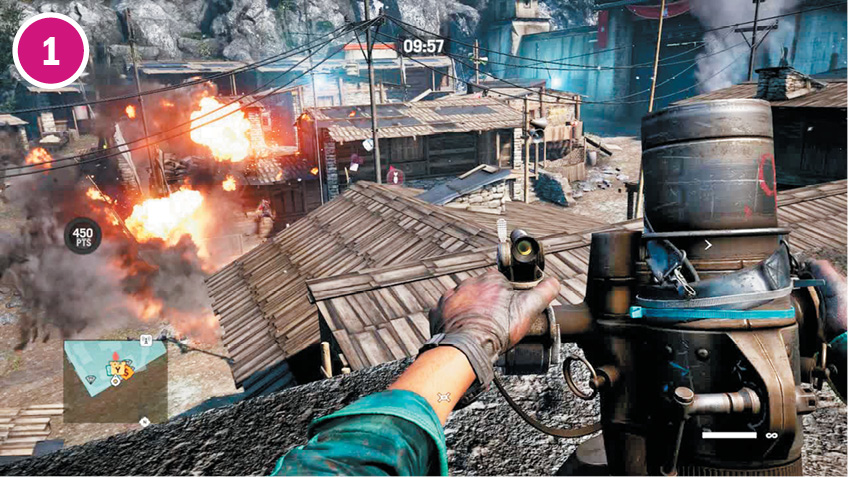
A grapple in the north brings you up about fifteen feet from the mortar, which you can then use to wipe out most of the camp. Though be aware, fire from the sky does have a way of alerting the enemy to your position.
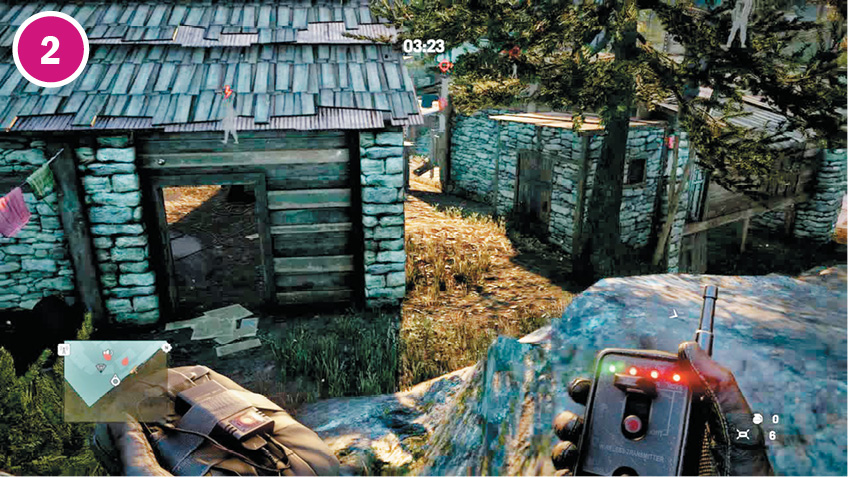
A different grapple point in the southeast enables you to slip quietly into a barn-like building. After killing the mortar guard, step inside the barn and lure the nearby charger and guard dog in for a takedown. Then, snipe anyone on a rooftop and the southern defender (and alarm A1 if you want to be extra careful). This should leave you with about half as many enemies, mostly in the north, and a wide range of options as to how to finish them off. Eventually, they’ll notice the dead bodies lying around, but chances are they won’t live long enough to do anything about it.
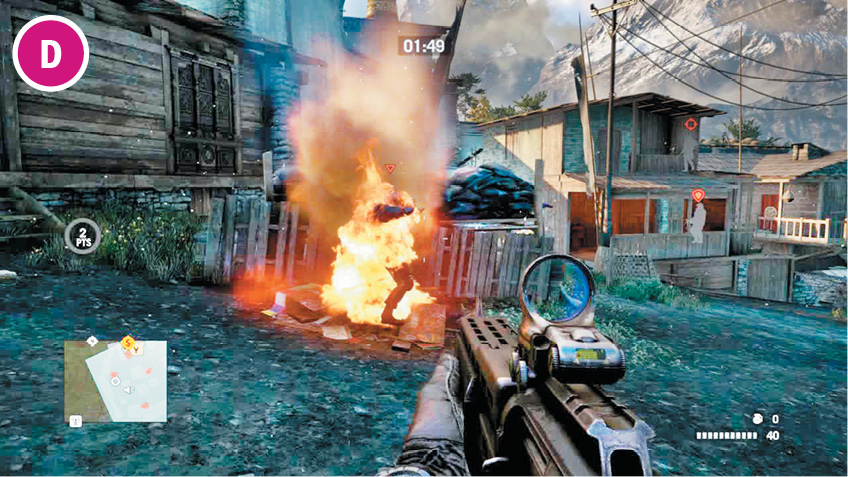
The defender in the northwest sometimes accidentally sets himself on fire.
Notes:
 Ratu Ghadi is round, which means you’d have to try really hard to get cornered. However, it also means there’s no one single entry point that puts you closer to the various alarms.
 There’s an ammo crate in the building in the northwest corner (where the sniper often stands).
 Many buildings here are close together, making it possible to move from rooftop to rooftop. And the roofs are peaked, not flat. Plus, you’ll find frequent ladders leading up. As a result, the rooftops themselves provide surprisingly good cover.
 Reinforcements consist of first one, then two helicopters, which will attempt to drop new troops before pelting you with large-caliber machine gun shells.
Ratu Ghadi
 –
–  Alarm
Alarm
 Charger
 Defender
 Attack Dog
 Heavy Gunner
 Mortar
 Sniper
Note: Enemy locations on map are approximate. Enemies often roam or go on rounds. Always scout ahead.
Varshakot
Location: x:511 y:430 Overseer: Paul “De Pleur” Harmon
Surrounded by blooming poppy fields and flowing water, this picturesque fortress could pass for a tourist attraction if it weren’t for all the opium and death.
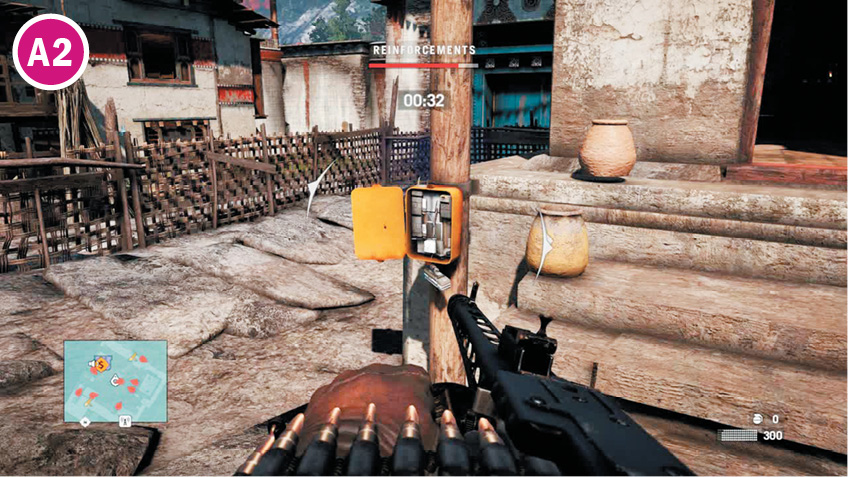
If you wait to conquer this fortress after “The City of Pain”, it will go from three functional alarms to just alarm A1. This is obviously a good thing, as it will reduce the number of possible reinforcements your opponents can summon.
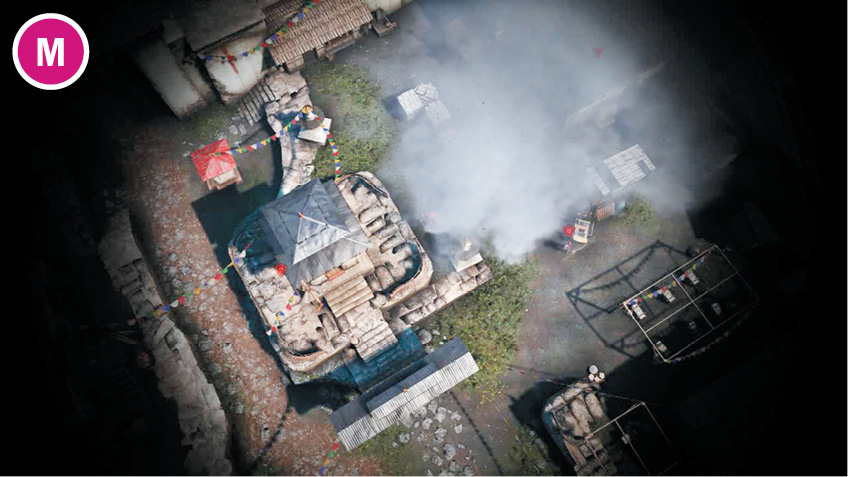
Don’t forget that mortars always have a 360-degree swivel. It may be mounted on the wall, but that doesn’t mean you can’t take down the sniper guarding it and turn it inward.
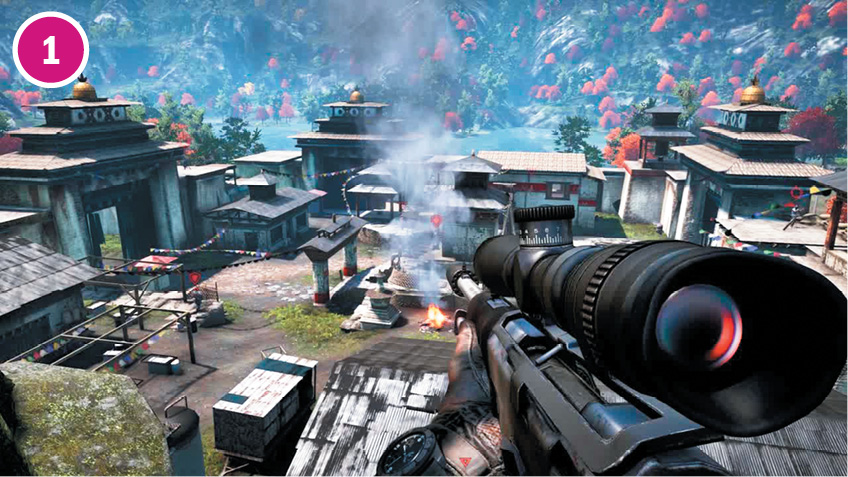
The cliffs to the west offer a great view of the courtyard. From here, you can headshot the snipers on the north and south mortars, two of the three alarms, the heavy gunner patrolling the small spire in the center, and the heavy wandering about the east side. Just be aware that the two defenders in and around the warehouse in the southwest will see the heavies’ bodies if they’re close enough.
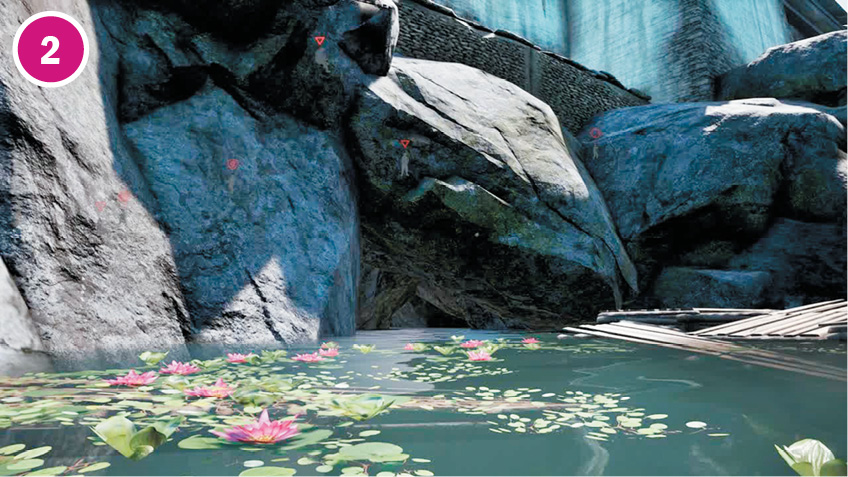
Here’s the super easy way to disable the remaining alarm: Go around the eastern edge and look for a cave entrance at the waterline. Swim until it dead ends, then dive down and find the underwater passage. You’ll come up by a ladder, which will drop you off right beside the alarm. Disable it and the troops here—including a defender who may be very close, so look for him—are on their own.
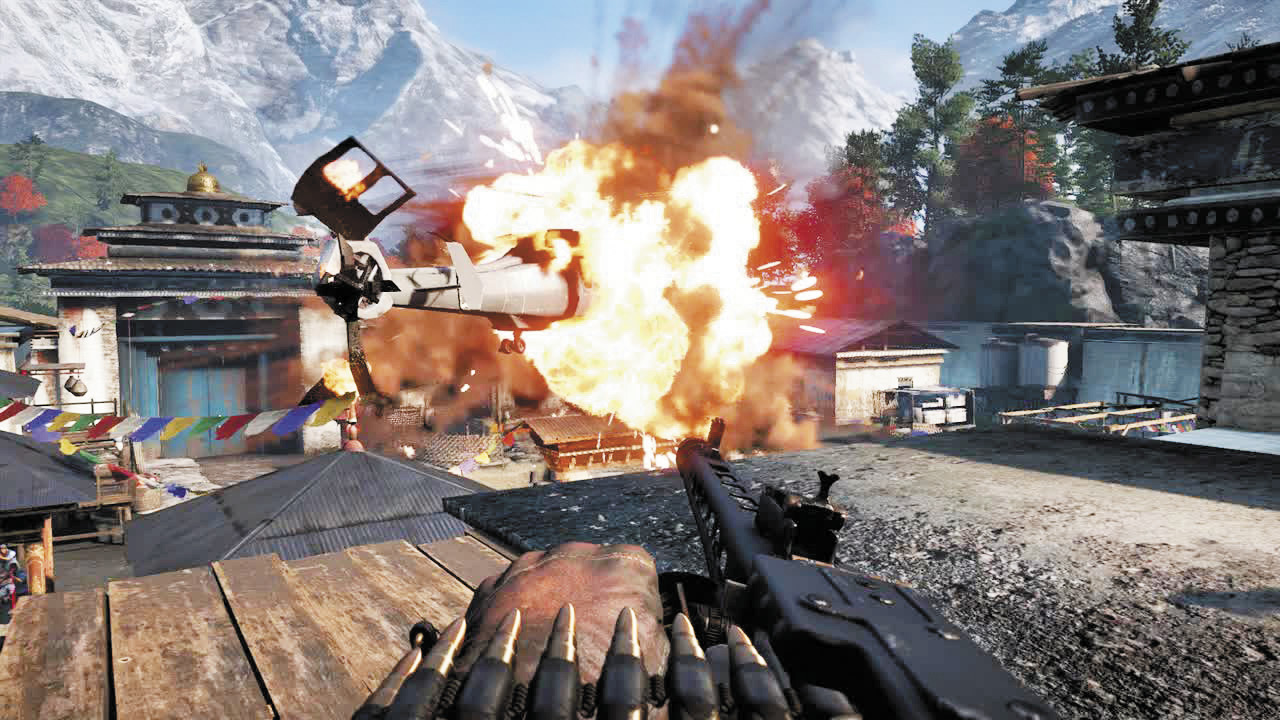
Reinforcements in fortresses always come in the form of troop-transporting helicopters with very large guns on their bellies. Bring something explosive, such as a rocket launcher, grenade launcher, explosive arrow, or so on to knock those birds down.
Notes:
 The heavy gunner in the center walks a loop around the spire. The gunner in the west tends to walk a north-south route with a loop through the opium warehouse.
 Speaking of the warehouse, it has one of those nifty false ceiling/hole in the roof sniper perches all the cool snipers are talking about. Give it a shot.
 Watch for hidden foes in dimly lit places. There’s one defender who never leaves the warehouse and another who stays in the upper floor of the house in the east. They can ruin a perfectly good sneak if you aren’t ready for them.
 If you don’t feel like swimming, grapples near the north and south gates will put you atop the wall. But watch for mines.
Varshakot
 –
–  Alarm
Alarm
 Defender
 Heavy Gunner
 Attack Dog
 Pyro
Pyro
 Mortar
 Sniper
Note: Enemy locations on map are approximate. Enemies often roam or go on rounds. Always scout ahead.