
Super Mario Odyssey Guide Wooded Kingdom
Mario’s Itinerary
 Road to Sky Garden
The Odyssey lands in the southern reaches of the Wooded Kingdom, a region comprised of a complex union between rock and machinery—and a strong desire to grow flowers. Begin your stay by exploring the forested area near the Odyssey. Collect the Regional Coins hidden around the area, particularly atop the wall that rings the southern edge.
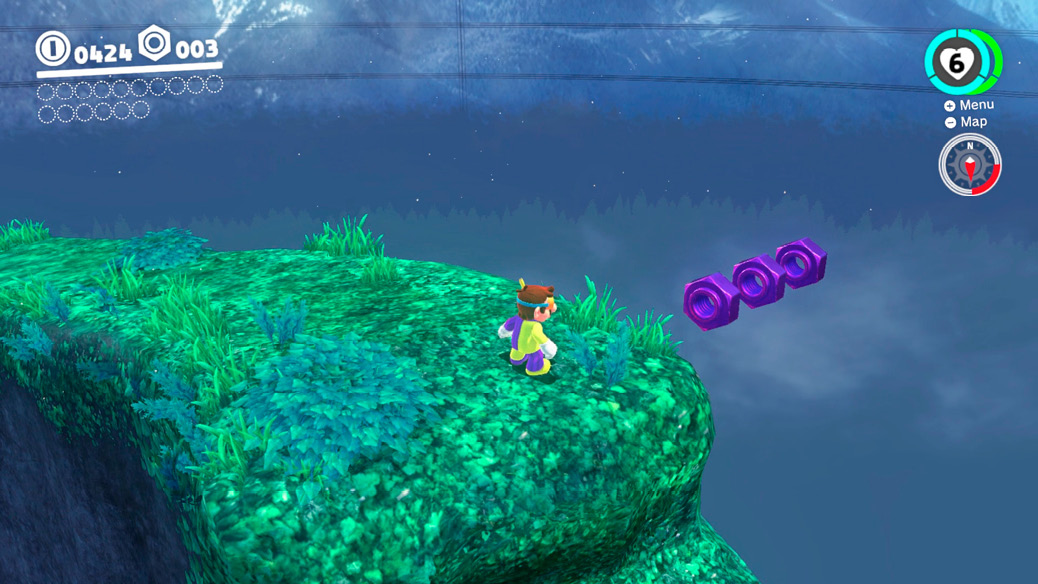
Follow the dirt path away from the Odyssey to the Crazy Cap store and purchase the Wooded Kingdom Power Moon (Power Moon #23) and the Mechanic Outfit. It’s also a good idea to purchase the Explorer Hat and Explorer Outfit when you can (there are more than 15 Regional Coins in the vicinity of Crazy Cap).

Approach the Sphynx when you’re ready to venture into the mechanical world of Steam Gardens. Answer the Sphynx’s question correctly—Bowser wants flowers—to gain access to Iron Road: Entrance. Toss Cappy at the poison puddles to clean the area of purple toxin and grab the coins from the waterway.
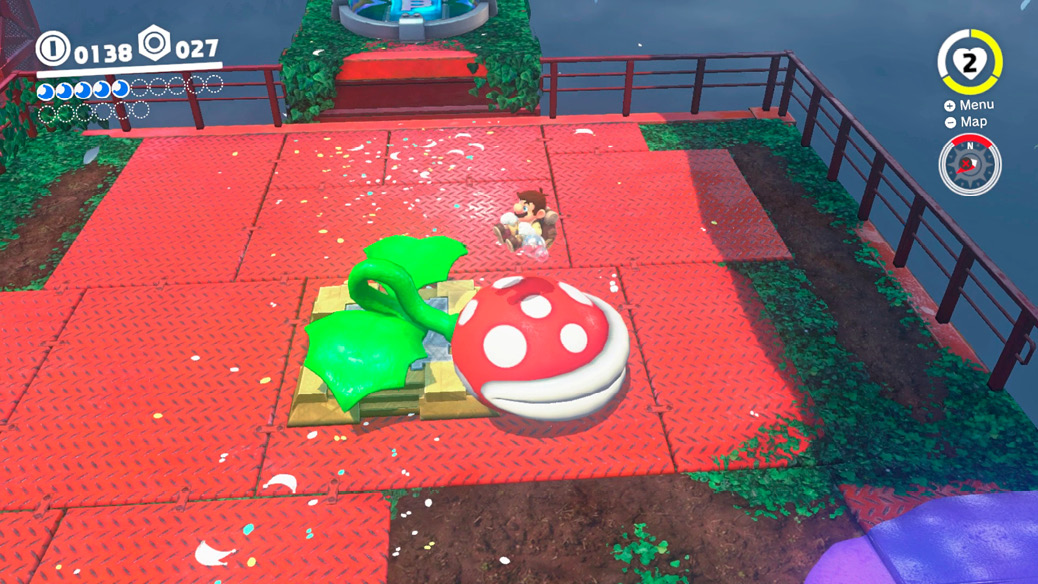
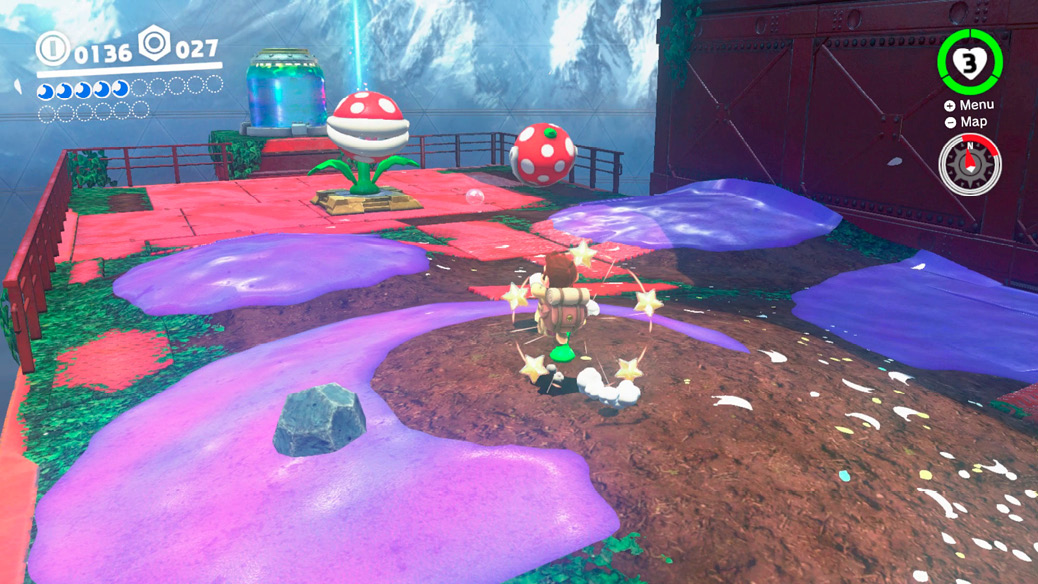
The Poison Piranha Plants beyond the Warp Flag have spit purple poison throughout the area. Toss Cappy at the puddles to clean the ground of poison, then throw him at the Poison Piranha Plant. The plant catches Cappy in its mouth, giving Mario a chance to get close enough to kick it. Though it’s possible to capture a Poison Piranha Plant by first throwing a rock at it (it chews on the rock), this isn’t a useful tactic right here.
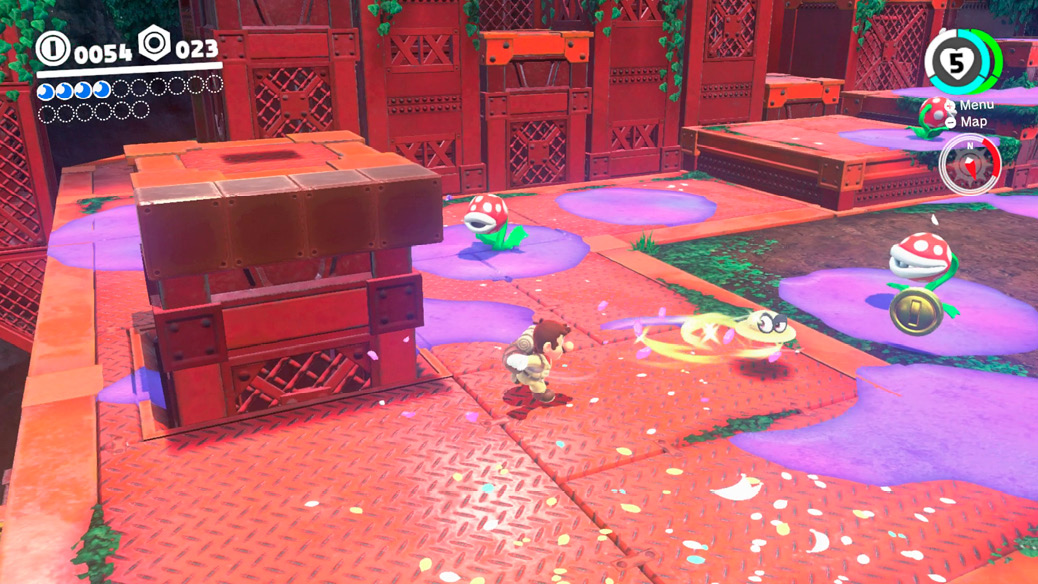
Eliminate the Poison Piranha Plants and begin the ascent of the Iron Road. Hop across the pistoning platforms until you reach an upper level leading to the right. Wait for the Uproot to drop from above, then capture it. Uproots can extend their root-like legs, allowing them to reach great heights. Release the stretch to fling them forward with a jump.
Make your way across the orange structure, past the other Uproots, to a narrow set of steps beyond the gray blocks. Position the Uproot beneath the platform that becomes visible (the front-facing walls go transparent so you can see) and push it out of the way.
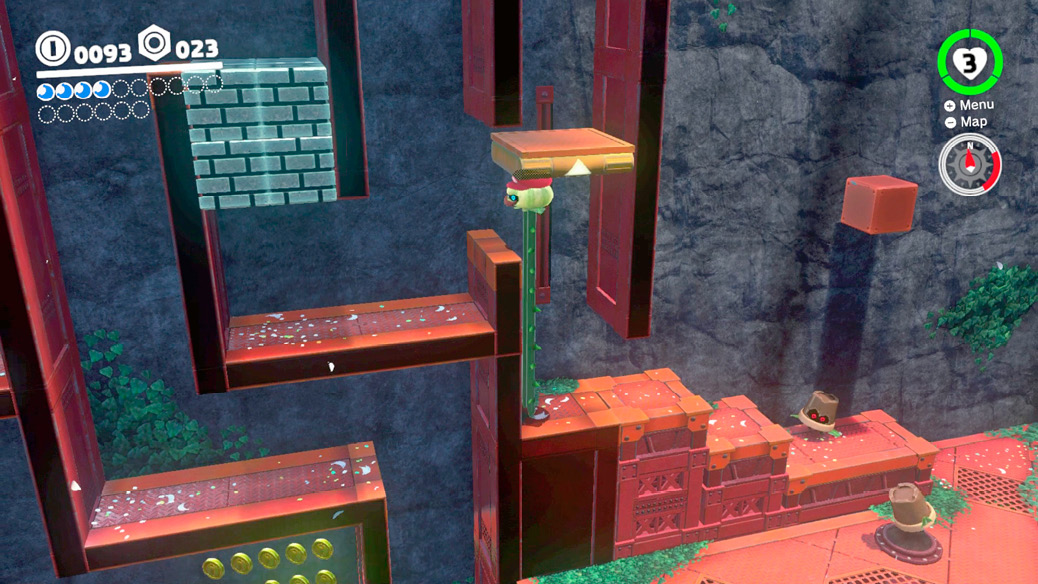
Break the gray blocks with the Uproot and leap upward. Ascend the ledges to the right and crack open the nut on the wall to get the Power Moon hidden there (Power Moon #15) before continuing to the left. There are nuts containing Power Moons just like this all over Wooded Kingdom.
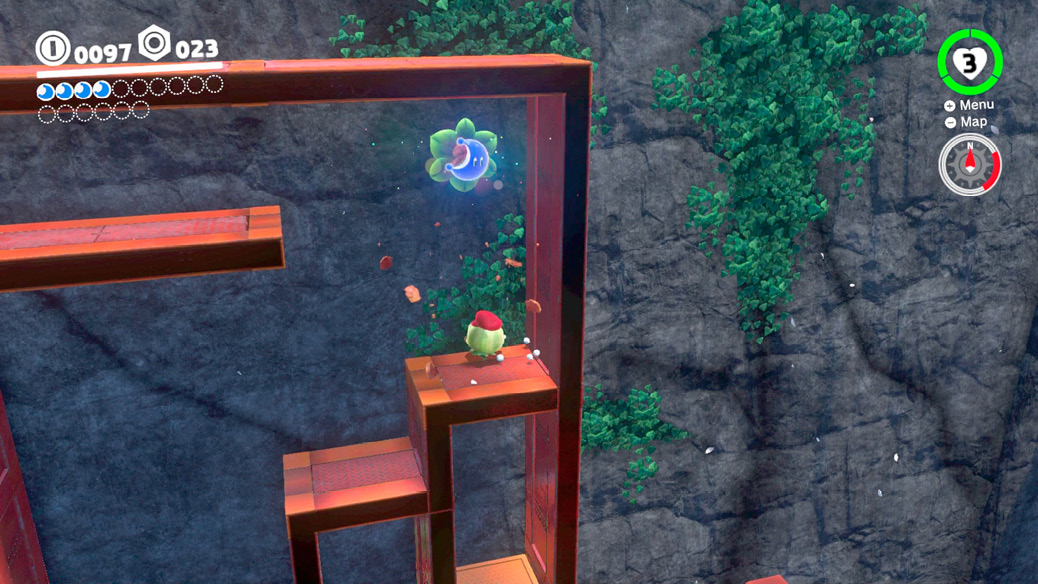
Continue moving the Uproot left to right through the red maze of platforms and walls. Flip over the Uproot on the ground, grab the coins, then raise the platform on the left by stretching the Uproot beneath it. Break through the gray blocks and exit the maze at the Iron Road: Halfway Point warp flag.
Numerous Poison Piranha Plants dot the area, including a Big Piranha Plant. Clear a path with Cappy then rush forward and kick the Poison Piranha Plant while it chews on Cappy. Try to avoid breaking the rocks apart, as they can be used against the Big Poison Piranha Plant. Toss a rock or Cappy at the Big Poison Piranha Plant then leap on its massive head as it falls to the ground. The Big Poison Piranha Plant drops Power Moon #01 when defeated.
 Flower Thieves of Sky Garden
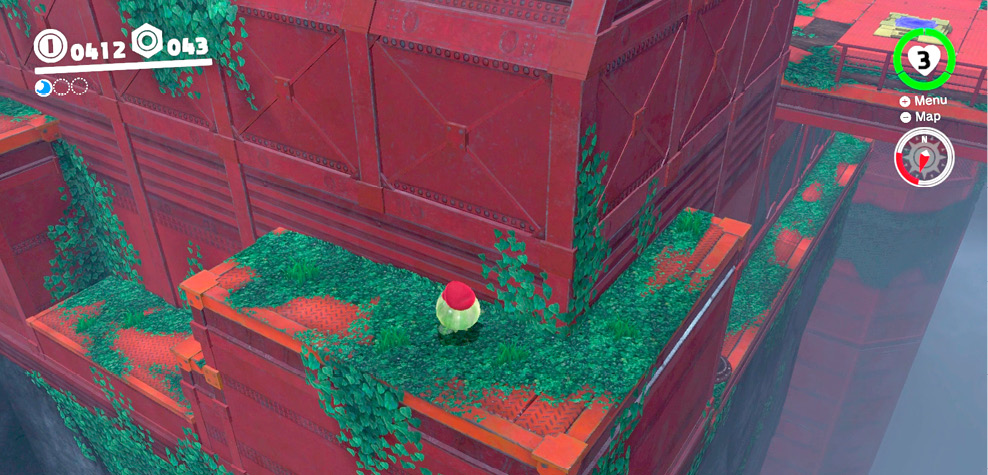
The glass container shatters, revealing a P-Switch. Don’t step on it just yet! First locate the gap in the metal railing to the right of where the Big Poison Piranha Plant was and drop down to the narrow ledge below. Capture an Uproot and use it to make your way around the corner, up and over the ledges, to the nut at the end of the path. Crack it open as an Uproot to get Power Moon #16.
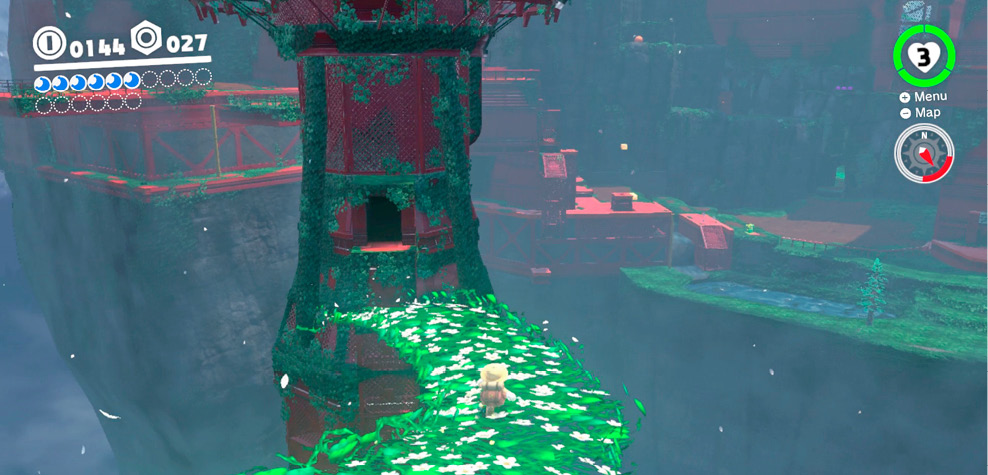
Step on the switch to trigger the growth of a flower road that curls its way through the air to the platform in the distance. Flower roads like this one aren’t permanent so you had better keep moving. Hit the switch on the metal structure (ignore the tower to the right for now) and follow the second flower road as it winds downward into the base of Sky Garden Tower.
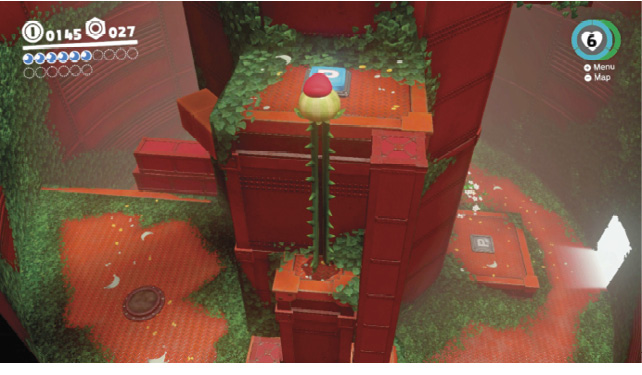
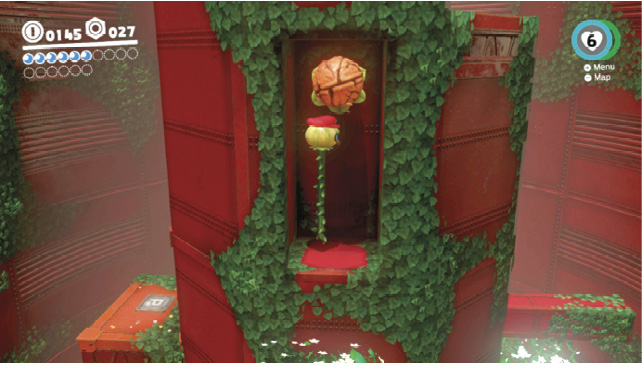
Hit the P-Switch inside the tower to run along the sloping flower road that appears to reach the Uproot on the upper platform. Capture the Uproot and use it to get the Life-Up Heart from the gray block before continuing on. Stretch the Uproot’s legs to reach the platform with the next P-Switch and step onto it. Leap from the top of the undulating flower road to the alcove in the tower and crack open the nut to get Power Moon #24 before continuing along the flower road to the very top.
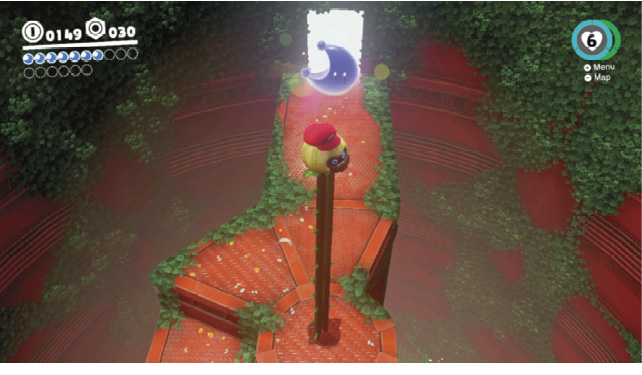
Don’t be alarmed when the flower road begins to descend. Continue following it as it rises again, then leap for the spiral stairs near the top. Note the shadow on the floor of the tower’s middle. Extend the Uproot’s legs and leap to snag Power Moon #25 from the air. Release the capture and head outside.

Boss: Spewart
Spewart is the fourth and final member of the Broodal party to engage Mario in combat. Spewart begins the fight by spinning on one foot while coating the center of the arena in purple poison. Stick to the ring of flowers near the perimeter to avoid his gushing grossness.
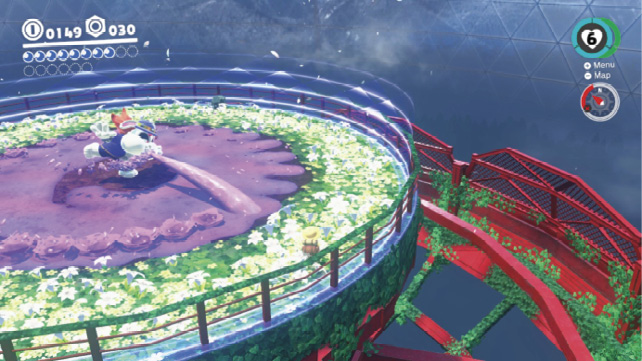
Throw Cappy in a circular motion to sweep the ground clean of Spewart’s poison as you close on him. Cappy knocks into him, stunning him. He recovers quickly and attempts to repaint the ground in poison, but not before Mario has time to leap into the air and ground pound him.
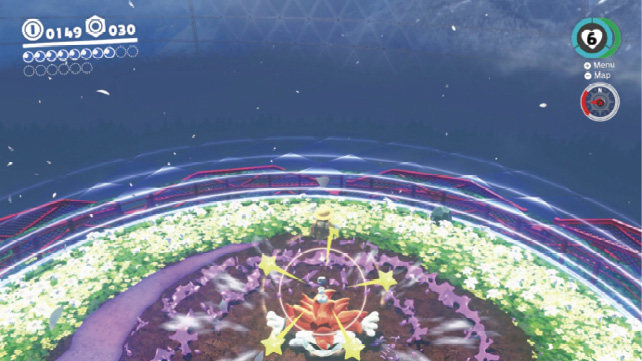
Once hit, Spewart tucks himself inside his hat and sets to zipping across the arena, painting streaks of purple poison in a zigzag pattern. Stay clear of the poison while you use Cappy to bounce Spewart away. Throwing the cap at Spewart doesn’t harm him, but it does deflect his path.
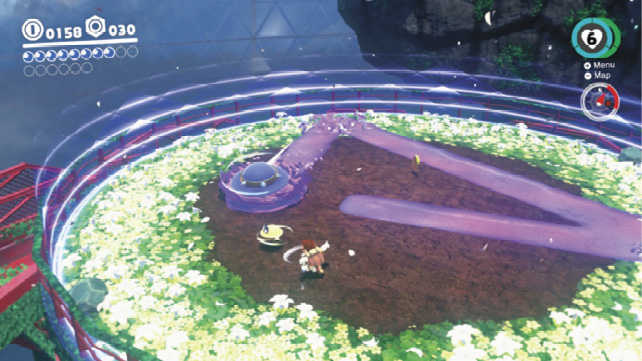
Draw close to Spewart as he lands in the center and quickly toss Cappy at him to knock his hat off (Mario can never land upon a boss enemy still wearing its hat). Leap up and ground pound him again as he begins spewing poison once again. Spewart’s pattern repeats one more time. Avoid the poison he trails through the area, then knock his hat off with Cappy, and finish the fight with a third ground pound. Once defeated, Spewart drops a multi moon (Power Moon #02).
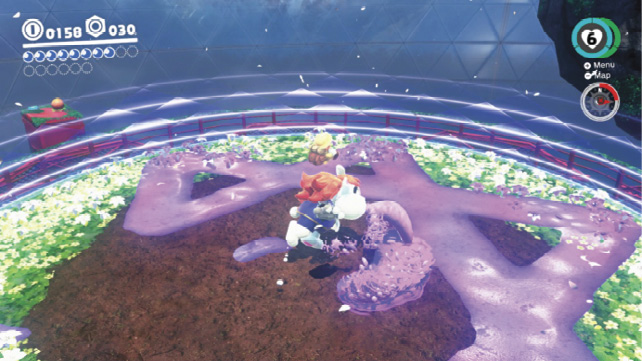
 Path to the Secret Flower Field
Spewart’s defeat didn’t solve all the problems in Steam Gardens. Cappy spotted a mysterious craft above the other tower, near the secret flower field. Warp to Iron Road: Entrance and capture one of the Uproots above the pond, along the western ledge. Follow the path over the crumbling walkway and use the Uproot to break the nut containing Power Moon #13.
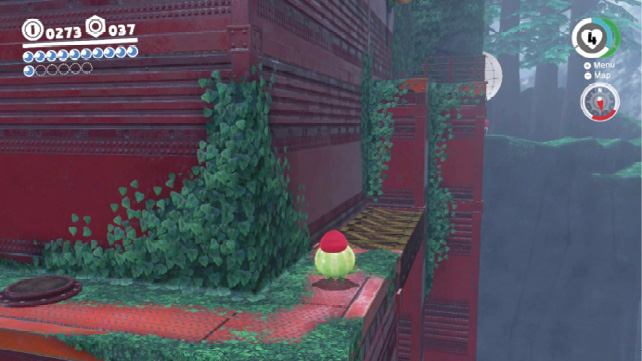
Return to the area previously coated in purple poison and capture one of the Sherms. Use it to blast a hole through the rocks blocking the doorway to the west, opposite the warp flag. Hit the Steam Gardener inside the maintenance room to get a seed and plant it in the pot to grow a beanstalk. Climb up to the Forest Charging Station.
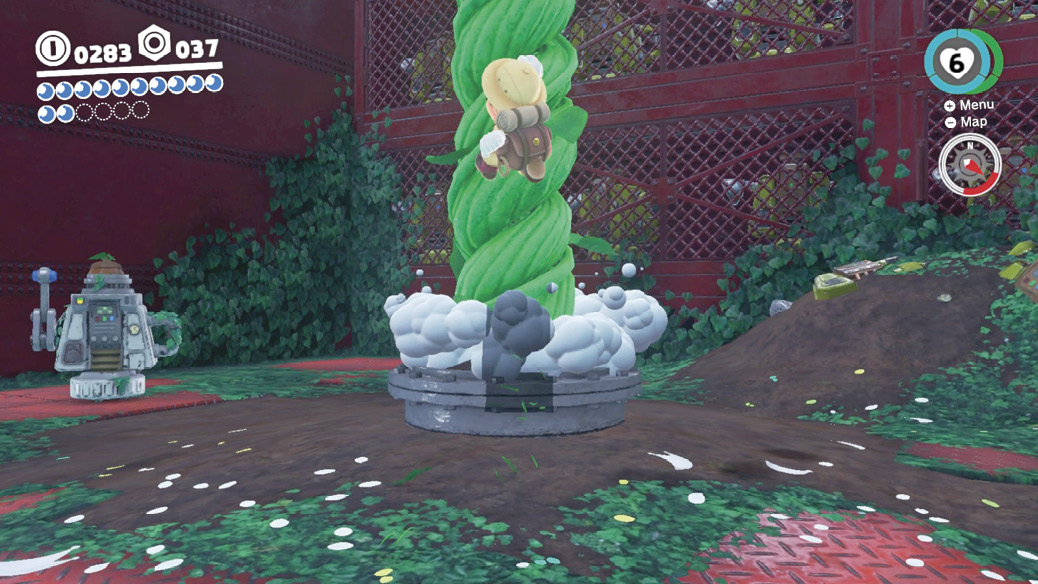
Ground pound the glowing spot on the right-hand charging station to discover Power Moon #09. Round the corner to the south, where a number of Goombas are present. Climb the rocks toward the Sherms and peer out over the edge on the right to orient yourself—this area overlooks Crazy Cap and the path to the Odyssey.
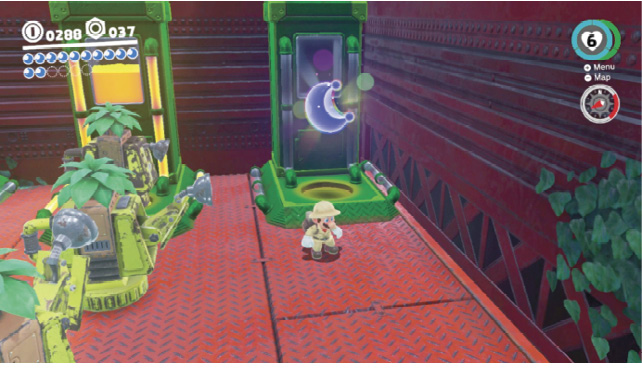
Capture a Sherm and set to blasting away at the other Sherms in the area. This makes it easier to shoot the brown breakable slabs of dirt filling in the spaces on the rock wall. Be sure to clear away the dirt blocking the ledge on the upper left so that Mario can collect the Power Moon hidden there (Power Moon #05). Climb to the top and activate the warp flag for Summit Path.
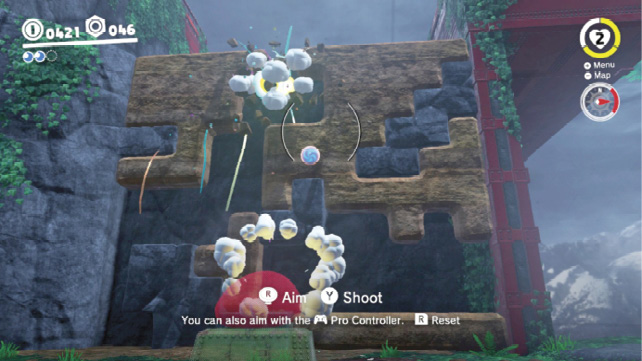
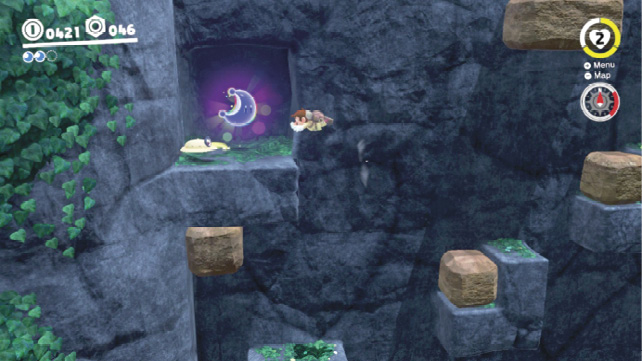
Throw Cappy at the Rocket Flowers on the ground beneath the sloping metal ramp and steer Mario as he zooms up the ramp. Aim for the rings, then angle left as he reaches the top. Welcome to Iron Mountain Path, Station 8. You’re almost there!
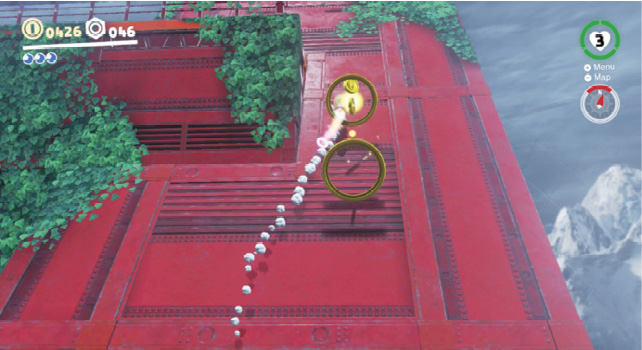
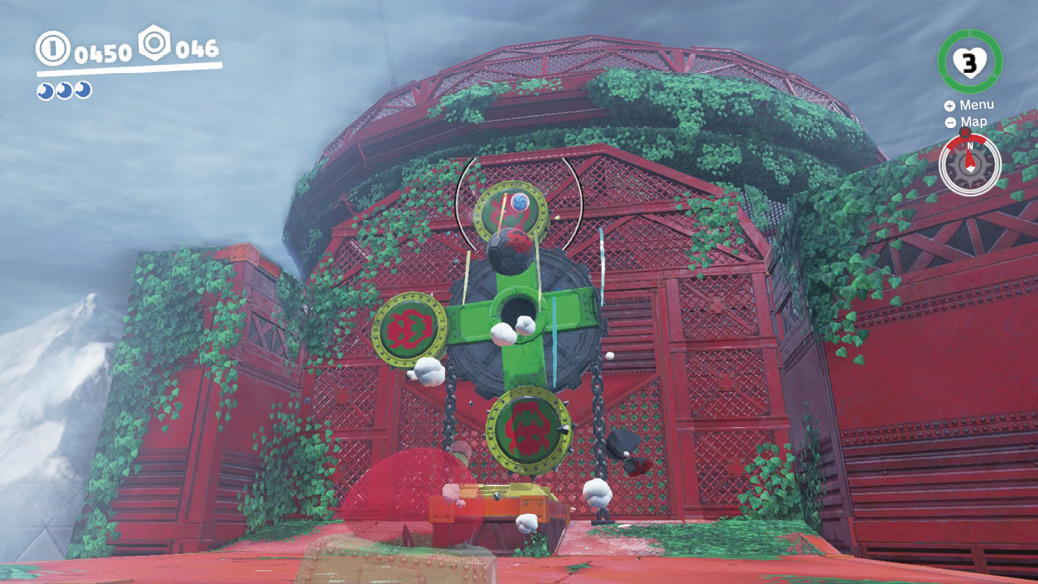
Head up the ramp on the left and capture another Sherm. Blast the other two to eliminate the threat of enemy fire, then take cover behind the dirt blocks. Cannonballs soon begin rolling across the flowers from the rotating defense mechanism on the Secret Flower Field entrance. Blast the cannonballs out of your path and target each of the four circular panels bearing Bowser’s logo to unlock the Secret Flower Field (Power Moon #03). Activate the warp flag beyond the door when it opens and drop down the hole to the Secret Flower Field.
 Defend the Secret Flower Field!
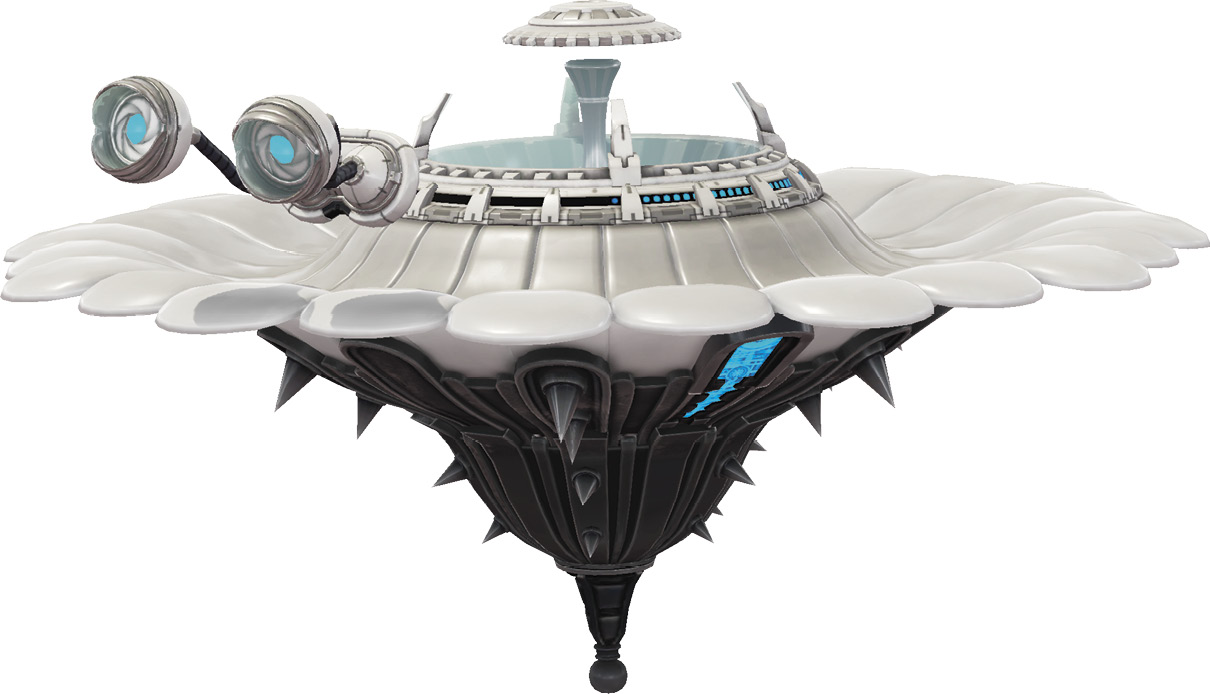
Boss: Torkdrift
The flying object Cappy spotted earlier is known as Torkdrift, and it’s stealing all of the flowers! Capture the Uproot and walk beneath the glass dome on Torkdrift’s underside. Stretch those root-legs to crack it like one of the nuts you’ve encountered. Keep up the pressure until Torkdrift is flipped upside-down.
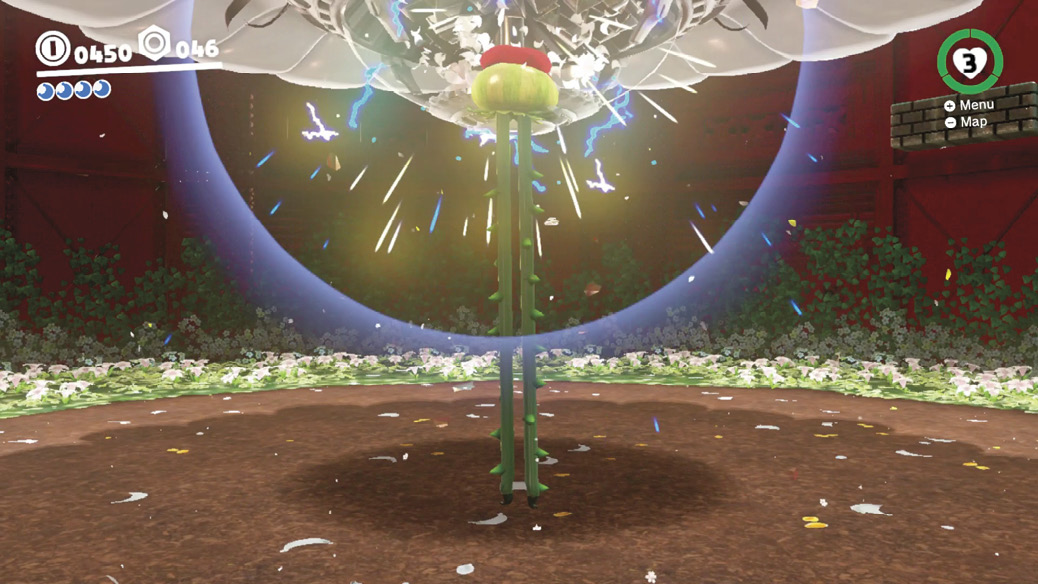
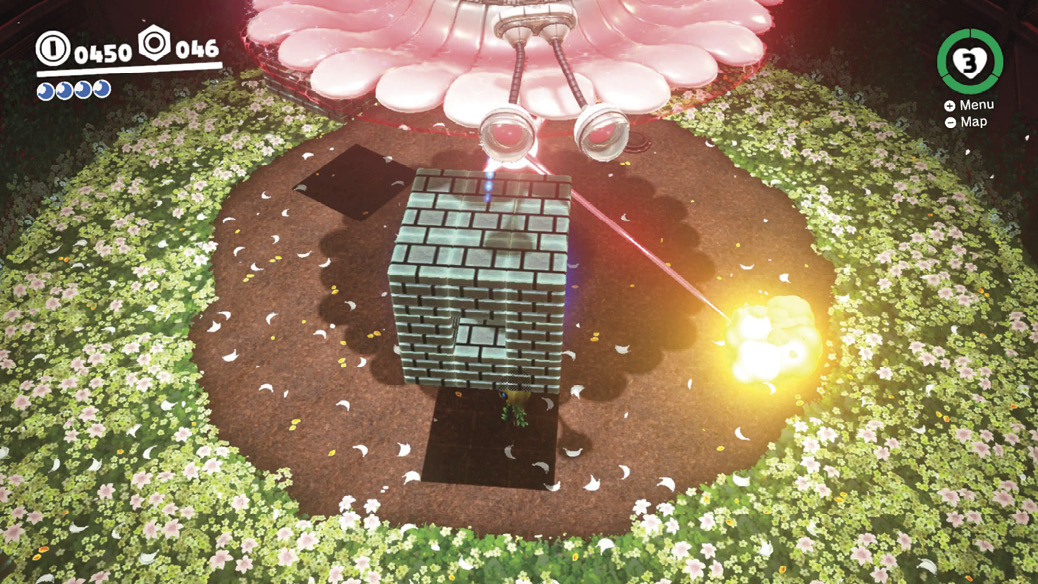
Torkdrift takes notice of Mario after he scores this first hit against it. Three large cubes of gray blocks appear, each providing power to Torkdrift. Mario must continue to use the Uproot to smash these cubes, all while dodging laser attacks. Stay on the move to avoid the blue targeting rings as Torkdrift readies its laser attack. We recommend continuously moving in a counter-clockwise direction along the out edge of the dirt clearing to keep ahead of the laser. Stretch the Uproot’s legs to burst the cubes, then keep moving.
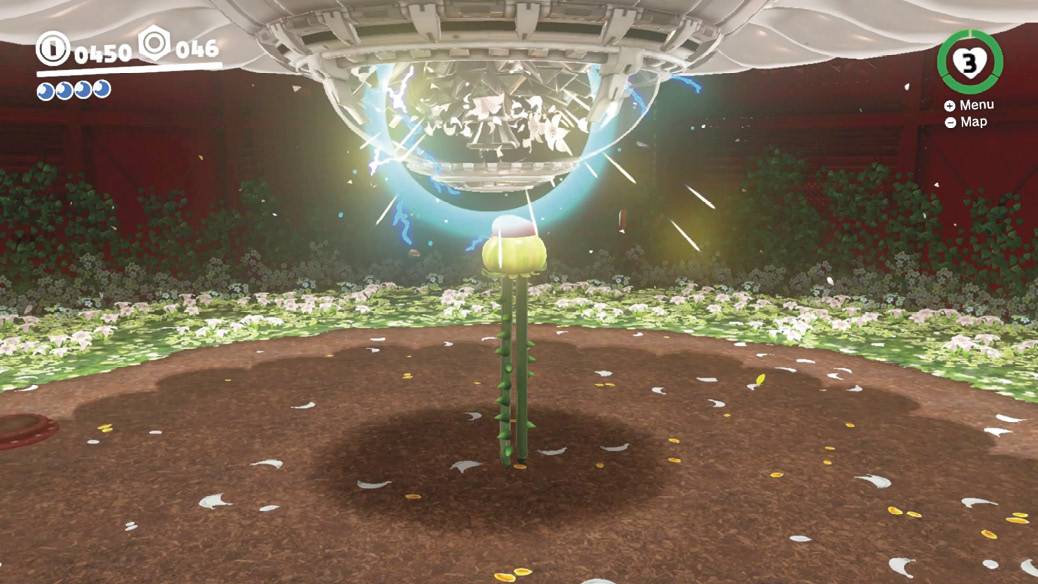
Destroy the three cubes while avoiding the laser attacks to flip Torkdrift right-side up. Move under it again, stretch the Uproot’s legs, and burst open the glass dome.
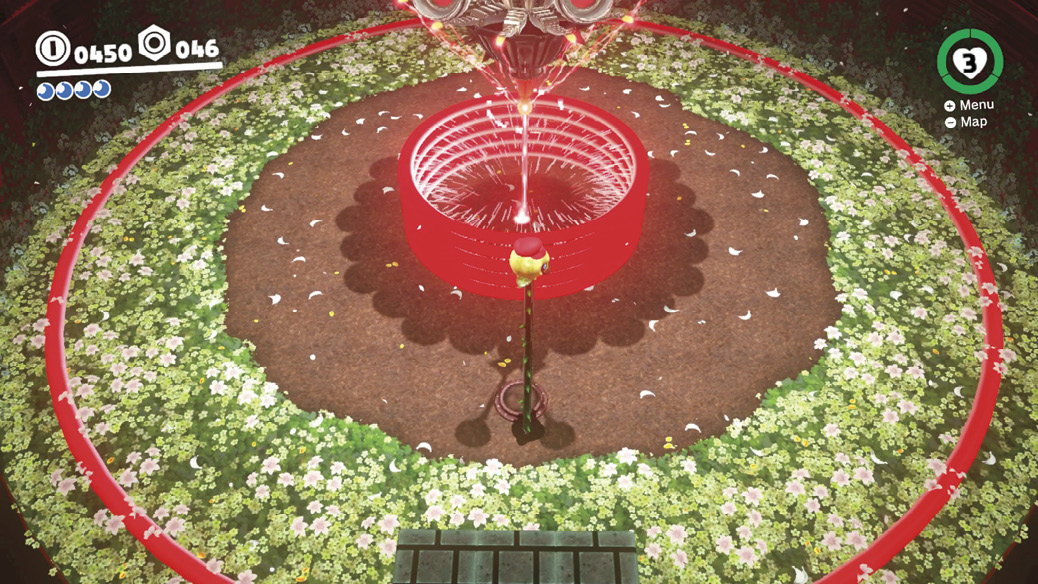
Torkdrift changes up its attack strategy after the second hit. Move to the edge of the dirt and stretch the Uproot nice and tall in preparation of the ripple-like energy rings that radiate outwards. Release the stretch to make the Uproot leap over the ring as it approaches. The third attempt will be a much taller stack of rings so make sure the Uproot is at its max height.
Once the radiating rings have been avoided, Torkdrift attempts to attack with its laser blast, as before. Make your way around the perimeter of the dirt clearing, bursting apart the gray cubes—use the shadows on the ground and line the Uproot up with the center—while avoiding the blue targeting rings. Shatter the three cubes then move under the center and crack the glass dome a third time. Repeat this entire routine one more time to score a fourth and final hit to collect Power Moon #04.