
Super Mario Odyssey Guide Lost Kingdom
Power Moon Locations
 Power Moons
 Below the Cliff’s Edge
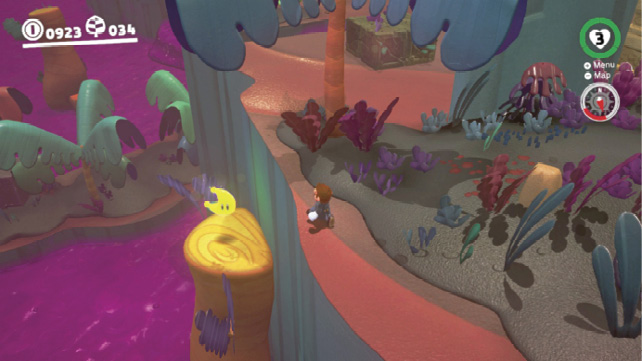
This Power Moon rests atop a tree in the northeast corner of the area, behind the four-stepped ruins that lead to Swamp Hill. Drop off the cliff near the narrow waterfall to get it. The invisible blocks above it help you return to solid ground.
 Enjoying the View of Forgotten Isle
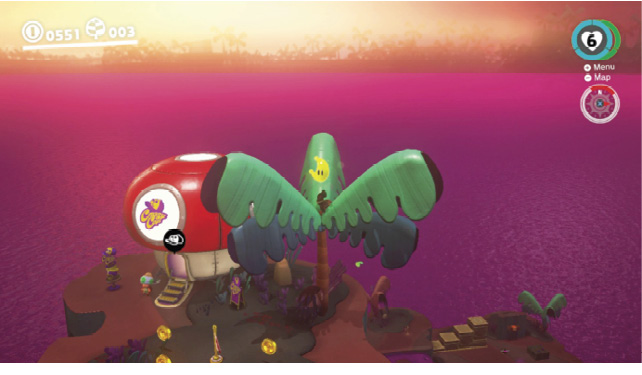
Climb to the Rocky Mountain Summit (Power Moon #21) and shimmy up the tree near the Crazy Cap store. Flip upwards off the top to pluck the Power Moon out of the air.
 On the Mountain Road

Cross the propeller from Swamp Hill and bait the Trapeetles into blasting through the impervious blocks along the mountain road (or tackle jump around them). Continue past the second obstruction to a small group of plants with a glowing spot in the ground. Ground pound the area to find this Power Moon.
 A Propeller Pillar’s Secret
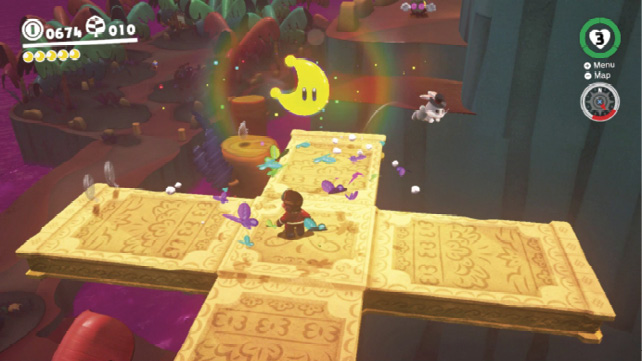
Ground pound the flock of butterflies atop the propeller nearest the Swamp Hill warp flag. It’s easy to be distracted by the rabbit jumping around, but those colorful butterflies were there for a reason. Always investigate any unusual behavior by the local fauna.
 A Butterfly’s Treasure

Locate the butterfly on the narrow precipice extending out from the western side of the mountain (it’s easiest to reach this area by dropping from Rocky Mountain Summit). The butterfly is quite timid and flies away if Mario gets too close. If this happens, walk away from the butterfly so it returns to its perch. To get the Power Moon, slowly creep toward the butterfly until Mario is above the thinnest part of the ledge (as viewed from the side) and throw Cappy to knock the Power Moon from the butterfly.
 Caught Hopping in the Jungle
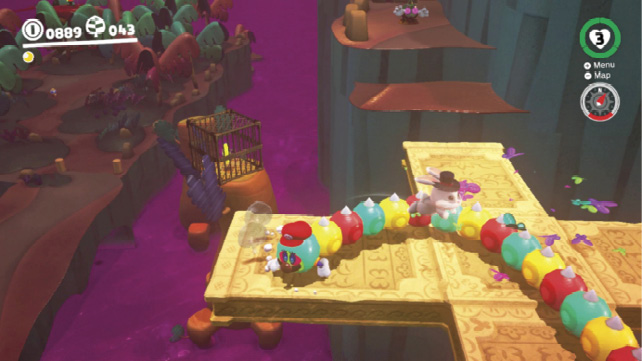
There’s a rabbit hopping around on the propeller nearest the Swamp Hill warp flag. It can be pretty tough for Mario to corner as it leaps back and forth, but the Tropical Wiggler can hem it in with little trouble. Capture a Tropical Wiggler and stretch from one propeller blade to the one with the rabbit in an effort to flush it right back into the Tropical Wiggler’s tail.
 Cave Gardening
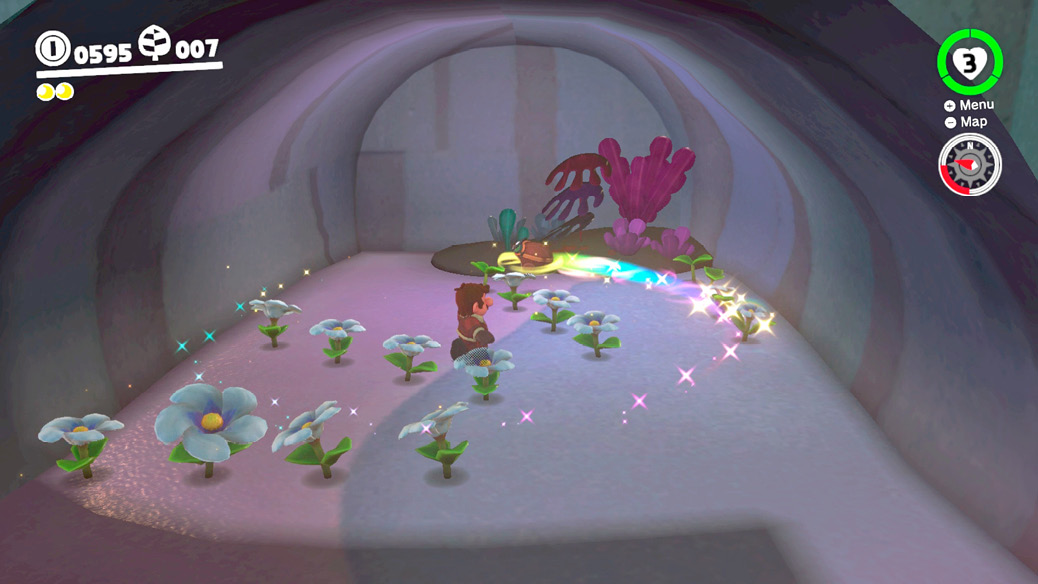
Locate the cave within the mountain near Talkatoo (easiest way to reach it is by leaping from Rocky Mountain Summit) and use Cappy to make all sixteen flowers bloom simultaneously. Use a spin throw to whirl Cappy around Mario in circles while moving from one side of the cave to the other. The flowers close their blooms after a few seconds; you need to work fast to get them to all bloom at once.
 Soaring Over Forgotten Isle!
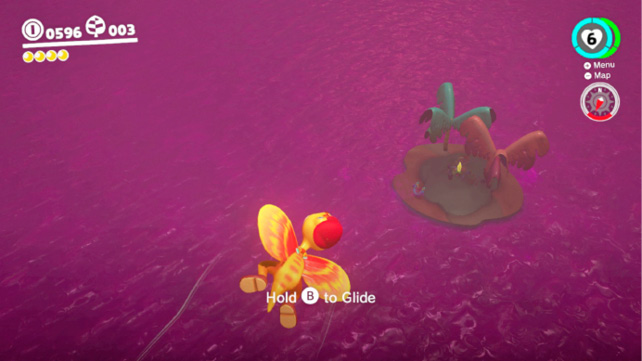
Make your way to Rocky Mountain Summit (Power Moon #21) and capture the Glydon. Spot the Power Moon on the lone island way out in the distance and fly to it. There’s a slingshot to deliver Mario back to safety.
 The Caged Gold

The Power Moon inside the cage is easy to spot as you cross the bridge the very first time, but opening it can be quite tricky. Neither a ground pound nor a dive-bomb with the Glydon will do it, but fortunately Forgotten Isle is home to a critter with a bit more pop. Cross the bridge to the Trapeetles below the Big Swamp warp flag and bait one toward the edge nearest the cage. Line Mario up between the cage and the Trapeetle then throw Cappy at the Trapeetle. Leap out of the way as it takes flight and watch it soar across the gap, smashing through the cage’s bars. Leap from the mountain road to get the Power Moon.
 Get Some Rest, Captain Toad
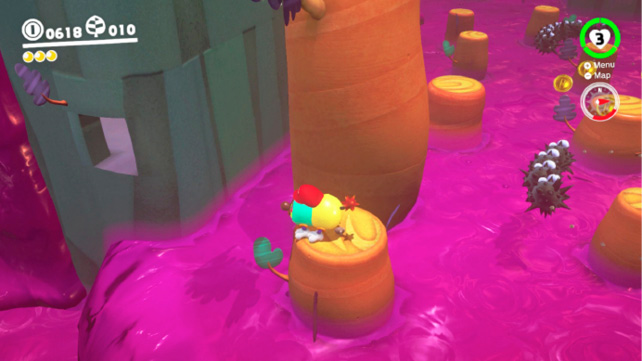
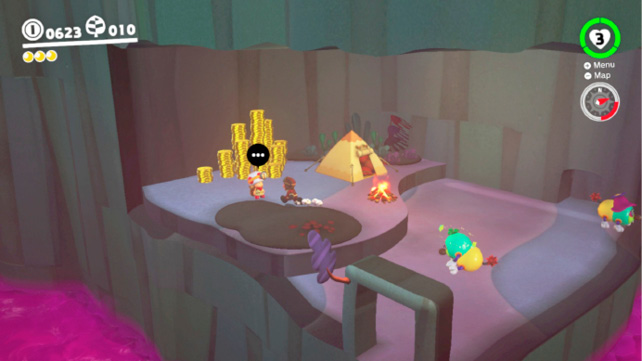
Capture a Tropical Wiggler beneath the propellers and make your way across the tree stumps where the Moon Shards for Power Moon #15 were located. This time, head to the northwestern corner of this swamp area, just past the Fuzzies and look for the cave opening. Stretch the Tropical Wiggler into the cave to find Captain Toad and a whole bunch of coins.
 Shopping on Forgotten Isle
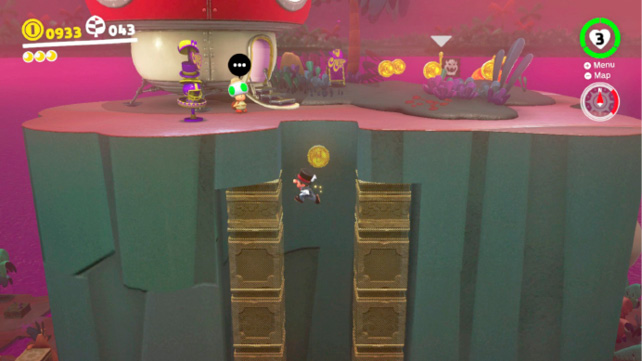
Ground pound the large red button on the mountain road to make it possible to wall jump your way to Rocky Mountain Summit, where Toad decided to place his Crazy Cap store. Head inside and buy a Power Moon for 100 coins and know that you need only warp here in the future.
 Taxi Flying Through Forgotten Isle

Capture the Binoculars and scan the sky for a flying taxi, beneath a balloon. It will likely be out beyond the Odyssey, to the northeast, but it’s on the move so look around. Zoom in on it once you spot it.
 I Met a Tropical Wiggler!
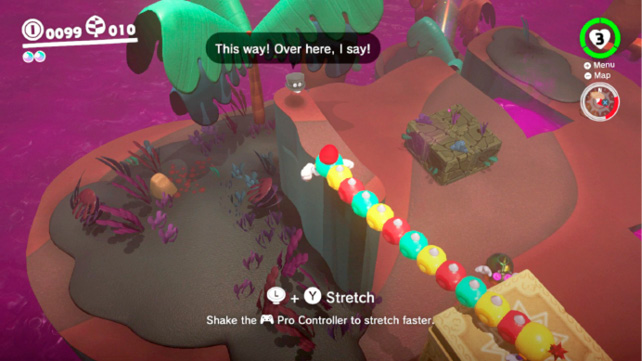
A Bonneter has traveled all the way to Forgotten Isle in hopes of meeting a Tropical Wiggler. He’s on the narrow rock fin near the Trapeetles below Swamp Hill. Ground pound the nearby four-column ruins so that the end nearest Swamp Hill is raised. Capture a Tropical Wiggler near the warp flag and guide it down the stair-like columns to the lower end. Ground pound the upper starburst to raise the end with the Tropical Wiggler and stretch across to the Bonneter for the Power Moon.
 Lost Kingdom Regular Cup

The freerunning races at Lost Kingdom are among the harder ones Mario can enter, as they wind their way across the entire region, finishing at the Rocky Mountain Summit, near the Crazy Cap store. As with other recent kingdoms, we’re going to save the most advanced shortcut for the Master Cup. Here, we’ll focus on providing tips to help you win the Regular Cup.
The first thing you need to do to win the Regular Cup is to master using a dive jump to climb your way to Swamp Hill without using the starburst ruins. Consider practicing this before starting the race, as the other Koopas use wall jumps and tackle jumps to scale the same cliffs without using the ruins.
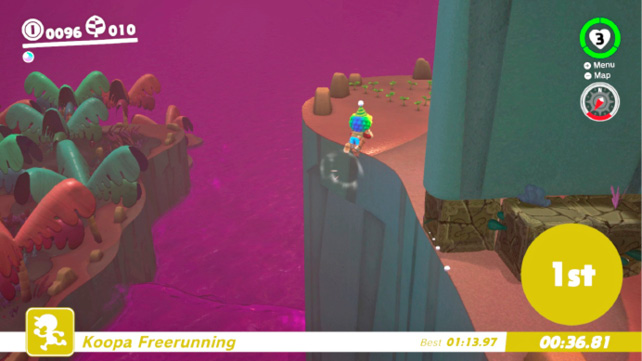
Dive jump past the Tropical Wigglers and make your way over the propeller to the Trapeetles on the mountain road. Don’t worry about using the Trapeetles to break the blocks! Instead, just leap off the cliff and tackle jump around the obstruction to safety. Leap around both obstacles, hit the big red button and wall jump up the rock chimney to the finish line. Begin the wall jump on the right-hand face so as to end it nearest the finish line.
 Peach in the Lost Kingdom
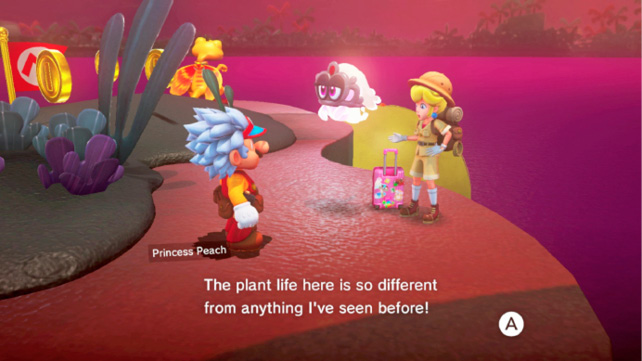
Princess Peach and Tiara have once again made their way to the highest lookout in the kingdom Mario is visiting. This time they’re atop Rocky Mountain Summit. Warp to the peak and chat with Peach for a Power Moon.
 Moons From the Moon Rock
 The Shining Fruit
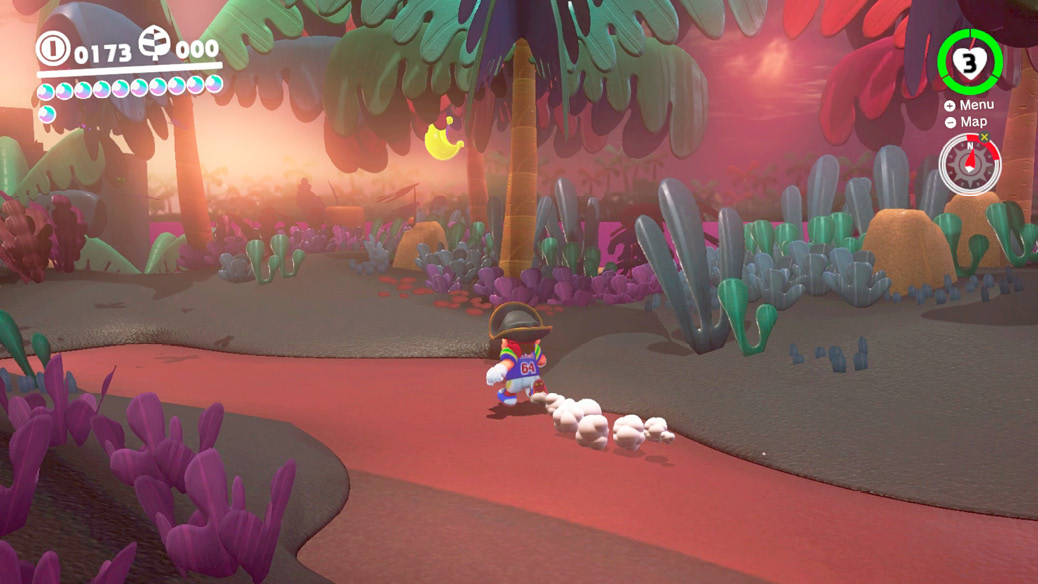
This one’s a freebie. Look for the Power Moon hovering below the tree branches to the right of the path, just north of Hint Toad. Climb the tree to pick it.
 Jump Down to the Top of a Tree
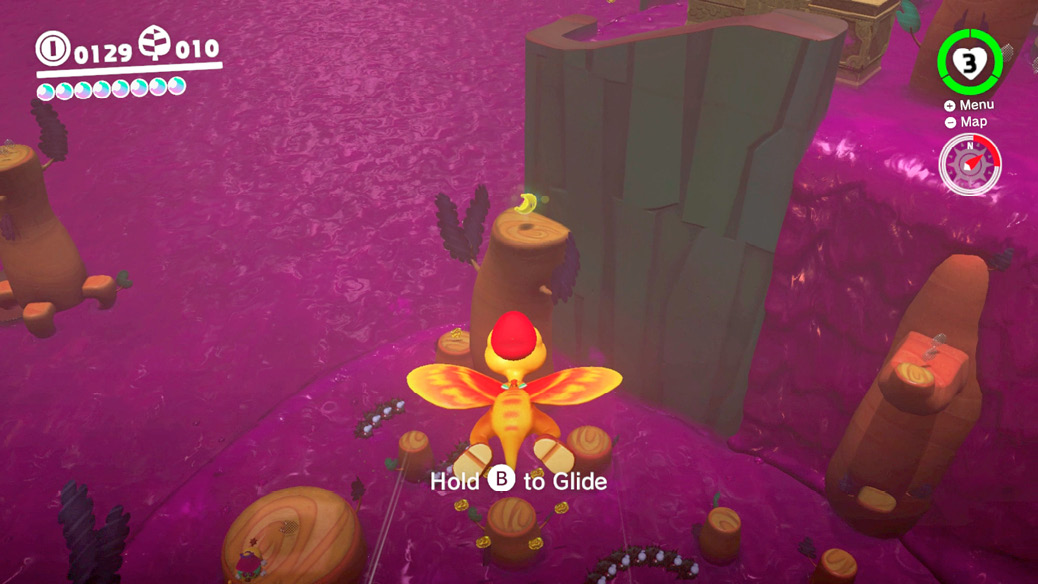
This Power Moon sits atop a tree below the cliff edge in Swamp Hill, above the stumps. It’s easy to reach by jumping down from the narrow cliff ledge, as the name implies. But it’s more fun, and just as straightforward, to get it by flying a Glydon to it from atop Rocky Mountain Summit.
 Line It Up, Blow It Up
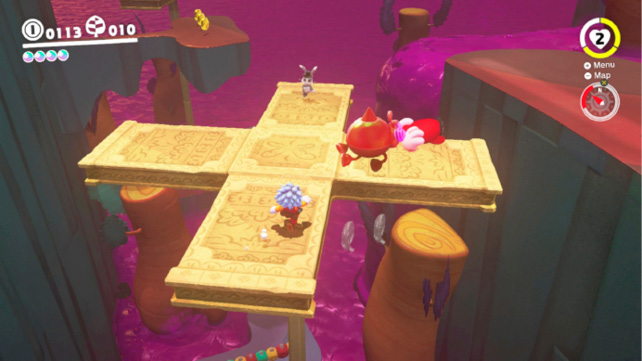
Two new blocks have landed near the Tropical Wigglers nearest the propeller in Swamp Hill, and the upper one contains a Power Moon. You probably know by now that the only way to break them open is with a Trapeetle, and that’s what you’re going to do. And you’re going to do it with the Trapeetle beyond the propeller, near the mountain road. Frst you need to ground pound the ruins near the block with the Power Moon to get it out of the way. Toss Cappy at the Trapeetle and retreat to the propeller and line it up with the blocks. Stand a little east of center on the propeller so the Trapeetle flies over Mario’s head at an angle and hits the block.
 Taking Notes: Stretch and Shrink
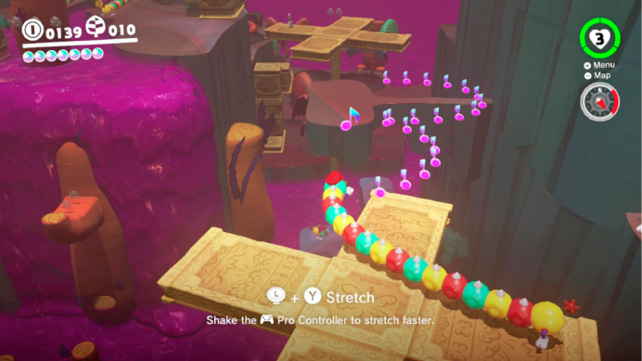
Capture a Tropical Wiggler and guide it across the tops of the propellers to the treble clef beyond the second propeller to the west. The notes appear in sweeping arcs that extend beyond the reach of the propeller, and they don’t stay around for long. To collect them, use the Tropical Wiggler, but limit how many times you move him. Keep his rear legs planted where they were when you trigger the treble clef, and sweep through the first set of notes, then release it. Gather up the next notes as you stretch to the rock ledge between the propellers and release the stretch. Finally, curl through the last group of notes as they blink, warning you that time is about to expire.
 Lost Kingdom Master Cup
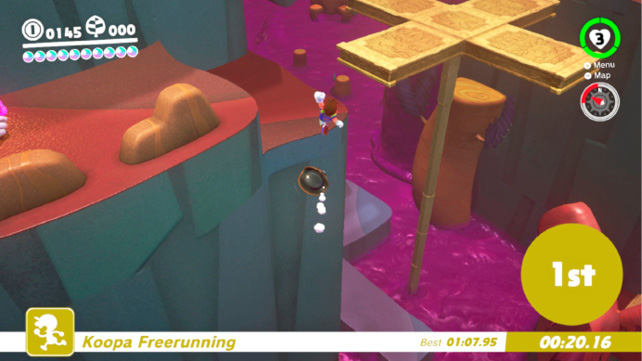
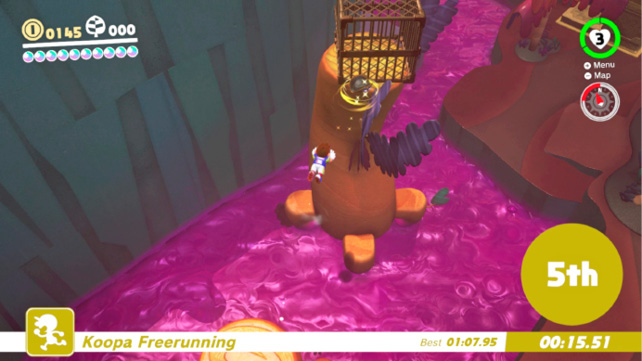
If you’ve won the Regular Cup using the tips outlined above, then you’re ready for our advanced Master Cup trickery. Get started by rolling as fast as you can across the jungle floor, toward the bridge. Once on the raised platform beyond the two posts, turn and dive jump to the left-hand tree. From there, dive jump onto the cage, then on an angle toward the right-most edge of the cliff near the propeller. You won’t be able to spot the ledge you’re leaping for until you’re airborne (without taking time to pan the camera), but you can make it. You’ve just cut nearly 20 seconds off the course. Leap around the Trapeetle obstacles as before and wall jump your way to victory!
 Lost Kingdom Timer Challenge
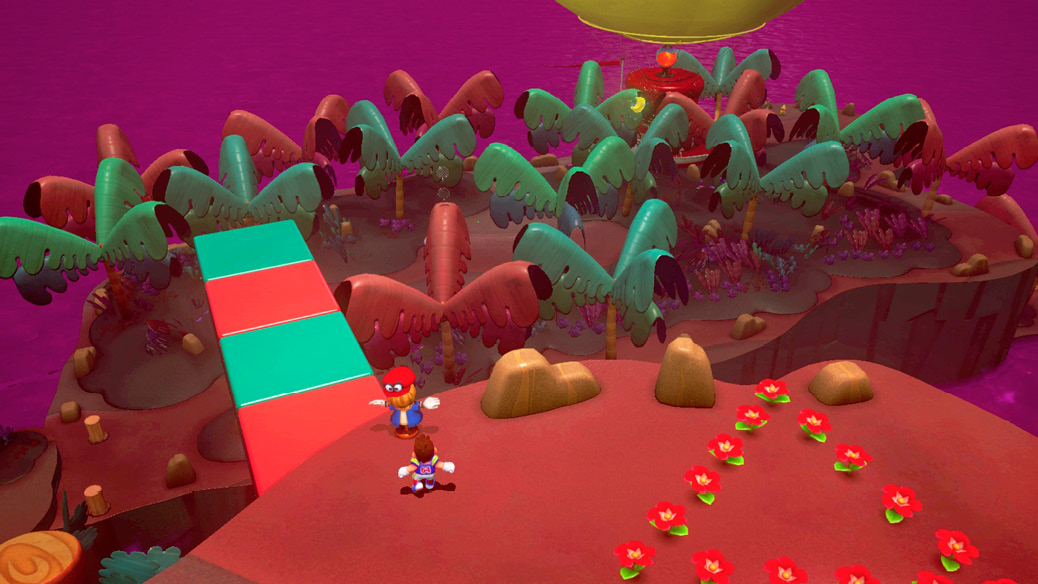
The Timer Challenge begins on mountain road, near the triangular bed of flowers is, below Talkatoo. This is a rather straightforward puzzle—the Power Moon appears atop a tree near the Odyssey. Run and leap across the platform that appears then make your way across the top of the trees to get the Power Moon. Dive jump off the edge of the platform toward the red tree, then leap across the other trees to the Power Moon. If you’re fast enough, there’s even time to fall from the last tree and climb up to the Power Moon before it disappears.
 Stretch and Traverse the Jungle
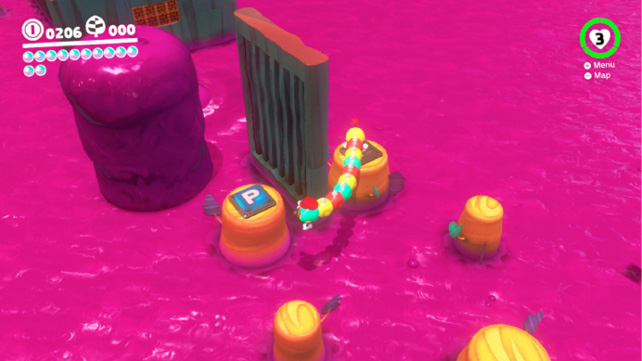
Descend the Moon Pipe north of the Odyssey and capture the Tropical Wiggler. To navigate this challenge area, you must use the Tropical Wiggler’s ability to effectively be in two places at once to depress pairs of P-Switches. Begin by standing on the right-hand P-Switch, stretch to the one on the left, and then hurry across the exposed tree stumps before the poison geysers reappear. Repeat this technique at the next pair of poison geysers.
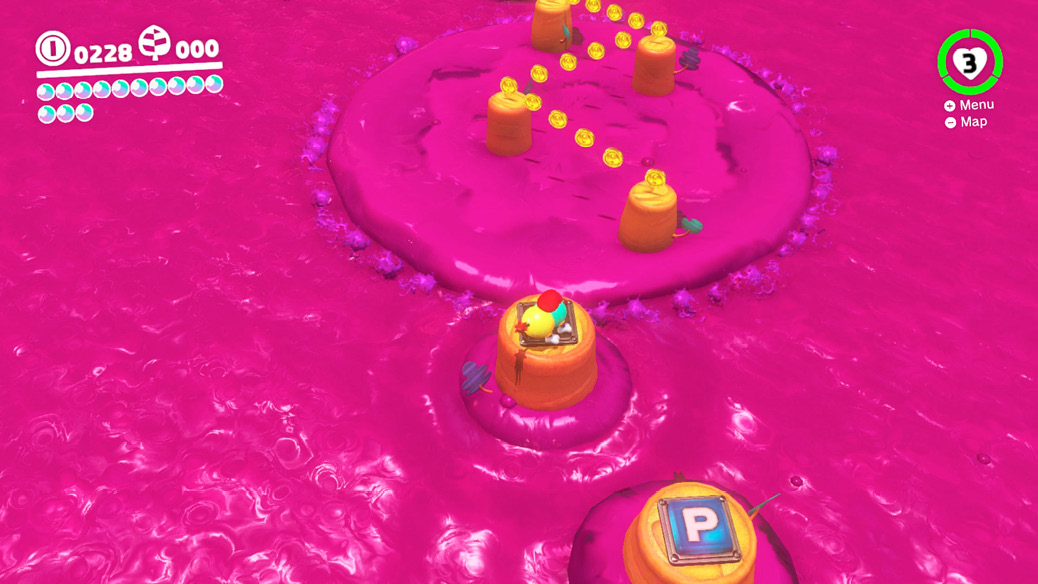
Give the Fire Breathing Piranha Plant a wide berth unless trying to unlock Power Moon #33. Break through the bricks and stretch past the two Tropical Wigglers up ahead. The last section before the Power Moon contains a sequence of tree stumps leading across a massive poison geyser. Move from stump to stump as fast as you can to get out of the way of the geyser before it erupts again.
 Aglow in the Jungle

Follow the instructions for Power Moon #32 until you reach the section with the Fire Breathing Piranha Plant. Clear away the blocks on the sides so that the plant’s fire can reach the torches on either side of the area. Position the Tropical Wiggler either on or in front of the torches to get the Fire Breathing Piranha Plant to spit flame at the torch. Move away without being hit so the flame ignites the torch. Light both torches to earn the Power Moon.
 Chasing Klepto

Leap from Rocky Mountain Summit to the ledge below, on the east side of the mountain, and enter the Moon Pipe. Approach the center, where the caged Power Moon is, and watch as Klepto swoops in and steals Cappy yet again. Mario must get Cappy back if he’s to get either of the Power Moons in this challenge room.
Ground pound past the purple blocks and close in on Klepto’s position in the far right-hand corner of the area. Mario can’t knock Cappy from his beak here, but he can flush Klepto to the purple starburst blocks on the left. And that’s what you need to do! Leap to the upper starburst block where Klepto has gone to chase him off. Ground pound the block he was on, then chase him to the blue blocks on the lower left corner of the room. Use the purple starburst blocks to close in on his position. He flies away again, this time back to the same spot where he was, only the block is in a lower position. Ground pound the raised purple block near Klepto to knock Cappy free! Toss Cappy at the lever to unlock the Power Moon.
 Extremely Hot Bath

Follow the strategy for Power Moon #34 but don’t leave after getting the Power Moon. Instead, capture one of the Lava Bubbles in the area and swim around the tall tower beyond the cage. Leap high into the air as the Lava Bubble to pluck the hidden Power Moon out of the sky.