
Super Mario Odyssey Guide Ruined Kingdom
Mario’s Itinerary
Ambushed Again
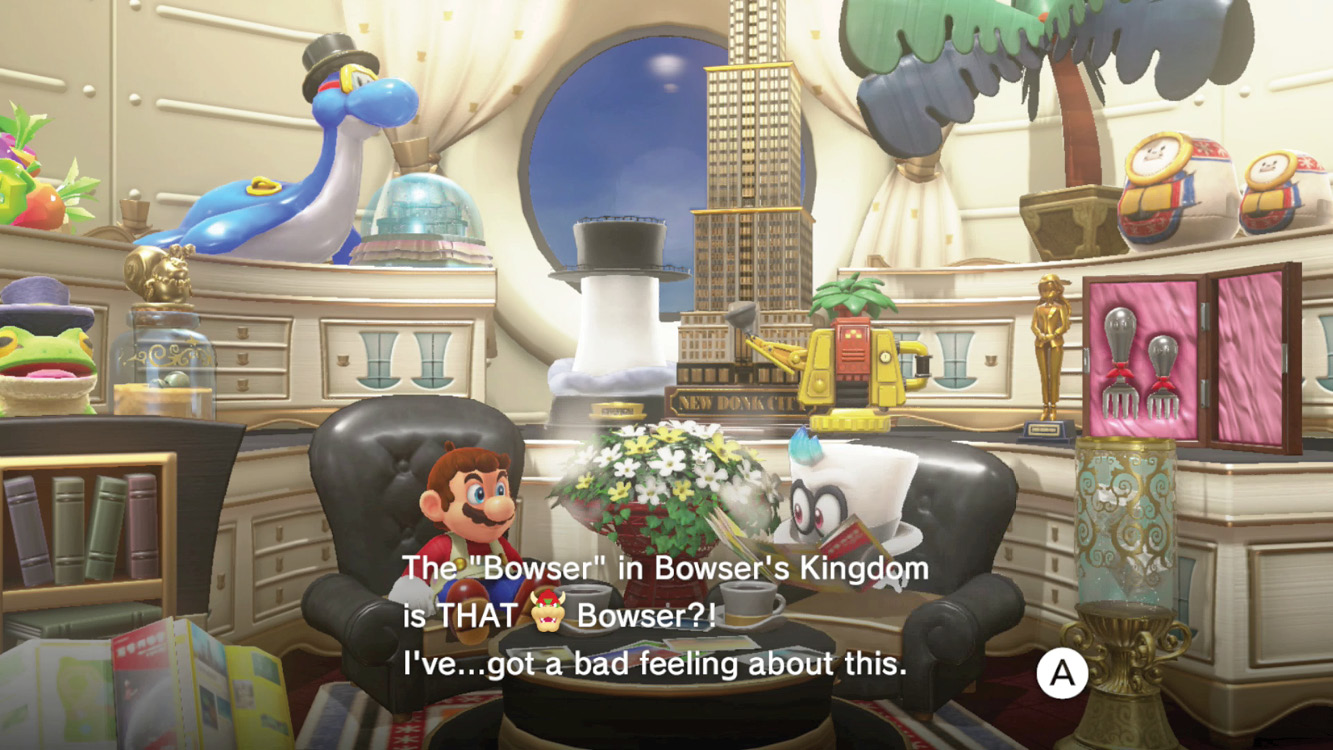
When the crew shoves off from Luncheon Kingdom, it seems it’s finally time to take the battle to Bowser’s homecourt. But Bowser has other plans. Yet again, the fiend intercepts the Odyssey while it’s in transit between kingdoms. For the vile Koopa king, it seems all’s fair in love, war, and forced matrimony. It’s a drag, but Mario will once again have to gauge unexpected surroundings and find a way to get the Odyssey back into sky-faring shape. But these are foreboding surroundings indeed.
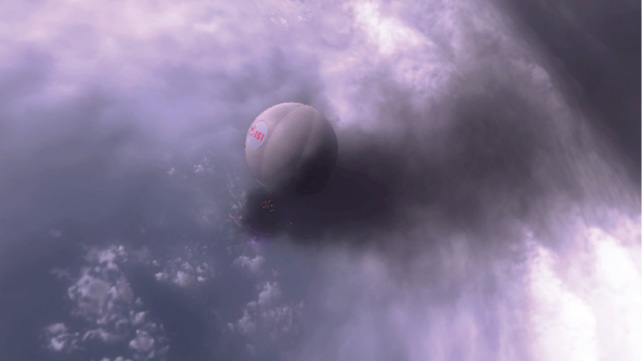
 Battle with the Lord of Lightning!
This kingdom is barely holding together. Ancient cobbling makes up the decrepit tower upon which the smoldering Odyssey now rests. A survey of the surrounding area reveals strange swords embedded in the ground. Use Cappy to pull them up, revealing coins and, at the end of the path, a Spark Pylon.
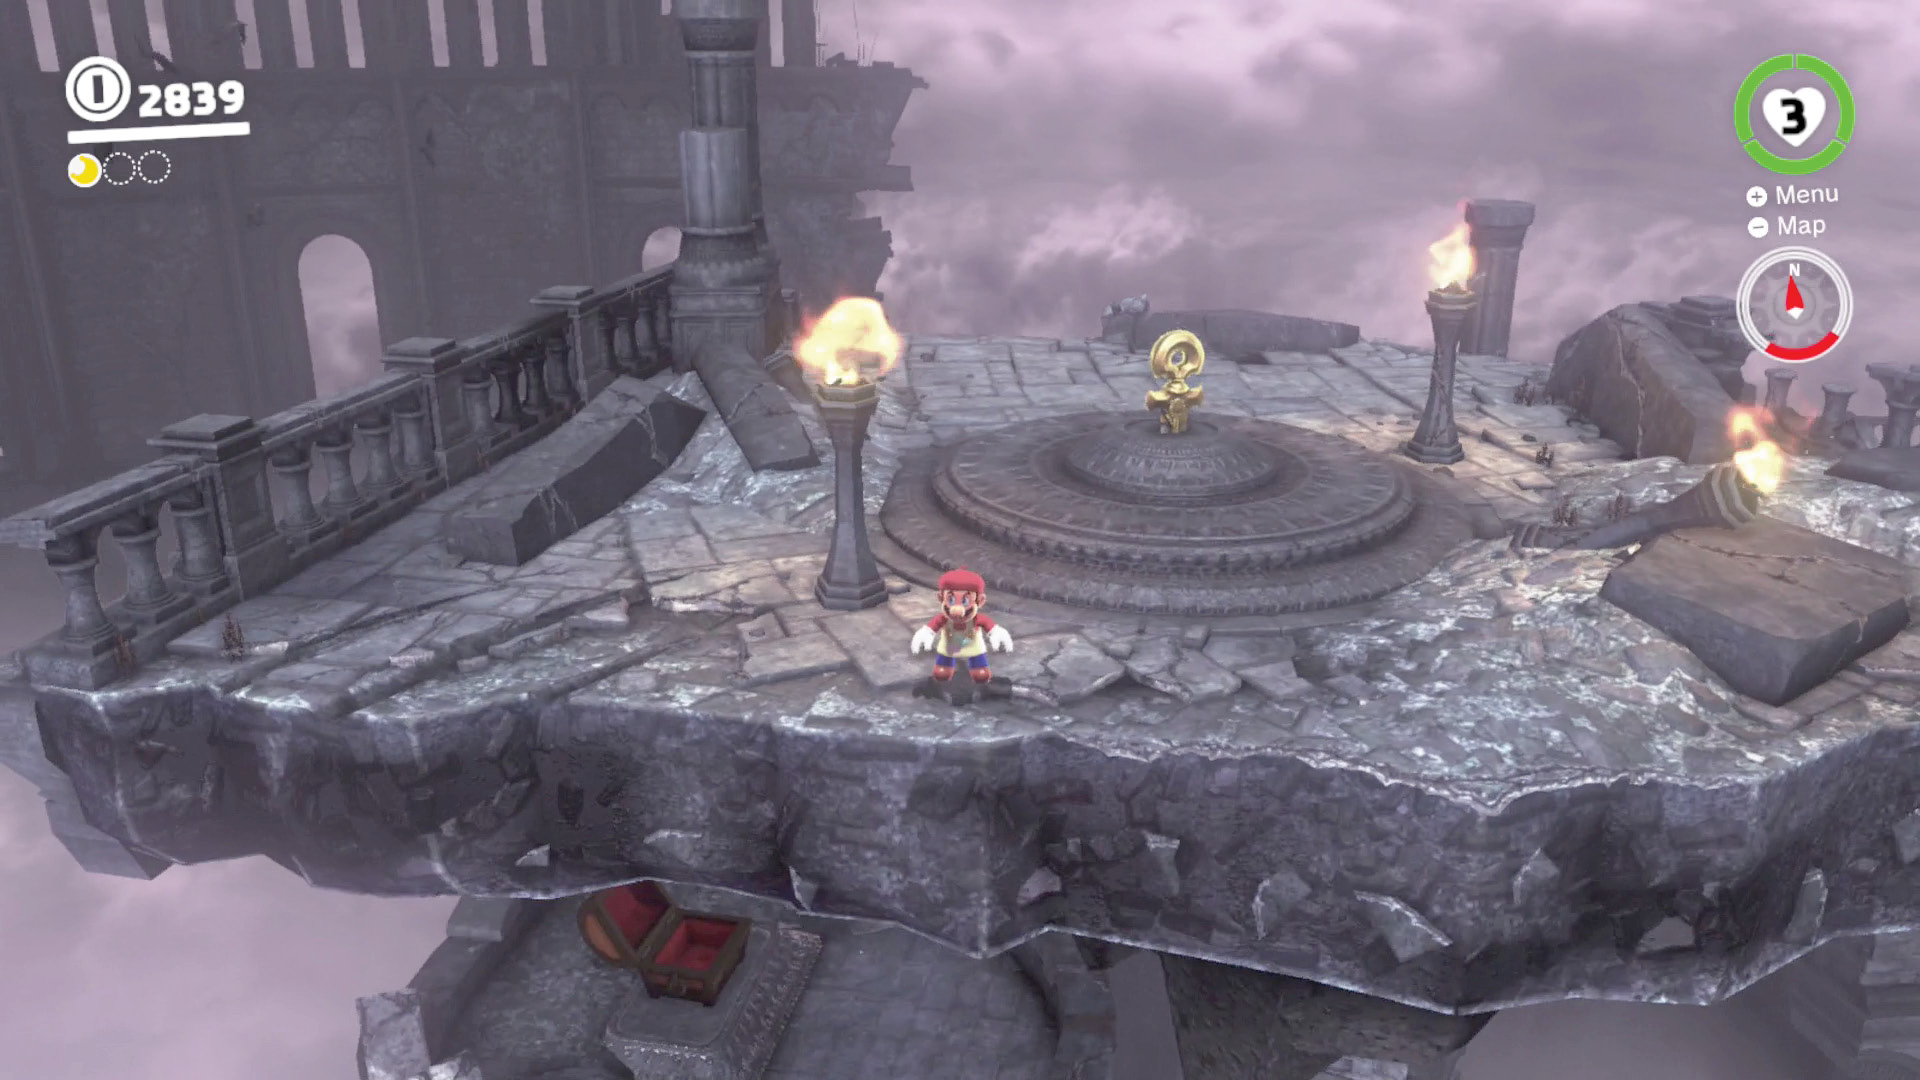
There’s nowhere else to go, so ride the Spark Pylon to wherever it leads. It turns out that this pylon zips Mario to a second, much taller tower, the largest one looming in the background. Naturally, it’s guarded by the very weapon Bowser just used to take out the Odyssey.
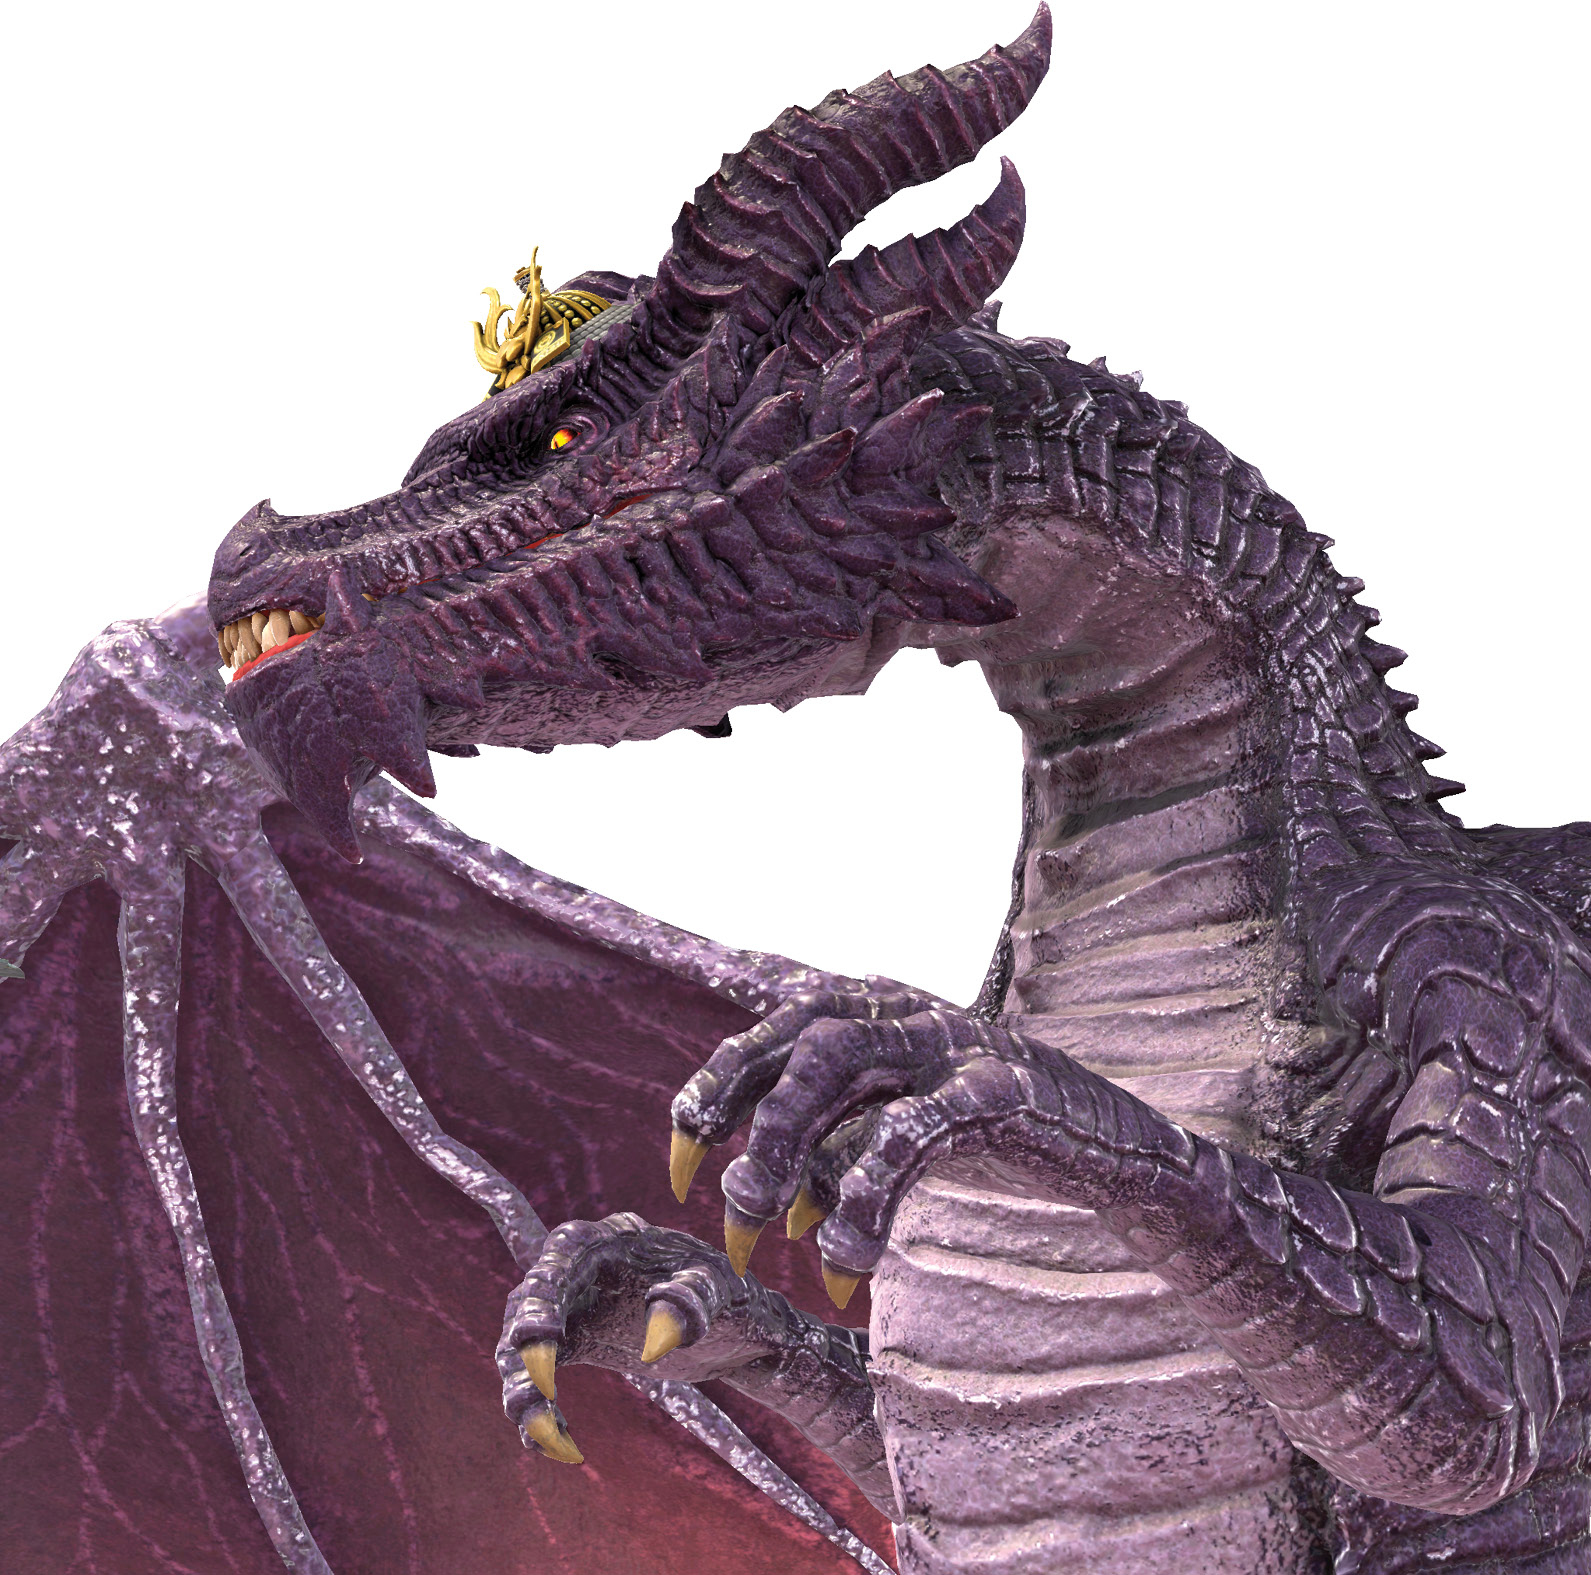
Boss: Ruined Dragon
This towering beast must be deeply puzzled at the strange sight of the colorful plumber and his living hat showing up suddenly in the dragon’s blighted realm. The Ruined Dragon shakes off its puzzlement soon enough and commences breathing lightning at the platform. Rolling rings of electricity spark into existence where the dragon zaps the platform. Run out of the way as these roll past. Often, the easiest way to dodge them is to keep your distance as the dragon sparks up some rings, but then immediately run toward their point of origin as they start rolling. As the fight goes on, the dragon makes more lightning rings when he zaps the arena, and the rings roll toward Mario more aggressively, even doubling back if you attempt to run inside their expanding paths as suggested.
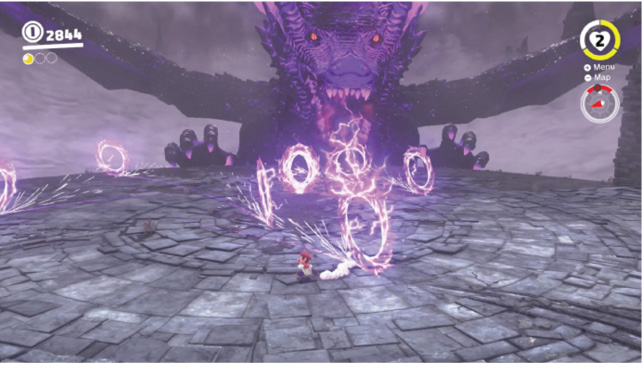
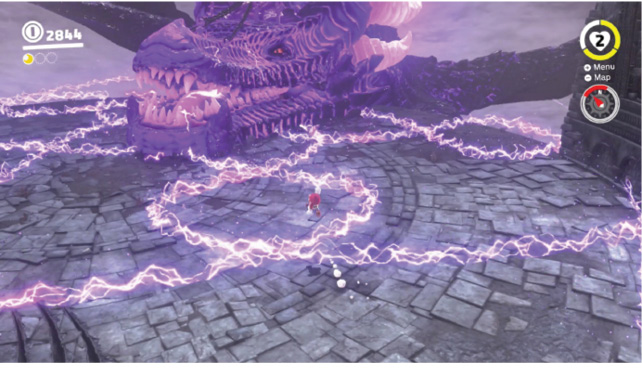
After a round of electric rings, the Ruined Dragon slams its head on the ground, sending waves of electricity roiling across the arena’s floor. Jump over the waves on the ground while also carefully approaching the dragon’s sparking head. Depending on how lightning waves coming in from different angles criss-cross, there may be very challenging patterns of electricity to jump over. Any jump rope practice garnered in Metro Kingdom might pay off now! When the sparking ends, be ready to climb up the dragon’s resting face.
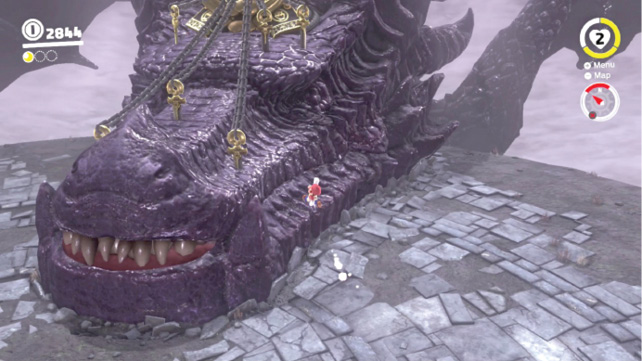
Note the swords standing in the dragon’s head, just like those on the dreary path up here. Use Cappy throws to pull these free. You’re not doing the dragon any favors—you just need to be able to get at the top of its dome! The swords act as stakes securing a heavy protective crown above the vulnerable top of his head.
When all the swords are removed, the protective crown atop the dragon’s head breaks apart, leaving the beast vulnerable to a ground pound attack. As the fight progresses, Burrbos begin appearing on top of the dragon’s head while you’re de-swording it, but move quickly enough and they won’t have any time to swarm Mario. Plus, because you must move quickly anyway, a few extra pests don’t really add much urgency. After the dragon slams its head down and sends out lightning waves, you only have a limited time to pull swords and smash its brain before it rises again.
When the dragon rises, whether because enough time went by or because Mario smashed the top of its head, it progresses back to the lightning ring attack. Each time Mario smashes its head, its attacks become more ferocious, the rings and electric waves more difficult to dodge, and the swords more numerous that pin the cap to its head.
If health is needed during the fight, look for glowing spots on the ground in the arena. Ground pound these to reveal Hearts.
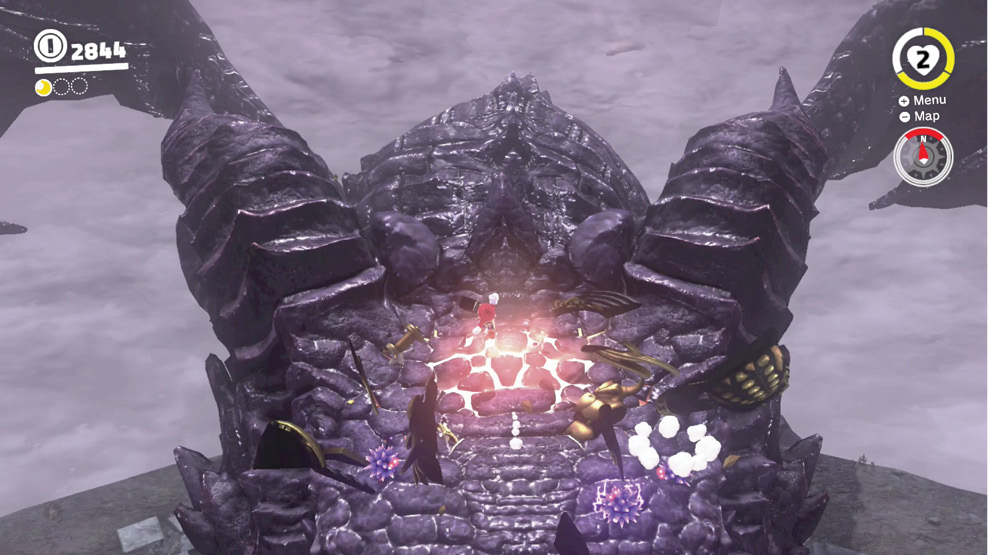
Ground pound the dragon’s head three times to dethrone the beast, earning the Battle with the Lord of Lightning Multi-Moon in the process. Three Power Moons just happens to be enough to repair the Odyssey, too. There are no more detours… it’s straight to Bowser’s turf this time. Or, to other places first, if you want a detour.