
Super Mario Odyssey Guide Snow Kingdom
Mario’s Itinerary
The Snow Kingdom lives up to its name on arrival, buffeting the Odyssey and Mario with a blizzard on touchdown. Mario visibly shivers in the cold. Visibility is terrible in the storm, and there are drop-offs leading to narrow paths and frigid water in most directions, so take care. A clue points down a narrow walkway toward a small, frozen plateau.
Atop the small snowy plateau, you find the first checkpoint, Above the Ice Well. Near this checkpoint, a thick mat of snow covers up the entrance to the underground dwelling of Shiveria. Throw Cappy to knock aside enough snow to expose the well, then dive in.
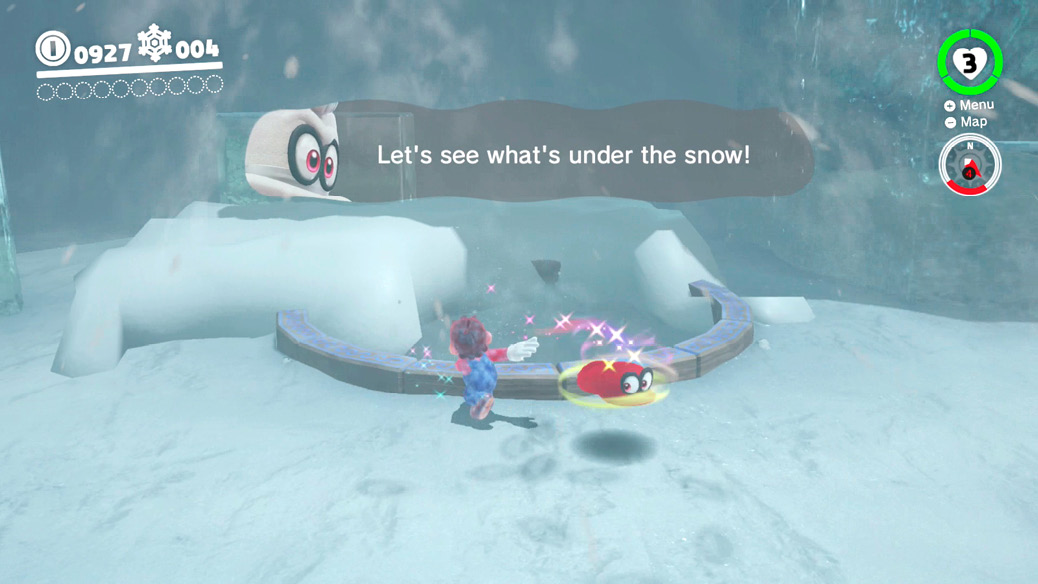
 The Cake Thief’s Parting Gift
Falling down the well spits Mario out into the town. Explore the wide subterranean halls and visit the souvenir shop while progressing toward the main gathering space. A downcast vibe can be detected among the Shiverians, and it turns out this is for good reason: Bowser has stolen their famous, exquisite Frost-Frosted Cake, and set up barriers between the locals and their treasured race course! Dealing with stolen cake might have to wait a bit, but more immediately, race circuit access can be restored by retrieving Power Moons in four spoke rooms off the main chamber of Shiveria Town. Explore these starting with the right-most one, near the pole leading up to the main chamber’s second floor, then proceed counter-clockwise through them all.
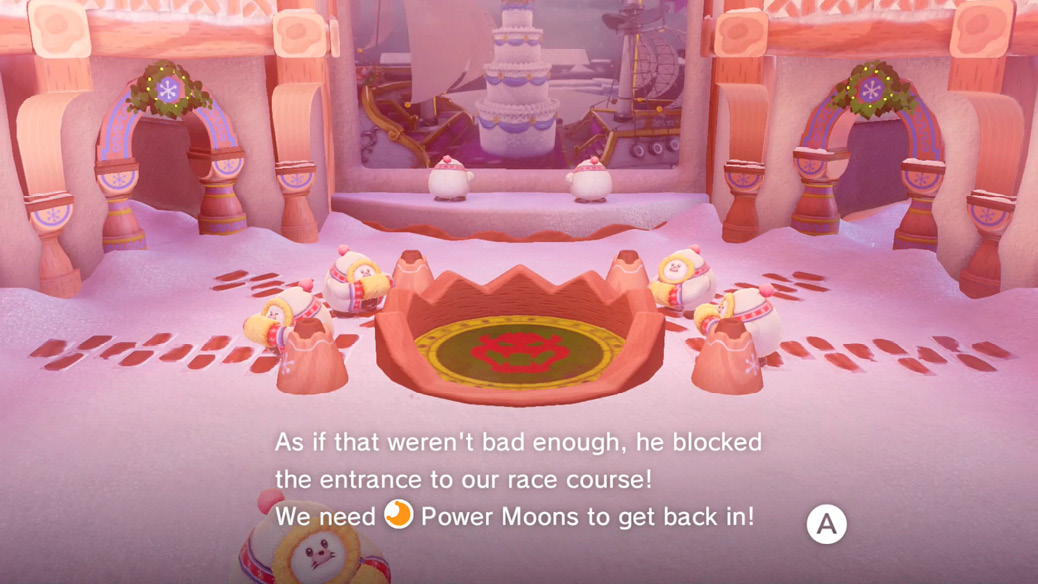
Icicle Cavern
An icy surface in here leads to slippery footing. Momentum in any direction needs to be compensated for by running in the other direction, or by jumping and then redirecting suddenly in midair with a tackle. Or, you can capture a Goomba, who has much surer footing here than Mario. There are lots of Goombas about, and a respectable stack of them is useful throughout this cavern.
Watch out for the circular shadows. These indicate a shaky stalactite above. Step under the shadow and keep moving so the icicle plunges down and sticks, without hitting Mario. Knocking down an icicle safely like this means you don’t have to worry about it anymore, and it can also create a small platform.
Coax down the icicle at the foot of the small platform holding a Goomba button, then use the top of the fallen ice as a step. A stack of at least four Goombas can trip this button and expose a Power Moon behind nearby ice.
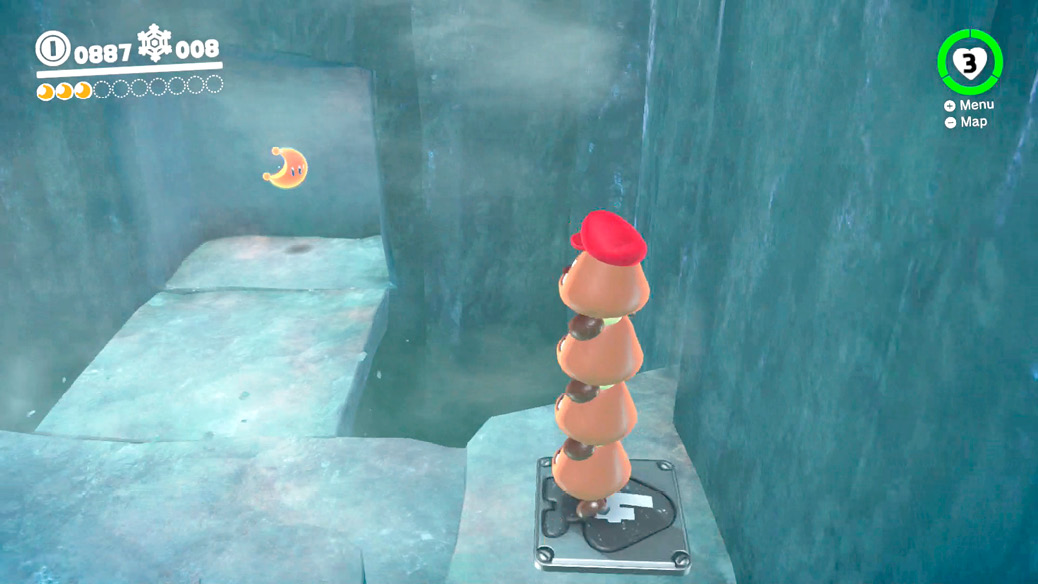
Collect Power Moon #18, the Ice-Dodging Goomba Stack Power Moon, then cross to the other side and climb up to the main shelf there. On the Goomba hike up there, you find small gaps to jump, icicles to dodge, and fallen ice to use as steps.
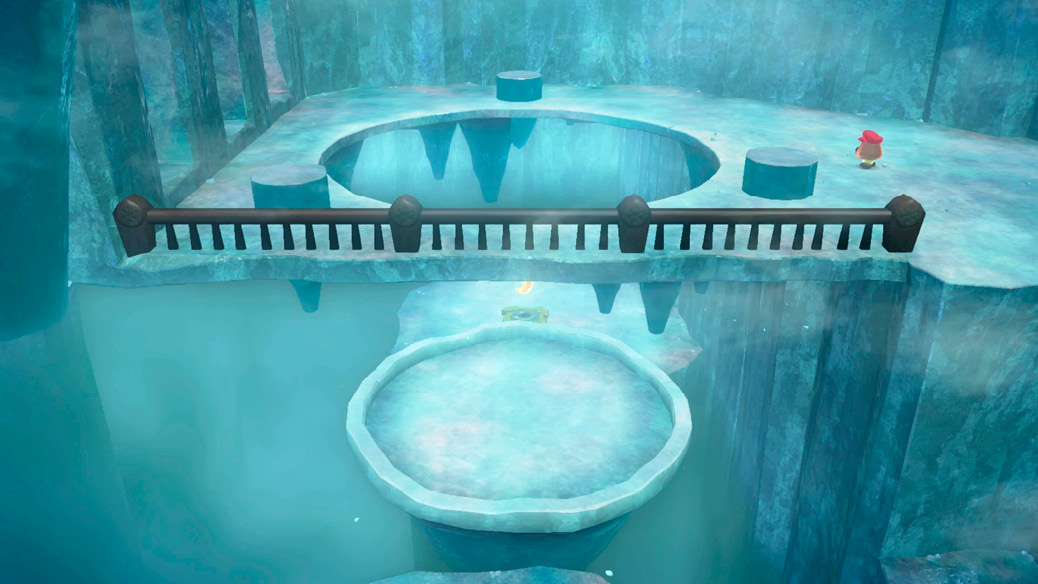
At the top are more Goombas to recruit, some high Regional Coins that are easy to nab with a tall stack, and some even higher Regional Coins between columns that are easy to pocket thanks to back and forth wall jumping. Note the big circular platform suspended here. At points along its edge, fractured-looking ground can be seen right underneath an icicle shadow. Step under all the shadows here to knock down stalactites into weak flooring, shaking loose a huge chunk of the shelf up here. The way is open to Power Moon #01, and the exit pipe.
Hollow Crevasse
The top-right spoke (relative to the center of Shiveria Town) leads to a room with square water pools in between a grid path on the ground. Five Power Moon shards are spread in sight at ground level. Is there a catch? No, just ice monsters that burst up from the snow. Watch out for Bitefrost shadows on the paths here, and jump off them quickly if they surge upward, carrying Mario into the air for a bite. The Bitefrosts can also be avoided by using the pools, but then there’s obviously the hypothermia problem. Also, the moon shards aren’t in the water. Collect all five shards to create a Power Moon up above, near the room’s exit. Climb the big steps toward the exit, improvising Bitefrosts as raised platforms as needed.
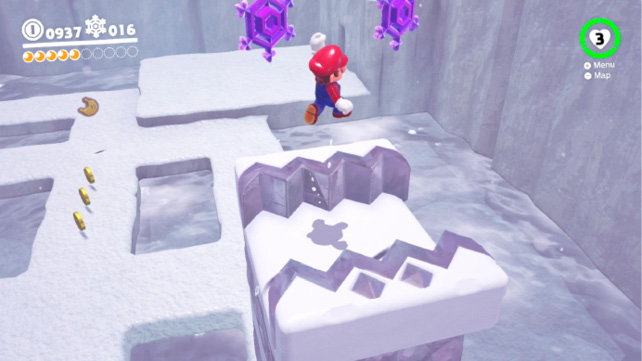
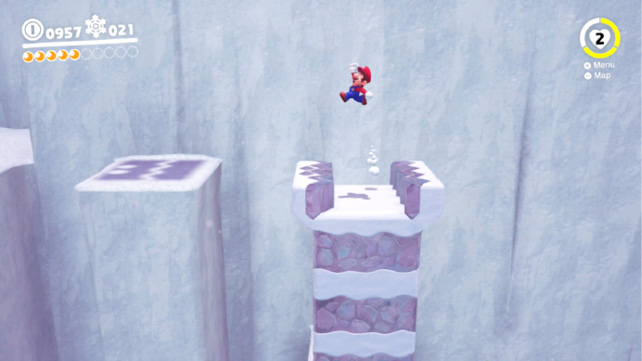
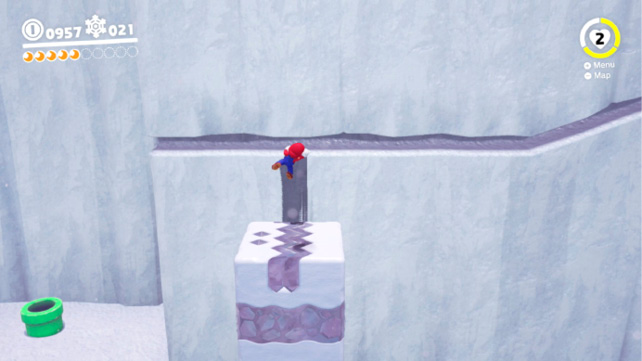
At the top, collect Power Moon #02. Before exiting through the pipe, look above the path that led here to see a slit in the rock just big enough to allow a handhold. Jump up and press against it for Mario to cling to the tiny ledge. Now shimmy to the right, until the hand-sized channel opens up into a little room. Hop up and crack open the treasure chest for Power Moon #12, theTreasure in the Ice Wall. With two Power Moons in hand, this room is clear.
Snowy Mountain
Next up, the top-left spoke contains Snowy Mountain. This chamber involves an ice climb upward, with hat trampolines and updrafts giving much-needed vaults upward. Use Cappy to brush aside piles of snow and knock open closed hat trampolines.
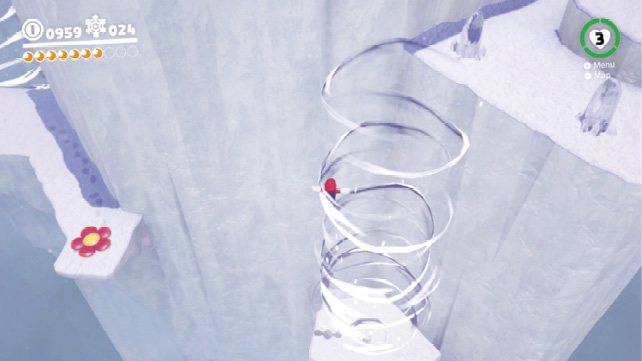
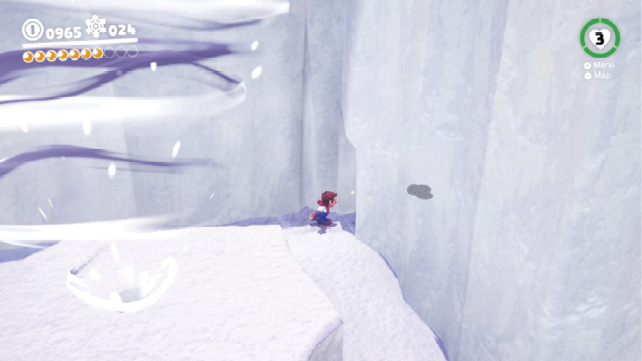
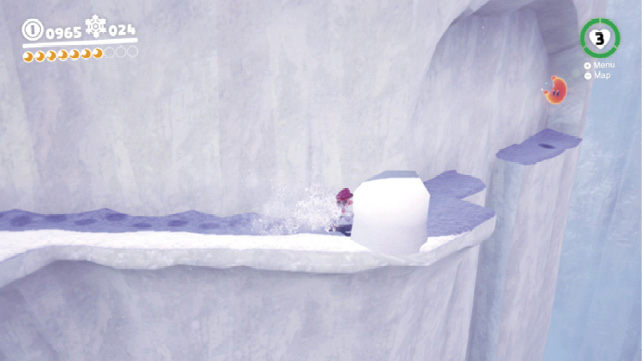
Before ascending all the way, at an updraft spigot, notice a curious gap in the wall beyond. Cappy can clear the snow clogging the small gap, then Mario can pass through to discover a path farther around the edge. At the end of this wraparound passage, find Power Moon #07 and some hidden Regional Coins down the deep shaft below!
Head back to the last updraft spigot and launch upward for a surprise encounter with another dastardly hare henchman.
Boss: Rango
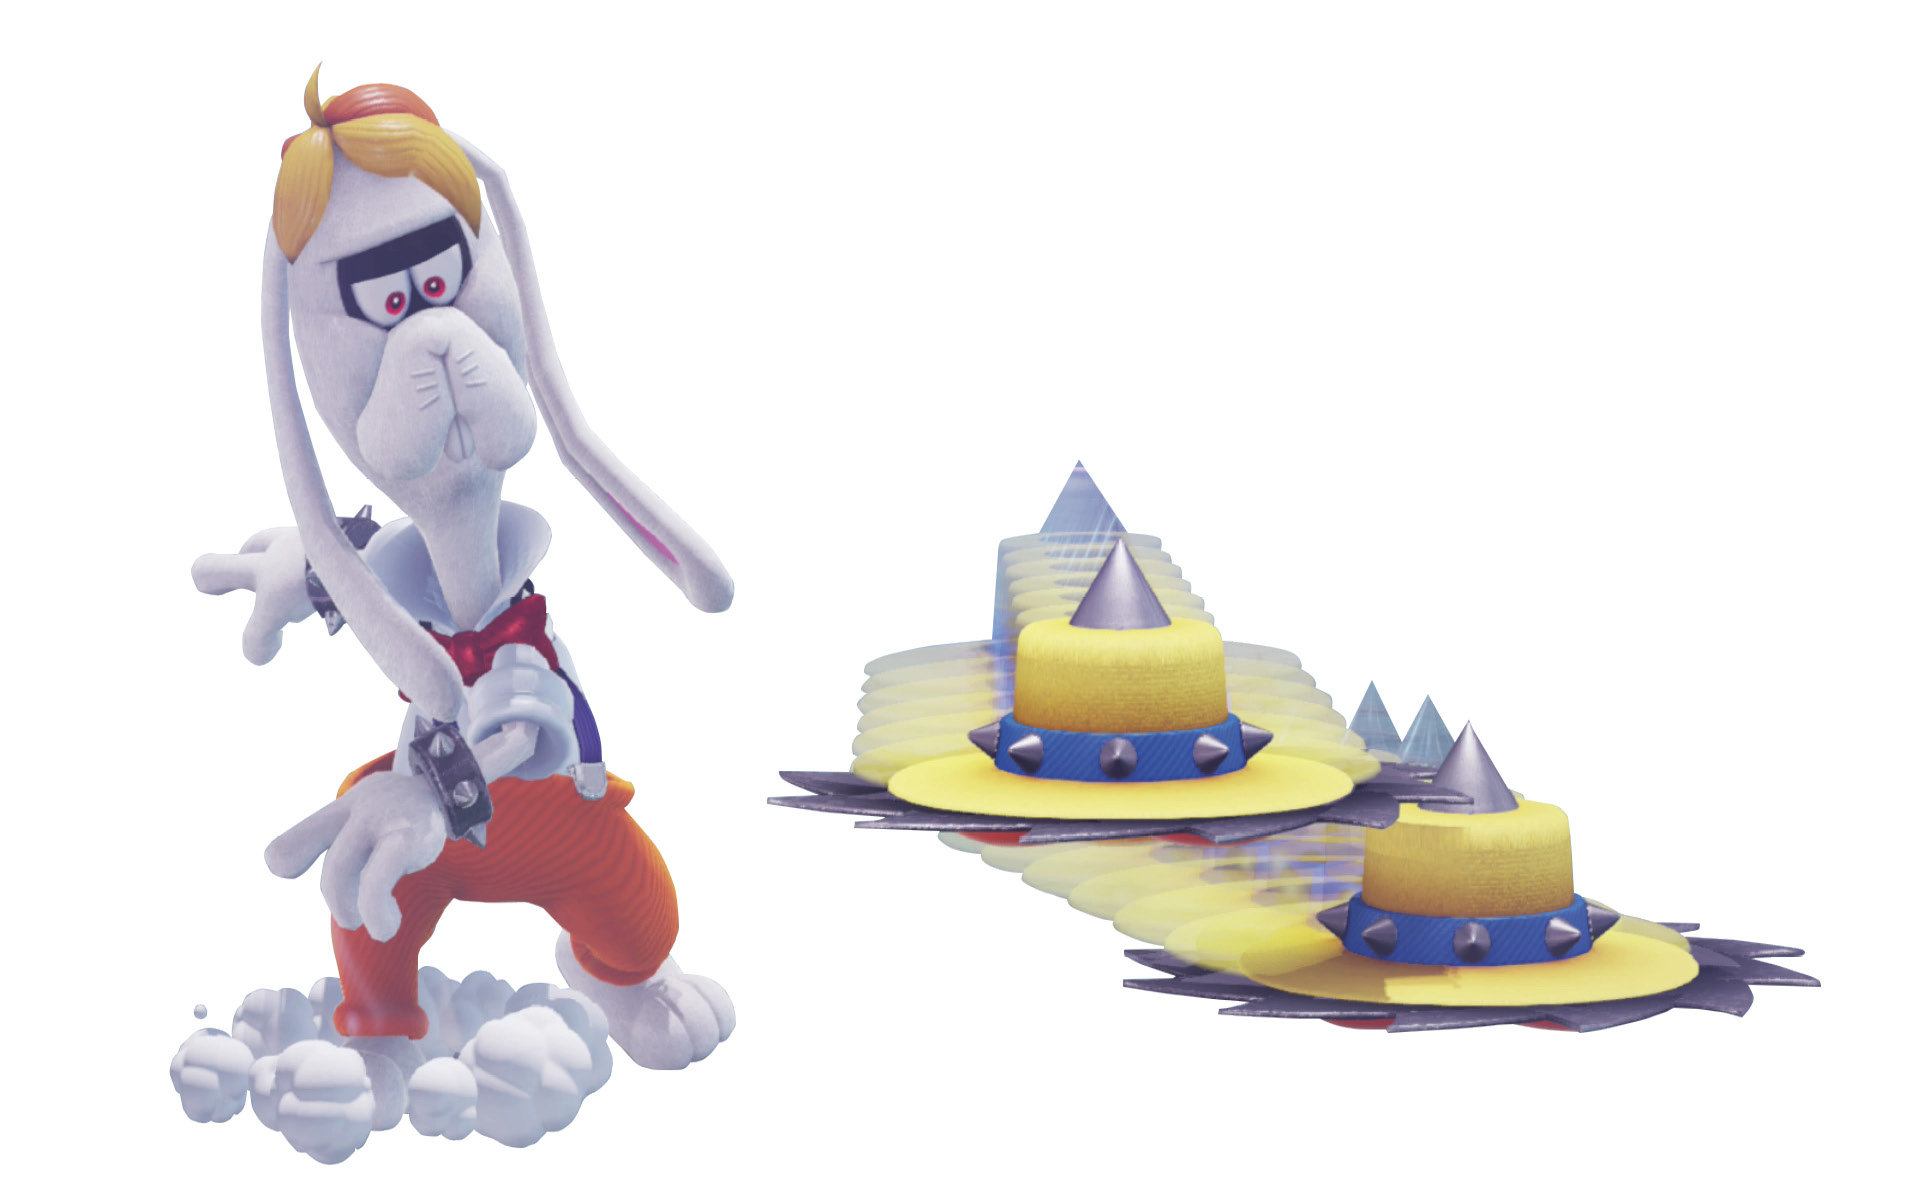
Bowser’s flagship was seen with the Frost-Frosted Cake on the Shiverian’s gigantic projection screen, but the Broodals’ ship is here at Snowy Mountain. Rango jumps down to stop Mario and Cappy with his blazed buzz saw hats. Beware the slick surface up here, which makes Mario scamper furiously against his slides to correct inertia on the ice. If health is needed during the battle, break the rocks embedded in the ice floor, since they sometimes turn up Hearts.
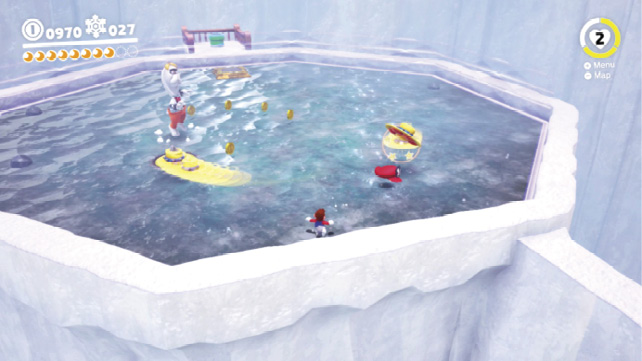
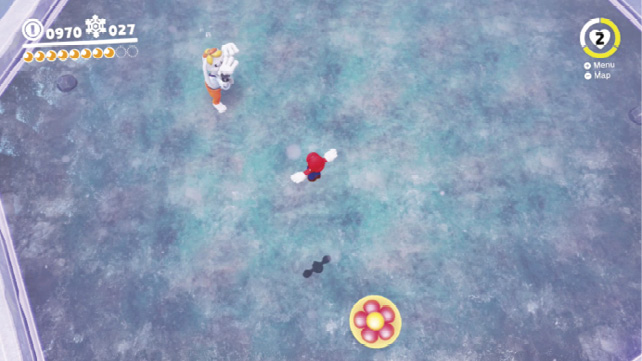
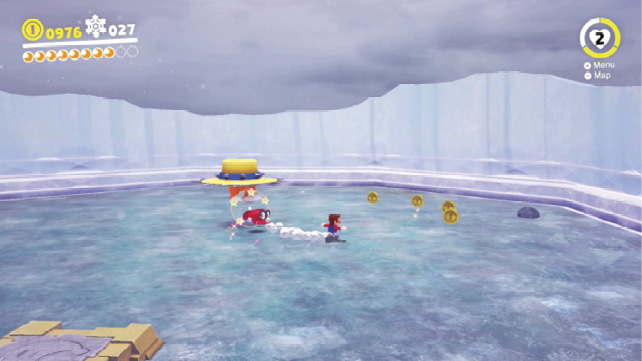
Meanwhile, Rango throws dangerous hats in wide arcs at Mario, but while he’s throwing hats he’s not wearing them. Be ready to strike one of his hats with a cap toss of your own, and Rango’s hat flips upside down and becomes a temporary hat trampoline. Launch off Rango’s flipped hat then glide gracefully down onto his head while he cluelessly wonders what happened. To speed things up, you don’t have to use Rango’s own hats against him. With skillful jumping, you can also bypass this step. Time a jump aimed at Rango’s head to launch just as he throws his hats.
After hitting Rango, he goes mad for a bit, bouncing toward Mario relentlessly with blades bristling on a big hat. Run away quickly and hit Rango with cap tosses to redirect him and slow him down. When he returns to his hat throw attacks, stomp on his head again.
When Rango’s finally worn down with Mario stomps, the way back out is clear, and Mario receives Power Moon #04!
Wind-Chill Cavern
The bottom-left spoke is the last blockade to clear before reinstating racing season in Shiveria, if you proceeded counter-clockwise through them. The violet muck around solid ground here is poison, so falling is doom as surely as if it were an empty pit. Cloud-like Ty-Foo creatures blow gusts of forceful air on platforms here, which push Mario and stray Spinies alike into the poison. Observe Ty-Foo patterns, then move around them in between gusts. Spinies cannot be directly defeated, so dodge them, or knock them off and into the muck with rapid cap throws. Guide Spinies past a Ty-Foo and the Ty-Foo will probably inadvertently take care of the Spinies for you.
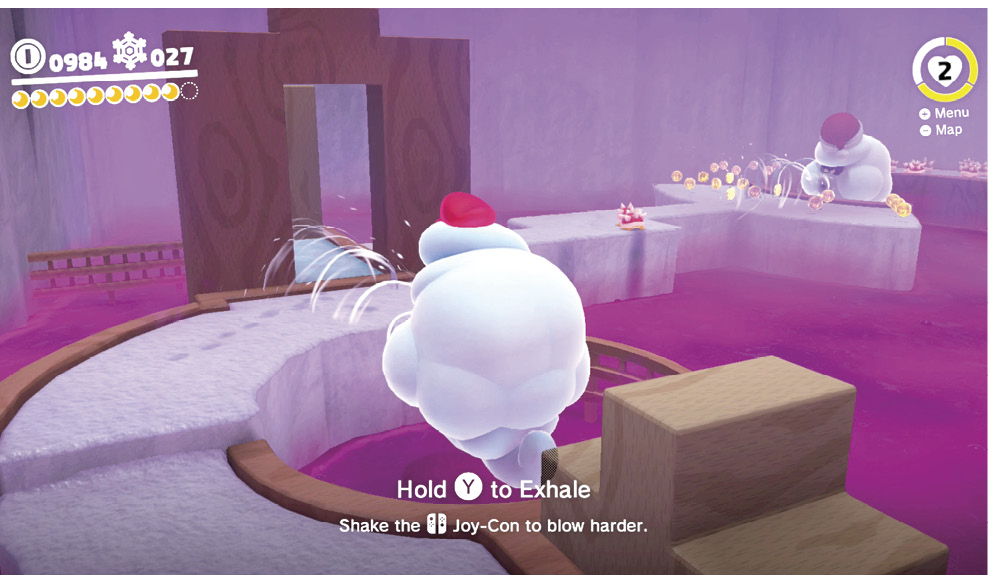
When crossing on the far end, ride the platform being passed between two Ty-Foo clouds, then capture the farthest Ty-Foo and use it to block the next loose platform out of its slot, opening the path forward. Run through as Mario. Before continuing, climb up onto the platform you just blew through the opening, then look atop the arch it popped out of. There’s a subtle X mark on the arch! From the top of the platform, jump toward the arch, toss Cappy at it, then tackle and hold down the Cap Throw button to dive jump. Control Mario after the bounce to land on top of the arch, in position to ground pound the X and gain the Atop a Blustery Arch, Power Moon #09.
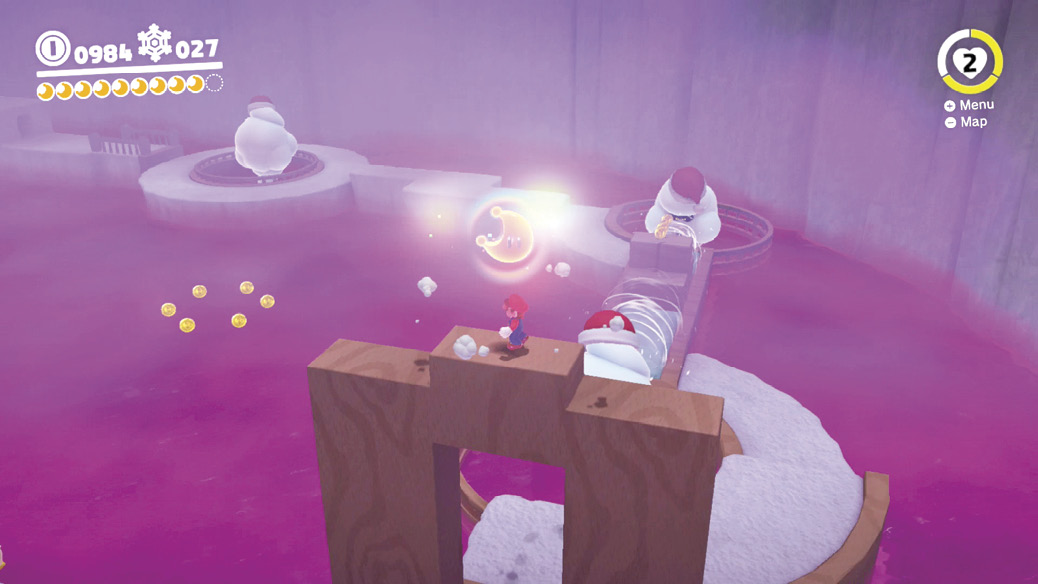
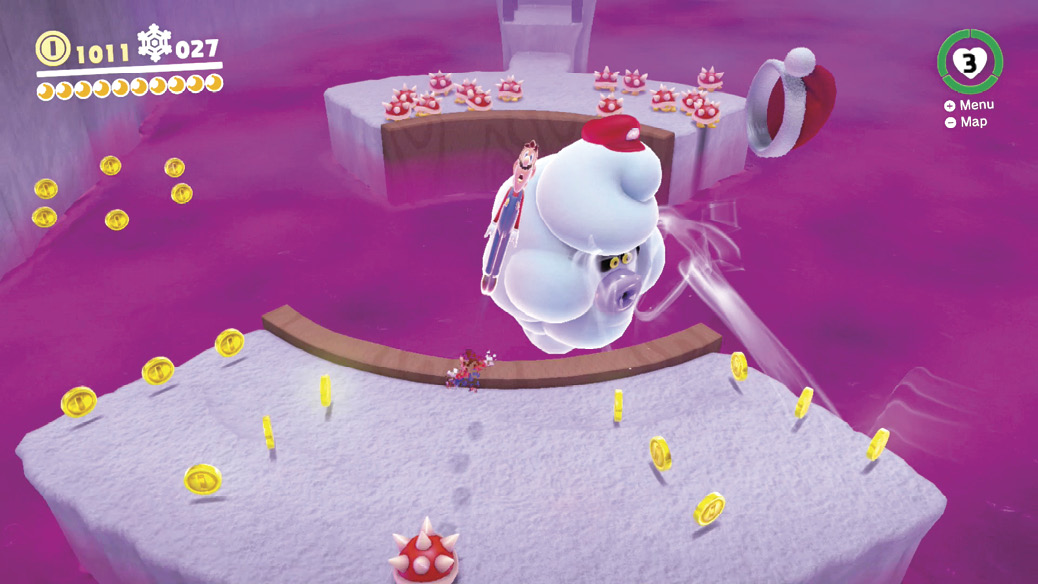
The next platform leading to a Ty-Foo is covered in tempting coins, but the Ty-Foo here covers the entire length of the platform with its gusts. Run up to it quickly when it’s pointed sideways and capture it. This Ty-Foo isn’t confined by platforms like the others in this room, so float around freely and collect the Regional Coins floating over the poison liquid. Float over to the platform crawling with Spinies and blow them all off into the poison to reveal Power Moon #03 on the back of that platform!
Snowline Circuit
With Power Moons collected from all four spoke hallways, and all four barriers removed, the slalom route to Snowline Circuit is open. To go, just hop down the hole in the center of town. A pipe at the bottom leads right back up here if an immediate return is needed.
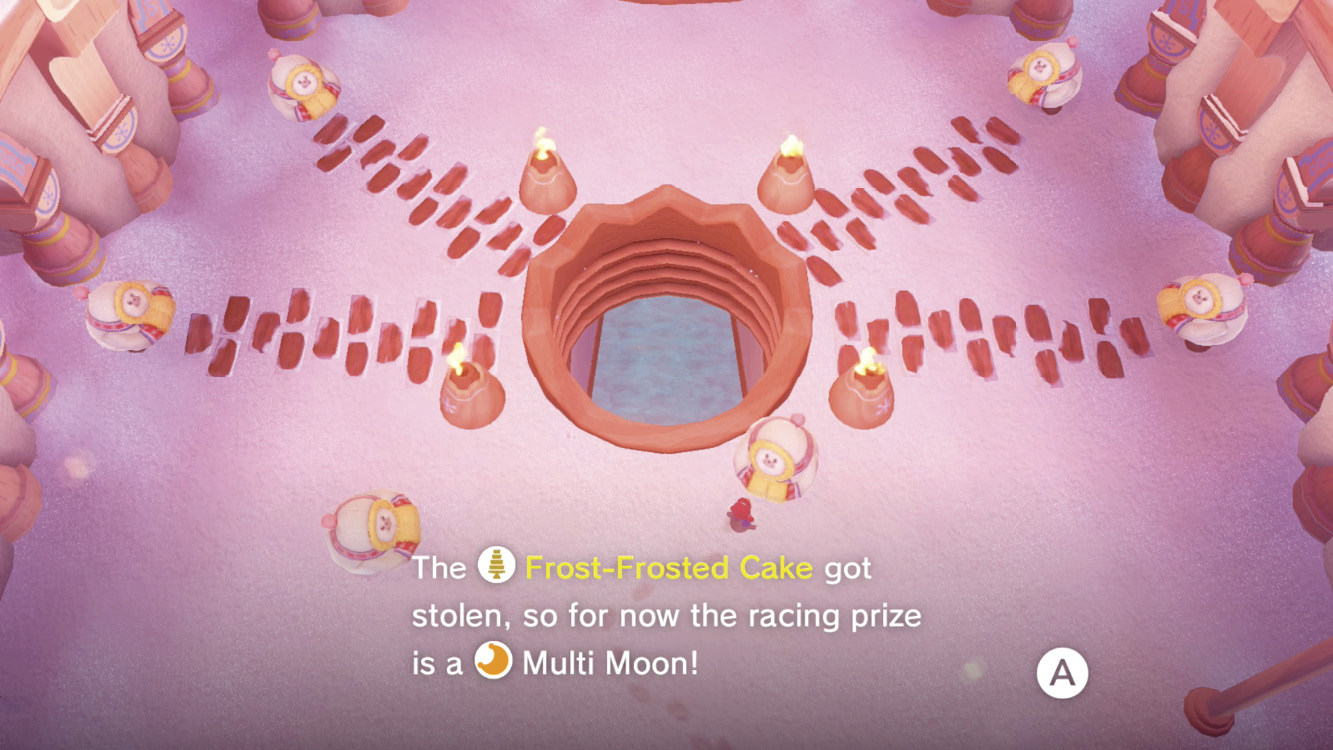
The chamber below overlooks the gorgeous wintry racetrack. Organizers down here are trying to get the next race set up, but they’re one racer short. Unfortunately, Mario is too small to race with the Shiverians.
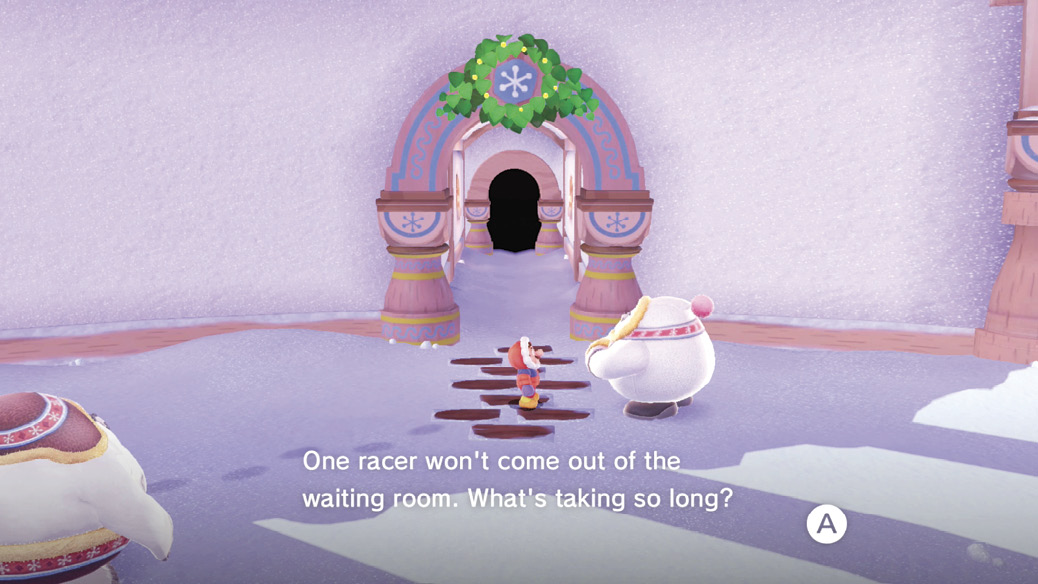
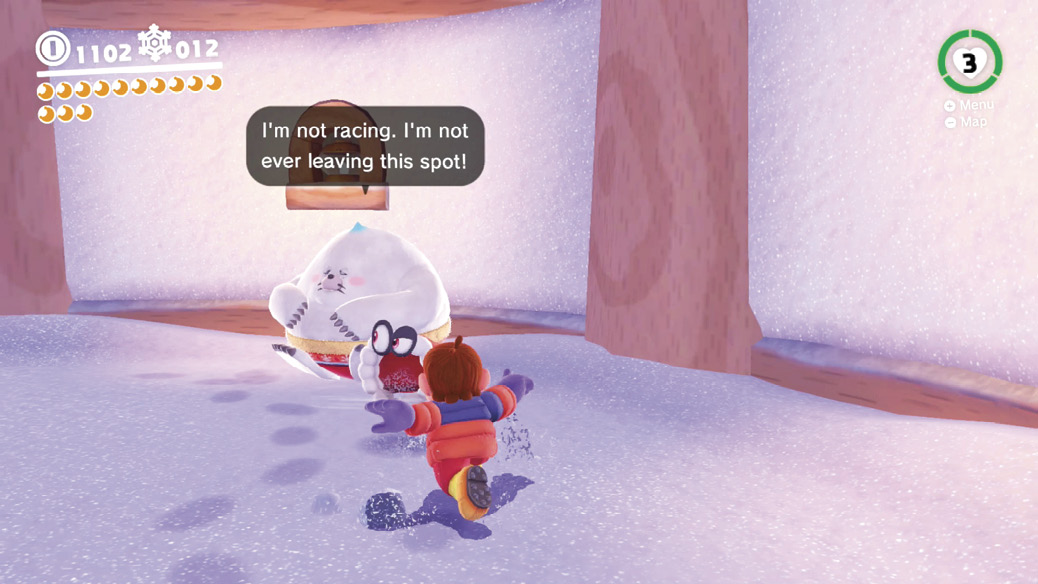
Head into the waiting room next door. Before heading upstairs, curve around to the right to find three hidden Regional Coins. Head upstairs to discover a shivering Shiverian racer, scared to come out and compete.
Capture the racer and bound up the path, tapping the Jump button or shaking the controller whenever the round racer touches down to get a boost of speed and bounce distance. Bounding with good timing is the most important thing to learn when it comes to Shiveria races. Bound up to collect the four Regional Coins and the coin rings along the way, then tumble back down to the Snowline Circuit entry queue. With a Shiverian body, there’s nothing stopping Mario from entering now! You get a chance to run a training lap before the real deal, so take the time to get comfy bounding.
The Bound Bowl Grand Prix
When you’re ready to race for real, you run a three-lap race against seven other bounding Shiverians. The track runs around four wide, banked, 90-degree turns, but in between there are various curves and quirks to the track to keep it from being a series of turns and straightaways.
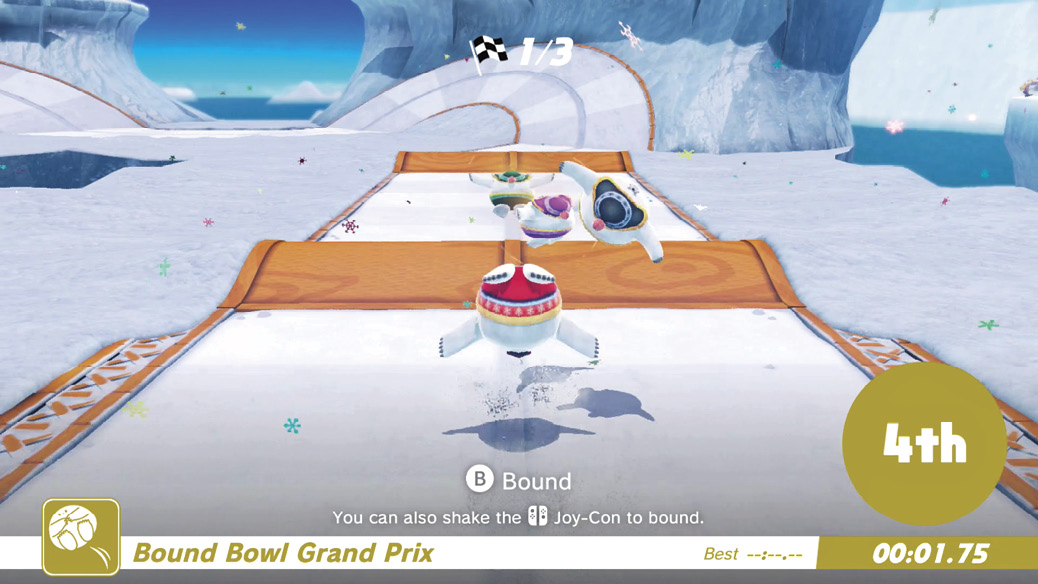
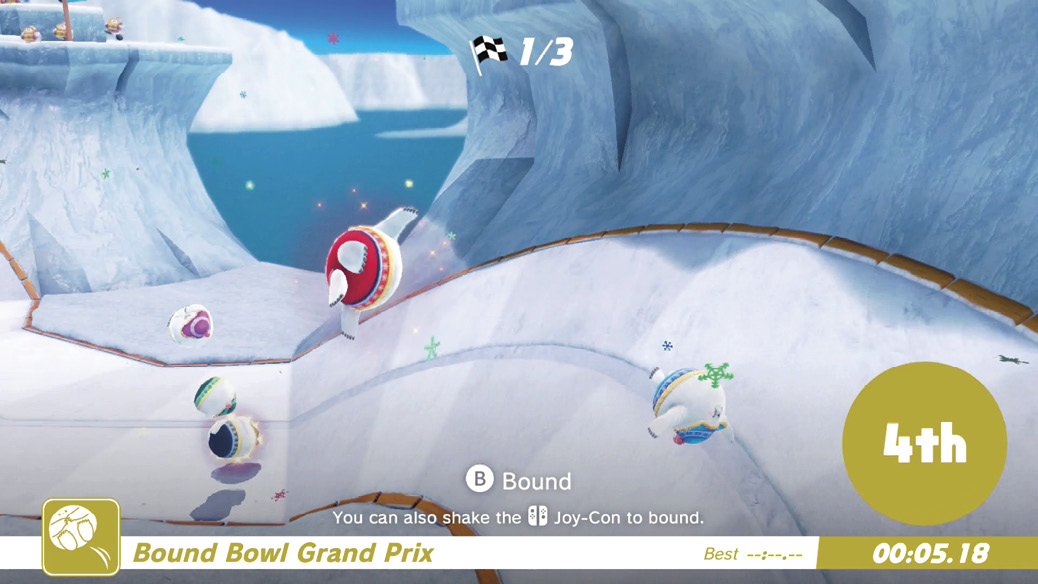
When bounding off a banked surface, a Shiverian racer can change directions laterally very suddenly, with a speed boost to boot. This is great on wide corners, where you can instantly go from max speed in one direction to max speed in a new direction. But it can be bad on straightaway stretches with sharply angled slopes. Bounding off a sharp angle when you really want to keep going forward might jet the Shiverian racer off the side, into the rough. When coming down at weird angles, avoid bounding if you’re not sure of the trajectory. Otherwise, always bound! You have to bound almost every bounce and aim them all well, never going off track, to get truly good bounding race times.
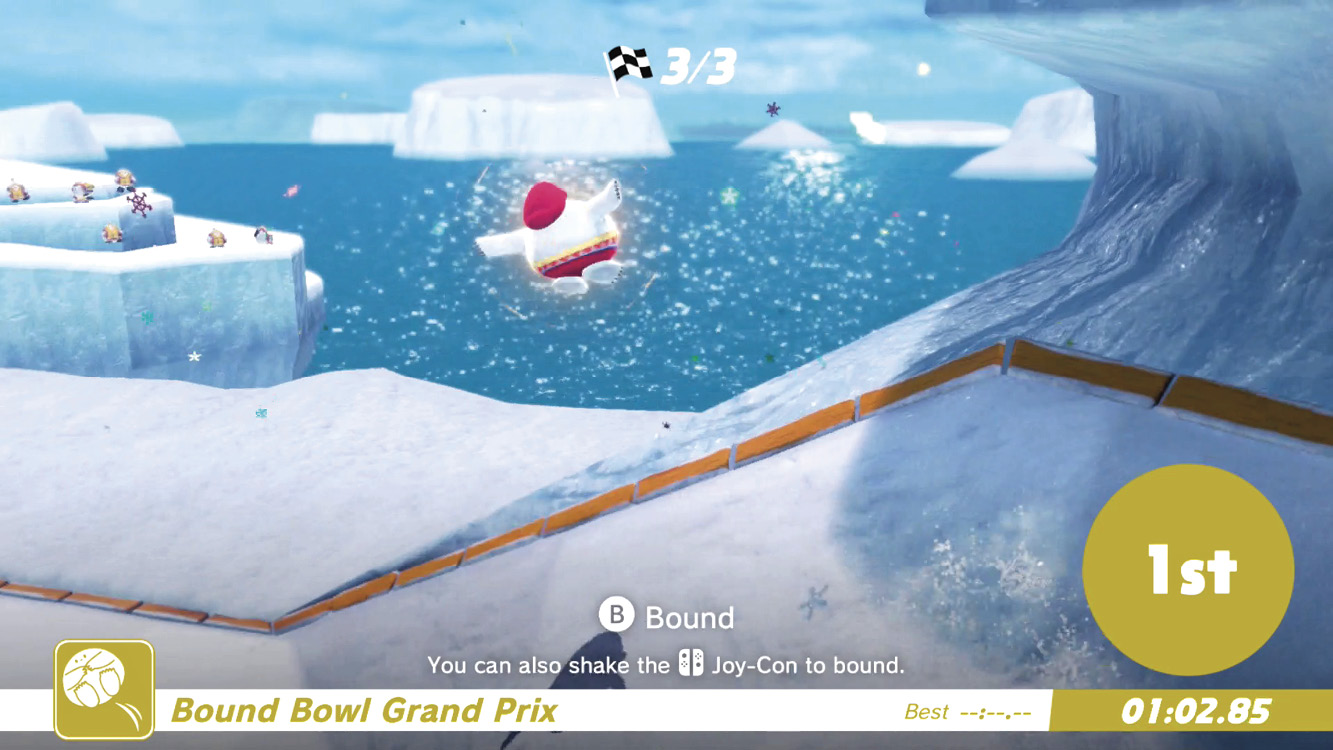
Win the race to take the prize: Power Moon #05. You could’ve taken the cake, but that’s been stolen. This Multi-Moon plus the two Mario picked up in each spoke room, equals 11 total, not counting any others you may have picked up along the way. This is enough to get the Odyssey going to the next kingdom.