
Super Mario Odyssey Guide Lake Kingdom
Power Moon Locations
 Power Moons
 End of the Hidden Passage
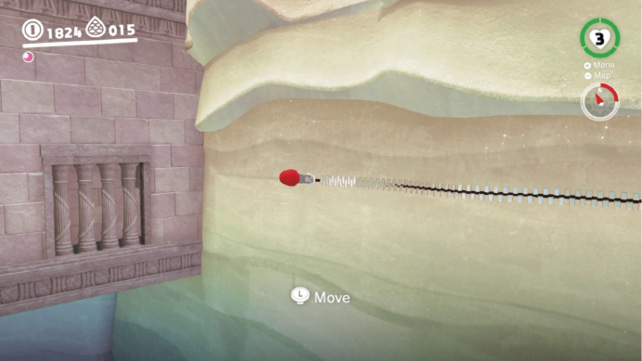
Bounce from the hat trampoline in the Courtyard up to the small ledge on the wall above Lake Lamode. Capture the Zipper and unzip the lengthy rectangular panel of the wall to reveal a hidden passage. Follow the trail of coins that appears to the Power Moon at the end.
 On the Lakeshore
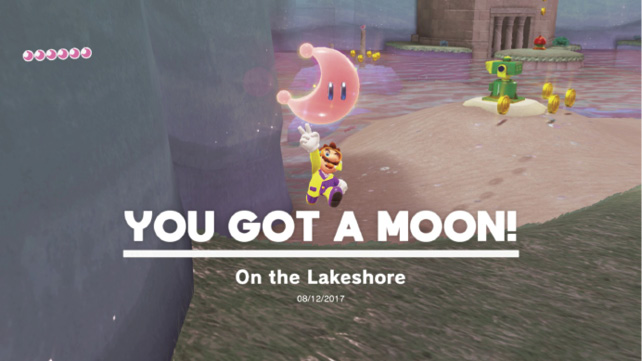
This is both one of the easiest Power Moons to get in Lake Kingdom, and one of the most easily overlooked. Seek out the glowing spot on the ground behind the Binoculars and perform a ground pound to unearth the Power Moon hiding in the sand.
 From the Broken Pillar
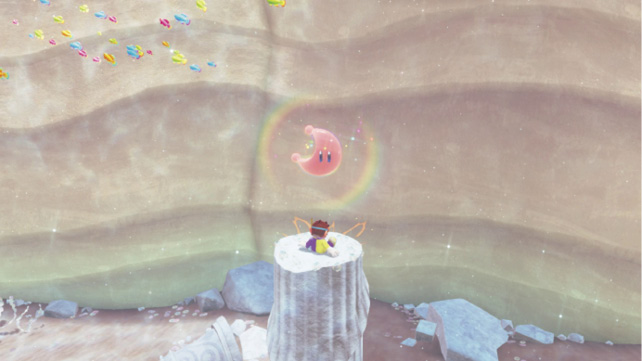
Exit Water Plaza on the bottom level and swim a short distance to the right, toward the broken pillar beneath the side room with the dome. Ground pound this broken, underwater pillar to uncover a hidden Power Moon.
 Lake Gardening: Spiky Passage Seed
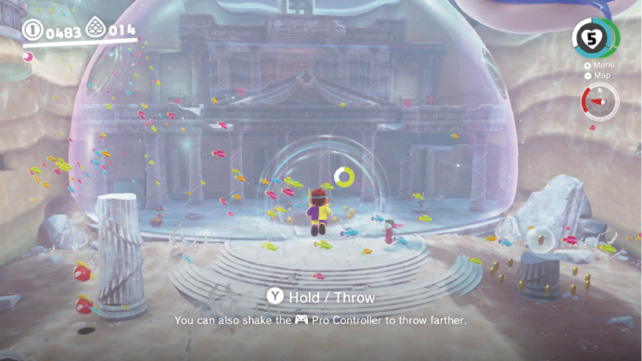
Speak with the Lochlady on the ground floor of Water Plaza to learn about the seed she lost in the spiky tunnel. Warp across the lake to the Underwater Entrance and swim back through the tunnel, past the Komboo and Cheep Cheep, toward the flood gate. Grab the seed near the air bubbler and swim up the shaft. Use the hat trampoline to exit above the flood gate. Ascend the repaired stairs and swim back across Lake Lamode with the seed. Toss it into the pot to grow. Come back periodically to check on it—it will eventually grow a golden fruit. Hit it with your hat to gain a Power Moon.
 Lake Kingdom Timer Challenge 1
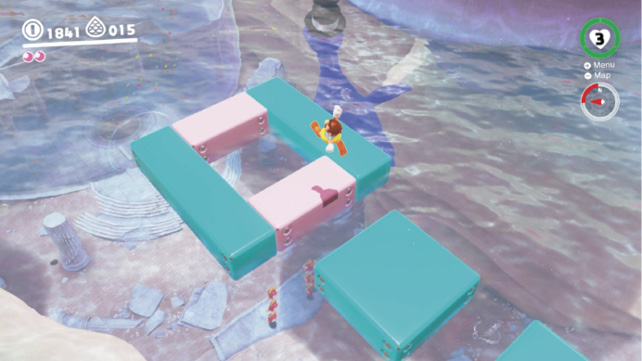
Find the scarecrow to start the Timer Challenge on a small island in Lake Lamode. Triple jump across the floating platforms as they bob in the water, then ground pound through the hole in the center of the third platform. Continue performing underwater ground pounds to submerge as quickly as possible to get the Power Moon before time expires.
 Lake Kingdom Timer Challenge 2
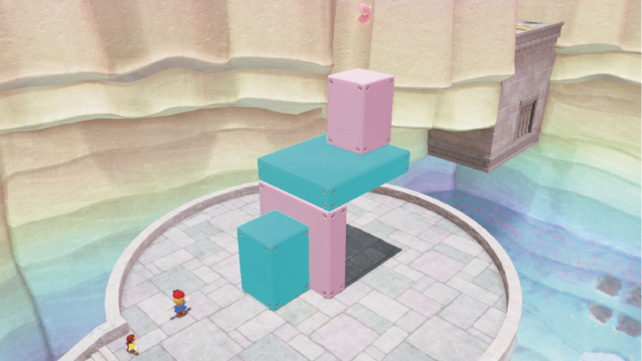
Return to Water Plaza Terrace and initiate the Timer Challenge. The early jumps in this sequence are too high to reach with normal jumps so a triple jump up the stack is out of the question. Instead, use ground pound jumps or backward somersault jumps to leap from one block to the next (Mario will likely end in a hanging position on the first block). Climb up and jump again. Grab the Power Moon before the timer expires and the whole assembly disappears.
 Taking Notes: Dive and Swim
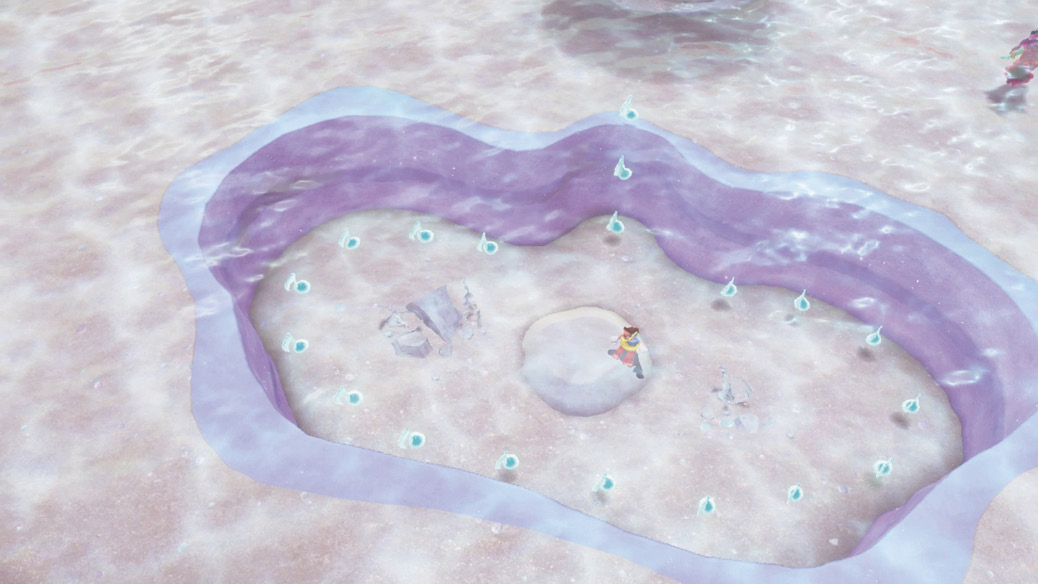
Swim through the Treble Clef near the Odyssey to trigger the notes. Mario must swim along the perimeter of this large depression in the lake bottom, then ascend before the timer expires. The best way to do this, to avoid any backtracking, is to start the lap just to the left or right of the vertical notes. Mario can swim faster by pressing  +
+  Buttons, but there’s a faster way! Toss Cappy at the notes to collect several at once, making it possible to cut the lap short. Ascend through the column of notes at the finish.
 Taking Notes: In the Cliffside
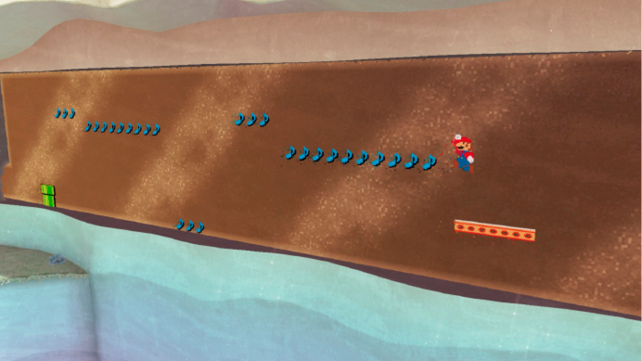
Use the hat trampoline to reach the 8-bit warp pipe on the ledge near Water Plaza. Leap onto the moving platform to reach the treble clef then do your best to stay on the platform as it moves to the left. Collect the upper notes as it slides across the cliffside, making sure to get the groups of three that are even higher—they can’t be reached from the ground. Save the three on the bottom for last. Be sure to hold the Y Button for extra speed to boost your jump height and distance.
 Lake Fishing
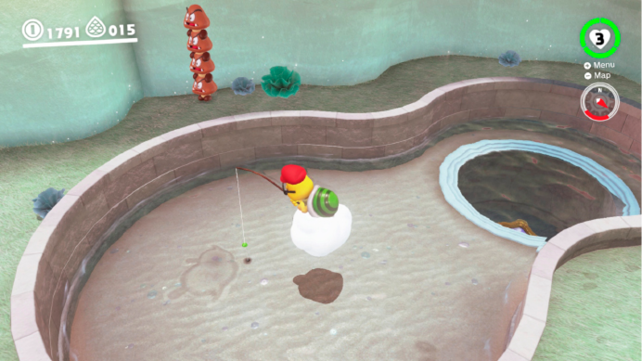
Head up the stairs from The Odyssey and capture Lakitu in the Courtyard. Drag the bait in front of the largest of the three fish shadows. Set the hook as soon as you feel a vibration. Reel in the Cheep Cheep carrying a Power Moon.
 I Met a Lake Cheep Cheep!
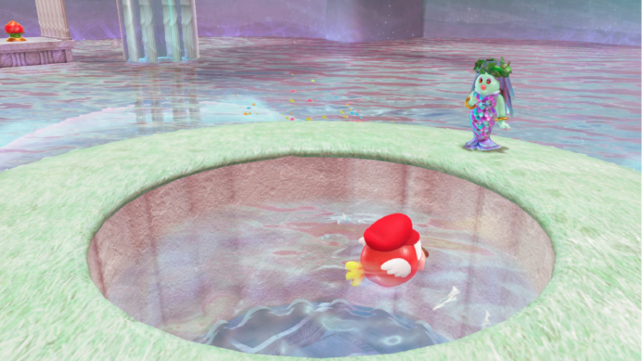
There’s a small ring-shaped island with an inverted dome in the lake near Water Plaza. The Lochlady there really wants to meet a Cheep Cheep, but can’t get close enough. Help her out by capturing a Cheep Cheep and leaping over the ring of grass to the small pool in the center.
 Our Secret Little Room
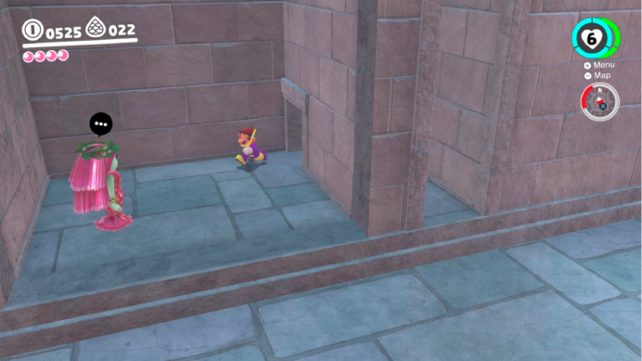
There’s a Lochlady in a hard-to-spot room inside the base of Water Plaza. Return to the ground floor of the area and look for a narrow hallway in the center, behind the columns. Enter this hallway (to the right of the one with the ? Blocks) to find a door on the left. Head inside and talk to the Lochlady there to receive the Power Moon.
 Let’s Go Swimming, Captain Toad!
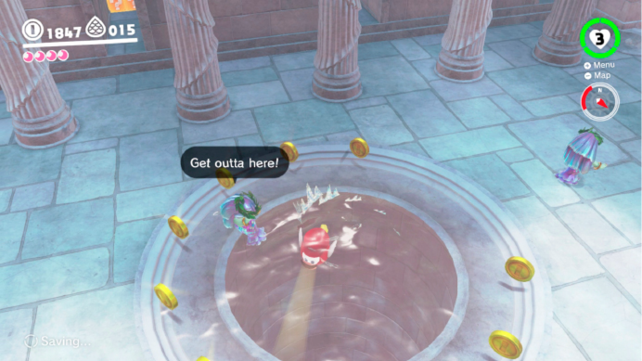
Captain Toad is at the very bottom of the circular hole in the ground floor of Water Plaza. Mario can certainly reach him without succumbing to a lack of air with the help of a Life-Up Heart. And it’s even possible to reach Toad’s underwater dome—and oxygen—without losing all of Mario’s health without a Life-Up Heart if you are a very quick swimmer. Nevertheless, the easiest way to reach Captain Toad is with a Cheep Cheep. Capture one of the Cheep Cheeps swimming by and hop across the dry, stone floor of Water Plaza to the shaft circled by coins. Dive, dive, dive to meet Captain Toad.
 Shopping in Lake Lamode
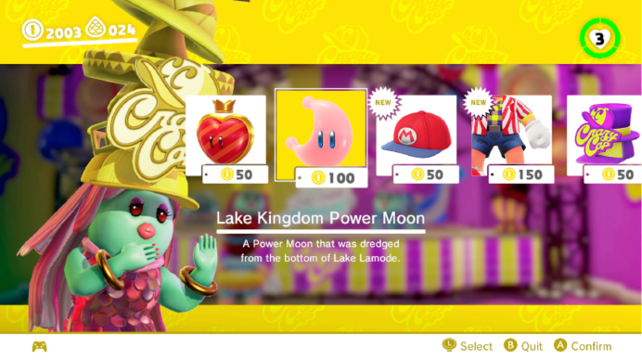
Visit Crazy Cap on the second floor of Water Plaza and purchase the Lake Kingdom Power Moon for 100 coins. While you’re there, be sure to purchase the newly-available Fashionable Cap and Fashionable Outfit.
 A Successful Repair Job
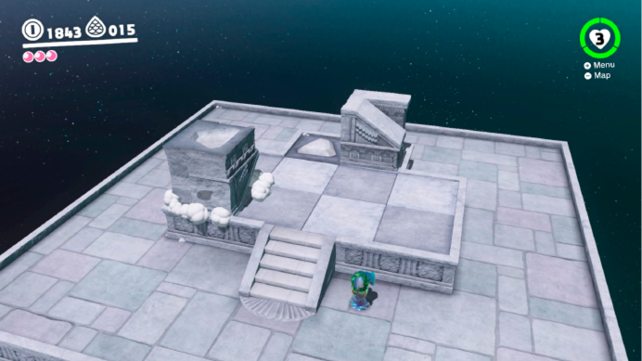
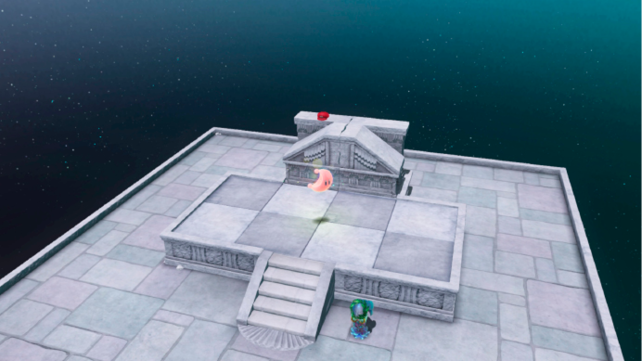
Once Rango has been defeated and the boulder blocking the red door on the south side of Lake Lamode has been removed, Mario can attempt to repair a broken statue. Capture the left-hand piece of stone and flip it around the platform until it is oriented in its original manner, but adjacent to the other piece. This is not an easy task, and takes some trial and error on your part, but it is possible. The first thing to know is that you can leave the room and reenter at any time to reset the puzzle. This can be helpful.
As for solving it, you need to use the entire board to rotate the piece so that it is upside-down, with the rough, undecorated side facing you in the lower left-hand corner. From there, move it up to the starting position, right, then into the final spot.
 I Feel Underdressed
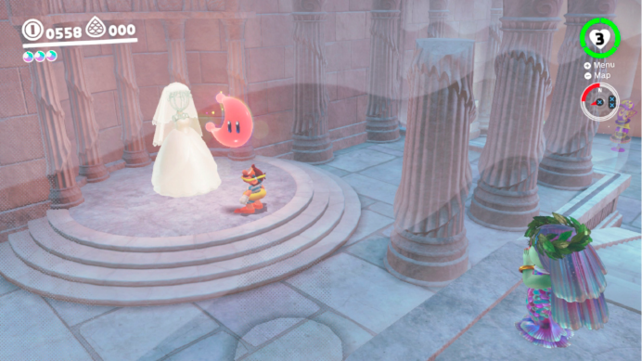
Return to the second floor of Water Plaza after defeating Bowser and don your Swim Goggles and Swimwear to meet the strictly-enforced dress code. Speak to the Lochlady near the locked door wearing this outfit to gain access to the display room showcasing the Lochlady Dress. Toss Cappy at the dress and hold the throw to make him spin round and round atop the bridal veil. Keep the spin going until a Power Moon is uncovered.
 Unzip the Chasm
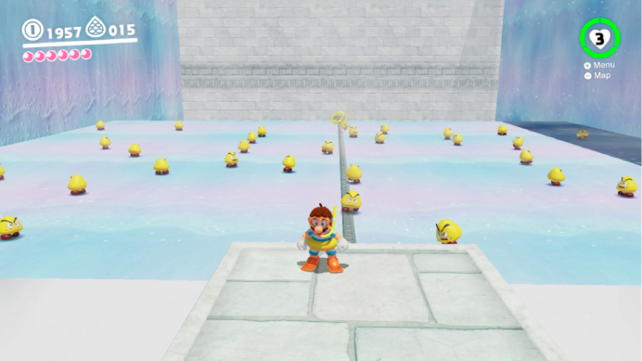
Unzip the small square-shaped Zipper on the rock wall just outside Water Plaza’s dome, on the north side of the lake. Enter the red door and unzip the next panel to enter a larger room filled with Mini Goombas and other Zippers. Use the T-shaped Zipper to proceed to the L-shaped Zipper. Grab the stack of coins from behind the wall of the L-shaped Zipper. Grab the Key on your way across the lengthy Zipper in the floor, capture the Zipper, and unzip the chasm, dropping the dozens of Mini Goombas into the abyss. Return the way you came to the Power Moon.
 Super-Secret Zipper
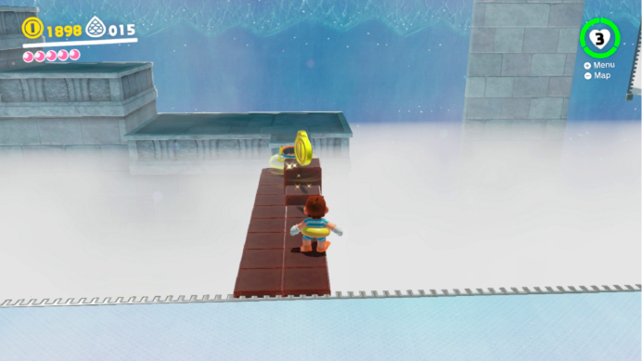
Follow the instructions for Power Moon #22 and unzip the T-shaped Zipper inside the large room. Descend the T-ramp and spot the stair-shaped ledges across the gap. Throw Cappy to uncover a series of invisible blocks. Unzip the large Zipper to drop a segment of the wall, making it possible to capture the smaller Zipper at the top. Mario—and the Zipper—will fall to a secret area containing the Power Moon. Return via the pipe.
 Jump, Grab, Cling, and Climb
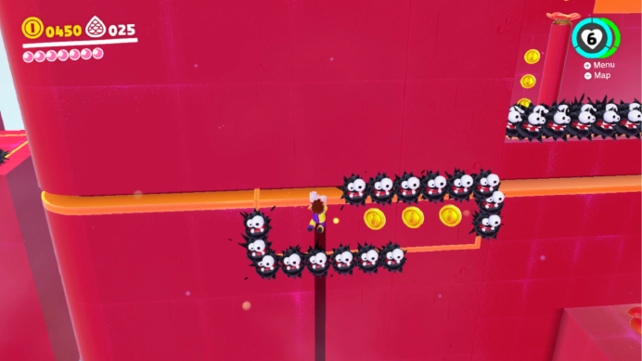
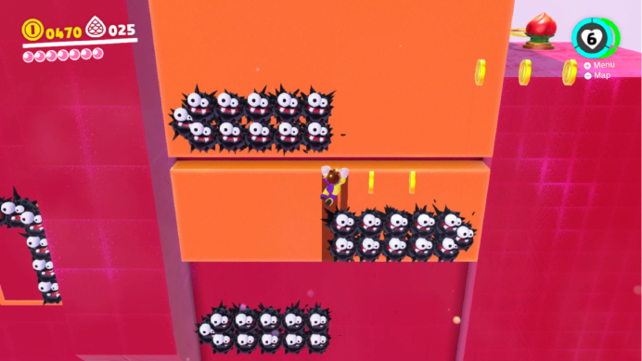
Make your way to the roof of Water Plaza and use the hat trampolines to reach the red door high on the cliff. Once inside the challenge room, use the hat trampolines to grab the narrow yellow ledges and shimmy across to the moving blocks. Stay clear of the Fuzzies as they march along the yellow paths. Get the Regional Coins from around the bend on the next yellow ledge, then continue to the right. Don’t worry about the Fuzzies up ahead, as Mario can slip in behind a group of them and move between them without risk, so long as he pauses ever so slightly.
Tilt the camera after the second group of Fuzzies to spot the already open hat trampoline on the ledge below. Drop onto it, bounce to hat trampolines on the columns (use Mario’s shadow as a guide) and carefully slide down the wall between the next groups of Fuzzies. Shimmy to the right where the wall begins ascending, leading Mario straight for several more groups of Fuzzies. Use the coins as a guide and snake back and forth between the Fuzzies to reach the upper area. Gather coins from the rings as you use the hat trampolines to bounce your way to the Power Moon.
 Jump, Grab, and Climb Some More
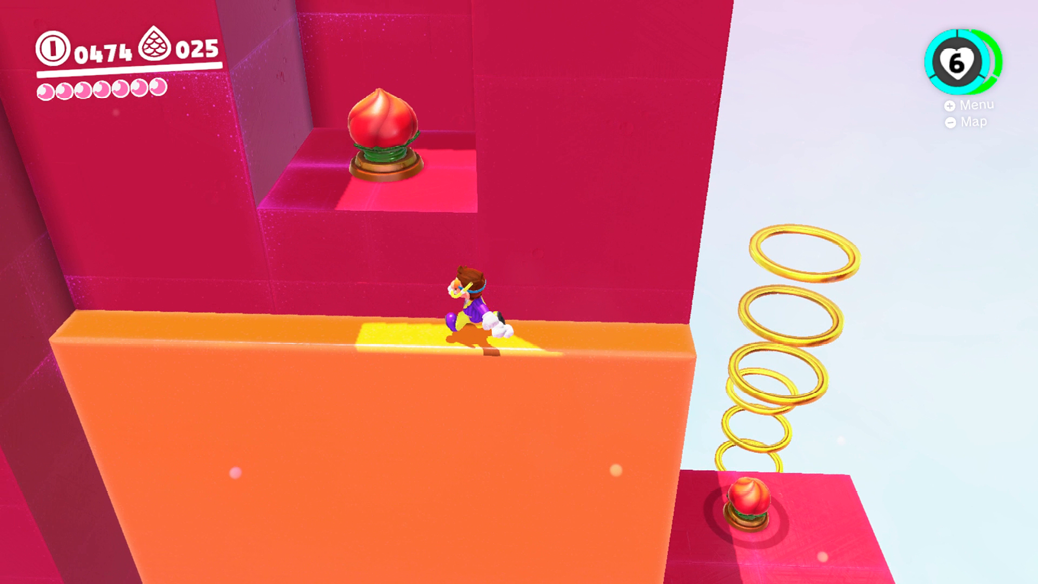
Follow the tips for Power Moon #24 until you reach the moving wall with the ledge that ascended past the Fuzzies. Clamber off the ledge onto the red block, but ignore the hat trampoline near the ring. Wait for the yellow wall to descend then step onto its upper ledge. The wall slides upward once again, this time carrying Mario to a hidden hat trampoline. Use it to leap to the very top of the challenge level where a treasure chest containing a Power Moon awaits.
 Secret Path to Lake Lamode!
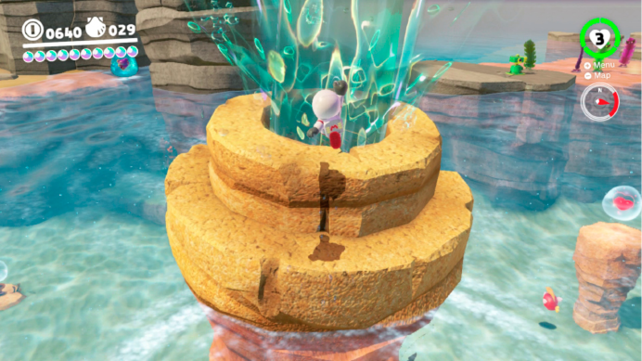
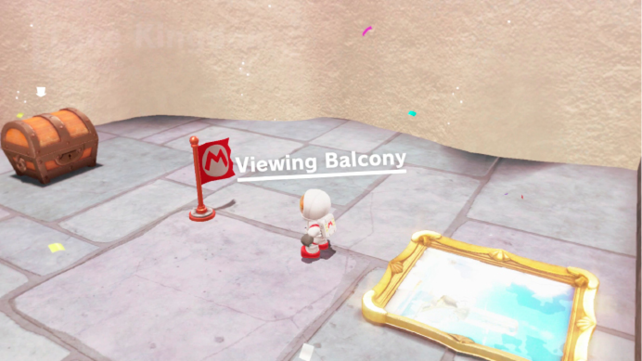
Set sail for Seaside Kingdom, as the only way to reach this Power Moon is via a Warp Painting located in the bottom of the Bubblaine tower (accessible only after defeating Brigadier Mollusque). Swim over to any of the geysers of water aimed into the tower and leap into the torrent. Mario is catapulted through the air to the tower. Swim to the bottom and enter the Warp Painting to return to an isolated area within Lake Kingdom known as the Viewing Balcony.
 Found with Lake Kingdom Art
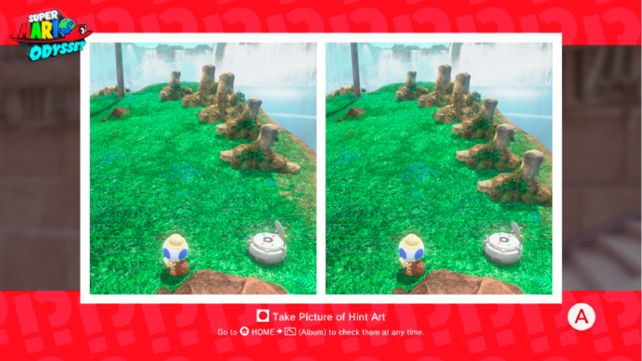
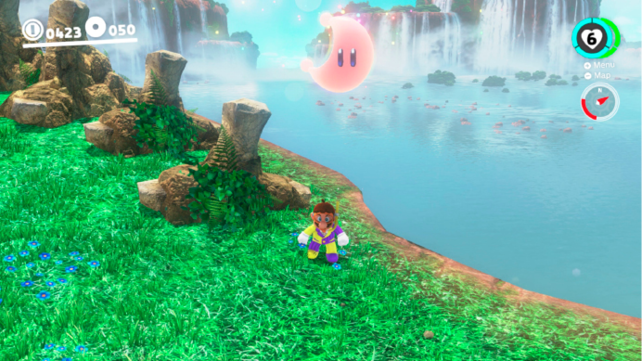
The Hint Art hangs on the staircase near The Odyssey. Snap a photo and note the difference between the two images shown: the right-hand photo shows a sixth fossil where none actually is. Sail back to Cascade Kingdom and ground pound the area where the erroneous sixth fossil is located (near Uncle amiibo) to find a Power Moon. Note that Power Moons found with Hint Art count toward the Power Moons assigned to the kingdom where the art was, not where the Power Moon is found (this particular Power Moon is pink like those in Lake Kingdom).
 Taxi Flying Through Lake Lamode
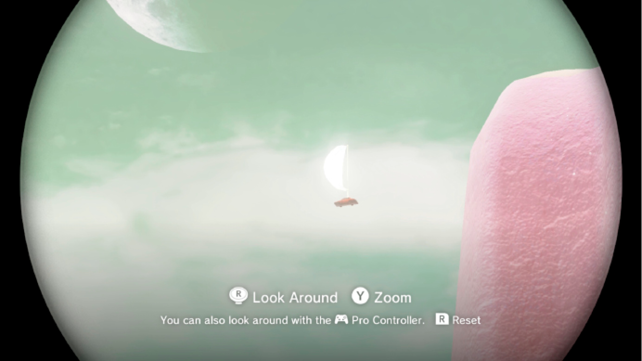
Return to Lake Kingdom after defeating Bowser and use the Binoculars to search the sky. With good timing and a careful eye, you’ll spot a taxi flying through the air with a sail above it. Zoom in on it for a Power Moon.
 That Trendy “Pirate” Look
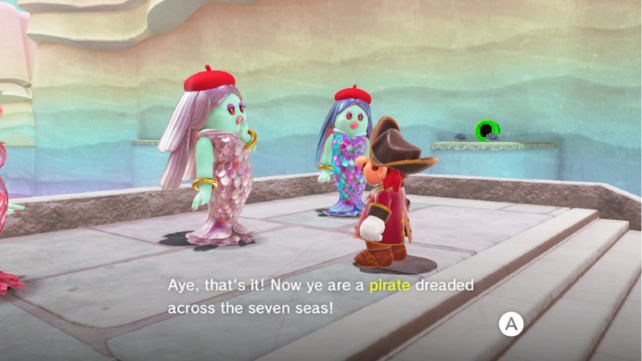
The middle Style Sister, dressed in silver, wants to see someone wearing pirate clothes. Purchase the Pirate Hat and Pirate Outfit from the Crazy Cap store in Seaside Kingdom then return wearing those clothes.
 Space Is “In” Right Now
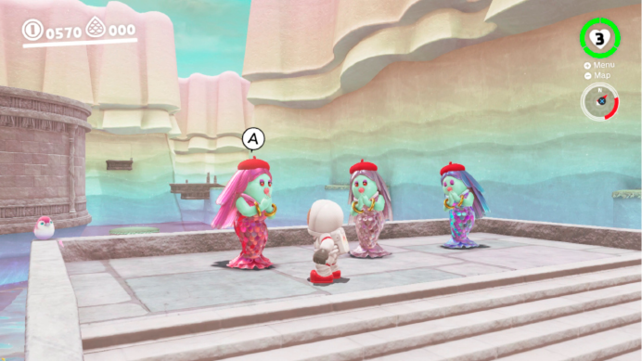
The Style Sister dressed in red wants to see space clothes. Purchase the Space Suit and Space Helmet from the Crazy Cap store in Moon Kingdom and wear the clothing in front of her to get a Power Moon.
 That “Old West” Style
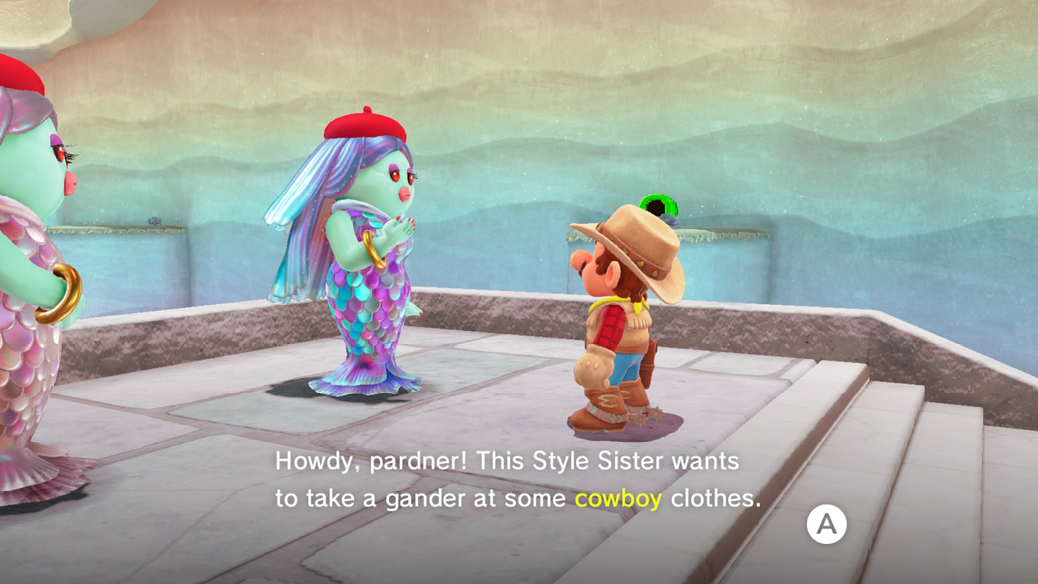
The Style Sister dressed in blue would like to see Mario dressed in his cowboy attire. Purchase the Cowboy Hat and Cowboy Outfit from the Crazy Cap store in Sand Kingdom and return looking the part of an old west cowboy.
 Lake Kingdom Regular Cup
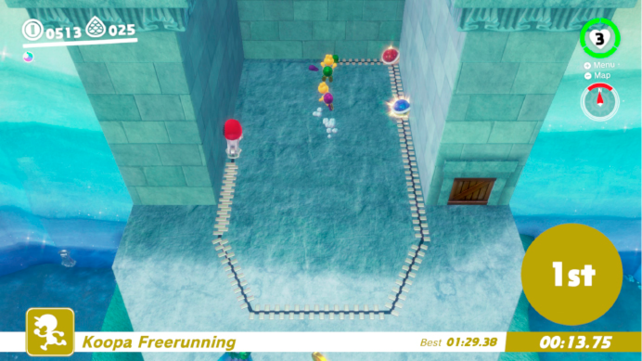
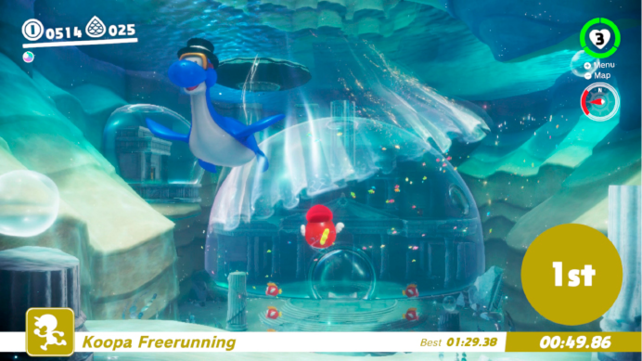
Speak with the Koopa on the beach near the Odyssey to initiate this first of two races. The Roving Racers are going to race to the top of Water Plaza Terrace and, since the stairs will be removed from the race course, they’re all going to take the underwater passage beyond the floodgate. For this first race, we recommend you take this route too. Hurry to the Zipper atop the flood gate by rolling off the beach, long jumping into a dive jump, then tackle jump onto the island with the hat trampoline.
Unzip the entrance to the underwater tunnel and swim to the other side.
Capture a Cheep Cheep at Underwater Entrance for a faster trip across Lake Lamode to the hat trampolines atop Water Plaza. It’s a long route, but with a fast start, some quick swimming, and a friendly Cheep Cheep, you can beat the Koopas at their own game. In the Master Cup race we’ll show you a faster route!
 Peach in the Lake Kingdom
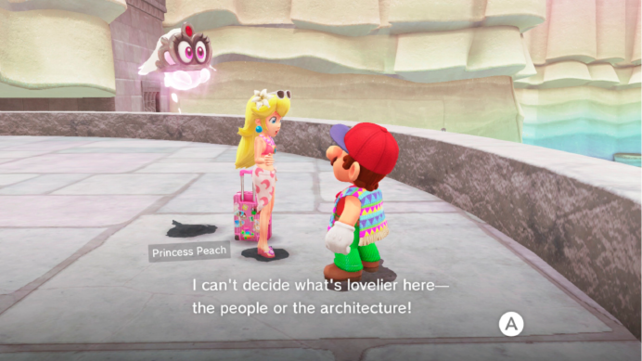
Return to Water Plaza Terrace after defeating Bowser to meet up with Princess Peach and Tiara. Peach is having a wonderful vacation and has a Power Moon to share with Mario that she found during her travels. Maybe you’ll see her again in Wooded Kingdom?
 Moons from the Moon Rock
 Behind the Floodgate
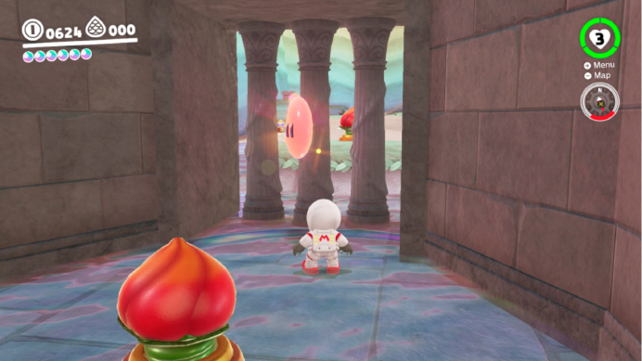
Use the hat trampoline to reach the roof of the floodgate opposite the Odyssey and capture the Zipper. Unzip a hole in the roof to enter the watery tunnel. You find a Power Moon sitting next to the hat trampoline inside the tunnel, right near the flood gate.
 High-Flying Leap
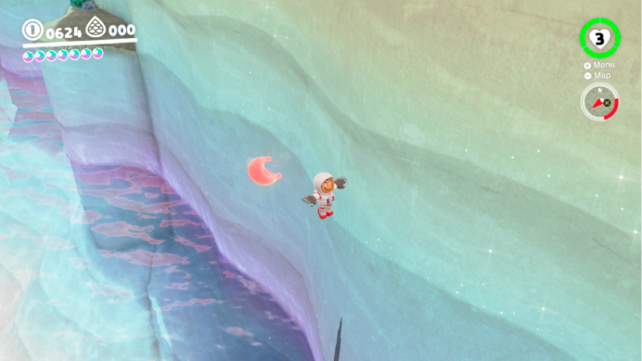
Swim across Lake Lamode to the ledge with the hat trampoline near the 8-bit warp pipe. Instead of leaping for the pipe, however, guide Mario through the air along the face of the cliff to get the Power Moon floating high above the water.
 Deep, Deep Down
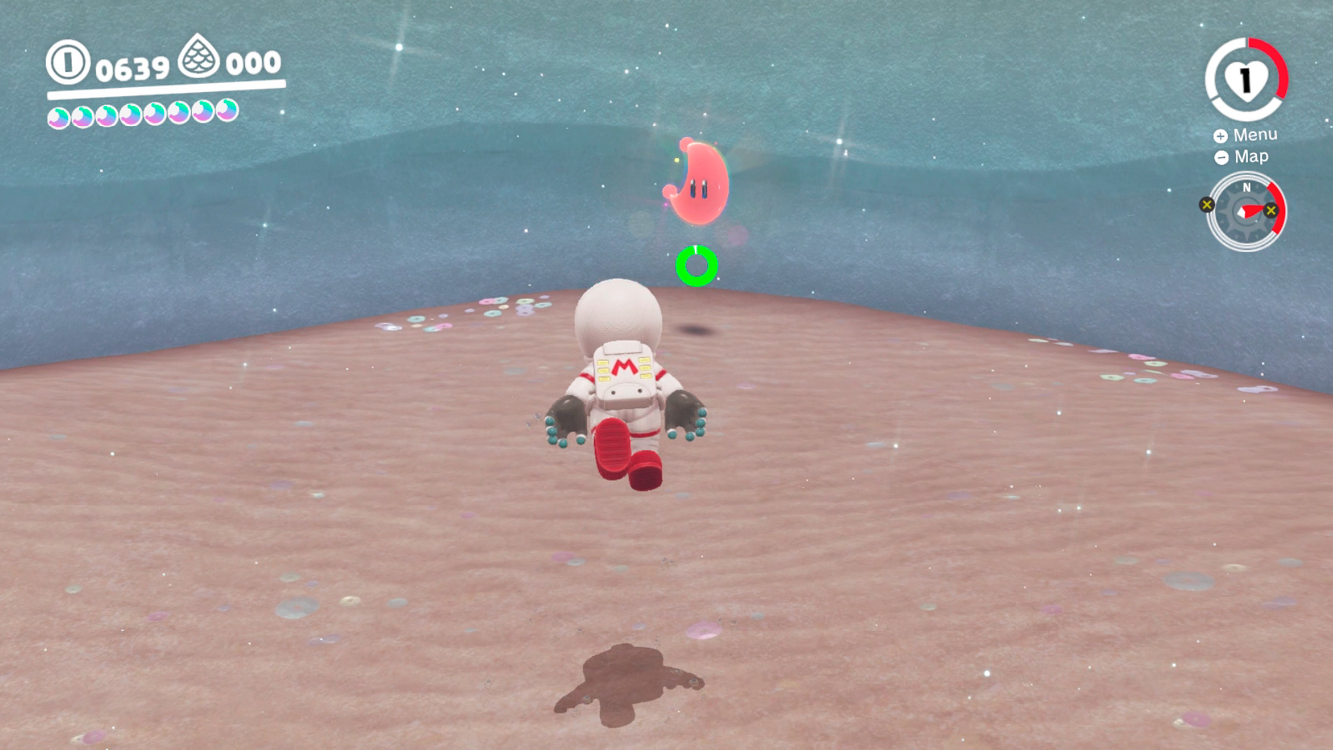
The location of this Power Moon on the map can be misleading, as it suggests it’s on the roof. Quite the opposite! Capture a Cheep Cheep and hop through the opening to Water Plaza, as if descending to visit Captain Toad again. Dive to the bottom of the circular shaft and face away from Captain Toad. The Power Moon you seek is in the freshwater depths of Water Plaza, opposite Captain Toad. You can even reach it without a Cheep Cheep if you swim fast enough.
 Rooftop of the Water Plaza
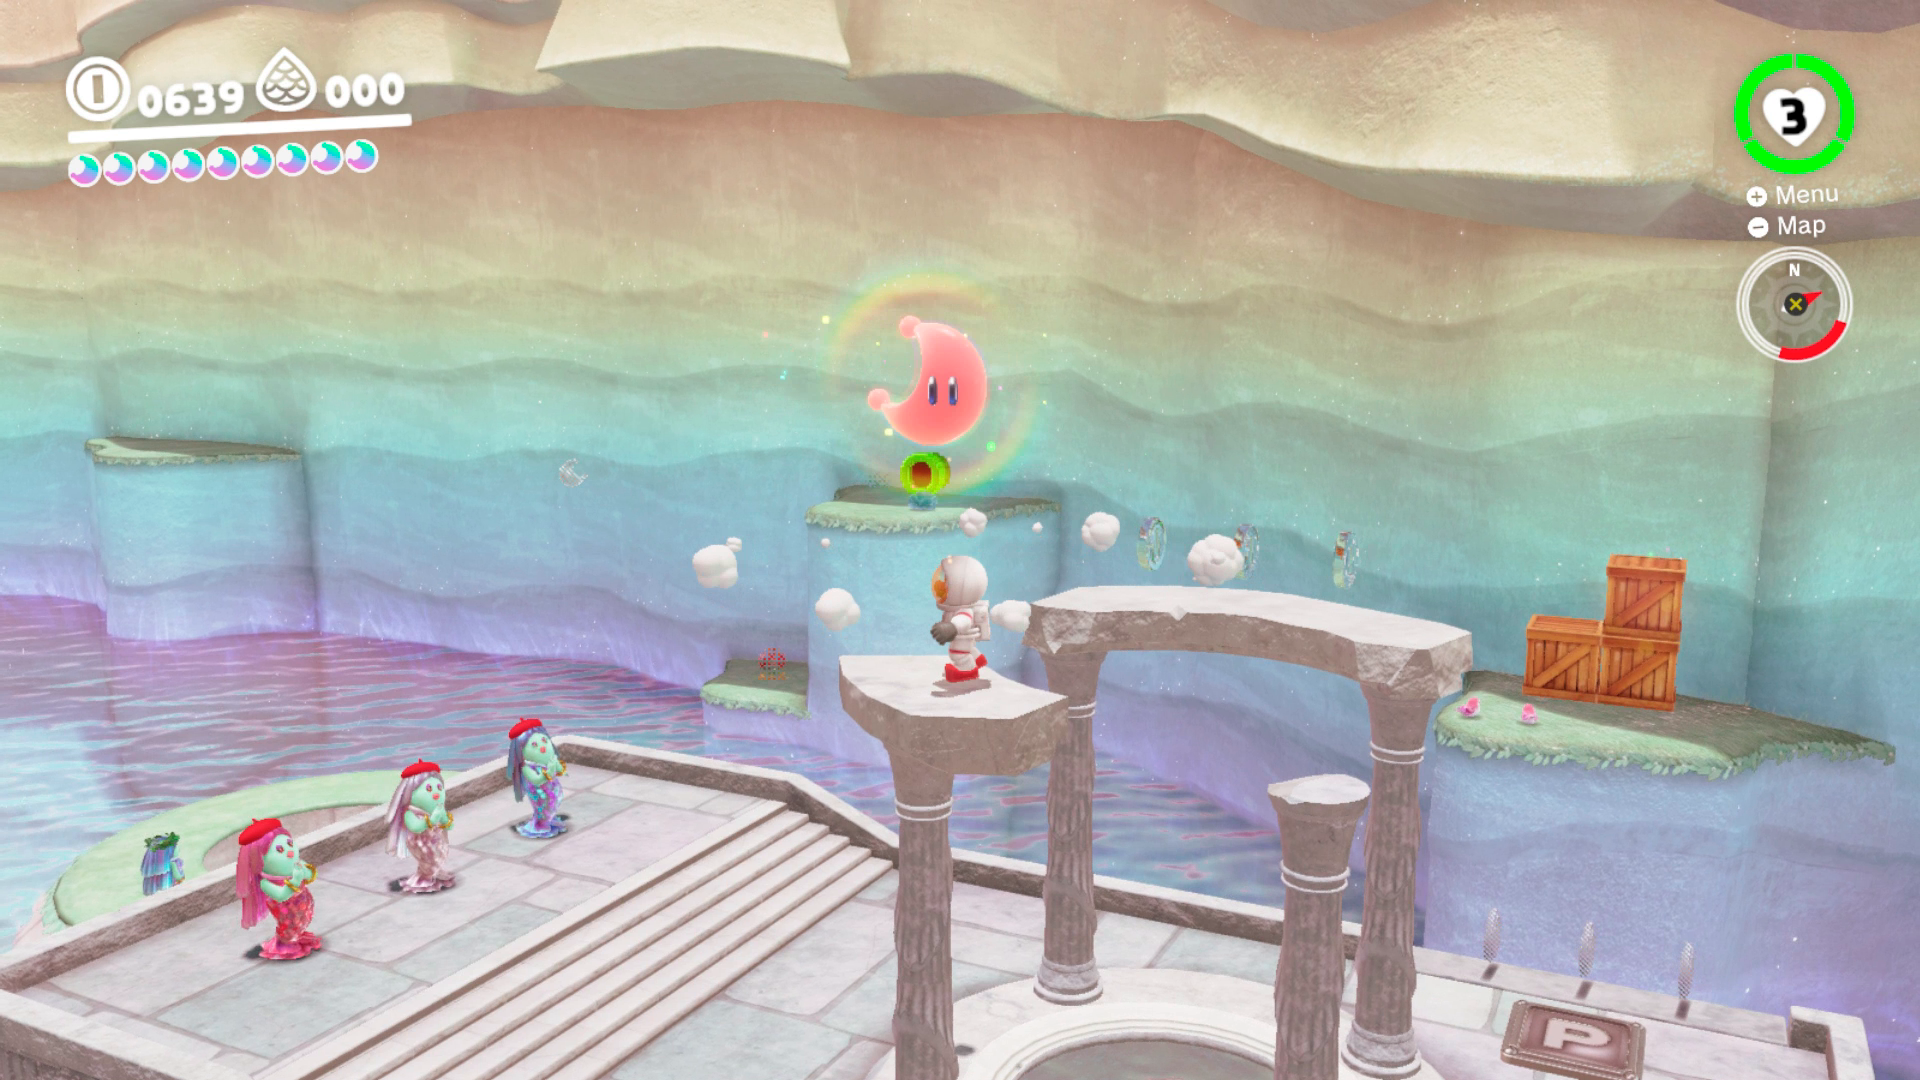
Swim or leap to the top of Water Plaza and climb the broken pillar near the P-Switch. Front flip to the smaller piece of stone—you should see it glowing—and perform a ground pound. The next Power Moon is yours!
 Bird Traveling Over the Lake
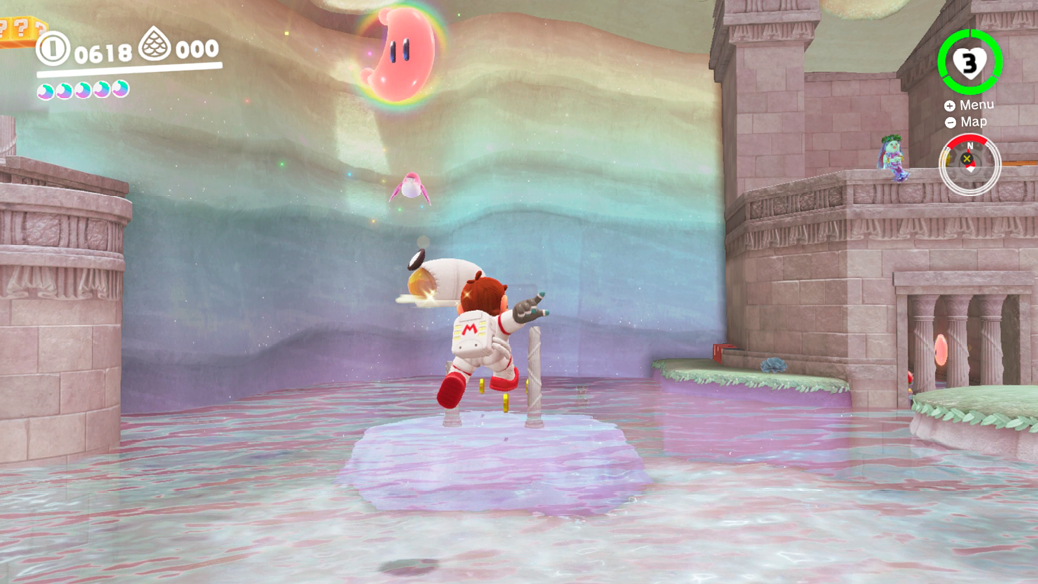
There are several pink birds flying over the lake near the Odyssey, but only one contains the telltale glow of a Power Moon. Swim across the lake to the two broken columns beyond the stairs. The bird with the Power Moon often rests atop the shorter column until you scare it off. It then flies laps around the perimeter of this lake. Return to the beach near the Binoculars and wait for the bird to fly past. Leap up and hit it with your hat when it does.
 Love by the Lake
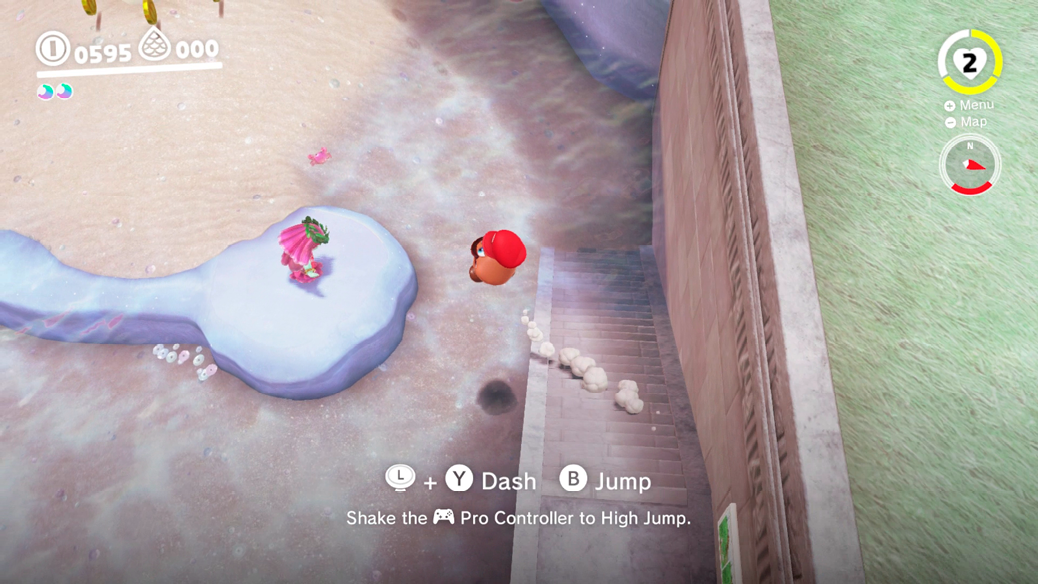
Capture one of the Goombas in the Courtyard and descend the stairs toward the beach where the Odyssey is parked. Carefully jump toward dry land—Goombas can’t go in the water—and guide him around the back of the Odyssey to meet the Goombette waiting there.
 Lake Kingdom Master Cup
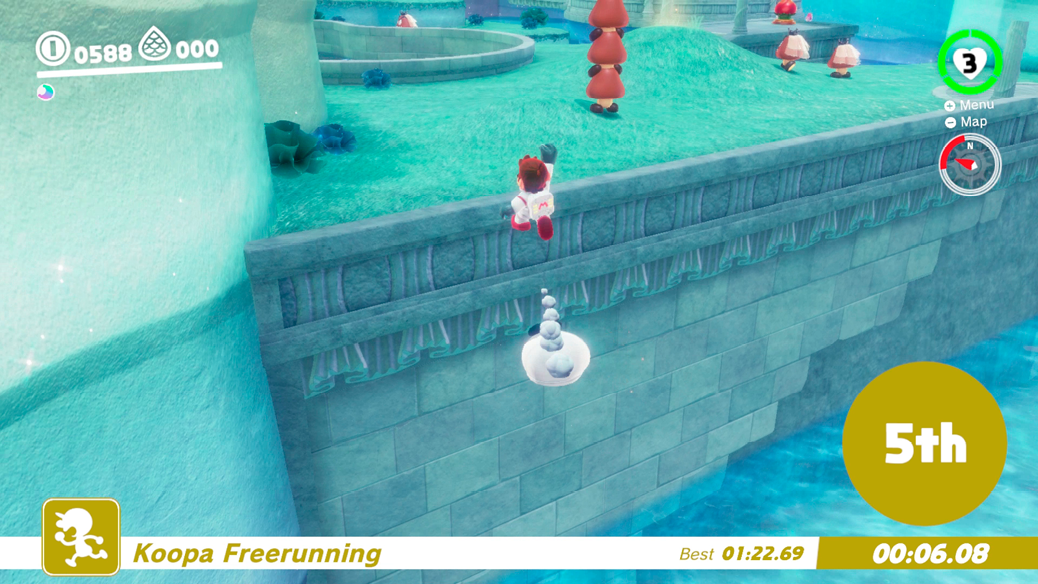
Now that you’re ready for the Master Cup, it’s time to put some advanced freerunning skills to use. Ignore the Koopas as they race for the underwater tunnel. Instead, angle toward the Binoculars, triple jump across the hill to get some height, then toss Cappy at the wall near the Goombas. Dive jump to bounce from the hat, then tackle jump into the Courtyard. Hurry across Lake Lamode to the hat trampoline near the roof of Water Plaza then dive jump and tackle jump across the path of ledges and hat trampolines leading to Water Plaza Terrace. This shortcut can shave more than 35 seconds off the route the Koopas are taking.
 Waves of Poison: Hoppin’ Over
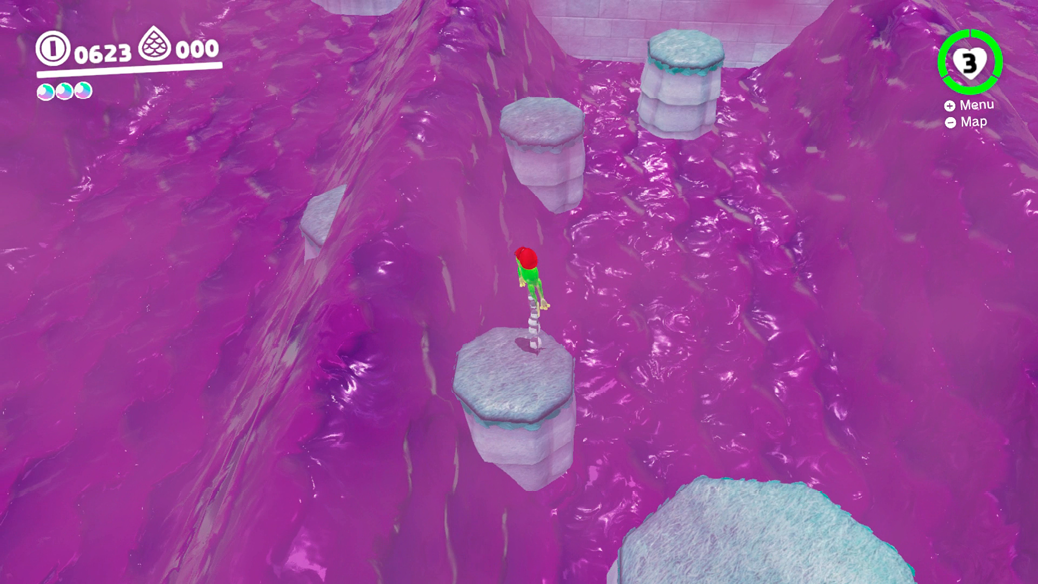
Enter the Moon Pipe near the Odyssey to take a chance at this surprisingly tricky challenge level where rolling waves of poison sweep across the area, washing over any and all solid ground. Making matters trickier is the fact that many of the platforms sink under Mario’s weight. For this reason, he’ll need to capture a Frog. Capture the first Frog and take your time leaping across the series of islands. The platforms get smaller and smaller, so be sure to use the Frog’s shadow as a guide when you leap. Take your time and don’t be afraid to remain on the same island for a few waves (leaping over them, of course) so you can get the timing down.
 Waves of Poison: Hop to It!
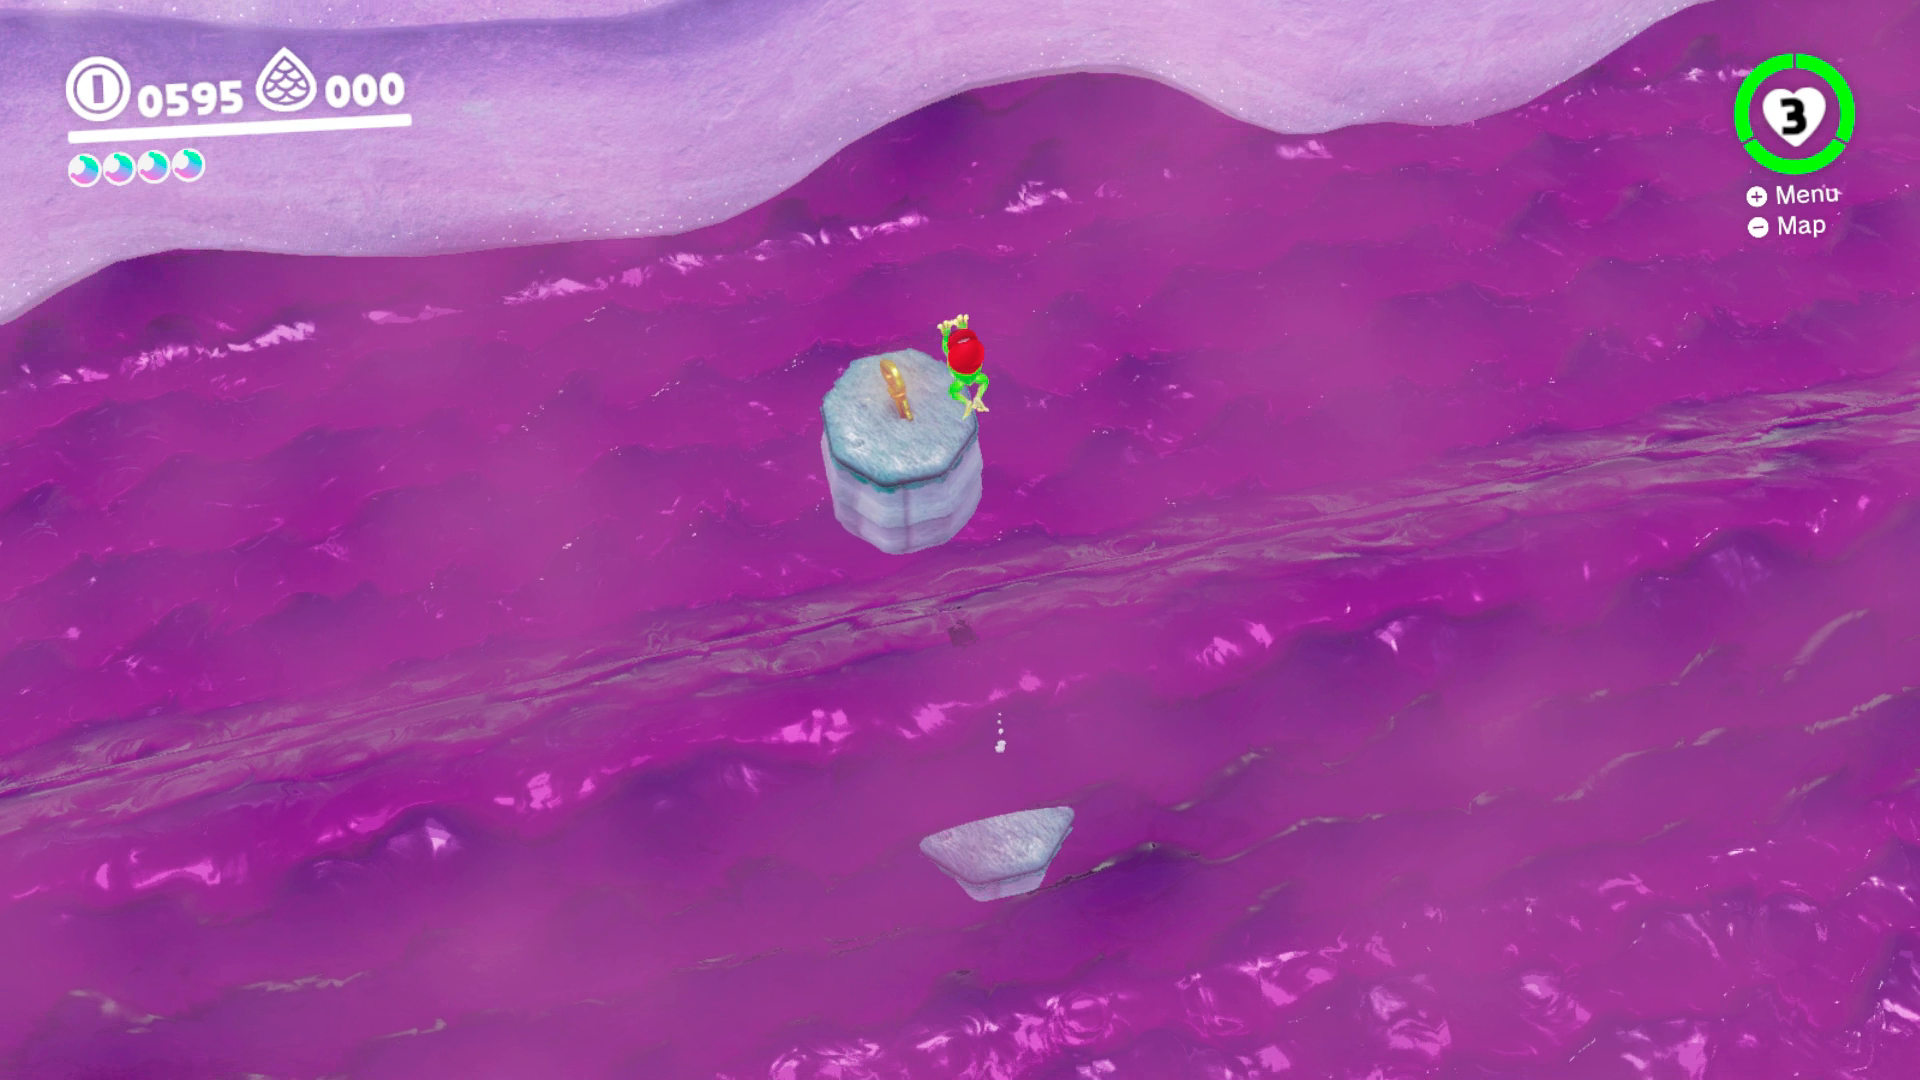
Complete Power Moon #41, but don’t leave via the exit pipe. Instead, carefully drop off the side of the final area toward the key in the distance. The best thing you can do to make getting this Power Moon easier is to jump in place on the island where the key is. Don’t try to immediately leap back the way you came, as the odds of hitting a poison wave are high. Instead, leap over the incoming wave, turn the camera, and only return the way you came when you’re not rushed.