
Super Mario Odyssey Guide Seaside Kingdom
Power Moon Locations
 Power Moons
 On the Cliff Overlooking the Beach
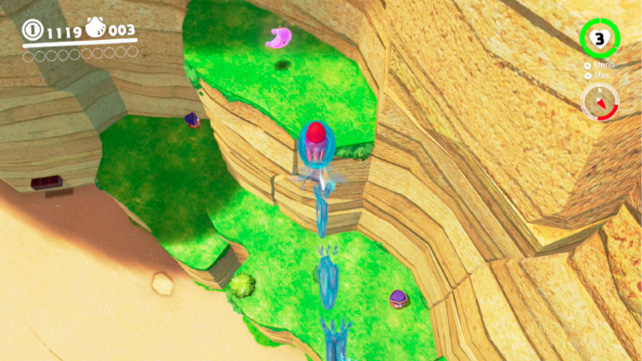
This Power Moon is found out in the open just south of the Odyssey, up the cliff’s face on a high shelf. It’s easy to jet up here thanks to the help of all the octopus-like Gushens in the region. Capture a Gushen and jet upward to the shelf underneath the Power Moon’s ledge, then jet from there upward to the Power Moon.
 Ride the Jetstream
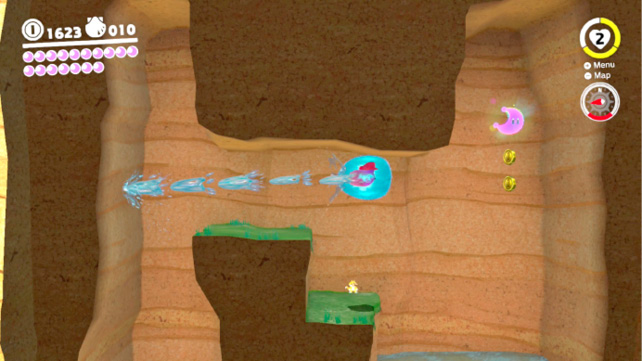
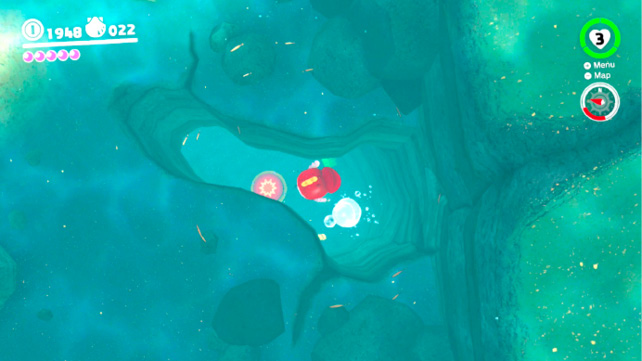
Along the southern rock wall, not far from the Hint Art painting, there’s a small cave. Heading into this small cave while controlling a captured Gushen reveals that the entrance leads straight upward. Jet upward through a bunch of coin rings, then jet laterally where possible to discover another chamber, complete with a Tanooki Mario glyph on the wall like an ancient cave painting, and a Power Moon hovering above.
 Ocean-Bottom Maze: Treasure
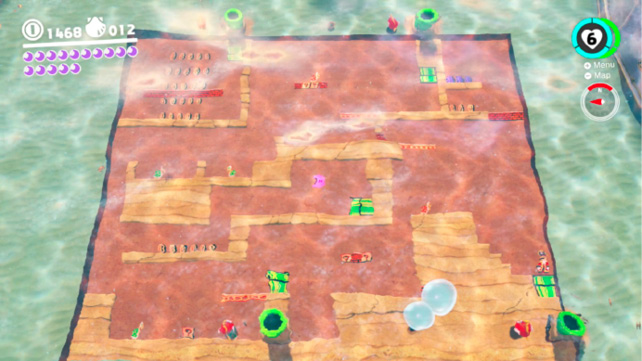
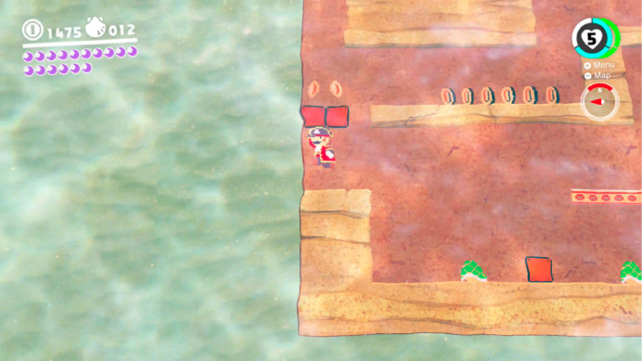
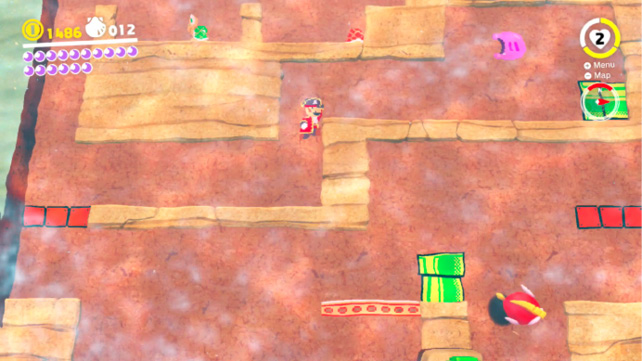
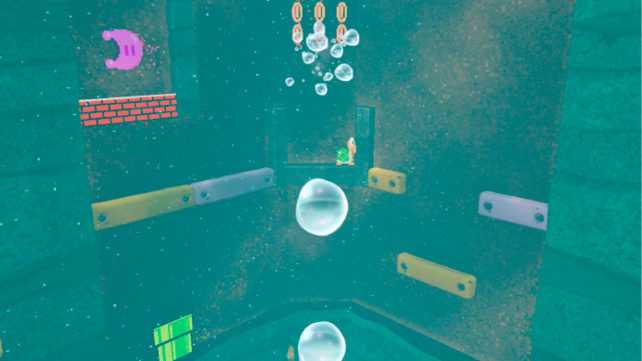
Between Lighthouse and Glass Palace on the seafloor to the west, four 8-bit pipes are arrayed in a square. They connect to different corners of a big 8-bit maze, beautifully clouded by the 3D ocean sitting above it. Figuring out how to get to the Power Moon at the middle is a bit of a puzzle. The first thing you have to do is enter via one of the bottom pipes, then head to the bottom-left corner of the 8-bit maze. Jump on the left here to reveal hidden blocks. These blocks will later catch Mario when falling from the top half, where the green Koopa Troopas patrol. To get up there, enter from the top-right pipe.
 Ocean-Bottom Maze: Hidden Room
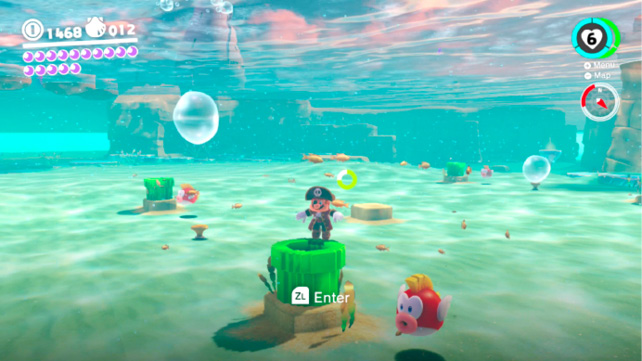
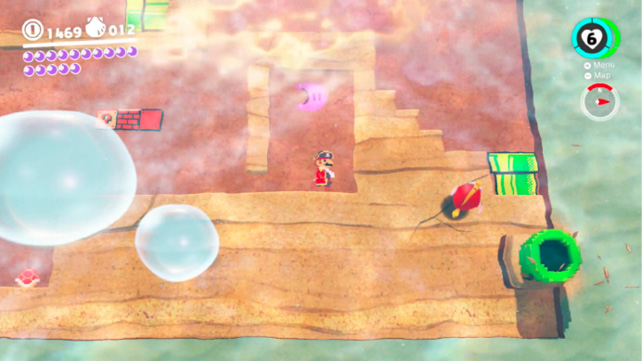
An extra Power Moon is slyly hidden in the underwater 8-bit maze. Enter from the bottom-right pipe and look for a patrolling red Koopa Troopa. Knock him into his shell and kick him over the left edge and he’ll break a brick block at crouch height below. Get a dashing start moving toward this waist-sized hole, then crouch right before getting to it. Properly done, Mario slides through the gap, ending up in a secret Power Moon vault.
 Underwater Highway Tunnel
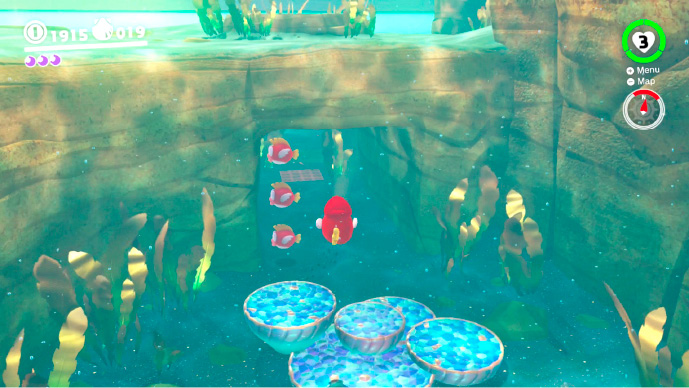
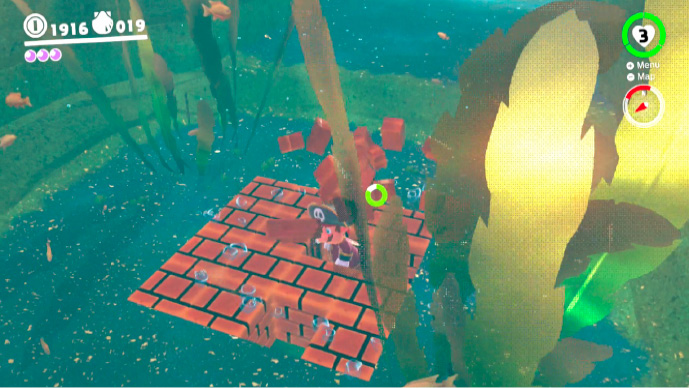
Just a bit northwest of the Lighthouse, under the waves, a square passage through the rock can be found. You’ll know the right one because three Cheep Cheeps swim in formation at either entrance. Between the Cheep Cheep patrols, in the middle, are curious brick blocks on the floor. Swim down there and ground pound the brick blocks to reveal a Power Moon in the shaft below.
 Gap in the Ocean Trench
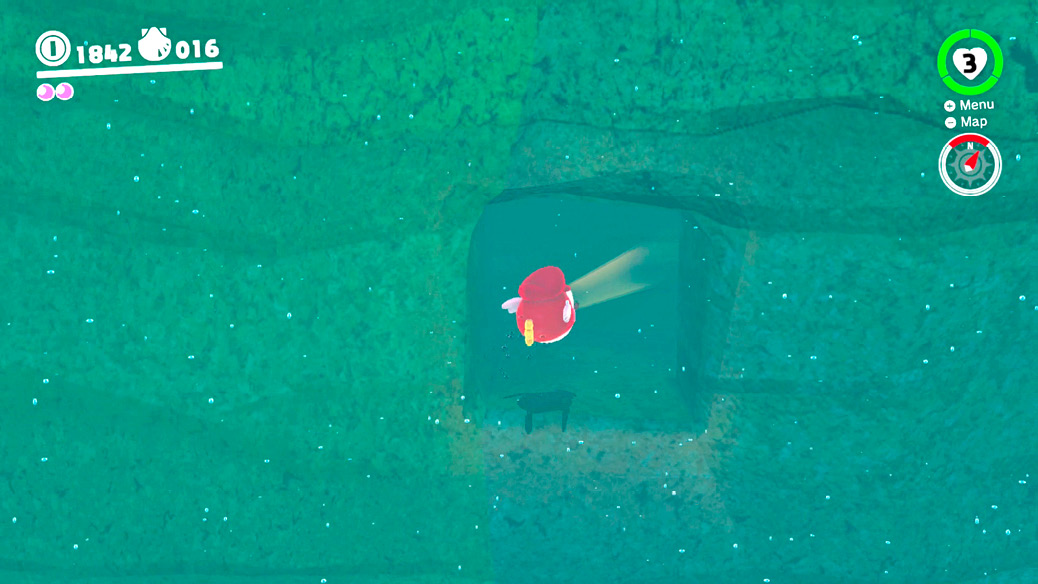
The central feature of the north sea is a big trench that was perhaps carved out as an ancient impact crater or geological feature. Capture a Cheep Cheep and explore the northern rock face of the trench, looking for an entrance. There’s a hallway-sized gap that leads to some coin rings up above, and a Power Moon down below. Bring a Cheep Cheep, because Mario doesn’t have the lungs for these corridors.
 Slip Through the Nesting Spot
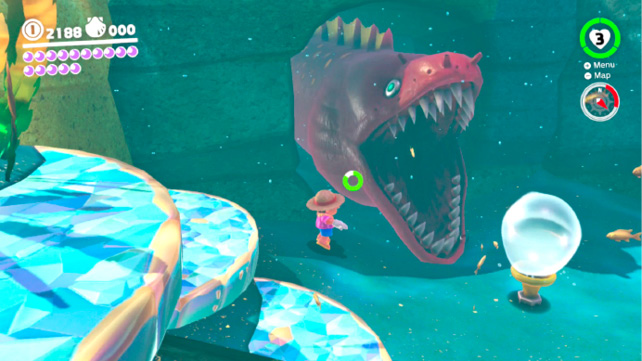
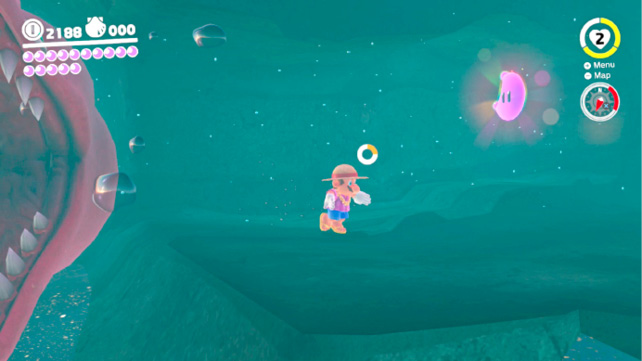
The far northeastern corner of the ocean floor here is a notorious Maw-Ray nesting spot, with a cavernous den in the corner. Swim close enough, and a Maw-Ray can be baited out, giving some idea as to their snapping range here. Bait a Maw-Ray out, wait for it to retract, then follow it quickly into the passage. Trust us! There’s a side passage inside, leading to a hoarded Power Moon.
 Merci, Dorrie!
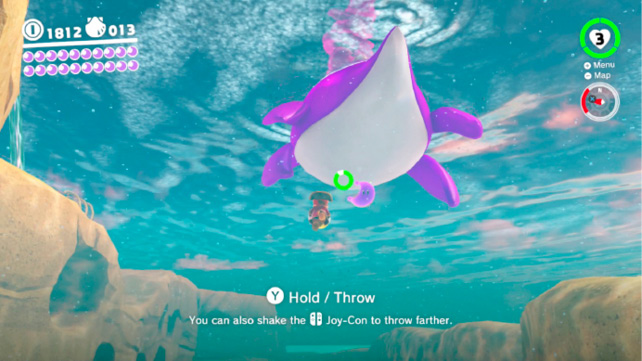
Dorrie is the huge purple top hat wearing creature supporting the purple Crazy Cap’s shop. Climb aboard this friendly creature to do some regional souvenir shopping, but plunge into the water around it and look underneath where it swims to find a Power Moon.
 Bonjour, Dorrie!
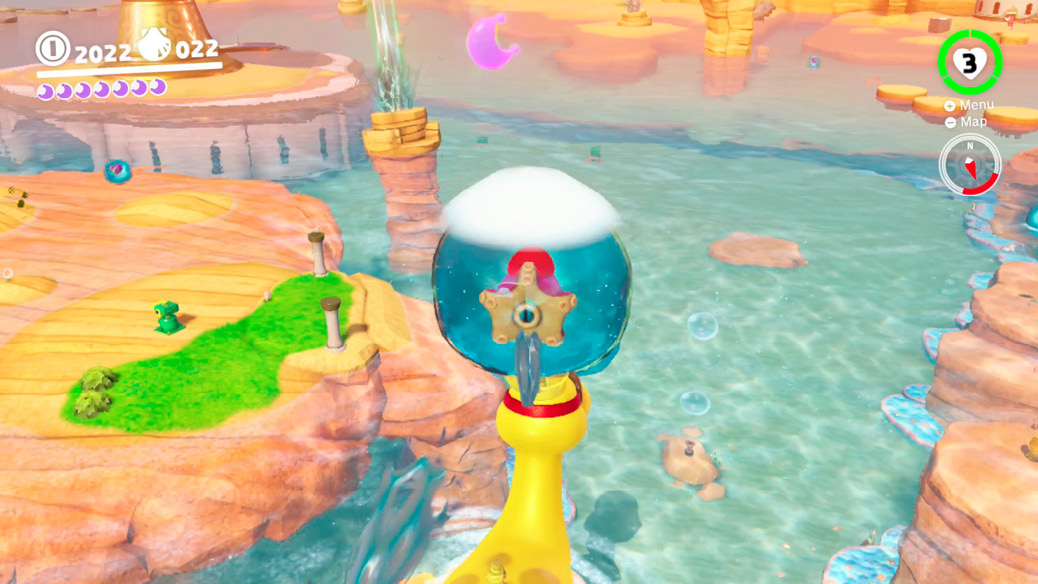
Dorrie is the giant yellow sea creature that one segment of Crazy Cap’s has set up shop upon. Above its head, floating in midair, is a Power Moon. To get this, you’ll need a Gushen, so you can jet up for altitude, then surge laterally to keep up with the gentle giant’s surprisingly quick forward movement, which drags the Power Moon with it.
 What the Waves Left Behind
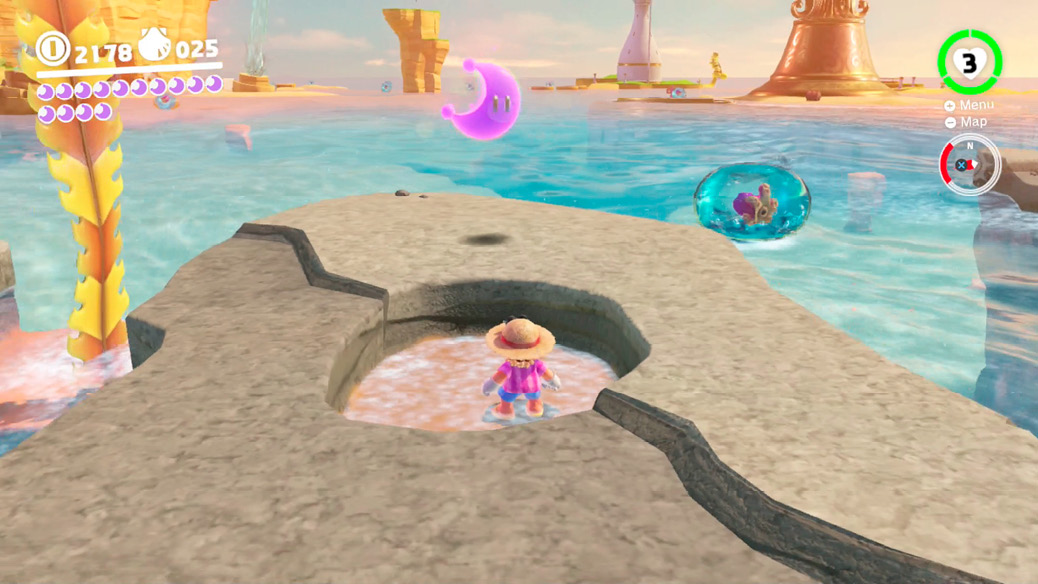
On the eastern islands (which are more like rocky sandbars), there is a peculiar circular pool, perhaps attended by a Komboo or two. Clear the seaweed then ground pound the center of the pool to pop out a Power Moon.
 The Back Canyon: Excavate!
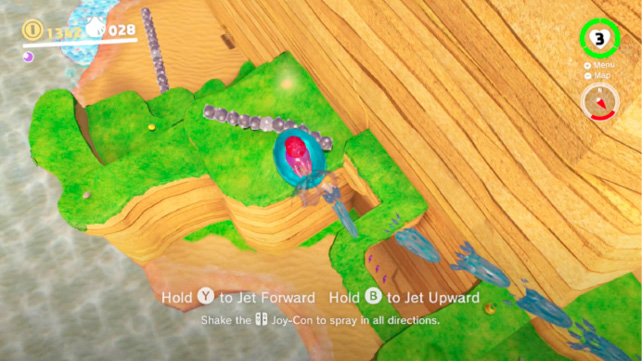
Farther northwest along the cliff wall, beyond the path where spiky shells roll down a canyon, a network of small ledges covered in Mini Goombas and Moonsnakes can be found. Somersault up the ledge side or use a Gushen to jet right to the top, then look around where the Moonsnakes spin for a glowing spot. Pound the spot from the air when the Moonsnake isn’t immediately underneath to spring out a covered Power Moon.
 Bubblaine Northern Reaches
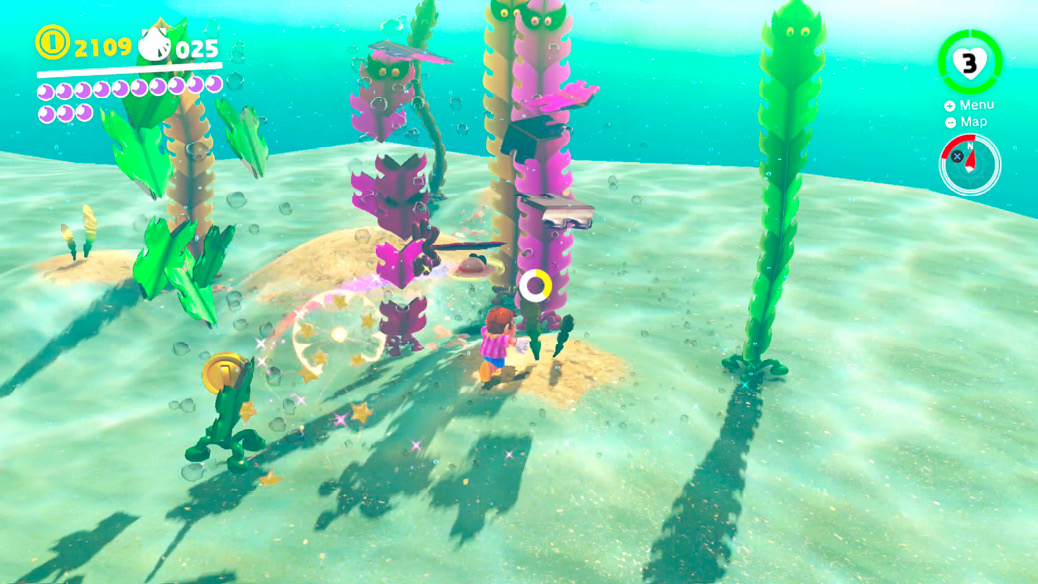
At this location underwater, there are just three nondescript bumps surrounding a larger nondescript bump. However, look closer and notice that one of the bumps is glowing. Ground pound the underwater mound and you begin a flood of Komboos up from the muck of the ocean floor. A different mound then begins glowing. Ground pound each mound in turn while using Cappy to fend off Komboos. Eventually the largest mound glows. Spin throw the rest of the Komboos away from the big mound, then ground pound the center to release the Power Moon from the seaweed.
 Wriggling on the Sandy Bottom
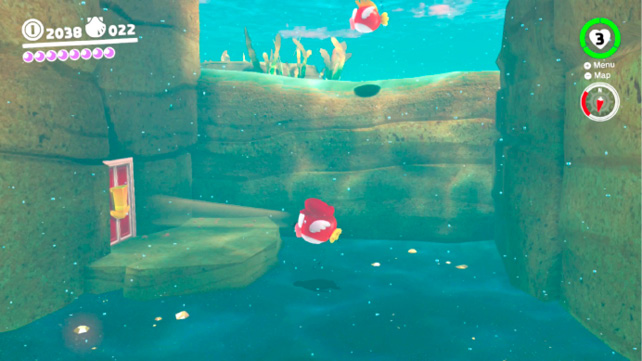
A bit northwest of the Lighthouse, there’s a door to be found on the bottom of the sea. Open it with Cappy and swim inside to find a strange challenge indeed. Something’s stuck under the floor in here, wriggling this way and that beneath the surface. Slow the fleeing bulge with hat tosses so you can ground pound it, stopping the scurrying and revealing a Power Moon.
 Glass Palace Treasure Chest
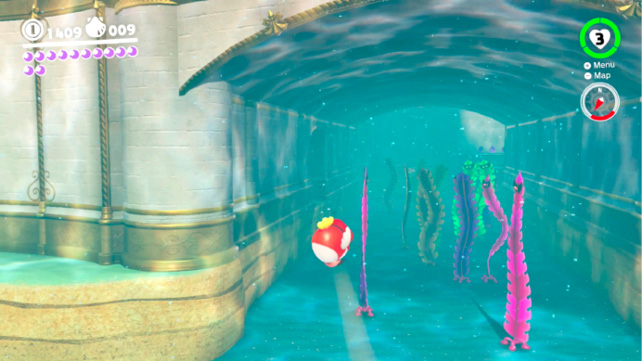
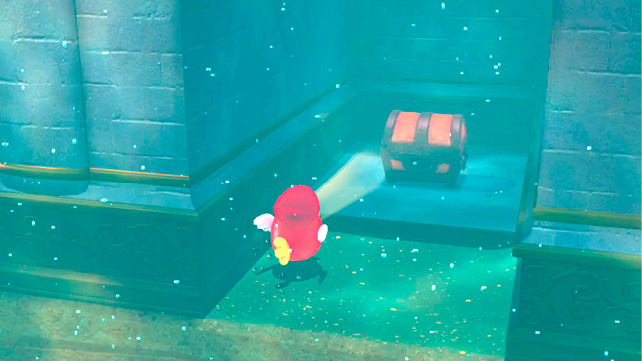
In the northern sea, capture a Cheep Cheep then look around underwater for the substructure of the Glass Palace. Approaching from the north, you find a passage underneath it, filled with Komboos. Swim inside, shaking the controller for the Cheep Cheep’s Komboo-shredding spin attack, and look along the left wall down here. A gap can be found containing a treasure chest, with the Power Moon kept inside.
 Treasure Trap Hidden in the Inlet
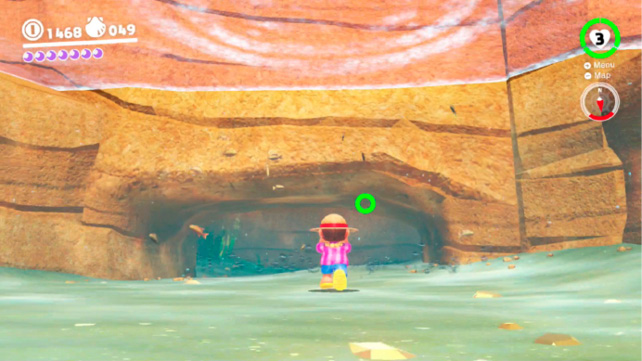
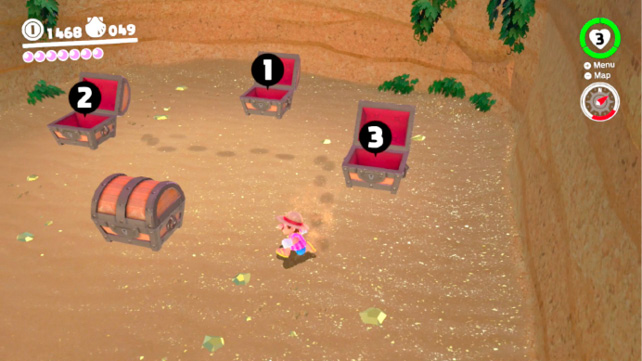
Look to the place where the sea channels in through the beach and under the stone walls in the southwest. Plunge underwater, dodging the Komboos creeping along the seafloor, and swim south in the inlet to discover that it leads to a hidden cave! Inside are four treasure chests, but they must be opened in a certain order. If the order is botched, the treasure chests spit out Chincho enemies then disappear until the enemies are defeated.
 Sea Gardening: Inlet Seed
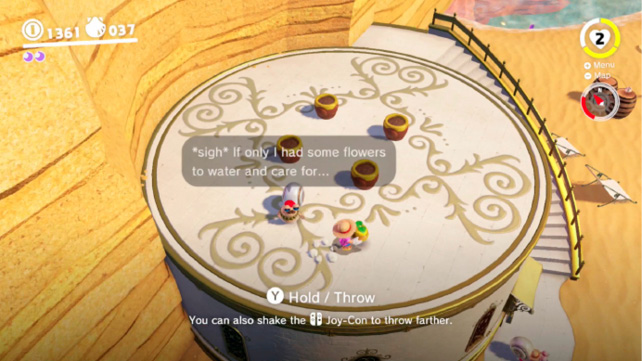
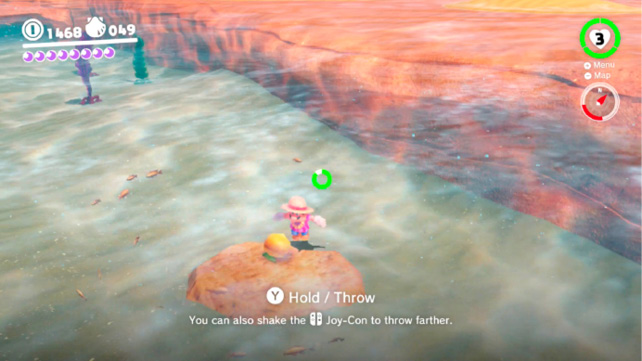
The resort roof is a perfect place for some horticulture, and there’s a Bubblainian green thumb up here who wants some plants to look after. There are four prepared pots, and four unique seeds to find in the kingdom. The nearest seed is in the little inlet just slightly east, on the shallow seafloor. Retrieve it, plant it in one of the pots, then use a Gushen to generously water the plant until it blossoms.
 Sea Gardening: Canyon Seed
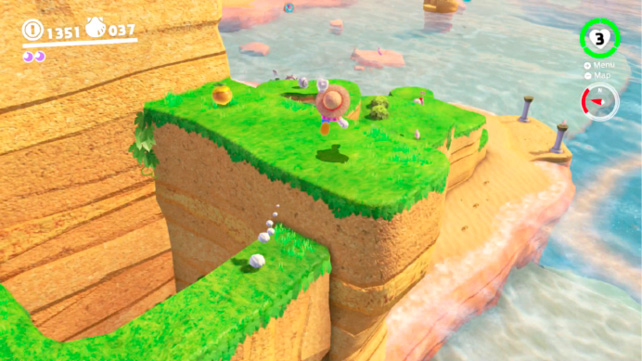
This seed is on top of some ledges above the shore to the west, near the Rolling Canyon checkpoint flag. Climb the ledges to the seed, dodging Moonsnakes and Mini Goombas, and bring it to the resort in the northeast along the beach. Plant it in one of the four pots on the roof, then use a Gushen’s downward water stream to water the plant, eventually causing a Power Moon to bloom.
 Sea Gardening: Hot-Spring Seed
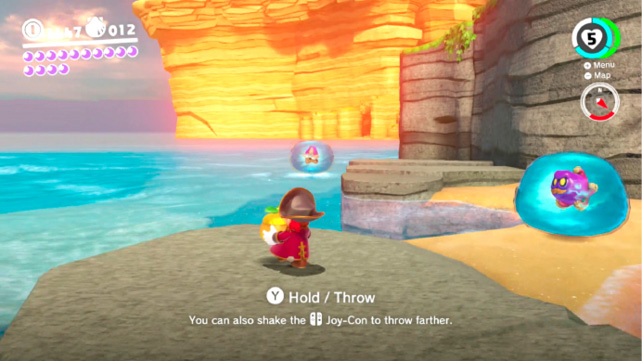
One of the seeds basically couldn’t be any farther away. It’s located around some Gushens at Hot Spring Island, in the northeast corner. You have to lug the seed from there all the way to here without losing it. Luckily, Mario can swim while holding items, so it’s not really a big deal. As with other seeds, when this one is embedded in the soil and sprouted, it’s time to dump a few Gushen water sacks into the plant to make sure it ripens.
 Sea Gardening: Ocean Trench Seed
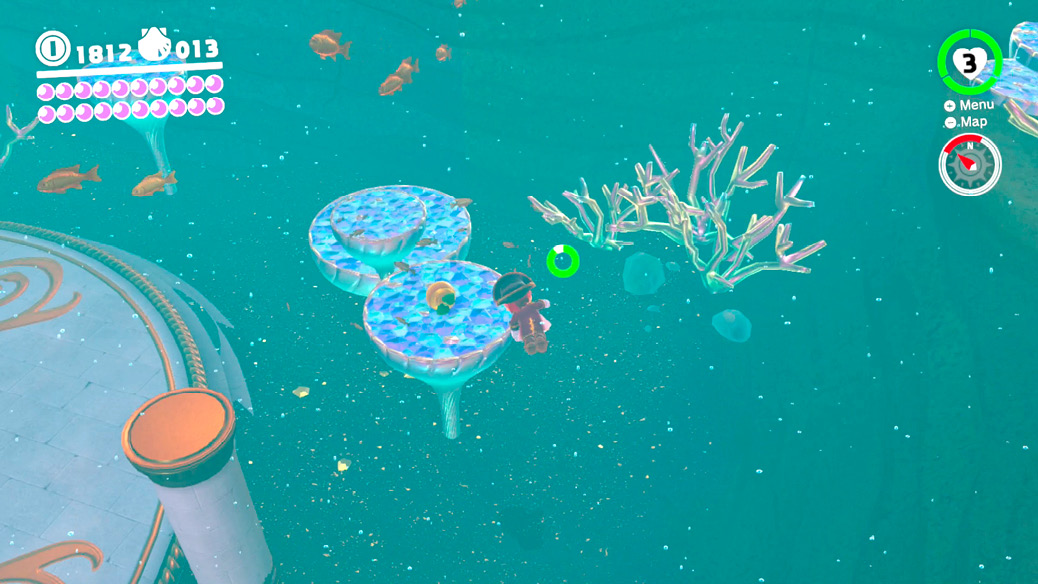
This seed is found near the riddling Sphynx statue, deep in the trench in the northern sea. Warp to Ocean Trench East or West then swim to the middle to get there directly. Locate the seed at the bottom on a pedestal, being mindful of Mario’s oxygen. Grab the seed and swim all the way to the resort in the southwest to plant it in fertile, tended soil. Like with the other seeds, this one needs to be thoroughly watered once planted, but happily the octopus population here is thrilled to help with this.
 Seaside Kingdom Timer Challenge 1
South of Hot Spring Island, a crack in the ocean floor can be seen from the right places. Find the right spot, and it’s clear as day: a bright red button can be seen down in the gap. Swim down there to find an 8-bit pipe near the button. Ground pounding the underwater red button temporarily reveals several helpful blocks inside the 8-bit pipe’s flat landscape. Quickly pop into the 8-bit pipe and run up and across the timed platforms, reaching for the Power Moon in the top-left part of the retro platforming challenge.
 Seaside Kingdom Timer Challenge 2
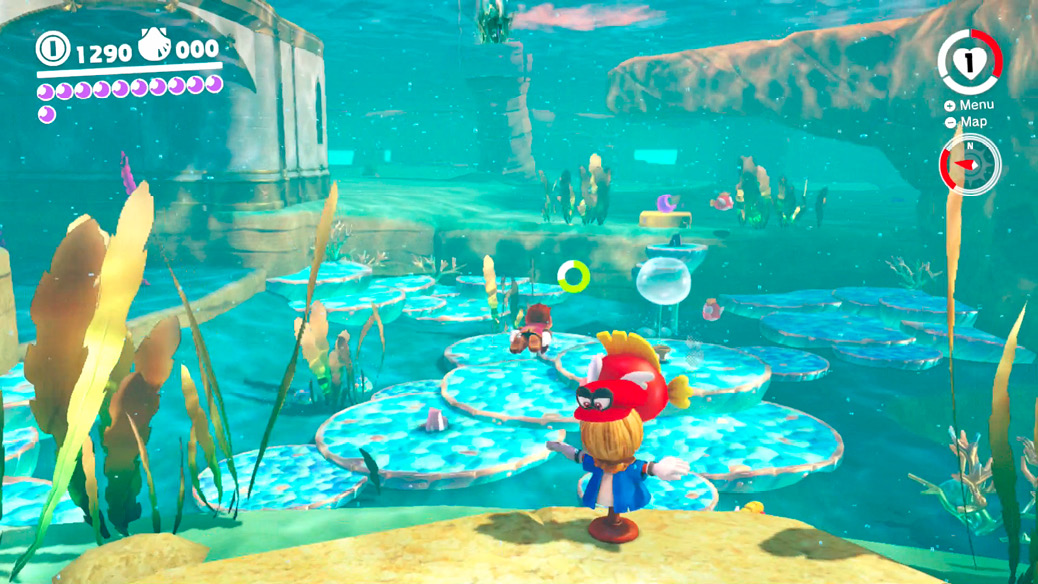
Underwater in the northern sea, north of Glass Palace, a scarecrow can be found on the seafloor on the east side of a shallow trench. The area around it is fairly calm, just some Cheep Cheeps swimming about. Cap toss onto the scarecrow to trigger a Timer Challenge, which requires that Mario swim underwater to the west, over the trench to a temporary platform holding the Power Moon. No Cheep Cheep capture is possible with Cappy spinning the scarecrow to power the puzzle, so Mario has to swim alone. Use the water dash repeatedly for speed, and be sure to pass through bubbles along the way to refill Mario’s lungs.
 Found on the Beach! Good Dog!
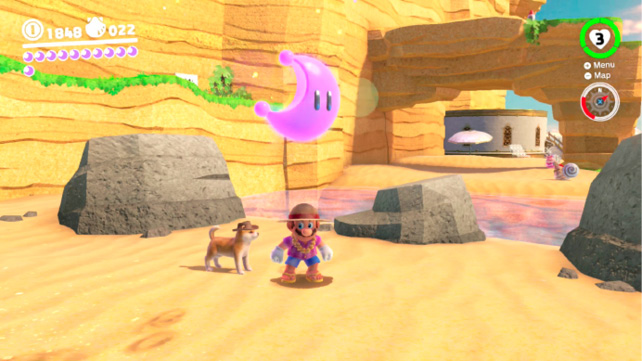
There’s an adorable dog enjoying a day on the beach, and it can be befriended with a little game of Cappy catch. Once the dog is heeling to Mario, lead it around and it sniffs out suspicious spots to ground pound. Usually this just reveals coins or Hearts, but here and there the dog sniffs out a Power Moon. Lead the dog to the west, in the direction of the resort, and see what it finds near the three rocks on the edge of the inlet. After a bit of pawing, the dog reveals the moon location.
 Moon Shards in the Sea
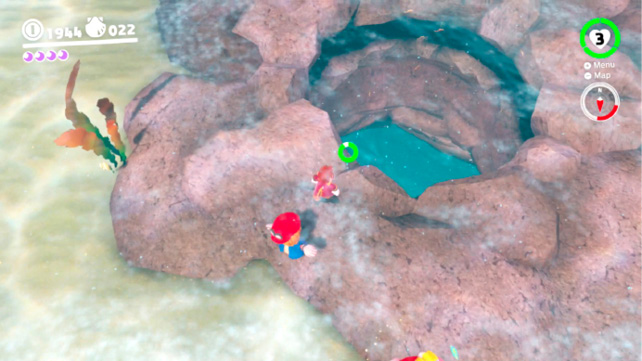
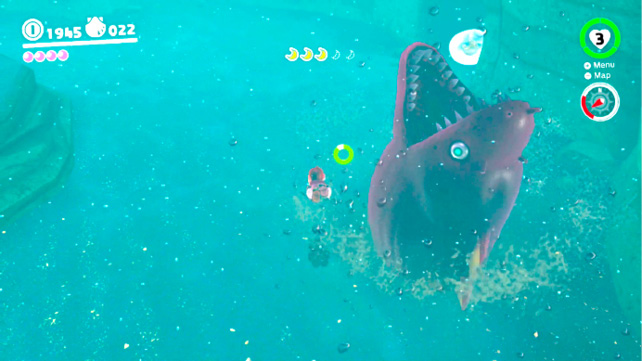
Far in the southwest, near the Rolling Canyon checkpoint flag, there’s a giant challenge room waiting to be explored underwater. The access point requires Cappy sitting out on a scarecrow, which opens the hatch into the chamber. Descend while grabbing air bubbles as necessary. Toward the bottom, you’re sure to notice moon shards here and there. Four of them are located around the seafloor in the chamber, and a fifth is a bit higher up, on an underwater shelf. Beware erupting Maw-Rays when swimming near the bottom, collecting shards. When all five shards are gathered up, the Power Moon appears in the center of the area.
 Taking Notes: Ocean Surface Dash
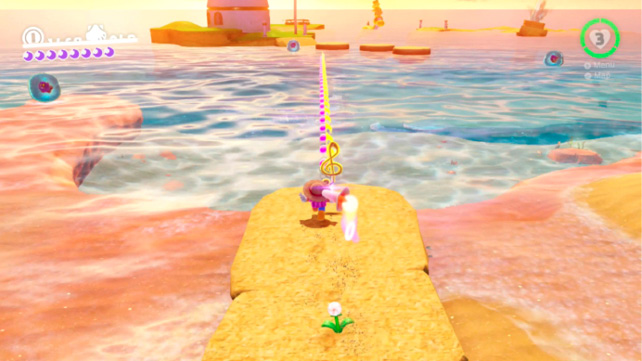
Near the Beach House checkpoint flag, a song note spins slowly just along the water. Grabbing this note places a lengthy row of music notes to collect extending out over the surface of the ocean. There’s no way you’ll get them in time just clumsily touching the note then splashing forward, jumping in and out of the water trying to grab notes. Instead, line Mario up with where the line of notes will appear, then grab a Rocket Flower and power into the first note. Mario boosting along with rocket power can run across the surface of the water like it’s glass, making quick pickup of all notes a cinch. The Power Moon that results pops up on a nearby island when Mario’s done with the task.
 Lighthouse Leaper
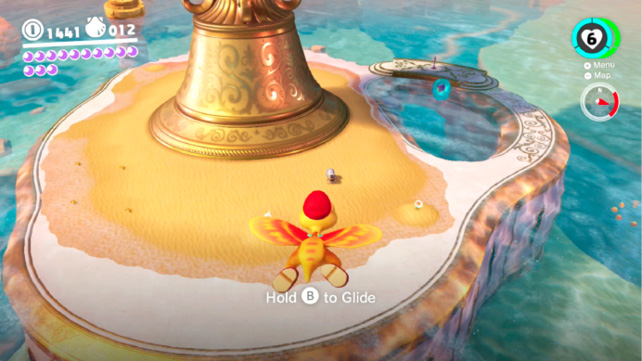
Once you have access to the top of the Lighthouse, you should also be able to warp up there using the checkpoint flag. When Bubblaine’s local threat is cleared, a friendly Glydon takes in the panoramic view up here, wondering where the choice places to glide are. At least one choice place is Glass Palace, where a Bubblainian flight enthusiast desperately wants to see a glider land. Capture Glydon and leap for Glass Palace’s base, a short flight to the east.
 Good Job, Captain Toad!
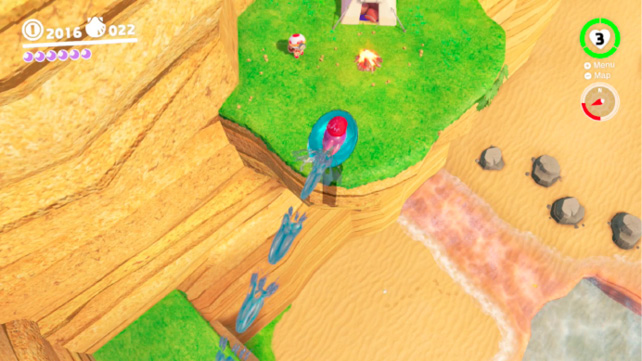
Between the warp flags on the southeast part of Seaside Kingdom you can find Captain Toad camped out on a ledge, surveying the entire region. Loft up here using a Gushen, propelling upward with its water jet abilities. Once you jet above Captain Toad’s platform on the Gushen, you may need to drop the capture and squad the octopus so Captain Toad won’t be too frightened to give up the goods!
 Ocean Quiz: Good!
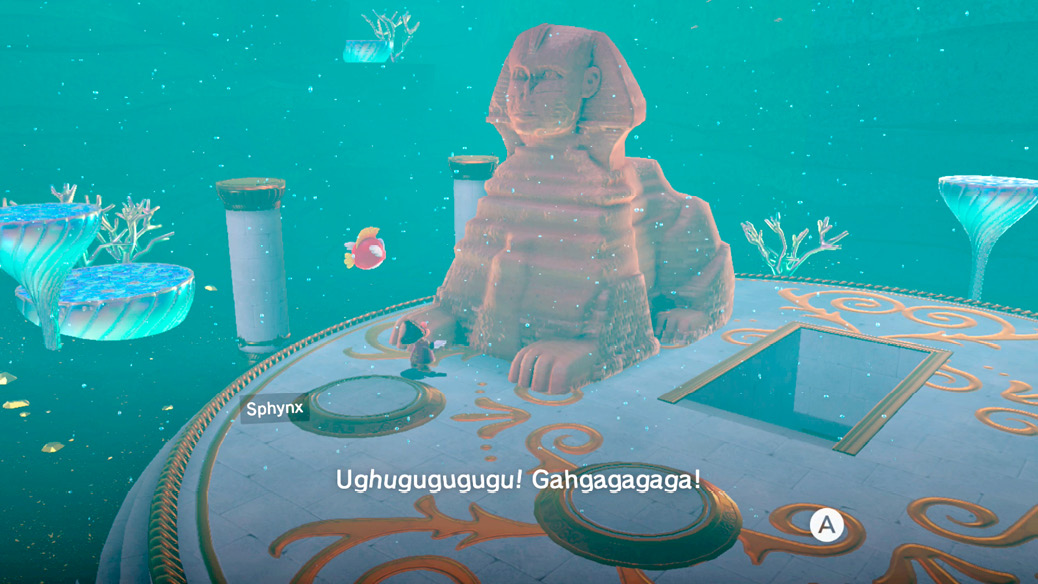
The enigmas of the Sphynx have made it even to the bottom of the ocean. The stone riddler rests down upon a huge seafloor platform, awaiting curious adventurers. Today is the Sphynx’s lucky day, because Mario is here, holding his breath, ready to answer questions.
The first correct answer here opens the way to Power Moon 40, The Sphynx’s Underwater Vault. Continue playing Sphynx’s question game until it coughs up another Power Moon in amazement at Mario’s quiz finesse. Quiz answers in order:
- Bubblaine
- Four
- Attack
- Resort Outfit
- To ask questions
 Shopping in Bubblaine
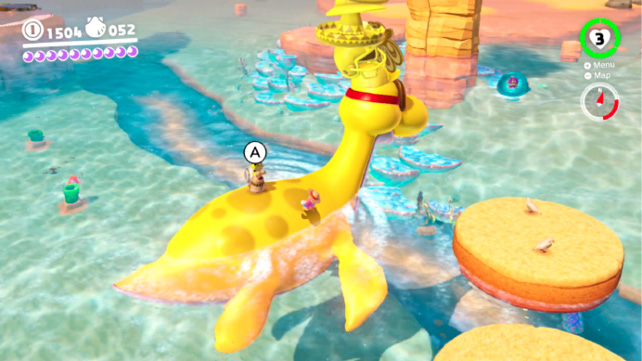
Like most kingdoms, Bubblaine has its own branch of Crazy Cap’s. Unlike other kingdoms, this branch is split up into multiple locations. The purple Regional Coin shop is open for business on the back of a blue Dorrie, and the gold coin shop is open on a yellow Dorrie. Here, a Power Moon can be purchased for the low, low cost of just 100 coins. Be sure to pick up the Pirate Outfit here too, yarrr!
 Beach Volleyball: Champ
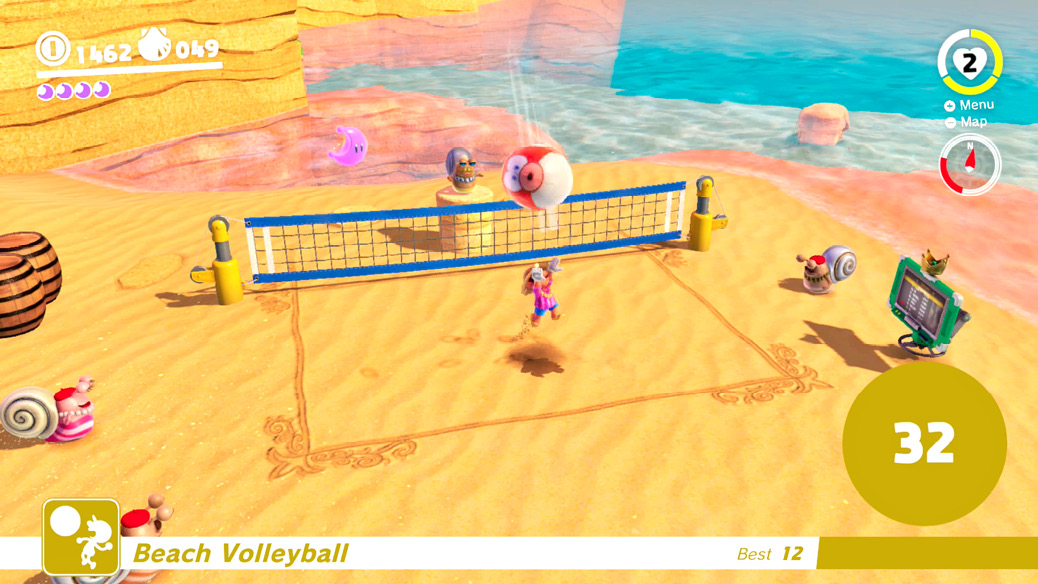
It wouldn’t be a seaside resort without beach volleyball. Some Bubblainian athletes here at the beach house are always down to serve and return. Just step on the court to start up a game.
When the ball is headed for Mario’s side of the court, watch its path and shadow to gauge where it’ll end up. Either move Mario to that general area or be ready to throw Cappy precisely along that path. Balls can be returned either by hitting them with Mario directly or with a hat throw. Balls can even be returned by bopping them or tossing a cap into them for a split second after they’ve hit the ground, so there’s a little grace period.
Return the ball successfully just 15 times to learn the novice volleyball ropes while scooping up a Power Moon along the way.
 Beach Volleyball: Hero of the Beach!
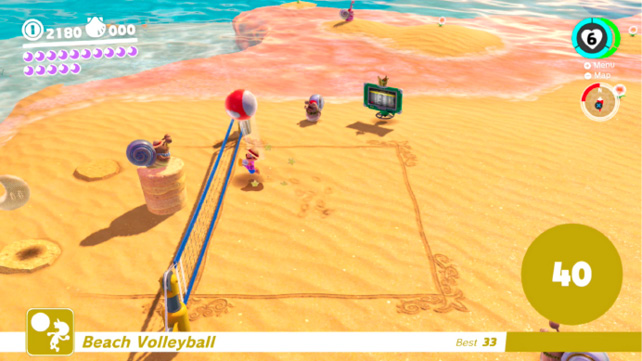
To score the second Power Moon available for bumping and spiking your heart out on the beach, you need 100 returns. That’s quite a step up from 15 for the first one. The most important thing to remember here is that it’s a marathon, not a sprint, so take it easy and stay focused. It also may help to know that there is no limit to how early you can return the ball. The moment the Bubblainian beach bum launches the ball, it can be swatted back. This means you can jump by the net, throw Cappy upward, then hold him there, and he immediately returns almost anything coming his way. It’s possible to chew away long stretches of returns just by jumping by the net and throwing Cappy upward like this. If you have an execution error and don’t produce an upward throw, though, you’ll have to be ready to dash toward wherever the ball is headed.
 Looking Back in the Dark Waterway
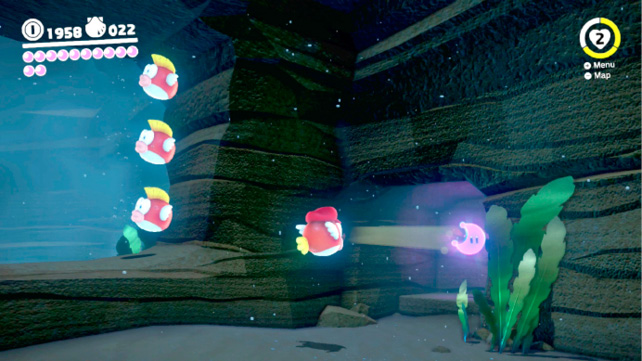
The Underwater Tunnel to the Lighthouse (accessed from the landmass in the northwest) has secrets beyond the access it provides to a valuable location. Just after entering, capture a Cheep Cheep for maneuverability then proceed forward through the little gap patrolled by more Cheep Cheeps. Just on the other side, turn left toward an inconspicuous corner to find a Power Moon! If Maw-Rays start bursting out of the cavern sands, you’ve gone too far.
 The Sphynx’s Underwater Vault
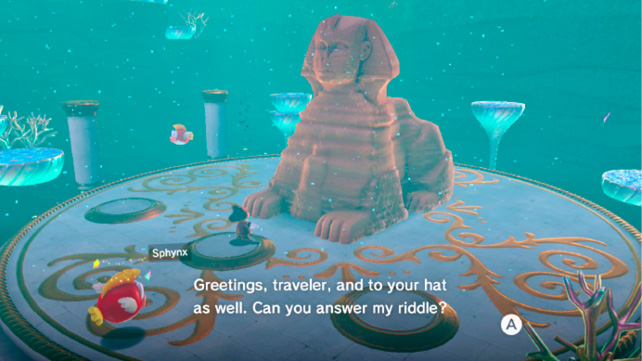
In the northern sea, deep in a trench, the mysterious Sphynx sits, awaiting anyone who’d like to play a guessing game. Answer the first question correctly, concerning the name of the region (which is properly Bubblaine, of course), and the Sphynx grinds aside on its base, revealing a passage down into a room under the platform. Explore the vault for a Power Moon, and keep talking to the Sphynx even after it moves to try for Power Moon #35.
 A Rumble on the Seaside Floor
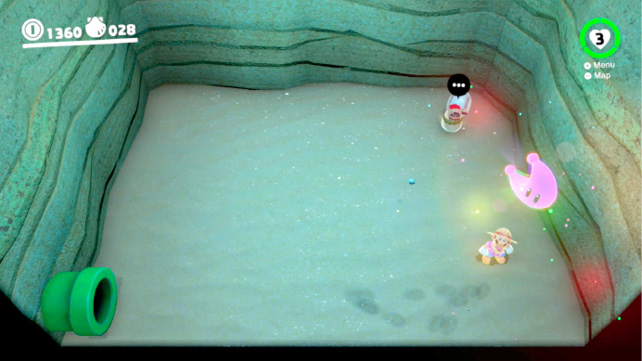
Inside a pipe leading into the rock wall near the Odyssey, a Bubblainian can be found watching over a calm little inlet. The local gives you a clue about what’s going on in here: tread carefully over the sand, and subtle rumbles can be felt coming up from underground. (Now would be a good time to mention that you need to have force feedback enabled in Settings!) Walk slowly to zero in on where the rumbling is most intense, then ground pound that spot to reveal a Power Moon.
 A Relaxing Dance
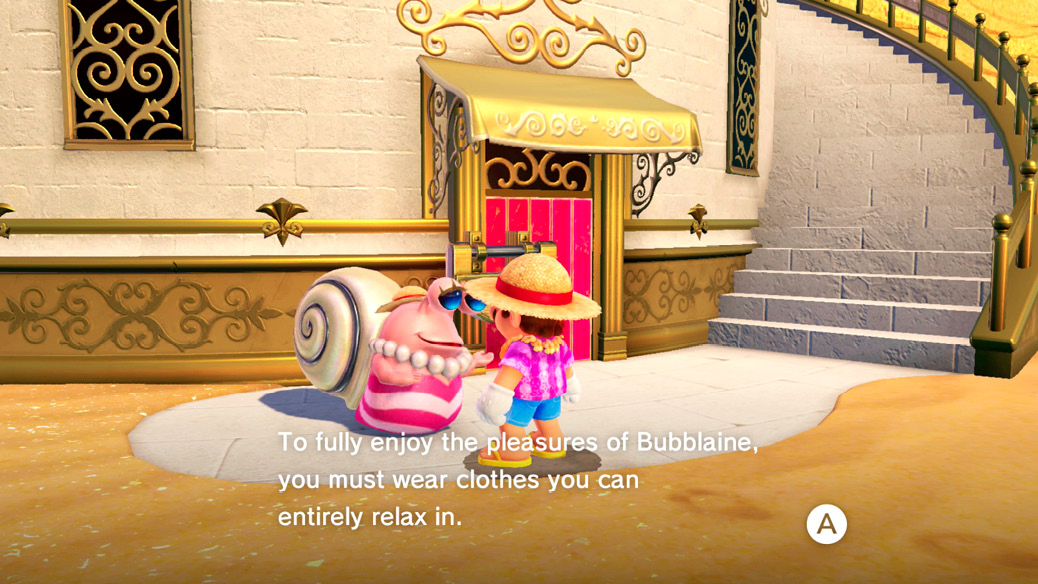
The beach house itself has a locked room that is only accessible, appropriately enough, for guests dressed in the correct leisurewear. Show up here with Mario decked out in Resort Outfit and Resort Hat, available from Crazy Cap’s for purple coins. The attendant here is then happy to grant Mario entry.
Inside, enjoy the sense of good vibes imparted by the resort, and direct Mario into the middle for him to do a little easygoing dancing. At the end, he’ll get a Power Moon reward.
 Wading in the Cloud Sea
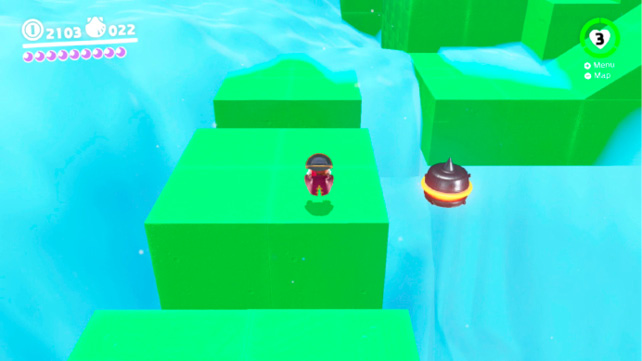
The Mini Rocket on a high perch near the Beach House provides valuable lessons in mist-clearing. When a row of coins veers into the mist here, you can trust it: rolling down that platform will turn out fine. Farther, hat launchers and pulse beams work together with Cappy to blow aside big swaths of smoke. This reveals the platforms underneath clearly. You don’t have to wait for the mist to blow aside before these platforms are usable. It’s just nice to have a clear view.
Farther still, the pulse beam mist clearing is complicated by a Burrbo infestation. They’re unsafe to jump on, can at least be knocked out with cap tosses, and are a nuisance either way. Avoid them or consider the pulse beams anti-Burrbo as well as anti-mist.
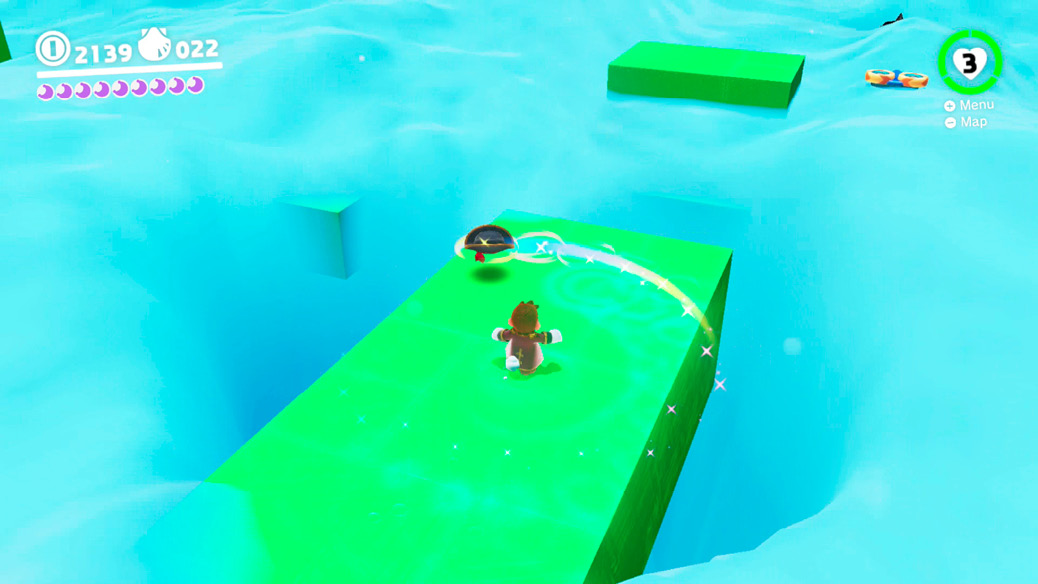
After a stretch of platforms without pulse beams, where you have to rely on Cappy for defogging, a series of three pulse beams signals the end of the room, where there’s a Mini Rocket to return to the surface, and a Power Moon to take as a souvenir.
 Sunken Treasure in the Cloud Sea
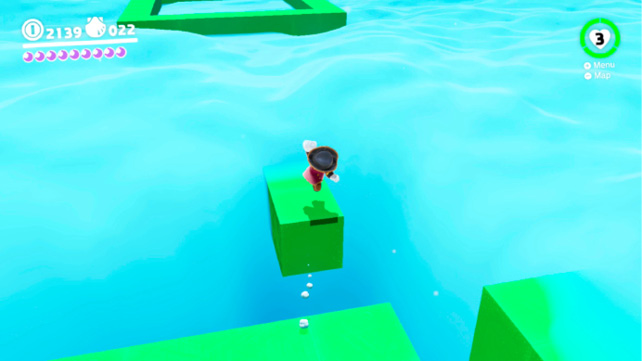
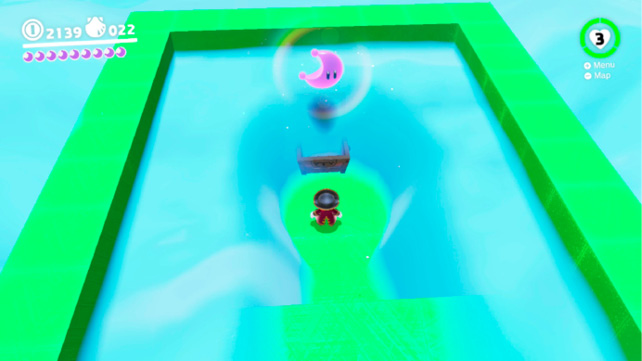
In the cloudy challenge room, eventually there’s a stretch without pulse beams and hat launchers to help clear the way. Where no pulse beams or hat launchers are present, Cappy himself continues to work just fine for smoke clearing, especially with spin throws. While pathfinding platforms ahead, watch for an unusually skinny platform across a small gap, pointed at a distant “pool” of mist. Leap to this little bridge and cross to the mist pool to find a treasure chest.
 Fly Through the Narrow Valley
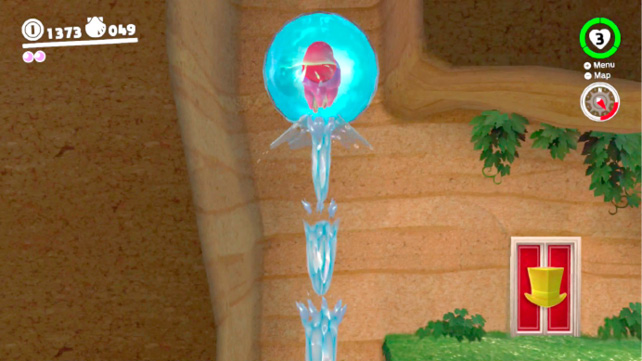
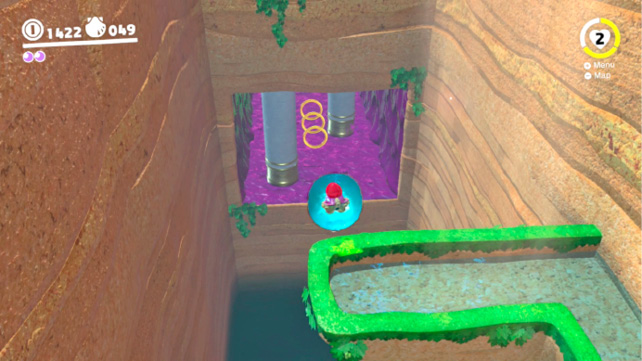
The southwest area of the region is a good place to get used to piloting Gushen captives, since there’s a lot to do with many nooks and crannies. A crack in the rocks in this area has a hidden vertical channel, easily surmounted with a downward-aimed Gushen jetstream. When a special door is visible to the right, switch from downward to lateral jetting to fly over to it.
Inside, Mario gets more of a Gushen workout. This challenge room puts your Gushen flight skills to the test, forcing you to use every drop of water propellant jetting from one platform to another, with no safety nets in between. Water can only be replenished in the shallow pools on most platforms. After passing through square frames and bunches of coin rings, fully refill water at the larger platform before the next section.
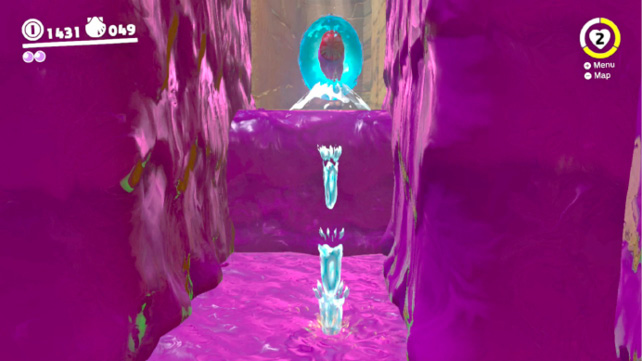
This part requires threading through an area covered in poison liquid, instantly deadly to the touch. Hop out of the platform’s pool ever so lightly, fall down until you’re even with the poison hallway, then start jetting laterally through the first sets of columns and coin rings. You have to compensate left and right while jetting down this hall to dodge the columns. At the far end, there’s a poison shaft upward. No side is safe, but you have to jet right to the center without touching anything, then begin jetting straight up the corridor. With enough height to jet laterally, blast forward over the lip. You just need at least enough water left to propel over this lip and fall into the wide chamber below, but if you’ve metered propellant really well, you should have enough to push over the gap and onto the treasure chest ledge beyond.
 Treasure Chest in the Narrow Valley
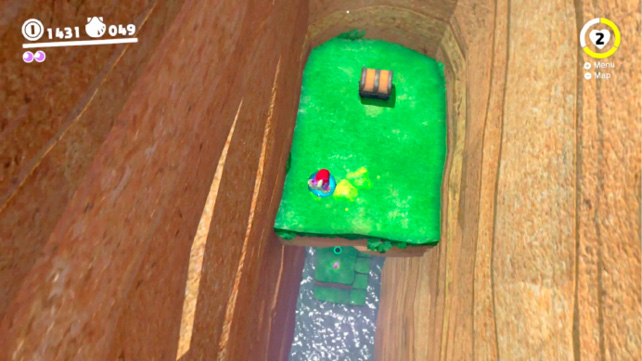
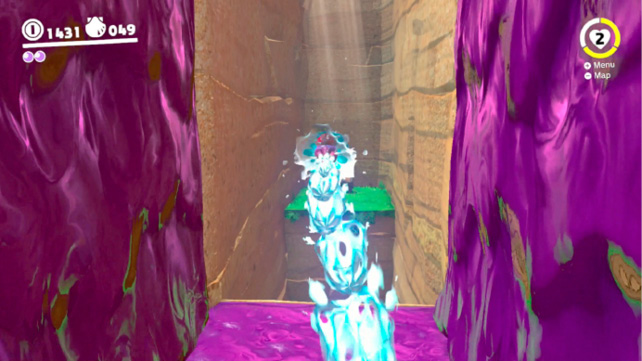
In the Gushen challenge room, there’s a reward for optimizing water use toward the end. As described in the previous entry, Mario in Gushen form just needs enough juice to clear all the poison surfaces and float out over free space. Gravity does the rest, taking him to the standard Power Moon and exit pipe below. But with sufficient water left when jetting out over the gap, you can just keep jetting, ending up on the treasure chest platform.
 Hurry and Stretch
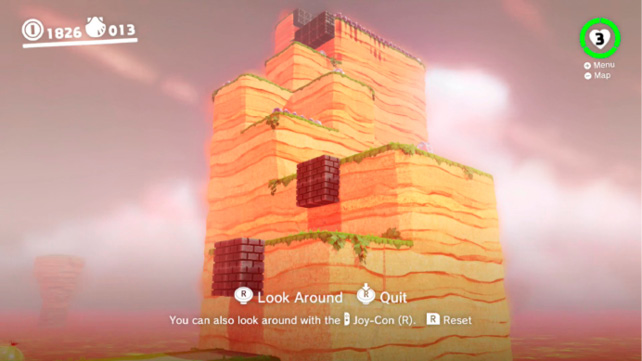
Swimming southwest of Hot Spring Island, you may notice a stone corridor underwater leading to a special door. Open the door to reveal a curious sight: a steep hill amid a sea of lava. Now we know why it’s a hot spring up above, at least. Capture an Uproot at the bottom to begin a heated challenge: climb the hill using the Uproot’s incredible leg-stems before the lava rises and engulfs it. Along the way, Moonsnakes roll back and forth on the hill’s narrow ledges to make things spicier than they already are. The Uproot’s leg growth can be used as a little hop, by holding it only briefly before releasing, so use this to hop back and forth on ledges when Moonsnakes roll toward Uproot Mario. Climb all the way to the exit pipe to gain a Power Moon as well.
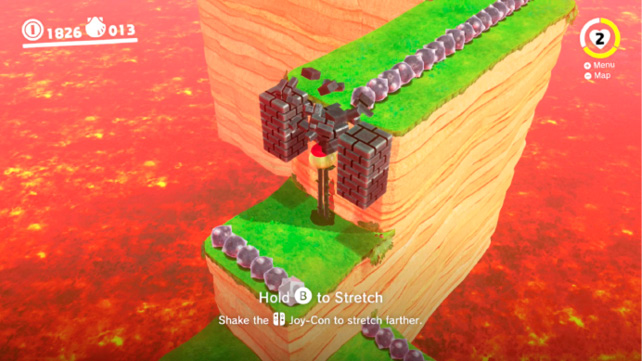
 Stretch on the Side Path
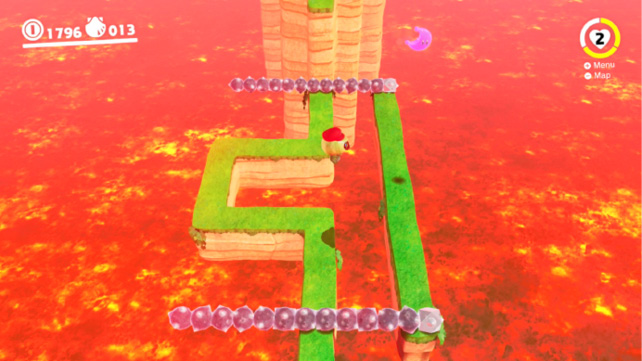
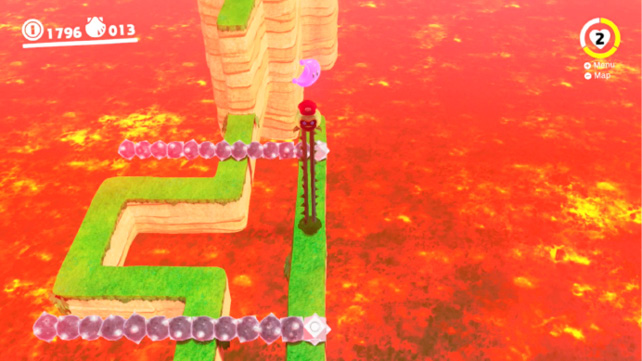
In the Uproot room found underneath Hot Spring Island, there’s a second Power Moon to find for Uproot pilots who hop quickly on the very thin walkways toward the end. When the route tapers to just two tiny slivers of land and two Moonsnakes rolling around them, look to the right side to see a Power Moon hovering high above the floating catwalk. Hop over there using a quick Uproot leg stretch, dodging Moonsnakes when needed, and stretch up under the Power Moon to nab it. The lava’s still coming afterward, so hightail it to the exit!
 Secret Path to Bubblaine!
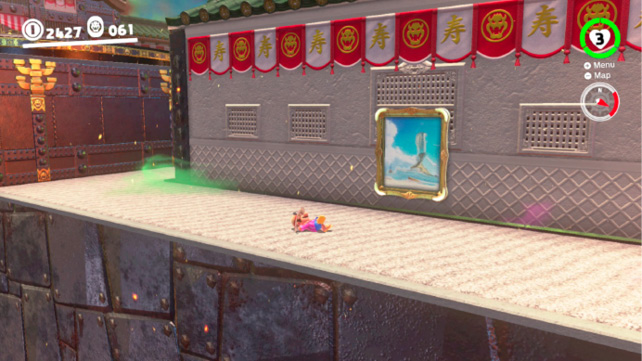
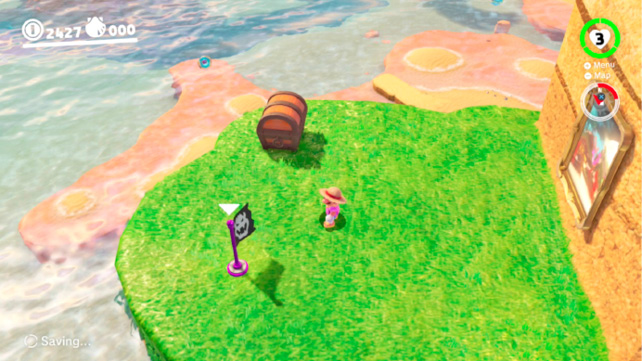
Seaside Kingdom and Snow Kingdom become accessible at the same time, and the first place visited is up to you. Warp paintings in Bowser’s Kingdom and Mushroom Kingdom point toward these earlier kingdoms. Which future kingdom’s warp painting points to which mid-adventure kingdom’s secret ledge depends on the region you tackle earliest. Either way, hop through the warp painting to end up here. Grab the Diving Platform checkpoint flag and the Power Moon in the treasure chest, then somersault off the platform for fun.
 Found with Seaside Kingdom Art
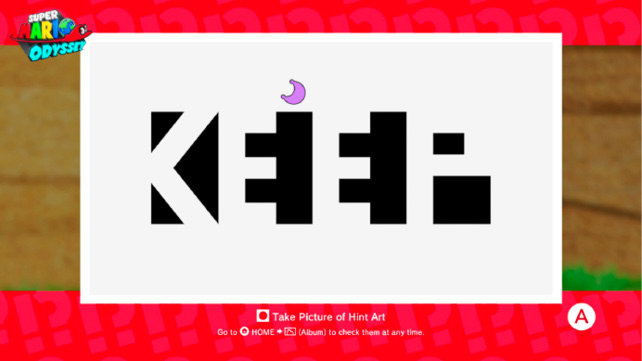
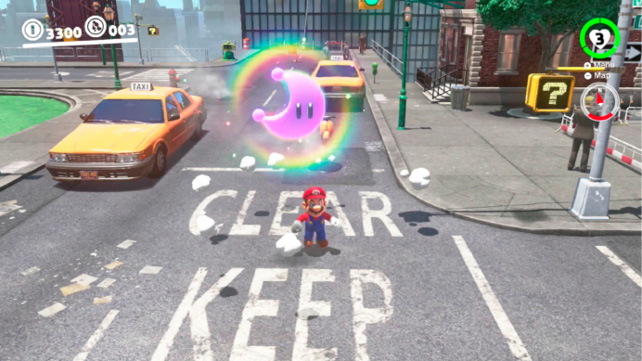
Like many odds and ends in Seaside Kingdom, this painting ended up on a low shelf overlooking the beach and resort. It seems to depict a Power Moon in relation to either the word “keep” or perhaps next to a keep or dungeon of some sort. The meaning may seem inscrutable for a time.
That is, except to New Donkers! Residents of the metropolis should recognize the text as being very similar to the iconography used in street warnings and signs. Travel to Metro Kingdom and look around for anything distinctive that matches the painting. With an eye to the road below, you’re sure to spot something!
 Seaside Kingdom Regular Cup
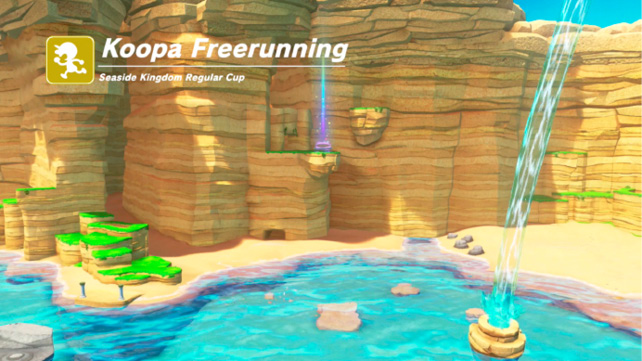
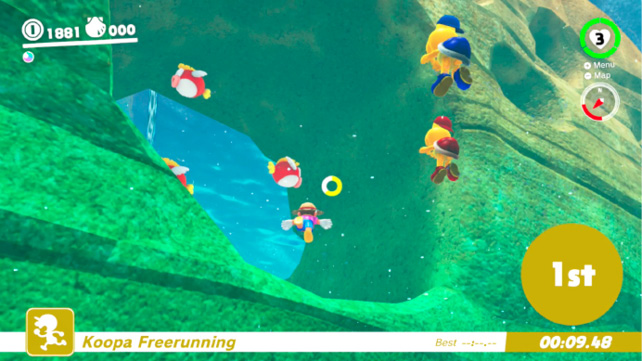
This race’s organizer can be found on a mostly barren island to the northeast. The Koopa sets up the free running challenge to start on the ocean floor in the northern trench, before ending on a ledge above Rolling Canyon. Ambitious, with many possible routes to take.
The most direct is to swim upward furiously right from the start, seeking the surface. If it’s convenient to do so, you can capture a Cheep Cheep along the way. This provides a speed boost while underwater, but it’s not the best idea to stay underwater for that long. The faster you get to the surface, the sooner you can start stacking Rocket Flowers on Mario’s back. Rocket Flowers let him skate across the top of the water, crossing to shore much faster than merely swimming.
Once on shore in the canyon area, the typical way to ascend is to follow the herd into the Rolling Canyon channel. It’s much faster to just scale the sheer wall leading to the goal by flicking upward on the fork-like Volbonans stuck in the wall, though.
 Peach in the Seaside Kingdom
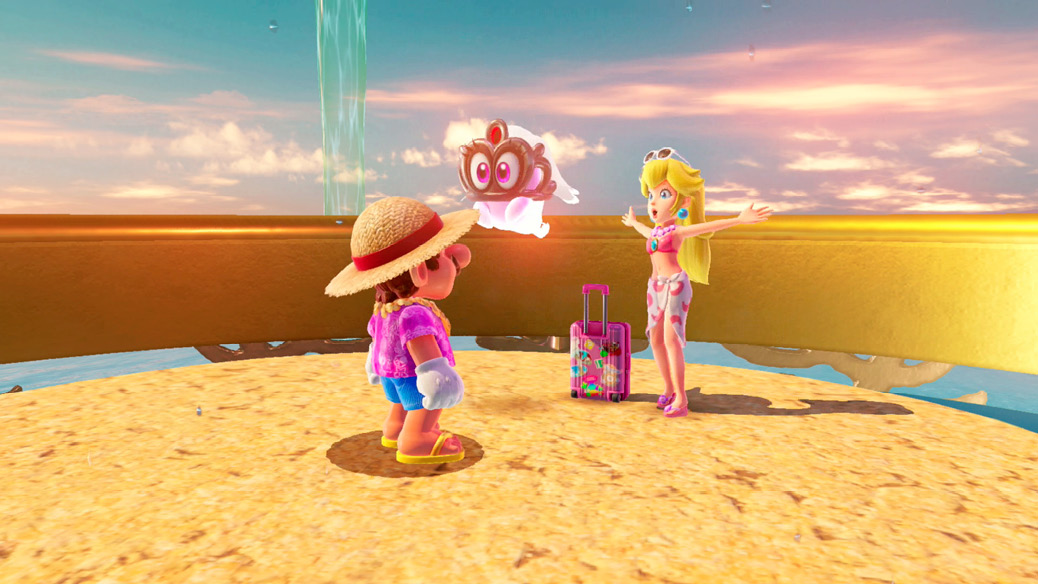
When the adventure is resolved and everything has calmed down, Peach and Tiara can be found in their beach ware on top of Glass Palace’s Glass Tower, bathing in a Sparkle Water spritzing. Riding one of the Sparkle Water fountains is the fastest way to get up here. Greet Peach and Tiara for a Power Moon reward. There are other reasons you’ll want to eventually visit Peach and Tiara everywhere they go, too.
Moons from the Moon Rock
 Above the Parasol: Catch!
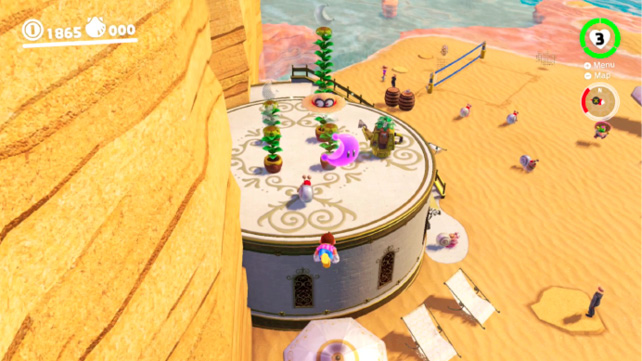
When the Moon Rock’s power is unleashed, many Power Moons simply pop into existence throughout the kingdom. This one is located hovering high above a bouncy parasol at the Beach House. Warp to the Beach House and jump on top of the umbrella for an easy addition to the Odyssey’s running moon tally.
 What Shines Inside the Glass
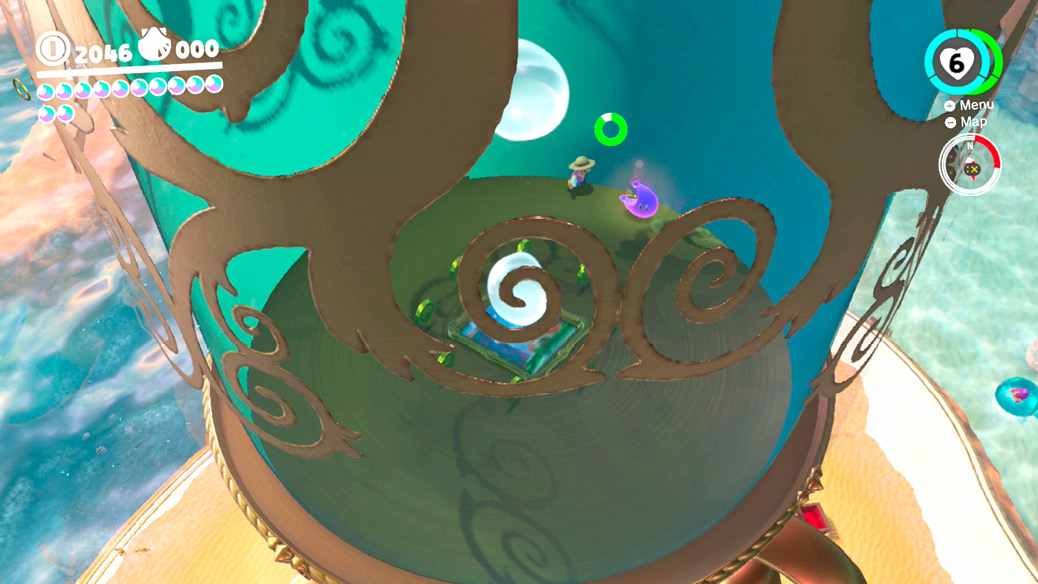
Plunge into the fizzy waters contained in the tall Glass Tower to find a Power Moon down below. Don’t worry about air, air bubbles rise from the bottom. Ride one of the unclogged carbonation fountains up to the top of Glass Tower, then dive in and ground pound to the bottom.
Note the warp painting while you’re down here. If you flew to Seaside before Snow Kingdom, the warp painting leads to Cascade Kingdom. If you flew to Seaside Kingdom after Snow, the warp painting leads to Wooded Kingdom.
 A Fine Detail on the Glass
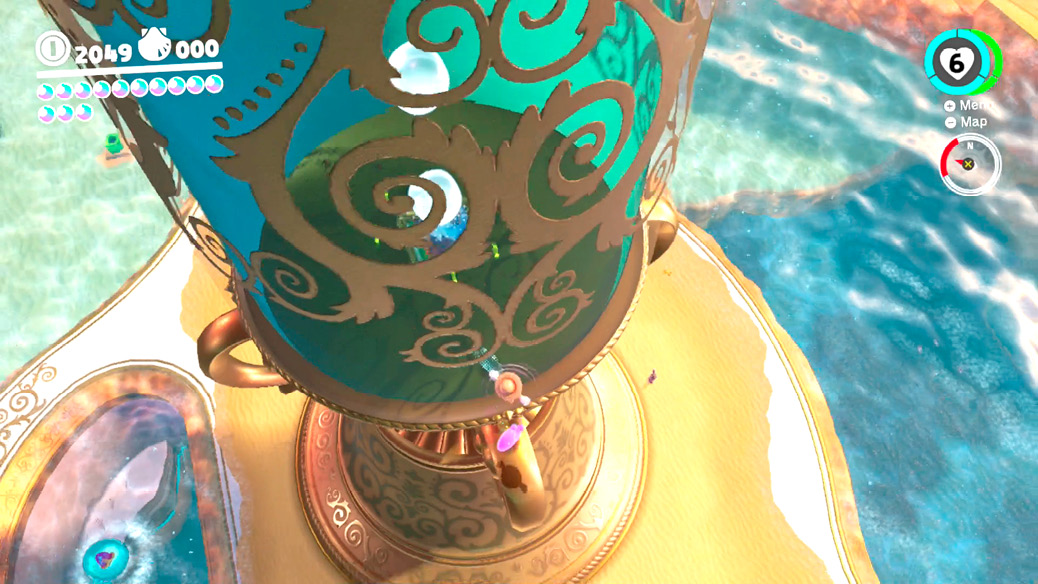
Just on the other side of the glass from Power Moon #54 on the inside, this Power Moon is found on the outside. While Mario needed to dive in the interior of Glass Tower to find the other moon, this one requires falling down the exterior. For a slower, more controllable fall, rotate the stick twice quickly to start spinning right before jumping. Descent speed is slowed down during a spinning fall, making it easier to guide Mario toward the Power Moon on the way down.
 Underwater Highway West: Explore!
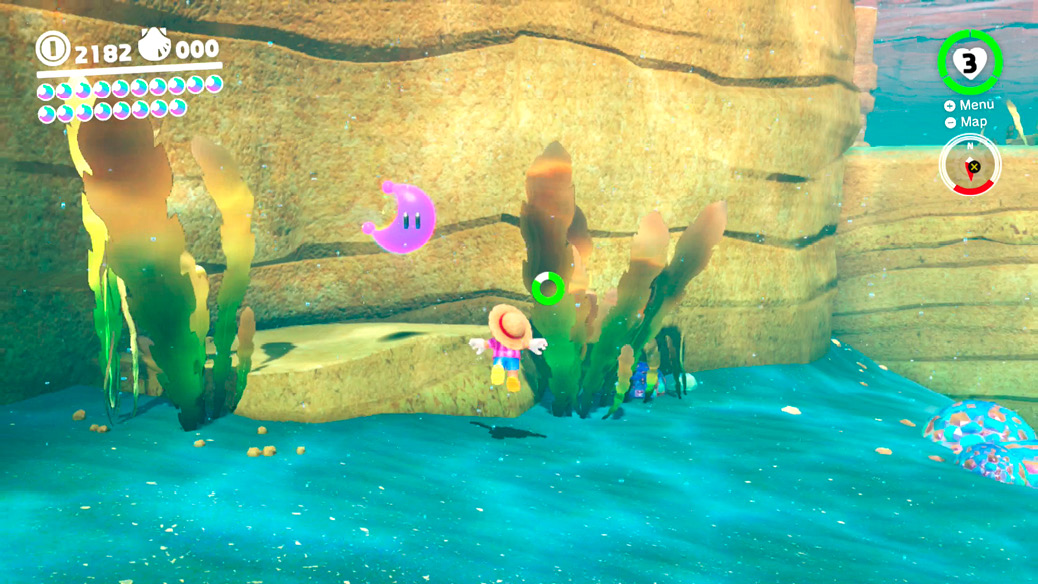
In northwest Seaside Kingdom, look underwater in the shallows around the island where the secret Lighthouse passage begins. Down on a rock platform, find a stray Power Moon hovering.
 Underwater Highway East: Explore!
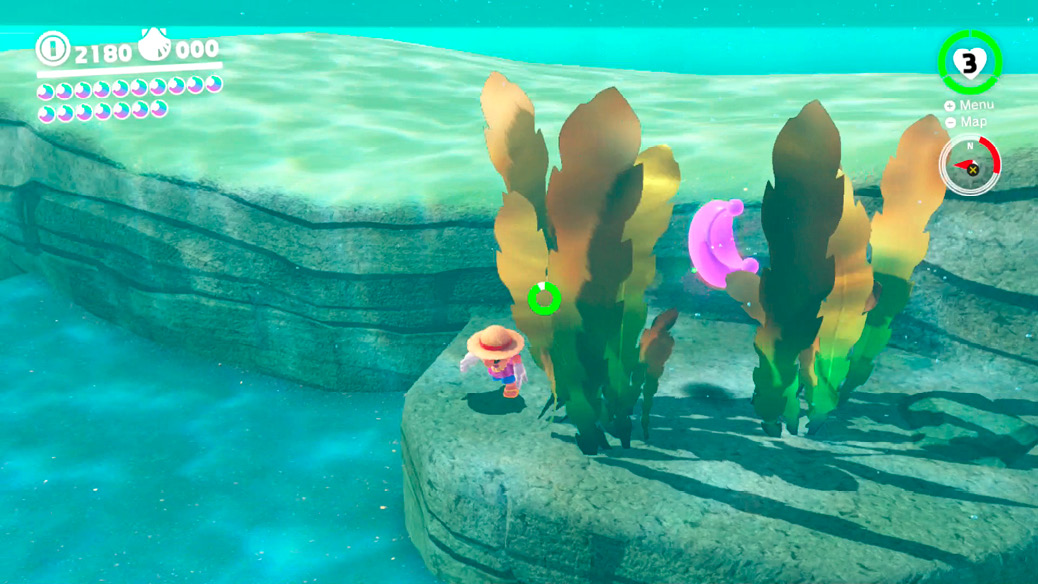
Out in the eastern ocean here, search a nondescript seaweed grove. No, they’re not Komboos, for a change, just regular nonviolent plants. Well hidden among them is a Power Moon. Spot it and swim into the plants to scoop it up.
 Rapid Ascent on Hot Spring Island
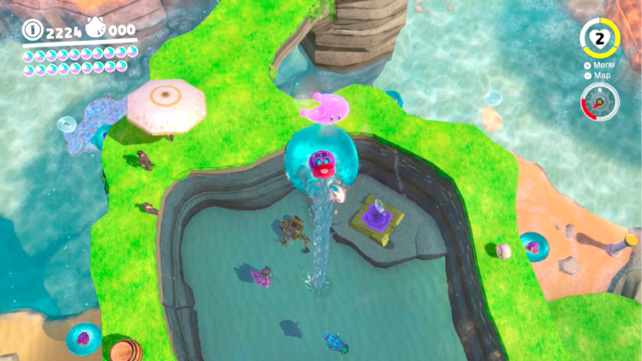
A Power Moon floats high above the wading pool atop Hot Spring Island. Even after bouncing high off nearby parasols and then dive jumping, Mario can’t quite catch enough air here to pull down the treasure. Find a nearby Gushen and capture it and return to stack things more in Mario’s favor, height-wise. Center the Gushen in the pool, then jet straight up. The Gushen ends up just a hair underneath the tantalizing Power Moon—drop the capture by tapping crouch for Mario to pop out, gaining enough extra high to grab the moon.
 A Light Next to the Lighthouse
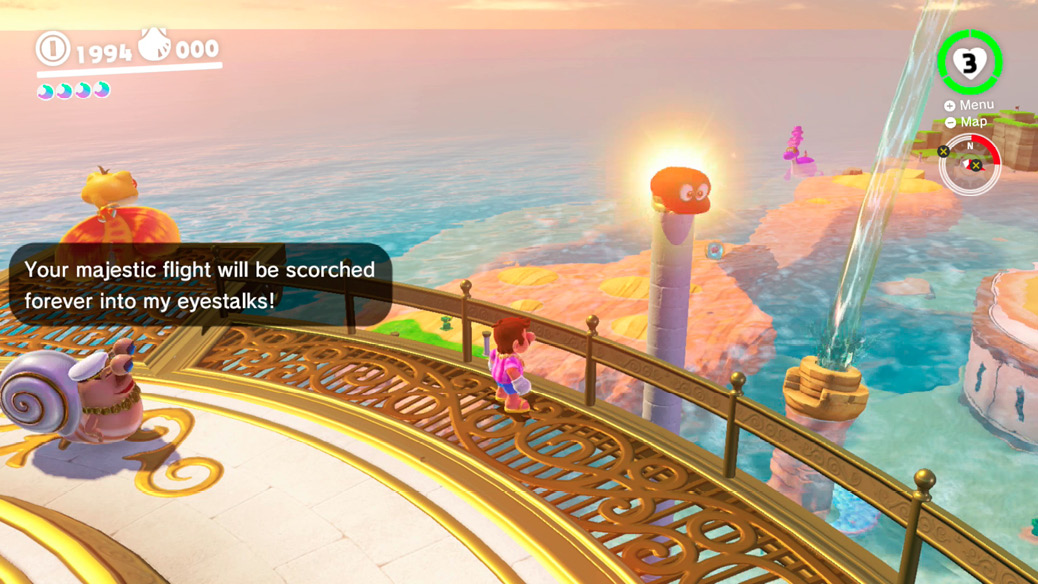
By now, lots of tourists and locals are atop the Lighthouse, enjoying the crisp air and the views. Stop by the Lighthouse observation deck to mingle and see what’s new and you’ll notice light coming from one of the poles next to the Lighthouse. Jump and toss Cappy onto the top and hold him there to generate another Power Moon.
 The Tall Rock Shell in the Deep Ocean
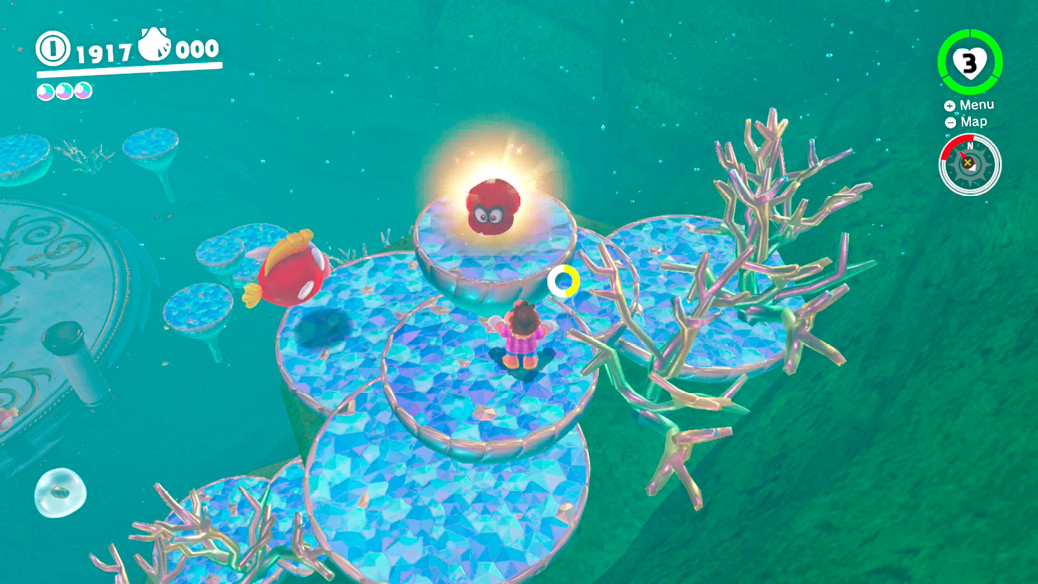
Look at the top tip of a coral shelf overlooking the stoic Sphynx in the northern trench. One of them here gives of the unmistakable rainbow glow of an object hiding a Power Moon. Toss Cappy onto the stomp on top and hold him there to eke out the Power Moon.
 At the Base of the Lighthouse
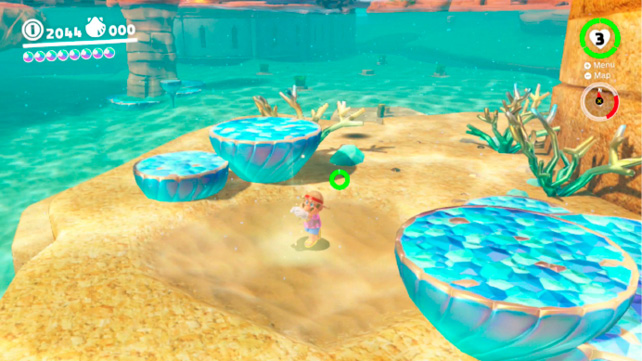
Just northeast of the Lighthouse, a faint glow can be seen in the sand under the water, between some coral platforms. Nail this sandy spot with an underwater ground pound and the Power Moon springs forth.
 Bird Traveling Over the Ocean
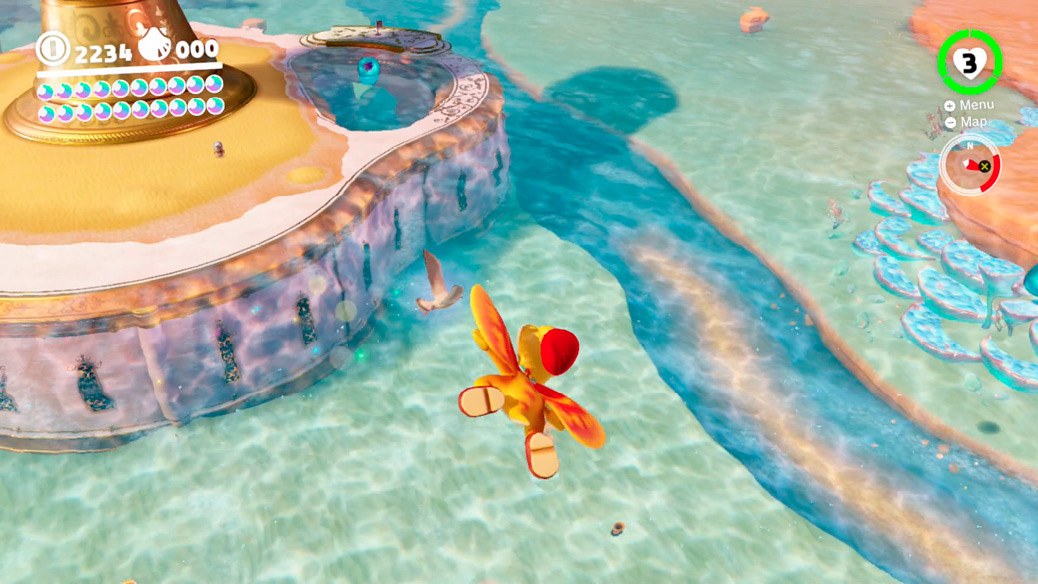
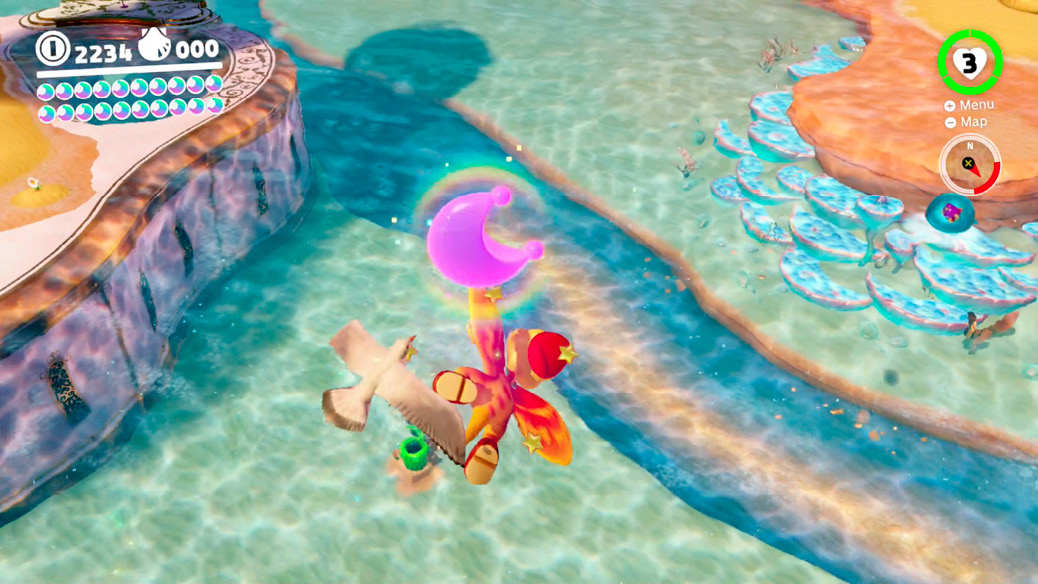
It’s hard to take your eyes off the water, but turn your gaze to the sky and you’ll sometimes see a bird flying around the region, a familiar glow trailing it. It’s usually high up in the sky, but there are points where it’ll dip down and glide not high off the ground. To check to see if the bird has a Power Moon (it does), you’ll have to get in striking distance. Get close enough where it dips down near the ground or passes close by a structure like the Lighthouse and either tap it with Cappy or Mario. Touching the bird merely reveals the Power Moon, it still needs to be picked up to get added to the Odyssey’s tally.
 Caught Hopping at Glass Palace!
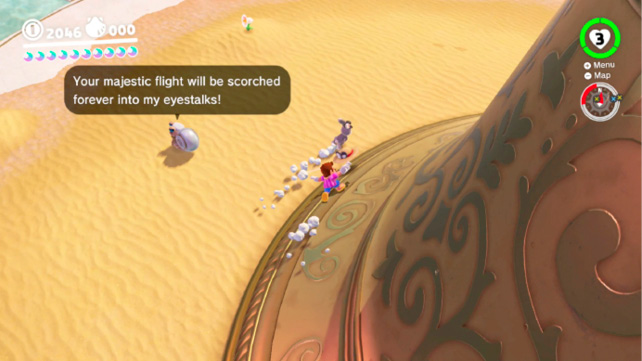
Look around the base of Glass Palace to find another pesky hare running circles around anyone trying to corral it. Chase the rabbit, using hat throws to slow it down if needed, and grab the bunny to score a Power Moon.
 Seaside Kingdom Timer Challenge 3
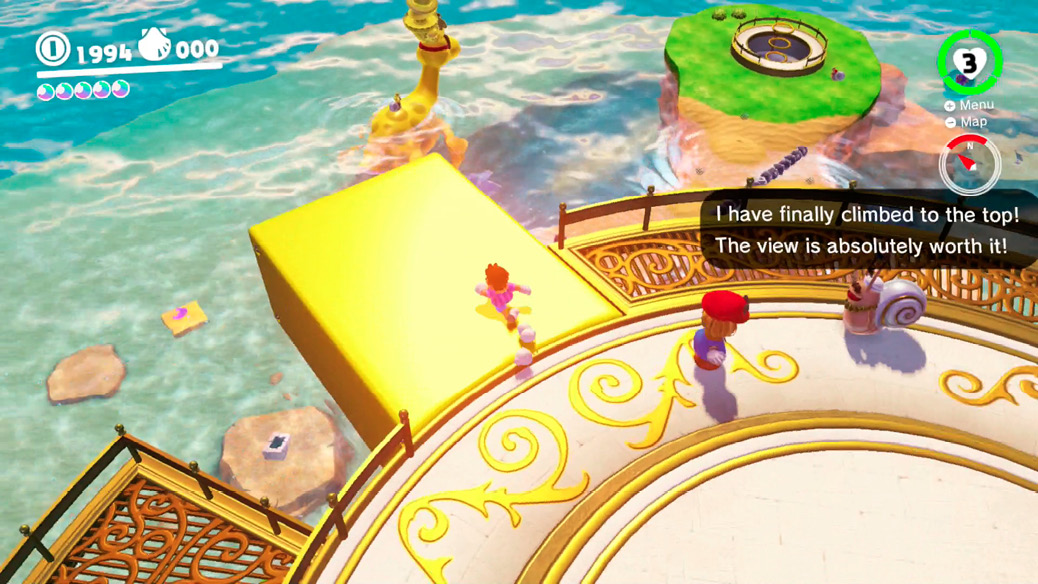
A fresh scarecrow is set up on top of the Lighthouse. Stick Cappy onto it to start a Timer Challenge that leads all the way down into the water. A kind of diving board block will appear in front of the scarecrow, pointing the way toward the Power Moon on a temporary platform underwater. Immediately after the challenge begins, run off the diving board platform and running long jump at the edge, toward the Power Moon down below. (For even more reach, space a triple jump to launch just by the edge of the platform, then tackle from the apex of the triple jump.) Mario falls a bit short of the underwater moon platform, but there is time to swim quickly toward the Power Moon.
 Taking Notes: Ocean-Bottom Maze
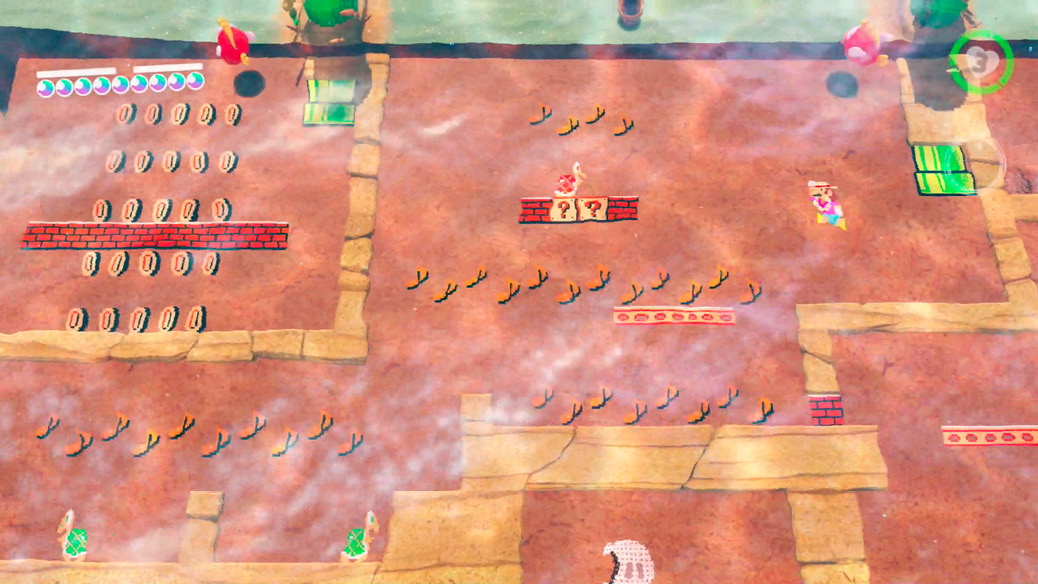
Once the Moon Rock has expended its energy, there is a new Power Moon to find inside the 8-bit maze on the ocean’s floor in the middle of the kingdom. Enter from the top-right pipe of the group to find a 2D song note floating in here. Picking it up reveals more notes along three tiers of the maze, in an area patrolled by Koopa Troopas. There’s no trick to getting all the notes quickly here, since 2D Mario can’t throw Cappy or anything. You’ll just have to dash and jump quickly to get all the pick-ups the old-fashioned way.
 Taking Notes in the Sea
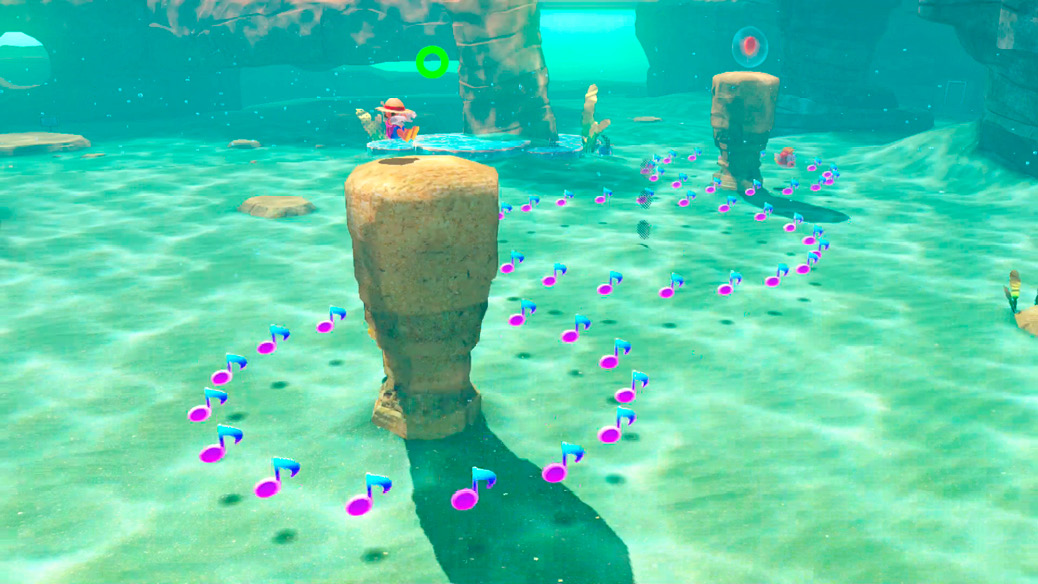
Underwater to the southeast of Glass Palace, a new song note can be found. Collecting it spawns three sets of nearby notes, big circular groupings. To collect these all before the challenge timer ends, you need the services of a Cheep Cheep. Either capture one first and start the challenge in Cheep Cheep form, or capture a nearby Cheep Cheep immediately after collecting the first note.
 Seaside Kingdom Master Cup
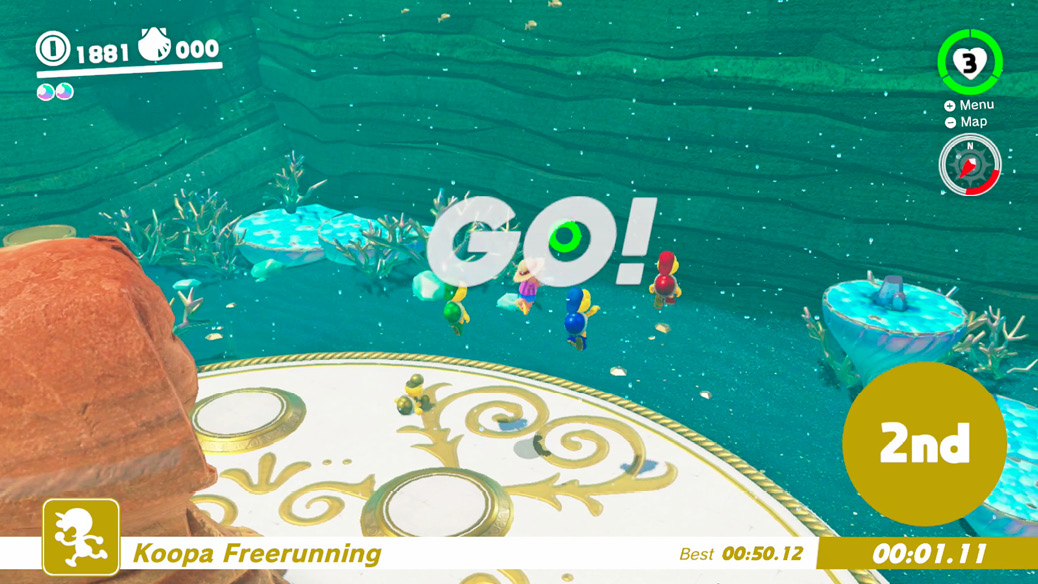
This race adds the twist of the elite golden Koopa, who begins with a sneaky trick: he ground pounds right away, ground-pound jumps off the ocean floor, then begins swimming furiously upward. The ground pound jump off the seafloor gives an extra boost compared to racers who simply start swimming at the start.
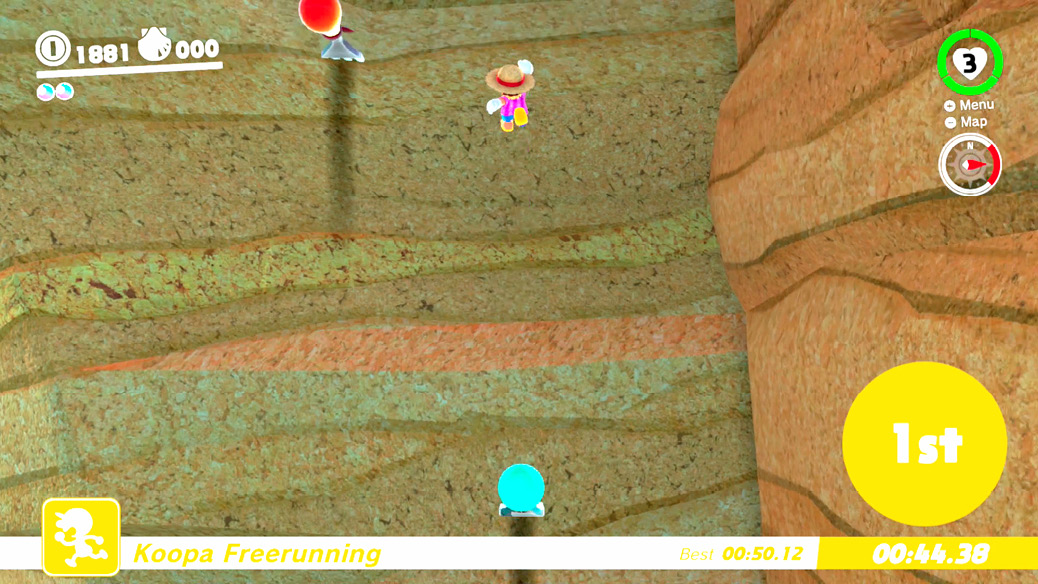
Although the golden racer has tricks up his sleeve the others do not, if you race up the back wall of the goal, flicking upward from Volbonan to Volbonan, instead of taking the canyon like everyone else, you’ll be hard to beat.
 Aim! Poke!
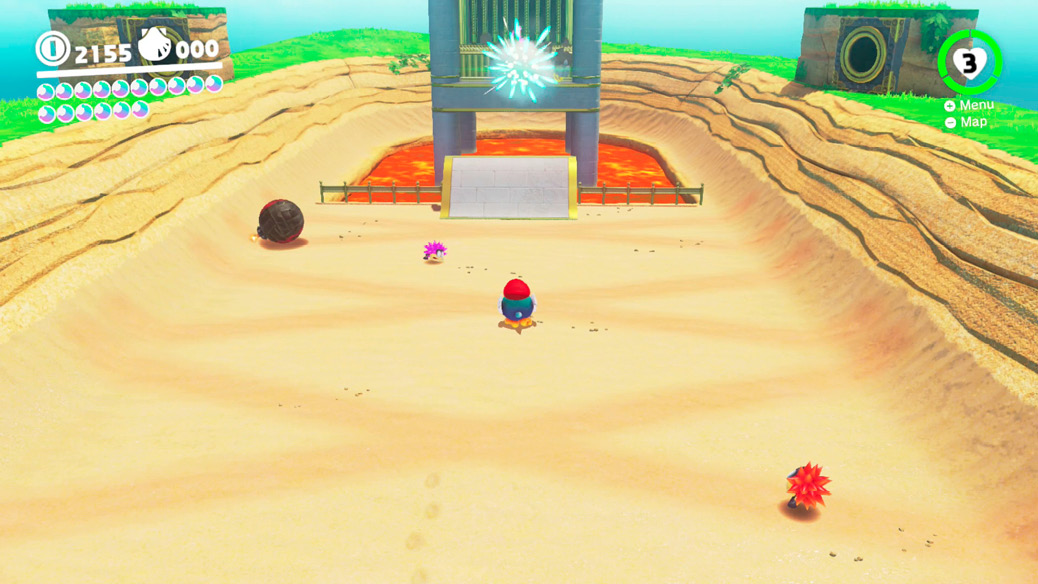
This moon pipe is found among the islands in the east. Inside is a big, sandy half-pipe, which cannonball bombs are rolling across. Breakable cubes are spread about the area in places, along with a ramp at the far end, propped up by more breakable cubes.
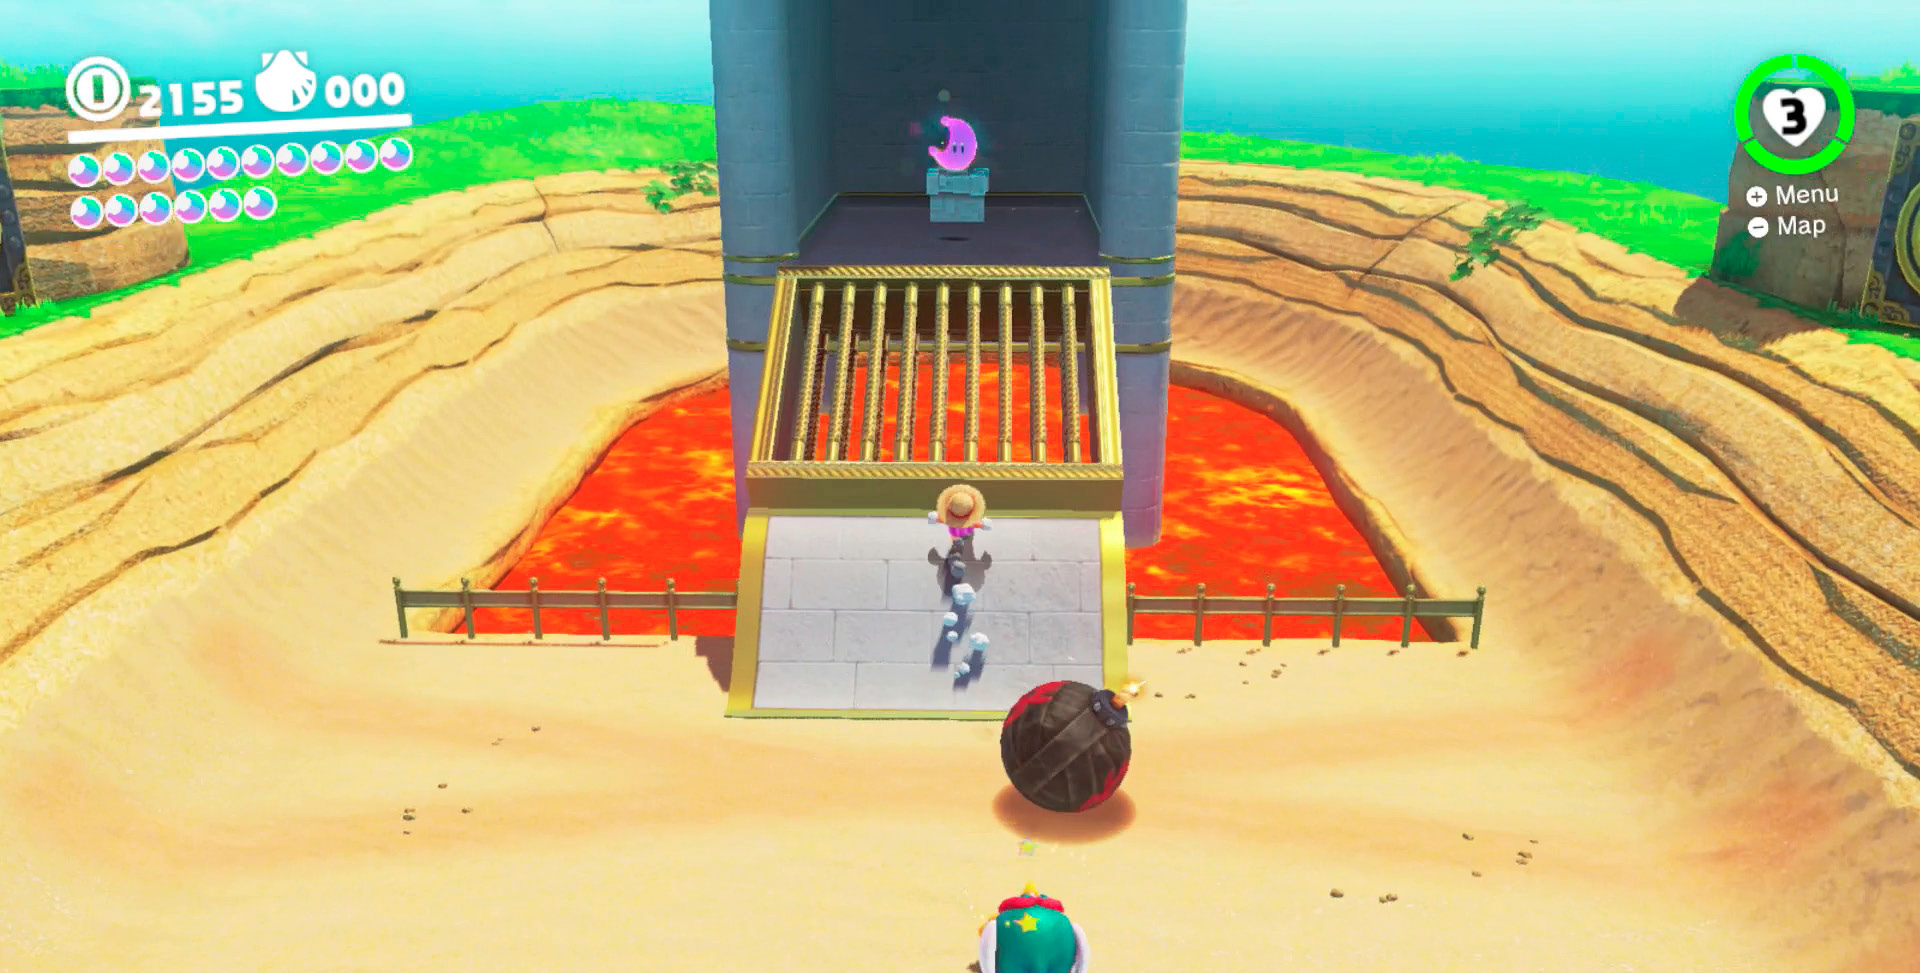
This room may seem mysterious until you get a glimpse of the wildlife. The Burrbos in here are simply pests, and are run over by cannonballs more often than they pose any threat to Mario. But the Pokio here is the key. Capture the Pokio and its beak can be used to violently redirect cannonballs. This lets you target specific breakable cubes with the explosive balls. Peck cannonballs so they knock the breakable cubes out from under the ramp here, then launch a cannonball off the ramp and into the Power Moon cage, releasing it.
 Poke! Roll!
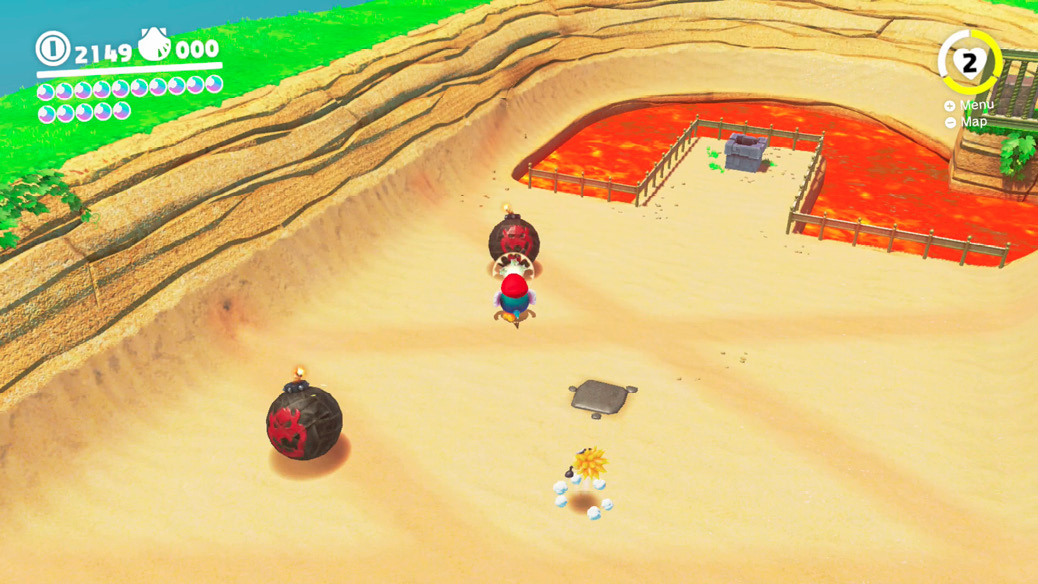
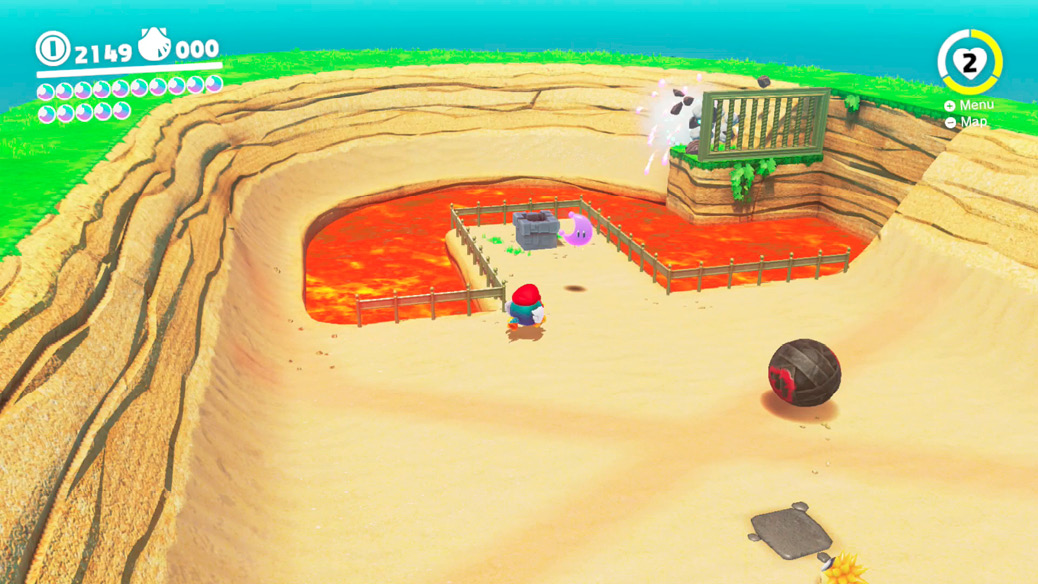
The sandy cannonball room has a glowing, Moon Rock-like structure right by the entrance, easy to notice immediately. Right away, it should occur to you to try out the explosive cannonballs on the glowing box. But there’s a bar grating in the way, so it’s not that simple. Instead, try sending cannonballs up the left side, opposite the glowing cube. Ideally, the cannonballs skate along the circumference of the banked bowl, ending up in an explosion at the cube on the other side. When successful, the Power Moon within is blasted out by the entrance pipe, ready to be picked up.
 The Spinning Maze: Search!
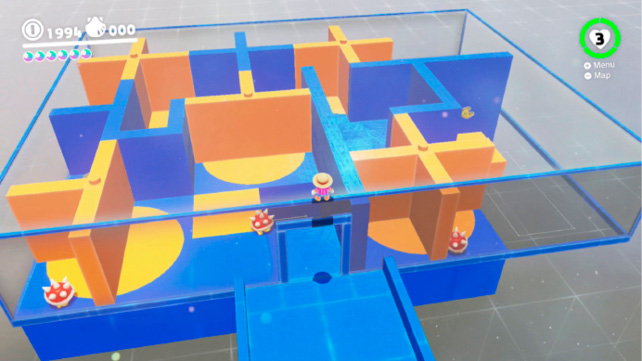
A moon pipe appears on a small mesa underwater in the western sea. Inside is a transparent maze made of fixed blue walls and movable yellow turnstiles. Inside the maze are undefeatable Spinies and five moon shards. The maze is encased in glass, and Mario can climb on top of it to take a look from any angle, but he can only enter from a door on the side. Inside the maze, twist turnstiles 90 degrees by hitting them with Cappy. Spinies can’t be defeated head-on, unless pushed off a ledge by repeated cap throws.
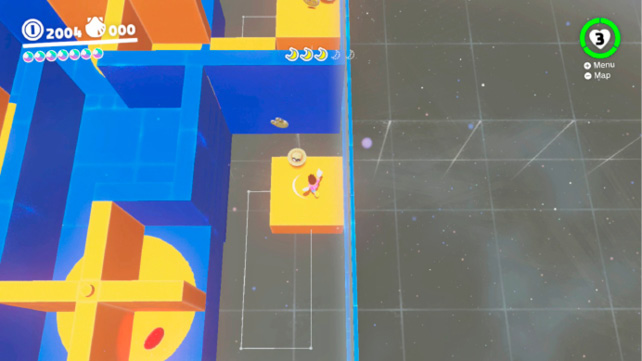
Collect all five shards to generate a complete Power Moon near the entrance. Three shards are simply sitting in the maze, but two of them are on the right side (coming in from the entrance) near platforms hovering over empty space. This is not encased in glass and falling is very possible. Bash the Spinies around here off the edges then use Cappy to collect the shards while riding the platforms.
 The Spinning Maze: Open!
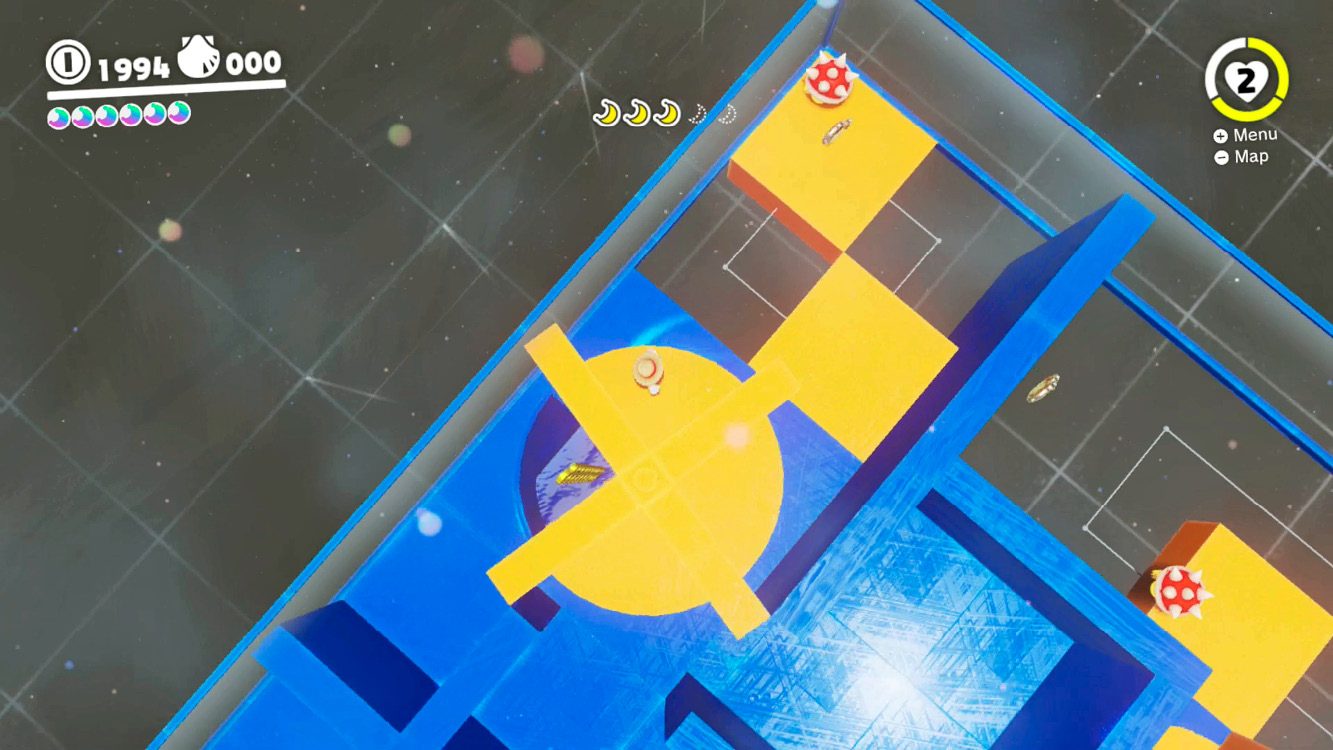
Inside the Spiny turnstile maze, there’s more to find than moon shards and Spinies. Near the corner where two yellow platforms rotate around each other over an open drop, there’s a turnstile with a cutout on a quarter of its floor. Rotate this turnstile around to see if there’s any gap that lines up underneath and wouldn’t you know it, there is! Find the turnstile position that reveals the hole filled with coins and jump in to discover a treasure chest.