
Super Mario Odyssey Guide Snow Kingdom
Power Moon Locations
 Power Moons
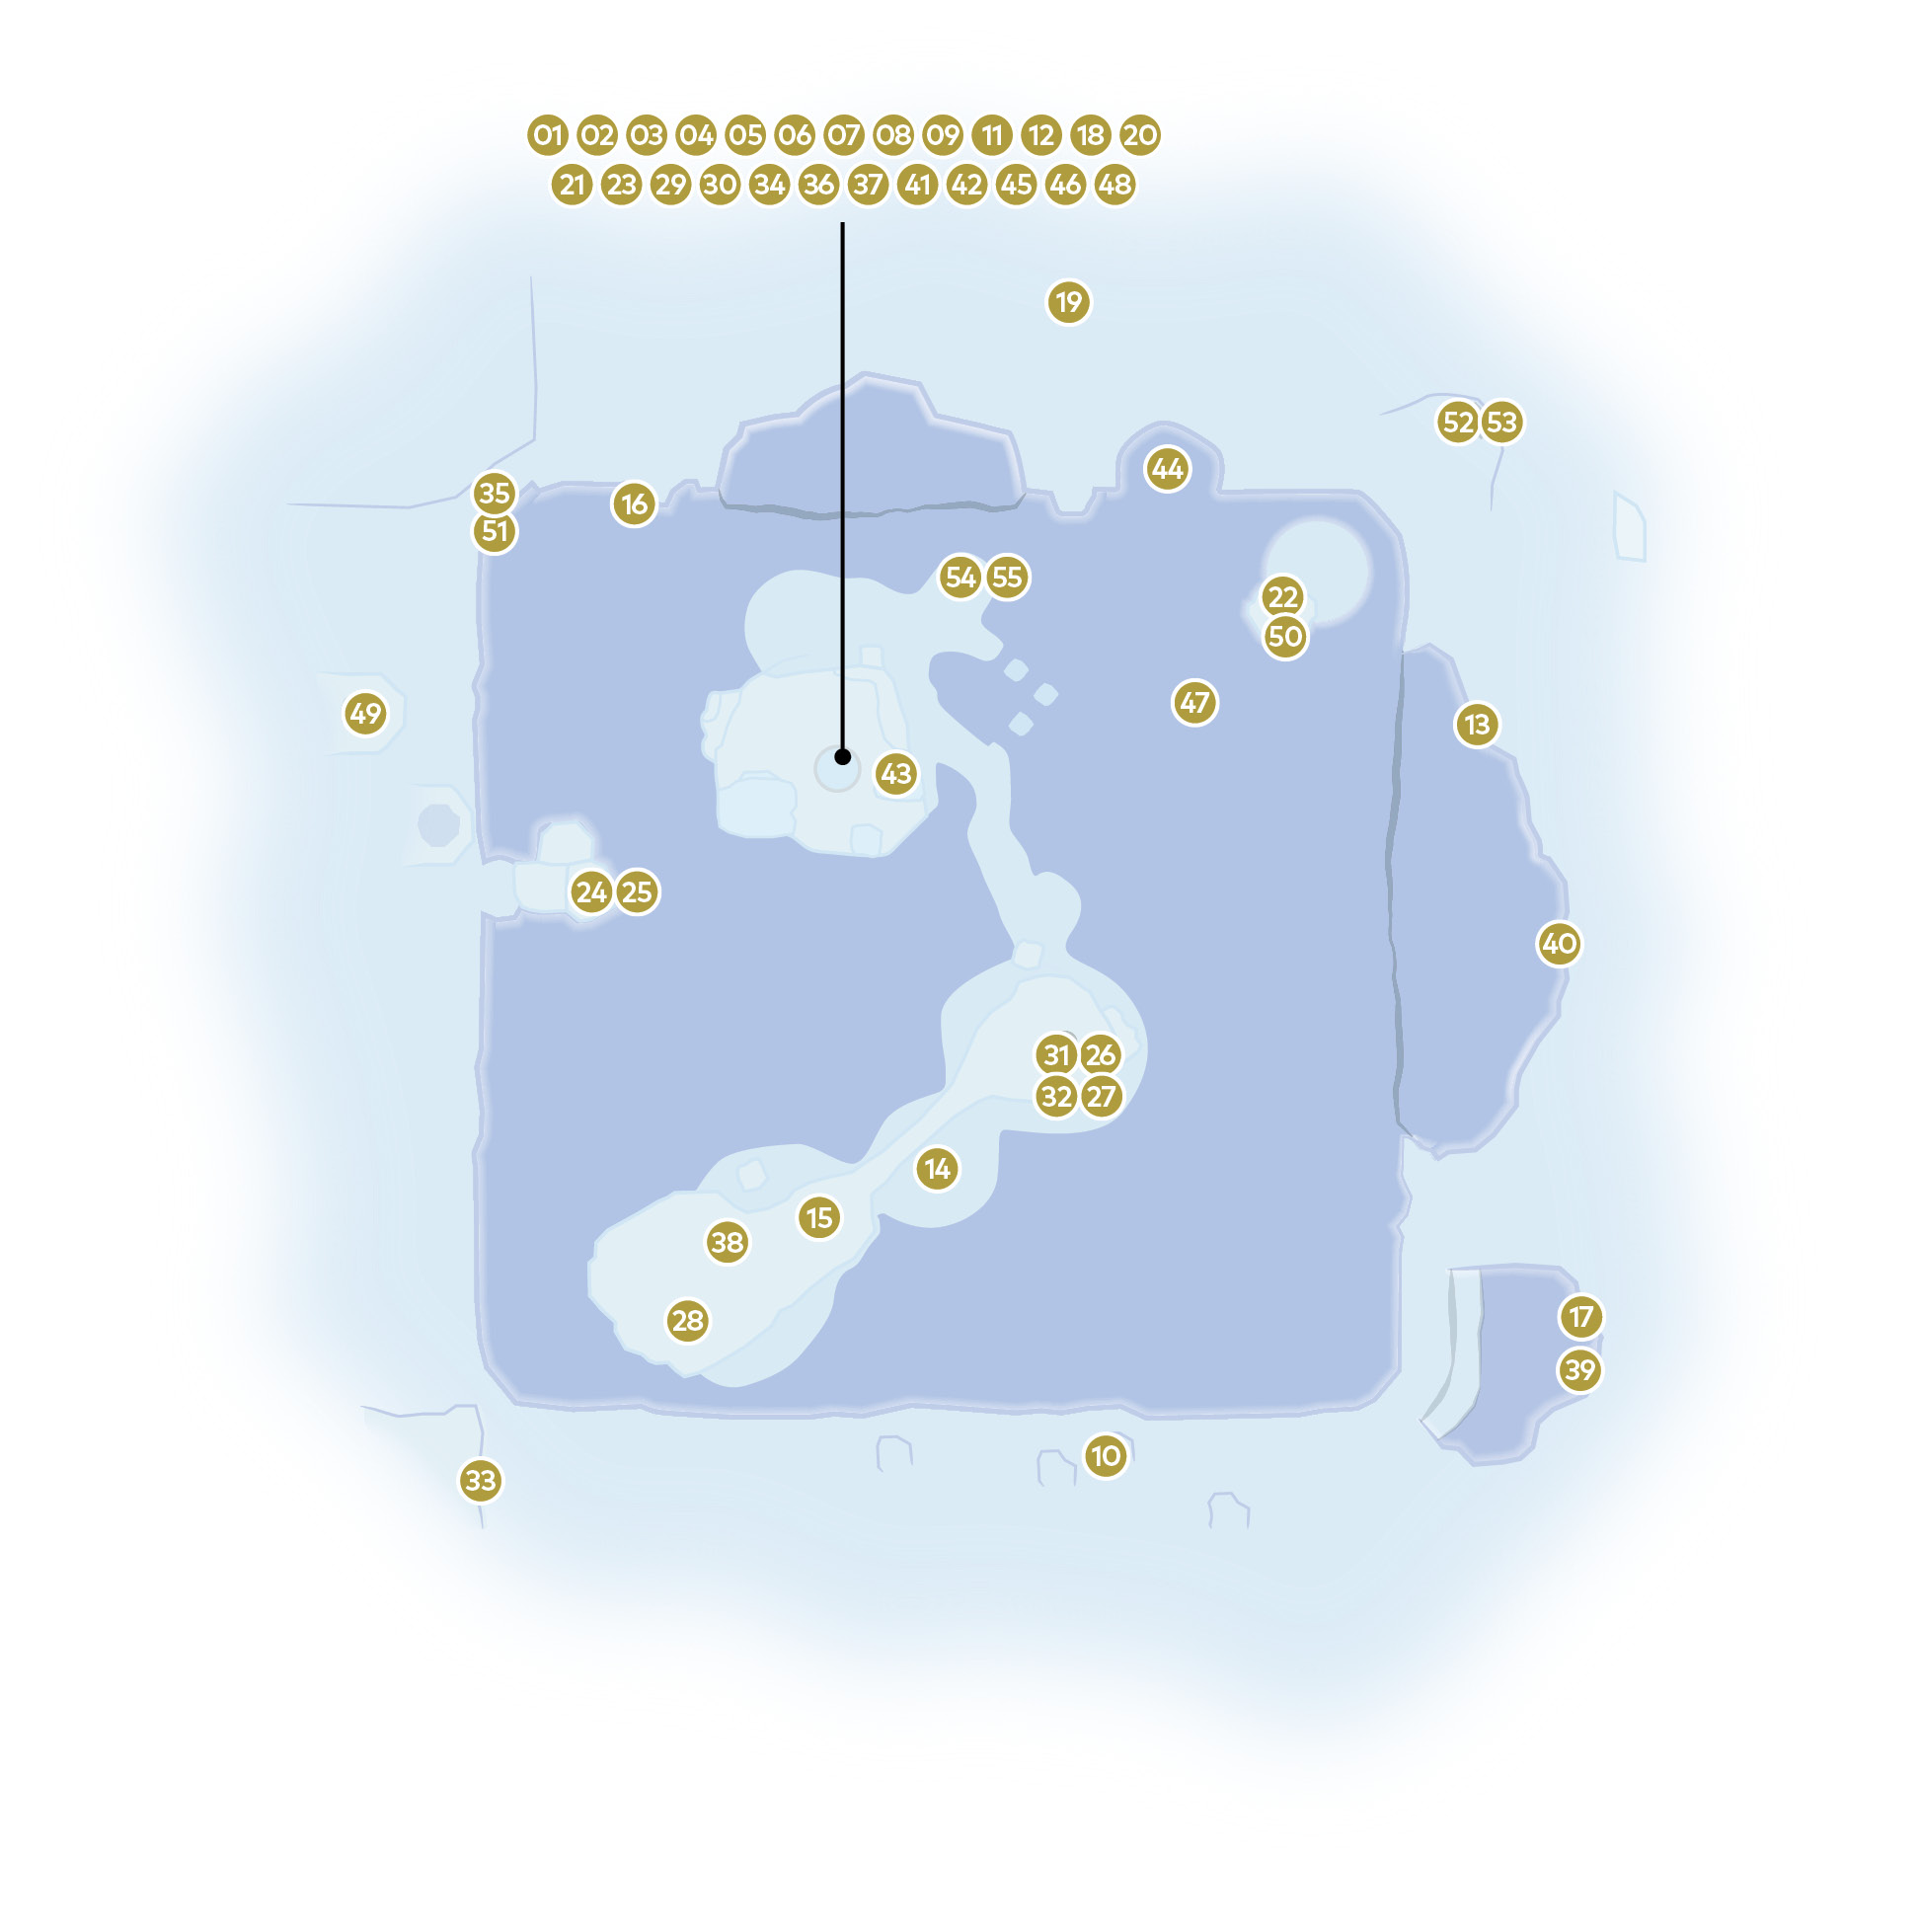
 Entrance to Shiveria
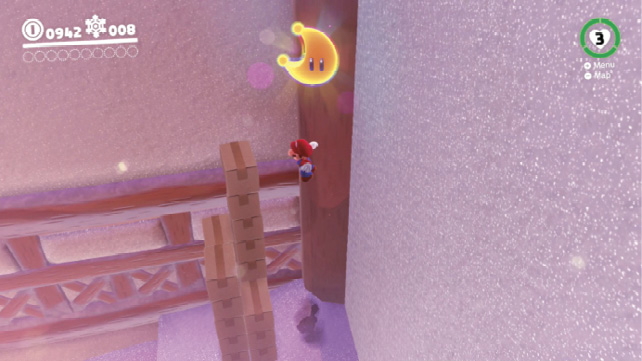
This Power Moon is found in plain sight above boxes to the right of the pipe down into Shiveria Town. Climb the boxes by wall jumping or somersaulting then jump to the moon. If the boxes all get knocked away, just take the pipe back to the surface and return for another shot.
 Shining in the Snow in Town
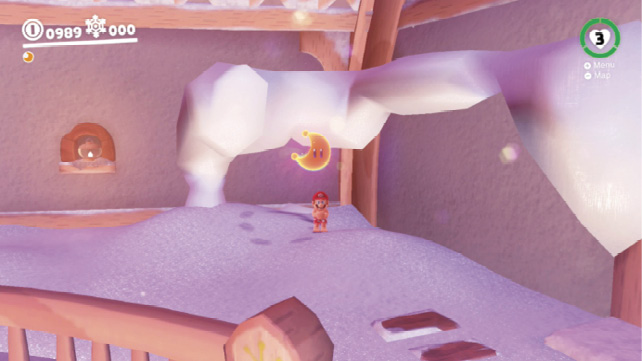
Up on the second-floor balcony of the main chamber in Shiveria Town, down in the ice well, a big pile of slushy snow can be found just past the hanging light fixtures. In a corner under all the snow, a suspicious glowing spot on the ground can be uncovered. Ground pound this spot to jar loose a Power Moon.
 Caught Hopping in the Snow!
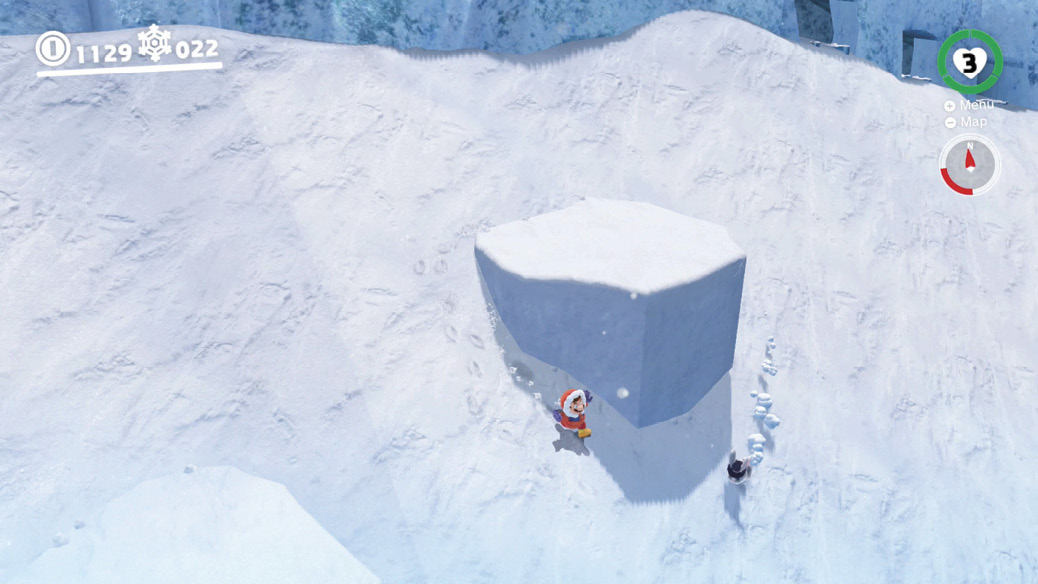
On the south bank of the kingdom, which is a mostly nondescript white expanse, you can find a rabbit cavorting around a double shelf in the bank. Chase the rabbit and it runs circles around these objects, away from Mario. Rabbits are quick, and can be frustrating to chase, but they can be tricked. Wait until the rabbit here stands still on the opposite side of one of the ledge obstacles, then run to one corner near it. The hare starts running in the other direction, but you already should be, too. Bait it then run around the other way too, catching up and stunning it with Cappy before it has time to readjust. Grab the rabbit for the Power Moon reward.
 The Shiverian Treasure Chest
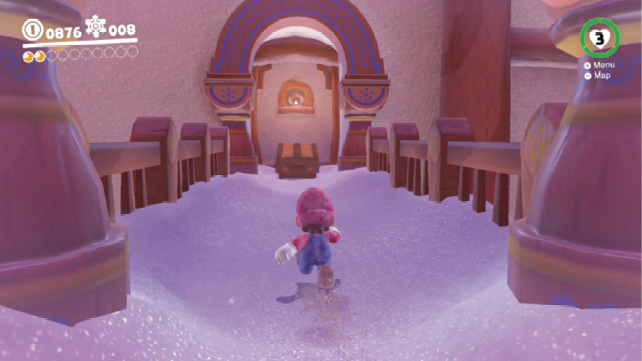
From the main chamber in Shiveria Town, climb the pole to the second floor then follow the path all the way around on the top—past the hanging light fixtures that can be used to cross the gap, and past the piles of snow heaped up on the other side. Climb the ramp up to the high bridge visible spanning above the souvenir shop. Crack open the treasure chest up here to get the Power Moon.
 Snow Kingdom Timer Challenge 1
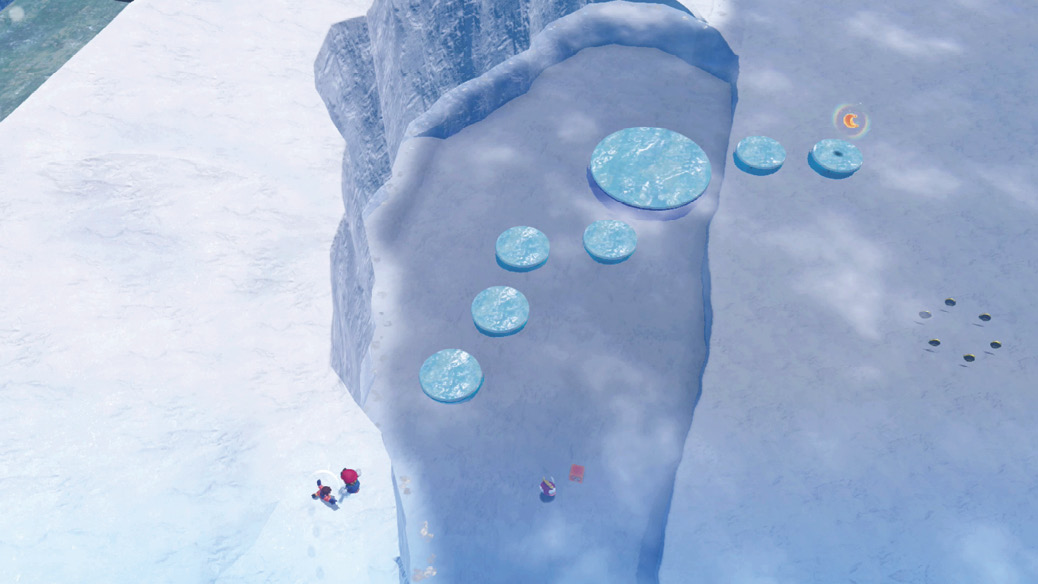
After giving the scarecrow a cap fitting, several circular ice platforms are temporarily revealed in the sea below. On the farthest platform lies a Power Moon. Take a breath to plan your path, then take a running long jump off the edge toward the platforms and begin leaping across. Take care not to plunge into the freezing drink below. Apart from that, if you keep moving forward and don’t fall in, you’ll probably make it in time.
 Snow Kingdom Timer Challenge 2
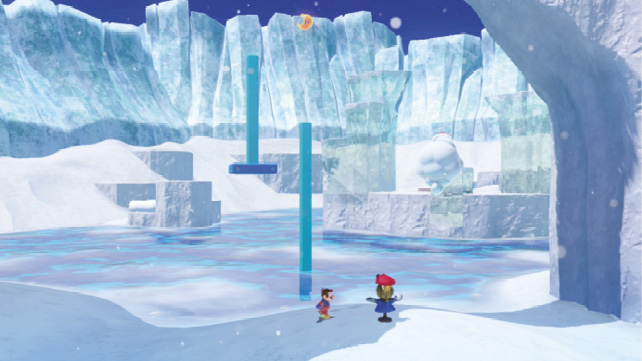
The scarecrow here begins a tense timer challenge nearby. Two floating poles appear out over the water. Mario has to quickly climb the first one, jump to the second one, climb that, then jump from the top to the hovering Power Moon. Complete all that before the objects disappear to add the moon to your count.
The key here isn’t to do anything fancy, it’s to do everything as quickly as possible. Dive jump toward the first pole to avoid as much swimming as possible, shake the controller for fast climbing, and don’t waste movements.
 Moon Shards in the Snow
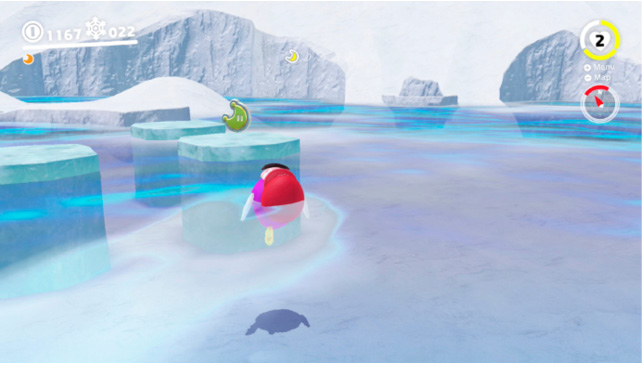
Once the weather clears up, five moon shards can be found outside spread about. Collect all of them and the assembled Power Moon appears near the Above the Ice Well warp flag. The moon shards are located as follows:
- On a ledge on the southeast bank
- On an ice platform just above the water, east of well
- Underwater in the center of a ring of coins in the northwest sea
- By the updraft spigot at the base of the Odyssey’s platform
- Atop an ice ledge watched by a Ty-Foo, next to the well
 Taking Notes: Snow Path Dash
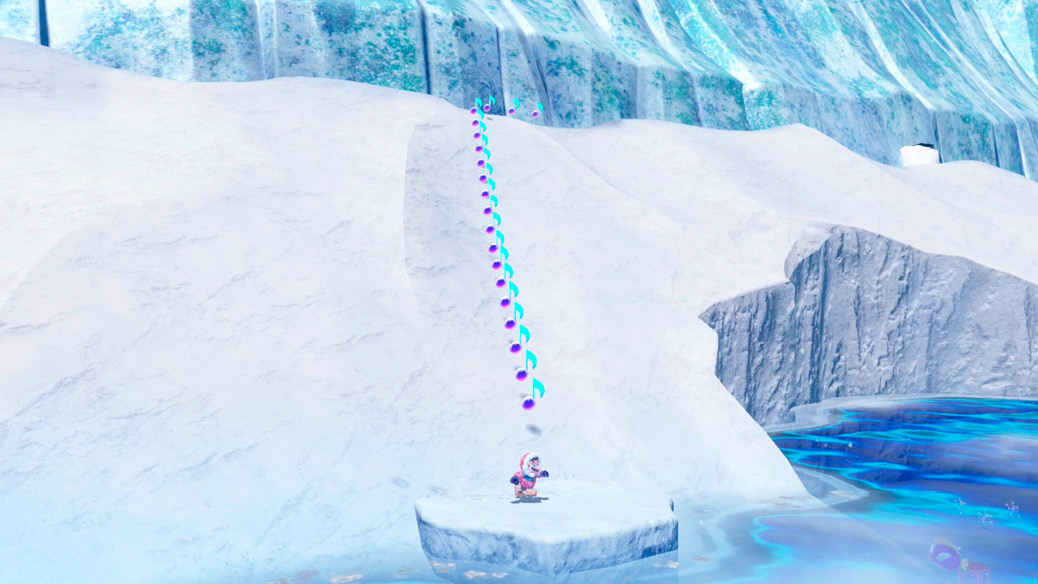
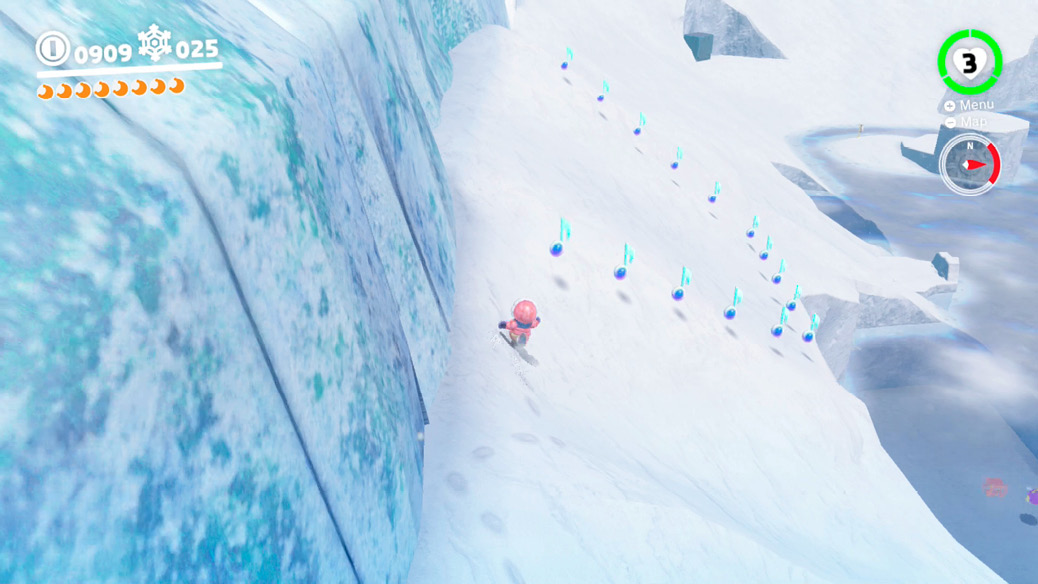
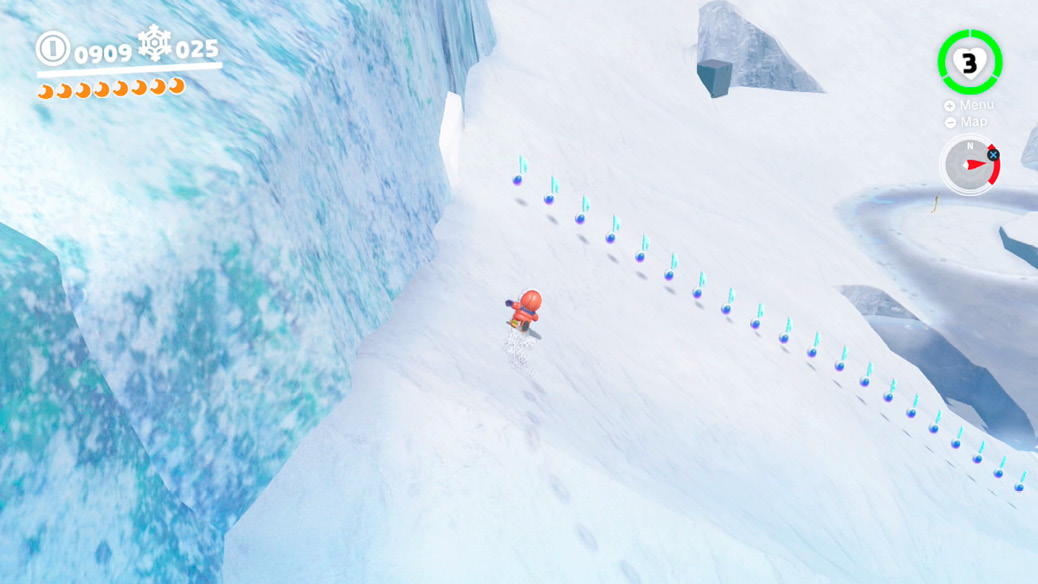
This timer challenge begins with a music note found on an unassuming ledge northwest of the ice well entrance, and ends on another unassuming ledge, northeast of the ice well. In between, Mario has to rush straight up the sloped hill, run over the length of the high bank collecting a curved swoop of notes, then rush down another hill, collecting notes along the way. Keeping a roll under control during the straight stretches helps speed collection up.
 Fishing in the Glacier!
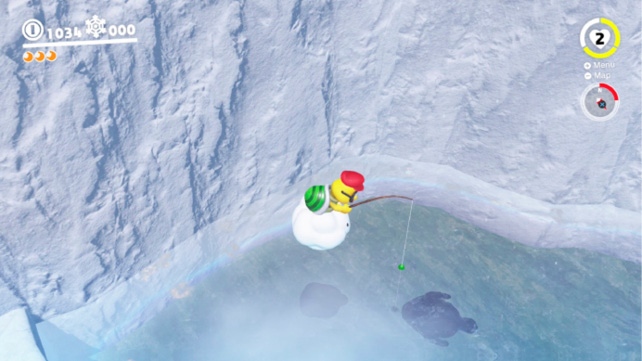
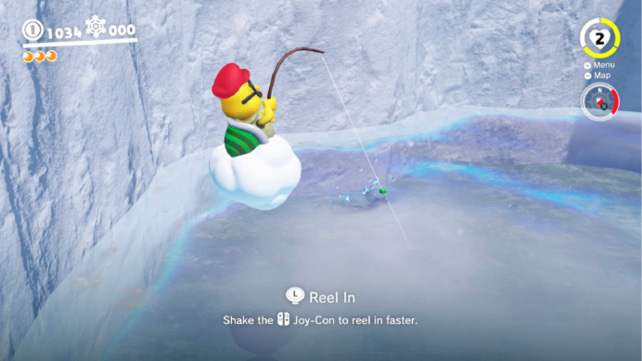
In the southeast corner of the kingdom, Lakitu can be found calmly fishing above a small glacial pond. Capture Lakitu to try Mario’s hand at fishing. Fish shadows can be seen just below the surface. Tap a Cap Throw button to lower the lure into the water, then wait for signs that one of the fish has noticed. Shadows move at first, but then they tug at the line, with motion control feedback to add some oomph to the cue. Use motion controls to tug upward, beginning the reel-in process. Catch the bigger shadow here to produce a Power Moon.
 Captain Toad is Chilly!
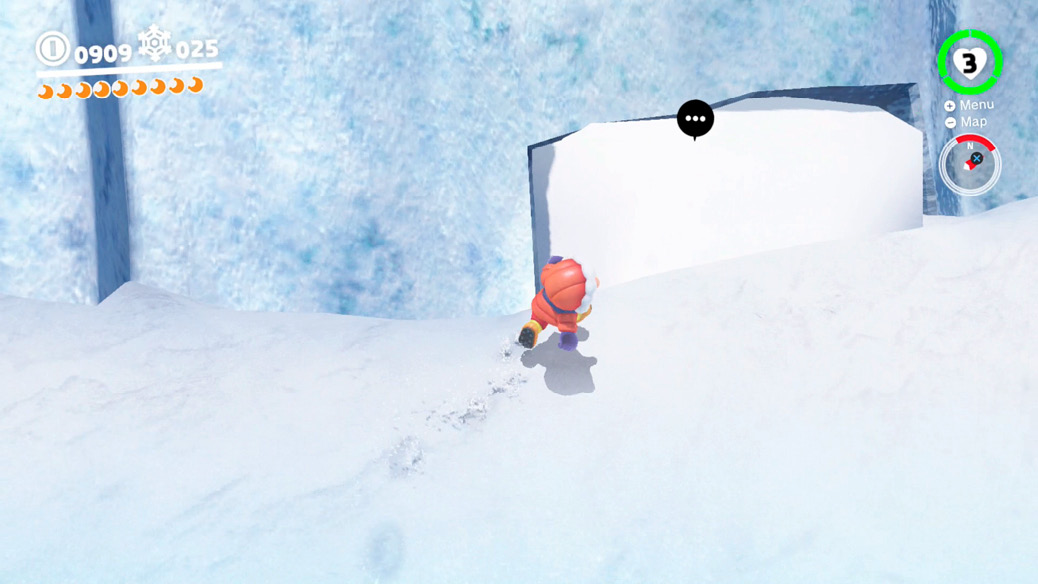
To the extreme north, in a snow-clogged stone bivouac, you find Captain Toad holed up against the elements. Dig him free and say hello and he gives over a Power Moon for the consideration.
 I’m Not Cold!

One of the Shiverians in town, right across the way from the souvenir shop, wants to see the ultimate in uncompromising and aerodynamic tundra racewear: underwear. Yes, it’d take a hearty individual indeed to brave the elements in skivvies here. Acquire the Boxers (in the store for a cool 1000 coins—they must be comfortable), change into them, and greet the Shiverian to inspire him into coughing up a Power Moon out of respect. Now change back into the Snow Hood and Suit before Mario catches a cold out there!
 Shopping in Shiveria
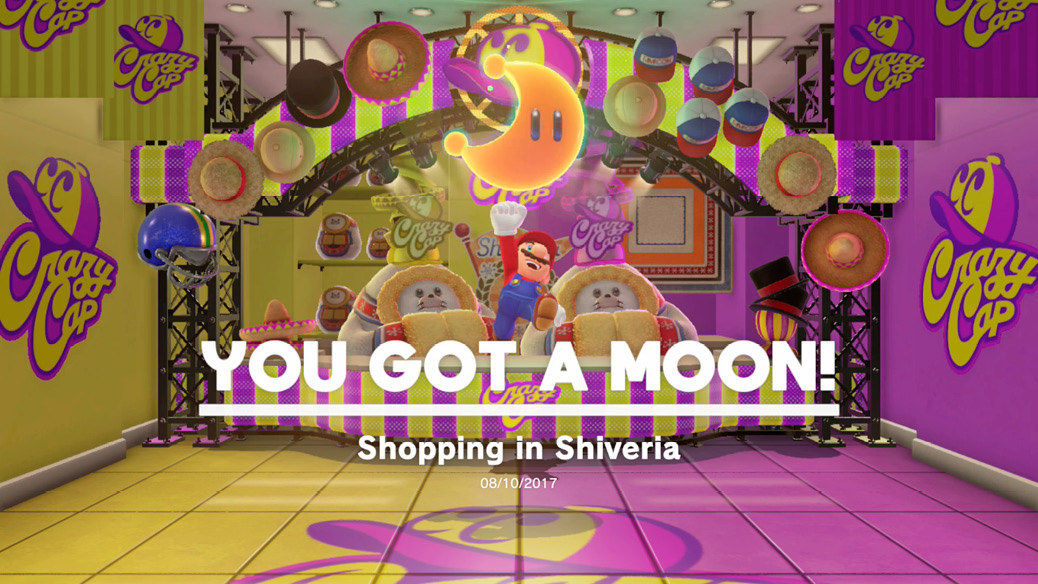
Like in most regions, the souvenir shop here sells one unique Power Moon for 100 gold coins. Pick it up whenever it is convenient to add to the moon total for the kingdom.
 Walking on Ice!
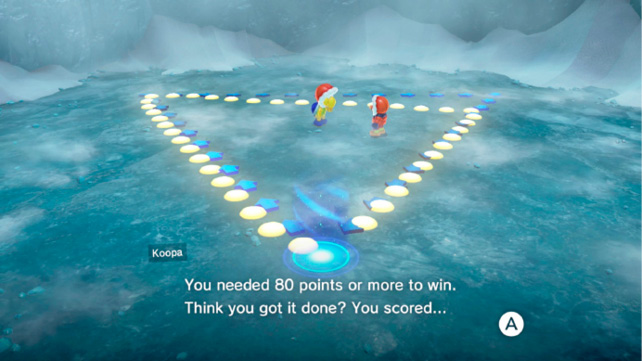
This is found in the room right by the Corner of the Freezing Sea warp flag. A chilly Koopa inside gives you a little footwork challenge: walk in a triangle path of three straight lines, all along an icy floor. The Koopa scores your performance at the end, based on how well you trace the triangle. The target score is 80 points, and if you fail you can simply try again, correcting for error spots on prior attempts.
 Snowline Circuit Class S
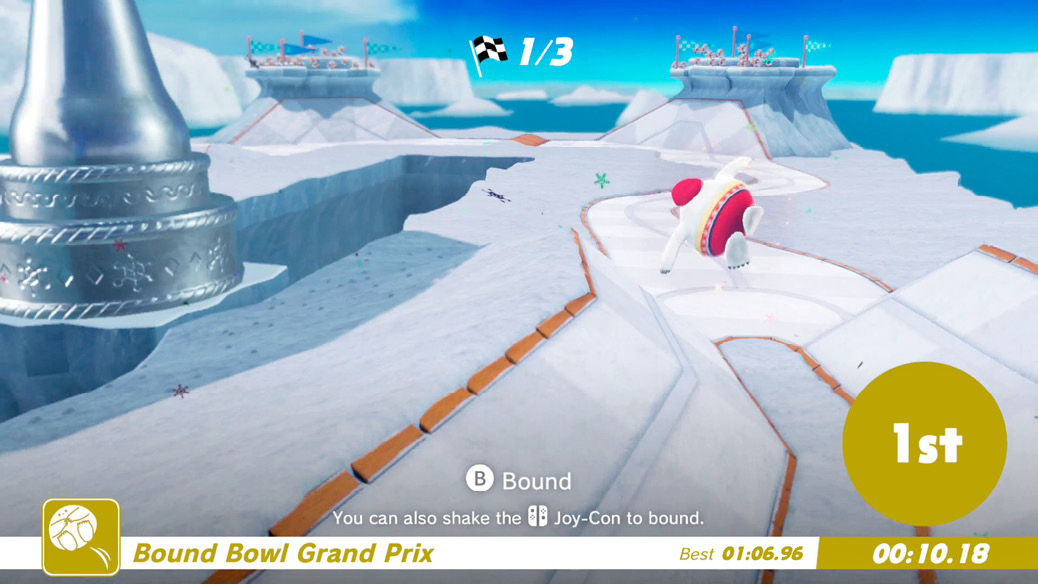
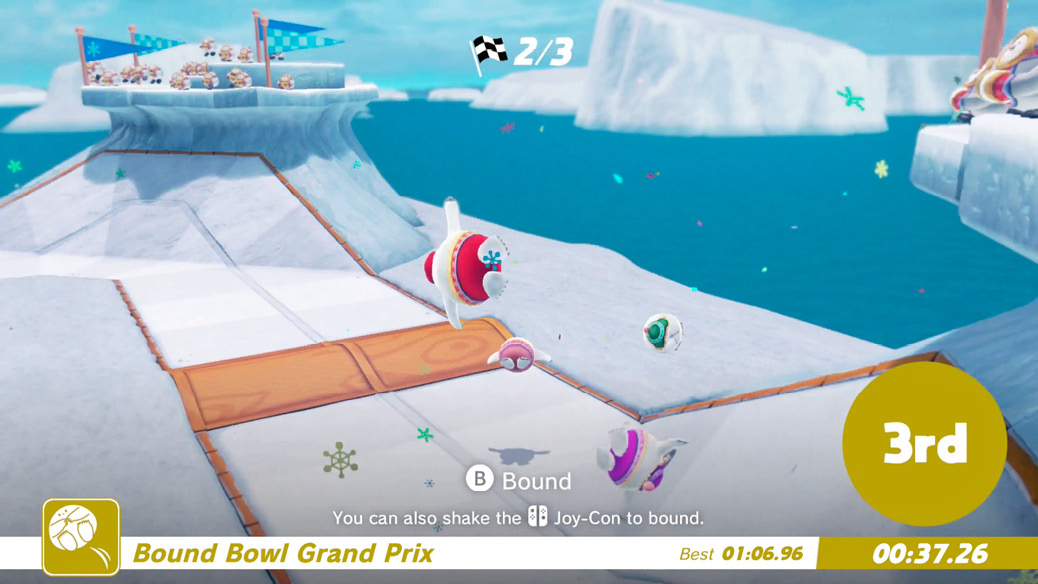
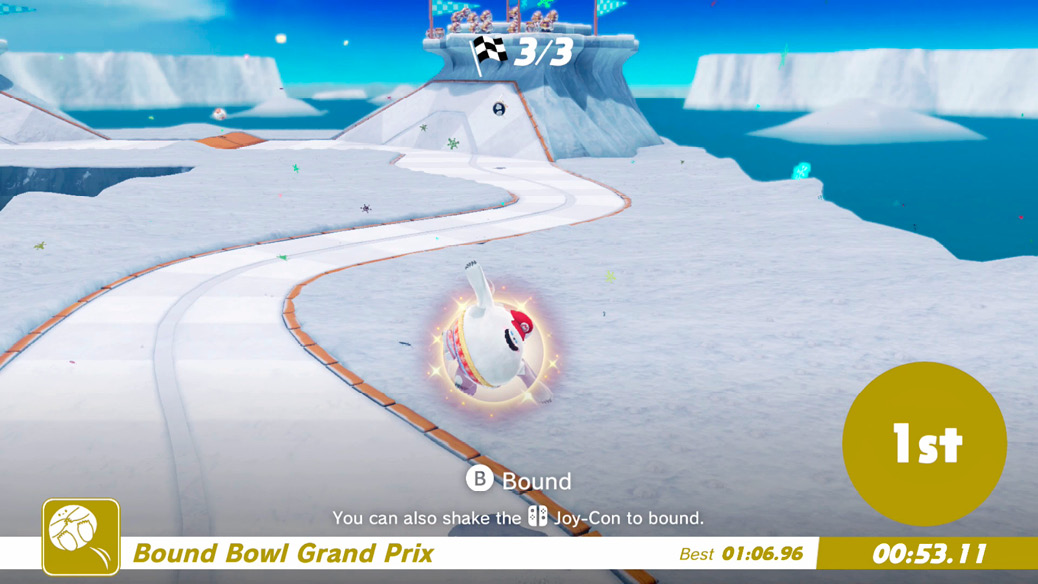
Return to Snowline Circuit later after conquering the first race to take on fiercer competition. It’s the same course, a series of banked left turns, tricky straights with some curveballs strewn about, and seven other bouncing, roly-poly Shiverians looking to body check Mario off into the slush. Win this higher-octane race to score yet another Power Moon.
 Dashing Over Cold Water!
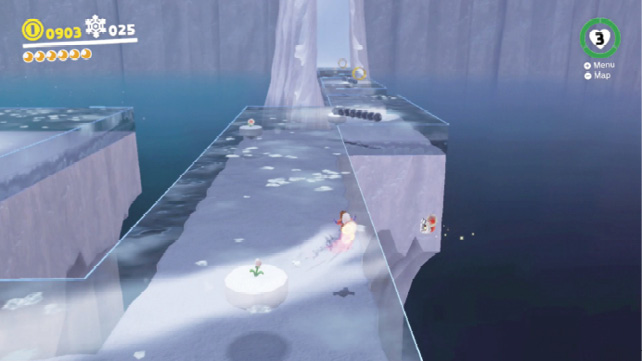
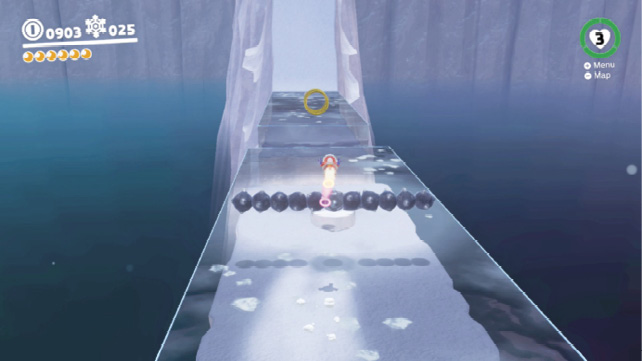
This challenge room is easily found just by swimming to the western island, inhabited by little blue penguins and drifts of snow. It won’t be so easy once you’re inside. The path ahead is a shallow, crystal-clear lake of chilly water with no platforms. Across the surface are Rocket Flowers and spinning Moonsnakes. Grab the first Rocket Flower to begin skating across the top of the water, rocket-powered. Move on down the path, jumping over Moonsnakes as needed and grabbing fresh Rocket Flowers on the go with cap throws. When barreling toward the sheer snow wall, make sure you snag a fresh Rocket Flower just beforehand, and plow straight upward to the Power Moon.
 Dashing Above and Beyond!
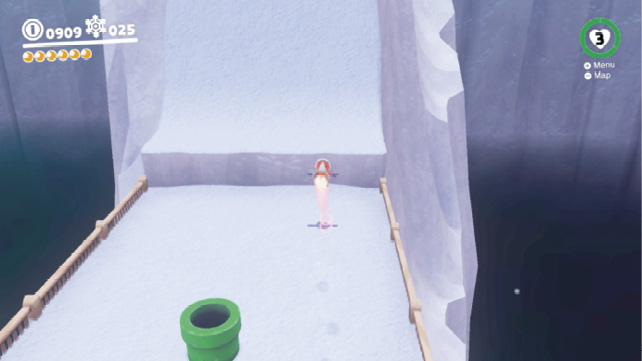
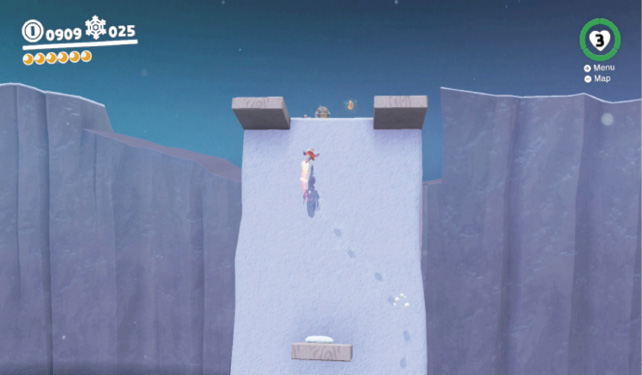
Inside the Rocket Flower challenge room, as you rocket over the first sheer wall and toward the first Power Moon and exit pipe, don’t veer at them. Jump past them, over a small ledge toward a slope that’s almost totally vertical. Mario can keep zooming straight up it, as long as a Rocket Flower is still active. Running straight up the wall, watch out for one final trick—a brief gauntlet of obstacles that forces you to zig-zag to the center, the edge, then back to the center while running up a sheer surface. Make it past these blocks, though, and you’re home free at the top, ready to grab the bonus Power Moon up here and greet an admiring Shiverian fan. If you still need the Power Moon below, fall down and grab it. If not, there’s an extra exit pipe up top.
 Jump ‘n’ Swim in the Freezing Water
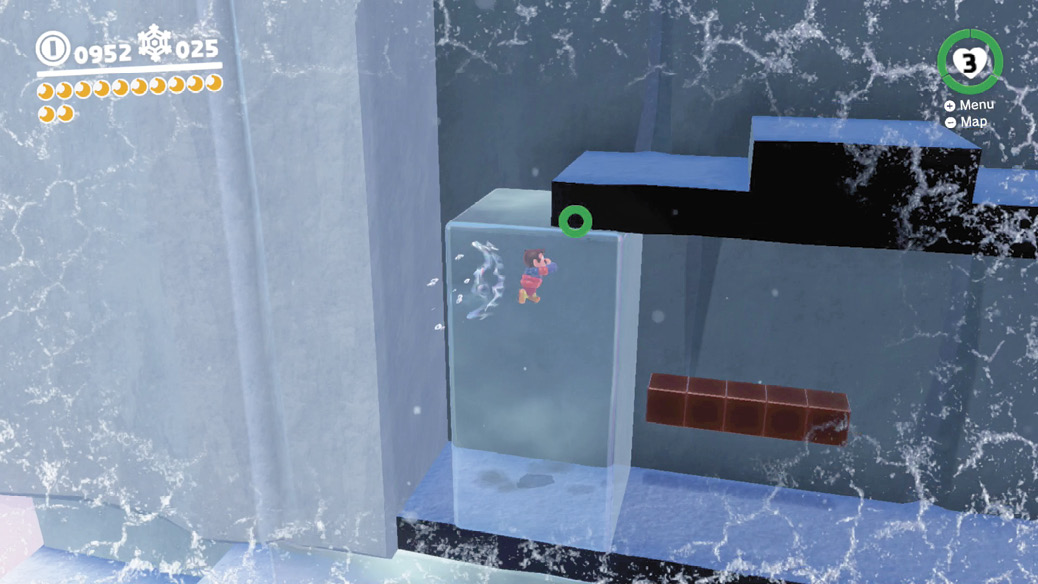
At the base of the central pillar in the kingdom, supporting part of the second tier on which the Odyssey rests, you find a scarecrow door. It won’t open unless you let the hay person here try out the fashionable Cappy, so Mario rolls solo inside. Inside, there’s a unique platforming challenge: chunks of frigid water floating together in cubes, somehow. You’ll have to swim through and jump between sections of moving water, all under the time limit of needing to get out before the cold starts digging into Mario’s bones.
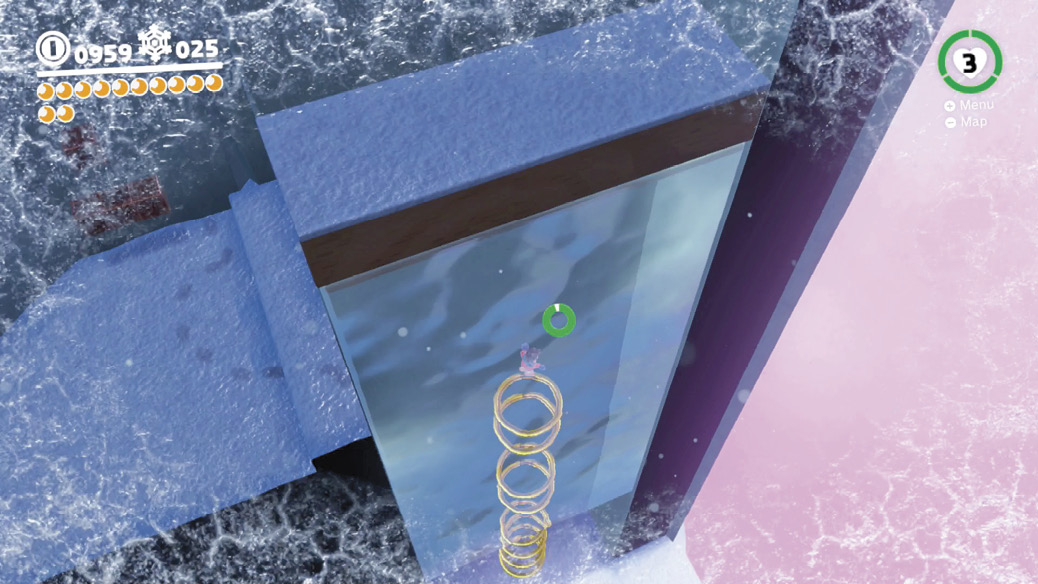
There are Goombas in here too, mostly as a nuisance and another way to scrounge up coins. Ascend the first wall, swimming up one passage of water high enough to be able to jump on top of the roof of other section. This “elevator roof” riding tactic comes in handy again in this room. Avoid the Goombas ahead and follow the coin rings into a long cavern, filled with water; dash through the water a couple times to get through the corridor faster, but don’t dash right into the wall at the end. Swim up and into fresh air again, warming up a bit. One of the ? blocks here holds a Heart, if needed. The roving wall of water here can be ridden up the wall on the left, giving Mario enough height to move up the path. Another dual water-elevator section leads to more Goombas, some ? blocks underneath a hidden Heart block, and the final major water passage. This is a long vertical sea of water, with rows of coin rings in places, all the way down to a low exit. To plunge more quickly, use underwater ground pounds repeatedly. At the end, Mario pops out into the crisp air again, Power Moon nearby and ready to grab.
 Freezing Water Near the Ceiling
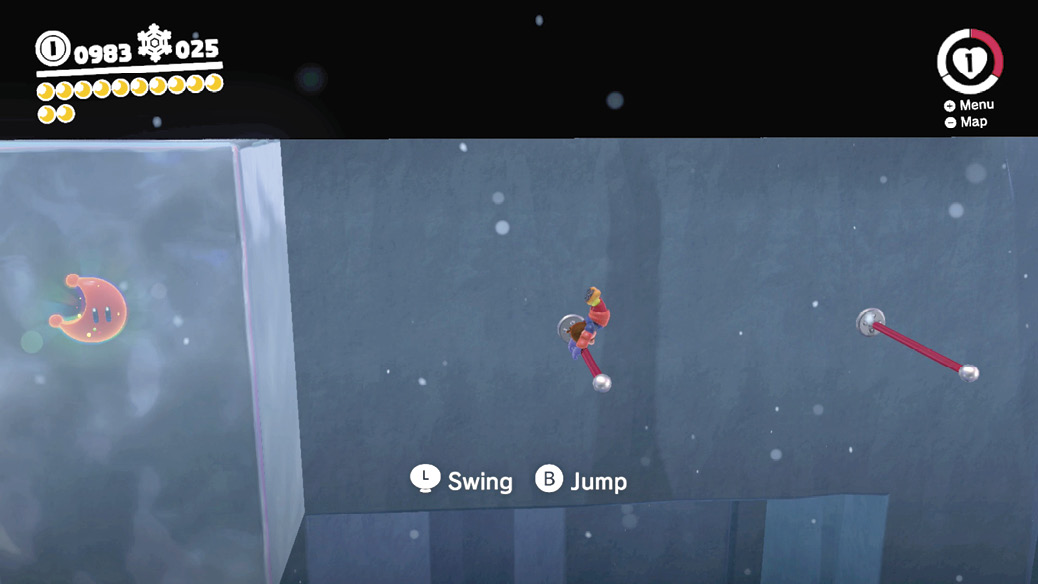
Before plunging down the long vertical water channel that precedes the exit from this challenge room, jump on top of it, as though it were a giant elevator car. Ride the big water section upward, where extending poles from the background are evident. Swing to the left toward the hidden Power Moon!
 Blowing and Sliding
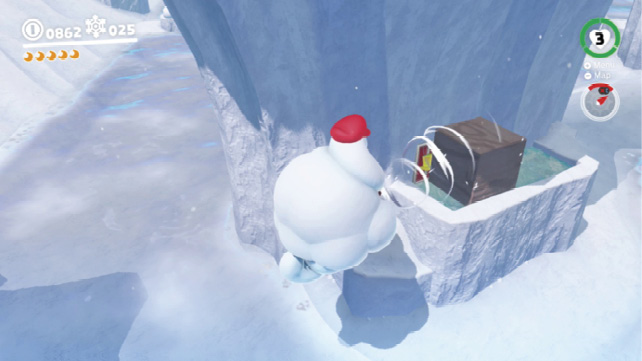
Capture a Ty-Foo at a relatively low altitude near the ice well in the north, then fly to a low ledge to the south where a blowable block must be blocking something interesting. Puff it out of the way to reveal a door.
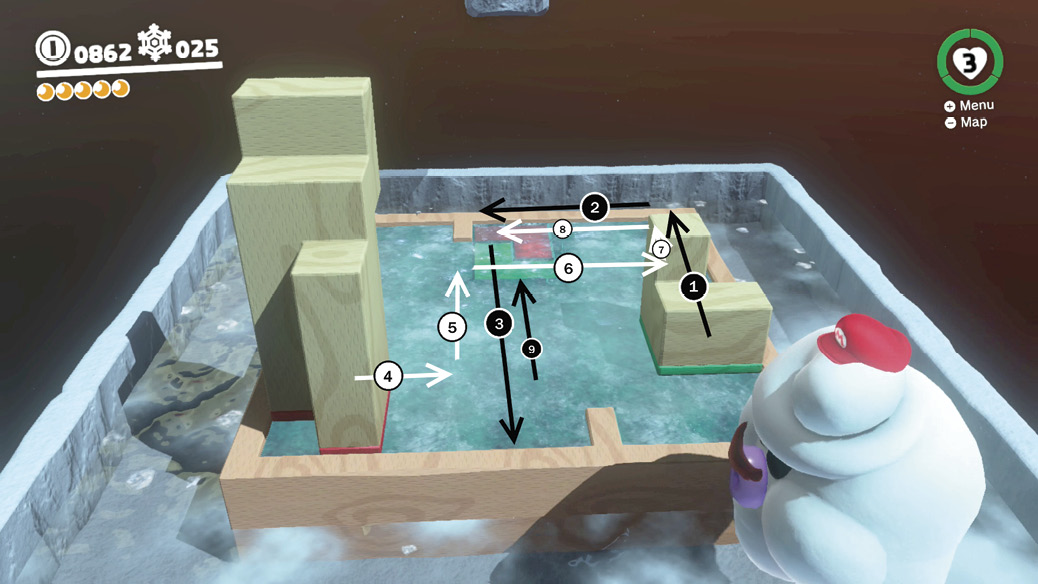
Inside, another Ty-Foo oversees a block puzzle. Two differently-shaped steps must be fitted into specific spots on the ground, but in order to do that, you have to blow them around the playing field in the correct order. You must consider the little divots found on the edges of the tracks, which prevent freely moving the two steps any way you want.
 Moon Shards in the Cold Room
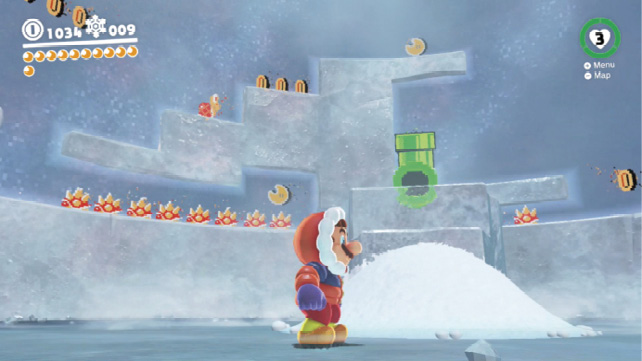
This room is accessed from the second-floor balcony overlooking the main chamber. Get up here with the pole nearby, then get the Shiverian attendant to let you in. He’ll only budge if Mario is wearing the Snow Hood and Suit, though, so pick those up and change beforehand at Crazy Cap’s local branch.
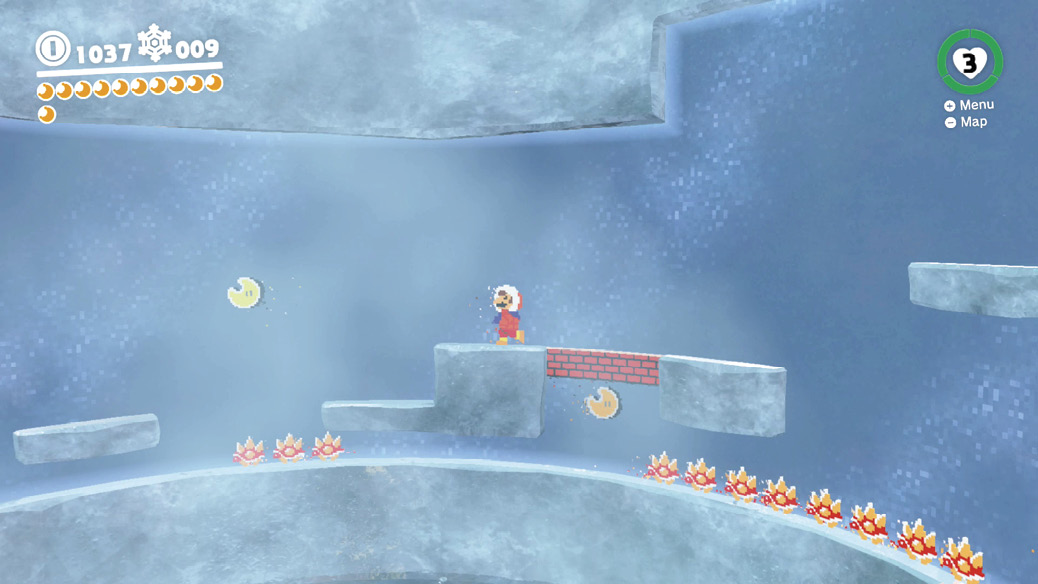
Inside, an 8-bit pipe leads to a wraparound room filled with Spinies and five collectible moon shards. Collecting some of the shards requires waiting for the right moment to duck in ahead of or behind the long string of Spinies patrolling together. Get all five shards to complete the Power Moon, but don’t leave without also getting the moon hidden up high, too.
 Slip Behind the Ice
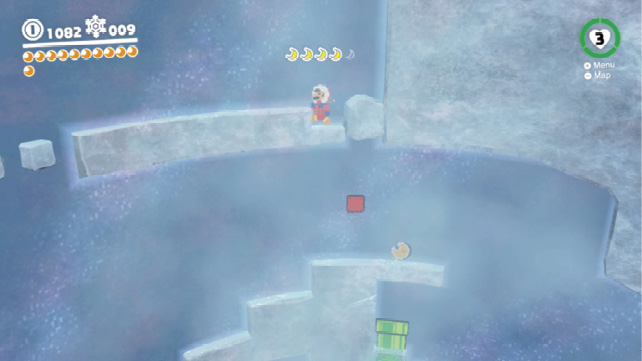
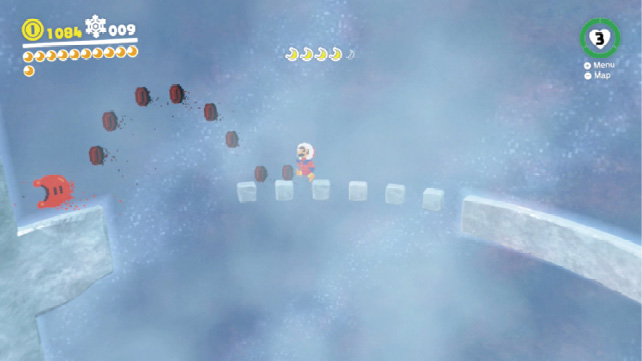
Inside the cold room, find a moon shard location on a relatively high ledge, right above the entrance pipe, near a Koopa Troopa marching. (Kicking this Koopa below is an excellent way to clear out all the Spinies.) Here, a floating brick can be seen before a strange-looking ceiling feature. Inspecting the area with jumps from the block will reveal that the area isn’t solid, and Mario can pass up to another room in this chamber. Dash across the blocks without stopping to cross the small gaps, and jump to the Power Moon against the far wall.
 Spinning Above the Clouds
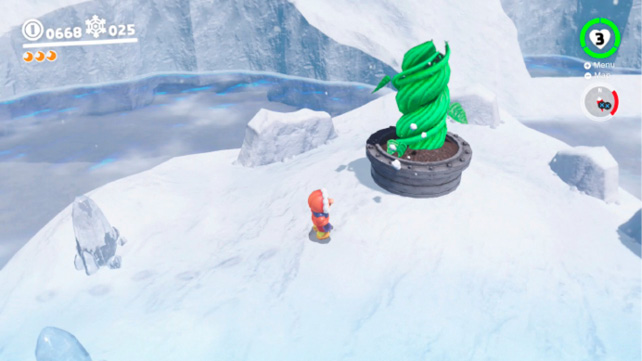
Look for a seed above an ice ledge just by the ice well, the entrance to Shiveria Town. Carry this big seed across to where a wooden peg can be popped out, revealing a torrential updraft. Ride the updraft, seed in hands, to get it up to the planter spot above. Planting the seed grows a beanstalk that can be ridden up into the clouds, accessing this challenge area.
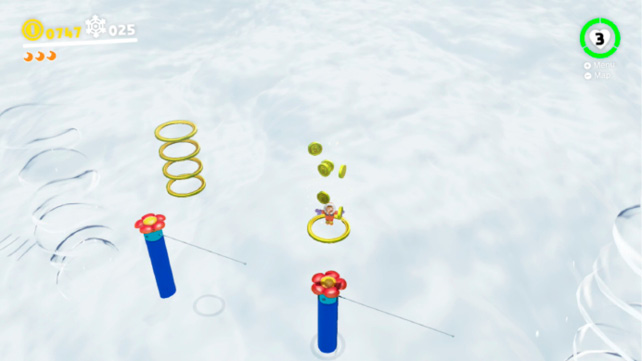
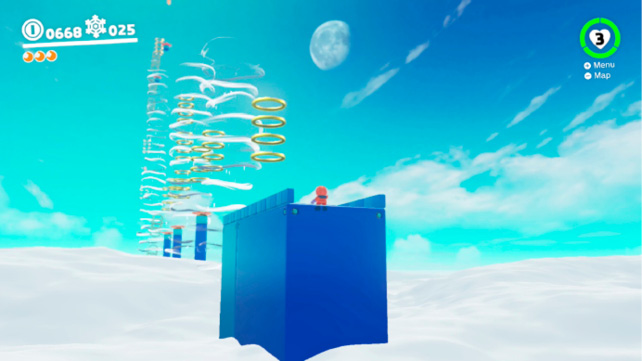
This is a linear path of hat trampolines, warm air updrafts, and coin rings. Keep drifting forward, and use the trampolines and updrafts to gain height. You find a Power Moon at the end, while descending through the final vertical coin ring clusters. You return to earth drifting down with these coin rings.
 High-Altitude Spinning
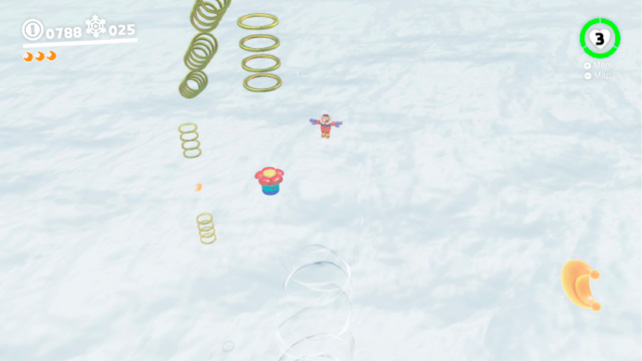
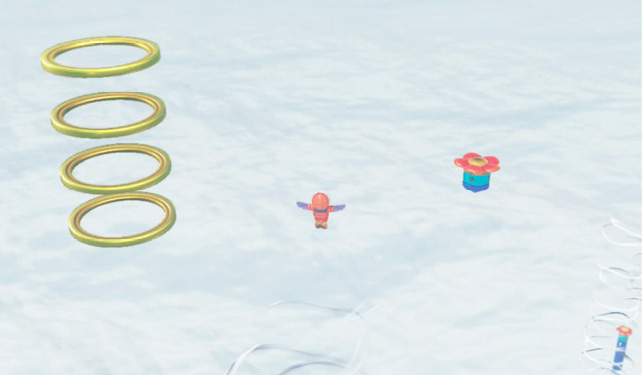
In the cloudy coin ring area accessed by climbing the beanstalk, a hidden Power Moon floats over the stage before the final stretch. Glide to the biggest updraft gust, then look backward over the path to here from the entrance. A lone hat trampoline floats just a bit back toward the entrance, a Power Moon floating above it. Fall down a bit on purpose, catch the big updraft again for some lift, and glide out toward that hat trampoline. With enough velocity you make it there, where you can easily bounce again to the Power Moon.
 Secret Path to Shiveria!
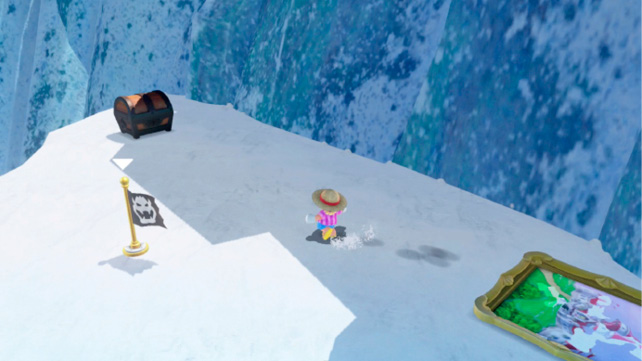
A tempting ledge overlooking the Odyssey cannot be reached until much later in the adventure. After events in Metro Kingdom, Mario and Cappy must visit either Snow Kingdom or Seaside Kingdom first. It doesn’t matter which is chosen, ultimately you visit both, but it affects where certain warp paintings go later. Between Snow and Seaside Kingdoms, whichever you opt to visit second will be tied to a warp painting in Bowser’s Kingdom. Whichever you opt to visit first will have a warp painting from Mushroom Kingdom.
Either way, after stepping through the painting in a future area to arrive at the remote ledge here, be sure to touch the flag to acquire the Snow Kingdom Clifftop warp point. Then open the chest for the Power Moon.
 Found with Snow Kingdom Art
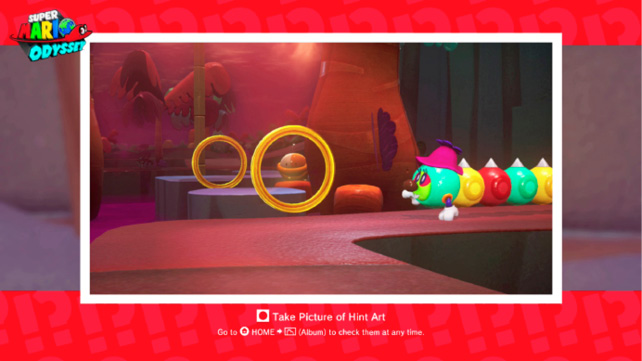
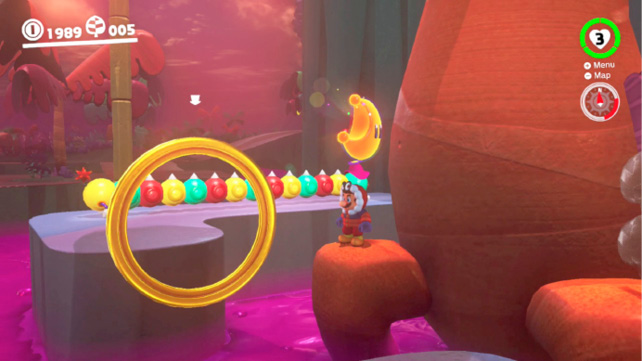
The Hint Art painting is found in Shiveria Town on the wall left of the entrance. From the colors, texture, and creatures pictured, the destination should be obvious. Head to Lost Kingdom and look along the low flank around one corner of the region, where Tropical Wigglers stretch just feet above the sludge, near a tree and its exposed roots. Pound one of the roots to sprout free the moon.
 Snow Kingdom Regular Cup
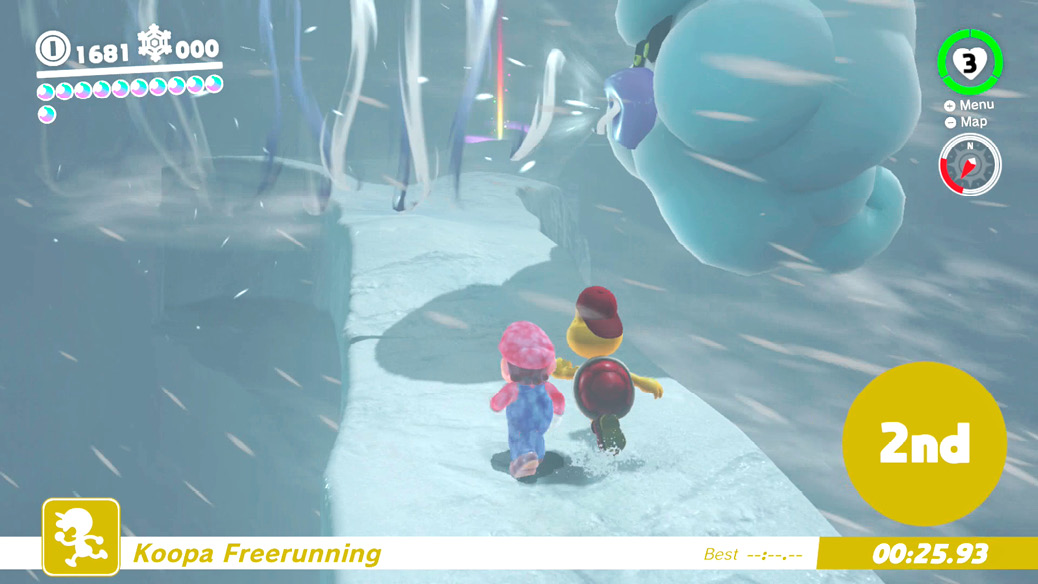
Once the race starts, the contestants begin high above the ground in the northwest corner of the kingdom. The target is the ledge where the Odyssey sits. This means the route naturally leads over (or around) the ice well plateau, across the little land bridge over the water to the updraft spigot, up the updraft, then across the skinny path up past a Ty-Foo to the ship and goal line.
 Hat-and-Seek in the Snow
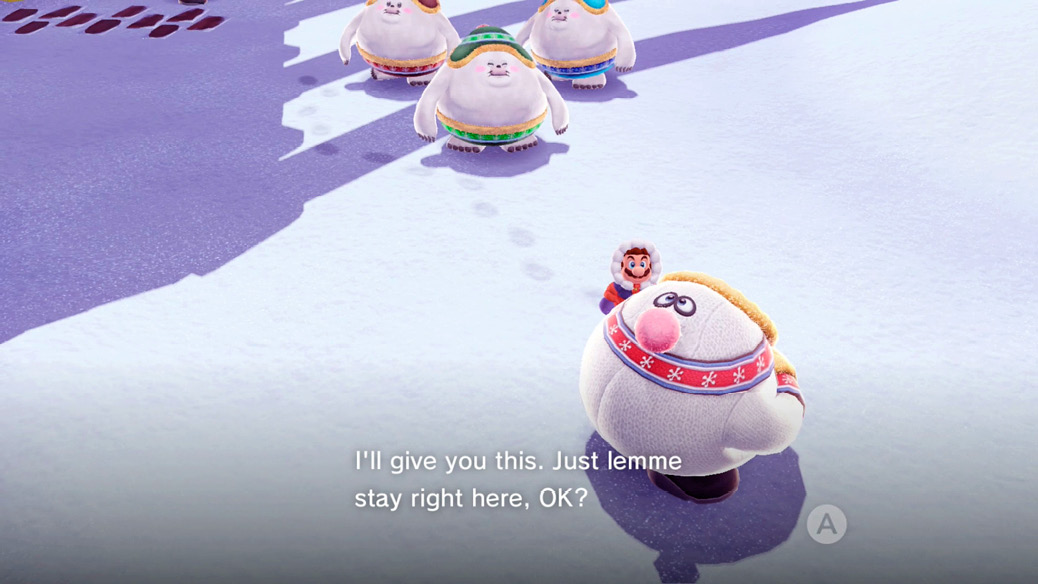
When you’ve completed the adventure, many more people throughout the kingdoms are willing to visit different lands and try new things. One such person is a resident of Bonneton down here in Snowline Circuit checking out Shiverian racing. Look for a Shiverian with literal eyes on the back of its head, a Bonneter giveaway if ever there was one. Greet the Bonneter in hiding and receive a Power Moon for your powers of perception.
 Peach in the Snow Kingdom
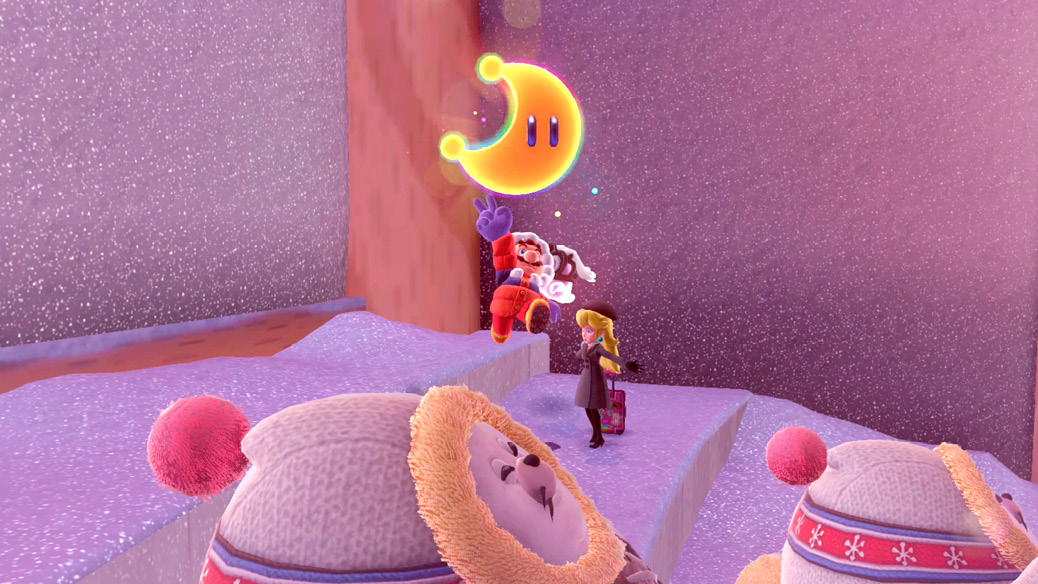
Complete the main adventure, and Peach wants to do some sightseeing of her own. Snow Kingdom is one of the places she can be easily found after that. Here, she’s simply in the main chamber of Shiveria Town, taking in the teeth-chattering atmosphere. Pay her and Tiara a visit for a Power Moon.
Moons from the Moon Rock
 Shining on High
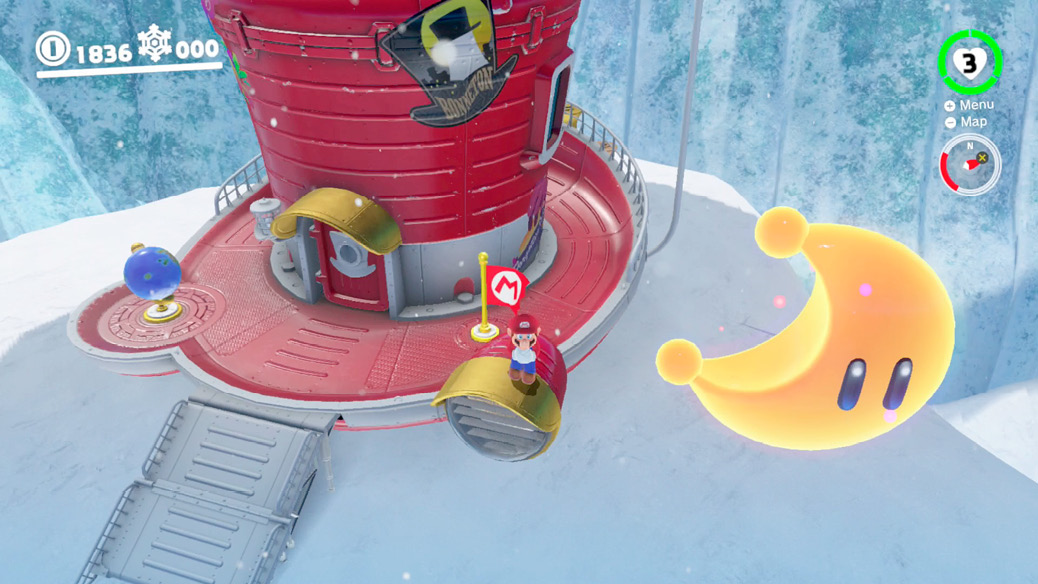
Once the Moon Rock has released its energy, the easiest bonus Power Moon to grab is a pebble’s toss from the Odyssey. Get on top of the Odyssey (somersault up there, or climb up the flagpole), spot the Power Moon in the air nearby, then take a running long jump toward it.
 Above the Freezing Fish Pond
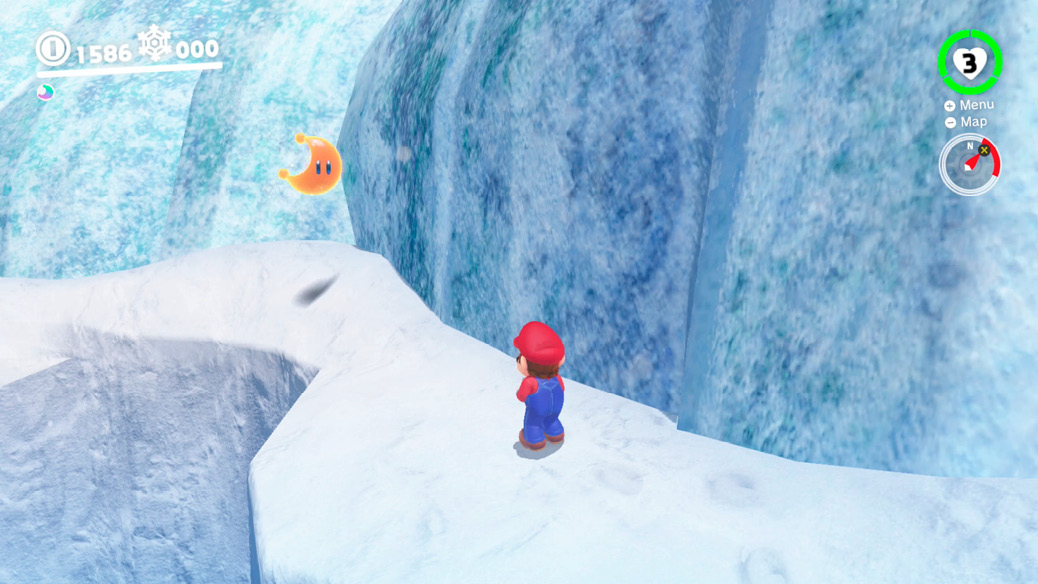
Look above Lakitu’s fishing pond, in the southeast. On a high, precarious bank there, find a fresh Power Moon after releasing the energies of the Moon Rock.
 Ice Floe Swimming
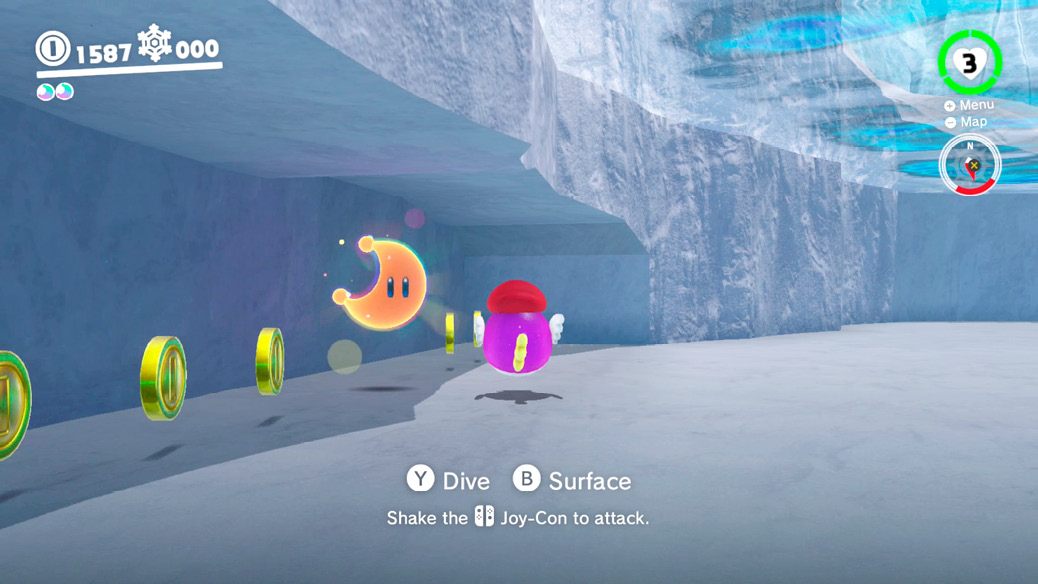
Go as far east as possible in Snow Kingdom, then look underwater there for a small cave. Inside, find coins and a new Power Moon. It’s dangerous to go for this with Mario alone, so capture a Cheep Cheep nearby and wiggle safely through the chilly water to the moon.
 Icy Jump Challenge
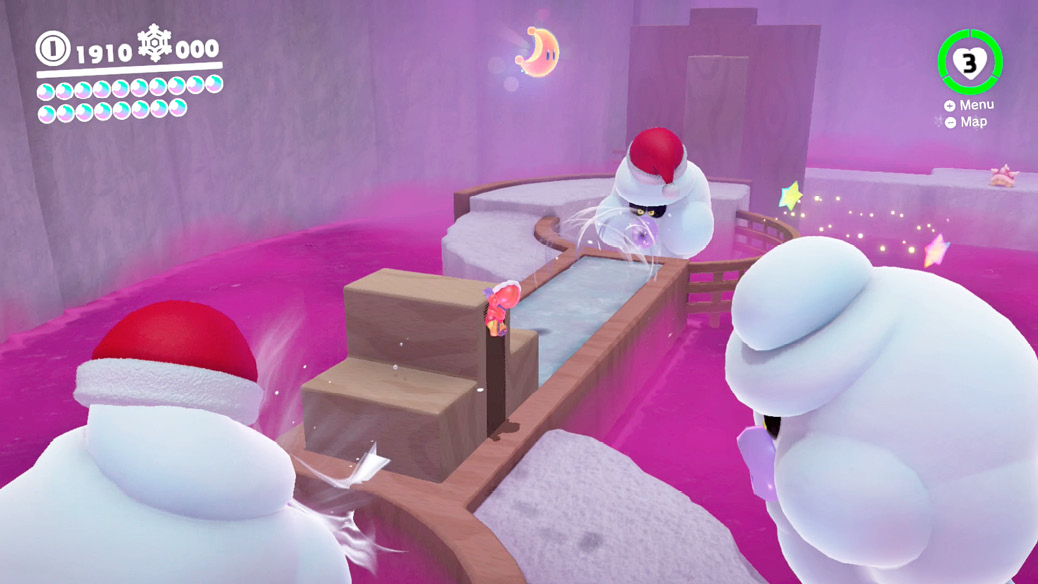
Inside Wind-Chill Cavern, where Ty-Foos wait to blow things cruelly into poison, there’s a new Power Moon. It’s located above the spot where two Ty-Foo clouds blow a wooden block back and forth. Climb atop the block while the cloud creatures toy with it, then somersault up from it toward the Power Moon while it’s being blown underneath.
 Forgotten in the Holding Room
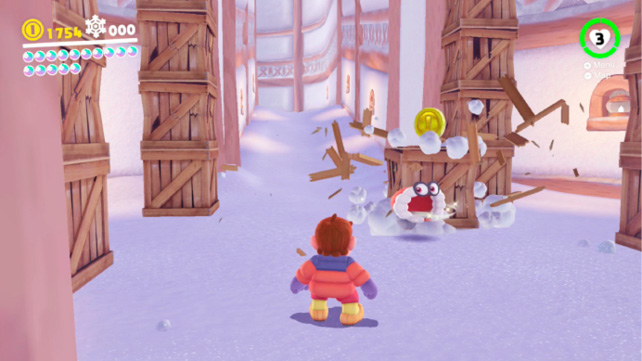
When you return later, long after initially capturing a timid Shiverian in the waiting room and going on to win Mario’s first ice race, the waiting room is out of use. A bunch of boxes are in here as storage. Bash apart all the crates for some coins and, eventually, a Power Moon!
 It Popped Out of the Ice
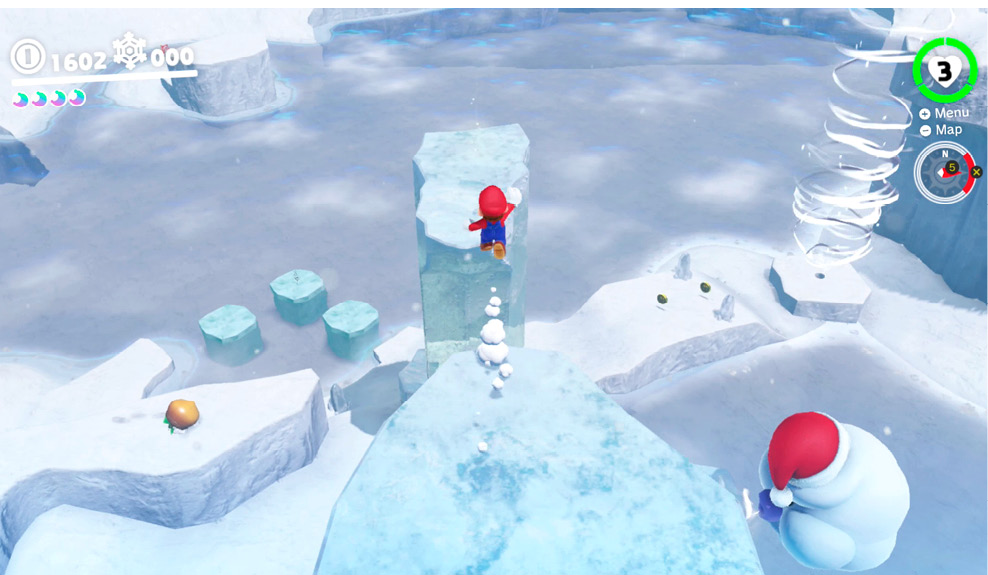
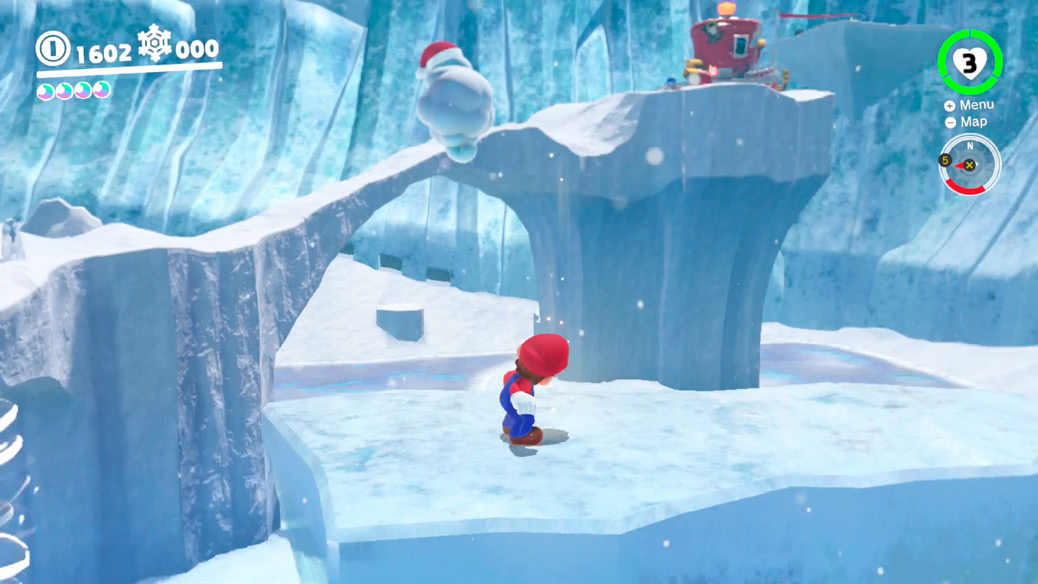
Travel to the ice well, then climb the biggest ice chunk here, to the very top. You’re not up here for this chunk though, you’re here for the second-highest ice ledge on this plateau. Take a running long jump or dive jump to the west from the tallest ice shard here, landing on an ice finger with a glowing, strange spot on top. Ground pound this spot after a safe landing up here to pop out the trapped Power Moon.
 Deep in the Cold, Cold Water
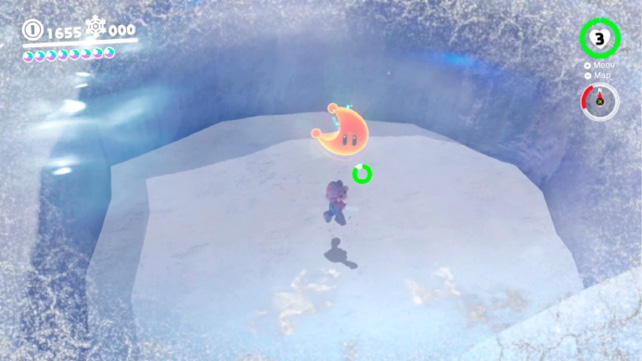
Check the center of what looks like an impact crater on the Travel Map in the northeast. There’s nothing much of interest in the crevasse, until you notice the glow in the center. Dive down as Mario (gritting teeth against the cold) and ground pound the center. This jogs a Power Moon loose from the grit at the bottom. Swim upward quickly to collect it and get Mario out of the frigid water.
 Water Pooling in the Crevasse
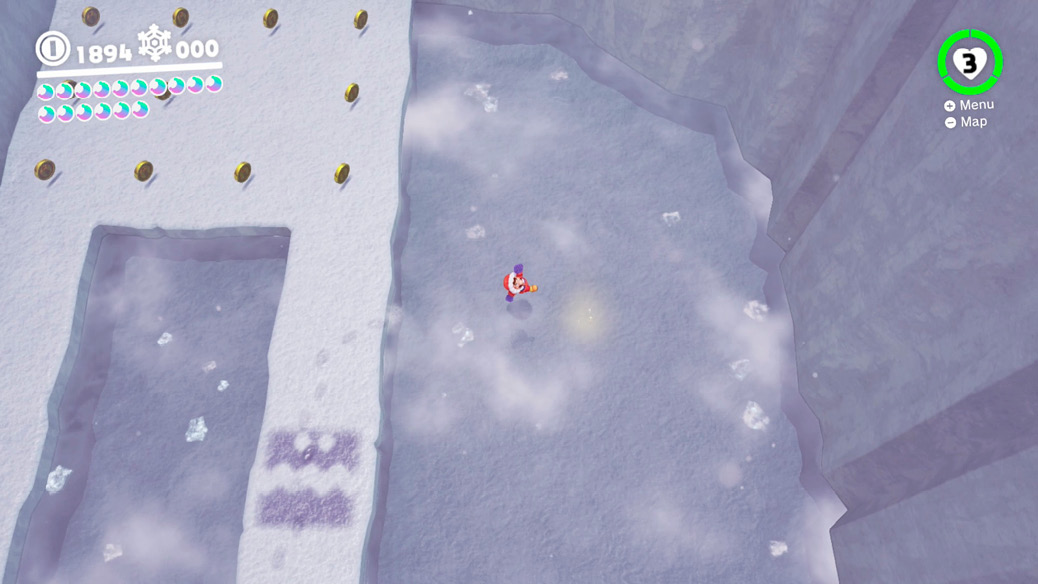
Once the Moon Rock is opened, some new moons appear in the old “spoke” hallways which first allowed access to the racing circuit. In Hollow Crevasse, avoid the Bitefrost shadows and peer into the cold pools here for a glow on the floor. Ground pound into the water there.
 Squirming Under the Ice
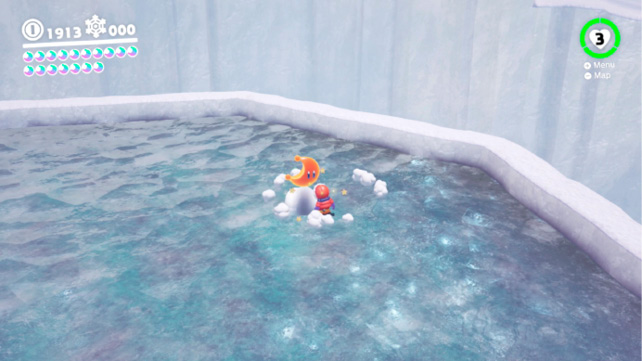
Travel into the Snowy Mountain room from the main chamber and climb again to the top, where you once fought Rango on ice. A curious bump under the surface here is dragging around like the floor was merely a bedsheet. Stun it with cap throws to slow it down, then jump above it and ground pound, knocking loose a Power Moon stuck under the environment.
 Snow Kingdom Timer Challenge 3
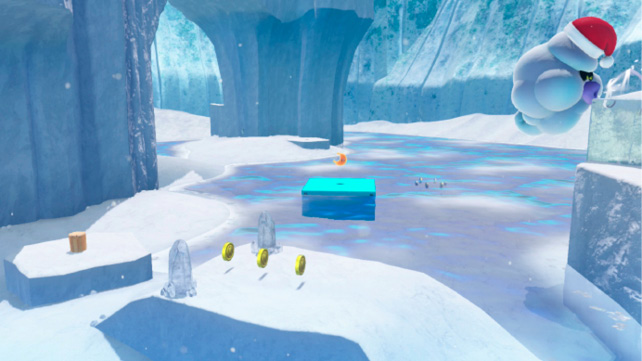
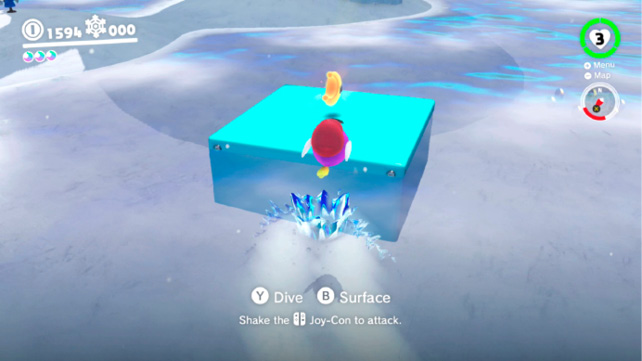
Mysteriously, a P-Switch now appears on the shallow seafloor of the northeast. Pushing the switch somehow (whether by brushing it swimming with Mario or a Cheep Cheep or by ground pounding into it) briefly reveals a Power Moon sitting on top of a platform to the west, past a little sandbar. To get by this obstacle quickly with a captured Cheep Cheep, jump up out of the water at a narrow point for the land bridge, so you only have to flop across dry ground very briefly (flop around very long out of the water and the Cheep Cheep will perish, spitting Mario out).
 Stacked-Up Ice Climb
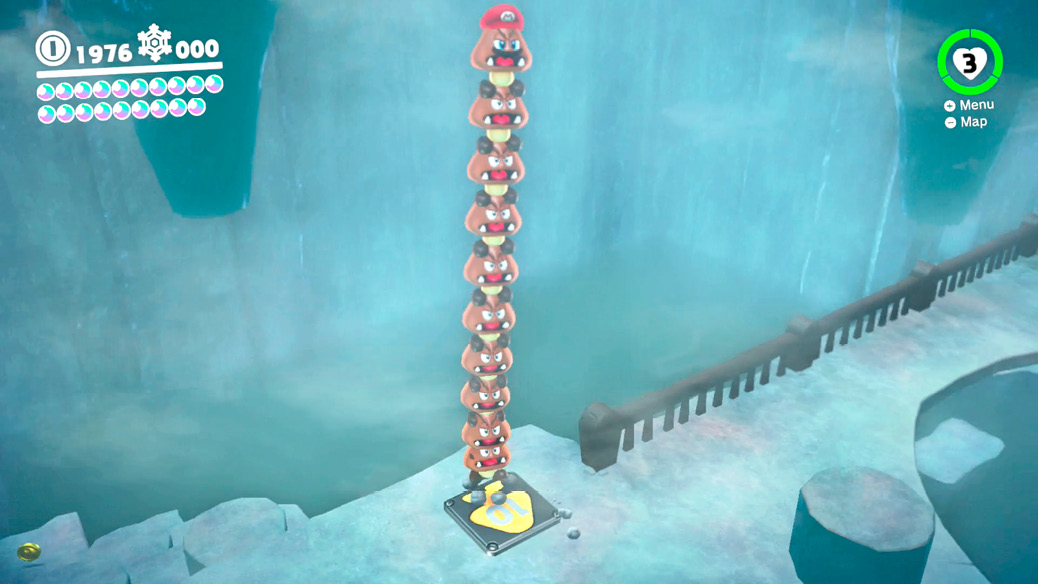
Back in Icicle Cavern, there’s a new puzzle to complete. A new button has appeared up on the second floor, across and above from the starting point. Triggering the button requires the precise weight of 10 Goombas! Capture a Goomba near the entrance, then keep the stack together and growing all the way up the icy cave to the top. Jump on the button with 10 Goombas to spawn the Power Moon, conveniently located at 10-Goombas-jumping altitude.
 I Met a Snow Cheep Cheep!
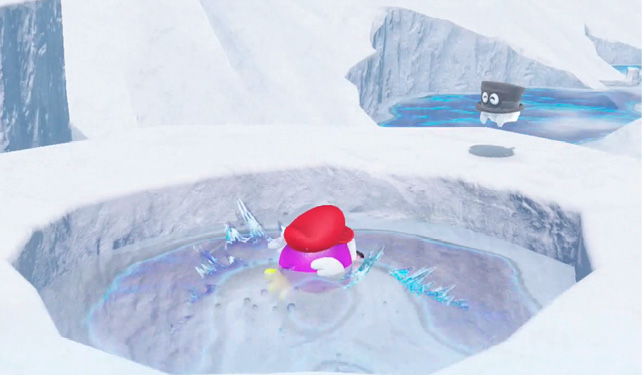
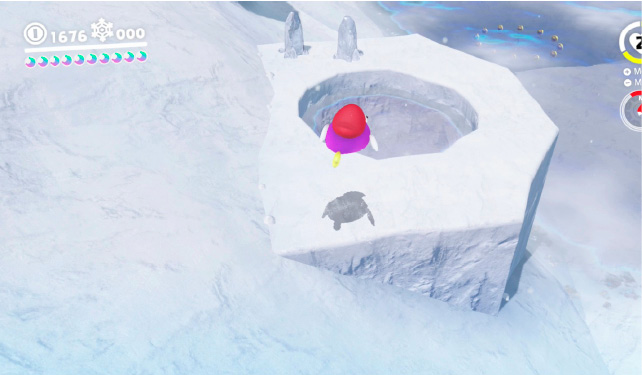
The western banks of Snow Kingdom have small circular pools whose purpose is a mystery until a Bonneter shows up here. The ghostly little fella is curious about the Cheep Cheep species indigenous to the region. Ah-ha, now the pools make sense. Go find a Cheep Cheep to capture, then swim back here and leap out of the lake and onto the bank, flopping as quickly as possible up to the first circle pool. From here, the fish can take its version of a breather, and then it’s time to leap out again and struggle over land toward the top pool, where the Bonneter waits. Flop quickly enough, and the Cheep Cheep survives all the way to the Bonneter’s inspection. Provide this specimen for the curious character to score a Power Moon.
 Even More Walking on Ice!
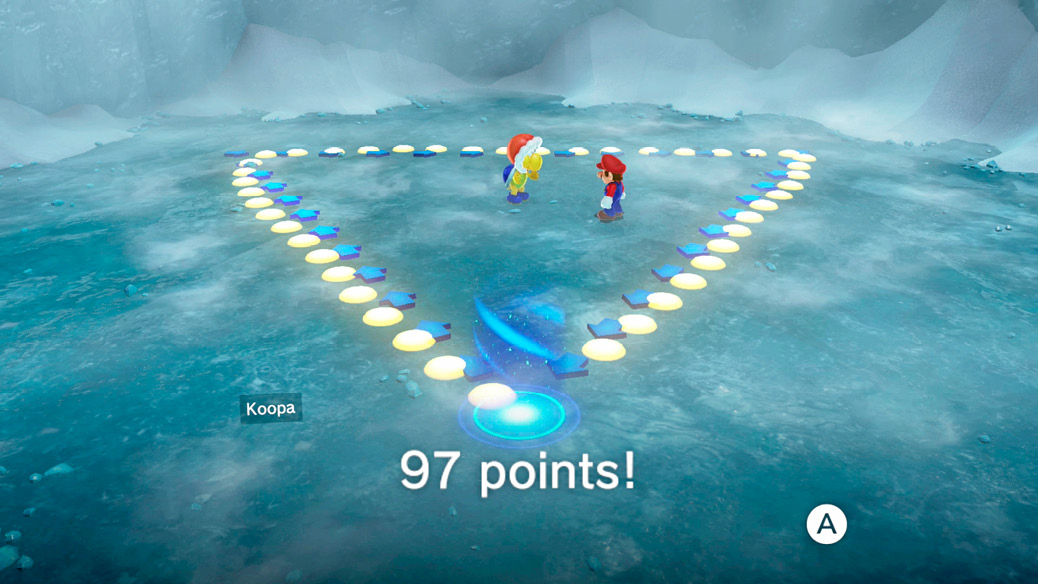
Return to the trace-walking Koopa in the cave by the warp flag in the northeast, and he has a new Power Moon to award. This time, he wants a score of 90 or more, trace-walking a triangle on the slippery cave floor. After this Power Moon, the only reason to keep trying out the event is to improve on your max score.
 Snow Kingdom Master Cup
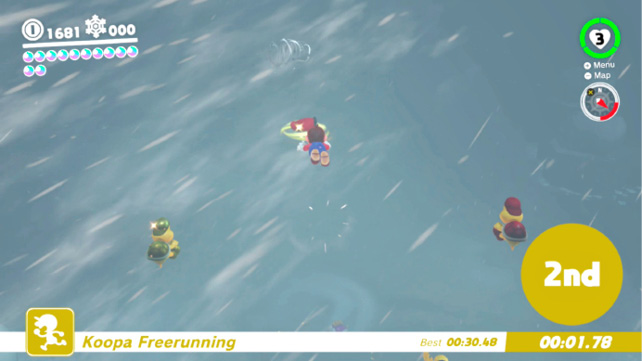
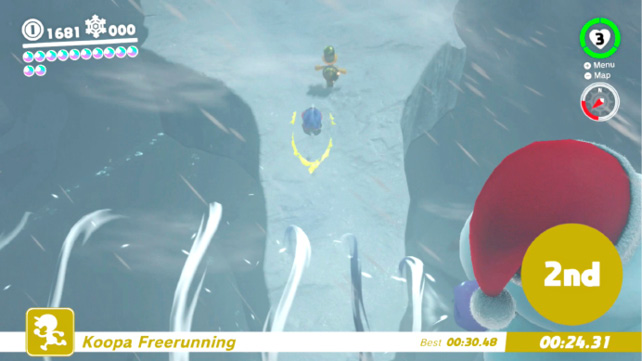
This is the same cross-region free running course as before, but this time with the speedy golden Koopa added to the windy mix. At the beginning, running long jump off the high edge then dive jump to eat up a lot of lateral distance on the way down, without having to spend time jumping in and out of chilly water heading for the ice well, like most Koopas do. The golden Koopa bends to the right just around the ice well’s landmass rather than over it, saving lots of time. If you don’t emulate the crafty turtle, you have to make the time by long jumping over the ice well quickly and by rolling up past the Ty-Foo on top with terrific timing.
 Iceburn Circuit Class A
Beyond the northeastern bank, in fact inside the gap where the Moon Rock once stood, look for a new opening in the rock. Inside, another Shiverian racing course! Capture the idle racer near the leader to participate.
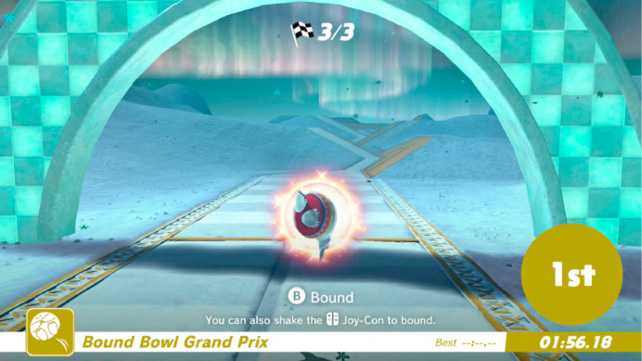
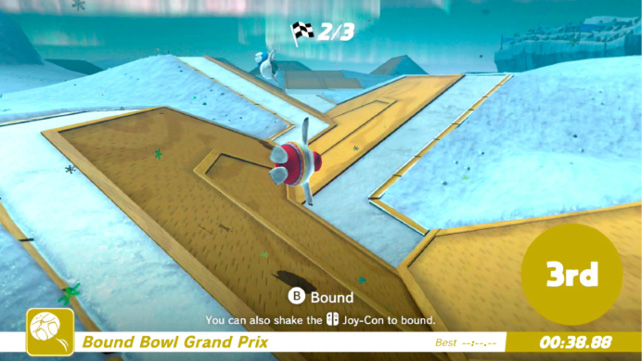
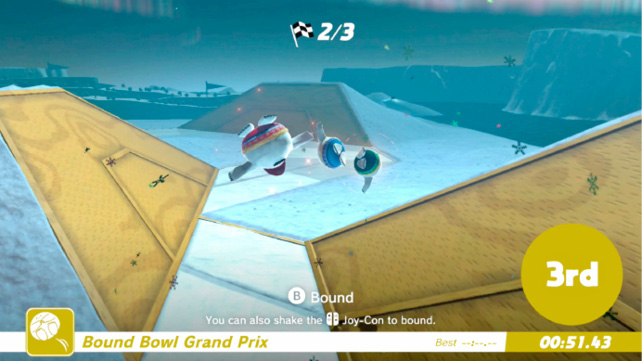
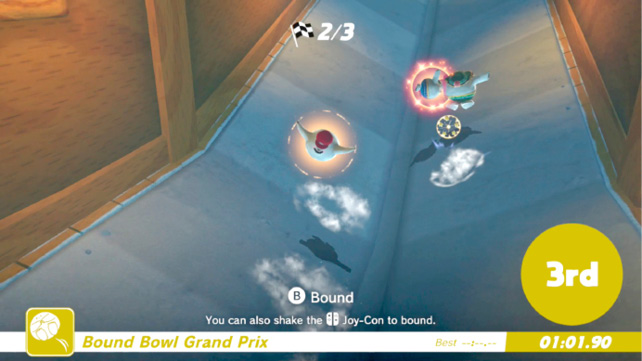
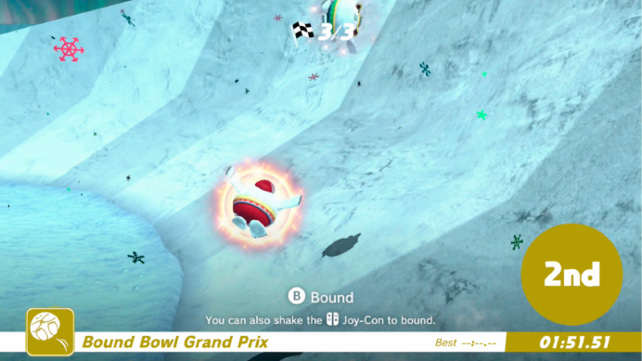
While the other race course is basically just left turns, this one is much more technical. You have to place bounding bounces intelligently to maximize speed, and angle toward the next intended turn or bounce. Going off course badly at all is probably grounds for scrubbing a race attempt and selecting Retry from the Pause Menu.
 Iceburn Circuit Class S
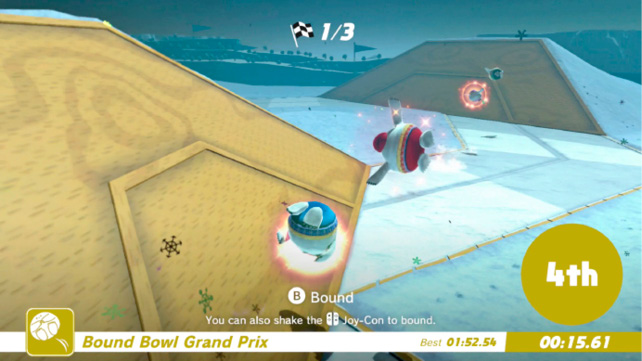
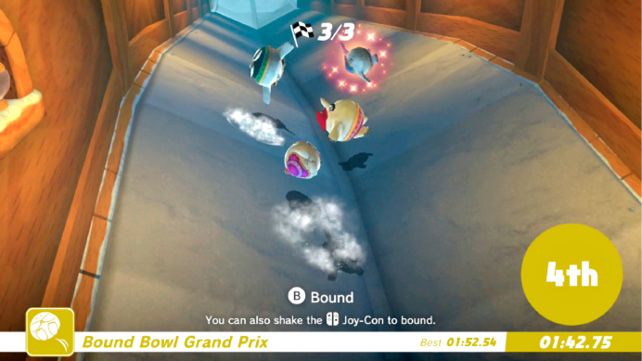
Win Iceburn Circuit Class A and you’ll get a chance to try the hottest race in chilly Shiveria. The main difference here is that the opposition is much stronger. You can’t afford to make any bad mistakes here.
 Running the Flower Road
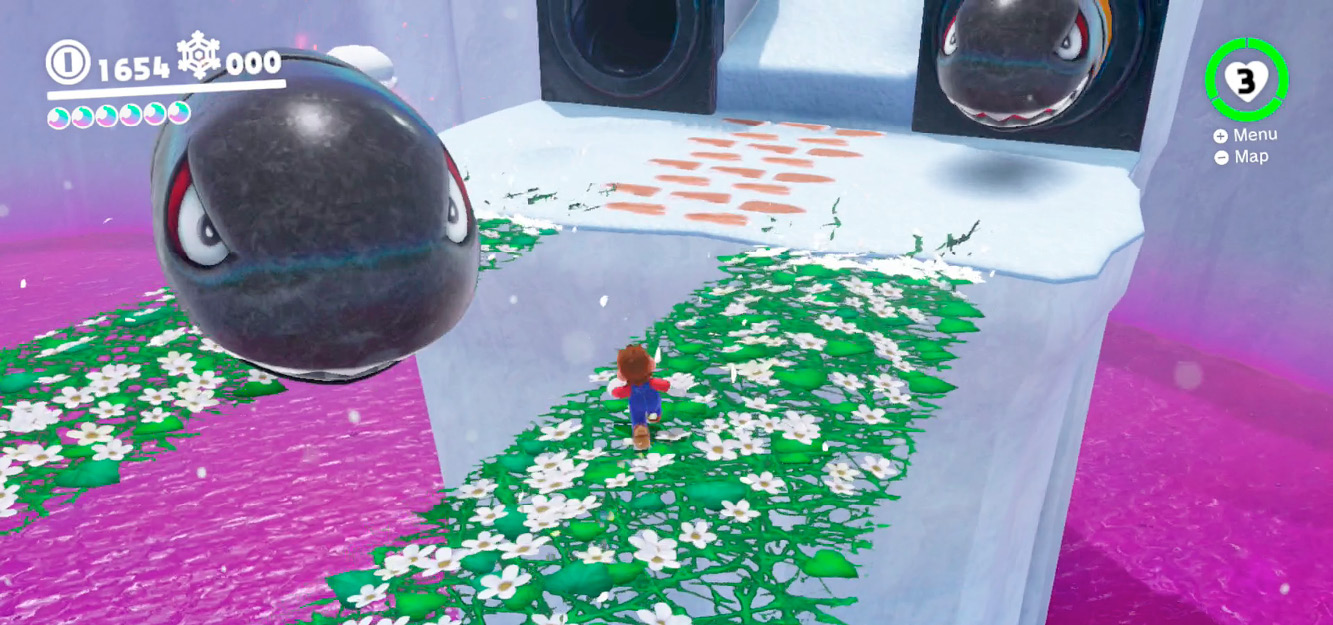
This ivy-laced challenge room is located down a moon pipe near the Above the Ice Well warp flag. Inside, an elaborate setup of spinning Moonsnakes, coin rings, and curiously few stable-looking platforms twists upward. Throwing Cappy onto the scarecrow at the start reveals the secret: vine paths grow and curl around the obstacles leading upward, forcing Mario to keep moving and dodging. The first couple of segments just involve riding the vines past Moonsnakes, but the final stretch forces Mario to jump between dual vines crossing through an area peppered with Banzai Bills! During any vine-growing stretch, Cappy is unavailable, so dive jumps are off-limits, and Banzai Bills cannot be captured.
 Looking Back on the Flower Road
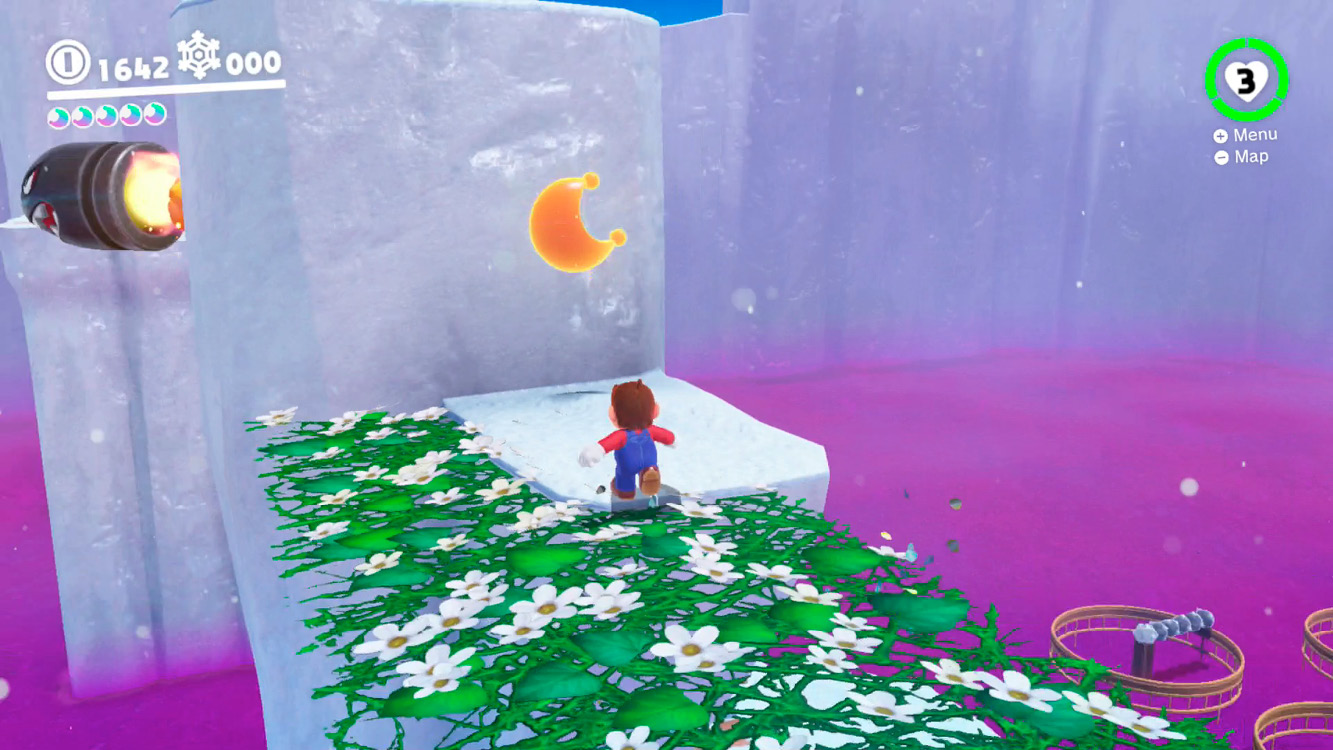
Inside the ivy moon pipe, stay frosty during the final segment, running along growing vine paths while Banzai Bill cannons loom ahead. Jump to the right vine path to get past the first Banzai Bill cannon, then immediately look left, at the back of the mechanism. A hidden Power Moon sits here! Jump back across to the left vine path, then snuggle into the back of the cannon to pick up the Power Moon. If the vine growth is getting too far ahead at this point, just somersault onto the very top of the cannon and wait for the vine paths to pass through again.