Super Mario Odyssey Guide Sand Kingdom
Mario’s Itinerary
 Atop the Highest Tower
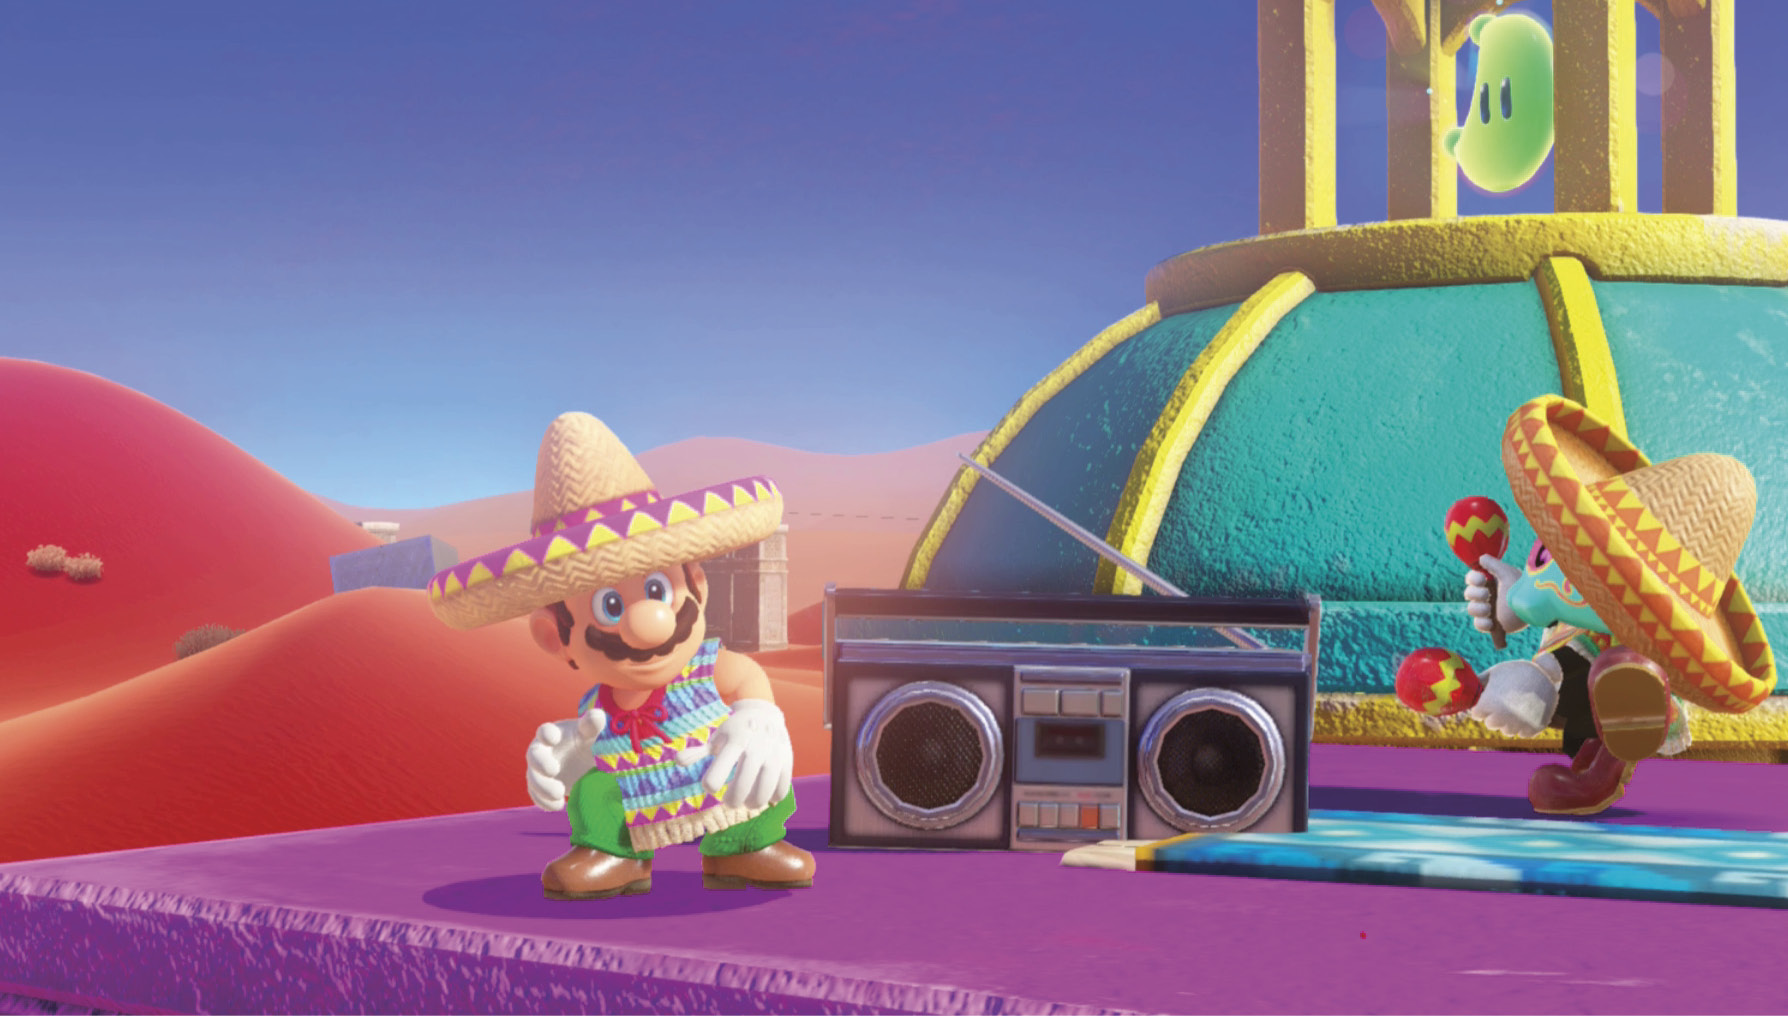
The Odyssey has touched down in the surprisingly frigid Sand Kingdom, home of the maracas-shaking Tostarenans. Talk to the shivering locals as you proceed north through Tostarena Town toward the ruins. Cappy points out Bowser’s enormous footprints in the sand—he must have been here recently!
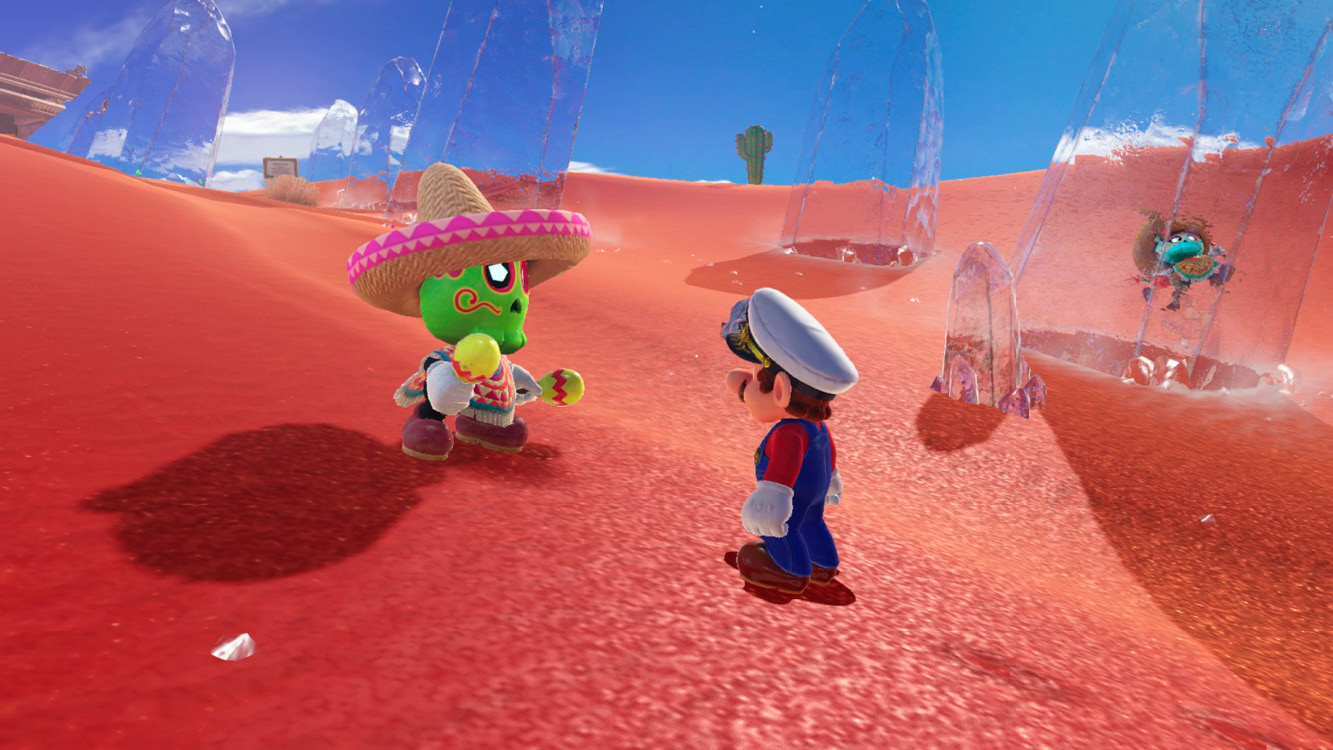
Ascend the stairs to the Tostarena Ruins Entrance, flinging Cappy at the Mini Goombas lurking about. Shake the controller to perform homing throws to not only ensure a direct hit, but also get the hat back in Mario’s hands sooner. Perform a throw and hold against the ? Block to earn a quick ten coins, then continue right toward the Bullet Bill.
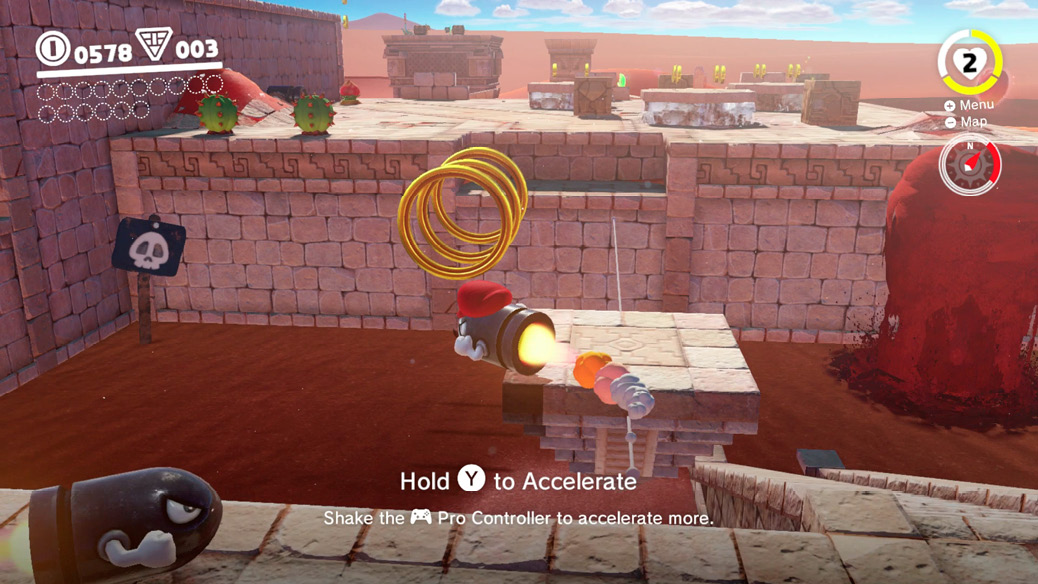
The safest way to deal with Bullet Bills is by capturing them. Fly the Bullet Bill through the rings to the east, release the capture, and leap onto one of the nearby platforms or blocks to avoid the Bullet Bill approaching from the left. Ignore the Power Moons in the area for now—hit the flower to the right of the Bullet Bill launcher with your cap and bounce to the Tostarena Ruins Sand Pillar flag.
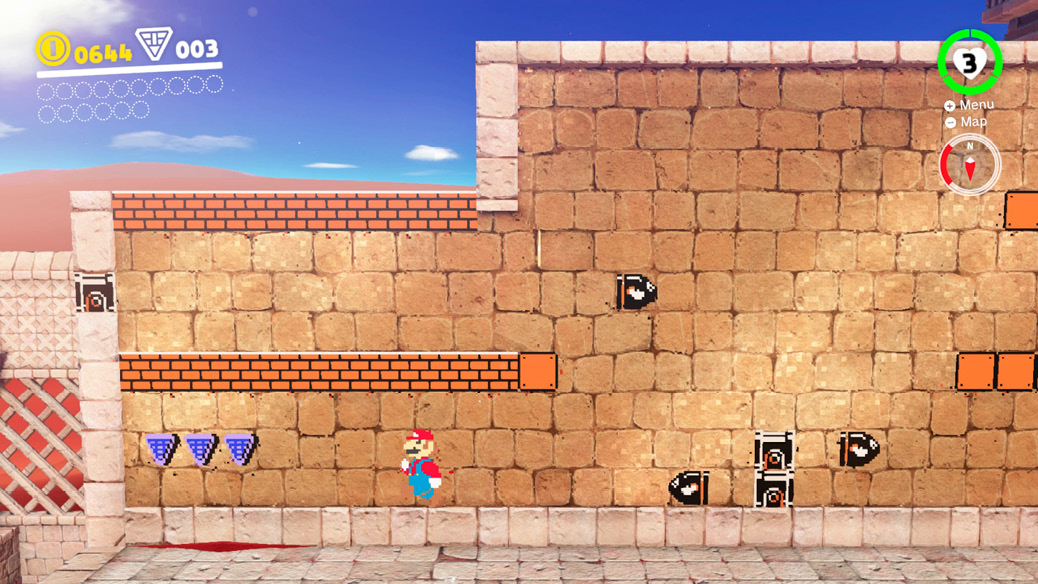
Leap across the sand geysers through the rings to the 8-bit level you see on the wall ahead. Enter the pipe and set to breaking the blocks down low. The double-stack of Bullet Bill launchers fires in both directions. Crouch whenever a Bullet Bill is headed for Mario’s head. Gather up the coins and the three Regional Coins from the far left, then break through the blocks to continue ascending the ruins.
Exit the 8-bit level and round the corner near the Bullet Bill to find three crates, one of which contains Binoculars and another that contains Power Moon #12. Smash the crate with the cap, a ground pound, or with a Bullet Bill, then capture a Bullet Bill and fly across the ruins to where the Power Moon lands.
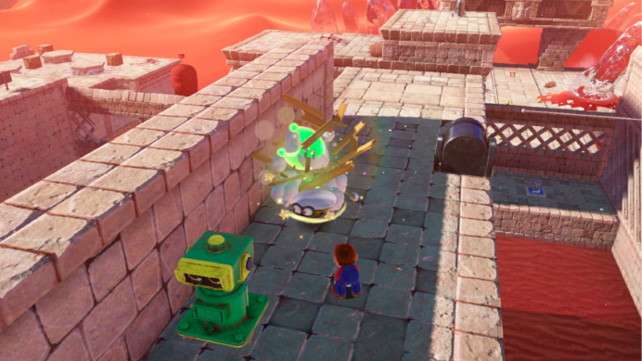
Ride the Bullet Bill back across the gap, to the stairs near the moving platforms. Ascend the stairs to the circular tower wrapped in another 8-bit level. Enter the pipe on the far side and begin zigzagging your way up the tower. This 8-bit level is a bit trickier than the last, as there are many more Bullet Bills inside the level—and unlike present-day Mario, 8-bit Mario’s only recourse it to either crouch beneath them or bounce on top of them. Board the sliding platform and crouch to avoid the three Bullet Bills coming from the right.
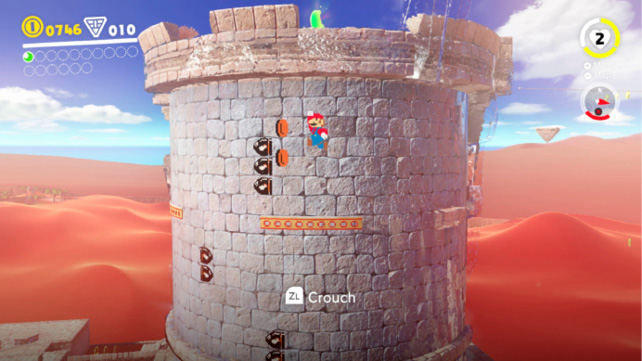
Exit the 8-bit level atop the Tostarena Ruins Round Tower and collect Power Moon #01 to complete the objective. Mario needs sixteen Power Moons to fuel the Odyssey for his next journey, so there’s much still to do.
Not all of Sand Kingdom is connected; bottomless canyons have split the region into a series of islands connected by floating platforms. One of these islands is home to the Moe-Eye. Board the platform atop the Round Tower and throw Cappy at the hat launchers to collect the coins. Sidestep the first pair of stone blocks then throw Cappy at the hat launcher to hit the black and yellow pulse beam beyond it. This triggers a concussive blast that radiates outward, smashing the rocks in Mario’s path. Leap over the radiating rings, else Mario takes damage and is stunned.
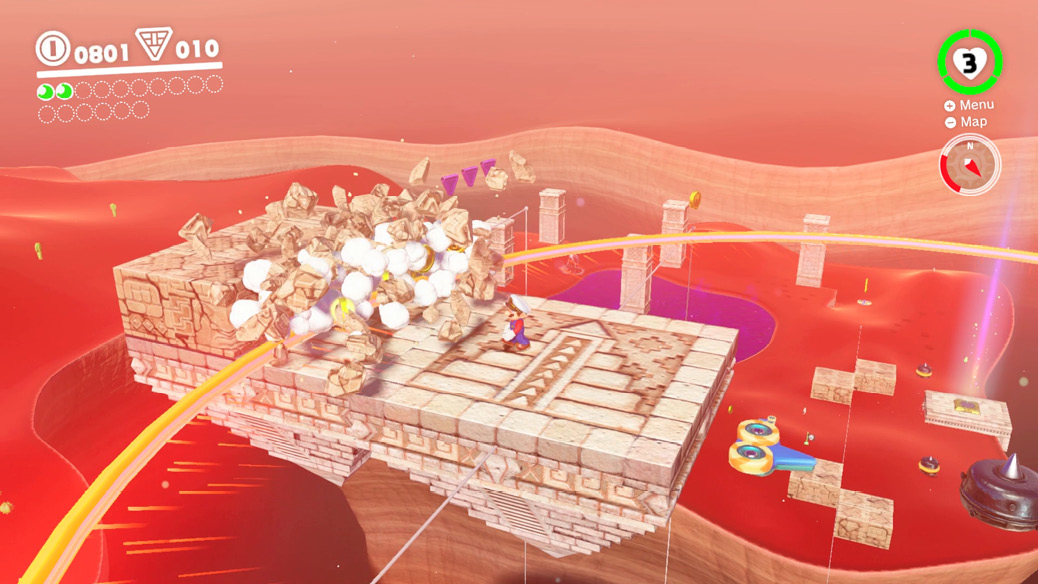
Ride either of the two platforms down then leap to the northernmost one to continue. Throw Cappy at the hat launcher to trigger another explosive ring from the next pulse beam. This sets off a chain reaction with other pulse beams. Leap over each incoming blast and continue along the platform as it descends to Moe-Eye Habitat.
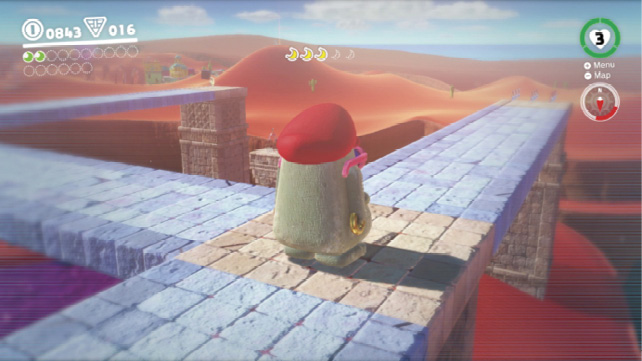
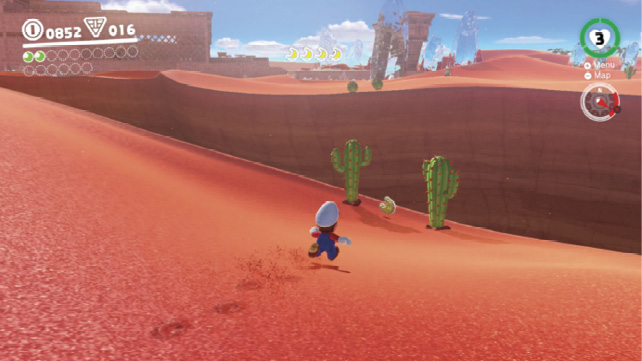
Capture the nearby Moe-Eye before it runs away (they’re very shy) and grab the first Moon Shard next to him. Notice the glow on the platform to the right—the only way to unlock its Power Moon and activate the platform is by finding five Moon Shards. Here’s where they are:
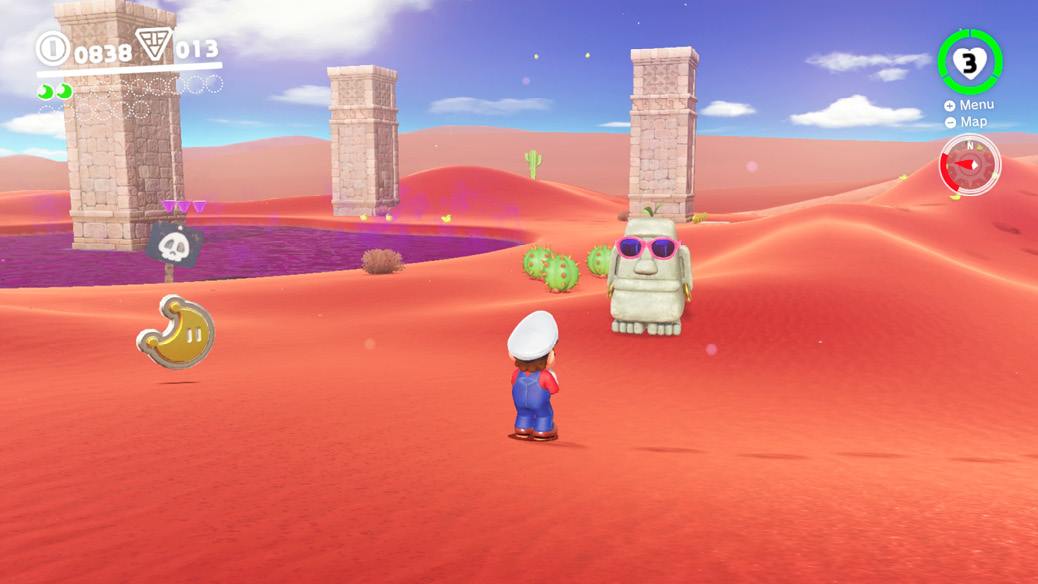
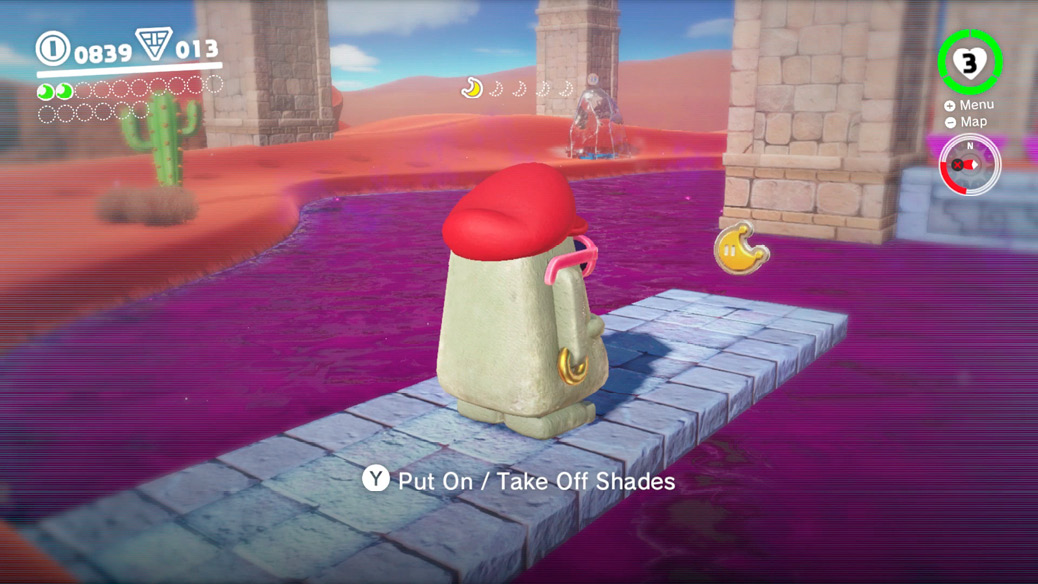
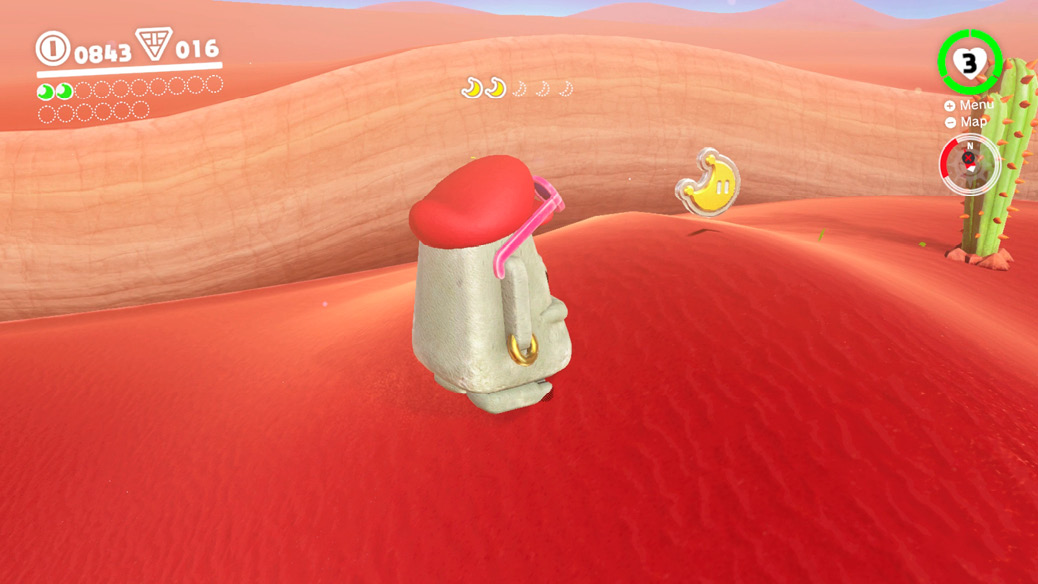
 Moon Shards in the Sand
Grab Power Moon #02 that appears and ride the newly-activated platform north across the canyon. The Inverted Pyramid has been opened and Bowser’s ship hovers above. Get there right away, Mario!
 Showdown on the Inverted Pyramid
The Tostarenans believe Bowser came to steal their Binding Band and one look with the Binoculars suggests they’re right—look at the size of that ring! Roll across the desert toward the Inverted Pyramid and head inside. Capture a Bullet Bill and ride across the gap to the 8-bit level in the distance.
This particular 8-bit level has bi-directional gravity. The red and green pyramids adorning the wall indicate which way gravity is pulling. Mario will be right-side up in the green area, but upside-down, walking on the ceiling, when in the red area. Leap from the blocks near the pipe to the ledge on the left to reach the red area and cross the level to the right, upside-down.
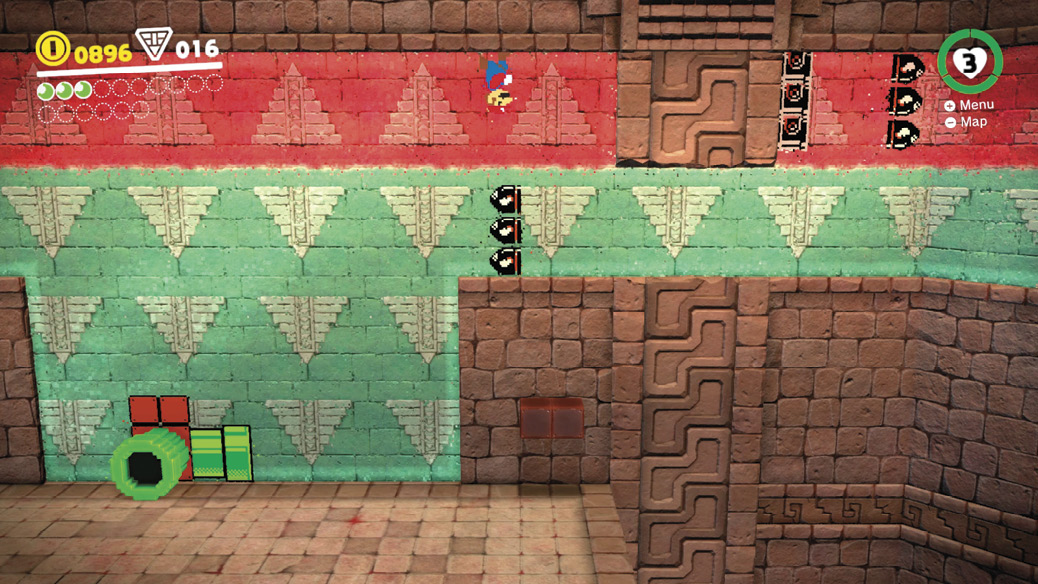
The green pit up ahead is effectively bottomless. Keep to the left until the Bullet Bills pass then leap to the ceiling, get the coins from the ? Block and crouch beneath the Bullet Bills. Leap to the inverted warp pipe on the ceiling to transition to the exterior of the Inverted Pyramid.
Make your way past the stream of upside-down Goombas outside the pyramid and note the crack in the wall beyond the warp pipe on the ceiling. Leap through this crack to find a hidden area containing numerous coins and Power Moon #10. Return the way you came and enter the upside-down warp pipe.
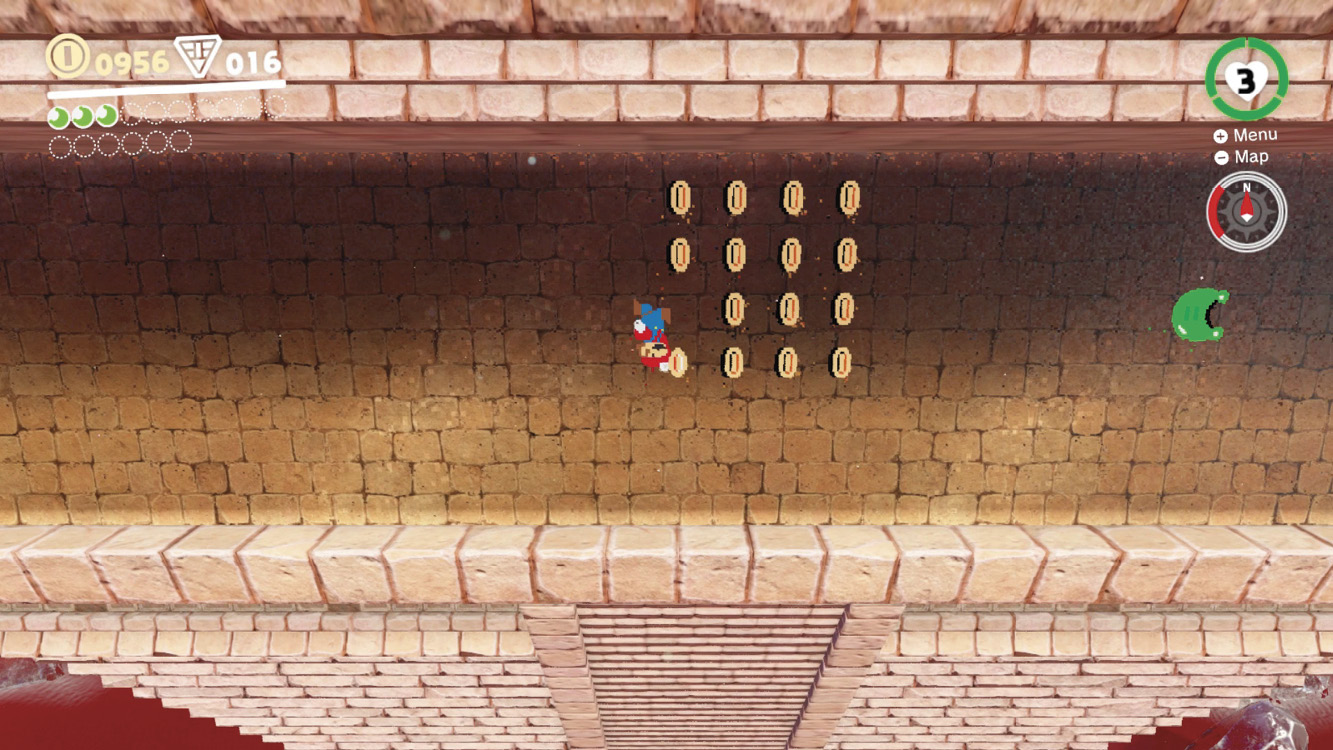
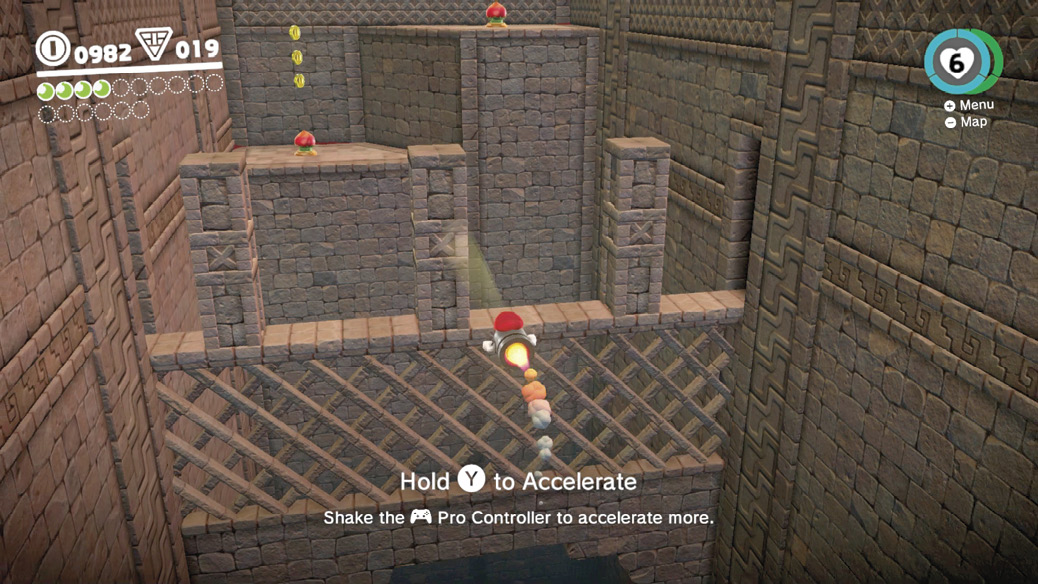
Leap out of the 8-bit level and capture one of the Bullet Bills and steer it into the breakable blocks nearby. Pilot another Bullet Bill into the lone stone on the other side of this room to gain a Life-Up Heart. Capture a third Bullet Bill and pilot it across the gap on the far side of the room to the flowers in the distance. Bounce your way to the upper level and ascend the stairs to the very top of the Inverted Pyramid.

Boss: Hariet
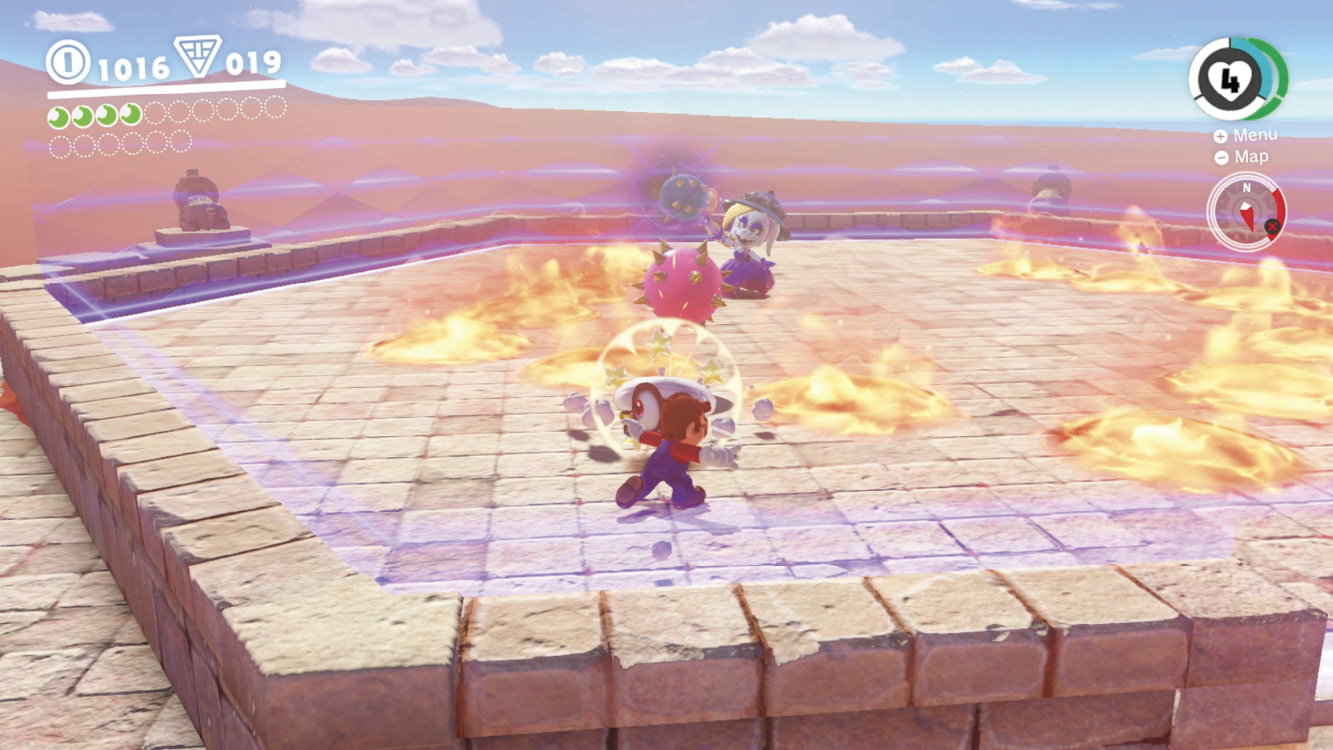
Hariet is one of the members of the Broodal Party and, like the others, she’s going to use her hat to attack. But that’s not the only trick up her bonnet! She begins the fight by flicking spiked cannonballs at Mario. Dodge away from them and, if possible, use Cappy to knock one back at her. The bombs ignite the ground when they explode, creating an additional hazard so steer clear.
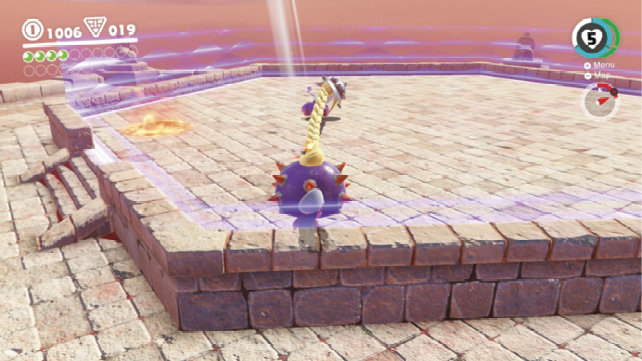
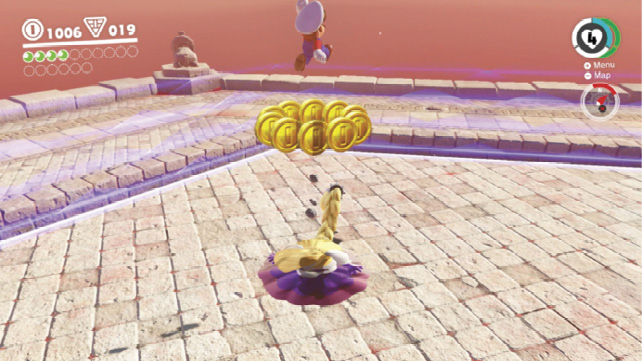
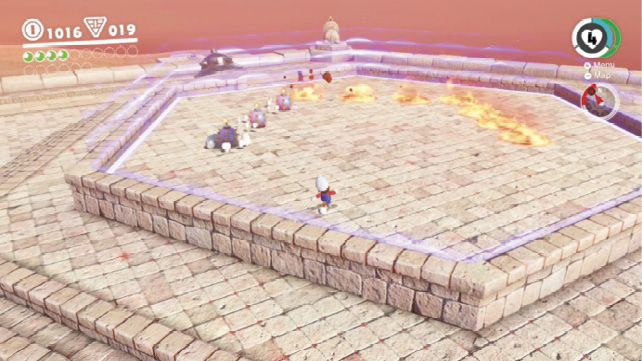
The safest thing to do is to keep to the other side of the arena from Hariet, dodge the two bombs she hurls, then watch for her ponytail attack. Hariet twirls another bomb around by her hair, then slams it at Mario. Use Cappy to hit the bomb attached to her hair to send her spinning. The bomb explodes, knocking her hat from her. This is your chance! Leap up and bounce off her head. It needn’t be a ground pound, but that works just as well!
Once hit, Hariet dons her hat and flies around the arena, dropping rows of bombs. She flies a square-shaped pattern, dropping three bombs along each stretch. Avoid the bombs—and their resulting fires—and wait for her to regroup.
Move to the far side of the arena and bait her into throwing another bomb at Mario, then jump back and hit it with Cappy. This is a great way to shortcut the fight. You needn’t wait for her to unleash her ponytail bomb attack if you hit her with one of the two loose bombs she throws. Hit her with Cappy to stun her (so she doesn’t run away) then bounce off her head.
Hariet again flies across the arena in her hat, dropping bombs. But this time she zigzags back and forth, making it slightly more challenging to avoid her attack. Avoid the first row of bombs then circle back and forth in semi-circle paths beyond her reach. Wait for her to settle down and begin tossing bombs again, then hit a bomb with Cappy and leap atop her head for a third and final time to collect Power Moon #03.
 The Hole in the Desert
Defeating the Broodal didn’t help the local climate. In fact, quite the opposite! The Inverted Pyramid floated into the air, revealing a massive hole leading to a frozen underground cave—that’s where the cold air is coming from! Mario must descend into the frosty abyss beneath the sand and set things right.
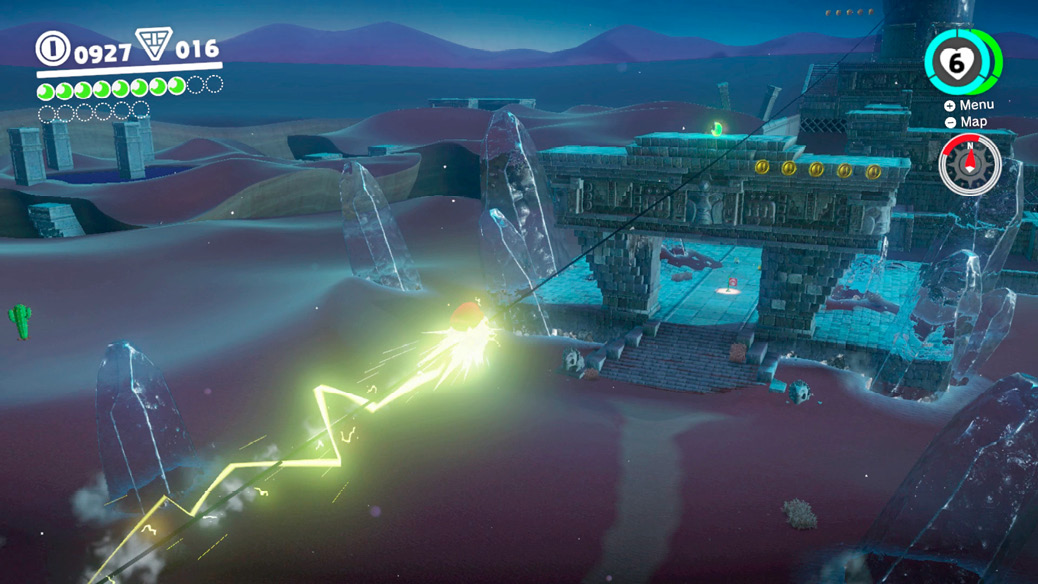
Stop at the Crazy Cap store in Tostarena Town and purchase the Sand Kingdom Power Moon for 100 coins (Power Moon #42). Gather up the Regional Coins near town, then capture the Spark Pylon to ride the electrical lines toward the ruins. Release the capture above the arch to snag Power Moon #11.
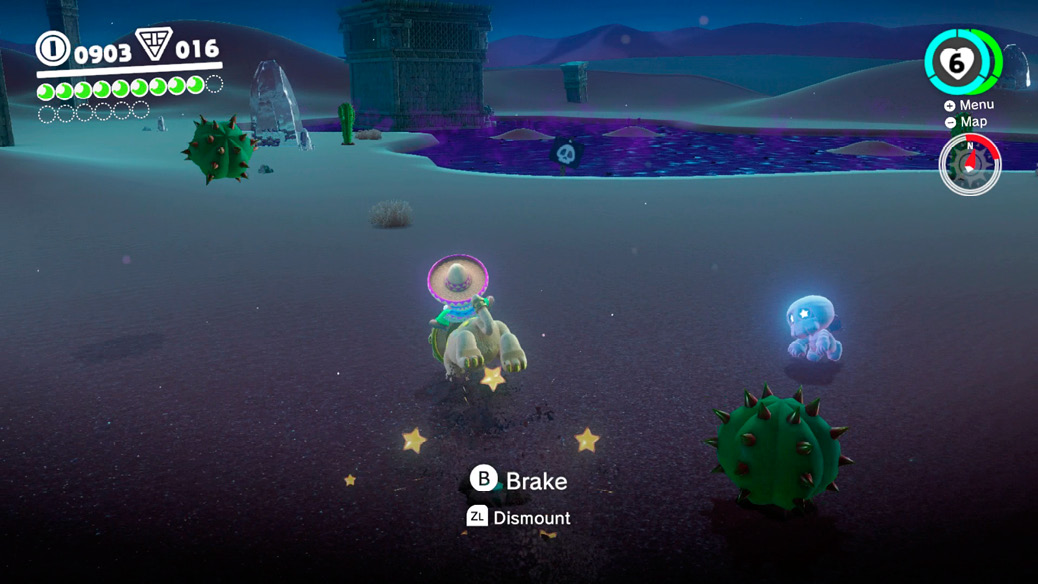
Warp back to Tostarena Town from atop the arch and talk to Jaxi, the lion-esque taxi service in Sand Kingdom. Jaxi can be ridden anywhere you want to go in Sand Kingdom, and he’s especially important for use at night when the desert is overrun by Chinchos. Not only can Jaxi run straight through enemies and cacti, but he can even cross poisonous lagoons of purple goop. Run Jaxi straight toward the beacon of light emanating from the hole beneath the Inverted Pyramid and dive right in.
The hole beneath the Inverted Pyramid leads to the Underground Temple, an icy maze filled with Goombas and Bullet Bills. Toss Cappy at the hat launcher to hit the pulse beam beyond it. This one and the one after it are needed to break the stone blocks at the base of the two towers before the first Goomba.
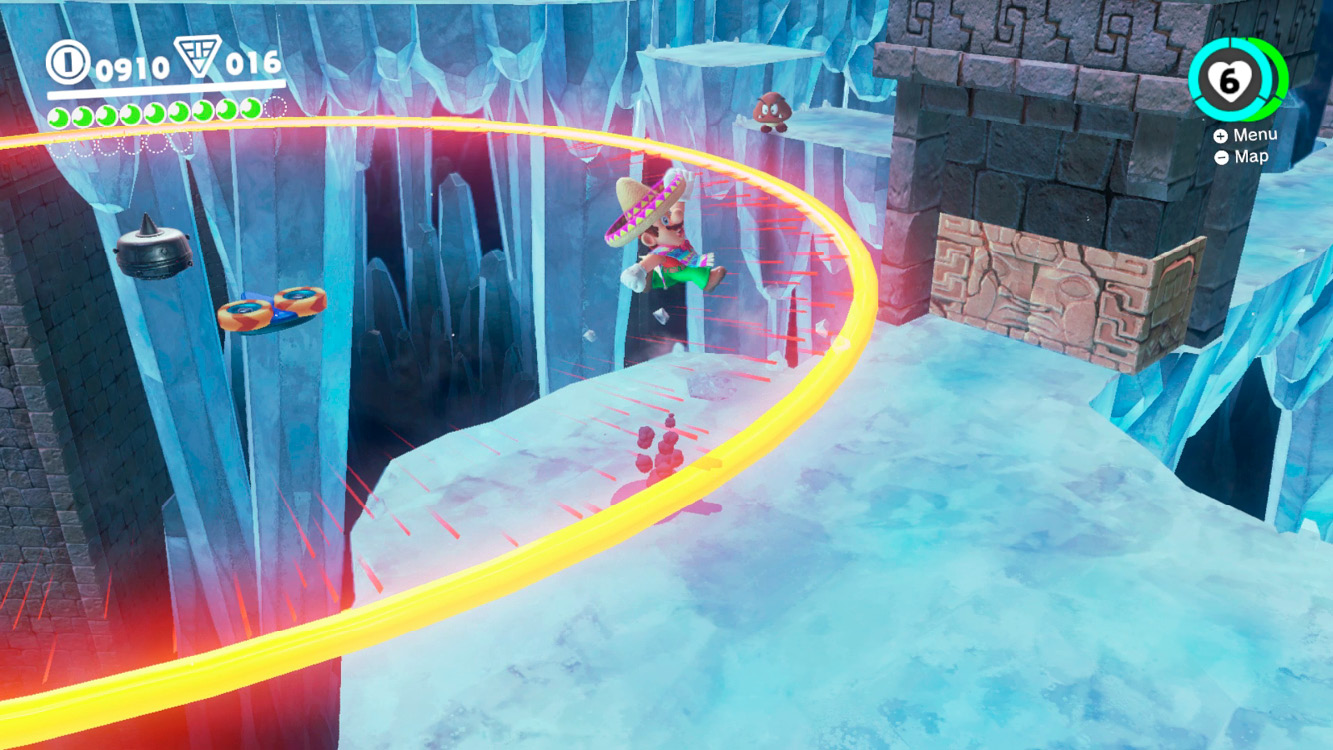
Toss Cappy at the hat launcher near the Goomba to have it set off a chain reaction as Cappy collects the coins. Capture the Goomba and leap over the pulse beam’s radiating burst of energy. Shake the controller to make the Goomba high jump onto the stone ledge. Release the Goomba and quickly capture the stack of ten Goombas further on. The radiating blast might knock this Goomba stack from ten to eight. If so, hurry back along the ice and capture the two Goombas you passed earlier on.
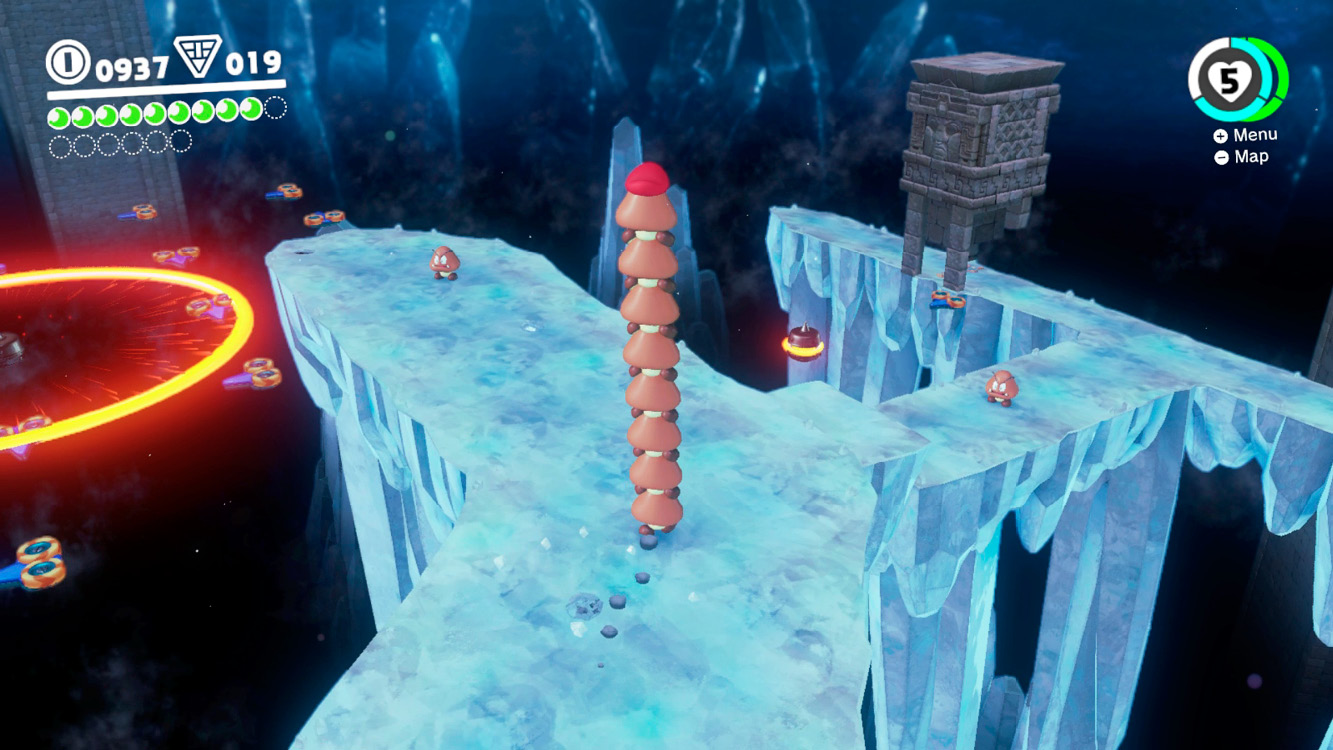
Release the Goomba capture near the platform with the blocks, capture the three Goombas and leap back onto the Goomba tower to cross the ice as a tower of eleven (twelve is too many for the nearby ? Blocks). Continue along the ice to reach Power Moon #48 and the purple coins beyond it. Ride the moving platforms to the next tower, snag the Life-Up Heart from the right-hand torch and approach the edge.
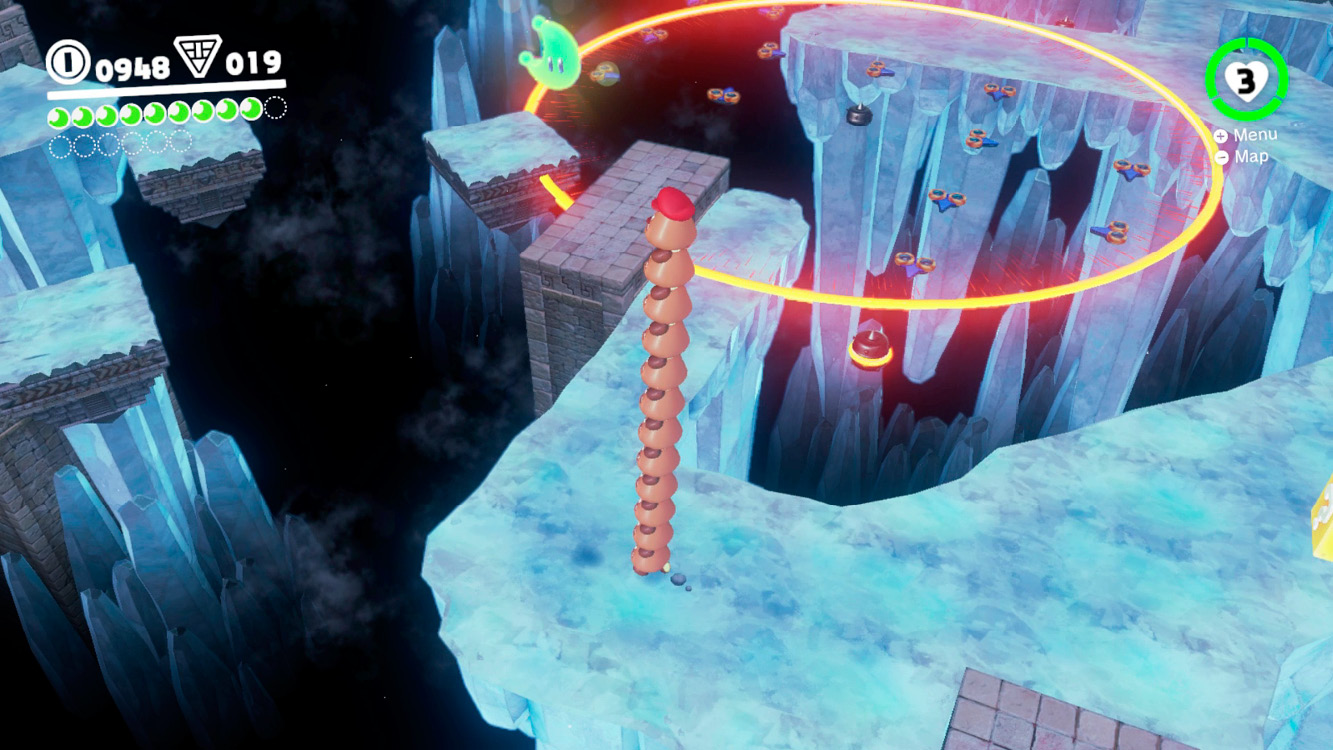
Stand off to the edge to lure the Bullet Bill around the pulse beam and capture it. Don’t just head for the ice right away! First fly it around the stone column on the right, to where the hat trampolines are. Bounce to the top of the pile of gold atop the column, then run along the narrow wall, hit the invisible bricks at the end, and leap atop the next tower to get Power Moon #47 from the treasure chest. Dive jump down to the platform beyond the moving columns and go through the door to the Deepest Underground.
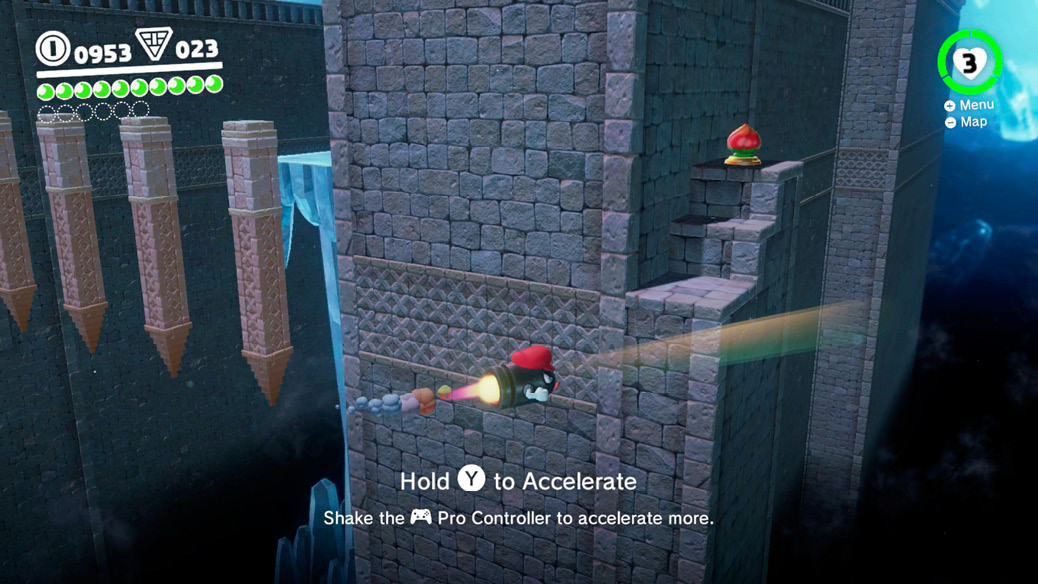
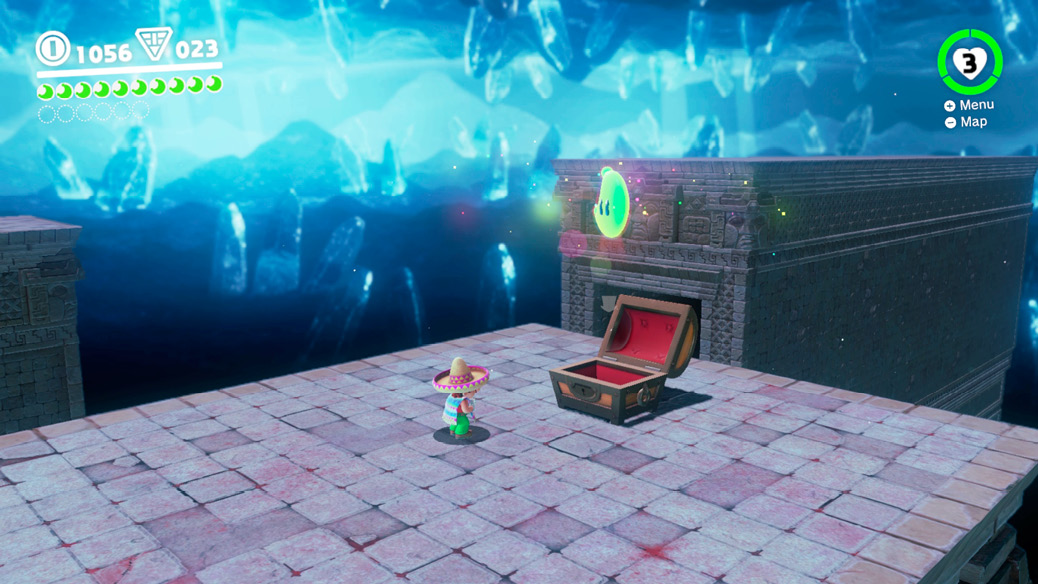
The stone plinth up ahead once housed the Binding Ring, but it’s no longer here thanks to Bowser. Capture a Bullet Bill and ride it across the gap to the platform up ahead where the guardian of the Binding Ring awaits—and he’s none too happy about the missing ring!
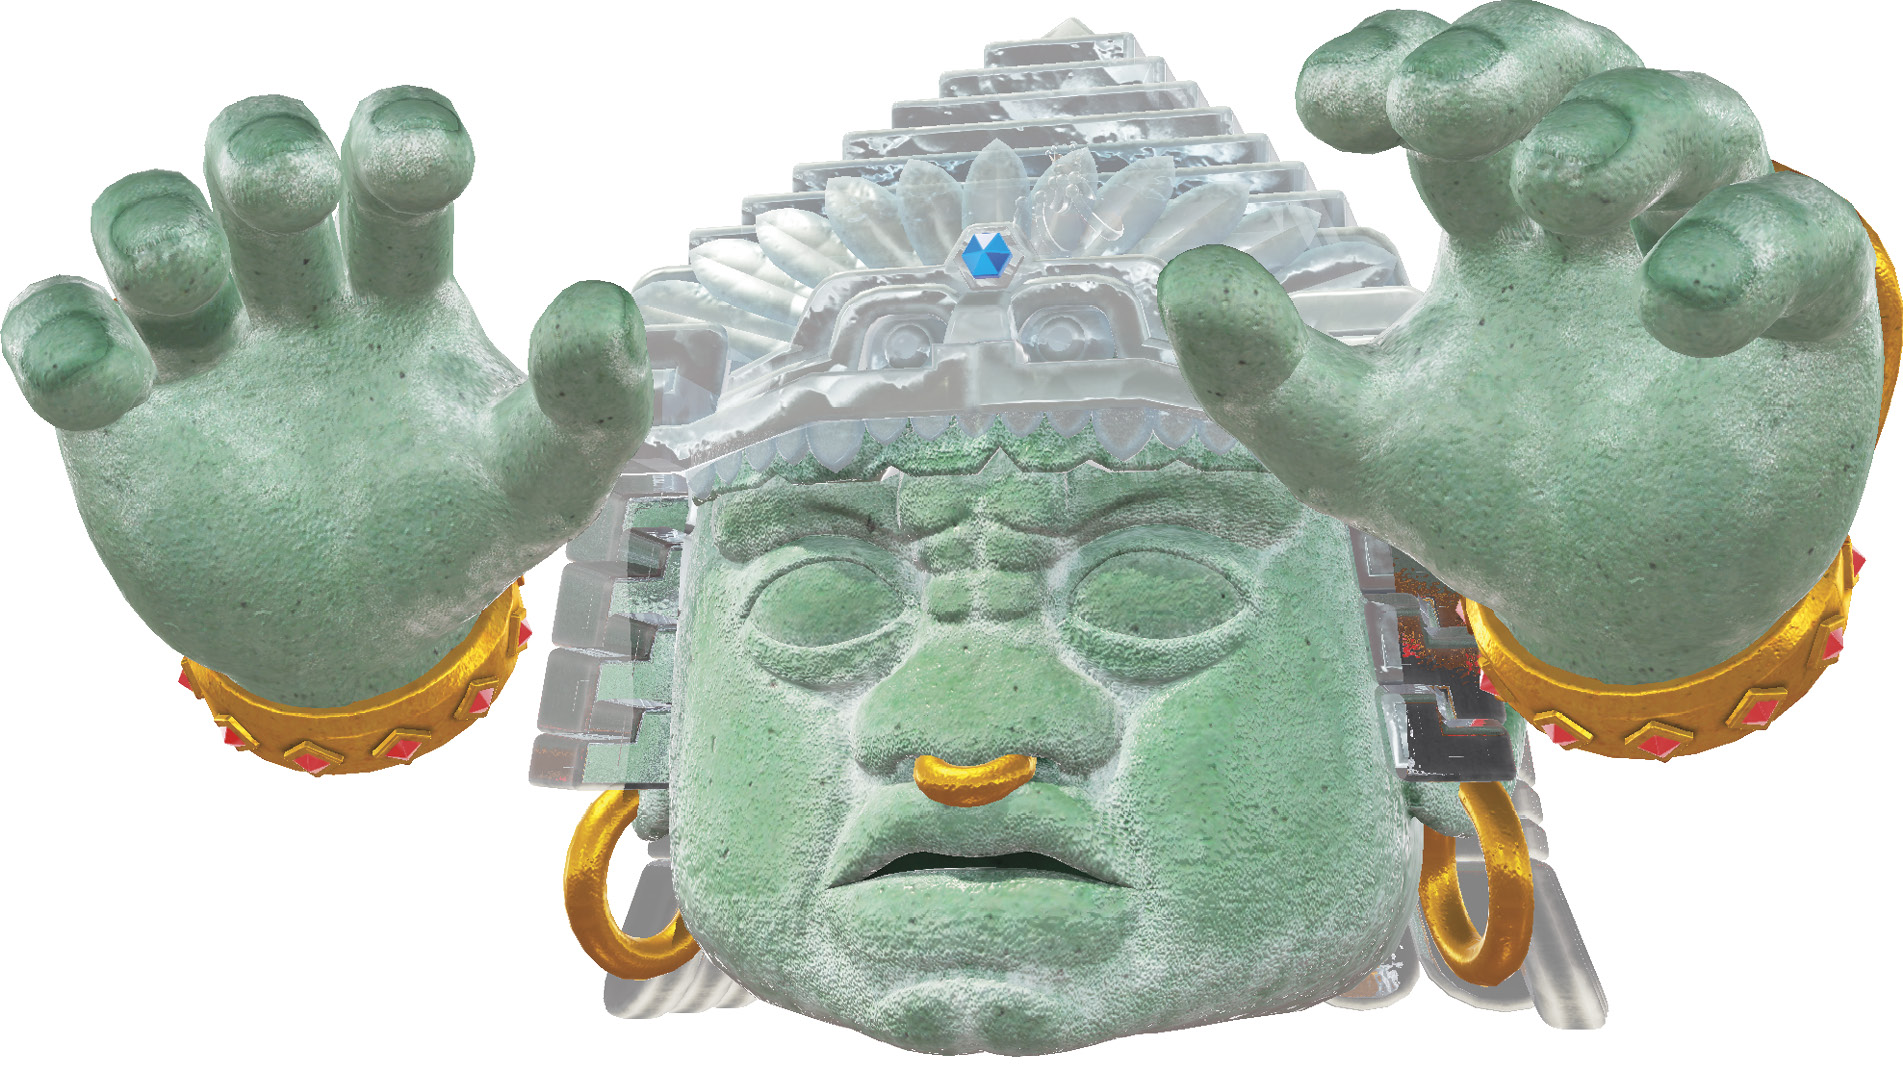
Boss: Knucklotec
Knucklotec enters the arena with a thud, causing icicles to crash down from the ceiling, some of which contain Hearts. Pay attention to where they are, as you may need them!
Knucklotec has two disembodied fists that fly across the arena at Mario in an effort to squash him. Watch the shadow from the flying fist, dodge out of the way when the shadow stops (try to lure it over ice patches) then capture it while the hand is stunned on the ground.
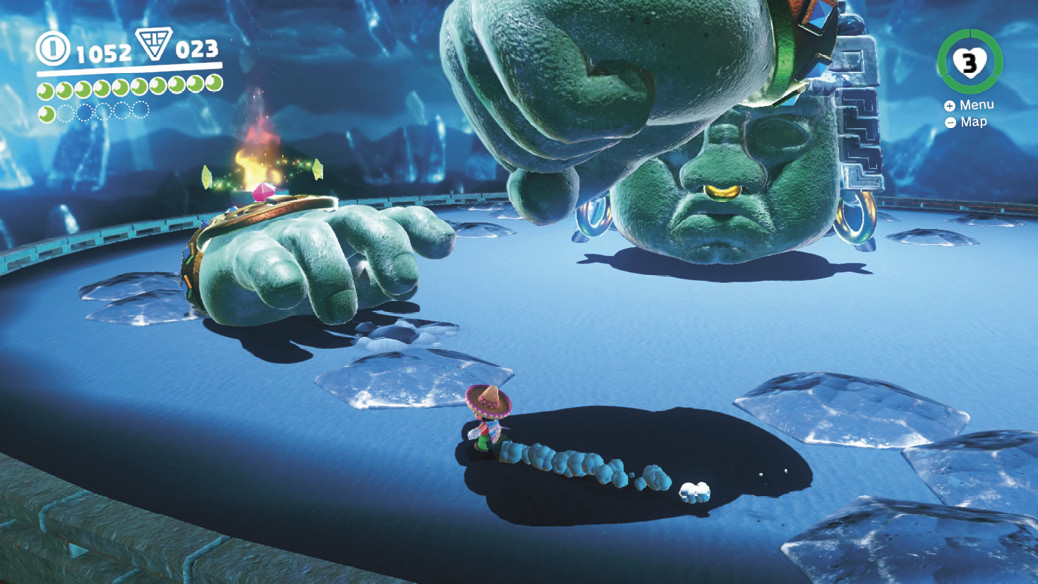
Capture Knucklotec’s fist and pilot it like a large Bullet Bill back at Knucklotec in an attempt to punch it in the face with his own hand. Of course, Knucklotec isn’t going to allow Mario to do this without mounting a defense. Its other hand fires a steady stream of ice blocks at Mario. Steer the fist around the ice while accelerating.
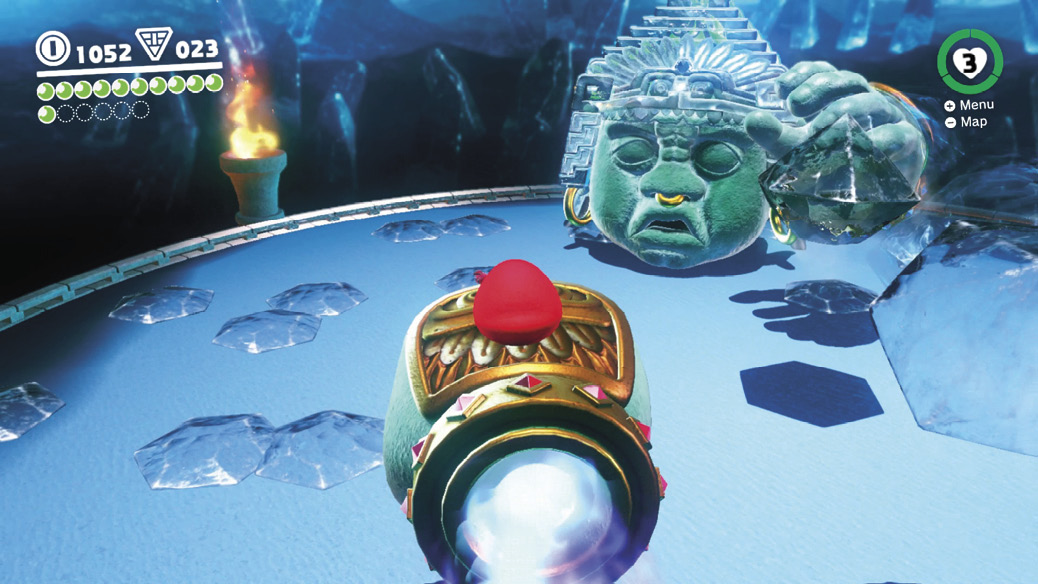
Knucklotec fires its two fists across the arena like massive snow plows. Run perpendicular to their approach and long jump to get out of the way. They then slam the ground as they did upon his entry to the arena, causing another avalanche of icicles to crash down from the ceiling. Stay clear of the shadows as you evade the falling icicles.
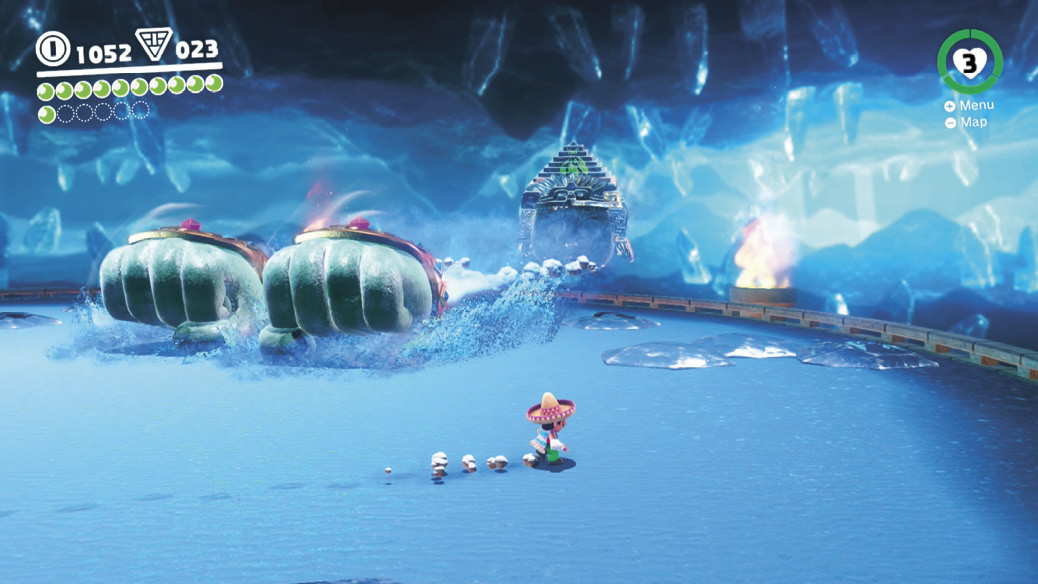
Now it’s time to repeat the process again. Knucklotec’s free hand shifts back and forth in an effort to protect its face each time you capture a fist. Aim for the face, wait for the hand to shift in front of it briefly, then shake the controller for maximum speed as the hand moves aside and punch it in the face.
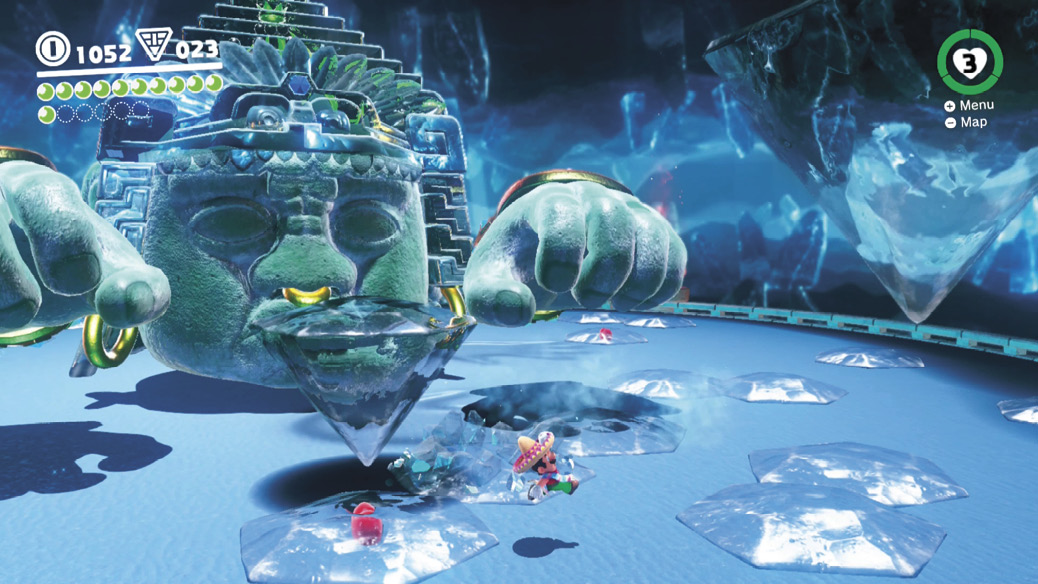
After being hit a second time, Knucklotec tries to crush Mario between two open palms. Linger between the hands as they vibrate, then back somersault or long jump out of the way, before getting crushed. Remember that the only way to stun one of the hands long enough to capture it is to bait it into slamming down atop one of the ice patches. Defeat Knucklotec to gain Power Moon #04, another multi moon.
 Collect More Power Moons!
Mario rid the Sand Kingdom of its winter’s bite, but if you’ve been following along closely, you still need two additional Power Moons before the Odyssey can depart. There are several Power Moons in Tostarena Town that can be found quickly.
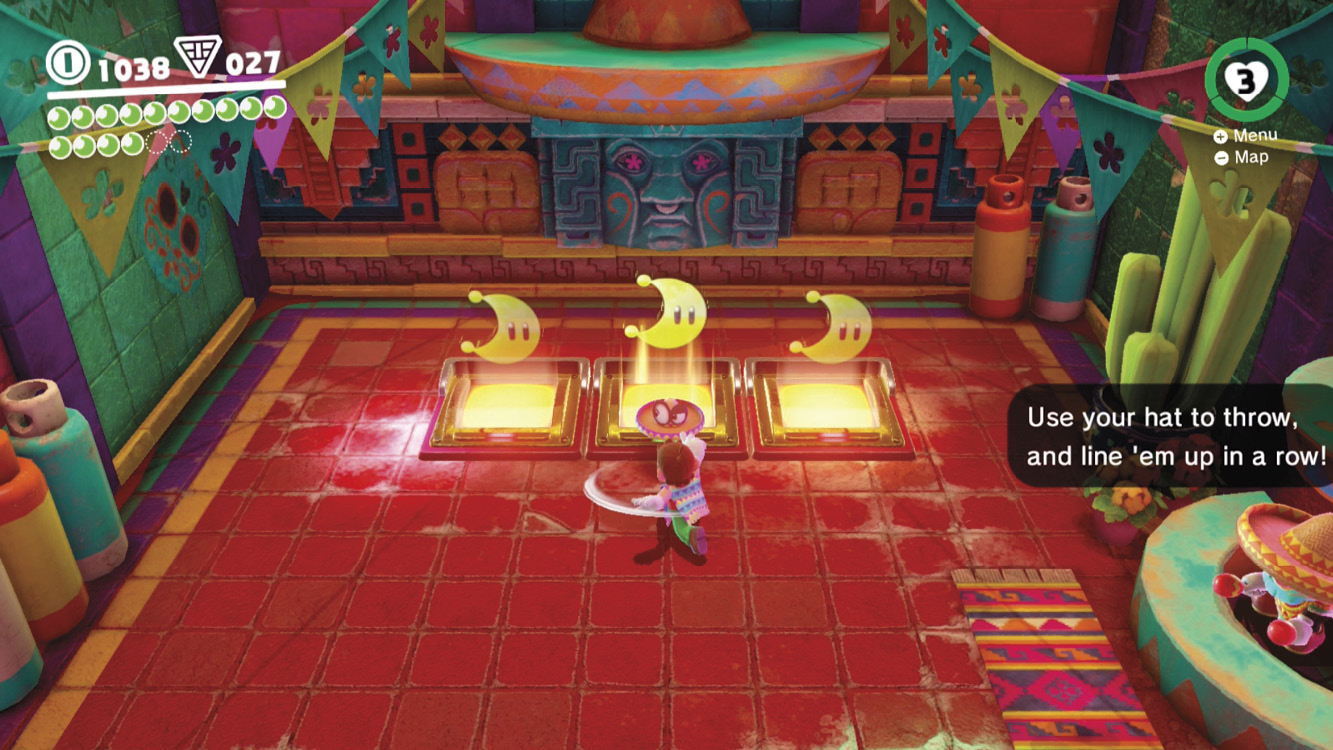
Enter the Slots room near the fountain in Tostarena and pay the attendant 10 coins. Stand a few tiles back from the images and study the pattern. Mario must hit three moons with his hat to get the Power Moon. Throw Cappy straight ahead as soon as the normal heart appears. The timing should work that Mario hits the moon. Match three moons to earn Power Moon #44.
The next easiest Power Moon to get is atop the bell tower, near the Tostarenan dancing to the boombox atop the purple roof. Leap up to the highest point in town to earn Power Moon #05.