
Super Mario Odyssey Guide Bowser’s Kingdom
Power Moon Locations
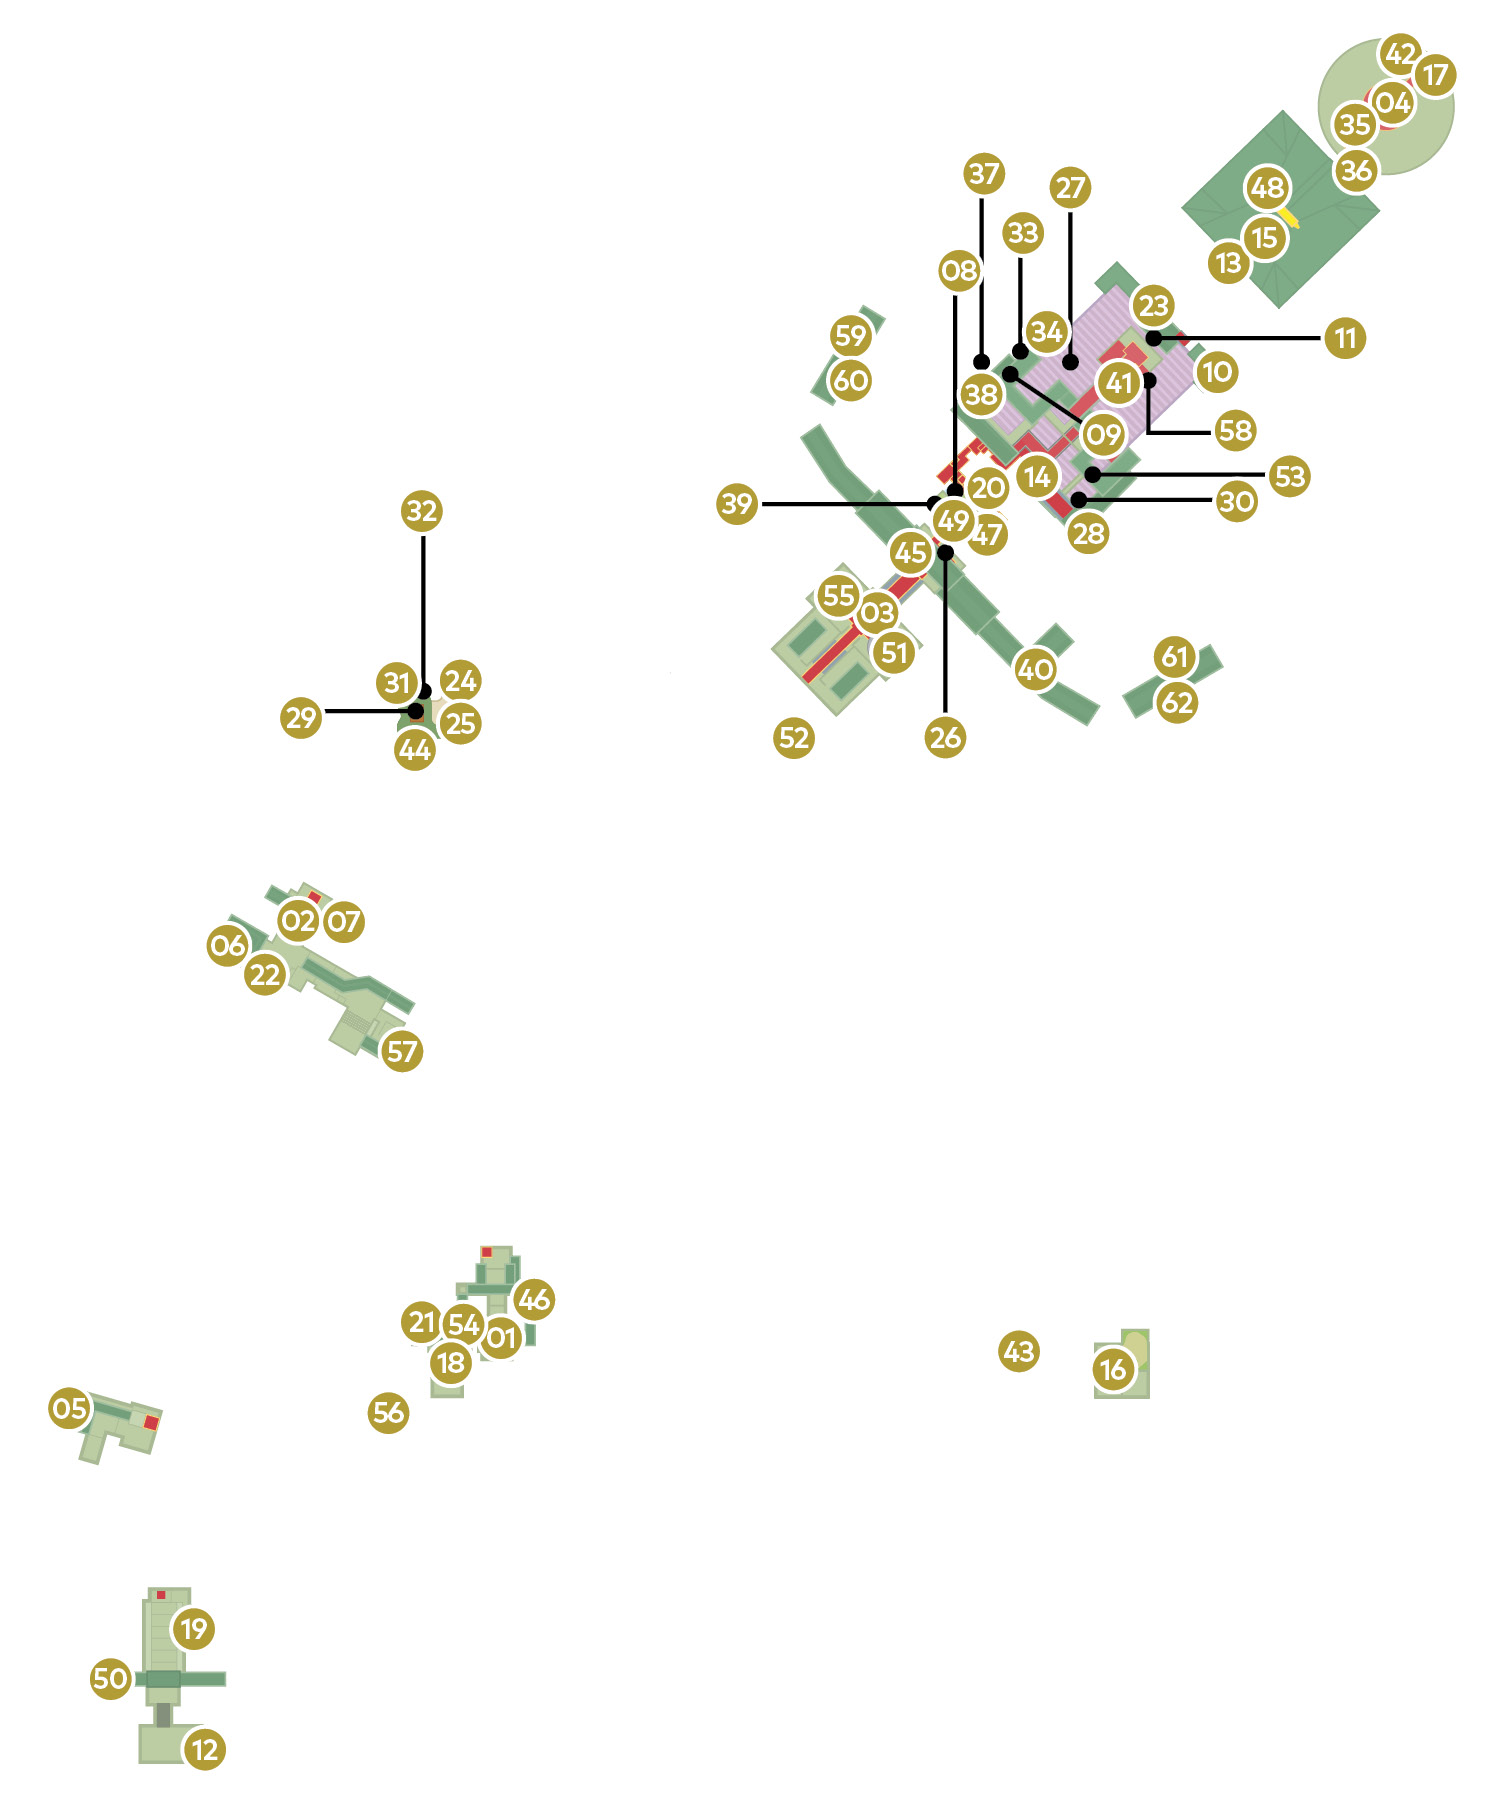
 Power Moons
 Treasure Inside the Turret
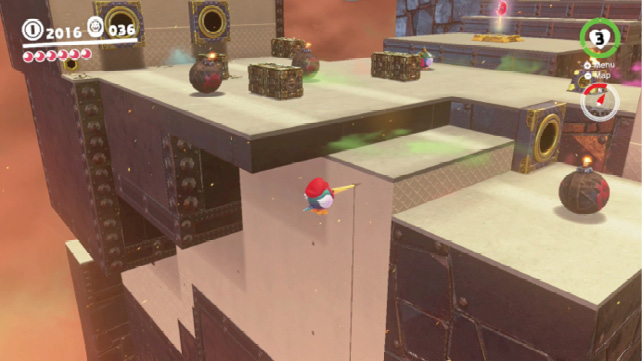
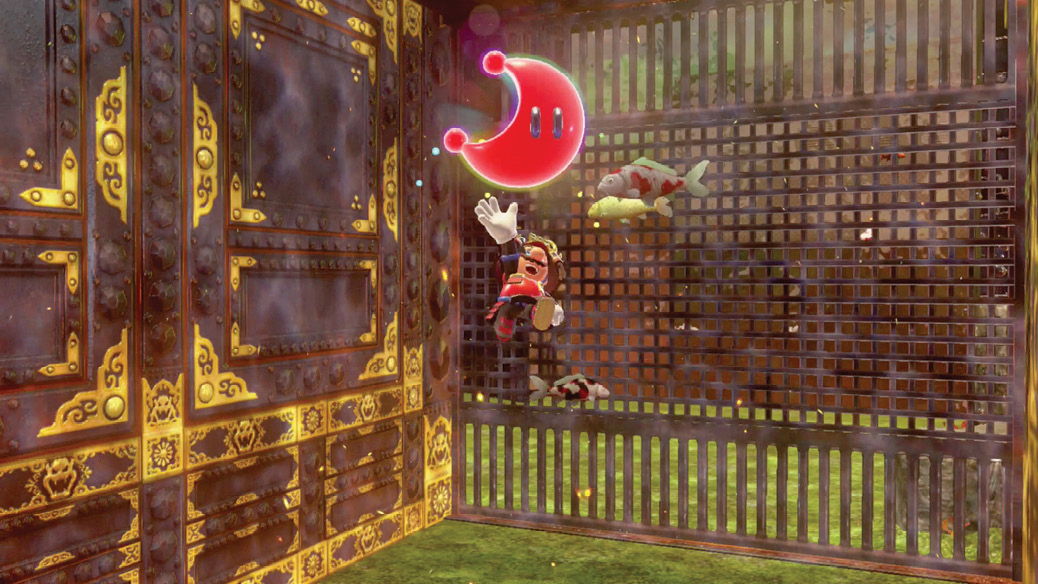
On the Second Courtyard structure, there are a couple of routes into a secret passage along the side. One is to keep an eye out off the left edge for beak-friendly material, which a Pokio could stick to after taking a step of faith off the side.
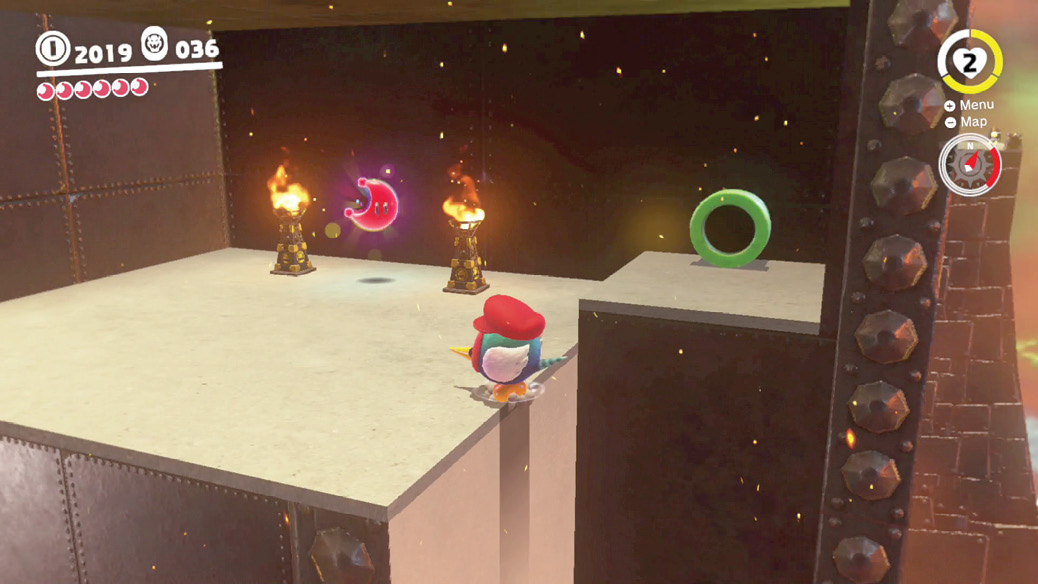
The other way is to climb to the back of the two-turret tower here, then look off the back edge, where a compartment can be seen below. Fall down toward the opening then either (as Pokio) shake the controller to spin-jump into the room, or (as Mario) throw Cappy into the room, then tackle in after him. After collecting the Power Moon, a pipe here can be taken back to the surface.
 From the Side above the Castle Gate
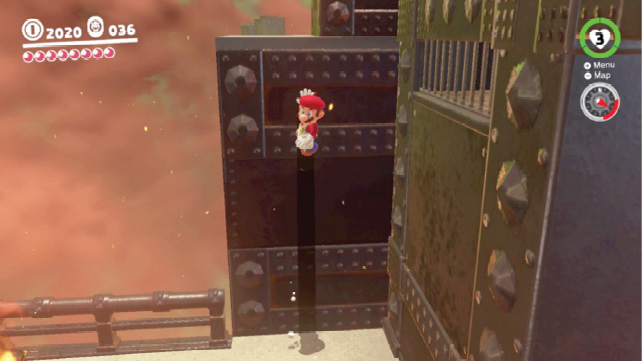
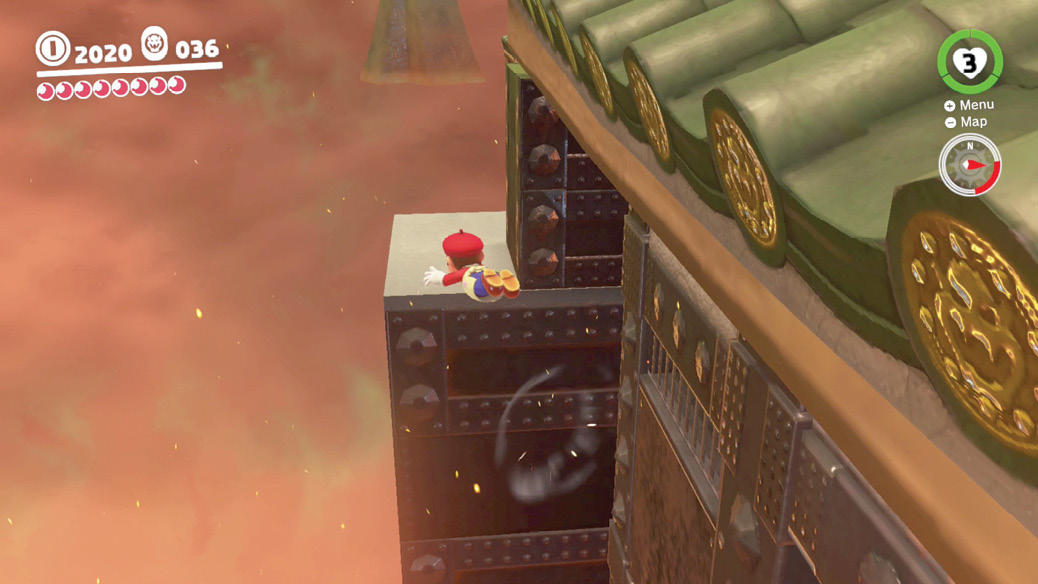
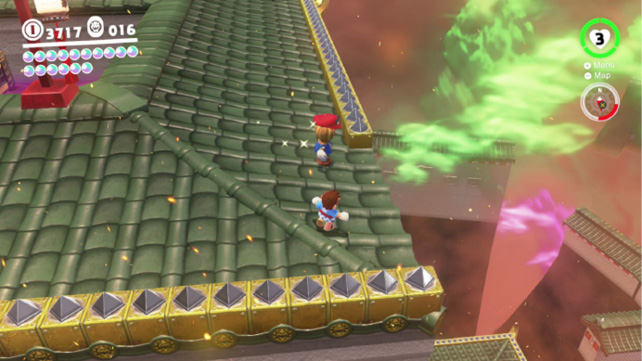
The fastest way to get to this Power Moon location is to instant warp to the souvenir shop, then take the Spark Pylon here back to Second Courtyard. At this far back end of Second Courtyard, a Power Moon can be seen just out of reach on the roof here. To get up there, try out a little trick jump.
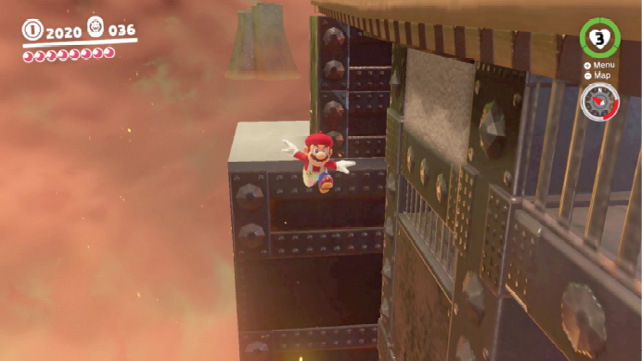
Nail the jump to have the run of the roof. Grab the Power Moon, then explore the roof tier of Second Courtyard for good measure.
 Sunken Treasure in the Moat
Travel to the Main Courtyard, where there’s a small moat guarded by Pokios, and look for the northwest surface of the water. This is next to the Binoculars on the ledge. Dive in and descend, observing three Regional Coins for the taking on the way down. Of course, also very noticeable is the glowing Power Moon down here, hidden in the moat under the platform. Swim to it quickly and collect it to replenish Mario’s air, giving him enough lung power to swim back up and out.
 Past the Moving Wall
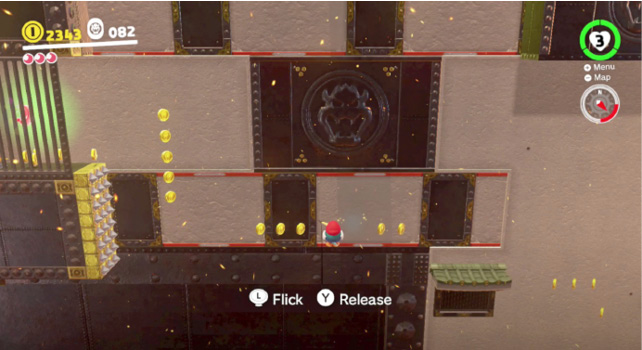
From the northwest corner of the top of Inner Wall, just beneath the Keep, descend a couple tiers, past the Stairface Ogre to the Spinies’ ledge, and peer over the side. A series of conveyors on the wall could only be navigated with the beak of a Pokio. Conveniently, a ledge with a lone Pokio is below around the western corner. Fall down to this ledge and capture the Pokio, then tackle the horizontal wall challenge. You’ll have to successfully flick Pokio from a stationary section of wall to a moving one, then off again before running into a spike strip. Make this movement series, and the Power Moon is just a bit farther to the left, hovering above another Pokio behind bars. Flick in from the side to collect it.
 Above the Poison Swamp
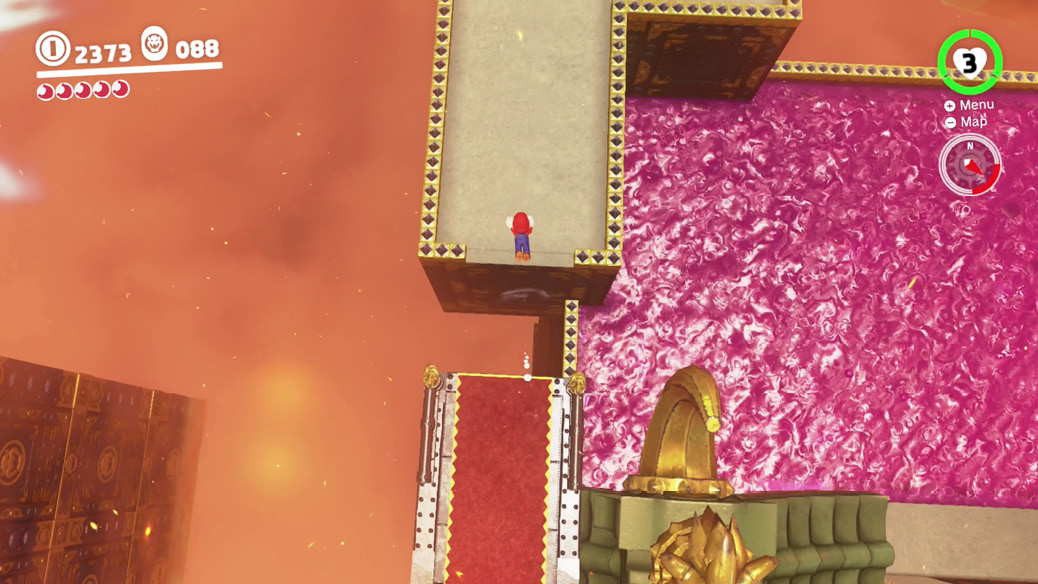
The poison pond adds a strange relaxing character to the roof of the Inner Wall, in the shadow of the looming Keep just above. That’s as long as you don’t fall in. Capture Lakitu and then head to the northwest platform around the pond, to follow a route described in Power Moon #11. Grab that moon by breaking the nice frame, if you haven’t, then look at the east edge of the arch. There’s a clear runway to jump to a platform that overlooks the northeastern edge of the pond. Jump and dive toward that platform and you find this Power Moon here ready for collection.
 Knocking Down the Nice Frame
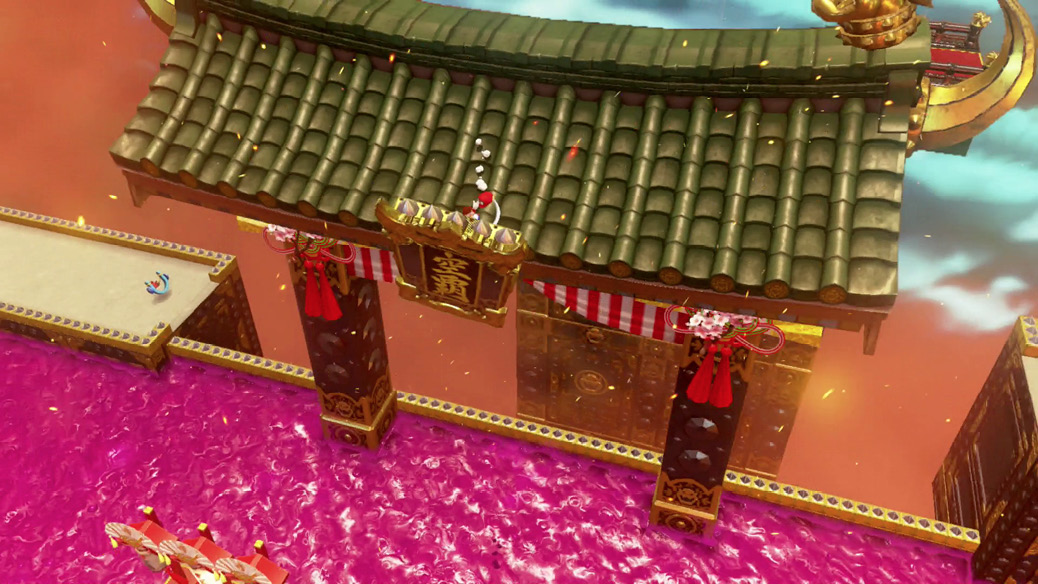
Head to the Beneath the Keep checkpoint flag. Look around the poison pond here for Lakitu, who is a peaceful fisher turtle here despite the setting. Capture Lakitu and float over the swamp to the northwest corner, where a ledge with a Slingshot can be found. Trigger the Slingshot to launch Mario on top of the big arch ahead, where some Regional Coins can be scooped up from the back. In the front, there’s an ornate decorative frame hanging here that the Power Moon’s title issues a pretty clear clue about. Peg the frame hanging up here with a hat throw to knock it off the arch and into the poison, creating a Power Moon for pickup atop the arch!
 Caught on the Iron Fence
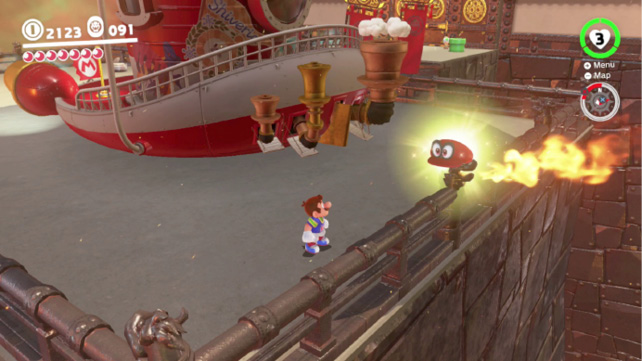
The iron fence caps in much of Bowser’s territory are hideous impressions of the Koopa king’s face. Tossing Cappy onto the vast majority of these merely produces a coin or three, if anything. But one of the fence caps behind the Odyssey is different. Find one that spews fire when Cappy is held on top of the post. That’s a bit unusual. Toss Cappy onto this fence cap and hold him until the Power Moon emerges!
 On the Giant Bowser Statue’s Nose
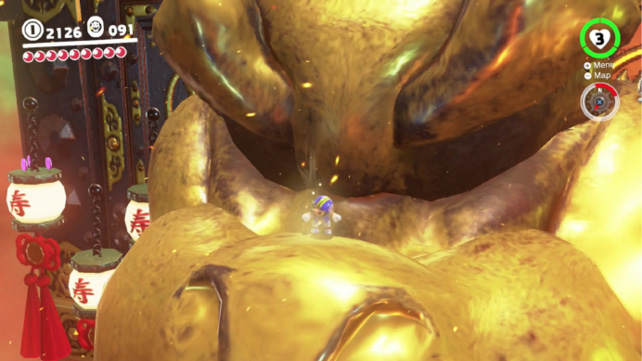
This kind of gives itself away, if you get it as a clue from Talkatoo. One side of the Keep itself sports a huge statue of Bowser, and you can leap from the roof and land here and move around on it. There’s a Spark Pylon to get back, so it’s fine as long as you don’t miss when falling. Hang off the ledge above then just fall, or start a spin near the edge, then spin jump off for a slower descent. Once safely on the statue, just find the glowing spot on Bowser’s nose and smash it with a ground pound. If only it were that easy the rest of the time.
 Inside a Block in the Castle
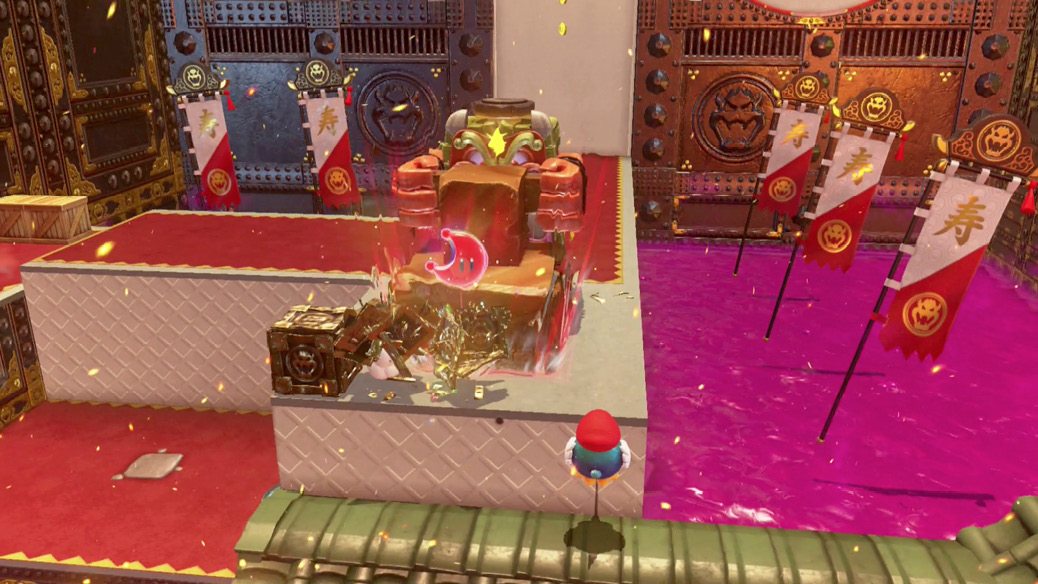
From the Outer Wall checkpoint flag, heading just a bit to the right finds a Stairface Ogre overseeing a path to the climb beyond. The path is cluttered a bit with metal Bowser boxes, the kind Mario can’t break, not even with ground pounds. They can be broken, though, with turret cannonballs or Stairface Ogre smashes. Lure the Ogre to the edge here, where one of the boxes can be seen emitting a rainbow glow, and coax it to bash open the box (preferably getting out of the way while it does so). Metal box or not, there’s no match for the Ogre’s crushing power. The boxes are destroyed but the Power Moon survives.
 Caught Hopping at Bowser’s Castle!
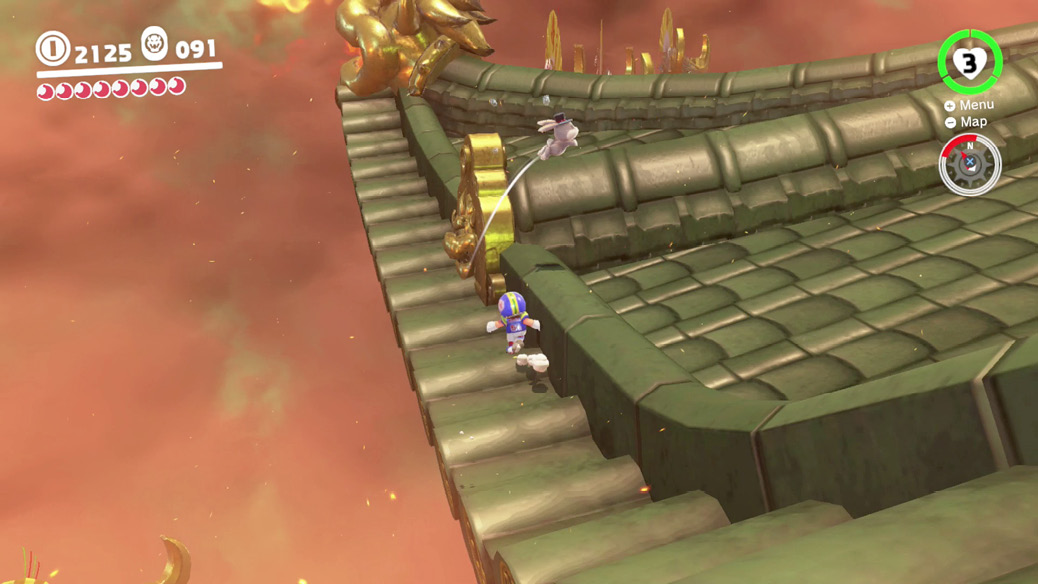
Once the coast is cleared of major baddies, as usual, the mischievous hares emerge. This one scampers along the perimeter of the Keep’s roof itself, taunting Mario as it flees. Head it off at passes by cutting corners, toss Cappy to slow it down when close enough, and use rolling (while shaking the controller) to move much faster if the rabbit flees over a straight, open stretch of roof.
 Exterminate the Ogres!
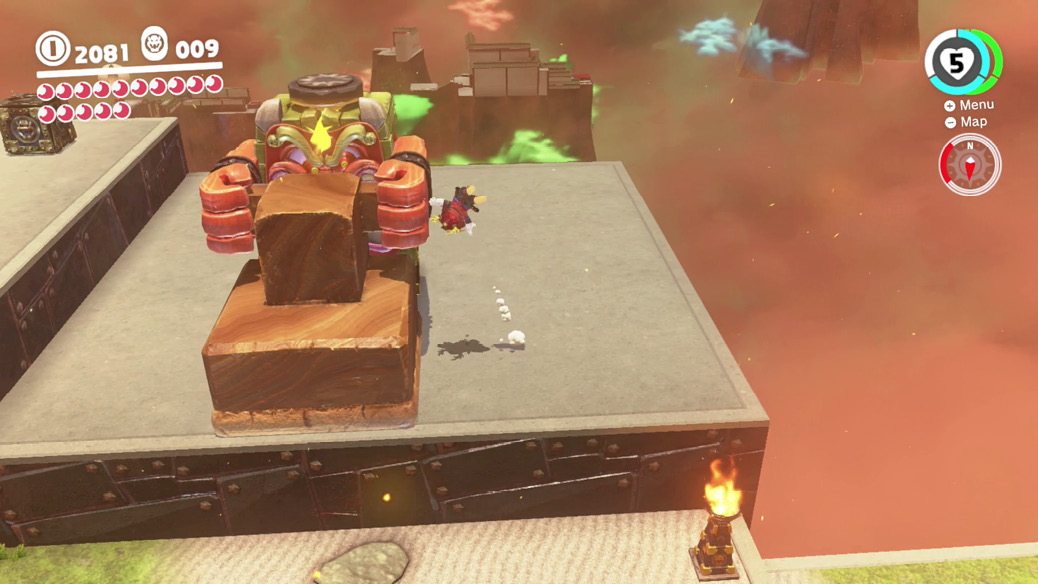
From the Main Courtyard Entrance, mount the roof of the building on the right, above the lone Jizo statue. Here, find another Spark Pylon. Hop aboard to see where the line leads and you’ll end up on a secret structure way off to the side of Bowser’s normal emplacements. This seems to be a Stairface Ogre training ground. Bait these brutes into smashing down their stamps, then climb aboard and ground pound their heads to defeat them. You can simply run back and forth in front of them to bait a missed blow, or you can even run directly at them and cross under between their legs as they attack!
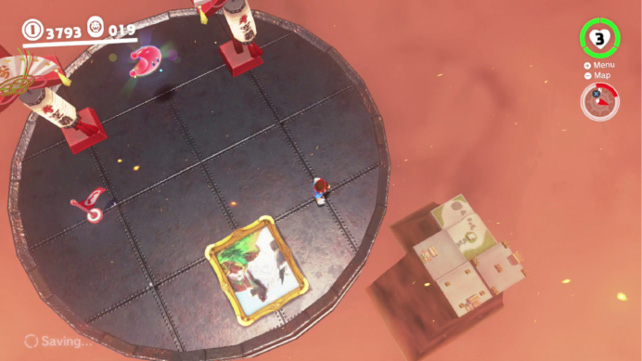
This platform is under (way, way under) the secret platform holding the Island in the Sky checkpoint flag. You can’t go upward from here to there, but you can skydive down from the island to here. The warp painting leading to the secret island above the secret island is found in Cascade Kingdom, but only after finishing the main adventure.
 Bowser’s Kingdom Timer Challenge 1
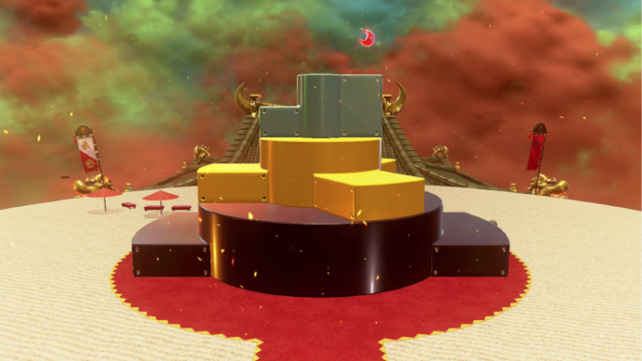
The Showdown Arena is where the RoboBrood boss battle goes down, but now it’s much more relaxing. Register the checkpoint flag for this platform, then flip Cappy onto the scarecrow to start up a Timer Challenge. A Power Moon is held above a series of spinning platforms. Their varied sizes and shapes create a morphing platform challenge to the top as the structure spins. Get a lot of extra height at the start with a triple jump or dive jump to start as far along the platforms as possible, then just keep jumping and climbing as quick as you can.
 Taking Notes: Between Spinies
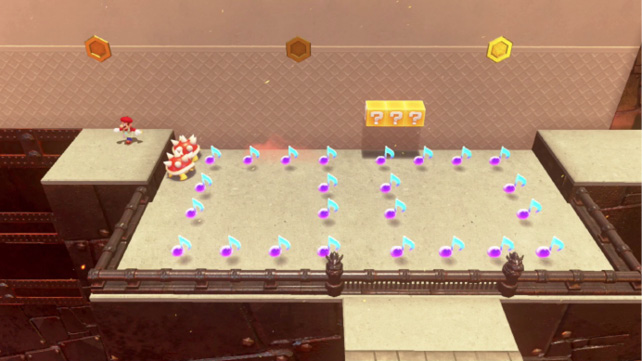
Spinies roam around in a little pen near the checkpoint flag on Third Courtyard (Rear). A song note floats near them, activating a timed note collection challenge if touched. The notes are among the Spinies, who can’t be killed, since there’s no ledge to knock them off of. While watching out for the Spinies, touch the note and hop into the middle of all the timed notes. Spin throw, which hands a lot of coin-collecting/Spiny-deflecting work to Cappy, then run around to collect straggler notes.
 Hidden Corridor Under the Floor
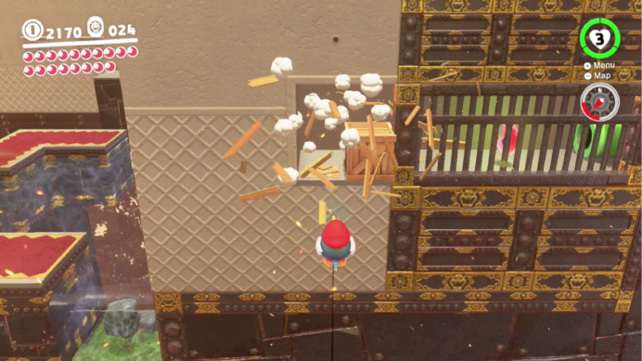
The Pokio climb begins just beyond the Main Courtyard gate, heading up sheer walls easily navigated thanks to the small bird’s beak. The first sheer wall to climb has a secret just around the back side of the platform. After climbing up the first wall from the moat, fall off the back side of the Spiny ledge here and stick into the wall with Pokio’s beak. Here you can see a Power Moon behind bars. There’s an opening to get behind the bars but it’s blocked by four breakable crates. Fall past the crates, stick them with Pokio’s beak to shatter them, then immediately stick Pokio’s beak into the wall under the gap to keep from plunging into the abyss. Now, flick up into the opening left by the broken crates and get the Power Moon. The pipe here spits Mario out up top, by the turret.
 Poking Your Nose in the Plaster Wall
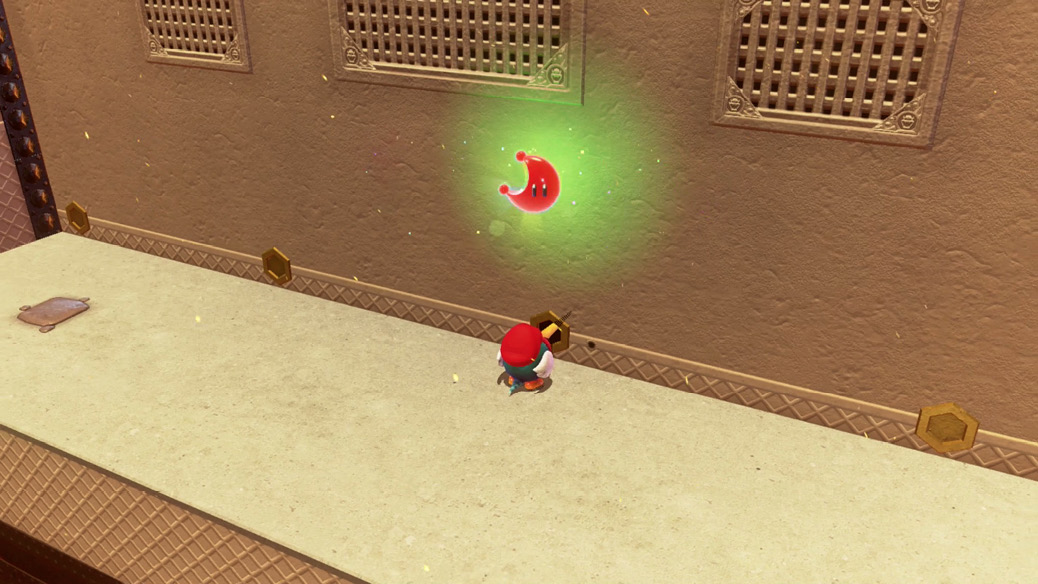
Third Courtyard (Rear) has a ledge on its backside that can only be accessed by dropping down from the roof. There’s a Pokio to capture here, and some coins to collect. Conspicuously, there’s an opening in one of the fort’s archer ports. Almost all of them are plugged up, but not this one. Poke Pokio’s beak in there to force out a hidden Power Moon.
 Poking the Turret Wall
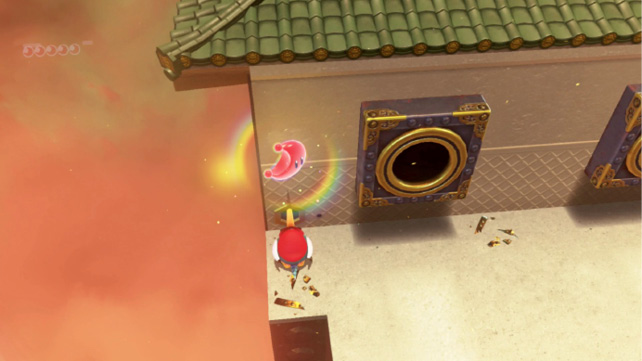
Take the instant warp to the Second Courtyard checkpoint flag, then grab a Pokio friend and head over to the main cannonball corridor, where two turrets sit side by side. Poke their cannonballs past the left turret, at the boxes just before the edge of the platform. Blow these away, then look behind them to find another opened archer port, which is a perfect match for Pokio’s beak, good for one Power Moon.
 Poking Your Nose by the Great Gate
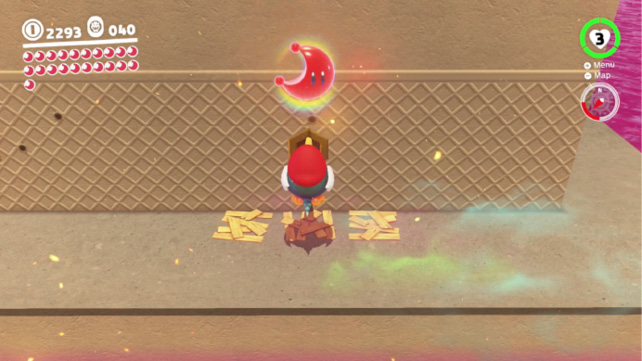
More open archer ports can be found on the backside of the Spark Pylon platform leading on to Bowser’s Keep. Instant warp to the Inner Wall checkpoint flag, capture a Pokio, then flick up the conveyor belt wall. You can’t just warp to the Beneath the Keep flag for a quick trip, because you need to be able to beak-poke with a captured Pokio. Saunter behind the platform to find the two opened ports, plus a couple of Spinies. Poke the Spinies, inspect the left port with the beak for some coins, then inspect the right port with the beak for a Power Moon.
 Jizo All in a Row
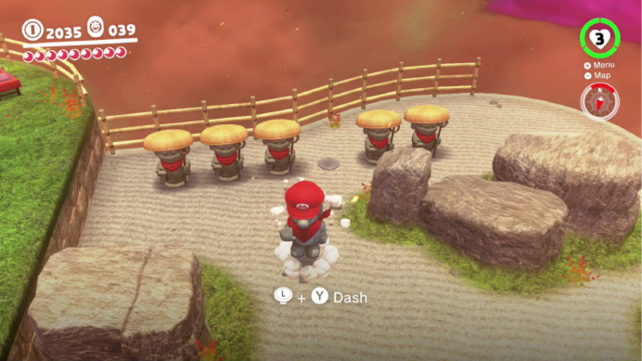
There are interesting capturable statues found on the souvenir shop island, which can be quickly accessed with Souvenir Shop checkpoint flag warp. These Jizo statues are heavy and inflexible stone, so they can’t really do anything besides bounce around heavily, which is how they get around. Capture a Jizo near the shop, then look to see if there’s anywhere else here it might be comfortable. In the little stone garden adjacent the shop here, find a gap in a long row of Jizo statues and park there for a Power Moon.
 Underground Jizo
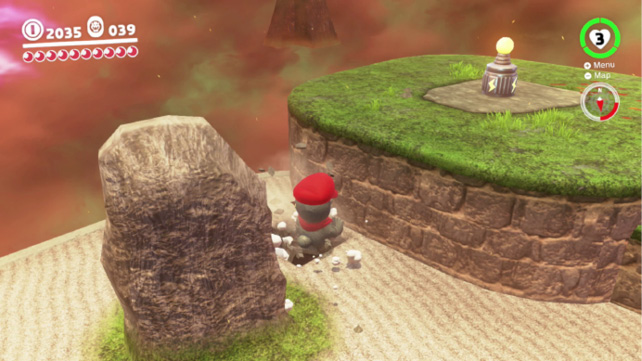
Capture one of the souvenir shop Jizo statues, then clomp heavily into the stone garden. If you look around for anything odd, you’re likely to literally stumble into it, in the form of a suspicious section of sandy ground that clearly can’t support the weight of a Jizo statue. Hop onto the sandy depressed square to push down into a hidden underground chamber where even more Jizo statues are lined up. Hop over to the gap in this line and hop in with this statue for another Power Moon.
 Found Behind Bars!
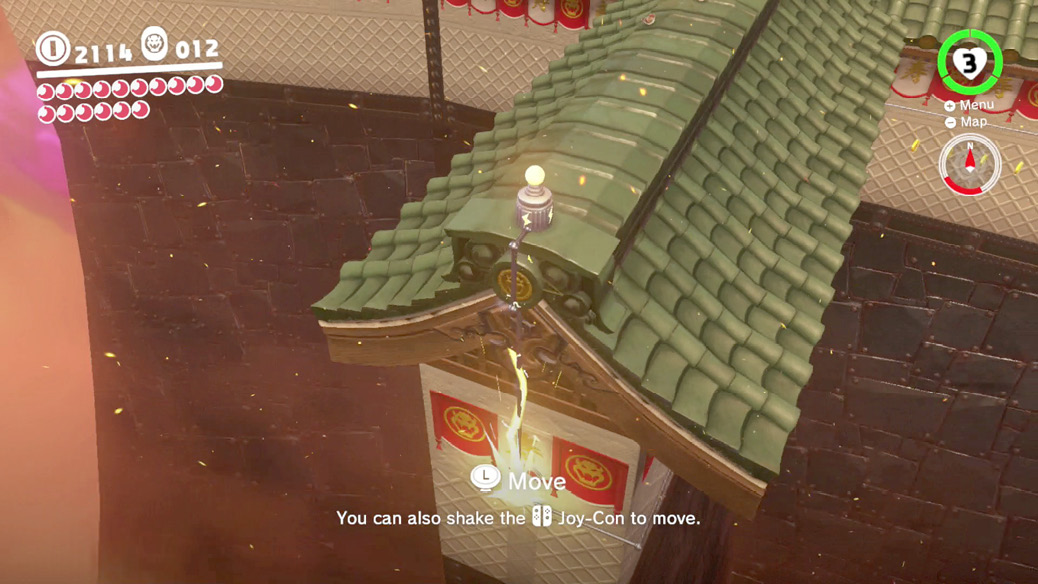
Warp to the Main Courtyard and jump up onto the long roof running northwest to southeast. Run along the roof to the southeast, looking for an outcropping extending off the left side. On the end of this is a Spark Pylon. The line from this Pylon tucks back down along the side of the great wall toward a fortified room hidden just above the Main Courtyard main gate.
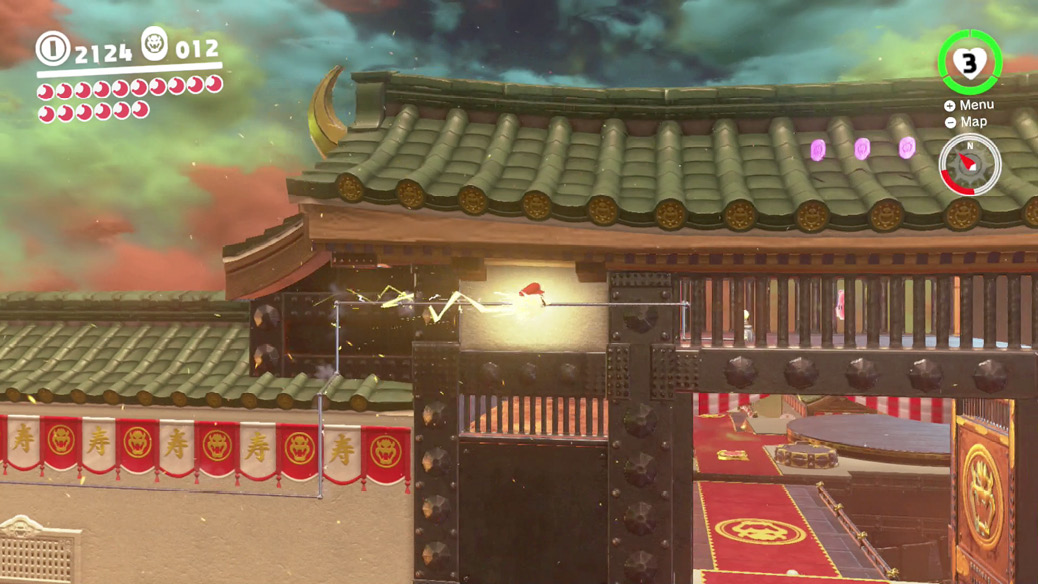
The Power Moon is stashed in this room, and the Spark Pylon provides a way in through the tight bars. After collecting the moon, use the Spark Pylon in here to move back out of the room and along the wall back down the southeast wing.
 Fishing(?) in Bowser’s Castle
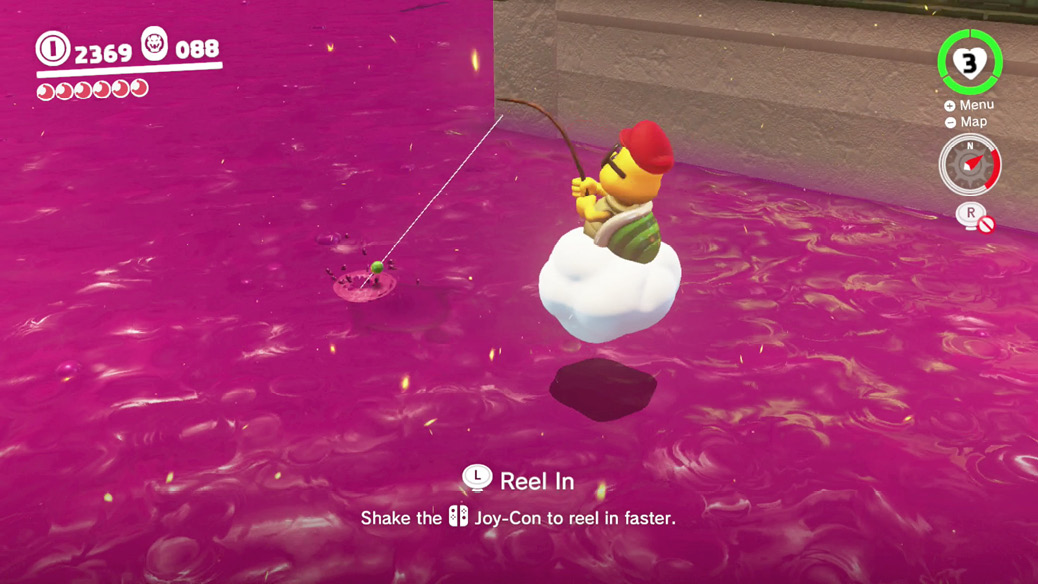
Instant warp to the Beneath the Keep checkpoint flag then head east to find a fishing Lakitu. Capture him and float to the northwest corner of the poison pond, being sure to fly through the Regional Coins that hover under the bridge on the way. At the northwest corner, lower the reel and carefully cast about for the biggest shadow under the toxic waves. When you get a nibble, shake upward quickly or press the Cap Throw button to attempt to start reeling in the bite. If successful, you’ll have to close the deal by tugging on the analog stick. Succeed here, and you’ll get a Power Moon, but not from a fish, exactly…
 Good to See You, Captain Toad!
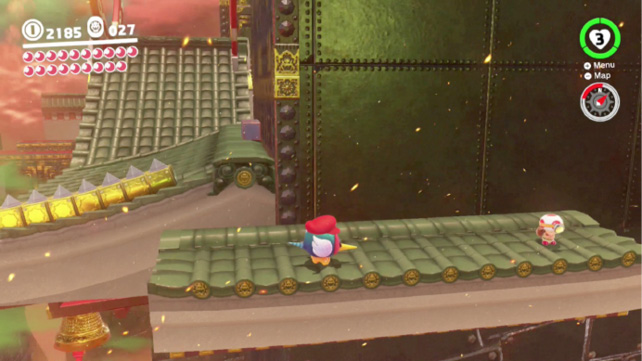
Instant warp to the Outer Wall checkpoint, then head along the edge of the roof to the southeast, sticking to the green tiles. At the southeast edge of this roof tier, a gap can be found that leads down to a small ledge finished with roof tiles that wraps around the corner a bit. Captain Toad has made it all the way out here, on this remote ledge. Greet him (not while controlling Pokio, or he’ll just be frightened!) for a Power Moon.
 Shopping at Bowser’s Castle
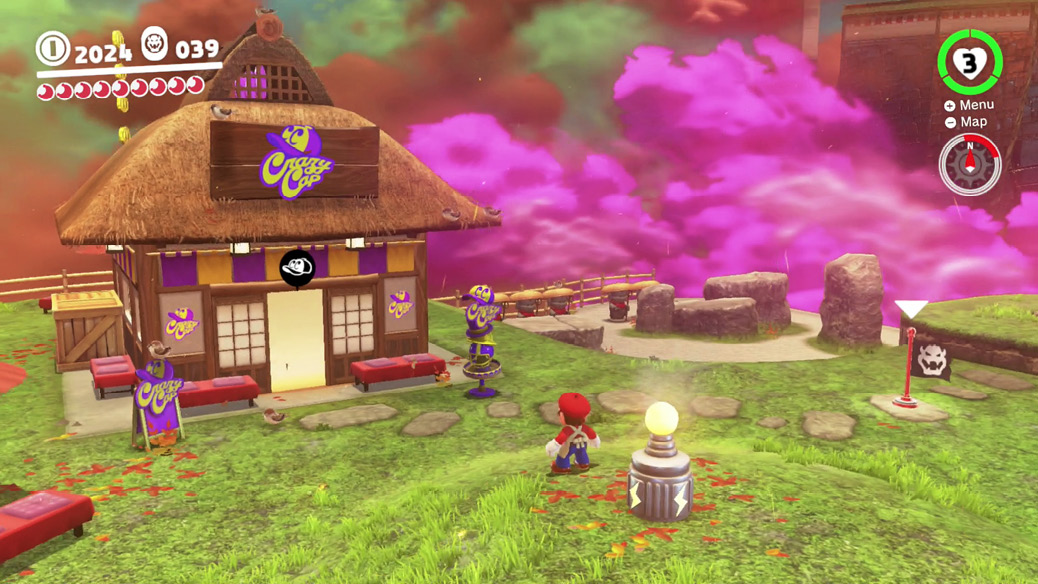
Crazy Cap’s has its own island here among Bowser’s sky forts. For 100 coins, a unique Power Moon can be purchased here. Look over the outfits, too.
 Bowser’s Castle Treasure Vault
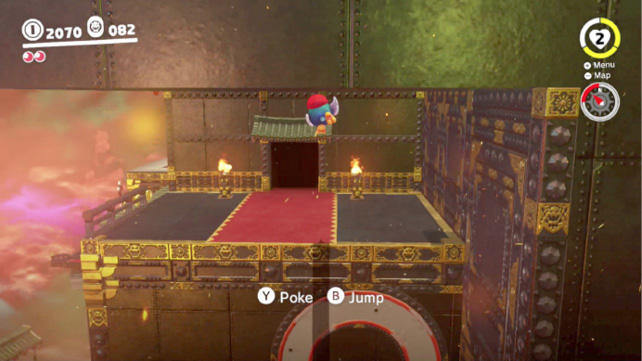
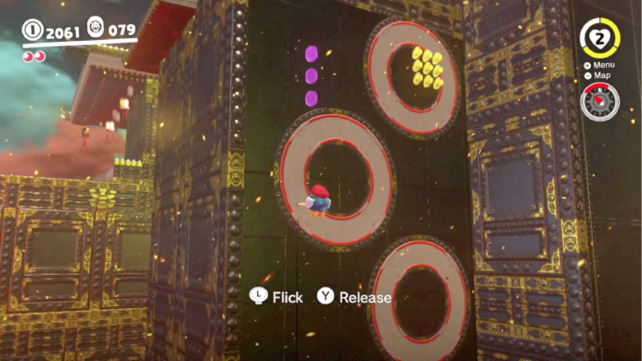
Several tiers of roof on Bowser’s biggest structure aren’t really fully accessible until the local bosses are chased off. Starting from the pipe exit from the Odyssey to just beneath the Keep, descend a couple levels along the northwest side of the multi-tier building, down to the roof level with a swarm of Spinies and a beanstalk planter. Run all the way around the edge of this ledge to find a Slingshot installed on the end, pointed toward the opposite wing of this level. Hat toss onto the Slingshot to launch across the gap, then capture a Pokio here and wrap around to the southeast along the green tiles. On the wall, you’ll find a more challenging rendition of the circular dial climb, with skinny portions of beak-friendly material spinning around a wall of steel. Ascend the wall with the help of a Pokio and venture inside the room found at the top. Inside, piles of coins, and a Power Moon inside a treasure chest.
 Scene of Crossing the Poison Swamp
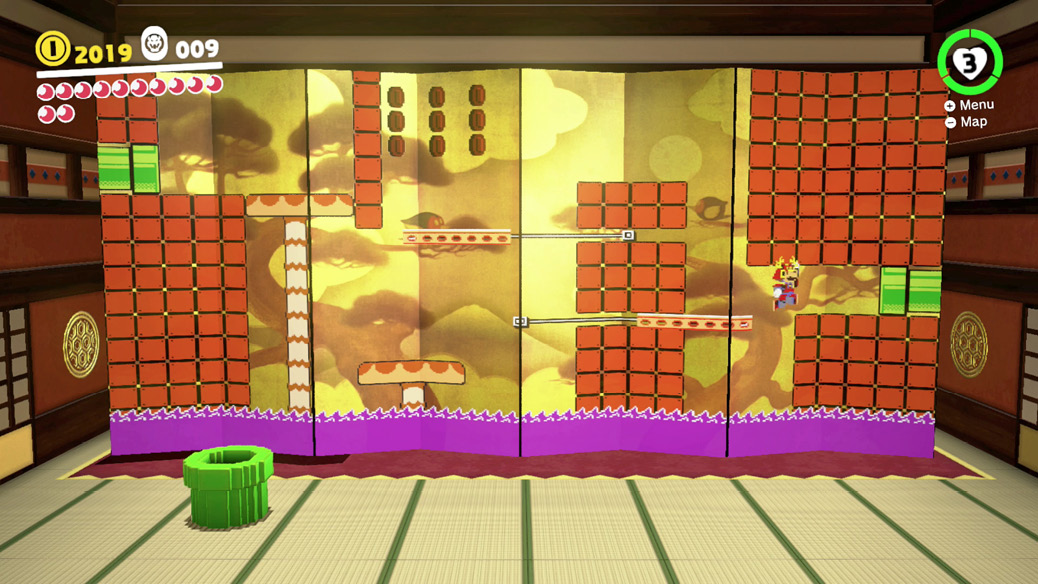
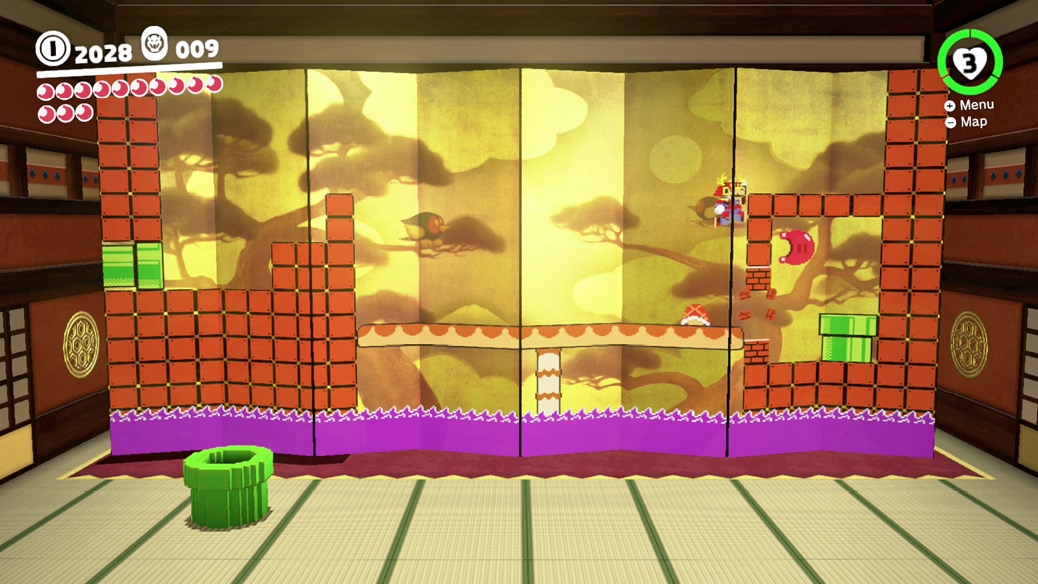
With the Samurai Armor and Helmet on, the New Donker wearing his own Samurai Helmet behind the souvenir shop lets Mario into a very special challenge room. Hop into the pipe in this room to be transported into a folding screen that closes itself then reopens into a new stage design each time you successfully cross from left to right. Make it to the last folding screen stage to find a 2D Power Moon.
 Taking Notes: In the Folding Screen
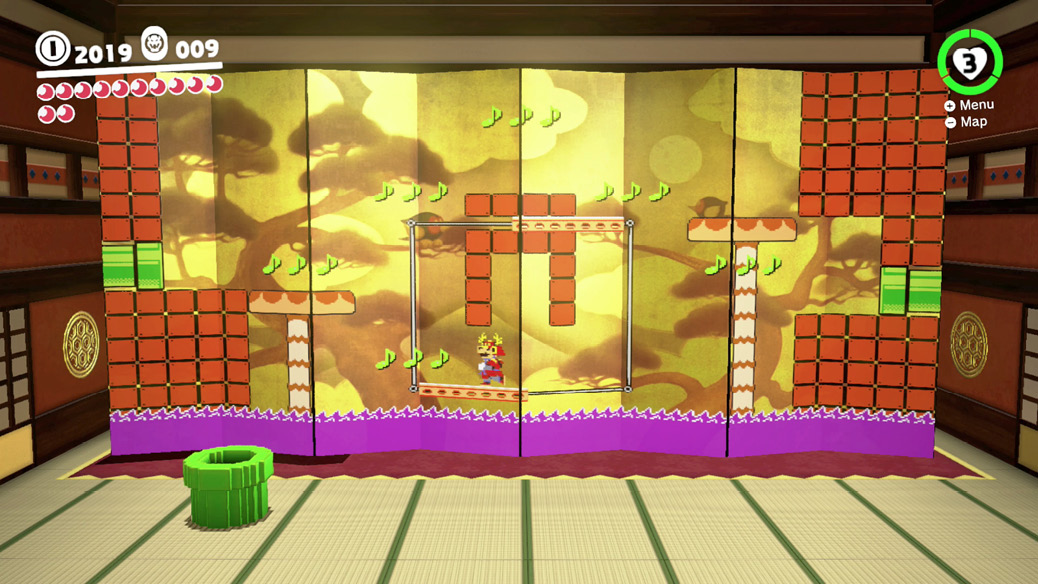
Inside the New Donker’s whimsical 2D folding screen, one of the folding stages has a music note hovering by itself under a platform, so the only way to get at it is to ride a platform underneath. Do so, then jump up and touch the note while passing by. Several more notes now appear all over the little stage, but all along the path of the platform you had to ride to get at the song note to begin with. Quickly scoop up music notes along the way and stick with the platform for sure footing and the bonus 2D Power Moon is yours.
 On Top of the Spinning Tower
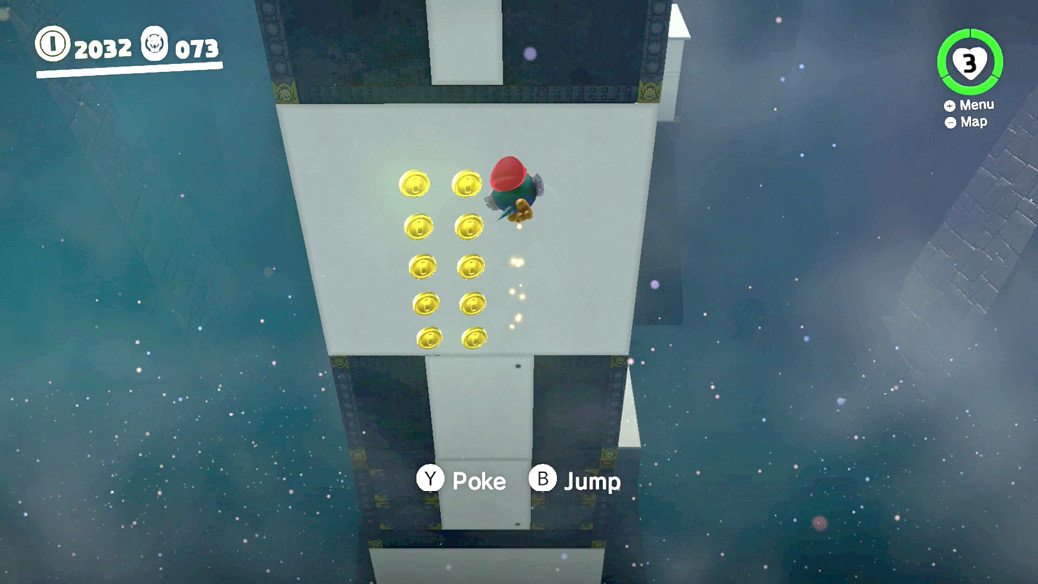
The big ceremonial door to this challenge area is opened by defeating the Stairface Ogre just outside, who patrols along a thin strip of land around a poison moat. Inside, a dizzying tower reaches upward, with sections spinning in opposite directions. Portions of the walls are beak-friendly for Pokio climbing, so you have to poke walls for a firm starting point, then flick upward to higher terrain, poking again to stop yourself from losing height. At the top section, use a controller-shake flick for extra speed and height when threading the needle through the moving vertical shafts. At the top, collect the Power Moon before exiting.
 Down and Up the Spinning Tower
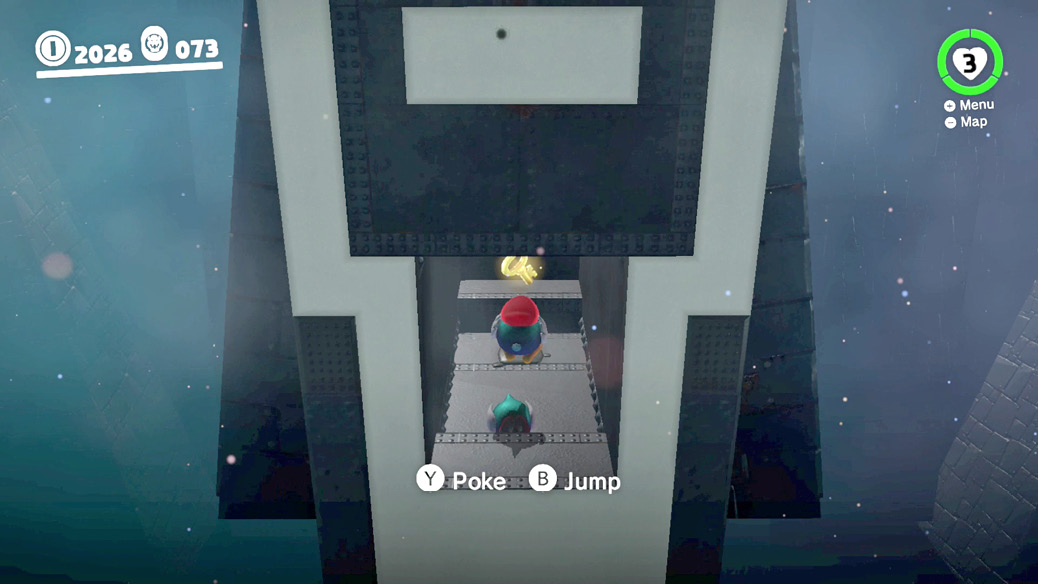
The spinning Pokio-friendly tower has a secret near the bottom. Carefully move downward along poke-friendly sections of wall on the backside to see a compartment. Fall toward this compartment and shake-spin to guide the Pokio into the little room, probably squashing the Pokio who’s already in here upon entry. Grab the Key hovering in the back of this secret room to make a bonus Power Moon pop out of the Lock on the top of the tower. Carefully exit the little room, getting a beak-hold on the wall outside, before flicking up the tower as normal to collect the moons.
 Jizo’s Big Adventure
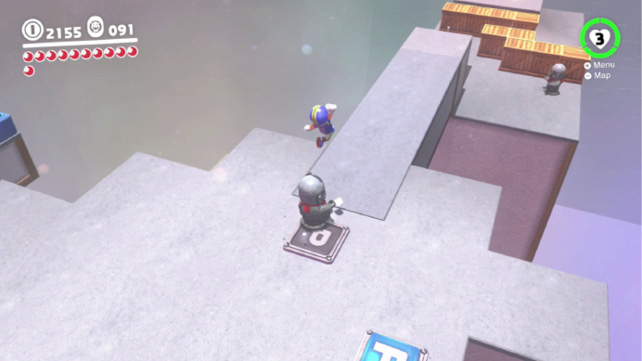
You’ll find the pipe into this room on Showdown Arena after knocking out the Broodals. Dive in to find spike tiles that alternate between being safe and unsafe to stand on, P-Switches that only register when weight stays upon them, and several Jizo status to maneuver.
The first Jizo is poised upon some spikes. Capture it and hop forward onto the left or right P-Switch ahead. These activate bridges to platforms off to the side where more Jizo statues can be acquired. More statues equal more switch-pushing power. To the left, capture the Jizo statue on this platform and then hop onto the cracked spot on the ground. The weight buckles several platforms under the statue, until it hits the bottom. A P-Switch here lowers the elevator that returns to the surface, and that allows this Jizo statue to cross the bridge and join the first Jizo statue in the center.
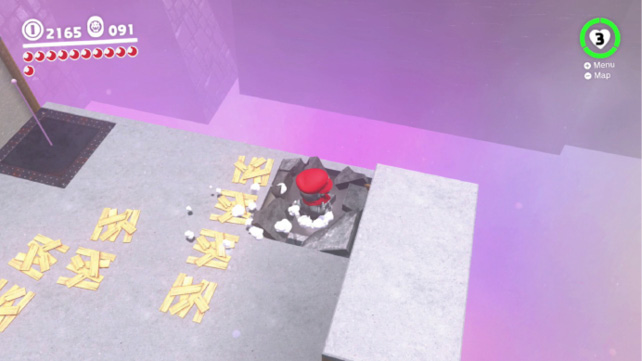
Park this Jizo statue on the right P-Switch in the middle and cross the on/off spikes to the next statue. Control it and hop carefully back over the moving spike platforms.
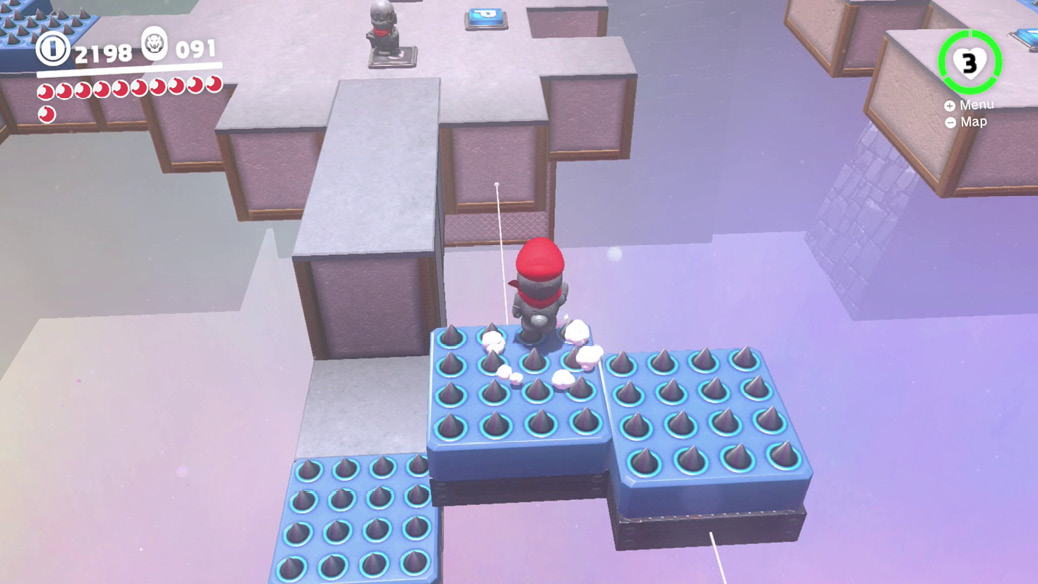
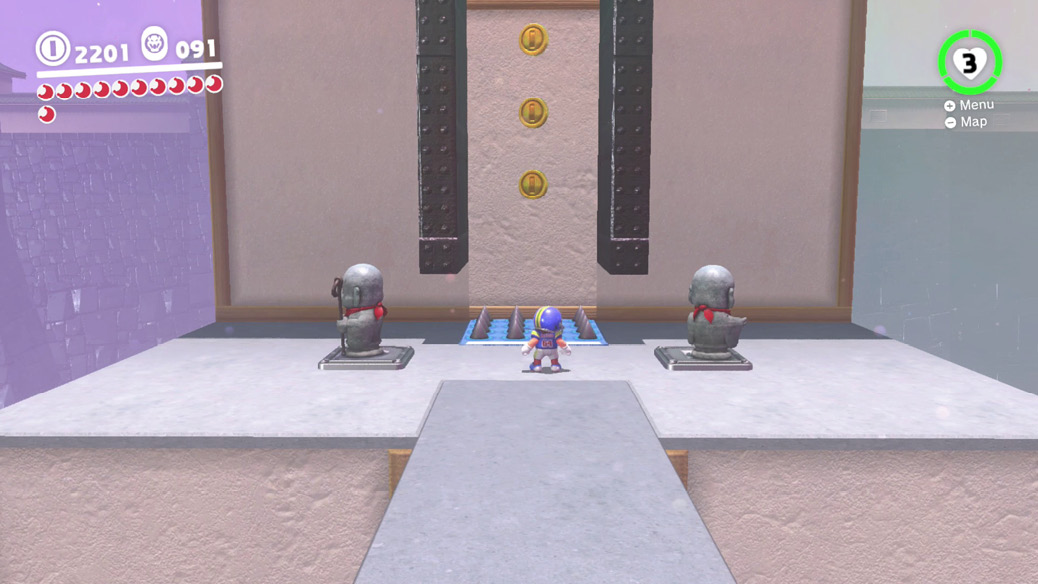
With three Jizo statues in the center, you have enough stone weight power to solve the room. Moving the new Jizo statue onto the forward P-Switch reveals a bridge ahead to two more P-Switches next to a blank wall. Drive the left and right Jizos off their P-Switches and onto these new buttons. Two vertical shafts are revealed, the perfect channel to wall jump back and forth to the top, where the Power Moon awaits.
 Jizo and the Hidden Room
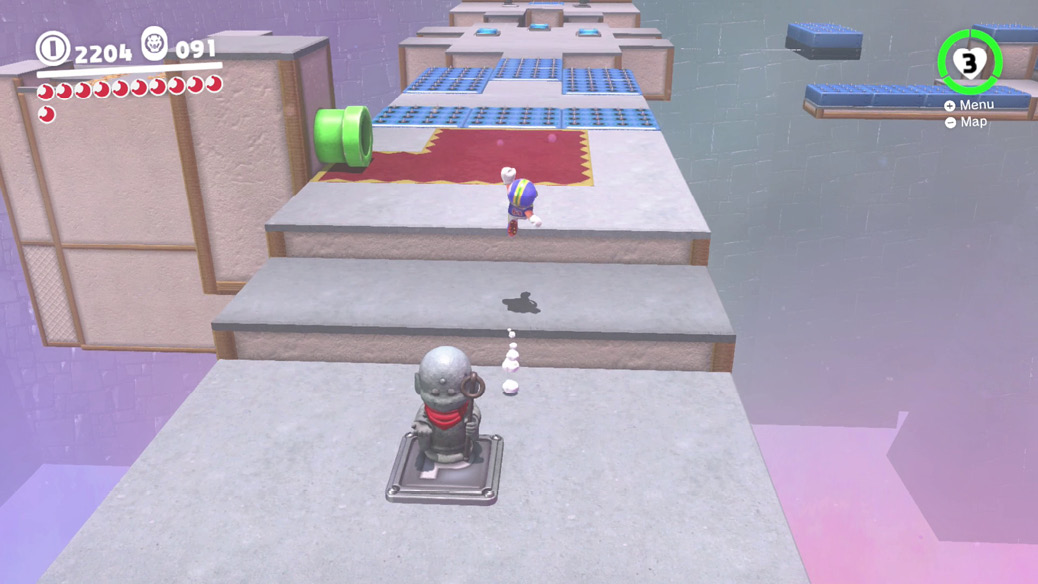
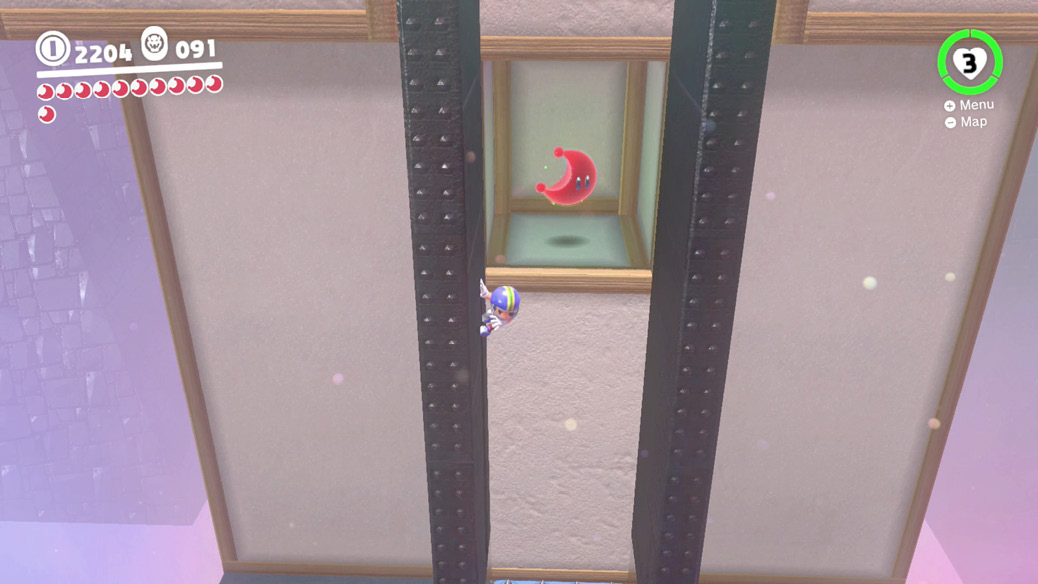
Complete all the steps for Power Moon #35, creating a wall jump channel up to the last platform. (You’ll still have to do it all over again even if you already got that moon on a prior visit.) Now, move the Jizo statue enabling the bridge to the final two P-Switches back to near the entry pipe. Here, there’s a lone P-Switch, which opens a special compartment most of the way up the final vertical wall. Park the Jizo statue on this switch, then head back to the vertical channel.
You’ll have to jump across without the Jizo statue creating the bridge to the end now, but the distance is no problem with a triple jump or dive jump. Wall jump up the vertical channel to find an extra Power Moon hidden in the new compartment.
 Dashing Above the Clouds
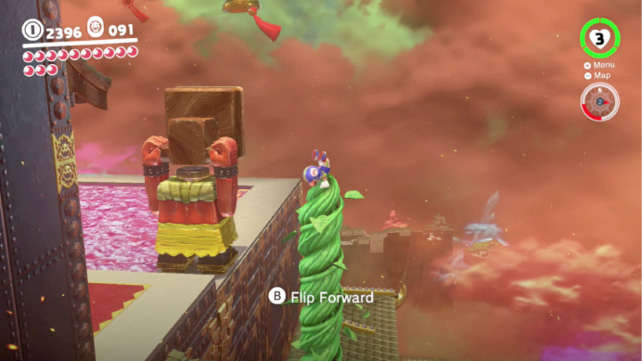
Plant the beanstalk seed on the Spiny-covered rooftop (on the northwest side of the Inner Wall) and ride it up into the sky to tackle this challenge area.
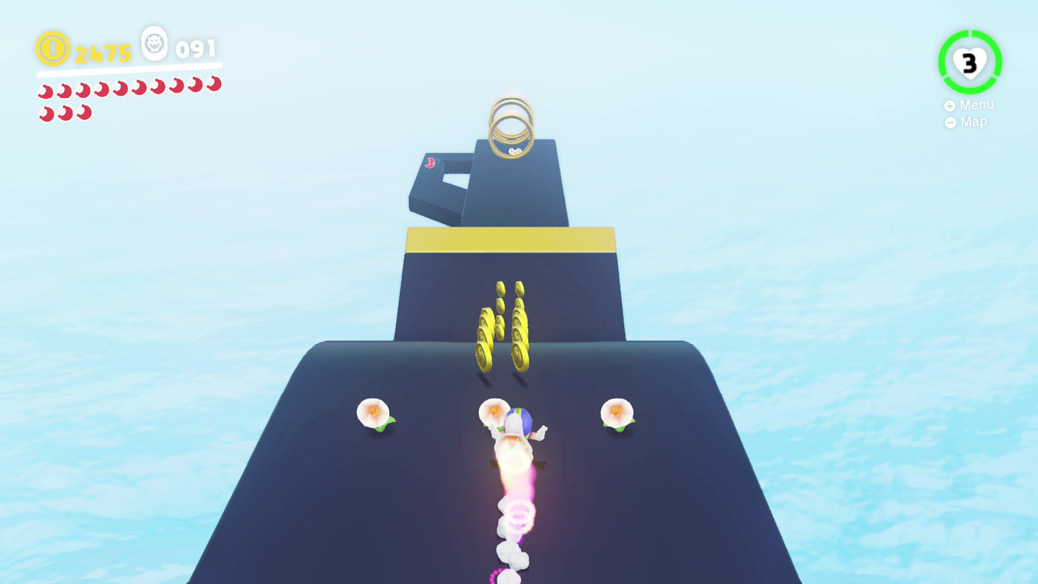
In the clouds, hat throw forward to collect three Rocket Flowers immediately, then hold onto your socks. This is a rocket rollercoaster in the sky, where you’ve got to stay on the track and collect more Rocket Flowers along the way to keep up speed. Any coins or coin rings you collect are a bonus. Make it all the way to the end, nailing the final long jump onto the Power Moon platform, to collect the moon, just before plunging back down through the clouds.
 Dashing Through the Clouds
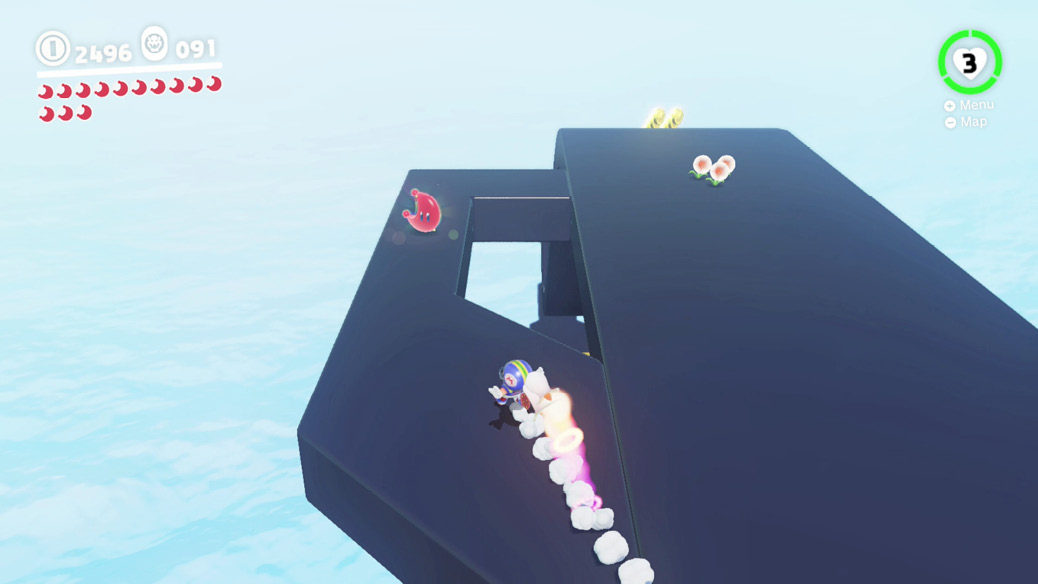
During the Rocket Flower-fueled sprint in the sky, an extra Power Moon is tucked on the left side of the path, just after a big jump. It’s easy to see where—the piece of land leading to the Power Moon is conspicuously skinny. Think of this like trying to veer into a pitstop at full speed. Land off the previous jump and immediately angle left on the course, toward the little offshoot and Power Moon. Of course, be ready to veer to the right, back onto the course proper.
 Sphynx Over Bowser’s Castle
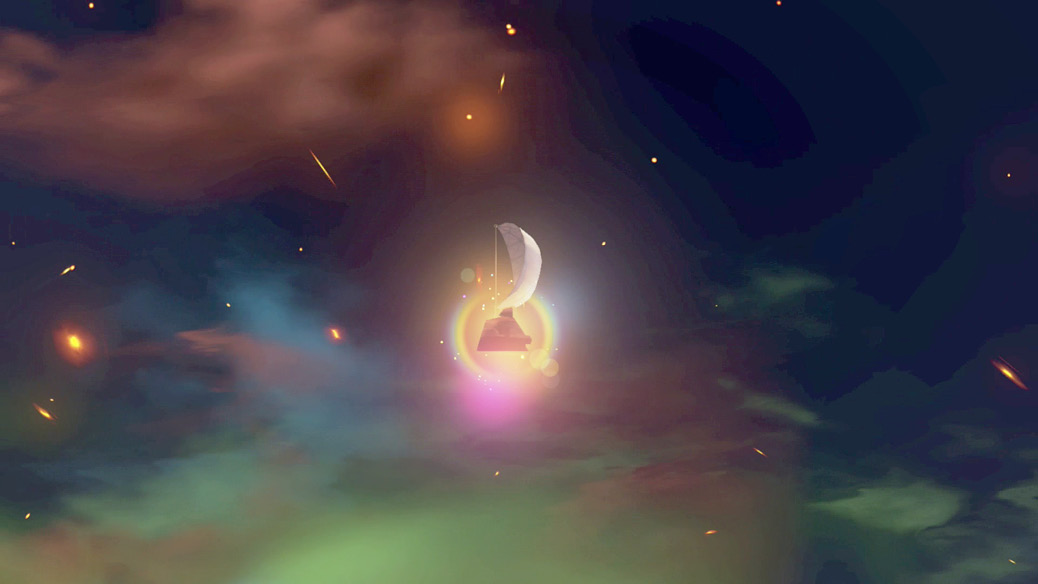
Just beyond the Main Courtyard checkpoint flag, inside the gate, a pair of Binoculars can be found on a stone ledge on the left, out of the reach of the Pokio guards here. These Binoculars are in prime position to see a rare sight: the Sphynx traveling between kingdoms with a balloon of its own! Scan the skies carefully from this Binocular position, zooming in and fixing your gaze on the Sphynx once it’s spotted. Keep your view focused on it long enough to produce a Power Moon as reward. Good eye!
 I Met a Pokio!
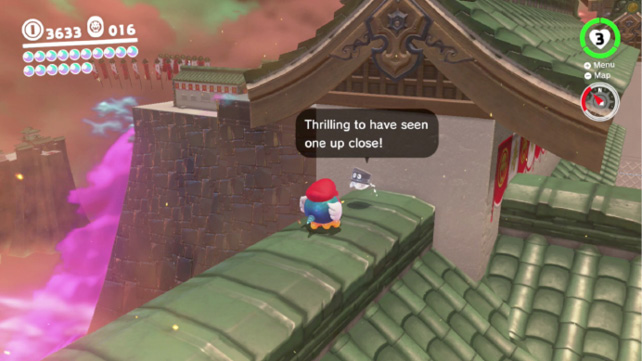
Once the main adventure is resolved and citizens are freer to travel as they please between kingdoms, a curious Bonneter is found on the southern stretch of the Main Courtyard’s lengthy wall. The little ghost is curious about the local Pokios. Capture one and bring it here to satisfy the Bonneter’s scientific curiosity, earning Mario a moon in the process.
 Bowser’s Kingdom Regular Cup
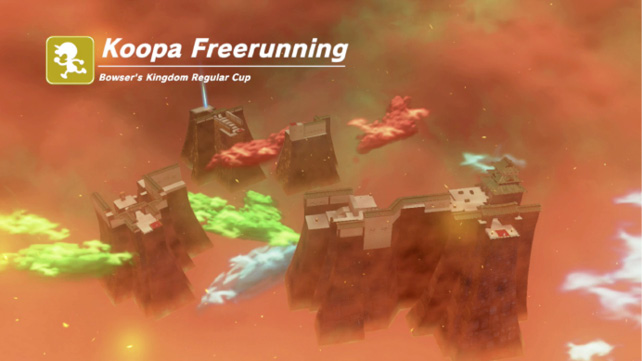
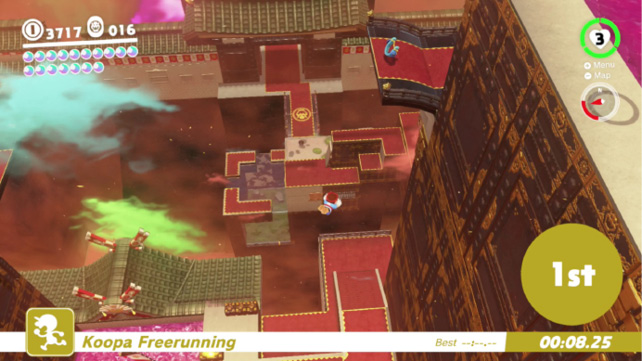
Entry into Koopa freerunning in Bowser’s Kingdom is made near the Beneath the Keep checkpoint flag. From the starting point beneath the Keep, the finish is all the way over by the Odyssey. Basically, the course is the whole kingdom! And, since the race begins at the top of Bowser’s great wall, the first thing that happens after the start is a heart-stopping drop all the way down to the courtyard. Roll while shaking the controller for speed boosts when the situation allows for it, like when crossing the Main Courtyard’s central path. Complete the race in first to take home the Power Moon prize.
 A Rumble Under the Arena Floor
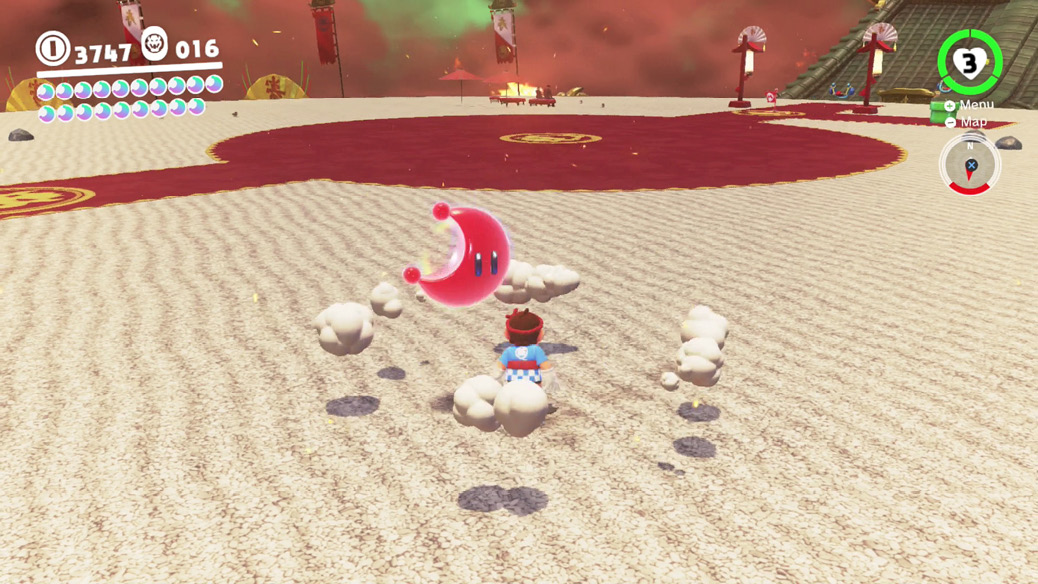
In the flat expanse of Showdown Arena, there’s a peculiar spot that can be found with HD Rumble. Move slowly with Mario to detect the source of maximum shaking. When on the correct spot, a ground pound stomp knocks free the rumbling Power Moon. Toe around the northern part of the circular arena to find it.
 Secret Path to Bowser’s Castle
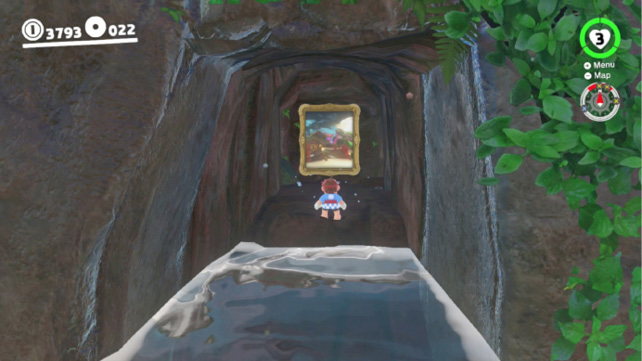
After completing the main adventure, a warp painting frame in Cascade Kingdom fills in with the image of Bowser’s Kingdom. Visit Cascade Kingdom again and look for the painting in a cave hidden underwater to access the secret floating island high above the rest of Bowser’s floating forts. Don’t miss the checkpoint flag up here while picking up the Power Moon.
 Peach in Bowser’s Kingdom
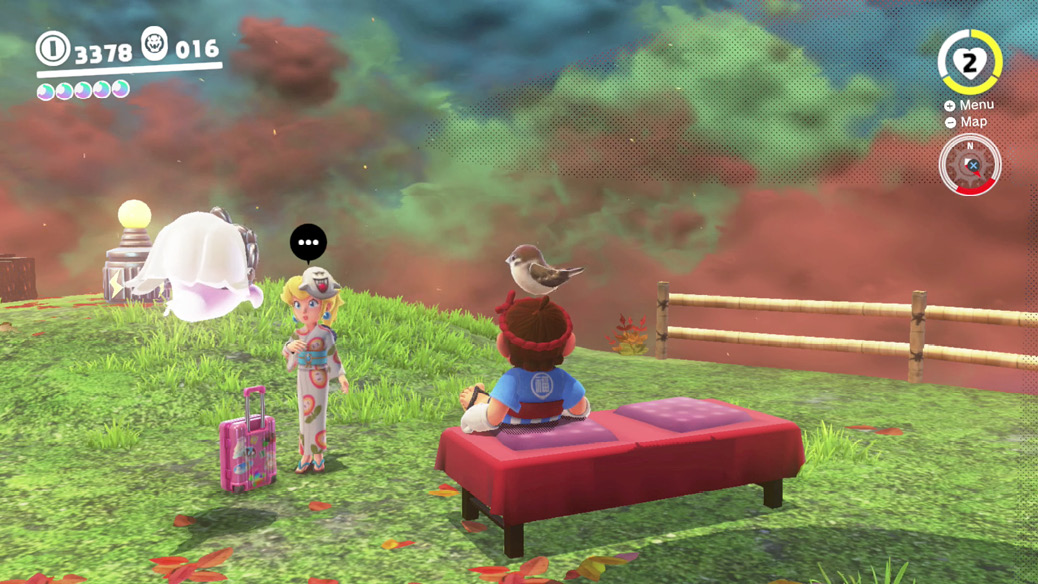
When the adventure’s main drama is over and Peach and Tiara are doing some sightseeing of their own, they can be found outside Crazy Cap’s on the souvenir shop island. Stop by and greet the princess to receive a Power Moon, and to get credit for checking in with her here. You’ll eventually want to make sure to see Peach everywhere she travels!
 Found with Bowser’s Kingdom Art
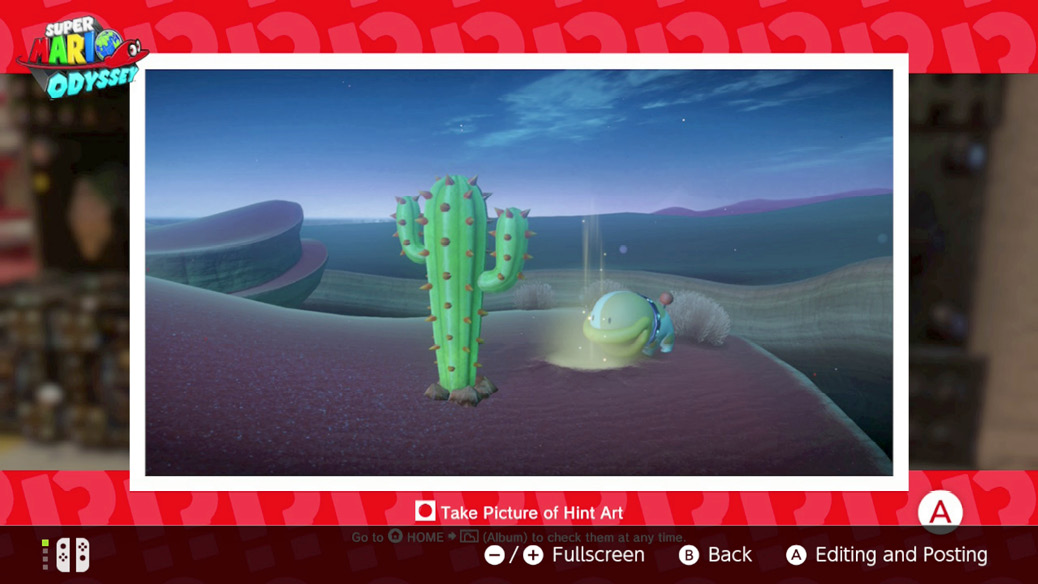
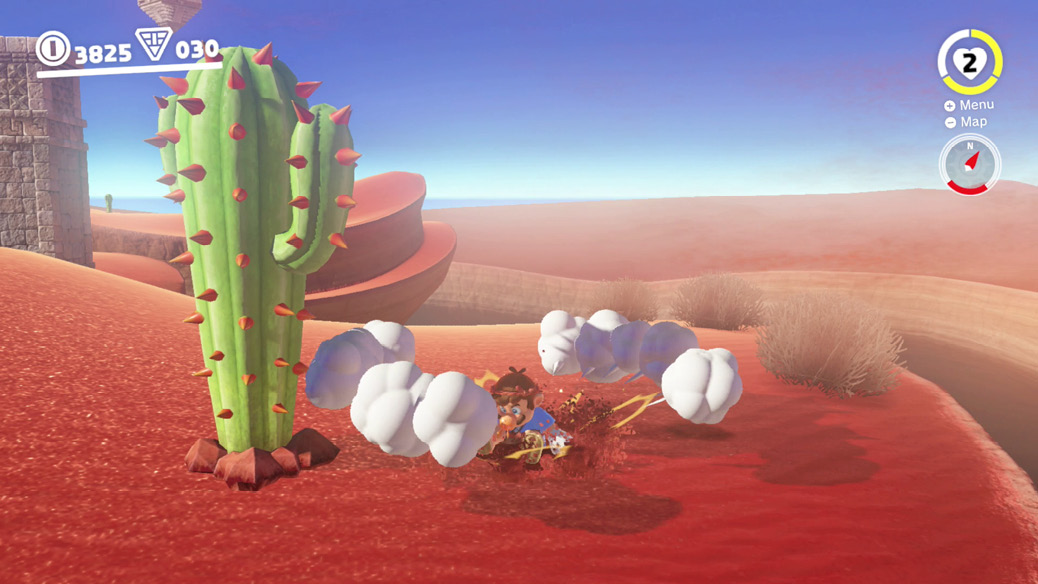
Once the Broodals are cleaned out of Bowser’s Kingdom, the Hint Art painting is viewable alongside the main gate in the Main Courtyard. In it, you can see Poochy digging about in some sand near a cactus. Well, that doesn’t leave very many possible locations. Pack up the Odyssey and set sail for Sand Kingdom, then head to the western edge of the territory, near a poison lake inhabited by gentle Moe-Eye creatures. Find a cactus along the edge here and a backdrop that matches the one in the Poochy picture and you’re in the right place.
Moons from the Moon Rock
 Behind the Tall Wall: Poke, Poke!
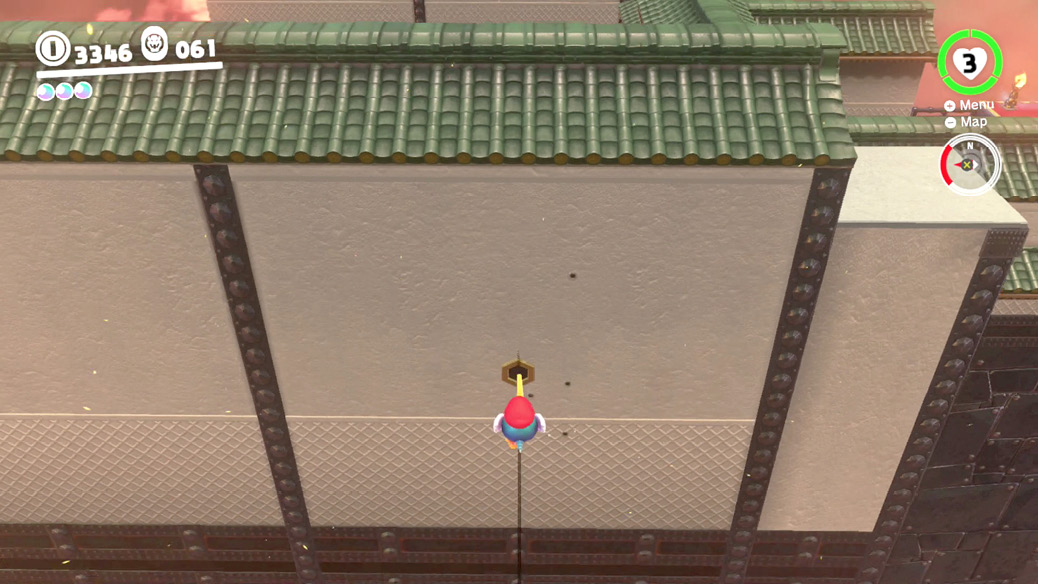
Get to Third Courtyard (Rear), capture a Pokio, and head to the eastern rooftops. Peering down over the eastern wall, which is normally blank, you’ll now find one opened archer’s port. With caution, step out over the edge and fall alongside the wall, poking to plant Pokio before falling all the way off the stage. Now carefully flick Pokio into position to spear the open port, revealing the Power Moon inside. It’ll appear on the rooftop for collection, so flick back to the top.
 From Crates in the Moat
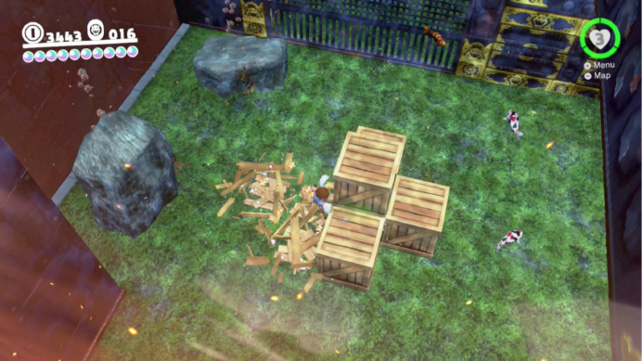
Originally, the larger section of the Main Courtyard’s water moat has nothing noteworthy in it. After the Moon Rock is accessed, a stack of wooden crates rests down on the watery floor of this section of the moat. Swim down here and break the crates open with underwater cap tosses and ground pounds to reveal the stored Power Moon.
 Caught on the Giant Horn
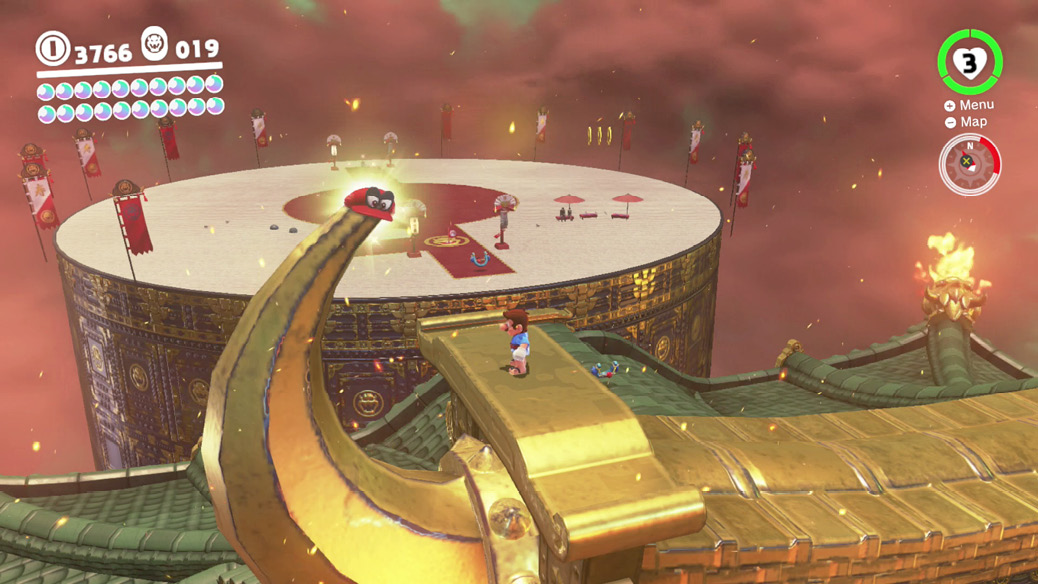
The rooftop above the Keep itself has ornate decorative horns at the peaks. The northernmost of the horns can be seen giving off the telltale Power Moon glow. Holding Cappy over the giant horn quickly draws out the hidden prize.
 Inside a Block at the Gate
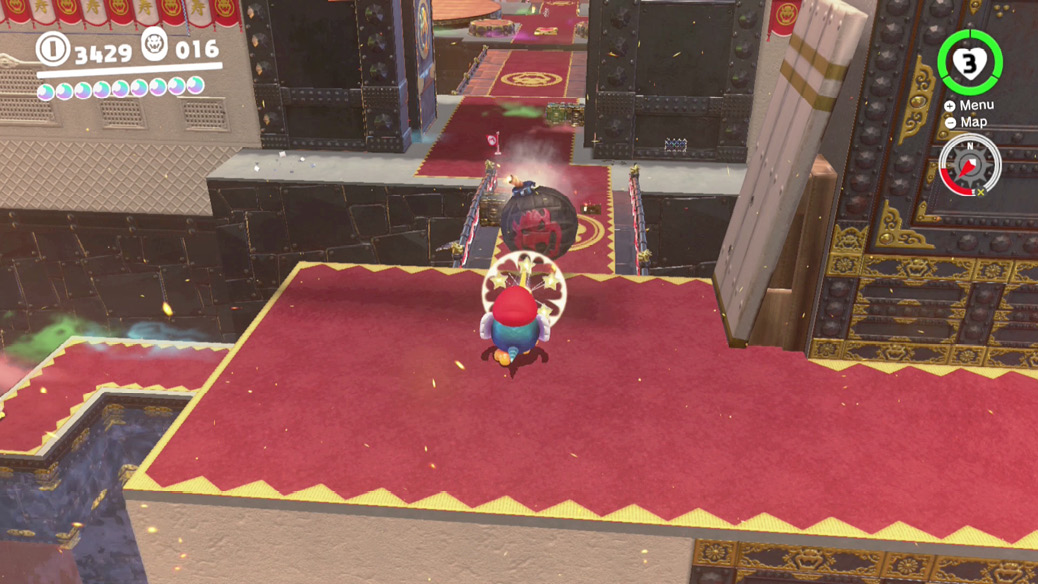
One of the metal Bowser boxes by the Main Courtyard gate clearly has something special inside of it, but Mario can’t destroy these crates on his own. Capture a Pokio and climb up far enough so the turret above begins rolling out cannonballs. A Pokio can redirect these rolling explosives just about anywhere, if you have the right poking angle. Line up Pokio’s beak with the block below and redirect cannonballs toward it until it’s blown open, coughing up the Power Moon within.
 Small Bird in Bowser’s Castle
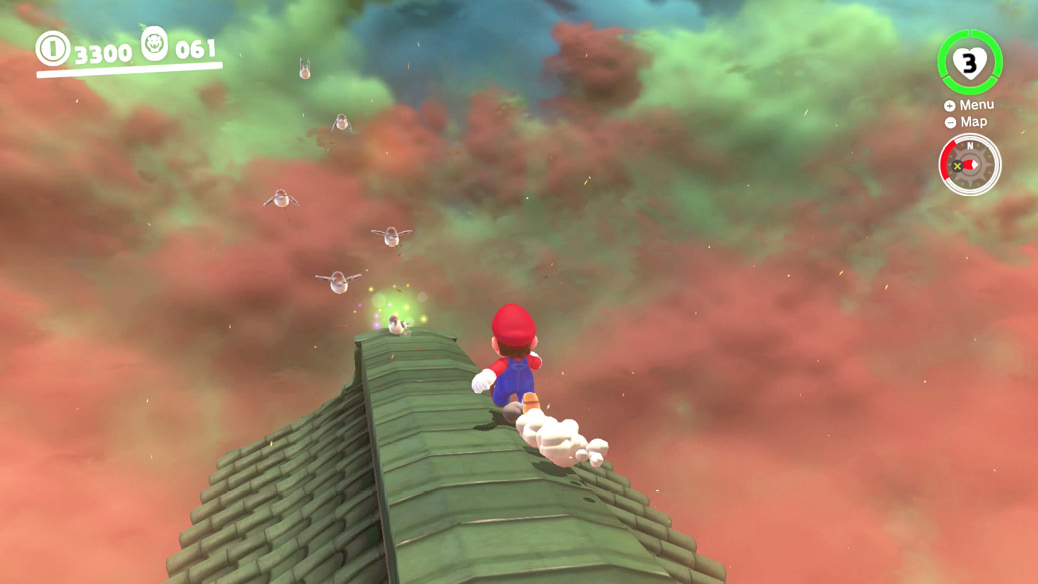
After the Moon Rock is opened, a small flock of birds congregate on an outcropping that’s nondescript otherwise. The birds give off a suspicious glow, warranting further investigation. Tiptoe out to the ledge where the birds dwell, getting as close as possible without scaring them off. At the last moment, toss Cappy toward the brightest bird to release a Power Moon.
 Invader in Bowser’s Castle
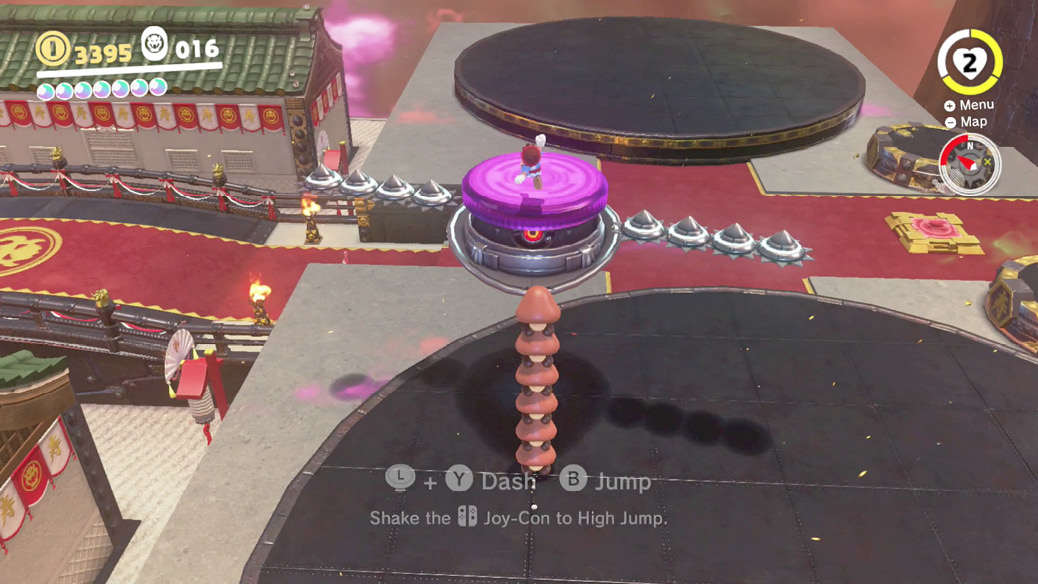
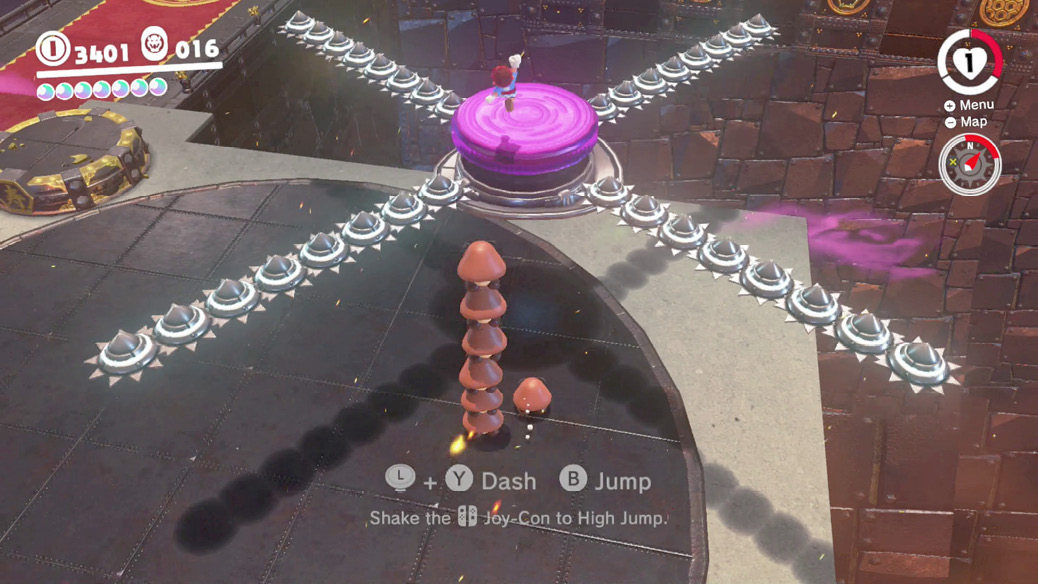
The right stage-style platform in Main Courtyard Entrance hosts a rare enemy indeed: the Yoo-Foe, a flying saucer that attacks by dropping Goomba troopers. Its own weapons prove its downfall though, since you can capture a Goomba and build a stack of them, reaching high enough to release the capture next to Yoo-Foe and stomp the top of it.
Two stomps brings down the Yoo-Foe, revealing a Power Moon in the wreckage. After one stomp, you have to rebuild the Goomba stack for another shot, and the saucer sprouts an extra row of anti-stack blades, so step lively within the space allowed.
 Jumping from Flag to Flag
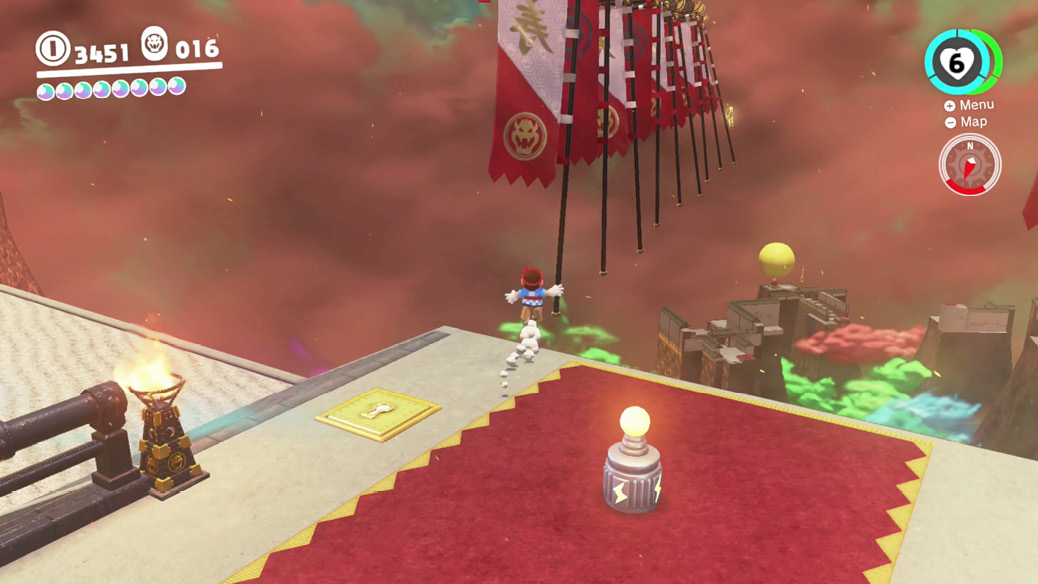
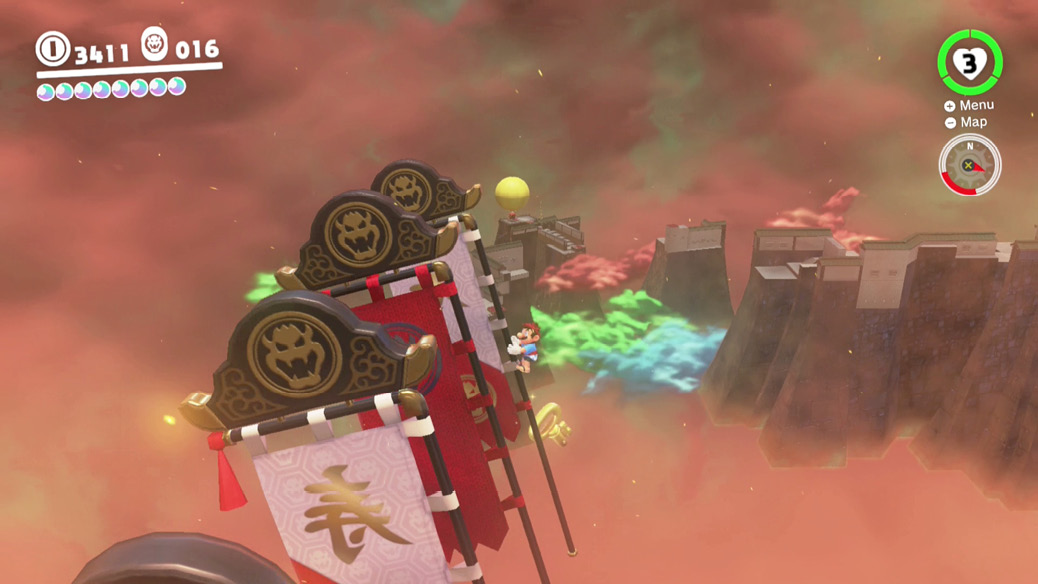
At Main Courtyard Entrance, a mysterious Lock appears near the Spark Pylon landing point. The Key is so well hidden you may not even realize it’s around, though. The dancing Bowser flags waving just off the structure’s edge might look like just background window dressing, but they’re actually functioning flagpoles, so they can be climbed.
Leap from one to the next all the way to the end to find the Key for the Lock. Take your time on the climb to snag the Key and unlock the Power Moon.
 Bowser’s Kingdom Timer Challenge 2
Near the top of the kingdom, around the Beneath the Keep checkpoint flag and Lakitu fishing, another scarecrow can be found next to a steep drop-off positioned right down the barrel of the Outer/Inner Wall climb.
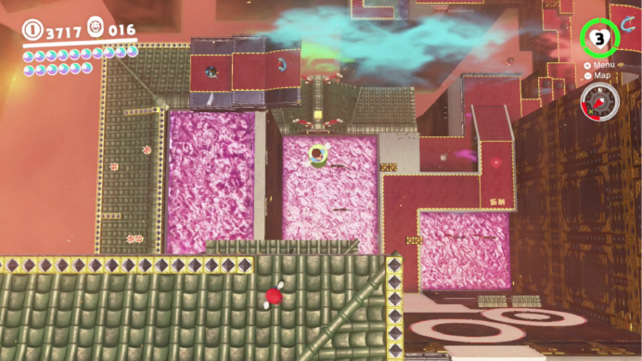
Letting the scarecrow borrow Cappy for a bit generates a green cylindrical platform in the poison moat of the Outer Wall, far away but very distinctive from this height. Jump right off and plunge toward the green cylinder, aiming to land right on top. A Key is on the platform, and the Lock for it is on the roof right in front of the cylinder. To avoid a hard landing, saving both Mario’s poor knees and some precious time, ground pound or do a midair cap throw just before falling onto the key floating just over the platform. This lets Mario start moving right away after landing, instead of shivering with the harsh impact for a few seconds. Those seconds might matter, you still have to leap off the green platform and onto the roof, grabbing the Power Moon to complete the challenge.
 Taking Notes: On the Wall
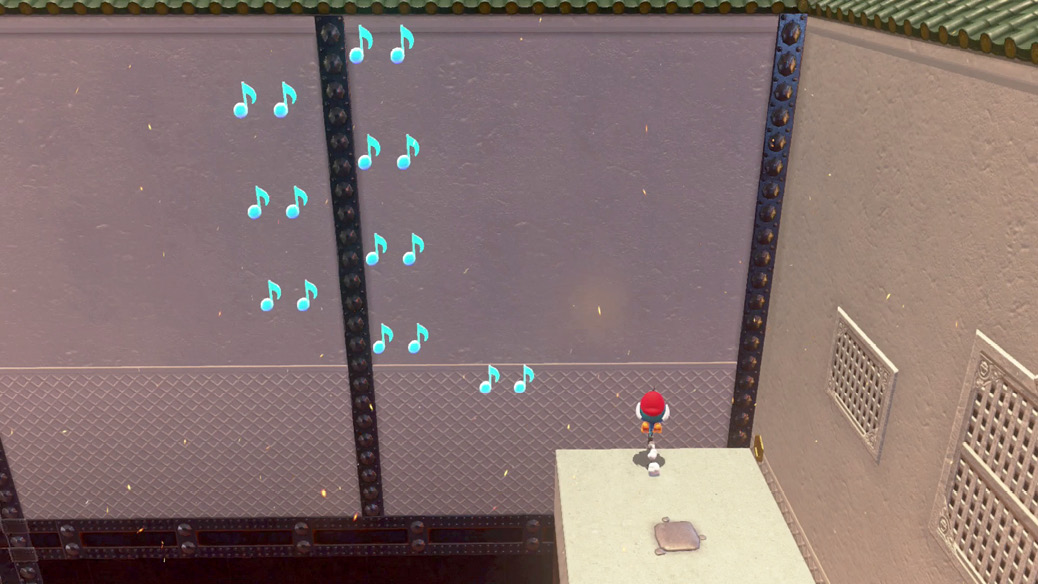
At Third Courtyard (Rear), on the back ledge that just had an open archer’s port before, there is now a music note hovering here. Make sure you’re already in Pokio form or have a Pokio ready to capture nearby and touch the note to reveal several duos of notes spread out along the nearby wall. Use Pokio beak-planting and flicking to quickly loft between each group of notes before the timer expires.
 Taking Notes with a Spinning Throw
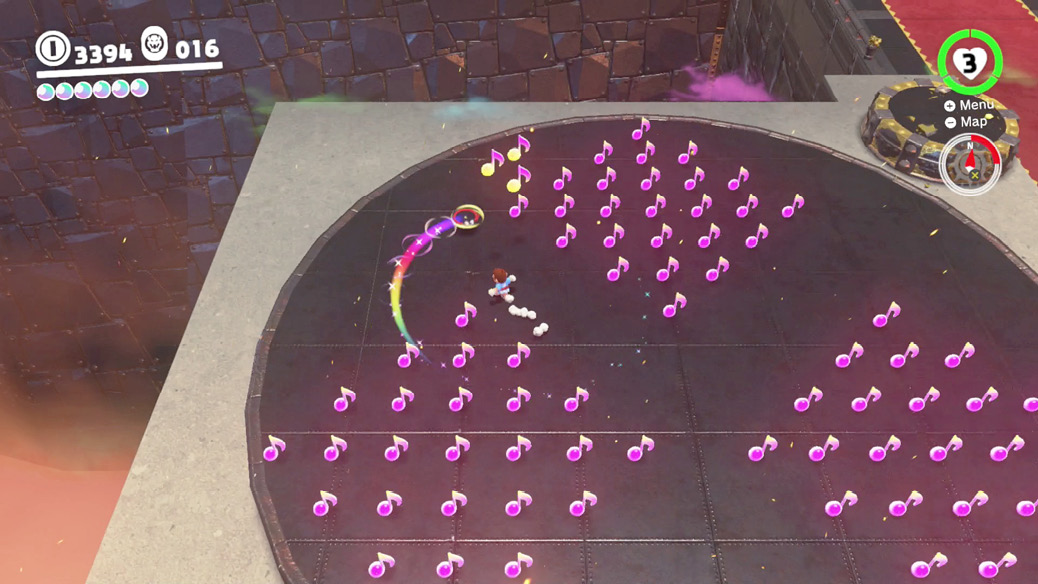
The Main Courtyard Entrance has two stage-like circular platforms just before its big bridge. The left platform eventually has a music note hovering on it. Collecting this begins a challenging timed note-taking challenge. The key here is not to be shy about using spin throws. Spin throw anytime you have a moment to do so then keep running through music notes. Cappy keeps tracking with Mario during a spin throw, making this superbly effective for picking up lots of minor power-ups at once, like here.
 Third Courtyard Outskirts
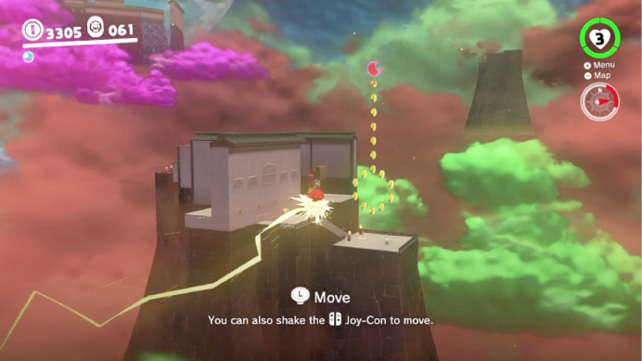
A new key-type symbol made of coins appears hovering in the air between Third Courtyard (Front) and Third Courtyard (Rear). While crossing between them using the Spark Pylon, be ready to shake the controller to make electric Mario divert from the normal path, collecting all the coins and the Power Moon they point toward in one fell swoop.
 Stone Wall Circuit
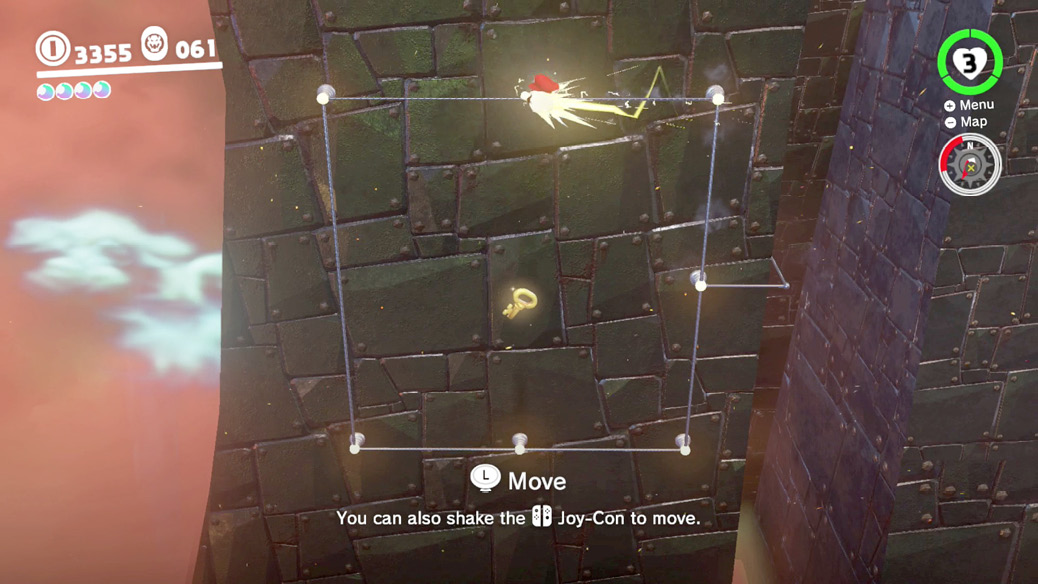
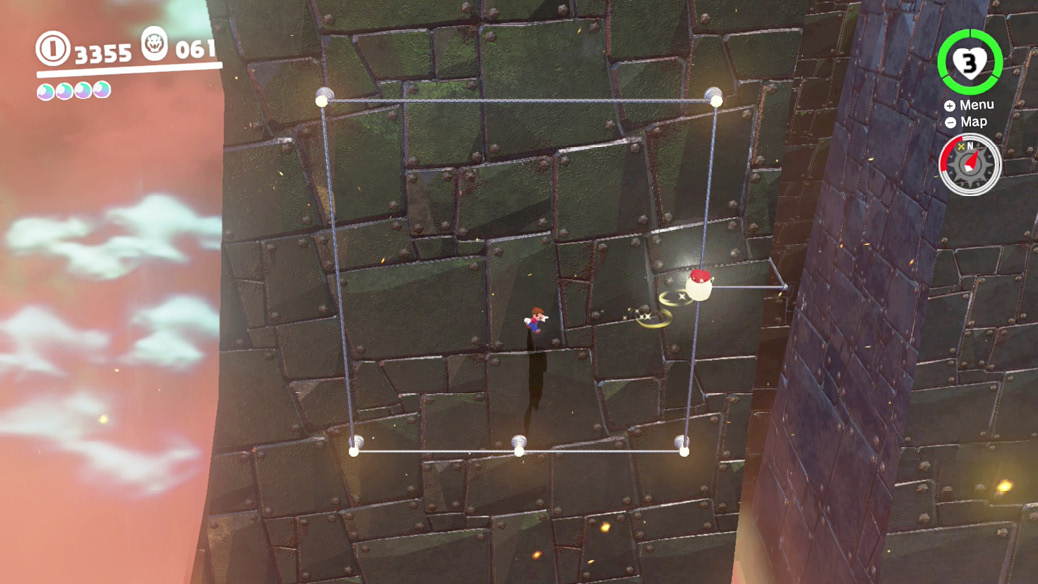
On the lowest level of Second Courtyard, where Spinies roam around a small fire pit, there’s now a Lock in the floor, and a Spark Pylon along one edge. Traveling along the Spark Pylon reveals a square electrical circuit around the end of the landmass. Hanging in the middle of the square is the Key.
Traveling along the top leg of the square circuit, right above the key, press the Crouch button to end the capture and drop down as Mario. Carefully slide down the wall to the Key, which pops open the Lock! Now, as soon as control returns to Mario, throw Cappy at a nearby pylon within the circuit to return Mario to the electric wire in spark form, before he plunges off the stage. If successful, ride the Spark Pylon wire back to the ledge, then collect the Power Moon revealed by the opened Lock.
 Bowser’s Kingdom Master Cup
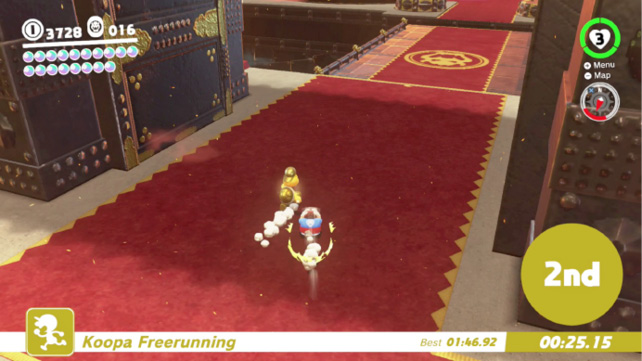
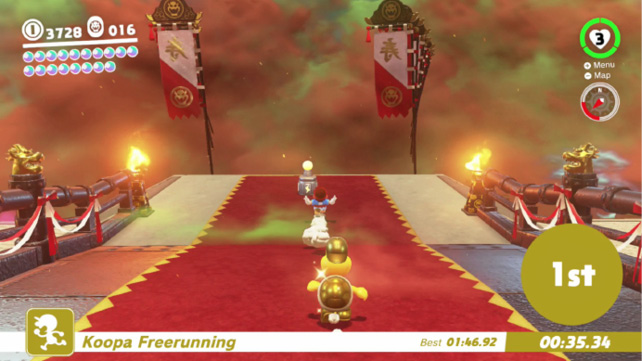
Complete the Regular Cup with a championship finish and then open the Moon Rock to reveal the Master Cup. The golden Koopa racer here is much faster than any of the competition in the Regular Cup, making this much more challenging to take first place in. Roll whenever possible, and cut corners on long jumps by using dive jumping and other techniques for max horizontal distance. In places like the Second Courtyard, if you can quickly get onto the rooftop on the right with a little bit of trick wall jumping, it saves time.
 Searching Hexagon Tower
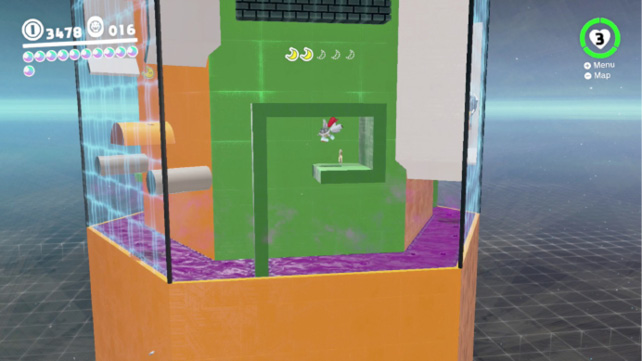
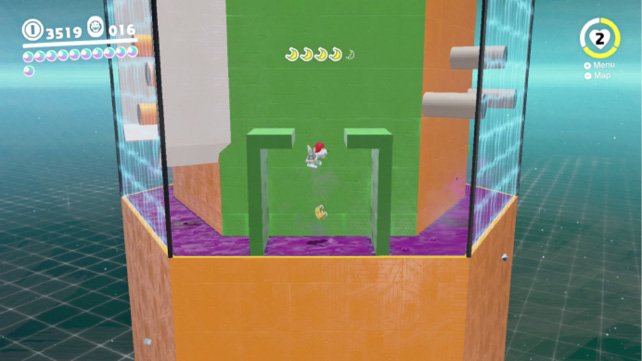
A Slingshot is needed to get to the rooftop containing this Moon Pipe, on the northern section of the Main Courtyard’s long wall. The room contains a tall hexagonal tower, with sides colored in alternating orange and green. A Power Moon in here is shattered into five moon shards, but can be reassembled. Capture a Parabones near the top, then use it to fly around the full height and circumference of the tower, collecting coins and moon shards and avoiding other enemies and the poison swamp at the bottom.
Three moon shards are found in orange sections and are just out in the open. Two moon shards are found in green sections, hidden in opaque rooms. To find the shards, fly into the rooms from the correct direction. With all the shards in hand, the Power Moon appears on top of the tower.
 Center of Hexagon Tower
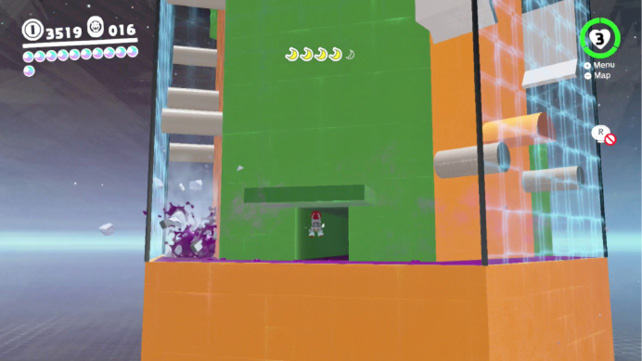
Atop the hexagonal tower is a Lock. The Key is hidden somewhere in the tower. To find it, fly around the very bottom of the area, just above the fatal purple muck. One of the green-colored sections has an opening at very low altitude that leads to a Key at the tower’s center. Flap in there with Parabones (carefully!) and collect the Key to crack open the Lock back up top. Flap back to the roof of the tower to collect the hidden Power Moon.
 Climb the Wooden Tower
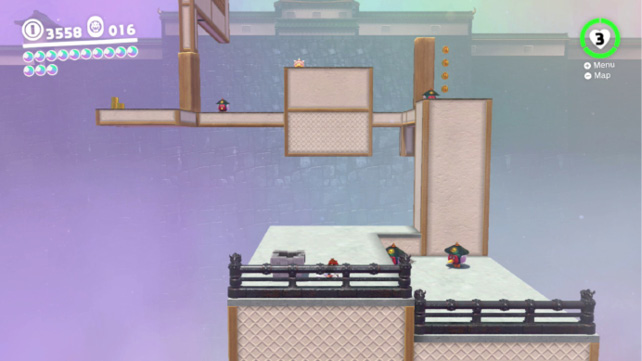
It’s a Pokio endurance climb in here, with long, thin branches of beak-permeable material, ready for athletic Pokios to travel along the length gracefully flicking and spin-jumping. Although there are other creatures along the expanse in places, they shouldn’t be an issue to a Pokio.
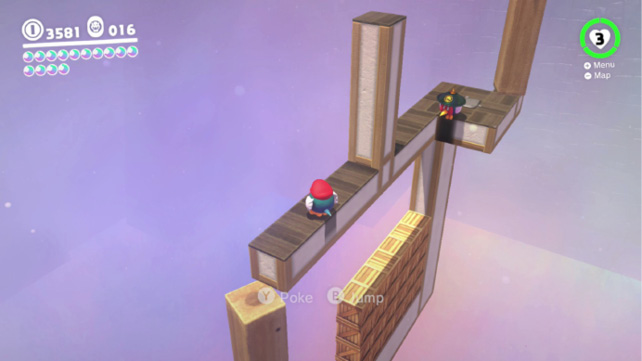
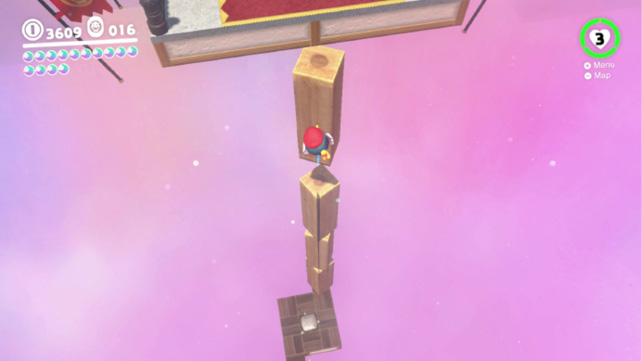
Advance up the structure, using the beak to climb. When planted by Pokio’s beak, shaking the controller for instant extra-springy flicks is much faster than repeatedly stretching the Pokio’s beak down for tension, then releasing.
Some of the pillars spin, so all you need to do is plant the Pokio’s beak and then wait for the pillar to spin you around in whichever direction you’d like to let go.
 Poke the Wooden Tower
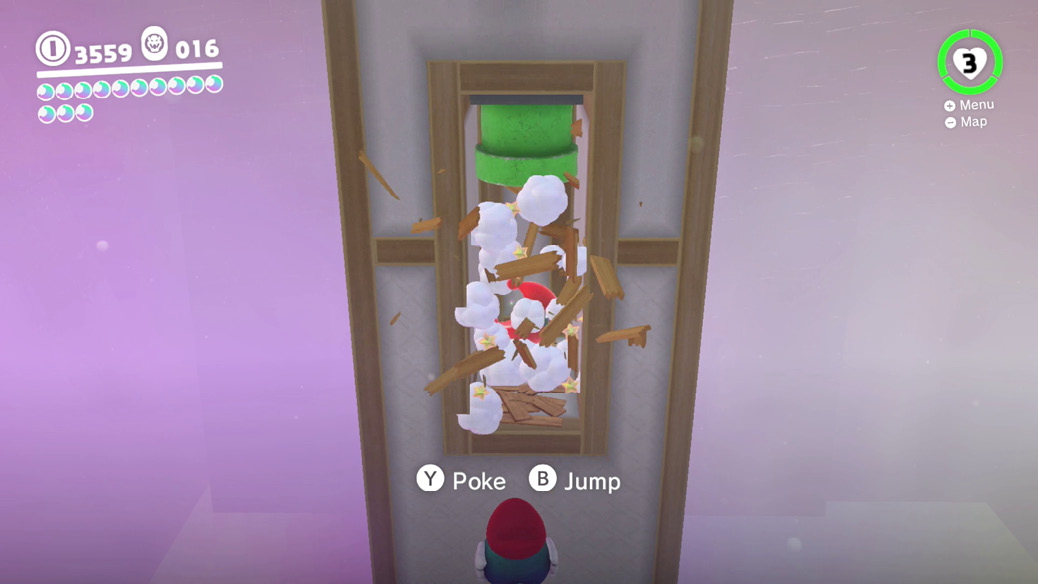
As is often the case in Pokio territory, there’s a secret here just off the edge near the beginning. Capture a Pokio and look over the side behind the first pillar upward. The Pokio-friendly wall extends downward. Fall down the back side (relative the entrance pipe) to find a stretch of the wall blocked with crates. Fall or flick past the crates and poke to shatter them, making sure to poke again to snag the wall before falling away from the stage. Flick into the gap left by the broken crates to find a stray Power Moon, and a pipe that leads back up to the platform above.