
Super Mario Odyssey Guide Moon Kingdom
Mario’s Itinerary
Bowser’s Moon Wedding
How many times can the Koopa king run? Is he finally cornered? Are Mario and Cappy going to have to put the saying “to the moon and back” to the test? No comment yet on the first two, but for that last one: absolutely.
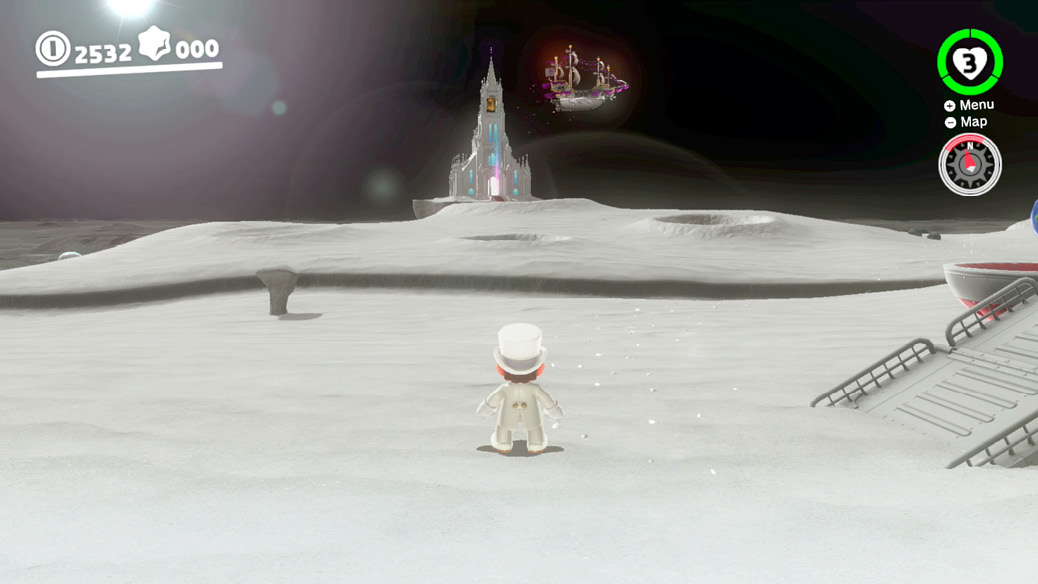
The Odyssey touches down on a wide, peaceful plain, sporting unbelievable views of the world dominating the moon’s southern sky. In the distance in the other direction you can see the sun, looking oddly cold without hazy air to make the luminosity bloom. To the north, the Wedding Hall can be seen clearly in the distance through the vacuum, and is obviously the destination here. Mario and Cappy are decked out appropriately for the occasion, and the fancy Tux has been added to your wardrobe.
 Lunar Crossing
From the Odyssey, the land leads naturally northwest, with diversions along the way available if desired, like stopping by the moon’s souvenir store (Crazy Cap’s is very forward-thinking in their franchise placement) and hunting for hidden Power Moons and Regional Coins. We advise against using this chapter’s “Extend Your Itinerary” section before completing story events in this kingdom, though! No spoilers!
The moon is a much smaller planetary body, so the gravity is lessened here. High jumps are that much higher, and running long jumps and cap jumps cover ground for days. Watch out for spinning Moonsnakes along the way, leaping over them easily thanks to the floatiness of low-G. Astro-Lanceurs are the strongest foes on the moon’s surface. These lunar cousins to Brigadier Mollusque-Lanceur III, Dauphin of Bubblaine are just as susceptible to ground pounds from above as their earthbound relative. If avoiding them, also dodge their explosive drill projectiles, which they’ll launch at Mario whether he engages them or not.
North across a narrow land bridge from an Astro-Lanceur, the Ringing-Bells Plateau checkpoint is a welcome landmark. High-five the flag and note the focket flowers surviving in the harsh environment. Use one to soar gleefully over the gaps leading to the next northern plateau.
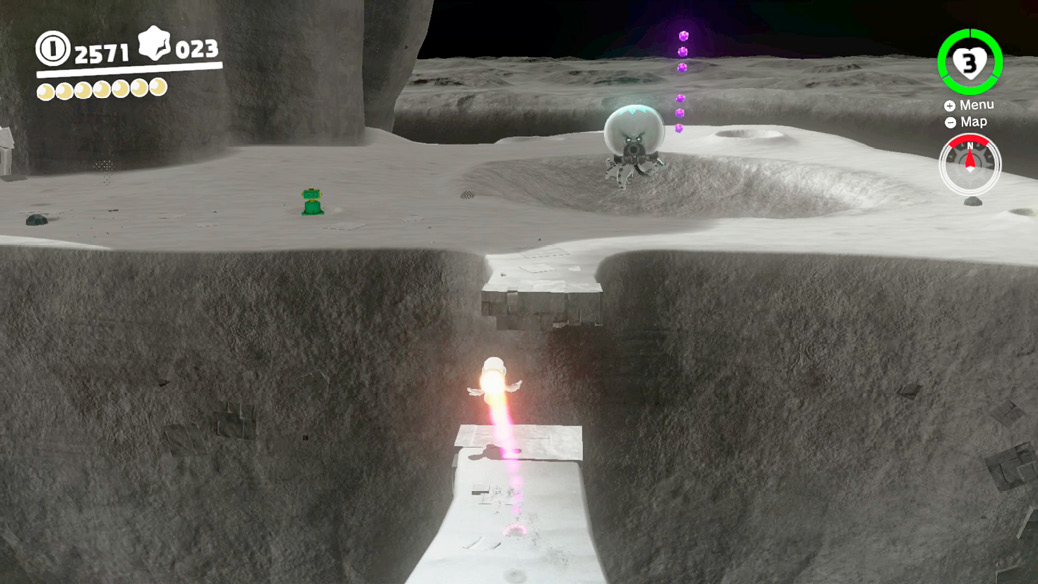
An even more welcome checkpoint is found just over the gap. The Quiet Wall flag is an appropriate name, standing solemnly before a foreboding cavern. There’s no way up the high ledge above right now, so you’ll have to plunge inside to move on.
 Underground Moon Caverns
There’s a real capture parade about to take place in the depths of the moon. Deep underground is closer to the core, so gravity feels normal here and jumps are back to normal. Move forward and drop down to the platform visible over the lava below to encounter Parabones, undead flying Koopas. Capture one to gain passage forward over the lakes of lava.
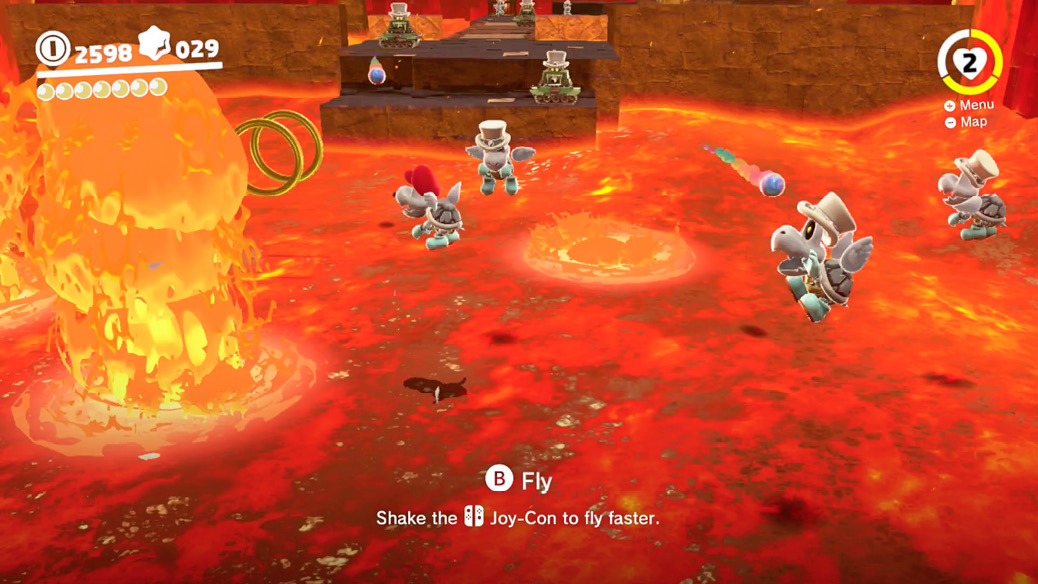
Aggressive Parabones continue to be pests throughout this area. Platforms farther in are guarded by Sherm tanks. Commandeer a tank or fly around them and dodge their anti-air fire.
Cages in here guard a Life-Up Heart and a Spark Pylon. Opening the cages is straightforward: capture a Sherm and blast the cages apart. The Life-Up Heart cage is optional, but recommended. The Spark Pylon cage must be busted open to progress.
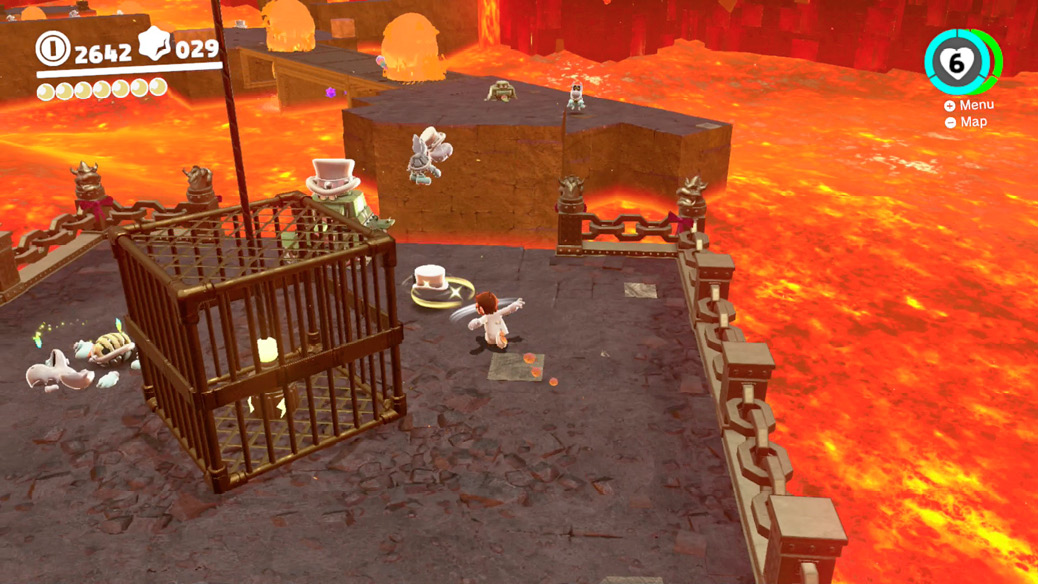
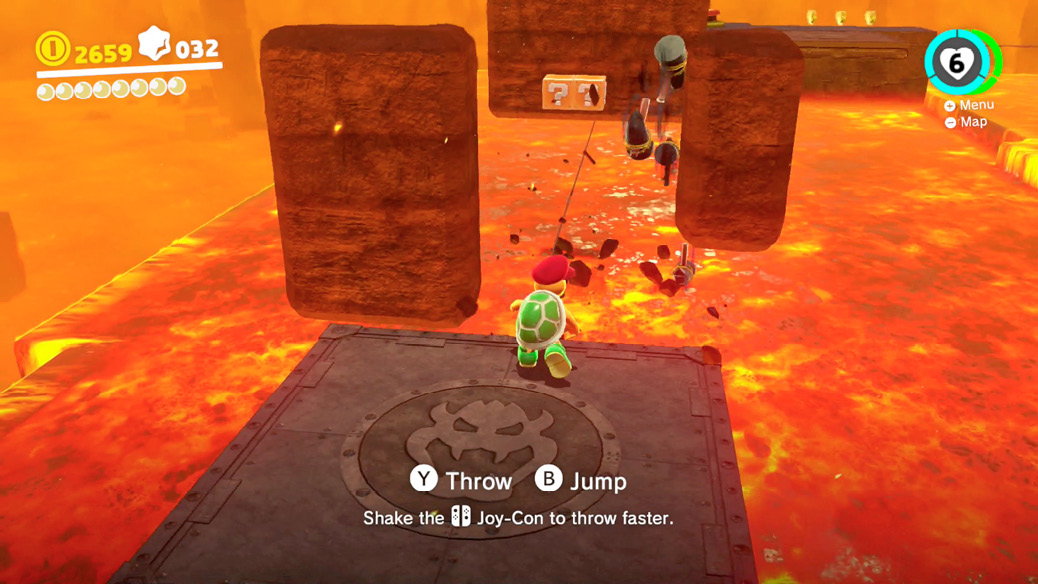
Ride the Spark Pylon upward and slap the big red button found on the next floor with a ground pound. This gets the Bowser platform moving slowly forward. Board the platform and get ready to battle Hammer Bros ahead. Capture one of them, smash the other, then be ready to clear the path ahead. As the platform lurches forward, there are breakable stone walls you’ll need to destroy with a rain of hammers.
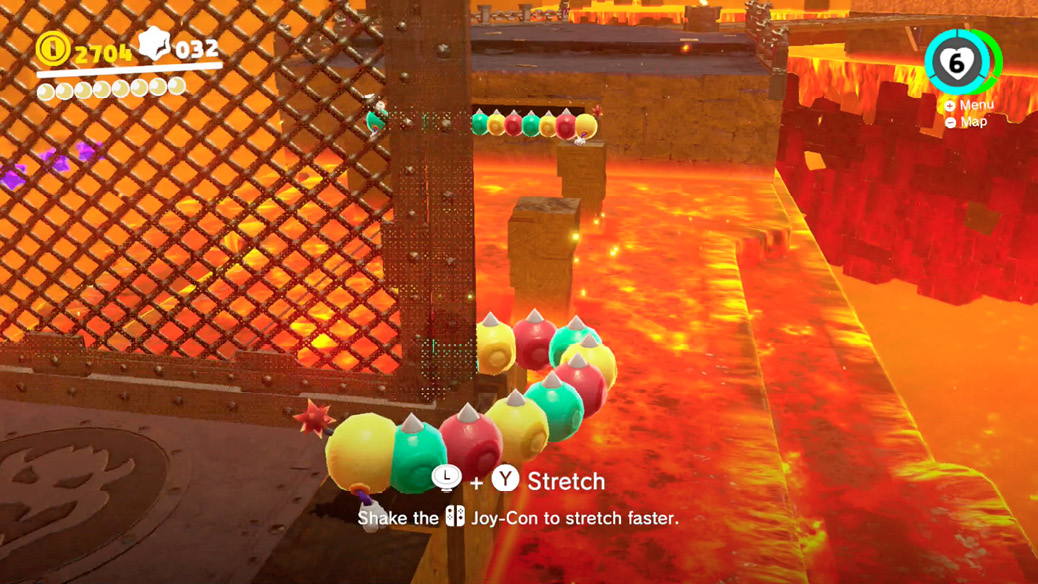
Beyond the Hammer Bros, another big red button starts a platform that tracks slowly past a series of grates and Tropical Wigglers. Ground pound the button again and start riding the second platform. Capture a Tropical Wiggler to navigate this section, twisting around blockades as the platform moves under them. Stretch out to the left of the platform during a calm section to collect three Regional Coins floating in space there. At the end of the platform’s path, you’ll need to ditch the Tropical Wiggler and jump onward.
Crossing a bridge ahead, Mario’s in for a large surprise—Banzai Bill demolishing the wall ahead and barreling down the bridge toward our heroes.
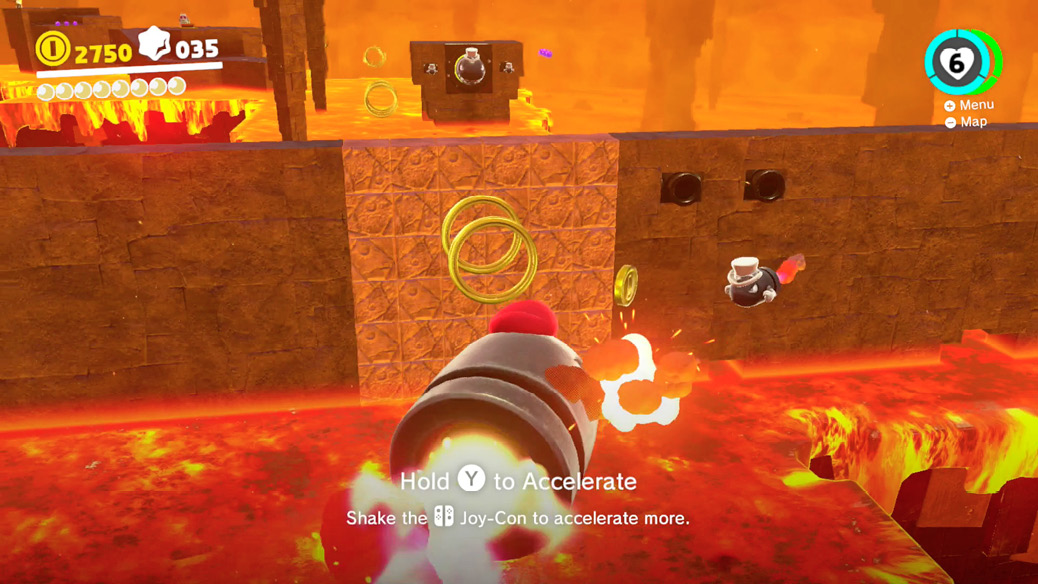
Naturally, for passage forward capture Banzai Bill with a double cap throw (one throw to knock off Banzai Bill’s own hat, another to capture him). Steer the giant bullet over the lava stretches ahead, using the coin rings hovering in midair as a guide. Fly faster (covering more ground before the bullet inevitably explodes after a fleeting time) by shaking the controller. Incoming Bullet Bills won’t phase Banzai Bill, and he can shoulder through breakable stones, but don’t run head-on into any solid surface. Lose a bullet near a platform here, and you can capture another one as they continue to swarm. Lose a bullet over open lava,however, and it’s curtains!
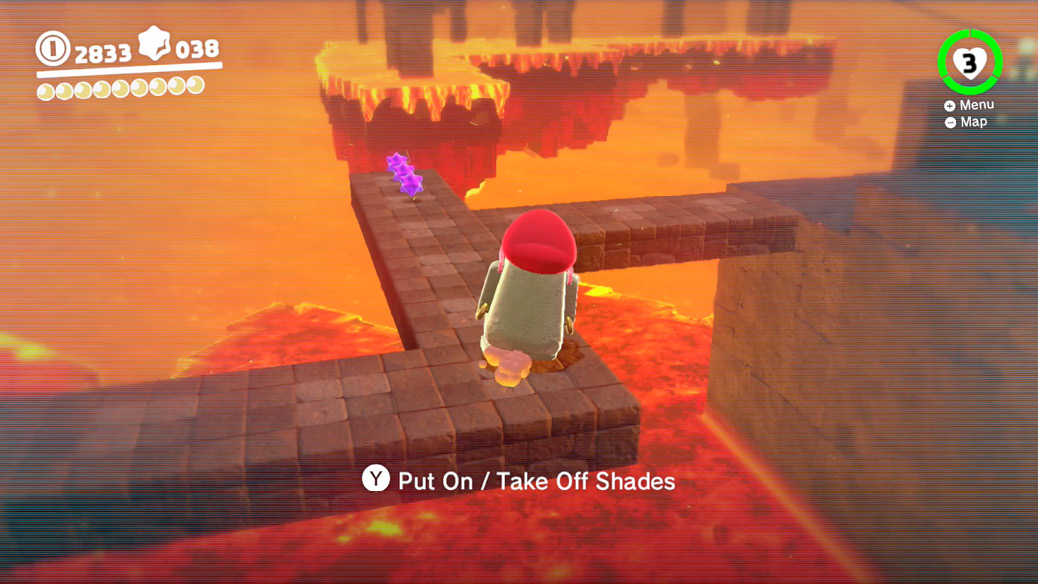
Ditch the current Bill (whether Banzai or Bullet) at the platform with a lone Moe-Eye atop it. Who knows why this poor guy is stuck down here, but his shades provide a way to see the upcoming path. Slap the red button here with another ground pound to create a temporary bridge ahead. It’ll be visible for just a second upon creation, but quickly fades into full transparency. Only with a Moe-Eye’s shades can you see the bridge then. The Moe-Eye isn’t required to get across the gap here—hit the switch, and the bridge exists for a few seconds, whether you can see it or not—but the Moe-Eye can make things easier. Try to get the Regional Coins found on one arm of the invisible bridge along the way, whether with a hat toss as Mario or by flipping up the Moe-Eye shades to scamper across to the coins in time.
Beyond the Moe-Eye’s hidden bridge, a Spark Pylon climbs even farther upward. Here you find your first encounter with a classic Super Mario World villain: Chargin’ Chuck! Capture Chuck and use his charge-up sprint to plow through the onslaught of moon rocks rolling down the path ahead. Chuck has to be left behind to jump up some steps beyond the first bridge of boulders, but another opportunity to recruit a football player is available ahead.
An even narrower bridge is inundated with rolling rocks, with a Chargin’ Chuck guarding a small platform at the end of the moving rocks’ path. Run along with the flow of the rocks to arrive at Chuck, then capture him. Before moving on, be sure to use his charge sprint to dash effortlessly over the tiny steps and small gaps behind his platform, leading to some Regional Coins. It’s just like dashing over small gaps in 8-bit pipes—just don’t stop. After collecting the coins and sprinting back across, again lower Chuck’s shoulder and plow through a full bridge of oncoming rocks. Another Spark Pylon ahead takes Mario upward a final time, all the way to the cavern’s exit… well, almost all the way.
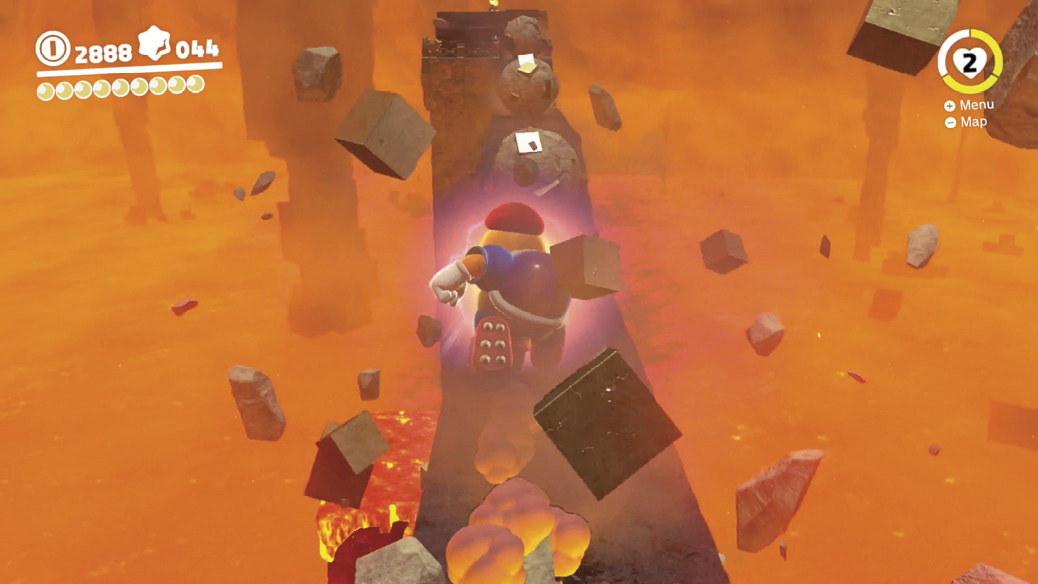

Boss: Madame Broode
It’s been a long time since you faced Madame Broode way back in Cascade Kingdom, and in the meantime Mario has thoroughly stomped on all four of her Broodals. She’s taken it a little bit personally.
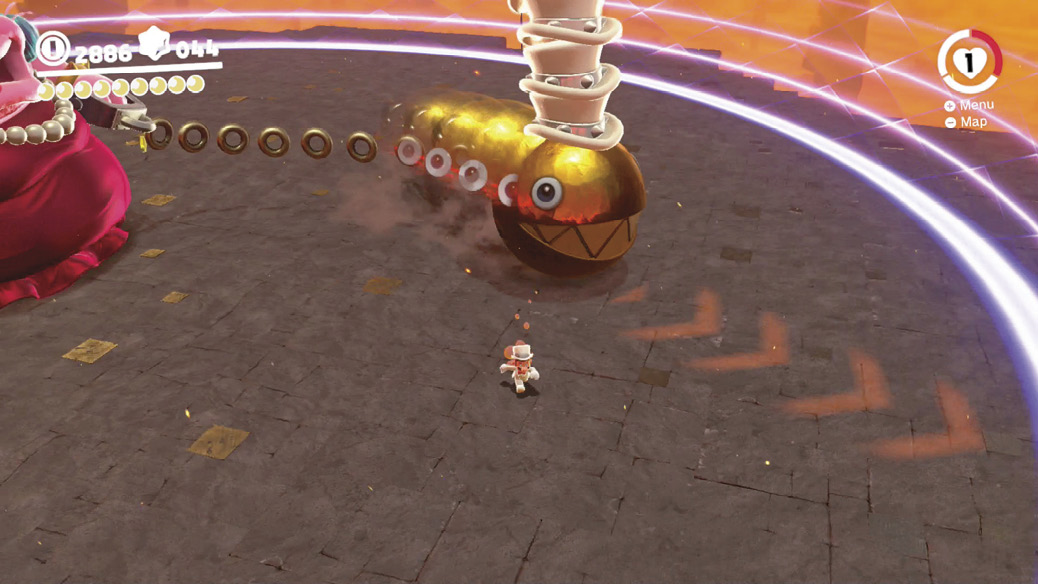
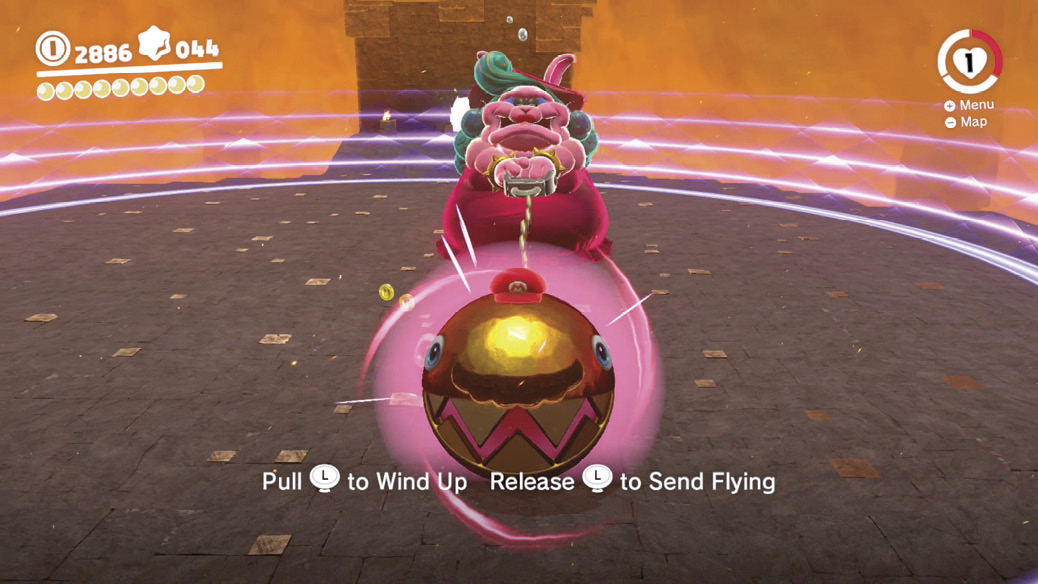
Like before, she tries to squash Mario with the help of her trusty custom gold Chain Chomp. Prioritize dodging the Chain Chomp (and Madame Broode herself) above all other actions. It’s faster than it looks! Immediately after dodging Chain Chomp lunges, take the time to hit it once or twice with Cappy, knocking off hats. Once the Chain Chomp has no protection for its perfectly round, shiny head, Cappy can capture it. Madame Broode takes exception to this and swipes at the captured Chain Chomp, so pull heavily left or right to dodge her punches. When she’s exhausted, you can pull away and release to trigger the Chain Chomp’s special rushing attack, right into her face. Lather, rinse, repeat to silence the Broodals’ leader and escape back to the lunar surface.
 Crashing the Wedding
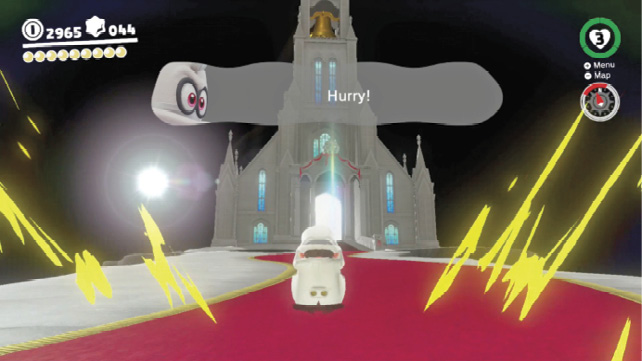
Take a whiff of fresh vacuum outside and head up and around the path to the Ever-After Hill checkpoint flag. Although you can revisit the Underground Moon Caverns if you want, you can now quickly get back up here with the warp flag. Head across the bridge upward toward the Wedding Hall. Feel the tension building? Before entering the Wedding Hall through the main entrance, detour slightly to the right and check out a little crater with a rock in the center. Crack this rock open for a Life-Up Heart, surely helpful against whatever might be ahead.

Enter the Wedding Hall, pass through the entry foyer, and barge in through the forbidden double doors ahead.
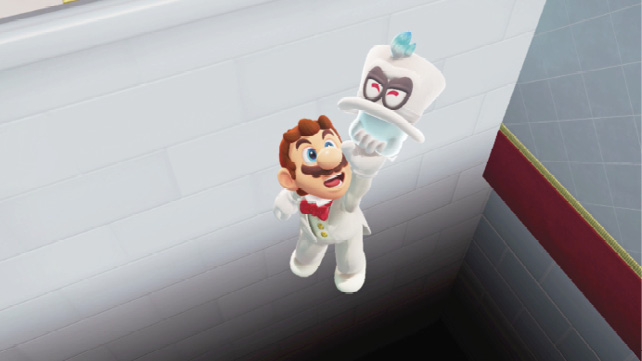

Boss: Bowser
Although Bowser gets the literal drop on Mario, it’s still finally happening: a climactic straight-up fight, with Mario and Cappy versus Bowser and his bag of tricks and brute strength. Like during the Cloud Kingdom fight, Bowser has a special hat much like the Broodals’ or Mario’s, and he sends it spinning out at Mario as one of his attacks. Later in the fight, he sends out his white hat along with a slew of purple decoys, just there to get in the way.
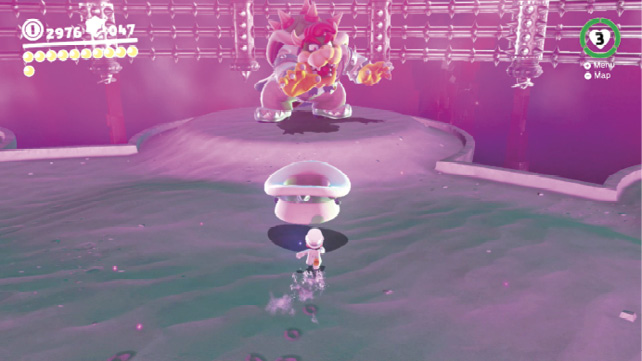
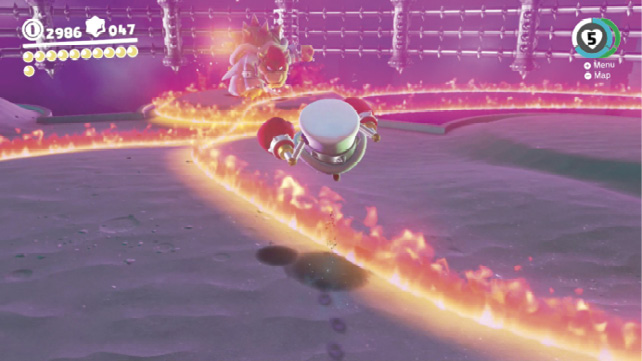
Dodge or destroy purple hats, and stop Bowser’s white hat cold with a cap throw. While it’s upended, run into it to put it on! Bowser loathes this, and leaps away immediately to take defensive measures. He sends out flaming waves along the ground, so jump over these while advancing.
After Bowser stops sending out flaming ribbons on the ground, depending on how far away Mario is, he rolls huge cannonballs into the way. He alternates directions while doing this, so Mario has to zigzag to dodge incoming boulders. Stone boulders can safely be punched apart with Mario’s jumping tackle, which ends in a jumping punch thanks to Bowser’s hat! Don’t try this if Bowser throws out flaming cannonballs, though.
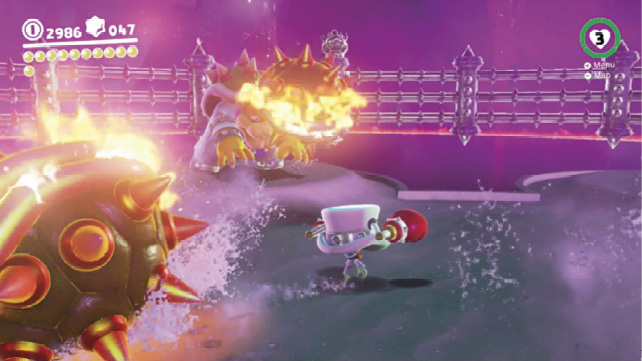
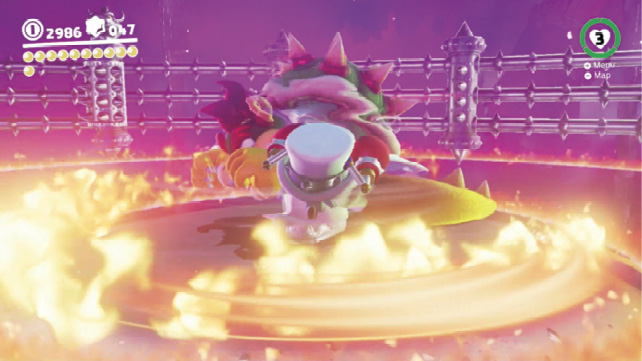
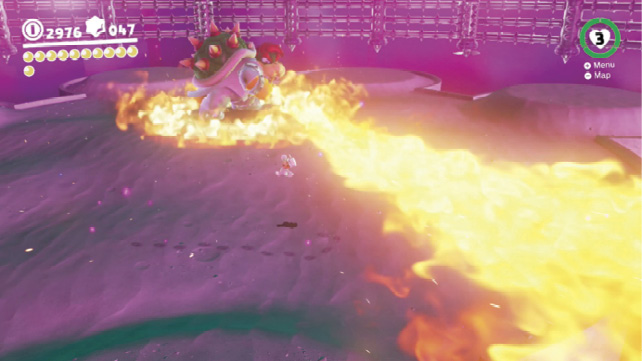
When Mario’s finally in boxing range of the lizard, close in and start swinging! Keep an eye on Bowser’s posture while unloading with punches from his hat. Eventually, he gets his bearings, starts blocking, and builds up power, unleashing it as a 360-degree flaming tail whip. After feeding him a banquet of knuckle sandwiches, you’ve got to see this tail swipe coming, and jump over it. After Bowser’s used up his energy on this countermeasure, return to punching him. Two full rounds of punches back-to-back sends Bowser spinning off the arena into the spiky background.
Immediately upon recovering from the chin music, Bowser angrily takes to the middle of the battlefield then spews a huge gout of flame back and forth across the whole place. Watch the flame spout carefully and jump over it when Bowser sweeps it past Mario. While it’s scary looking, it’s not hard to jump over without any tricks, just careful timing.
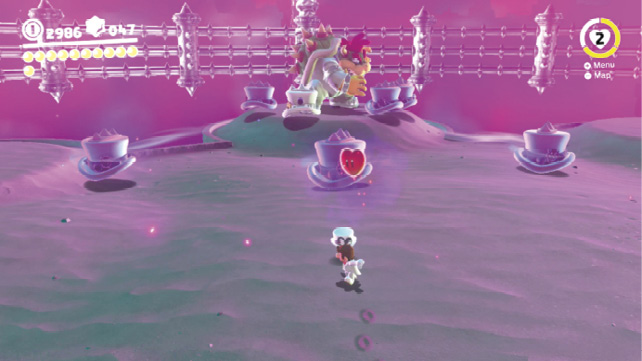
During the first round of punches to Bowser’s chin, he just tail swipes once before he dizzies again and you can feed him more punches. The second round, he tail whips twice, back to back. In the third and final up-close quarrel, he retaliates to a punching flurry with three tail whips in a row, followed by one more as a last gasp! Be patient, and let him wear himself out before committing to another round of speedbag on Bowser’s mug.
The Escape
Cleanly winning three waves against Bowser sees Mario win by TKO, but it’s not quite that simple. Mario might have won a temporary battle, but the whole cavern is starting to collapse around them. If an escape route isn’t found in a hurry, it won’t matter who the victor was!
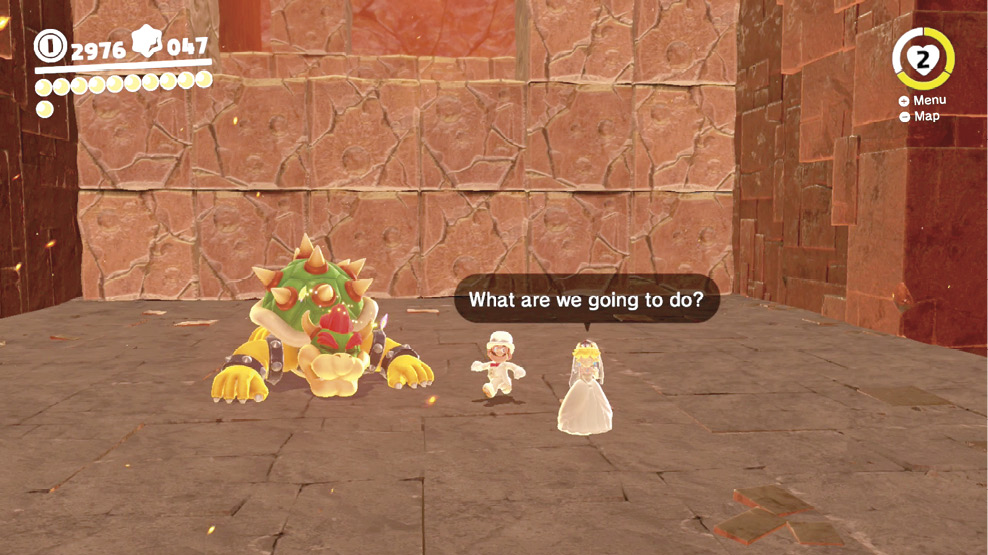
Falling debris and boulders present a constant hazard from above from here on out. And, at this point, even the floor becomes an enemy: standing on a section of ground causes it to light up, which signals it’ll fall slowly away into the abyss soon. Moon platforms falling away beneath and the roof falling in from above forces the issue: it’s time to move forward ASAP.
Where a breakable stone wall appears in the way, slash it apart up close or, far away, shake the controller to destroy it with a fireball. You may encounter some larger pillars, which must be attacked repeatedly to knock them down. Keep watching out for falling boulders when hacking away at a breakable pillar!
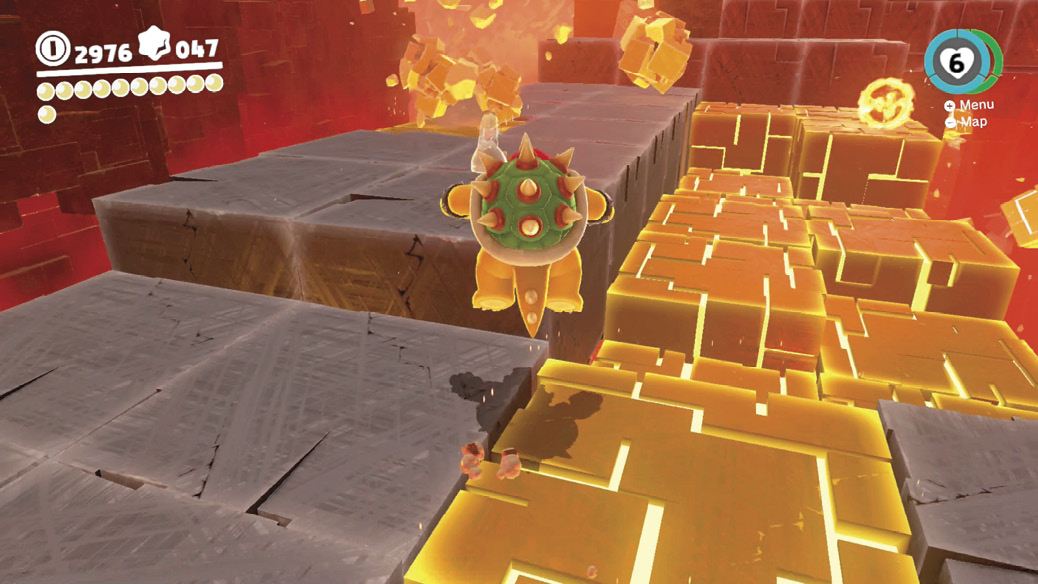
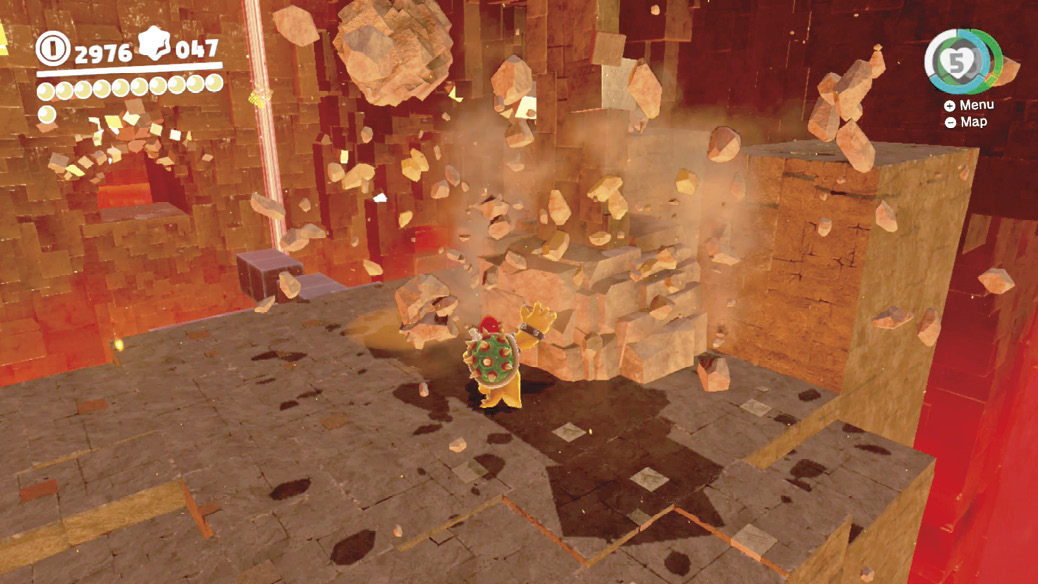
Keep pushing forward, and eventually the escape path opens into a wider chamber, with four large pillars set at points around a big blocky central hub. Rush around the circumference of the room, avoiding falling pieces of floor and roof while methodically dismantling each of the four pillars.
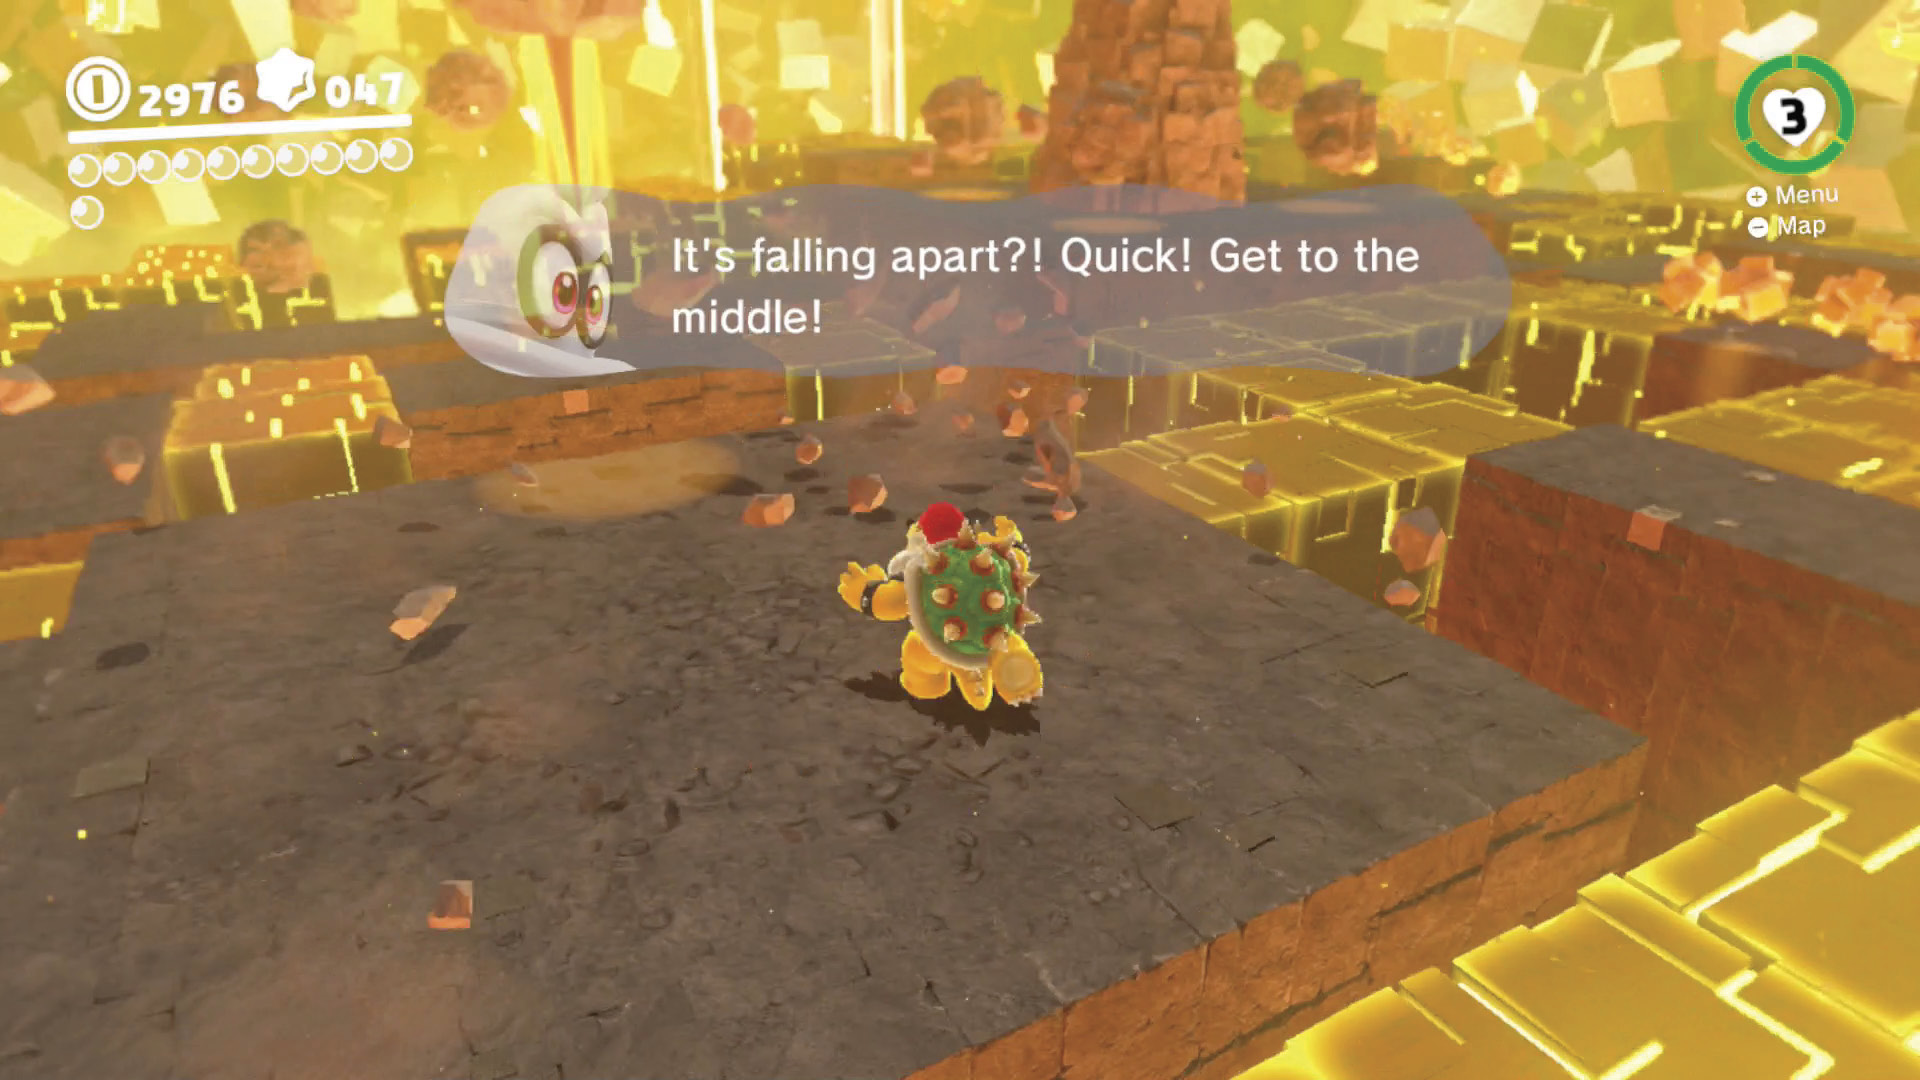
Take out all four of the spoke pillars and Cappy announcess that the central block now seems vulnerable. Rush to the center and focus attacks on the strange locus here.