
Super Mario Odyssey Guide Cloud Kingdom
Power Moon Locations
 Power Moons
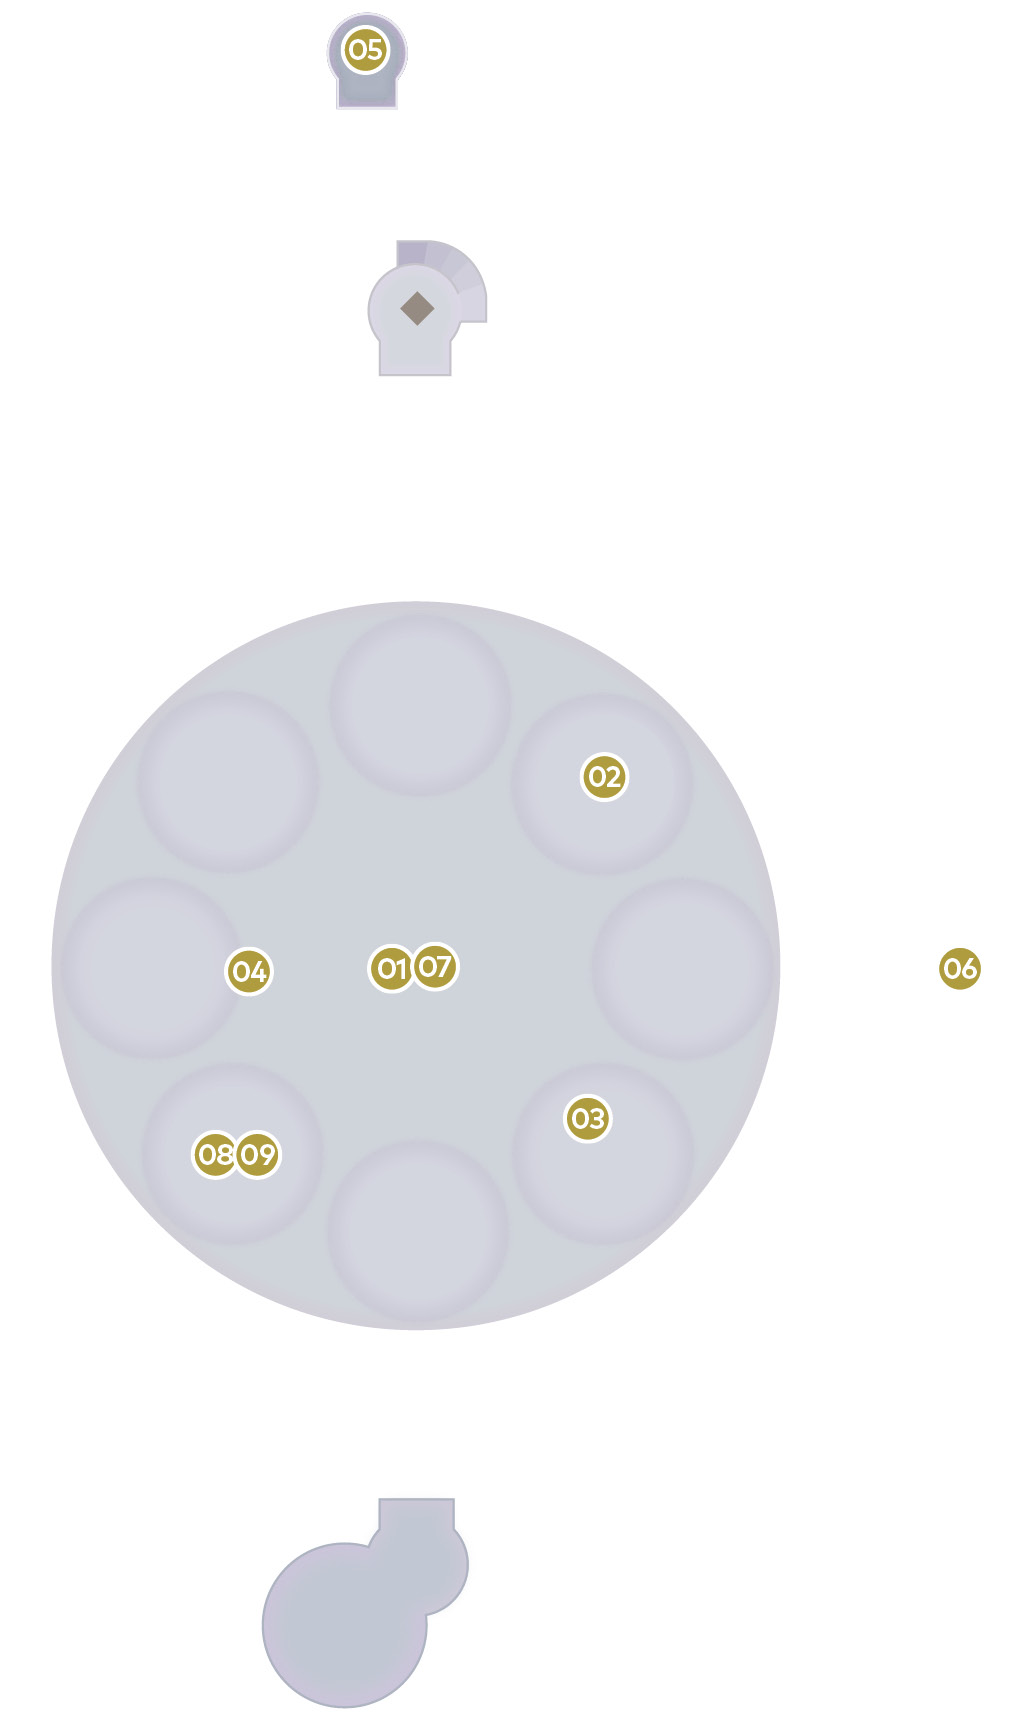
There are nine Power Moons at Cloud Kingdom, all of which are available on subsequent visits. Mario must return after defeating Bowser for good if he’s to find every Power Moon.
 Picture Match: Basically a Goomba
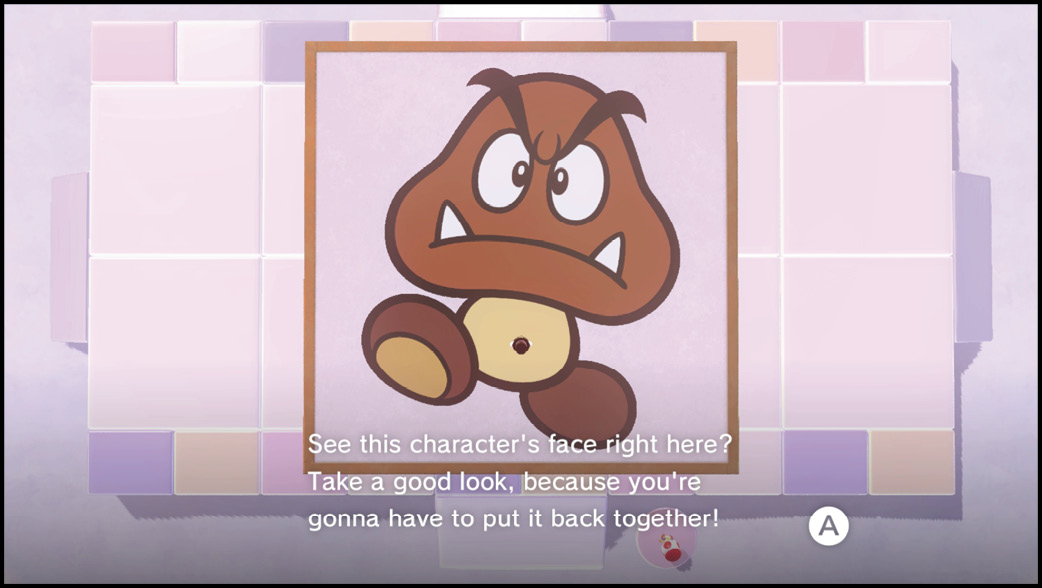
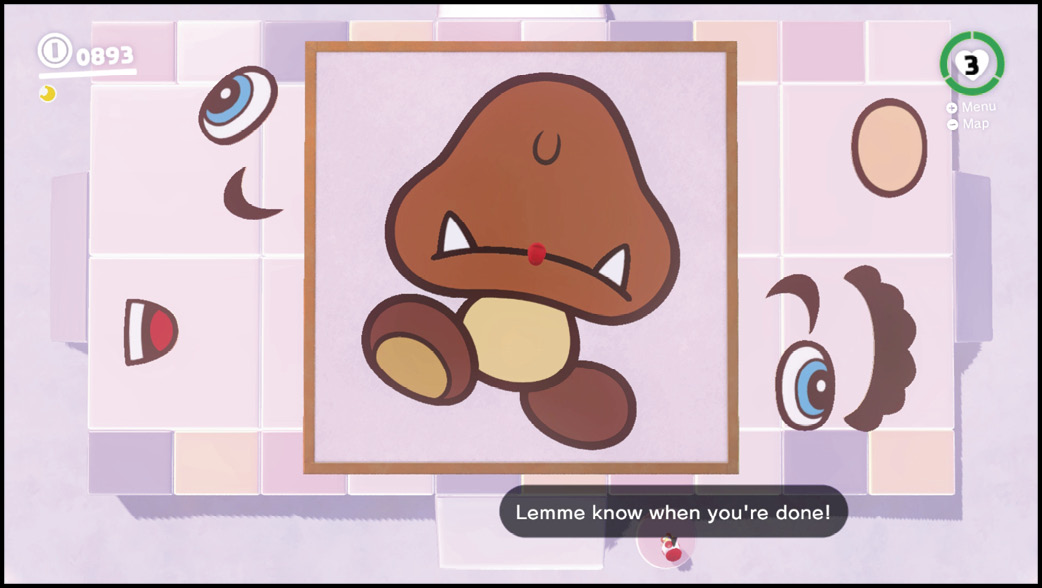
Enter the warp pipe to join Toad in the first Picture Match challenge. Take a good look at the Goomba pictured in the art, because it’s going to be up to you to capture his eyes, mouth, and eyebrows and reposition them back on the image, one by one. Of course, normally you’d have only your memory and this book to go by, but because you have a Nintendo Switch, you can use the system’s screenshot ability to take a picture of the Goomba before you begin. Access the Switch’s Album screen to reference the image (just like with Hint Art) as you place the pieces. You only need to achieve 60 points to earn a Power Moon, so Toad is pretty forgiving this time around. Each piece disappears as soon as you place it so pay close attention!
Be careful not to accidentally release a captured piece too soon, as that could ruin your score. A few details to note: Goomba’s teeth point up, the glint of his pupils point upwards, and the thick part of his eyebrows extend beyond his head.
 Peach in the Cloud Kingdom
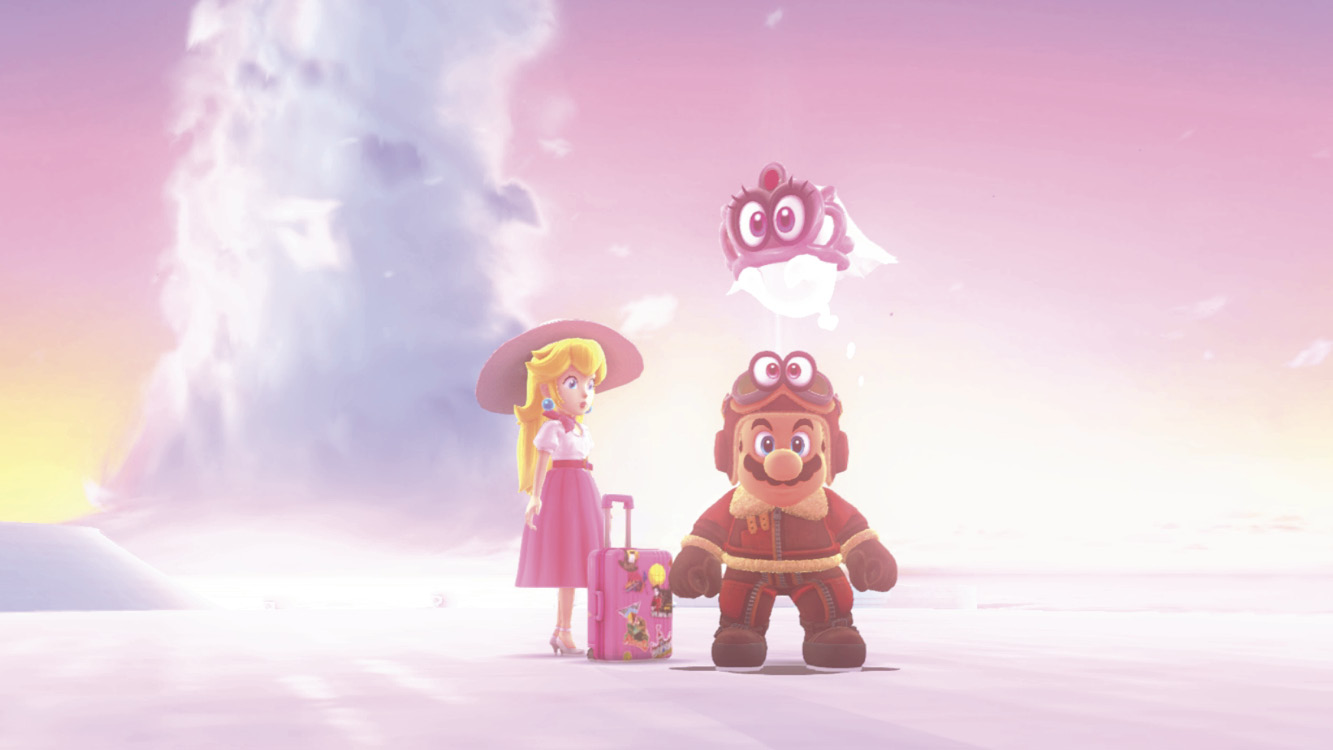
Princess Peach and Tiara have somehow made it to Nimbus Arena. Cross the area to the north to find them admiring the view atop one of the moon phase platforms. As usual, Princess Peach rewards Mario with a Power Moon for finding her.
Moons from the Moon Rock
 Digging in the… Cloud?
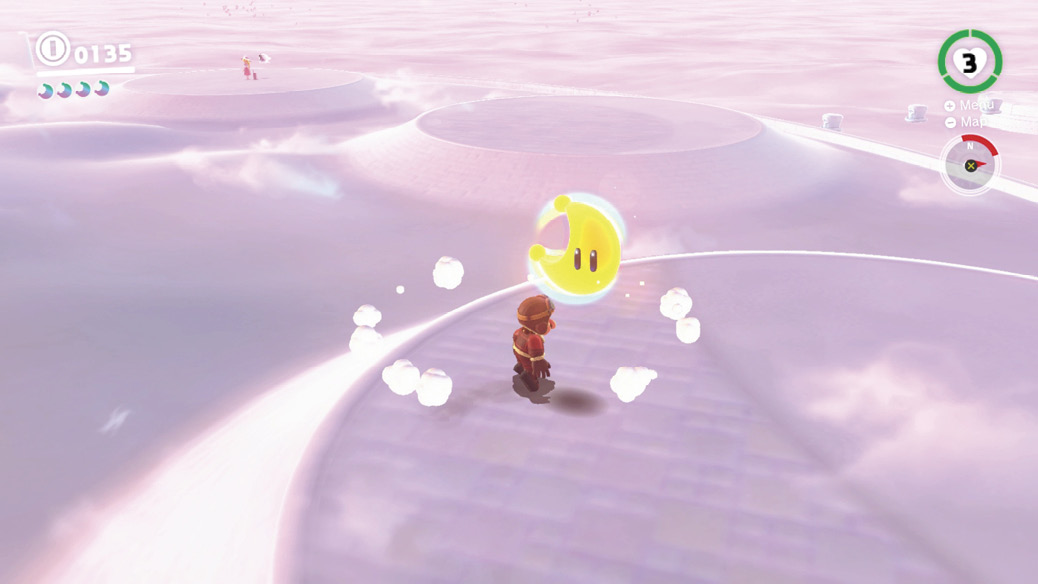
There’s a Power Moon buried in the platform two platforms clockwise of where Princess Peach is located (and one counter-clockwise from Hint Toad). This is the half-moon phase platform. Move around the area of the platform closest to Peach and feel for the vibrations. Ground pound the platform to uncover the Power Moon.
 High, High Above the Clouds
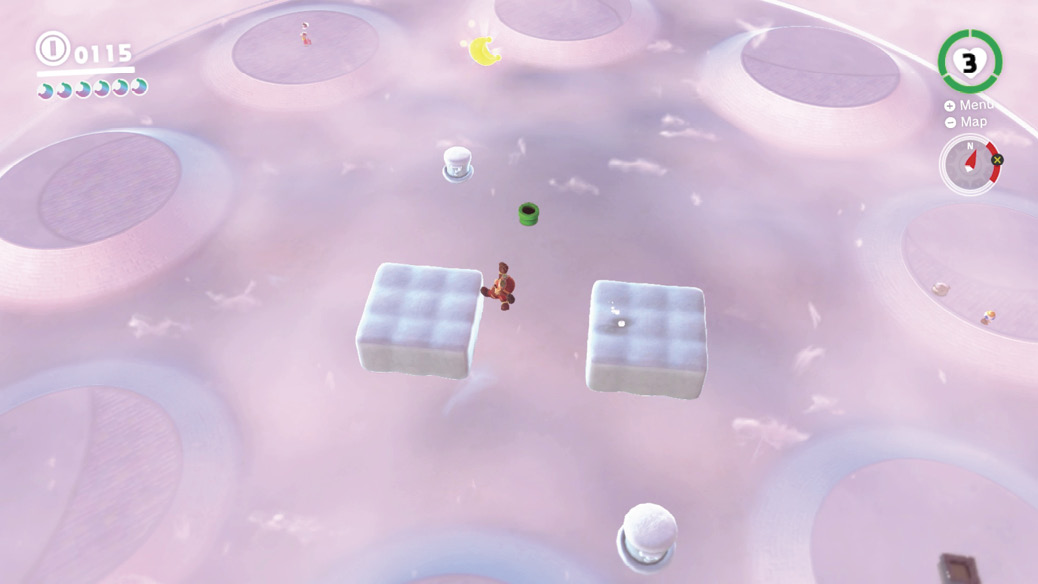
Cross the cap clouds to the western platform and ground pound the sunburst to ride it to a mass of cap clouds high above. Mario has to be quick to cross this array of cap clouds, as they don’t stay active for long. Fortunately, they are positioned very close together so there’s not much risk of falling. Take care to rotate the camera to ensure Mario is facing the next cap cloud head-on, else there is a greater risk of time-consuming errant throws.
 Crossing the Cloud Sea
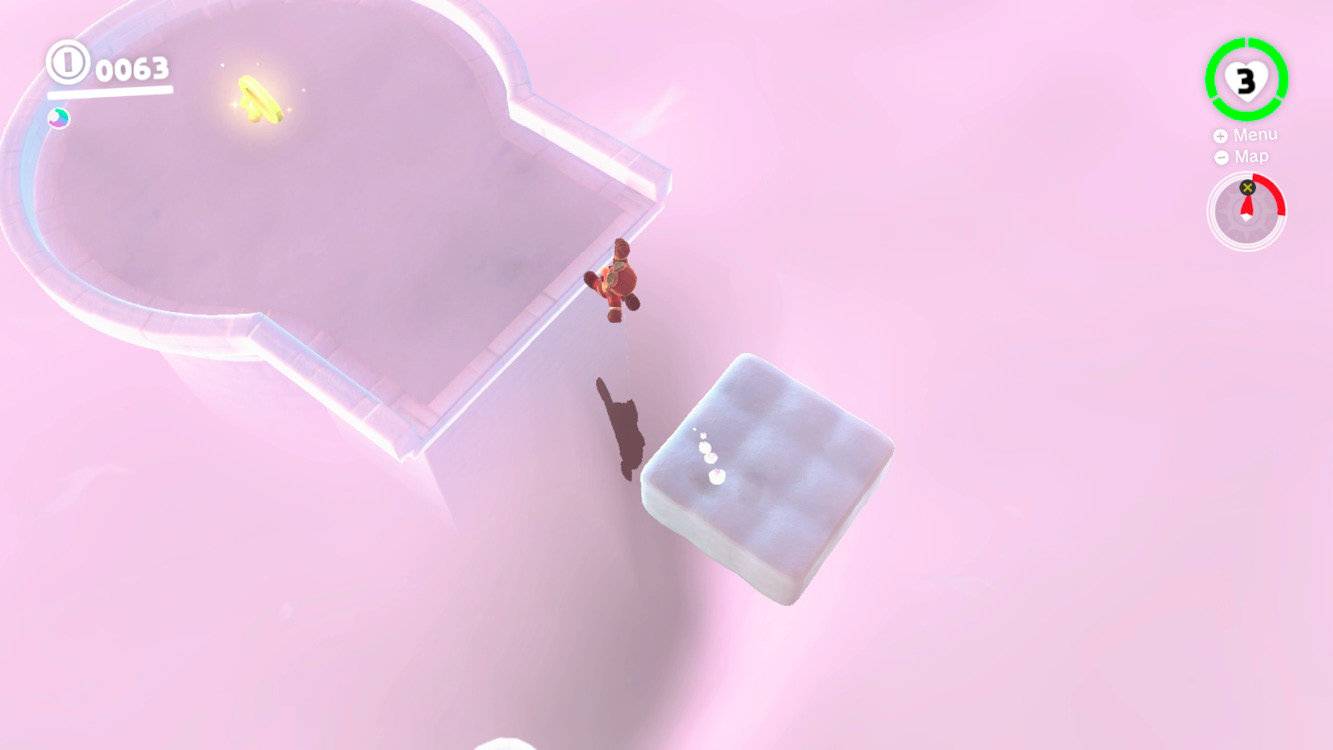
You’ll likely notice the locked panel beneath the Moon Rock as soon as you break it apart. The key to unlock the Power Moon inside is directly north, beyond a sequence of cap clouds. Descend the curving stairs to the clouds and carefully hop platform by platform to the key, using Cappy to trigger the cap clouds. They don’t last long, nor do they form a seamless path much jumping is required—but they do make it possible to get the key.
 Taking Notes: Up and Down
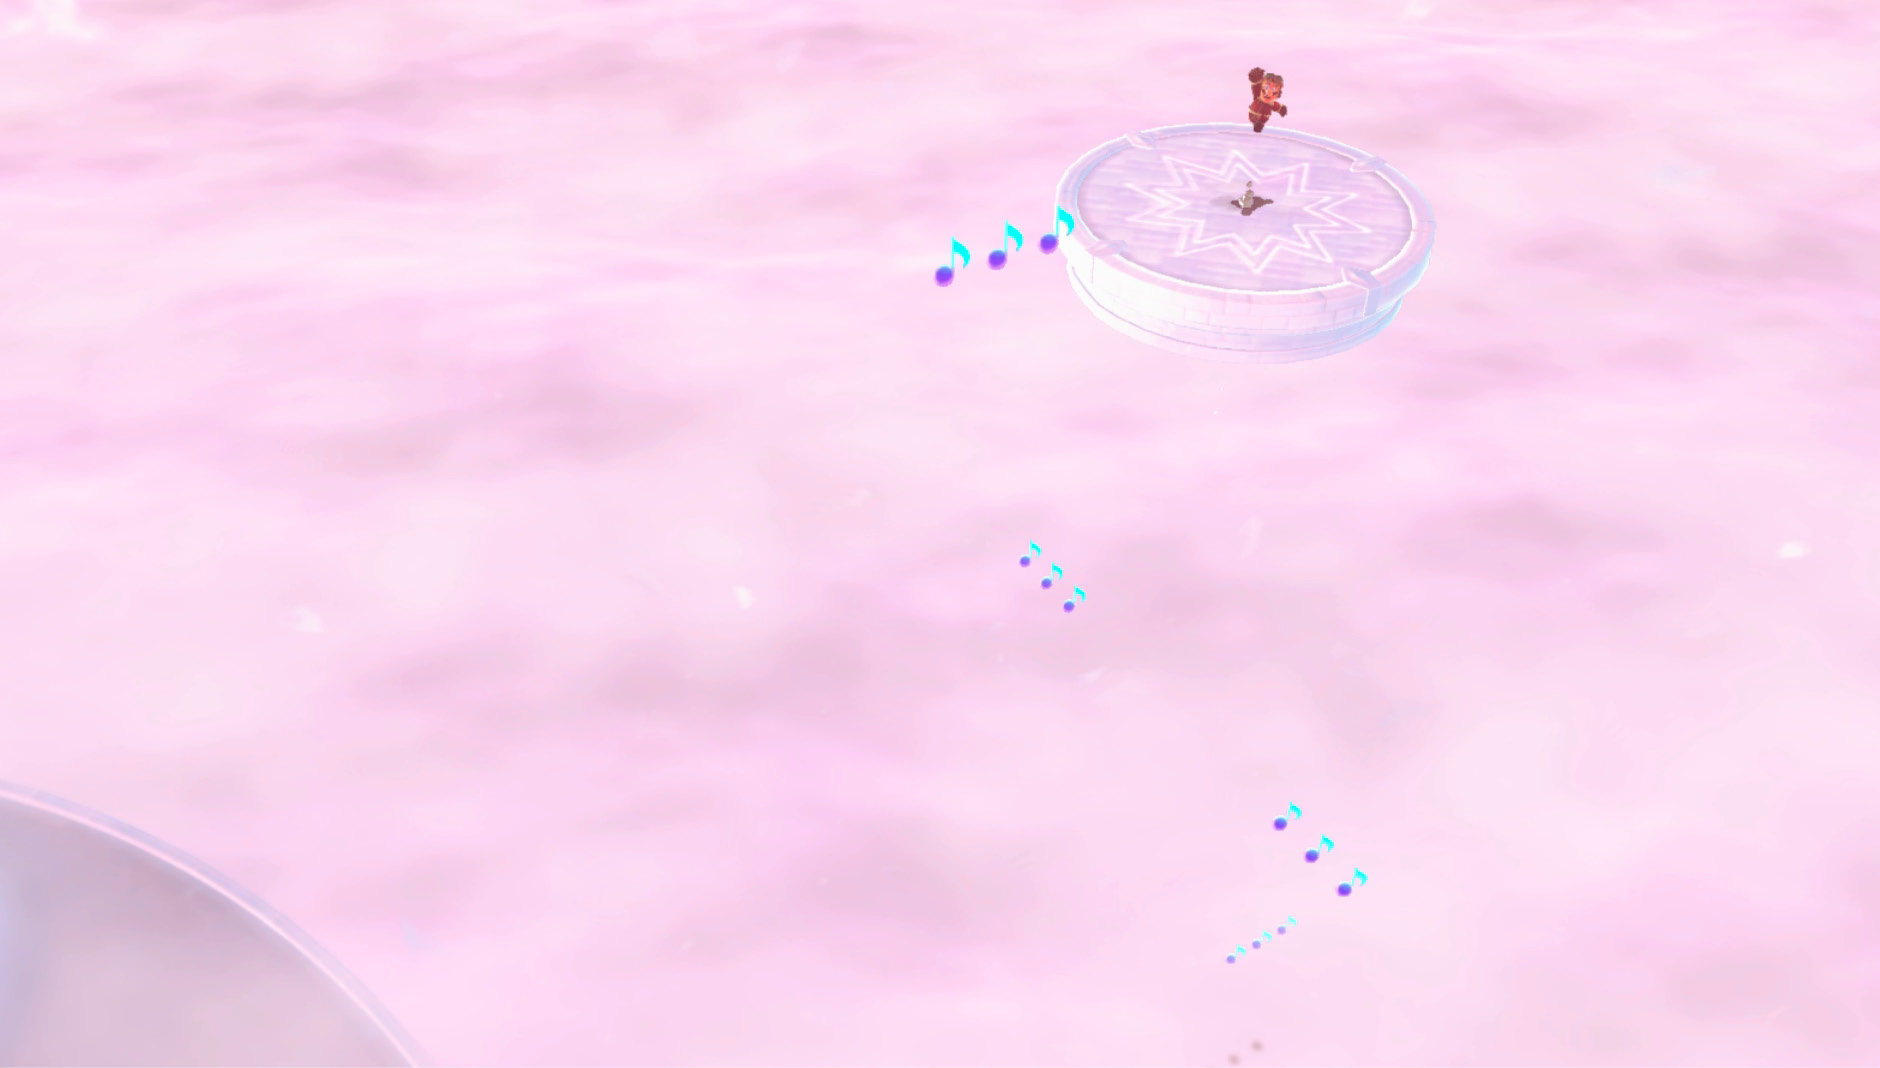
Leap across the cap clouds to the circular platform to the east of Nimbus Arena and ground pound the starburst design. This sends the platform rising into the air where a treble clef is. Leap to trigger the Taking Notes even and be ready to throw Cappy. Four rows of notes are aligned off the edge of the platform at different heights, and in different directions. The only way to collect them is with Cappy, but there’s not a lot of time so you need to act fast. Ground pound the platform again once it descends to the clouds to have it rise for a second trip. Don’t try to collect two consecutive rows of notes in a single pass, as the platform moves too fast. Instead, aim for the top and bottom rows on the initial descent. The second and third rows are both at middle-height on the platforms path. Collect one set on the way up after the ground pound and the other set on the descent right before time expires.
 Picture Match: A Stellar Goomba!
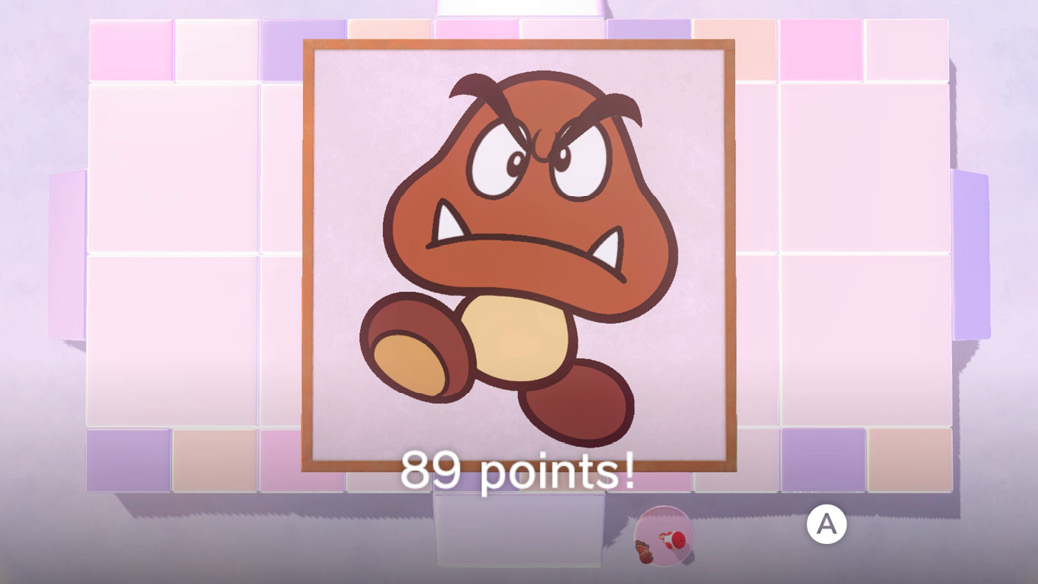
This Picture Match is just like the one you completed to earn Power Moon #01, but now you have to score 80 points. That’s not the only additional challenge, however. Other than the basic outline of the Goomba, the entire image is empty! Refer back to the image you captured earlier with your Nintendo Switch (and the accompanying screenshot) as you place the pieces. As a guide, the Goomba’s pupils should line up with the pinched sides of his head and be roughly one pupil’s with apart.
 King of the Cube!
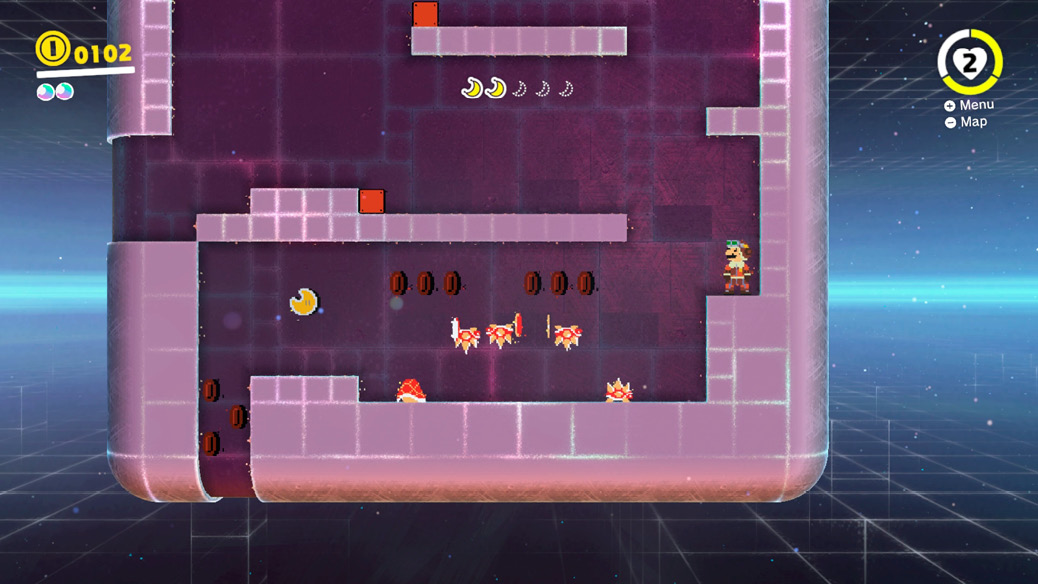
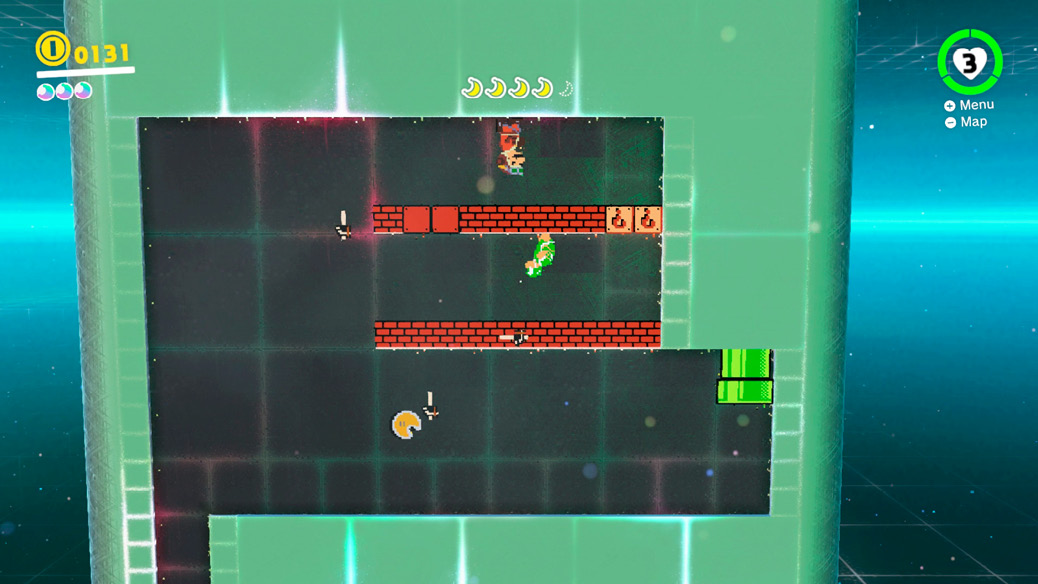
Enter the Moon Pipe near Hint Toad to access this magical cube comprised of a continuous multi-sided 8-bit level. There are five Moon Shards to find in the cube, one for each of the five faces of the cube that you’ll visit by ordinary means. Though the cube looks complicated at first, there’s only one way to proceed so don’t worry about having to solve any tricky puzzles here. Just get the Moon Shards, dodge the Bullet Bills as they fly past, and squash any Goombas in your way. Also, be sure to kick the Koopa Shell in the third screen so that it eliminates the Spineys for you down below—that will make things much easier. The fifth and final face (for this Power Moon) takes place upside-down. Wait for the Hammer Bro to drop to the upper row of bricks then move over and bounce him off the level. Break through the blocks to get the Moon Shard.
 The Sixth Face
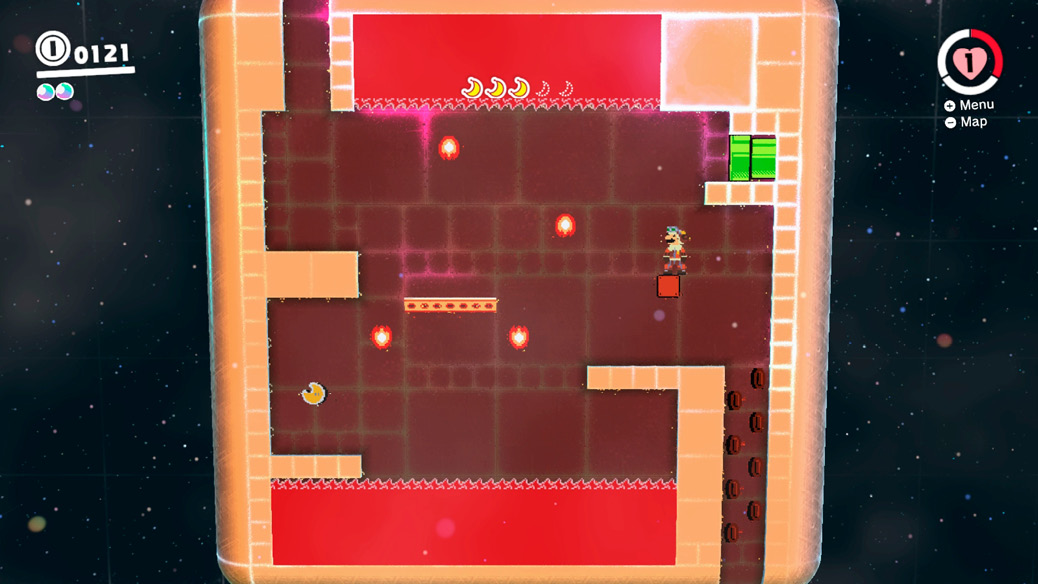
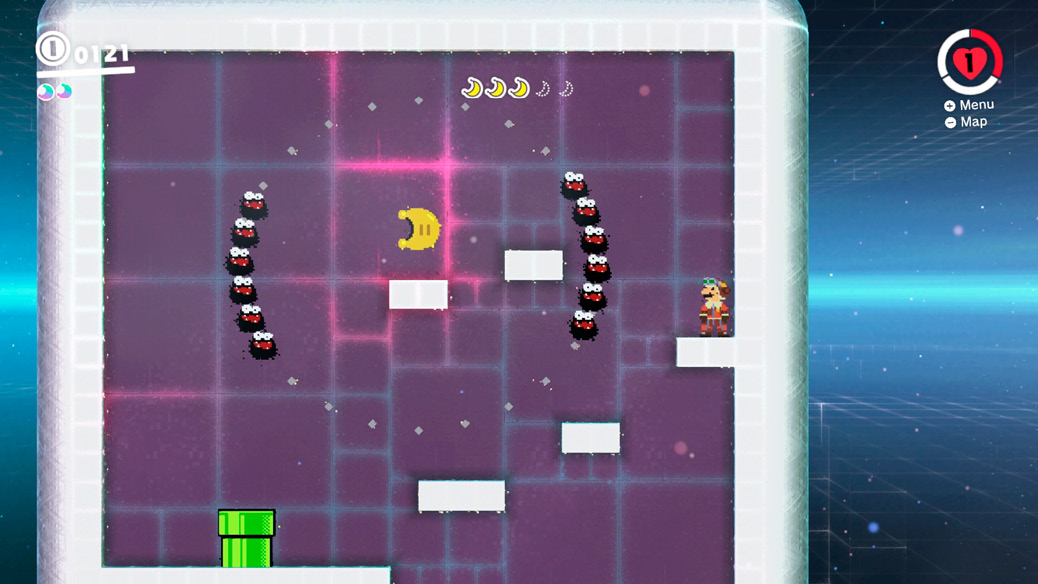
Follow the directions for Power Moon #08 until you reach the fourth face of the cube. There, before descending via the coin shaft on the right, trigger the invisible block above the fourth grid block on the right. Leap from the steel block that appears to the warp pipe above. This goes to a sixth face of the cube containing a Power Moon encircled by Fuzzies. Leap with care!