Super Mario Odyssey Guide Moon Kingdom
Power Moon Locations
 Power Moons
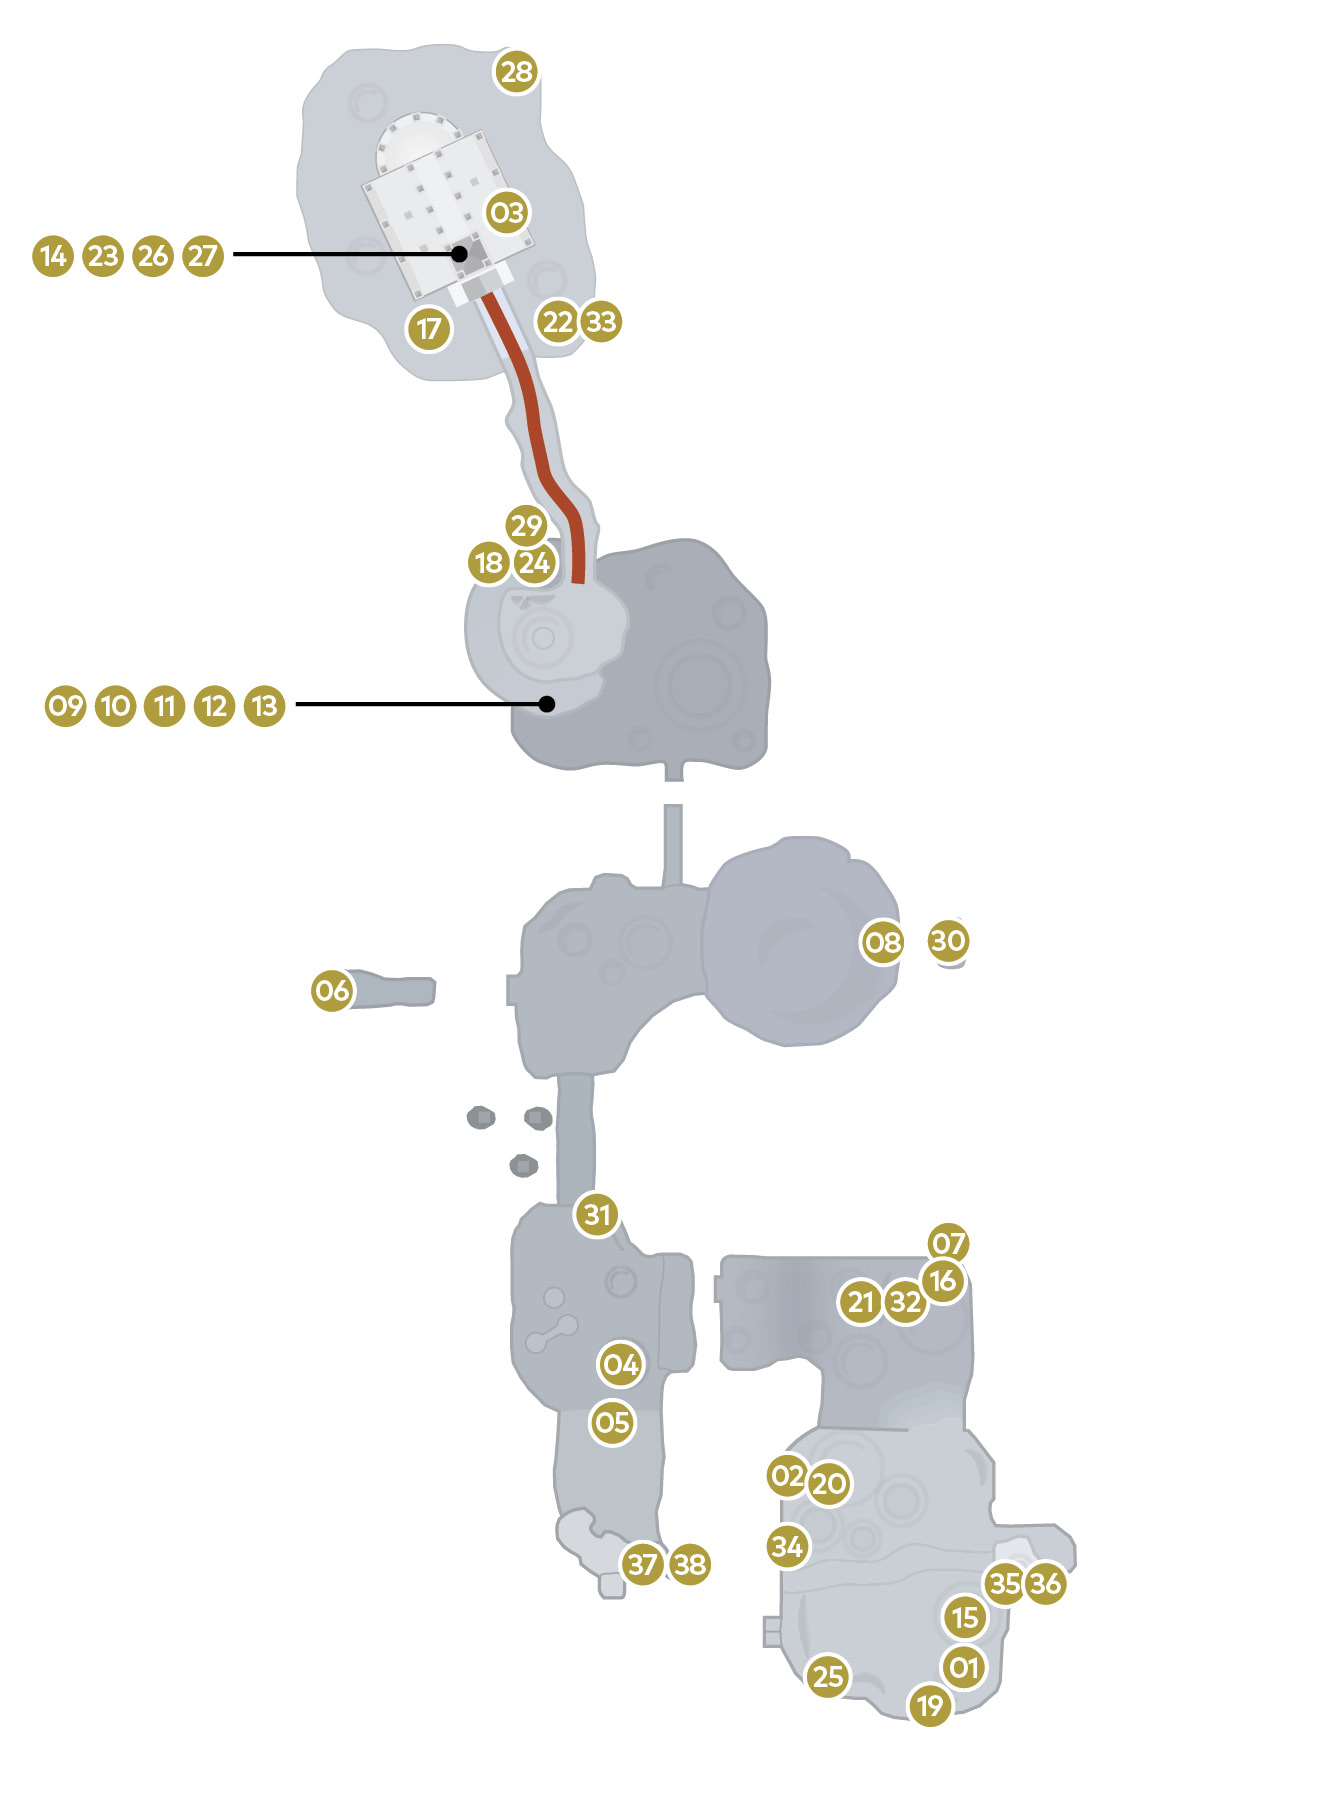
There are 38 Power Moons in Moon Kingdom. It’s possible to clear the story portion of Moon Kingdom without collecting any Power Moons at all here. Many Power Moons here aren’t available until after Bowser is defeated or after the Moon Rock is opened.
 Shining Above the Moon
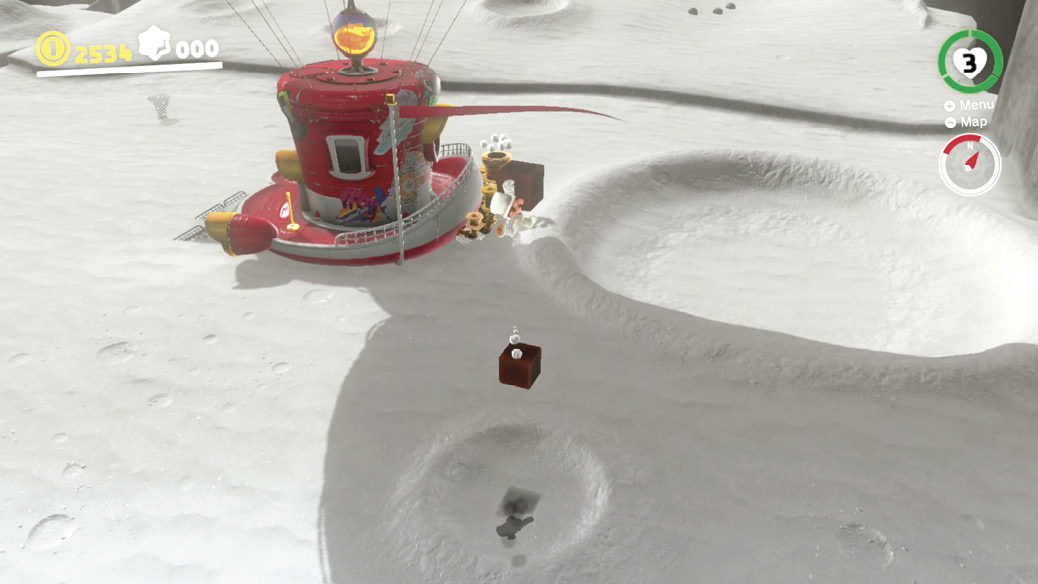
Look around in the airless sky around the Odyssey’s balloon and you see a Power Moon floating seemingly high out of reach. It’s hovering directly over a small crater just behind the Odyssey. Jumping in the center of this little crater, far under the Power Moon, reveals a hidden block. Jumping on top of this block, then jumping straight up again, reveals another hidden block! See a pattern? After revealing three hidden blocks straight up above the crater, Mario can reach the Power Moon.
 Along the Cliff Face
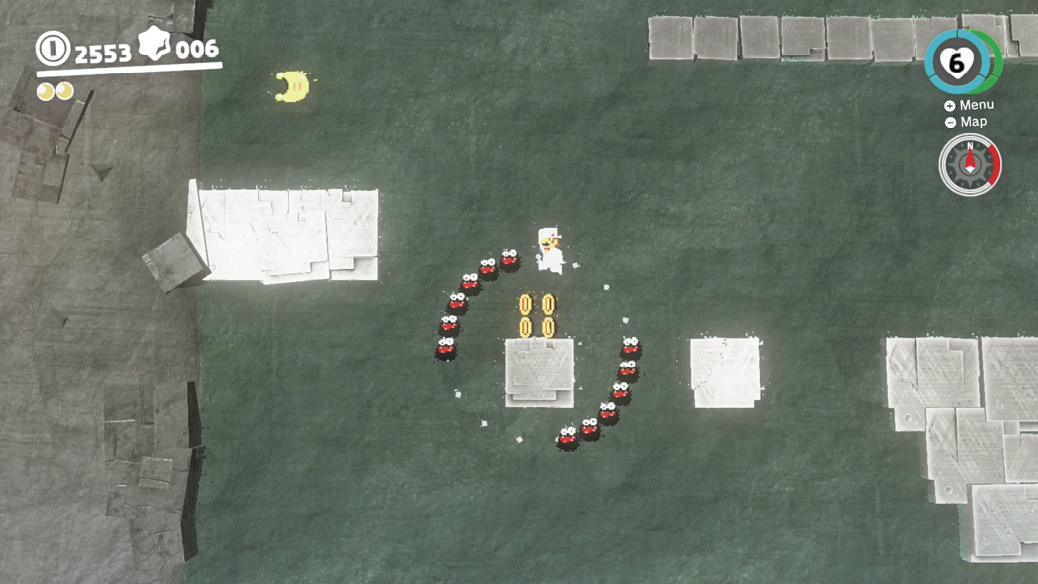
An 8-bit pipe can be found straight to the west from where the Odyssey is parked, just a short distance down from the drop-off. The flat landscape it shows access to can be seen stretching along the side of the sheer moon wall here. Enter the pipe and go retro, running sideways along the moon wall in 2D. The Power Moon is found all the way to the left here, beyond some pits to jump over and Fuzzies to avoid.
 The Tip of a White Spire
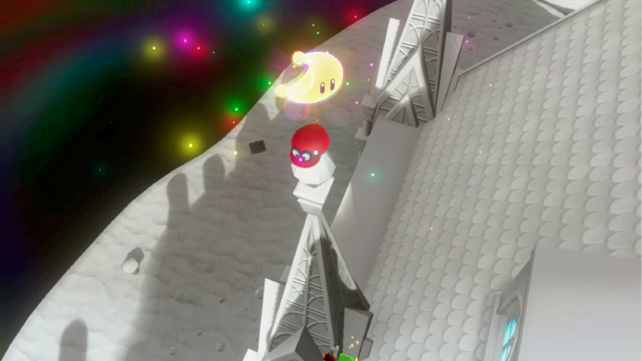
Once you’ve progressed to Ever-After Hill and gained access to the Wedding Hall exterior, this is one of the easiest Power Moons to find. Observe the spires on the east side of the beautiful building and you notice one spire’s tip that’s giving off a familiar rainbow twinkle. Use the moon’s low gravity (and/or the Frog found behind the building) to climb high enough to get to the spire, then toss Cappy upon it and hold him to draw out the Power Moon.
 Rolling Rock on the Moon
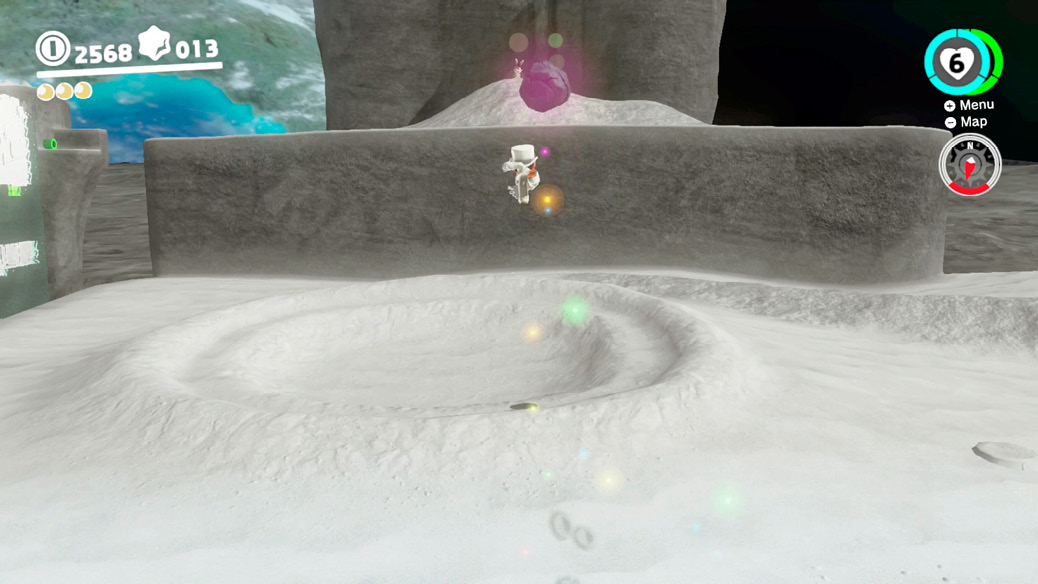
Locate the concentric double-crater on the large landmass facing the one the Odyssey is planted upon, beyond a series of Moonsnakes and over a pit. The area is guarded by a powerful Astro-Lanceur, so watch out. Check the center of the crater for a curious rock that glows once it’s dislodged. Kick and toss the rock around until it breaks, freeing a Power Moon stuck inside.
 Caught Hopping on the Moon!
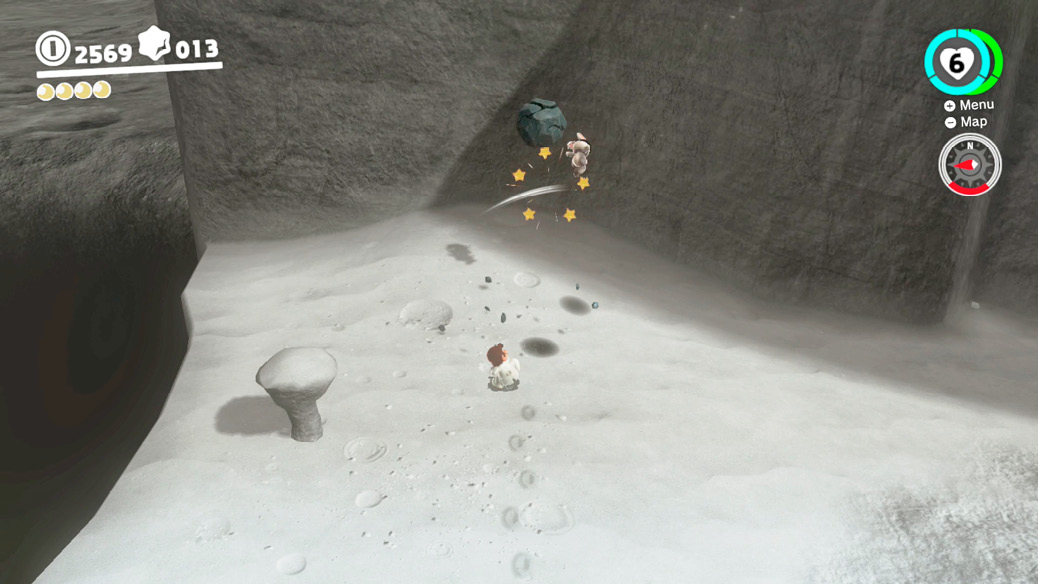
South of Rolling Rock on the Moon and the Astro-Lanceur, a hare can be found scampering timidly away on the moon’s dunes. Slow the rascally rabbit down by smacking it with a rock or Cappy, then grab it before it recovers to shake loose a Power Moon.
 Cliffside Treasure Chest
West of the Ringing-Bells Plateau warp point is evidence of a bridge that once stood across a gap but is now broken. A short platform trails off into space, and a treasure chest is visible on a finger of land over the gap.
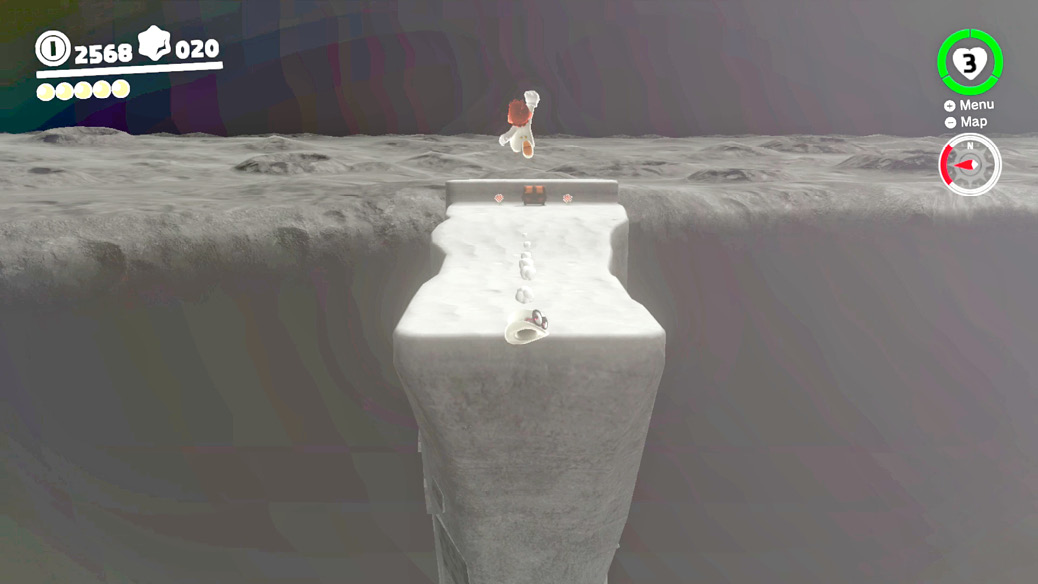
Around the warp point and this gap, Rocket Flowers are sprouting on the moon. Pick one up with Cappy and jump across the gap with rocket power. After cracking open the chest and collecting the Power Moon, check the back end of this rock for three well-hidden Regional Coins. Rocket Flowers are available here for leaping back over the abyss. More lazily, Mario could simply warp back to the nearby checkpoint flag.
 Moon Kingdom Timer Challenge 1
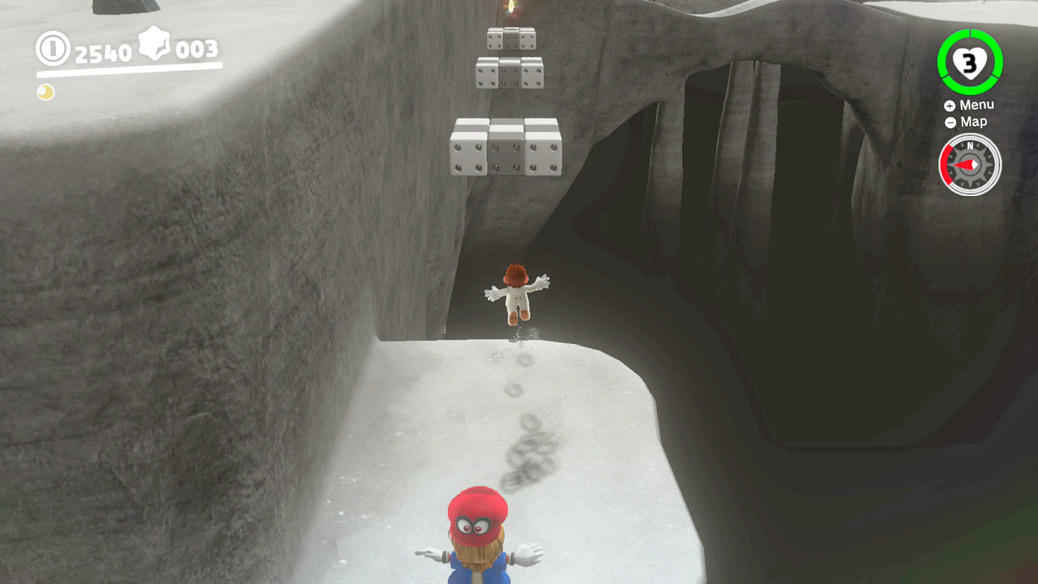
Heading directly north from the Odyssey until there’s nowhere else to go, look for a little shelf down off the edge of the moon, in the northeast corner of the first general area. You find a lone scarecrow down here. Affix Cappy to its brow to reveal a series of checkered blocks along the side of the plateau here, leading to a distant Power Moon. In the low gravity of the moon, Mario’s lengthier jumps travel quite far indeed. To make it to the moon on time, run confidently to the edge and perform a running long jump at the last moment, launching toward the next platform. Repeat this all the way to the Power Moon, long jumping off the edge of a platform three times in a row.
 Taking Notes: On the Moon’s Surface
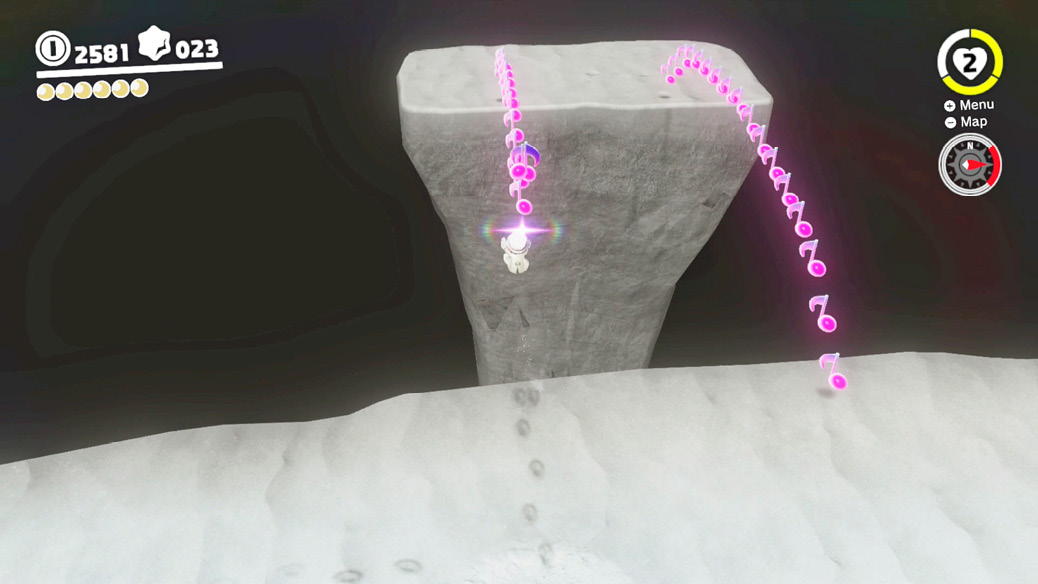
East of the Ringing-Bells Plateau checkpoint, look for a subtle crater nestled up to the edge, with a featureless platform about a moon-gravity long jump’s distance out from the drop-off. Hovering in this crater is a glowing music note, which triggers a note-collecting challenge when Mario picks it up. Notes appear out over the gap to the blank platform in two lines. Both conform to the arc of a running long jump, so the solution is natural: line up one row of notes, running long jump over the gap through the whole mess of them. Then line Mario up and do it on the way back too, over the other line, back to the Moon Kingdom’s main landmass. Grab all the notes quickly before the timer runs out to unlock the Power Moon hidden in the crater.
 Under the Bowser Statue
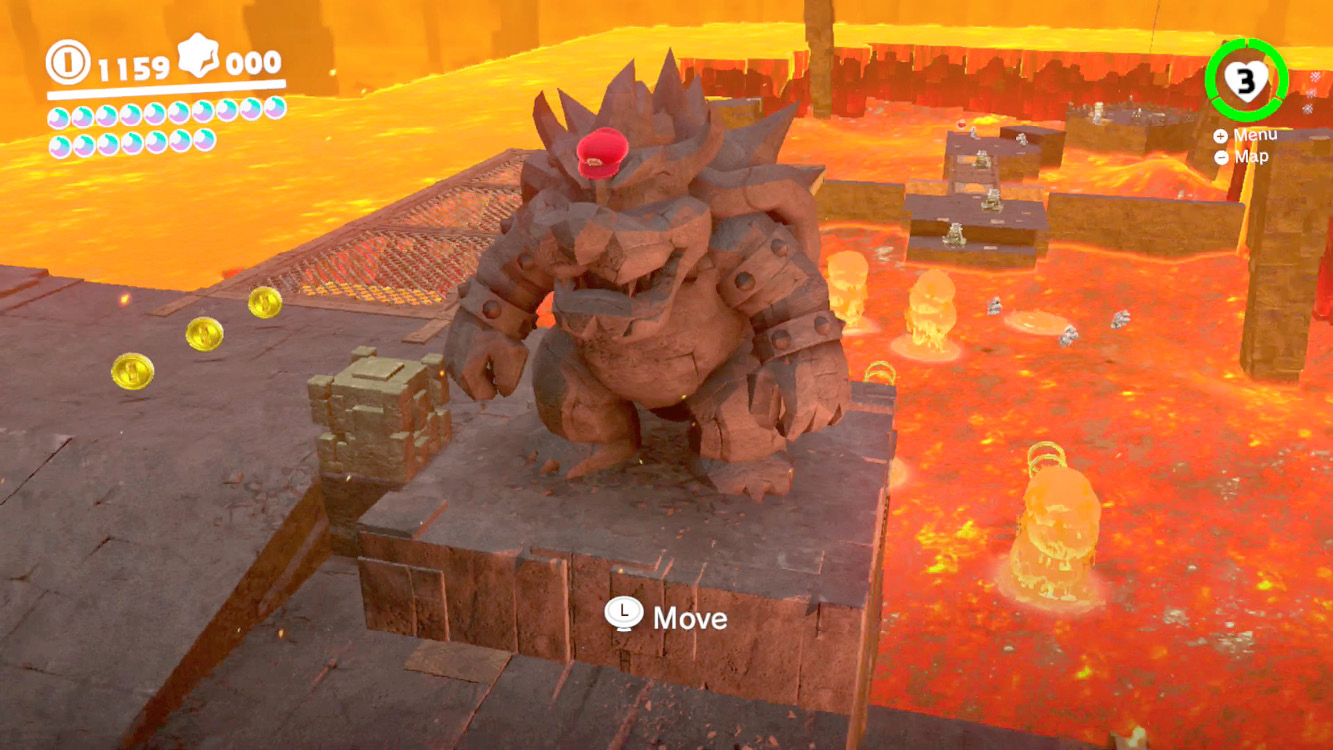
This is one of several moons hidden inside the cave near the Quiet Wall warp flag. Enter from here (the lower entrance, not the one above at Ever-After Hill) and don’t drop down to the Parabones platform below. Instead, stay up here and inspect the robust statues here. One of them looks like it can be fitted with a cap… Jump and toss Cappy onto the statue to capture it, allowing it to be nudged slowly forward, exposing a Power Moon underneath.
 In a Hole in the Magma
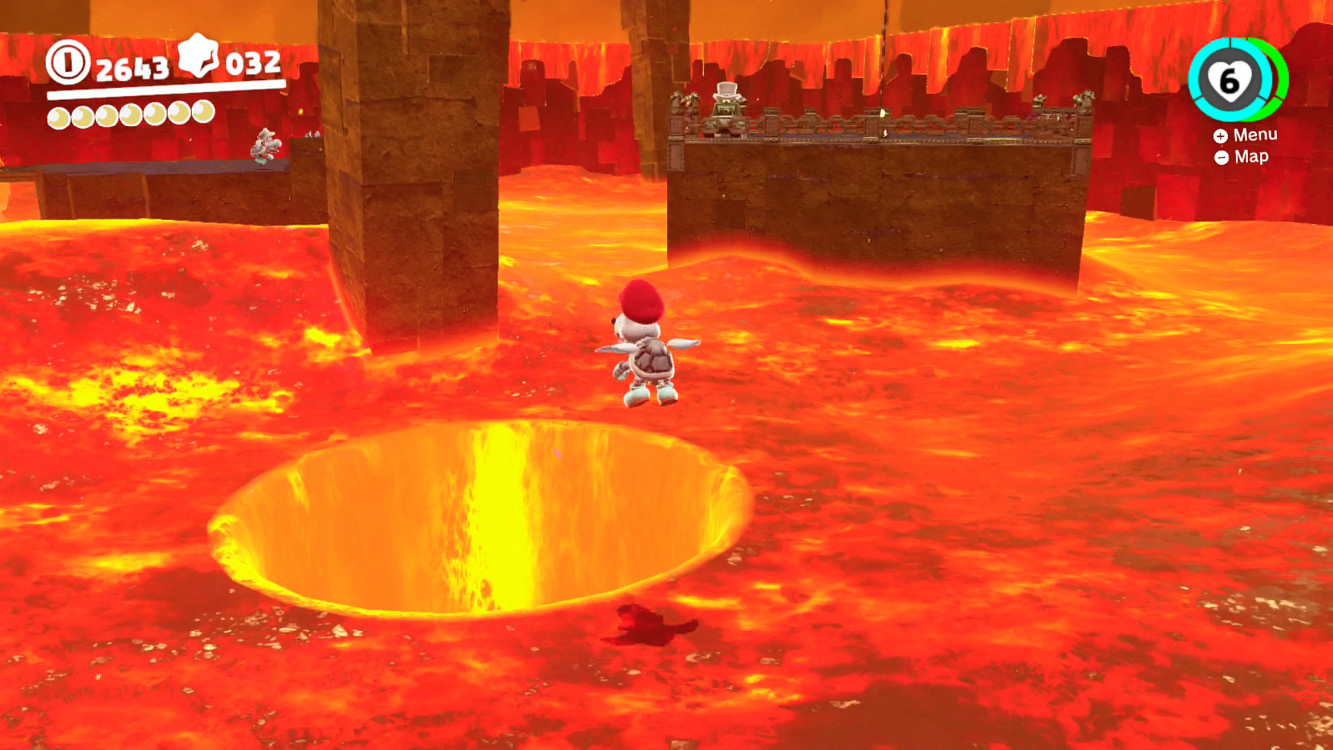
When passing through the Underground Moon Caverns leading from the Quiet Wall checkpoint flag all the way up to the Ever-After Hill flag, there are a few secret moons to uncover. In the first section, with Parabones flying aggressively and Sherm tanks ready to fire, capture a Parabones and flap over nearby where the caged Spark Pylon leads out of this lava bowl. Flap curiously around the lava surrounding the Spark Pylon platform, looking for an odd, deep, cylindrical gap in the lava’s flow. It’s safe to carefully drift down this hole if the Parabones doesn’t touch the edges. Deep in the hole in the magma, the Parabones collects a Key, which automatically pops the Lock tucked away behind the Spark Pylon. Flap furiously back up out of the gap, and fly back to the Spark Pylon platform to collect the Power Moon held in the Lock.
 Around the Barrier Wall
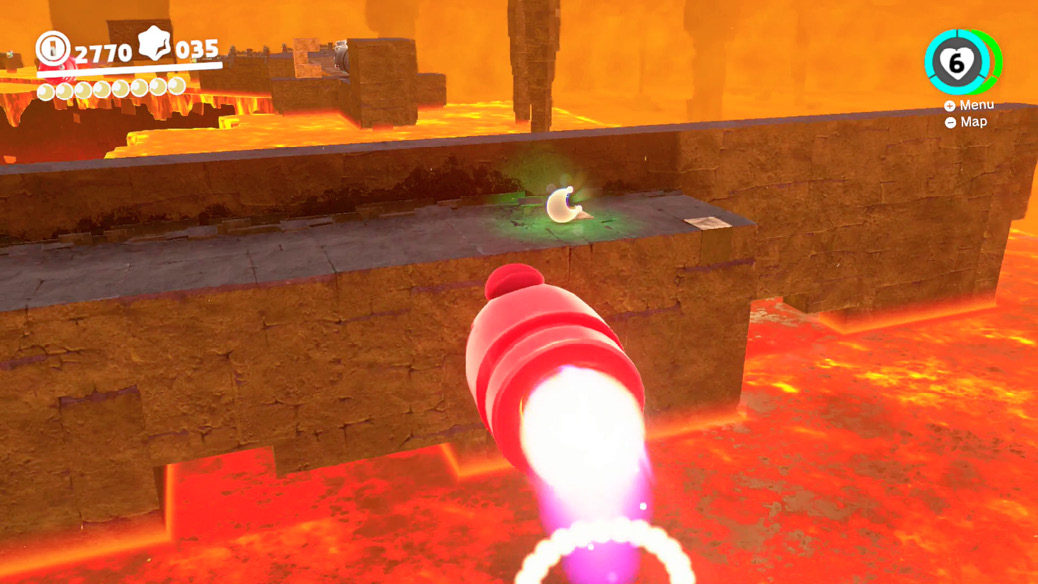
In the Underground Moon Caverns, progress to the section where a Banzai Bill plows through a wall of breakable bricks and blazes across a bridge at Mario. Throw Cappy twice quickly to knock off Banzai Bill’s protective hat then capture him, and begin flying along the normal path, following the coin rings and batting aside Bullet Bills with Banzai Bill’s bulk. While flying forward, watch out to the left. Behind one of the walls along the way here, on a lower ledge, a Power Moon rests. Go ahead and smack Banzai Bill right up into this ledge to pop Mario out, allowing you to collect the hidden moon. To get back on track, wait for Bullet Bills to sniff out Mario’s location here and come swarming, then capture one and fly onward.
 On Top of the Cannon
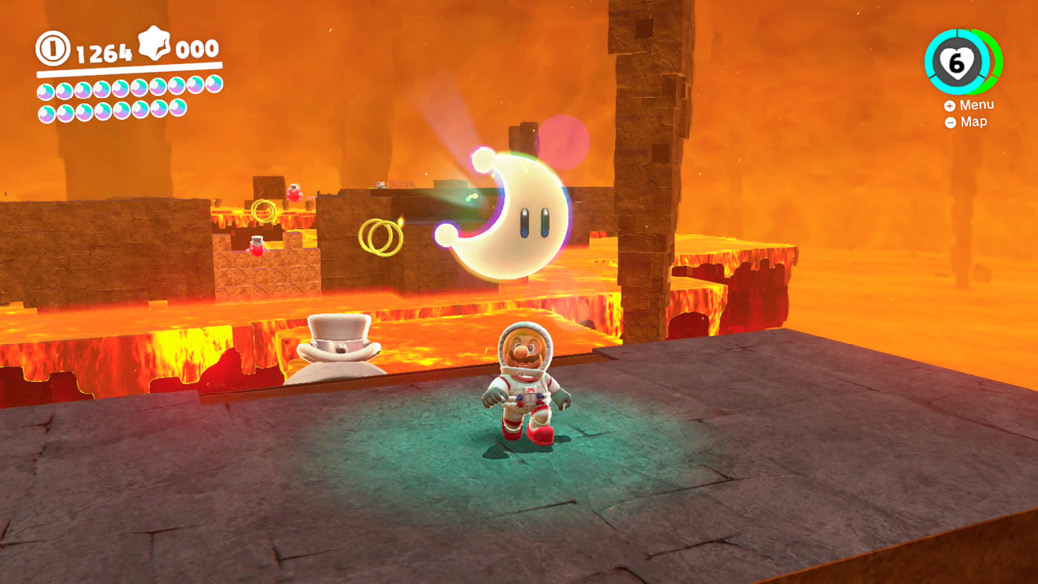
There’s almost no hint that this moon exists, except for the title, obtained from Talkatoo! Down in the depths of the caverns, there are several Power Moons to snag with the help of the Bills (Bullet and Banzai). One of these is right on top of one of the main Banzai Bill canon emplacements. Not the first one, which takes Mario by surprise as he crosses the bridge heading into the Bullet Bill segment, but the next canon, which floats freely in space. Ride a bullet to this platform, slam right into it to pop Mario out and onto the top, then ground pound the center to dig up the Power Moon.
 Fly to the Treasure Chest and Back
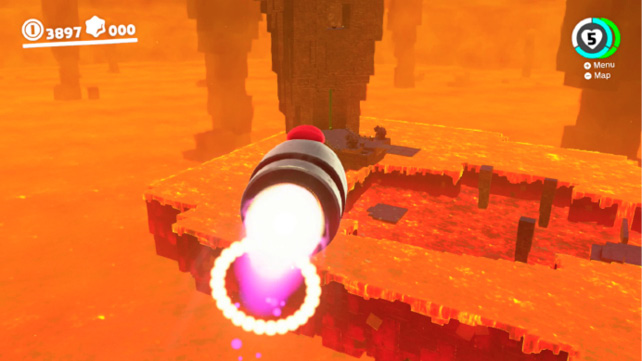
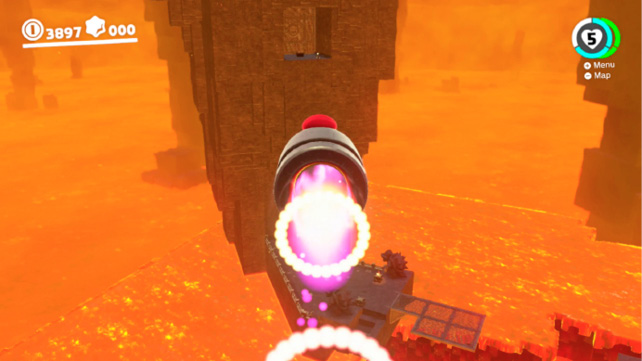
While taking a breather somewhere in the bullet-dominated section, high above the lava, look around and locate the lower entrance, where Mario comes in from the Quiet Wall flag. Spy where the dual Bowser statues are, then look high above that. Look for a square-shaped cutout in the rock above the entrance. That’s the target. Hijack a Banzai Bill and make a beeline for that square cutout, shaking the controller for speed bursts. Pilot the bullet into the gap and pop out, ready to open the hidden Power Moon treasure chest up here.
 Up in the Rafters
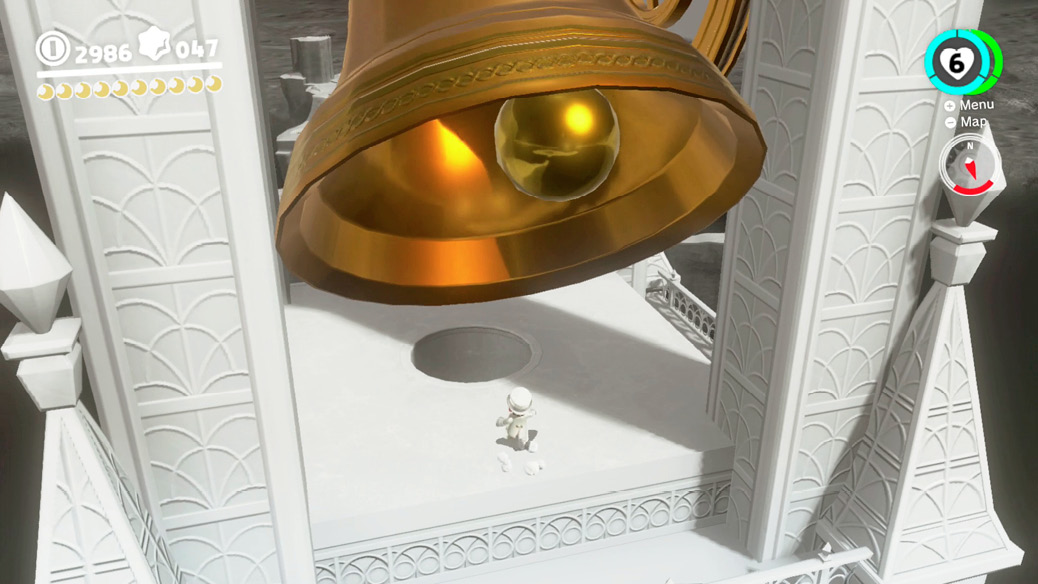
Climb up the exterior of the Wedding Hall all the way to the golden ringing bell and look underneath it. Surprisingly, there’s a circular hole here leading into the Wedding Hall. Drop down and Mario ends up standing on narrow rafters above a room inside. Carefully tip-toe around up here to grab the Power Moon, then drop down. If you haven’t yet entered the church proper, don’t progress farther inside yet unless you’re ready to set off irreversible events. If you’re not done exploring, walk back outside after dropping down.
 Sneaking Around in the Crater
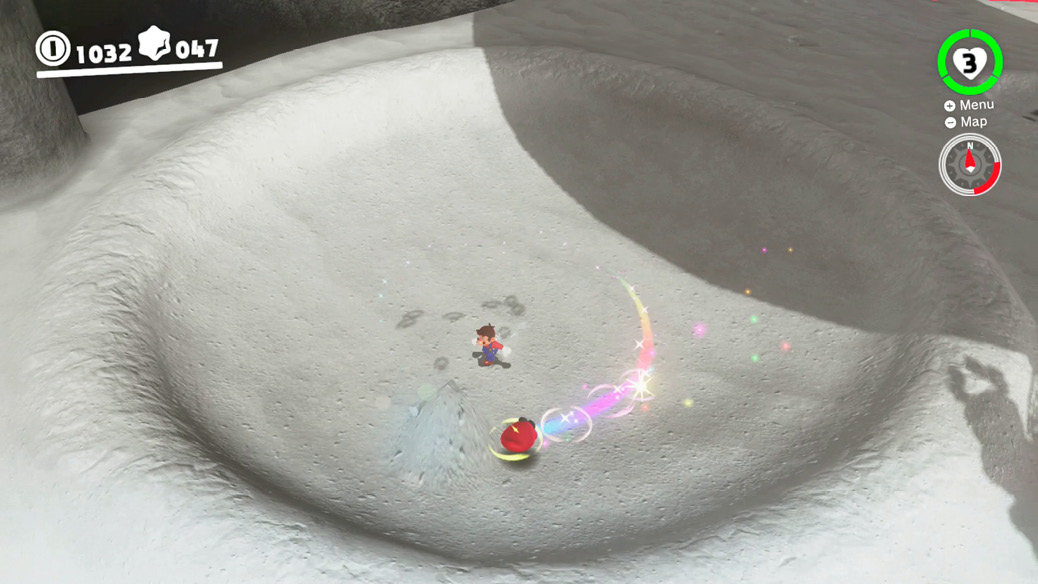
On return trips to the moon, inspect the large crater near where the Odyssey touches down. Looking carefully, you might see a strange stretched spot in the terrain, like something moving just under the surface. Slow this spot down like chasing a rabbit, by pegging it with Cappy. Then jump above the dazed spot and ground pound it, revealing the Power Moon sneaking around just under the ground.
 Found on the Moon, Good Dog!
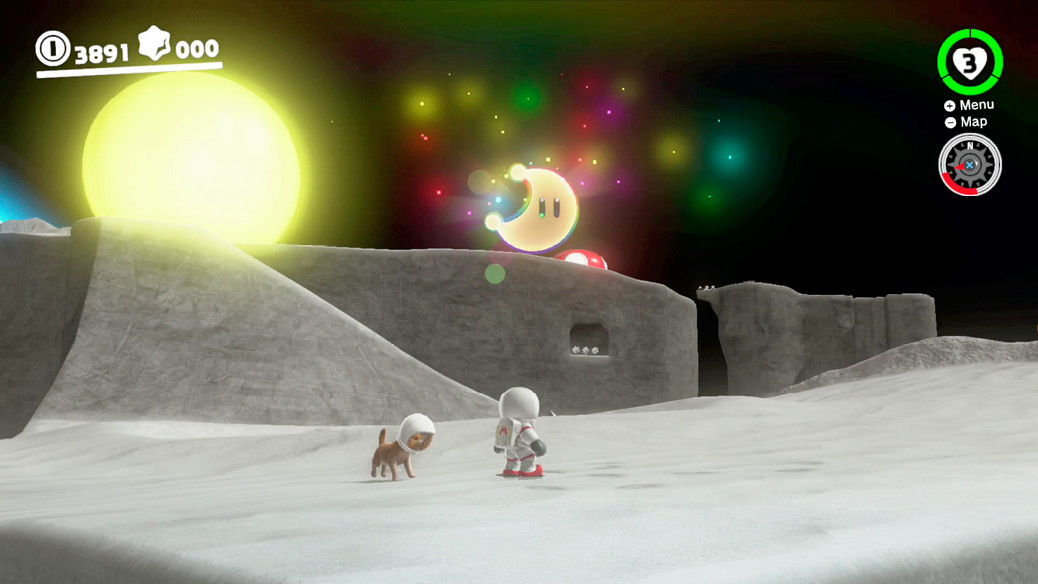
Befriend the dog idling near the souvenir shop, then head down the ramps slightly north to the open plain where the trace-walking Koopa and Moonsnakes are found. There are lots of spots where the friendly pooch will sniff and dig, revealing a glowing spot you can stomp for coins, but guide the dog to the northeast corner of this area to reveal a buried Power Moon.
 Moon Shards on the Moon
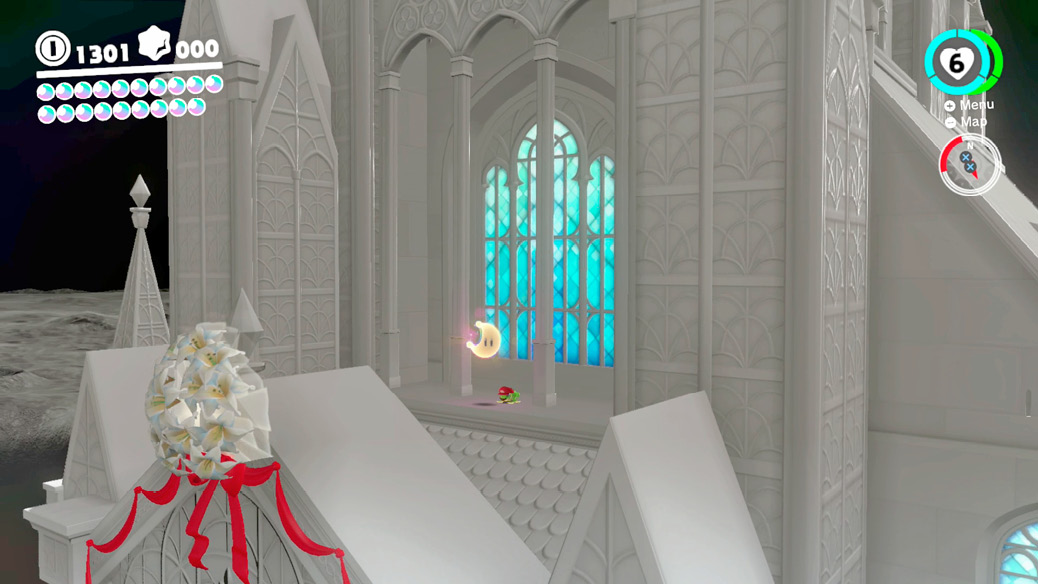
Once Bowser no longer occupies the Wedding Hall, moon shards can be found floating around its exterior. To assemble a full Power Moon from the pieces, track down all five. The Frog found behind the hall can help Mario climb more easily.
- In a crater near the Wedding Hall warp flag
- On the rear roof in the center
- On the left-side roof (looking at the main entrance)
- On the back of the top spire, above the bell
- In front of the stained glass window on the right side of the tower (looking at the main entrance)
 Moon Quiz: Amazing!
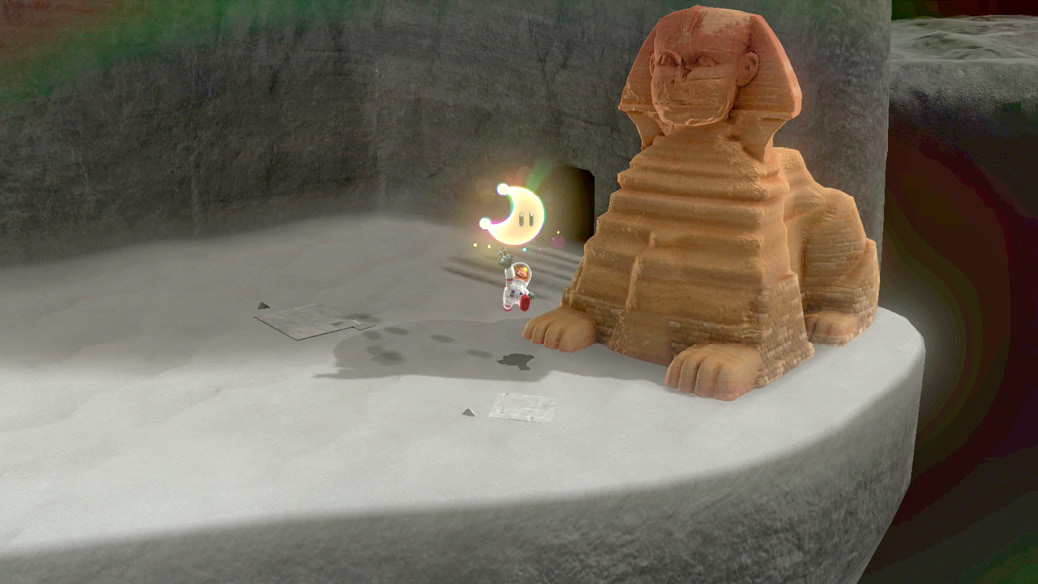
Surprisingly, the Sphynx is up here too, around a back corner at the foot of the Quiet Wall. He won’t have time to entertain Mario’s riddle itch while Bowser’s still up to no good, but he’ll indulge when things have calmed down. Complete Power Moon #24 first, revealing Sphynx’s vault. Continue talking to Sphynx after he’s moved aside and he keeps asking questions, realizing Mario isn’t done yet. Answer all of Sphynx’s questions correctly for another Power Moon! The answers to his riddles here are:
- Sheep
- Moon
- Below the bell
- Floated by airship sail
 Thanks, Captain Toad!
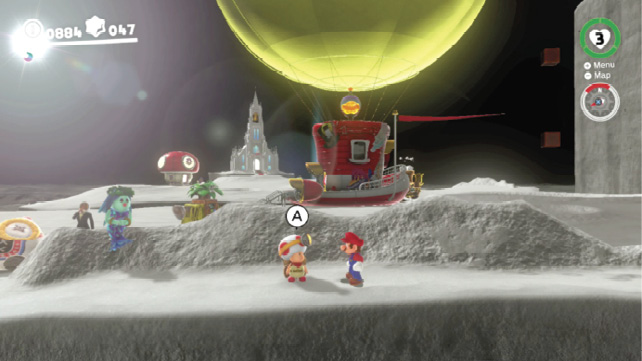
Look for Captain Toad enjoying the spectacular view near the edge south of the Odyssey’s landing spot. Talk to him to receive a Power Moon. He won’t show up here until Bowser’s scourge is ended. He’ll be here later, once it’s safer for folks to look around and explore.
 Shopping in Honeylune Ridge
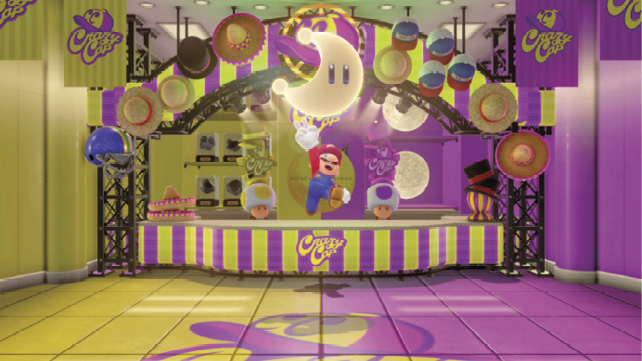
Like other Crazy Cap’s stores, the souvenir shop here offers a unique local Power Moon for 100 coins. Take note also of new outfits available here in space. Pick up the Football Suit with gold coins, and the Space Suit with purple coins.
 Walking on the Moon!
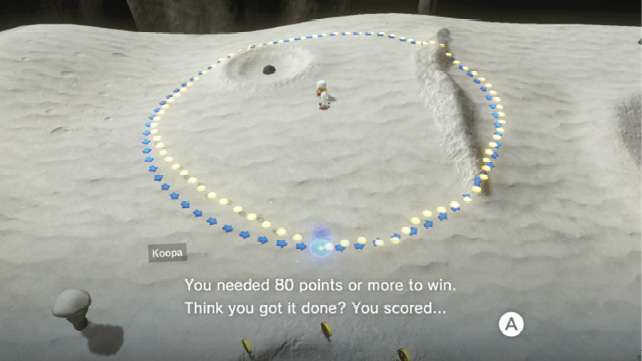
On return trips to the moon, look for a Koopa wearing a space helmet to start up the trace walking challenge. This Koopa is found around the Moonsnakes, north of Odyssey’s base of operations, or Crazy Cap’s. He wants you to walk in a big, precise circle for him, but the guidelines disappear quickly after you get started.
 Moon Kingdom Regular Cup
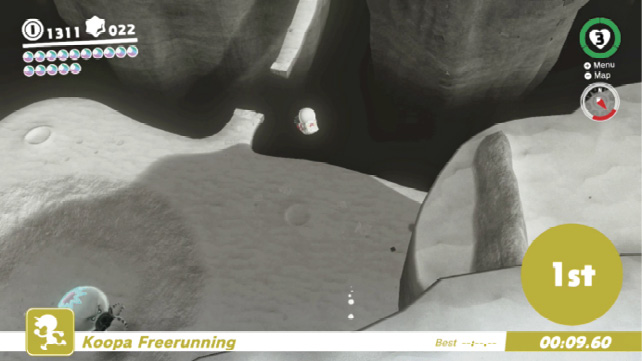
The freerunning challenge here is one of the longer ones, stretching from one end of the kingdom to the other. The starting point is by the Wedding Hall, and the finish is on the crag overlooking the southwest corner.
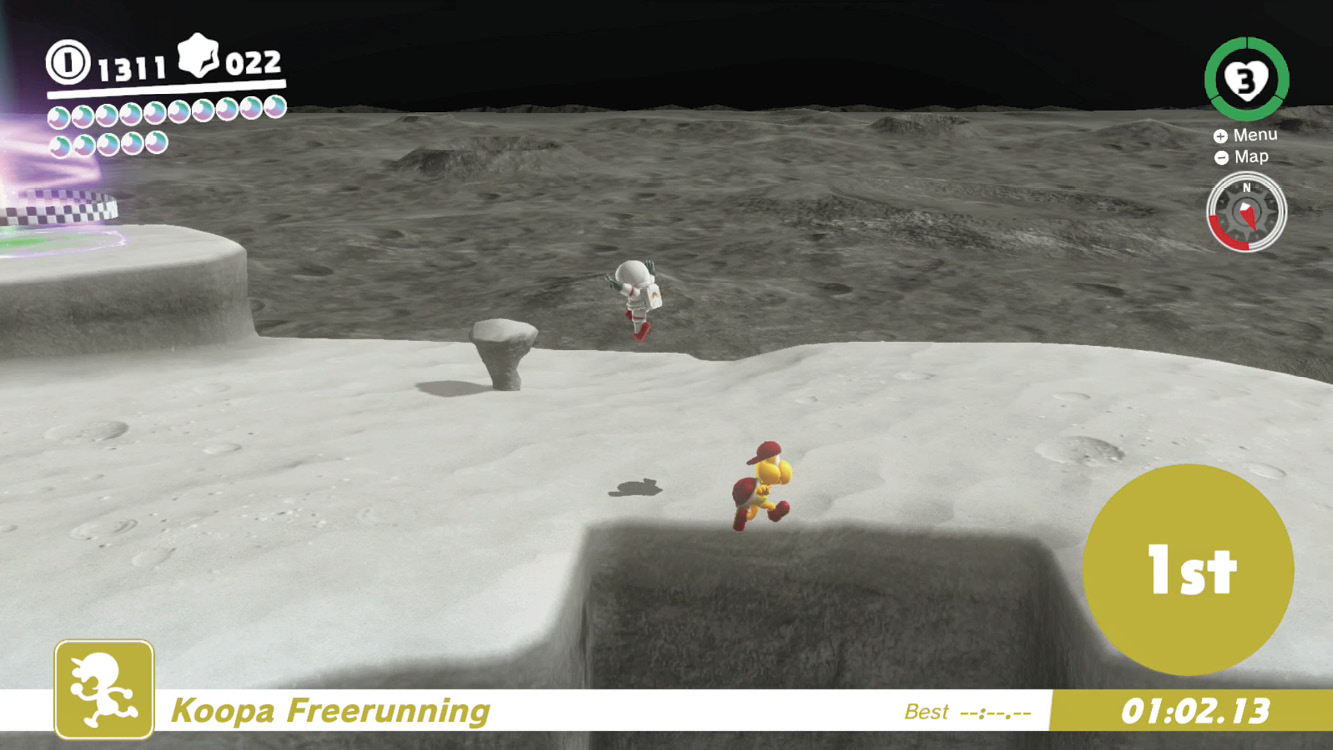
The route takes Mario across the gaps and bridges leading south. Veer hard left when jumping from Ever-After Hill to the bottom, to make the skinny bridge below. In open areas, keep rolling and/or long jumping to move forward quicker, but be careful not to smack into anything or careen off an edge. The final mesa can be mounted by wall jumping up the facing walls there.
 Doctor in the House

After the wedding is successfully crashed, some reception attendees remain behind, enjoying the ambiance of the hall, or maybe just cabbaging some leftovers. One such guest is a shivering Shiverian found on the right side of the main chamber inside. The poor thing ate too much food and needs medical attention! How can Mario help here?
Show up decked out in Dr. Mario’s coat and cap to help alleviate the Shiverian’s tummy ache. These costume pieces become available in shops once the Odyssey is powered up with 220-240 Power Moons.
 Sphynx’s Hidden Vault
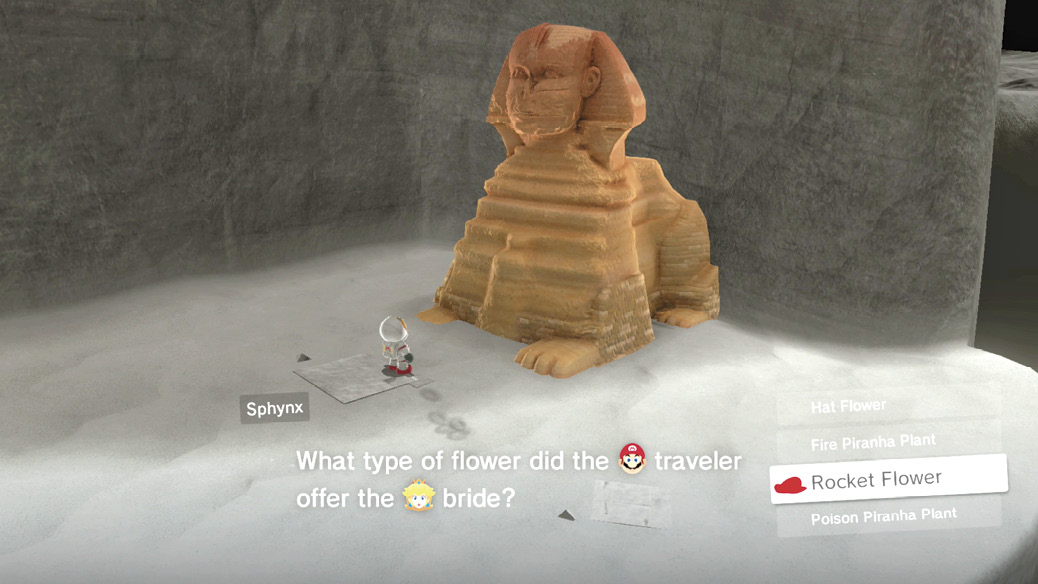
After completing the main adventure, visit the Sphynx tucked around in the kingdom’s quietest corner, contemplating whatever things Sphynx contemplates. Talk to him and he is enticed to ask a question for an attentive observer of Super Mario Odyssey’s ending. Answer correctly (“Rocket Flower”) and Sphynx rumbles aside, uncovering the entrance to his vault. Step inside to pick up piles of coins, and to pop open a treasure chest holding a Power Moon.
 A Tourist in the Moon Kingdom!
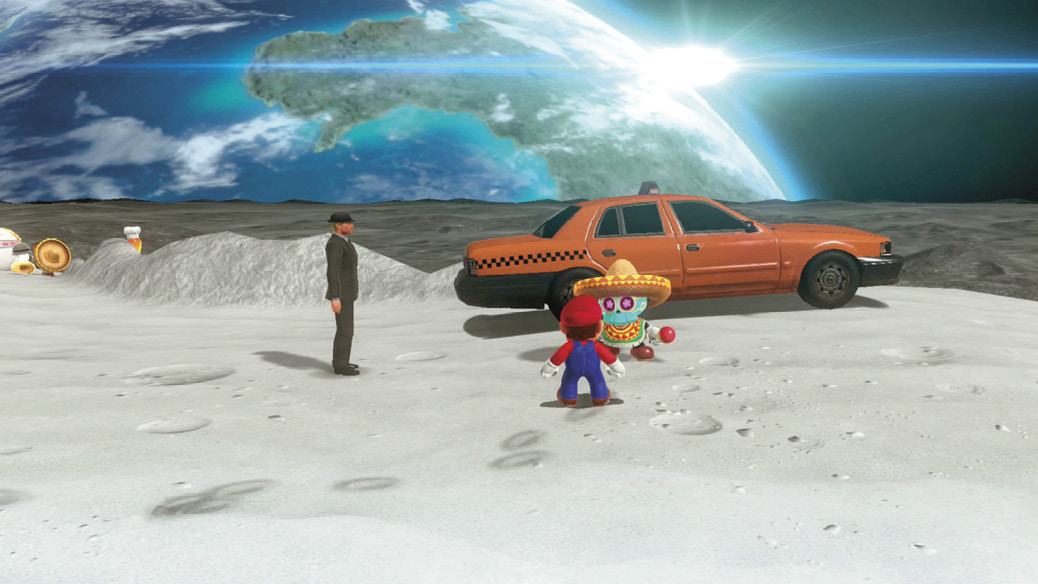
The moon is eventually paid a visit by the Tostarenan tourist who can be set on his way from Sand Kingdom after Bowser is defeated. After finishing the story and clearing any outstanding emergencies in each kingdom, visit the tourist and cabbie in the order Sand, Metro, Cascade, Luncheon, Moon, Mushroom, and Sand again to receive Power Moons along the way.
 Peach in the Moon Kingdom
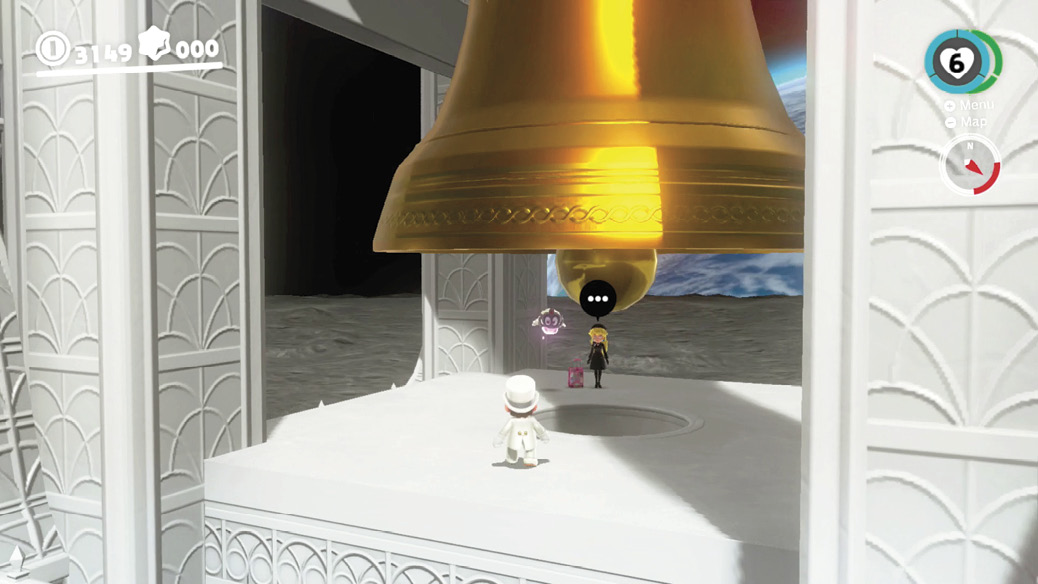
Mario and Cappy might be ready to relax after their adventure is over, but Peach and Tiara aren’t. They go exploring all the kingdoms themselves, and finding them in each region is good for a Power Moon and a choice photo opportunity. After you visit Peach and Tiara at every terrestrial location, they check out the moon, on purpose this time. Find them at a dizzying height, enjoying the view from just under the Wedding Hall’s resounding bell.
 Found with Moon Kingdom Art
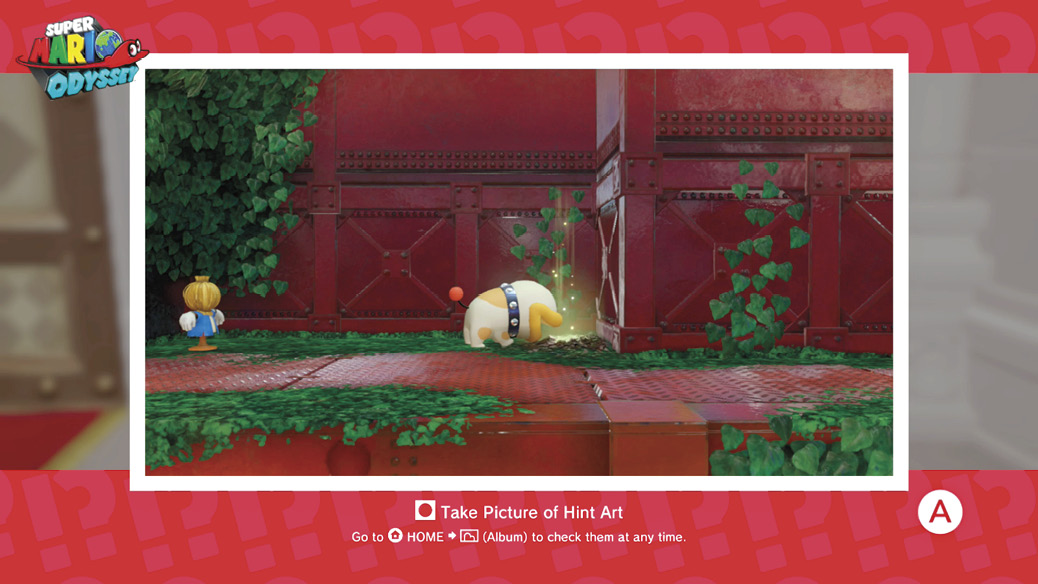
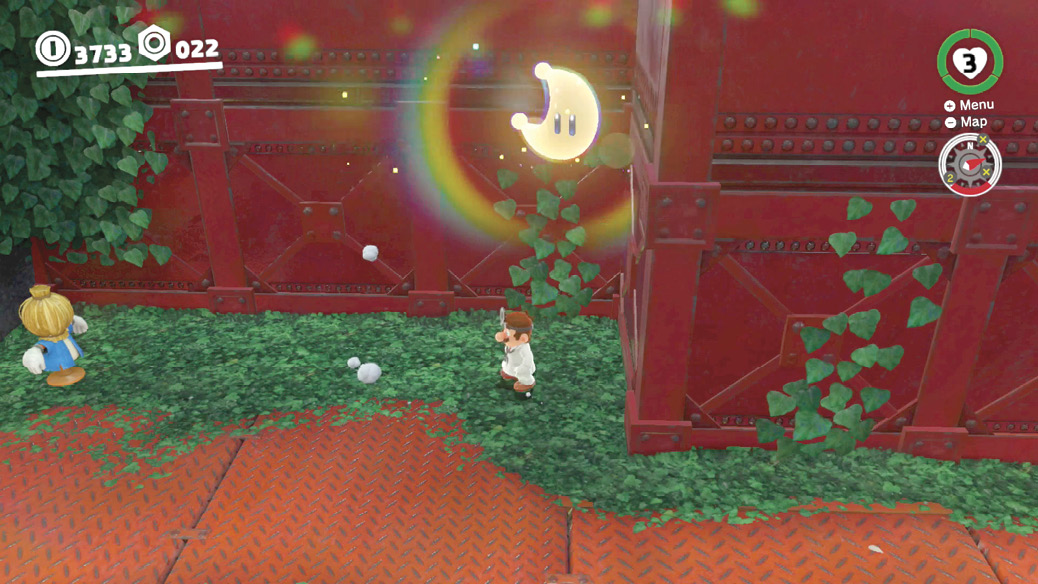
Hint Art in the Moon Kingdom is found in the Wedding Hall, after defeating Bowser. The art depicts a red industrial area partially overgrown with lush vegetation, a scarecrow on one side and adorable Poochy burying something on the other. If this looks an awful lot like Wooded Kingdom, that’s because it’s Wooded Kingdom. Find a similar cubby containing a scarecrow on one end and nothing on the other, and ground pound the empty side to garner a hidden Power Moon.
Moons from the Moon Rock
 Mysterious Flying Object
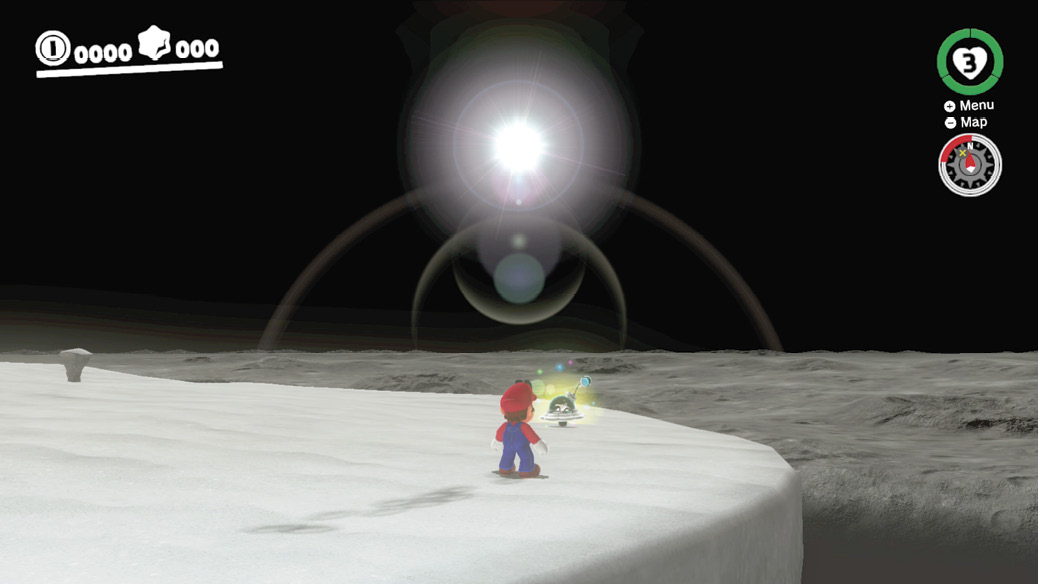
Inspect behind the Wedding Hall by the sheer edge, around where the lone Frog hangs out, in the northeast corner. A rainbow glitter can be seen, and the source can be traced to a tiny little UFO that lands skittishly on the edge. No matter how quickly you advance upon the UFO, it flits away before Mario can get his hands (or cap) on it. But move carefully to the UFO’s landing spot, then look around in first-person view, panning Mario’s gaze back and forth around the area. The curious UFO reappears nearby, almost like a Boo ghost sneaking up on Mario facing the other way. Position Mario properly while looking around, and he scores a Power Moon from the UFO!
 Hidden on the Side of the Cliff
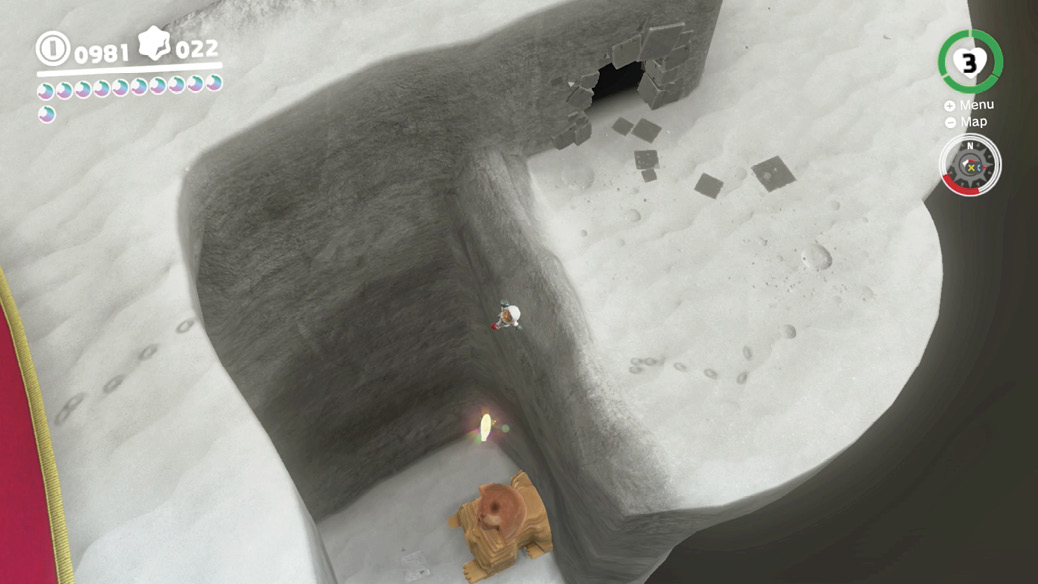
This Power Moon is hidden directly above the sneaky Sphynx, directly below the upper exit from the Underground Moon Cavern. Warp to Ever-After Hill and run to the cavern’s mouth here and look over the side to find it. Hop off the side and drift down into the floating Power Moon to collect it.
 Jumping High as a Frog
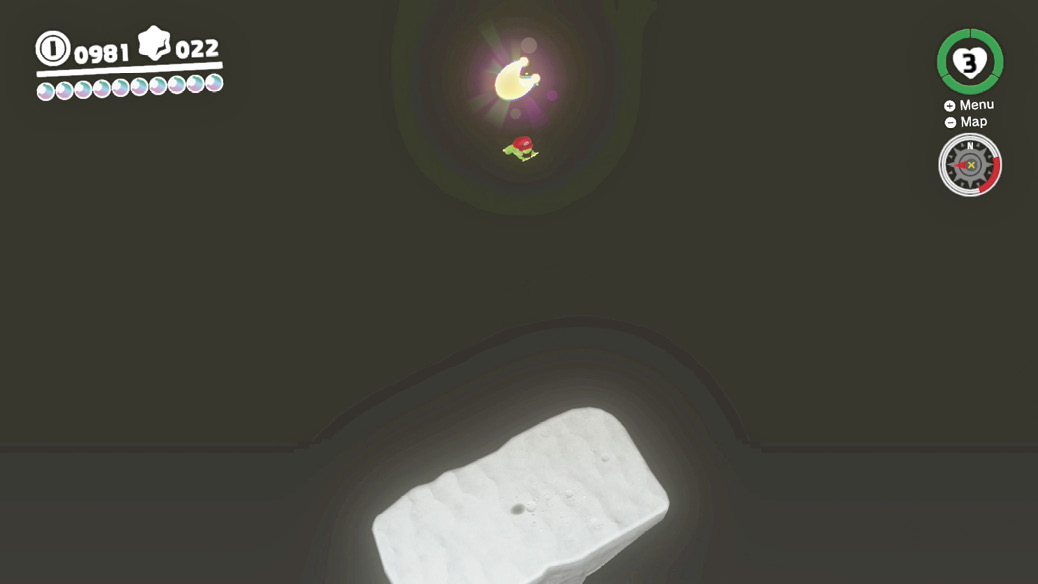
This Power Moon is located high above the platform involved with Power Moon #08. This is east of the trace-walking Koopa and the Moonsnakes on the surface, and the Power Moon is far too high for Mario to reach on his own.
The solution is to capture the Frog hanging out behind the Wedding Hall. Hop back over here using the Frog’s tremendous jumps, then jump straight up from the center of the platform here to pull in the Power Moon.
 Moon Kingdom Timer Challenge 2
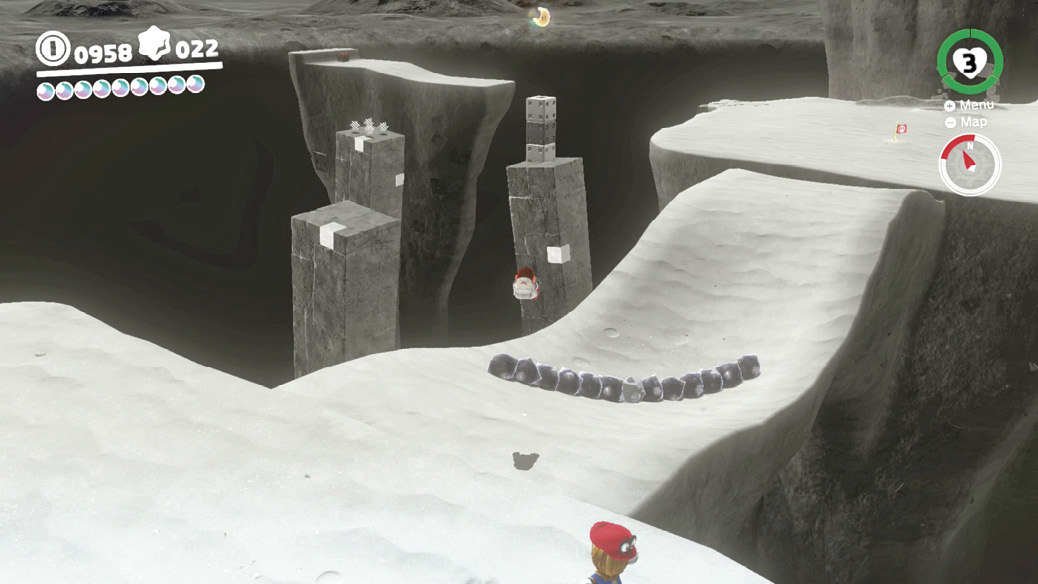
A scarecrow can initiate a Timer Challenge just south of the land bridge leading to the Ringing-Bells Plateau warp flag. Fit Cappy onto the Scarecrow to reveal the Power Moon on a small platform to the left of the land bridge. Take a running long jump forward over the Moonsnake here to arrive near the platform quickly. Take a careful jump across from the bridge to the platform, then another up onto the Power Moon blocks.
 Walking on the Moon: Again!
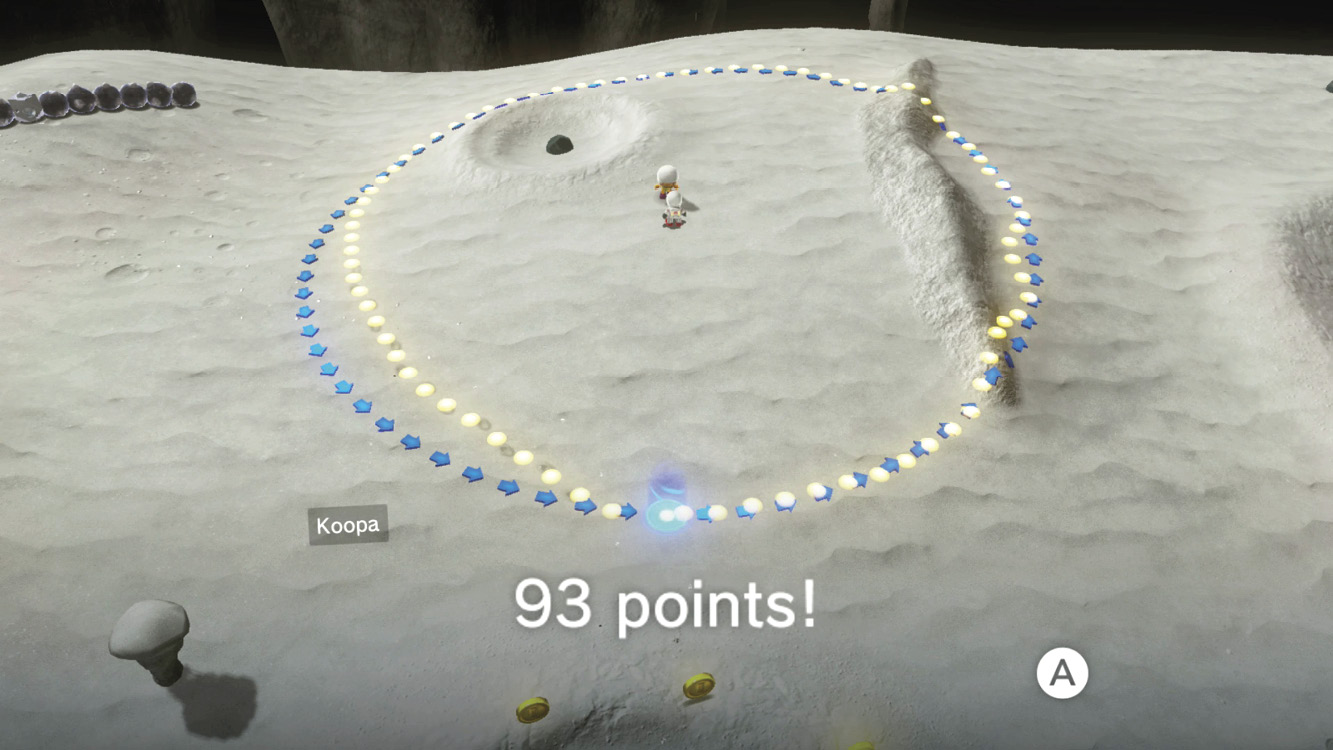
After Power Moon #21 is acquired and the Moon Rock is opened, this contest is available. Talk to the Koopa trace-walking fan in the Moonsnake plains to try it out. Again, you have to walk the same circle that’s displayed, and the guide arrows fade out before you have time to complete the path. This time, the arrows fade out much faster. The target score to gain the moon is 90 points.
 Moon Kingdom Master Cup
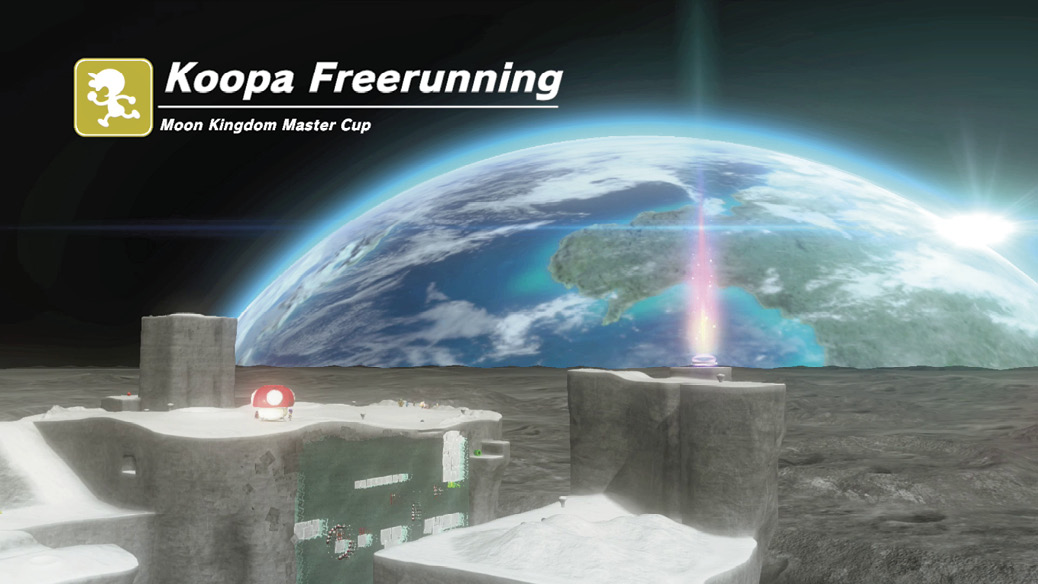
Unlock the Moon Rock and complete the first freerunning challenge to unlock this one. The same Koopa by the Wedding Hall in the north gets Mario set up against the usual Koopa racers, plus a notorious gold racer.
As before, roll and long jump when the coast is clear, and stay steady elsewhere. Cross the first major gap on the left, across the skinny bridge.
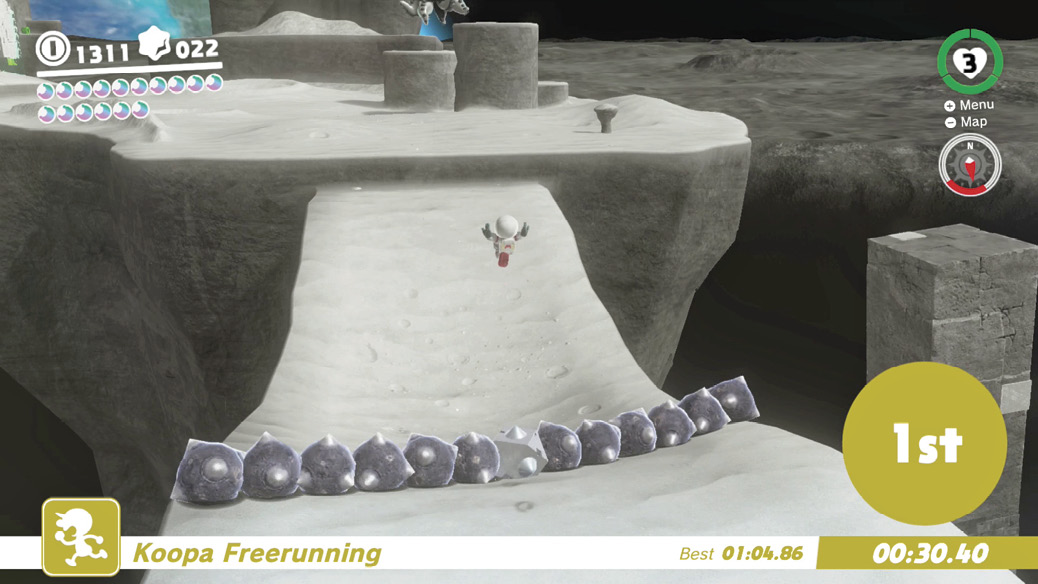
From the rabbit hill below to the high plain holding the finish, it’s possible to jump all the way up without using back and forth wall jumps. This requires a max-height triple jump off the top of the hill, topped with a dive jump for even more height, drifting toward the ledge all the while. Wall slide near the top, wall jump away from the wall, then cap toss and tackle in the direction of the goal. Gain enough height at each stage and you’ll make it all the way up from the bottom, shaving off a huge amount of time.
 Taking Notes: In Low Gravity
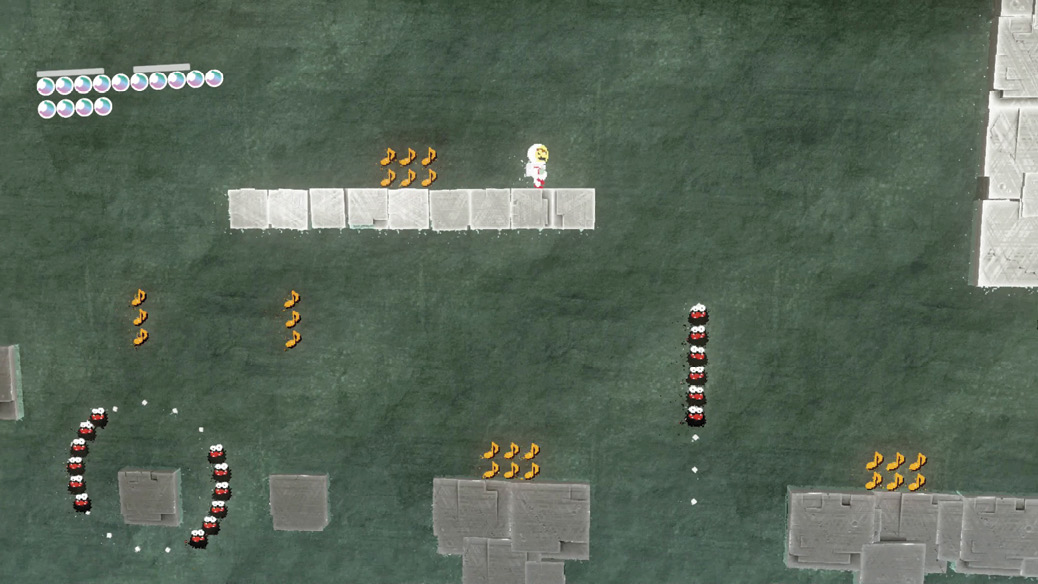
Walk west of the Odyssey, drop down to the 8-bit pipe off the edge, and hop in to explore the large 8-bit chamber on the side of the wall. At the very top of the chamber, where some hidden Regional Coins are located, a song note can now be found. Pick it up to begin a note-collecting Timer Challenge. Fall from up here and run and jump quickly around the Fuzzies, collecting all the notes before time is up to reveal another Power Moon in here.
 Center of the Galaxy
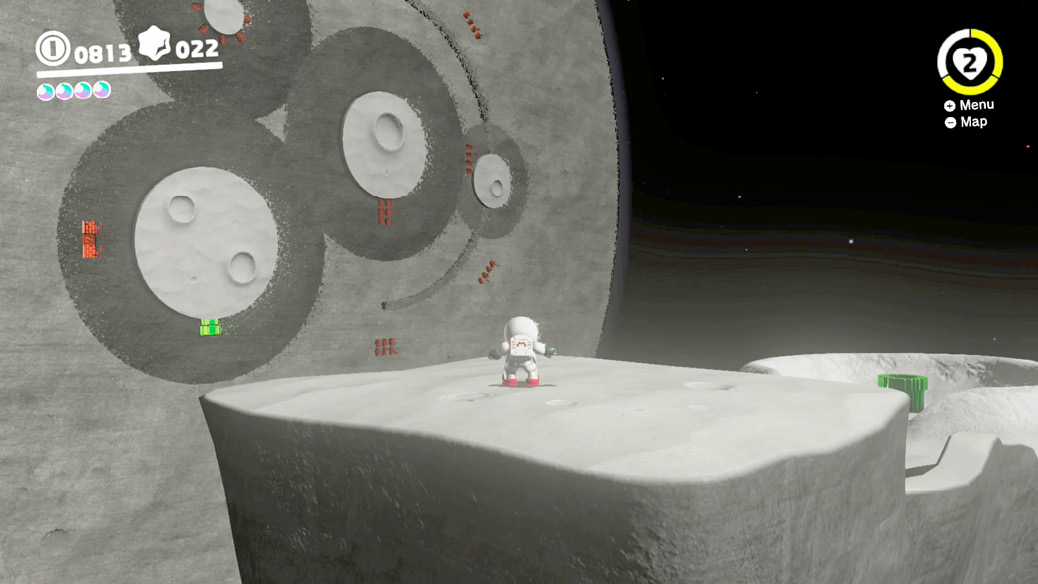
Enter the Moon Pipe that appears on Talkatoo’s tall bluff. Inside, a huge 8-bit vista spreads vertically before Mario.
Enter the 8-bit pipe here to warp inside of the 2D landscape. Circular globes in this 8-bit pipe act as little celestial bodies when Mario moves close enough, pulling him in with their gravity. Controlling Mario depends on his current orientation, which takes some getting used to while running circles around tiny planets.
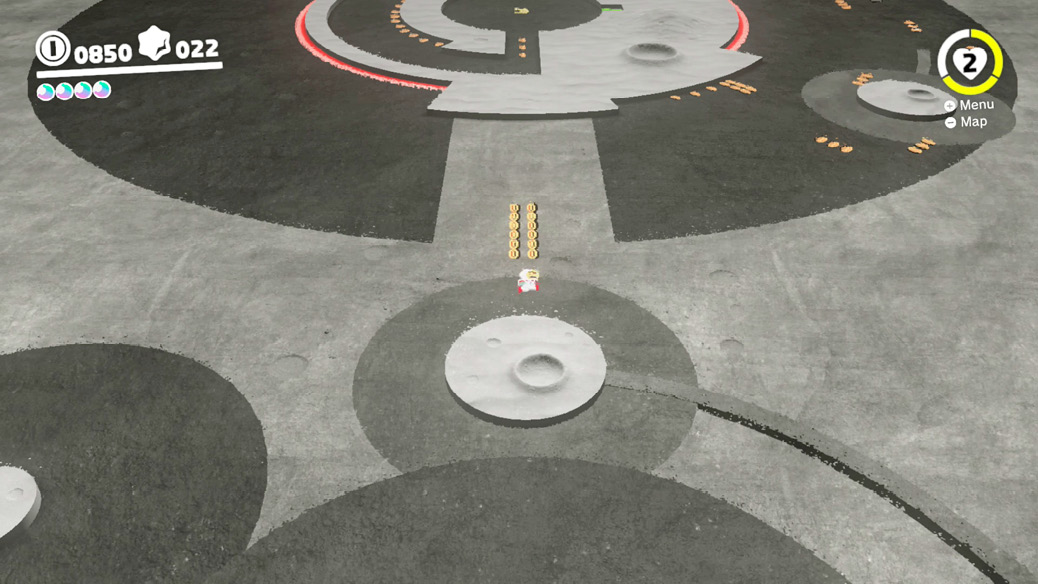
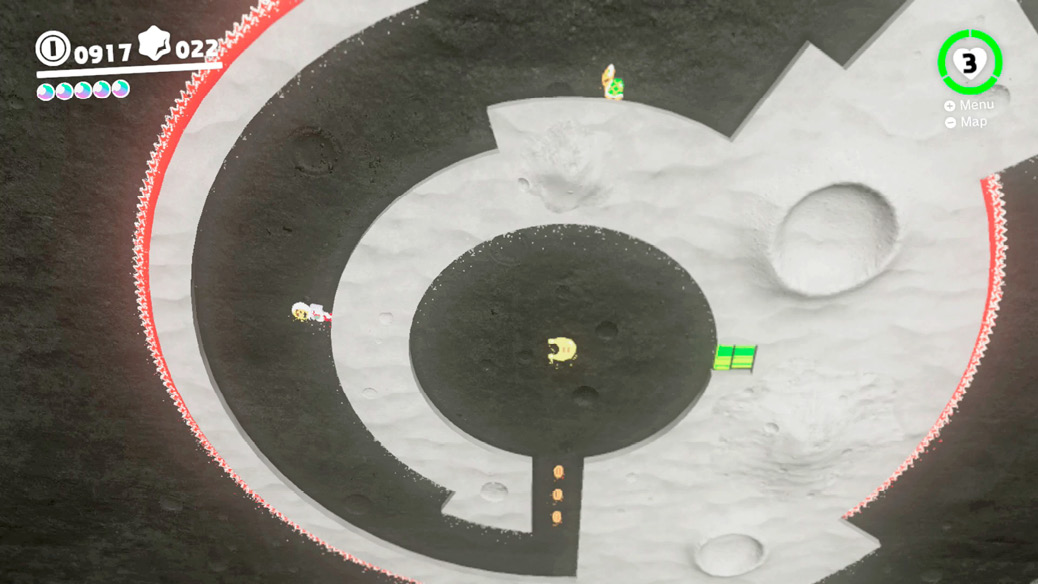
From the first area, head to the small moving planet in the top-right. Ride it to the top of its path, then dash and jump upward toward the coins above. Get high enough and Mario’s center of gravity flips and he falls upward to the next portion. From here, use more moving planets to navigate up and to the right, counter-clockwise over the lava, homing in on the Power Moon and exit pipe at the center.
 Edge of the Galaxy
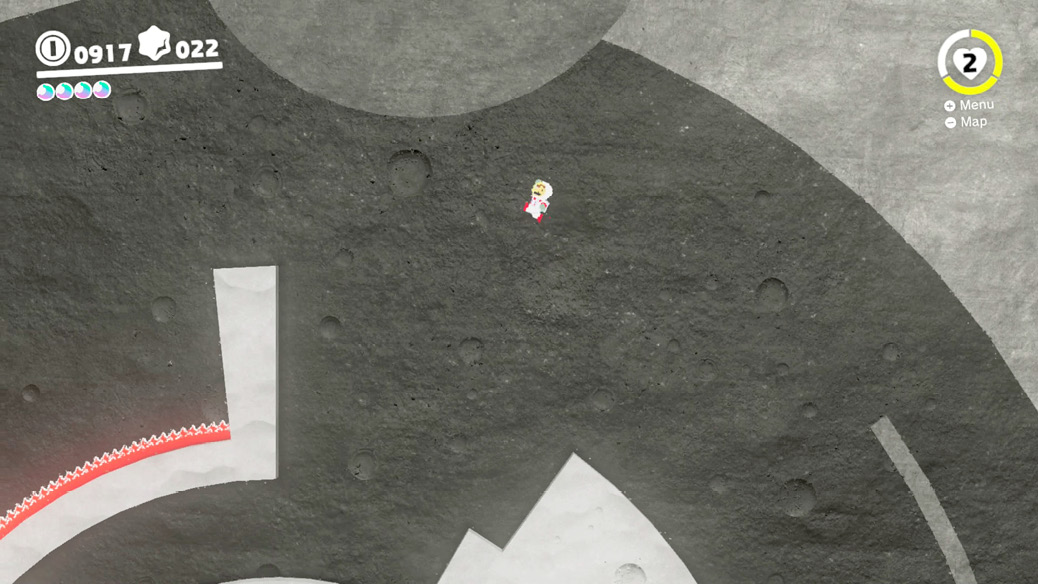
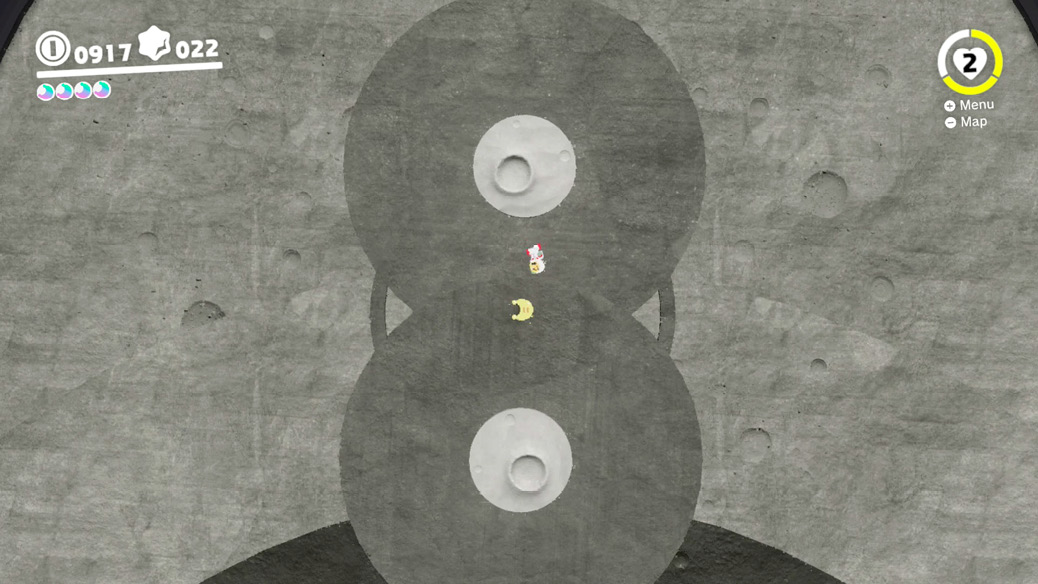
When going for Center of the Galaxy, divert near the top and jump toward a little ledge standing before a sea of lava. Just above, the hint of another planet can be seen. From the highest ground, jump upward to get pulled in to an orbiting pair of planets tucked away up here, spinning around a Power Moon at their barycenter. Collect the Power Moon by leaping between the planets, before jumping back downward toward the exit.
 Navigating Giant Swings
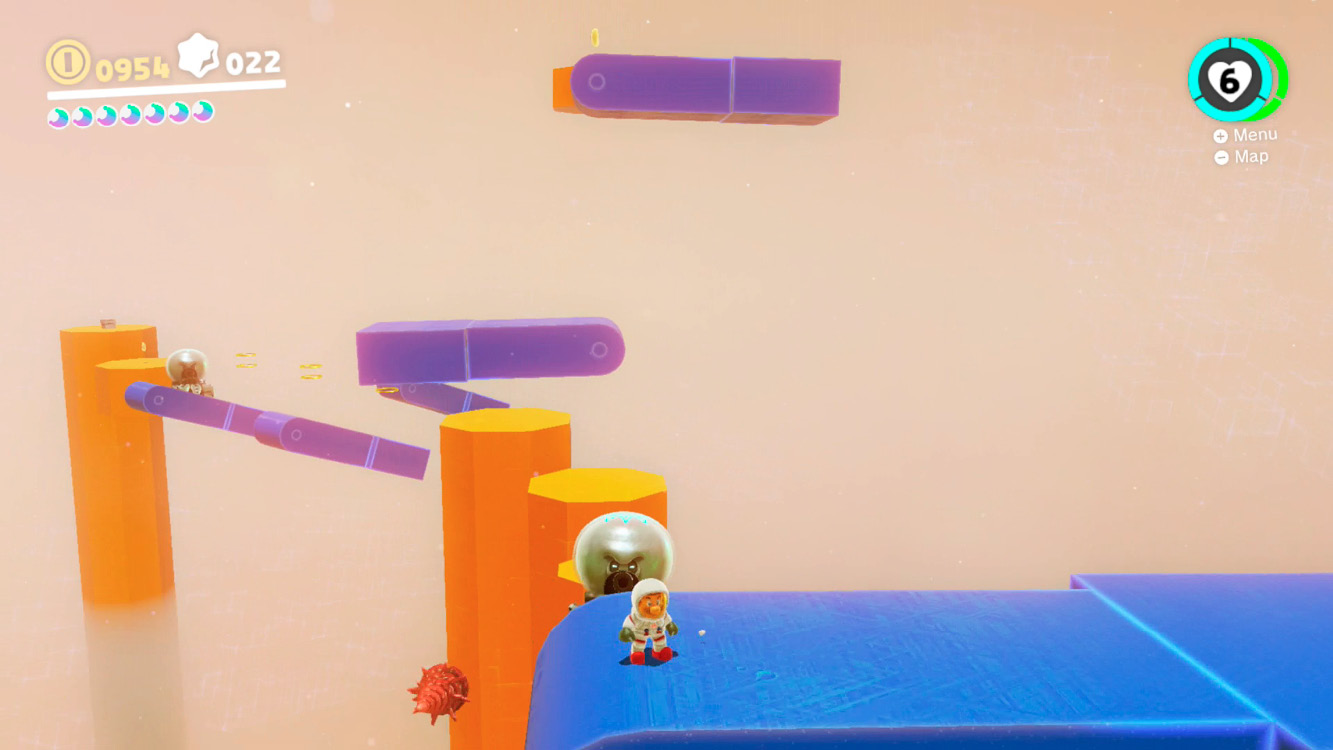
Head to the tall crag with the shaved-off top in the southwest, and start climbing. The summit can be achieved by wall jumping between facing walls on the way up. At the top, a Moon Pipe leads to an especially tricky challenge room.
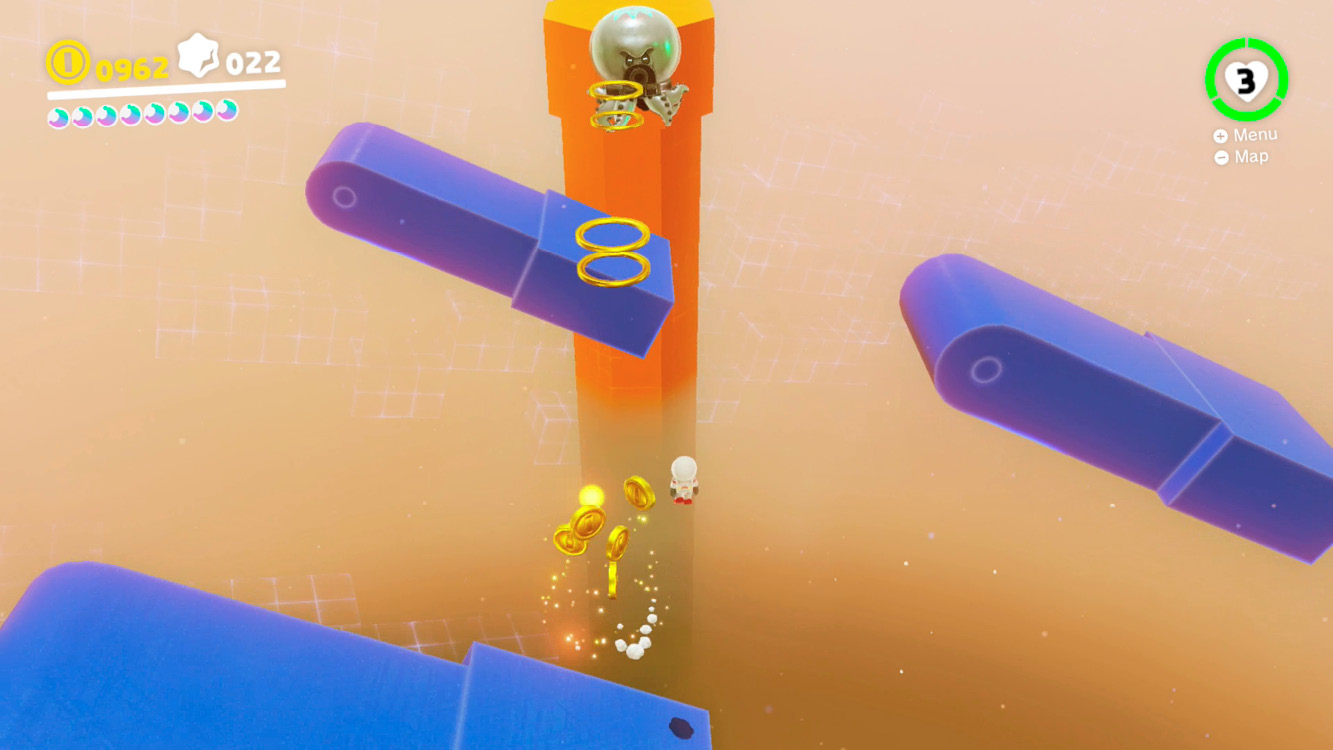
Huge blue pegs swing back and forth in here, in between small permanent platforms and some Astro-Lanceur enemies (who can also be used as bounce platforms thanks to ground pounding off their octopus domes). A Power Moon along with the exit pipe are located at the far side. A blue peg swinging up from under Mario while he falls can catch him and carry him up to the top of the peg’s path. A blue peg swinging down and away from Mario drops him to his doom unless you take evasive maneuvers, jumping off the peg to another foothold, or quickly running up to the top of the peg, where Mario can still find a foothold while it swings the other way. Blue pegs mounted high in the air over platforms Mario needs to jump past can be nuisances to avoid, but also a means to gain higher ground.
The most challenging platforming stretch is at the end. Three blue pegs swing over space before an Astro-Lanceur serving as bouncer for the exit pipe! You have just enough time on each blue peg in the horizontal position to jump to the next one. Bounce right off the top of the floating octopus and collect the Power Moon behind it before exiting.
 A Swing on Top of a Swing
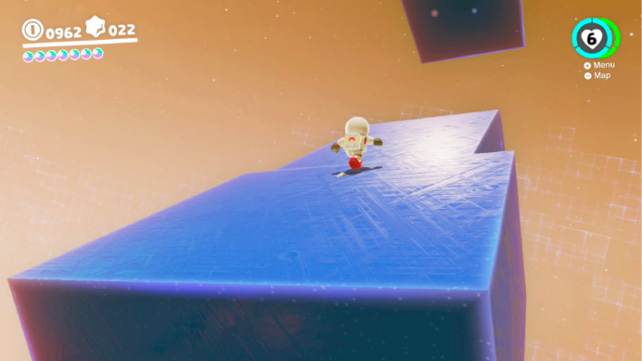
In the swing challenge room found from a Moon Pipe, look upward to see where a swinging blue peg is located above another one. This presents an interesting upward platforming challenge. Get underneath the lower blue platform, then jump straight up into it as it swings back down, picking Mario up along the way. Run up its length to the hinge, and be ready to repeat the process on the fly as the blue peg above swings down in turn. After successfully transitioning to the upper blue peg on its upswing, it’s just a short hike to collect the Power Moon up here.