Super Mario Odyssey Guide Lost Kingdom
Mario’s Itinerary
 Rescue Cappy from Klepto!
Thanks to Bowser’s cannons, Mario and Cappy are knocked out of the sky and crash land in the Lost Kingdom. Things look dire, but it could have been much worse! They could have landed in the poison sea that surrounds this region. Fortunately, Cappy’s a wiz when it comes to repairing the Odyssey and it’s only going to take 10 Power Moons to return the Odyssey to the sky.
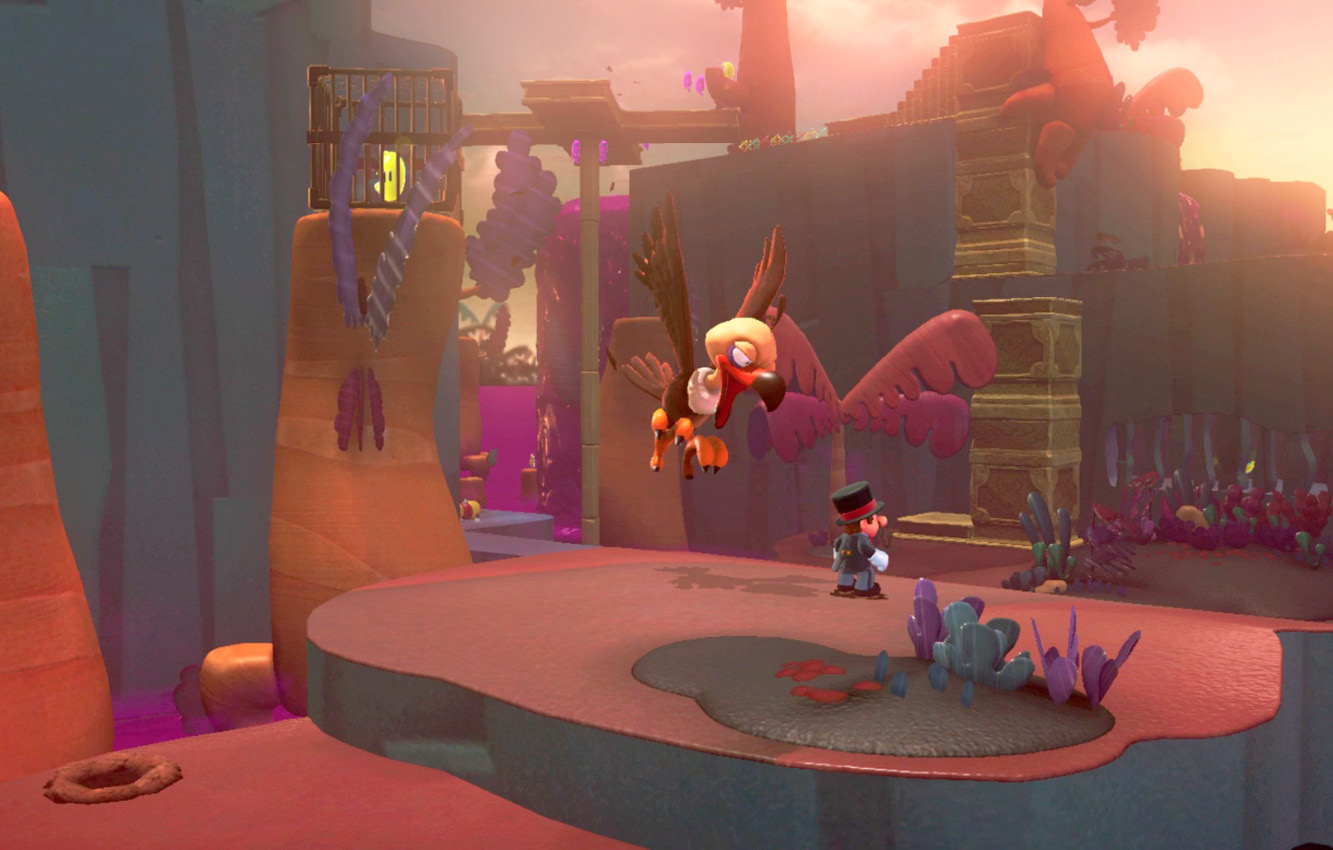
Head north through the jungle toward the bridge and try not to scream when a large bird swoops down and steals Cappy from atop Mario’s head. Klepto flies off to an area known as Swamp Hill, where he’s content to roost until Mario forces him otherwise.
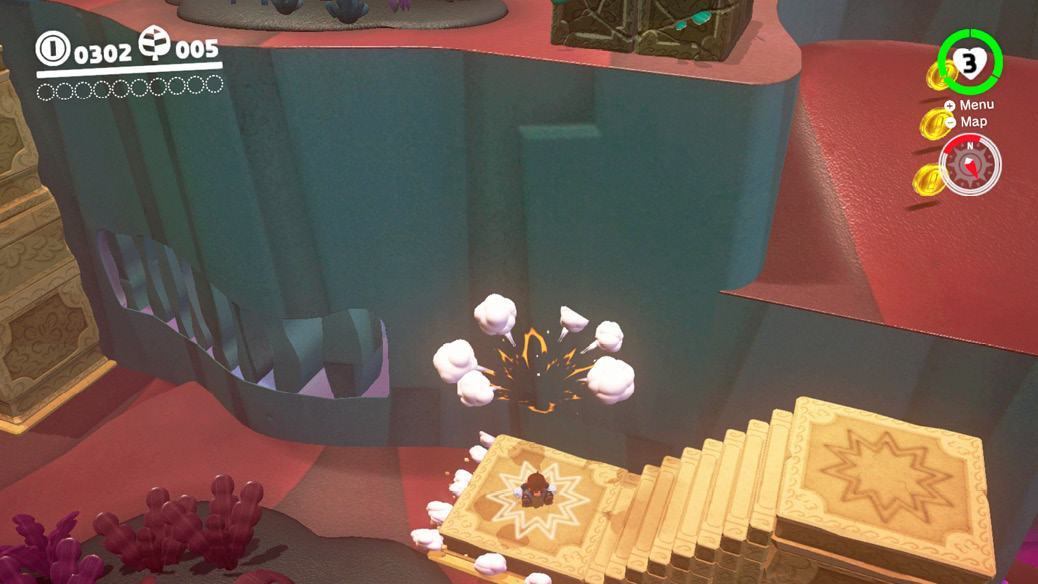
Advance to the odd-shaped ruins ahead with the starburst patterns on them. Climb the stairs to the raised side and ground pound the starburst. The ruin acts as a teeter-totter, causing one side to rise whenever Mario ground pounds the other.
Ignore the Trapeetles marching around this upper platform and approach the larger ruins to the left of the ? Block. Ground pound the starburst atop the fourth column, then climb the stairs to reach Swamp Hill.
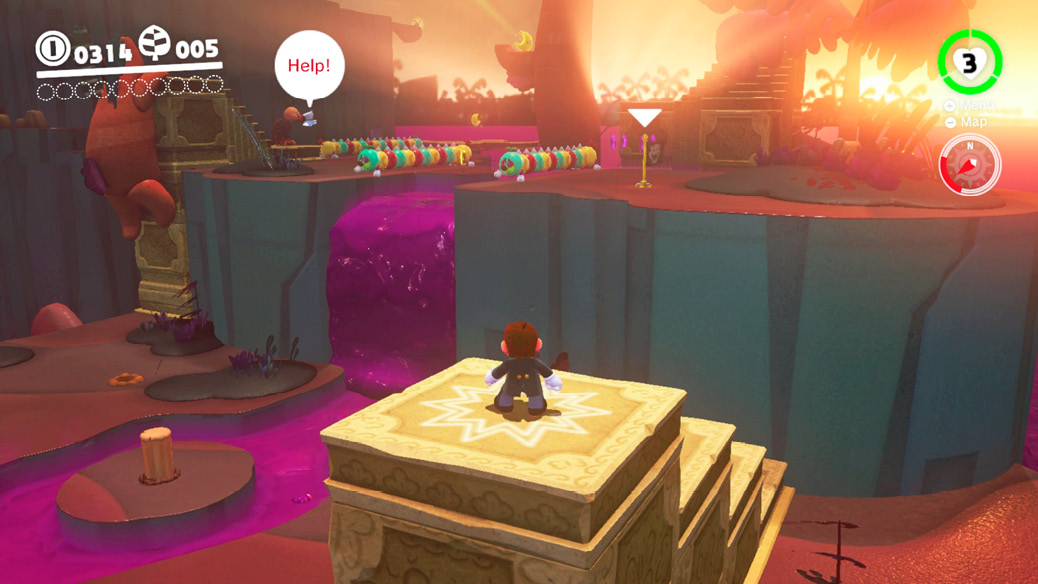
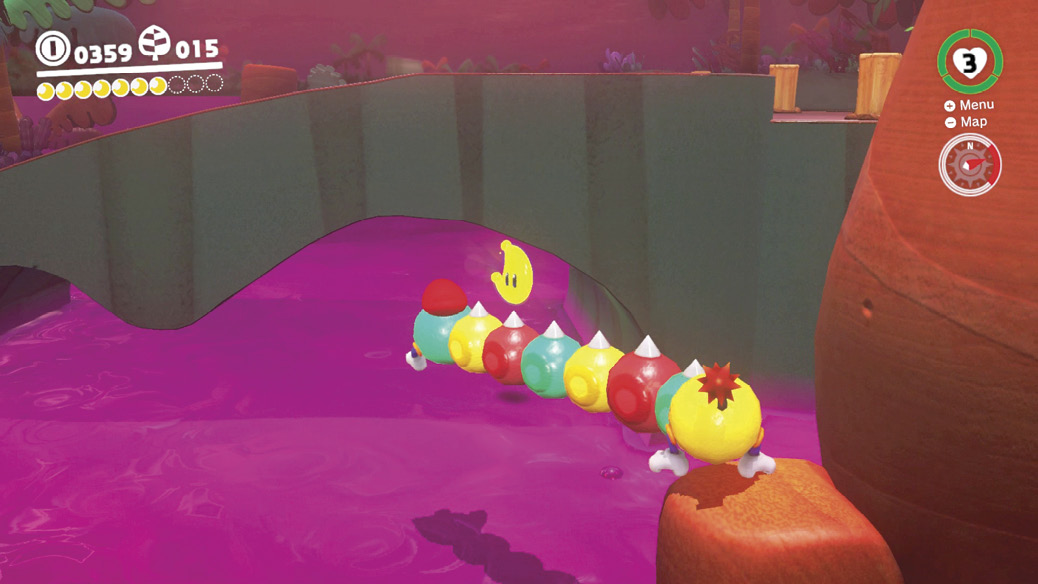
Cappy isn’t far, but you’re going to have to bypass the Tropical Wigglers first. Mario can’t capture them without Cappy so wait for their accordion-like bodies to retract, then hurry past them.
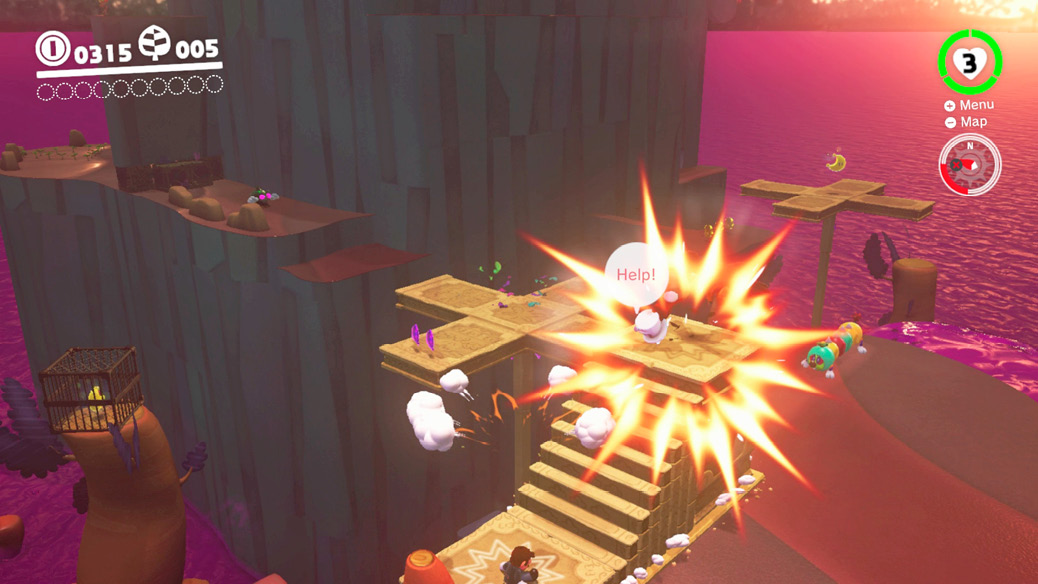
Klepto flies to the upper side of the ruins atop the cliff as Mario closes in on him. Run up the stairs after him to force him to descend to the lower side of the ruin. You know what that means! Ground pound the starburst on the upper side to knock Klepto in the air, freeing Cappy from its beak.
 Collect Power Moons
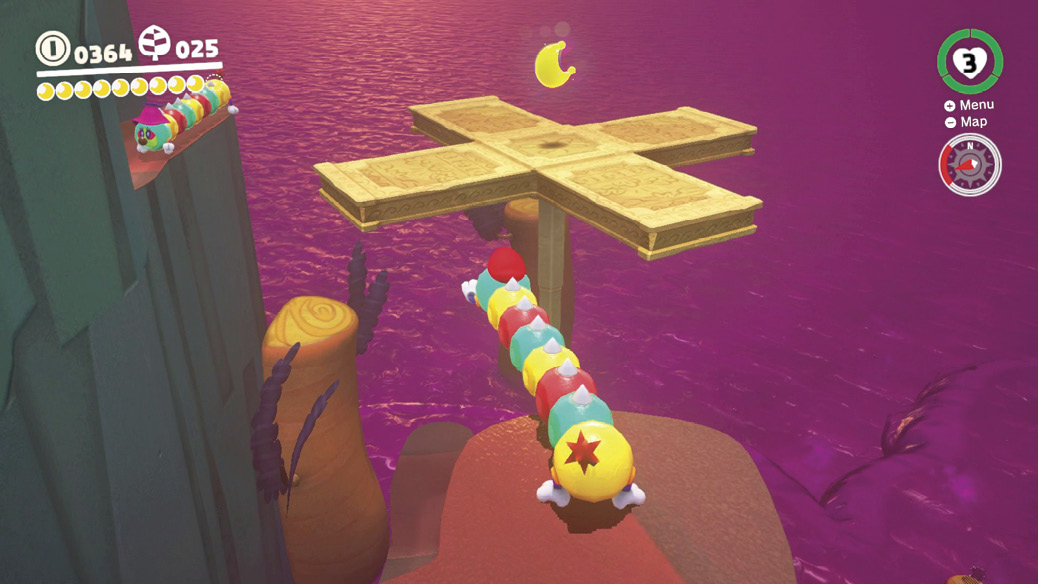
Now that Cappy’s safe and Mario’s full assortment of moves is restored, it’s time to find those 10 Power Moons needed to repair the Odyssey—and you don’t have to go far to get the first one. Capture a Tropical Wiggler near the Swamp Hill warp flag and stretch it across the poison to the narrow ledge near the coins. Follow the ledge around to the left, then across to the L-shaped ruins near the tree. Release the capture, ground pound the starburst to raise the Tropical Wiggler, then use the Tropical Wiggler to reach for Power Moon #04 on the tree branch.
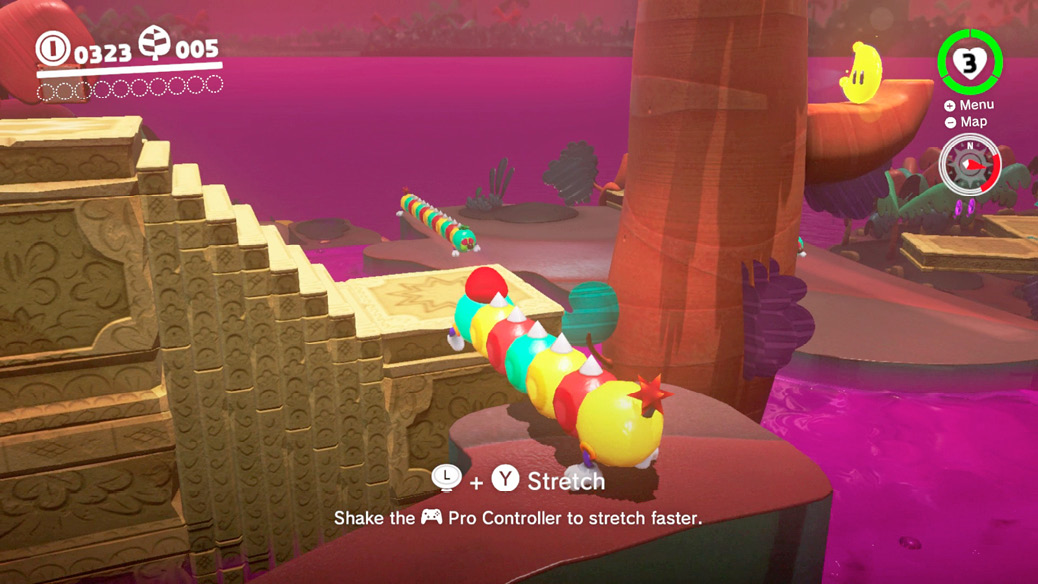
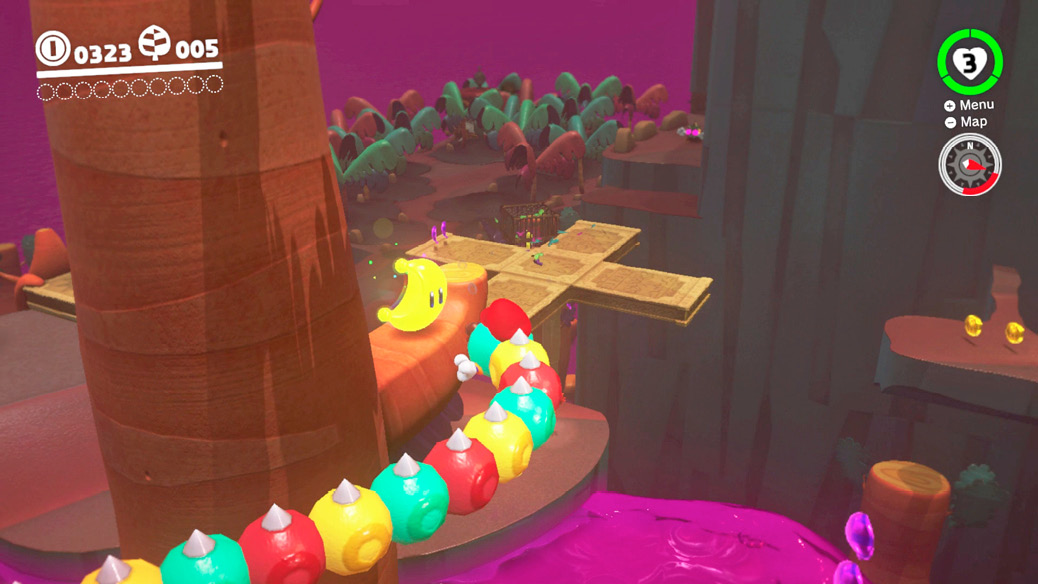
Leap off the Swamp Hill toward the four-column ruins you used earlier while making sure to leave the end nearest the cliff in its raised position. Power Moon #07 is located inside it. Don’t go far, as there are more Power Moons in this area!
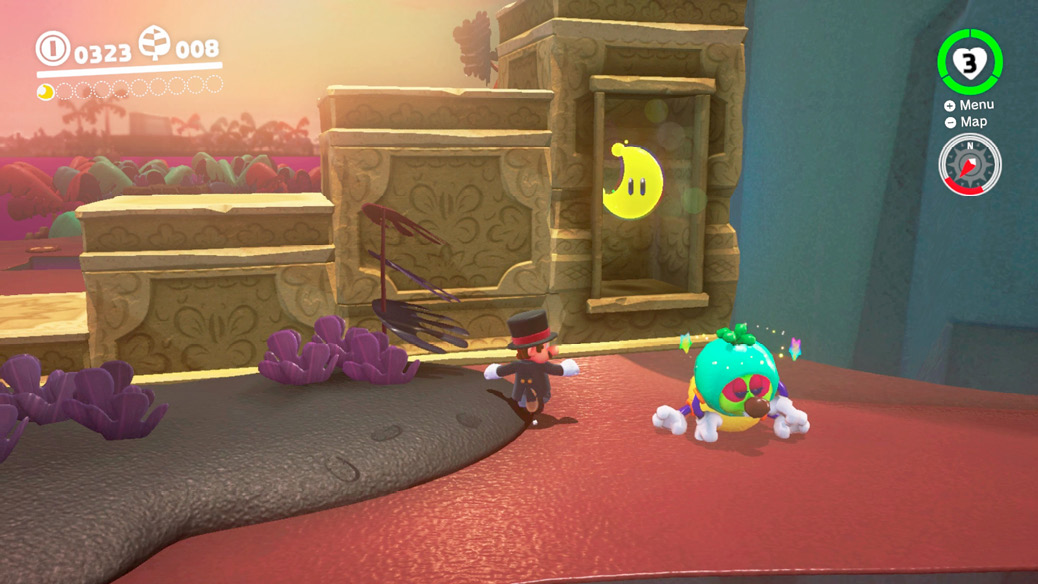
Note the sparkles emanating from the stone block near the poison waterfall. That can only mean one thing: there’s a Power Moon inside it! Mario can’t break those blocks open himself, but the Trapeetle can! The spike on the Trapeetle’s head is your cue that they can’t be captured, but that doesn’t mean they’re not useful. The Trapeetle catches Cappy in defense anytime Mario throws the hat, but that’s not all. The Trapeetle takes a bead on Mario’s location, revs up, and speeds toward Mario in a self-destructive manner. Use this rocket-like attack to trick the Trapeetle into blowing up the block containing Power Moon #11.
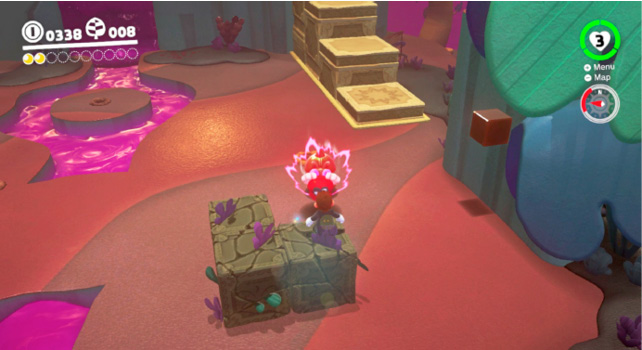
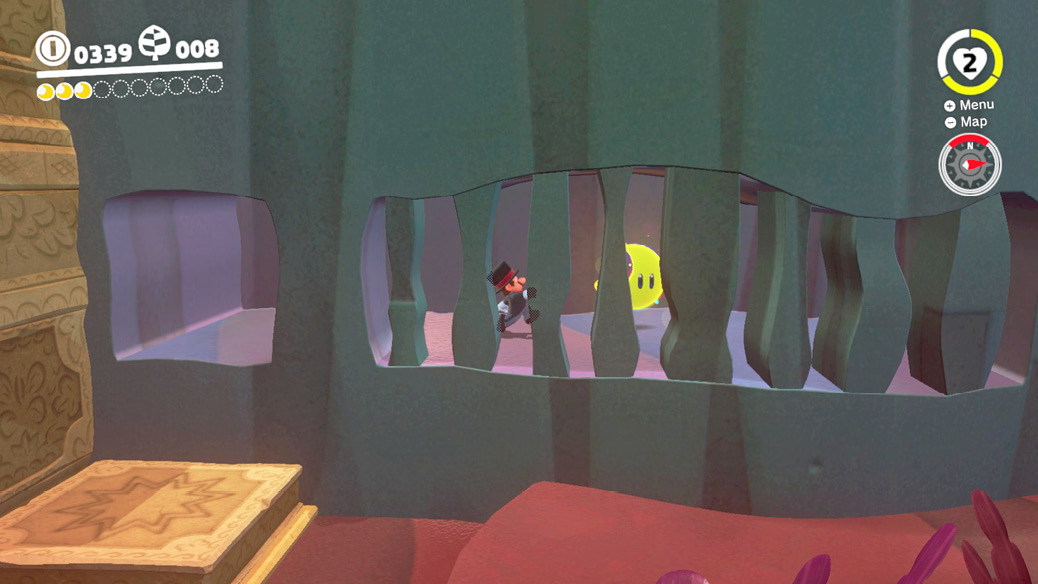
There’s another Power Moon hiding in the vicinity of the nearby ruins. Ground pound the tall column down below, on the ground near the bridge. This reveals an opening to the cave you may have seen earlier. Enter the cave beside the very first ruin you hit to get Power Moon #03.
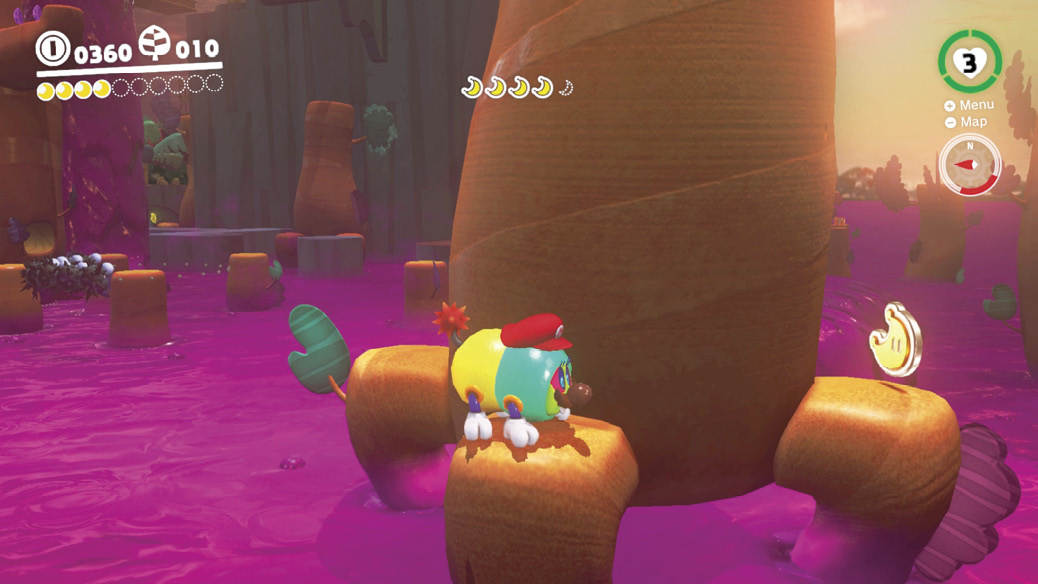
While you’re on the lower level, capture a Tropical Wiggler and make your way west toward the many tree stumps in the northwest area. Here, you need to use the Tropical Wiggler to make your way from stump to stump while dodging Fuzzies to gather the Moon Shards needed for Power Moon #15. Three of the Moon Shards are clearly visible from the stone platform near the Tropical Wiggler you captured, but two are a bit trickier to find.
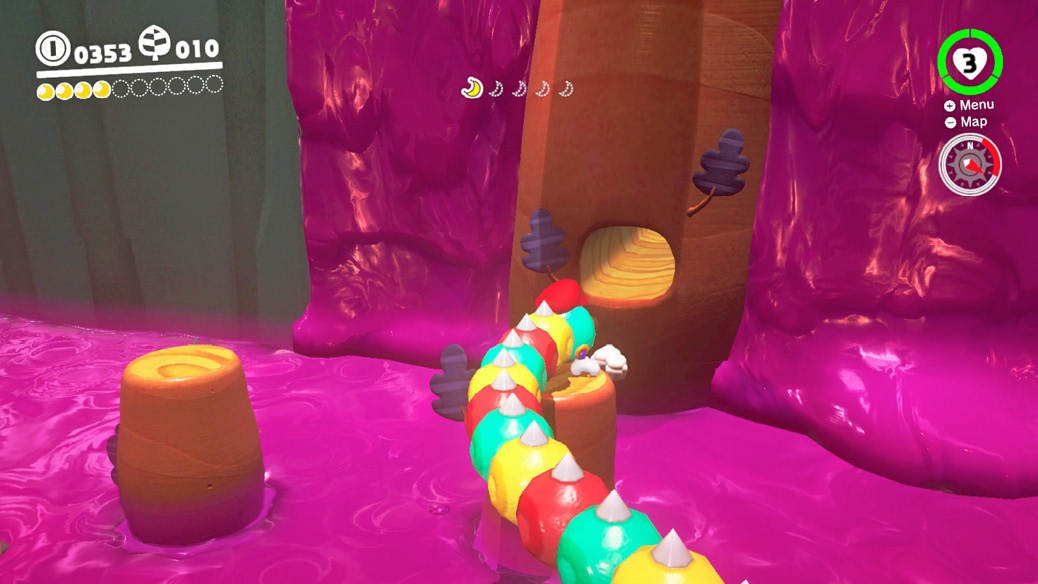
Continue south along the western side of the island to the Mountainside Platform warp flag. Release the Tropical Wiggler and open the red door to find an 8-bit warp pipe. Use the platforms inside the mural to reach Power Moon #06 then return the way you came, pausing to get the Regional Coins above the Fuzzies.
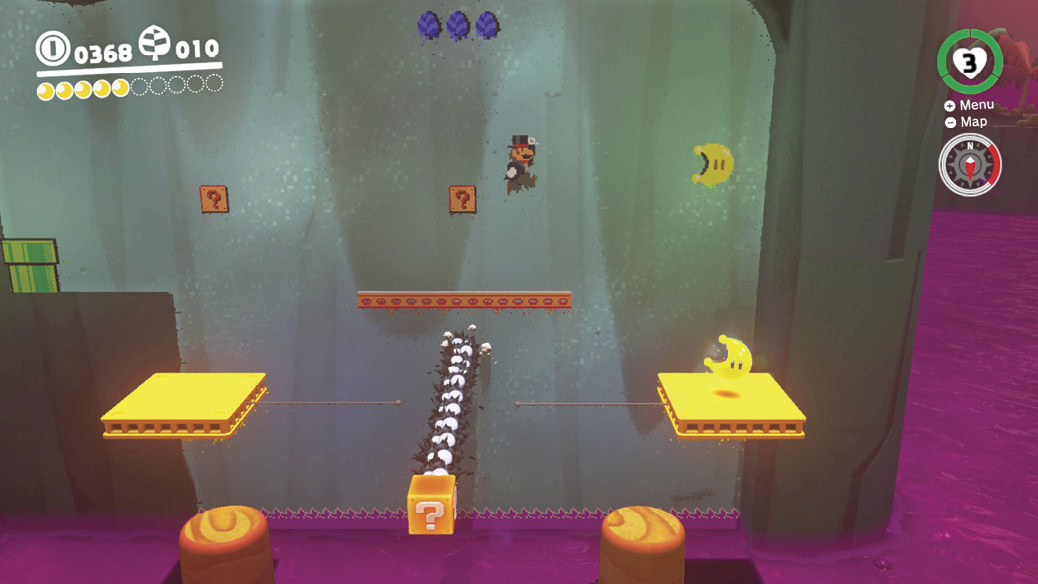
Back outside the red door, capture a Tropical Wiggler and use it to navigate the platforms alongside the mountain. Stretch to the stumps on the right to avoid the Fuzzies before reaching back to the second platform for Power Moon #05.
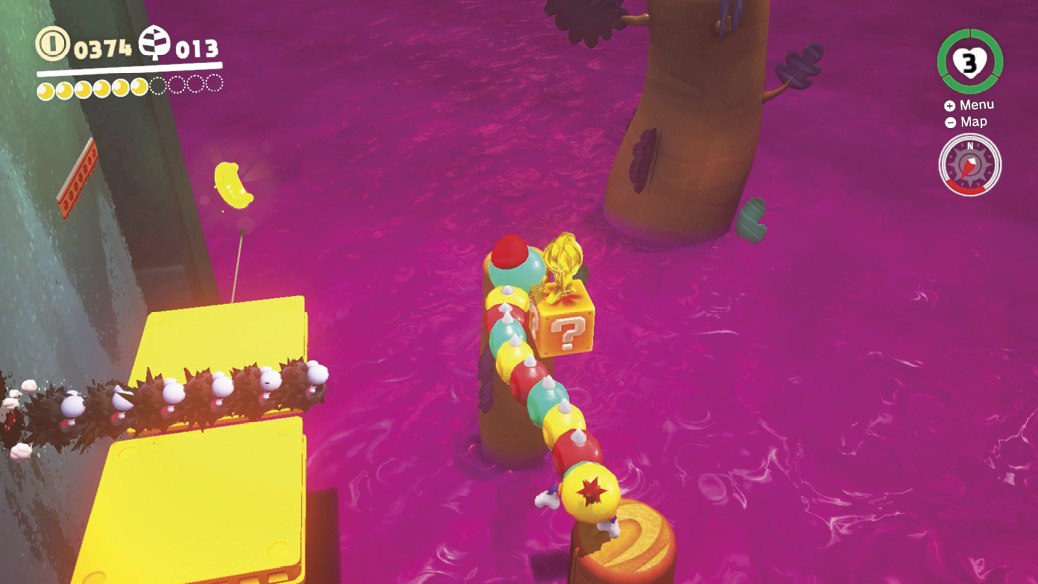
Capture a Tropical Wiggler and approach the bridge near the Odyssey. Stretch to the “knees” of the tree with the caged Power Moon atop it and gradually make your way to Power Moon #16 located under the bridge.
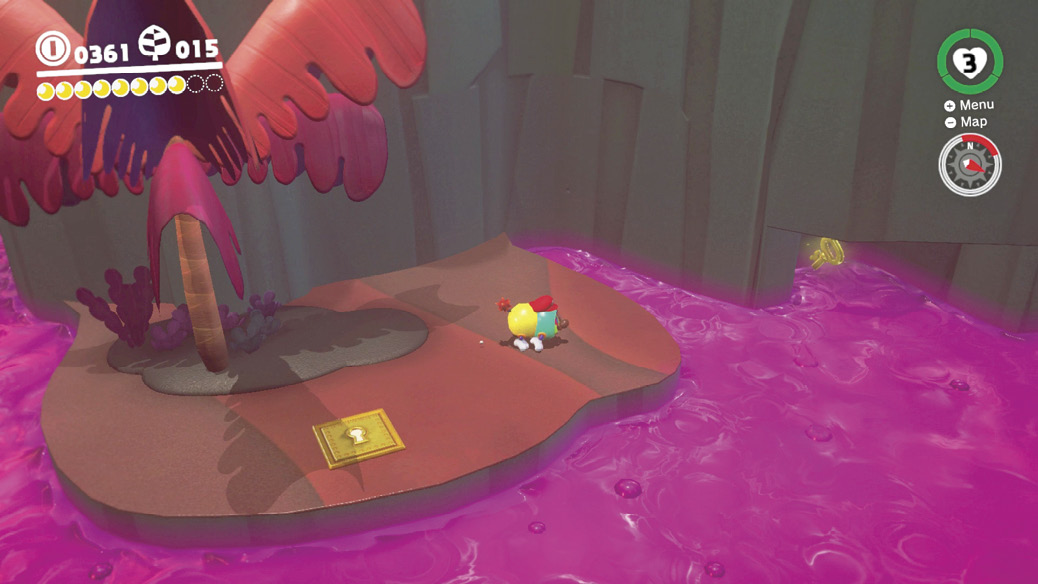
While you have the Tropical Wiggler, make your way to the Odyssey and drop off the cliff onto the ledge with the locked panel. Use the Tropical Wiggler to reach the key hidden in the cave near the poison. This unlocks Power Moon #17. Climb the tree and leap to the ledge to return to higher ground.
Mario should need only one more Power Moon to continue his journey to Metro Kingdom. The easiest Power Moon to get at this point sits atop the westernmost propeller. Capture a Tropical Wiggler atop Swamp Hill and use it to board the first of the two propellers. Cross to the ledge with the coins, then over to the propeller where Power Moon #01 is.