
Super Mario Odyssey Guide Ruined Kingdom
Power Moon Locations
 Power Moons
 In the Ancient Treasure Chest
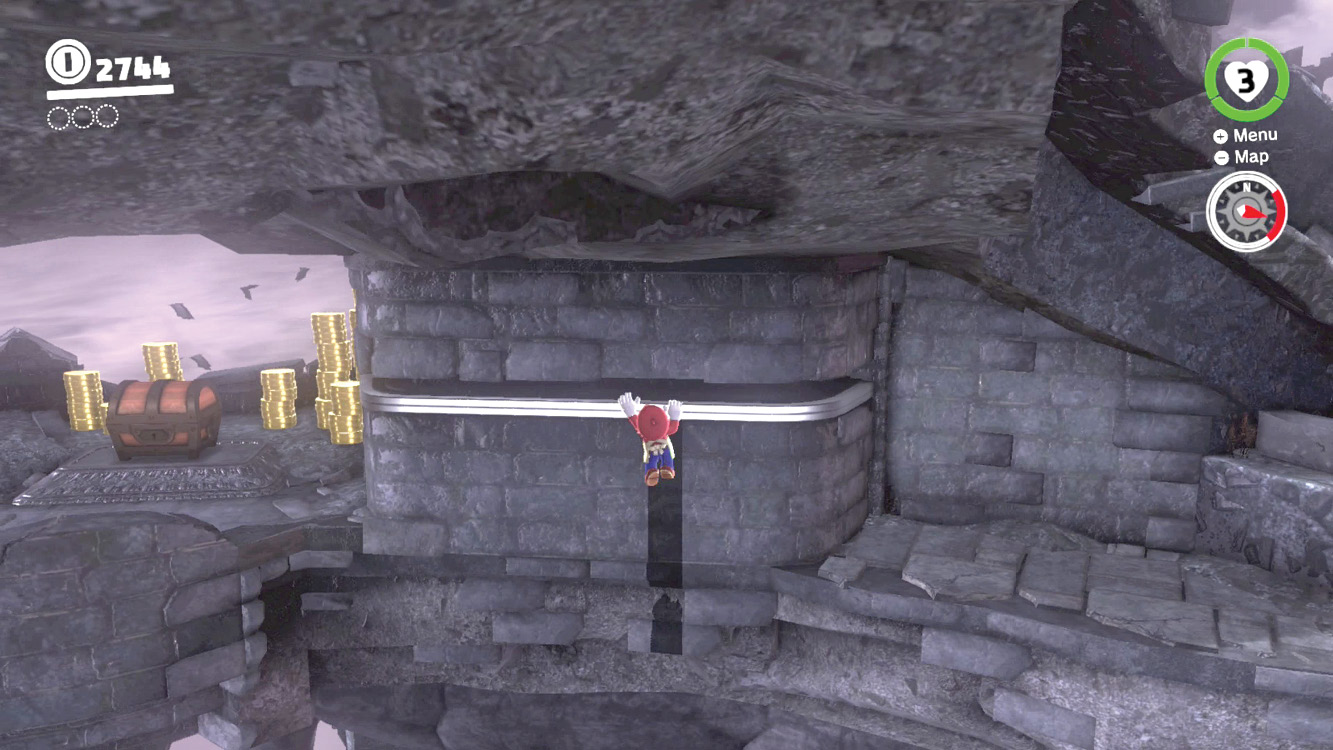
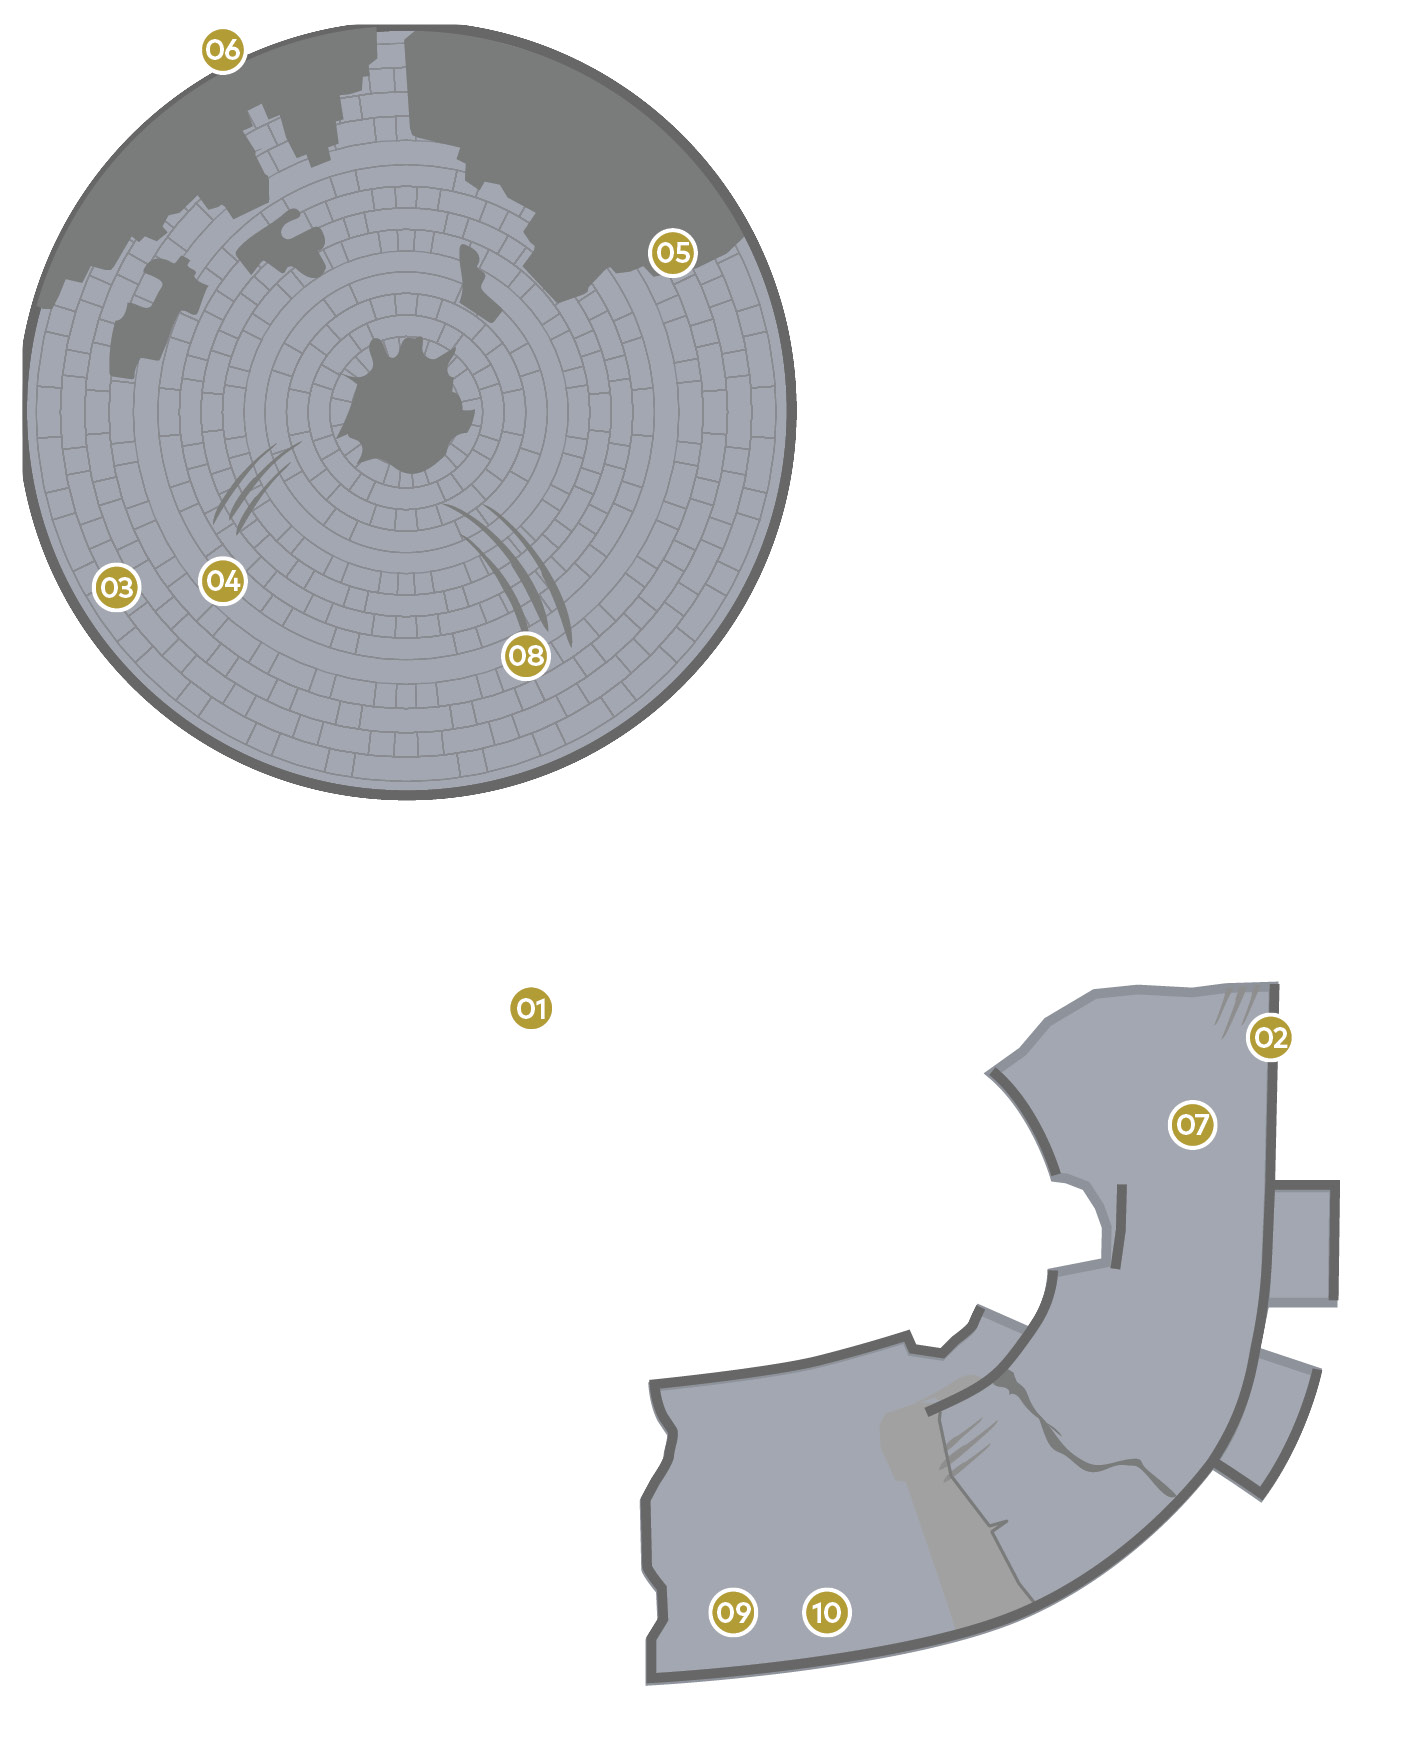
Climb the stairs up from where the Odyssey is moored and keep an eye on the left. One flight of stairs has given way on the left side, revealing a hidden path. Getting across requires ledge shimmying, so jump against the wall and Mario grips the handhold. Travel hand over hand to the left and open the treasure chest to reveal the Power Moon.
 Roulette Tower: Climbed
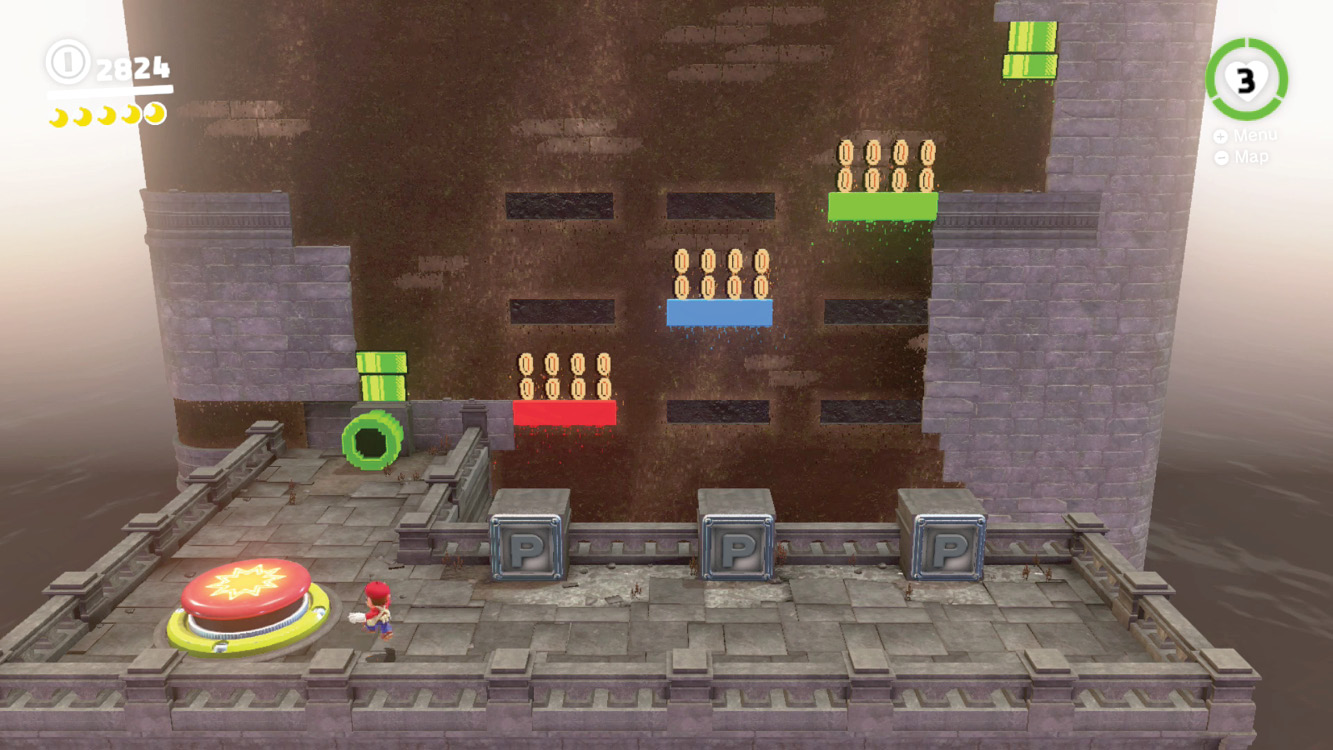
After defeating the dragon, return to the arena and ride the Mini Rocket to this challenge tower. The Power Moon is earned by climbing to the top. The climb takes place mostly inside 8-bit pipes, but you’ll also have to use P-Switches outside the pipes to freeze 2D blocks in the right place so they work as platforms. If you err in hitting a P-Switch at the best time, a nearby ground pound switch resets the rotating 2D blocks.
 Roulette Tower: Stopped
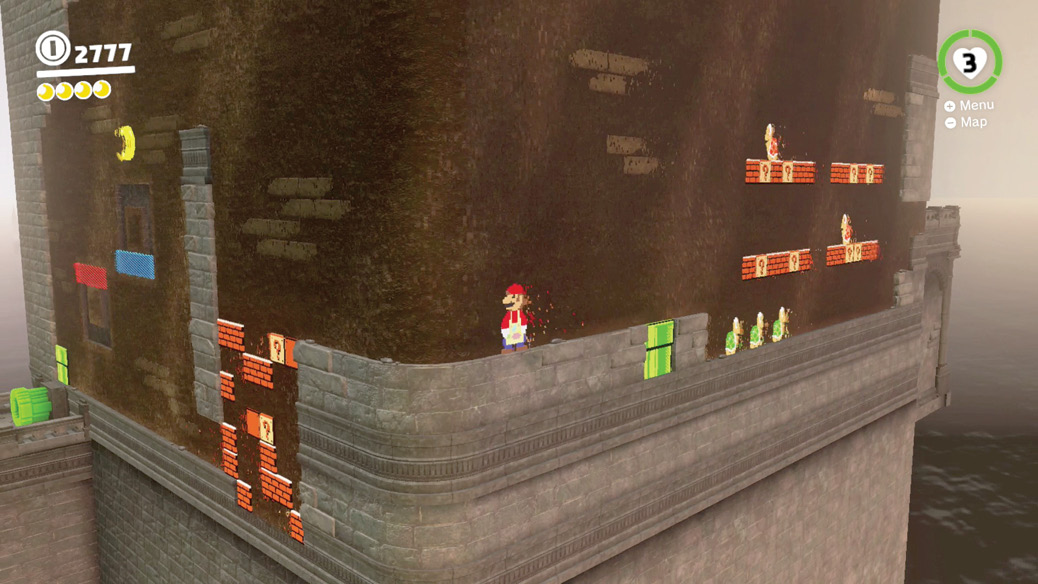
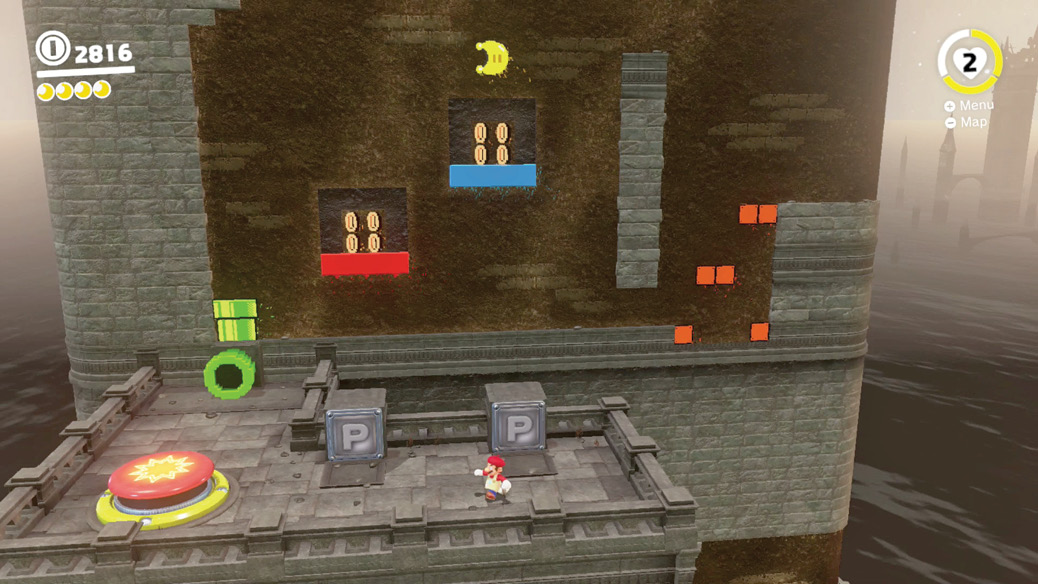
Along the way to the top of the Mini Rocket challenge room, keep your eyes peeled for a chamber filled with 8-bit Koopa Troopas. Some are on the ground, and some are roaming on floating bricks. You want to kick the one on the top-left—the red-shelled turtle—to the left, and follow it. The shell curves around the bend and breaks apart lots of bricks, revealing a hidden side of the 8-bit tower. Exit the pipe here, use the P-Switches to freeze the rotating sections as usable steps to the Power Moon, then climb back into the 8-bit pipe, hop up on the P-Switch blocks, and collect the Power Moon.
 Peach in the Ruined Kingdom
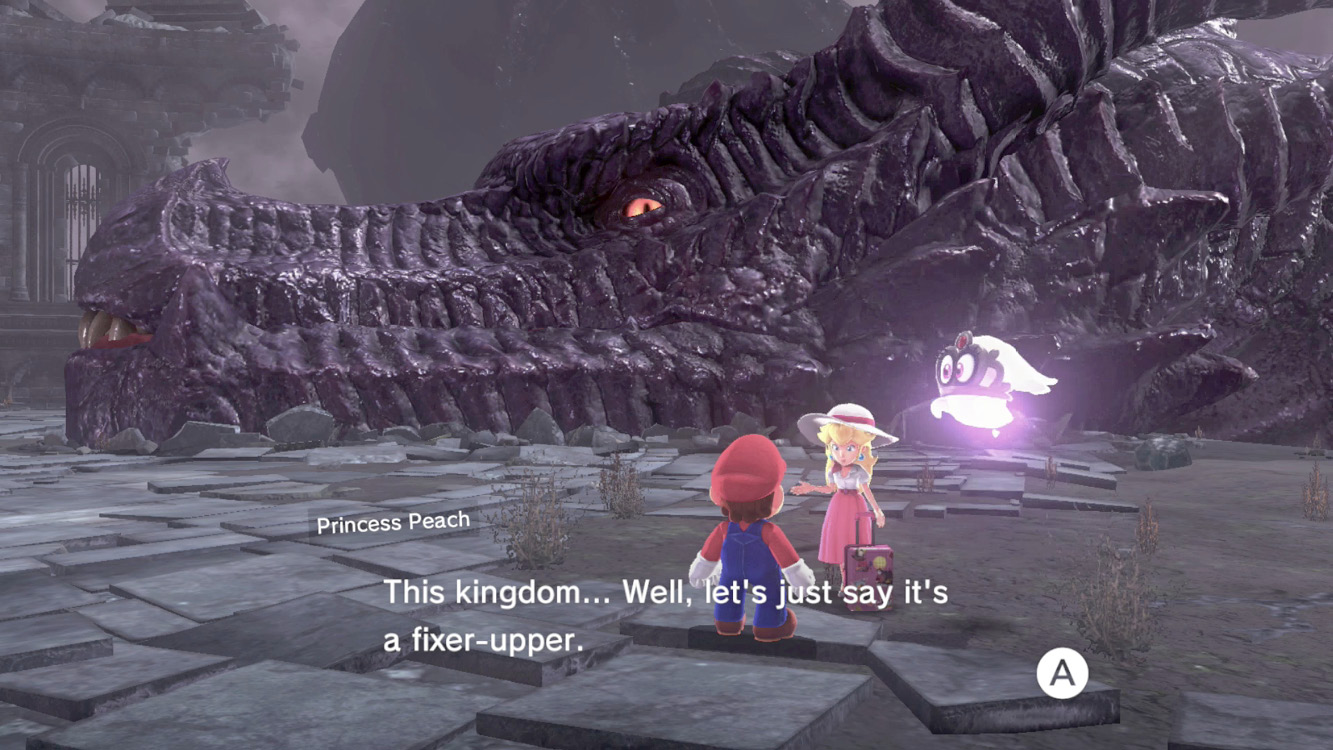
This Power Moon isn’t available until after the main adventure is completed and the princess can be found visiting various kingdoms. Look here to find her noting the quality of the local décor, and offering up a Power Moon she found along the way.
 Moons from the Moon Rock
 Caught in a Big Horn
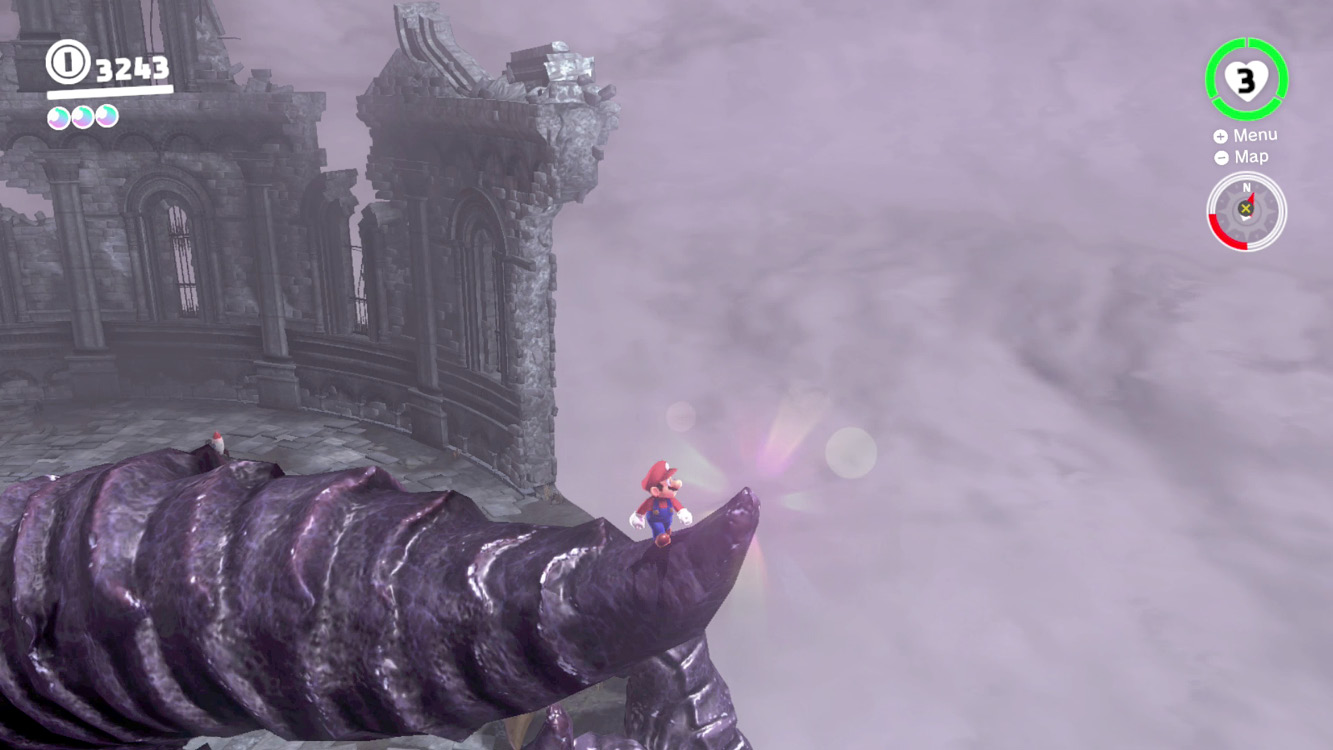
Return to the arena where the dragon lies, exhausted, and climb its head once again. Look toward one of its massive horns, the one on the dragon’s right side. There’s a glimmer coming from the very tip. Carefully climb the horn, then throw Cappy onto the very tip and hold him to slowly pull out the Power Moon.
 Upon the Broken Arch
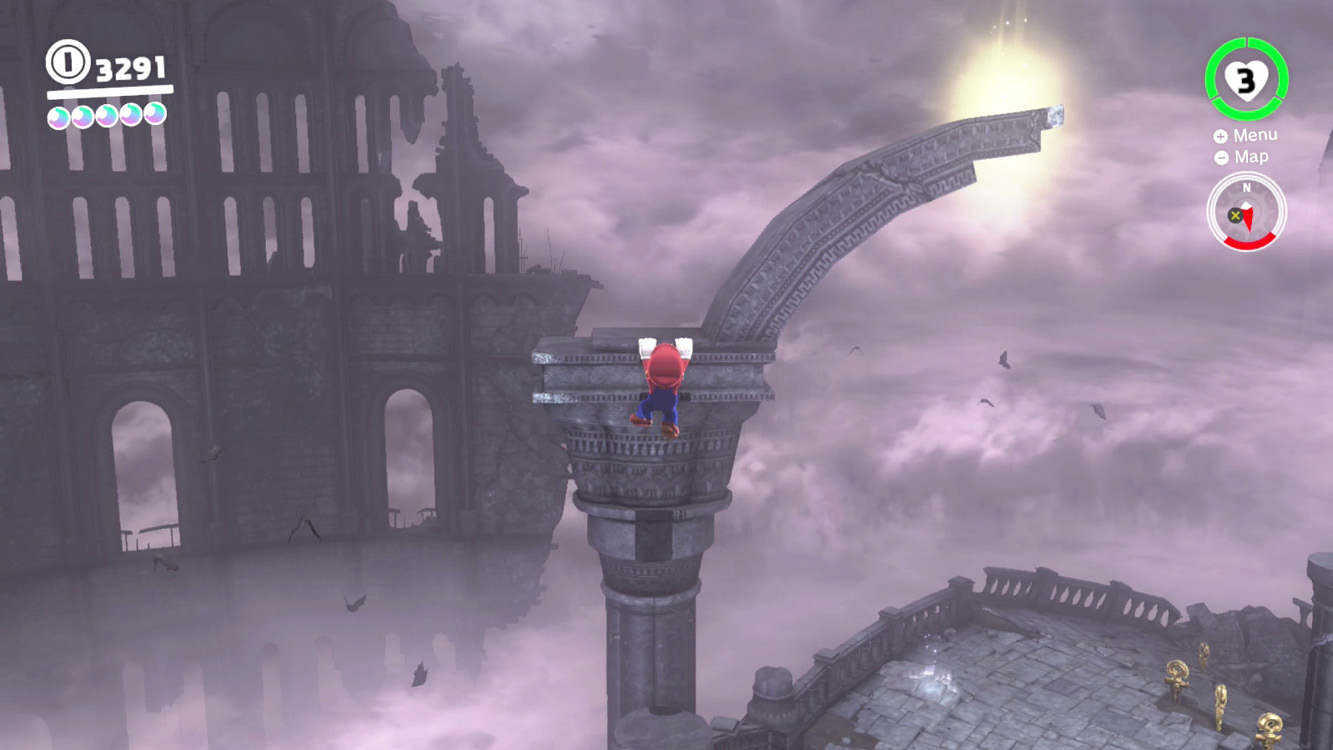
Once the Moon Rock opens, exposing extra Power Moons, this one is easy to find. Heading up the stairs from the Odyssey, look for a broken pillar and arch extending up on the right side. Climb up on top of what’s left of the arch to find a telltale glow wafting up from the floor. Ground pound here to reveal the Power Moon.
 Rolling Rock on the Battlefield
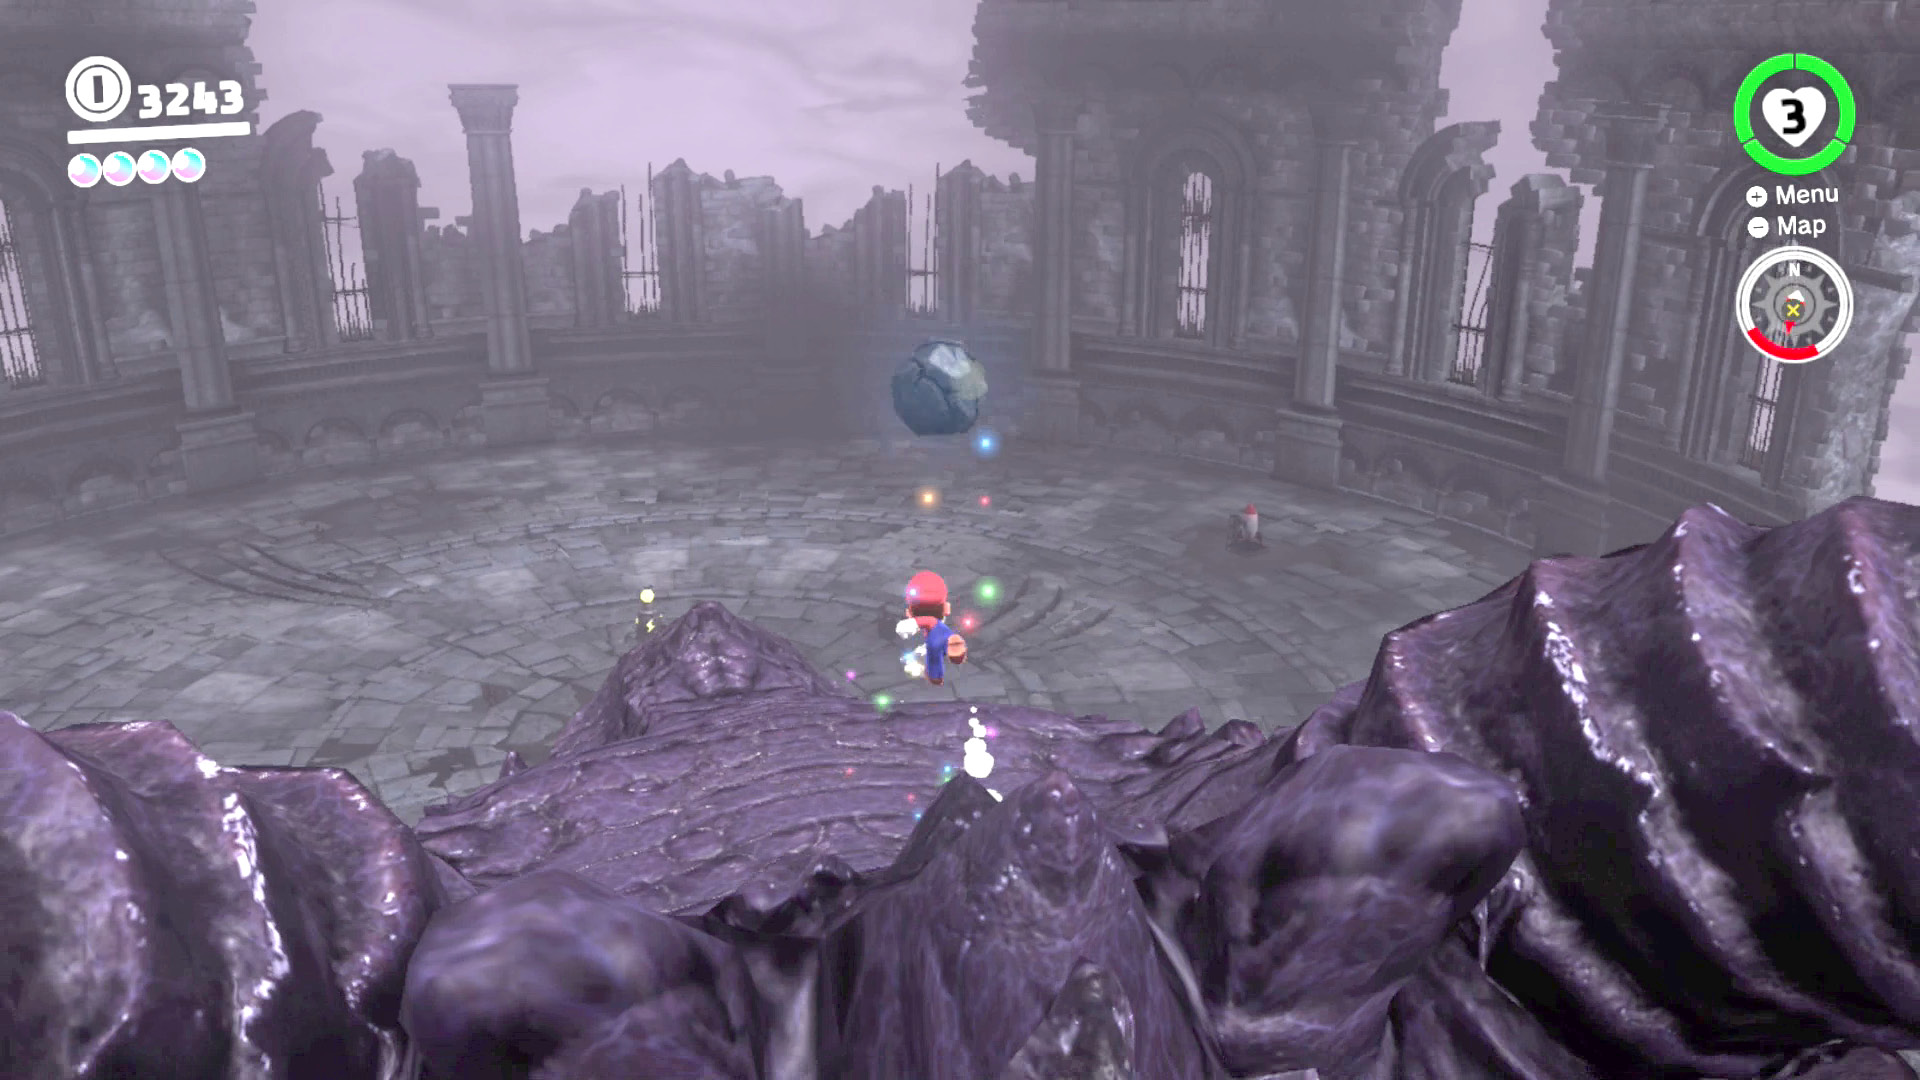
There was always debris up here, but after the Moon Rock opens up, one of the rocks partially embedded in the floor contains a surprise. Check rocks in the arena until you uncover one that gives off a rainbow shimmer. This rock is exceptionally durable, and you may need to give it a stronger-than-usual impact. If only there was some way to get extra height on a rock toss here…
 Charging Through an Army
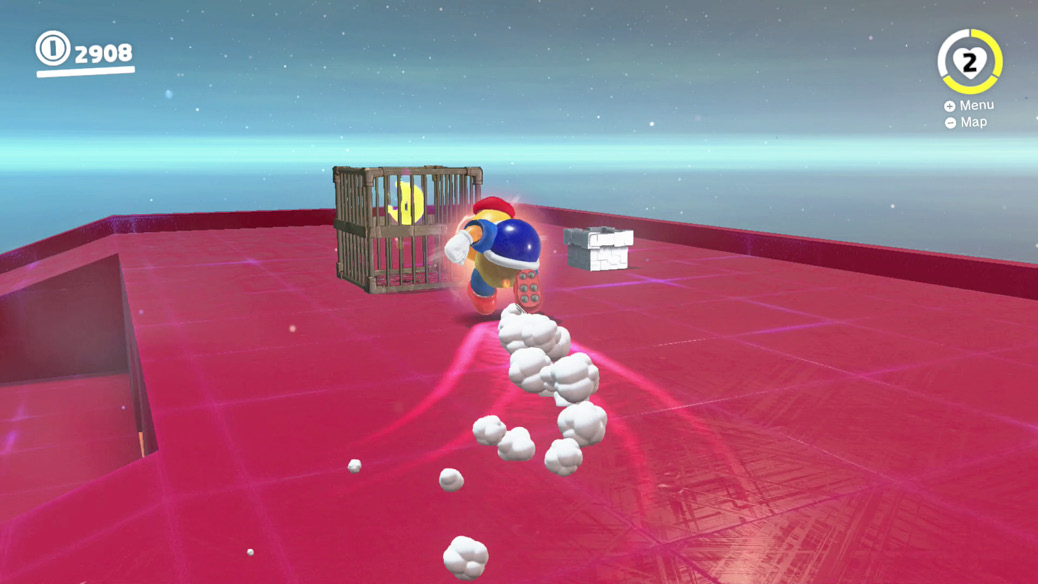
Open the Moon Rock and a strange pipe emerges right next to the Odyssey. Duck into it to find a strange world populated with infinite Chinchos, and a Chargin’ Chuck. Watch out for Chincho swarms—spin throws work wonders here—and acquire a Chargin’ Chuck of your very own with Cappy capture. Pilot the Chargin’ Chuck up the ramp to the top deck, where a Power Moon is trapped in a cage. Charge up Chargin’ Chuck’s special sprint and bash the cage apart.
 The Mummy’s Army Curse
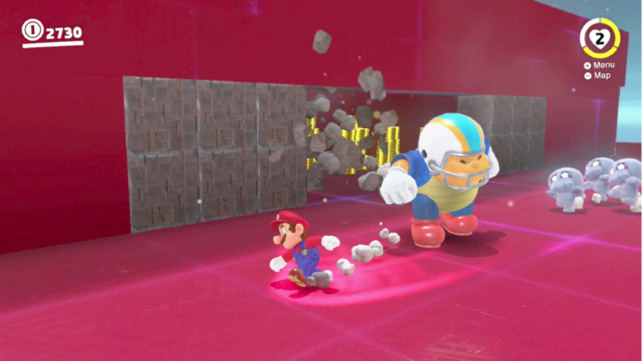
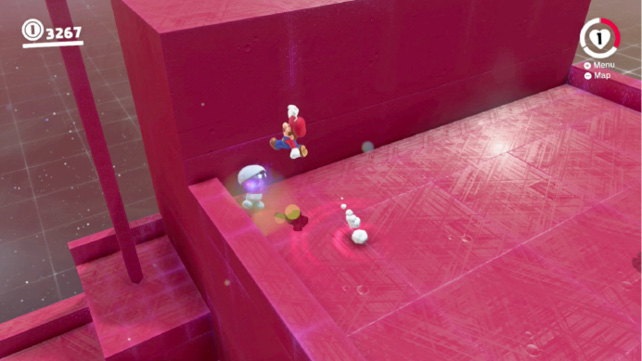
When exploring the Chincho challenge pipe tucked away behind the Odyssey, either commandeer Chargin’ Chuck or lead him across the playing field to the row of breakable blocks under the entrance. Smash the blocks apart with football-derived strength to reveal a huge bounty of coins. More importantly, after scoring these coins, it’s time to double-check the deck directly above, with the entrance pipe. A glowing Chincho resides (or hangs around undead-style) up here. Use the pole to quickly return to the second floor, find the glowing Chincho, and tear it apart with cap throws or jump attacks. Don’t leave without scooping up the moon it leaves behind (plus giving Chargin’ Chuck a high-five).