
Super Mario Odyssey Guide Cap Kingdom
Power Moon Locations
 Power Moons
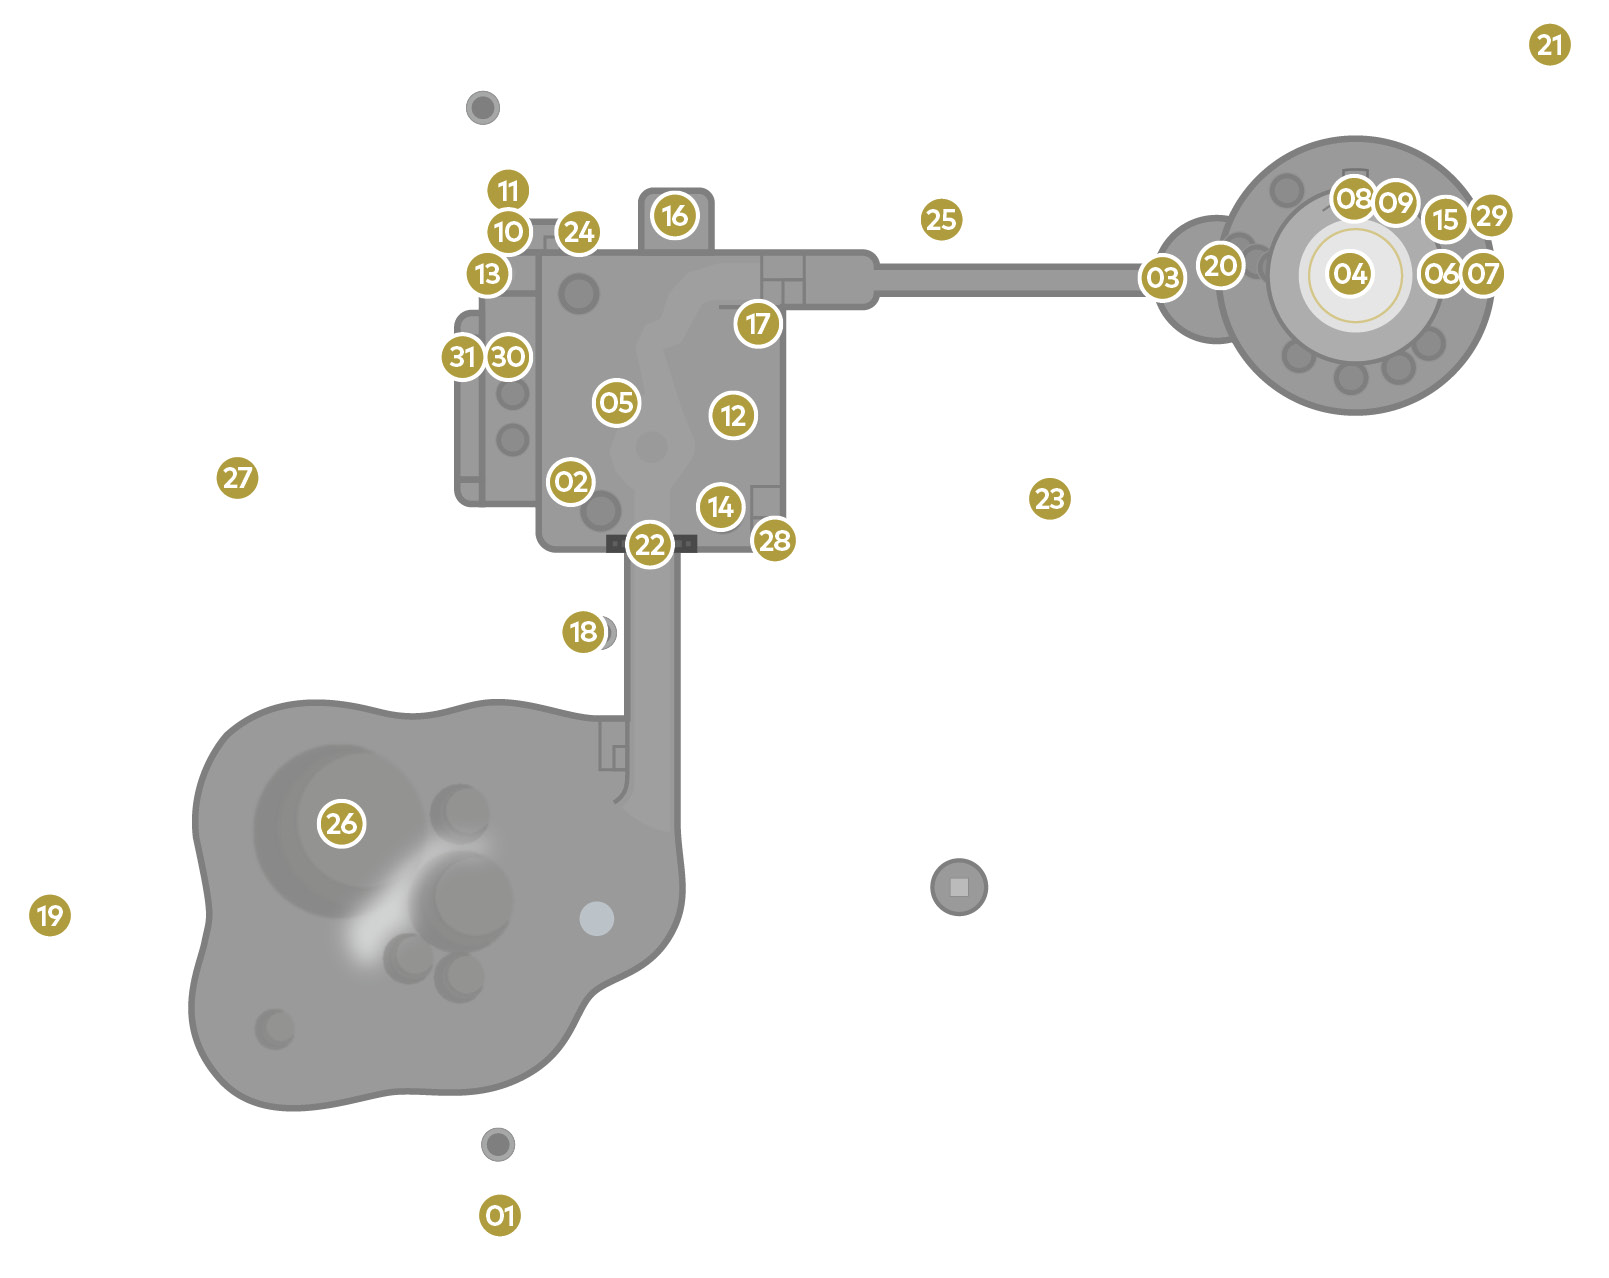
There are 31 Power Moons in Cap Kingdom, none of which are available during Mario’s initial visit. Return aboard the Odyssey any time after completing the objectives at Cascade Kingdom to gain access to some of them. Others can only be obtained after defeating Bowser.
 Frog-Jumping Above the Fog
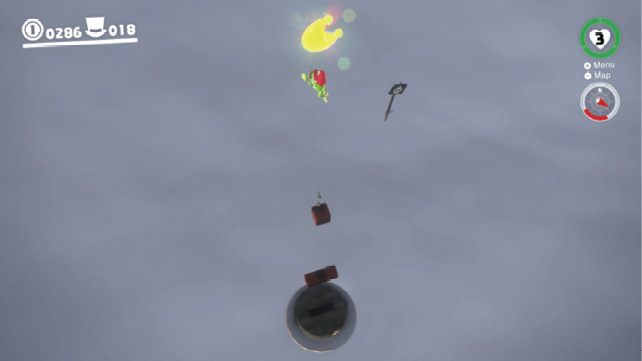
Capture a frog and leap over the railing east of the Odyssey to the top hat in the mist. Leap to the second top hat near the three blocks. There’s an invisible block above those three. Jump to the higher block and, from there, leap straight up to the Power Moon.
 Frog-Jumping from the Top Deck
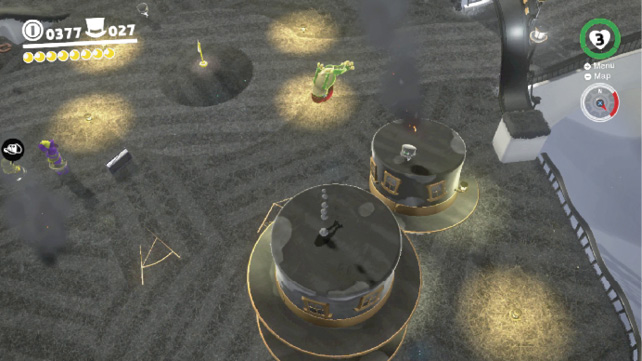
Capture a frog and hop over to Central Plaza and make your way onto the two-story top hat home. The Power Moon is hovering high above this top hat, but the frog’s normal jump isn’t enough to reach it. You need to shake the controller and perform the frog’s high jump ability to grab it.
 Cap Kingdom Timer Challenge 1
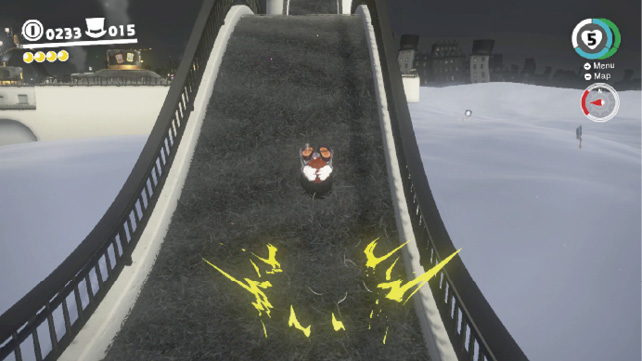
Throw Cappy at the scarecrow at the bottom of Sometimes Bridge to activate the first Timer Challenge. Mario won’t have Cappy to assist him in his race to the Power Moon, but he’s capable of plenty of useful moves to reach it before time expires. The quickest way to get back up the bridge is to perform a forward roll while shaking the controller to make Mario roll faster. Roll as fast as you can up the bridge to get the Power Moon.
 Good Evening, Captain Toad!
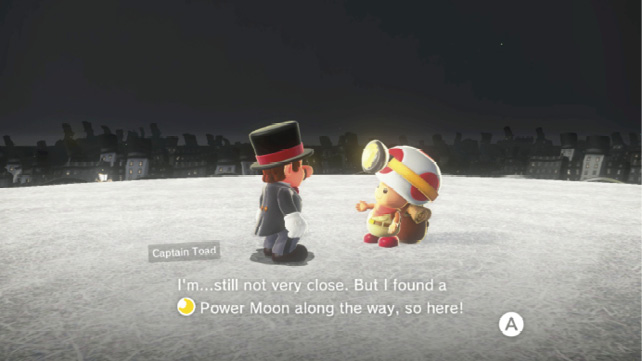
Return to the top of Top-Hat Tower to find Captain Toad. Captain Toad can be found in each kingdom Mario visits and he always has a Power Moon to hand over when you find him. He’s not always this easy to find, so don’t get too used to it.
 Shopping in Bonneton
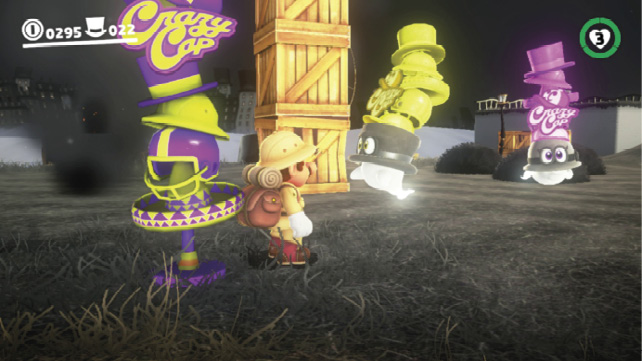
Make your way to Central Plaza and talk to the yellow Crazy Cap merchant to access the inventory of items sold for standard coins. The Power Moon for Cap Kingdom costs 100 coins.
 Skimming the Poison Tide
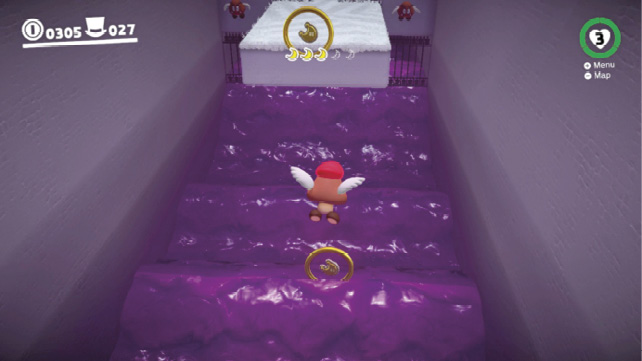
Leap from the top of Top-Hat Tower’s north side (or capture the Paragoomba atop Sometimes Bridge) to reach the ledge halfway up the north side of Top-Hat Tower. Enter the red door and capture the Paragoomba inside. Carefully fly through the four rings above the poison tide to collect each of the Moon Fragments. The fifth Moon Fragment is up ahead, near the white platform. Collect the Power Moon that appears, but don’t leave just yet!
 Slipping Through the Poison Tide
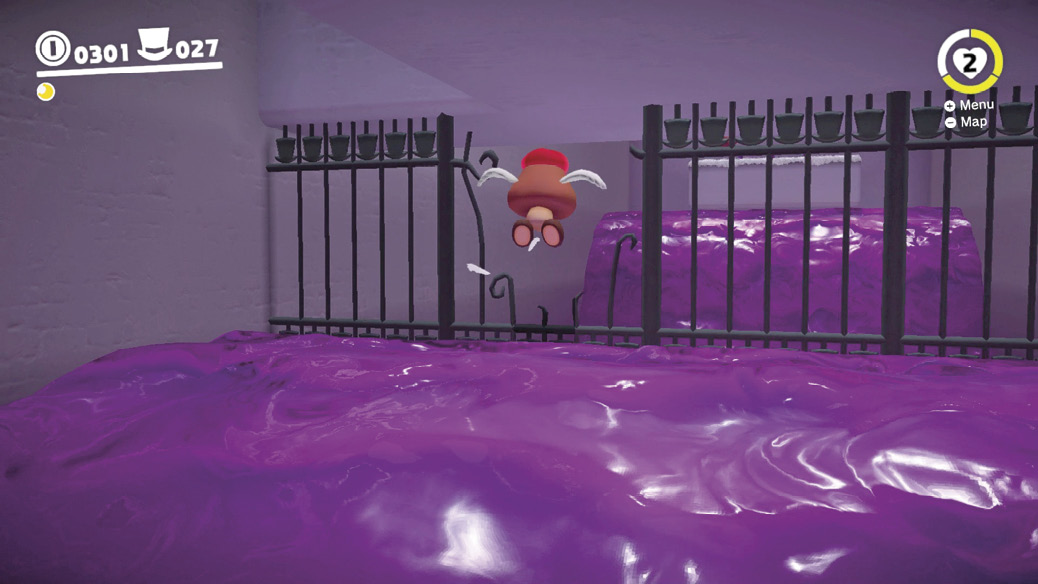
Follow the instructions for Power Moon #06 and make your way across the poison tide to the far white landing. Continue using the Paragoomba, wait for a wave of poison to pass, then drop off the side. There’s a hole in the fence below the white platform. Fly through it to reach a secret area of the level. Grab the purple coins and fly back to the white ledges. Climb the stepped platforms with the Paragoomba to reach the Power Moon.
 Push-Block Peril
Make your way to Top-Hat Tower and enter the red door on the brim of the hat, near the sliding platforms. To find the Power Moon here, you must navigate a complex level of sliding blocks and tricky Spark Pylons. Numerous coins lurking off the wire may seem difficult to collect, but they’re actually easy to reach. Mario can jump from the power line without falling, so long as he hasn’t yet reached one of the nodes. Where this level gets tricky is when it comes to exiting the Spark Pylon.
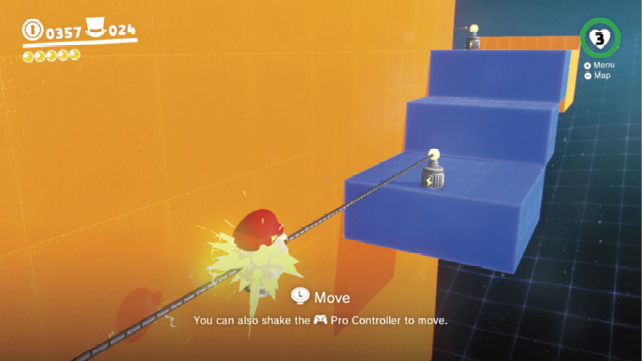
Pause at a node to wait for the blocks to slide into position, else Mario will likely fall to his demise. Patience is critical in this level!
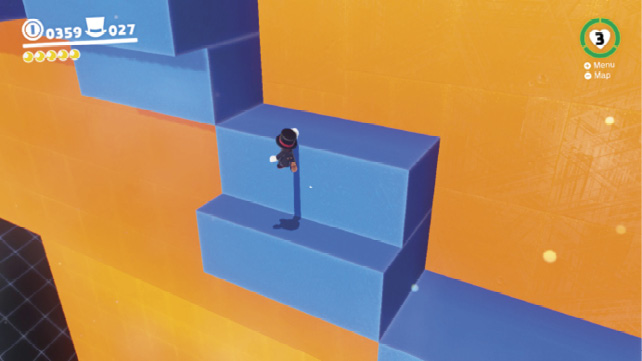
The trip back across the level from right to left on the upper blocks is even trickier, as pairs of blocks slide in and out above and beneath one another. Leap onto the lower of the pair, then leap straight up to the higher one as it slides out. Climb up and jump to the lower block in the next pair as it slides from the wall.
 Hidden Among the Push-Blocks
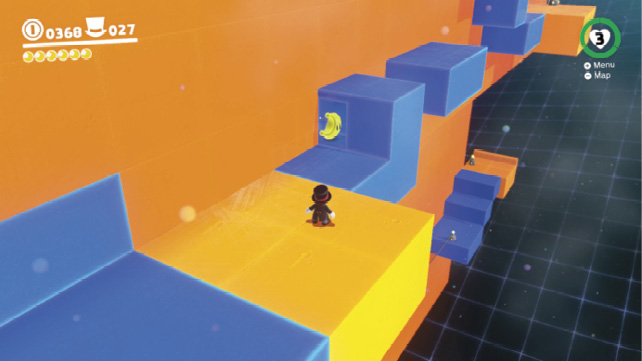
Follow the tips for Power Moon #08 until you reach the upper level of the push-blocks. Cross the push-blocks until you reach the orange platform near the L-shaped block. Turn around, wait for the block to extend, and grab the Power Moon in the alcove.
 Searching the Frog Pond
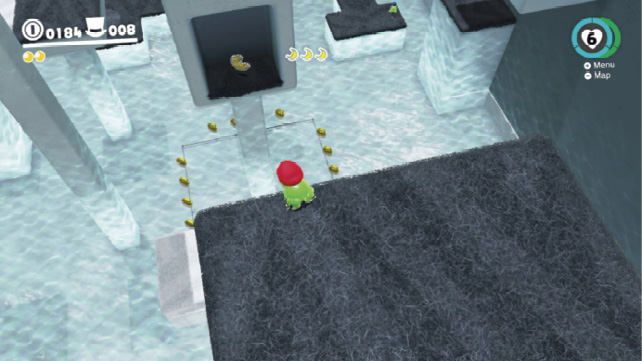
Drop off the ledge in the northwest corner of Central Plaza and go through the door (this door was blocked by rubble during Mario’s initial visit). There are five Moon Fragments inside this level to find. Collect all of them to make the Power Moon appear.
Grab the one in front of the entrance and then capture a frog and leap onto the entrance area to collect a second. Make your way around the perimeter platforms high on the wall to find the third Moon Fragment. The trickiest one to spot is inside an alcove on the platform above the square ring of coins. The final Moon Fragment is atop the tallest platform in the center of the area.
 Secrets of the Frog Pond
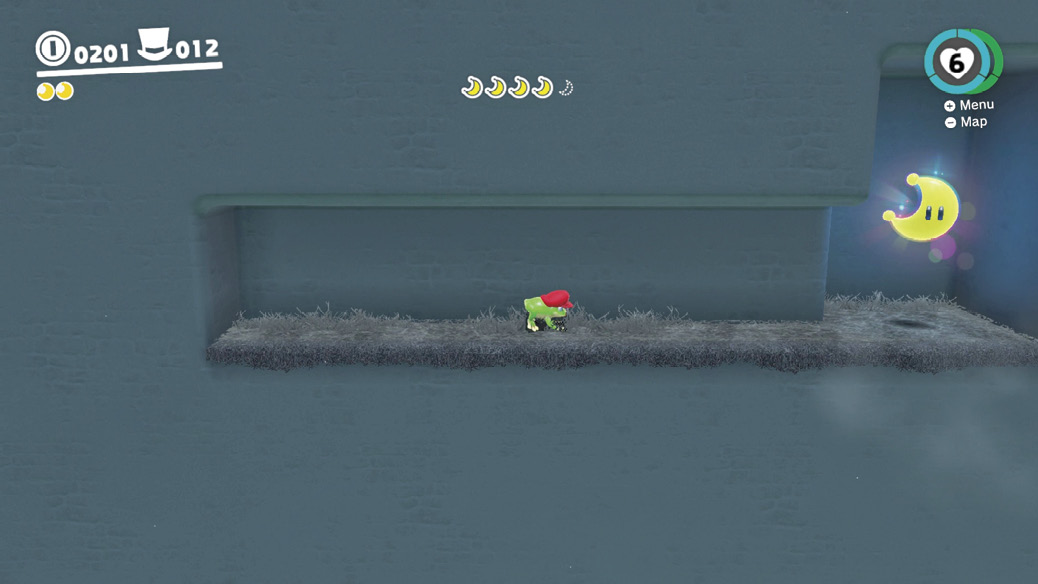
Follow instructions for Power Moon #10 to enter the Frog Pond and capture a frog. Make your way to the white platform sliding back and forth beneath the narrow wall. Leap from the sliding platform onto the narrow top wall and, from there, into a recess on the wall above to find a Power Moon.
 The Forgotten Treasure
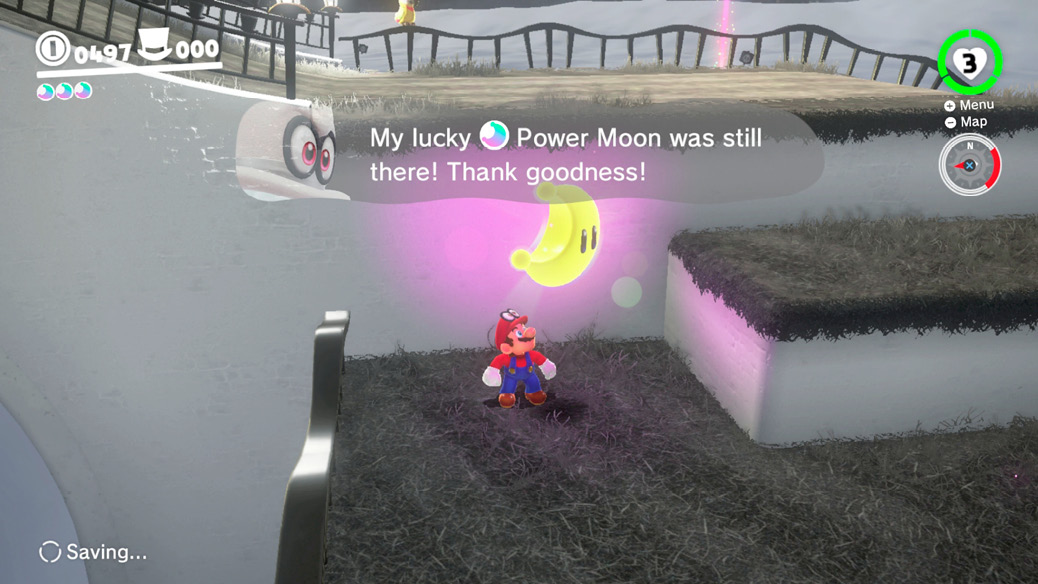
Approach the Bonneter atop the home on the east side of Central Plaza to learn of a misplaced treasure. Cappy tries to recall where he left it by offering suggestions. First look under the pile of nearby crates by Crazy Cap. Next, drop off the western side of Central Plaza and run through the narrow strip of fog below the homes. Run across Glasses Bridge to check Cappy’s next suggestion and continue south to the large hill near the Odyssey. Run to the top of the hill to help Cappy remember. From atop the hill, walk straight toward the moon and feel for the rumble in the controller. Note the two steps near Glasses Bridge and ground pound left of the upper step to find the Power Moon.
 Taxi Flying Through Bonneton
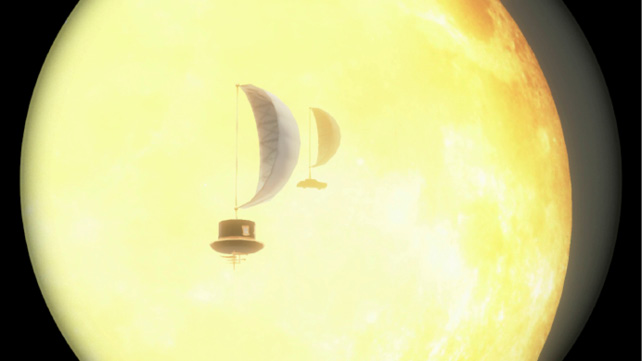
Capture the Binoculars in the northwest corner of Central Plaza and look to the moon. Scan the fleet of airships flying past for one that looks a little different. Zoom in on it as it sails past the moon to discover it’s actually a flying taxi! Spotting this anomaly earns you a Power Moon.
 Bonneter Blockade
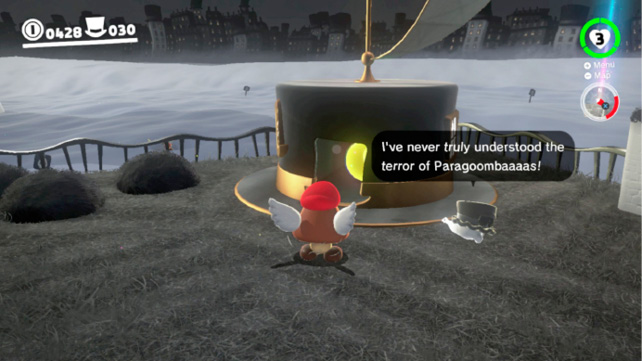
Return to Central Plaza once the Bonneter homes have been restored and speak to the Bonneter in the southeast house. He says he’s guarding a Power Moon and isn’t afraid of anything. Test his courage by returning to him as a captured Paragoomba—the Paragoomba on the steps to the Sometimes Bridge is nearest. The Bonneter runs off and the Power Moon is yours.
 Cap Kingdom Regular Cup
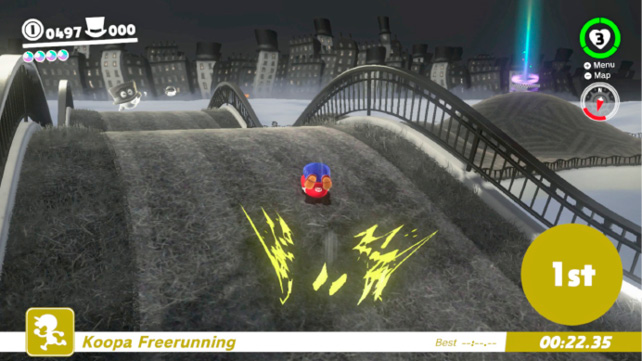
Talk to the Koopa atop the brim of Top-Hat Tower to begin the Koopa Freerunning race. To win, you need only be the first to reach the beacon atop the hill near the Odyssey. The race begins atop Top-Hat Tower. Triple jump off the edge into a dive jump and roll across Sometimes Bridge while actively shaking the controller for speed. Triple jump and dive jump your way through Central Plaza then roll across Glasses Bridge. Sprint and jump over the smaller hill to reach the finish line before any of the other Koopas. If this race feels easy to you, don’t get cocky. There are plenty more challenging Koopa Freerunning events in store!
 Peach in the Cap Kingdom
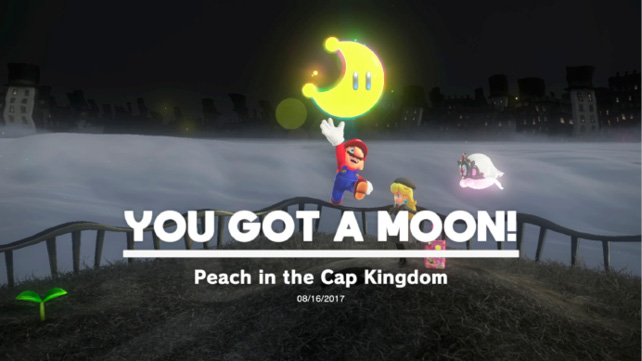
Return to Central Plaza after defeating Bowser and continue north to the overlook where the four flowers grow. Princess Peach and Tiara are standing atop the hill there. Talk with her to receive a Power Moon from her travels. Look for Peach in each of the Kingdoms as you continue to travel.
 Found with Cap Kingdom Art
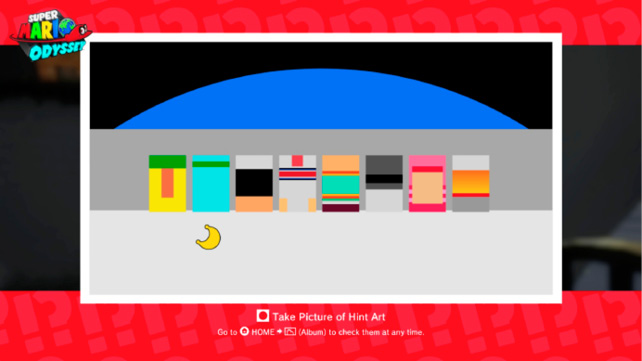
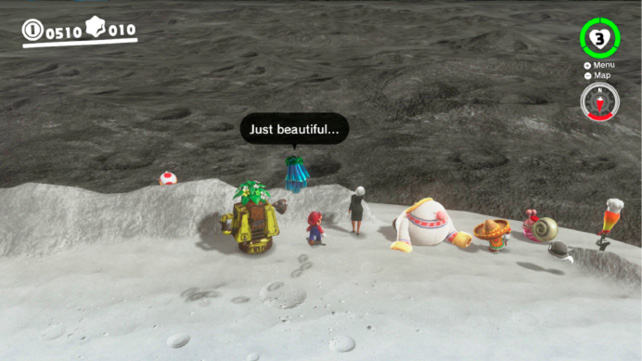
The Hint Art appears on the side of Sometimes Bridge in Central Plaza after the town has been restored. Snap a picture of it and study the pattern. The black sky and blue circle should tip you off that it’s an image from the Moon Kingdom. Take the Odyssey to the Moon Kingdom and approach the eight characters standing in a row. Stand behind them so the patterns of their outfits match those in the photo. Ground pound behind the second from the left to find the Power Moon.
Moons from the Moon Rock
Once you’ve defeated Bowser and return to Cap Kingdom, Cappy draws Mario’s attention to the mysterious Moon Rock on an island to the east. Fly as a Paragoomba over to the mysterious cube, release the capture, and strike the Moon Rock with Cappy. This releases an additional 13 Power Moons for you to discover.
 Next to Glasses Bridge
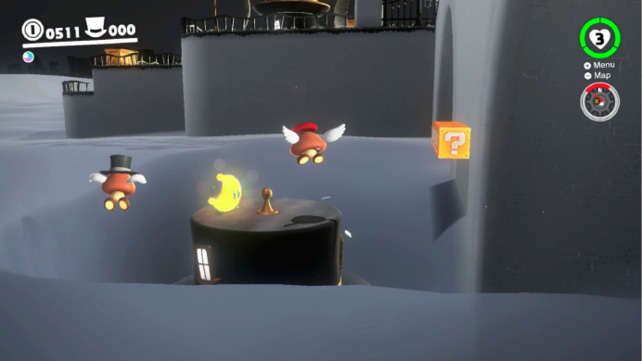
One of the easiest Power Moons in the entire game, this one sits atop the hat next to Glasses Bridge. Jump down (or fly over as a Paragoomba) and snatch it up! You can be sure not all the Power Moons emerging from the Moon Rock will be this obvious.
 Danger Sign
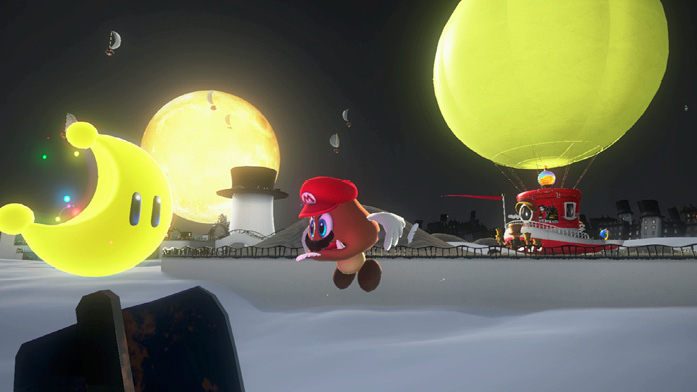
Okay, maybe this one is just as simple. Capture a Paragoomba and fly south from the Odyssey toward the danger sign. The Power Moon is sitting atop the sign rising up out of the fog. You can’t miss it!
 Under the Big One’s Brim
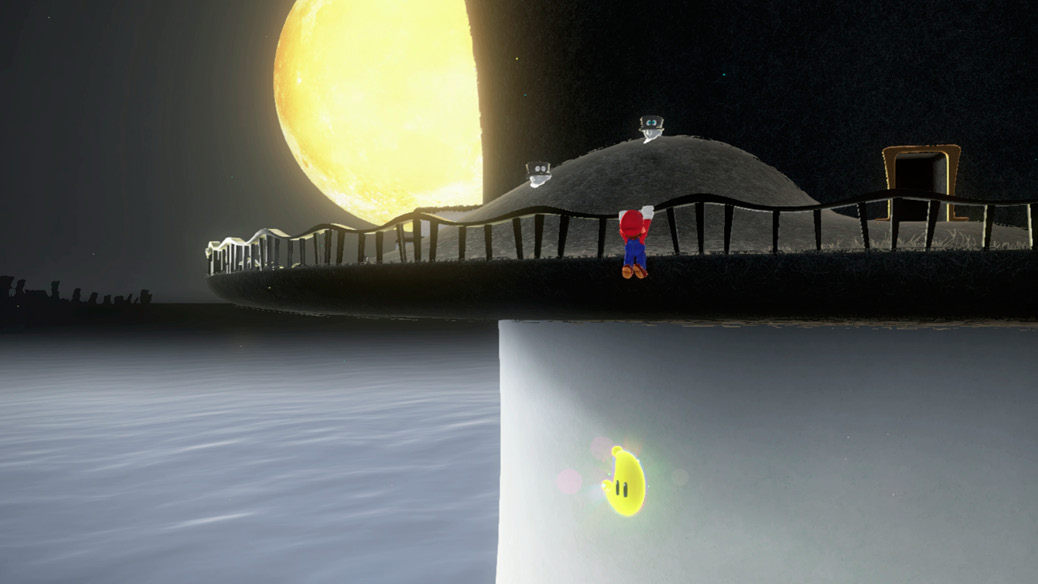
Warp to Top-Hat Tower and carefully climb over the railing directly above Sometimes Bridge. Position the camera so you can see the Power Moon beneath the brim and dangle Mario directly above the Power Moon, with the camera behind him. Press down on the controls to have Mario let go of the railing, falling right into the Power Moon.
 Fly to the Edge of the Fog
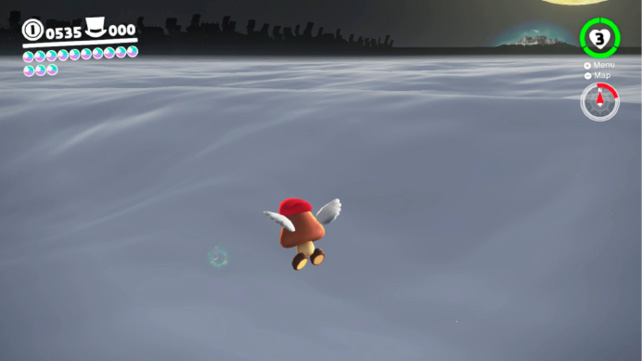
Leap off the brim of Top-Hat Tower near the Koopa to land on the ledge tucked behind the north side of the tower. Capture the Paragoomba there and fly out into the fog north of the tower, toward the faint glow of a Power Moon. Use the in-game map to pinpoint the location of this well-hidden Power Moon. Other Paragoombas can be used as well, but the one specified here is closest to the target. You’ll have to descend into the fog to grab it.
 Spin the Hat, Get a Prize
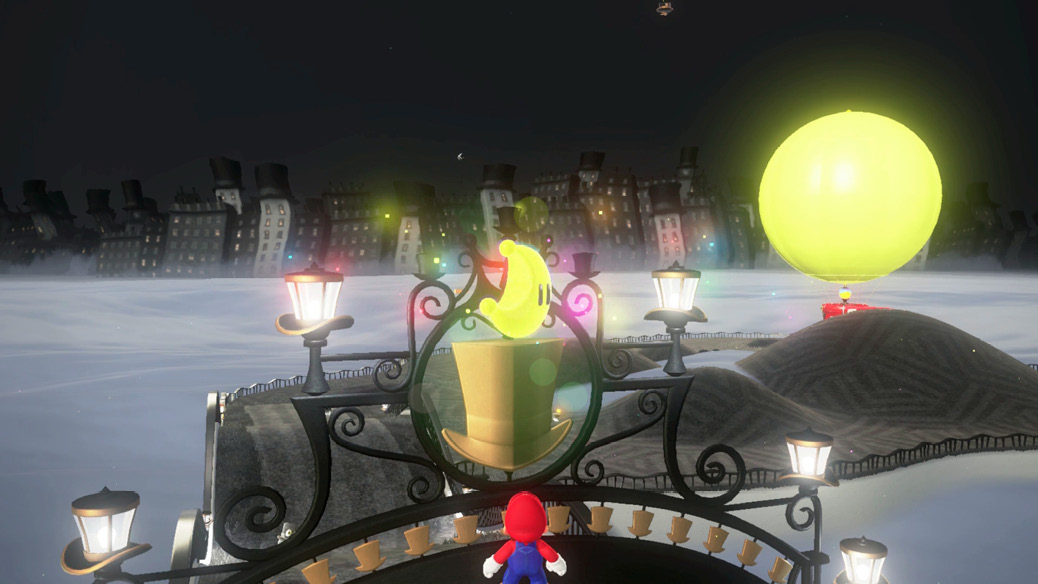
Run across the metal arch atop Glasses Bridge near Central Plaza and throw Cappy at the large hat emblem in the center. Spin the hat emblem well enough to earn a Power Moon.
 Hidden in a Sunken Hat
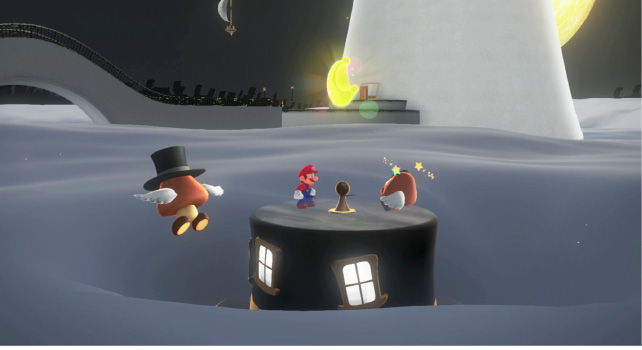
Capture a Paragoomba and fly due north of the hat with the Moon Rock. Note the glowing spindle atop the hat and throw Cappy at it. Perform a throw-and-hold so Cappy continues to spin atop the spindle until the Power Moon is released.
 Fog-Shrouded Platform
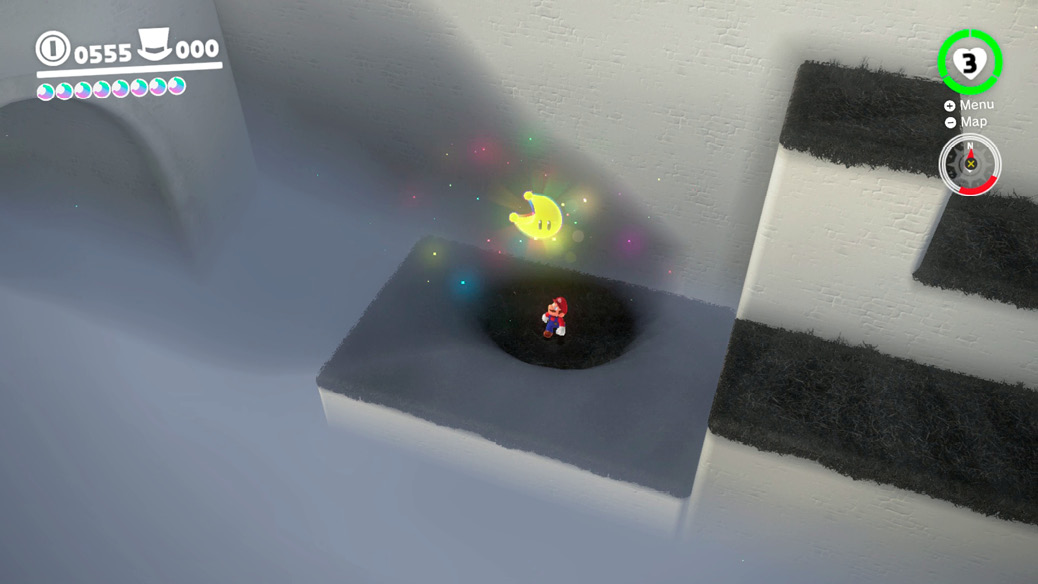
Locate the glowing spot on the lowermost platform on the north side of Central Plaza, near Sometimes Bridge. Ground Pound the glow to unearth a Power Moon hidden in the fog.
 Bird Traveling in the Fog
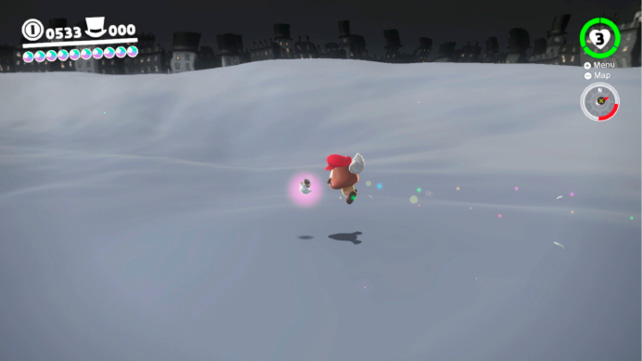
You may notice on the in-game map that one of the Power Moon locations seems to be moving. That’s a bird! The bird flies a lap around the perimeter of Cap Kingdom, skimming the surface of the fog at speed. To catch it you need to intercept it with a Paragoomba. And the easiest way to do this is by lurking along the wall near the Odyssey, not far from the two sunken hats by the three blocks. Wait for the bird to approach and fly out toward it as it nears the danger sign. Provided you follow straight behind it without dipping below it, Mario and the Paragoomba can snag the Power Moon from behind.
 Caught Hopping Near the Ship!
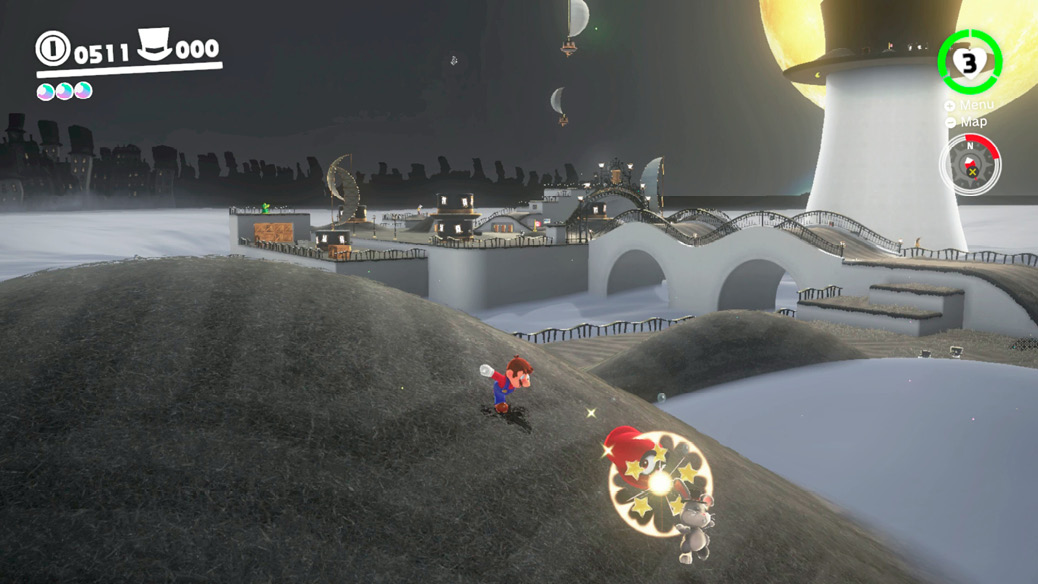
Locate the rabbit atop the tallest hill near the Odyssey and sneak up to it and hit it with Cappy. Continue tossing Cappy at the rabbit as it flees down the hill to slow it as it runs. Chase after it while hitting it with Cappy to give Mario a chance at catching it for a Power Moon.
 Taking Notes: In the Fog
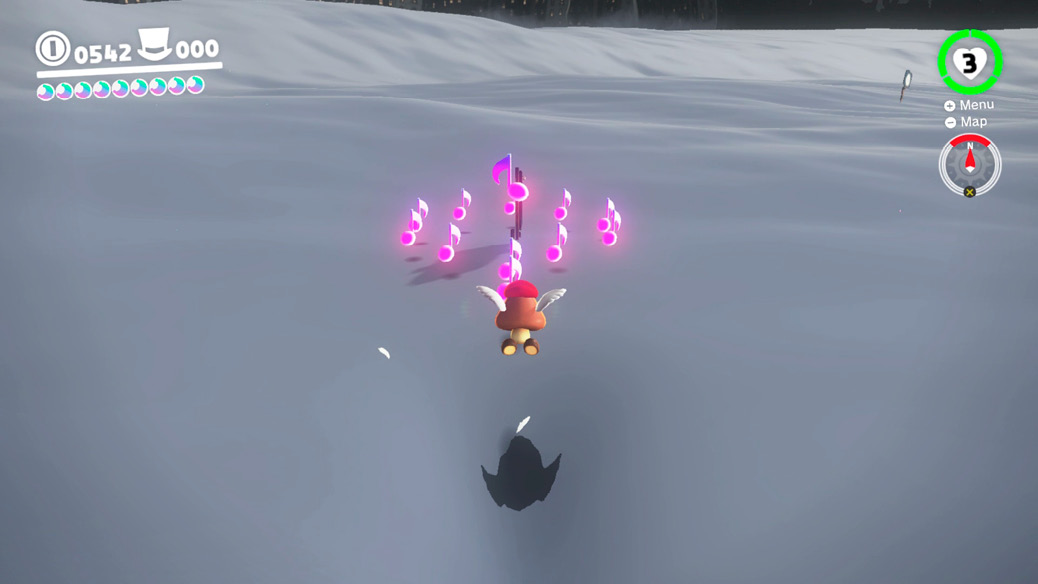
Capture a Paragoomba and fly off the western side of Central Plaza toward the glowing treble clef above the hat. Fly through the note facing north to get a start on capturing the notes that appear. Follow the line of notes around the danger sign before time expires to earn a Power Moon.
 Cap Kingdom Timer Challenge 2
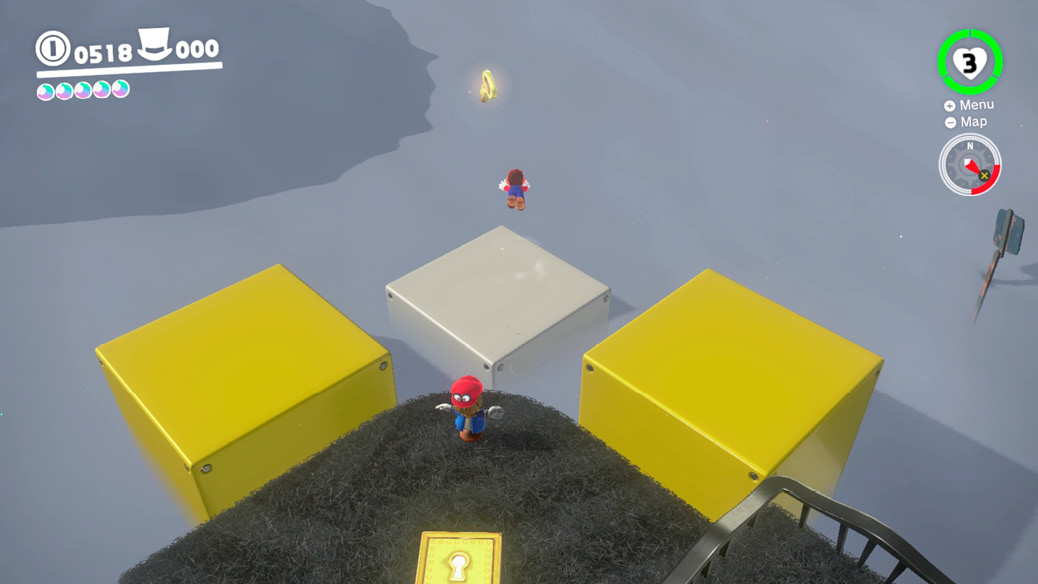
Throw Cappy at the scarecrow to initiate the Timer Challenge. A key floats above one of three rising and falling blocks. Ignore the yellow blocks and dive jump onto the white block as it begins to rise. Leap to get the key then turn and dive jump back toward the scarecrow to snag the Power Moon before time expires.
 Cap Kingdom Master Cup
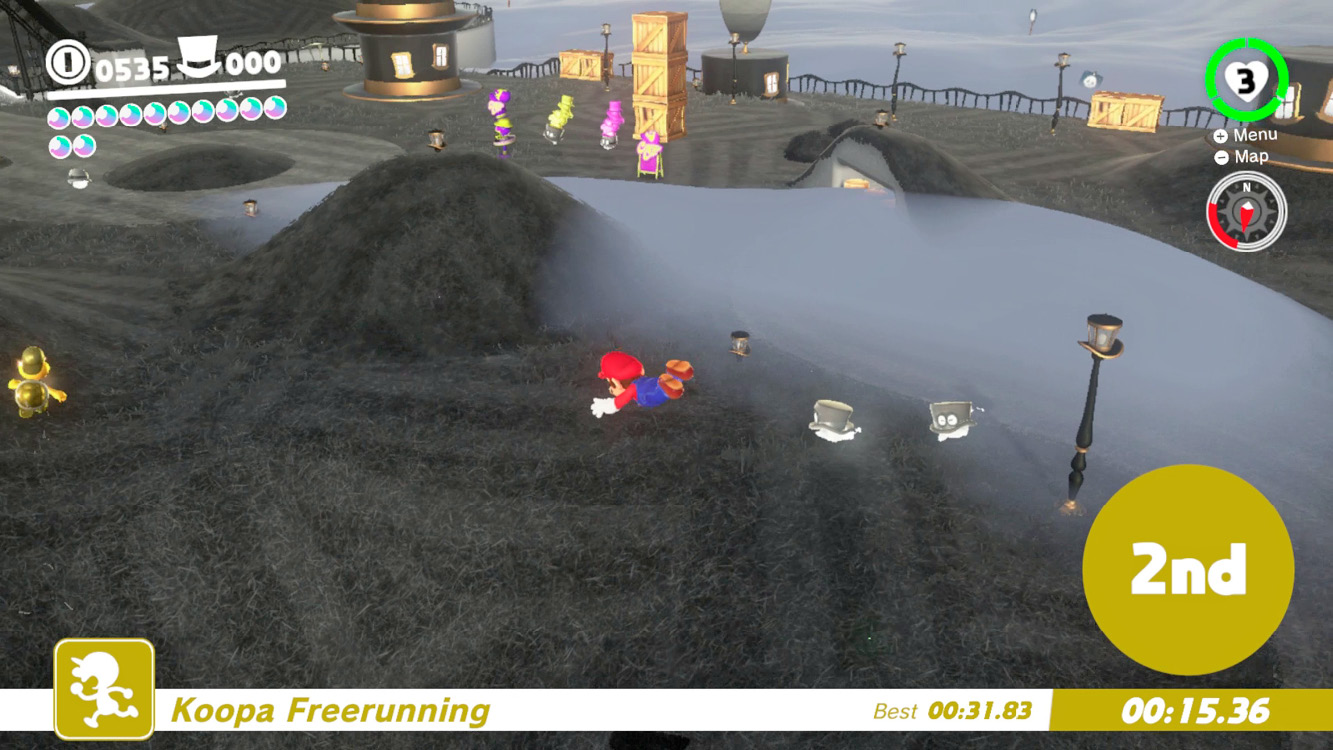
Return to Koopa atop the brim of Top-Hat Tower to take on the Master Cup race. This time a Golden Koopa has joined the field of Roving Racers and, unlike the others, this one can really jump! You’re going to have to race your cleanest, fastest line to beat him. The course is the same, as is the strategy. Triple jump and dive jump off the tower and through Central Plaza, but roll as fast as you can across the bridges while shaking the controller. Don’t worry, the guardrails keep you from falling off. Long jump from the first hill to the finish line!
 Roll On and On
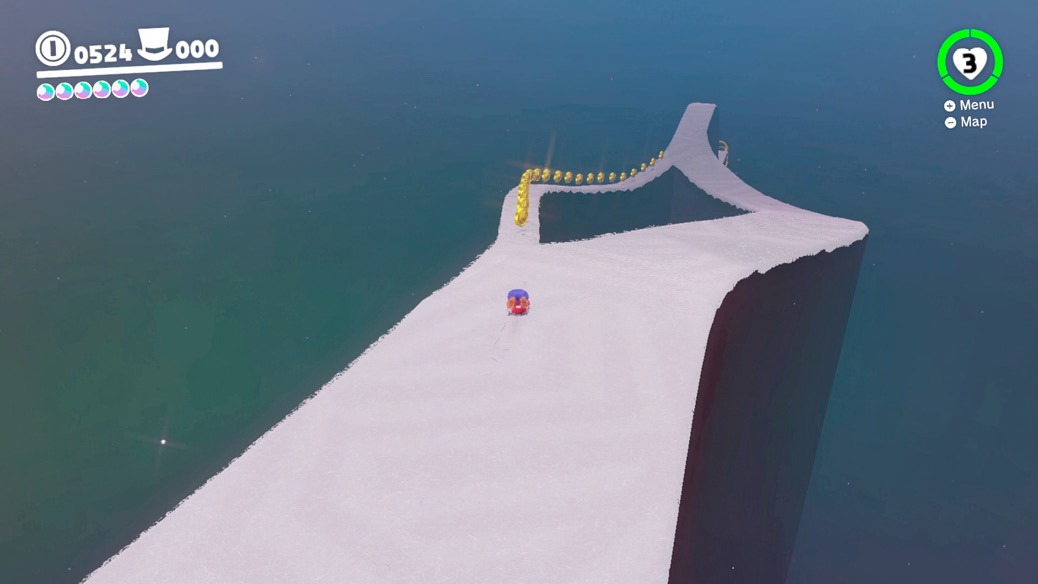
Descend the square warp pipe in Central Plaza to enter this challenge level. Approach the edge of the hill and begin rolling—Mario can’t help but roll here. Avoid the Spiny enemies crawling about and steer Mario through the rings for extra coins. Survive the entire course without falling off (coins are optional) to reach the Power Moon at the bottom. You can earn extra coins by shaking the controller before leaping from the final jump. This helps Mario fly through all of the rings at the bottom.
 Precision Rolling
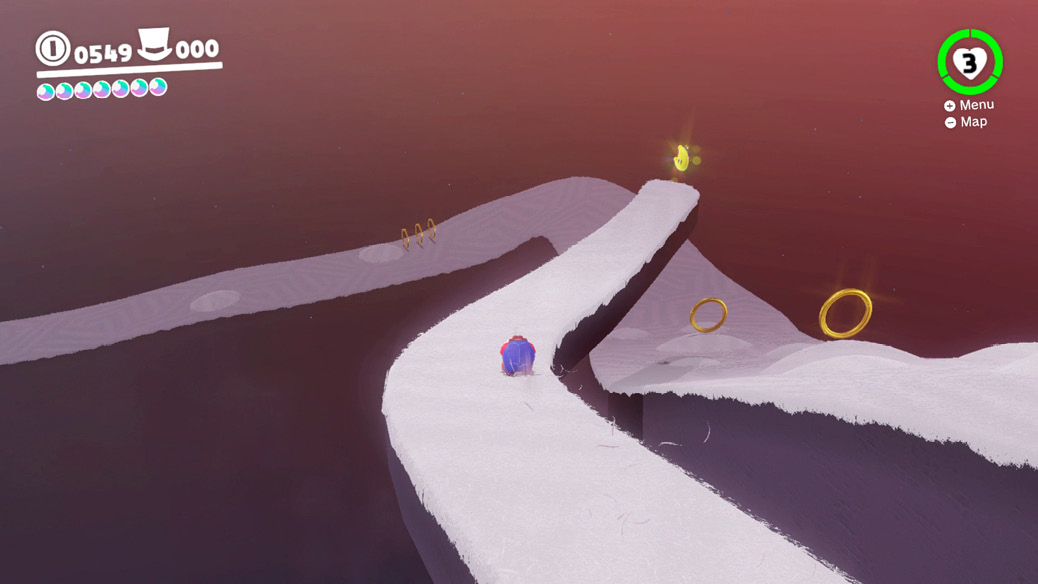
Follow the instructions for Power Moon #30, but this time stay to the left near the beginning. The path gets very narrow after the third Spiny, but there’s a Power Moon at the end of this challenging route. Keep your balance and steer Mario along the precarious edge to the reward.