
Super Mario Odyssey Guide Luncheon Kingdom
Mario’s Itinerary
 The Broodals are After Some Cookin’!
With the Snow and Seaside Kingdoms tended to, the path narrows again. The hunt for Bowser brings Mario, Cappy, and the Odyssey to Luncheon Kingdom, a strange land of gigantic bright pastel foods and a friendly race of fork-like beings called Volbonans, who take to cooking like ducks to water.
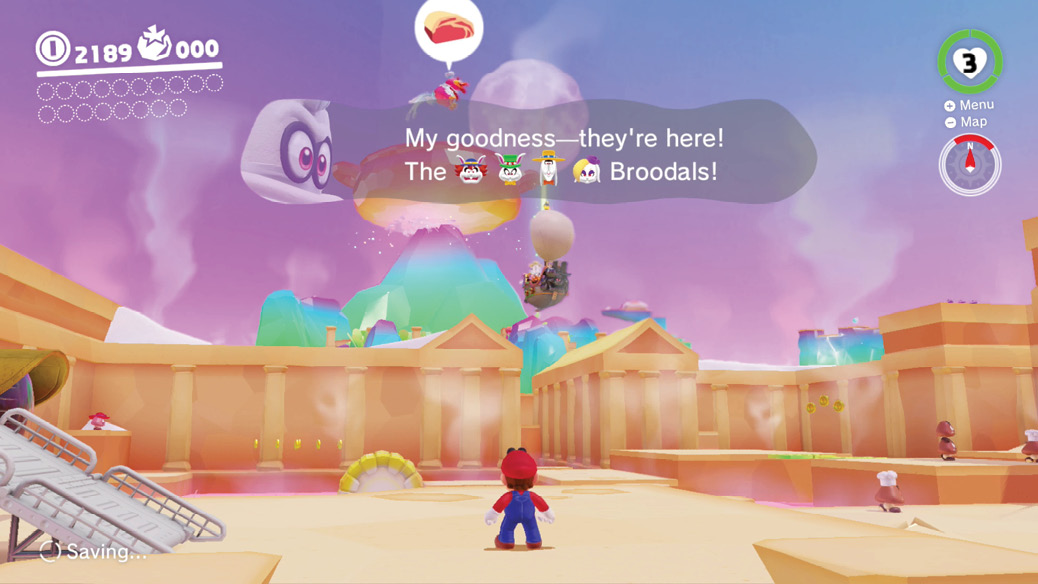
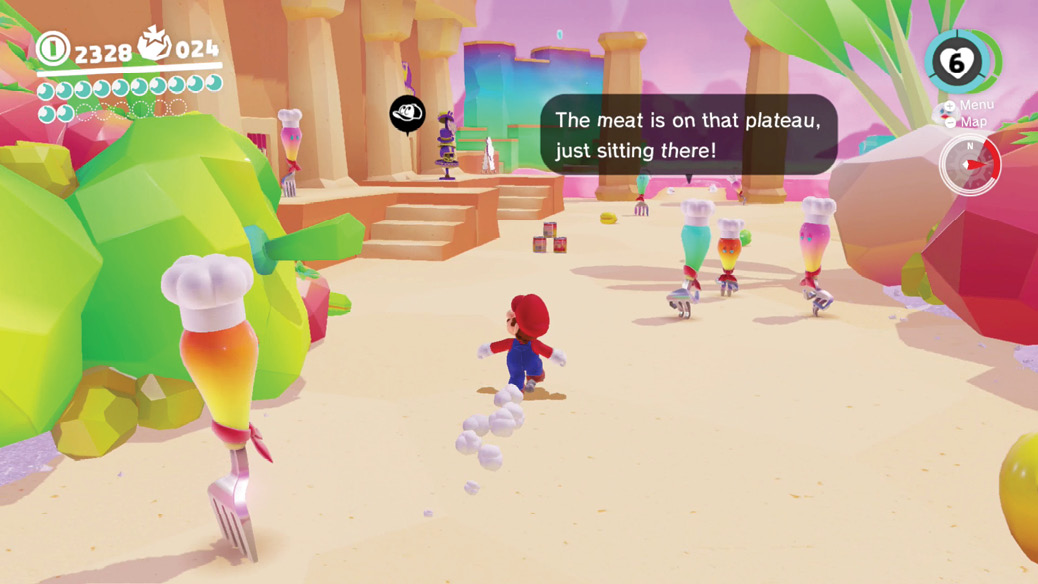
After only moments in the kingdom, it’s apparent that Bowser and the Broodals have already left a footprint. The Broodals’ ship can be seen flying lazy circles ahead, above some flat expanse. It’s time to go forth again expecting battle with the mercenary hares, while sniffing out any Power Moons that might be found along the way. Before moving on, you must confront whatever unfriendly visitors Luncheon Kingdom’s attracted, and you’ll need 18 total Power Moons to refuel the Odyssey.
This area of Luncheon Kingdom is a ruin called Old Town. The durable ancient architecture has held up remarkably well considering the air here is like a kitchen mixed with a sauna mixed with a boiler room. While moving north, there are plenty of nooks and crannies to check out while familiarizing yourself with the new area.
Near the Odyssey, the only early threats are some clueless-looking Goombas convening, and a couple Magmatoes rolling about.
A forlorn Goombette can be seen across a gap. Perhaps the Goombas can be given purpose, and the Goombette some company. Capture a Goomba and assemble the local specimens into a stack, then head for the big piece of floating corn, dodging Magmatoes on the way.
Hop on top of the corn, carefully walk to the side you’d like it to travel toward, then walk slowly back toward the center of the corn. It’s a cylinder in liquid, so this rolls the whole ear toward the Goomba stack’s side. When you walk all the way to the middle, very carefully move back down the corn to get a lower foothold and start walking back upward to the center. In this way, the corn can be used as a rolling platform through the lava.
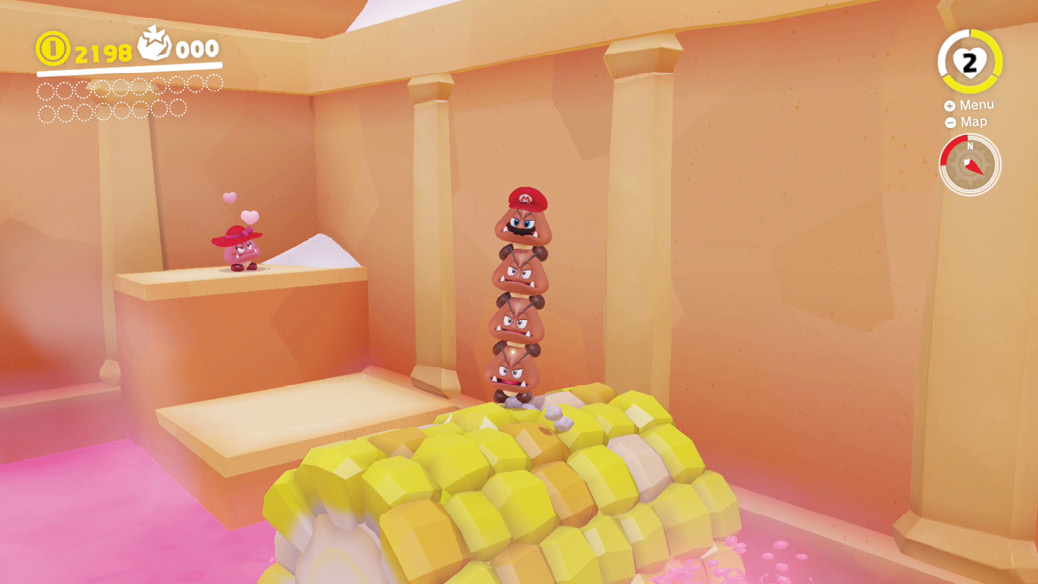
Reach the far side and hop off the corn, greeting the Goombette with the captured Goomba stack, to receive Power Moon #24.
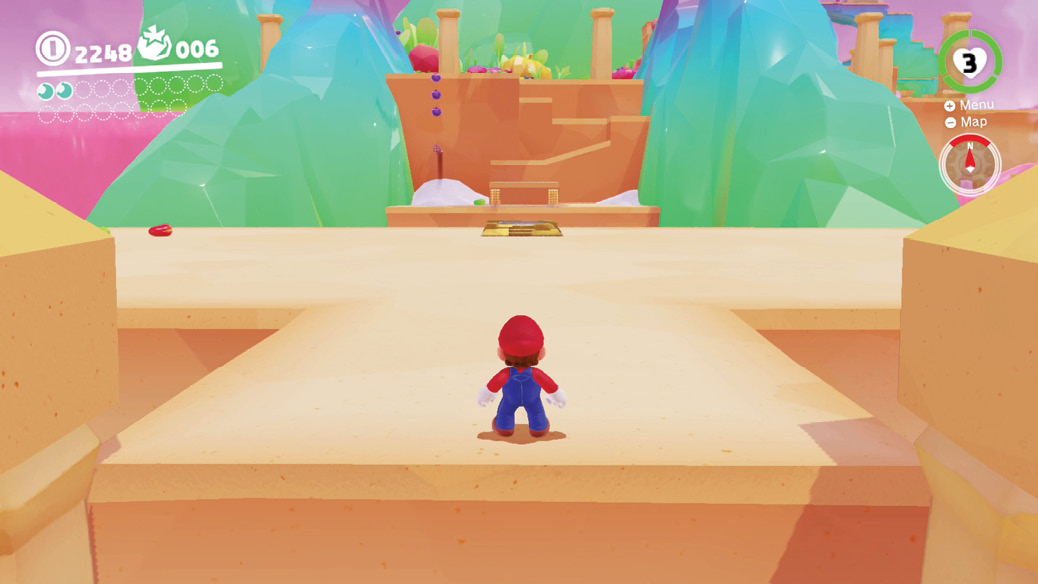
Beyond the corn, there’s a little acid-waterway between two ancient buildings, with Lava Bubbles in the channel. They’re a path forward, so capture one and swim down the length, hopping out at the end onto a large flat arena.
Boss: Spewart
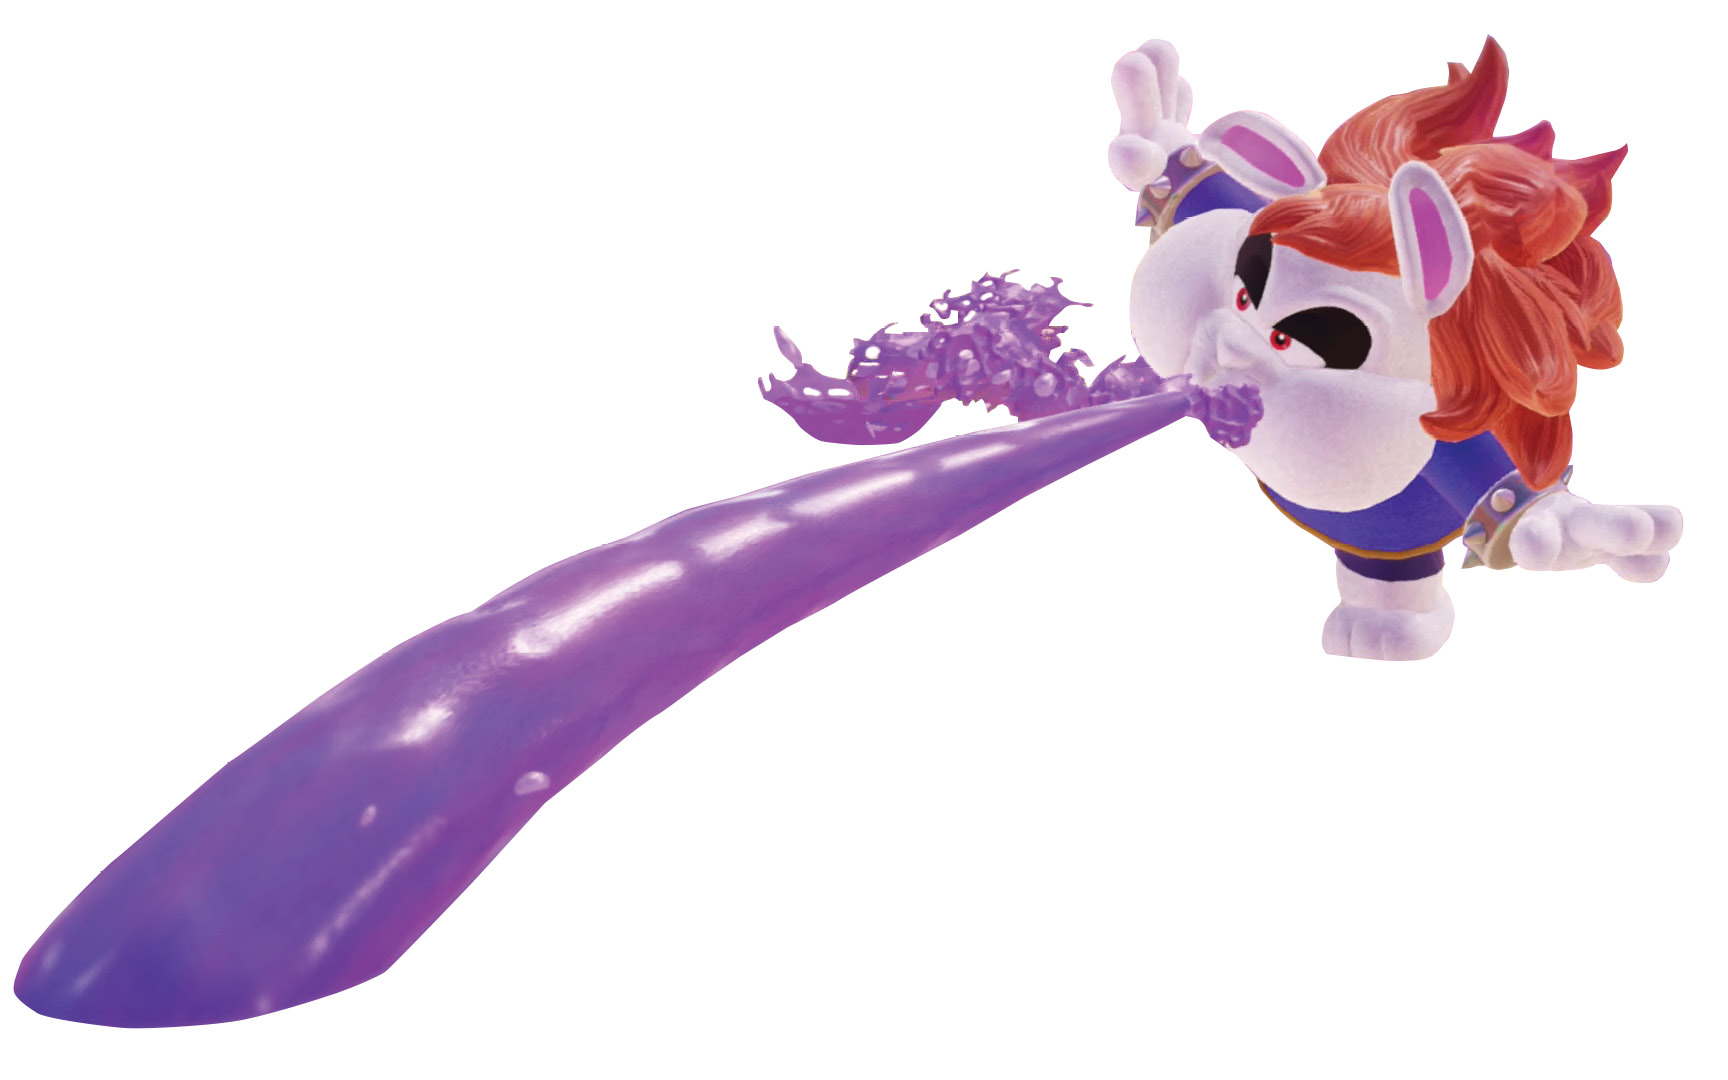
The Broodals swoop in to stop Mario in his tracks, bragging about how they’ve stolen copious amounts of the Volbonans’ prized Stupendous Stew. Spewart is dispatched to take out the heroes.
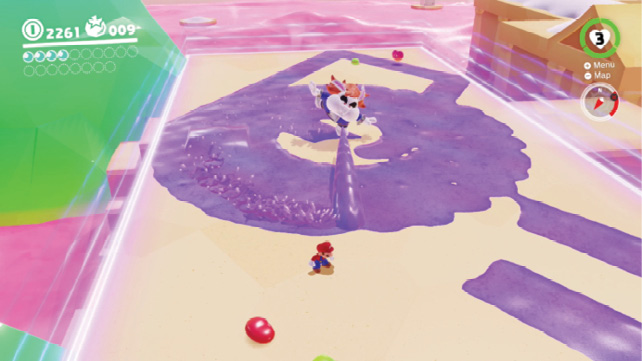
Spewart can blanket the area in a coating of poison that would make a Poison Piranha Plant green(er) with envy. But his purple spewage is easily mopped up with cap throws, especially the spin throw. Safe room to maneuver and retaliate is never more than a spin throw or two away.
When Spewart gathers himself pointed in one direction, he’s going to spew far and in a line. Simply getting out from in front of him is enough. When he gathers himself and starts spinning, he’s going to cover everything in 360-degrees around him, forcing Mario to backpedal furiously.
Spewart himself doesn’t have anything like Rango’s blades or Hariet’s bomb pigtails. His own hat is easily dislodged with a cap toss into Spewart’s robust frame. Without his hat, Spewart is vulnerable to stomping. Jump and land on Spewart (ground pounding unnecessary) to deal him a point of damage.
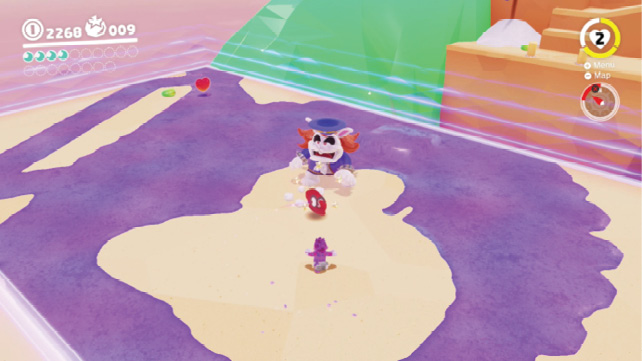
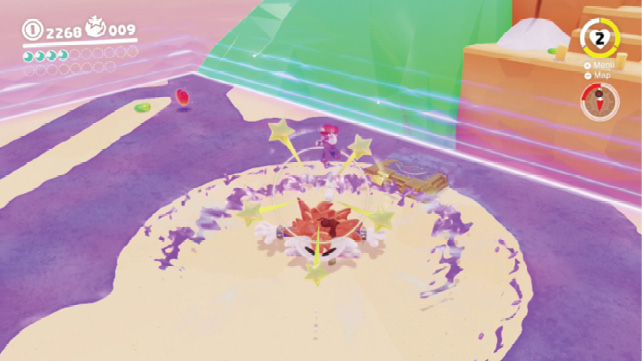
He’ll react in anger, bouncing around the arena for a while, leaving a trail of poison sludge behind him wherever he glides. Clean up his mess as needed with Cappy, and deflect him if he gets too close for comfort with a direct hit cap toss. When he rises back to his feet, continue to dodge poison and look for more changes to knock off his hat and stomp him again. Three stomps and Spewart is sanitized, revealing Power Moon #01 and opening the way to Peronza Plaza.
 Under the Cheese Rocks
Mario soon needs to go farther north and higher up the mountain, but for now a stop in town is in order. Peronza Plaza is the main settlement in the kingdom, populated with lively Volbonans who just want to entertain taste buds with their renown Cooking Festival. Unfortunately, Bowser has other plans. The path to the enormous stewpot above Mount Volbono is knocked out, rendering the cauldron inaccessible and sure to get way too hot. This will certainly ruin whatever Stupendous Stew the locals have left that the Broodals didn’t already steal. Adding avian insult to hare injury, a giant bird named Cookatiel has designs on the Volbonan’s salt-prepped meat.
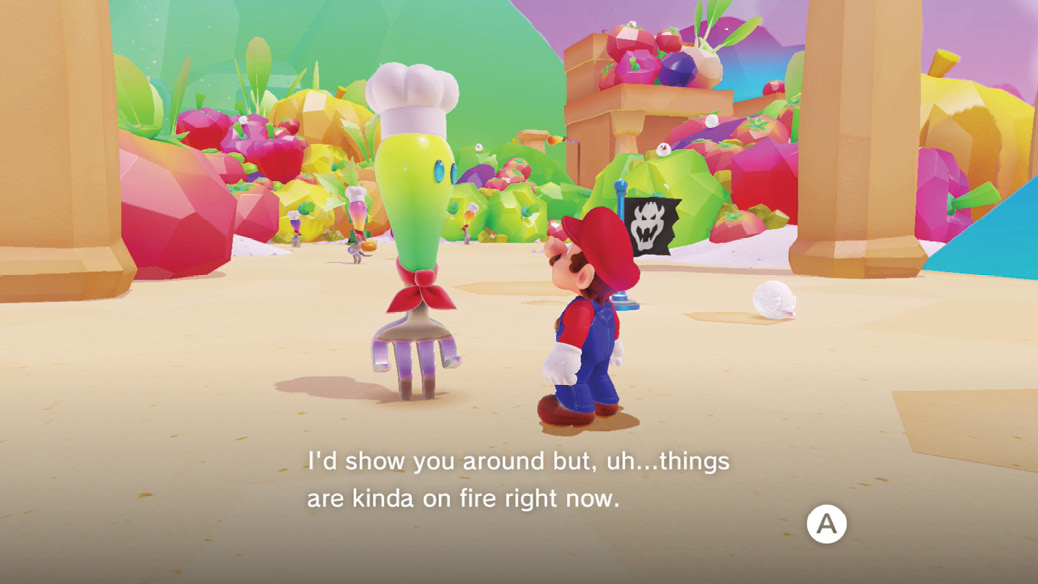
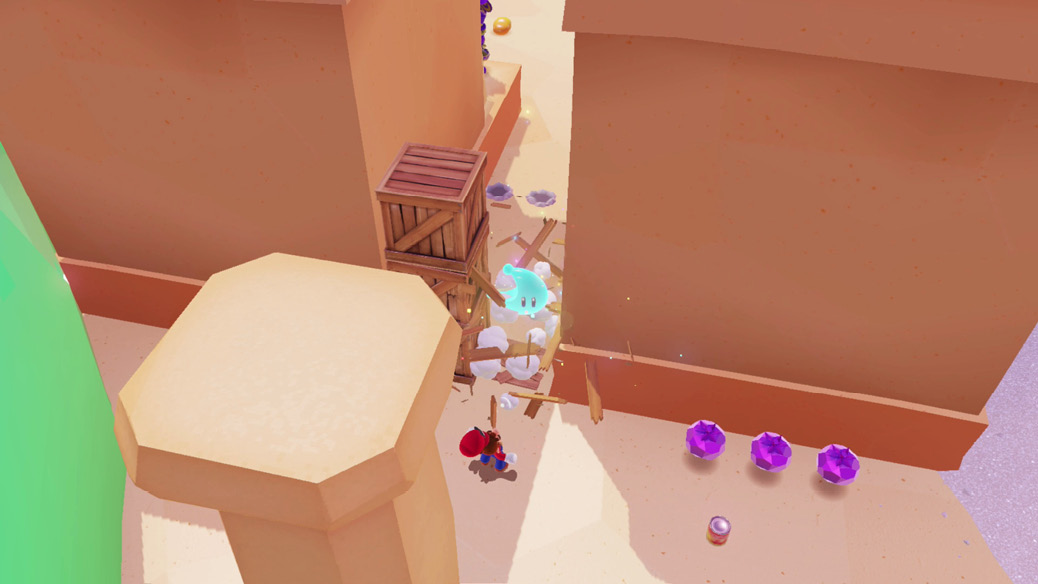
The short alley between Crazy Cap’s building and the one next door is crammed up with wooden supply crates, stacked almost to the roof. Tear apart these crates with hat throws or ground pounds from above and a stored Power Moon pops out, settling by the unlit lantern atop Crazy Cap’s. Wall jump between the buildings to the roofs to pick up Power Moon #09.
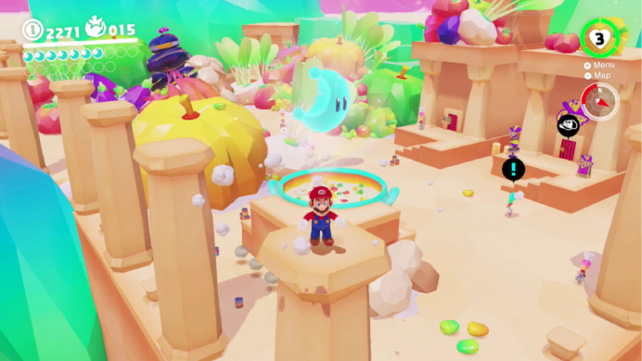
While exploring the town, note the columns along the southern ledge, behind the stewmaster and around Talkatoo. These are spaced just about far enough apart for a running long jump to cross between each. Hop onto the first one by the giant pumpkin, then take three running long jumps across to the column at the very corner of the town’s block of land. Ground pound here to pop free Power Moon #10 from the top of the pillar!
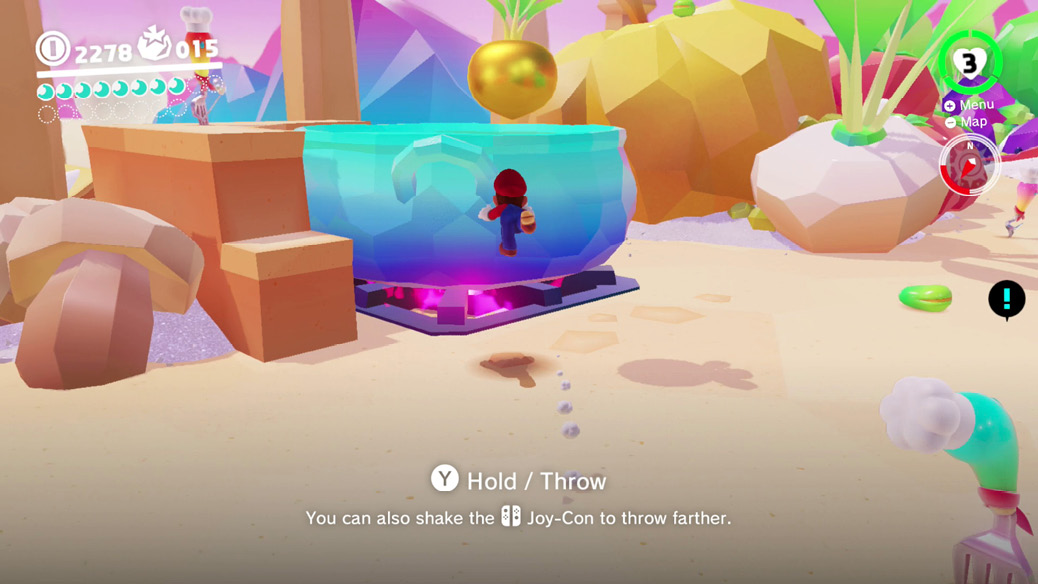
The Volbonan stewmaster handling duties at the big cookpot in the plaza wants golden ingredients to add real pizazz to the stew. There are three golden turnips hidden around Luncheon Kingdom, and adding any one of them to the pot here nets a Power Moon reward. The first golden turnip is sprouting very close, right next to Crazy Cap’s souvenir shop. Throw the hat at the sprout to pull it out of the ground, then pick up the golden turnip and take a running leap to throw it into the pot. Power Moon #15 is served! Find the other two golden recipe solutions in the “Extend Your Stay” part of this chapter.
As usual, the souvenir shop in Peronza Plaza’s Volbonan town offers up a local Power Moon for the low, low cost of 100 coins. Hand over the coinage to proudly own Power Moon #25.
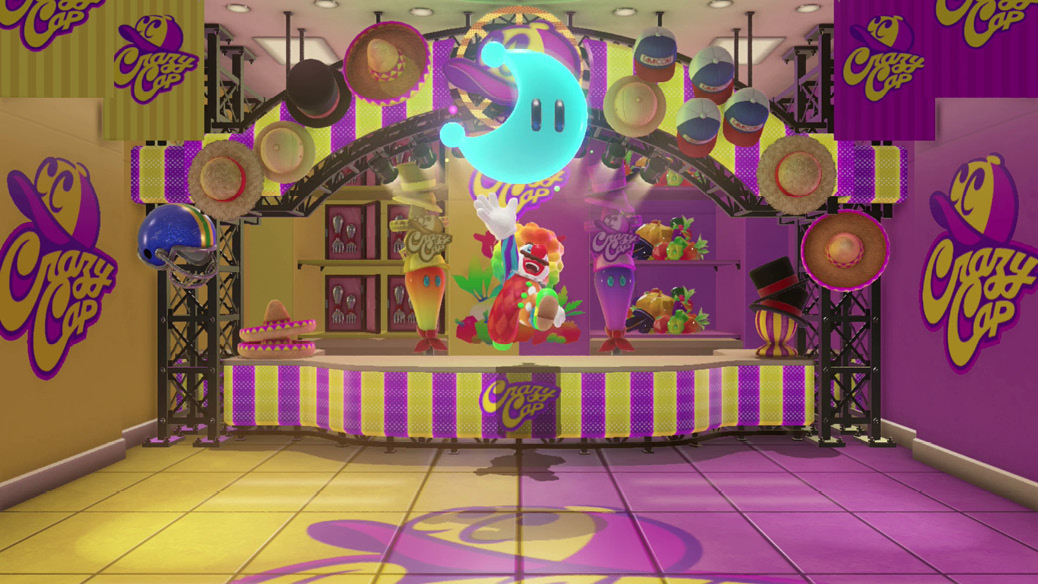
The purple side of Crazy Cap’s is selling a complete Chef’s Outfit—Suit and Hat—for 15 Regional Coins. Even looking around in plain sight in Old Town and Peronza Plaza there are more than 15 purple coins to collect. It’s worthwhile to do so, because the building right next door is a chef’s academy that only admits people who look the part. Pick up the right attire once you have the local currency, change into it on the spot, then stop by next door to see what all the fuss is about.
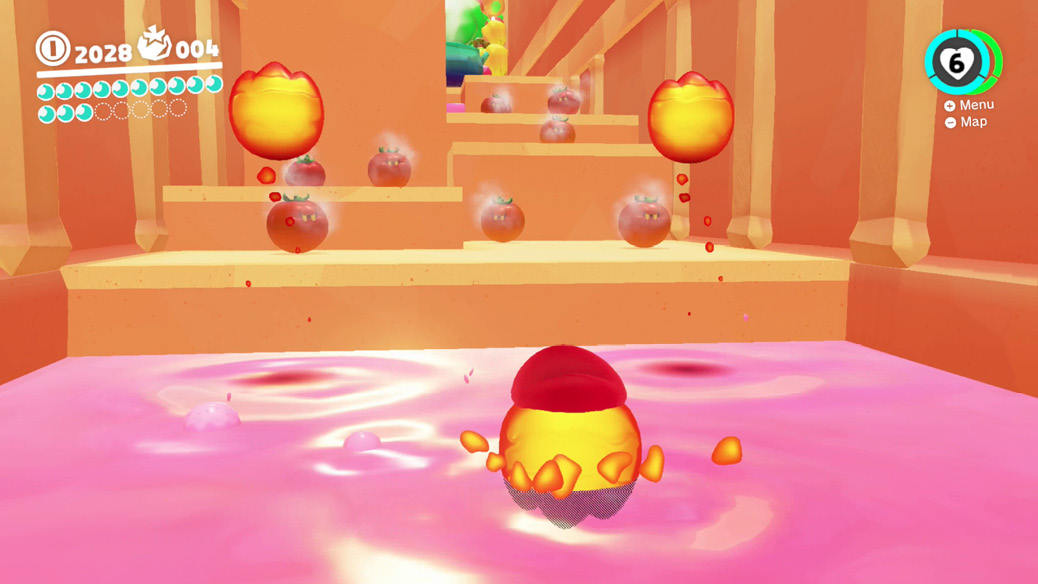
Inside, there are two cookpots bubbling away happily enough, but both would be better off with just a touch more heat. If only there was some way for Mario to accomplish this. Between the cookpots, there’s a generous stream of lava from the exterior piped in to facilitate the cooking process. Lava Bubbles hop around in this heated stream, and on a ledge between the cookpots, lots of Magmatoes sit, presumably waiting to become super-spicy tomatoes in a gigantic pasta. It’s easy to dump extra heat into the first pot by capturing a nearby Lava Bubble and then leaping into the pot, cooking up Power Moon #27.
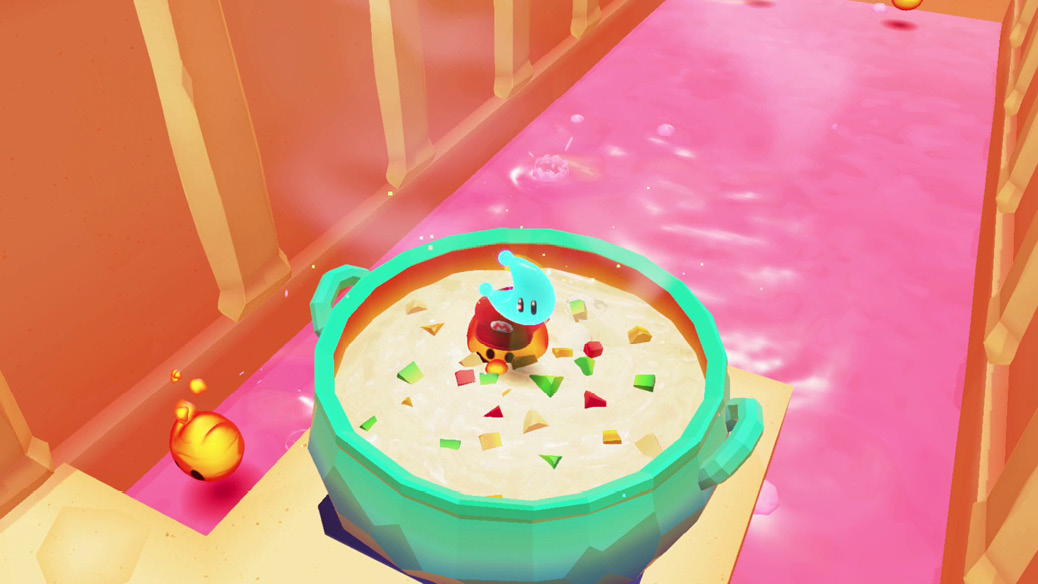
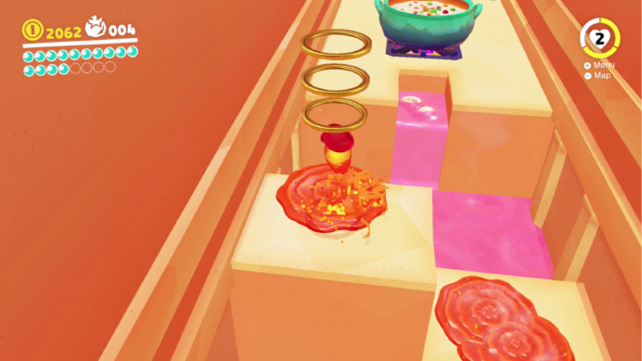
Getting a Lava Bubble into the other pot is trickier. You’ll have to use squashed Magmatoes as little islands for a Lava Bubble to jump between. As Mario on foot, you can prepare the central ledges by flattening Magmatoes with hat throws. Then capture a Lava Bubble from the entrance side and hop across the Magmato guts. Or, more aggressively, you can just start jumping into live Magmatoes as a Lava Bubble, crossing that way. If you land squarely on each Magmato, it’ll pop instantly as Mario in bubble form begins to land on it, and it’ll form a functional puddle for bubble-Mario to land in almost instantly. Either way, getting to the other side of the Magmato ledges as a Lava Bubble is the hard part. Once across, it’s easy to hop in the other pot and earn Power Moon #28.
Once you feel familiar with Peronza Plaza, move on out of town to the east, off the pier-like outcropping to a captured Lava Bubble below. Swim through the pink muck toward the jetting geysers ahead. By jumping into the thick lava sprays, you can ride upward and leap out from higher up than normal, getting up to the taller lava shelf.
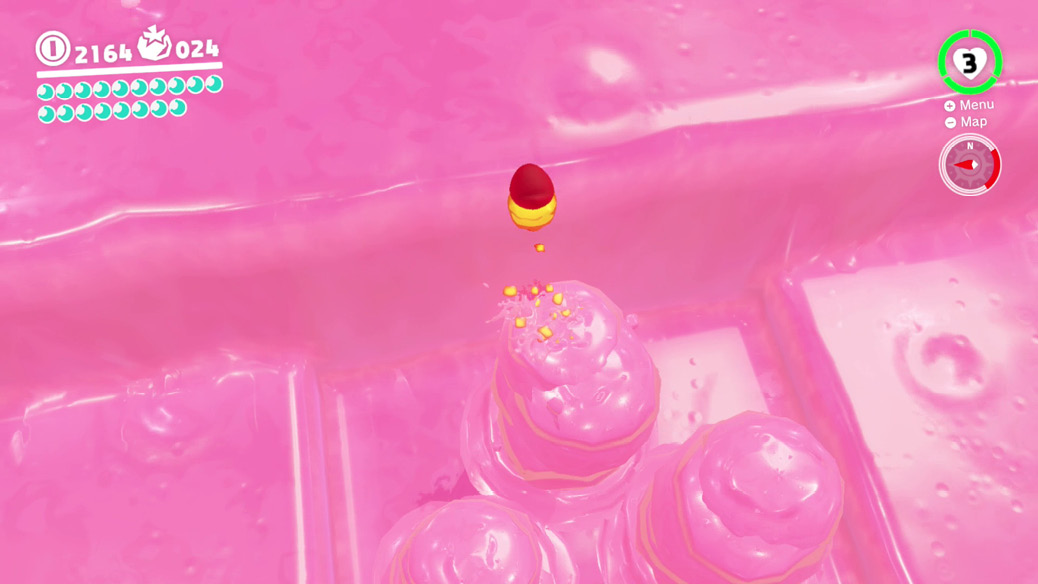
A tall, narrow crag sticks straight up to the east here, and a long flat platform patrolled by Hammer Bros is to the west. Hop out of the lava and run to the west, looking to mix it up with the Hammer Bros. Capture one of them and go brother-against-brother, taking out the other one along with the pesky Spinies afoot. The platform secure, keep heading west and start smashing the cheese blocks piled up here with a rain of pans. Hammer Bros can basically throw hammers or pans (whichever that particular Hammer Bro is packing) as fast as you can shake the controller! Bash up all the cheese on the west of this platform to clear large steps heading up to a second floor, where there are more cheese blocks (along with blue stone steps climbing back up into town via the souvenir shop’s roof, if needed). Bashing apart the blocks up on the second floor reveals a hidden switch.
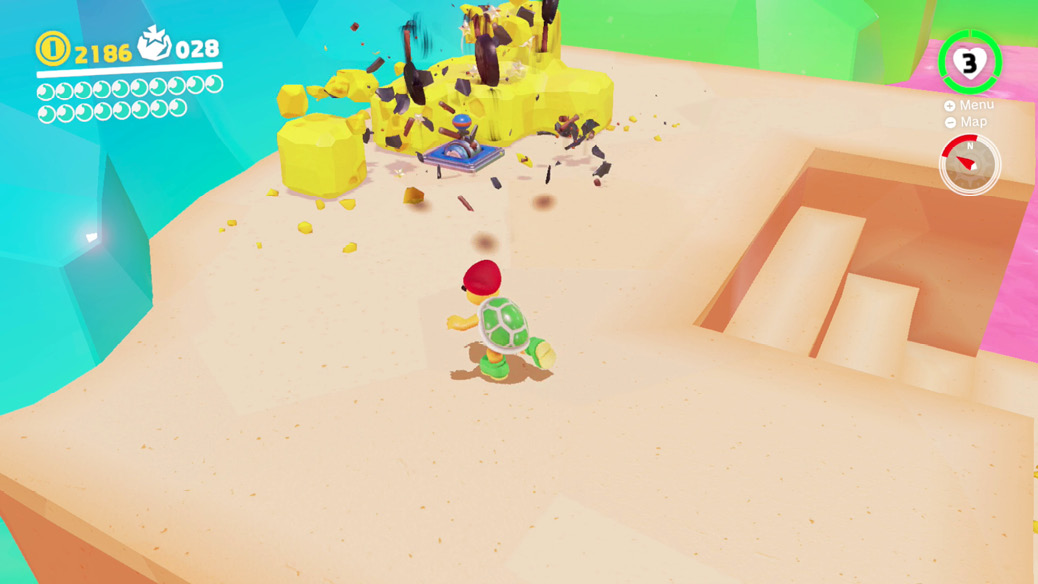
Pull the switch with Cappy to break the nearby Power Moon free of its cage. When heading back for it, watch out for the Hammer Bros and Spinies, who will have respawned by now. Snatch up Power Moon #02 and a new section of land rumbles up out of the depths, opening the way forward to Meat Plateau.
 Big Pot on the Volcano: Dive In!
Beyond the Path to the Meat Plateau checkpoint flag, there are now more Magmatoes and Fire Bros to contend with. Past the Fire Bros, take the ramped path upward. Follow a skinny bridge east over open air to a sheer wall upward with a Volbonan stuck into it. Capture this helpful local and flick upward, where you find a ledge and another Volbonan.
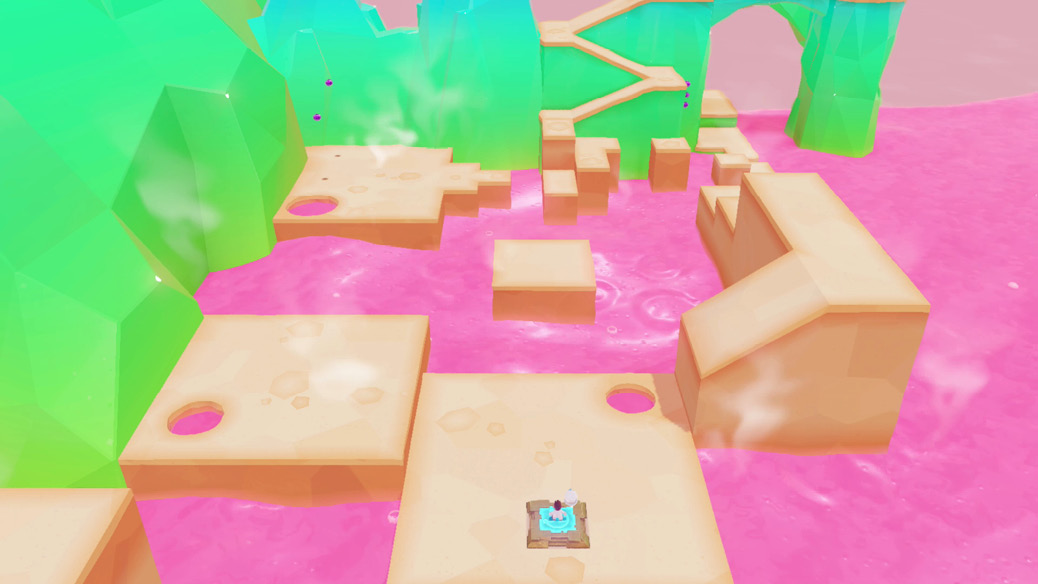
Another flick upward here places Mario at the Meat Plateau checkpoint flag, and right before a mammoth piece of spiced, capture-ready Meat!
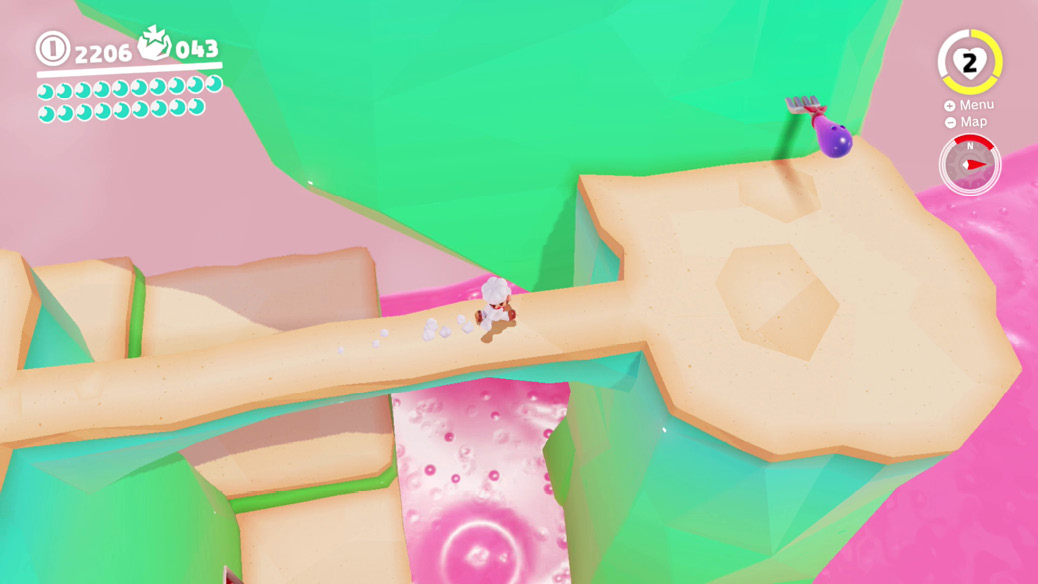
This hunk of succulent meat is crusted in a salt preparation so thick it’s almost frozen in place. Capture the Meat and perform the only action it’s capable of—twitching—to slowly crack through the salt crust, freeing the Meat. Freed of the salt pack, the Meat finally attracts the attention of Cookatiel.
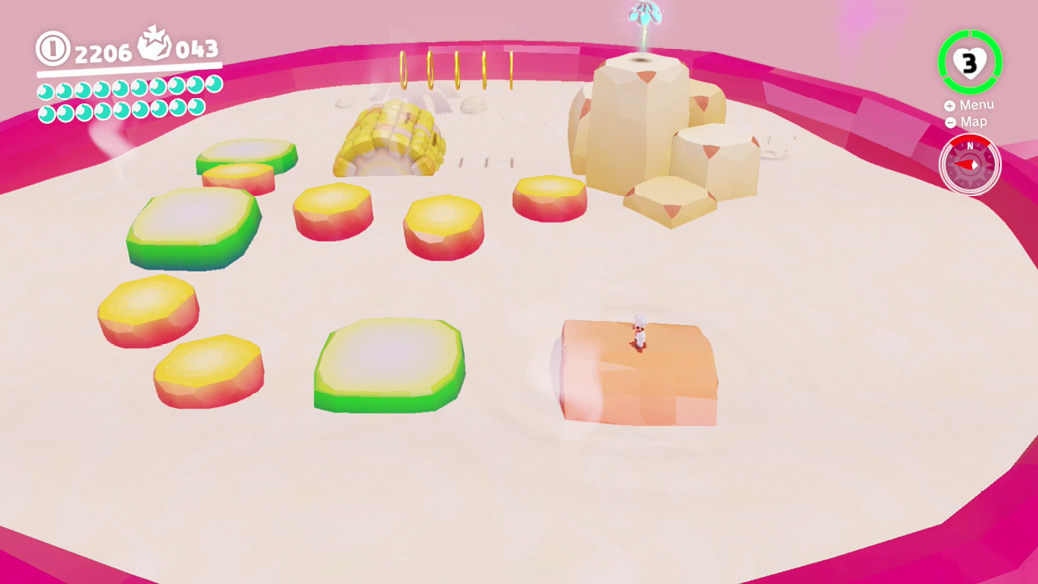
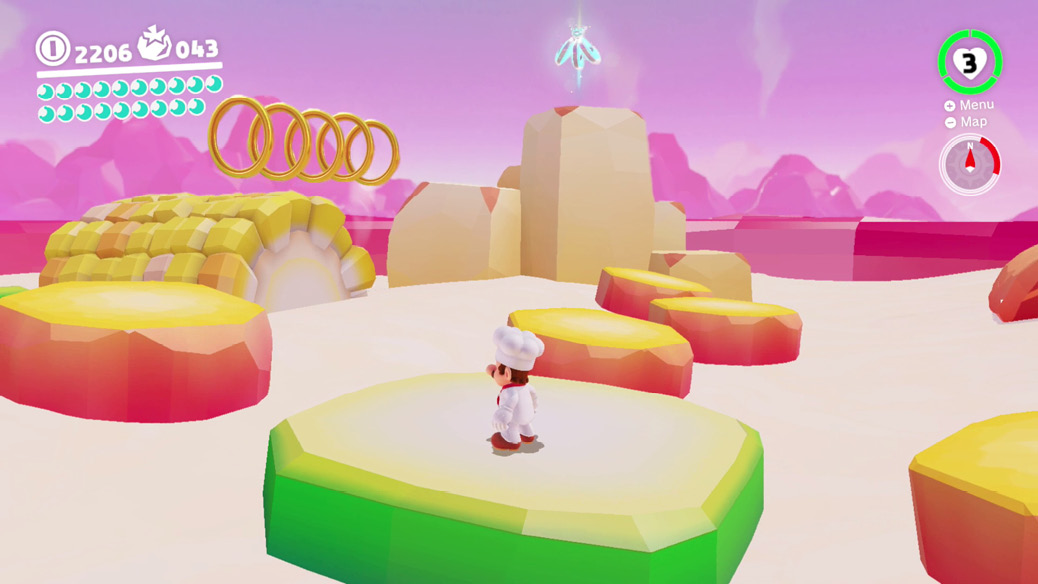
The big bird drops the Meat into the big pot atop Mount Volbono. Mario pops out onto a lip-smacking platforming challenge, with chunks of ingredients curling around toward Power Moon #03, a Multi-Moon worth three normal ones. There’s a branch right before climbing to the Multi-Moon, with a choice between a few simpler jumps, or trying to balance on corn while grabbing coin rings (like moving on corn earlier with the Goomba stack). Arrive at the Multi-Moon and Cookatiel will be furious, flapping stubby wings and blowing Mario and Cappy clean out of the bowl and all the way back to the Odyssey. It’s a good thing Mario doesn’t take fall damage!
 Climb Up the Cascading Magma
Opening up Meat Plateau, attracting Cookatiel’s attention with the Meat, and getting Cookatiel riled up above the stew have all shaken the area up a bit more than is good for it. Mount Volbono is experiencing increased geological activity, and another section of previously-submerged land emerges to the west, providing a path around Mount Volbono’s left flank. Meanwhile, parts of Old Town farther south have collapsed away, exposing new liquid pathways for Lava Bubbles.
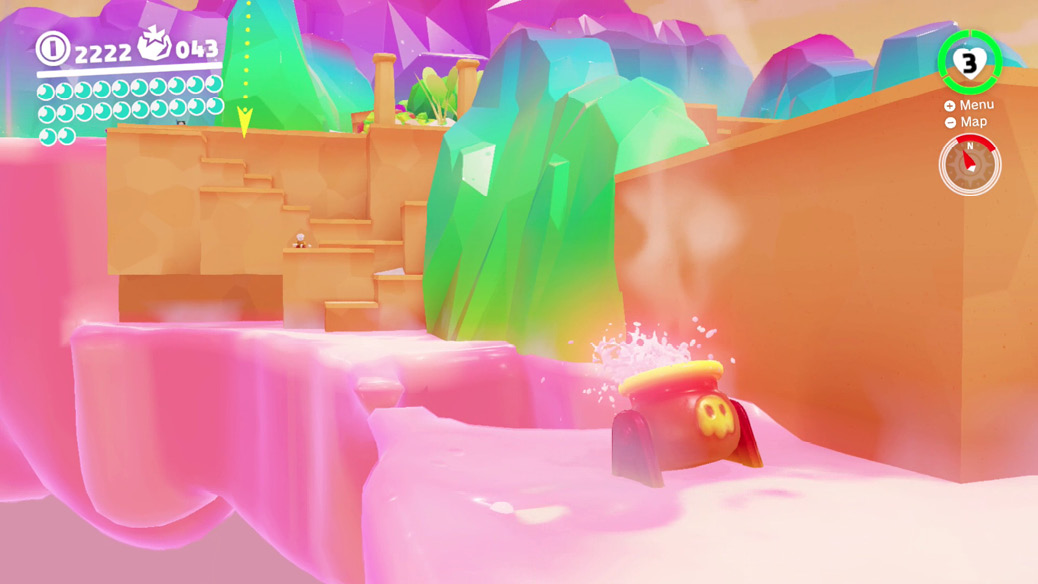
The new objective is to explore new pathways in the west. Getting there is as easy as wrapping around the rock wall from Peronza Plaza, where a new checkpoint flag can be registered as a future instant warp point.
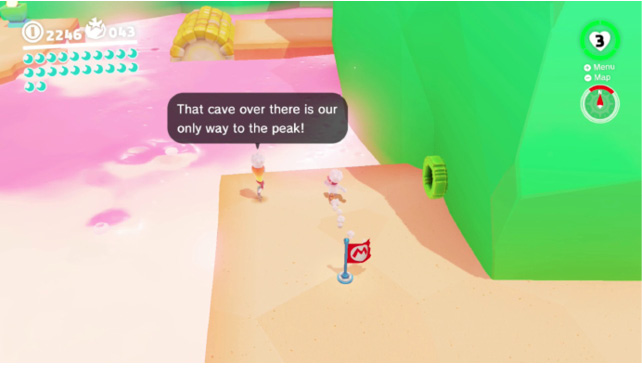
The cave entrance is visible from the Volcano Cave Entrance flag, but there’s a wide gap across bubbling lava. Enter the 8-bit pipe against a wall here to find a way across, picking up some Regional Coins and dodging a 2D Hammer Bro along the way.
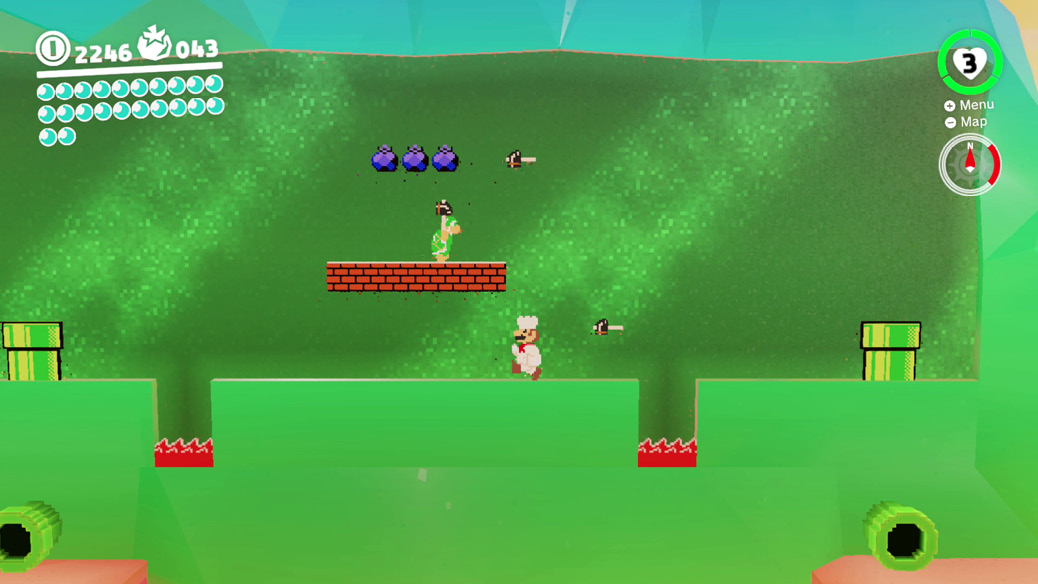
After popping back out of the 8-bit pipe, you’re just a corn-crossing away from the cave maw. While riding the corn through lava, jump to collect more Regional Coins. Inside the cave, the first section involves a steep liquid sluiceway. It looks like pegs are rolling down over a ramped waterfall of lava, perhaps aerating it. Capture a Lava Bubble at the entrance and swim up the ramp, leaping over wooden rollers when needed. There are three Regional Coins to collect on both the left and right sides of the ramp up.
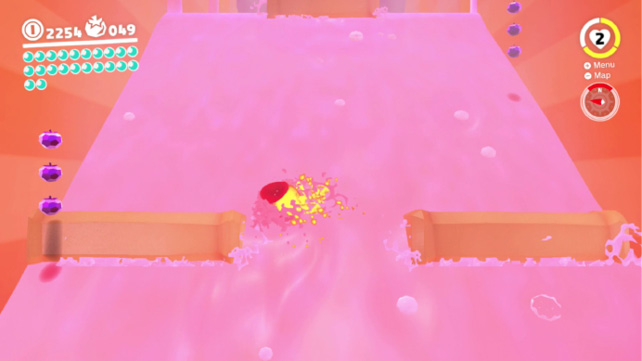
At the top, there’s a sheer drop-off overlooking some lava geysers below. Fall into the geysers then look behind them, back the way you came from, to see a cut-out room in the sheer wall, clearly sheltering Power Moon #29.
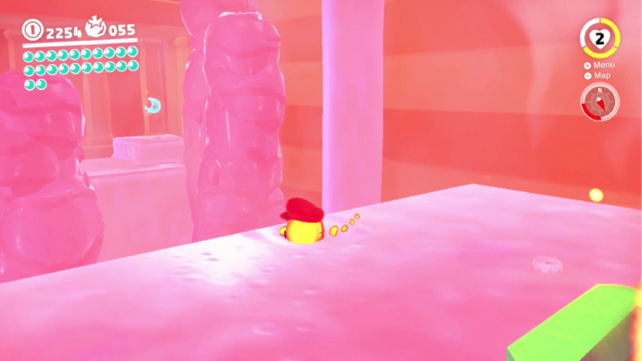
Hop into the alcove to grab it before continuing forward. On top of the lava on the far side is a platform with four lanterns on it, and three of them lit. Hop out of the lava with a Lava Bubble and land on the unlit lantern to spark it up, revealing Power Moon #04 for the taking!
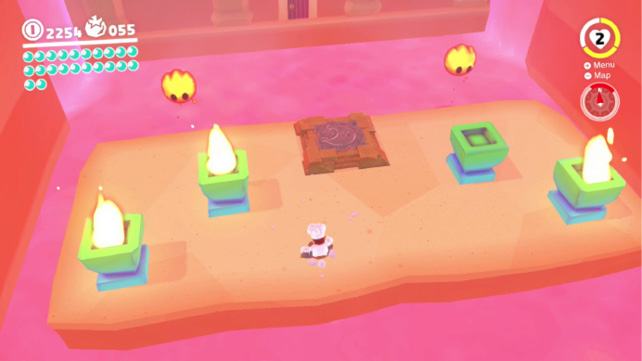
Grabbing the moon opens the way out of the back end of this cavern, finally allowing access to the rear side of Mount Volbono, the only vector by which the mountain can be safely scaled (without tricking a bird into picking you up disguised as a tractor-sized piece of meat, that is).
 Cookatiel Showdown
From the back entrance of Volcano Cave, the path curves to the right, across several circular salt islands with Fire Piranha Plants embedded in some of them. At the end of this path of stepping stones over the lava, the Start of the Peak Climb warp flag clearly marks off the mountain summit path.
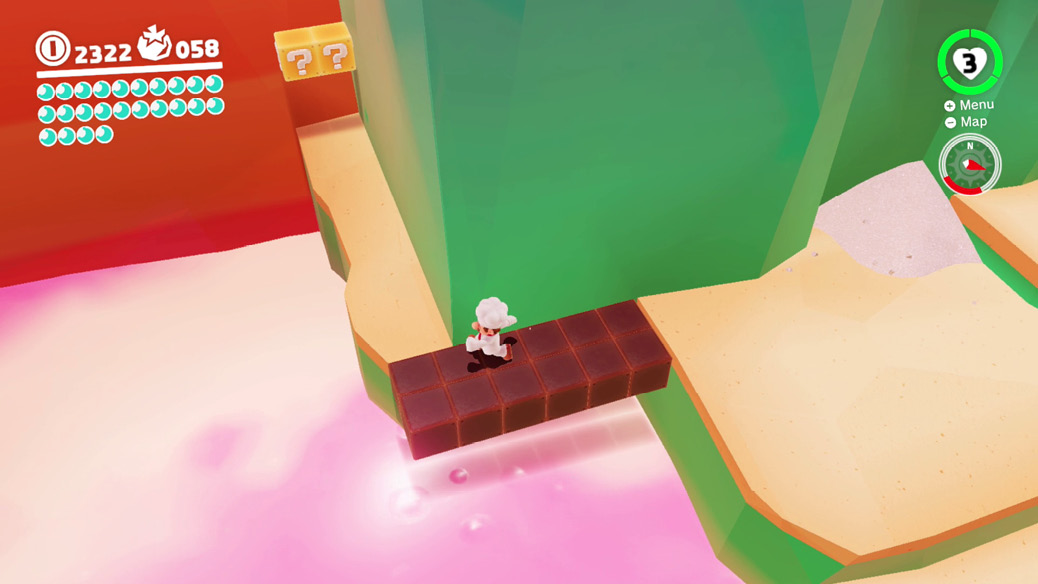
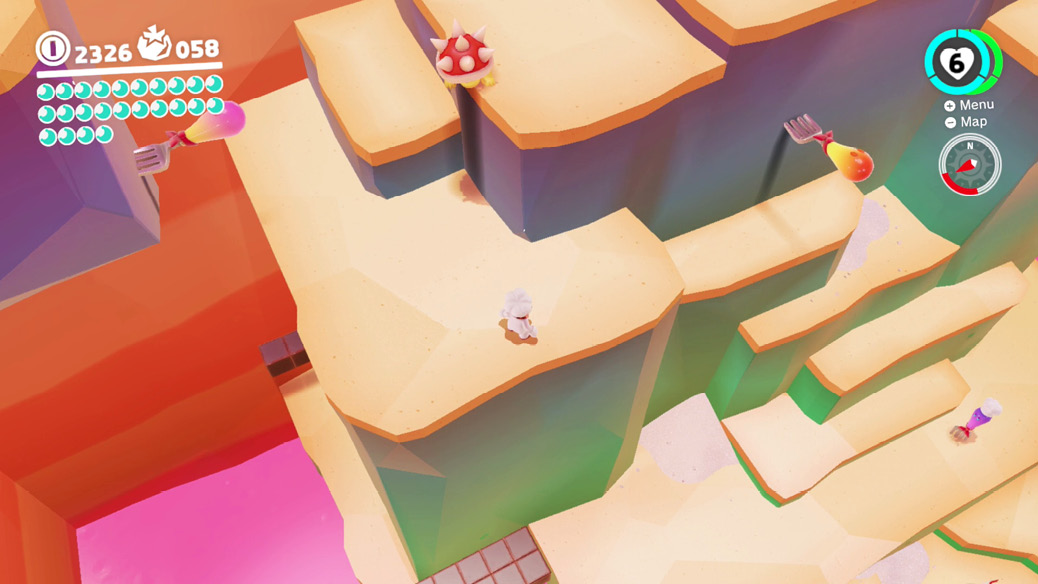
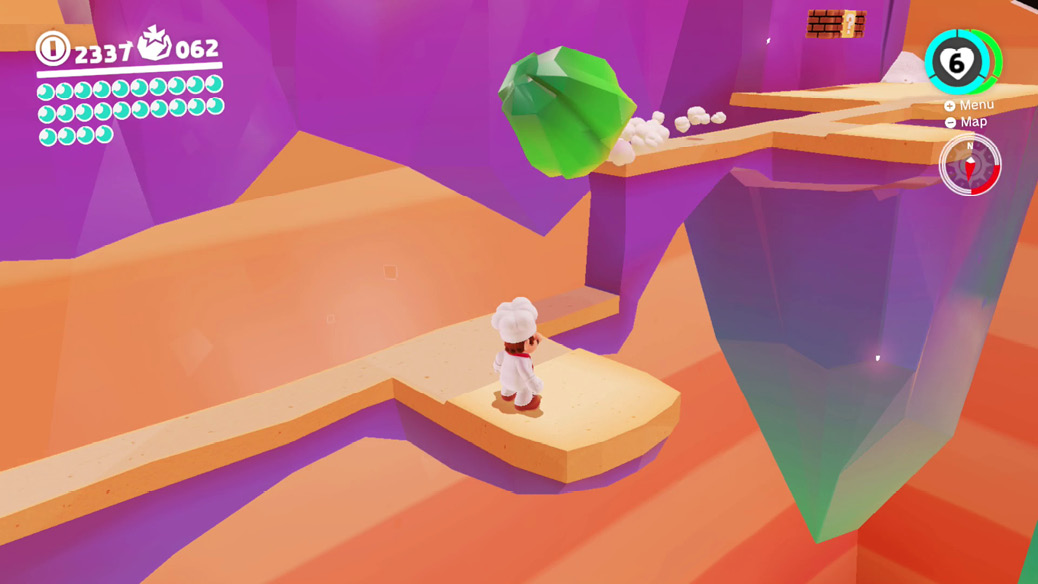
Rotating saucepans are safe on one side, scorching on the other. A woefully thin walkway along one flank has giant peppers rolling along its length.
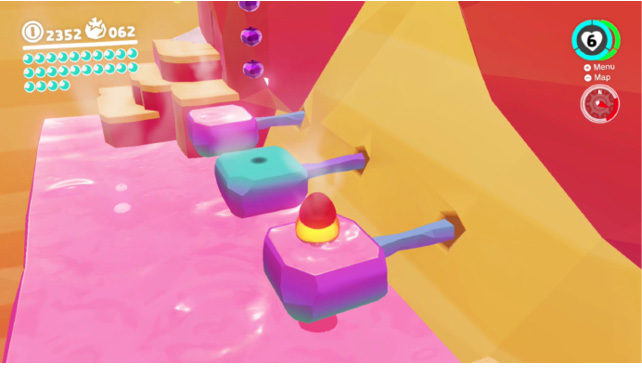
Toward the top, a brief lava-strewn stretch allows Lava Bubble capture, so a Lava Bubble can be used to skip across through the hot sides of saucepans. Three Regional Coins are vertically spaced above one of those saucepans, practically waiting for a Lava Bubble to leap up from underneath.
Past the pepper-rolling tightrope and the bubble saucepans, a Volbonan stuck into the wall flicks Mario up one more level, to a grating that leads to the Top of the Peak Climb checkpoint flag (whew!), and an upward-sloped lava ramp. Capture a Lava Bubble and swim up the path to find a lava cannon at the top, primed to launch bubble-Mario high up, right into the stew under the patrolling bird boss.
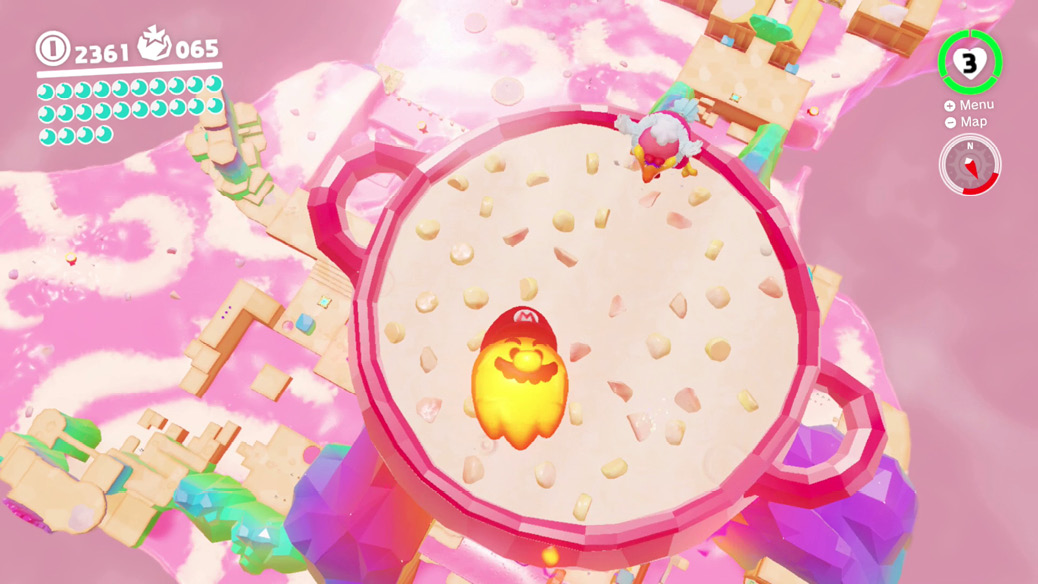
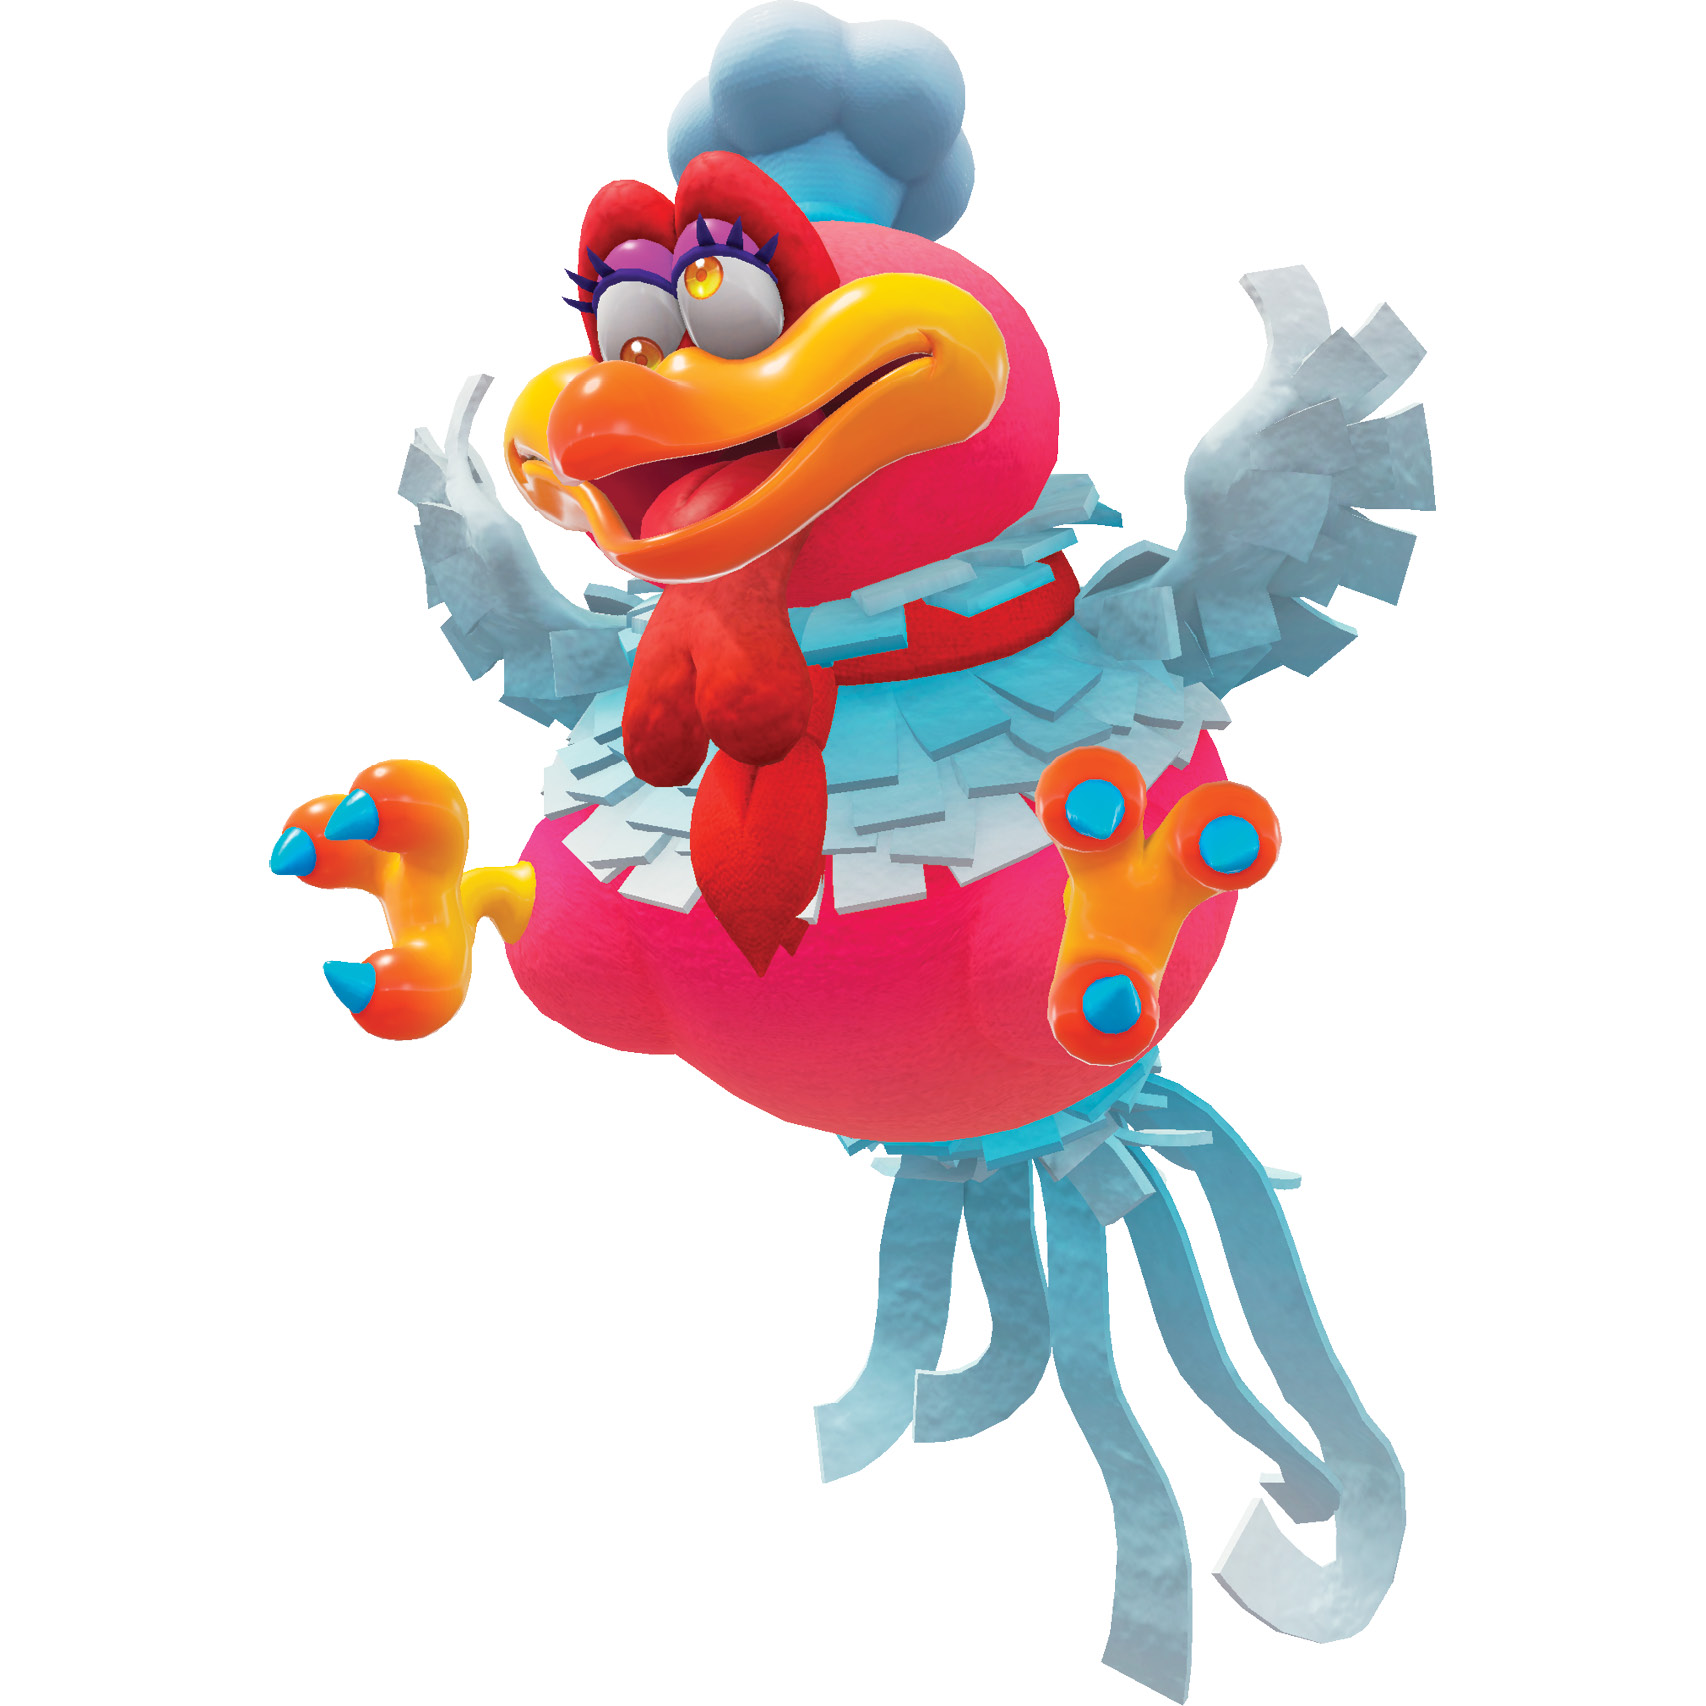
Boss: Cookatiel
Cookatiel flaps about above the bowl, regurgitating spiky pods into the stew. Treat these like obstacles and avoid them, keeping track of the bird.
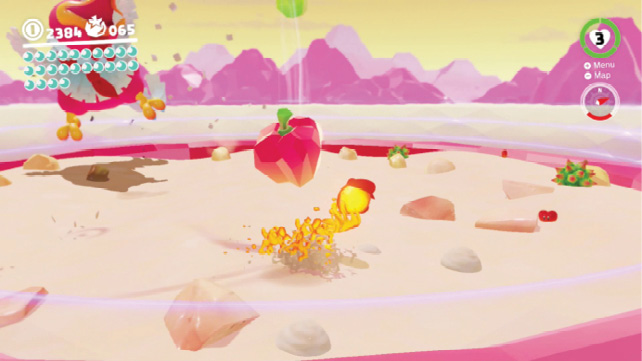
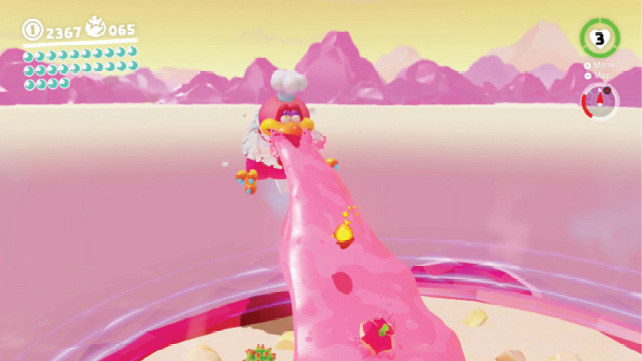
After some circling and spewing of seeds, Cookatiel spits a huge volume of viscous liquid into the broth. This goes on for a while, long enough for Lava Bubble Mario to swim up the stream! Cookatiel upchucks peppers and spike pods into the gushing ramp of liquid, so be ready to hop over them and continue moving up, toward the boss’s head.
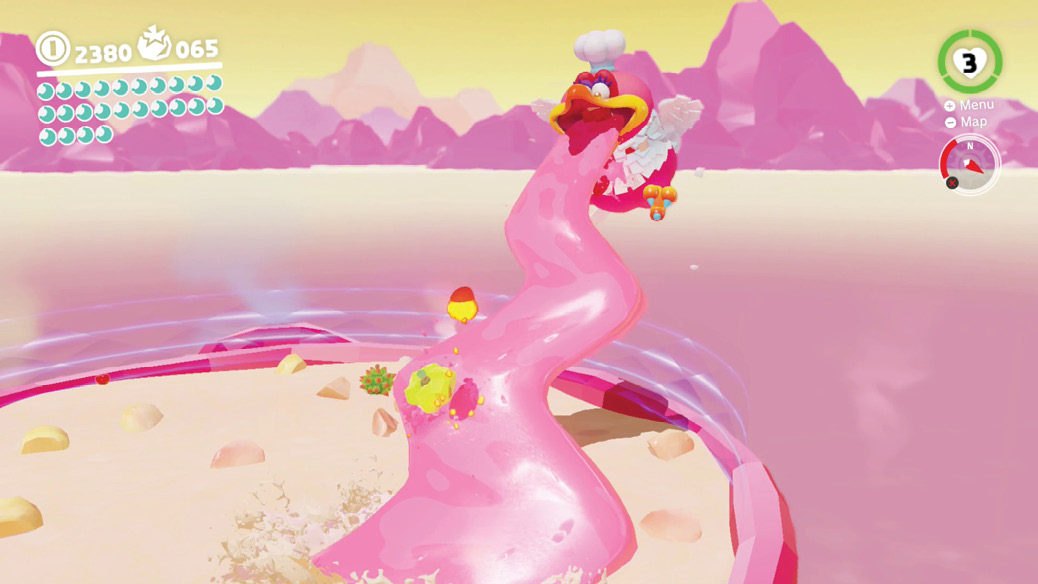
Get high enough and you can get a good shot at Cookatiel’s head just by jumping into it. The bird stops barfing up liquid and veggies and knocks Mario back into the stew, and it redoubles its efforts next round. The more shots to the cranium Cookatiel has taken, the more frenzied its spewing of spike pods becomes. If health is low while dodging the rain of hard fruitseed, shake the controller while swimming for a speed burst that bashes apart any stew chunks in the way, potentially revealing Hearts. When Cookatiel throws up the third time, the stream is intermittent. This means you must jump up and forward through the air between blobs of liquid arcing down, all the while looking out for incoming projectiles!
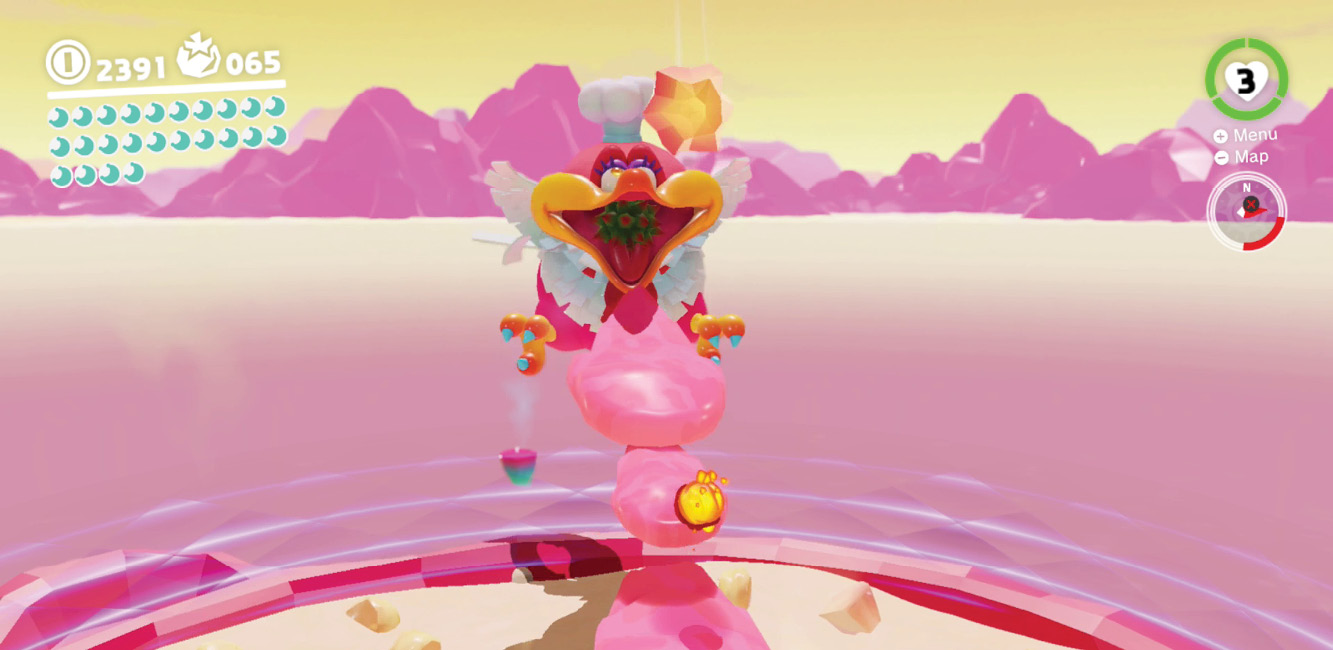
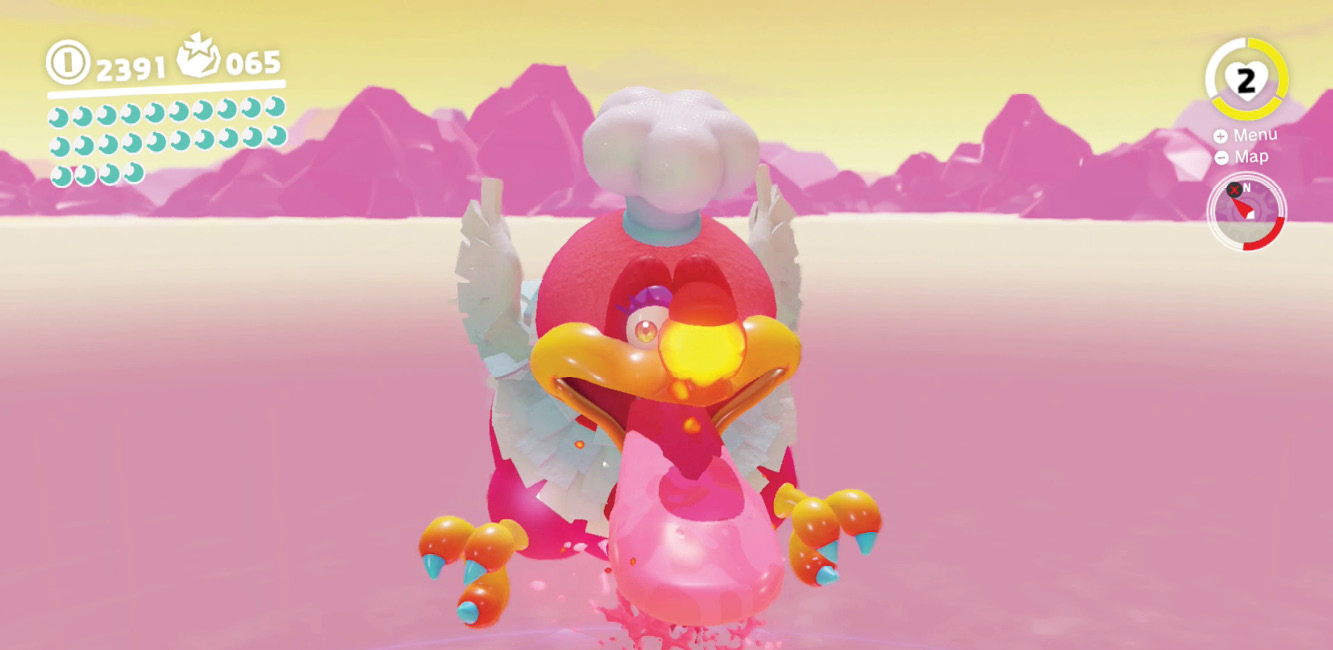
But at least this is the home stretch! Persevere against the rain of bird gunk to hit the boss one more time.