
Super Mario Odyssey Guide Bowser’s Kingdom
Mario’s Itinerary
 Infiltrate Bowser’s Castle!
It’s finally time! Mario has tailed Bowser back to his home turf. Bowser’s Castle isn’t just one place. It’s a series of fortifications floating separately in the sky, connected by Spark Pylons. Bowser’s Keep is far too fortified to bring a balloon anywhere nearby, so the Odyssey lands on the farthest structure from the target. Mario will have to do some scouting to get closer to the action.
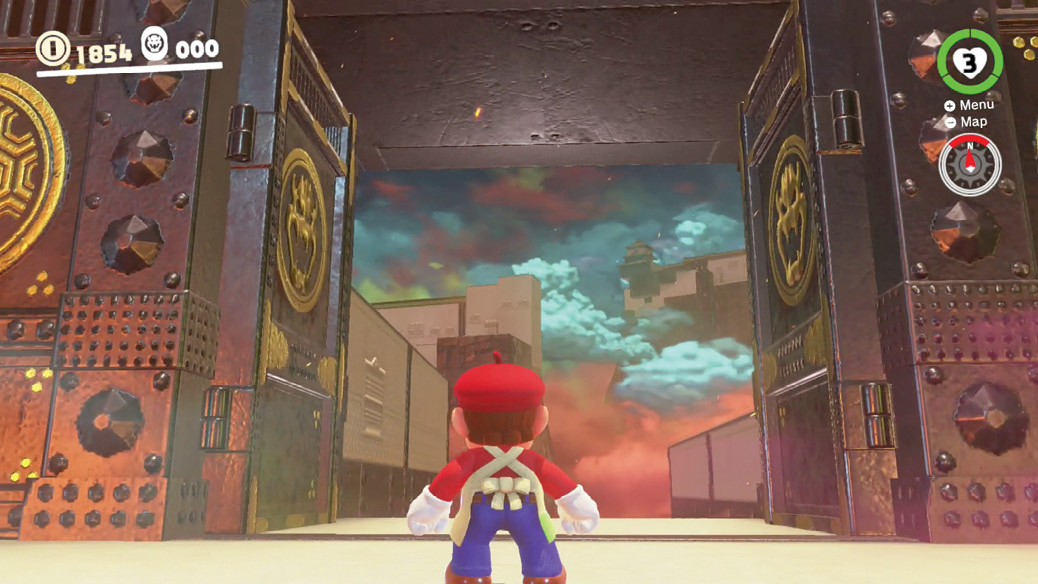
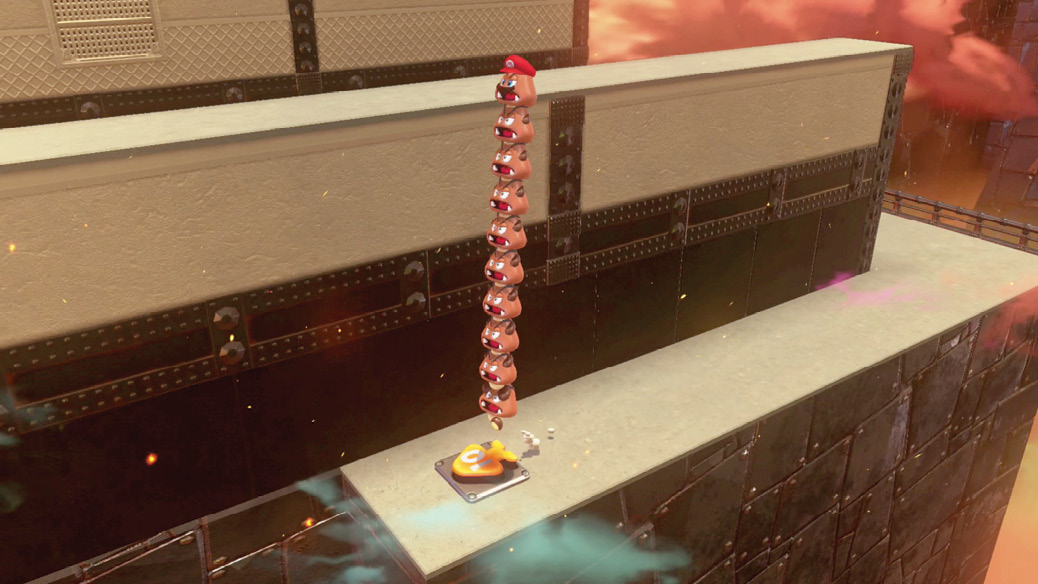
Out here, past the advance gate, there’s just an early troop of Goomba guards, far from the Koopa king’s elite forces. Capture a Goomba and build a big stack with all the guards, then head to the end of the right side of the corridor and look for a way around. The path curls to a special button that can only be activated by a stack of 10 Goombas. Hop onto it with a huge Goomba stack to reveal Power Moon #19 on top of the wall. Normally this would be too high to jump toward, but from a huge Goomba stack you can just release the capture right next to the wall and pop up to the top level in Mario form from the highest Goomba. Up here, scoop up the four purple coins and the gold coin piles before triggering the Spark Pylon below.
The Third Courtyard (Front) platform is one of several floating structures that serve as an extended foyer into Bowser’s domain. Register the checkpoint flag here to enable instant warps in the future. Bowser’s guards here get more serious, as Pokios advance upon Mario. Capture a Pokio and flick onto the roof, collecting the Regional Coins up here and peering over to the other side to spy a Power Moon on the ledge. Fall down and collect Power Moon #05, then flick back onto the roof.
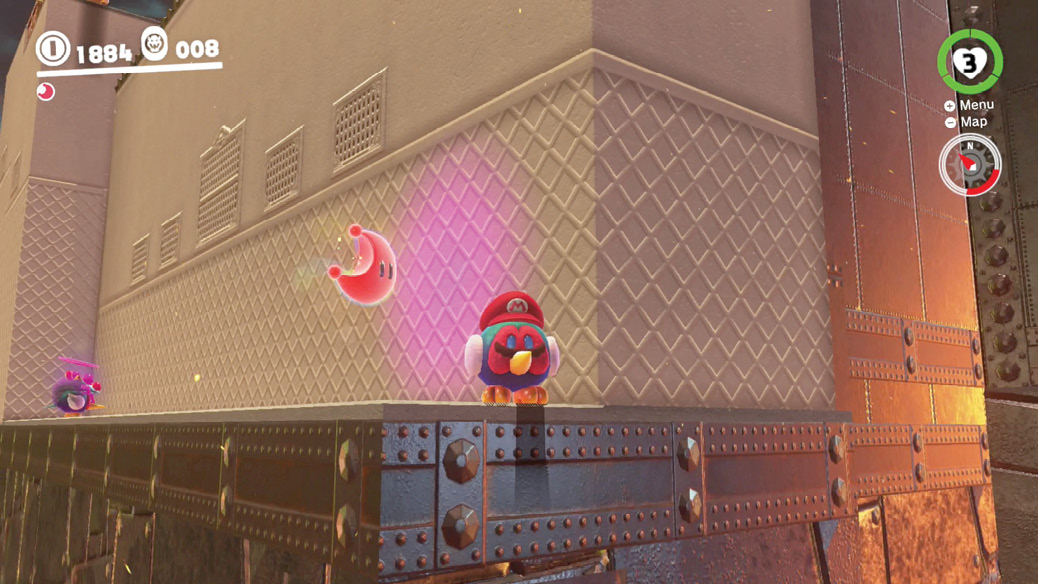
The Spark Pylon found on top of Third Courtyard (Front) leads to Third Courtyard (Rear). Ditch the Pokio (don’t worry, there will be many more) and ride the Spark Pylon to the next floating battlement. Snag the warp flag here too and head up the steps, avoiding the Spinies in their pen.
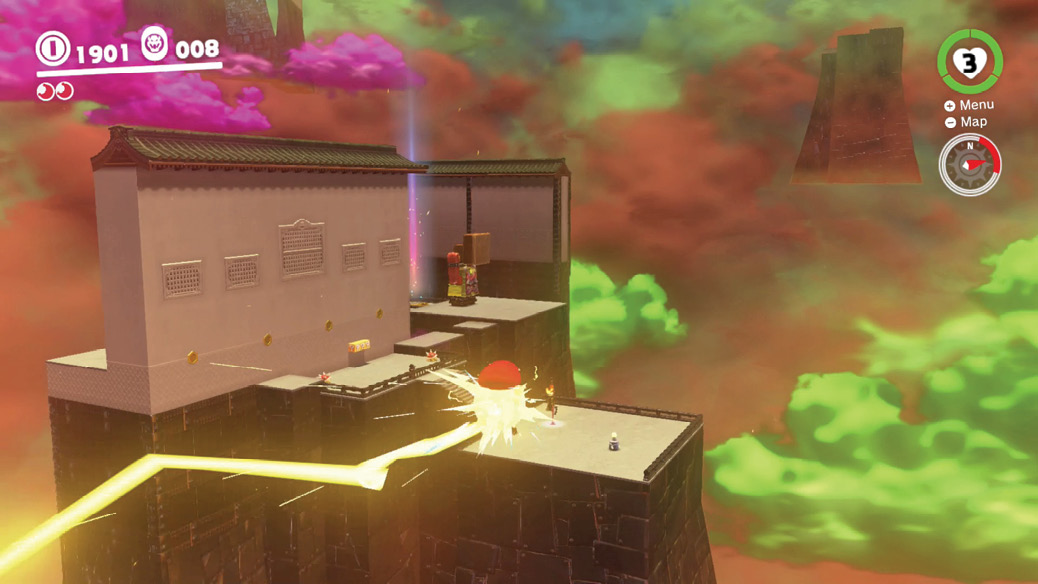
To the right, past the Spinies, is a flat platform with a fierce-looking new enemy, the Stairface Ogre. These huge Thwomp-like enemies clomp about and try to flatten Mario with a huge stamp. An indicator on the ground shows when they’re about to bring the hammer down, so get out of the way! For a moment while they recover from the effort of the attack, the stamp becomes a jumpable staircase allowing access to the top of the Stairface Ogre’s head.
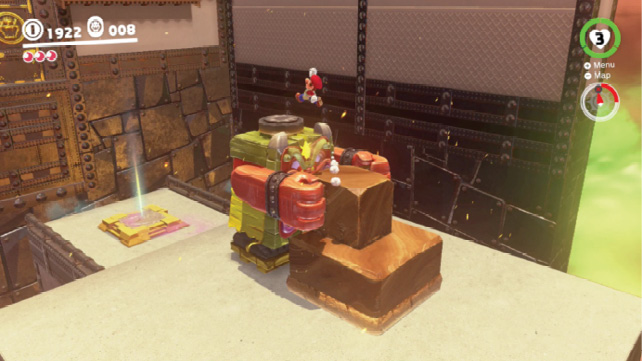
Quickly hop up to the top and ground pound the Ogre to break it apart in one shot. Defeat the Ogre here to reveal Power Moon #01. Collect the moon to open the gate and extend the drawbridge ahead.
Follow the broad steps to the Spark Pylon platform. Before moving on, turn around and jump to the rooftop on the right, easily mounted with a triple jump or dive jump. Several groups of Regional Coins are on the winding roof atop Third Courtyard (Rear), along with a ledge on the back end only accessible by falling from the roof. Fall down there to find a Pokio. With this Pokio under control, it’s now possible to flick around the entire Third Courtyard (Rear) structure, making sure all the purple coins are pocketed, including some floating over a sheer drop on the side.
 Smart Bombing
In the Second Courtyard, Bowser’s defenses are ramped up. Turrets unleash cannonball bombs, while armored (or at least hat-wearing) Pokios relentlessly approach. The important thing to know about Pokios in the presence of cannonball bombs is that Pokio beak strikes can redirect the bombs with amazing force. With the right angle or object to ramp a bomb off of, Pokios can easily become mad bombers around turret ports; accidentally, for hostile Pokios, and intentionally, for captured Pokio-form Mario!
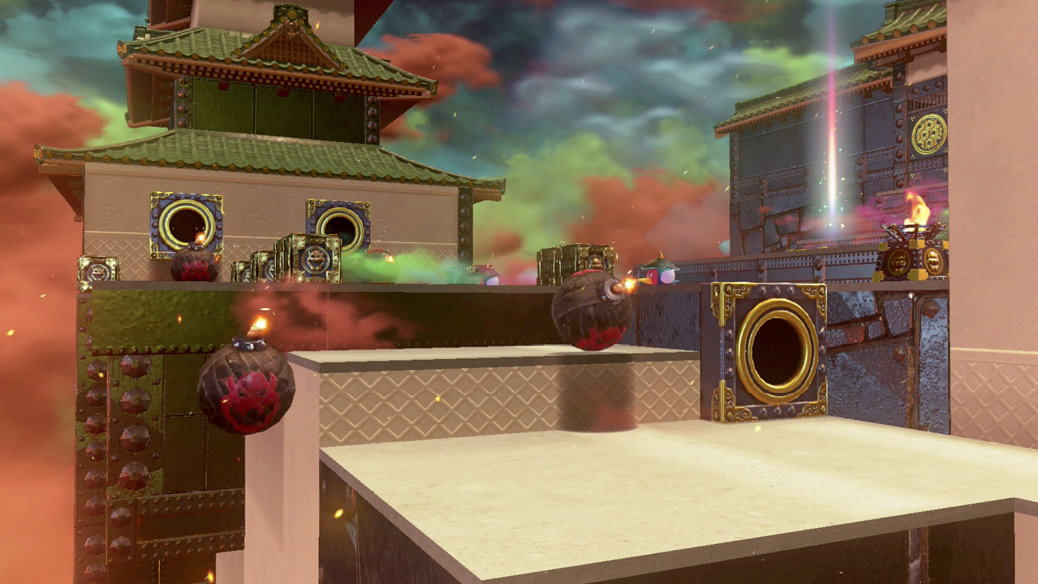
Under the first turret, notice the moon shard. The Second Courtyard’s under lockdown, and the Power Moon to release it is broken up and spread out, minimizing the risk of an intruder putting it together.
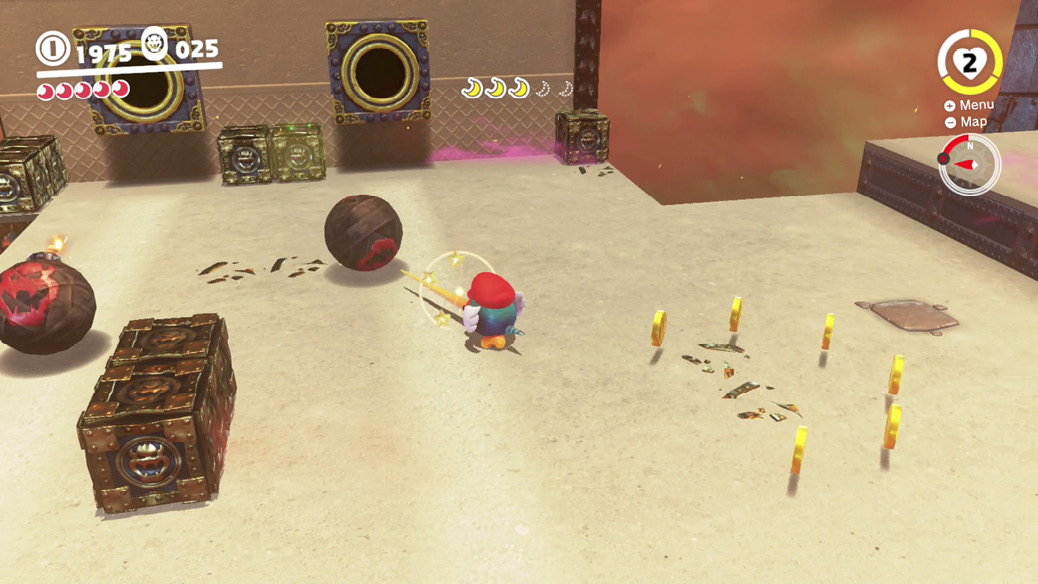
- Under the first turret
- Over the fire pit on the lowest level
- Within flicking distance hovering in front of the large wall
- Hidden in a bomb-weak box resting between two turrets
- Tucked up on a ledge on the backside of the structure
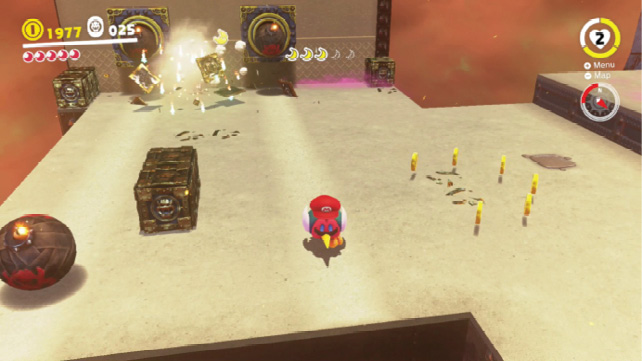
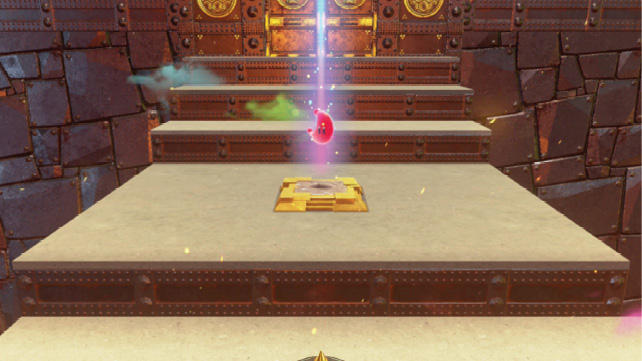
Collecting all the moon shards reveals Power Moon #02. The gate revealing the next Spark Pylon is opened by picking up this moon. A treat is coming up, the souvenir shop island!
 Big Broodal Battle
Use the time at the souvenir shop island as a brief respite. Buy some new outfits, especially the new Samurai Outfit, since wearing it lets Mario access a special room right here on this island, on the opposite side from Crazy Cap’s entrance. Don’t miss the Regional Coins hidden right inside Crazy Cap’s outside roof.
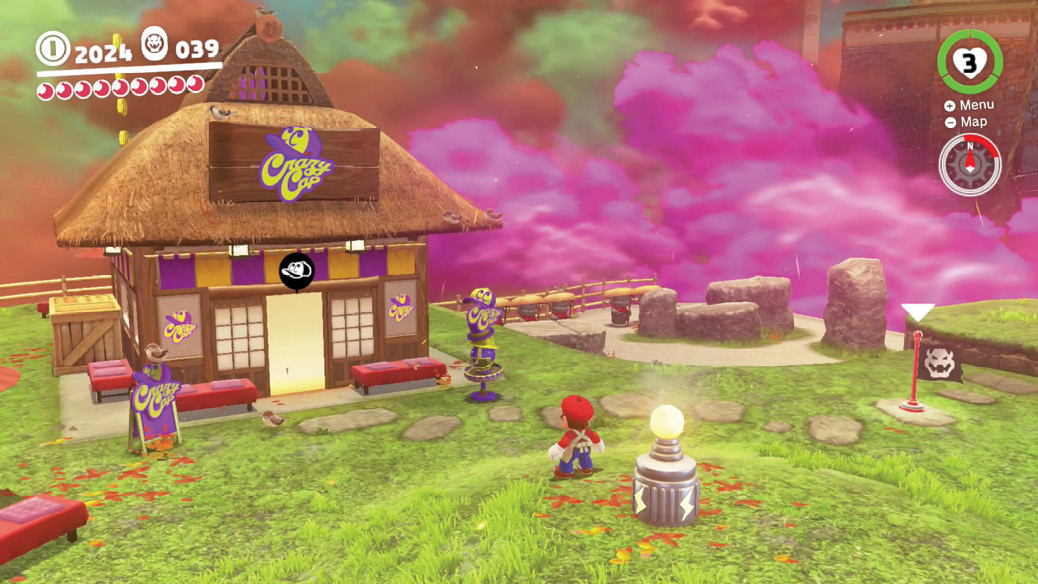
Whenever you’re done with the souvenir break, use the Spark Pylon past the stone garden to move on toward the first floating structure that’s actually attached to Bowser’s Keep: the Main Courtyard Entrance.

Boss: Hariet
Beyond the long buildings on either side of the path, the Main Courtyard Entrance has two ornate golden Bowser statues in the way ahead, with large round platforms on either side. Hop onto the left platform and Hariet leaps from the Broodals’ patrolling ship above, eager for a rematch. Hariet again attacks with her assortment of spiked bombs and rigged pigtails. She skips about tossing pairs of time bombs around the arena, which leave behind unsafe pits of fire in their wakes.
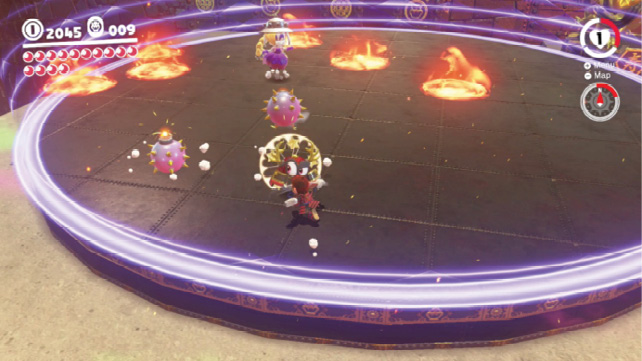
The bombs can be deflected with a cap toss, getting them out of Mario’s vicinity. With a little skill and luck, a tossed Hariet bomb can be smacked right back in her face! If not, after a few pairs of bombs, Hariet spins to wind up tension, then whips her pigtails (with bombs threaded into them) toward Mario, creating an explosive mace swing. Run around Hariet while putting distance between her and Mario to make this brutal attack miss, then toss Cappy into the embedded bombs while Hariet struggles to get her hair unstuck from the ground.
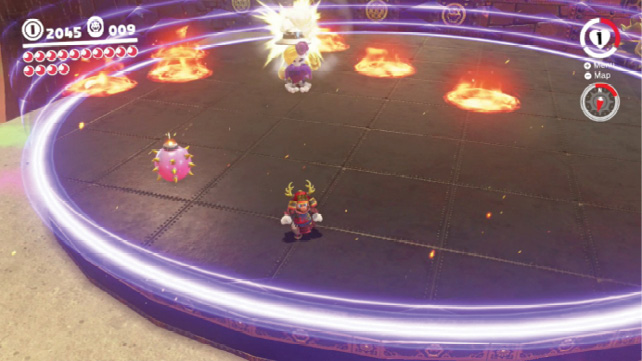
Her pigtail-bombs snap around and detonate, knocking off her steel helmet and briefly exposing Hariet to a stomp attack! Hariet is quite slippery while she wails looking for her hat, so slow her down with a hat throw to make it easier to jump onto her head before she recovers.
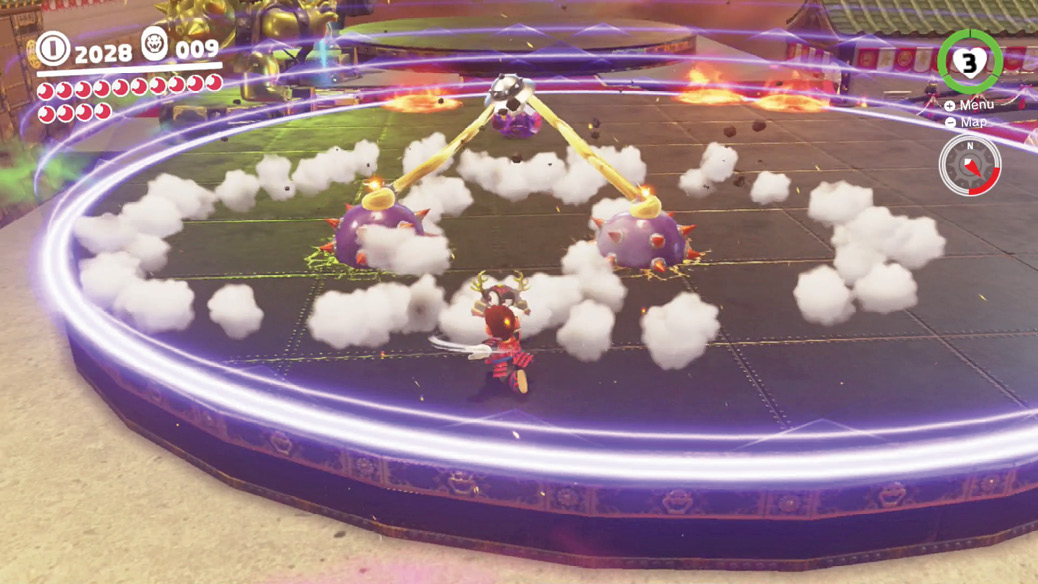
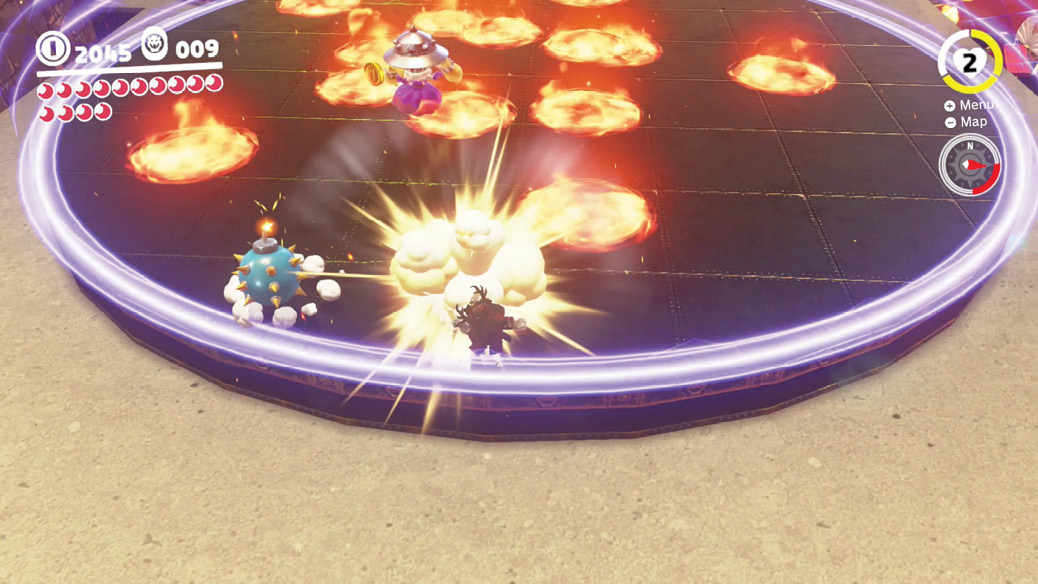
Hariet goes through a phase of dropping bombs to regroup, then sets about attacking with her hair-bombs again. Continue to dodge bombs and fire while sending ordinance back at Hariet when possible and this Broodal bomber’s blastathon will soon be over.

Boss: Topper
Step onto the right circular platform in the Main Courtyard Entrance and Topper drops in, his stack of top hats in tow. He’ll begin trotting toward the heroes, hoping to get close enough to begin his top hat spin.
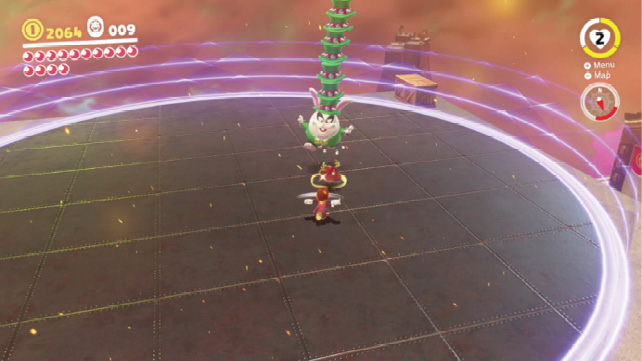
This attack gives a brief warning of where it’s going to hit, but it’s not enough time to dodge purely on reaction. Always be ready to move away from Topper.
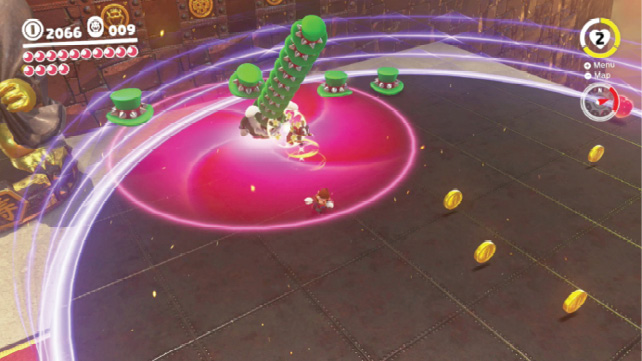
Whenever there’s a safe distance to do so, throw Cappy repeatedly at Topper, preferably from the tip of Cappy’s range. This briefly waylays Topper, and knocks hats from his tall stack. The fewer hats in his stack, the shorter the reach on his spinning attack. Hats knocked away from his stack become independent projectiles bouncing around the platform, though, and they’ll have to be dealt with or avoided.
Knock the full stack of hats off of Topper’s head to leave him susceptible to stomping. Get a solid shot in on his cranium and he practically blankets the arena in rebounding top hats, but these can be jumped over, flattened with stomps, and knocked aside with Cappy. If Hearts are low during this fight, look for replacement power-ups to show up periodically when smashing Topper’s surplus top hats.
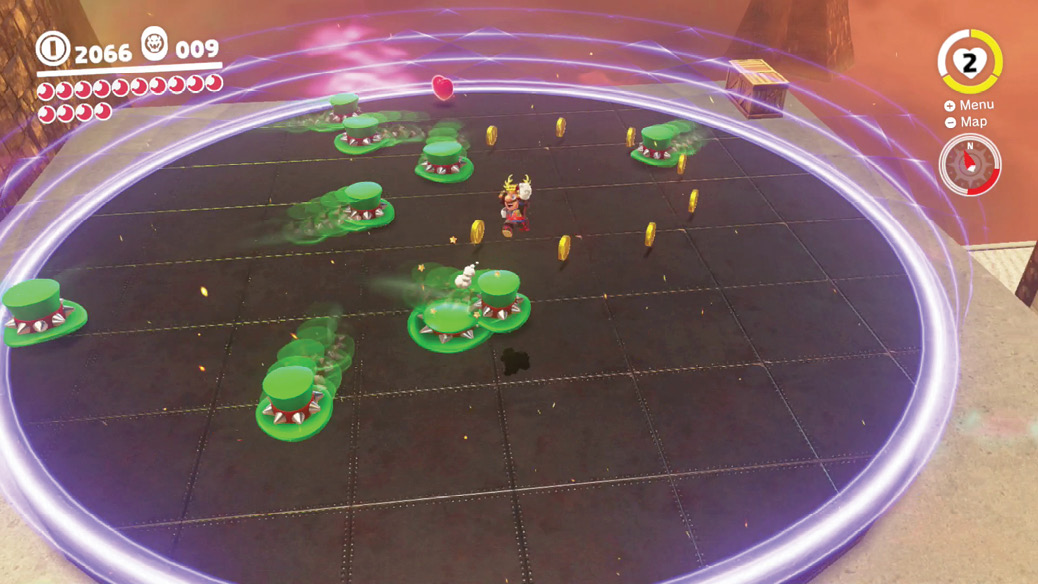
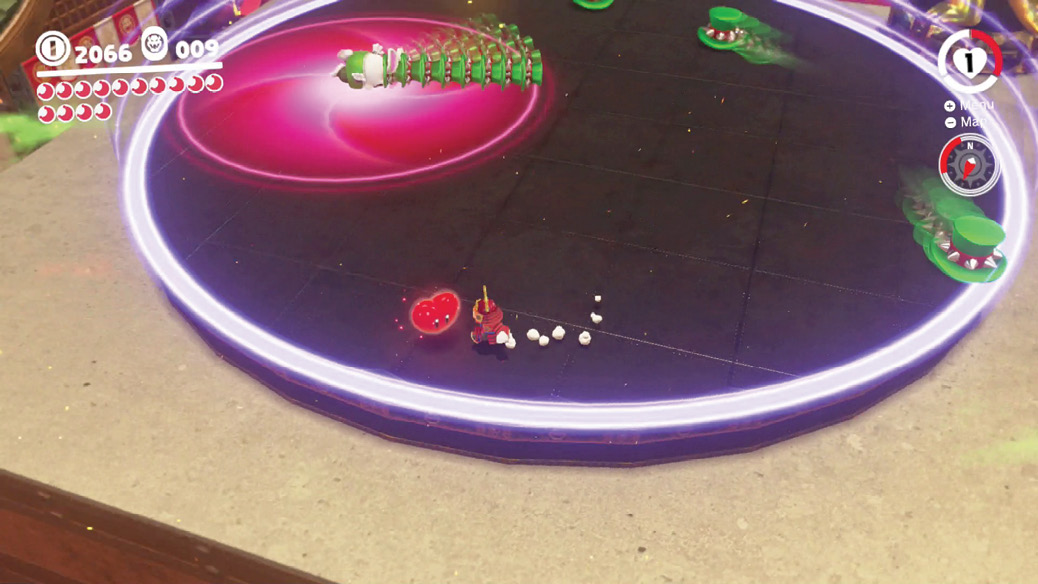
Defeat Hariet and Topper to destroy the two Bowser statues, unsealing Power Moon #03. Gather this moon to open the way forward to the Main Courtyard.
 Showdown at Bowser’s Castle
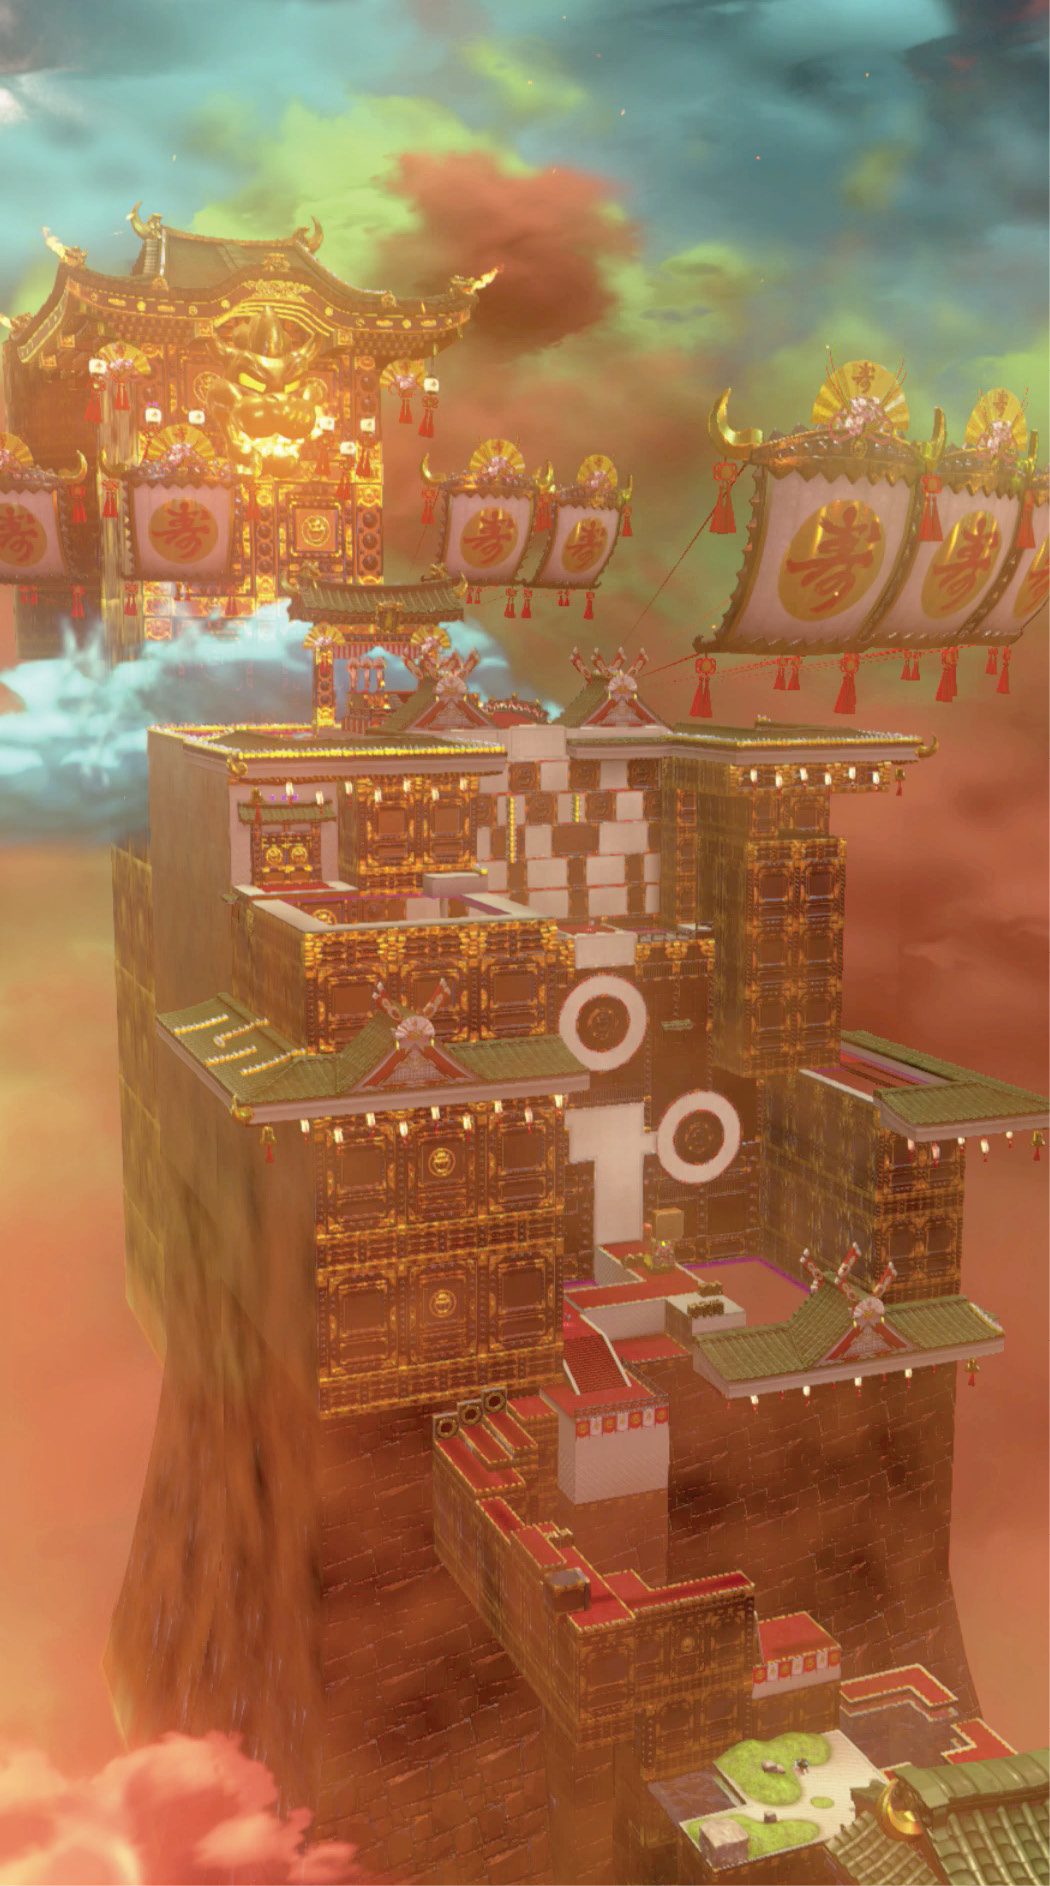
Be sure to touch the checkpoint flag here, since it will be a future hub for lots of moon-hunting activities. Now that Mario is beyond the great gate, looking ahead and up, Bowser’s Keep is visible towering above, beyond a long vertical wall full of obstacles.
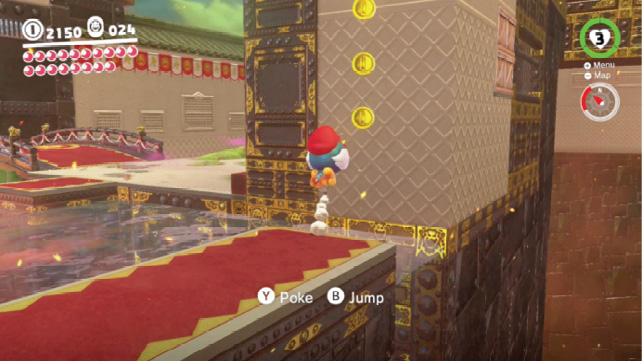
Ahead, a pair of Binoculars offers a scouting opportunity at the foot of the climb, and a pair of Pokios present both a threat and a capture opportunity. Control one of the Pokios and jump to the right (coming from the checkpoint flag) over small platforms floating in the southeast moat. A pokable wall extends upward at the end of the platforms, providing a place for Pokio to show off its climbing chops.
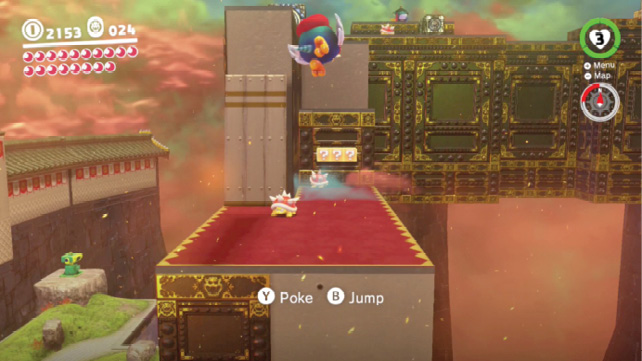
On top, a skinny bridge leads across to yet another structure. A turret array here spews several cannonballs at once across the walkway. Use Pokio’s beak to safely bat incoming cannonballs away.
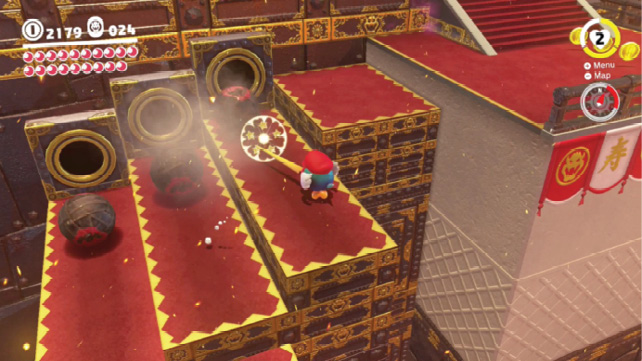
Follow the path turning inward toward the huge vertical wall ahead to find the Outer Wall checkpoint flag. Look just over the railing before the stairs to the flag to see three Regional Coins hovering down low, at the end of a section of beak-friendly wall.
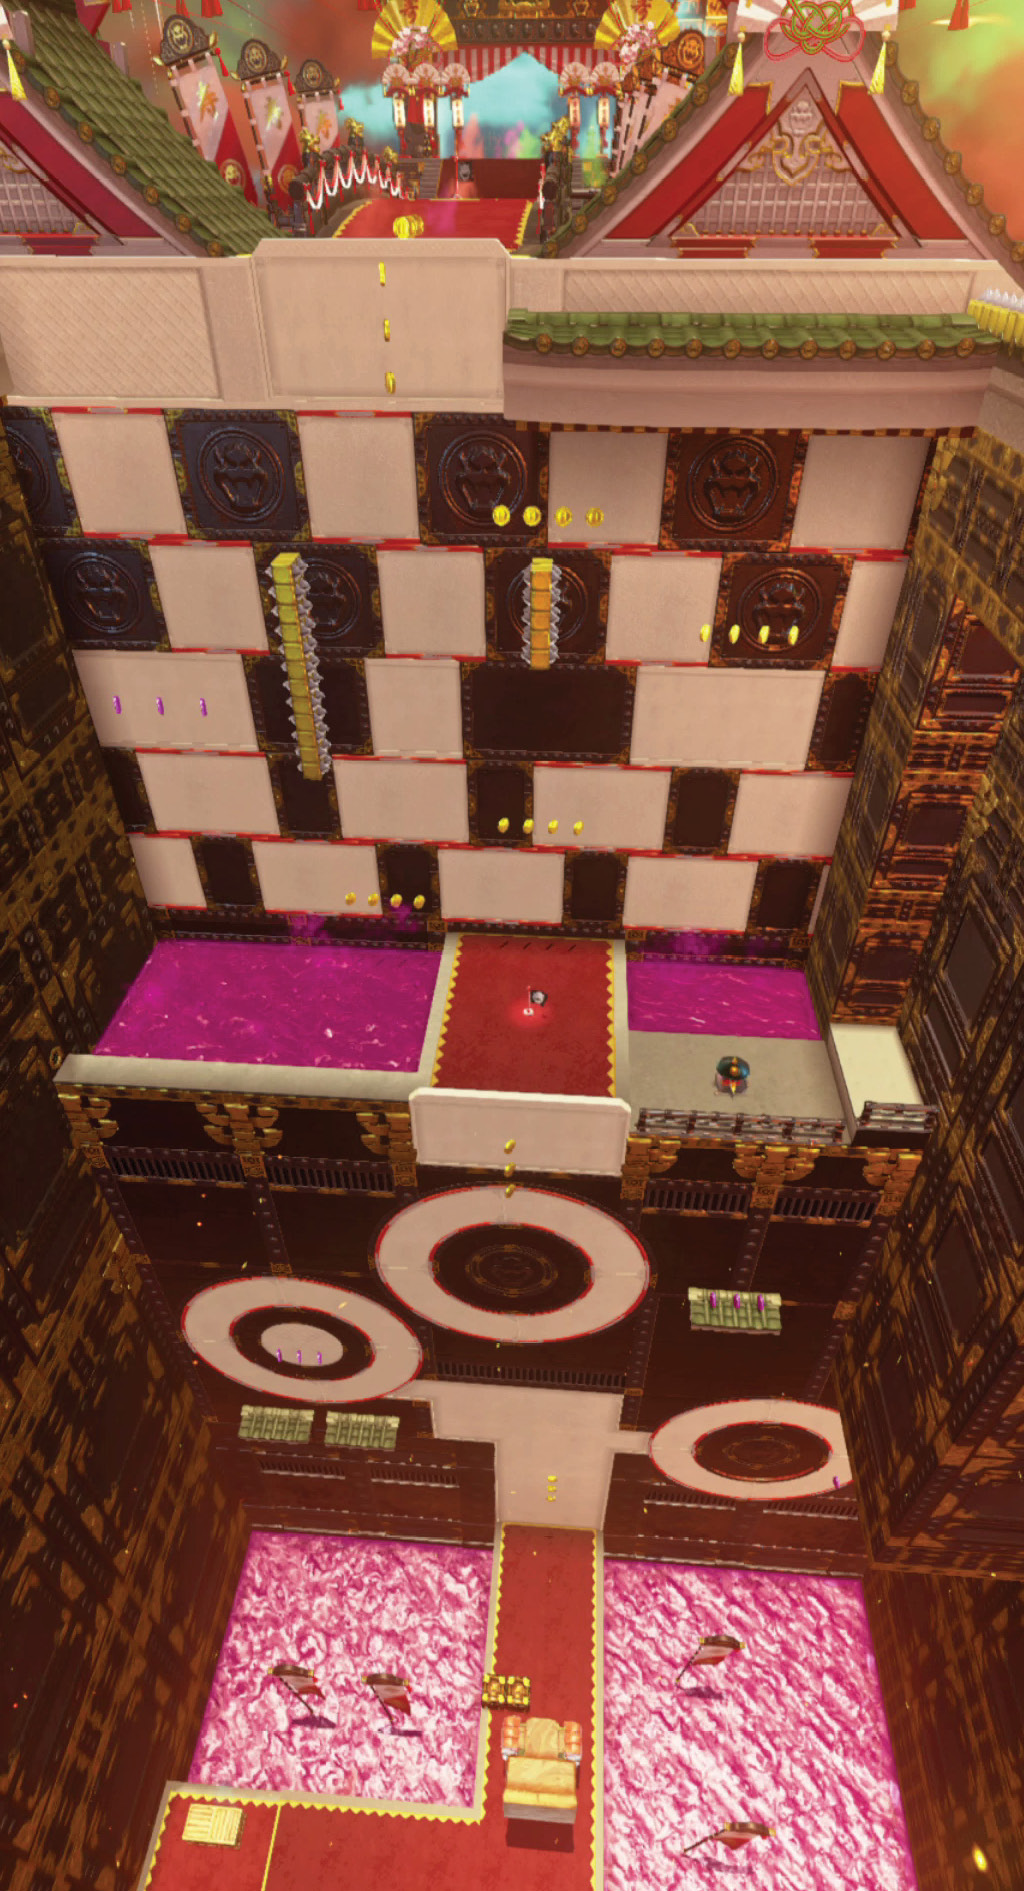
The stretch ahead is a real marvel. One of Bowser’s final lines of defense is this immense, two-stage climbing wall leading up the front of his biggest fortification. The base of the climb is guarded by a Stairface Ogre and a poison moat. The wall behind the Stairface Ogre is covered in rotating dials, which can be ridden by inspired Pokios and used to move upward. Lots of Regional Coins are floating around the rotating, pokable dials, too.
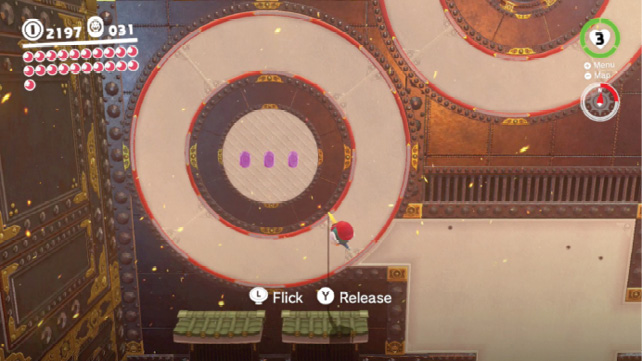
Atop the three dials is a safe, standard-issue ledge, with the Inner Wall checkpoint flag planted here before the second wall. For this climb, alternating conveyor belts of wall move left or right, and only the lighter sections of wall can be pierced by the Pokio beak. Unmoving spiked strips serve as impediments in places here, and three more purple coins can be found by moving behind the spike strip on the left.
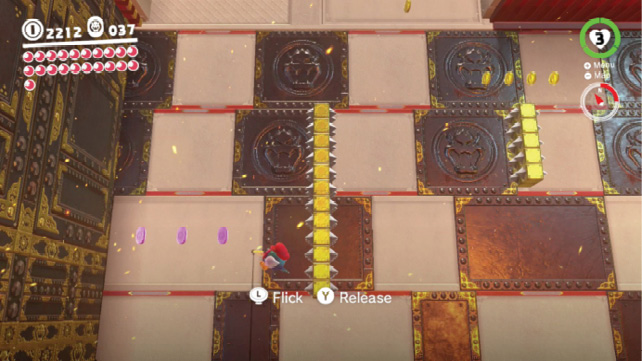
Atop the second run of wall obstacles, you’ll mount the roof, discovering the checkpoint flag Beneath the Keep. This is the last checkpoint before a major encounter, so if you want to explore earlier in Bowser’s Kingdom on foot or through the use of instant warps, now’s the time. (You can’t leave the kingdom until you clear the threat here.) Whenever you’re ready, cross the path between poison moats to the raised Spark Pylon platform, and ride the Spark Pylon wire up, finally, to the roof of Bowser’s Keep.
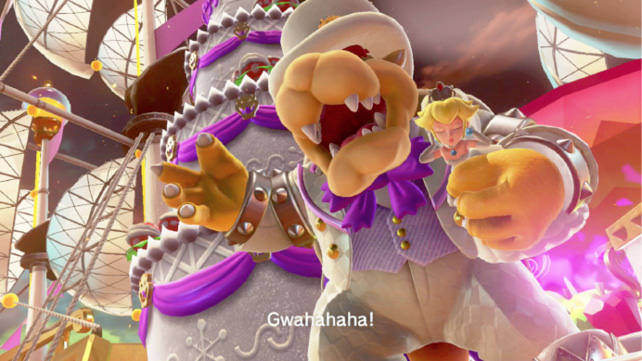
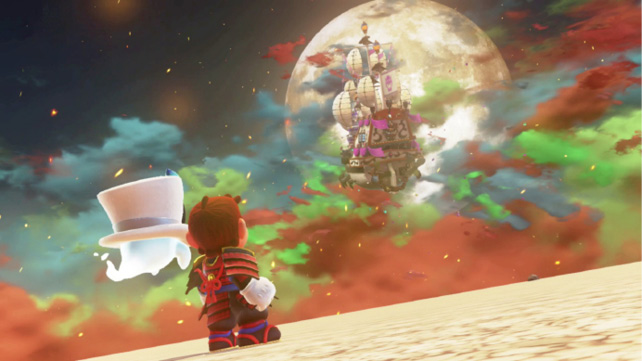
Proceed forward to confront the Koopa king. Finally, Mario catches up to Bowser on his own terms, but the vile lizard retreats yet again, leaving minions to do the work.
Boss: RoboBrood
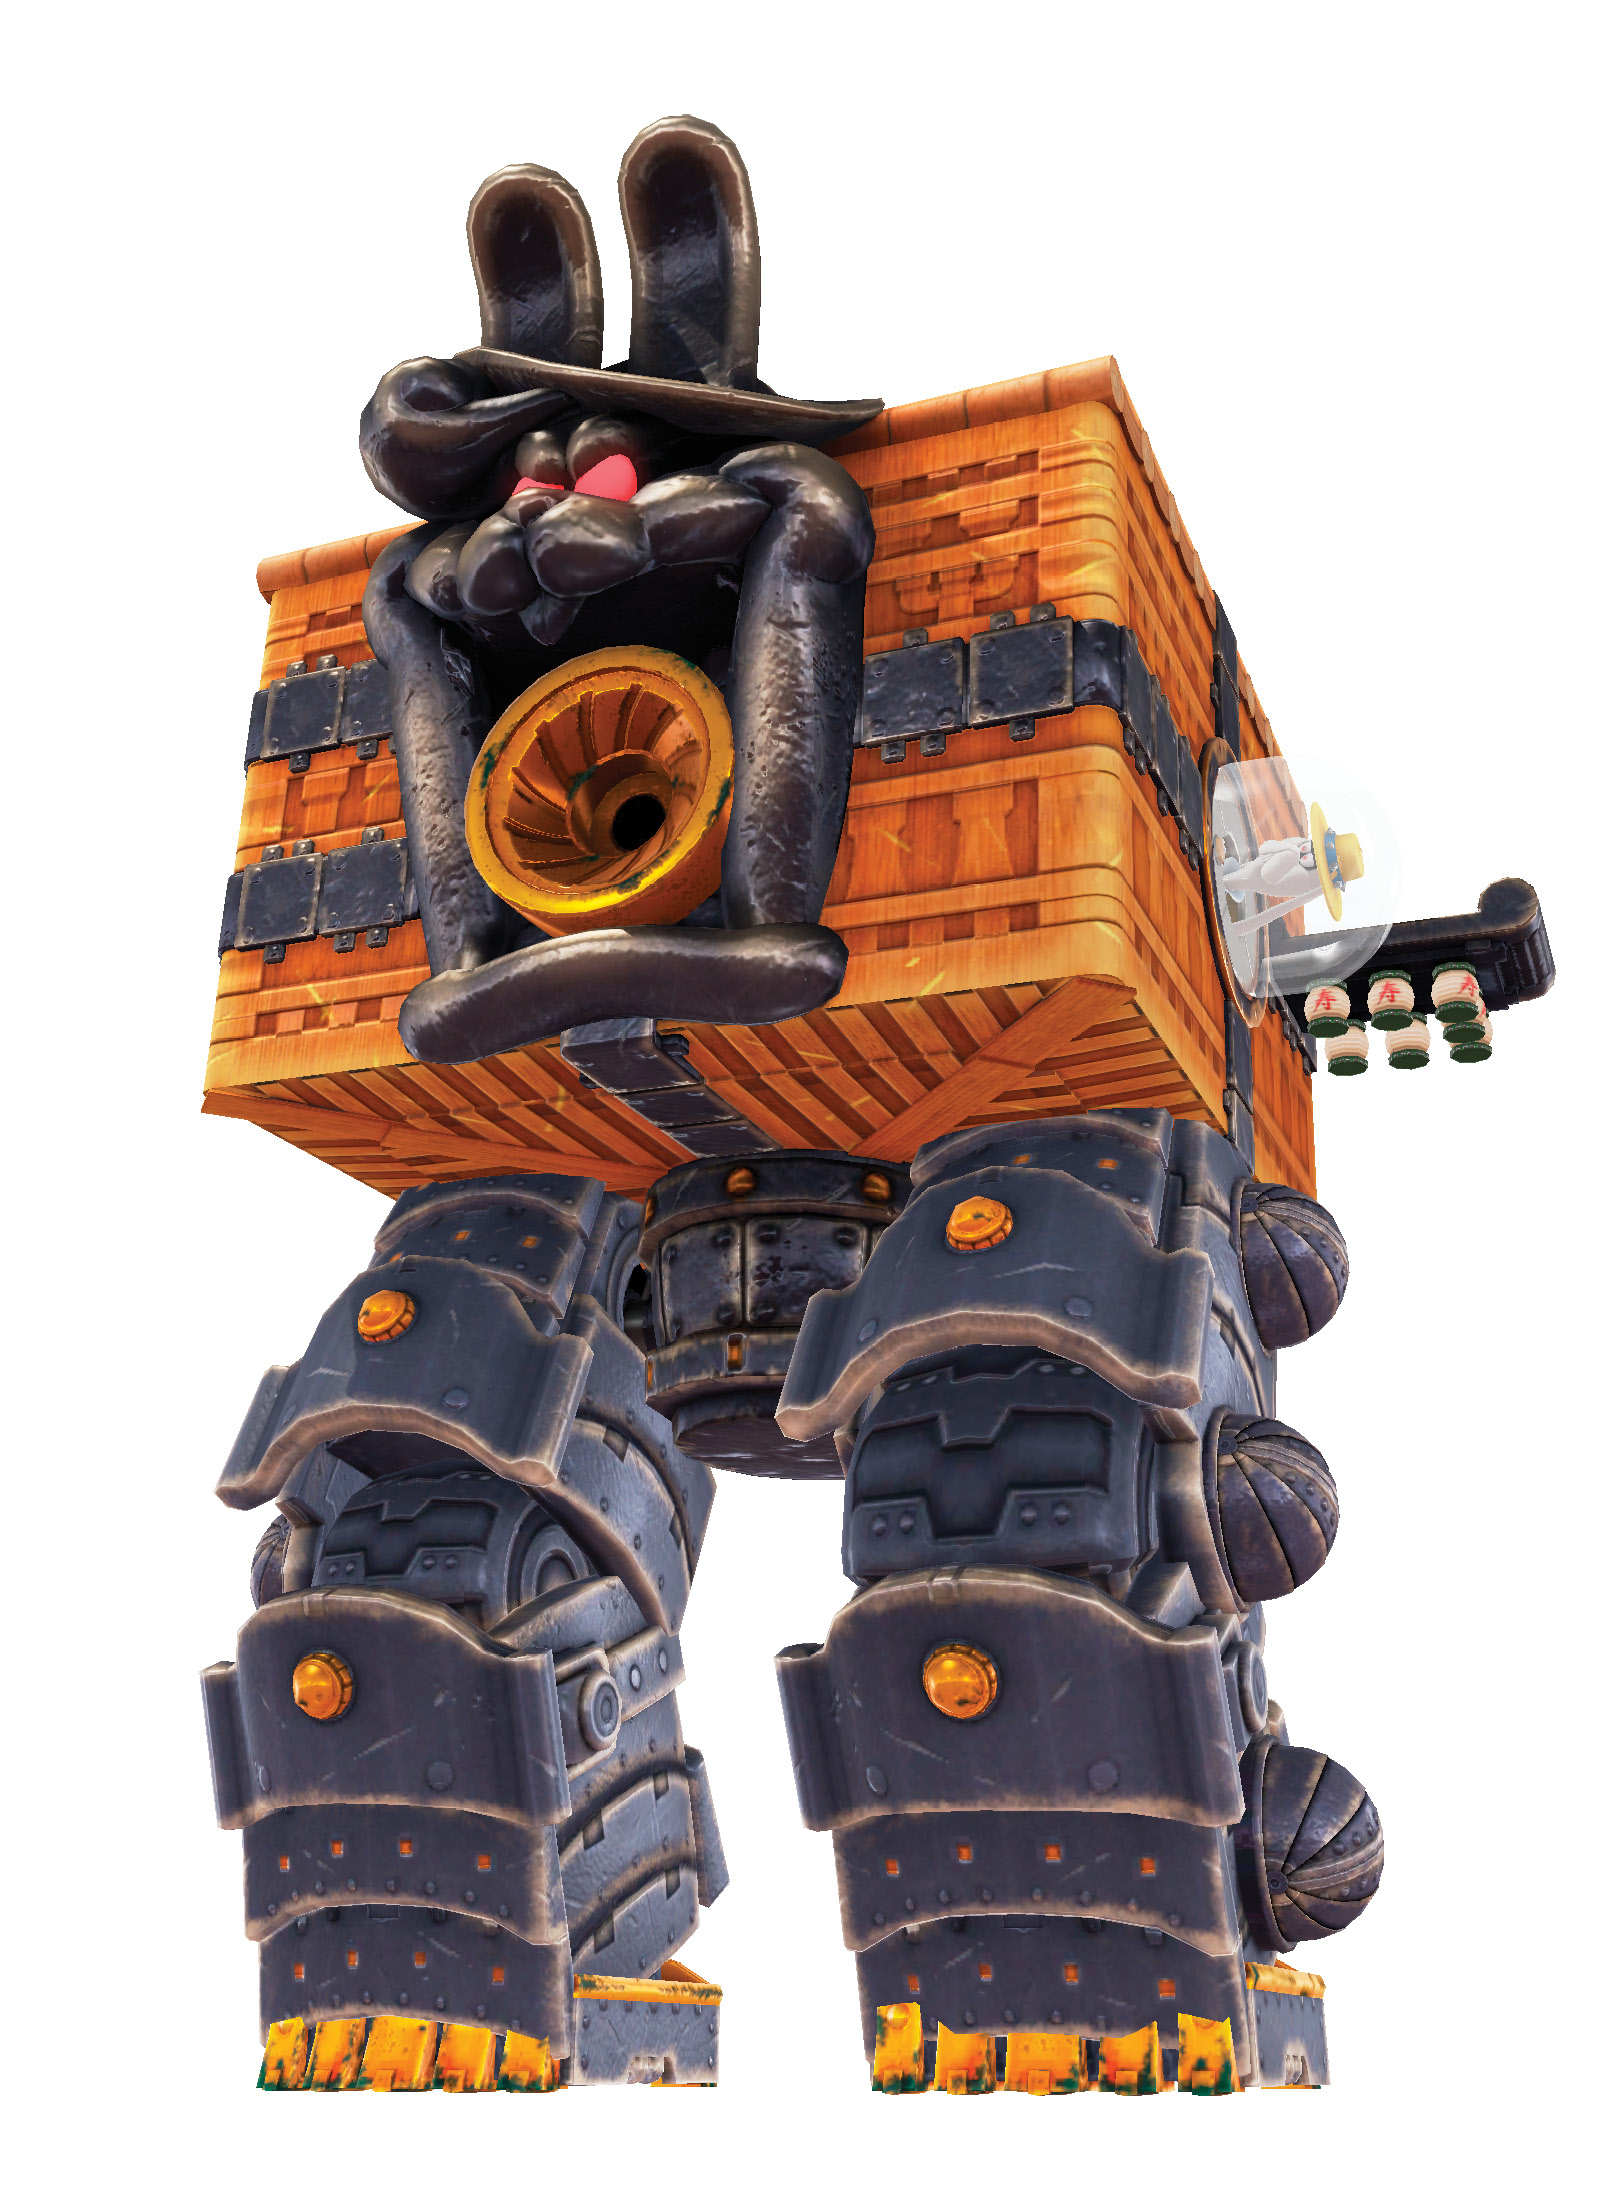
The Broodals assemble for a chance to redeem themselves, joining forces inside a huge mech called RoboBrood. This big bipedal combat platform can stomp small prey underfoot (naturally), can eject explosive cannonballs, and spawn swarms of spinning snake-like ground obstacles.
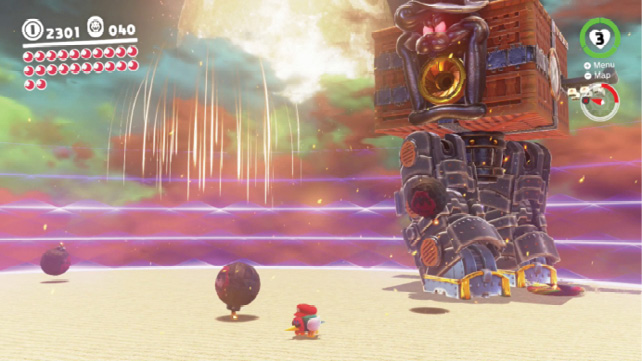
RoboBrood sometimes dispatches Pokio helpers, which provide Mario a little extra punching power. However, the legs are still a bit too heavily armed to take on with the beak, and staying this close with the tiny bird is risky at best against the heavy legs. Back off as Pokio and let RoboBrood launch some cannonballs your way, then poke them right back at the big mech’s legs. One cannonball blast severely cracks a leg’s armor, and another blast knocks the protective layer off entirely!
The RoboBrood can’t support itself without the armor on its legs, so it’ll collapse in the direction of the damaged appendage. Watch out if it’s falling in your direction. While the mech lays on its side, helpless, approach it and jump up to the top, using whichever combination of jumps, pokes, and flicks make sense. Some sides of the RoboBrood body have large wood sections, enabling poke-flicking quickly up to the top, while the sections with collapsed legs sticking out create lots of ledges for jumping. Whichever route you take, get to the top ASAP and peck the top globe apart, taking whichever Broodal was inside out of the fight. Taking out the RoboBrood requires shattering all four globes, so it’ll have to be knocked off its feet at least four times.
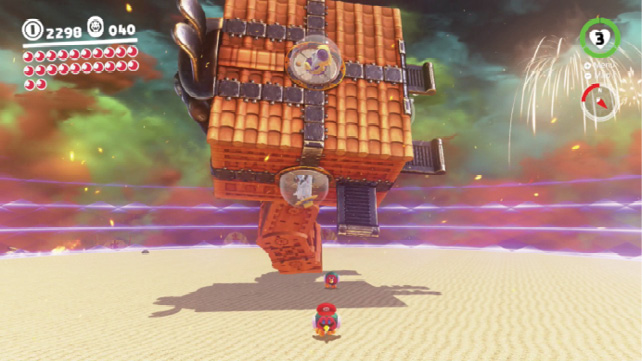
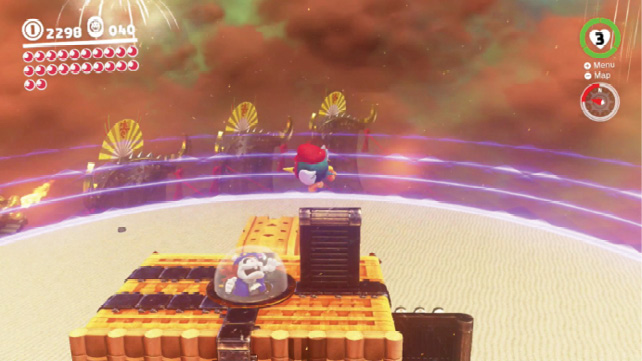
RoboBrood gets more aggressive as the fight goes on, stomping after Mario/Pokio quicker, firing more cannonballs, and unleashing fields of snake-like spinning drones. The drones can be cleared out with Pokio pecks or Mario hat tosses, or they can simply be avoided. The RoboBrood itself will probably step on many of them.
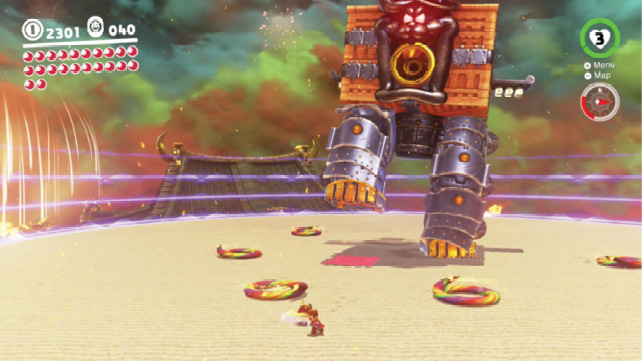
If RoboBrood’s legs begin glowing, watch out; this is a signal that it’s going to charge back and forth across the stage trying to ram into Mario. Pokio simply won’t be fast enough to dodge RoboBrood in this state, so end the capture and roll back and forth out of the mech’s way until it calms down and returns to its normal patterns.
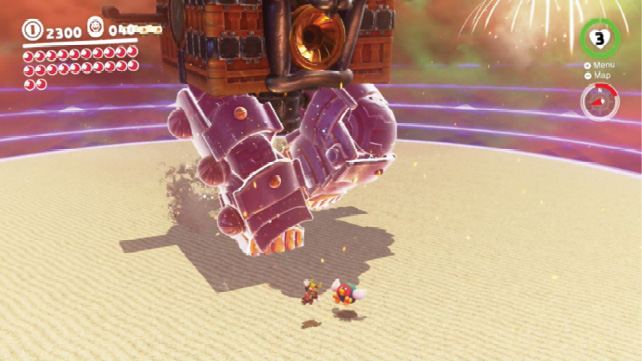
Use spin throws to clear out spinning snake drones, don’t get squished, and capture another Pokio to use to bounce cannonballs right back at RoboBrood’s legs.
When all four globes are busted, the Broodals’ best weapon is toast. RoboBrood’s destruction leaves behind Power Moon #04, a Multi-Moon. Since Bowser himself ran off to the moon, taking Peach, Tiara, and all the stuff the Broodals stole for him, that means Bowser’s Kingdom is secure!