
Super Mario Odyssey Guide Metro Kingdom
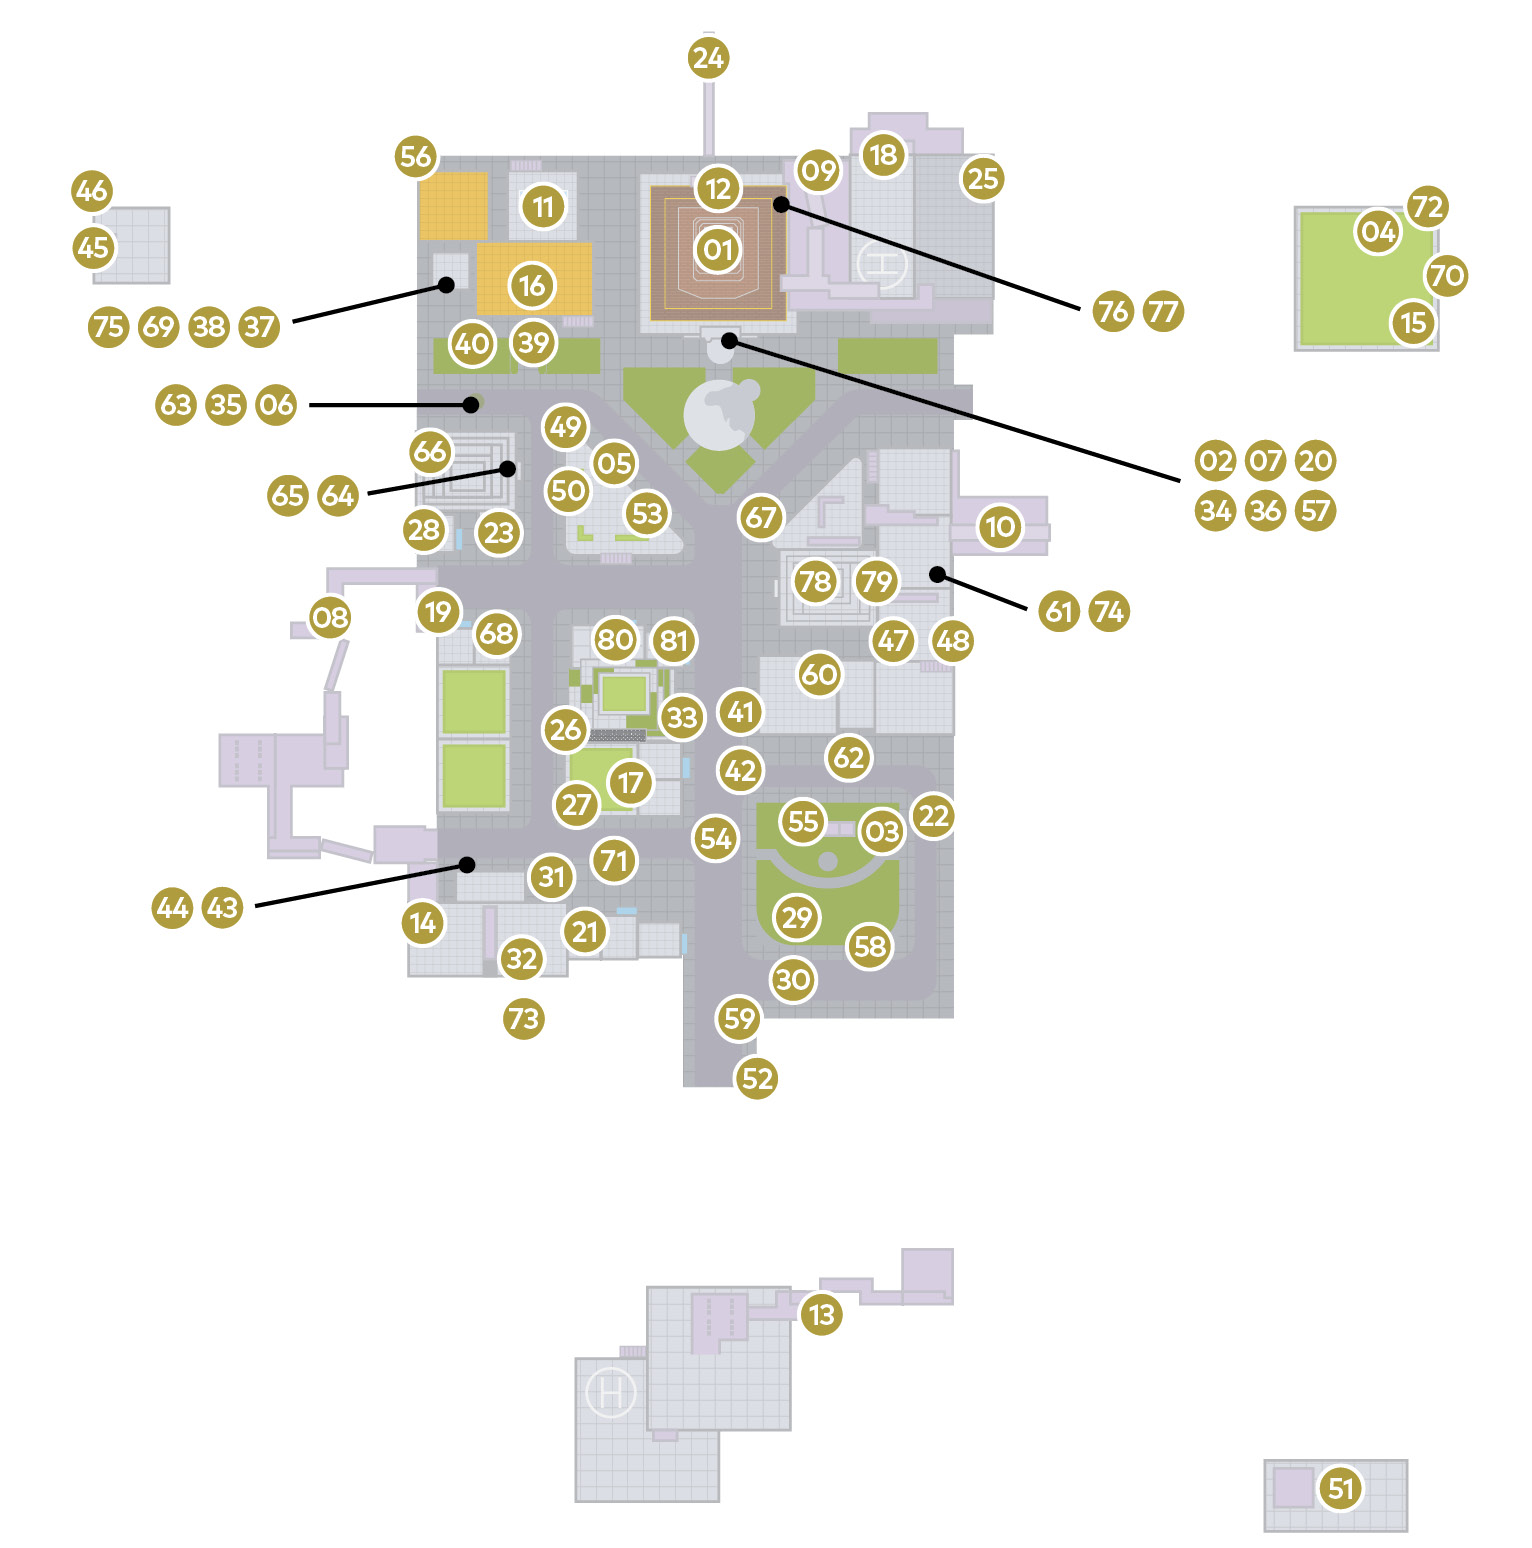
Power Moon Locations
 Power Moons
 Girder Sandwich
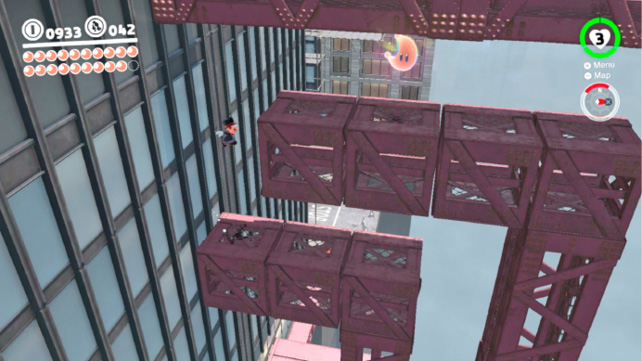
Locate the vertical maze of girders on the eastern side of the city and wall jump your way up to the top of the smaller 7-shaped girder (viewed from the south). Wall jump off the office building to reach the top of the girder where the Power Moon is located.
 Glittering Above the Pool
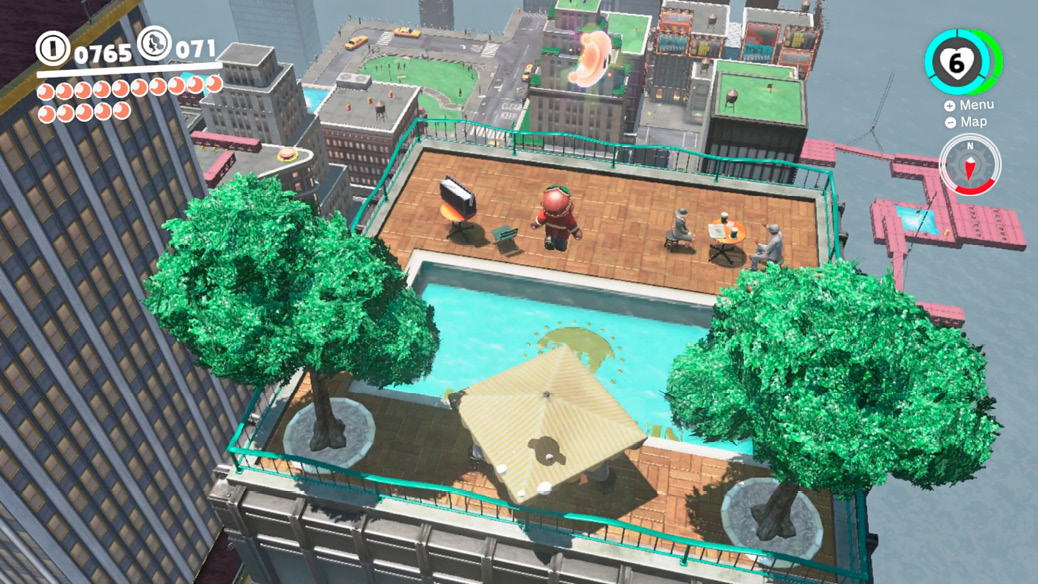
There’s a Power Moon hovering above the rooftop swimming pool in the northwest corner of the city. Mario can reach it by bouncing off the patio umbrella. As for reaching the rooftop itself, try leaping from the roof of New Donk City Hall. Better yet, dive from the top of the antenna into the pool—you might even be able to grab the Power Moon on the way in (see Power Moon #12 for details).
 Dizzying Heights
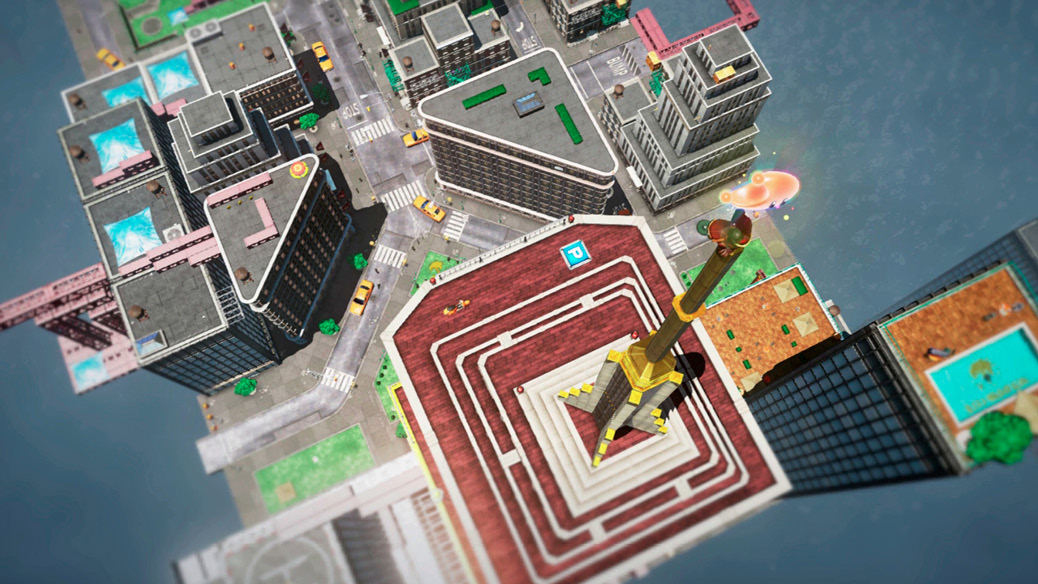
Of course, there’d be a Power Moon atop the highest point in the city! Ride the Spark Pylons to the uppermost level of New Donk City Hall (see Power Moon #20 for more details) and start climbing. Mario can hop onto the gold-capped ledges and climb the vertical columns. Leap for the golden antenna and climb all the way to the Power Moon. Now that you’re up here, why not dive into the swimming pool on the neighboring building?
 Who Piled Garbage on This?
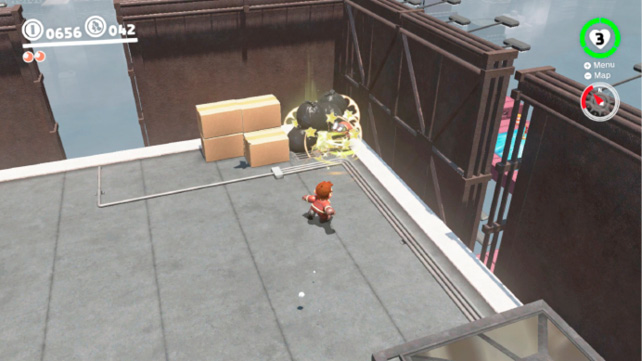
Bounce off the taxi behind the Scooter to reach the fire-escape leading to the rooftop where the flower planter was. Continue westward across the neighboring rooftops to find a pile of garbage bags in the corner, behind billboards. Knock aside the garbage bags and ground pound the glow to uncover a Power Moon.
 Hidden in the Scrap
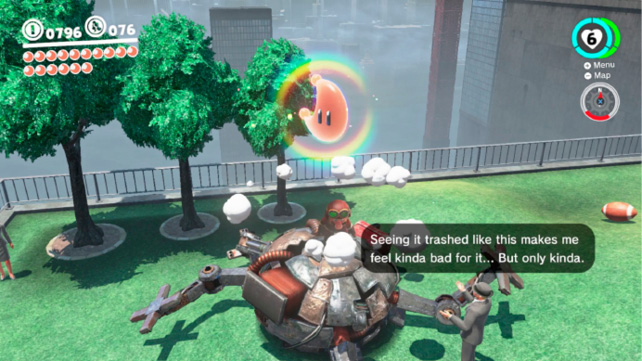
Warp to Mayor Pauline Commemorative Park and investigate the chunk of scrap metal from the former Mechawiggler. It must have landed in the park after exploding. Climb on top of it and ground pound it to uncover a hidden Power Moon.
 Left at the Café?
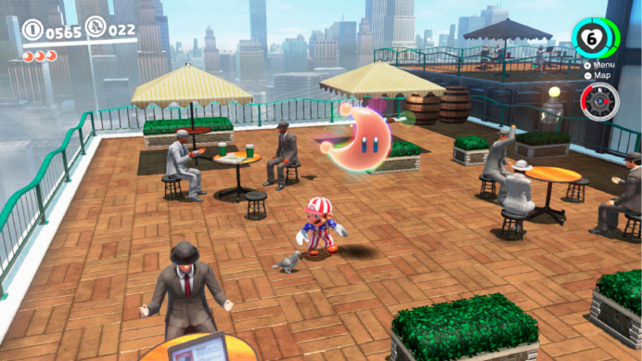
Head to the northwest corner of the city and use the Spark Pylon on the rear of the building with the rooftop café to reach the café. Stand off to the side and wait for the birds to congregate. There’s a Power Moon buried in the tile where those birds gather. Walk closely toward that spot and feel for the vibrations in the controller. Ground pound the spot where the vibrations rumble the strongest.
 Caught Hopping on a Building!
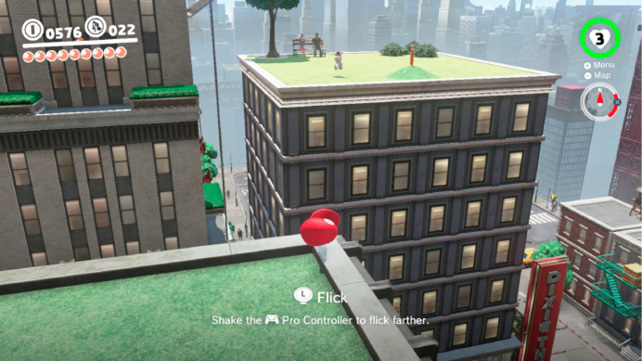
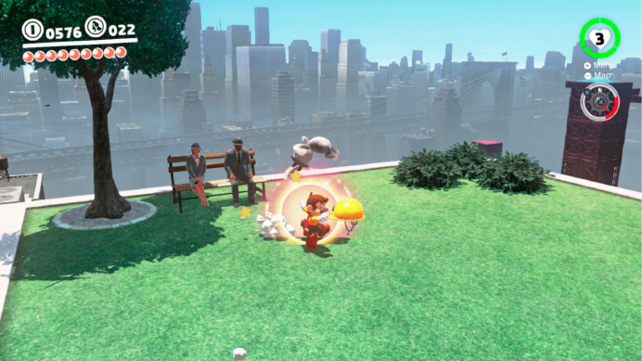
There’s a rabbit hopping around on the building across from the Rooftop Garden warp flag, overlooking the south plaza. Mario can’t just go after the rabbit head-on, as it will quickly leap to one of the other grass-covered rooftops. Instead, warp to the Rooftop Garden and use the Pole there to flick Mario across to the roof where the couple is sitting on a bench. The rabbit should be there. If not, chase him to that position. Mario lands in a sprint after using the Pole. Sprint toward the rabbit and hit it with Cappy as Mario barrels into it.
 How Do They Take Out the Trash?
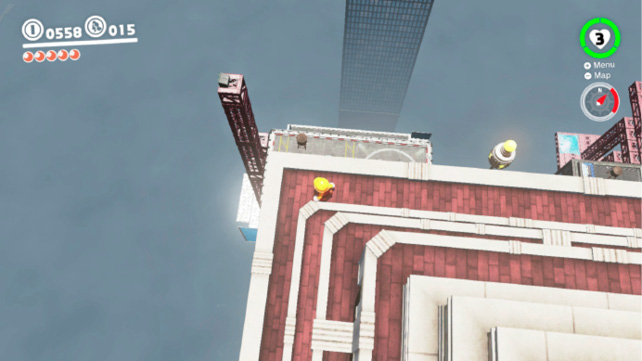
There’s a garbage dumpster high atop the girder that rises above the heliport in the northeast section of the city. And there’s a Power Moon inside that dumpster free to anyone who can reach it. But how? The answer is as easy as it is shocking. Warp to New Donk City Hall Rooftop and drop to the level below it on the east side. Use the Spark Pylon to ascend all the way to uppermost level of the skyscraper. Approach the northeast corner overlooking the dumpster, and jump for it! Tackle jump partway through the freefall and steer Mario through the air toward the dumpster as if he could fly. It’s a terrifying leap, but one that is well within his reach.
 Metro Kingdom Timer Challenge 1
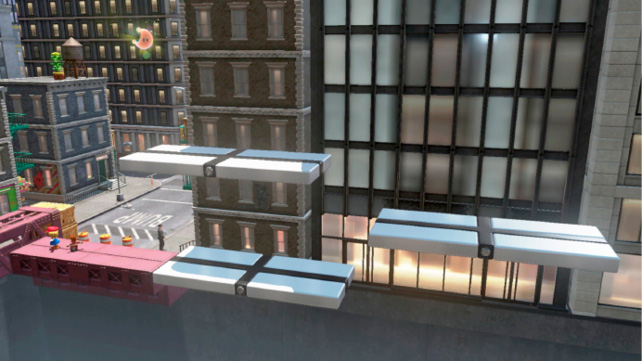
The three white and black panels seesaw under Mario’s weight, tipping downwards the longer he spends on either end. To reach the Power Moon floating above the third platform, Mario must use his weight to angle the platforms so that he can leap from their raised end to the next higher platform. A quick way to reach the Power Moon is to run across the first platform, leap from the upward end and tackle jump to the far end of the second platform. Run to the right, to ensure it tips upward to the left, then run left and leap for the third platform. Immediately ground pound the right-hand end of the third platform to ensure the angle is steep enough for Mario to reach the Power Moon.
 Metro Kingdom Timer Challenge 2
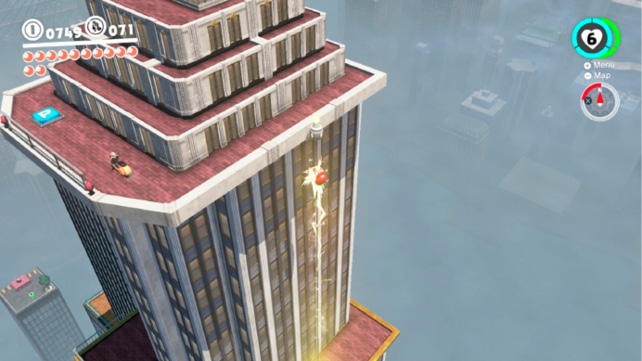
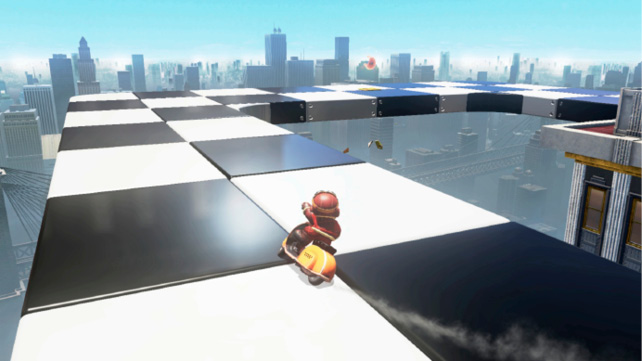
Ride the Spark Pylons to the very top of New Donk City Hall and hop aboard the Scooter (it’s best to not wonder how it got up here). Drive over the P-Switch to make a checkerboard platform appear. Drive a clockwise lap around the platform, aiming for the key up ahead. Accelerate through the key and around the turn to get the unlocked Power Moon before it disappears. If you fall off, just warp to New Donk City Hall Rooftop, drop a level on the east side of the building, and take the Spark Pylon there all the way to the top.
 How You Doin’, Captain Toad?
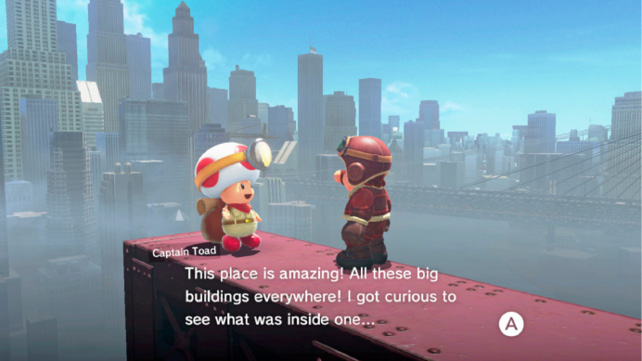
Captain Toad is hanging out on a metal beam extending far to the north behind New Donk City Hall. Walk around the building and tiptoe out onto the beam to greet him. Ever-cheery Captain Toad found a Power Moon inside one of the buildings and wants Mario to have it. Isn’t he the best?
 Free Parking: Rooftop Hop
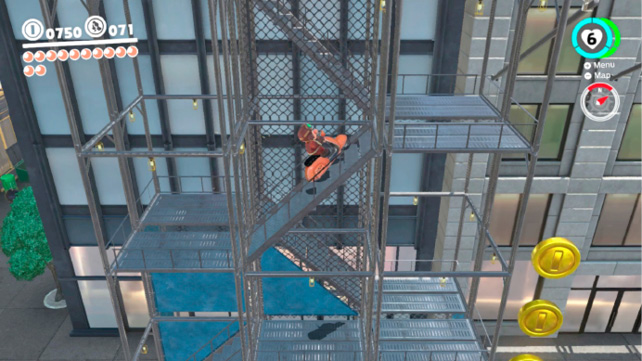
Hop aboard a Scooter and ride it to the northeast corner of the city. Slowly and carefully drive it up the switchbacking stairs near the blue fence (in front of the building east of New Donk City Hall). Tap the throttle ever so lightly as you make the turns to avoid falling off the stairs. Leap with the Scooter up the ledges to the rooftop where a man stands near a parking meter and a small ramp. Drive the Scooter up onto the ramp (the tires lock into place when successful). But instead of paying the meter, the man gives Mario a Power Moon.
 Bench Friends
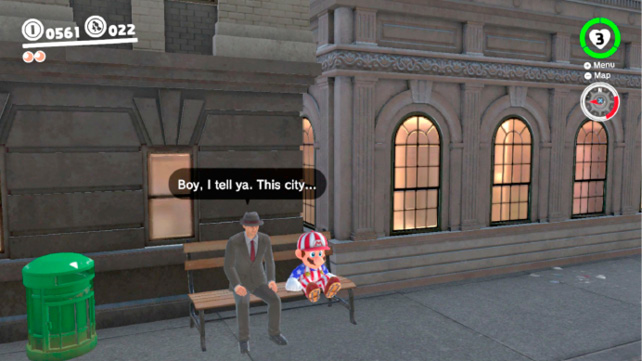
There’s a man sitting on a bench around the corner from the Crazy Cap store and he could really use some company. Take a seat on the bench next to him—it won’t take long, just a momentary gesture to show you care. Travelers are often the recipients of random acts of kindness. Take this opportunity to pass it forward.
 Shopping in New Donk City
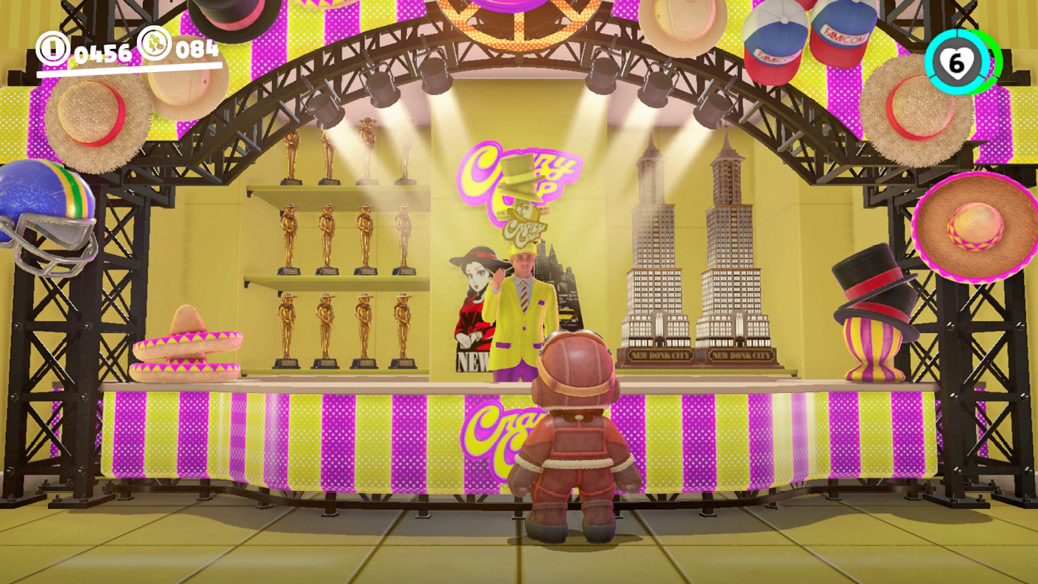
Enter the Crazy Cap store and proceed to the counter in the yellow portion of the shop. Purchase the Metro Kingdom Power Moon for 100 coins to add another Power Moon to your collection.
 Metro Kingdom Slots
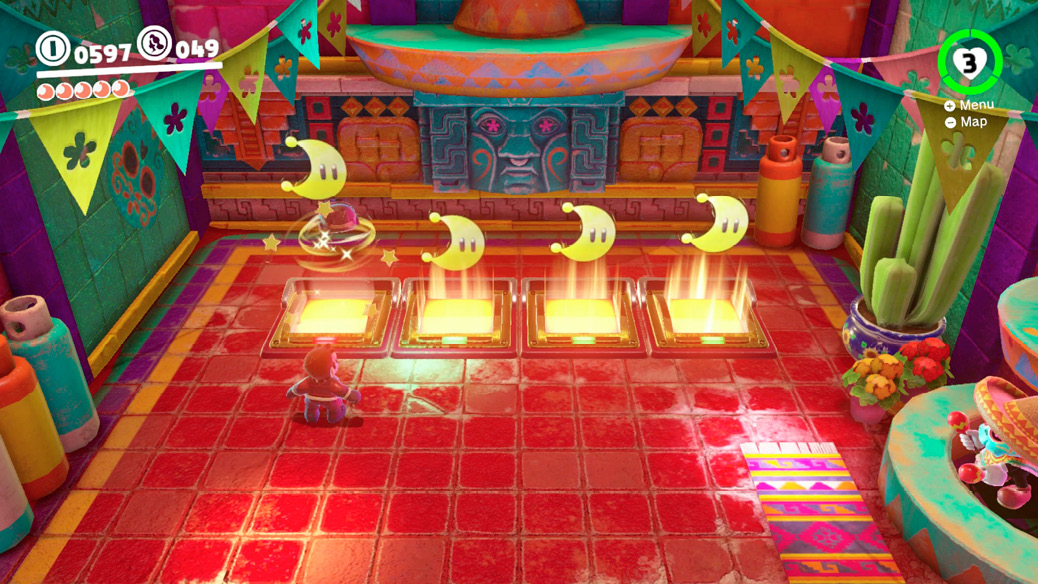
The Slots at Metro Kingdom play just as the ones at Sand Kingdom—there’s even a friendly Tostarenan serving as host! The one difference is that there are four rotating icons instead of just three. Once again, stand directly in front of each icon, wait for the heart to appear, then toss Cappy from two tiles away to hit the Power Moon that appears next in the rotation. Do this for all four to win the game.
 Jump-Rope Hero
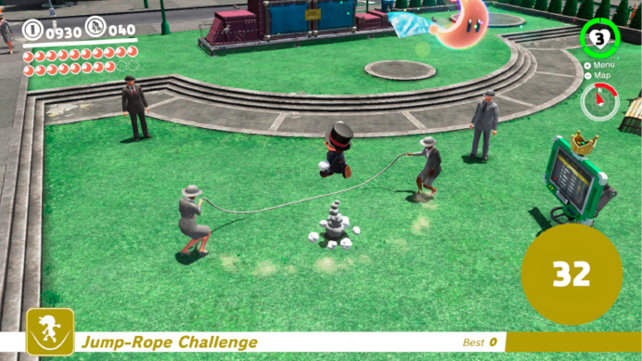
The two ladies in the plaza near Talkatoo are just waiting for someone to jump in and join them in a game of jump rope. Stand back and wait for them to get the rope swinging then jump in and start hopping over the rope as it swings past. This isn’t quite as easy as it sounds, since the speed of the rope increases after every five jumps. Consider rotating the camera so that it’s on an angle (or aligned with the rope) so you can best see it pass over. Lightly jump as the rope begins its downward trajectory. Clear the rope 30 times without a miss to earn a Power Moon.
 Jump-Rope Genius
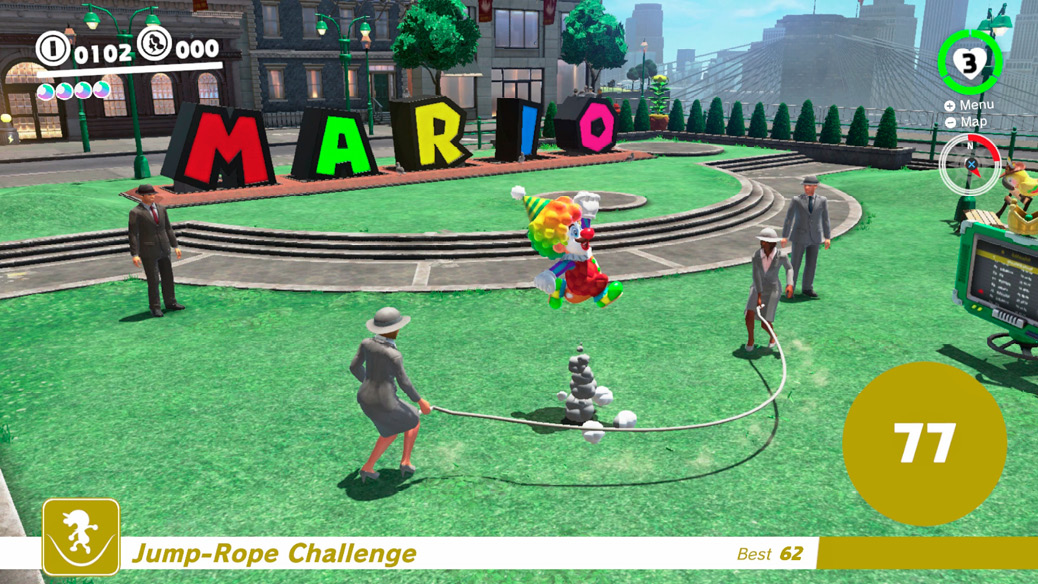
If you’re looking for a challenge, then you’ve come to the right spot. This is arguably the most difficult Power Moon to earn in the entire game. The task is clear: jump the rope 100 times without a miss. The speed of the rope increases every five jumps, but only until 50. Once you’ve cleared the rope 50 times, the speed is set. Continue tapping in that same rhythm—not too hard—to keep pace with the ladies swinging the rope. It can be very tough to not inadvertently jump too high so be sure to tap lightly and avoid moving Mario around.
 RC Car Pro!
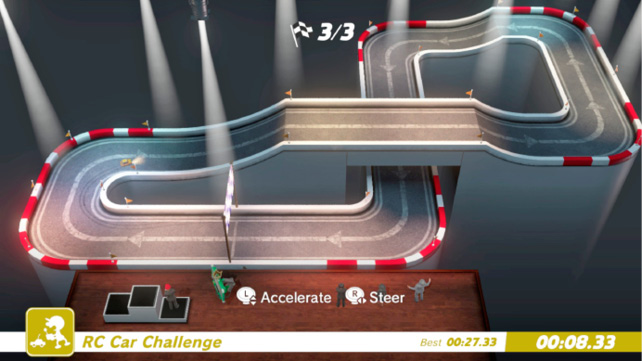
Steer the RC Car through the outdoor course to find Power Moon #31 to gain access to the interior raceway. Capture the New Donker on the podium to take control of his car in an attempt to earn a Power Moon. To do so, you need to complete a three-lap time trial in under 30 seconds.
The key to getting a fast time is to hold the Left Stick in the up position the entire race, from start to finish. Steer smoothly with the Right Stick, especially while going around the first hairpin turn leading into the bridge. Herky-jerky steering going into the bridge will cost speed and the car won’t make it up the ramp. If this happens, back up and try again from before the hill.
The other critical aspect of this event is driving a clean line. Swing the car through turns without hitting the walls to maintain maximum speed. Similarly, aim for the inside corner as you enter the turn and swing wide on the exit. Continue practicing until you get the hang of it. With a touch of practice, you should be able to get your lap times below nine seconds each. Sub-eight second lap times aren’t impossible!
 Taking Notes: In the Private Room
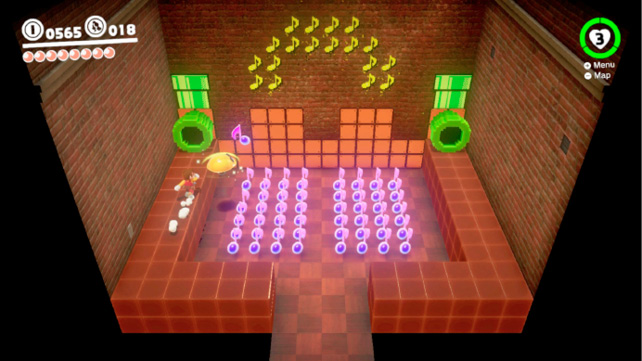
Enter the building on the west side of Main Street, a block south of New Donk City Hall, to find a treble clef in a small room with two 8-bit warp pipes. The first set of notes appears inside the 8-bit wall. Enter a warp pipe and gather up the notes as quickly as you can to trigger phase two. Exit the pipe on the other side and circle the room to gather the notes that appear atop the perimeter ledge. This activates the third phase of the challenge. Use Cappy to help collect the notes in the center of the room then return to the warp pipe to gather the final batch.
 Celebrating in the Streets!
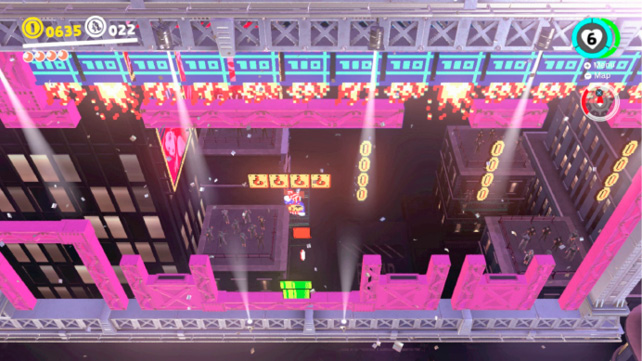
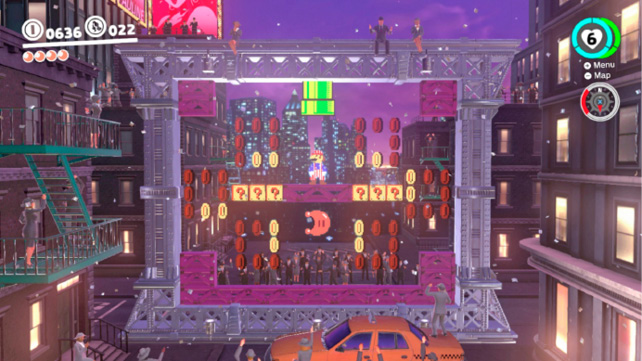
Return to the New Donk City Hall Auditorium and speak with the man to the left of the stage—he’ll let you experience the joy of the festival anytime you want! Make your way through the 8-bit level to the sequence in which Mario is upside-down. Dodge the barrels falling upwards and leap to the top (bottom?) of the ? Blocks. Reveal the invisible block above (below?) the ? Blocks and leap onto it. Then leap into the warp pipe. This drops Mario into a separate area, filled with coins, ? Blocks, and a Power Moon. Return the way you came.
 Pushing Through the Crowd
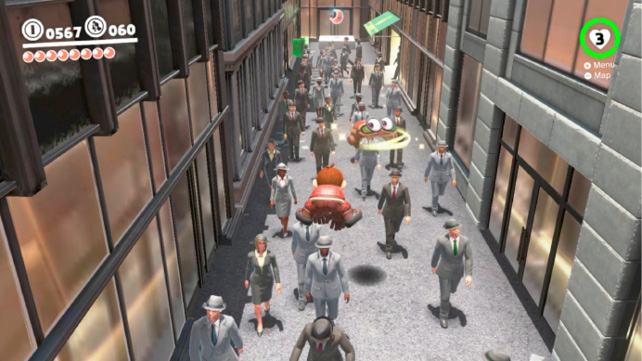
Enter the building in the northwest corner of the city, near the Outdoor Café warp flag. Here, you arrive in a crowded alley filled with hundreds of pedestrians. Use Cappy to pull the lever on the wall to reveal a Power Moon on the far side. Quickly run, jump, and bounce your way through the crowd. Don’t worry about being rude, just bounce off their heads and crowd-surf your way to the far end of the alley before the timer expires.
 High Over the Crowd
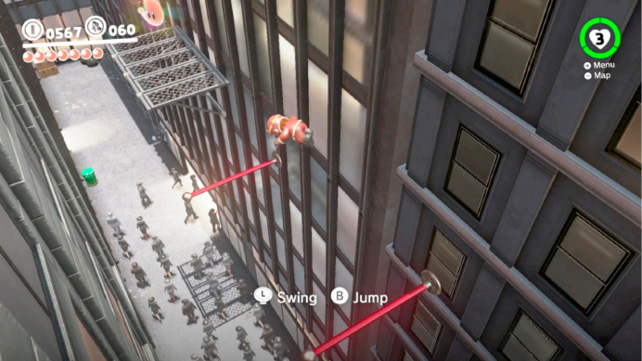
Follow the instructions for Power Moon #37, but don’t bother with pulling the lever. Make your way through the crowd to the green awning nearest the warp pipe in the distance and bounce from the awning to the metal platform high above the crowd. Leap from the second awning to the red poles and swing and jump your way to the Power Moon in the distance.
 Rewiring the Neighborhood
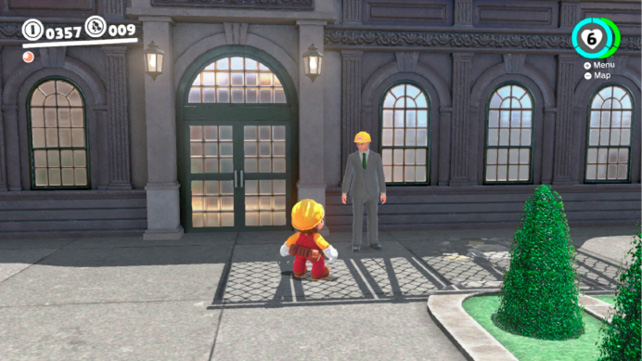
Head to Crazy Cap and purchase the Builder Outfit. Wear it across town and show it to the man standing outside the building west of New Donk City Hall. He has a hardhat on and won’t let anyone inside who isn’t wearing a Builder Outfit.
Once inside, Mario must navigate a series of electrical wires connected by Spark Pylons, all while dodging a gauntlet of Fuzzies and Burrbos. Make your way to the first platform then take the wire on the left to reach a dumpster containing 50 coins. Cross to the taller building with the water tank in the distance and ride the Spark Pylon up and over the building (see Power Moon #40) to the far side.
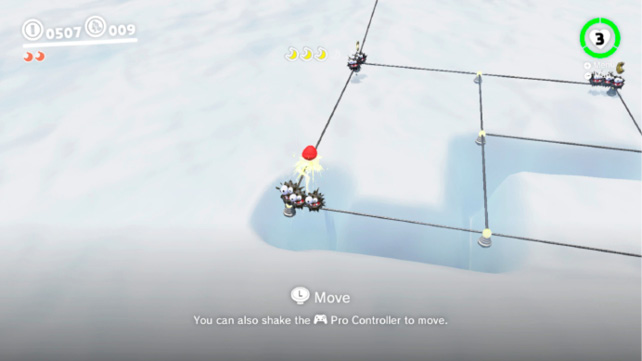
Now you must navigate the maze of electrical lines to pick up five Moon Shards, all while dodging a number of Fuzzies. Fortunately, Mario automatically comes to a rest at each intersection if you allow it. Be patient and move between the Fuzzies to collect the Moon Shards.
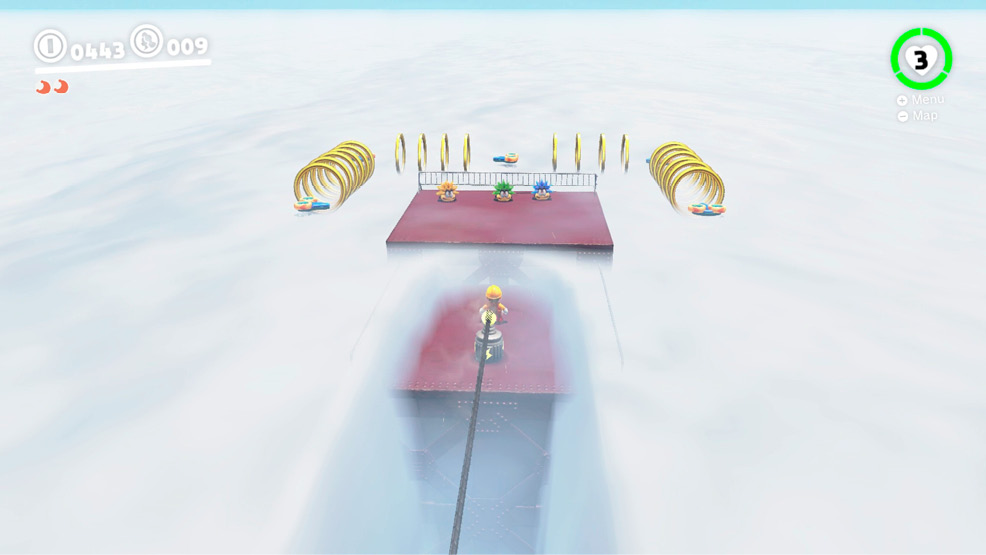
The trickiest one to get is in the left corner, as there is no intersection along the left-hand edge. Wait until the Fuzzies coming from the right are just about to touch Mario before heading toward the Moon Shard—this ensures Mario doesn’t catch up to the Fuzzies patrolling in front of him. Fuzzies never enter the center of the maze so use the central Spark Pylon to wait for the Fuzzies to pass.
 Off the Beaten Wire
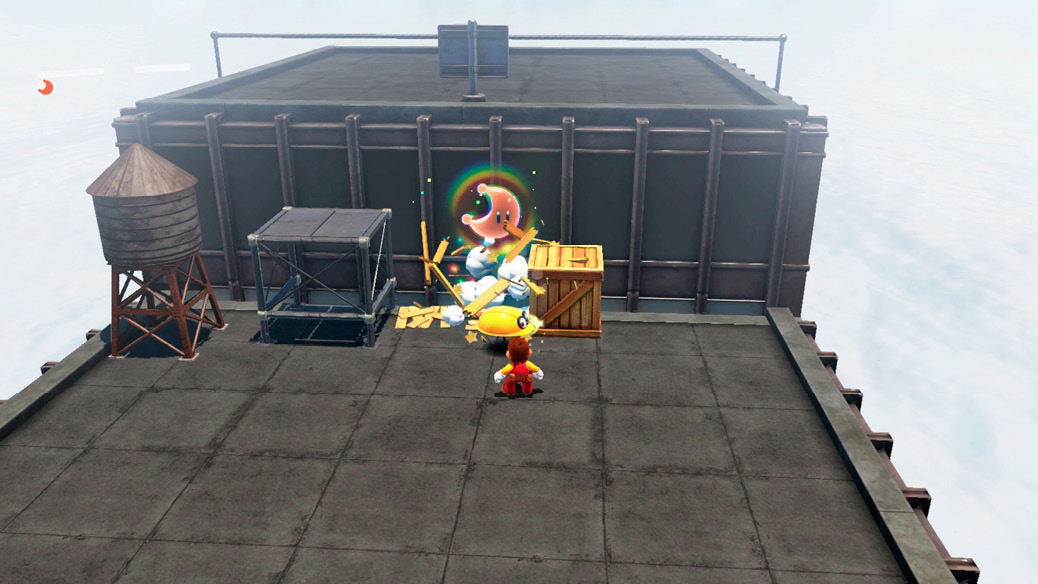
Follow instructions for Power Moon #39 until you reach the Spark Pylon that leads up and over the high-rise building. Release the capture atop the roof and drop to the lower roof beside it. Smash open the middle crates to reveal a hidden Power Moon.
 Moon Shards Under Siege
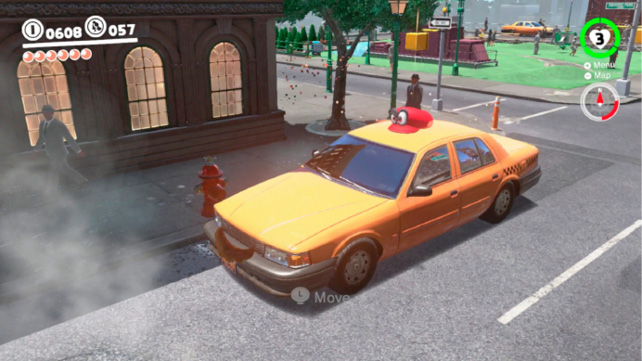
Capture the lone Taxi that has a button on its top. It’s parked on Main Street just north of the plaza. Mario can’t necessarily drive the Taxi, but attempting to makes the Taxi drive Mario to a special part of the city where Sherms do battle over Moon Shards.
Immediately capture the nearest Sherm and set to blowing up the scrap metal cubes and burned-out taxis in the way. And yes, shoot the other Sherms too. Destroy the scrap metal cube beneath the girder to create a bridge to the first Moon Shard.
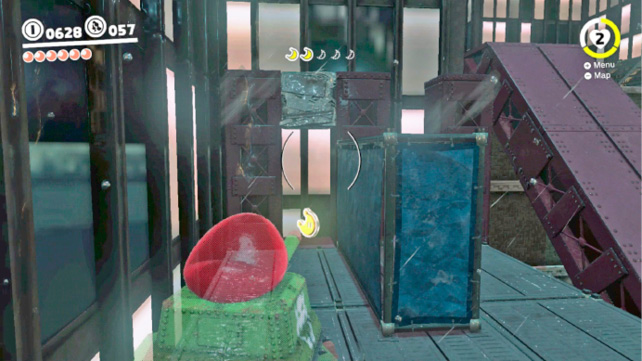
Drop off the girder and shoot the taxis cluttering up the street. The one in the back right-hand corner was parked atop a Moon Shard. Shoot the taxi to reveal it.
Pilot the Sherm up the stairs and shoot the scrap metal cube to the right of the next set of stairs. This drops a girder, creating a ramp. Destroy the Sherm atop the blue wall and locate the Moon Shard to the left of it, under the scrap metal cube. Take a moment to reveal the invisible blocks leading to the rooftop directly behind this third Moon Shard.
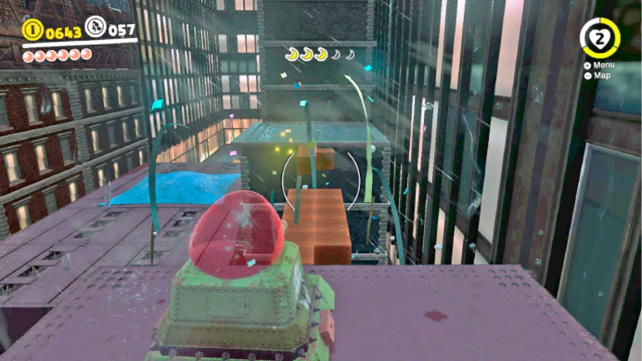
Ascend the ramp to the upper level of the area and fight your way across the narrow bridge, past the three Sherms defending the path. Blow up the scrap metal cube on the left to drop another, narrower, girder in place and drive across. The fourth Moon Shard is behind the scrap metal cubes up ahead.
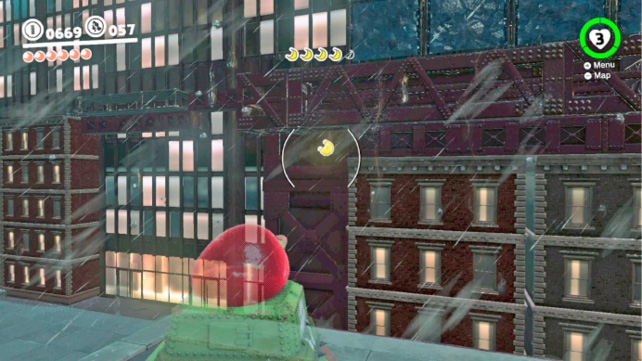
The fifth Moon Shard is floating above the ground, under the girders that you just crossed to find the fourth Moon Shard. Return the way you came and cross the previously-invisible blocks to the rooftop in the corner. Look across to the fifth Moon Shard.
 Sharpshooting Under Siege
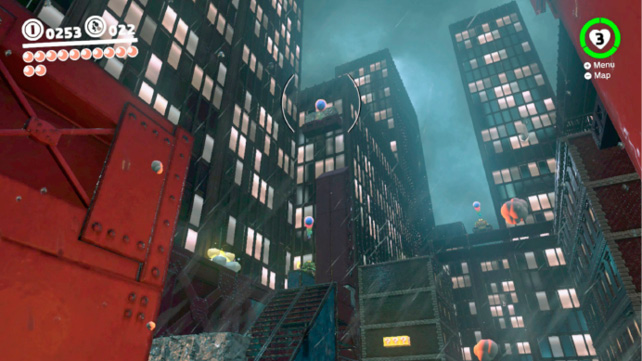
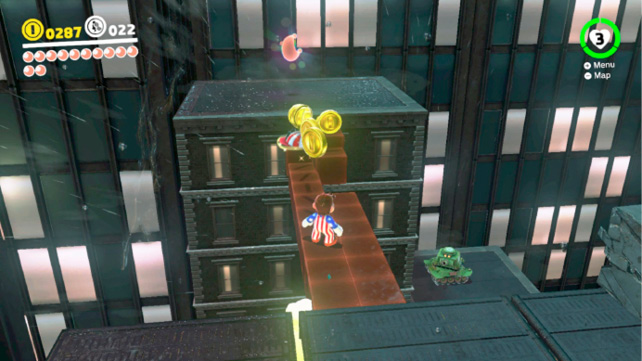
Follow the instructions for entering the Sherm shooting range at Power Moon #41 and capture a Sherm. Continue through the course, clearing out Sherms along your path until you reach the long blue staircase. It’s hard to see through the driving rain, but there’s a small metal ledge high above the stairs (and above the Sherm atop the blue wall). There is a scrap metal cube above that metal ledge that is glowing. You know what that means! Blast it with a Sherm to uncover a Power Moon. To get it, drive a Sherm along the path to where the fourth Moon Shard was, release the capture, and toss Cappy across the gap to uncover a path of invisible blocks.
 Inside the Rotating Maze
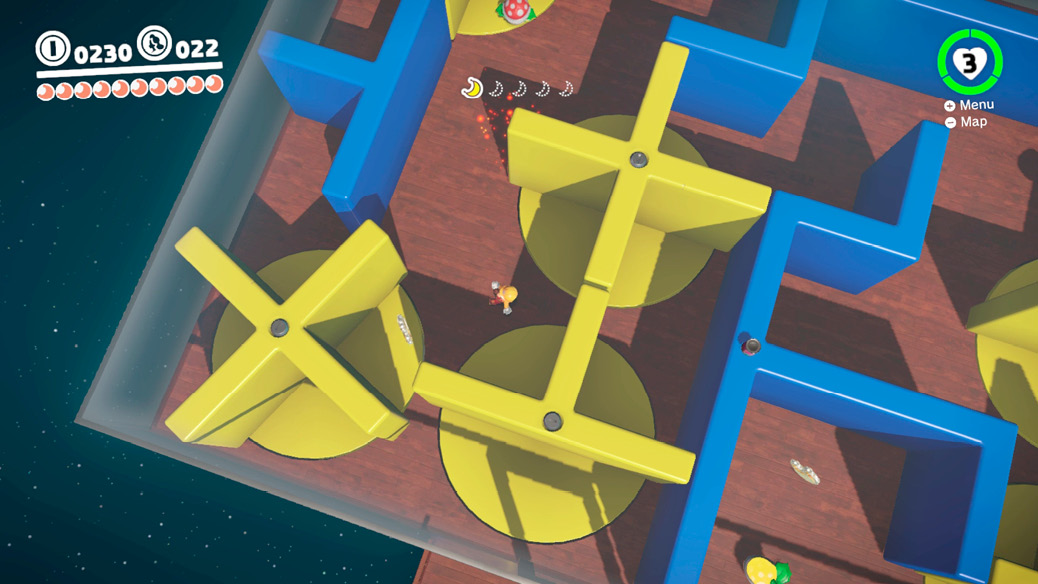
Capture the Manhole Cover near the construction site nearest Crazy Cap and drop down the hole to enter the rotating maze challenge room. There are five Moon Shards scattered throughout the rotating maze, along with Fire Breathing Piranha Plants. The maze is quite simple to solve and thanks to the top-down view, the Moon Shards are all visible. Just use Cappy to rotate the yellow pieces of the maze—the blue walls are immovable.
The one tricky Moon Shard to get is the one in the lower left corner, which actually rests on the yellow platform. Mario has to stand on the wood floor and throw Cappy from afar in order to rotate the Moon Shard to him instead of the other way around. Dispatch the Piranha Plants by kicking them aside while they chew on Cappy. Don’t worry, he’ll come right back. There’s a Heart in the lower right-hand corner if you need it.
 Outside the Rotating Maze
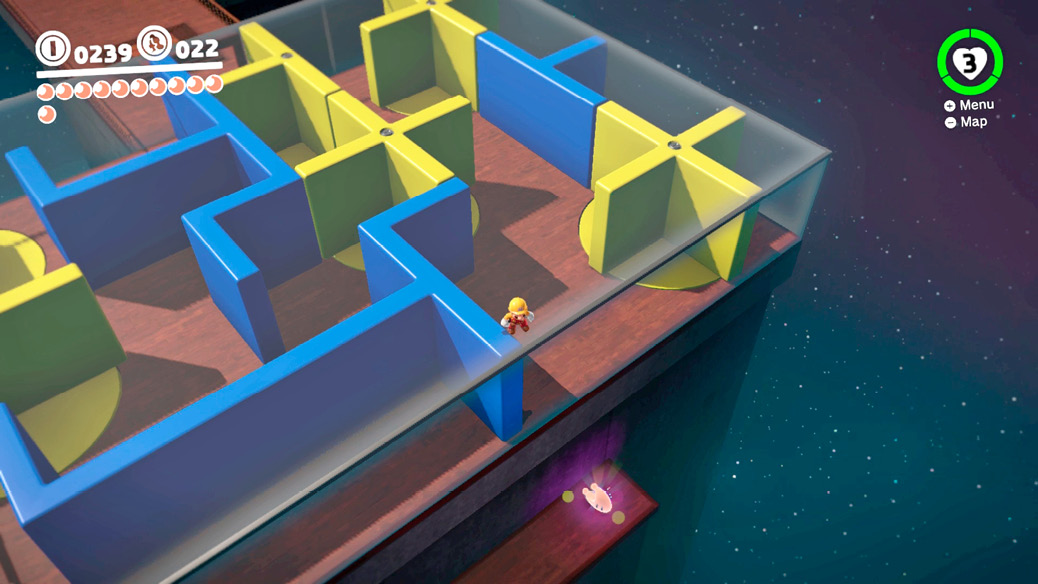
You may have noticed the canned vegetables atop the roof of the rotating maze while getting Power Moon #43. That’s your cue that there is a ceiling to the maze. Exit the maze after collecting the Moon Shards and ground pound jump onto the glass roof. Cross above the maze and drop onto the ledge below, where a hidden Power Moon is. Use the hat trampoline to return the way you came.
 Hanging from a High-Rise
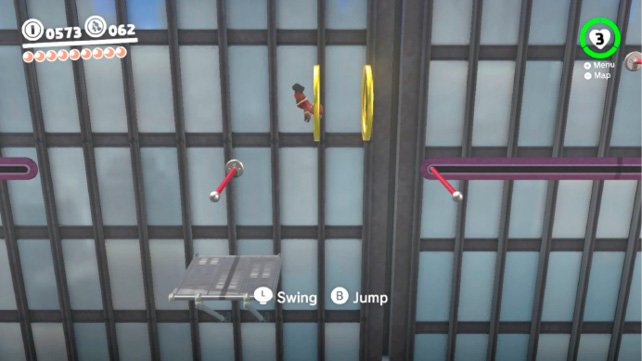
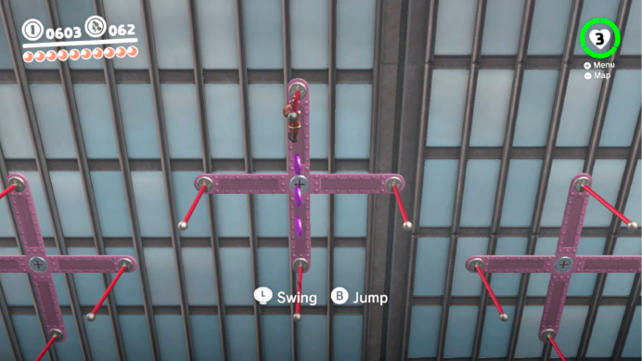
Make your way through the alley at Power Moon #37 and enter the warp pipe to reach the lone building in the northwest corner of Metro Kingdom. Capture the Rocket for a ride to this challenge level that wraps around a skyscraper.
Here, Mario must swing and jump across a series of moving red bars. Patience is key, as it’s important to make sure the bars have slid into position before jumping for them. Also, remember that Mario can jump backwards off a bar; he doesn’t have to be facing the correct direction. Leap for the man encouraging Mario and round the corner to the back half of the challenge. Here’s where things get tricky.
Grab hold of a bar on the rotating contraptions and wait for it to spin into the right-hand position and leap. To get the purple coins from the second one, ride the bar to the upper position, then release the grip so Mario falls straight through the coins to the other bar. Dismount the final rotating set of bars from its upper position.
 Vaulting Up a High-Rise
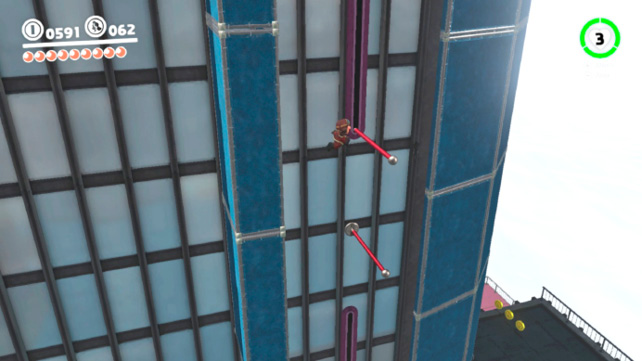
Follow the instructions for Power Moon #45 and make your way across the first sequence of poles, but don’t leap to solid ground when you see the New Donker calling out, “What an athlete!” Instead, stay on the pole and ride it up, then wall jump to the blue wall on the left and upward to the next red pole. Continue wall jumping from one pole to the next to scale the side of the high-rise. The Power Moon is on a ledge high above.
 Bullet Billding
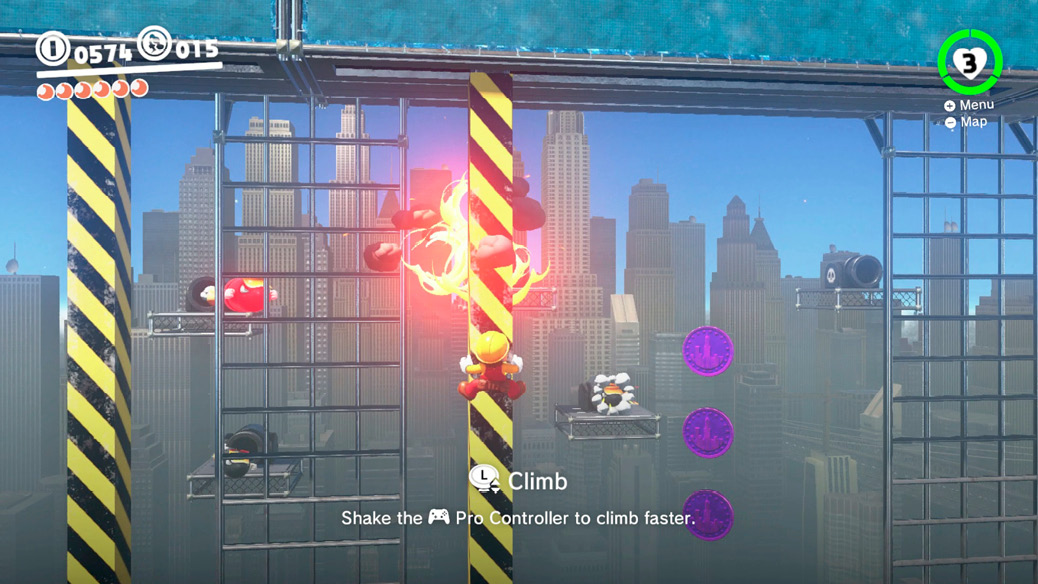
Enter the open doors in the alley north of the plaza where you met the guitarist and grab hold of the yellow and black striped post. Climb up from either side into a handstand and wait for the post to slide in the direction Mario is facing to flip forward onto the next post. Climb up to the girders and avoid the Bullet Bills while making your way to the next sequence of striped posts. Keep Mario on the side of the beam opposite the Bullet Bills for safety and collect the coins. Scamper around the right side of the beam and leap to the next one as they draw close. Grab the Regional Coins and continue in this manner to the third beam and then onward to the Power Moon.
 One Man’s Trash…
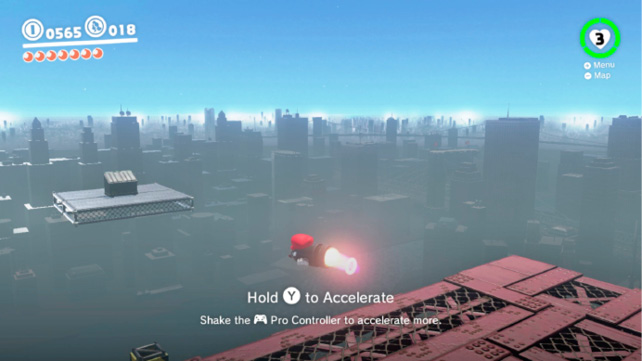
Follow the instructions for Power Moon #47 until you reach the area with the Bullet Bills. Capture one of them and fly it in the direction you started. There’s a platform floating high above the starting point that can only be reached with a Bullet Bill. Steer the Bullet Bill right into the dumpster atop the platform to find a hidden Power Moon.
 Motor Scooter: Escape!
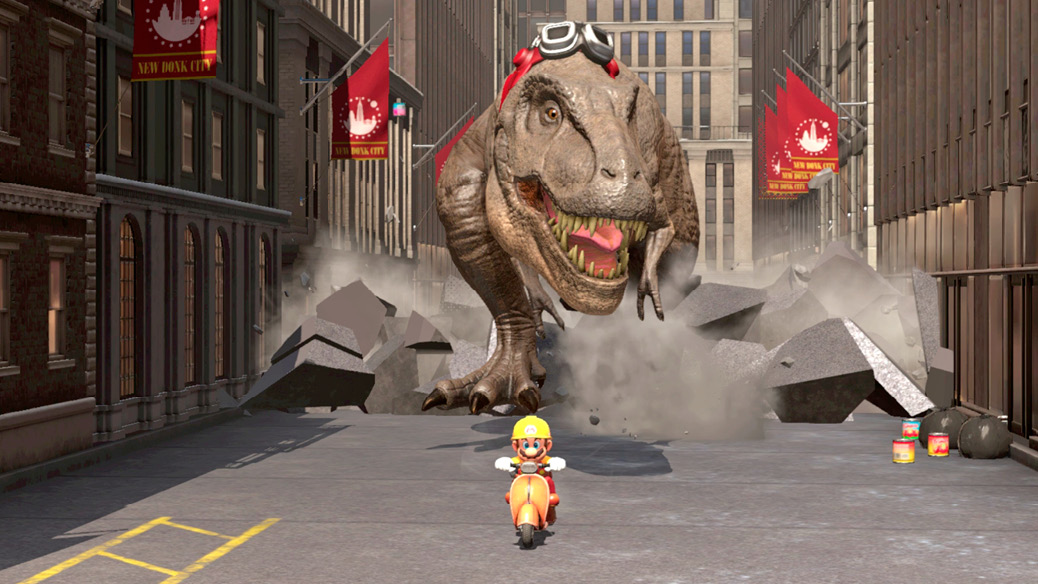
Enter the triangular building to the southwest of New Donk City Hall via the open door on the north. Hop aboard the Scooter awaiting Mario in the alley and give the throttle a hefty twist! Follow the yellow painted lines on the street to line up with the rings and coins (and Regional Coins) as you race to escape a rampaging T-Rex. Leap over the wooden crates blocking your path to avoid being slowed down, but also make sure to swerve whenever the T-Rex is directly behind Mario—the T-Rex bites Mario whenever he stays directly in front of it for too long. Continue outmaneuvering the T-Rex while jumping over the crates (or riding on top of them) as you make your way to the end of the alley. Pick either left or right side at the end, cruise atop the crates, and take a leap of faith. Collect the Power Moon on the lower level before exiting the area.
 Big Jump: Escape!
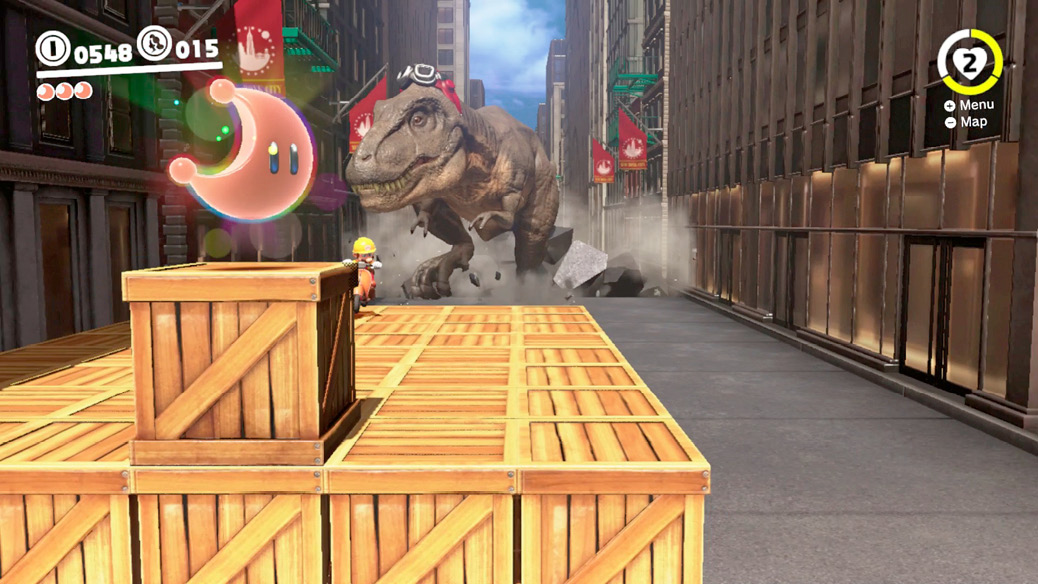
While outpacing the T-Rex for Power Moon #49, swerve back to the left side of the screen when the really wide yellow markings appear on the ground. Leap onto the wooden crates and quickly align yourself with the third row of crates from the right. A double-stacked crate quickly appears. Leap onto it to pluck a Power Moon out of the air before the T-Rex destroys your chances at getting it.
 Secret Path to New Donk City!
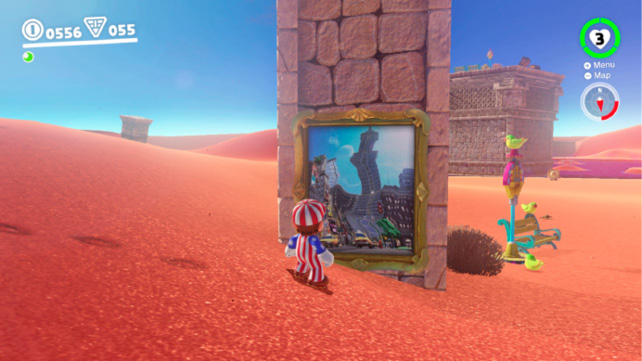
You likely spotted a warp painting on a pillar during your travels in Sand Kingdom. But if you hadn’t gone through it to get the Power Moon atop the Isolated Rooftop, then this is how. Warp to Jaxi Ruins and leap down to safety, beyond the poison. Head to the pillar near the Jaxi Stand northwest of the ruins and look for the painting on the north side. Go through the painting to access an otherwise unreachable Power Moon in Metro Kingdom.
 A Tourist in the Metro Kingdom!
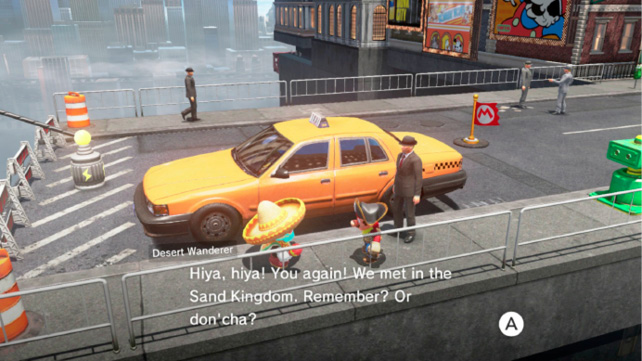
This Power Moon is linked to a multi-kingdom quest that begins back in Sand Kingdom and travels to numerous destinations. After defeating Bowser, return to Sand Kingdom and speak with the Tostarenan near the taxi by Tostarena Town. The taxi driver is going to take the Tostarenan to Metro Kingdom as the first stop on his tour. Sail to Metro Kingdom on the Odyssey and, if you hadn’t already done so, complete all of the objectives available (if you’ve experienced the festival, then you’ve done so). Warp to Main Street Entrance to find the Tostarenan and his taxi parked nearby. Speak with the Tostarenan to get this Power Moon.
 Found with Metro Kingdom Art
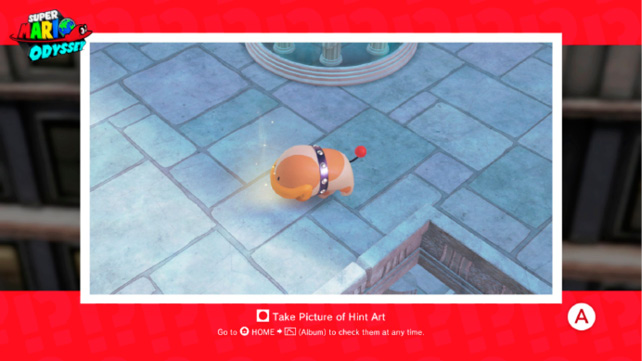
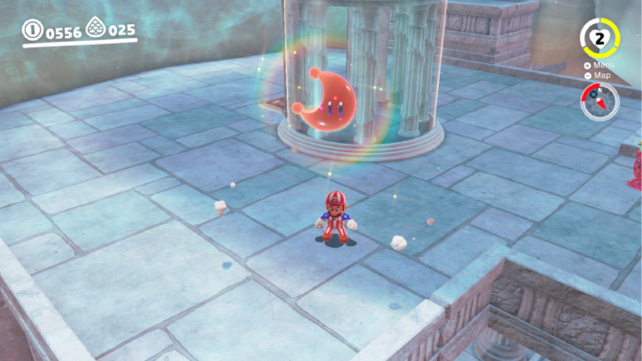
The hint art in Metro Kingdom is located on the side of the triangular building across from New Donk City Hall, nearest the Outdoor Café. It’s near the top so drop from the roof onto the ledge to reach it. It can be tough to figure out the region it’s referring to, but the art is actually from on the third floor of Water Plaza in Lake Kingdom, near the water-filled shaft that leads to the roof. Face the water shaft to the left of the Lochlady and ground pound the very same stone tile that Poochy is looking at in the photo.
 Bird Traveling in the City
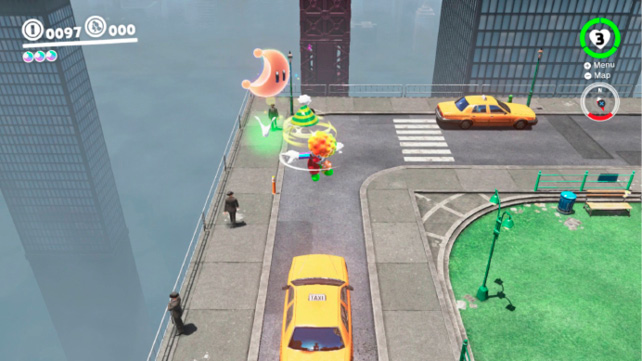
There are two birds flying around the city that, when hit with Cappy, yield a Power Moon. The one responsible for this Power Moon circles the eastern portion of the city, usually flying laps around the plaza but it sometimes heads farther north. Buy hints from Hint Toad and refer to the marker on the in-game map to see where the bird is currently located—the “x” on the map moves with the bird’s position.
The bird often flies at different altitudes, which can make it difficult to hit. Sometimes it flies directly over the Roving Racers atop the nearby roof, but you may need to wait a while for it to head that way. Instead, watch for it to circle the plaza near Talkatoo and stand in the road on the eastern side. The next taxi to pass will stop so as to not run Mario over. Bounce off the taxi and toss Cappy at the bird when it passes by.
 Mario Signs His Name
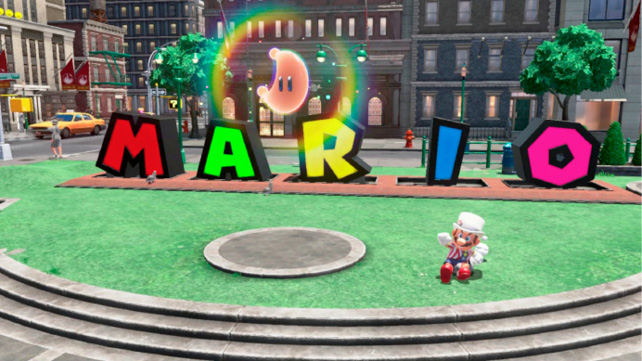
A number of brightly-colored letters have been delivered to the plaza park after Mario defeated Bowser. Capture these letters one at a time and move them into the plinths to spell out Mario’s name—the statue is a token of Mayor Pauline’s appreciation. The sign automatically lights up so the colored sides face the Odyssey.
 Surprise Clown!
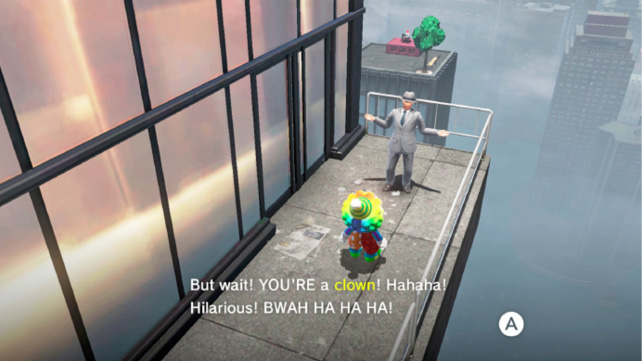
There’s a man standing in the very northwest corner of New Donk City that can use a good laugh. He wants to see someone in a clown outfit. The Clown Hat and Clown Suit are sold at the Crazy Cap in Luncheon Kingdom. Return to Metro Kingdom wearing that outfit and give the man the laugh he craves in exchange for a Power Moon.
 A Request from the Mayor
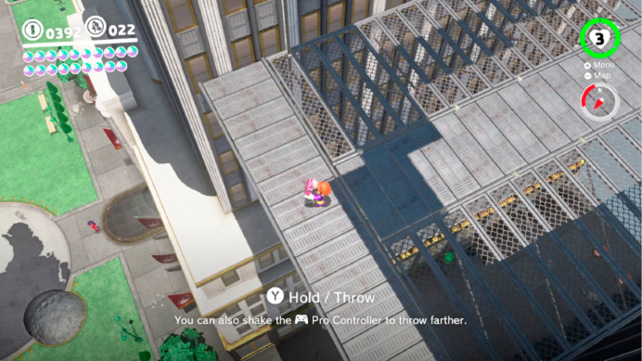
Mayor Pauline has lost her handbag, but you needn’t go far to find it. It’s on the metal platform high above the city, to the east of New Donk City Hall. Warp to the Heliport and drop off the side to the west to find it. Return the bag to Mayor Pauline outside city hall, but that’s not all!

She wants to know if you’d like to learn more about her in the form of a quiz. Though you’re not likely to know all the answers to the questions, guessing is perfectly acceptable. Just continue answering questions until you get four right in a row. Here are some of the correct answers to questions you may be asked.
- What do I plan to eat for dinner tonight? Fried mushrooms.
- What do I just adore? Cake.
- What is my most treasured possession? A hat.
- What do you think my hobby is? Going on walks.
- What am I bad with? Fixing machines.
- Which of these things did I actually do a long time ago? Captured by ape.
Mayor Pauline’s story about losing her purse when captured by the ape (Donkey Kong) segues nicely into Mario handing her the item he found. Mayor Pauline appreciates the gesture and rewards Mario with a Power Moon.
 Jammin’ in the Metro Kingdom
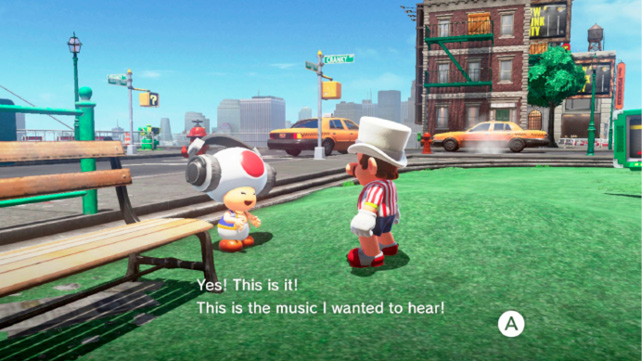
Speak with Toad near Talkatoo to see what song he’d like you to play for him. His hint this time is “Revving a tiny engine!” If you’ve spent any time racing the RC Car around the indoor track, then you’ll no doubt have the song “RC Car” in your music list (entry #80). Select that song to earn a Power Moon from Toad.
 Sphynx in the City
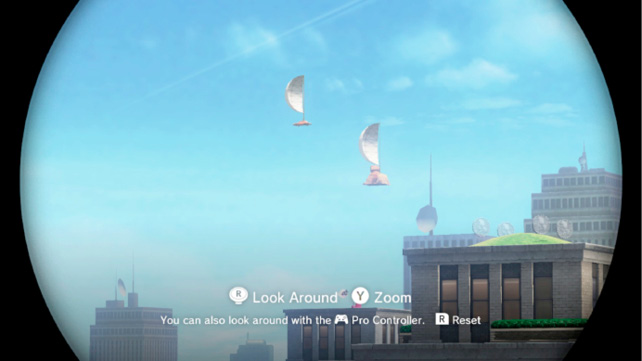
Capture the Binoculars and scan the skies for the Sphynx floating high above the city. You’ll see plenty of taxis floating overhead, especially to the northeast, so look to the northwest if you don’t spot the Sphynx right away. You might even spot the Sphynx directly above a close friend of Mario’s.
 Free Parking: Leap of Faith
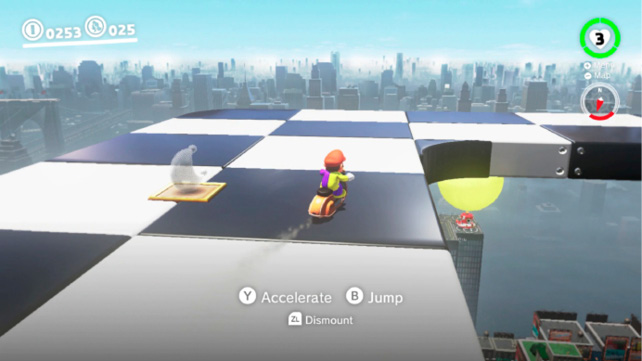
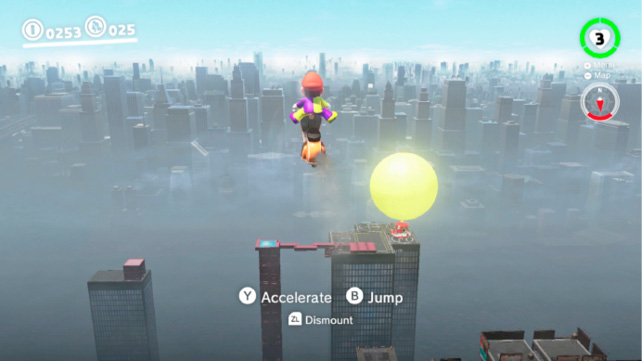
A second rooftop scooter parking service has opened up and this time, the route to it isn’t quite as obvious. The parking service is offered on the rooftop just north of the plaza—too high to reach by bouncing off a taxi and with no staircases or ramps anywhere nearby. To reach it, you’re going to have to go big!
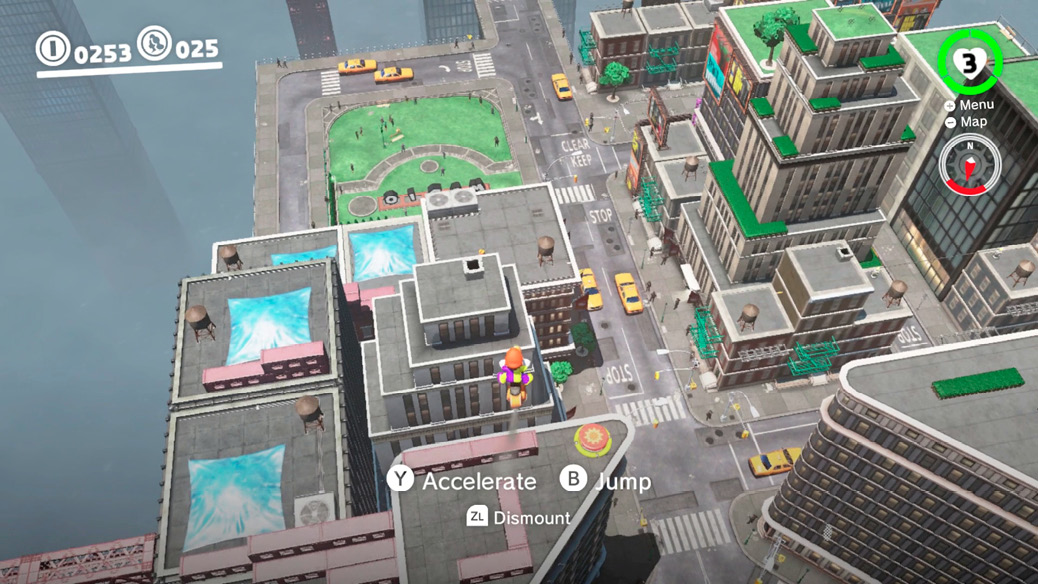
Warp to Heliport and ride the Spark Pylon to the top of New Donk City Hall where you find a Scooter and P-Switch. Drive the Scooter across the P-Switch to activate the checkerboard platform and race in a clockwise lap around the top of city hall until you’re pointed south, toward the Odyssey. Race toward the edge of the path and leap from the edge. Aim for the rooftop just north of the big red button and bounce off it and onto the roof where the parking station is (the one with the two air conditioners). Don’t act surprised when the man says Mario is the first to park his Scooter here.
 Metro Kingdom Regular Cup
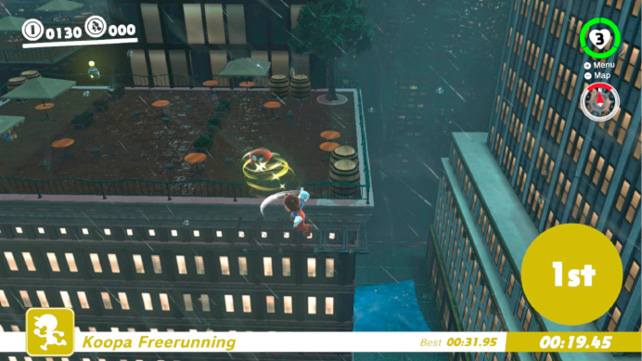
The Roving Racers are staging their race on the rooftop of the eastern edge of the city, overlooking the plaza. The race takes place in the rain and runs northwest across the city, to the rooftop swimming pool high above the Outdoor Café, west of New Donk City Hall. There are a number of Volbonans stuck into the side of the high-rise from which Mario and the Koopas can flick themselves.
As with previous races, there are a number of ways to reach the finish, some faster—and more difficult—than others. For the Regular Cup, jump onto the second girder and head left toward the big red button. Ground pound the button, dive jump across the gap in the checkerboard path and roll toward the Pole on the corner of the next building. Flick Mario across the street to the rooftop café (aim for the metal balcony and dive jump to clear the gap) then bounce from the umbrella up to the Volbonans. Outpace the blue Koopa to the finish. Refer to the Power Moon #74 entry for an even faster route!
 Hat-and-Seek: In the City
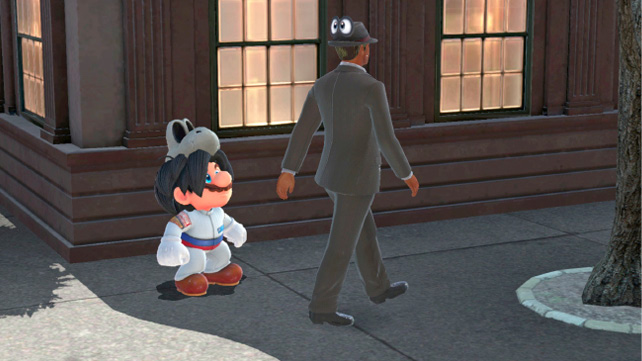
Fancy yourself a perceptive traveler? If so, then this is the Power Moon challenge for you. There’s a Bonneter in Metro Kingdom, riding aboard the head of one of the New Donkers. You’re going to have to search the sidewalk strollers along Main Street for a man in a suit wearing a hat… with a pair of giant Bonneter eyes on the back! Speak to the Bonneter to get the Power Moon.
 Powering Up the Power Plant
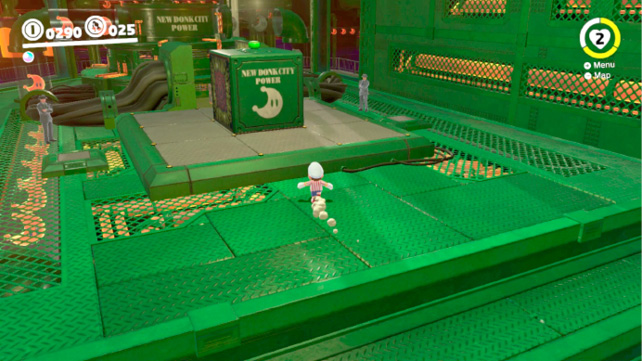
Capture the Manhole near the Outdoor Café and return to the Underground Power Plant. Make your way past the Poison Piranha Plants and Urban Stingby bugs as you did when first powering up the city before the festival. Enter the warp pipe at the rear of the area to encounter a puzzle involving a large power plug. To power up the plant, you need to complete the circuit by fitting that cube into the slot behind it. Like the similar puzzle in Lake Kingdom, the plug can only fit one way. Fortunately, there is a clear
solution to this puzzle. Rotate the plug in the following order: Down, Left, Up, Right, Right, Up, Left, and Up.
 Up on the Big Screen
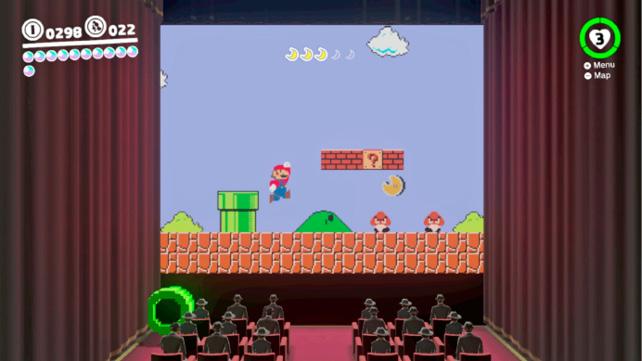
Go through the doors on the east side of the building that Peach and Tiara are on to enter a theater with the original Super Mario Bros. playing on the big screen. Actually, you’re going to be playing on the big screen! Enter the warp pipe on the left to return to 1986 and relive World 1-1 of one of the most classic of all classic games. Most of what you (might) remember is the same as it always was, with just a few small exceptions. Namely, there are five Moon Shards in the area. Don’t worry, they’re hidden in plain sight and easy to find. Just avoid the Goombas, kick that Koopa Shell out of your way, and grab as many coins as you can while picking up those five Moon Shards. You won’t find any 1-Up Mushrooms or Fire Flowers, but it’s a small price to pay to have a live audience cheering your every move!
 Down Inside the Big Screen
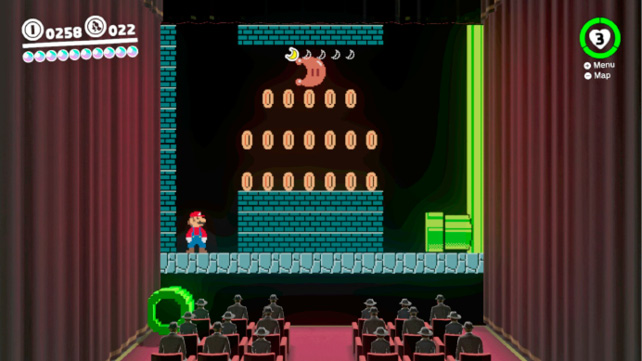
Follow the instructions for accessing Power Moon #64 and enter the fourth warp pipe you encounter in the game—the one after the pair of Goombas. Just like in the original, this particular warp pipe leads to a bonus room filled with coins. Only now, there’s also a Power Moon tucked inside too. Dash and jump to reach it!
 Peach in the Metro Kingdom
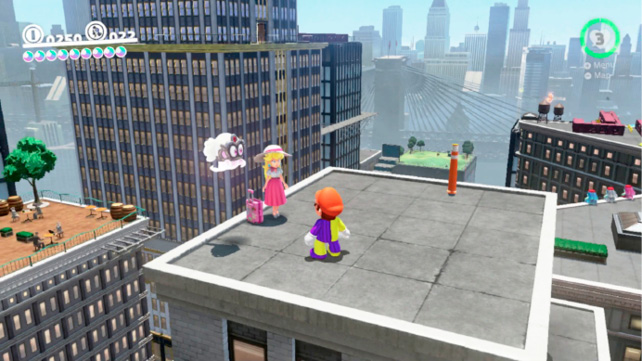
Ride the electrical line north from the Rooftop Garden to the taller building behind the Slots. Use the Pole to flick and ground pound your way to the roof to find Peach and Tiara. Chat with Peach to get the Power Moon she found in New Donk City.
Moons From the Moon Rock
 Hanging Between Buildings
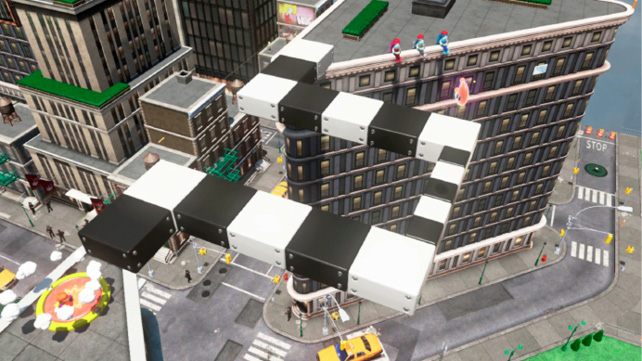
Ride the Spark Pylon to the rooftop of the building directly southeast from New Donk City Hall and ground pound the large red button. A checkerboard pathway appears connecting the building with the triangular one across the street. Follow the path to the Power Moon over the narrow part of the path and ground pound jump to get it. The button and its corresponding pathway are always available, but the Power Moon doesn’t appear until after the Moon Rock has been opened.
 Crossing Lines
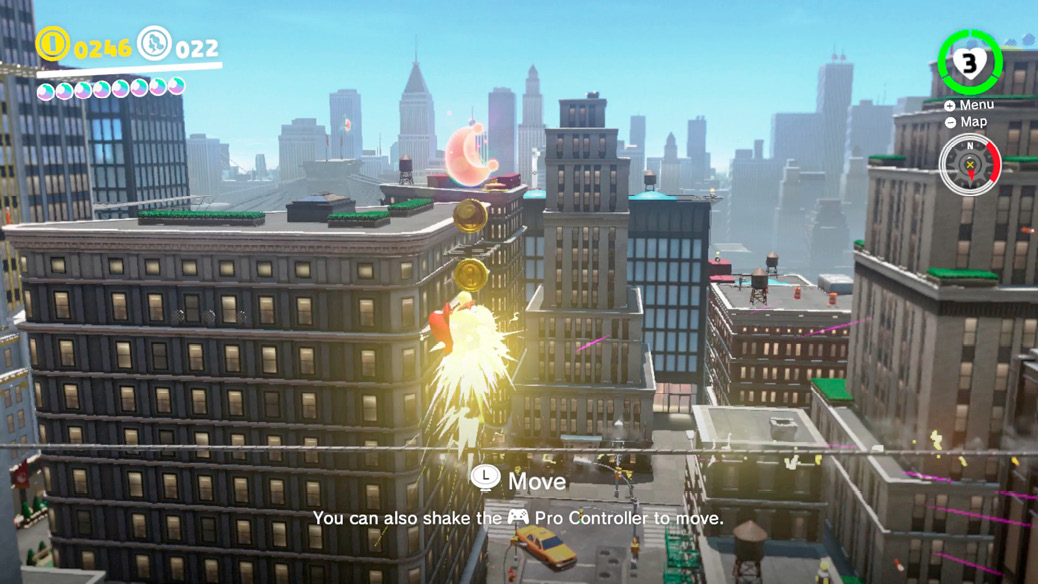
Warp to the Rooftop Garden and capture the Spark Pylon for a ride across to the building to the north. Leap off the wire (without releasing the capture) as Mario passes under the coins. This makes him leap from the electrical wire straight into the air to get the coins and Power Moon floating above it.
 Out of a Crate in the City
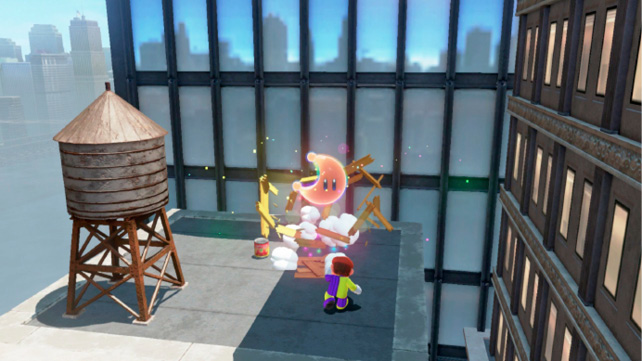
This Power Moon is hidden inside a wooden crate on the short building in the northwest corner of the city. It’s on the roof of the building where Mario entered the crowded alley for Power Moon #37. Wall jump between the two buildings in the alley to reach the crate. You’ll have to dive jump from the water tower to reach the Power Moon once it flies off to the top of the bagel sign.
 Bird Traveling in the Park
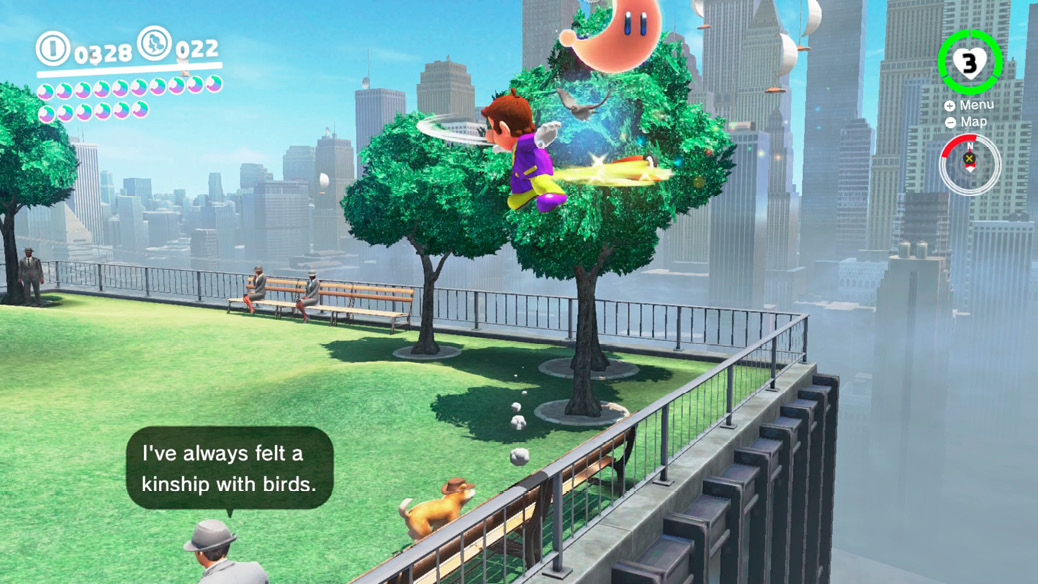
Warp to Mayor Pauline Commemorative Park and scan the area for the bird circling the park. Stand atop the railing and bench between the trees and Mechawiggler scrap so Mario has some extra height. Wait for the bird to approach, then leap up and smack it with Cappy.
 Metro Kingdom Timer Challenge 3
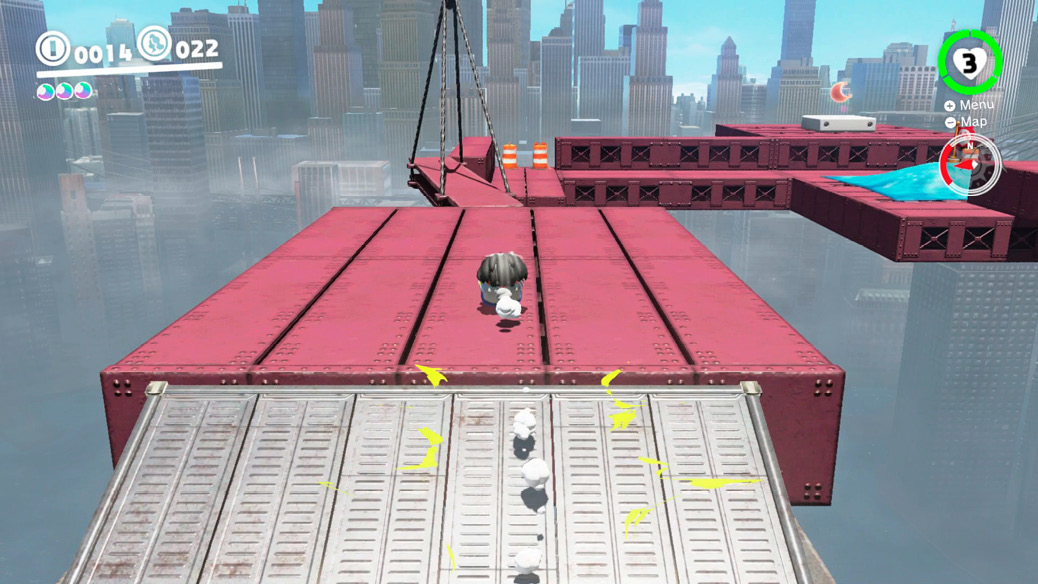
This Timer Challenge takes place between the Crazy Cap store and the construction site. It’s quite straightforward in that Mario need only hurry down the street, across the swinging girder, and onto the raised platform to the right. The tricky part is remembering that you don’t have Cappy to help you. So that means, no dive jump! Roll down the street for speed, and up the ramp toward the swinging girder. Triple jump across the beam and around the corner toward the Power Moon.
 Found in the Park! Good Dog!
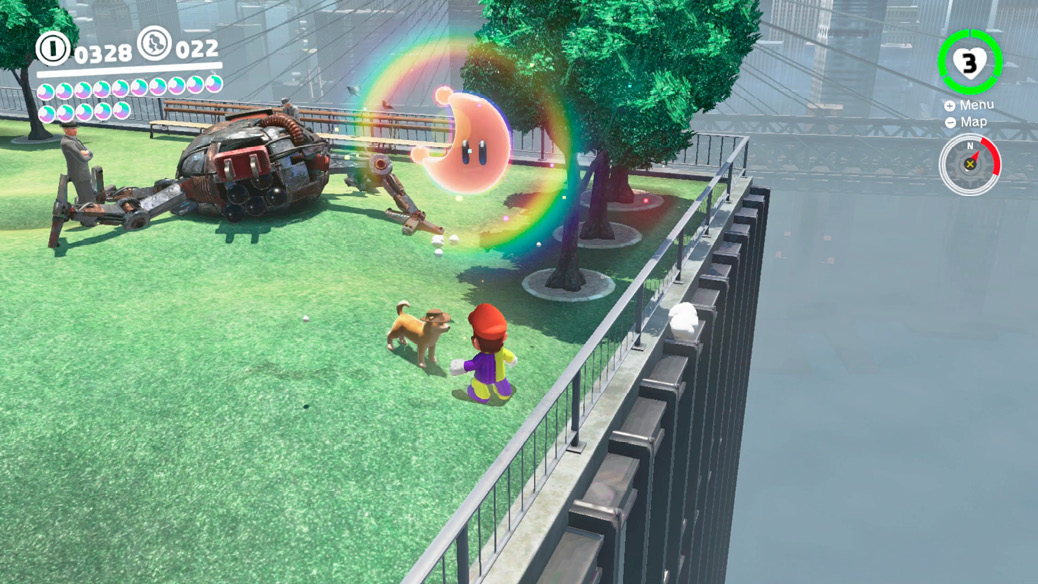
Make your way to Mayor Pauline Commemorative Park and approach the dog in the corner. Take him on a walk around the park but watch closely as he sniffs and begins digging. Ground pound each of the spots in which he starts digging. Though most spots simply yield eight coins, he’ll sniff out a Power Moon if you bring him toward the trees on the south side of the park.
 RC Car Champ!
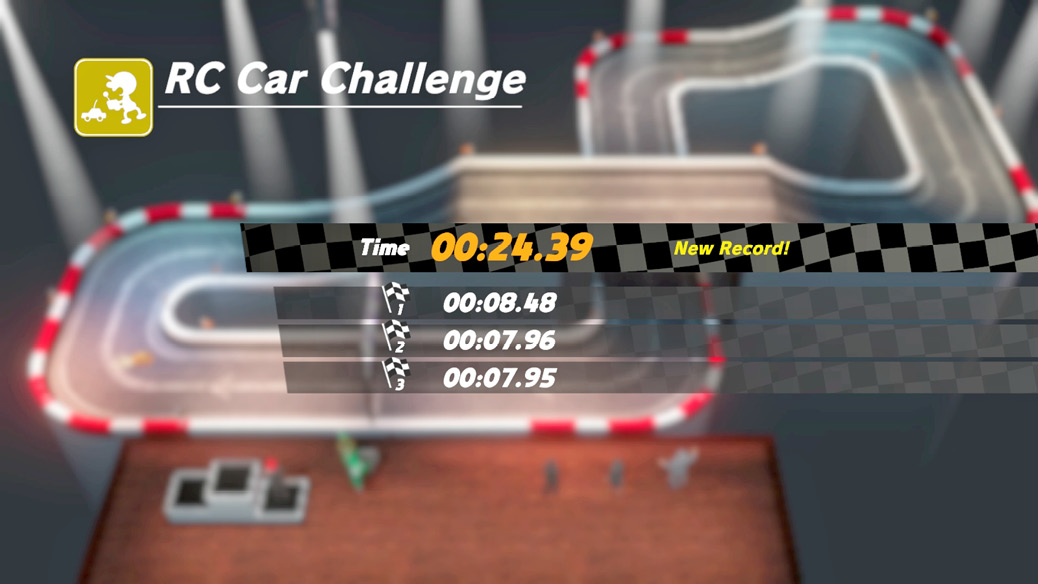
You’ll have had to have already earned Power Moon #32 in order to get a shot at this one. Now, instead of simply completing three laps in under 30 seconds, you need to finish in under 26 seconds. It’s imperative that you get off to a good start, with no flaws rounding the first turn into the hill. Since you’re starting from a standstill, the first lap will naturally be the slowest, all else being equal. Aim for a first lap of 9.00 seconds. Your second and third laps then need to be 8.50 seconds or better. Of course, much faster times are possible…
 Metro Kingdom Master Cup
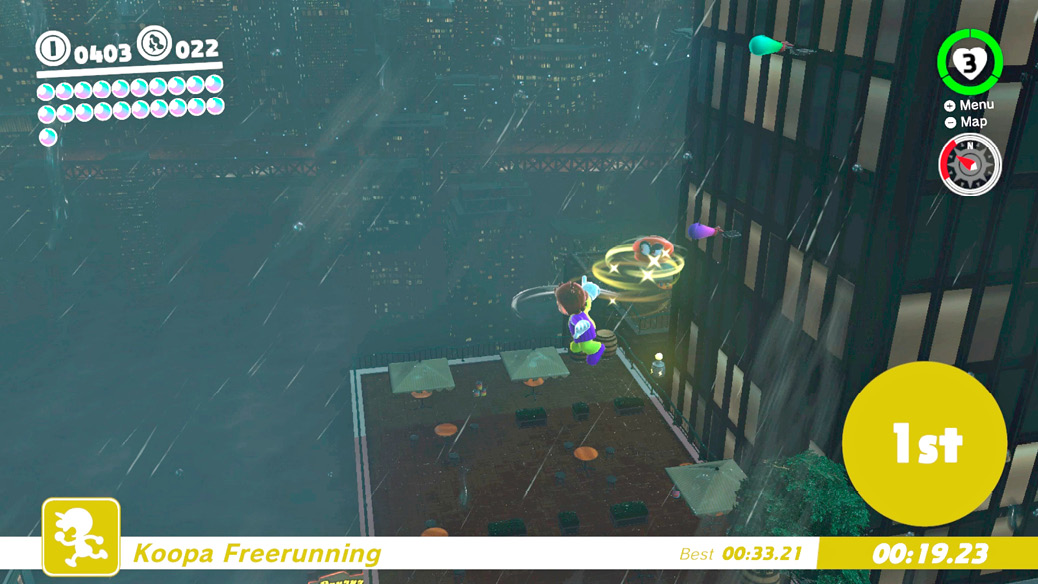
This route can shave up to 10 seconds from the one outlined for the Regular Cup, but it’s a bit trickier. Start by leaping out ahead of the Koopas and tackle jump down onto the street below. Aim for the southeast corner of New Donk City Hall and capture the Spark Pylon there. Ride it to the roof and roll across the southern walkway on New Donk City Hall Rooftop. Dive jump into a tackle jump, aiming for the Volbonans on the side of the high rise leading to the finish. You won’t likely reach the Volbonans, but Mario can tackle jump straight onto the umbrella. Zigzag up the side of the building using the Volbonans to reach the finish. Finishing times below 32-seconds are possible!
 Hat-and-Seek: In the Crowd
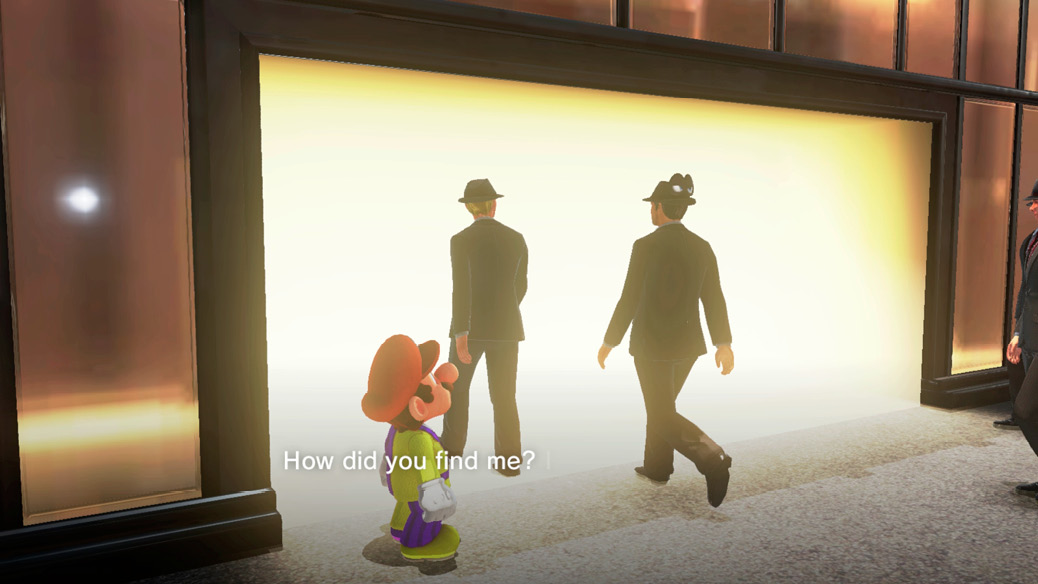
Return to the mob of pedestrians pushing their way through the alley where you found Power Moon #37. There’s another Power Moon in the crowd, but this time it’s in the possession of a Bonneter riding atop the head of one of the many New Donkers. The Bonneter has the hat on backwards so his eyes are only visible from behind. Consider making your way through the crowd, to the far end of the alley, to watch for him as he appears. Or, similarly, stand near the doors that the crowd exits through and watch for a pair of eyes. Talk to him before he gets away to get the Power Moon.
 Scaling Pitchblack Mountain
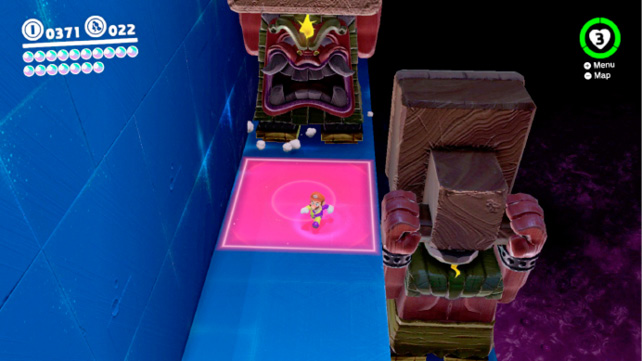
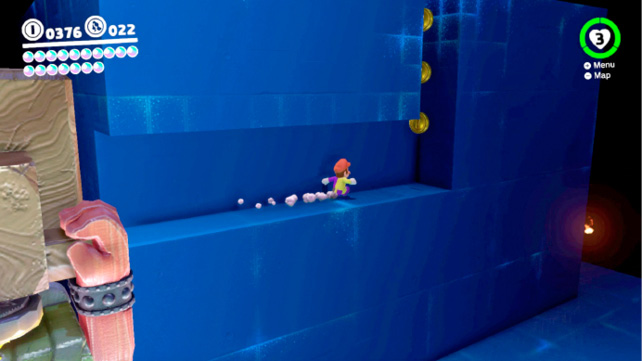
Leap down from the Heliport onto the mesh platform connecting the two buildings and enter the Moon Pipe. This challenge level takes place in near-darkness and features a mountain in the form of a pyramid. Explore the path around (and through) the base of the mountain to gather up the coins then begin your ascent. Bait the Stairface Ogre into slamming its stair-like blocks down on the floor. Leap up to its head and, from there, leap to the next higher level on the mountain.
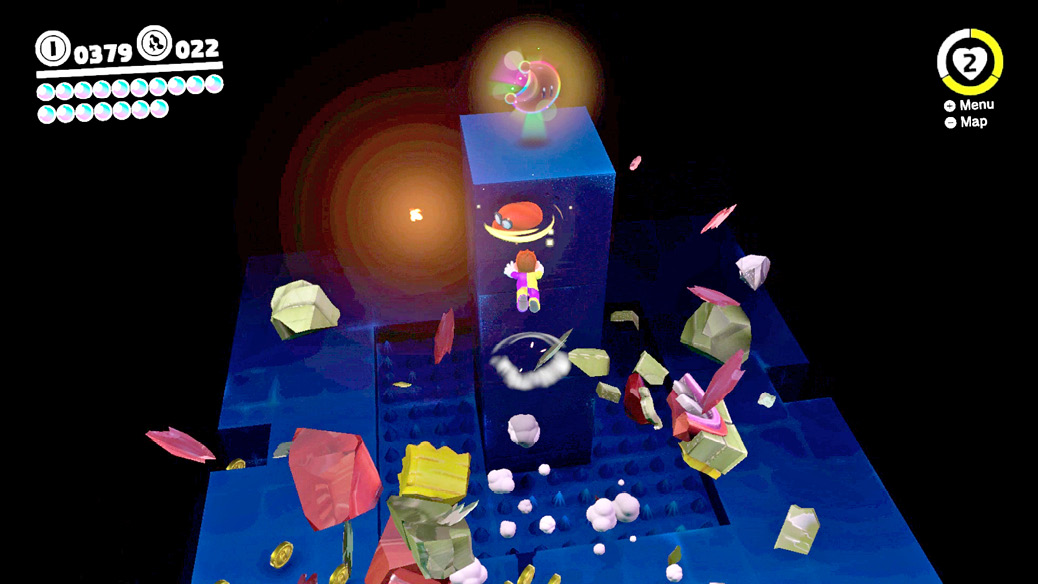
Mario won’t be able to leap directly to the third level of the mountain so look for a ledge halfway up the wall, in the corner, and leap for that. Wall jump up the shaft to reach the next level. The Power Moon is hovering atop a column in the center of a pit of spikes. Ground pound jump off the button atop the Stairface Ogre on the upper level then toss Cappy at the Power Moon and dive jump to reach the column.
 Reaching Pitchblack Island

Follow the steps for earning Power Moon #76 and head around to the back of the mountain, on the side opposite where you entered. Ground pound jump from atop a Stairface Ogre for height then dive jump out into the distance, tackle jump out of the dive for further distance to land on a small island in the poison. Ground pound the floor of the island for a Power Moon. Return via the invisible block path leading back—toss Cappy to reveal the blocks.
 Swinging Scaffolding: Jump!
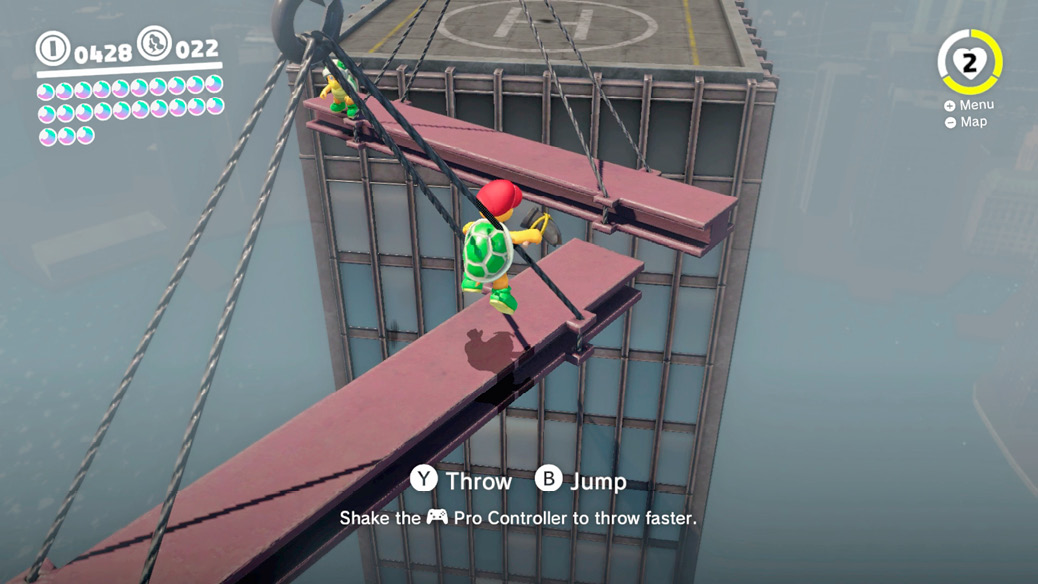
Enter the Moon Pipe atop the building adjacent the large red button to access this next challenge level. Run across the three swinging beams and capture one of the two Hammer Bros in the distance. Toss the hammers at the breakable blocks and the other Hammer Bro to create some temporary safety, then continue across the next series of beams as Mario—it’s easier to walk as Mario across the swinging beams than to hop as a Hammer Bro. Capture either of the Hammer Bros up ahead and continue up the side of the building to the third set of swinging beams. Continue using the Hammer Bro to beat back the other blocking Mario’s path across the beams. Jump to safety and collect the Power Moon.
 Swinging Scaffolding: Break!
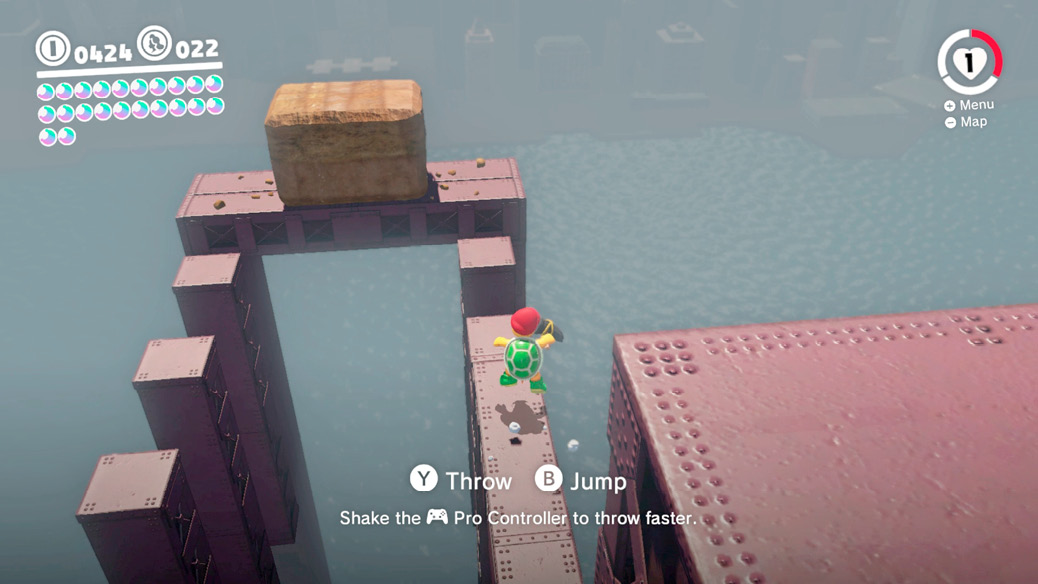
Follow the tips for Power Moon #78 until you reach the second pair of Hammer Bros. Capture either of them and carefully hop along the beam toward the massive block off to the left. Break apart the block with your hammers until the Power Moon is revealed. Use the Hammer Bro’s jump ability to leap directly from the solid beam to the one with the Power Moon—there’s no need to try and land on the small vertical beam.
 Moto Scooter: Daredevil!
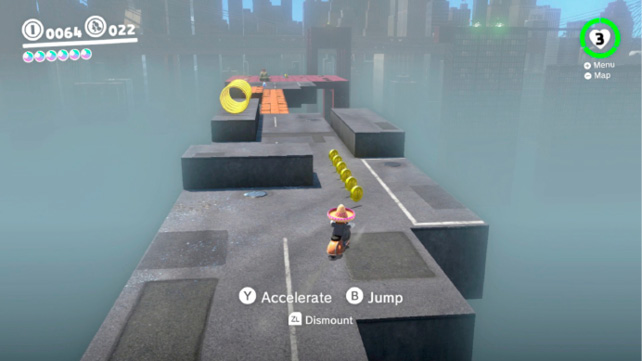
This Scooter-based challenge is accessed via the Moon Pipe atop the roof northeast of Rooftop Garden, south of the triangular building. Hop aboard the Scooter and accelerate across the P-Switch to activate the first section of the course. Unless you’re very secure in your Scooter driving, we recommend ignoring the rings and instead stay on the lower ground. Watch for the incoming rocket from the distant Sherm and leap over it as you cross the crumbling walkway.
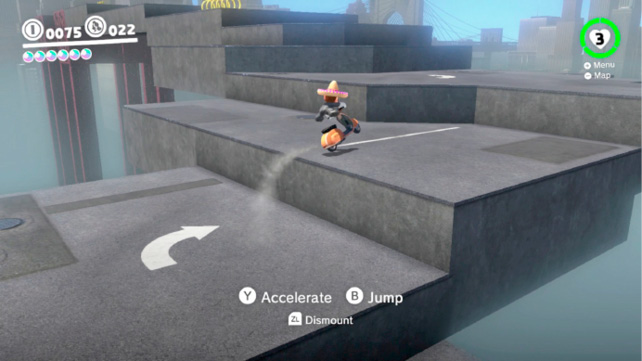
The second section is a twisting staircase of ledges. Hit the P-Switch and angle left so that you can swing back to the right while ascending the stairs. Perform rapid jumps up the stairs and do your turning while in the air to avoid oversteer. Drive through the rings and leap for the central red girders to hit the next P-Switch.
The third and final section contains myriad Sherms guarding a wider left-hand path. Those with the driving skill should take the right-hand path, grab Power Moon #81, and shortcut past the Sherms.
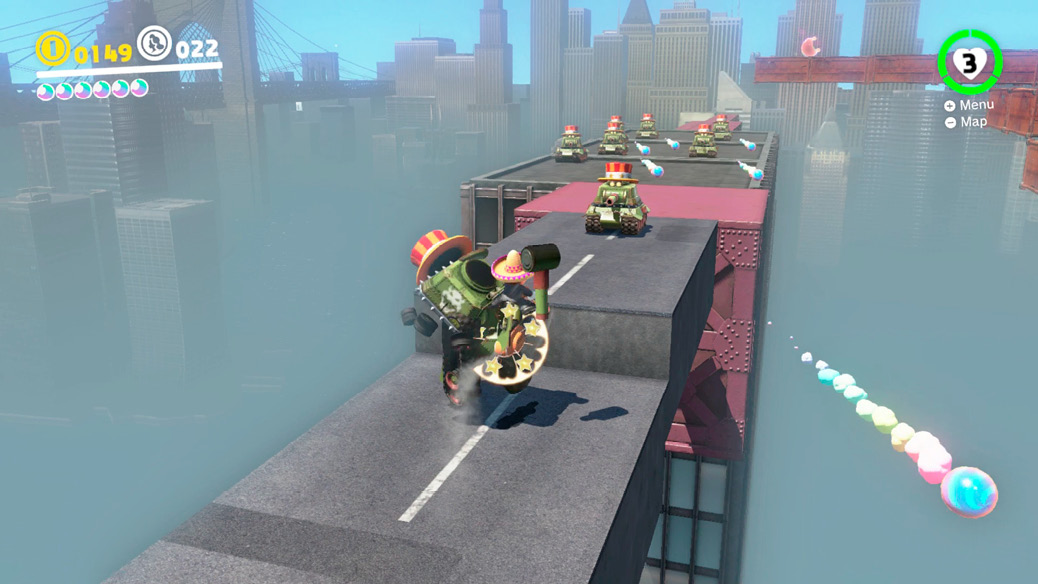
There are two Sherms nearest the fork in the path. Cut the inside corner, passing them on the right, then aim for the third Sherm and jump onto it. The Scooter crushes the Sherm, though it won’t bounce off it like a taxi. Skirt the fourth Sherm then drive a straight path through the half-dozen Sherms up ahead. Leap from the end of the red girders to get the Power Moon down below.
 Full-Throttle Scooting!
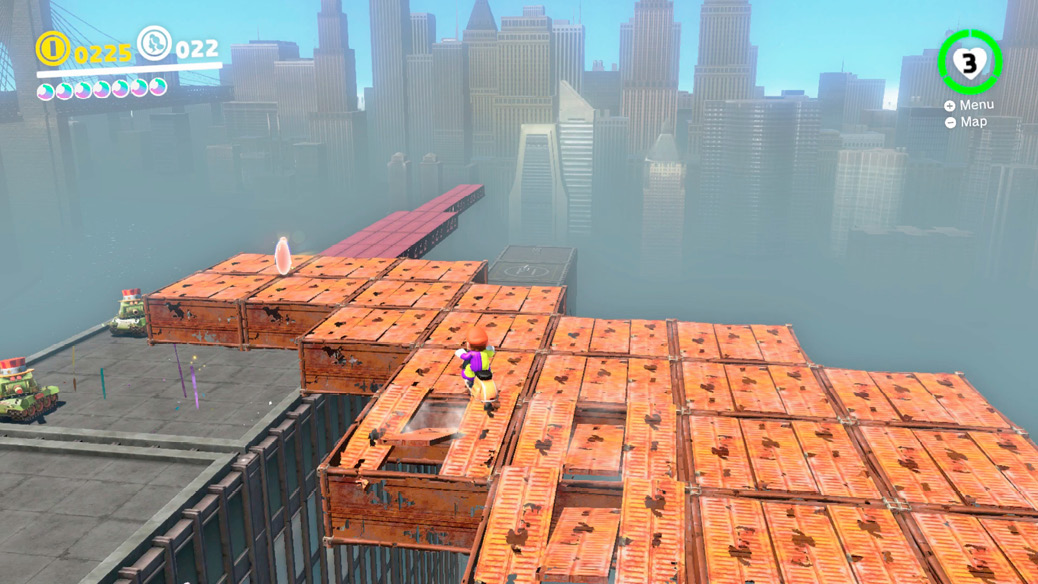
Follow the instructions for Power Moon #80 until you begin the third segment, then turn hard to the right and follow the path of crumbling metal panels leading up and away from the Sherms to this next Power Moon. Jump up the stepped platforms while aiming for the second panel from the left so as to not cut the corner too sharp. Round the turn for the Power Moon then leap down and continue past the Sherms to the exit Moon Pipe.