
Super Mario Odyssey Guide Mushroom Kingdom
Power Moon Locations
 Power Moons
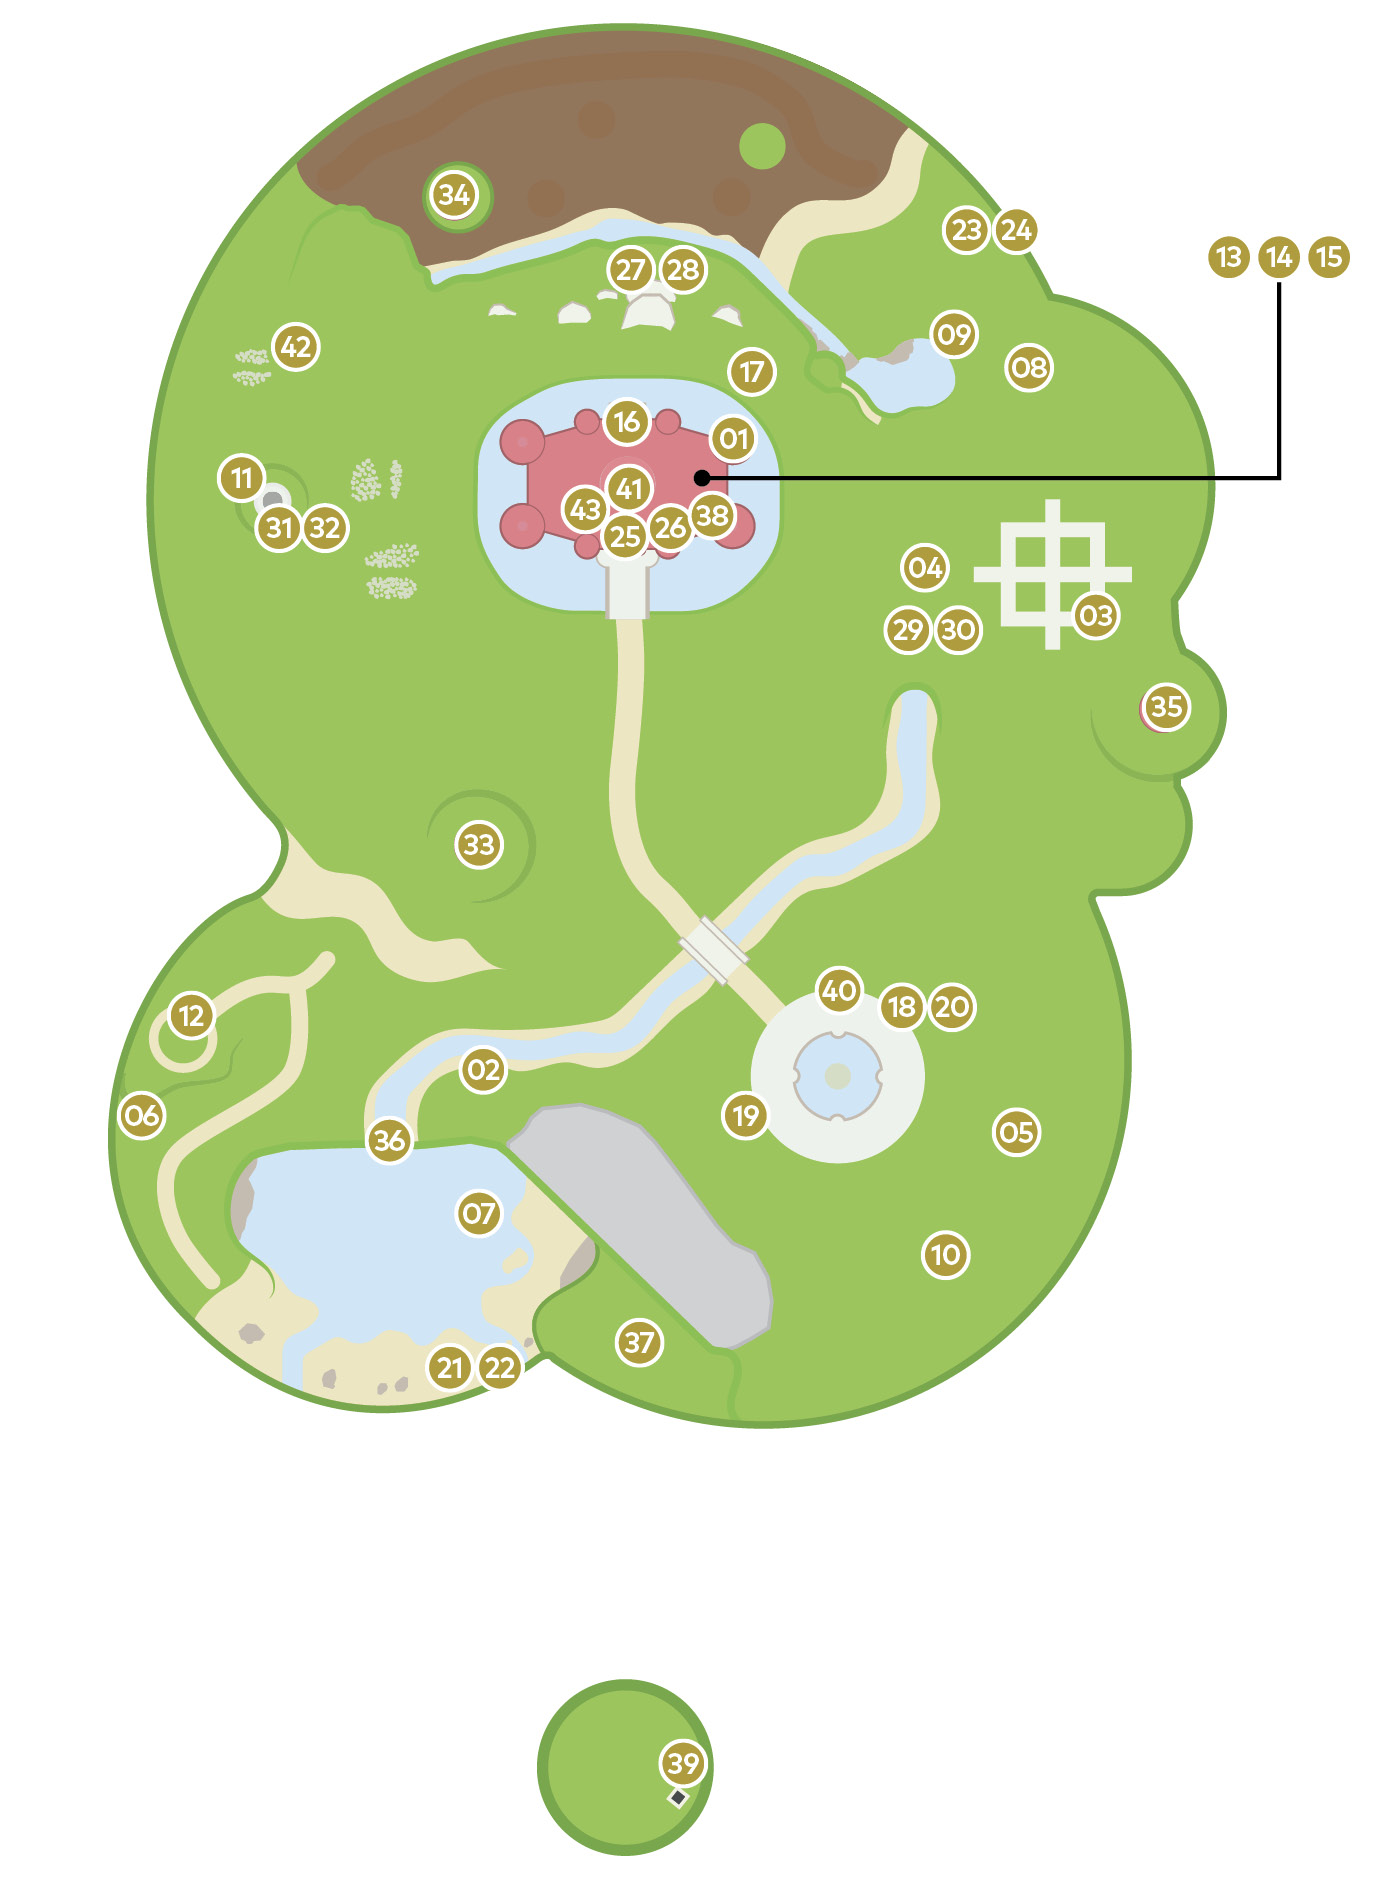
There are 43 unique Power Moons at Mushroom Kingdom, and an additional 61 attainable by fulfilling achievement criteria for Archivist Toadette.
 Perched on the Castle Roof
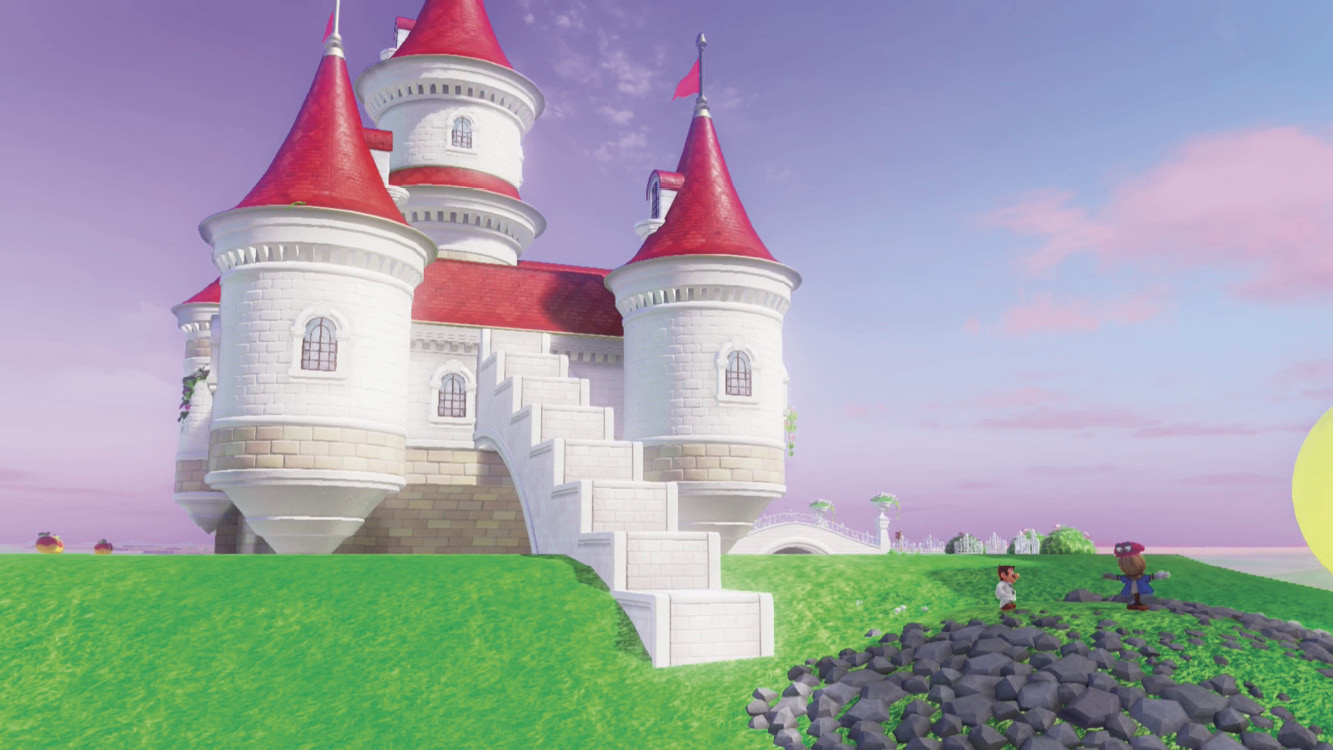
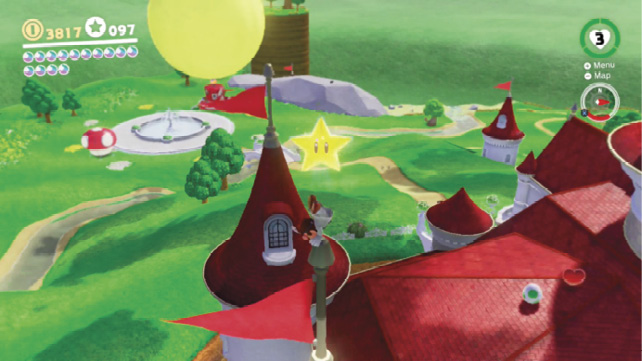
Peach’s Castle’s roof can be accessed from the west side of the castle. Find the scarecrow here and cap throw toward it to briefly reveal a big staircase leading all the way up to the top. Jump up quickly and head toward the northeastern-most spire. Climb to the top of the flagpole and handstand jump off to collect the Power Moon.
 Pops Out of the Tail
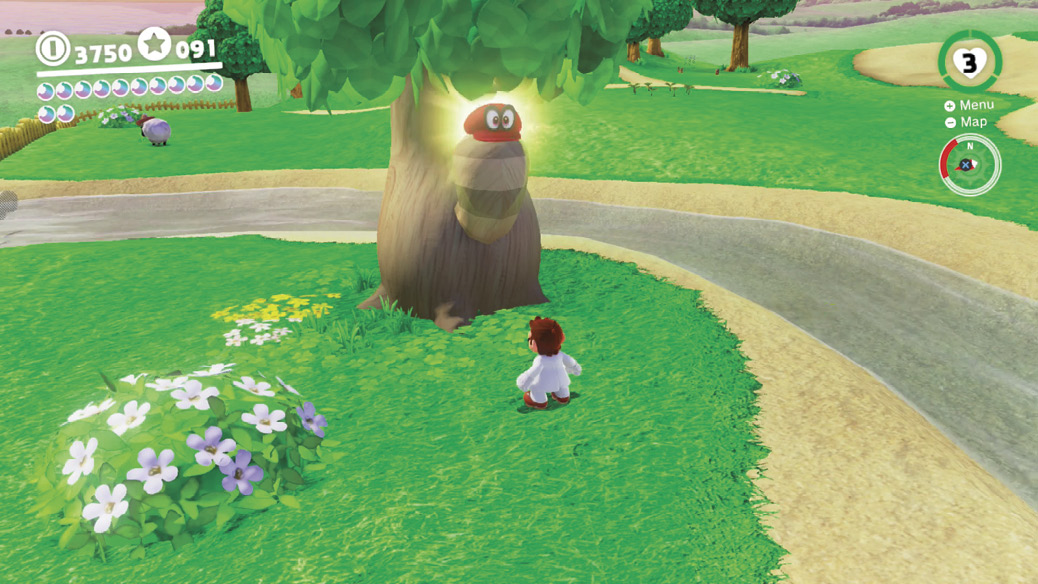
Standing along the stream west of Talkatoo is a tree with a leafless, tail-like branch. It almost looks fluffy. Toss Cappy upon it and hold him for several seconds to coax a hidden Power Moon out of the tree.
 Caught Hopping at Peach’s Castle!
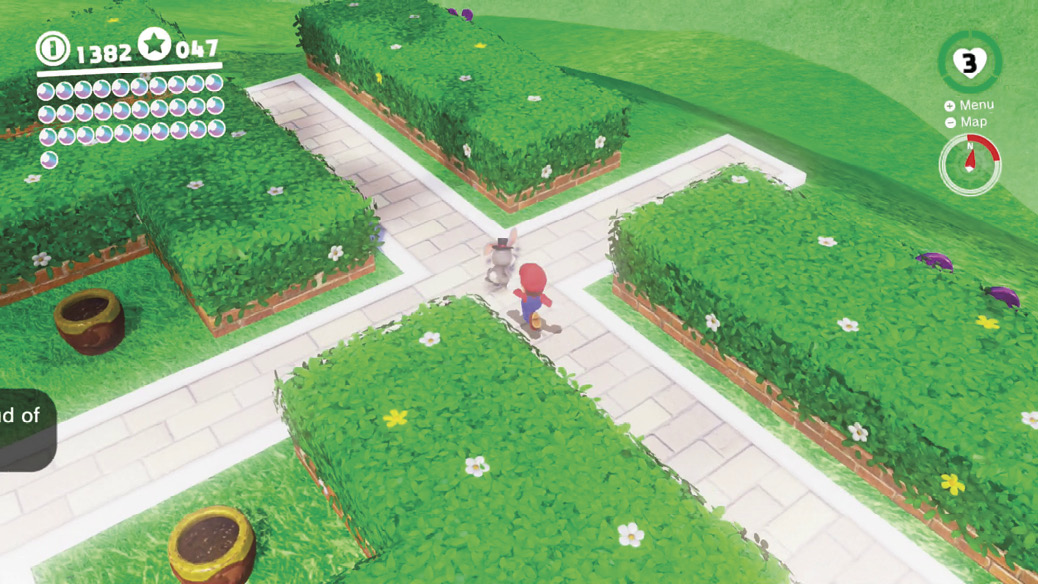
The garden found in northeast Mushroom Kingdom is well-tended, but nevertheless has a mild hare problem. The rabbit here quickly runs away among the garden paths. Slow it down with cap throws to make it predictable enough to catch up to.
 Gardening for Toad: Garden Seed
A Toad fascinated by artful horticulture maintains a little hedge garden in northeast Mushroom Kingdom. Seeds can be found throughout the kingdom that help Toad populate four empty flowerpots in a little square in the middle of the garden. The closest seed is located just a short distance away, in the small valley to the immediate west. Grab it and toss it in one of the pots and forget about it for a while—you don’t need to water these seeds, Toad takes care of that, but it will still take some time for the plant to grow.
 Gardening for Toad: Field Seed
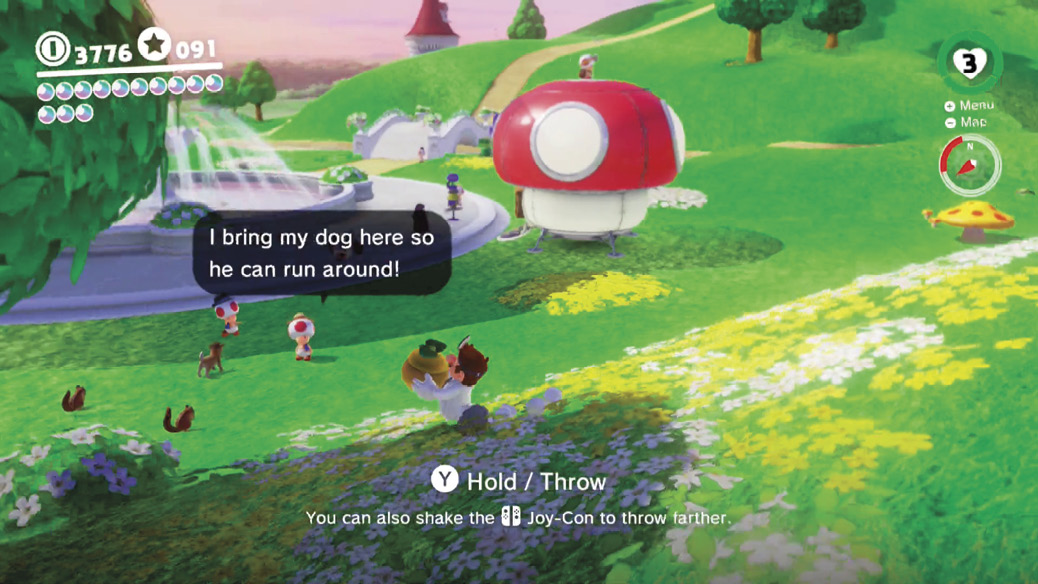
A seed can be found in a pleasant grove of flowers, trees, and chipmunks south of the garden, near the Odyssey itself. Retrieve the seed and get it planted in a pot to begin the growing process. Check back occasionally and eventually the plant will have a glowing golden bulb at the top, ready to burst open and reveal a Power Moon as the fruit.
 Gardening for Toad: Pasture Seed
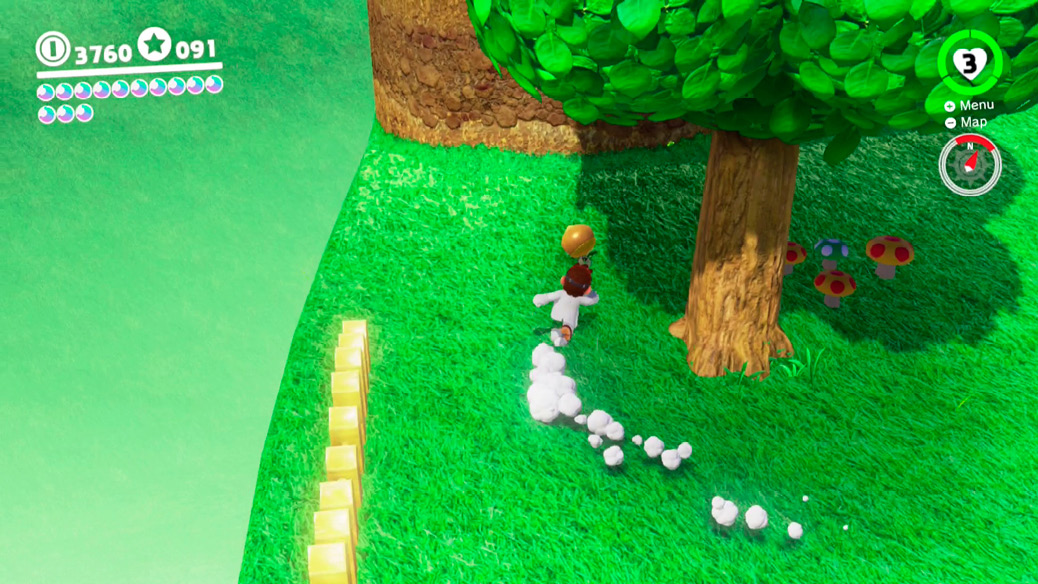
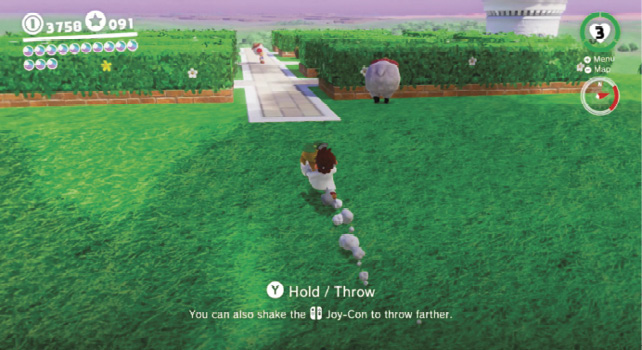
Explore the western edge of the land just south of the sheep herder’s pen, just north of the path to Mushroom Pond. Tucked away behind a solitary tree and some sprouting mushrooms is another seed. Haul this one over to the garden and plant it, then check back sometimes to see if it’s ready to cough up the Power Moon spoils.
 Gardening for Toad: Lake Seed
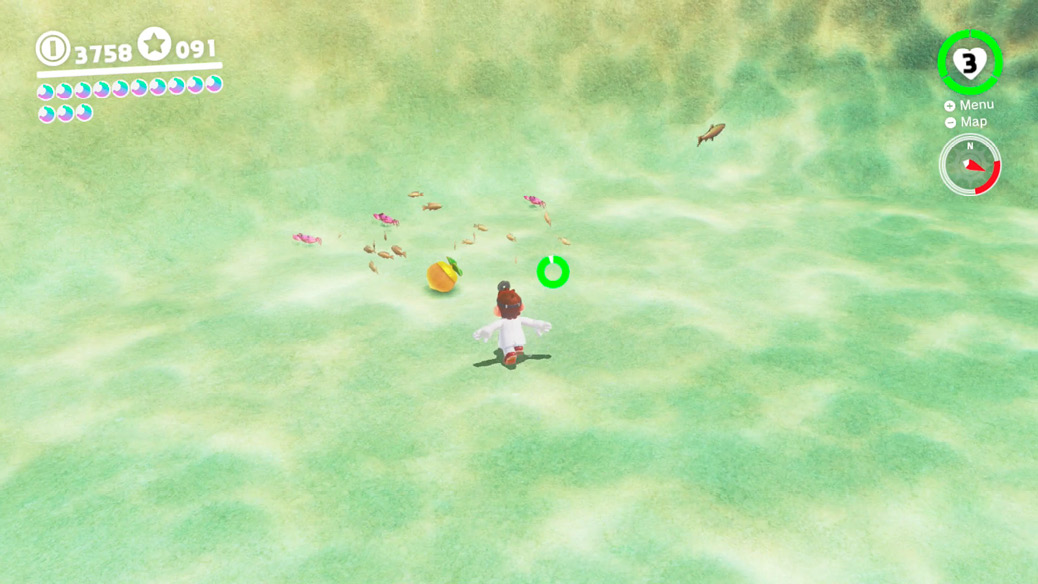
Under Dorrie splashing about in Mushroom Pond, a seed can be found resting on the seafloor. Ground Pound down to the bottom to grab it, then return to the surface and carry it back to Toad’s garden to get it planted properly. Like the other seeds, this one takes some time before it’s ready to blossom, revealing the Power Moon instead.
 Grow a Flower Garden
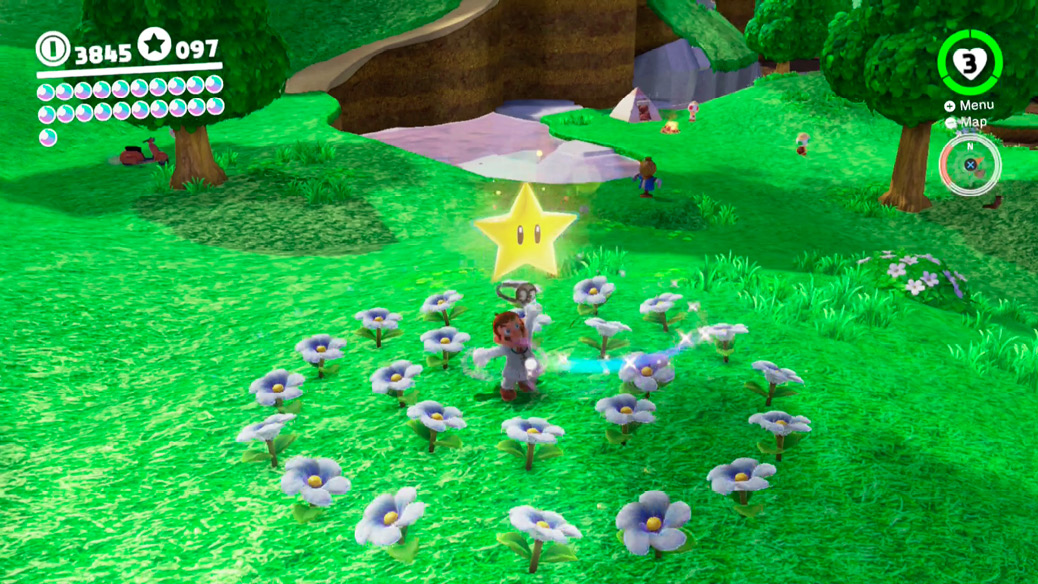
At the northeast corner of the land, a dense double-circle of plant sprouts are found clustered together. Stand in the center and spin throw to make them all blossom as hat flowers, brightly uncovering a secret Power Moon.
 Mushroom Kingdom Timer Challenge
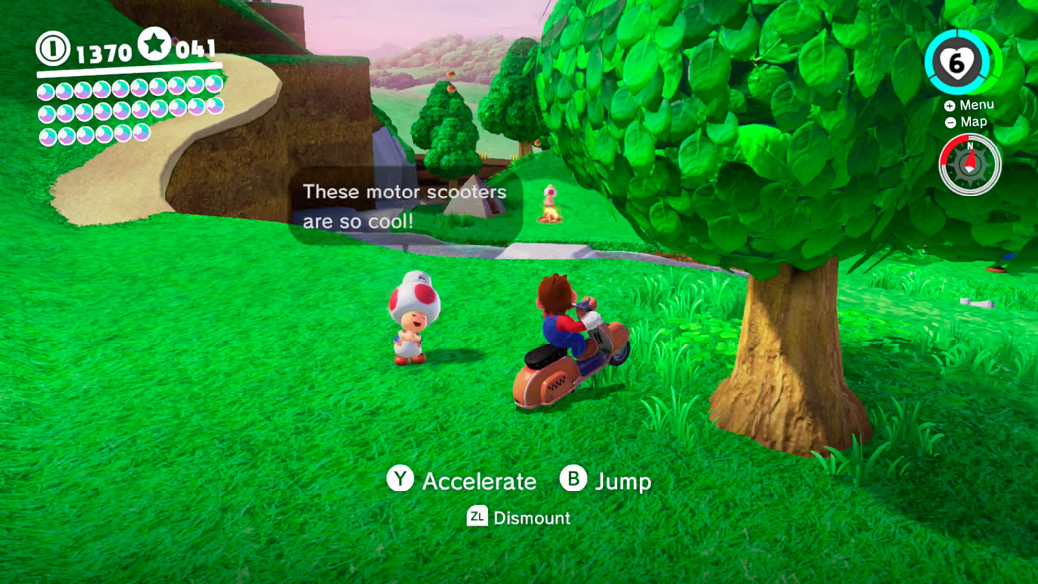
At the northeast edge of the shaded Goomba Woods, a scarecrow can be found. Fitting Cappy onto it triggers a local Timer Challenge, where a Power Moon at the other end of the Goomba Woods (to the northwest) must be snatched up before it disappears. It’s difficult, but possible, to pull off this challenge by gracefully rolling down the hill away from the scarecrow into the woods, bouncing toward the Power Moon at Mario’s top speed.
If doing it under Mario’s own power proves difficult, it’s possible to game the contest in his favor. Before giving up Cappy to the scarecrow and starting off the event, look around nearby and find a Toad admiring a Motor Scooter. A Motor Scooter that can be parked close to the scarecrow before starting this challenge. With a motor vehicle purring under Mario’s command, getting down the hill and through the woods in time should be no problem.
 Found at Peach’s Castle! Good Dog!
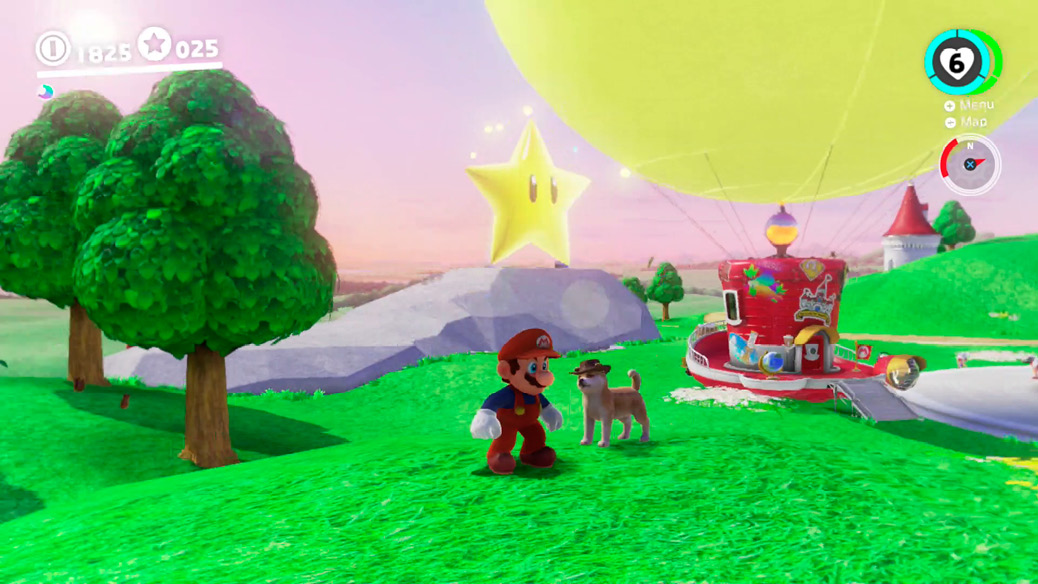
The friendly and fashionable pooch seen previously in Seaside Kingdom is here too, man’s best friend to Toads and plumbers alike. Befriend the dog with a brief game of Cappy catch, then lead it around the kingdom to see if the dog will reveal treasure just under the grass anywhere. To uncover a buried Power Moon, lead the dog to the southeastern part of the map, on a little hill overlooking the Odyssey and the nearby fountain.
 Taking Notes: Around the Well
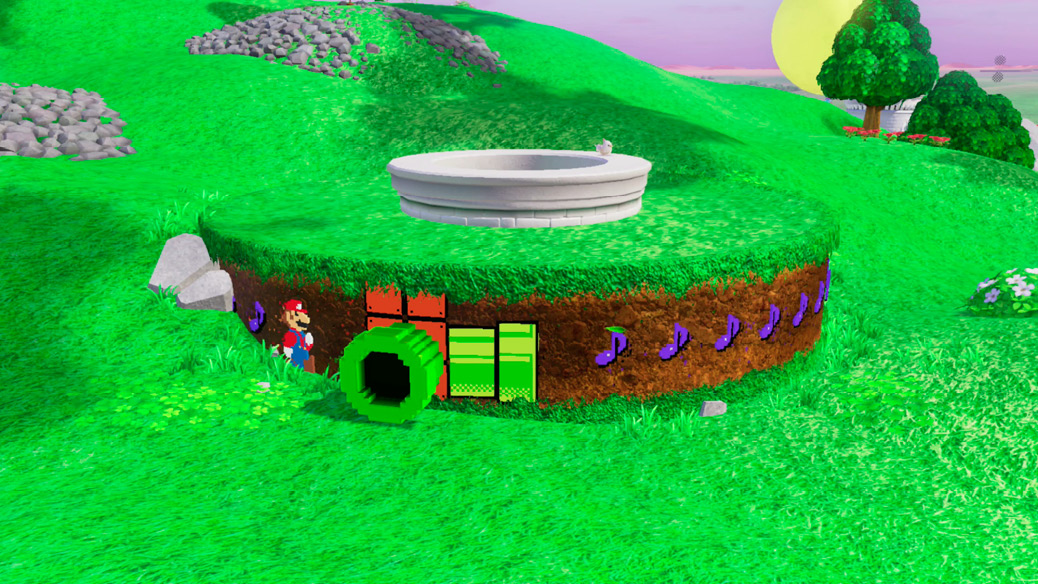
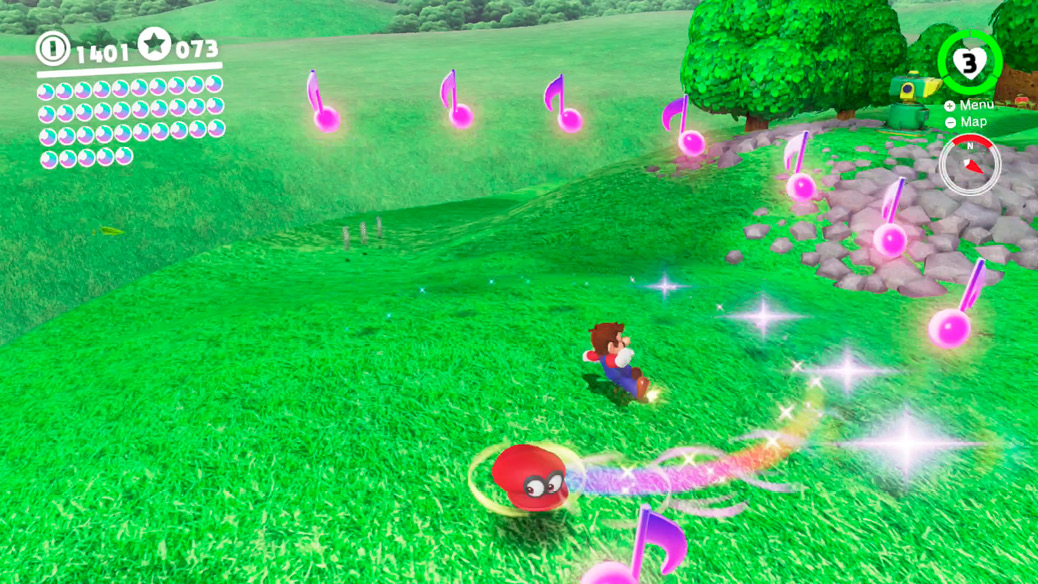
Toward the west side of the region, near the scarecrow who enables castle roof access, you find a wide well. Around the base of the well is an 8-bit pipe that begins a music note challenge. Enter the pipe and run to the right, wrapping around the cylinder of the well’s wide, earthen base. You can keep running right behind the 3D environment, sliding through in a 2D secret. Grab the music note on the far end of this path and be ready to dash back to the pipe entrance. Grab all the notes along the way, which spawns another ring of music notes outside of the 8-bit pipe. Exit and spin throw in the middle of all the notes to collect them all at once, completing the challenge and scoring a Power Moon for Mario.
 Herding Sheep at Peach’s Castle
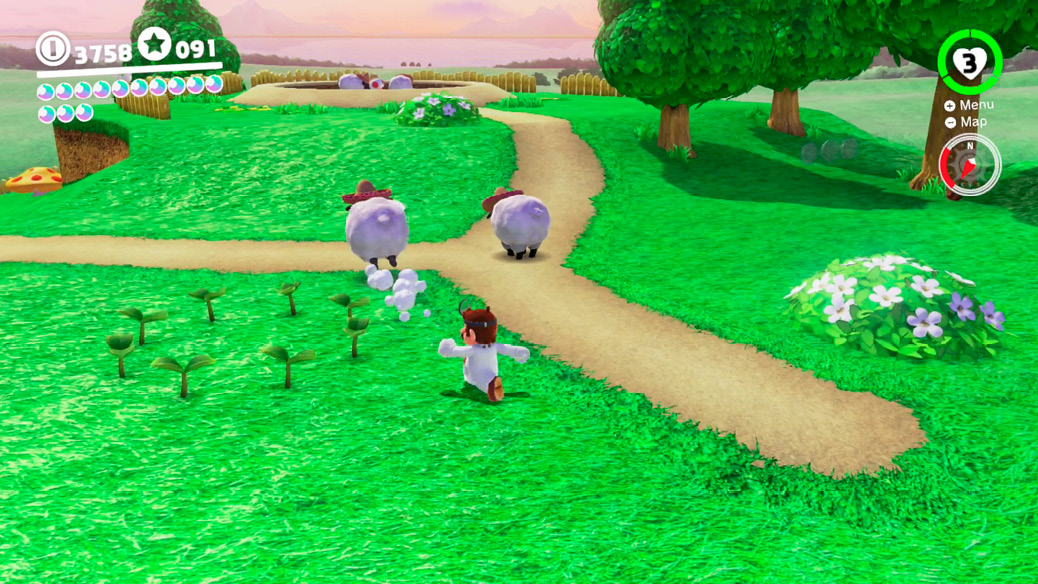
A Toad shepherd has lost his sheep flock. His pen is on the west side of Mushroom Kingdom, just north of Mushroom Pond. He’s lost a half-dozen sheep, all spread throughout the area. To drive a sheep home, locate it, then just coax it naturally—they’re naturally skittish and run from Mario. Chase them all back toward the pen, speeding the process with cap throws to flick them forward if you like. Assemble Toad’s sheep and he’ll gratefully hand over a Power Moon. The sheep are located as follows:
- By Mushroom Pond
- North of the shepherd’s pen, by the 2D well
- East side of Goomba Woods
- West side of Goomba Woods
- East side of Mushroom Kingdom
- South of the Odyssey by the warp painting on the ground
 Gobbling Fruit with Yoshi
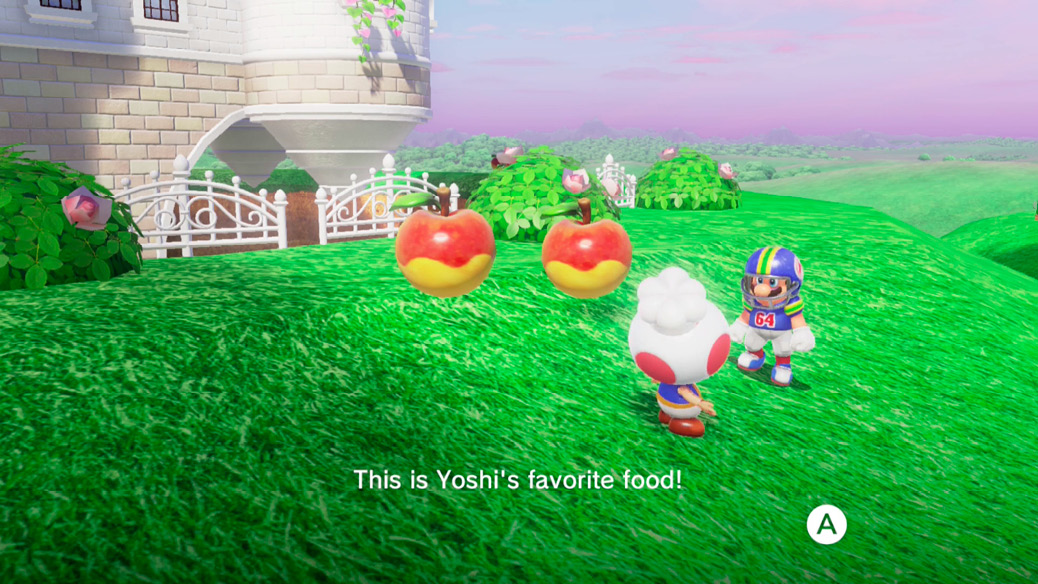
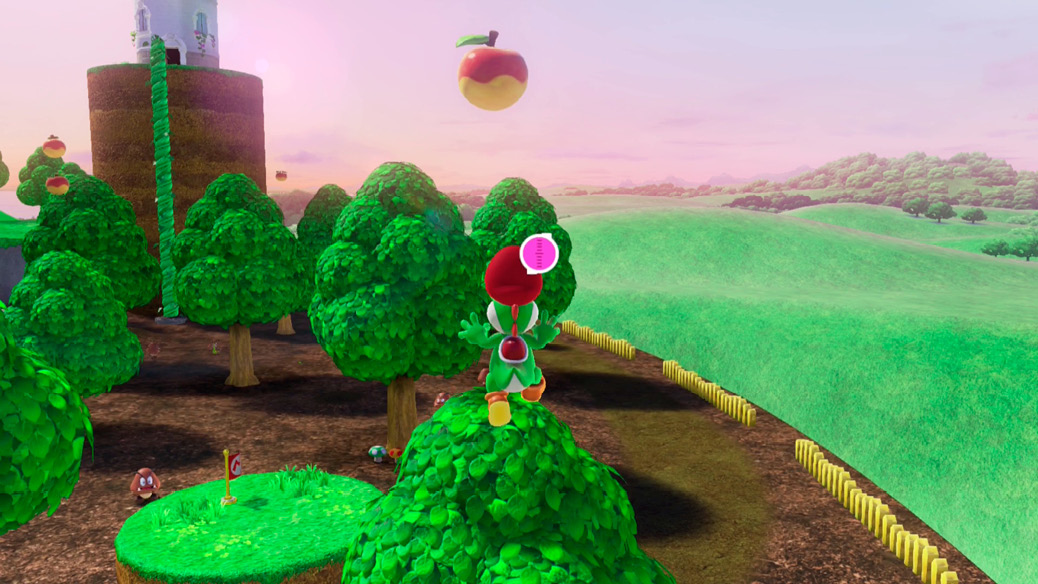
Yoshi’s egg can be found atop Peach’s Castle. Scarecrow stairs on the west side of the castle lead to the top, allowing the dinosaur friend to be captured and controlled. Yoshi has a floaty flutter jump that is more controllable than Mario’s non-Cappy jumps. The speedy dino also runs faster than Mario, and can stick his tongue out in an attack that doubles as an item collecting move and a movement option. While getting used to controlling Yoshi, gobble up fruits found in pairs and trios throughout the kingdom. Eating ten reveals a Power Moon.
 Yoshi’s Second Helping!
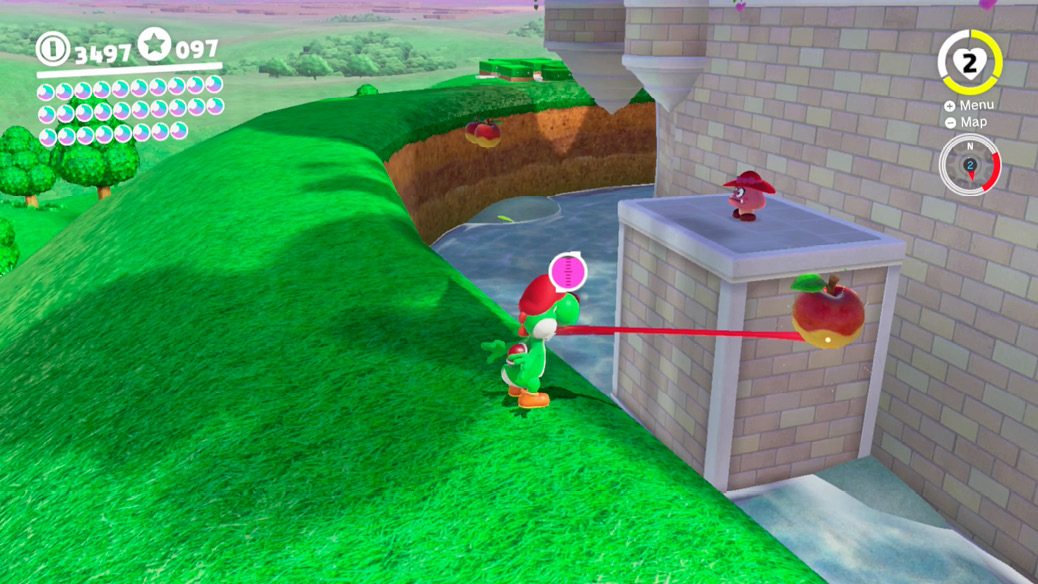
After the first Power Moon received from chowing on Fruits, there are still more to find. A couple of Fruits are wedged in pipes, blocking access to challenge rooms. Some Fruits are simply hovering in the open, like those in a few spots around the castle’s moat. Plenty of Fruits are found under or above tree canopies. Gather 20 total to gain a second Power Moon from seeking fruit.
 Yoshi’s All Filled Up!
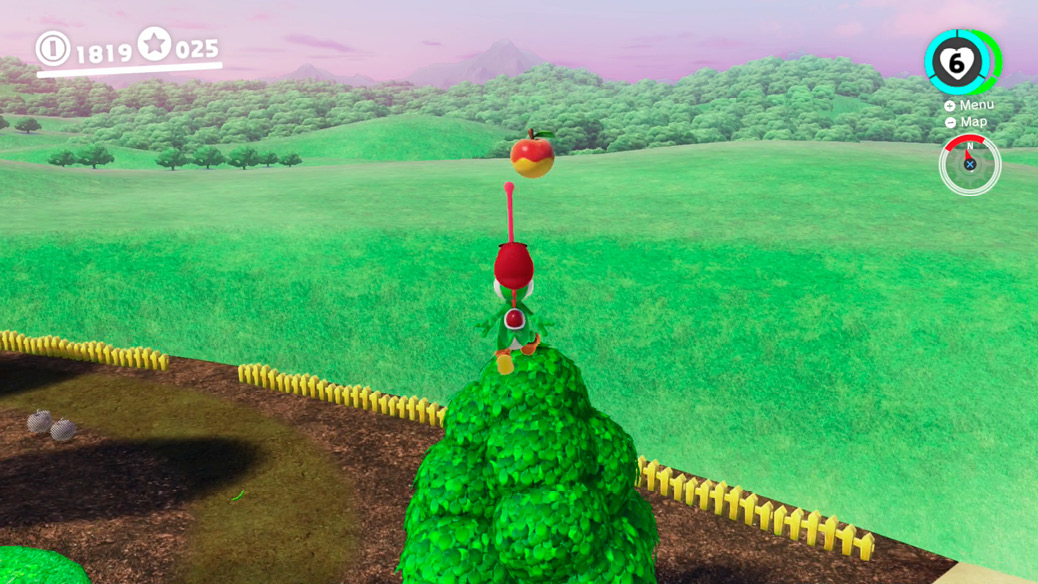
To get the third and final gustatory Power Moon, you need to coax Yoshi to wolf down all 30 of the Mushroom Kingdom’s Fruits. Use Yoshi’s tongue to pull in Fruits hovering over drop-offs or high above tall trees, near a ledge or hill that allows a running start into a full-height flutter jump. Yoshi can also mount the tip-top of tall trees, standing gingerly on the spire, by jumping next to the tree then sticking the very top with his tongue. Yoshi flips up onto the top like a ledge, allowing him to jump straight up to collect Fruits that seem impossible to reach.
 Love at Peach’s Castle
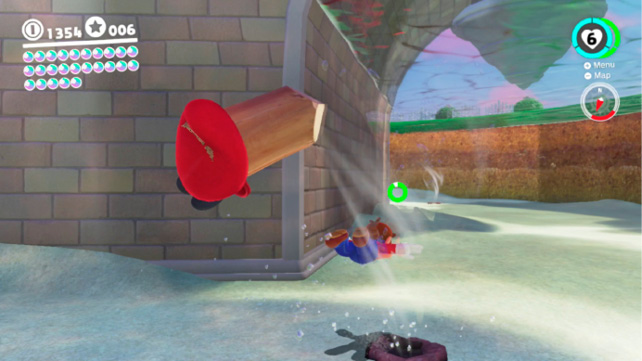
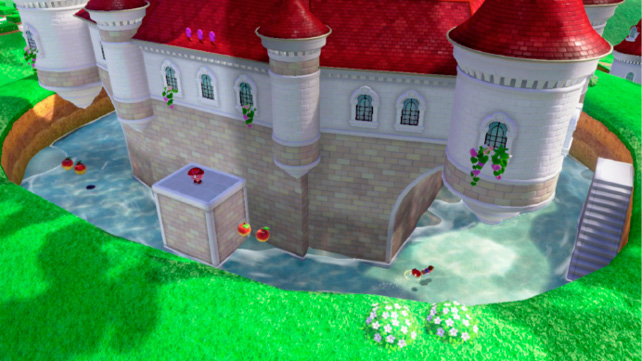
Finding love for this Goombette is a little more involved than matchmaking Goombas elsewhere. The nearby Goomba Woods to the north provides plenty of Goomba suitors, but the Goombette waits across the castle’s moat on a little ledge, and Goombas are not water faring creatures. The water must be drained somehow.
Plunge into the moat and check out the wooden pegs stuck in the floor here. There are four pegs stuck around the circumference of the moat. Pop them all out with some help from Cappy, which allows the water to drain out of the moat. At this point, you’re free to build a healthy Goomba stack in the woods, then bring them all over. Hop into the dried-out moat and approach the Goombette for a well-earned meet cute, and a Power Moon.
 Toad Defender
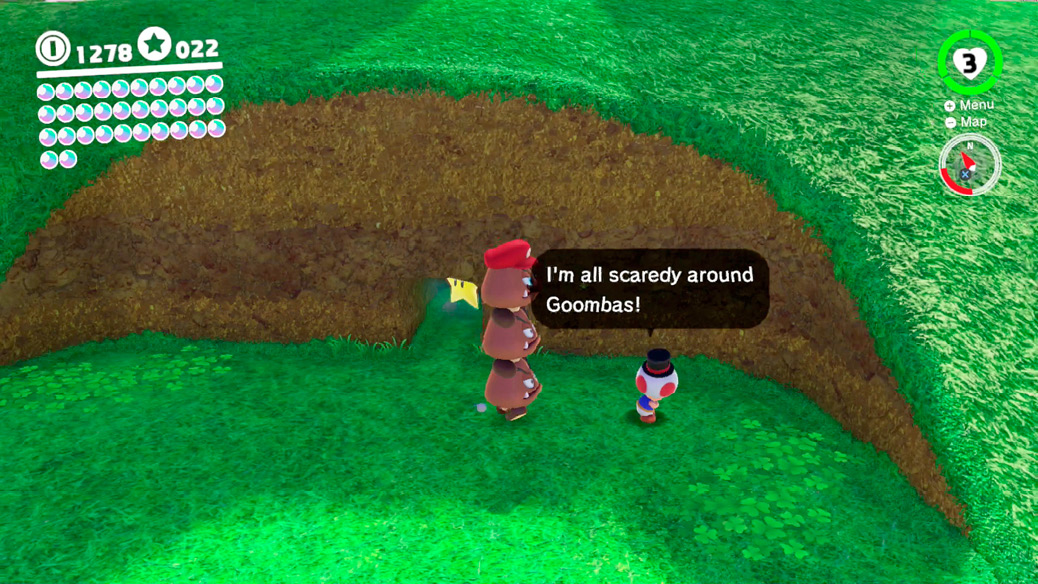
At the little encampment of friendly Toads between Peach’s Castle and Goomba Woods, a stoic Toad can be found guarding a small opening containing a Power Moon. He vows to keep the Power Moon inside safe against all the icky Goombas found close by in the forest. His fortitude, shamefully, doesn’t stand up to a real stress test. Gather up a stack of captured Goombas in the woods, then hike up here with the baddies to scare Toad off his post. Then, drop the Goomba capture and step inside the gap, scooping up the Power Moon.
 Forever Onward, Captain Toad!
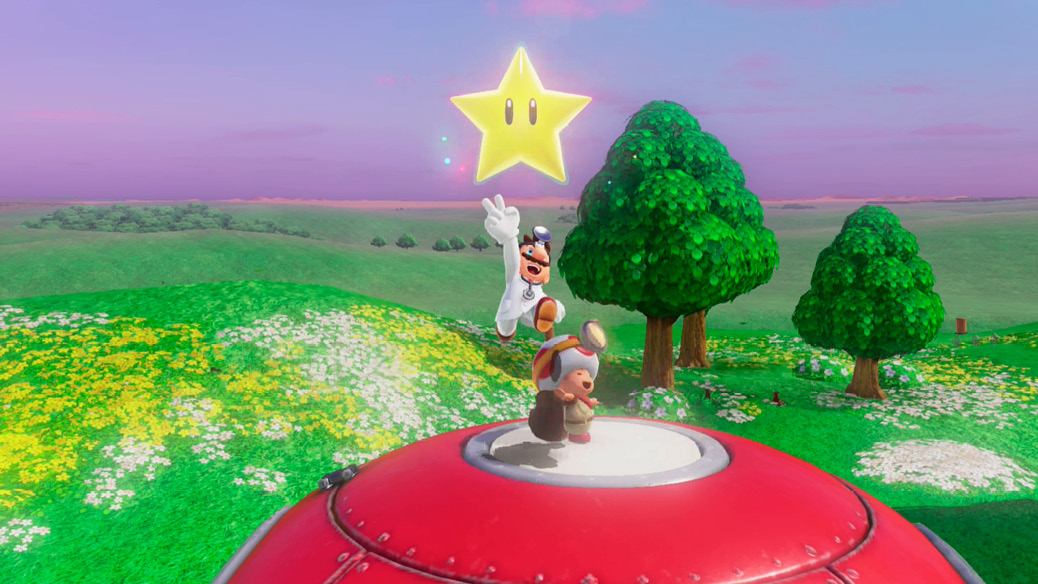
All this traveling can wear out even the hardiest, most intrepid explorer. No one is happier to be home in the Mushroom Kingdom than Captain Toad, found relaxing in the sun atop Crazy Cap’s mushroom-shaped souvenir store. Toad may be temporarily semi-retired, but he still has one last Power Moon to hand over to Mario for visiting him in another kingdom.
 Jammin’ in the Mushroom Kingdom
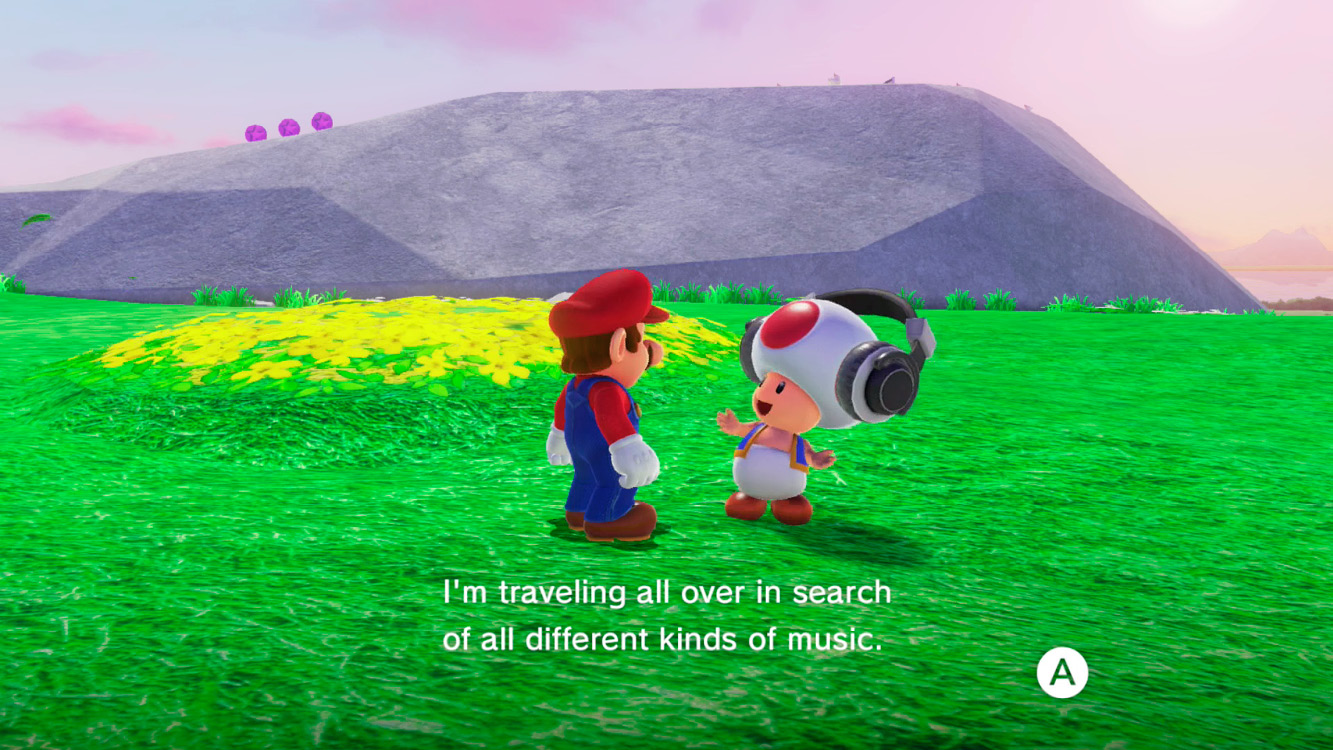
A Toad near the fountain is clearly rocking out, with music notes drifting pleasantly out of his headphones. He’s listening for tunes in particular, and if you play them for him you might get a pleasant surprise. He’ll show you how to open the music list and put on your favorite tracks at will. Here, he asks for a “Flat-N-Blocky classic,” a clue pointing toward 8-bit stages. Pick a retro tune from the music list and Toad offers up a Power Moon as a sign of mutual music appreciation.
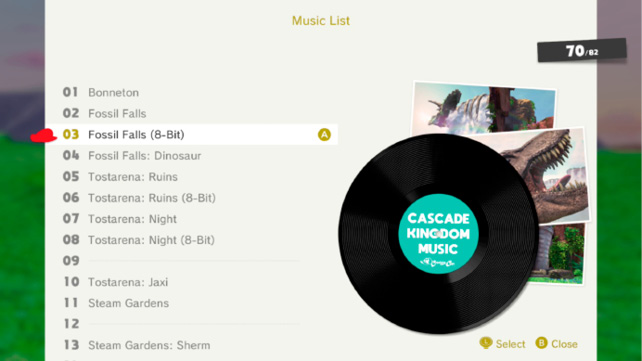
Jammin’ Toad can be found in some other kingdoms, where he’ll request other tunes, too! Visit more unique areas to uncover more tracks in the music list.
 Shopping Near Peach’s Castle
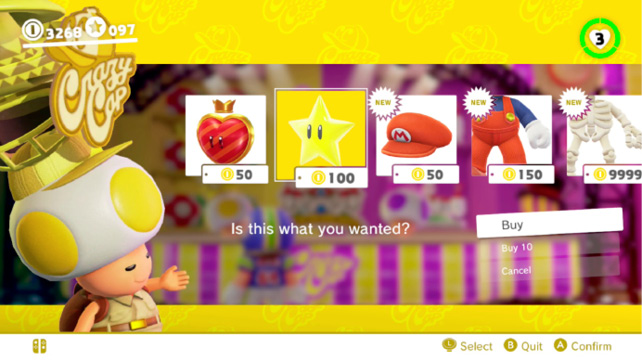
Stop by the Mushroom Kingdom’s mushroom souvenir stand to find a local Power Moon for sale for 100 coins, as usual. Gather it up, then peruse other goods to see what’s new.
 Mushroom Kingdom Regular Cup
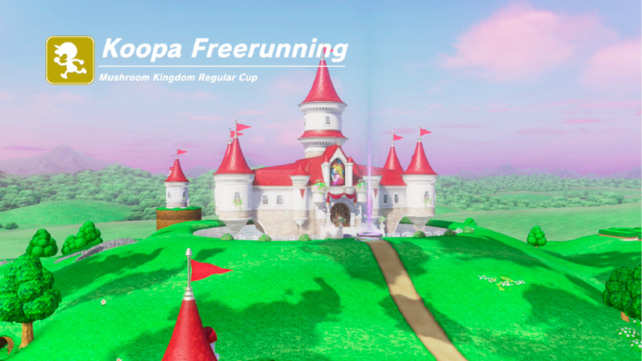
Talk to the hotfooted Koopa near Mushroom Pond in the south to begin this event. Mario must race several other speedy turtles all the way up to the foot of Peach’s Castle. Since the path leads across gentle dunes and hills, and is lined with Rocket Flowers eager to be plucked, this is actually one of the breeziest race challenges. Either roll quickly to the castle, or pluck Rocket Flowers and jet toward it, picking fresh flowers along the way with Cappy tosses to replenish rocket propellant.
 Mushroom Kingdom Master Cup
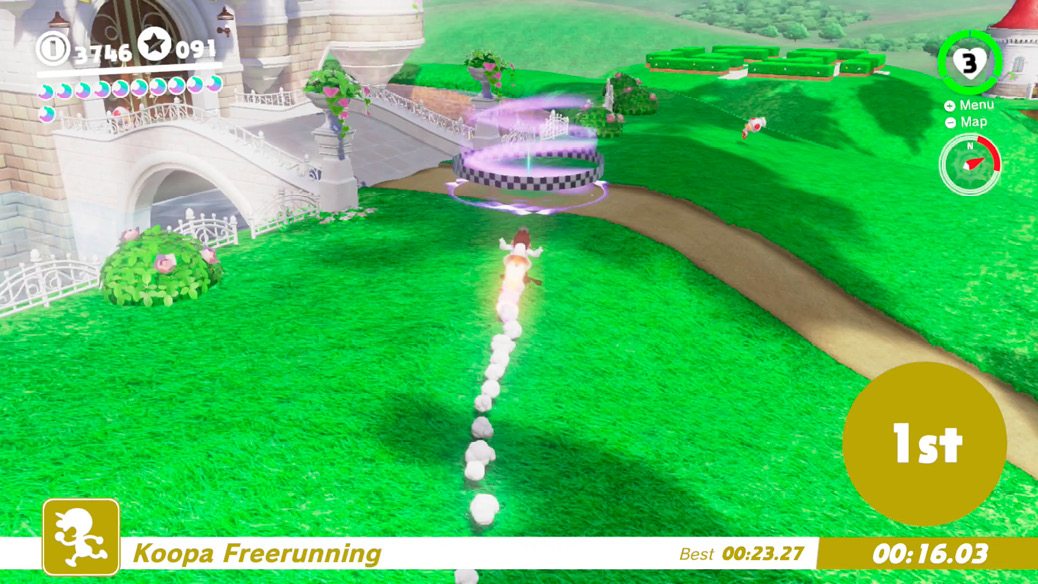
This course is available after completing Mushroom Kingdom Regular Cup. The difference here is the addition of the golden Koopa. Apart from that, it’s the same race, with the same easygoing, roll-friendly terrain, blooming with Rocket Flowers. Blaze across the Mushroom Kingdom again to claim a second Power Moon prize.
 Picture Match: Basically Mario
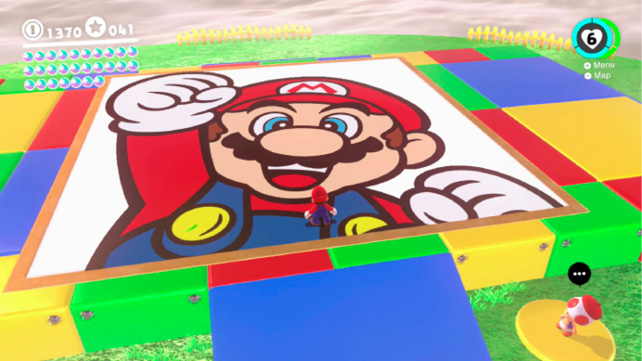
The Mini Rocket leading to Mushroom Kingdom’s Picture Match event is at the north edge of the territory. Like with the Goomba Picture Match event in Cloud Kingdom, Mario is tasked with rebuilding a face from scratch, maneuvering captured facial features into the right place after the face fades away. Here, it happens to be Mario’s own mug. For a perfect reference, use the built-in ability of the Nintendo Switch to take a screenshot of Mario’s face before it fades away. During this first challenge, Mario’s eyebrows, eyes, nose, mustache, and mouth disappear, but the outlines of his head and hat remain. A reconstructed Mario face worth 60 points or more is required to get the first Power Moon out of Toad here.
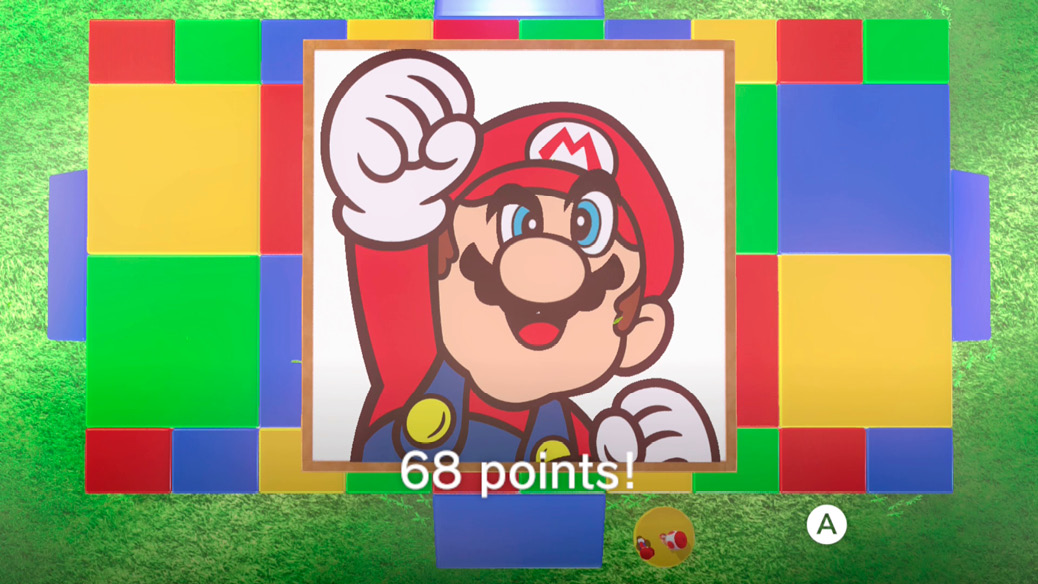
 Picture Match: A Stellar Mario!
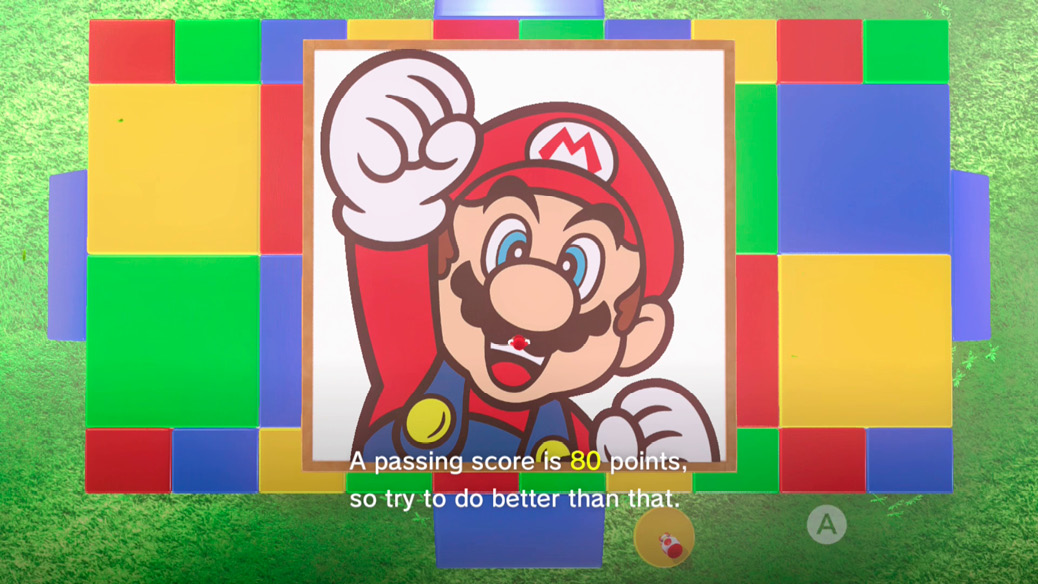
Complete the previous Picture Match event, rebuilding Mario’s face for 60 points or more, and you’ll gain access to this follow-up. Two differences this time: 80 points are needed for a Power Moon, and the outlines of Mario’s hat, hair, and head disappear also! The loss of these guidelines makes this challenging indeed. Use a system screenshot for reference, or (ahem) this very guide. This challenge is much more exacting, so take your time placing Mario’s facial features.
 Light from the Ceiling
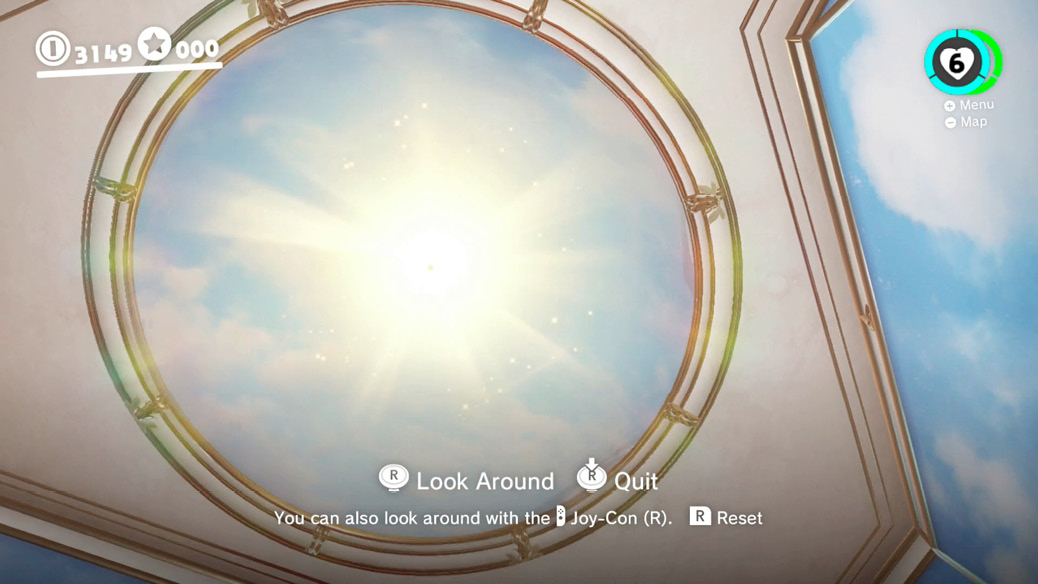
This clue is quite the tip-off. What’s to do with light inside the Princess’s main chambers? There’s a bright, domed ceiling, and an insignia of the sun on the center of the first floor. Stand on the sun symbol and look upward at the middle of the dome above in first-person view and a hidden Power Moon might just reveal itself.
 Loose-Tile Trackdown
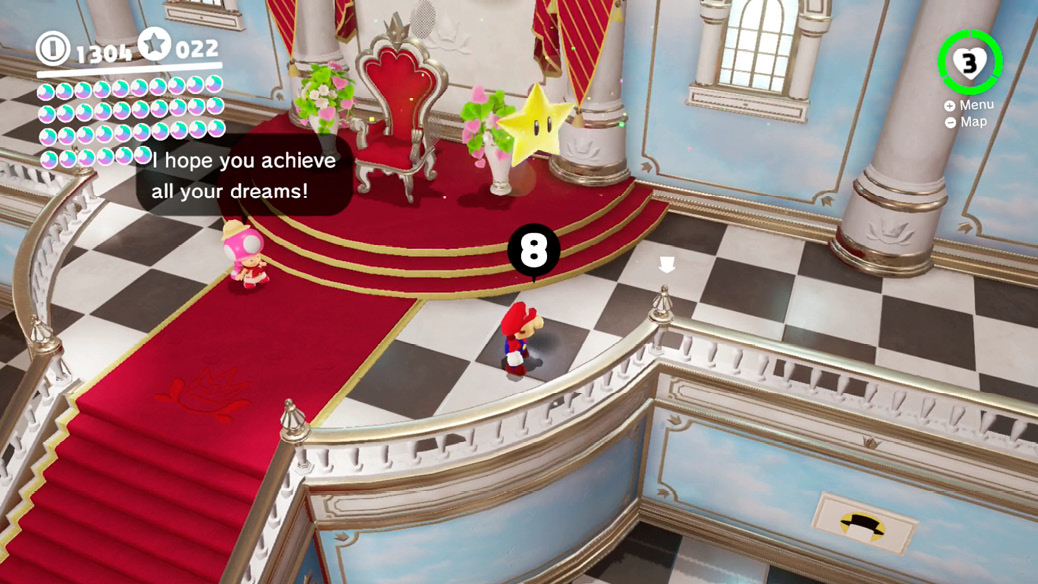
Within Peach’s Castle, Archivist Toadette is ready to hand out surplus Power Moons for any achievements achieved since the last time Mario stopped by, and there are also a couple of others to uncover. Poke around the checkered floor on the first floor, left of the main staircase, and you’ll notice a slightly raised section. Ground pound this to reveal, surprisingly, a number. It appears there’s a sequence of raised tiles to find and slap down in here.
- First floor, left of central stairs
- First floor, left of central stairs
- Upstairs, right from throne
- First floor, right of central stairs
- First floor, left of central stairs
- Upstairs, left from throne
- First floor, right of central stairs
- Near throne
Complete the sequence to knock a moon free from under the tiles.
 Totally Classic
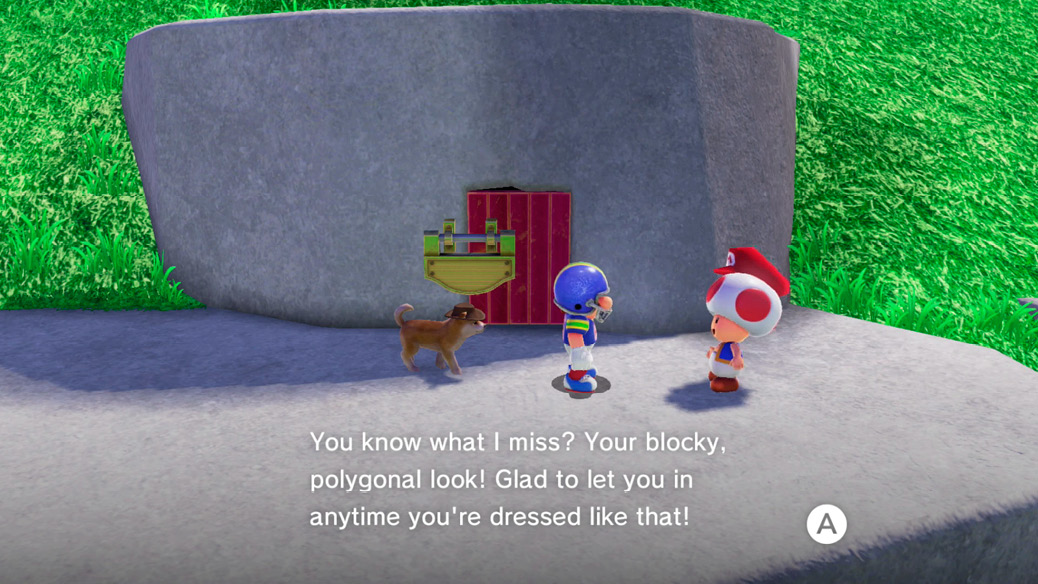
A Toad can be found guarding a locked room just north of Peach’s Castle. He won’t allow anyone modern-looking in. You’ll need to have a decidedly, oh, 1996 look about you. Collect at least 35 Regional Coins, then stop by Crazy Cap’s to purchase the Mario 64 cap and suit. Change to the blocky new outfit, then return to Toad to gain entry. Inside, notice a telltale glow from the top tip of the star fountain. Toss Cappy onto the point and hold him until a Power Moon emerges.
 Courtyard Chest Trap
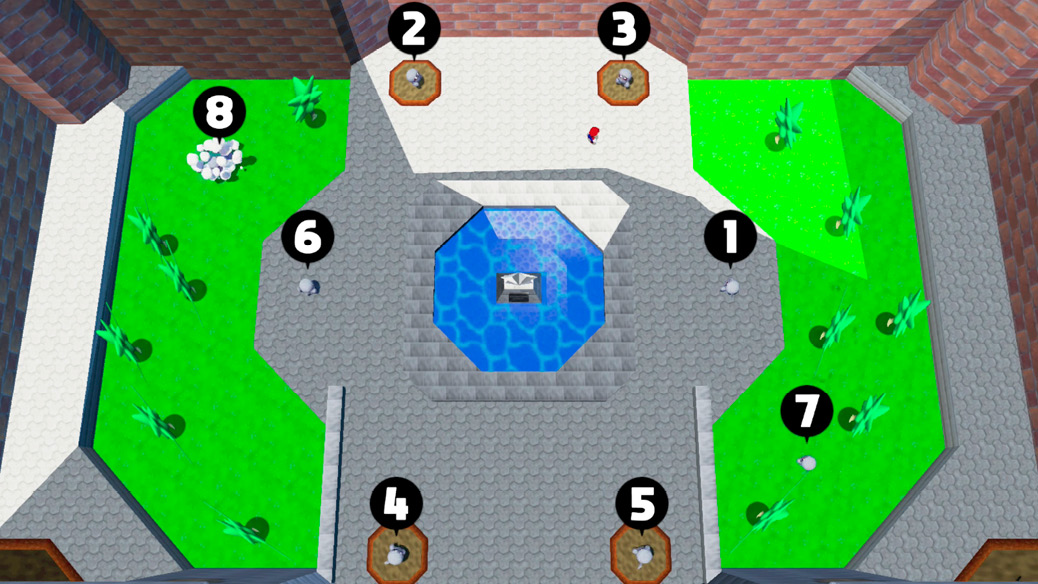
Inside the room Toad won’t open without the Mario 64 look, there’s another Power Moon to dig up. Check out the many treasure chests spread throughout here—they must be cracked open in the correct order for treasure to be revealed. In the wrong order, they all pop open to reveal undead Chinchos, who need to be defeated before the treasure sequence can be retried.
Luckily, a quick tip shows up from an eagle’s eye view to show the correct treasure chest opening order. Pro tip: be ready to tap the Screen Capture button just as the order of all eight chests is onscreen, so a reference map is available right from the console’s photo gallery.
 Yoshi’s Feast in the Sea of Clouds
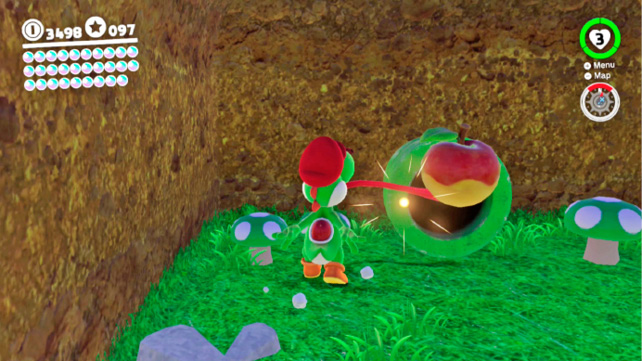
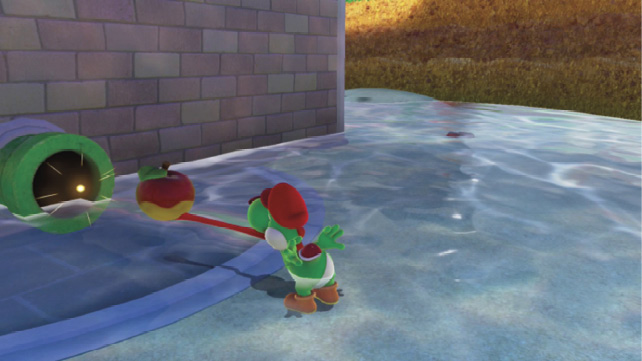
Head a bit southwest from Toad’s garden and look for a drainage cutout in the hill. A pipe is tucked away in here, but is clogged with a Fruit. Come down here with Yoshi and eat the Fruit to allow access to the challenge room inside.
Inside is a room of colorful platforms floating over a dense fog. The clouds can obscure the view of platforms on the lowest level, and the dense mist coating also conceals a vast drop-off and some snapping Maw-Rays.
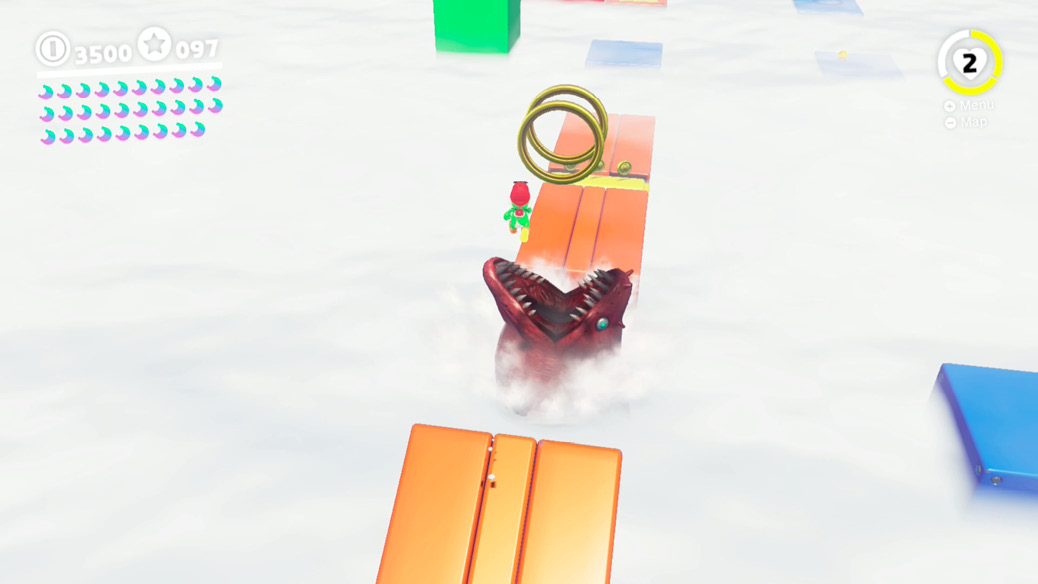
The goal in here is to collect all the Fruits. Yoshi’s flutter jump is very useful for getting around in here, allowing the dinosaur to easily transfer between platforms gracefully, where Mario would require some kind of dive jumping aerobatics with Cappy. And his tongue lets him pull in Fruits from afar, off the edges of platforms or at tongue’s reach from the top of a jump.
On seesaw block platforms, stand on the edge of one side for a bit to get it to dip lower, the run up the other side while it’s still ramped upward, adding crucial height to the starting point of a flutter jump.
 Sunken Star in the Sea of Clouds
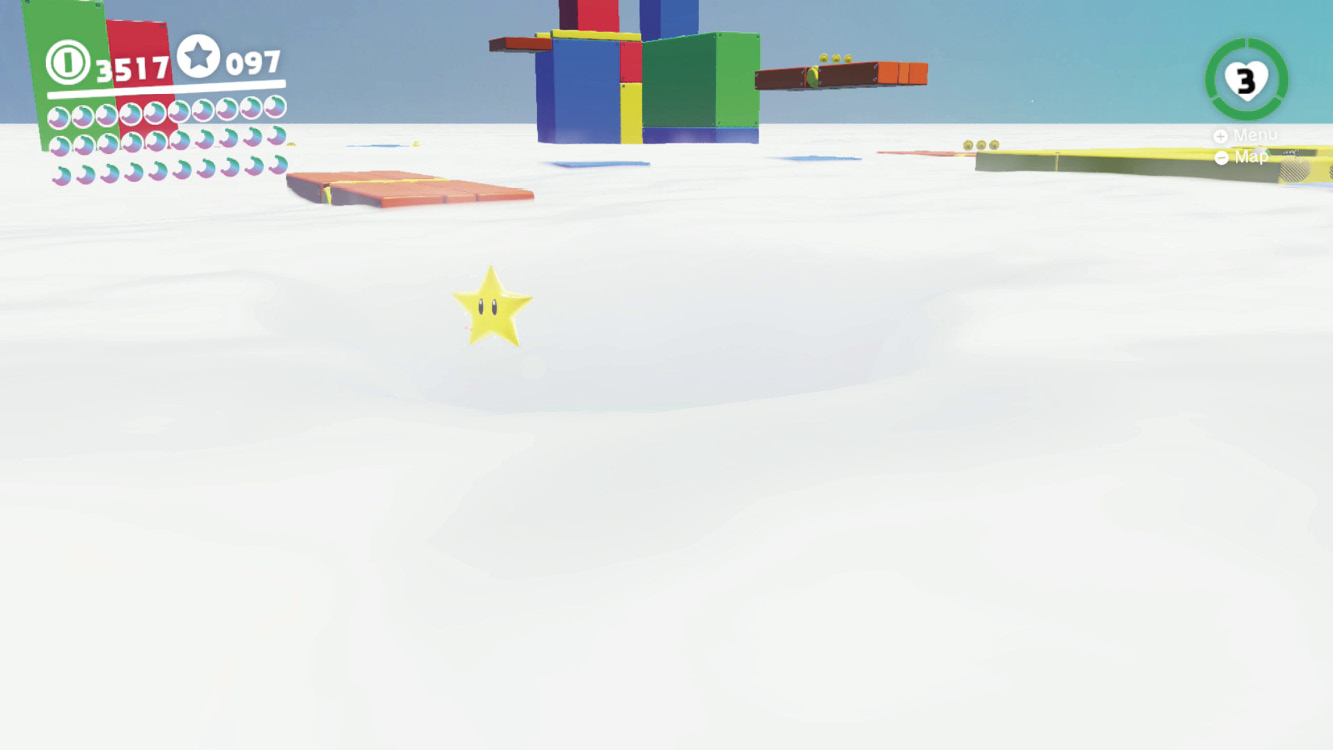
Just under the cloak of mist in the cloud challenge room, a hidden Power Moon can be found not far from the entrance. From the starting platform, simply step off into space from the two-Fruit dropoff. A platform is just underneath the cloudtop. Continue forward to find the Power Moon. This hidden platform can also be found by heading off the edge of the most remote seesaw platform.
 Secret 2D Treasure
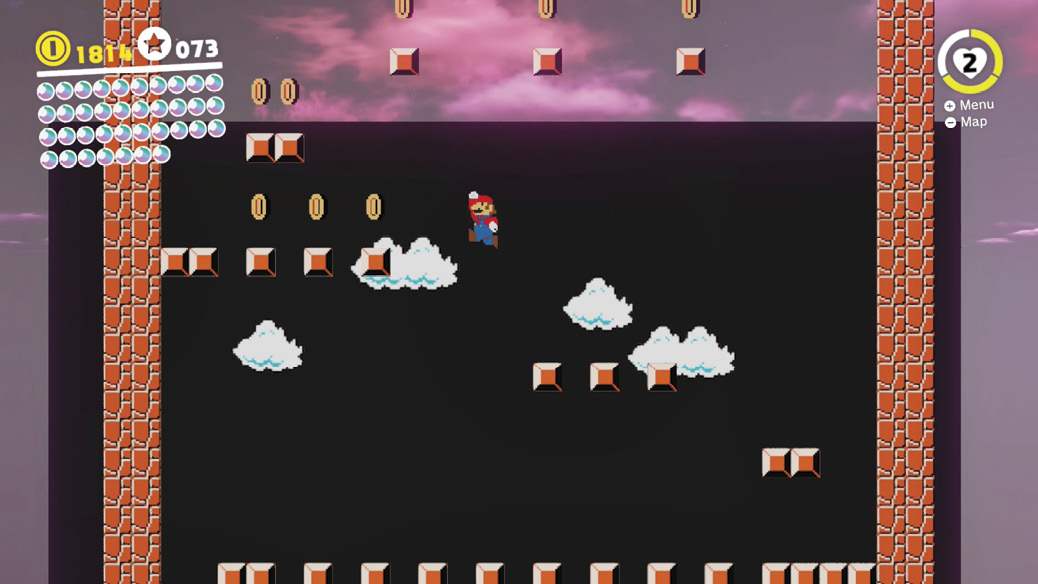
Fall into the wall found near Power Moon #11 on the west side of Mushroom Kingdom and you end up in a strange and dangerous 8-bit environment. Enter the 8-bit pipe before Mario, jump on the far left to pop a hidden block containing a Heart, then proceed to the right to discover something new: Mario can only proceed forward in front of a dark strip of 2D background with 8-bit clouds floating on it. Go outside of the dark square moving patch, and Mario snaps back into 3D form, falling away from the flat 2D plane. Near the entrance, there’s a kind of gutter for Mario to fall into to save him, but later, it’ll just be a sheer drop to doom. Don’t advance more quickly than the 2D stretches of background.
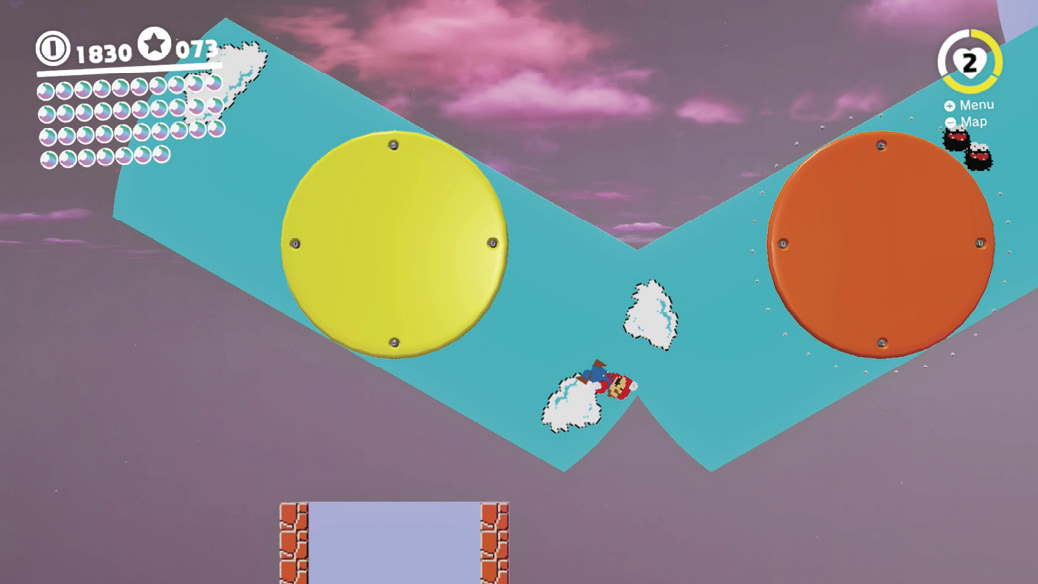
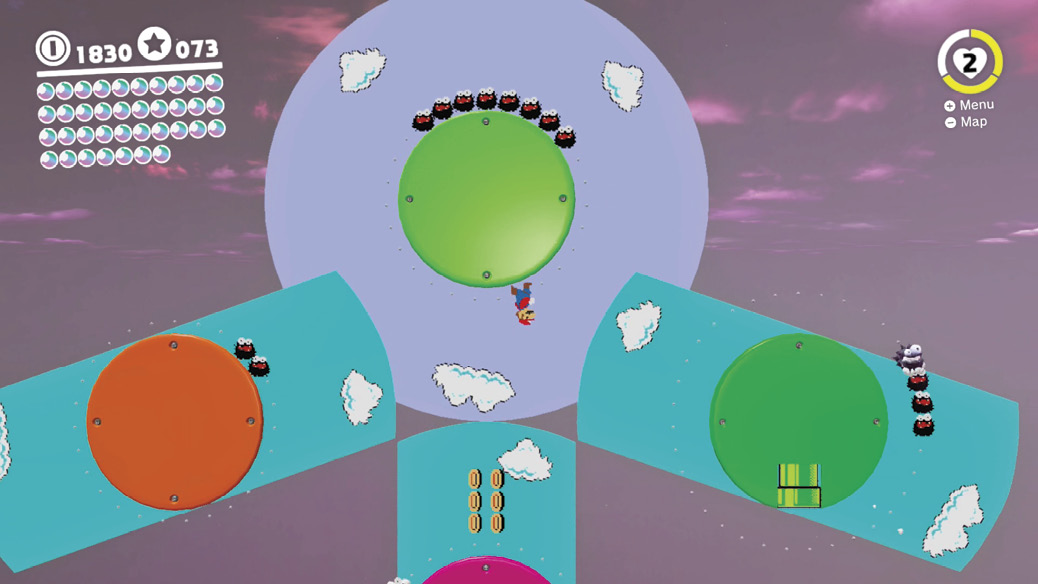
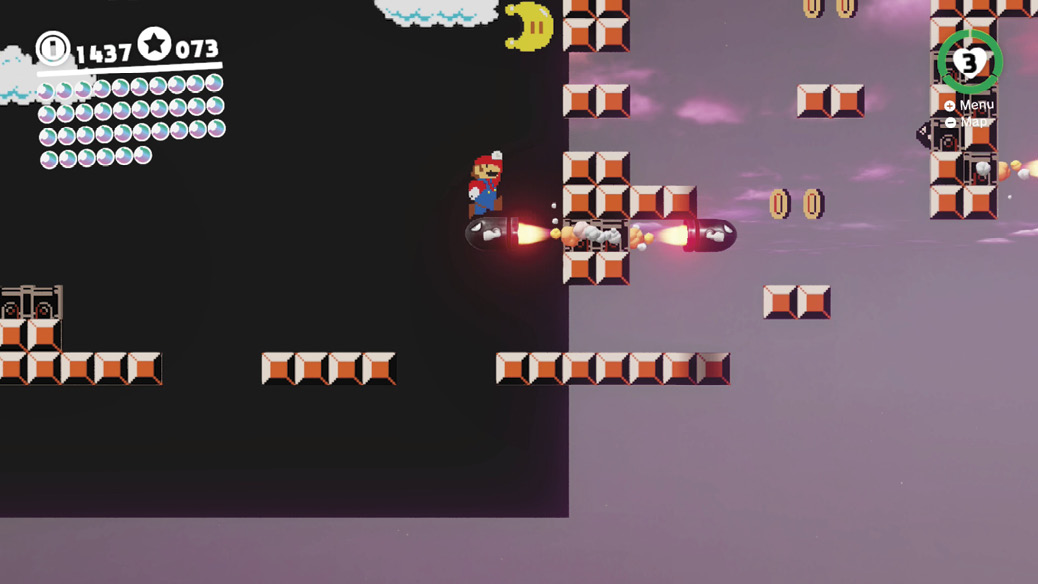
Head right, sticking to the flat background, and navigate a horizontal and vertical stretch of Bullet Bill cannons. Beyond this bullet dodging festival, you find a vertical section filled with steel block platforms with small gaps between them. These stretches can be crossed by dashing with no stops, so run across them holding the Cap Throw button the whole time. Jump to the top of this section along the rising black background.
At the top, Mario is flipped upside down onto a small globe like a tiny planet. Super Mario Galaxy in 2D anyone? Mario runs along the circumference of each of these, with controls adjusting depending on where he’s located. For example, crouching will always be pushing the stick in the direction of the current globe (if this is confusing, the Crouch button still works just fine). Travel between globes is only possible when their flat backgrounds overlap. Time jumps to arrive into the overlapping 2D space and Mario flips from one globe to another. Run around the globes in time with the rotating backgrounds to avoid being booted off the flat plane this far in. Proceed to the right carefully jumping between globes and dodging Fuzzies. The globe farthest right has a pipe on the underside. Navigate to this pipe, ducking under the Fuzzies here as needed, and crouch to find the last secret 2D room containing the Power Moon.
The well’s elaborate 8-bit setup has a Power Moon resting in plain sight fairly early on, in the middle of the Bullet Bill section. The Power Moon is high above anyplace Mario can reach by normal jumping, but is easily grabbed by jumping on top of a nearby Bullet Bill, bouncing high off the stomped bullet to touch the moon.
Boss gauntlet
 Tussle in Tostarena: Rematch
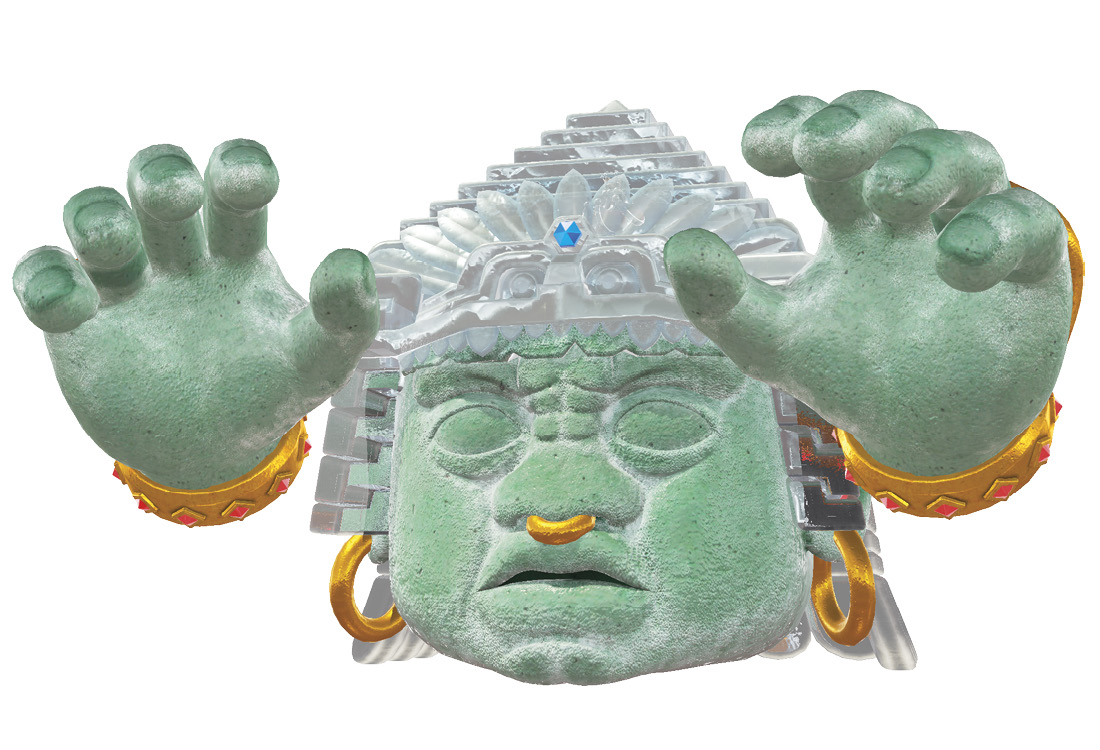
The most centrally-located of the secret painting towers contains a portal leading back to Knucklotec, the fist-fighting stone deity of the desert. He’s not at all interested in a fair fight this time, though. Hordes of Chinchos rise from the ground from all directions throughout the battle, forcing extra attention on where Mario is running toward. Nothing’s stopping undead cloth wraiths from appearing suddenly in his path. Just avoid them or use spin throws as needed to economically clear out lots at once.
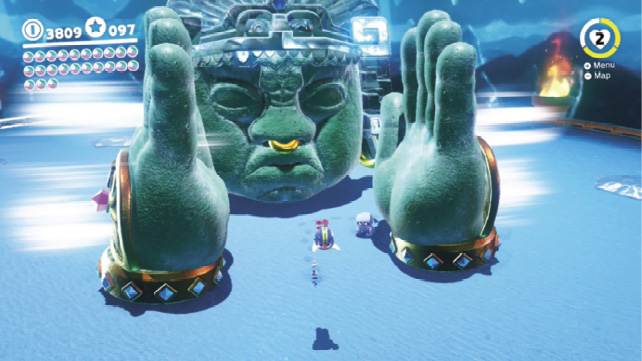
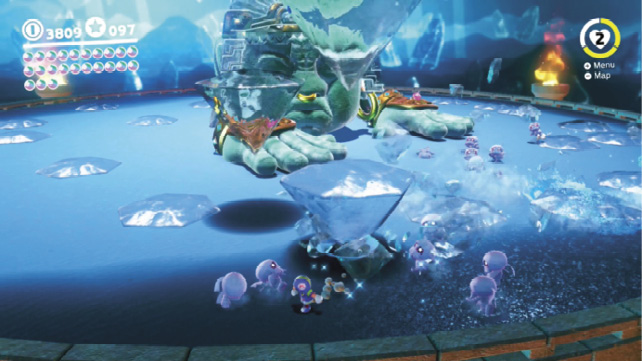
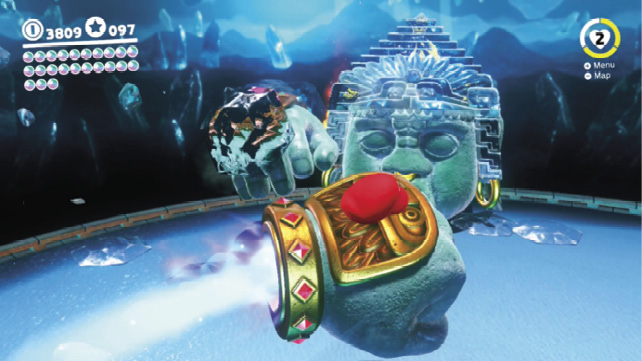
As Chinchos swarm, Knucklotec attacks with punches from above. Keep moving to make them miss, then capture a stunned fist as it recuperates on the ground from a missed hit. Steer Knucklotec’s Fist into Knucklotec’s face to damage it, then run wide to get out of the way of its double-fisted attack as it returns to the arena.
The boss can also slap the ground firmly with both hands, shaking the room and breaking ice stalactites free from the ceiling. These are a danger to anyone in the path of the shadow below. Move fast to get out from under shadows during this phase, continuing to be mindful of Chinchos. If Knucklotec holds his hands apart, palms up, he’s going to slap them together, so move toward or away from his face to get out of the space between them.
Continue looking out for a ground-punching phase that allows you to capture a stunned fist to feed to the face. Knucklotec gets craftier defending itself here, using its remaining hand to swap sides of its face shooting ice as Mario rockets forward in fist form. To avoid the ice and continue closing in on that punchable face, tack back and forth in midair to confuse Knucklotec’s defensive hand.
 Struggle in Steam Gardens: Rematch
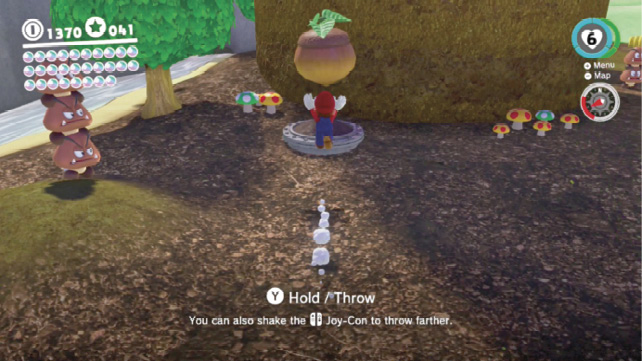
This tower is placed high up a tall dirt column, and takes some doing to access. Search around the base and you find a spot ripe for planting. Look around to the east in Goomba Woods to find a large, plump seed. Toss it into the pot at the base of the column to sprout a big beanstalk, which Mario can climb up to the tower. Enjoy the view, check the backside of the tower for some Regional Coins, then head inside.
 2D Boost from Bullet Bill
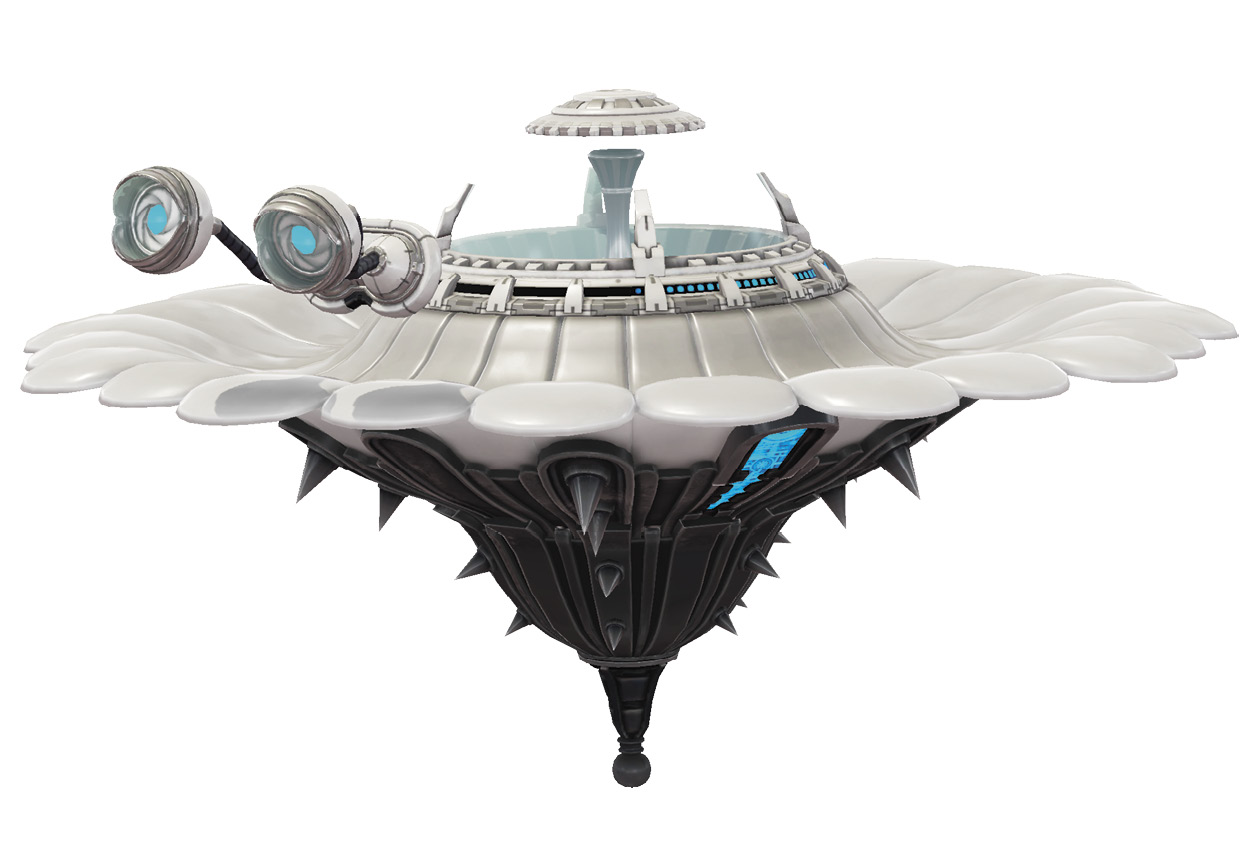
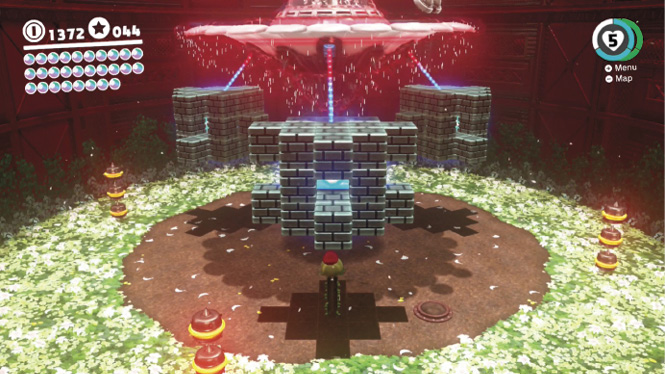
Torkdrift attacks in a replica of Cascade Kingom’s secret flower garden! Mario needs to do battle with him with the help of a captured Uproot. Torkdrift tethers itself to energy cores protected by clusters of brick blocks. Stretch up from below with Uproot to bash through the blocks and destroy each core from underneath. Knock out each core tethered to Torkdrift for a chance to give the saucer itself an Uproot uppercut right from underneath.
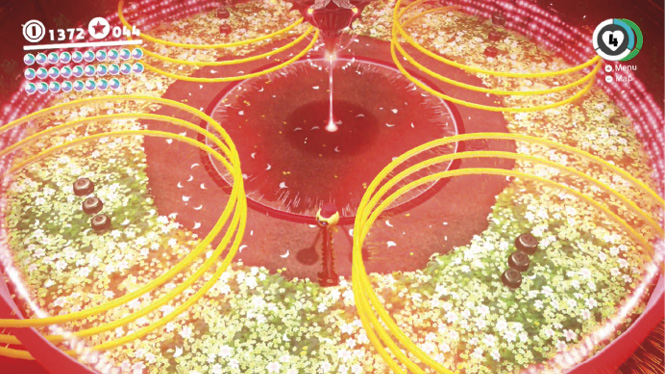
Deliver a full hit from Uproot and Torkdrift reels and rises, blanketing the battlefield in pulse beam waves while it recuperates. Stretch and release over the pulse waves with Uproot’s spindly legs to avoid damage, and just wait out the laser storm.
 Dust-Up in New Donk City: Rematch
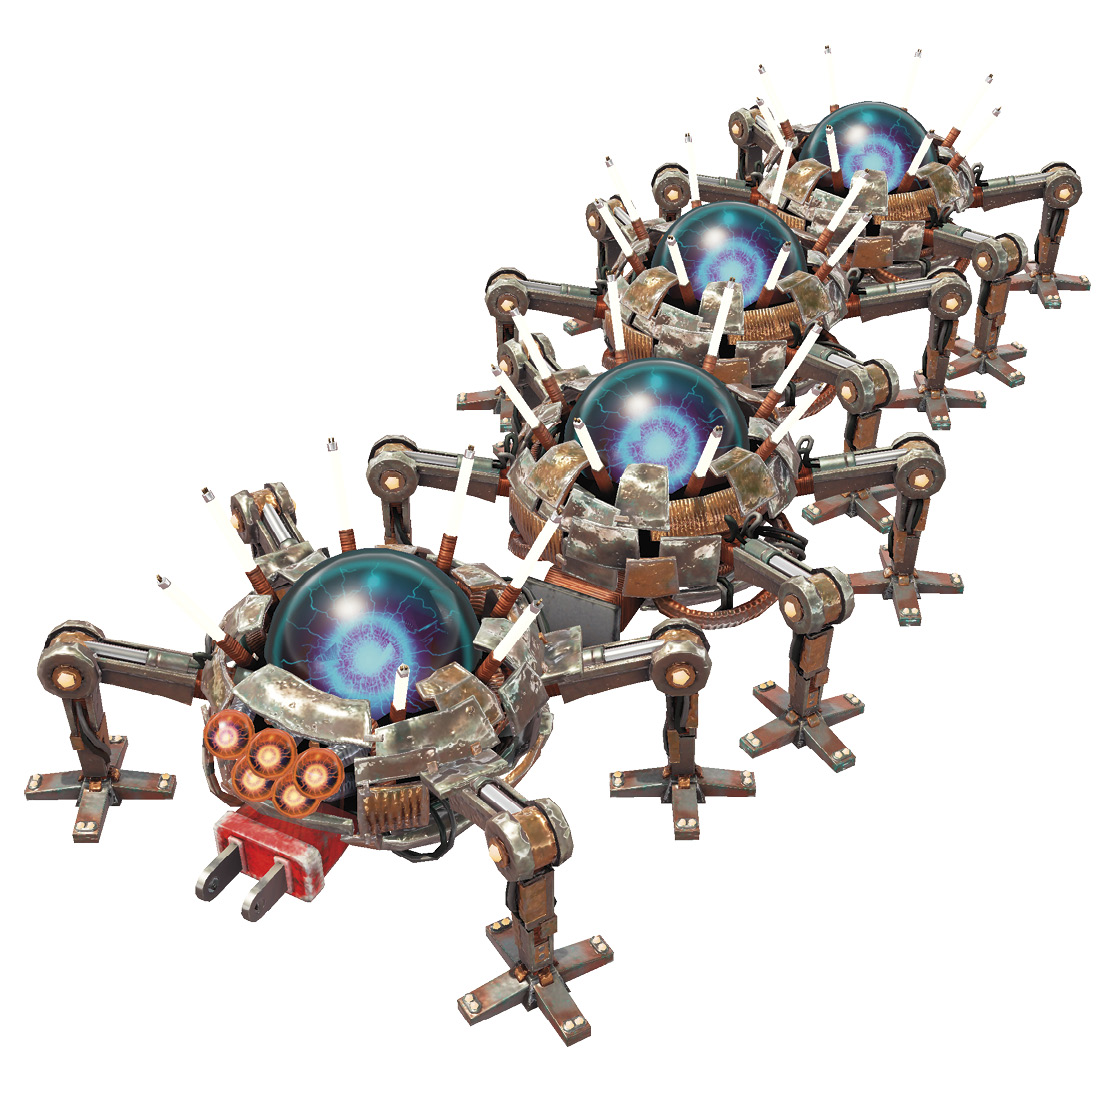
We certainly hope you loved fighting Mechawiggler, because inside the eastern Mushroom Kingdom tower, you get to fight two at once! This ultimate tank battle pits Mario in a Sherm against dual Mechawigglers in a rain-soaked New Donk City arena.
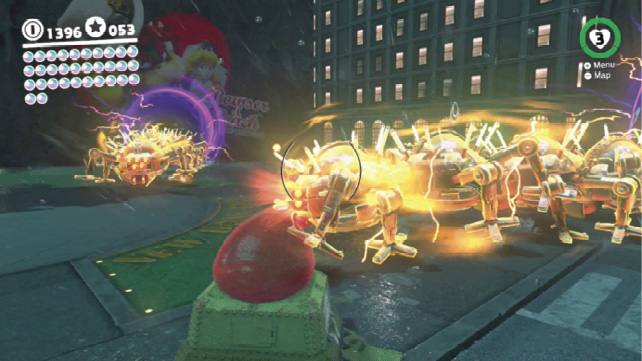
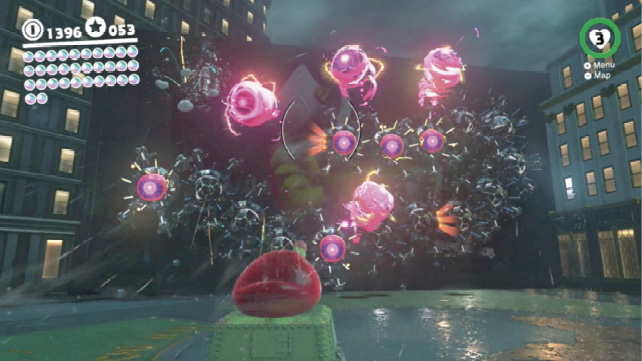
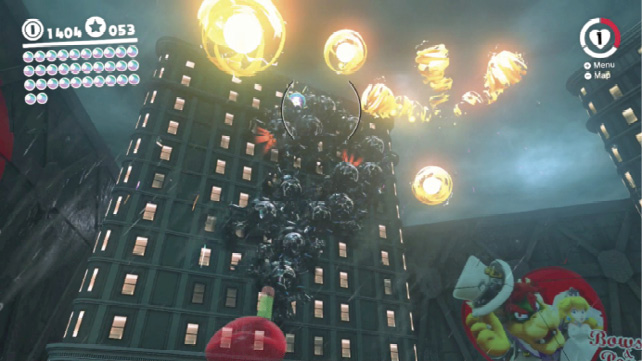
Avoid the converging paths of the dual bosses when they’re emerging from portals to charge across the arena floor. When they emerge to crawl all over the nearby building, blast each glowing segment with tank shots, while also shooting the floating purple projectiles the Mechawigglers output. Allow these projectiles to fully ripen, and they pop into triple mortars that fall toward the Sherm. If the Mechawigglers launch many projectiles and you fail to shoot them down, you’ll have many falling projectiles to dodge at once very soon. On the other hand, shooting these flaming yellow projectiles down can reveal Hearts.
 Battle in Bubblaine: Rematch
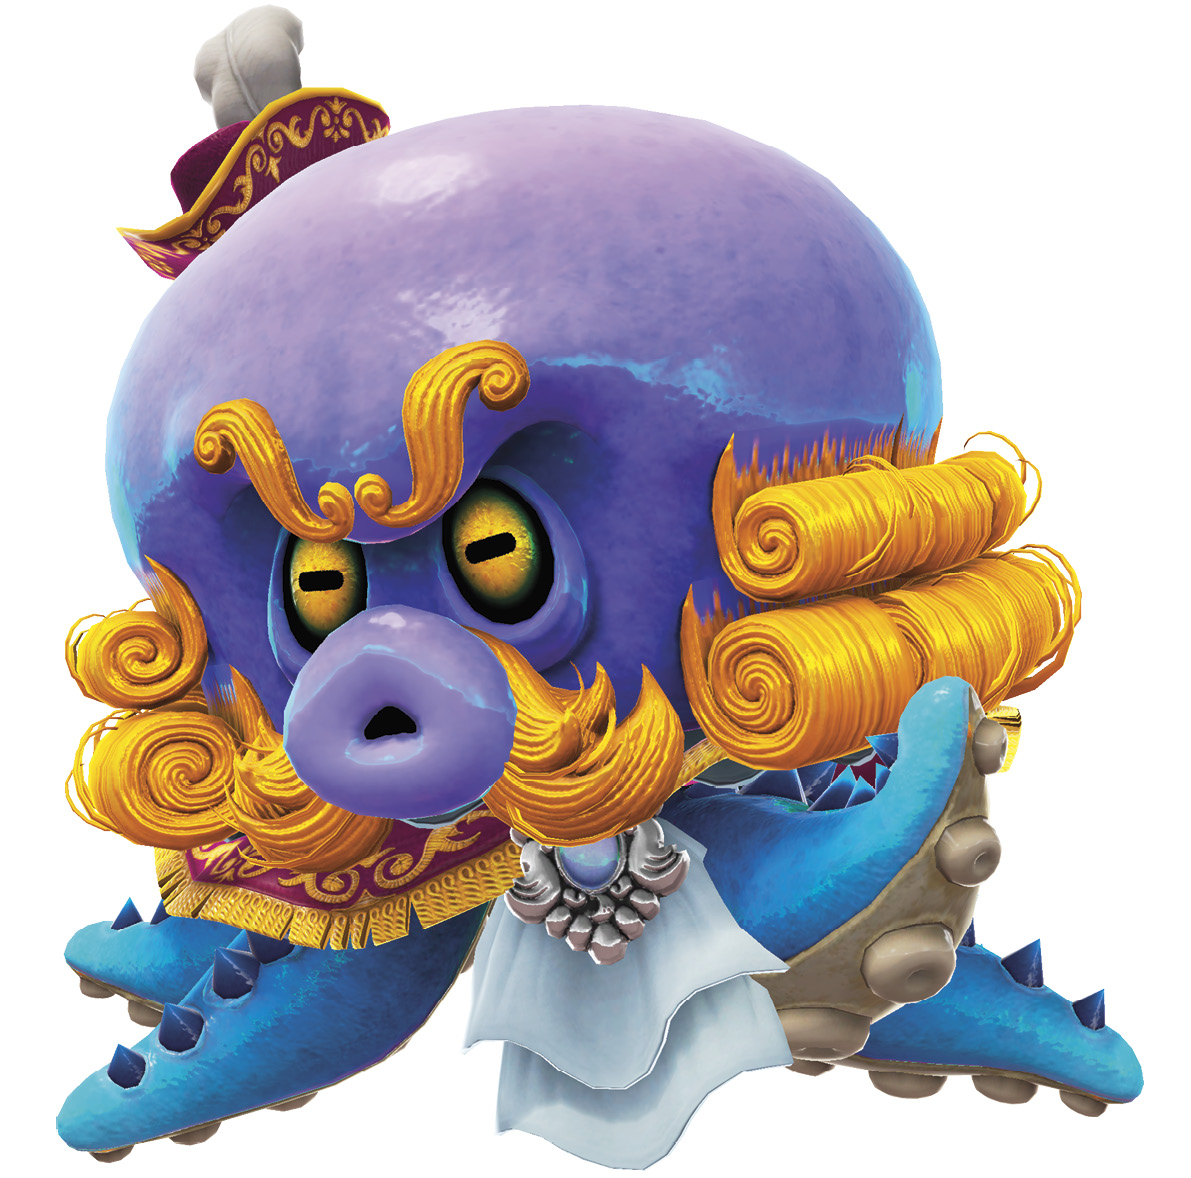
Check out the pipe underwater beneath Dorrie in the Mushroom Pond to find the painting that allows a rematch with Seaside Kingdom’s head octopus. Capture the Gushen near the entrance pipe and proceed to jet upward to Lanceur’s altitude. This battle occurs during a rainstorm, which results in a much improved Gushen—you won’t need to land in water to replenish propellant as the bubble diminishes, so jet around freely.
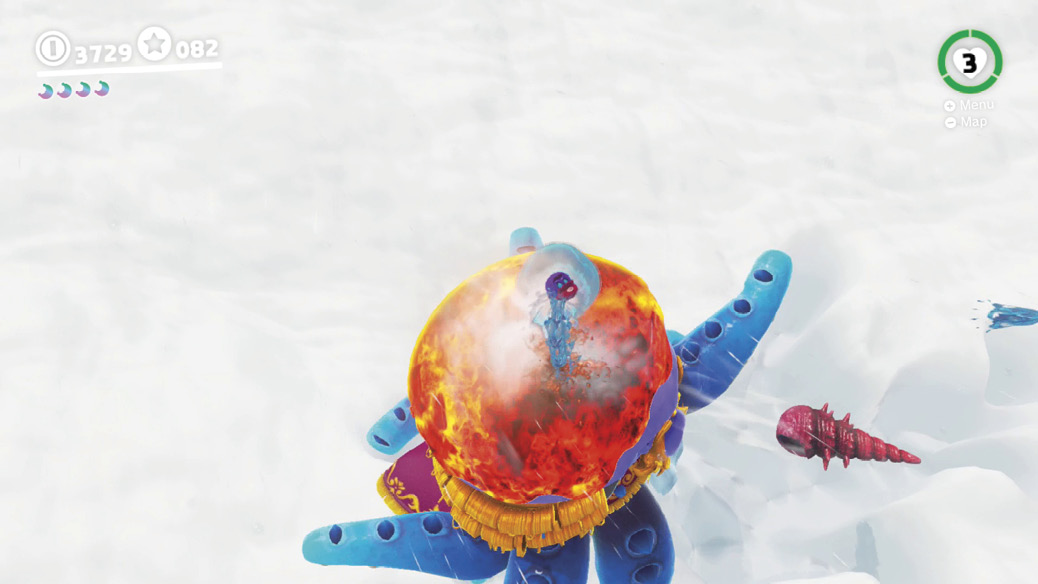
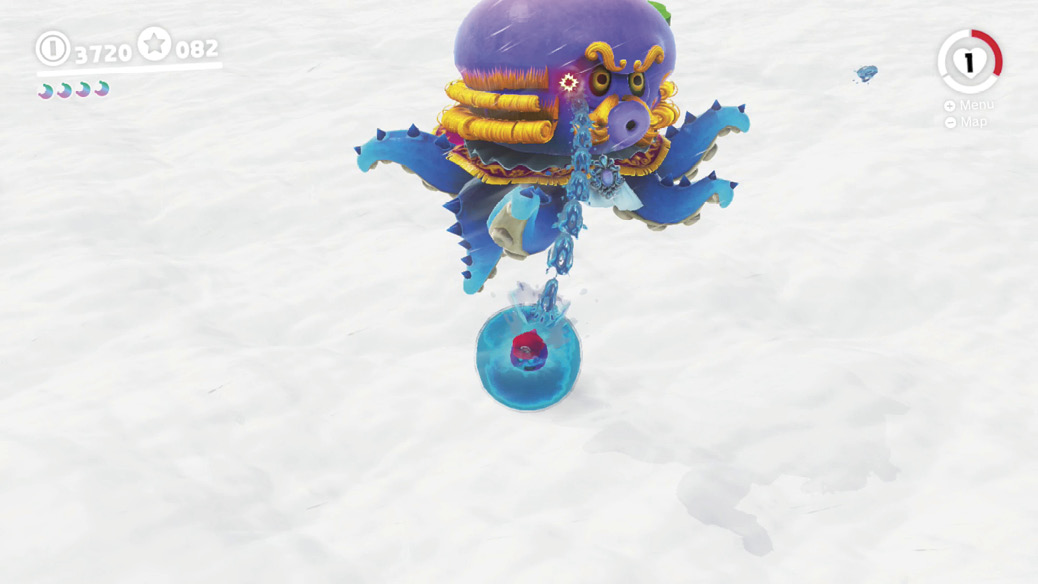
If Lanceur spins around rapidly at Gushen’s altitude, dodge it with horizonal jetting. While Lanceur spins about at a lower altitude, jet above and then jet upward in place to spray a high-pressure stream of water straight down onto Lanceur’s head. Keep up the waterspray onslaught for several seconds to build up enough pressure to qualify as a hit, damaging the king. Dodge its spinning and its drill projectile shots and continue spraying it when possible, either flying up close to it then jetting directly away for lateral shots, or flying above and jetting upward to shoot down.
 Blowup at Mount Volbono: Rematch
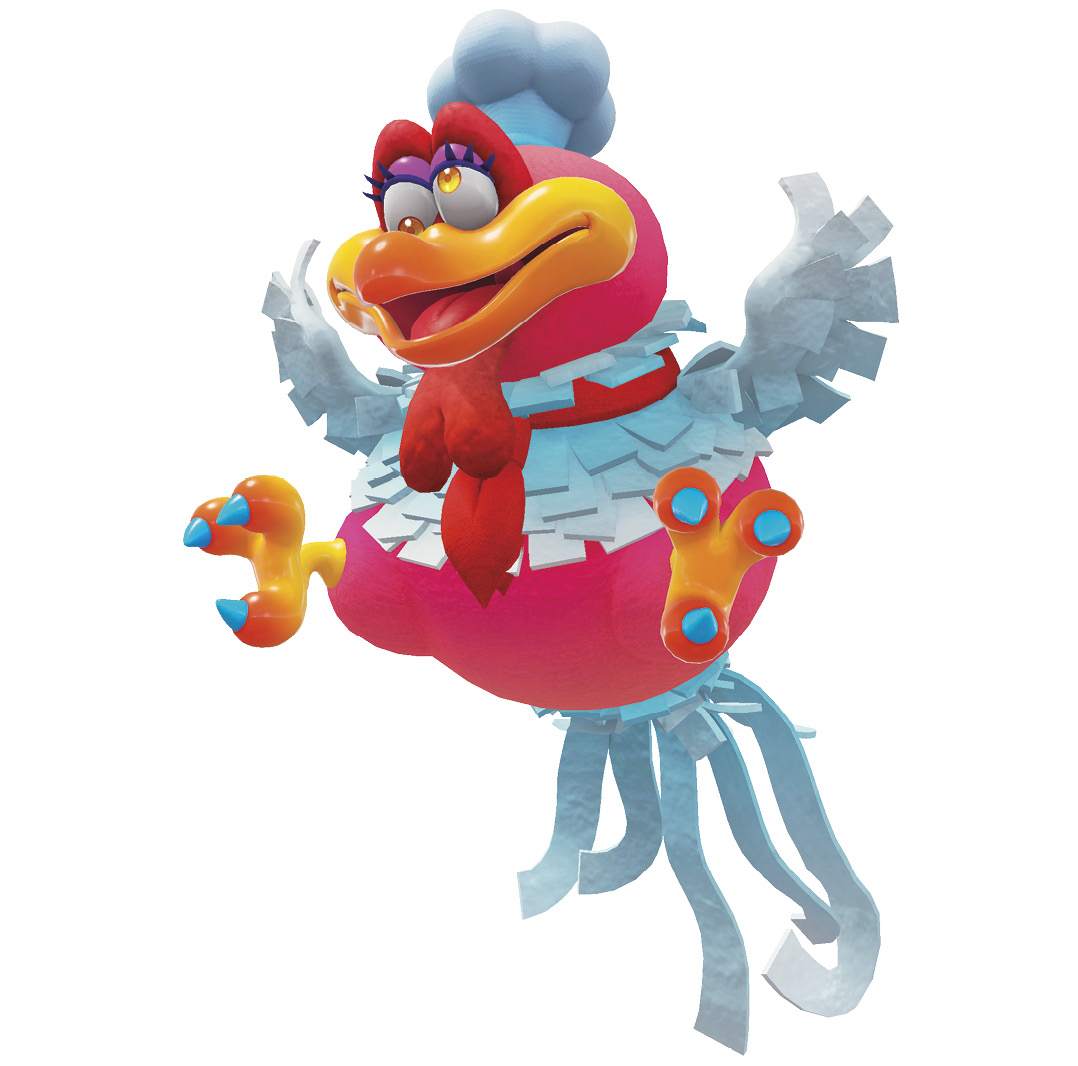
The reprise of the Cookatiel recipe atop Mount Volbona adds a few twists. Three Moonsnakes now spin in the stew, adding extra obstacles to dodge while swimming through the hot liquid as a Lava Bubble. Meanwhile, Cookatiel hovers above and tosses out spike pods, which are not a good addition to this broth at all. Dodge them falling and avoid them while swimming, these unpleasant seeds sink eventually. Cookatiel eventually tires of spitting out spiky seeds, and starts barfing out a nasty stew of its own—which is actually your ticket up to its vulnerable forehead! Swim up the muck with the Lava Bubble, waggling motion control repeatedly to speed burst upward, and run right into Cookatiel’s head to register a bubble stomp.
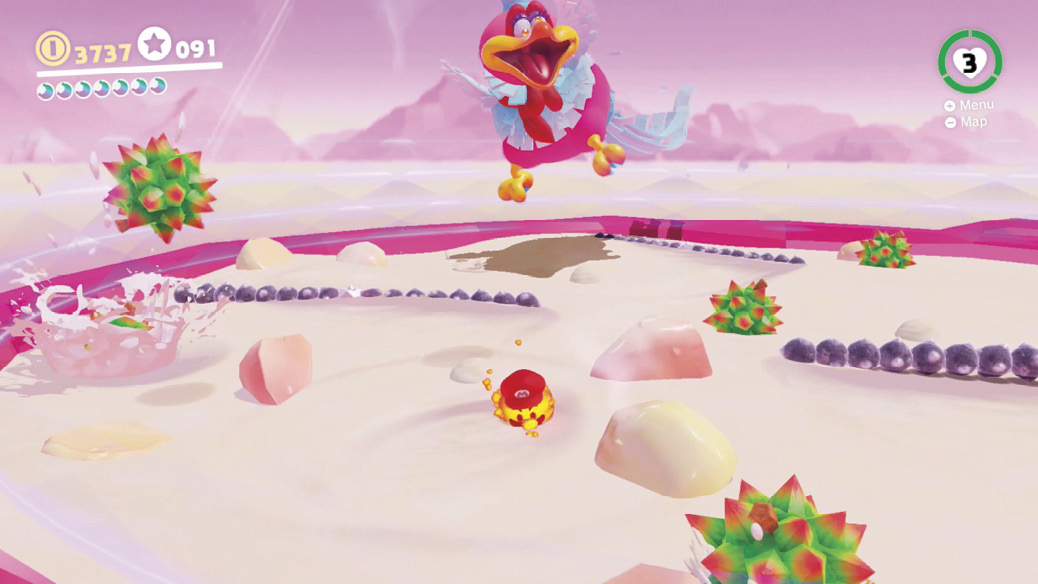
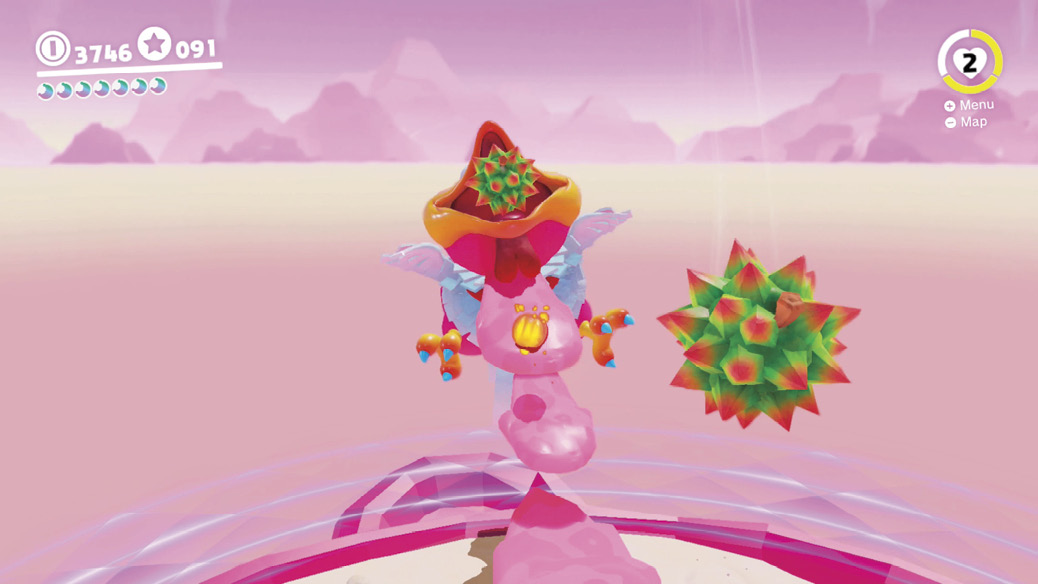
The second time Cookatiel commences to spitting up at Mario, the descending liquid wobbles back and forth in midair, forcing corrections left and right up the stream. The third time, Cookatiel wises up a bit and breaks up the chunks, spitting out only a glob of liquid at a time. This doesn’t account for jumping, though. Leap from glob to glob on a path up to a final hit on Cookatiel’s cranium.
If health gets low, swim around in the stew and break up chunks of food, which potentially uncover Hearts.
 Rumble in Crumbleden: Rematch
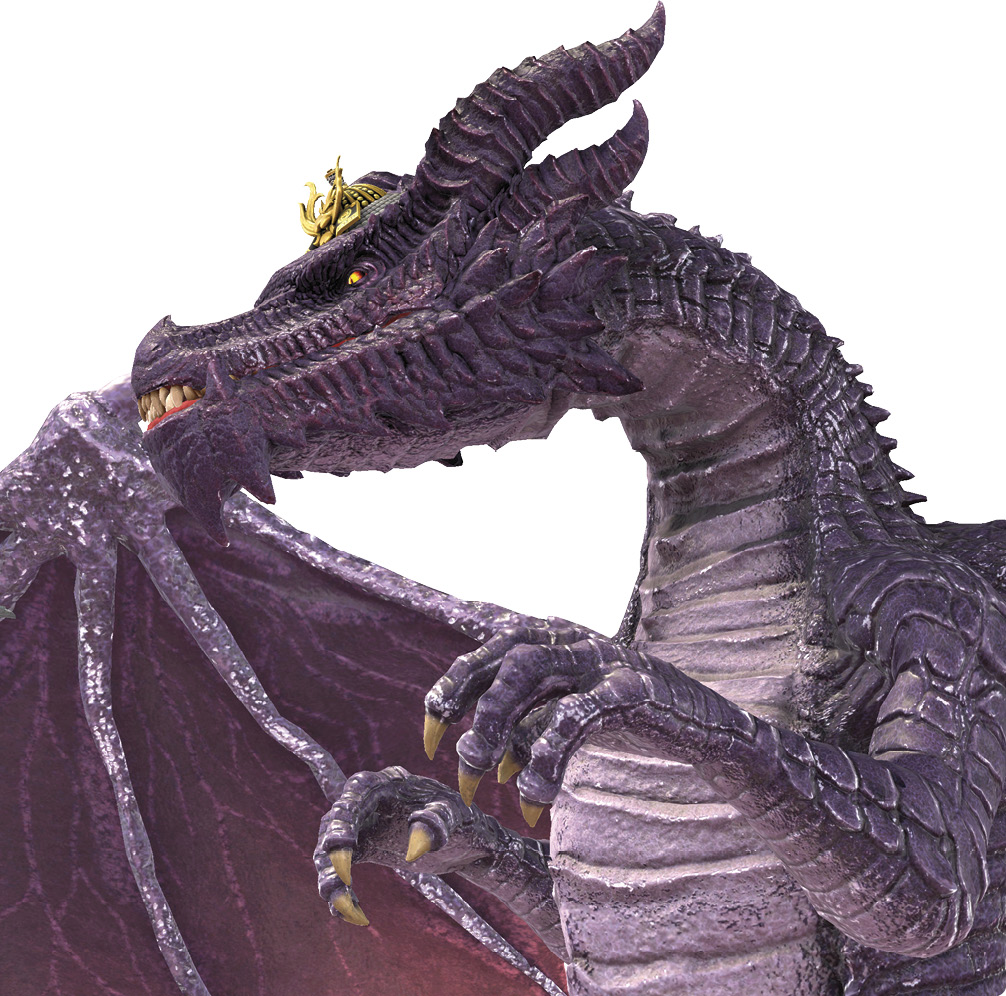
It takes a little uncovering to reveal the path to this fight. First, drain the castle’s moat by popping out all the wooden pegs at the bottom. Next, climb to the castle roof (via the staircase produced by the scarecrow to the west) and capture Yoshi. Return to the drained moat and find a pipe clogged with a Fruit. A certain dinosaur adores Fruits, so scarf it down (which counts toward Power Moons #13-15) then climb inside.
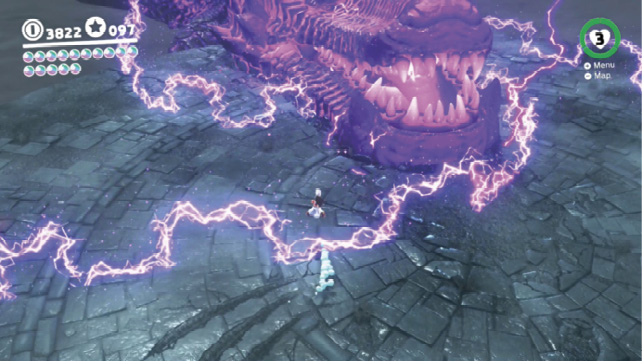
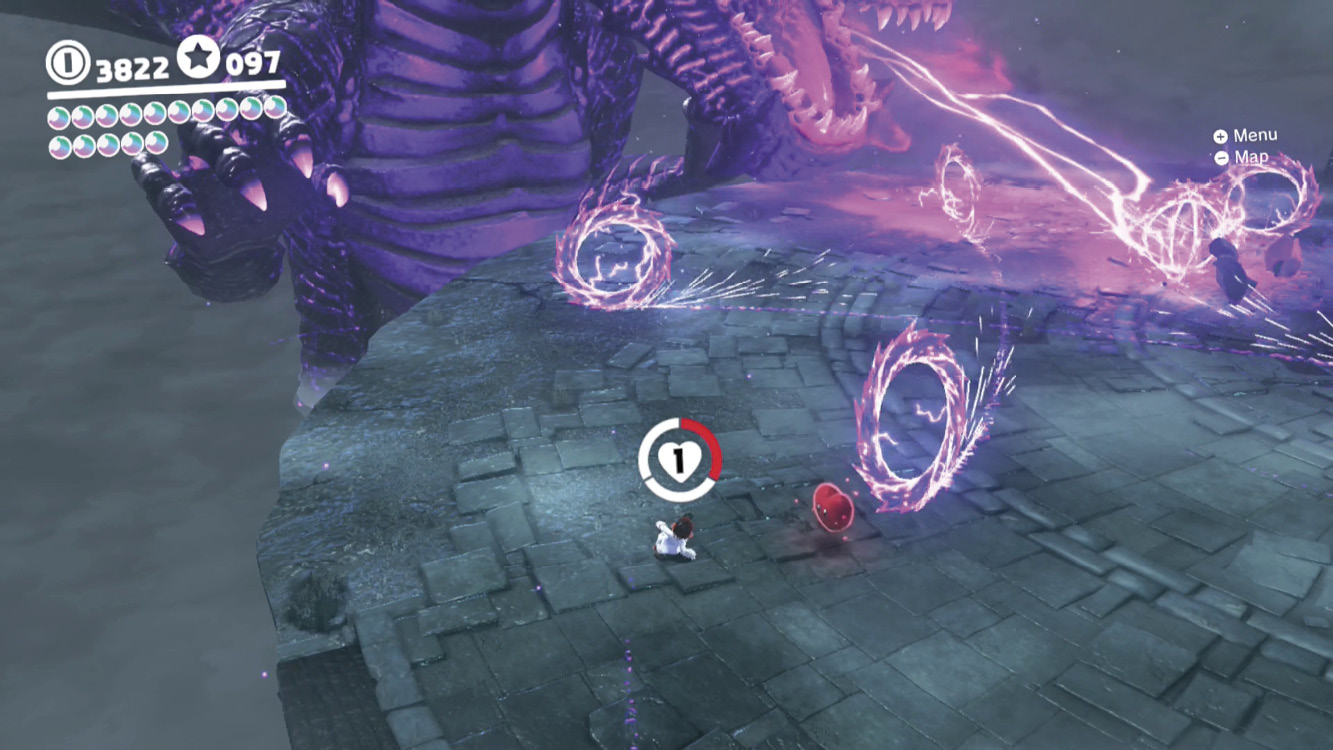
Inside, Yoshi will be gone, unfortunately. Hop into the painting here to revisit the Ancient Dragon. Early on, the huge beast is much the same as before, in the Ruined Kingdom. After it slaps its head on the ground, you find more intricate electric wave patterns along the ground. These have gaps that can be run underneath, rather than jumped over. Instead of having to dodge waves on the ground, you’ll have to gauge whether it’s better to run underneath tall gaps in the waves, or to jump over toe-level waves. Once the dragon has taken a couple of hits, the homing electric rings it shoots out are also more numerous and aggressive.
 Secret Path to Peach’s Castle!
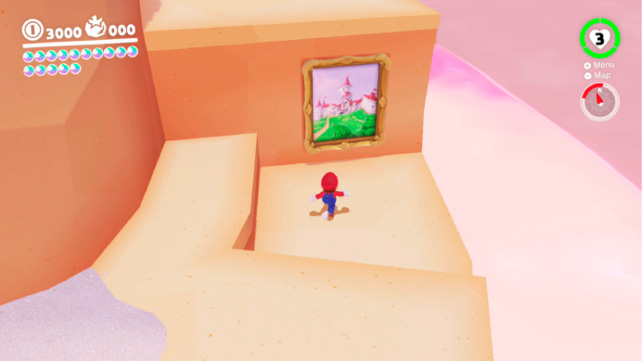
A taste of Mushroom Kingdom can be had much earlier in the game, thanks to a secluded part of Luncheon Kingdom. Capture a Lava Bubble in the vast eastern lava ocean around Mount Volbono, then swim northeast to find an island containing a warp painting. Jump into this image to end up here, on a floating cottage island with a terrific view of Mario’s home region.
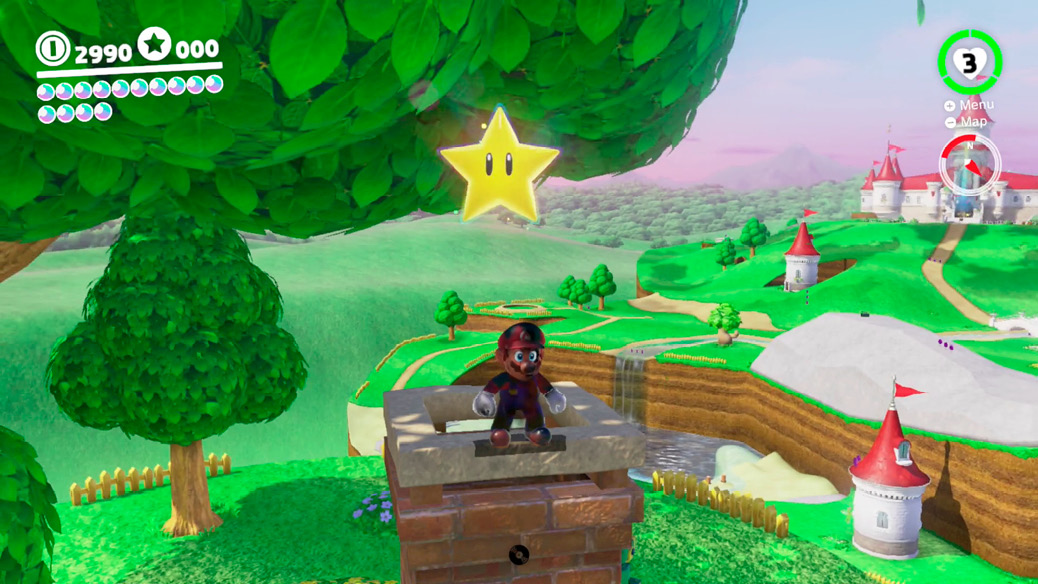
Touch the flag checkpoint here to make it easy to return (well, once you can access Mushroom Kingdom at will). Use Cappy to extinguish the fire burning in the fireplace, then step inside and wall jump all the way up the chimney to find a Power Moon perched on the top of the small smokestack.
 A Tourist in the Mushroom Kingdom!
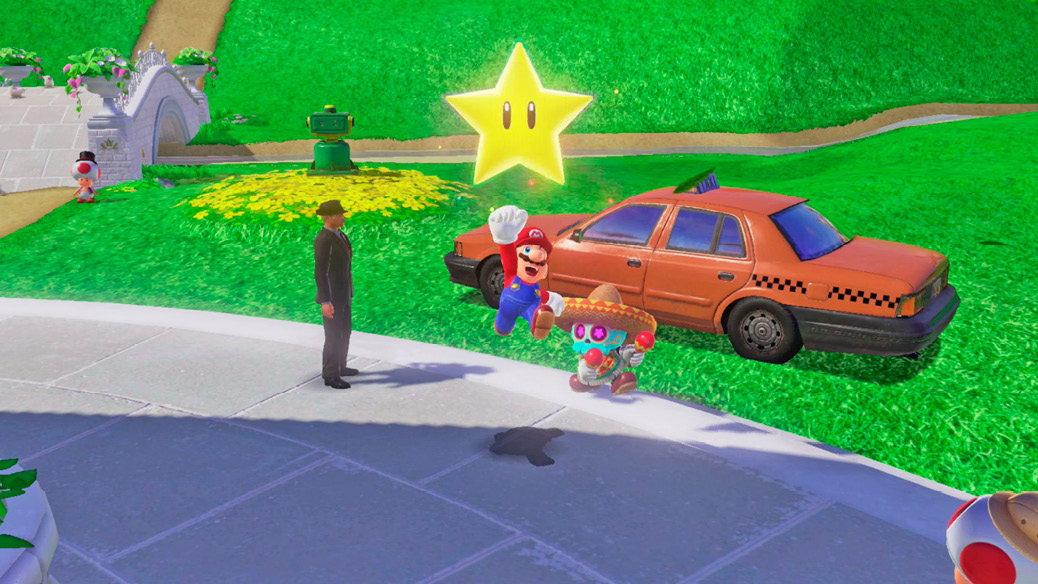
There’s a Tostarenan tourist who takes off on his own world tour the instant the taxi ice is melted enough for movement. This chap sets out on his vacation once you visit him in Sand Kingdom after the main adventure is complete and the immediate threats in each kingdom are fully quelled. He’ll visit several kingdoms each in turn, with his visit to Mushroom Kingdom taking place after he and the cabbie somehow end up on the moon!
 Found with Mushroom Kingdom Art
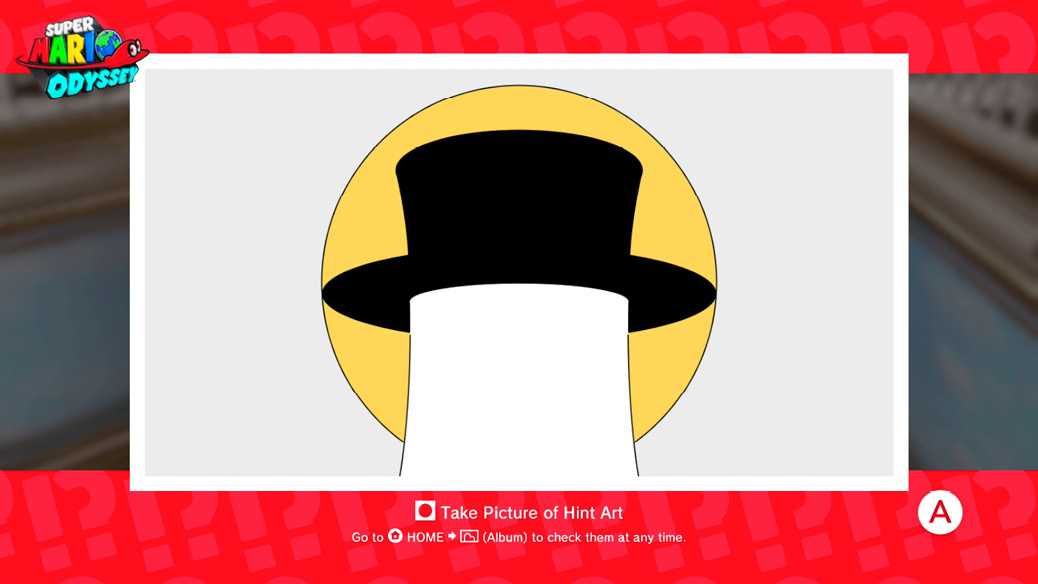
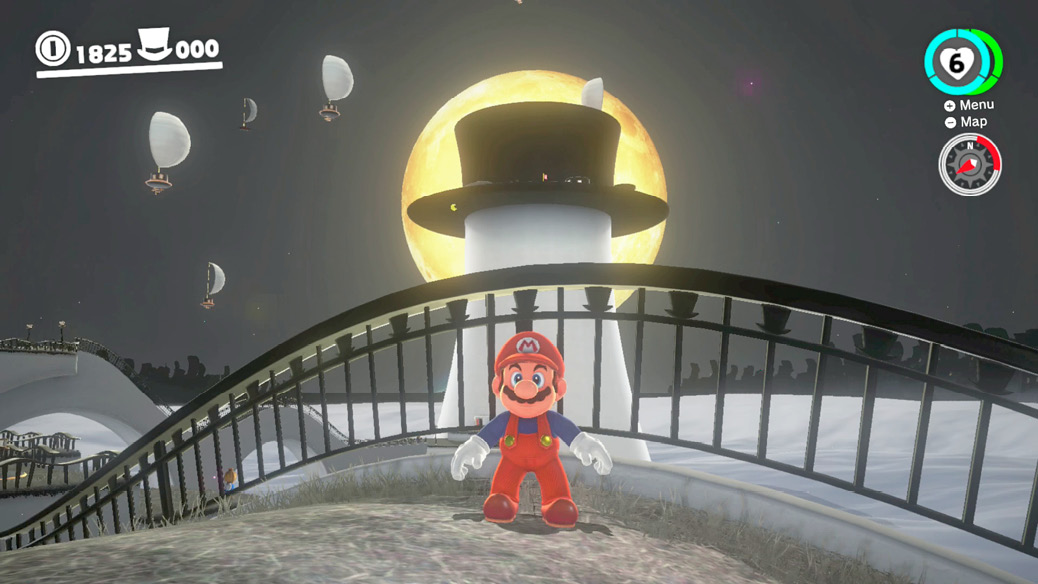
The Mushroom Kingdom’s Hint Art is mounted handsomely inside Peach’s Castle, to the right of the central stairs. Examine the painting to get an idea of where it might be. Keep this clue in mind while exploring the world. This clue is illuminating. Where does something look like the image? Cap Kingdom, perhaps? Find the place in Cap Kingdom where the looming moon and the cap tower can be positioned just like the Hint Art, and you find the place where a Power Moon can be sprung from the ground with a firm ground pound stomp.
 Hat-and-Seek: Mushroom Kingdom
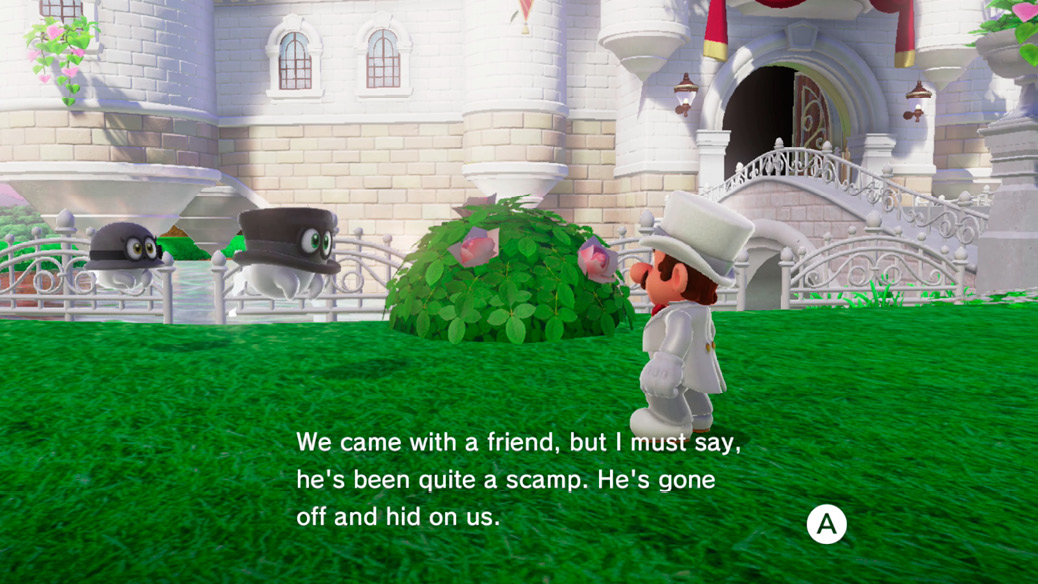
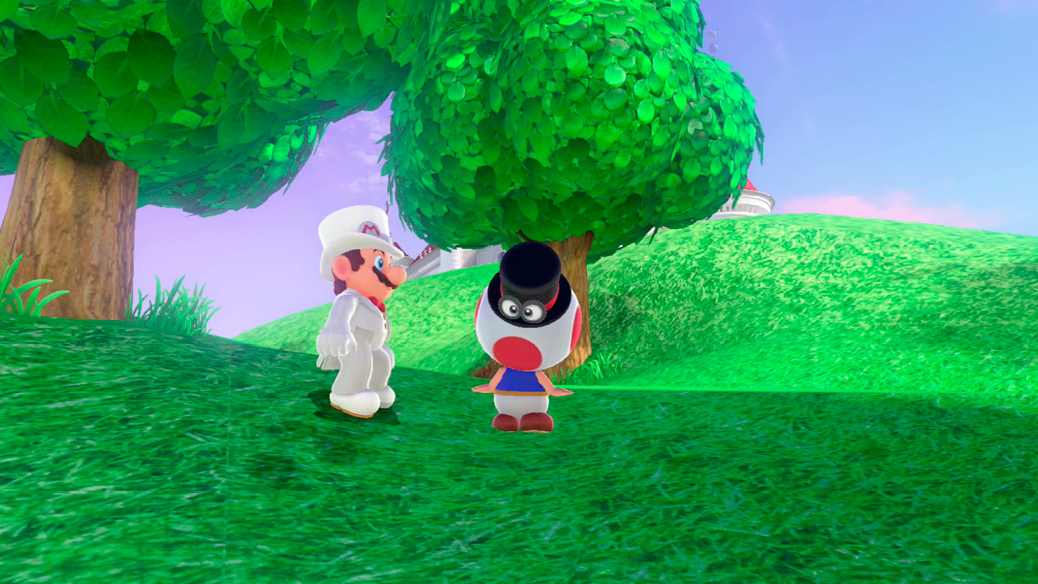
Speak to the concerned Bonneter found left of the entrance to the castle, and he shows concern for a friend he hasn’t seen in an uncomfortably long time. He thinks this missing Bonneter is probably just spending some time as the hat of a local, but isn’t sure. As with Cappy, a sure sign that someone is wearing a Bonneter are the eyes that pop out.
Take a little stroll around Mushroom Kingdom, keeping a keen eye out for any strange-looking headwear. The missing Bonneter can finally be found atop a Toad in northwest Mushroom Kingdom.
 Princess Peach, Home Again!
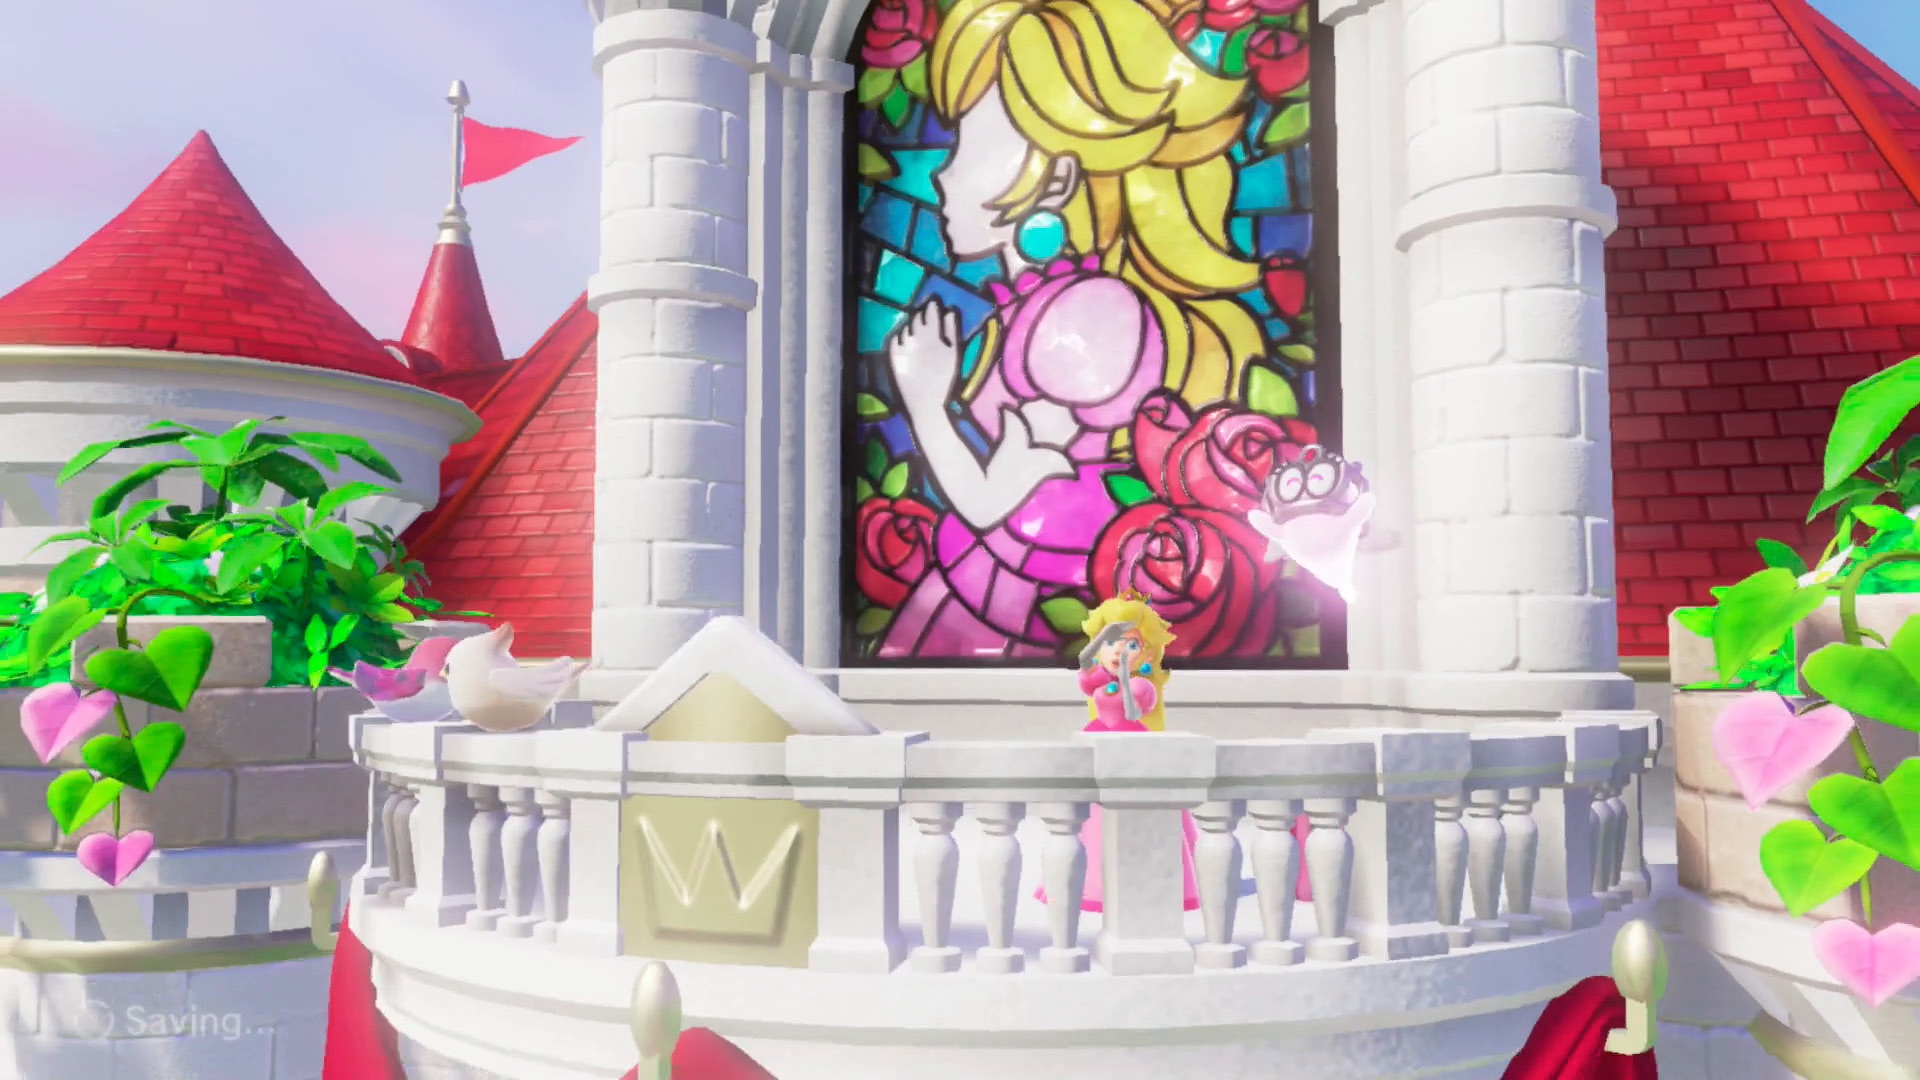
Completing the adventure and restoring peace and order to the kingdoms doesn’t satisfy Peach’s own curiosity to see the world. She sets off with Tiara and a suitcase full of region-appropriate outfits to explore all the kingdoms. Not until Mario has visited Peach and Tiara in each kingdom does Peach return home to her castle, the travel itch scratched. Once she’s back, she and Tiara can be found on the balcony outside, just in front of the gorgeous stained glass portrait window of Peach. Pay them a visit to reflect on what a long, amazing trip it’s been, and to snag a final Power Moon from tourist Peach!