
Super Mario Odyssey Guide Luncheon Kingdom
Power Moon Locations
 Power Moons
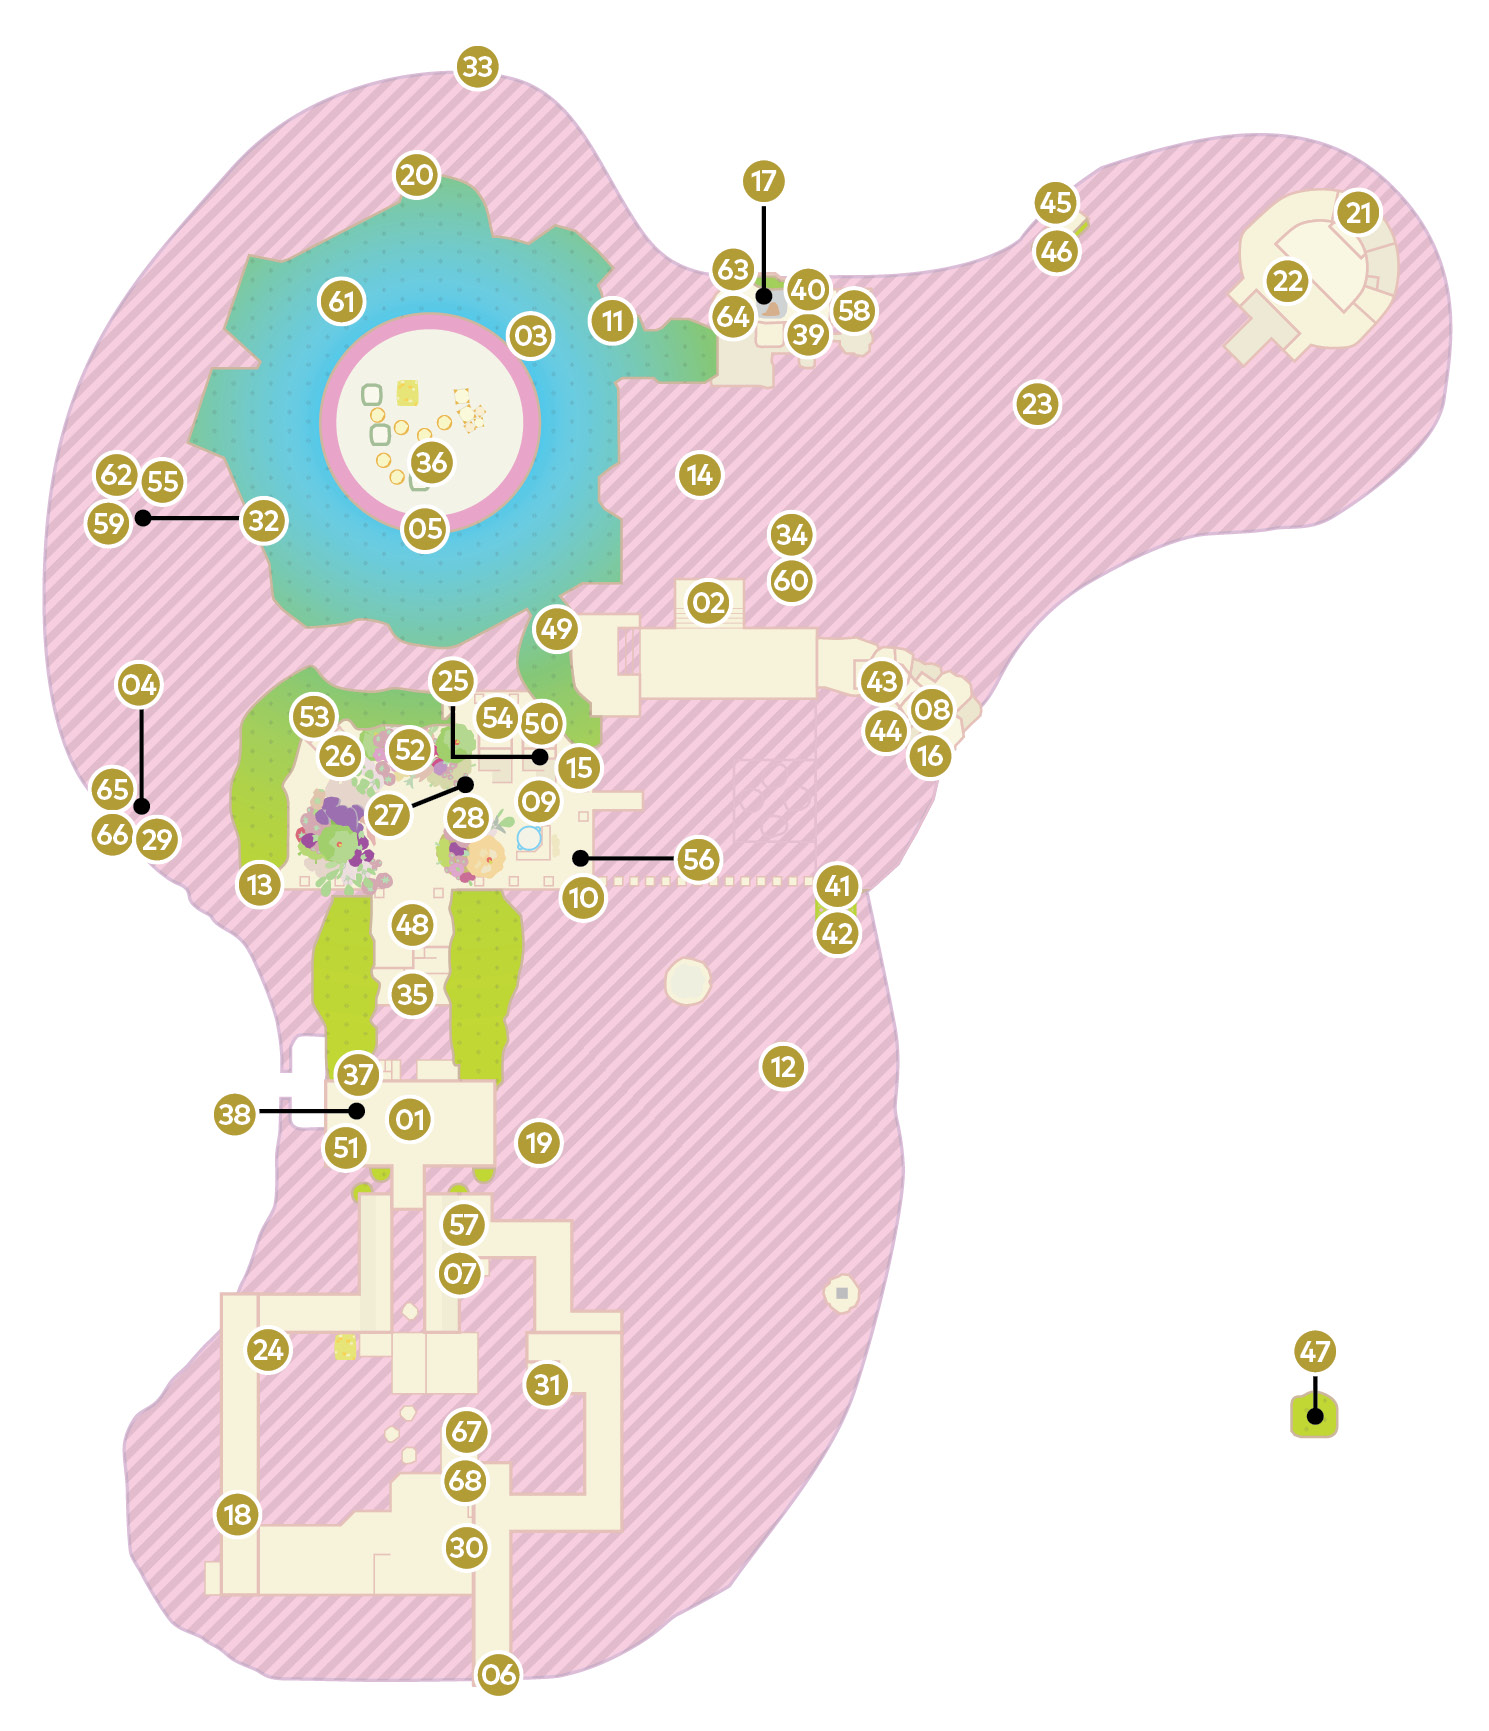
There are 68 Power Moons in Luncheon Kingdom. Power Moons#01-05, 09, 10, 15, 24, 25, and 27-29 were obtained while ridding Luncheon Kingdom of Cookatiel and the Broodals. This leaves the Odyssey one short of enough moons to continue onward, if no other moons were acquired. If this is the case, check the roofs of the old buildings in Old Town for several Power Moon opportunities, like #06, Piled on the Salt. Consult "Mario's Itinerary" section in this kingdom chapter for more help.
 Piled on the Salt
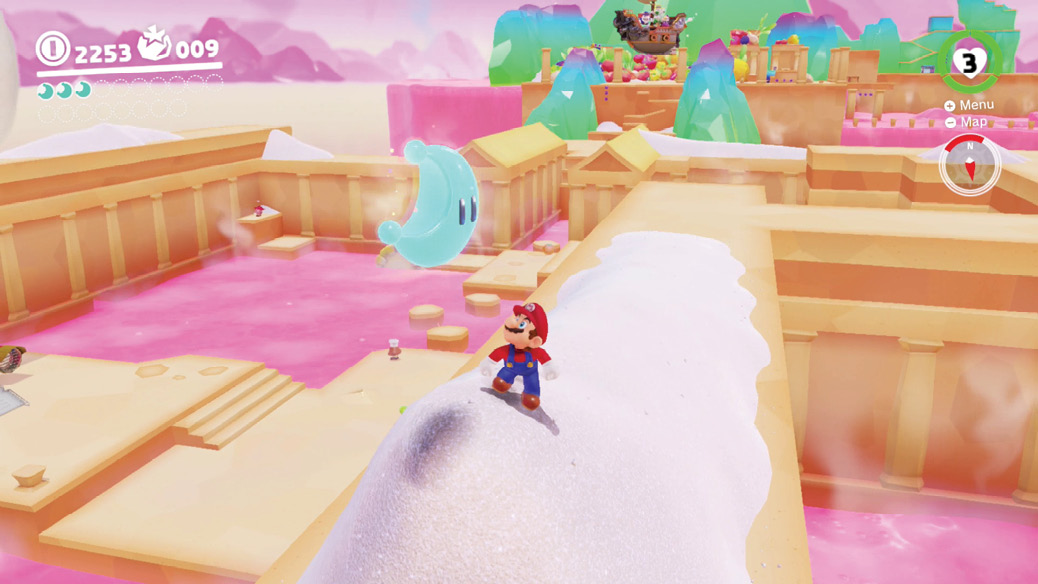
From the flat arena in Old Town, hop on the ancient roof that stretches down the side opposite the Odyssey, on the eastern side of Old Town’s landmass. Follow this roof all the way to its terminus overlooking the lava below to find a big pile of salt on the end. This Power Moon hovers above the salt, and at this point would go nicely with something sweet.
 Lurking in the Pillar’s Shadow
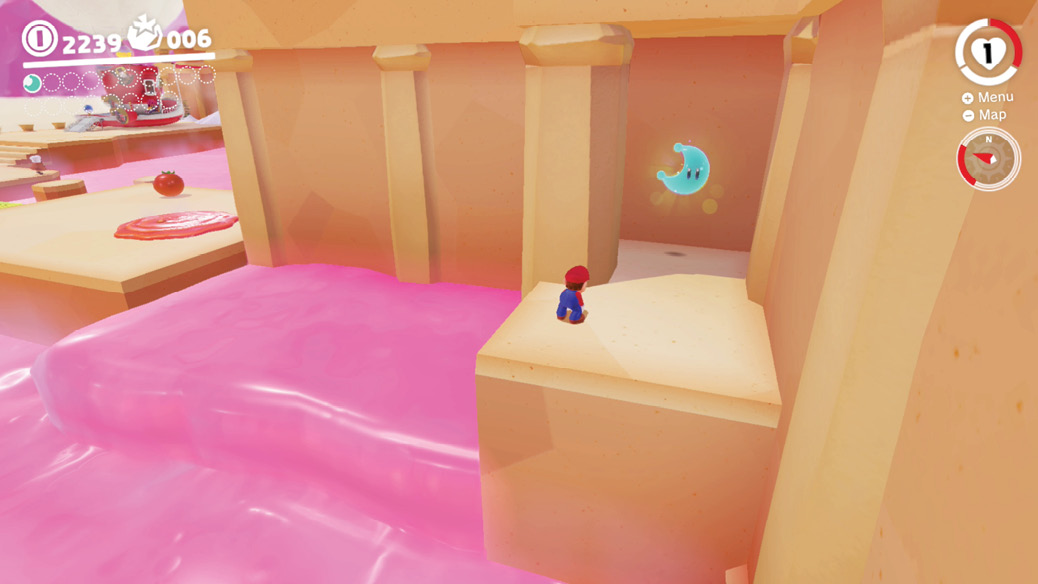
Right in the first plaza-like space in Old Town, a Power Moon hovers around a short, forgotten corner. Use an extra-long jump to cross to the platform on the opposite side from the corn, where a fissure on the ground coughs up eight coins if slammed. Stand on the platform and capture the Lava Bubble springing up nearby and swim just a bit north into the little acid-waterway to see the small platform and corner on the left, and leap out of the liquid behind the column to get the Power Moon. In the shadows no longer!
 Atop the Jutting Crag
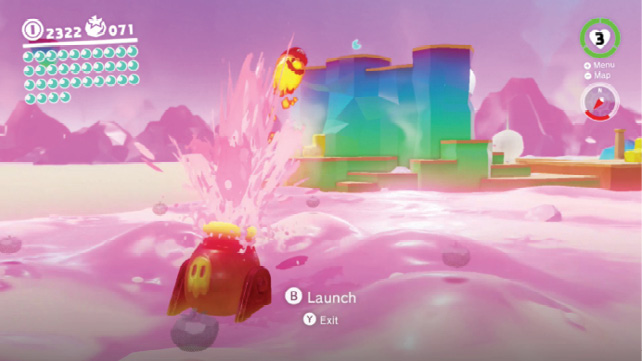
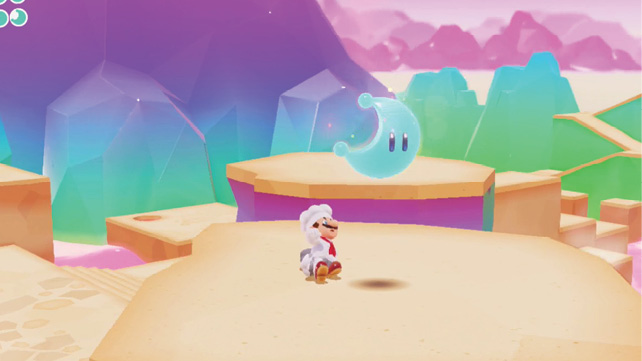
The forbidding, unsculpted rock in the east seems to have no way to scale its sheer surfaces, at least until you explore the lava north or south of the narrow mountain in Lava Bubble form.
Lava cannons throughout the region can place Lava Bubbles in distant or remote landing spots while offering scenic views along the way. A couple of these cannons launch bubble-Mario over the top of this big crag, where normal climbing won’t reach. Of course, the soaring arc of the launched Lava Bubble carries it well over the little mountain. But it doesn’t have to carry Mario with it. If you ditch the capture at the top of the arc by pressing the Crouch button, Mario begins falling. Guide him toward the top, throwing Cappy for a little pull then tackling to help making it over. After a safe landing on this precipice, look for the Power Moon in the center, noting the small grove of sprouting seeds on the far end.
 Surrounded by Tall Mountains
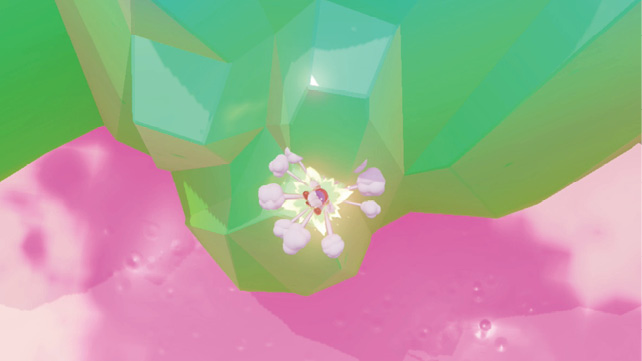
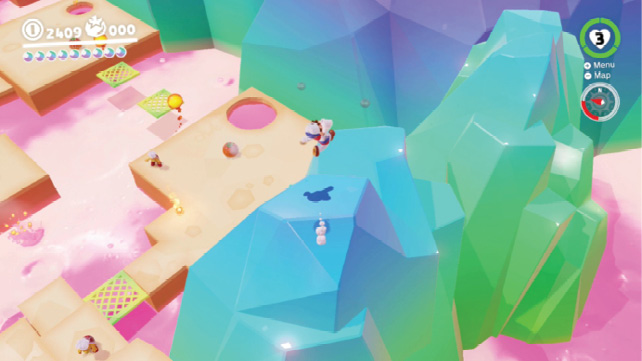
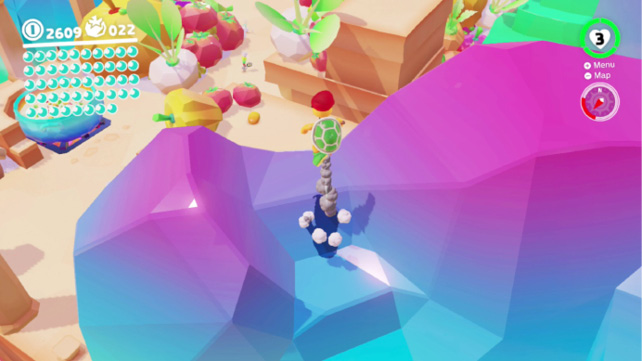
Travel to the lower portion of Mount Volbono’s back half, relative Peronza Plaza. You can either just hoof it here, past all the Fire/Hammer Bros, or you can warp to Meat Plateau’s checkpoint flag. The jagged rock surfaces here, which seem like rock candy, are more easily climbable than normal rock-like mountains. Climb the blue rock upcropping, looking ahead for a green counterpart. Look for the lowest platform-like footing on the back of the green mini-mountain. Jump across to that section and ground pound it to uncover the moon.
 Island of Salt Floating in the Lava
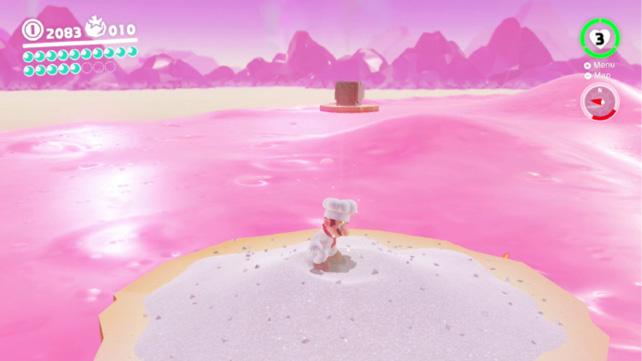
This one is extremely difficult to puzzle out, but hopefully Talkatoo gives up the name as a helpful hint. For a lead, look for an island of salt floating in the lava. The one in question is near Salt-Pile Isle, where an eastern sea warp flag sits. An almost identical island nearby is only lacking a warp flag to be a twin. The glow also gives away that something else is going on. Ground pound the little platform for the Power Moon goods.
 Overlooking a Bunch of Ingredients
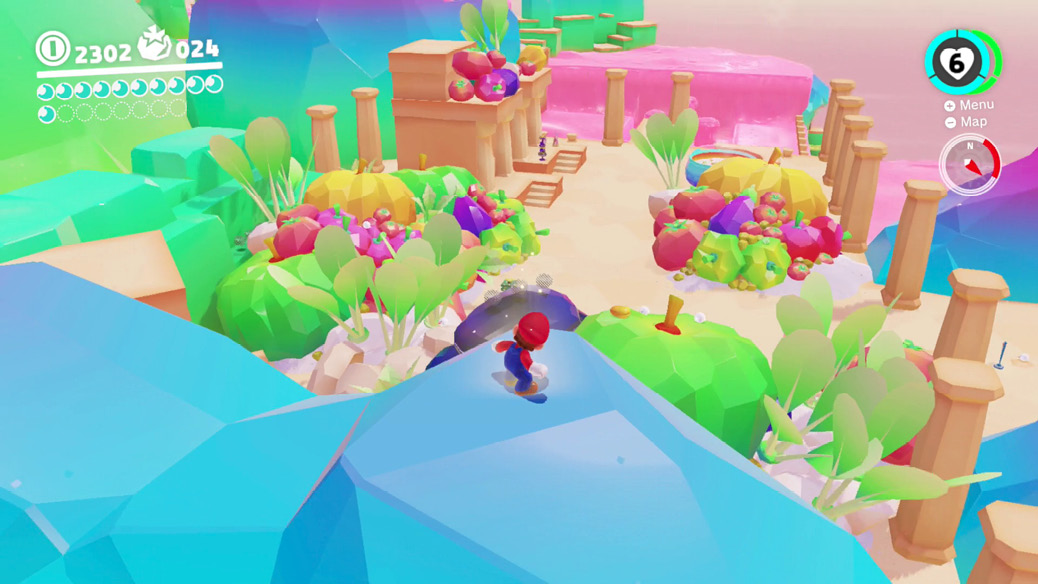
High above Peronza Plaza, a rock wall curls around from the northwest to the west, shading from green to purple to blue. Although there are lots of steep angles trying to climb around on the candy walls around Peronza Plaza, they’re more compliant with sheer climbing than similarly-sloped walls in other kingdoms. Climb up and curl around to the blue tip of the ledge, with all of town down below to the east, and ground pound the glowing spot here to knock free a Power Moon.
 Light the Lantern on the Small Island
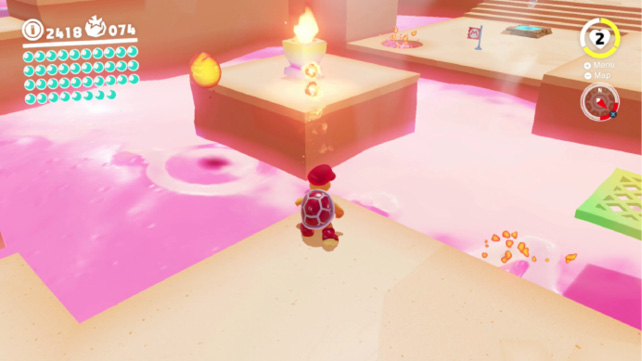
The area underneath Meat Plateau is a veritable hothouse, with simmering soup, molten Magmatoes, bouncing Lava Bubbles, and mean turtles who can throw fireballs. Despite all this, a green lantern centered on the small platform in the middle is somehow not on fire. To correct that, capture one of the Fire Bros and hurl fireballs at the center until catching the lantern square. With fire firmly seated in the pit, a Power Moon is quickly cooked up, ready for pickup on the platform.
 Golden Turnip Recipe 2
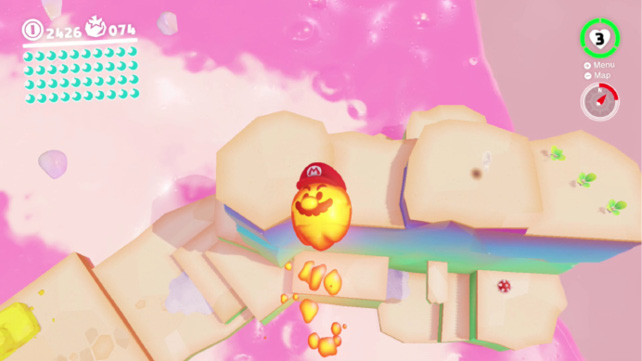
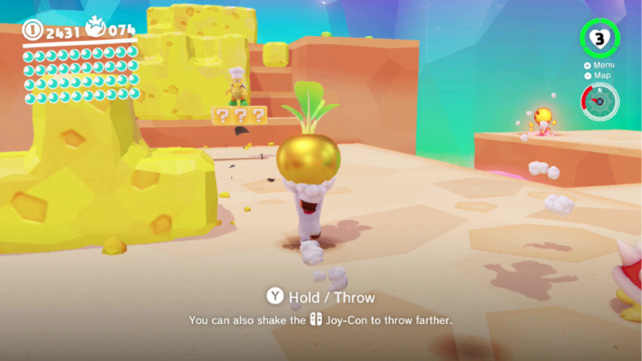
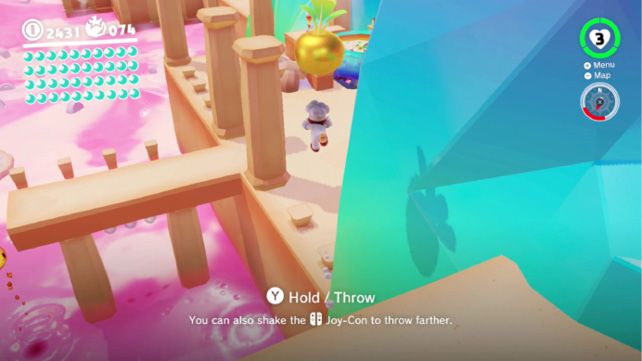
One of the turnips needed for the master stewmaker is buried atop the tall eastern crag. Capture a Lava Bubble then look around the lava seas north or south of the crag for lava cannons. Hop in and launch the Lava Bubble over the crag, releasing Mario’s control just over it. Drift toward the crag and land on top. The back end of the crag has a small group of sprouts, surely the location for the turnip. Pull the center one with Cappy’s help, then heft it up and just off the crag heading back toward the west. Beware the Hammer Bros along the way, and run quickly past them before they can get clean tosses at the turnip.
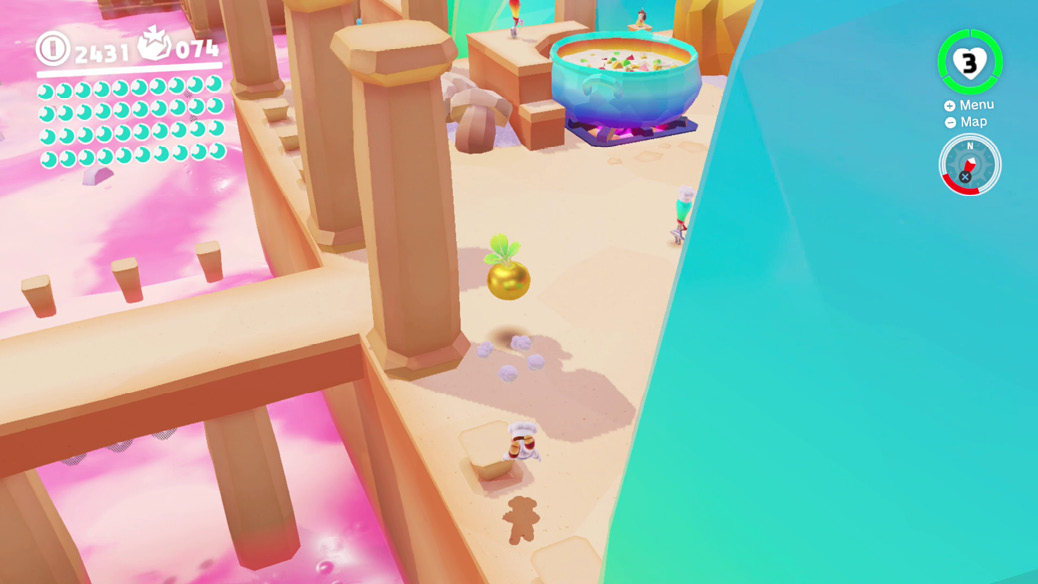
At the cheese wall steps west of the checkpoint flag, where the Hammer Bros dwell, quickly set the golden turnip down off to the side someplace and capture a Hammer Bro. If you do this proactively while approaching, they shouldn’t really have a chance to take a real shot at breaking the turnip. With one Hammer Bro, squash the other one and break the cheese up on the steps, opening a path to climb up carrying the turnip. With the golden turnip hoisted up the ledge here, jump up the blue steps inlaid into the mountain’s arm here, landing on top of Crazy Cap’s in the village. Toss the turnip into the pot to complete the errand, finding a Power Moon hidden within the shining veggie.
 Golden Turnip Recipe 3
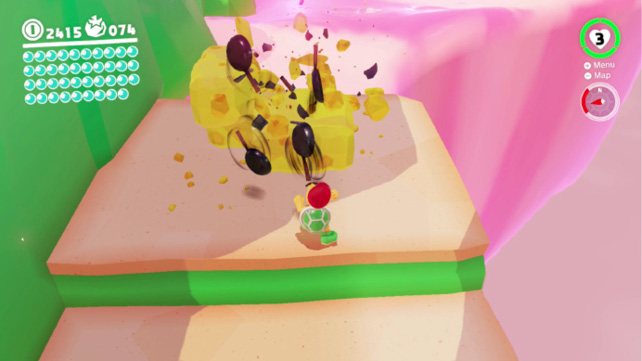
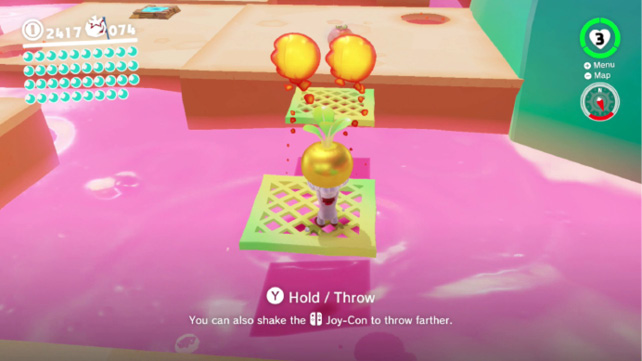
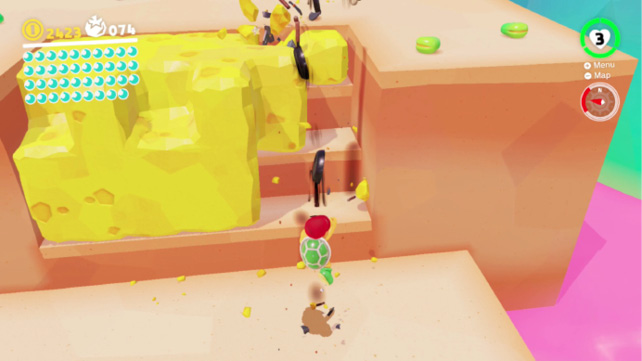
It’s hammer time for this golden turnip recipe. Capture one of the Hammer Bros around the Path to the Meat Plateau warp flag, then head north to the little collection of cheese blocks tucked around behind the pillar leading up to Meat Plateau. Use the Hammer Bros pots to crack up all the cheese, uncovering promising sprouts underneath. End the Hammer Bro capture and pluck up the golden turnip, then prepare for a harrowing journey of ingredient life. This turnip has to make it to the cookpot in town, but there are a lot of enemies and jumps over lava between here and there. You must also note that Fire Bro fireballs and Hammer Bro pots can destroy the golden turnips, so always keep moving and give them a wide berth when rushing past with golden cargo.
You’ll have to deal with the cheese steps near the Hammer Bros and the Path to the Meat Plateau checkpoint, just like when carrying the tall crag turnip for Power Moon #16. It makes sense to do them back to back, since the same homework clearing off the steps for turnip passage benefits both trips.
 Luncheon Kingdom Timer Challenge 1
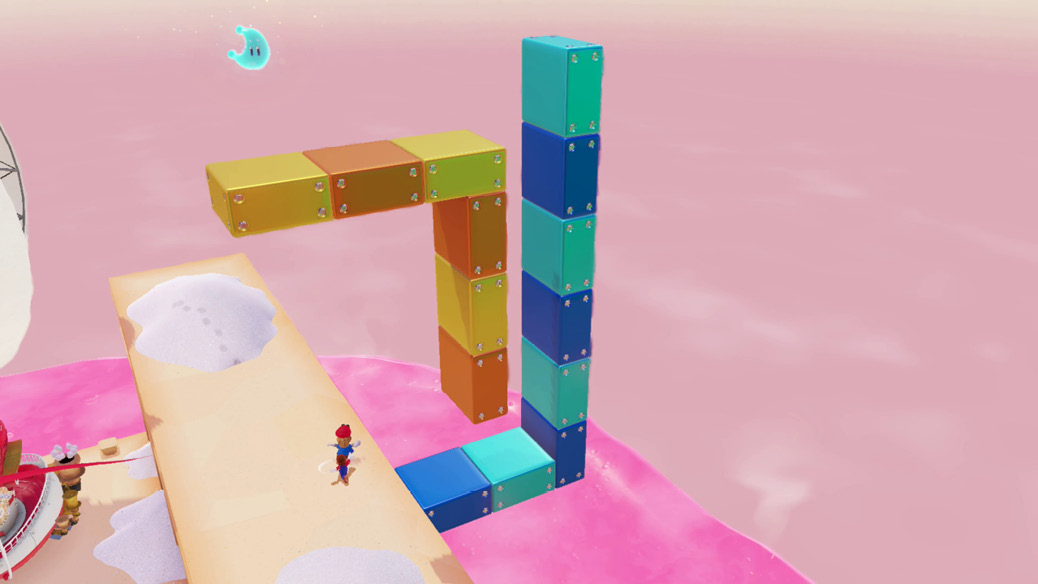
From Old Town’s shaved-flat arena, either of the old main buildings of Old Town can have its roof mounted, allowing access to a bigger stretch of the opening area. Run up the roof that passes by the Odyssey’s balloon to find a scarecrow standing sentinel up here over the lava. When Cappy’s on its brow, a wall jump challenge appears hovering here over the goop below. Before time runs out, wall jump back and forth between the hovering platforms to reach the Power Moon floating right above the scarecrow.
 Luncheon Kingdom Timer Challenge 2
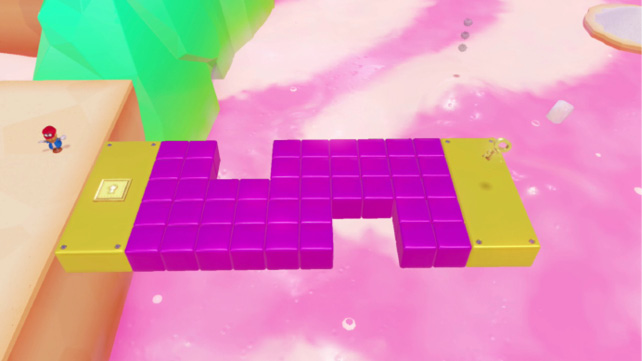
Once the local threat is cleared, a scarecrow appears on the Old Town arena platform. Let the scarecrow borrow Cappy for a bit to undertake this challenge overhanging the lake of delicious-smelling lava. A Lock appears near the Scarecrow, on solid ground, but the Key appears on a platform out over the bubbling liquid. In between float darker blocks, which begin disappearing if you don’t skedaddle. Rush across the blocks, with a running long jump over the small gap in the platform in the middle. On the way back from grabbing the Key, be prepared to jump over sudden gaps in the vanishing platform. But as long as you don’t dillydally, this Power Moon will be in hand soon.
 Luncheon Kingdom Timer Challenge 3
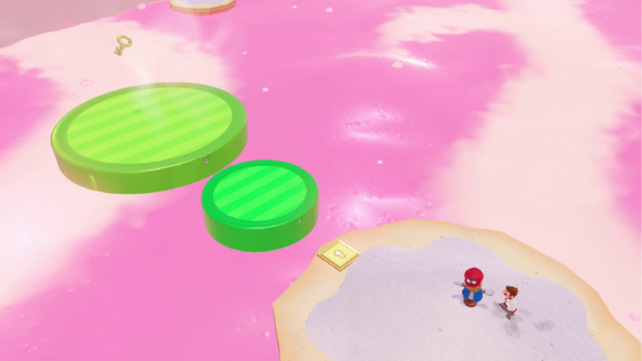
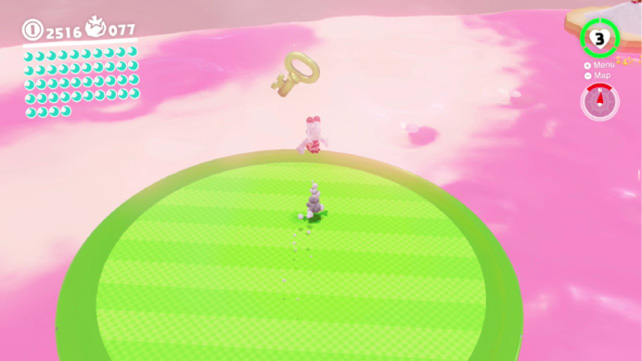
Look for this Timer Challenge Scarecrow on one of the many islands in the swamp behind Mount Volbono. Once it’s activated with Cappy, it generated two green cylinder platforms in the lava. A Key hovers above the larger far platform, out of reach of standard jumps.
To reach the Key, you need one of Mario’s best hops. The green platforms are situated obligingly for this purpose, giving you a good runway to time a triple jump to peak heading into the floating Key. You can also acquire the key by crouching in its shadow then back somersaulting, or by running across its shadow then doubling back with a side somersault. Whichever method you use, rush back to the scarecrow to claim the Power Moon popped from the Lock before time expires.
 Beneath the Rolling Vegetables
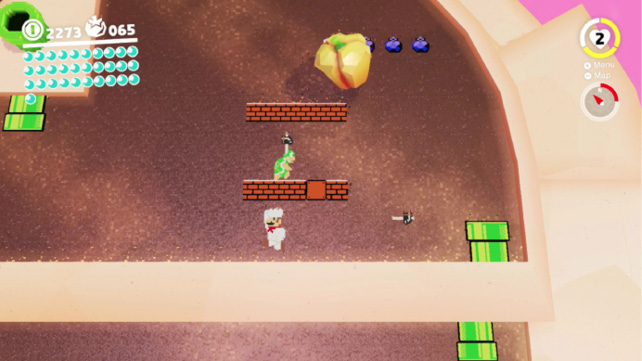
An 8-bit pipe on top of the remote island in the northeast leads to a flat challenge hidden just under the surface. Mario begins in one half of the chamber, attacked by 2D Hammer Bros. Take them out then enter the pipe beyond them to flip to the other half of the 2D chamber, riding a hovering girder above deadly lava.
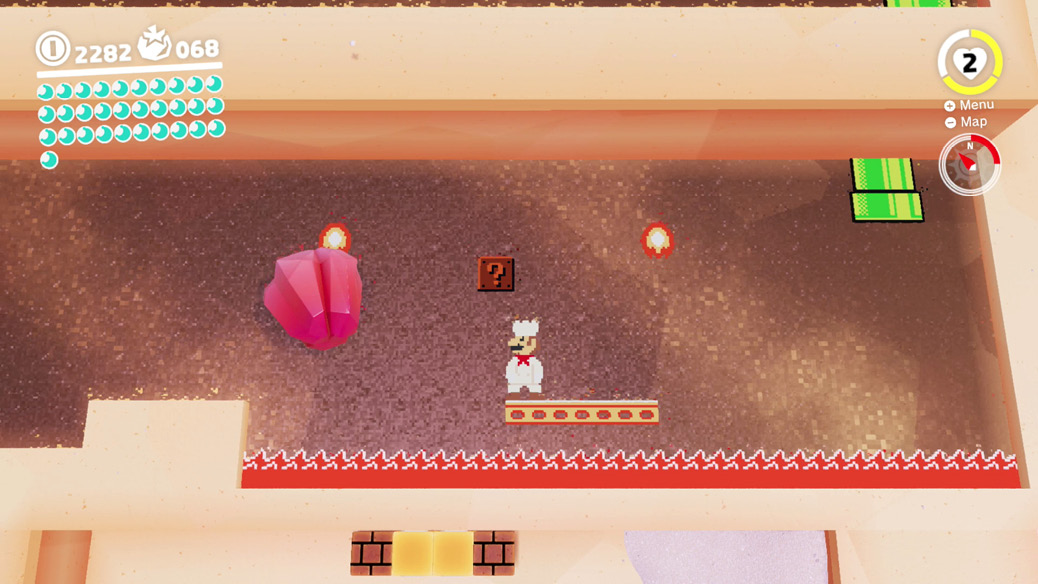
Step out of the way of fireballs that leap up and down from the lava below, and don’t worry about the peppers rolling around overhead—they’re in 3D land! At the far end of the hallway, pick up the Power Moon before passing through a small gap past it, re-emerging into 3D space.
 All the Cracks Are Fixed
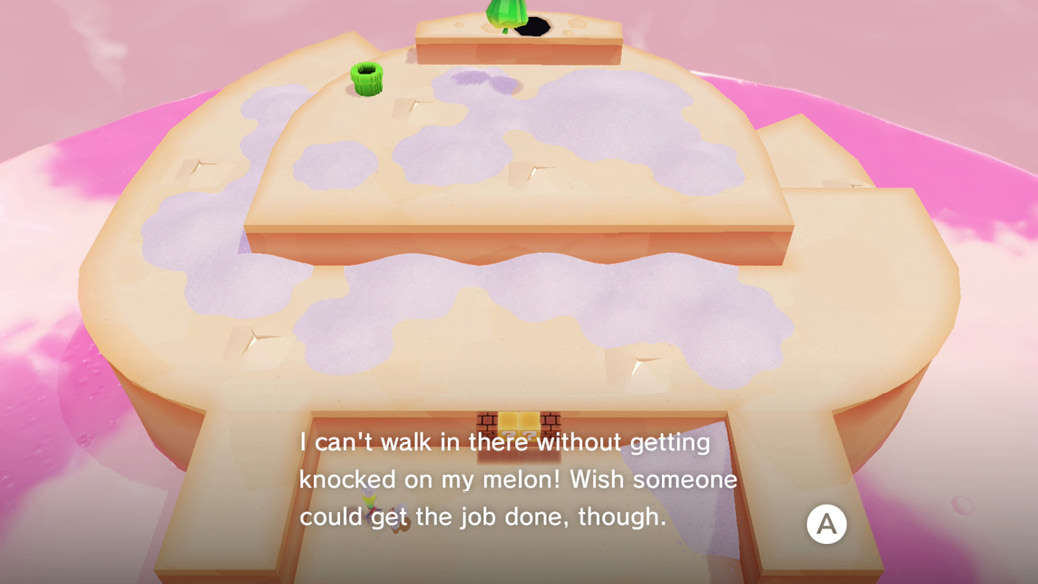
The distant island in the northeast has a few secrets making it worthy of investigation. A Volbonan is already here, hoping to fix up the many cracks across the island’s unattended and eroding surface, but that fork body isn’t good for quickly dodging the roasted peppers being spat out of the geyser here. If Mario’s willing to do the Volbonan’s job, there might be something in it for fuel tanks of the Odyssey.
Scour the small island, ground pounding flat any of the fissures you find. When they’re all smoothed out, the Volbonan has the moon for Mario’s taking near the checkpoint flag.
 Taking Notes: Swimming in Magma
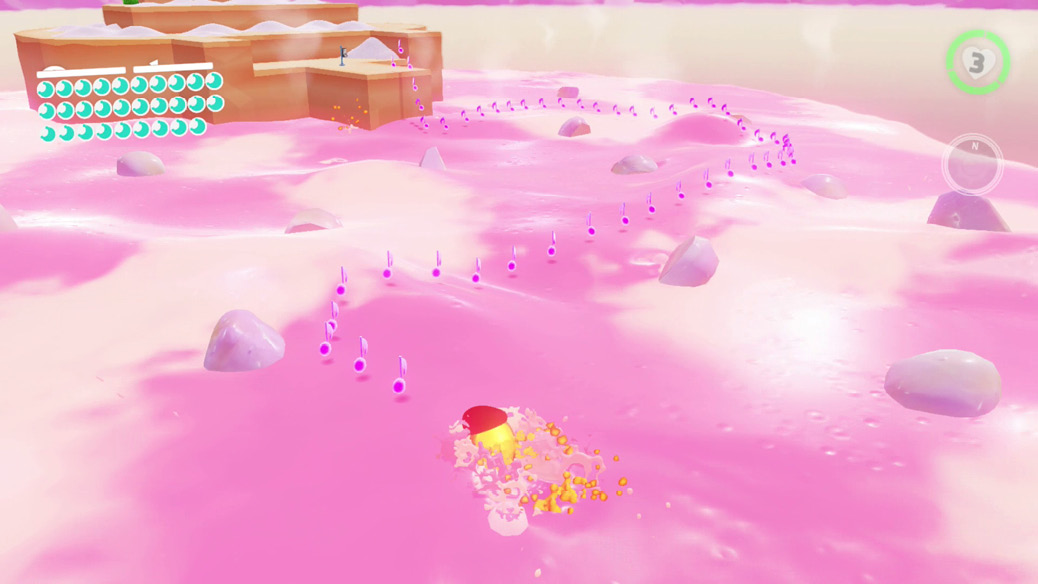
The northeastern lava sea is out of the way, and only navigated by the most inquisitive travelers. Moving about here at all requires a Lava Bubble capture. In the middle of the lake, a song note floats just above the scorching waves. Collecting this note begins a snaking music collection route, which ends at the semi-secret island tucked away at an outskirt of the kingdom. Pilot the Lava Bubble through all the notes, leaping onto land to collect the last few and spawn the Power Moon. Don’t forget to register the warp flag here on the island, too, or to investigate its shallow summit.
 Luncheon Kingdom Slots
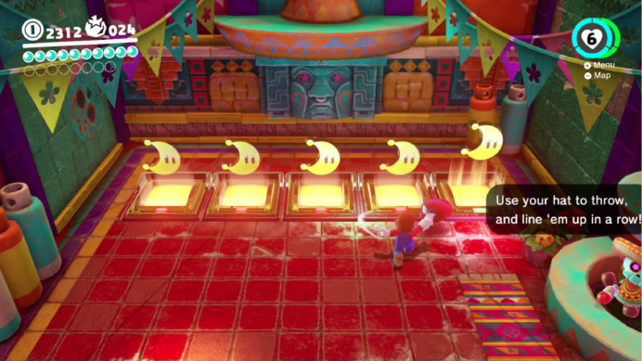
The Tostarena business-skeleton who’s set up shop here can be found in the building covered in a pyramid of food cans. Inside, the friendly Sand Kingdom ghoul has a game of slots going. Once you enter, Cappy throws at the spinning slots lock them in place. Once all five are locked in, your reward is tallied. For a Power Moon from the game, you have to lock in Power Moon symbols in every slot. When timing a cap throw to overlap with Power Moons, remember that Hearts show up just before Power Moons in the slots.
 Treasure Beneath the Cheese Rocks
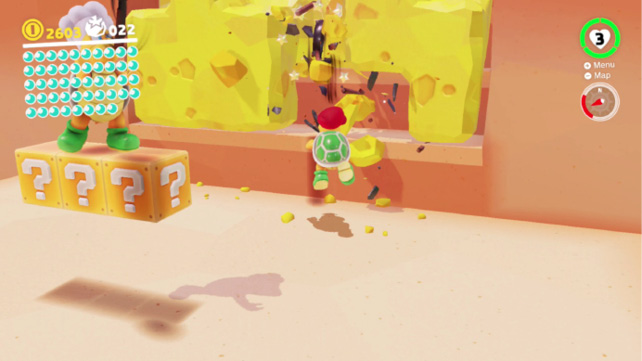
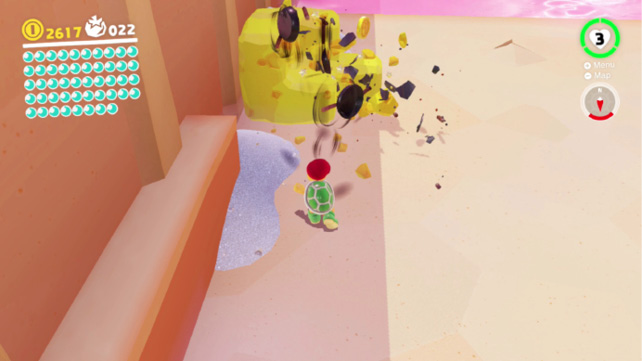
Digging up these spoils takes a fair bit of Luncheon Kingdom hiking. Begin around the Path to the Meat Plateau flag, where the wannabe-chef Hammer Bros roam. Capture one of them and use a pots-and-pans flurry to blast through the first cheese blockade on the steps heading west toward Peronza Plaza.
Hop up the steps and then up the blue stone steps beyond to enter the city, and enjoy the terror inflicted on the locals as a Hammer Bro on the loose hops through their midst.
Back in Old Town, go brother-against-brother taking out the Fire Bro with Hammer Bro-form Mario, and hop back to the field on which the Odyssey rests. The cheese blocks to the left here have crusted over something on the ground here. Hurl pans to knock apart the cheese, clearing out this edge of the field. Where the cheese once stood, you find a glowing spot on the ground, which naturally gives up a Power Moon when nailed with a ground pound.
 Light the Two Flames
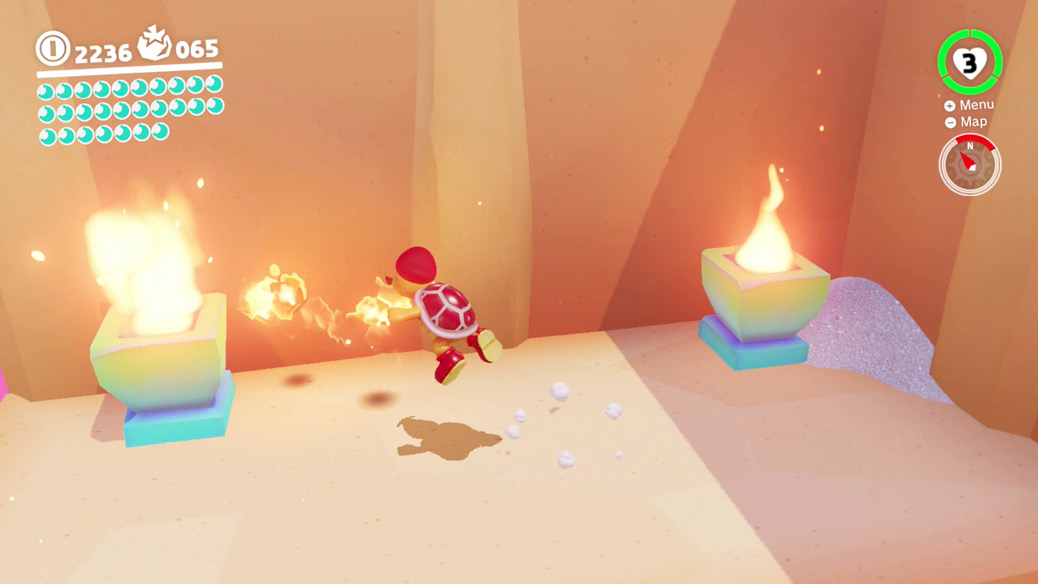
Once Fire Bros are in evidence in Old Town, near the Odyssey, this Power Moon can be acquired. Capture the Fire Bro near the big floating piece of corn, then carefully hop across the yellow grated platforms to the twin lanterns.
 Light the Far-Off Lanterns
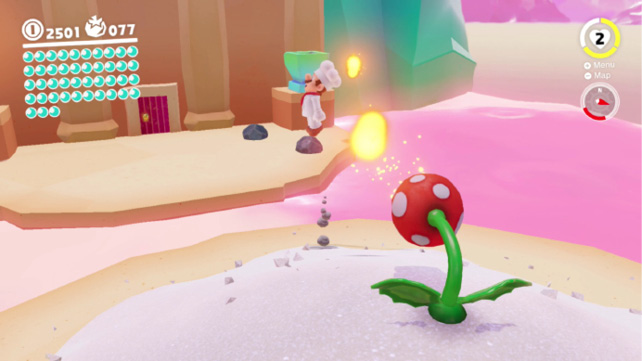
At Volcano Cave’s back entrance, facing the uninhabited side of Mount Volbono, there are two lanterns on either side of the door. They’re not lit, though, which can be easily corrected considering the local flora. Fire Piranha Plants can be found rooted on salt pile islands near the door here. Get the attention of the nearest one, then jump around the lanterns while it shoots fireballs at you, trying to get it to do Mario’s work for him. Or to take the more direct approach, pick up a stone and chuck it into the Fire Piranha Plant’s mouth, then toss Cappy onto the plant while it’s choking, capturing it. Now, launch all the fireballs you like at both lanterns. When they’re both lit, a Power Moon is revealed.
 Bon Appétit, Captain Toad!
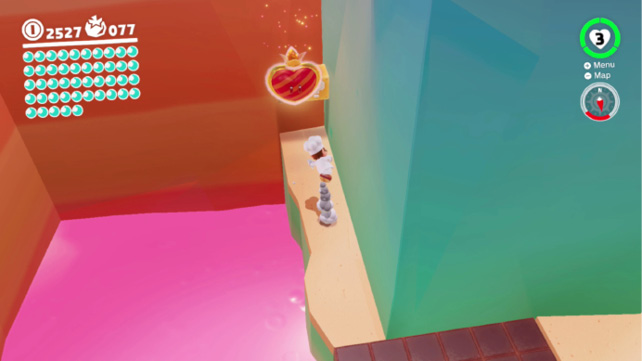
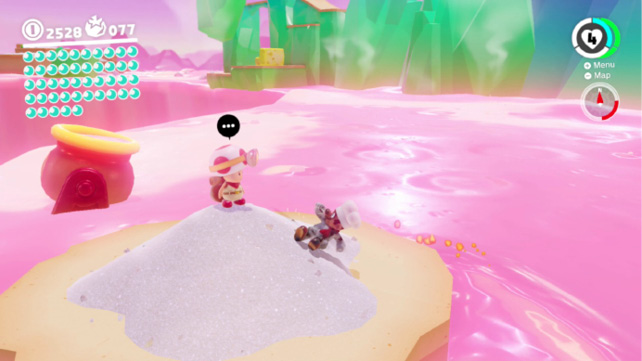
The always-adventurous Captain Toad has gotten himself into a bit of a pickle, pathfinding to a lonely island far behind Mount Volbono, seemingly without a way to return to solid ground. Well, he’ll probably figure it out. That’s why they made him Captain, after all. There are two ways to get back here: one is to swim here in a Lava Bubble, and the other is just to bounce here in extreme pain, relying on Mario’s reserve Hearts to hold out until arriving on Toad’s platform. If using the “ouch, ouch, OUCH!” method, grab a Life-Up Heart first. There’s one hidden in a ? block nearby at the base of the mountain climb, beyond a hidden block bridge to the left.
Once Captain Toad hands over the Power Moon, capture a Lava Bubble nearby and vault away using the lava cannon nearby, or make your own path away in the liquid.
 The Treasure Chest in the Veggies
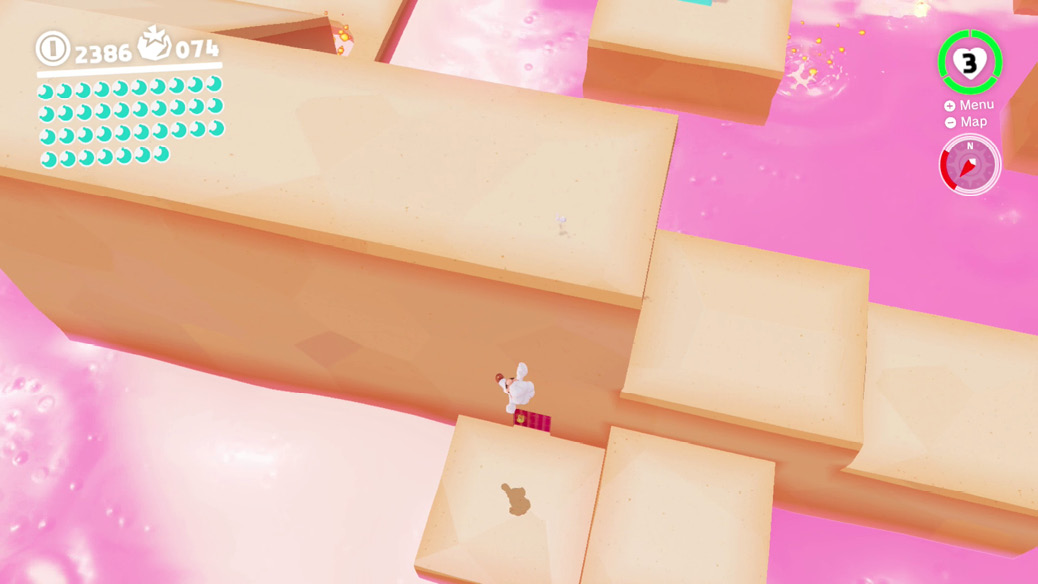
This is as straightforward as Power Moon rooms come. Check a little bit northeast of the Path to the Meat Plateau checkpoint to find a normal door standing facing the lava sea, standing out with its inconspicuousness. Enter to find a treasure chest placed with big piles of vegetables. Open the treasure chest to get the Power Moon within and leave. That’s it, it’s a vegetable storage room with a treasure chest in it. Move along. Nothing to see here.
 Caught Hopping at the Volcano!
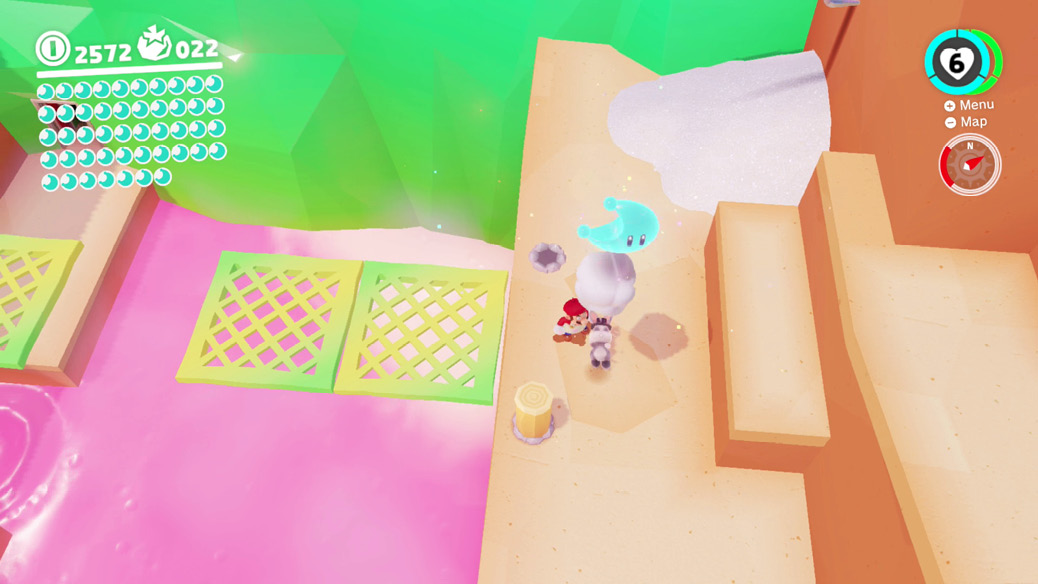
This region’s pesky bunny can be found cavorting up and down the steps leading from Old Town to Peronza Plaza. It’s easy to catch up with the rabbit as it tries to get away just by using gravity against it. Start at the top and leap down at the rabbit, aiming at a ledge past where it is. Mario cuts it off at the pass, essentially, landing on the floor it’s fleeing to. Catch up with the rabbit to earn a Power Moon for the trouble.
 Taking Notes: Big Pot Swim
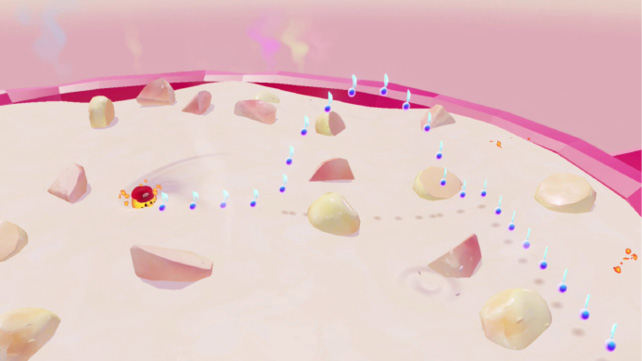
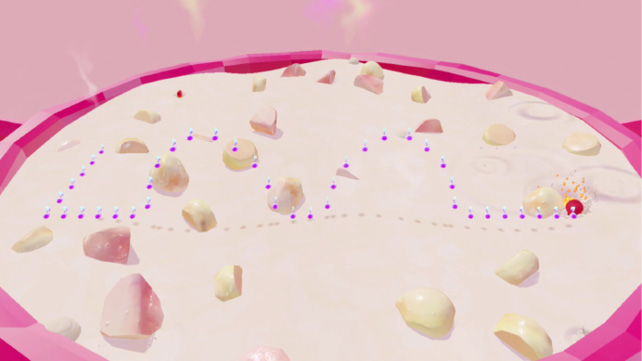
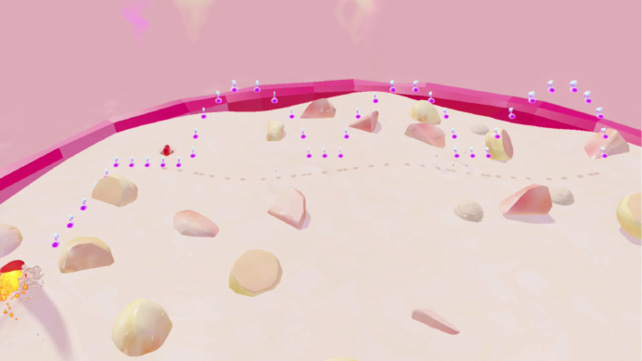
Warp to the Top of the Peak Climb flag, capture a Lava Bubble, and launch with the lava cannon up into the main pot. Once the coast is clear of gigantic meat-stealing birds, look again in the huge cookpot bubbling over the volcano to find a music note floating inside. Swim into the note to kick off another note collecting musical challenge. This time, you must swim through lines of notes in the broth, leaping precisely out of the lava to snag notes places at arcing intervals.
There are three progressively harder lines of notes to scoop up, with one hop required in the first line, two hops in the second, and three hops in the third. It helps to center the camera directly behind Lava Bubble Mario while swimming and leaping through these note sequences.
 Magma Swamp: Floating and Sinking
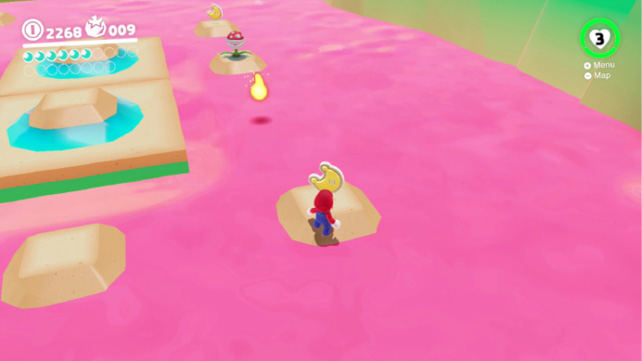
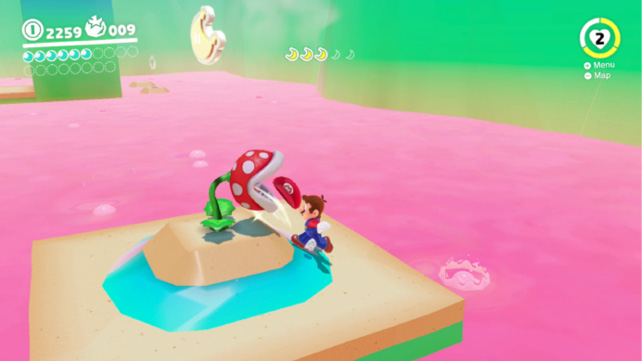
Just above the lava between Old Town’s flat arena and Peronza Plaza, a challenge room is tucked at the bottom of some stair-like ledges. Inside, an intense bubbling expanse is revealed, with blocks throughout rising in and out to simmer. The tops of the blocks taper like inverted stove ranges, so sometimes the platforms are above liquid, so the top is square and comfortably-sized, and sometimes they sink below and become barely bigger than Mario himself.
Five moon shards are found in the hot room, among a few Fire Piranha Plants turning up the heat. Dodge the plants’ fireballs and take care not to touch any liquid on the changing platforms, or Mario’s fire panic without room to maneuver will probably quickly doom him. Choke up Fire Piranha Plants with Cappy, if desired, preventing them from firing. This also allows Mario to bounce off them, smashing them flat.
 Corner of the Magma Swamp
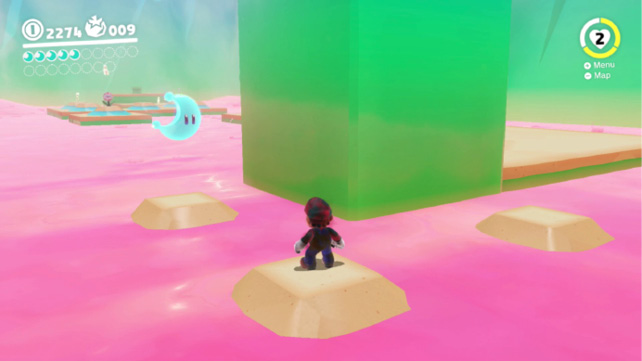
Inside the cooking swamp found just above lava level, a hidden moon is kept just behind the entrance pillar. Who’d think to look back there, after all? Curl around behind the pillar thanks to the rising and falling platforms in the stew here, carefully grabbing the moon above one tapering platform without taking damage from the pink-hot mix cooking underneath. After scooping this up, return to collecting any moon shards left in the room for Power Moon #37.
 Magma Narrow Path
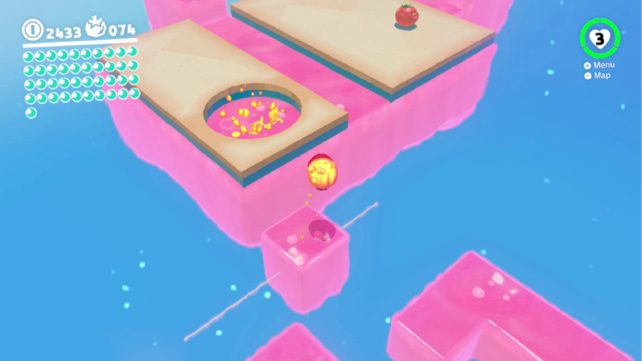
This challenge room is found under Meat Plateau, just around one corner from the cheese blocks blocking a golden sprout, and around another corner from Fire Bros hopping around causing havoc. Inside is calmer. If it wasn’t for most surfaces being covered in burning liquid, it would be downright calm in here. This is a platforming climb using a Lava Bubble, crossing lava-covered beams and jumping on floating liquid platforms.
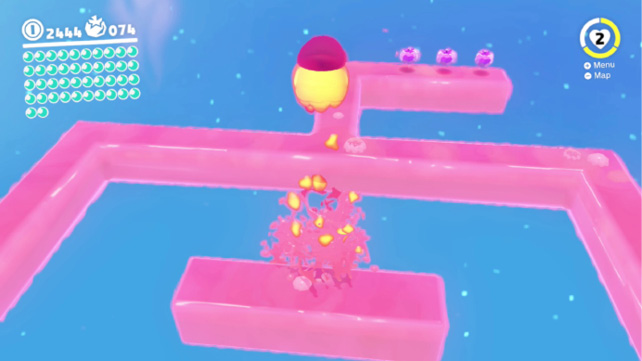
When jumping with a Lava Bubble, it’s best to always keep the Cap Throw button held down, which maximizes Lava Bubble momentum. Otherwise, drift controls right after launching from the liquid, and while controlling movement in midair can seem sluggish, you’ll often fall short of targets. Push forward confidently and surge from the liquid hard when going for jumps.
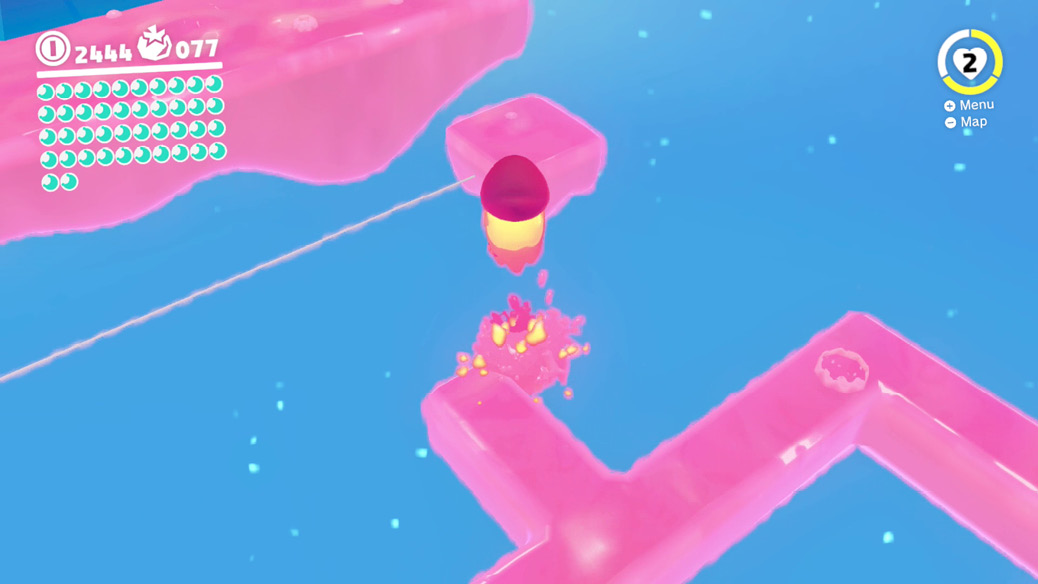
The trickiest section is a narrow square of lava beams, with a lone lava girder in the center. Be sure to collect the purple coins off to one side here before moving on. The main Power Moon in here can be found by progressing to the end. But, like with most challenge rooms, a second Power Moon can be had in here for the most observant collectors.
 Crossing to the Magma
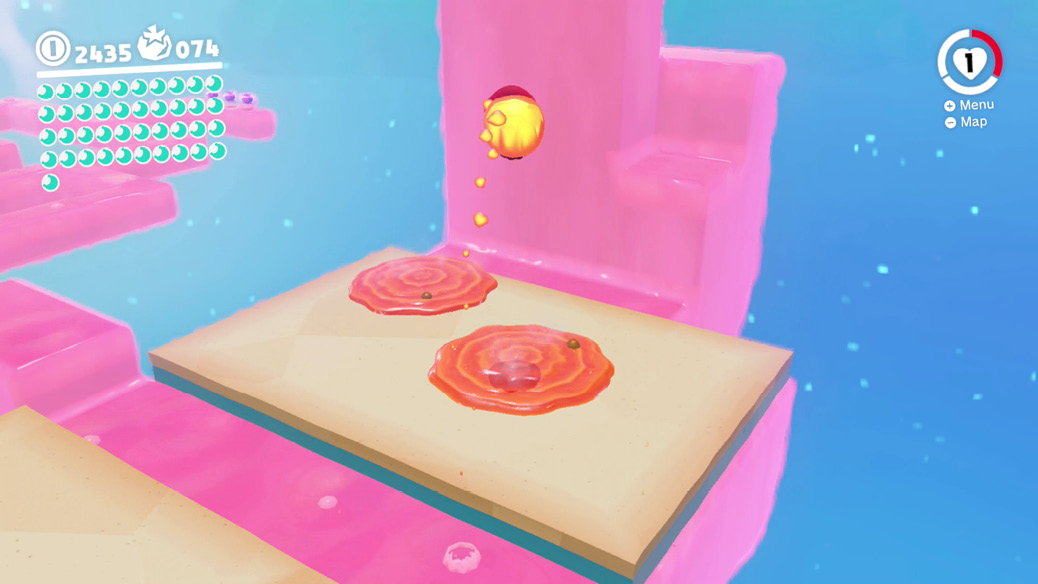
The molten platforming of this stage has a little puzzle contained within it. After the first stretch of traveling across liquid beams as a Lava Bubble, there’s a normal platform with a lava channel up its left side. On the right edge of the platform, away from that lava channel, is a rocky structure slick with more unsafe molten covering. Normally, you leap from the liquid beam into the lava channel, swimming across it to rejoin the lava beam and continue on the other side. But there’s a secret to find if you make it across to the rocks covered in lava.
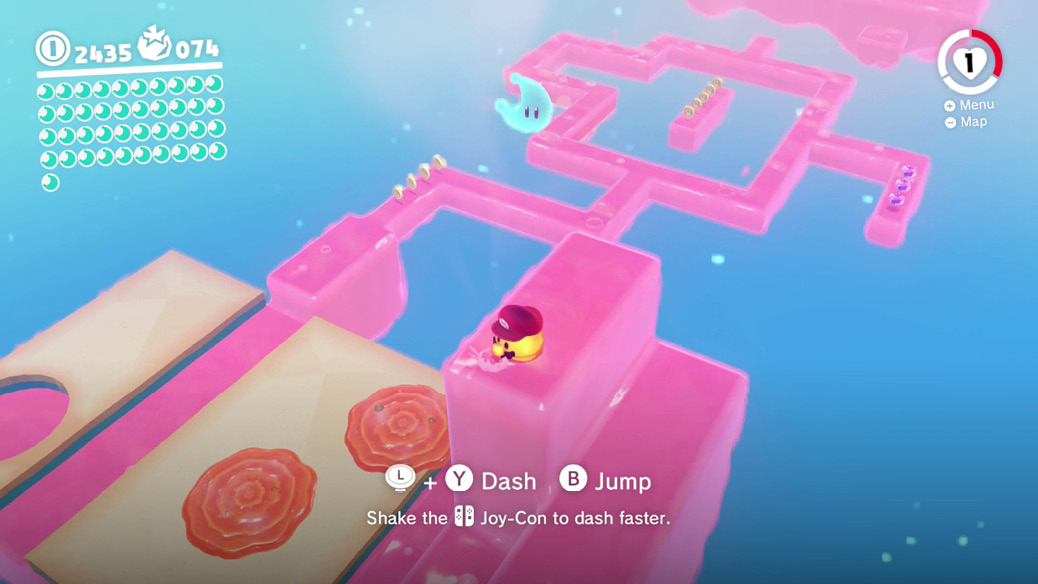
Note the Magmatoes here: they’d just be an annoyance for Mario, something else to jump over and run past, but to a Lava Bubble they’re a potential stepping stone. A defeated Magmato bursts into a pool of lava, which remains there until you leave the area. Bursting the Magmatoes close to the lava channel provides another “foothold” for a Lava Bubble to jump from. Use the Magmato remains to cross open ground, bridging the lava channel and lava rocks for the Lava Bubble. At the top, hovering at a bubble’s jump distance, is a hidden Power Moon, and a great view of the area.
 Fork Flickin’ to the Summit
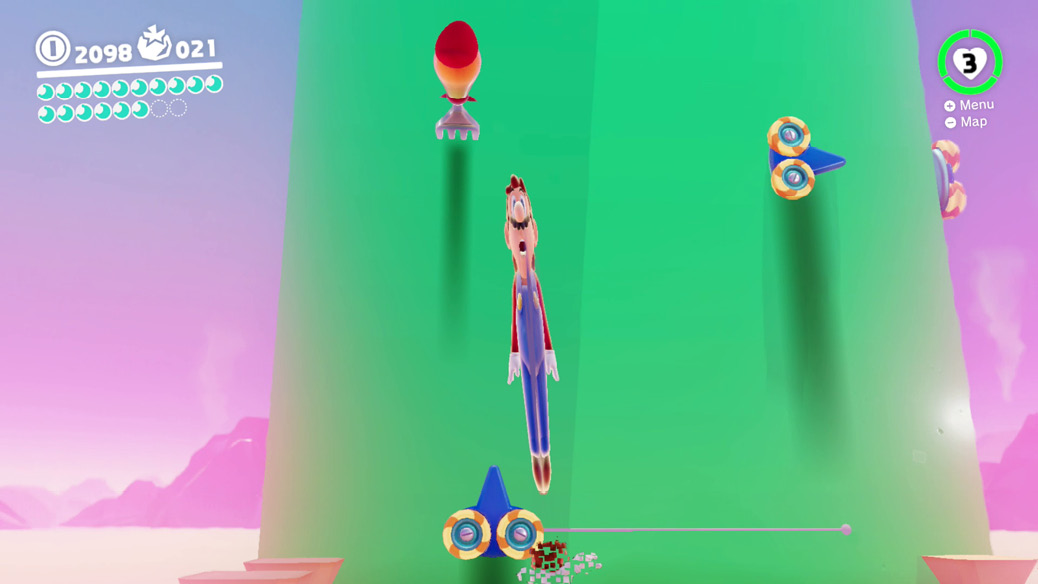
This out-of-the-way gauntlet is found at the very northeastern edge of the southern half of the kingdom. Draw a straight line east of Talkatoo’s perch and you’ll find it. Travel to the platform surrounding the door with a Lava Bubble. Within, there’s a unique climbing sequence involving lots of Volbonan captures and hat launcher assists. Volbonans are used in here to flick Mario around, like with Metro Kingdom Poles. Hat launchers merely take a hat throw and amplify it along a specific path, but they’re sometimes arrayed in sequences so that a hat entering one hat launcher ends up several throw’s distance away. The combination of the two sometimes allows Mario to capture Volbonans out of sight around corners, enabling flings to unexpected landing spots.
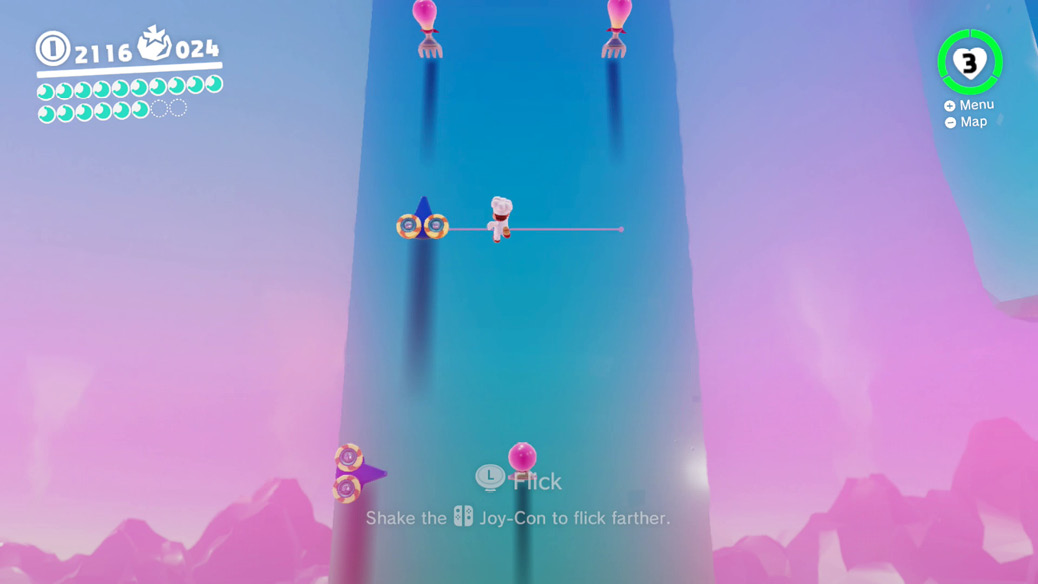
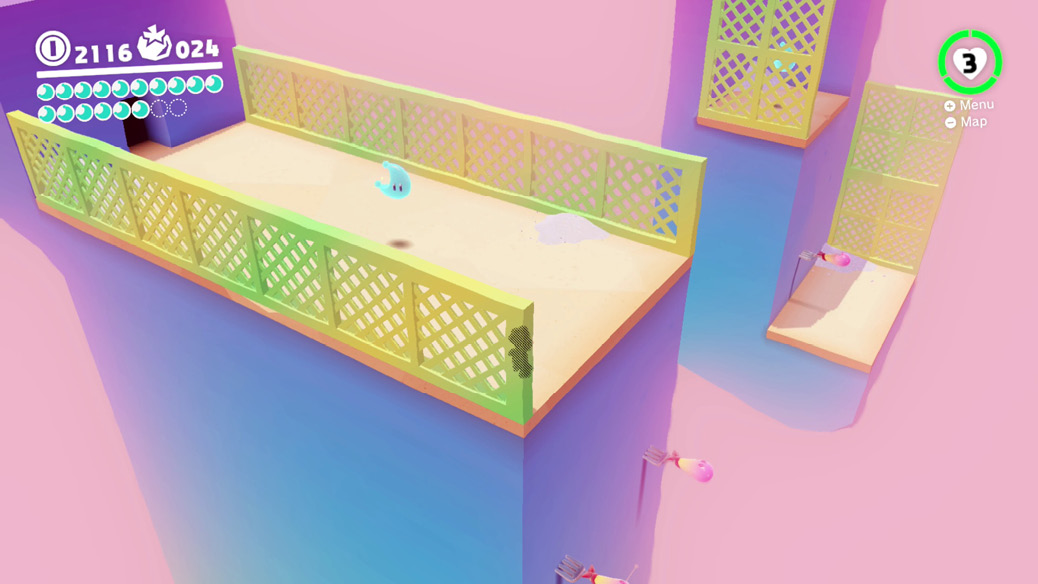
Carefully fling and hat launch up the pillar to make it to the Power Moon at the exit. The most difficult thing to pull off, during a jump or Volbonan flick, is to throw Cappy accurately at an intended capture target or hat launcher. This is needed in a couple of places here to keep a fling sequence going after being flicked high up by a Volbonan.
 Fork Flickin’ Detour
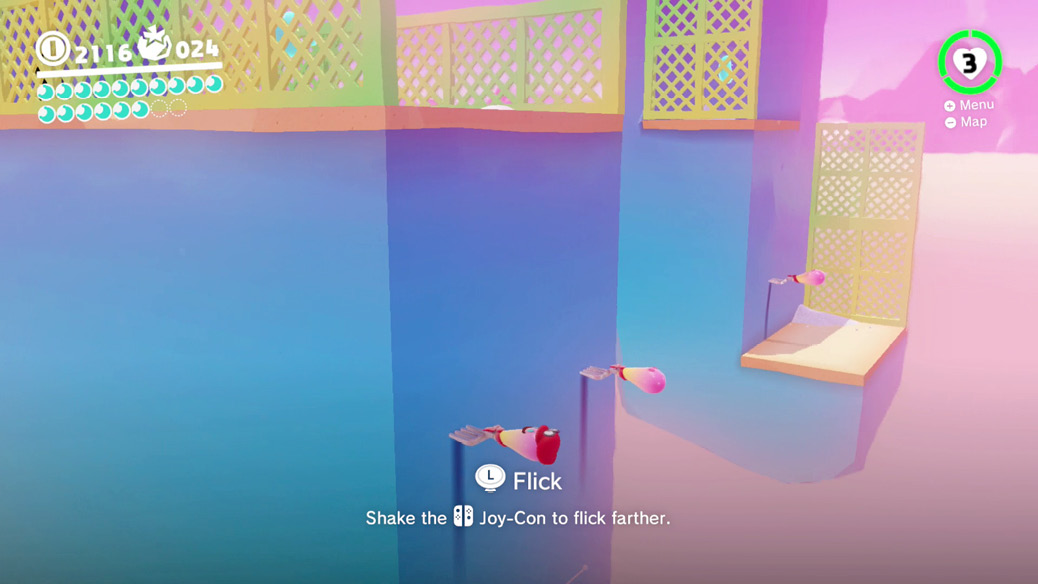
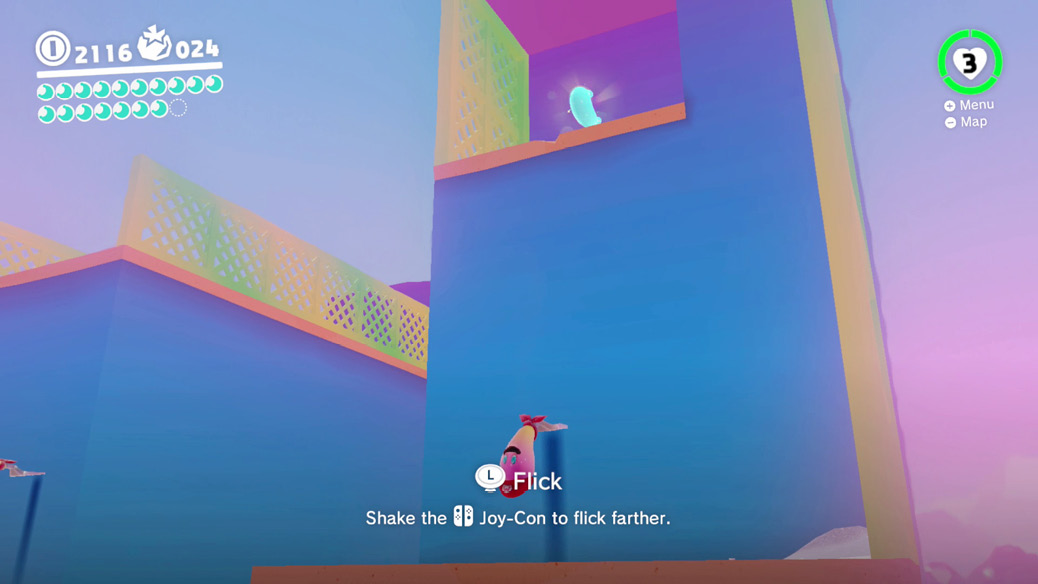
In the Volbonan fork-flicking challenge room, there’s the pillar you’re climbing to access the exit and the standard Power Moon, and another nearby. The nearby pillar can only be accessed from near the top of the first pillar, in striking distance of the standard Power Moon. From the final Volbonan pair, where Mario would flick upward to mount the exit platform, flick to the right instead, adjusting to catch enough air to make it to the second pillar. Here, you have to pull off a deft midair capture of another Volbonan fork-person, stopping Mario’s descent and giving time for an aimed flick up to the cubby inside this second pillar. Inside the little cubby, of course, is a Power Moon!
 Excavate ‘n’ Search the Cheese Rocks
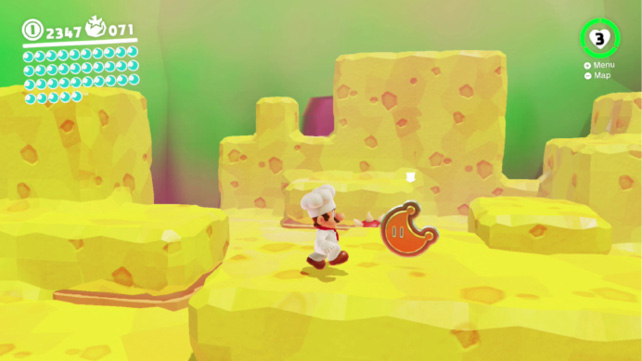
The entrance to this cheesy room is at the base of the big eastern crag, but it’s blocked by a crust of rigid cheese blocks. Capture a Hammer Bro from around the Path to the Meat Plateau checkpoint then hop to the challenge room entrance to break apart the cheese blockage with a pot barrage. The cheese knocked aside, ditch the Hammer Bro and enter.
Inside, capture a fresh Hammer Bro and look around. This is a cheese wonderland, seemingly an entire area made of breakable cheese. It’s not quite that dense, but almost.
One moon shard can be seen above one of the cheese blocks, but only one. Experience has shown that one moon shard means many, so where must they be? While watching out for the Spinies, start dismantling the cheese with a barrage of Hammer Bro throws. By digging through all of the cheese, you naturally pick up the buried moon shards as they’re uncovered, because thrown Hammer Bro hammers/pots work like Cappy tosses, so they’ll pick up small items like coins and moon shards.
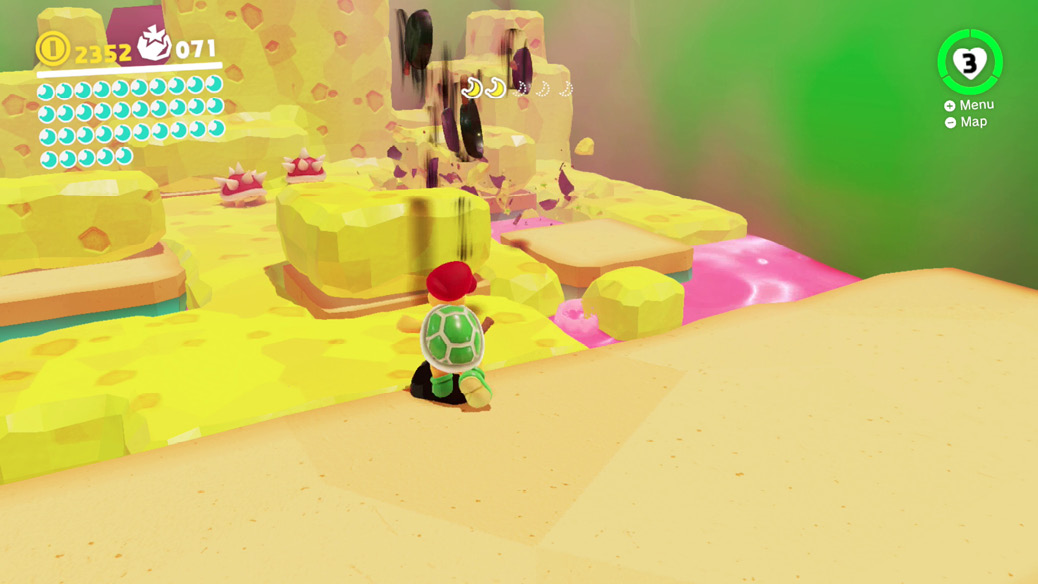
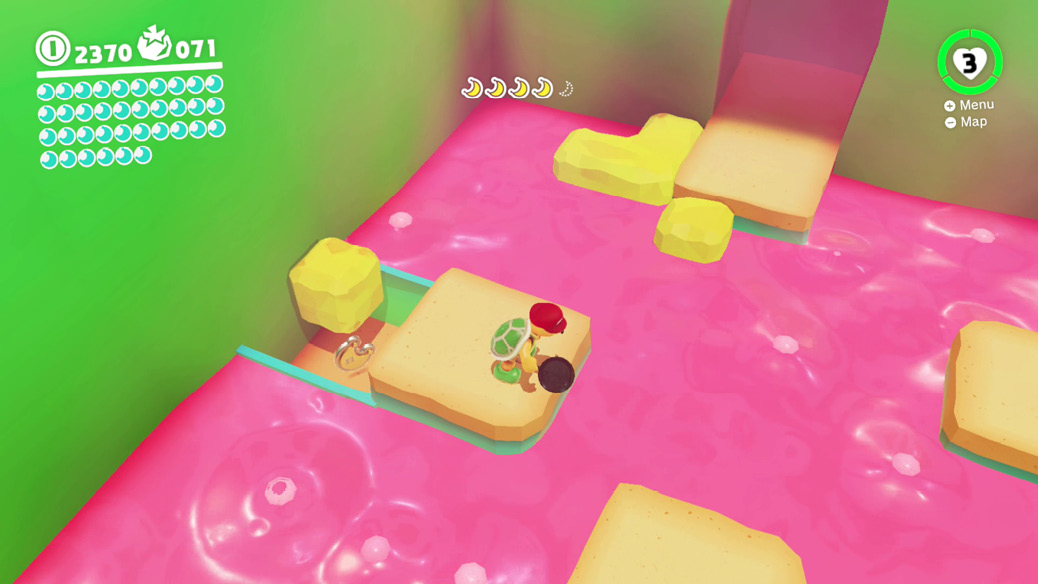
When all four buried moon shards are dug up in addition to the one found on the surface, the Power Moon appears for the taking.
 Climb the Cheese Rocks
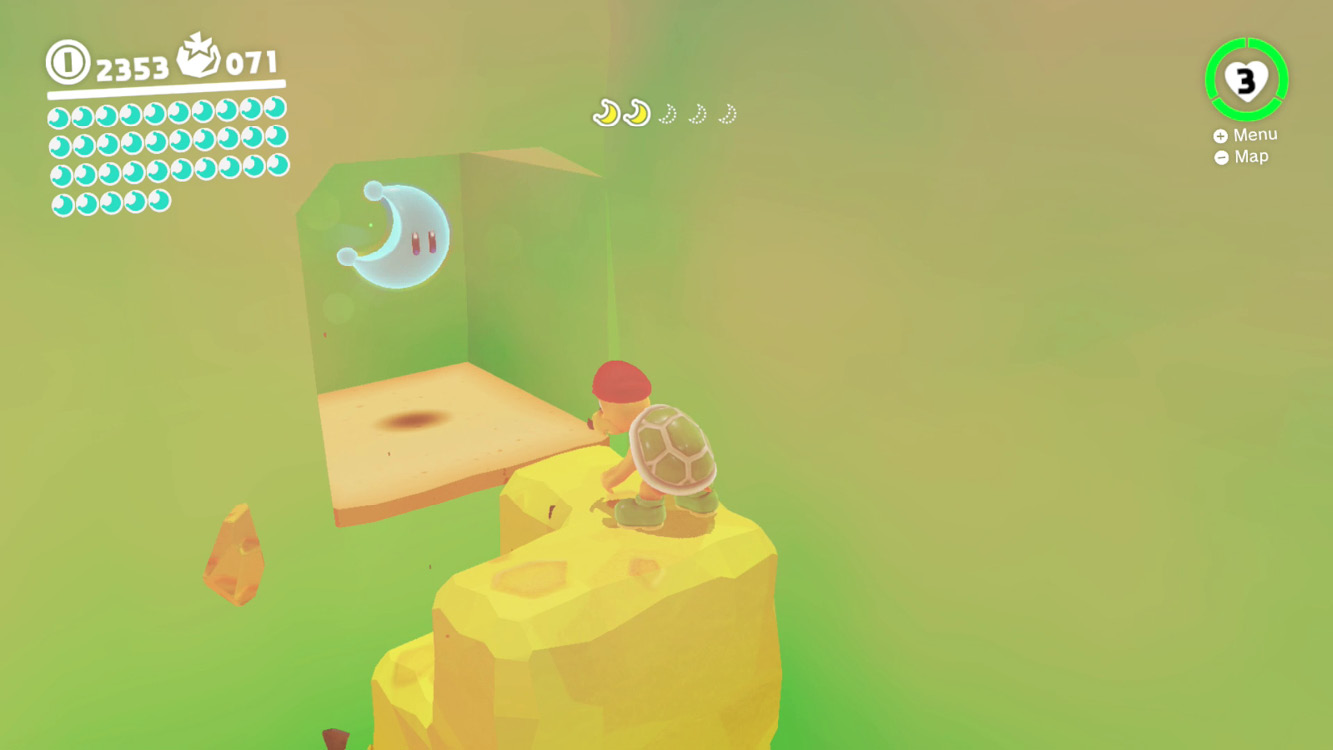
While laying waste to the hardened cheese room assembling moon shards for Power Moon #43, you’ll probably stumble upon this moon incidentally. It’s hidden in the wall beyond the tallest cheese pile. Break enough of the cheese with Hammer Bro pots to get inside and retrieve the Power Moon.
 Spinning Athletics End Goal
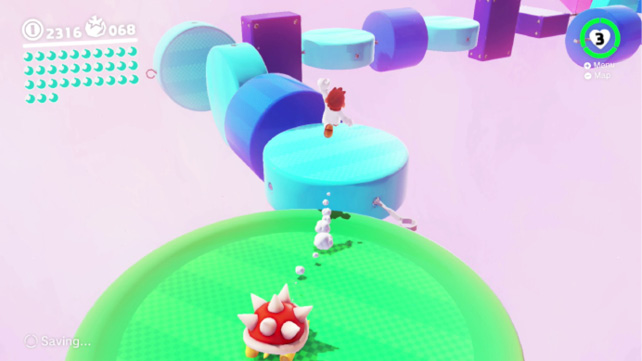
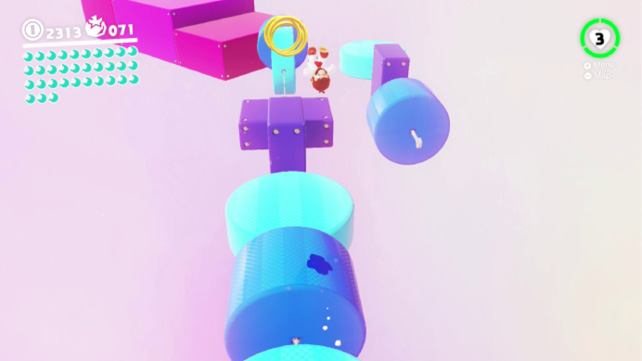
The popping pepper island isn’t the only place in the northeast lava sea. There’s a much smaller island here which is little more than a scarecrow and a door. The door won’t open without a hat on the scarecrow, so offer up Cappy then head inside.
This dreamy floating platform challenge spaces out lots of spinning blocks along the path to the exit. The blocks don’t spin continuously, but rather change position every few seconds, rotating 90-degrees. Standing on the floor might suddenly become sliding down a wall if you’re not careful. Keep moving forward, timing forward jumps onto new blocks to occur just as the blocks rotate. Get a rhythm of this going and Mario may even be able to triple jump across multiple blocks at once.
There are spinning disc platforms at a couple of spots along the way, almost as interludes to the rotating platforming challenge. On these discs, Mario won’t be at risk of falling off, just getting dizzy, or getting stabbed by a Spiny. With no hat, there’s no way to fend off Spinies, so vacate the area fast when the mean little things realize Mario is nearby.
 Taking Notes: Spinning Athletics
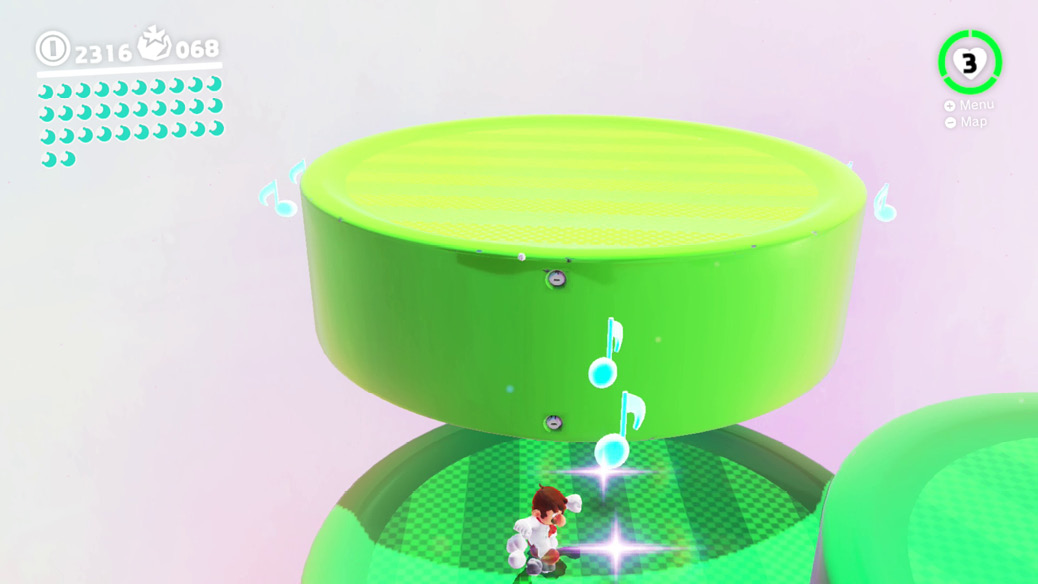
Inside the room of rotating blocks, one of the spinning yellow discs hosts a music note on top. Touching this note spawns a bunch more notes around the rim of the spinning disc, as well as off one edge. The edge the notes lead off has firm footing underneath, so the best way to begin the challenge is to grab the main note, then hop off while grabbing the notes along the way to the platform below.
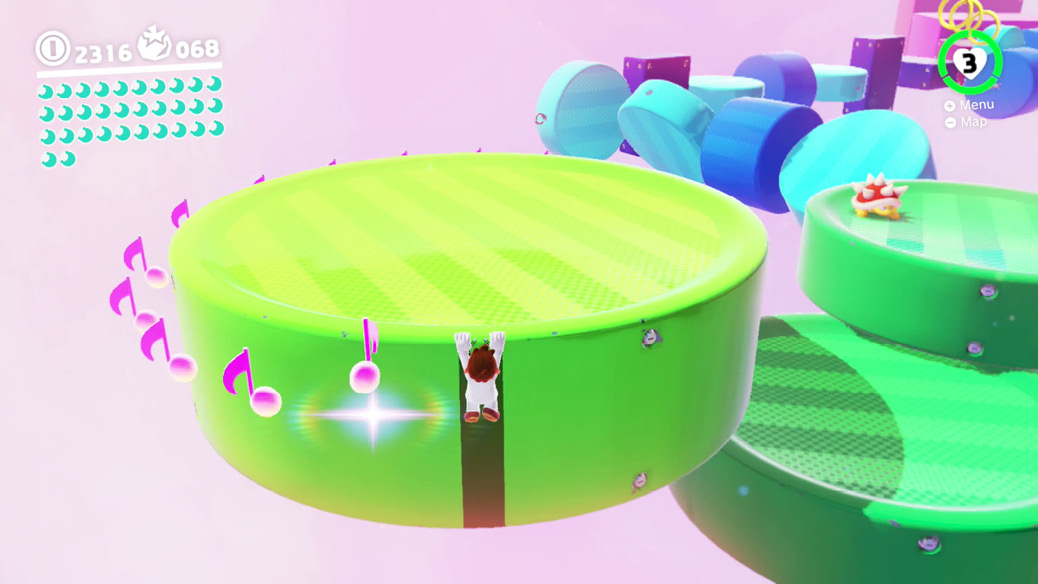
There, turn around and hop back at the song note disc so Mario clings to the ledge, but don’t press Up on the analog stick or the Jump button—you don’t want Mario to climb back up. Ride the rim of the spinning disc all the way around as it rotates and all the music notes get picked up in time, creating another Power Moon!
 Secret Path to Mount Volbono!
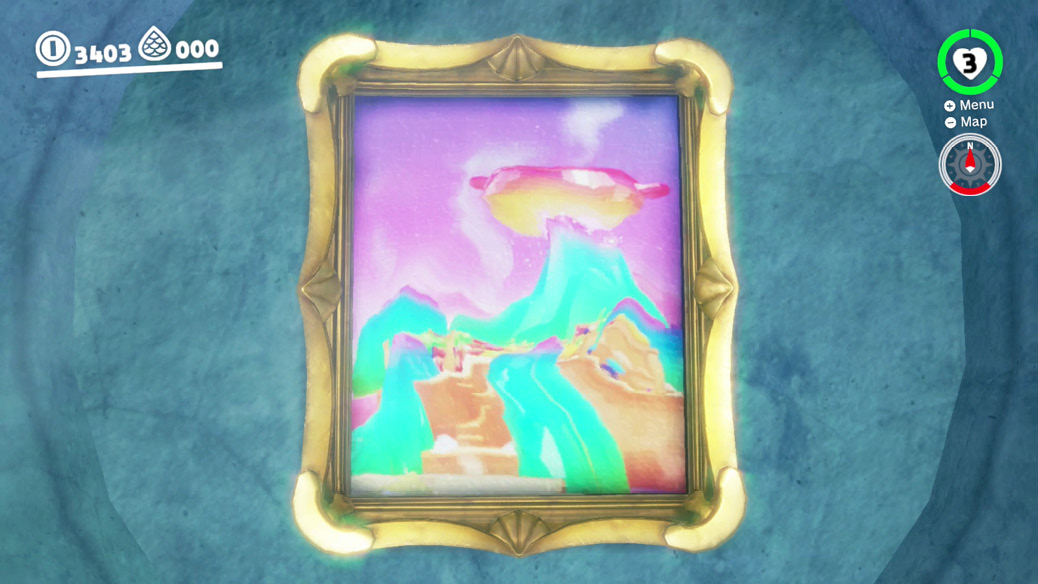
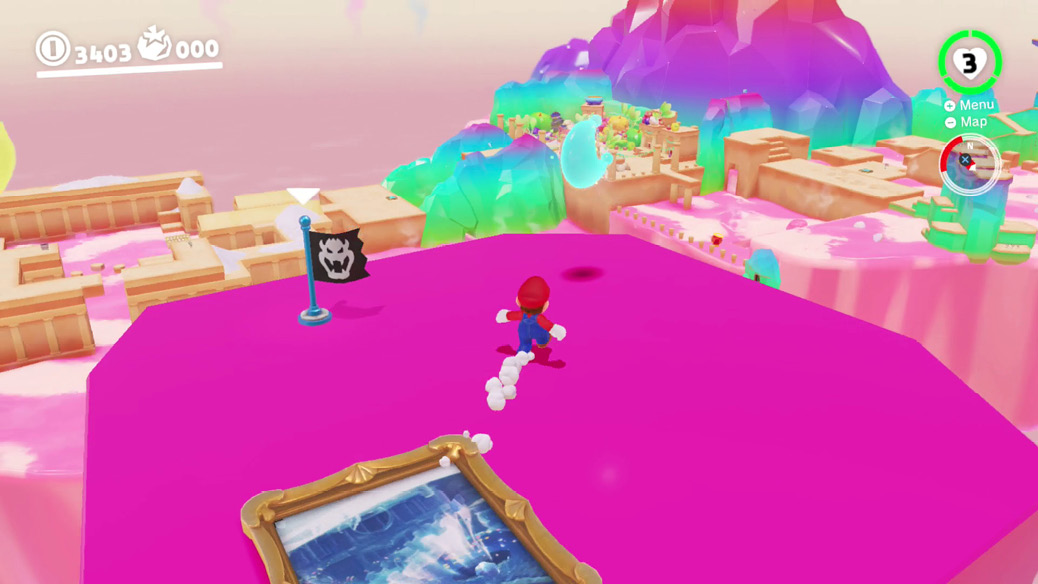
Depending on which kingdom you chose to visit first, either Wooded or Lake Kingdom will contain a warp painting that pulls Mario through and dumps him out on Floating Sky Island. Be sure to register the warp flag, along with picking up the Power Moon isolated up here.
 A Tourist in the Luncheon Kingdom!
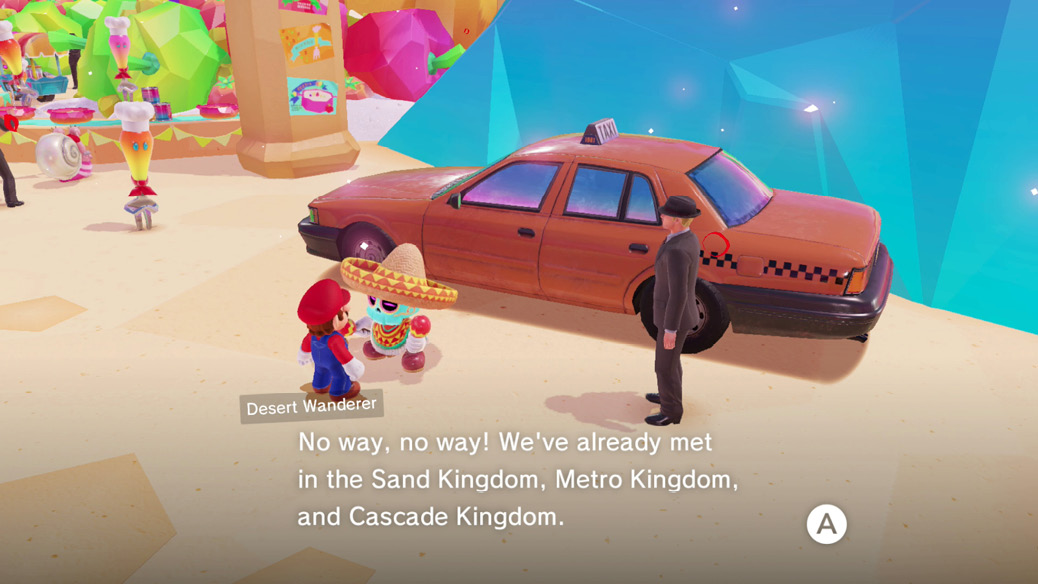
This task can’t be tackled for a while. Once the pressing threats in each kingdom are taken care of, and once the chase for Bowser is seen through to its conclusion, then Mario can look after the exploits of the Tostarena tourist. Initially encountered in Sand Kingdom, this skeleton wants to see the world. The tourist and a hired cabbie are seen next in Metro Kingdom and then in Cascade Kingdom before they can be found in Peronza Plaza, about to take in the Cooking Festival. Greeting the tourist on the rounds around the world will score a Power Moon in each new location.
 Found with Luncheon Kingdom Art
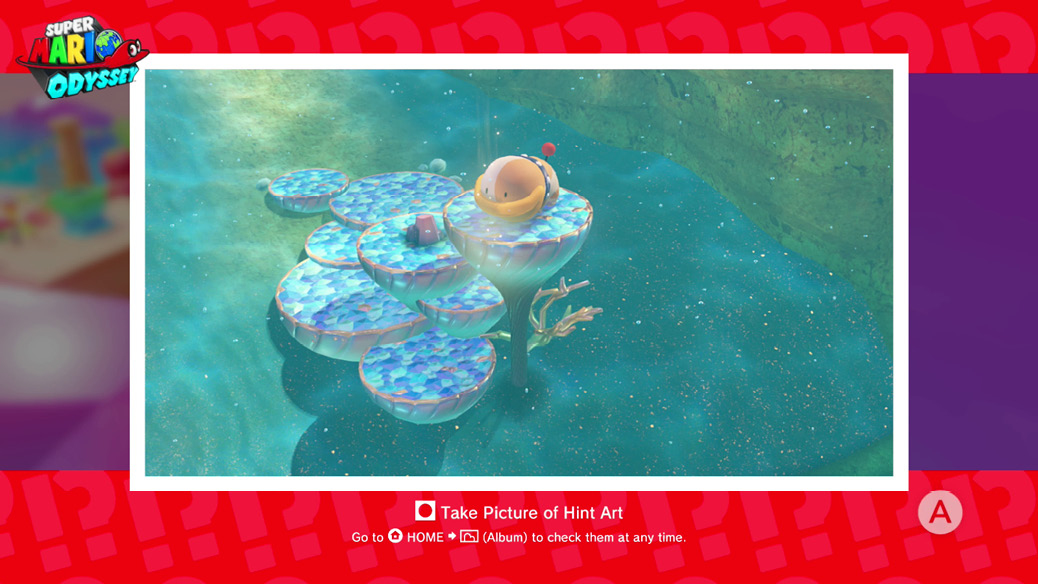
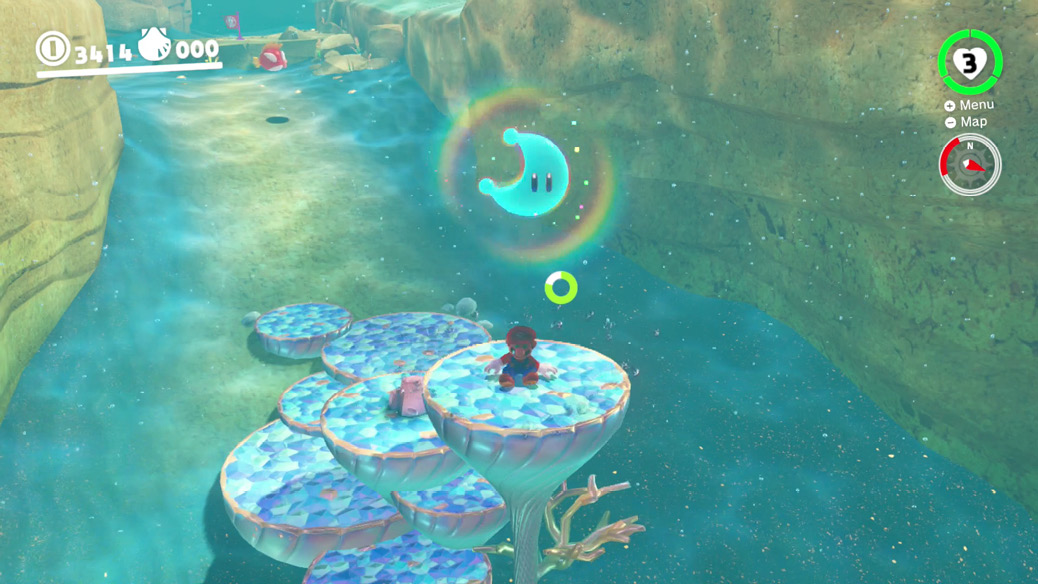
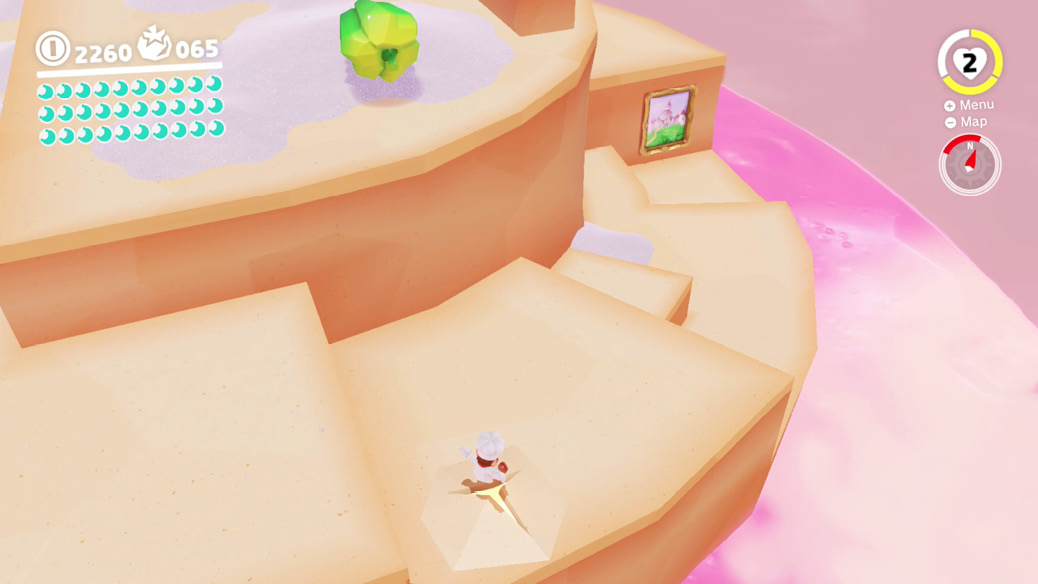
This Hint Art painting is located at the base of Mount Volbono facing the Path to Meat Plateau flag, near the blue stone steps leading back to town from Hammer Bros land. In the painting, Poochy is in some sort of aquatic territory, inspecting a piece of coral.
To find the place in question, travel to Seaside Kingdom and explore the northwest reaches underwater. In a coral patch just like in the painting, ground pounding the top pad springs forth the treasure Poochy buried.
 The Rooftop Lantern
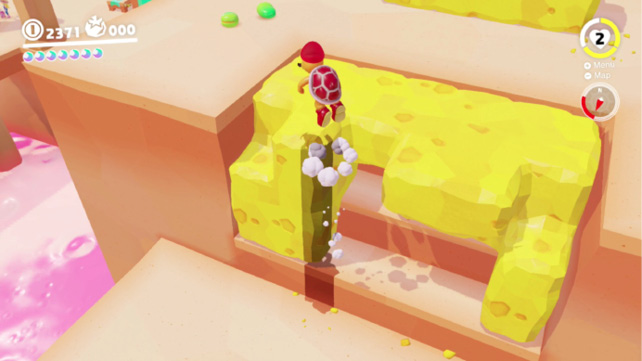
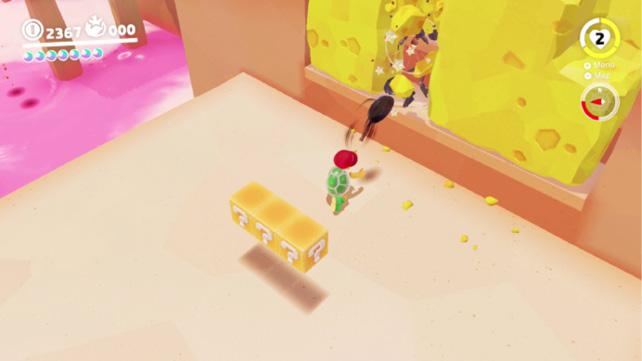
Cooking up this Power Moon asks for some Hammer Bros. juggling. The target is an unlit lantern on the roof of the building next to Crazy Cap’s. Warp to the Meat Plateau checkpoint flag to find Fire Bros on the ledges underneath. Capture one of them and head south, jumping carefully over the platforms over the lava while avoiding Magmatoes and Lava Bubbles. At the large platform where Hammer Bros patrol in chef hats, drop your capture of the Fire Bro and quickly capture a Hammer Bro. Ultimately, you want to take the Fire Bro up the western steps into town, but you need to cut some cheese to get there.
Throw some pots at the cheese clogging the way to break it up. Once there’s clearance for a Fire Bro to jump through, drop capture again and go retrieve the Fire Bro you left a moment ago, who should still be dazed. Jump up the steps through the gap in the cheese, then jump farther up the blue rock steps ahead.
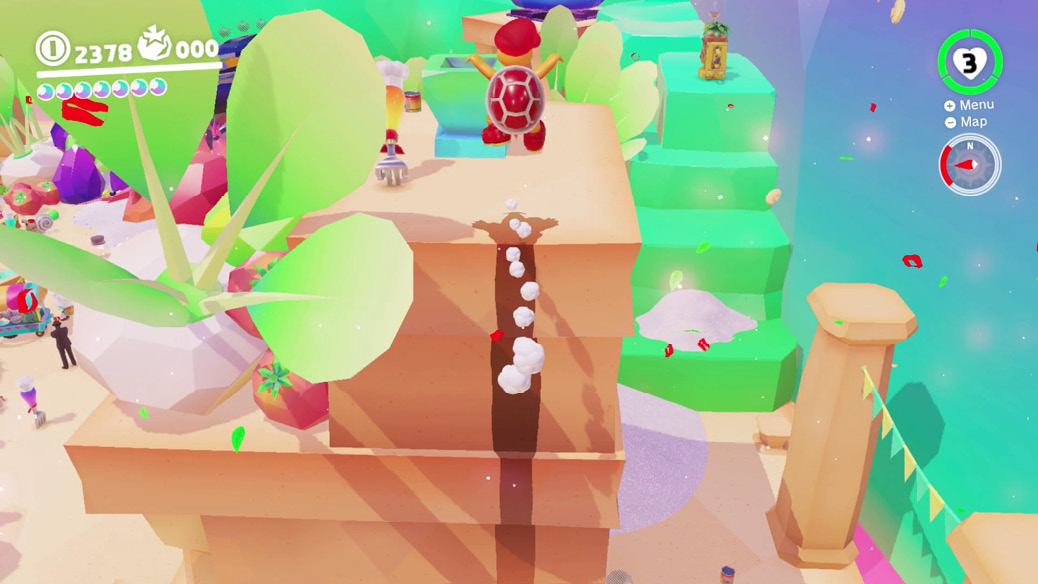
From the perch up here (on the same ledge where the Hint Art is located, to the right), it’s easy to jump on top of Crazy Cap’s. Then, jump from the very edge of the roof of Crazy Cap’s to mount the building next door, putting the captured Fire Bro in perfect position to light the lantern with a fireball toss.
 Jammin’ in the Luncheon Kingdom
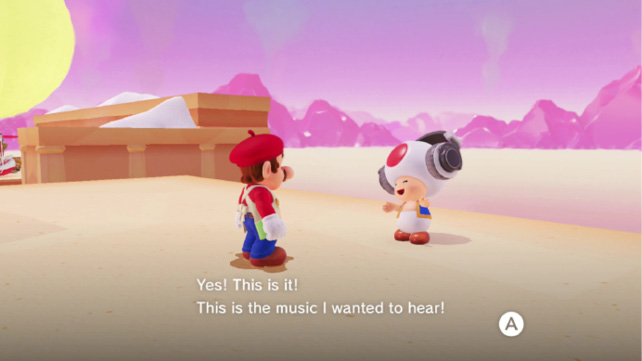
This audiophile Toad doesn’t visit Luncheon Kingdom until Bowser is beaten. Once he does, he hangs out on the platform where Spewart once confronted Mario. As in other appearances, he’s got a particular vibe he’s going for, so if Mario can strike that nerve, he’ll offer up a Power Moon in the spirit of music appreciation. His requests are a clue, like Power Moon names. Here, the theme he’s after is “I’ve become a monster!”
 Mechanic: Repairs Complete!
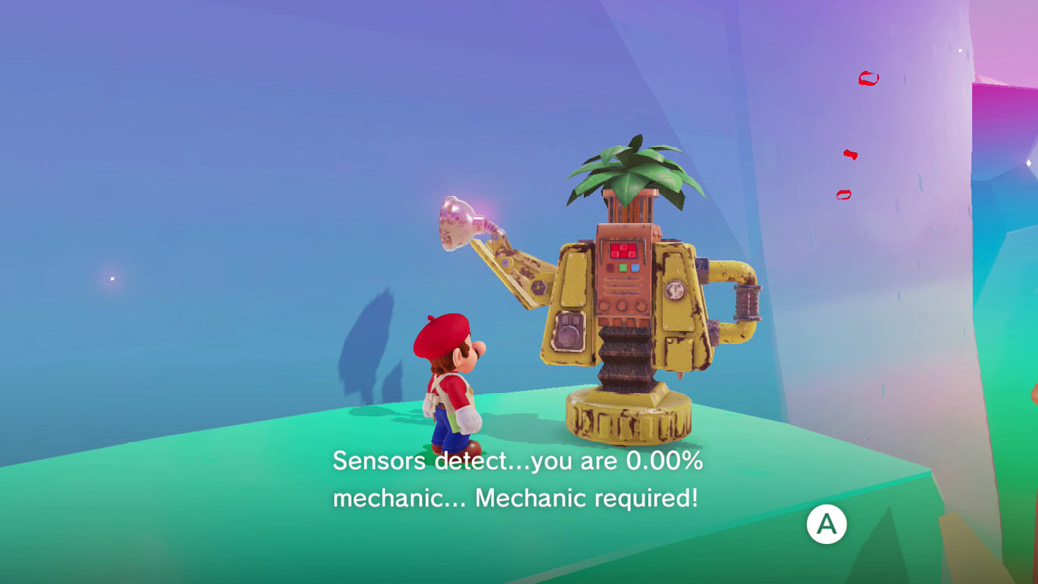
When the Cooking Carnival is in full swing and visitors from all over inundate the town to try out the amazing Volbonan food, even the robots of Wooded Kingdom stop by. They must have some taste circuits installed. This unit is having some problems though, and has its settings stuck in “harsh-critic” mode! The robot just wants to have a good time, so a mechanic is needed for a quick mechanical check-up. Change into the Mechanic Outfit and Cap (available long before, in Wooded Kingdom) and talk to the rusty robot for a Power Moon.
 Diving from the Big Pot!
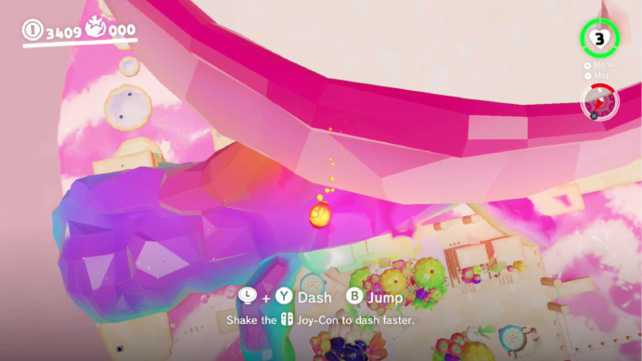
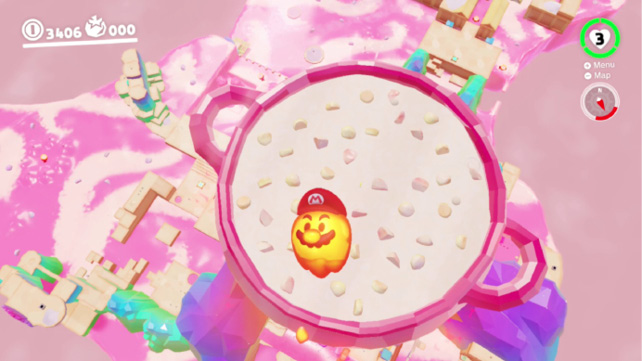
Early on, the Tostarena entrepreneur running slots here won’t have a pot simmering on the roof; just a pyramid stack of cans, very satisfying (if rude) to kick over. But later on in the adventure he has stew up there bubbling away for the Cooking Carnival. (That seems like it would be hard for a Tostarenan to check on.) At this point, the name becomes a big clue. What’s the biggest pot here? Warp to the Top of the Peak Climb flag, capture a Lava Bubble, and launch up into the stewpot on top of Mount Volbono. Now swim to the southern rim of the pot and use the camera to peer over the edge. Spot the town below and the bowl on the roof, then jump from the big bowl to the smaller one below. If you miss, no big deal. Just instant warp back to the flag atop the mountain and try again.
 Hat-and-Seek: Among the Food
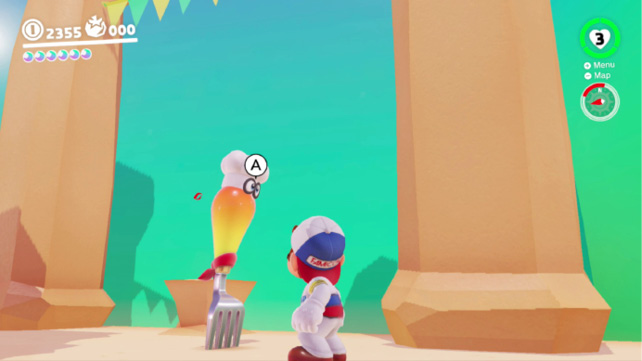
A visiting Bonneter wants to try out life like Mario and Cappy do it, and is hiding on a resident’s head somewhere in the region. This is a needle in a haystack type challenge, if the needle were a pair of telltale Bonneter eyes and the hay was people. Look for someone with a suspicious pair of eyes in the back of their head and interrogate them to reveal the missing resident of Bonneton.
 Luncheon Kingdom: Regular Cup
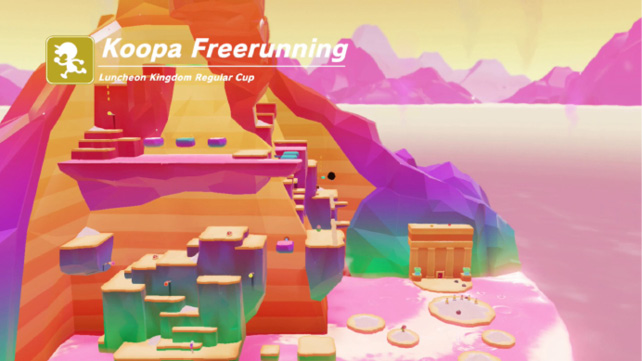
This interesting freerunning course begins near the Volcano Cave exit and concludes near the mountaintop, on the platform holding the Top of the Peak Climb warp flag. The Koopa Troopa racers jump along with the floating salt pile islands, curving forward and right toward the beginning of the peak climb. The peak climb gives racers many angles to cut the path short through acrobatic jumping tricks. There are also Volbonans stuck in the walls here and there who can be used to flick forward over gaps or upward to high ledges.
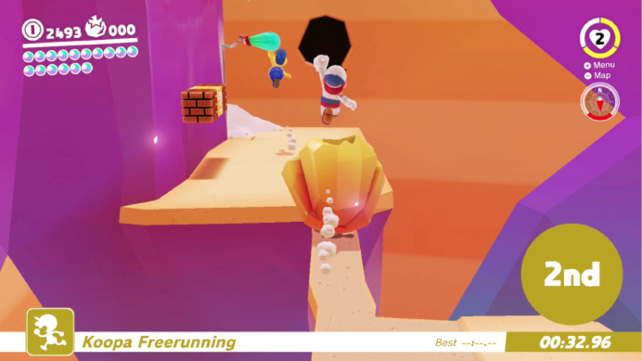
Running up to the top along the straightforward route, the most challenging segments are the narrow walkway with huge peppers rolling over it, and the spinning saucepans where one side is solid, usable as a platform, and one side is bubbling liquid, the opposite of safe. With the narrow walkway and pepper, just take it easy, moving forward carefully but smoothly, and just jump straight up over the pepper without jerking or altering Mario’s path. Stay along the track of the path and he’ll be fine. As for the saucepans, the easiest solution uses segments with lots of poles to swing between. Get the longest jump possible lined up and dive jump at the top of that, bypassing saucepan platforming entirely with enough distance.
 Peach in the Luncheon Kingdom
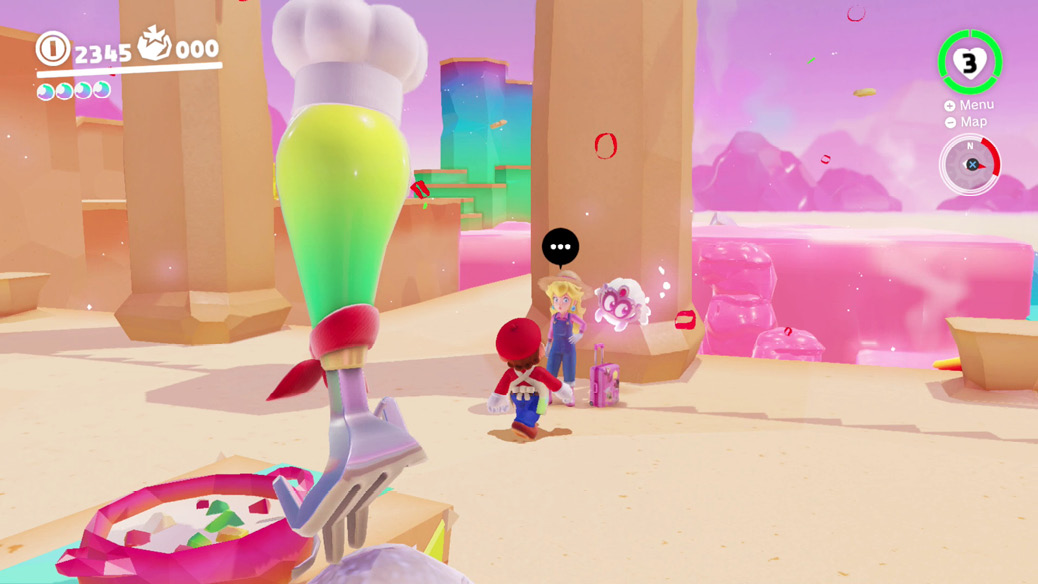
After everything has settled down with the main adventure and citizens are free to travel the world and visit where they please without fear of Broodal or Bowser assault, Peach arrives in Luncheon Kingdom in time to enjoy the region’s famous and festive Cooking Carnival. She’s well-prepared for the heat in her boots and overalls, and she and Tiara survey the scene near the main cookpot in town. Stop by and chat about Luncheon Kingdom’s unique, delicious-smelling charm. Peach and Tiara on tour must be visiting most places in the world (and off it) before they return home.
Moons from the Moon Rock
 From Inside a Bright Stone
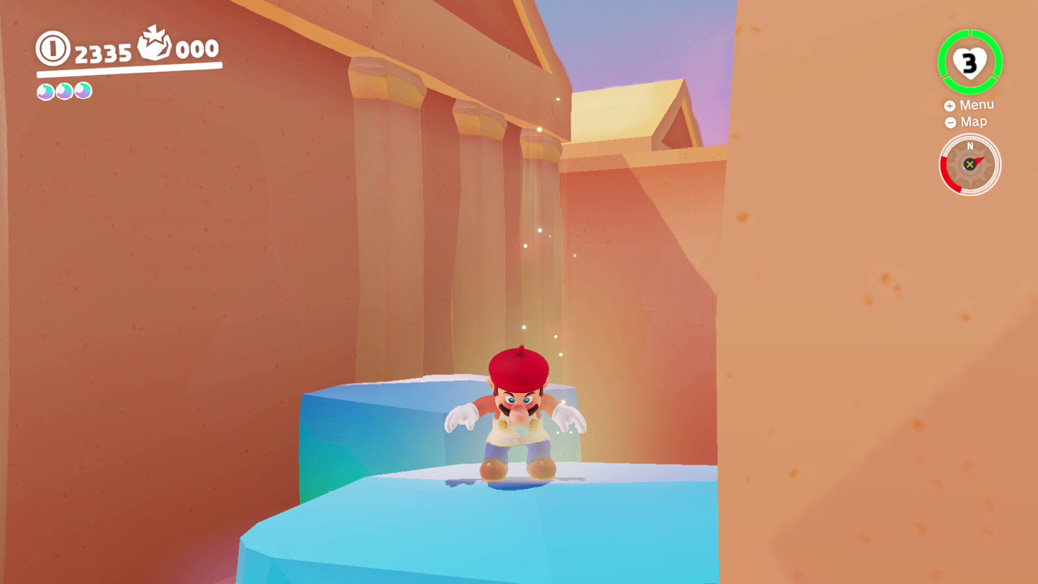
Between Old Town and Old Town’s arena, a pink channel flows between the old hard buildings, with blue blocks floating in the stream below, safe to stand on. Hop down on the right side (coming from the Odyssey) after opening up the Moon Rock to find a glowing spot on one of the floating blue blocks. Ground pound it for a hidden Power Moon.
 Under the Meat Plateau
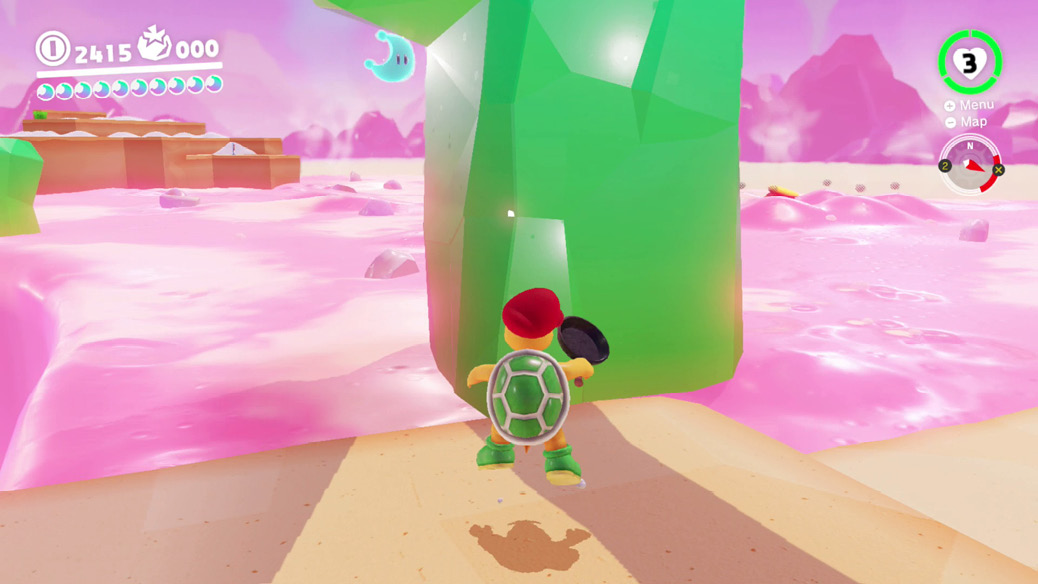
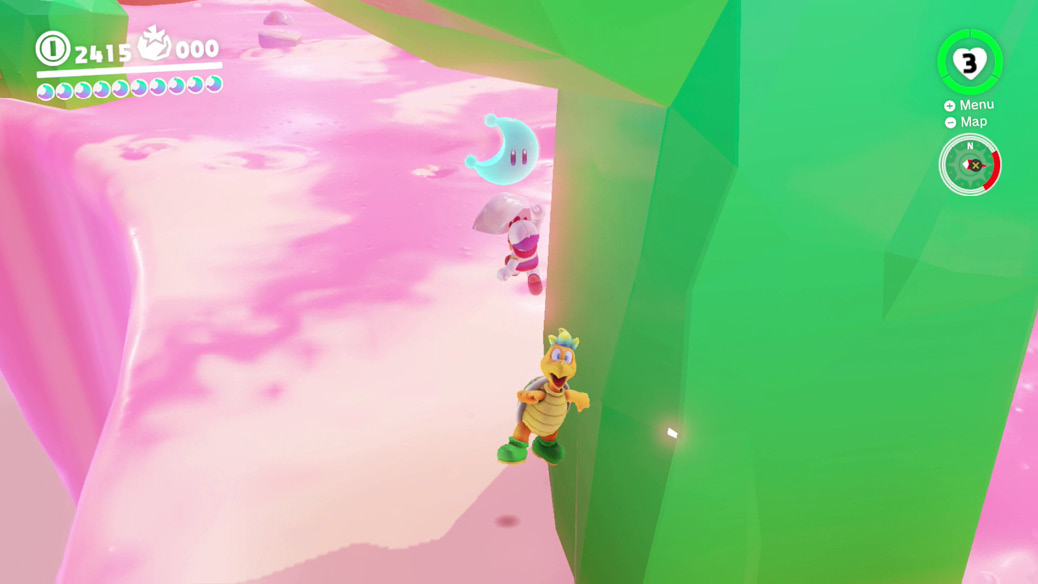
This new Power Moon is hidden under an arch in the northern part of Luncheon Kingdom, near the blocks of cheese covering a seed. Getting it requires a little jumping ingenuity, and may require getting a little burnt. Just a little bit! Warp to Meat Plateau, then head down from the warp flag and capture a Fire Bro. Approaching the edge by the Power Moon, preferably with a bouncing start, bounce off the edge then jump at the top of the little bounce (Hammer/Fire Bro bounces and jumps not being the same thing). At the top of the forward jump of the Fire Bro, tap the Crouch button to drop the capture and spring Mario forward, gaining a bit more height. For good measure, throw Cappy at the moon at the apex of this “drop jump”—throwing Cappy moves Mario forward slightly. This combo is enough to put Mario’s outstretched hand on the Power Moon, pulling it in. Immediately afterward, you have to worry about hightailing it back to land that isn’t burning hot, but it’s a small price to pay!
 On Top of a Tall, Tall Roof
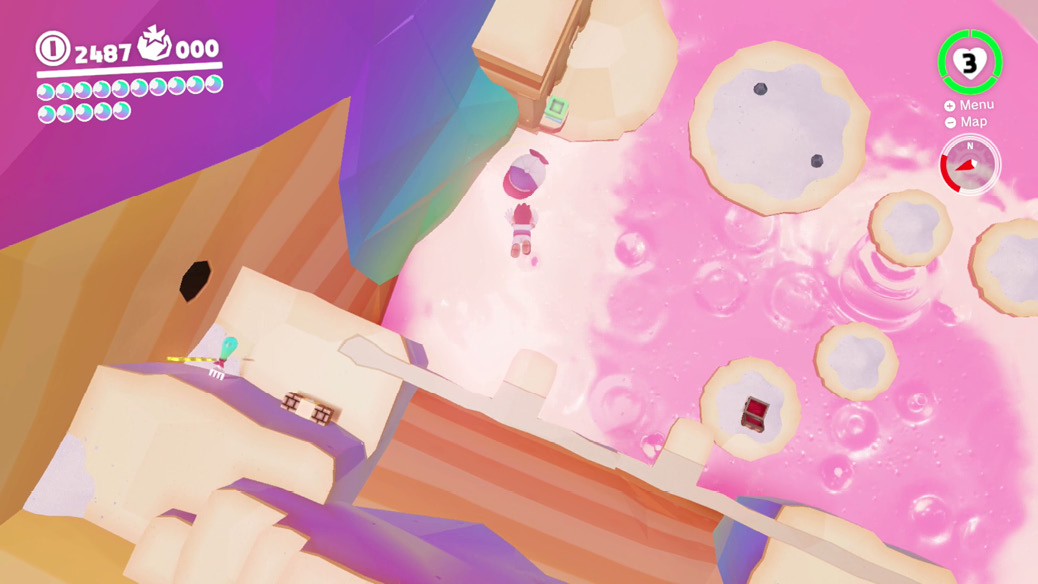
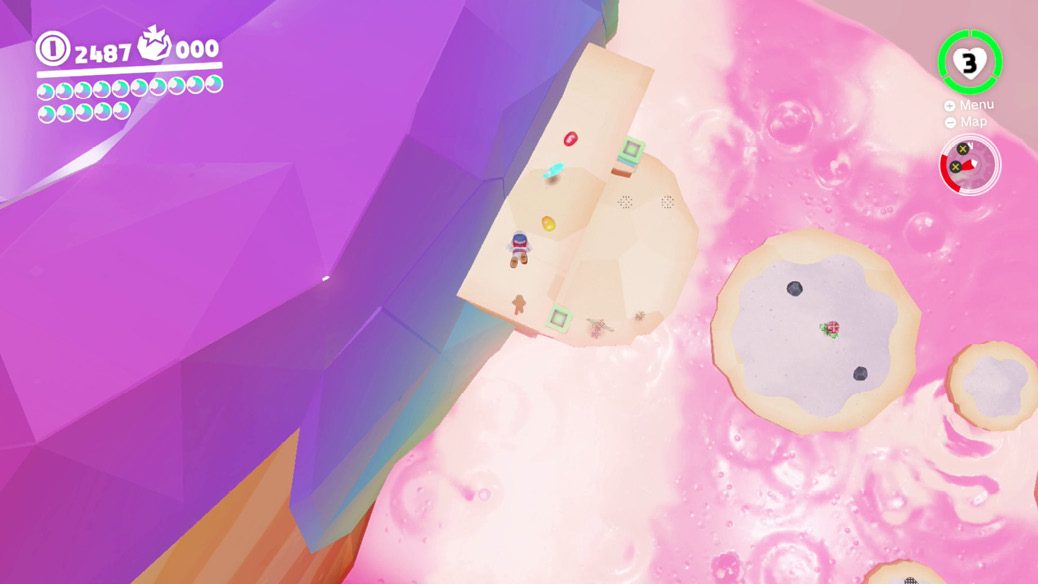
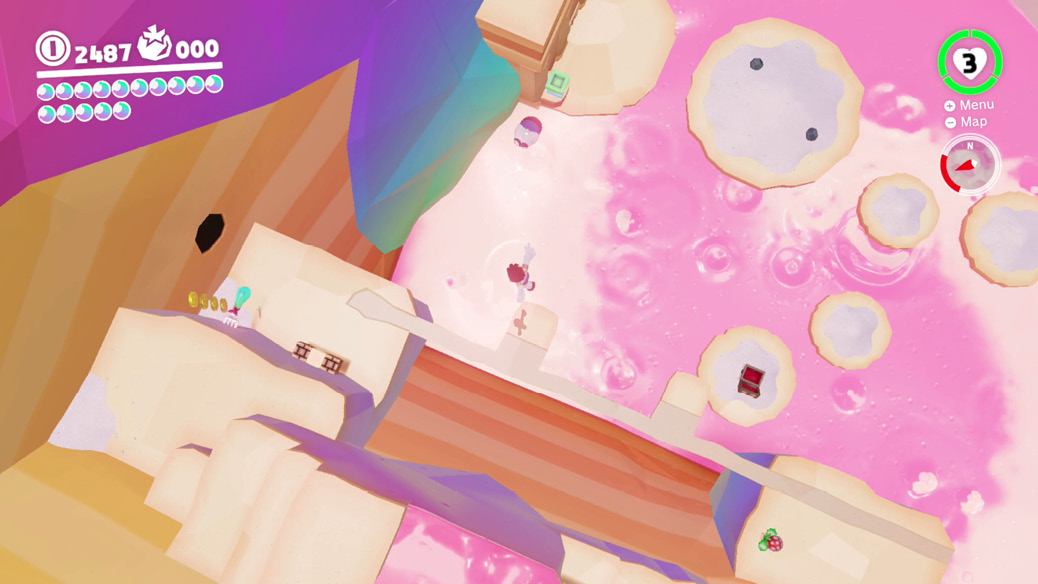
This Power Moon is found above the arch supporting the exit of Volcano Cave. This is on the back end of Mount Volbono, relative to Peronza Plaza and the Odyssey. Take the Top of the Peak Climb instant warp to get here quickly. Why the top warp and not the entrance-level warp at the bottom? You’re going to need the height from the side of the mountain for enough airtime to jump over to the moon! From a running start, running long jump off the edge of the warp flag’s platform, aiming toward the distant Power Moon above the Volcano Cave exit. After drifting a bit with the long jump, throw Cappy across the gap then tackle toward him, holding the Cap Throw button.
This makes Mario bounce off Cappy. Continue drifting forward during the cap bounce jump, and tackle one more time as Mario starts falling, which makes his arc of descent a bit shallower and longer-reaching. Done correctly, Mario lands right on this narrow arch’s roof, gaining access to the fresh Power Moon.
 From a Crack in the Hard Ground
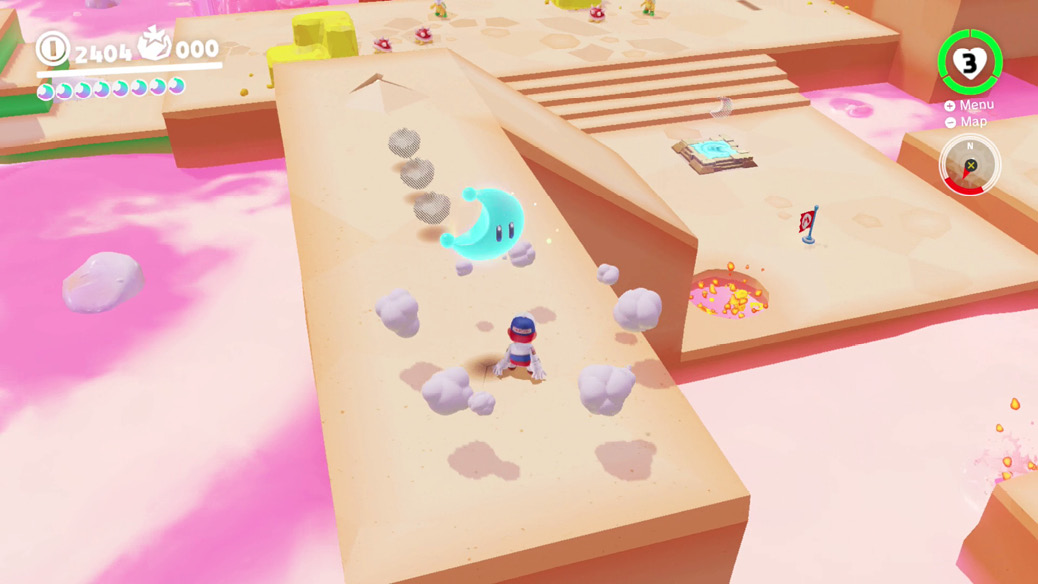
The extreme temperatures and temperate variance in this place play havoc with surfaces, which moisten, dry, crack, and buckle above the soup. Cracks on the ground sometimes reveal coins or even enemies when stomped with a ground pound. One of the cracks even kicks out a Power Moon. Find it on the top of a ledge on the northeastern platforms near where Fire and Hammer Bros dominate.
 By the Cannon Pointed at the Big Pot
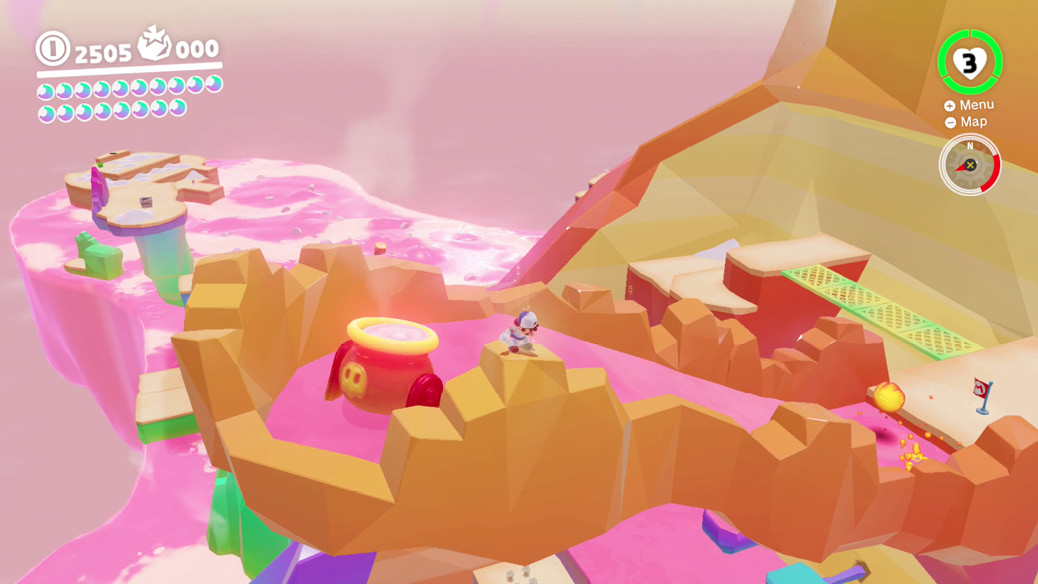
Instant warp to the Top of the Peak Climb flag. From up here, capture a Lava Bubble for the lava swim up to the lava cannon above. Don’t jump in, though. Look around the rocky orange rim holding the lava in here to see a glow coming from the ground on one portion. Hop out of the lava to this spot with the Lava Bubble, which ends the capture and pops out Mario. Ground pound the spot here to discover another Power Moon. Getting down from here can be a bit dodgy. You can run down the orange rim back to the warp flag, or take a leap of faith to a target below, or just pull up the Travel Map and warp to one of the checkpoint flags.
 Luncheon Kingdom: Master Cup
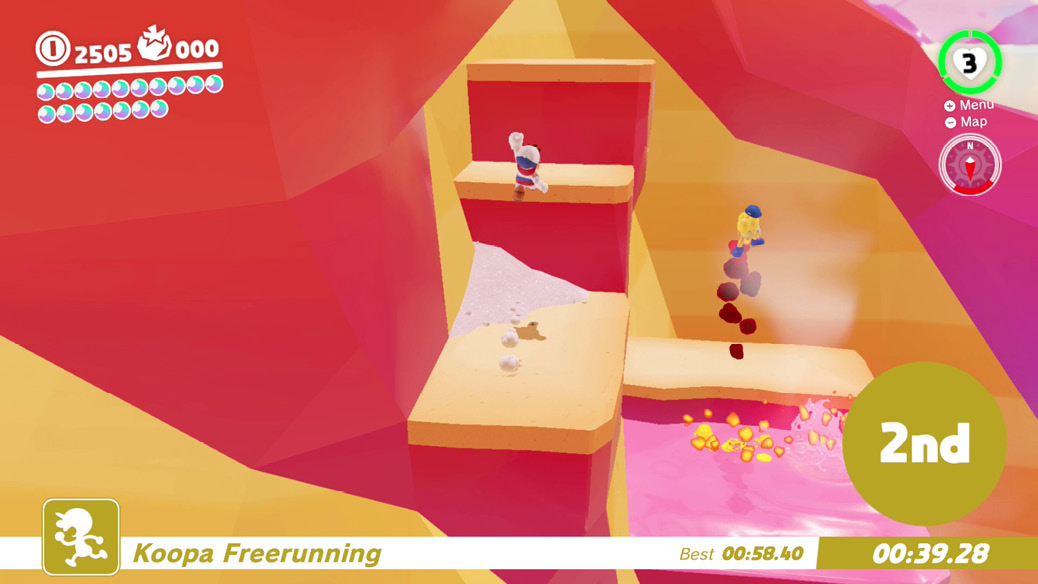
A tougher group of freerunning opponents has lined up by the back of Volcano Cave. Participants who have cleared the Regular Cup can take a crack at this one, which features the legendary golden Koopa Troopa among the racers. The course is the same, curving around the bubbling stew then up and around the twists of the mountain climb, and the competition is fiercer.
Happily, this stretch provides many opportunities to shave distance and time. With good jumping tricks, Mario can forego most of the beginning stretch and get a leg up on the climb. Instead of curving widely right with the rest of the pack, turn sharply right immediately at the beginning and use running long jumps into dive jumps to cross the wider gap to a couple of smaller circular salt pile islands, then a couple of square islands, then the base of the climb.
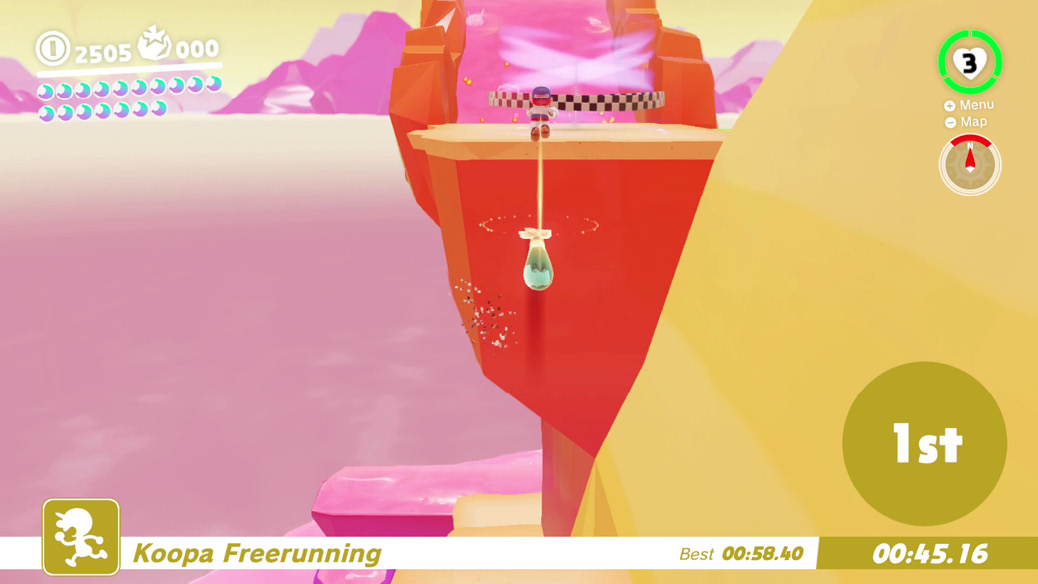
Higher up, the entire final stretch of the climb can also be skipped, by taking a subtle back route. Between the sets of spinning saucepan platforms near the top of the climb, look for a stepped ledge upward that seems at first like a dead end. Look above and behind Mario though and you see a Volbonan placed midway up the way, fairly high up from Mario’s vantage. With one of Mario’s high jumps (a somersault or ground pound jump works with the amount of launch space available here, which is basically none), he can get enough altitude to stick a cap onto the Volbonan. From here, flick upward and Mario’s right at the race’s goal!
 Stepping Over the Gears
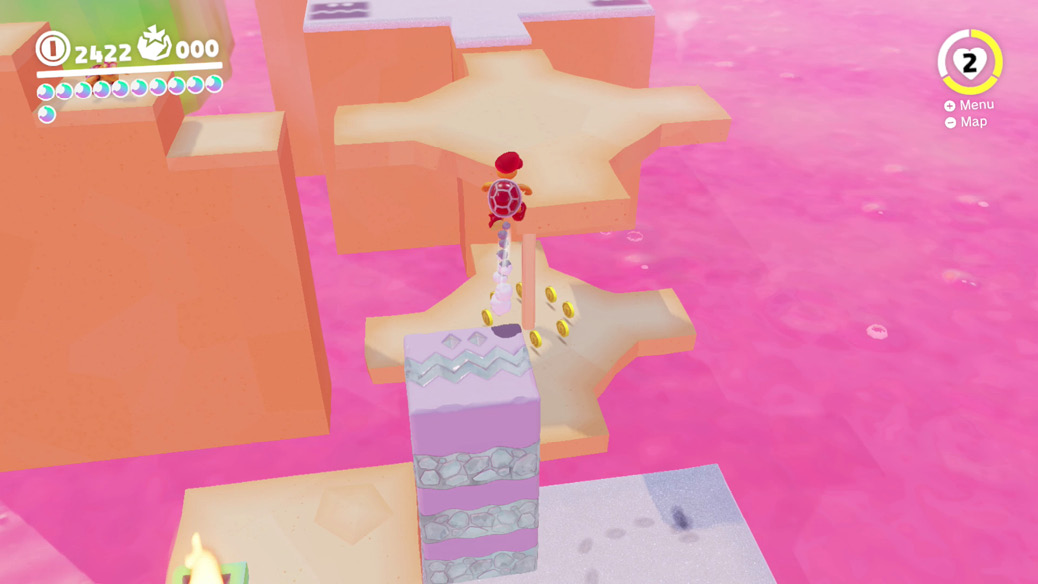
Accessed from the top of Meat Plateau, this challenge room contains a peanut-butter-and-ketchup style mash-up. Right away, notice the Fire Bro and Bitefrost working together to pin Mario in. The room involves crossing a series of spinning gear-like platforms, while avoiding Bitefrost bites from underneath and Fire Bros fireballs from the sides and above. You can capture a Fire Bro for fun or to also tackle the objectives for Power Moon #64, but it’s not required. Once you arrive on the final platform, the Power Moon for surviving the room is alongside the exit pipe.
 Lanterns on the Gear Steps
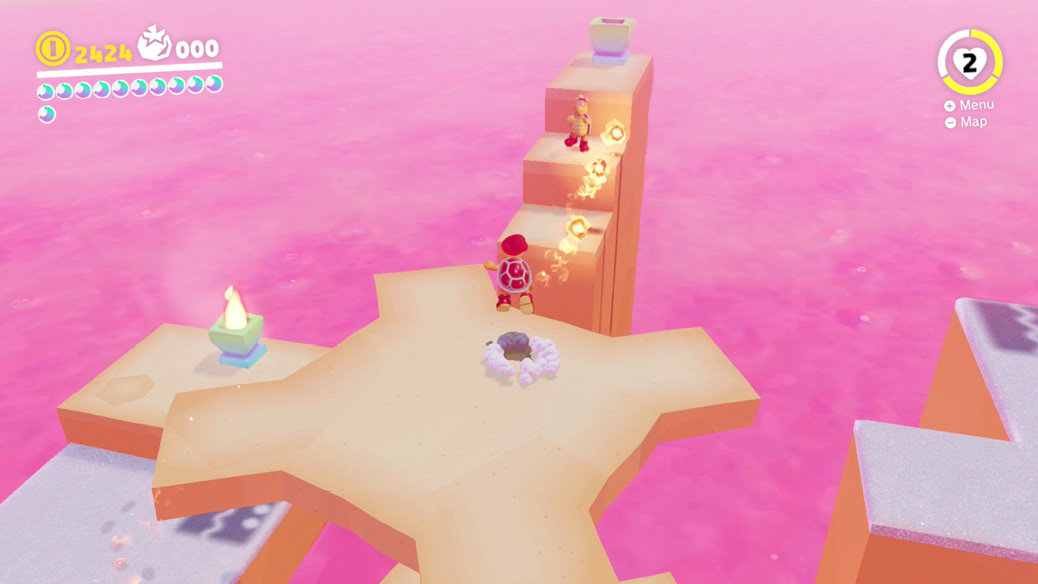
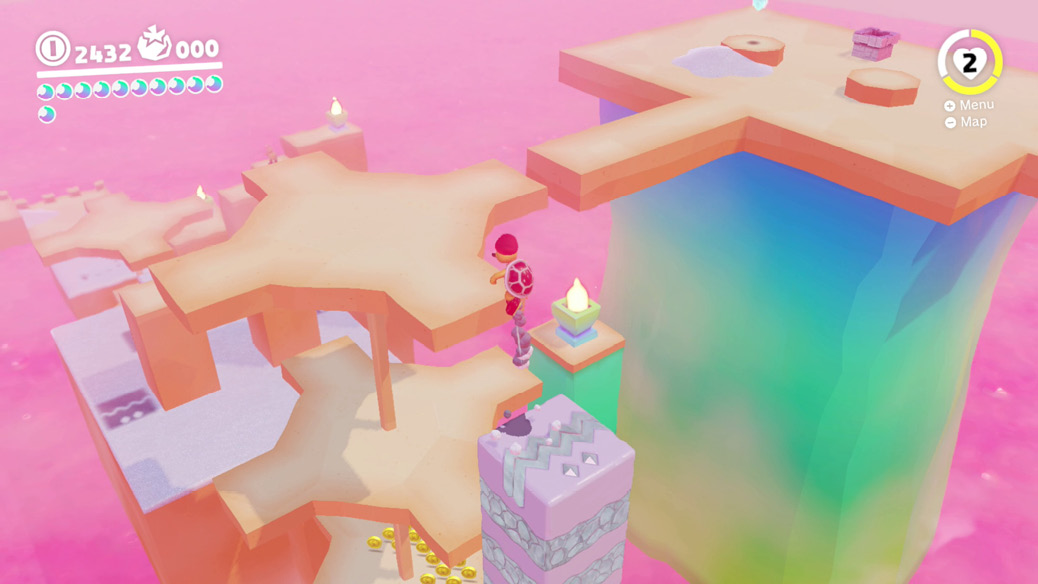
Inside the gears challenge room, you have to traverse the whole thing, not only surviving but also lighting all the lanterns. Mario can’t throw fire, so you need someone who can. Capture the first Fire Bro, light the first green lantern here, and proceed onward onto the spinning gear platforms. Use a Bitefrost as a stepping stone to get to the second level of gears, which allows access to a staircase platform with another green lantern to light. A platform full of Bitefrosts up ahead vie for the privilege of trying to bite Mario, but they really just create temporary tall jumping platforms. Use them to get atop the columns here where you find a hostile Fire Bro and another flammable lantern.
Up ahead, again use a Bitefrost to reach the second level of gears, lighting another lantern on the left. Another platform for a lone Bitefrost up ahead is a way to get higher still—jump to the small platform and be ready for the guaranteed Bitefrost lift and snap. Use the height to get to the third gear level.
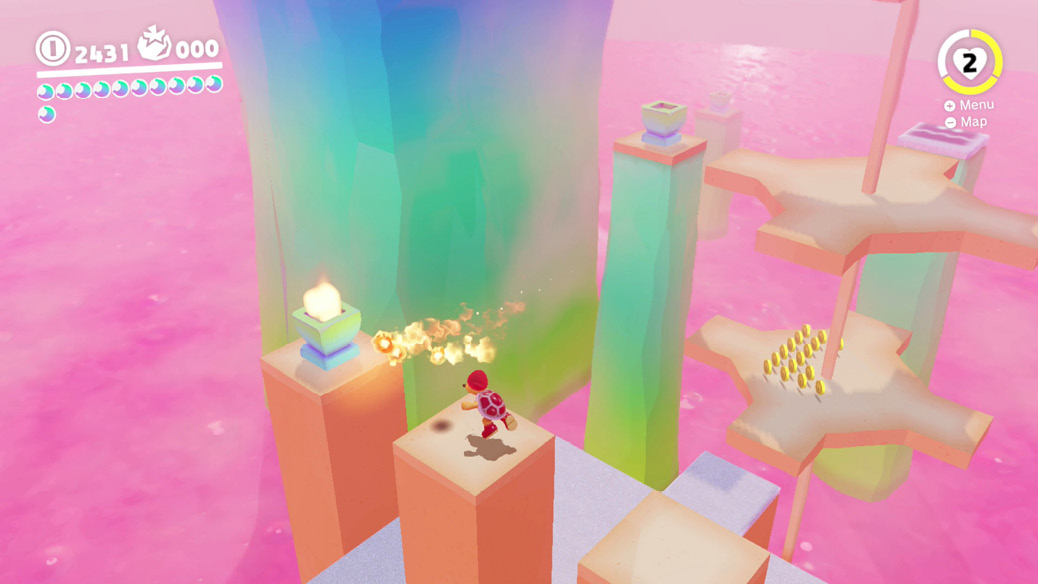
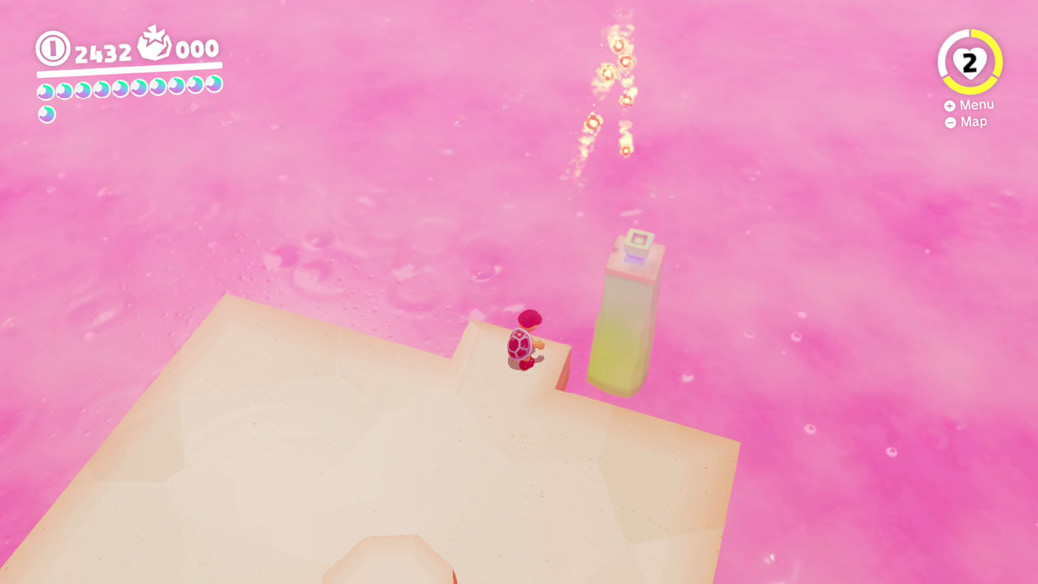
On the last platform, find one side that has a tab platform sticking out just a bit. A lantern can be seen a stone’s—or fireball’s—throw away. Hurl Fire Bros fireballs toward the lantern until catching it with a solid throw, lighting it aflame. Lighting all the lanterns makes an extra Power Moon appear for pick-up next to where the regular moon appears.
 Volcano Cave Cruisin’
The entrance to this cavern is found just outside the maw of the Volcano Cave, to the northwest. Extreme caution must be used in this drenched cavern. The blue grated platform that pushes through is a safe haven, along with cap clouds when they’re activated. But anywhere else here is treacherous. Mario begins bouncing around, smoking from the heat, on any contact, and defeat comes quickly if you can’t regroup back onto the blue grating.
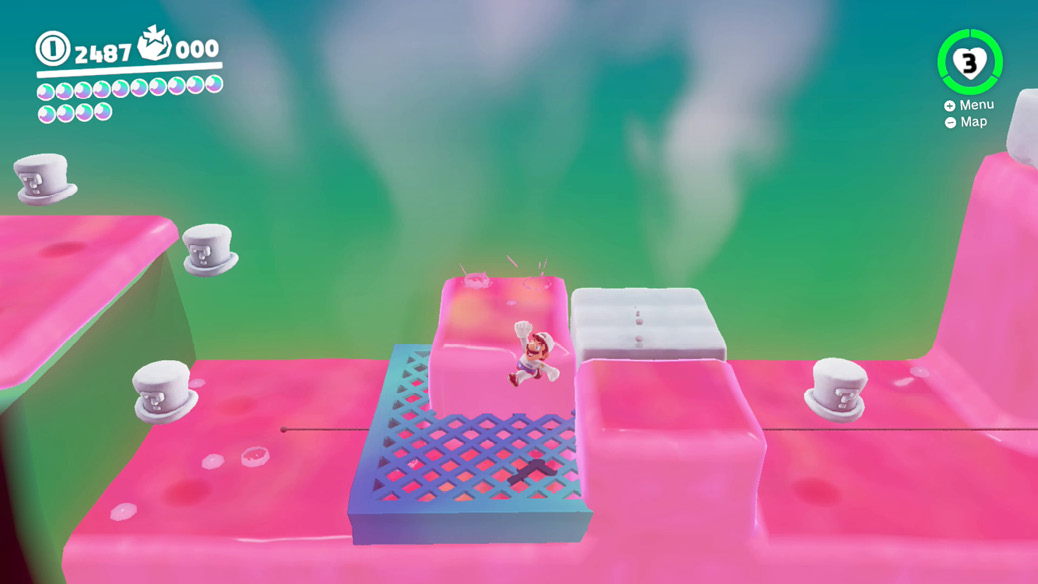
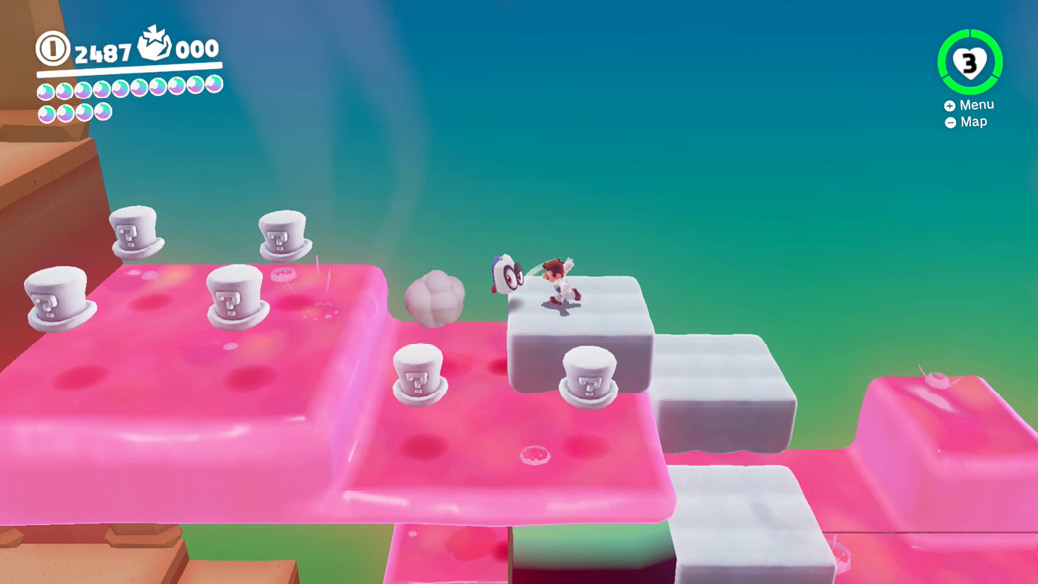
The platform travels to the right through a channel with some ? blocks along the side. Mario must stay away from sections of lava-drenched level that pass through the platform. The blue grating then heads up a vertical path, and Mario must step out from under molten ledges along the way. At the top, a vertical diversion to Power Moon #66 is possible. The platform itself heads left for a bit before dropping away, leaving Mario to scale the rest of the way to the exit pipe (and Power Moon!) by leaping from cap cloud to cap cloud.
 Volcano Cave and Mysterious Clouds
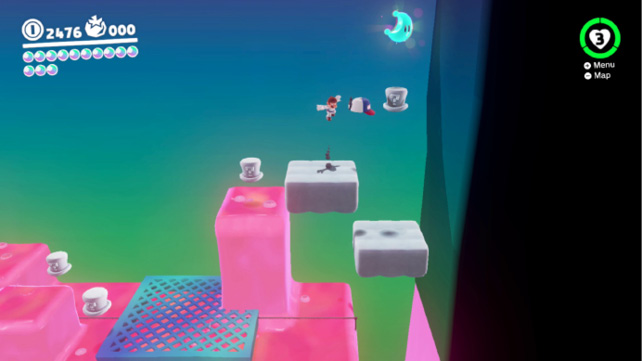
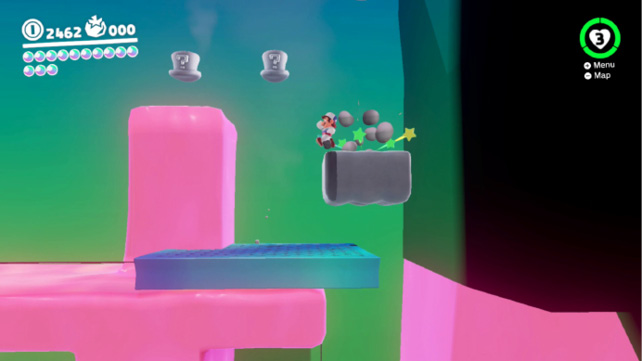
This Power Moon is hidden in a high corner inside a moon pipe near the entrance to the Volcano Cave. At the top of a vertical channel, the blue platform begins moving left. It continues ferrying Mario safely most of the way to the exit, but there’s also a secret right above this bend in the path. Look to the deflated cap clouds above, the cloud-shaped blocks with a question mark on the side. Before the grated platform gets out from under Mario, jump up and throw the hat to active the first cap cloud. Jump aboard and continue activating cap clouds heading upward, where you find the Power Moon above.
For jumps that give enough height to consistently leap aboard the next cloud, use somersaults and ground pound jumps. Once the Power Moon up top is secured, you have to make a leap back down to the moving blue platform before it gets too far away. Depending on its distance, you might even need to dive jump from the cloud platforms above the shaft! Even if you fall in, it’s ok, as long as you get the moon beforehand. You’ll just lose some coins.
 Treasure of the Lava Islands
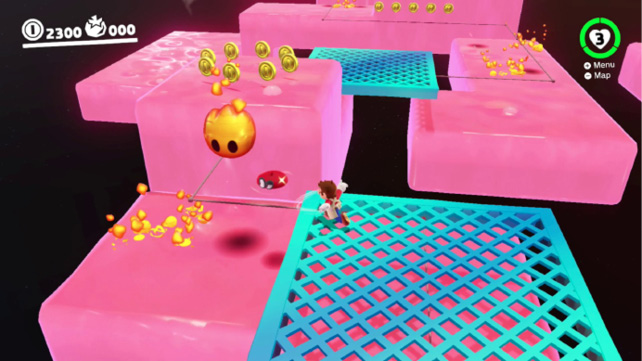
The moon pipe here leads to a gorgeous-looking land of platforms made of what looks like melted bubblegum. None of that is safe for Mario to touch. Capture a resident Lava Bubble for a safe way around. Lava Bubbles can pass through the blue grated platforms drifting around in here, but fizzle out when touching solid ground. On the other hand, it’s safe to end a bubble capture over a grated platform, where Mario can safely land.
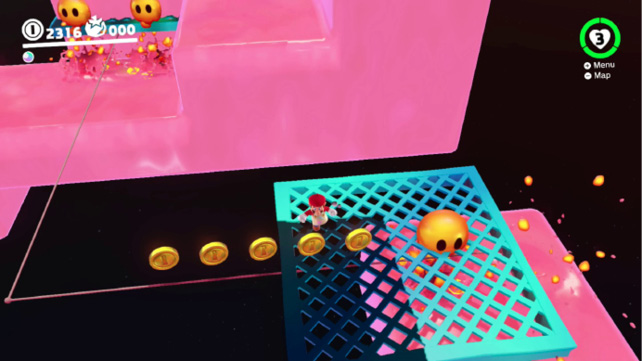
Make your way across the platforms, capturing Lava Bubbles to traverse liquid and hopping out as Mario to ride grated platforms. At the far end from the entrance, a lava cannon overlooks a wide chasm. Hop into the lava cannon and launch across the gap. Be ready to drop the Lava Bubble capture just before passing through the grating along the landing path, so you can land safely on Mario’s own two feet, ready to grab the Power Moon and exit the room.
 Flying Over the Lava Islands
There’s a bonus Power Moon hidden in the proverbial rafters here in the lava islands room, but getting up there is a mystery at first. Neither Mario nor the Lava Bubble can jump that high. However, the lava cannons here have no problem launching Lava Bubbles that far.
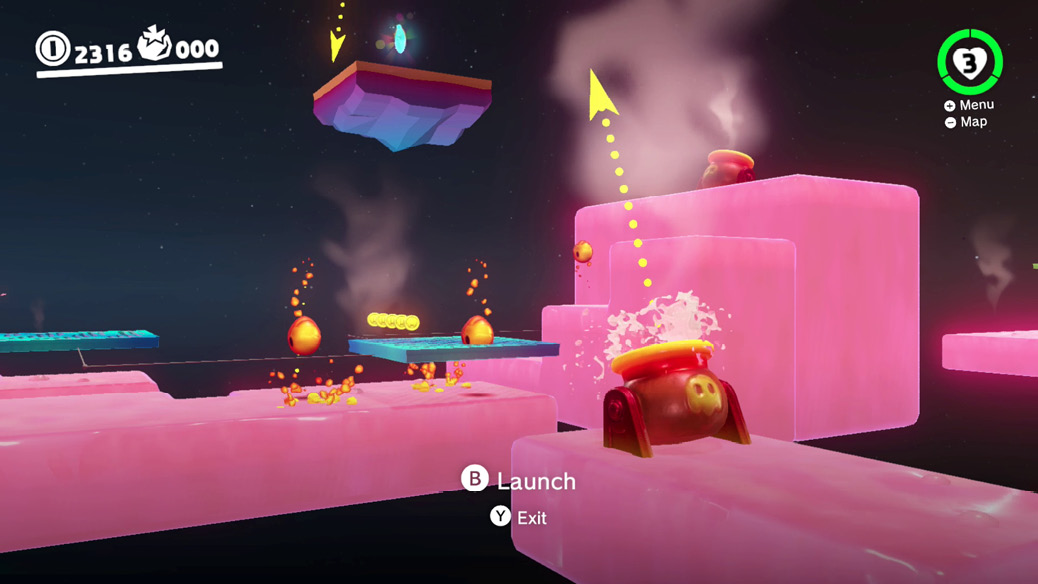
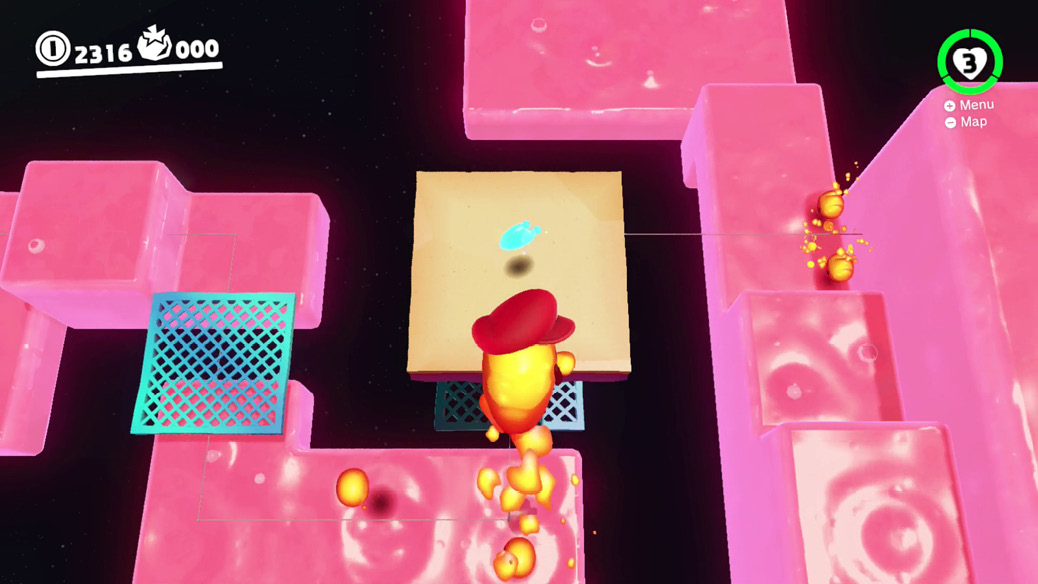
Find the cannon perched alone on a platform and jump to it, fitting inside in a captured Lava Bubble. The cannon shows the arc before launching, indicating the path over the platform where the Power Moon perches. Launch from the cannon and be ready to press the Crouch button just over it, ditching the Lava Bubble in order to fall on the moon as Mario.