
Super Mario Odyssey Guide Lake Kingdom
Mario’s Itinerary
 Broodals Over the Lake
Mario touches down in the Lake Kingdom in time to see the Broodals circling high above Water Plaza Terrace, where they stole the Lochlady Dress. The Lochladies of Lake Kingdom are positively distraught over this development. Worse still, the Broodals broke the stairs leading to the Water Plaza. Mario has to find another way over.
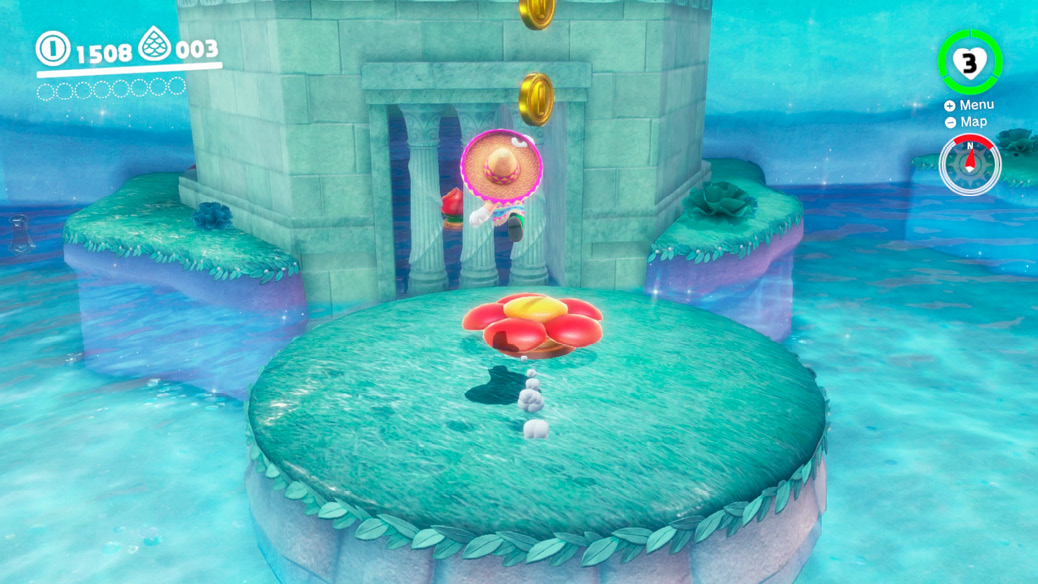
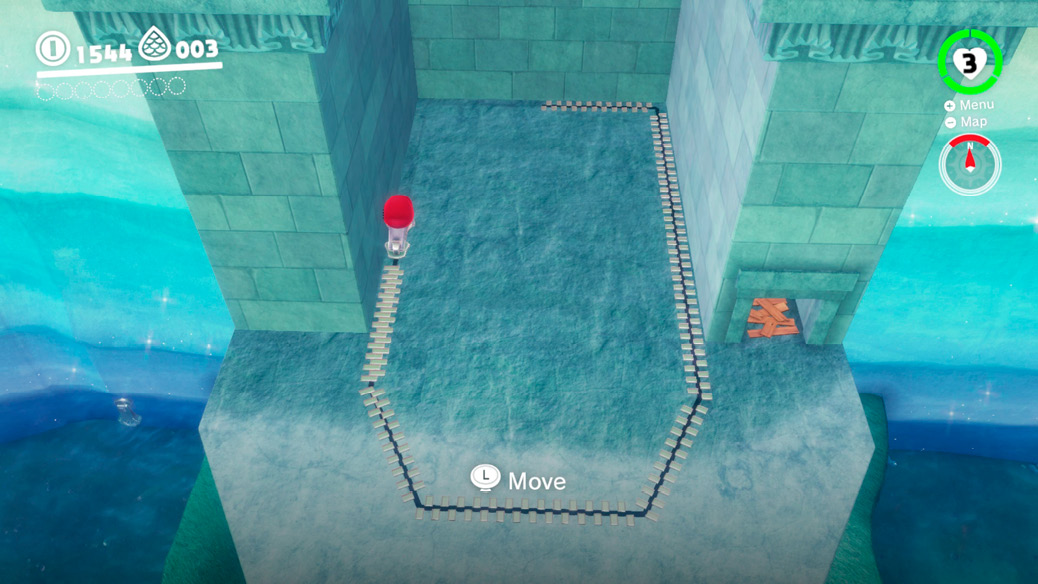
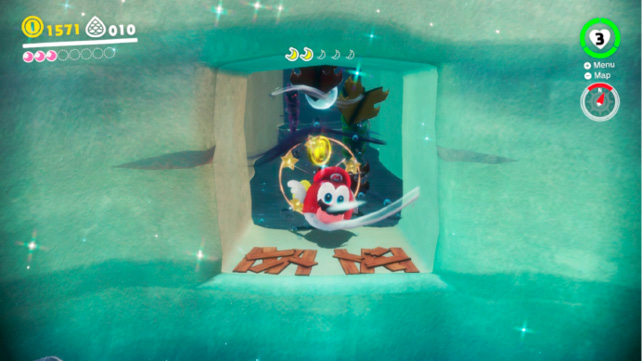
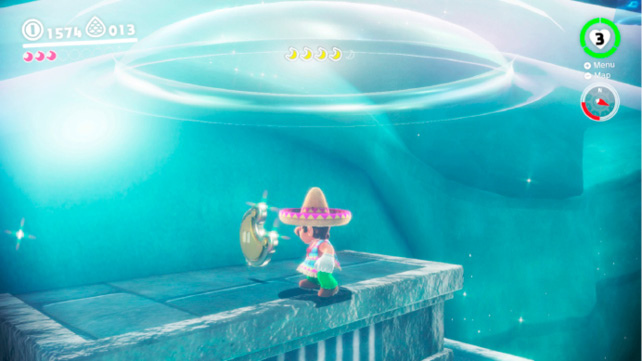
Cross the watery area near the Odyssey to the hat trampoline on the small island in front of the columns. Bounce to the top of the flood gate, where a Lochlady mentions that the way to the Water Plaza is right behind her. At first glance, it doesn’t look like anything’s there, but that Zipper is special. Grab the coins from behind the crate, then capture the Zipper and tug it along the outline to create a special opening.
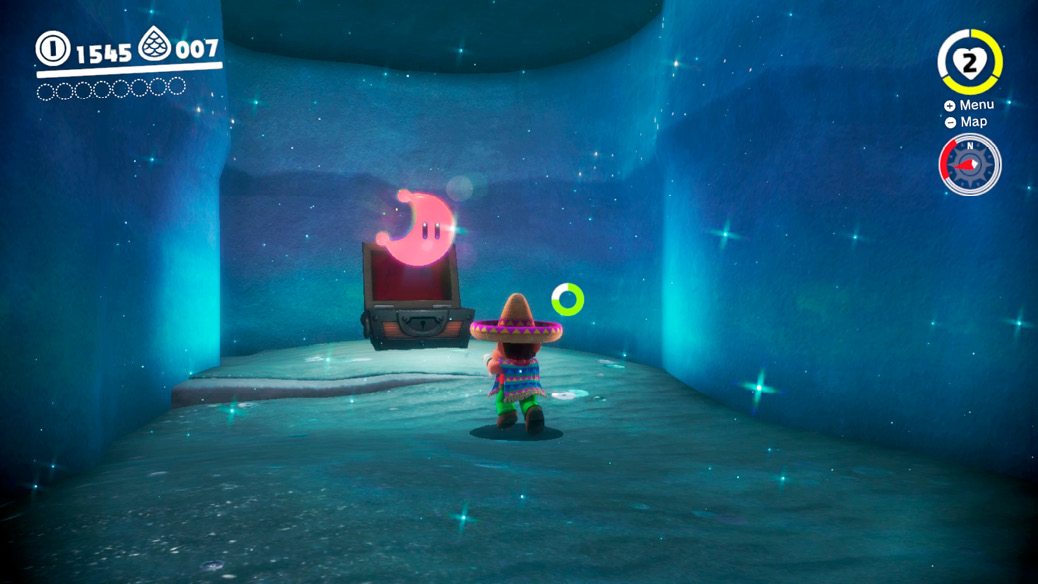
Descend through the shaft up ahead, making sure to keep Mario lined up with the air bubbles rising from the bubbler at the bottom. Collect the Regional Coins near the spikes, then swim toward the fork in the path. Head to the right to collect Power Moon #08 from the treasure chest atop the ledge.
Toss Cappy at the walking Komboo to cut them in two, and continue swimming toward the Heart in the distance. The Underwater Entrance to Lake Lamode isn’t much further.
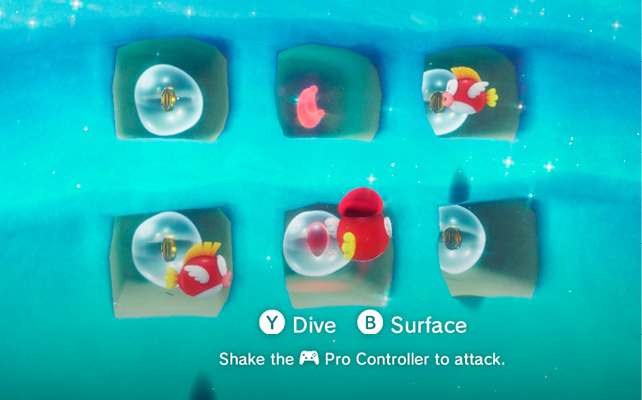
Since Mario needs a total of eight Power Moons to fuel the Odyssey before leaving Lake Kingdom, it’s a good idea to pick up a couple on the way to the Broodal battle. Capture a Cheep Cheep and locate Power Moon #03 in the upper, middle recess above the Underwater Entrance warp point.
This is a good time to gather up the five Moon Shards in Lake Lamode. Find them all to gain Power Moon #12 near the Water Plaza Entrance.
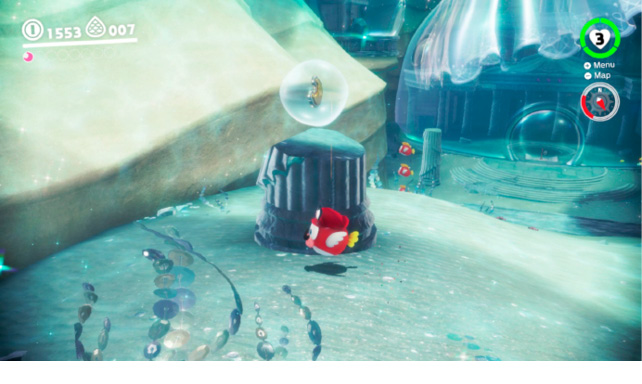
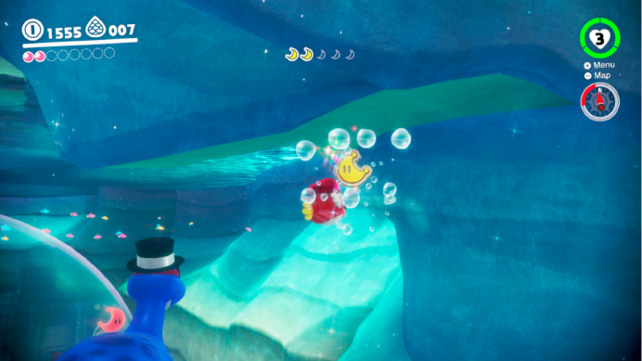
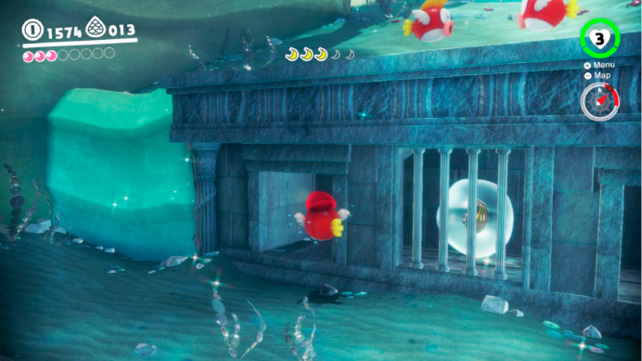
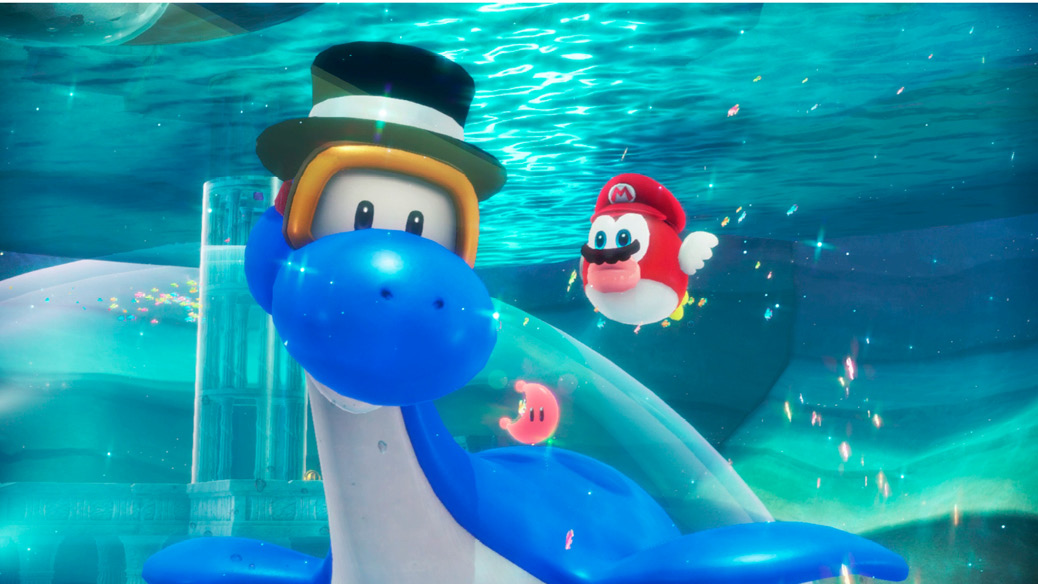
Continue swimming around the lake as a Cheep Cheep and pluck Power Moon #12 from the back of the massive blue creature known as Dorrie. Dorrie is terrifically peaceful so have no fear of getting close to it.
Enter the lower level of Water Plaza, gather up the coins from the ledges and alcoves, then swim up the watery hall on the left to reach the middle level. Exit Water Plaza through the hole in the dome near the Display Window and swim to the third floor entrance.
Hit the P-Switch to unlock the shaft on the third floor of Water Plaza and swim to the roof. Hit the P-Switch near the columns on the right to lower the hat trampoline to water level—this makes it easier to reach the roof should you fall. It also makes it possible to reach the crates on the ledge, where Power Moon #05 is hidden. Use the hat trampolines on the north side to reach the Power Moon where it lands.
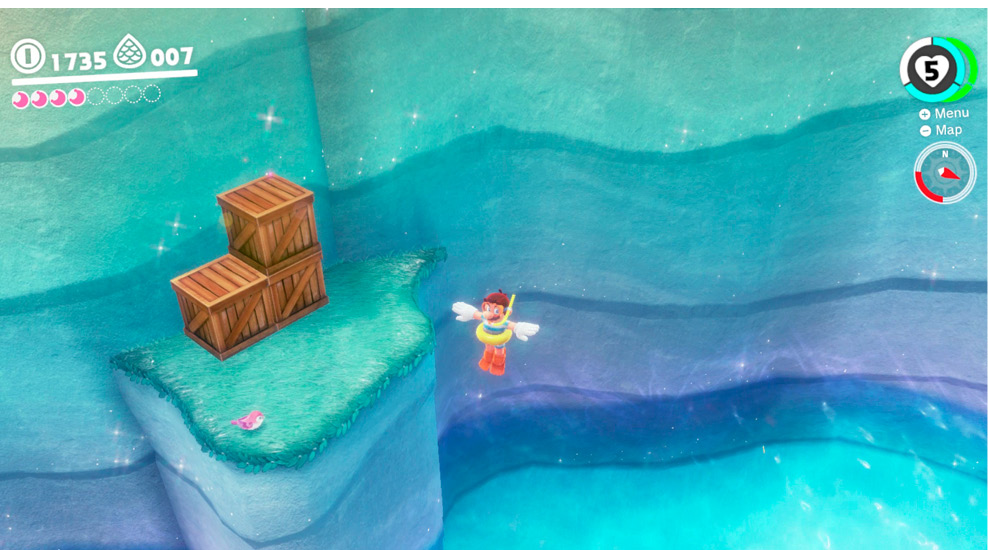
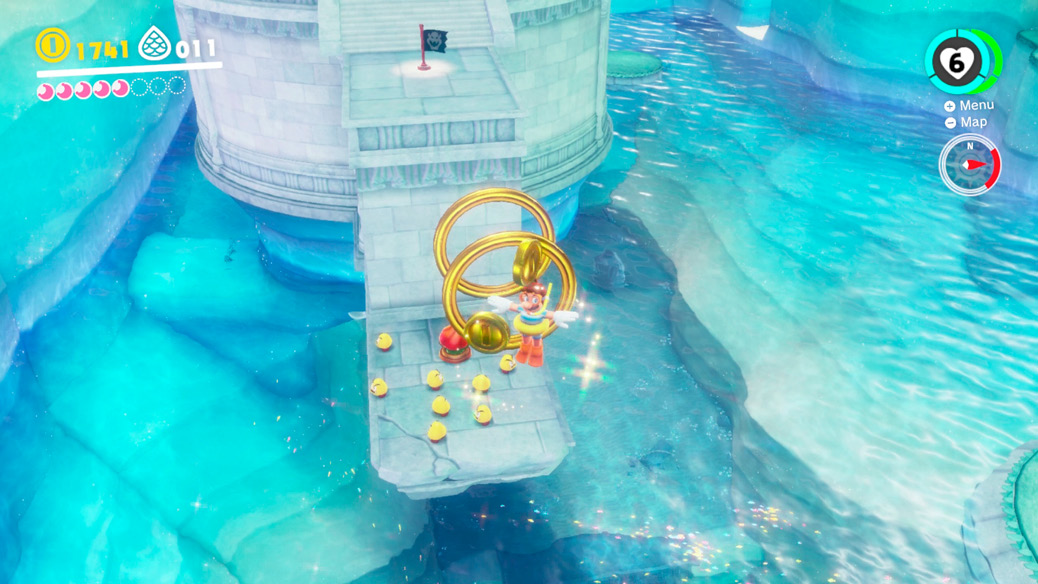
Now that Mario has earned five of the eight Power Moons he needs to fuel the Odyssey, he’s ready to tackle the next Broodal. Use the hat trampolines on the ledge to cross back above Lake Lamode, through the rings and past the Mini Goombas, to Water Plaza Terrace.
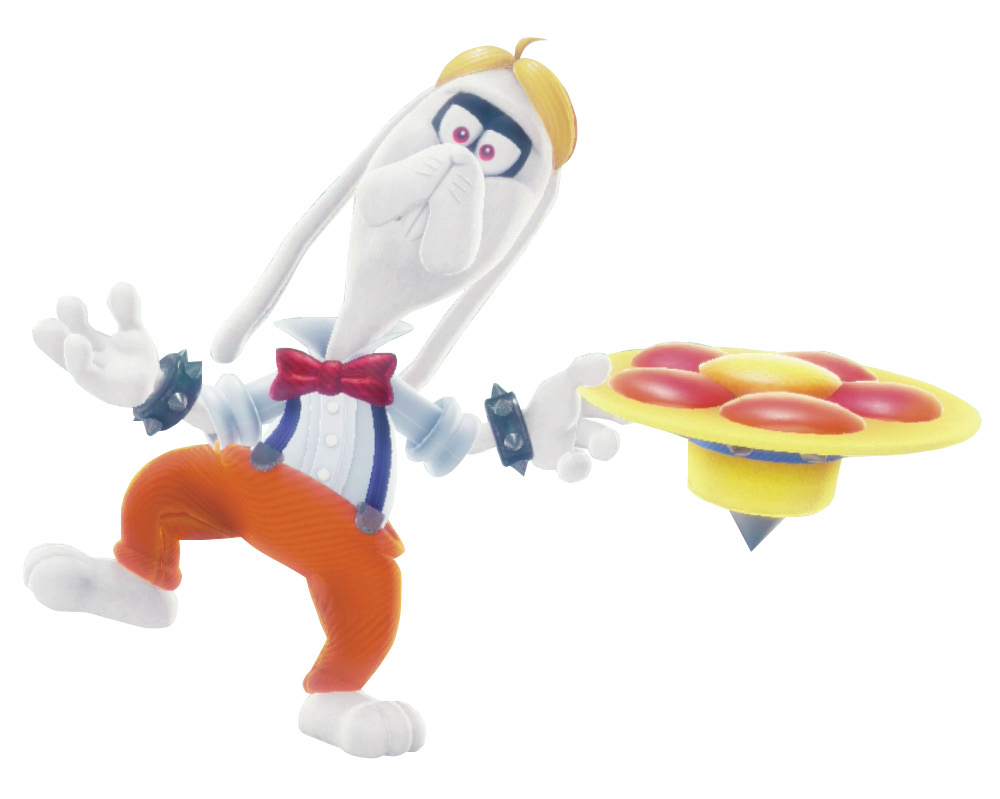
Boss: Rango
Floppy-eared Rango wastes no time in throwing his buzzsaw-like hat at Mario. Leap away from his first toss to get a feel for its range, then square up and face him in time for his next toss. Throw Cappy at his hat to flip it upside-down, revealing a hat trampoline on its reverse side. Bounce off Rango’s inverted hat, follow your shadow in the air, and ground pound Rango once above him.
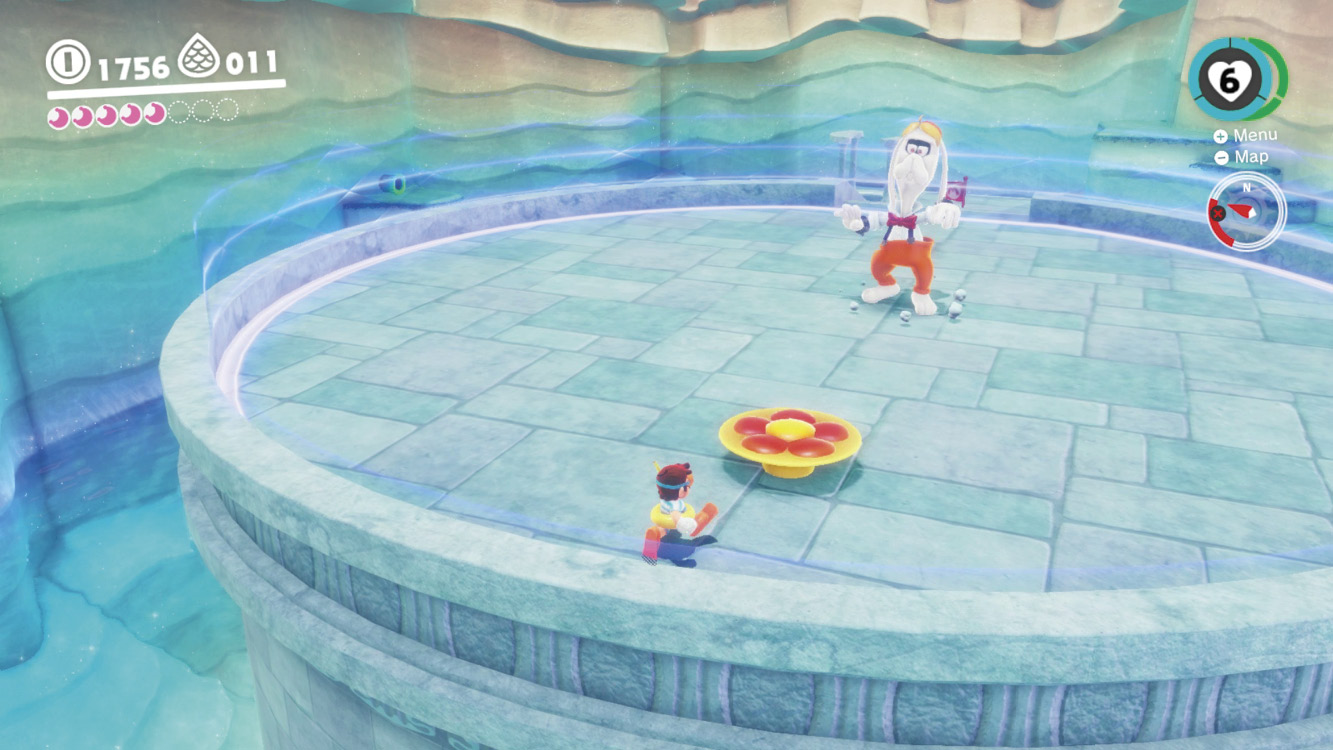
Once hit, Rango pulls his hat down low over his body and initiates a jumping attack of his own. Steer clear of his massive feet and the hat’s blades as you run in an expanding circle, collecting Rango’s coins.
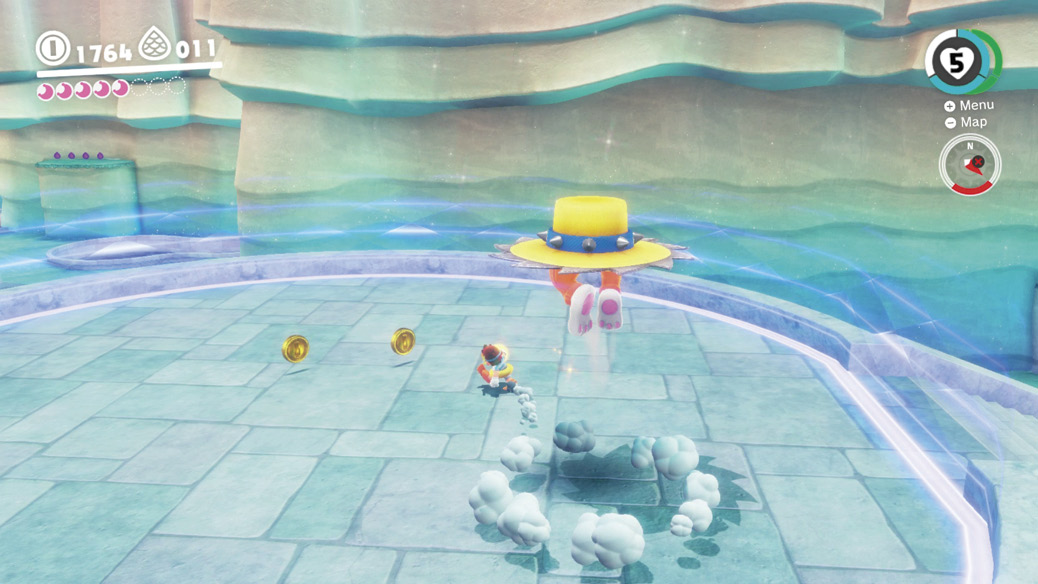
Dodge his bouncing attack and be ready for him to throw his hat again. Hit Rango’s hat with Cappy, bounce off the other side, and ground pound Rango just as before. For an extra challenge, jump on top of Rango’s hat while he’s performing his bounce attack, which also stops his attack pattern. While Rango doesn’t require a ground pound, it is the easiest way to deliver a blow to his noggin. You could also jump or backflip onto his head as well.
Mario must hit Rango a third and final time to win the battle. Avoid his hopping attack after the second ground pound lands, then once again toss Cappy at his hat, bounce off the hat trampoline, and ground pound him.
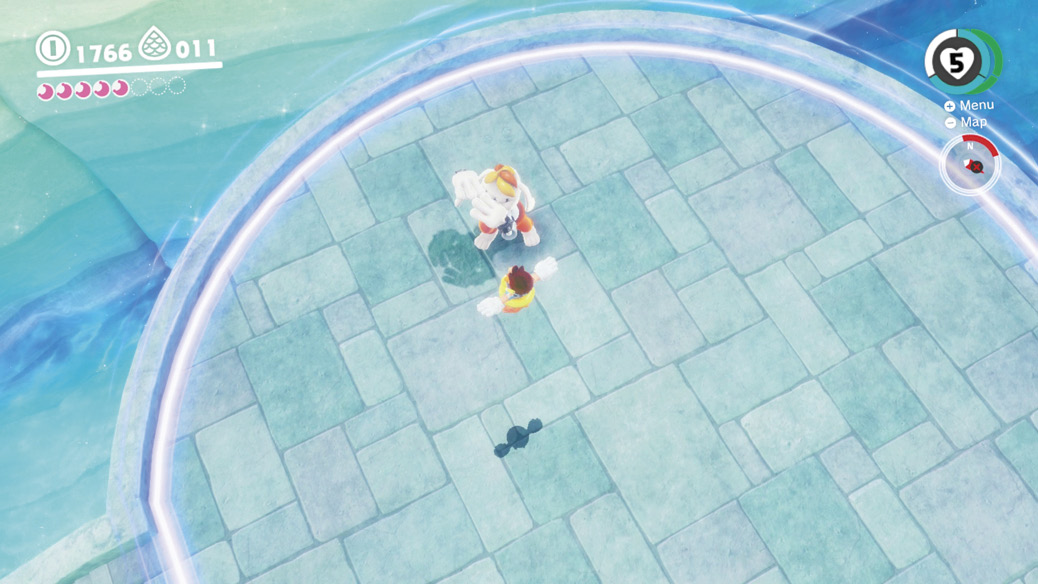
Gather up the multi moon Rango Drops (Power Moon #01) and head off to Wooded Kingdom. There’s plenty of time to return to Lake Kingdom later if you’d like.