
Super Mario Odyssey Guide Cascade Kingdom
Power Moon Locations
 Power Moons
 Chomp Through the Rocks
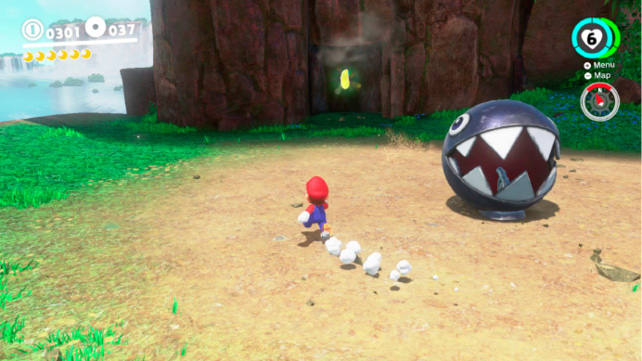
Make your way to the area where there are four Chain Chomps and capture the one furthest to the left when facing them. Pull back and release the Chain Chomp so that it smashes the small outcrop of fossilized rocks.
 On Top of the Rubble
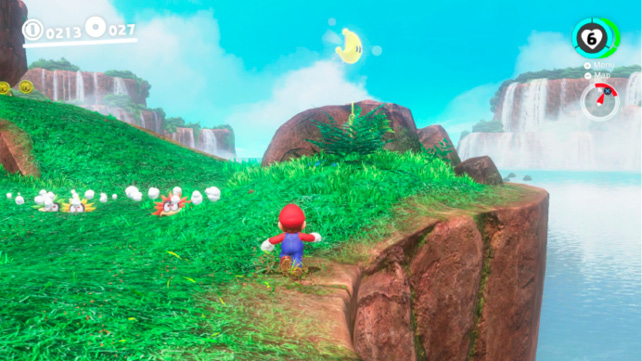
Located in Waterfall Basin, just steps across the plateau from Hint Toad, this is arguably the easiest Power Moon to find in the world. It’s located on top of some rocks. Jump up and grab it.
 Treasure of the Waterfall Basin
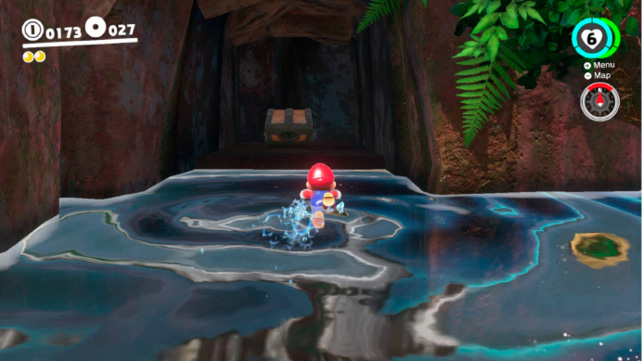
Dive beneath the water in Waterfall Basin and swim across the river to the west to find an alcove with a large treasure chest. These chests don’t always contain Power Moons, but this one does.
 Above a High Cliff
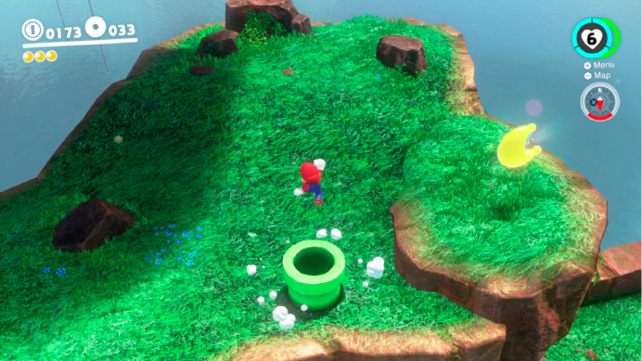
Cross the river to where the Odyssey was first powered-up and use the Chain Chomp to destroy the column of fossilized rock against the cliff. This reveals a pipe that leads straight to the top of the cliff where the Power Moon is and the Top of the Big Stump warp flag.
 Across the Floating Isles
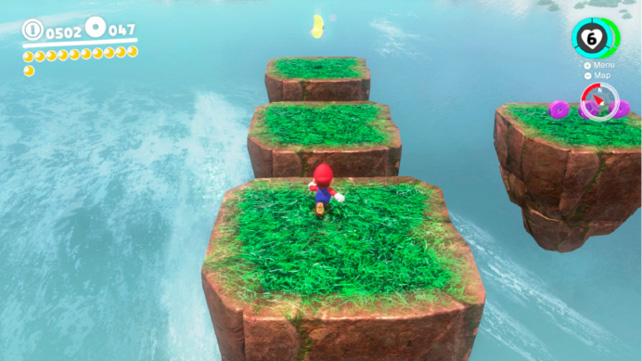
Return to where you fought the boss and locate the floating platforms hovering off the northwestern edge. Leap across to collect the purple coins and the Power Moon.
 Cascade Kingdom Timer Challenge 1
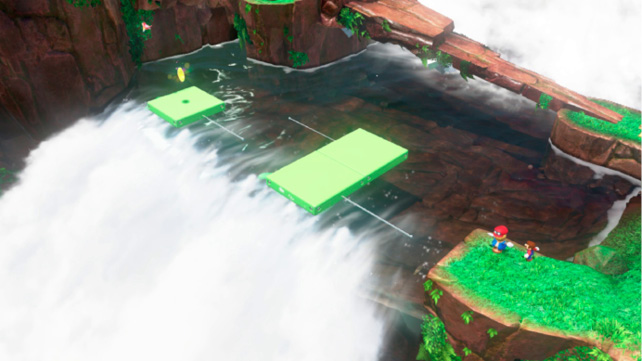
Throw Cappy onto the scarecrow near the waterfall to initiate a Timer Challenge. Make your way across the three platforms to reach the Power Moon on the other side of the river. While this may seem easy, Mario is without his trusty hat during Timer Challenges so some of his advanced jumping abilities are off-limits. There is enough time (10 seconds) to run between the platforms as they pull alongside one another, but only if you hurry. A faster, more challenging option is to perform the tackle jump.
 Cascade Kingdom Timer Challenge 2
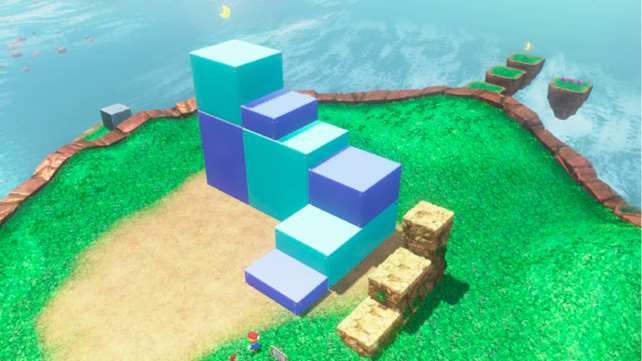
Return to the area where you fought the boss and throw Cappy on the scarecrow to initiate the second Timer Challenge. Triple Jump up the first three steps then turn and do it again to reach the Power Moon atop the sixth step. It’s also possible to Ground Pound Jump to reach the third and sixth step.
 Good Morning, Captain Toad!
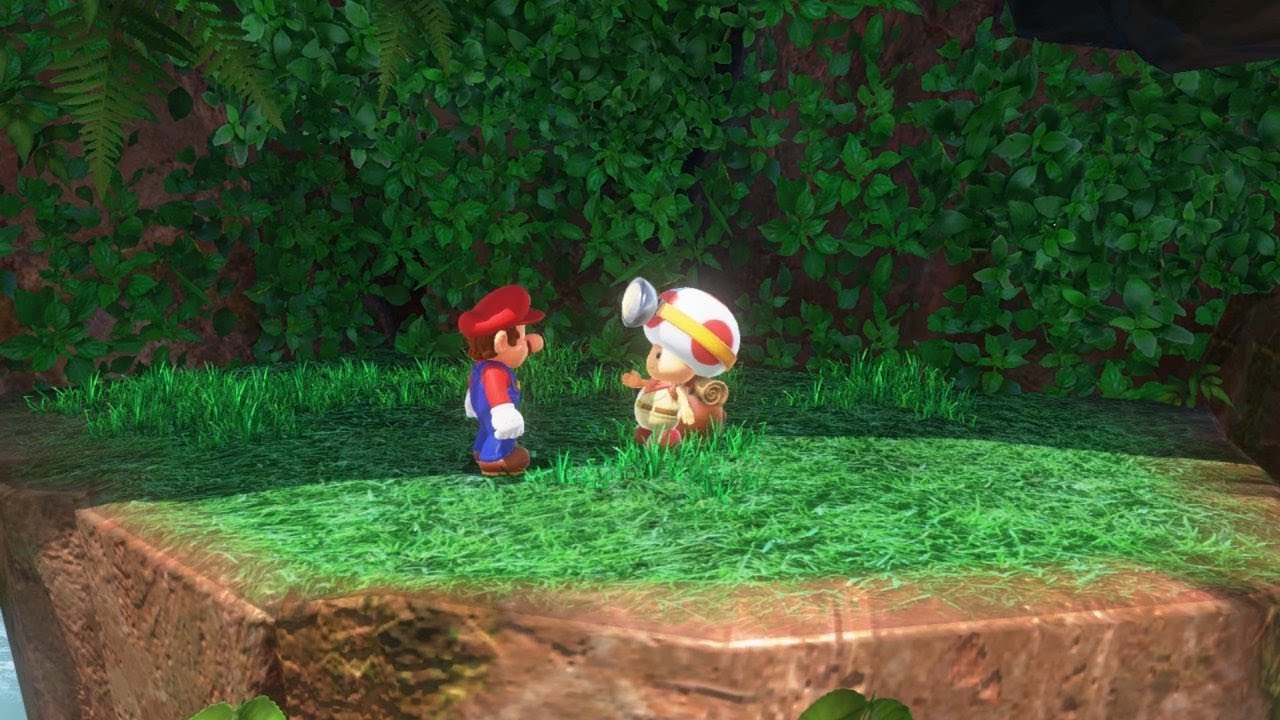
Captain Toad is hanging out on a ledge directly below the strange silver cube. Return to the area where you fought the boss and leap over the edge toward the silver cube. Carefully fall onto the smaller ledge where Captain Toad is standing. Find Captain Toad in each kingdom to receive a Power Moon.
 Dinosaur Nest: Big Cleanup!
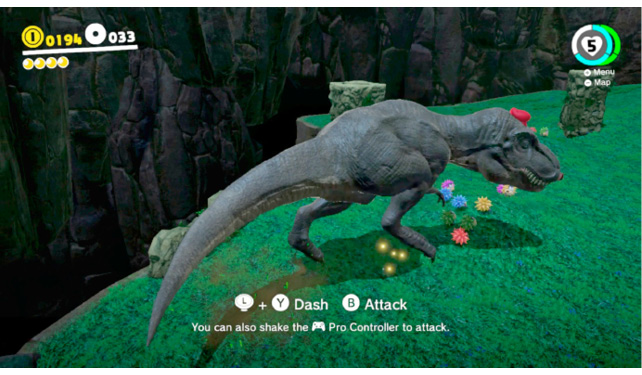
Make your way to the Top of the Big Stump checkpoint (see Power Moon #07) and drop onto the ledge on the south with the red door. Use Cappy to enter the Dinosaur Nest. Capture the T-Rex inside the cave and use the mighty beast to eliminate the dozens of Burrbos scattered about the circular path. Dash and attack to squish them—the T-Rex can walk right over them without retribution. But be quick; Cappy can only capture the T-Rex for so long.
 Dinosaur Nest: Running Wild!
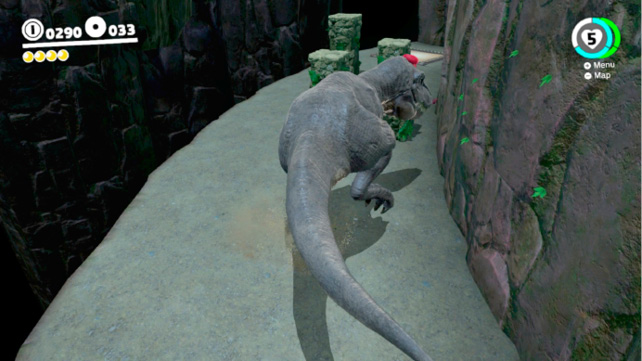
Capture the T-Rex inside the Dinosaur Nest (see Power Moon #12 for location) and carefully step off the far edge of the plateau onto the ledge below. Smash the fossilized rocks on this ledge to uncover a Power Moon. Use the hat trampoline to return to the upper level and grab the Power Moon with the T-Rex.
 Nice Shot with the Chain Chomp!
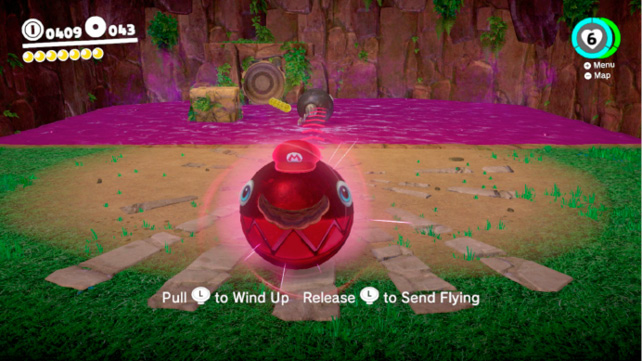
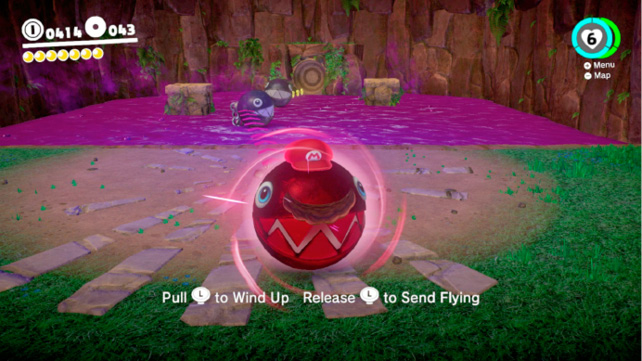
Make your way around the narrow cliff ledges to the left of the four Chain Chomps and enter the pipe (after powering up the Odyssey for the first time). To earn this Power Moon, you must ricochet Chain Chomps into one another so that one hits the center of a dish-shaped bullseye. One of the keys to doing this is to avoid distracting the Chain Chomp nearest the target. Stick to the foreground of the cave, capture the Chain Chomp nearest the grass, and line up your shot so that one Chain Chomp knocks into the other one like billiard balls.
Use the stone markings on the ground to help line up your shot. There are three targets to hit; a stone wall lowers after each successive shot.
 Very Nice Shot with the Chain Chomp!
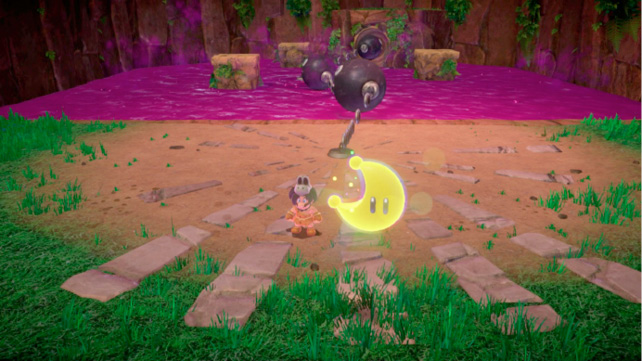
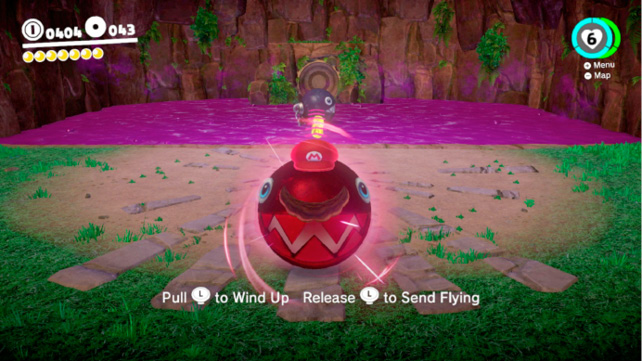
Follow the instructions for Power Moon #14, but don’t use the exit pipe after grabbing the Power Moon. There’s one more target to hit! Approach the foreground after hitting the third target and slip through the gap in the wall to a fourth chamber. This is the trickiest shot of all. Capture the Chain Chomp and line it up between the second and third stone markers on the ground. This hits the right-hand side of the second Chain Chomp, causing a double ricochet into the target.
 Past the Chasm Lifts
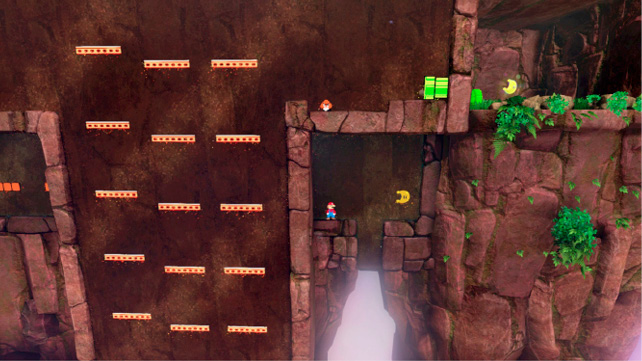
Enter the red door on the cliff to the right of the Stone Bridge. Once inside, enter the pipe beyond the platforms to access the 8-bit level. Make your way across the level to the second set of lifts. Cross the three platform lifts toward the Goomba on the lower platform. Enter the pipe to find the Power Moon.
 Hidden Chasm Passage
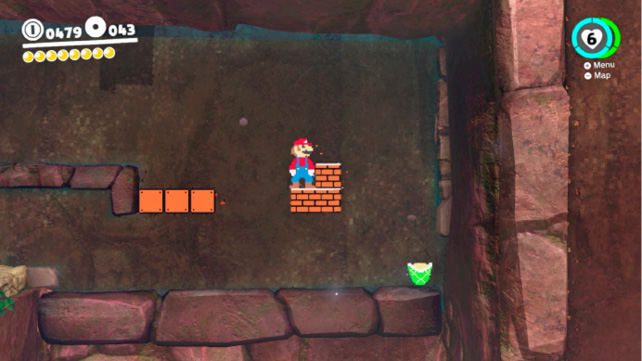
Follow the instructions for Power Moon #16 and make your way across the first set of platform lifts. Carefully fall off the upper ledge and use Cappy to leap onto the ledge below. Enter the pipe to access a second small 8-bit area. Kick the Koopa Shell so that it smashes the block on the lower right. Walk through this hidden passage behind the second set of lifts, to reach the Power Moon. Exit via the upper pipe.
 Secret Path to Fossil Falls!
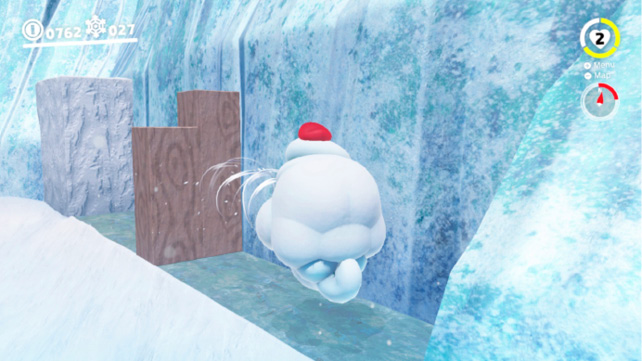
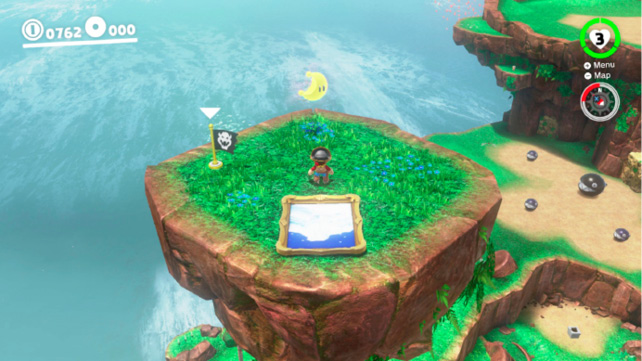
The only way to reach the Power Moon hovering high above on Island in the Sky is via one of the trickiest warp paintings in the game. Provided you’ve been visiting the kingdoms in the order that matches this guide (choosing the upper option first at each branching path), you’ll need to visit Snow Kingdom. Capture the Ty-Foo nearest the Odyssey and cross toward the northeast edge of the main cavern. Blow the wooden wall across the ice to the left then release the capture and climb up the painting on the ledge. Warp to Cascade Kingdom via the painting to get the Power Moon.
 A Tourist in the Cascade Kingdom
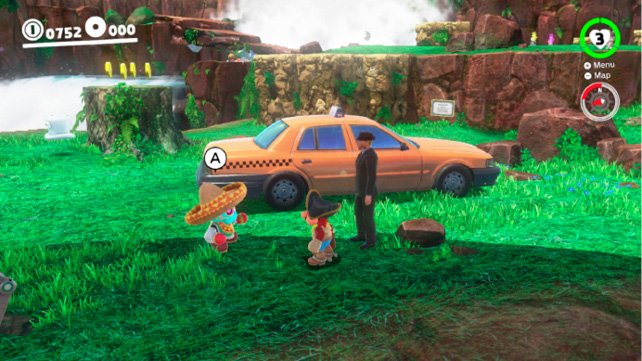
Neither Hint Toad nor Talkatoo can help you with this one until you’ve already worked to solve it on your own (or with our help). There’s a Tostarenan in the Sand Kingdom anxious to take a trip, not unlike Princess Peach’s. Return to Sand Kingdom after defeating Bowser and speak to the Tostarenan near the taxi by the village. He’ll comment that he’s going to visit Metro Kingdom. Go to Metro Kingdom to visit him there (near the Scooter). He’ll then comment that he wants to see a great waterfall. Return to Cascade Kingdom and speak to him near the Odyssey to receive this Power Moon.
 Rolling Rock by the Falls
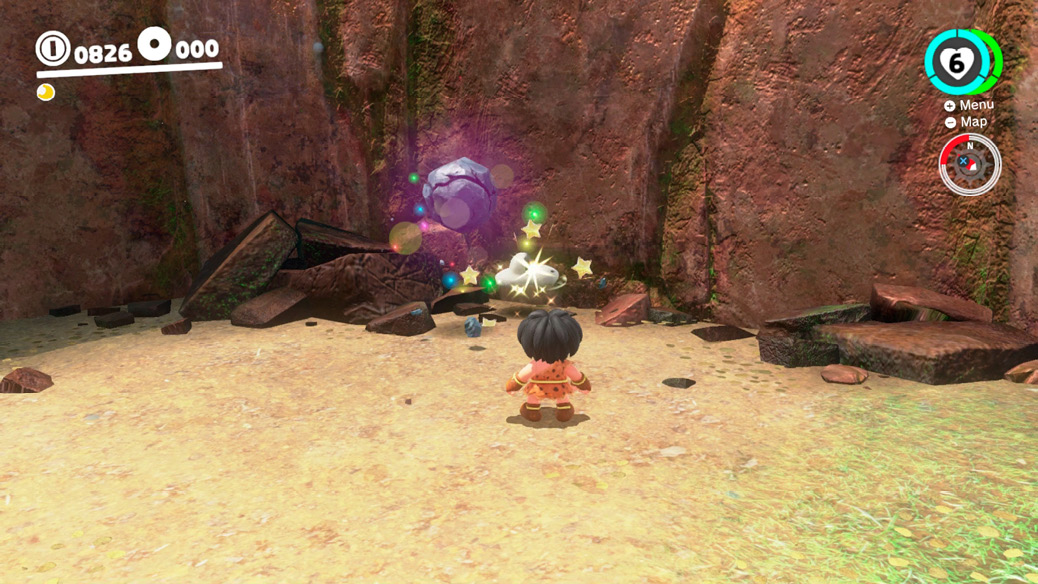
Return to Cascade Kingdom after sailing away on the Odyssey so that you can search the ground where the ancient airship had been. Throw Cappy at the two gray rocks on the ground there—one of them glows when hit. Continue hitting this rock as it emits colorful sparkles. It eventually crumbles, releasing a Power Moon.
 Peach in the Cascade Kingdom
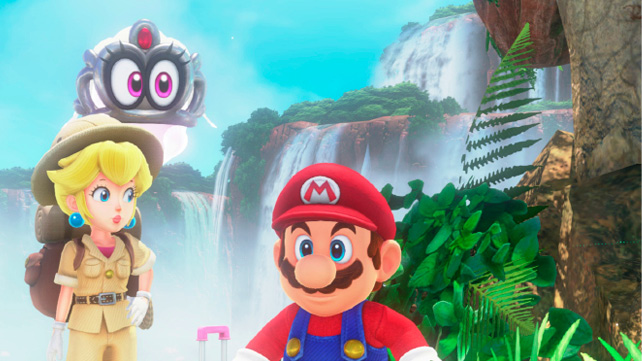
Once you’ve defeated Bowser, warp to Fossil Falls Heights and approach the upper edge of the falls to find Princess Peach and Tiara. Peach found a Power Moon while she was enjoying the view and gives it to Mario when he finds her.
 Cascade Kingdom Regular Cup
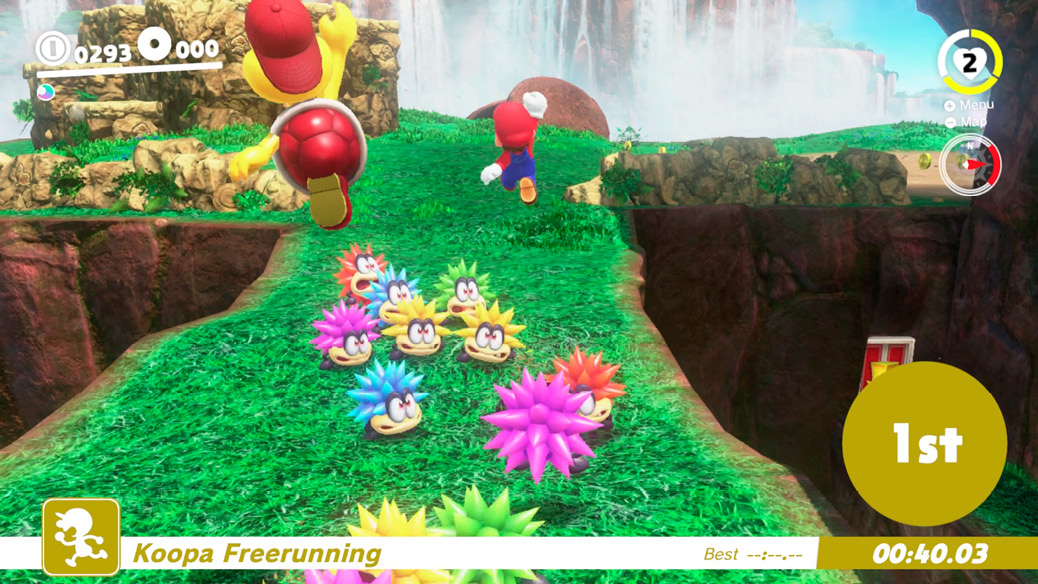
Talk with the Koopa near the Odyssey to initiate the Freerunning Race. The course winds from Waterfall Basin up the slope near the Chain Chomps, across Stone Bridge, to the area near the Ancient Wall. The Regular Cup race isn’t too difficult and you don’t even have to take any shortcuts or make any advanced jumps. Triple jump, long jump, and roll your way toward Stone Bridge—don’t fall off!—and leap over the colorful Burrbos on the bridge. Round the corner to victory! Check the section for Power Moon #36 for advanced tips.
 Caveman Cave-Fan
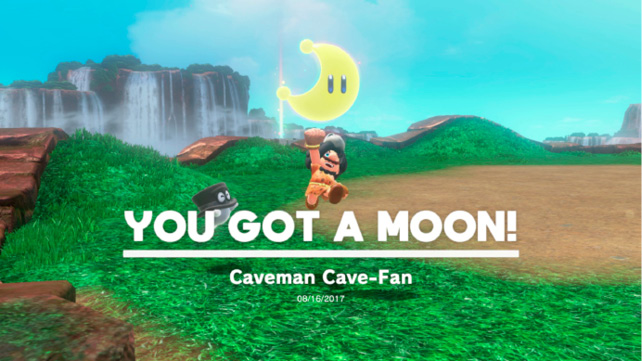
Cross the arch at Fossil Falls Heights to where you fought Madame Broode and speak to the Bonneter near the edge. He traveled to Cascade Kingdom in hopes of spotting a caveman. Return to the Wardrobe on the Odyssey and change into the Caveman Outfit and Caveman Headwear (can be purchased from Crazy Cap after returning to Cascade Kingdom aboard the Odyssey). Return to the Bonneter dressed like a caveman to earn a Power Moon.
 Shopping in Fossil Falls

The Crazy Cap store sets up shop in Waterfall Basin after Mario and Cappy depart aboard the Odyssey. Return at a later time and pay the store a visit. Purchase the Power Moon for 100 coins.
 Sphynx Traveling to the Waterfall
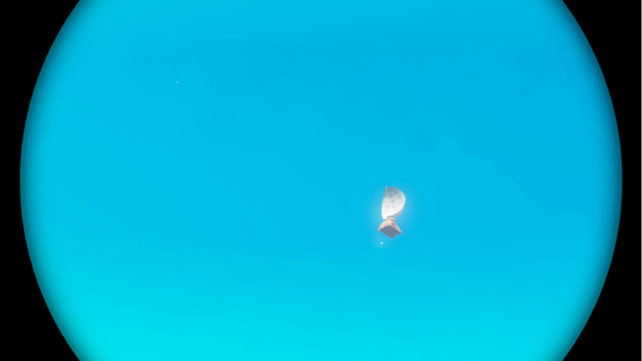
Capture the Binoculars near the Odyssey and scan the skies above Cascade Kingdom for anything unusual. You might catch sight of a Bonneter airship or two, but there’s more up there. The Sphynx from Sand Kingdom has his own balloon and can be spotted floating above this region. Zoom in with the Binoculars to earn a Power Moon.
Moons from the Moon Rock
 Bottom of the Waterfall Basin
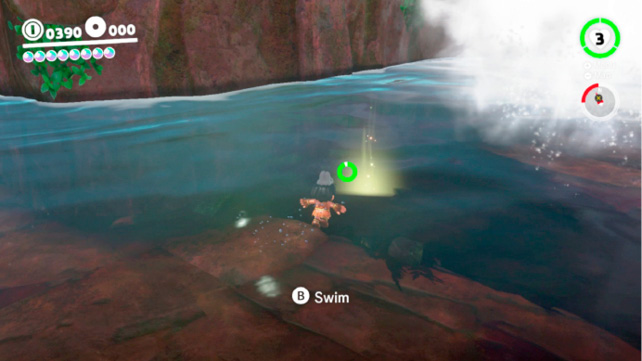
Jump into the river in Waterfall Basin and swim beneath the narrow bridge that formed from the fallen spire. Hit the glowing spot beneath the rocks with a ground pound to release a hidden Power Moon.
 Just a Hat, Skip, and a Jump
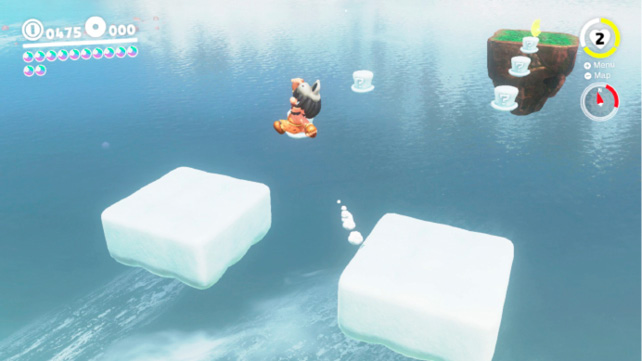
Cross Stone Bridge to the base of the Ancient Wall and locate the series of white top hats floating in the sky. This trail of cloud platforms leads to a Power Moon atop a small rock island. The cloud platforms aren’t very large so you have to jump carefully. Use Cappy to activate the platforms and leap from one to the next with only the briefest of pauses in between. Grab the Power Moon and warp back to solid ground.
 Treasure Under the Cliff
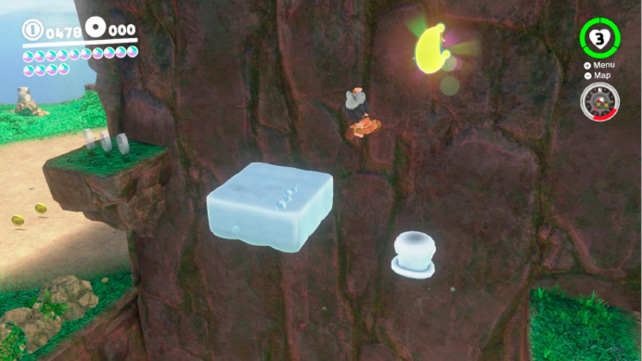
There’s a Power Moon under the cliff, alongside the Stone Bridge. Activate the cloud platforms and leap from the higher of the two to pluck the Power Moon from the air. Somersault jumping or ground pound jumping into a dive is all it takes.
 Next to the Stone Arch
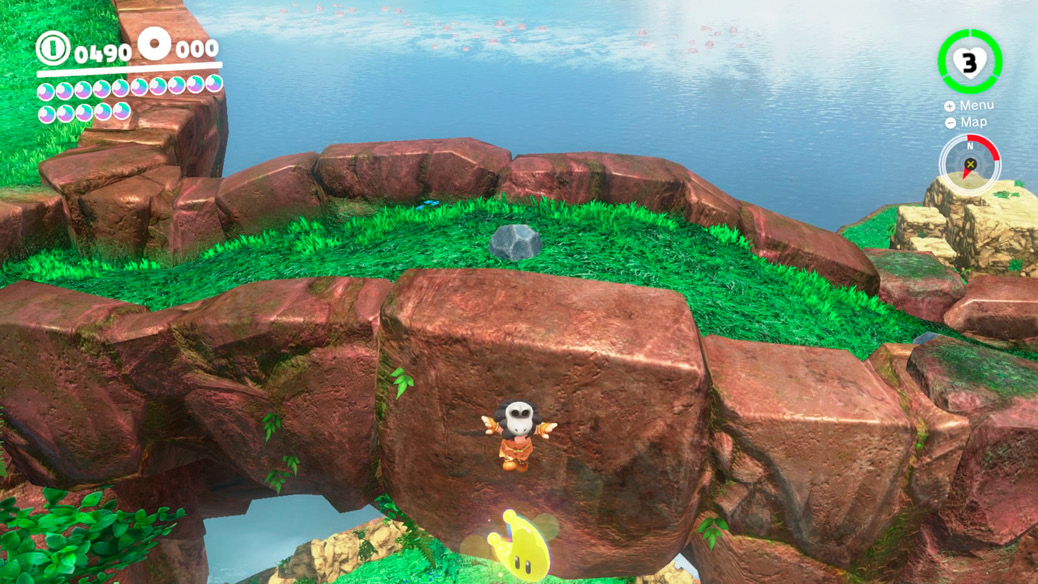
Warp to Fossil Falls Heights and cross the arch toward where you fought the boss. There’s a Power Moon just off the south side of the arch. Dangle from the rock edge and drop straight down to snag it out of the air.
 Guarded by a Colossal Fossil
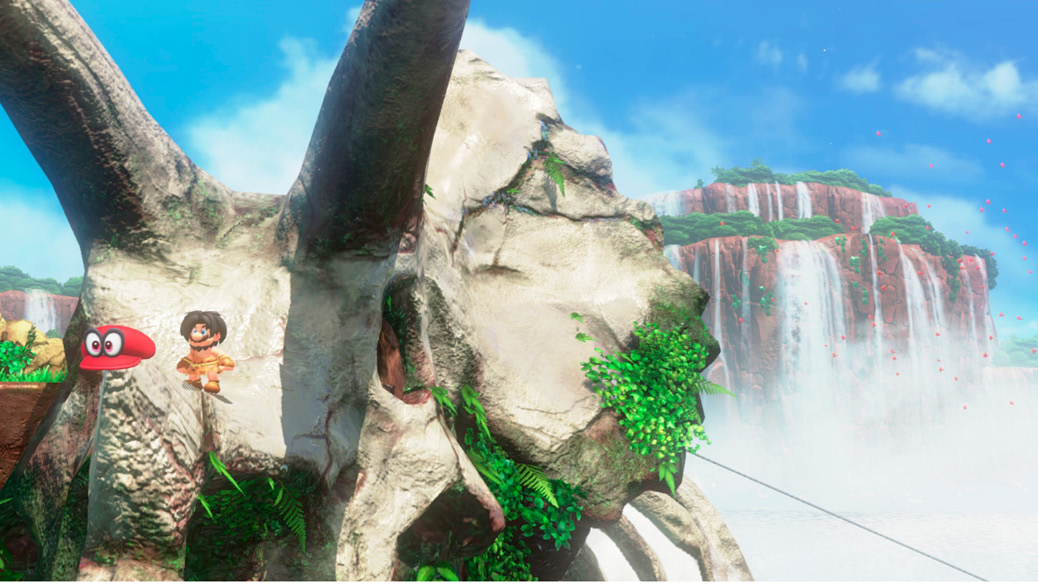
Warp to Fossil Falls Heights and climb onto the massive triceratops fossil jutting from the mountain. Carefully walk down onto the smaller, middle horn and note the glow emanating from the point. Throw and hold Cappy on the point of the horn so that it spins round and round, eventually releasing a Power Moon from the fossil’s horn.
 Under the Old Electrical Pole
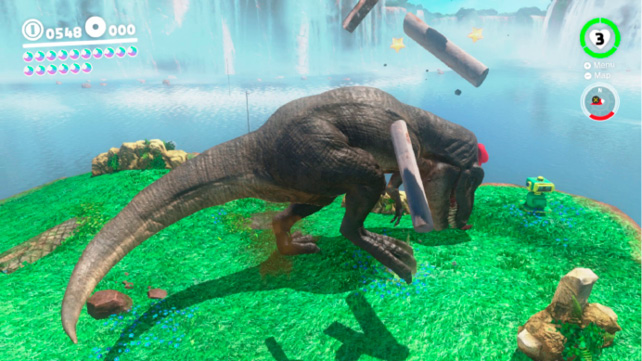
As you may have discovered while playing with the Chain Chomps at Fossil Falls Heights, the electrical poles that have been erected can be knocked down. There might not be a Chain Chomp within striking range of the pole nearest the Odyssey, but the T-Rex is a plenty good substitute! Capture the T-Rex, guide him across the river toward the Odyssey and swat the electrical pole in Waterfall Basin to reveal a glowing spot containing a Power Moon.
 Under the Ground
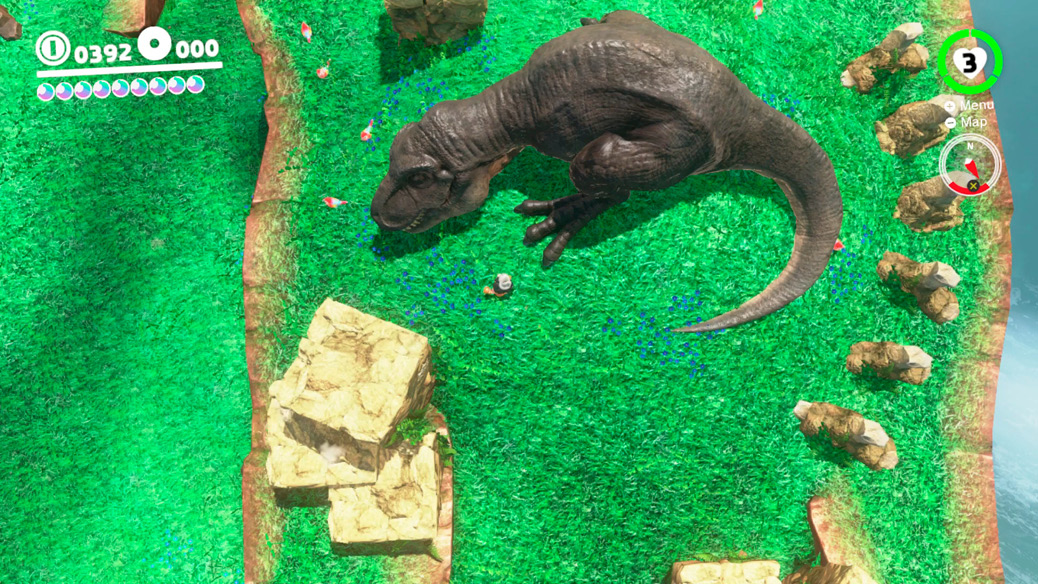
There’s a Power Moon buried in the ground beneath the T-Rex’s head. Capture the T-Rex and move it out of the way (this is a good time to use it to get Power Moon #31) then ground pound the glowing spot in the grass.
 Inside the Busted Fossil
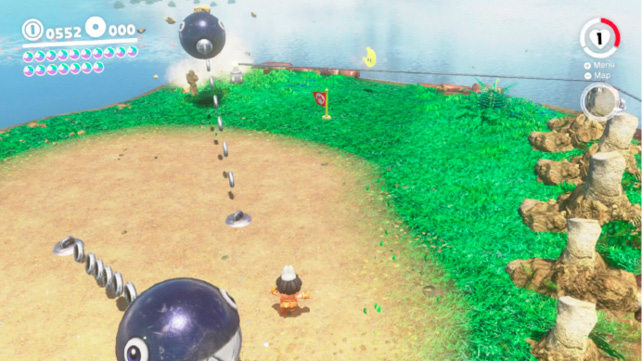
Warp to Fossil Falls Heights and capture the Chain Chomp nearest the warp flag. Wind the Chain Chomp up by pulling it away from the electrical pole, then adjust the aim so that it can hit the right-most fossil. Use the Chain Chomp to smash this fossil to reveal a Power Moon. It’s not the easiest shot, and it may not even seem possible at first, but the Chain Chomp can reach the corner of the fossil. Aim to hit just left of the plant growing on the fossil.
 Caught Hopping at the Waterfall!
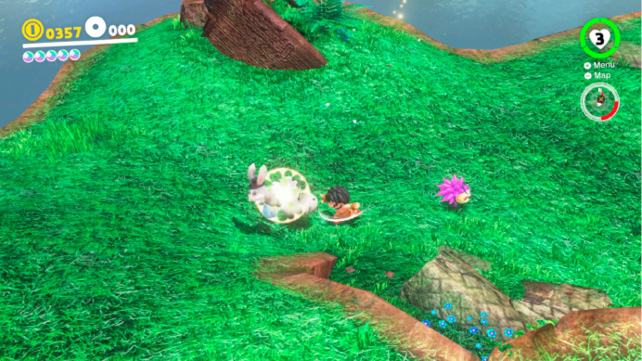
Spot the rabbit hopping around the area between the Odyssey and Crazy Cap store. When chased, the rabbit loops around this area, but doesn’t go very far. Throw Cappy at it to stun it so Mario can close on its position. Catch the rabbit to earn a Power Moon. If having trouble, try chasing it up the slope near the Burrbos so that it has to leap from the ledge. Jump down before it does and catch it as it falls.
 Taking Notes: Hurry Upward
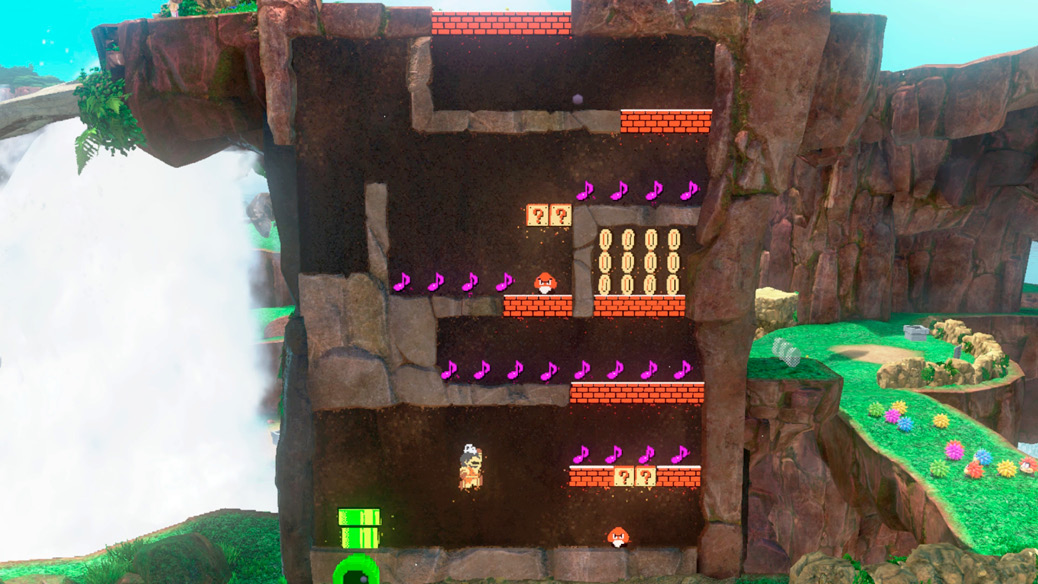
Make your way to the Ancient Wall and enter the 8-bit pipe. Jump through the treble clef to trigger the Taking Notes challenge. This one is straightforward with the only difficulty being added by the presence of Goombas. Dash as you move across the ledges and always dash before jumping to ensure Mario leaps with enough height and distance. Ensure you get each note before ascending to the next ledge, as there’s no time to double-back.
 Cascade Kingdom Master Cup
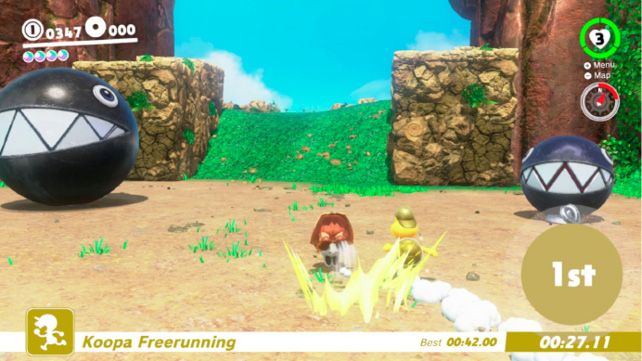
Long jump into a triple jump to scale the fossilized rocks near the start (watch the Golden Koopa to see where to begin the sequence) and hurry across the river via the bridge. It’s possible to ground pound jump from the stone hat to reach the cliff, but you can still win if you take the long way around to the left. Roll while shaking the controller to hurry past the Chain Chomps then long jump past the Burrbos. The Golden Koopa finishes in approximately 42 seconds. Pull close to him near Stone Bridge and you’ll win.
 Across the Mysterious Clouds
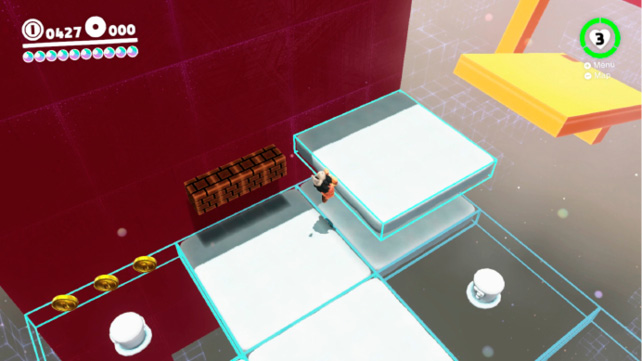
Enter the Moon Pipe near the flowers by Stone Bridge to access an area populated with dozens of cloud-like platforms that appear temporarily when hit with the cap (they can also be activated by jumping on them). The platforms begin to quiver before disappearing, providing you with a warning. Nevertheless, it’s best to plan your moves from the safety of the red platforms, then cross the clouds without delay. The platforms appear instantly when the white top-hat activators are hit with Cappy, so it’s possible to throw and land on a platform in a single jump. Time your jumps carefully and cross these well-spaced clouds to reach the Power Moon atop the red wall. Shake the controller as you toss Cappy to ensure it homes in on the platform activator. Cross the pendulums up ahead to the final cloud platform and the Power Moon beyond it.
 Atop a Wall Among the Clouds
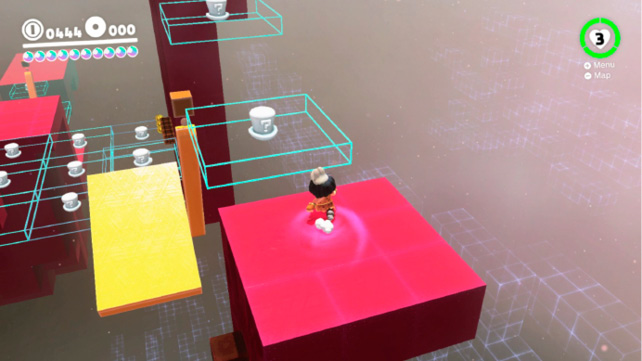
Follow instructions for Power Moon #37 and make your way across the nine-platform grid to the next pendulum. Activate the invisible block above the blocks beyond the pendulum and leap to the top of the red wall.
 Across the Gusty Bridges
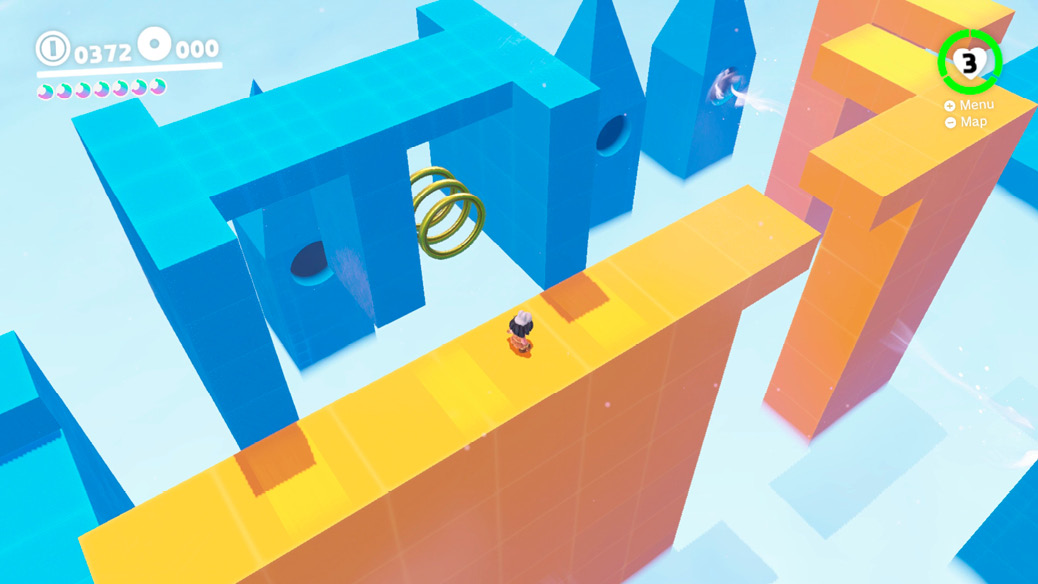
Enter the Moon Pipe located where Cappy first showed Mario the Odyssey. Pull the lever to lower the orange bridge, wait for the gusting wind to pause, then sprint across. Blue blocks are safe, only the orange ones are moved by the gusts. Wait for the orange block to move to the right, jump on, then line Mario up with the rings before the wind shifts. Use a homing throw to clear the Burrbos from the blocks ahead and carefully cross the orange bridge as it blows back and forth. Use the rings as your guide and avoid standing alongside the blue blocks when the wind changes. Time your jumps so Mario leaves his feet the moment the wind stops.
 Flying Far Away from Gusty Bridges
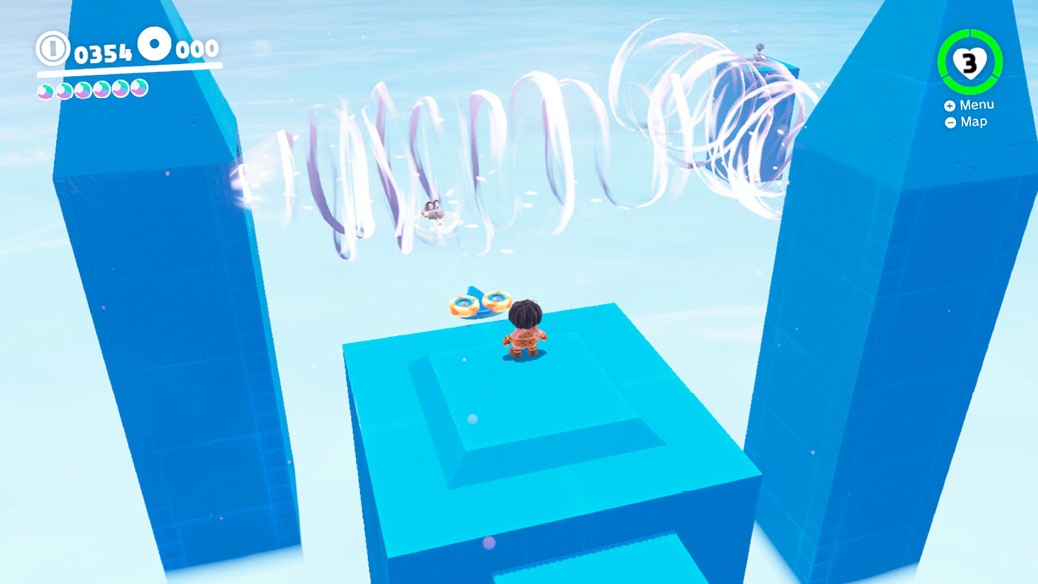
Follow instructions for Power Moon #39 and make your way to the orange bridge with the gap, near the second lever. Stay clear of the wind, but throw Cappy into the gust so he can pull the out-of-reach lever on the side. This lowers a third section of bridge, leading to a side area. Cross the bridge and throw Cappy into the hat launcher just as the gusts begin. With proper timing, Cappy pulls the distant lever, releasing a Power Moon.