
Super Mario Odyssey Guide Seaside Kingdom
Mario’s Itinerary
The Glass is Half Empty!
On arrival, a snail-like Bubblainian near the Odyssey’s landing spot fills Mario in on what’s going on. This place used to be a gem of the seaside, until the mean-looking octopus clogging up the Glass Tower in the middle showed up. The baddie is drinking up all the Bubblainian’s delicious Sparkle Water.
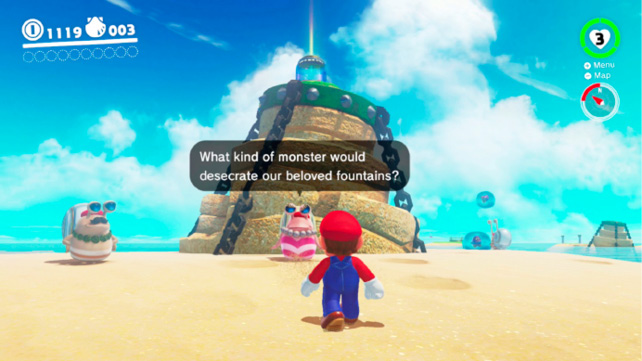
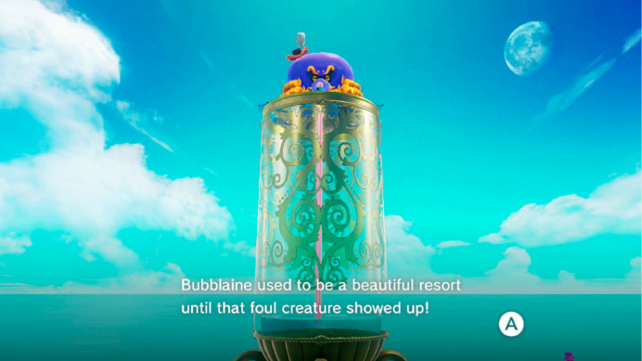
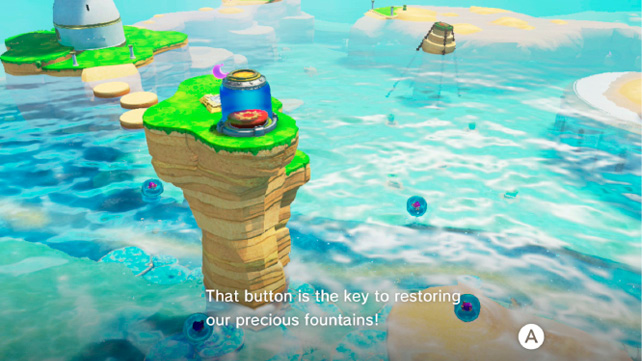
Follow nearby footprints—which seem suspiciously like Bowser’s—to find that the fountains that are supposed to replenish the Sparkle Water flow are clogged up. As one step in the restoration of Sparkle Water, each of the fountains needs to be unclogged.
 The Stone Pillar Seal
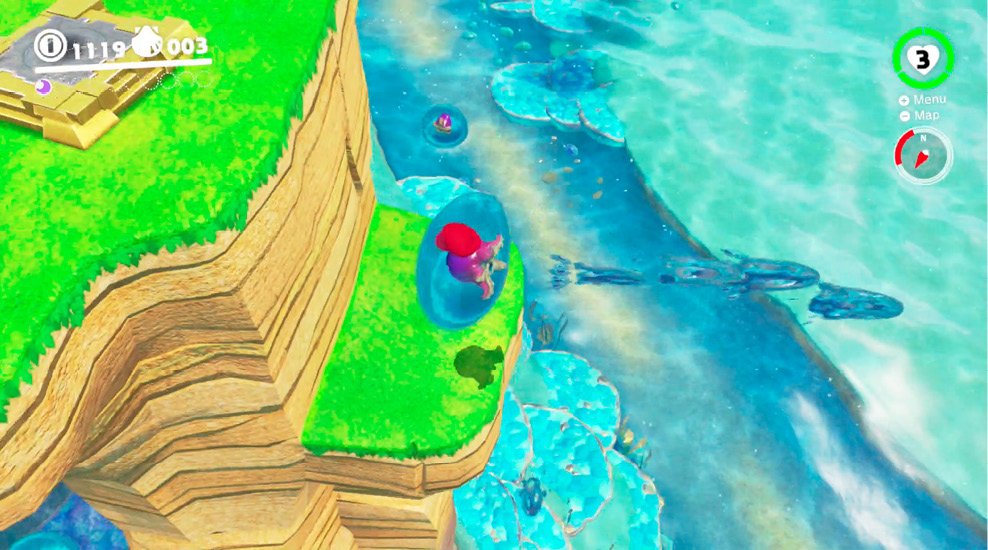
The nearest switch that can unclog a fountain is just slightly offshore, on a tall island. To mount the ledge here, capture a Gushen and use its waterjet to surge upward. Climb on top and grab Power Moon #01 to reveal the fountain’s emergency flush button. Ground pound this button to send Bowser’s cork hurtling at the obnoxious fiend at the Glass Tower.
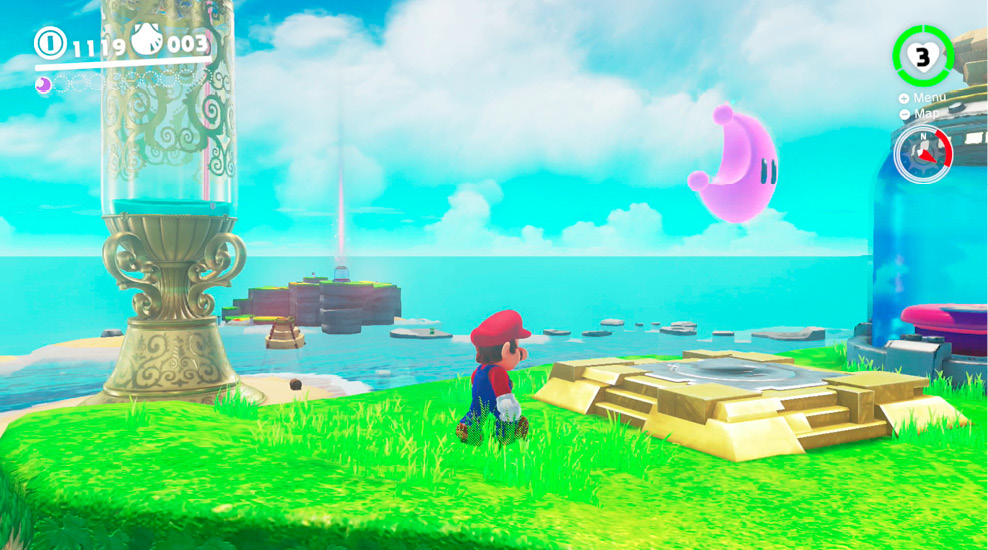
 The Lighthouse Seal
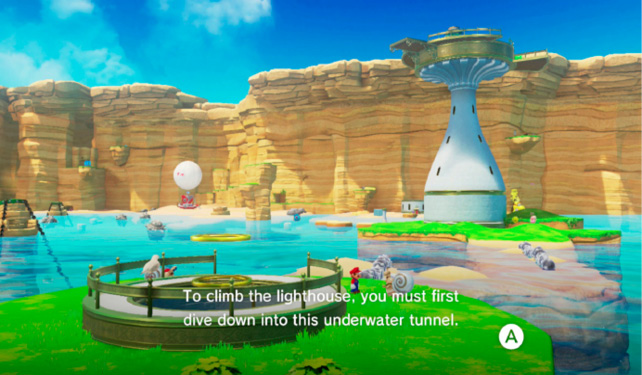
The top of the Lighthouse is where the next fountain switch is located, but you can’t simply go up there (yet). An indirect path must be taken up there. Head to the northwesternmost landmass to find an unexpected well. The Bubblainians nearby claim that it leads into the Lighthouse. Take a deep breath and ground pound downward into the murky depths.
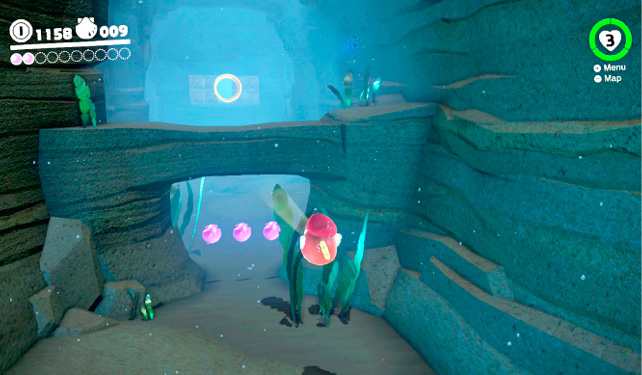
Mario ends up in the Underground Tunnel to the Lighthouse. Capture a Cheep Cheep near the entrance to greatly boost Mario’s swimming ability. This is a long waterlogged tunnel with one standout feature: hordes of Maw-Rays resting just inside the soft sand on the walls of this place. When the cavern starts shaking a little bit, watch out for a giant eel to erupt somewhere nearby, snapping for Mario. (They don’t care whether Mario is in Cheep Cheep or Mario form; they are probably both equally tasty to a huge eel.)
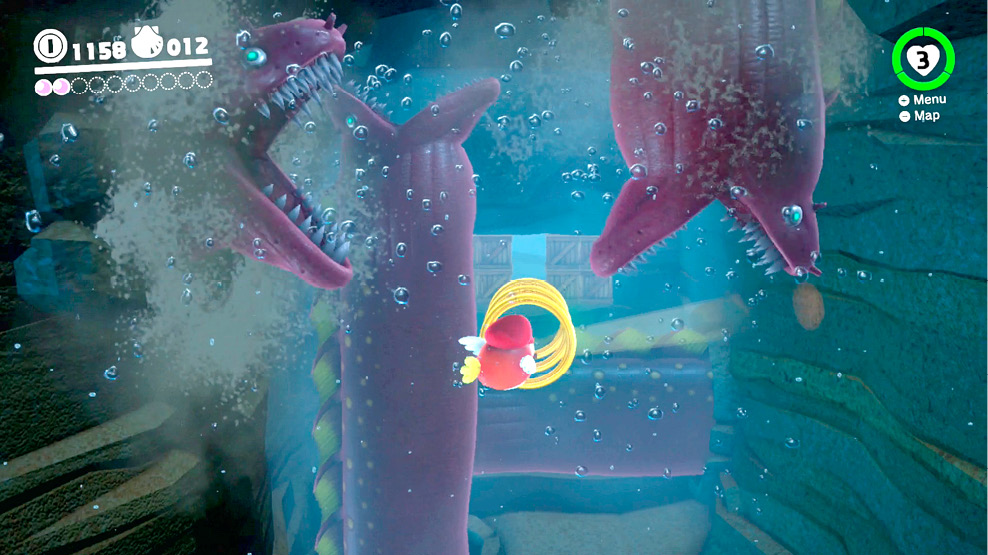
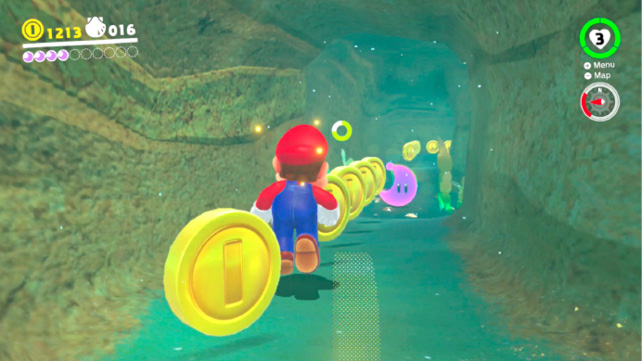
Swim through the tunnel collecting purple coins and dodging Maw-Ray snaps. When some wooden crates blocking part of the corridor are visible up ahead, you’re almost out. There’s also one more series of Maw-Ray attacks coming, from all directions at once. Swim in the center, through the coin rings, to dodge everything.
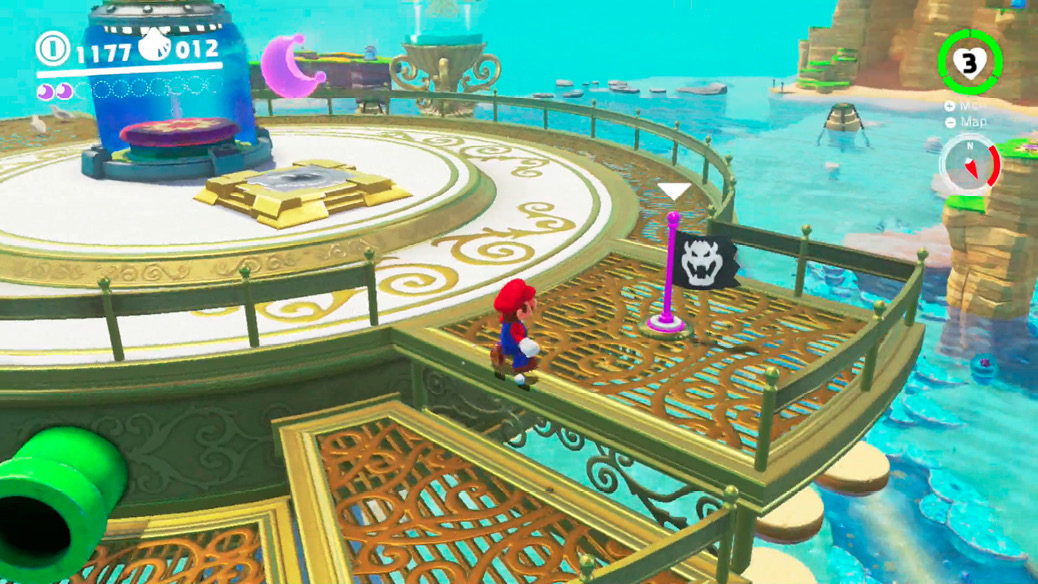
Cross through the tunnel unscathed to emerge on the top of the Lighthouse. Touch the checkpoint flag here to enable warping at a moment’s notice, then collect Power Moon #02. Ground pounding the switch here fires a second cork into the big octopus’s dome.
 The Hot Spring Seal
The next clogged fountain is in the northeast, across a great expanse of ocean waters. Now is a good time to collect the warp flag checkpoints along the way in the northern trench. It’s also a good time to pick up a couple of extra Power Moons along the way—you’ll need them for the Odyssey even after the Bubblainian’s Sparkle Water is restored.
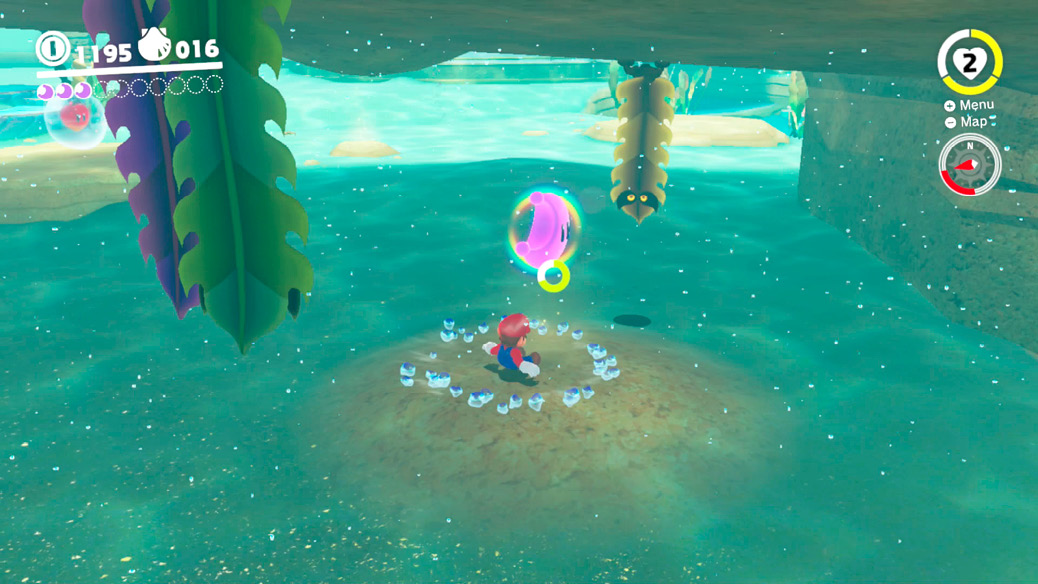
Before arriving at Hot Spring Island, inspect the sandbar island in the northeast along the way. Underneath this place, on the seafloor underneath lots of hostile Komboo plants on the underside of the sandbar, ground pound a glowing lump to discover Power Moon #16.
While in the area, check the sea floor under the sandbar island to find a small tunnel underwater that leads beneath the whole thing, from one end to the other. Power Moon #11 is found at the halfway point, which refills Mario’s air and increases the Odyssey’s moon reserves.
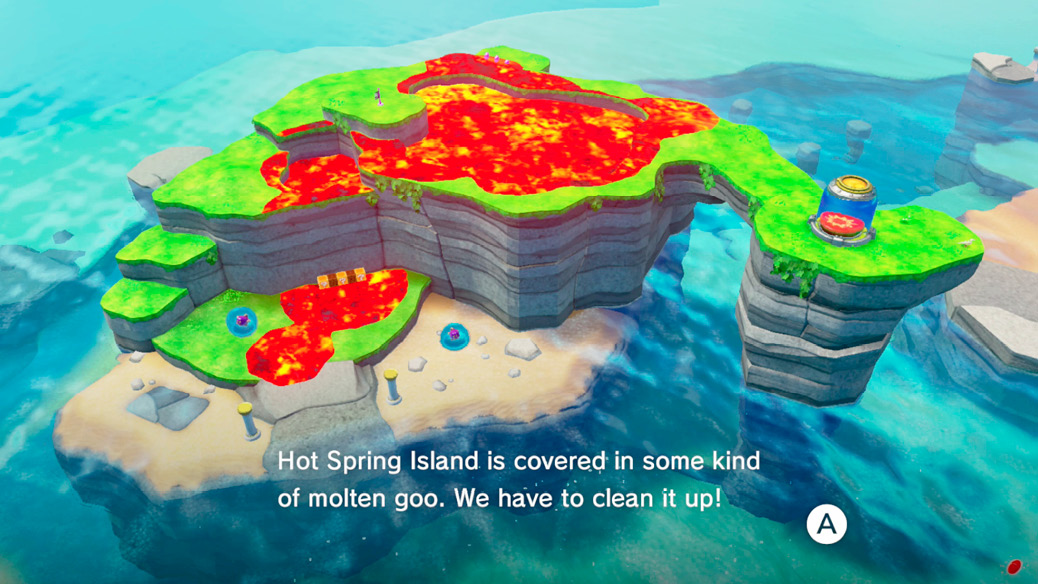
At the spring itself, what would normally be a paradise in miniature is instead overflowing with baking lava. The hot tub is too hot. Capture one of the nearby Gushens and begin flying back and forth over the lava-coated island with waterjet power. You’ll notice the water washes away the hot coating!
One especially quick way to clear territory of hot stuff is to jet over an inundated area, fire water downward briefly to clear a landing spot, fall into the spot, then shake the controller for Gushen’s 360-degree water spin.
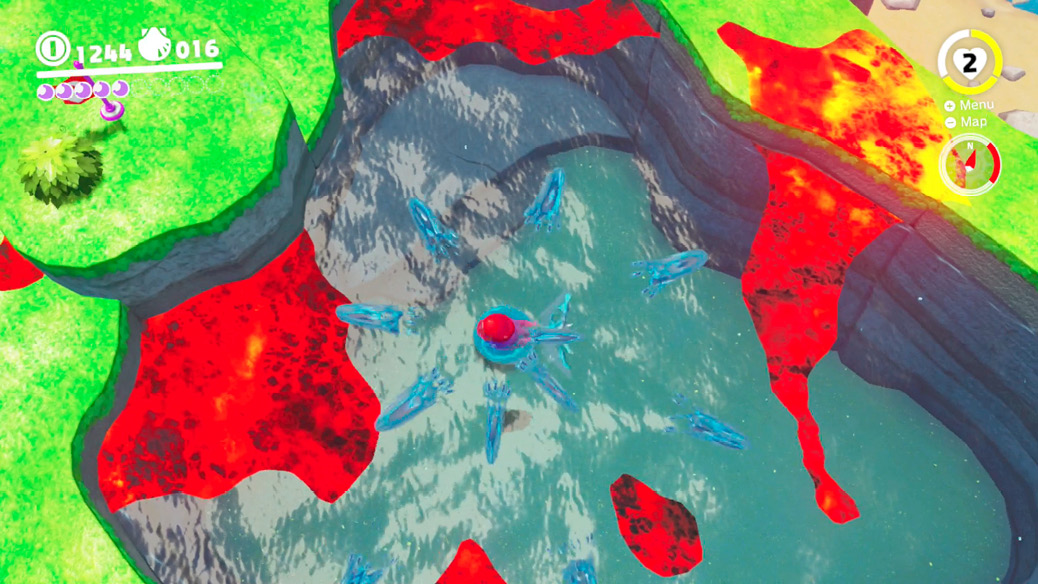
Once the hot spring is cooled down, register the warp flag on the island, then dunk into the main spring pool to get Power Moon #03. This reveals another red flush button, enabling a third good cork shot at the guzzling octopus.
 The Seal Above the Canyon
The fourth and final clogged Sparkle Water fountain is located above the southeastern crevasse known as Rolling Canyon. The warp flag at the foot of the gash in the mountain acts like a base camp, so be sure to touch it on the way. Before heading up, look around and notice the pirate-impersonating Goombas on the beach. Capture one of them and build a handsome Goomba stack before trudging up Rolling Canyon.
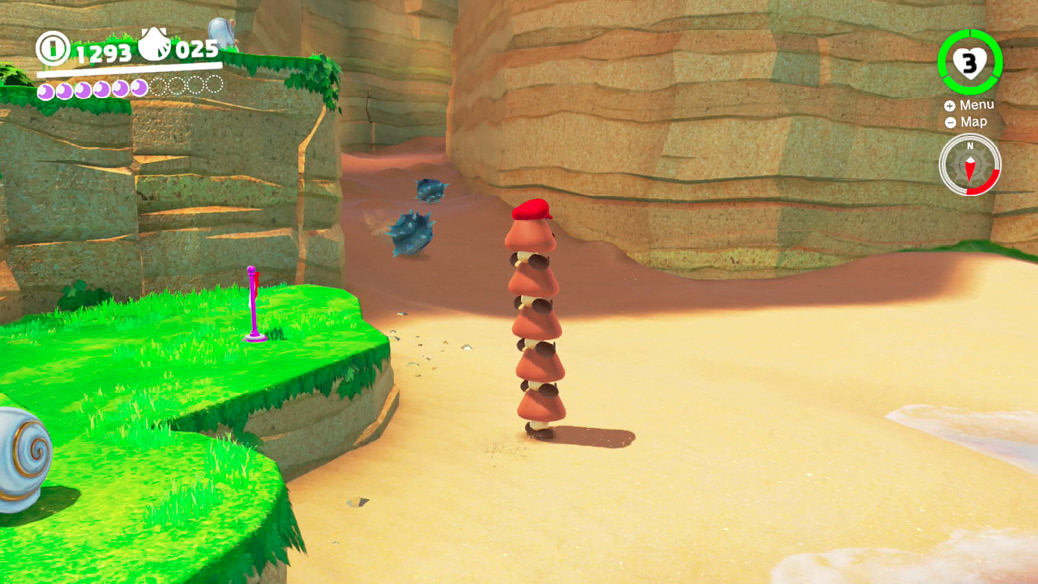
There’s a forlorn Goombette in Rolling Canyon, perplexed why no suitors ever approach her. She perhaps hasn’t considered that the clumsy Goombas all get squashed before they get even halfway up here. Luckily, a Mario-controlled Goomba stack can fare much better. Begin the trek up Rolling Canyon, dodging shells to avoid damage. Rendezvous with the fairest Goomba to earn Power Moon #32.
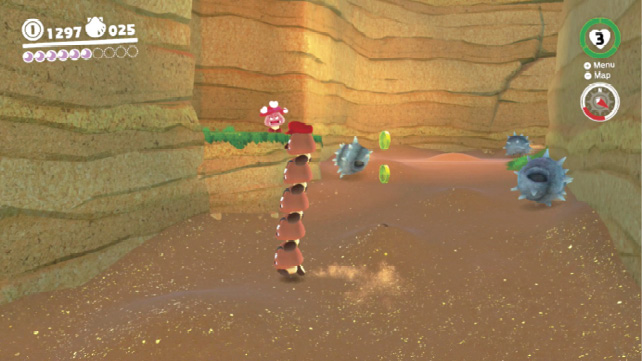
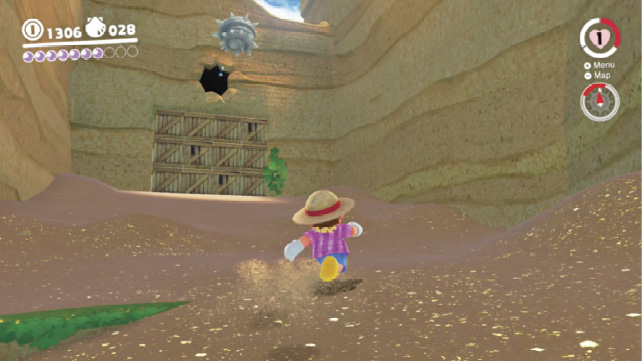
After getting the Power Moon, ditch the Goombas and run up the canyon, dodging rolling shells along the way.
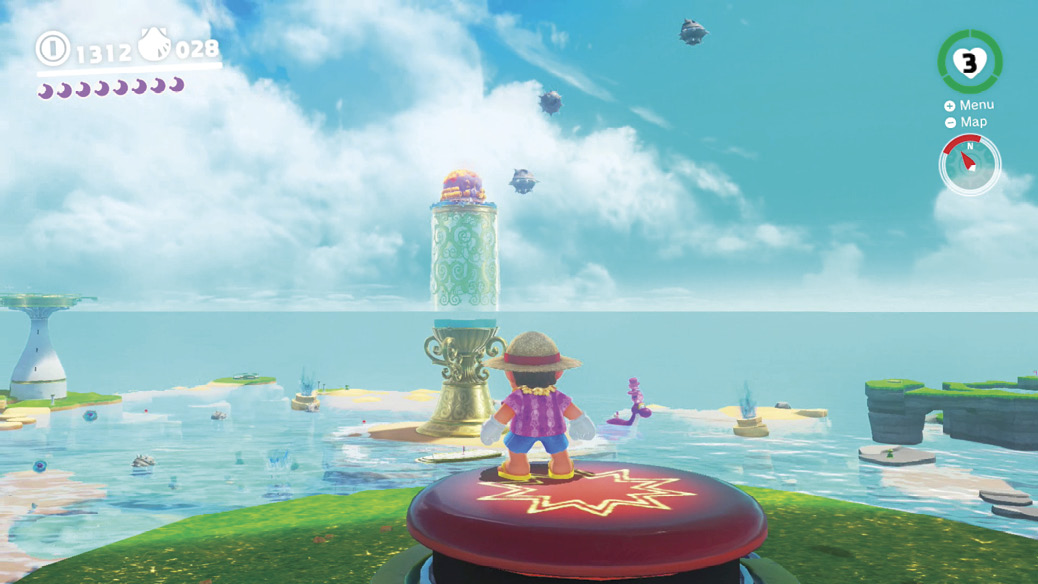
Near the top, a row of wooden crates is stacked in the gap leading forward. Break some of them with cap throws and pass through to find the Above Rolling Canyon warp flag, along with Power Moon #04. Grab the moon to reveal the final fountain-clearing button (assuming you followed the order here, on a clockwise path through the kingdom’s map). When all four fountains are cleared, the octopus is finally forced down from his bubbly perch, and the boss fight commences, with the entire kingdom as the battlefield!
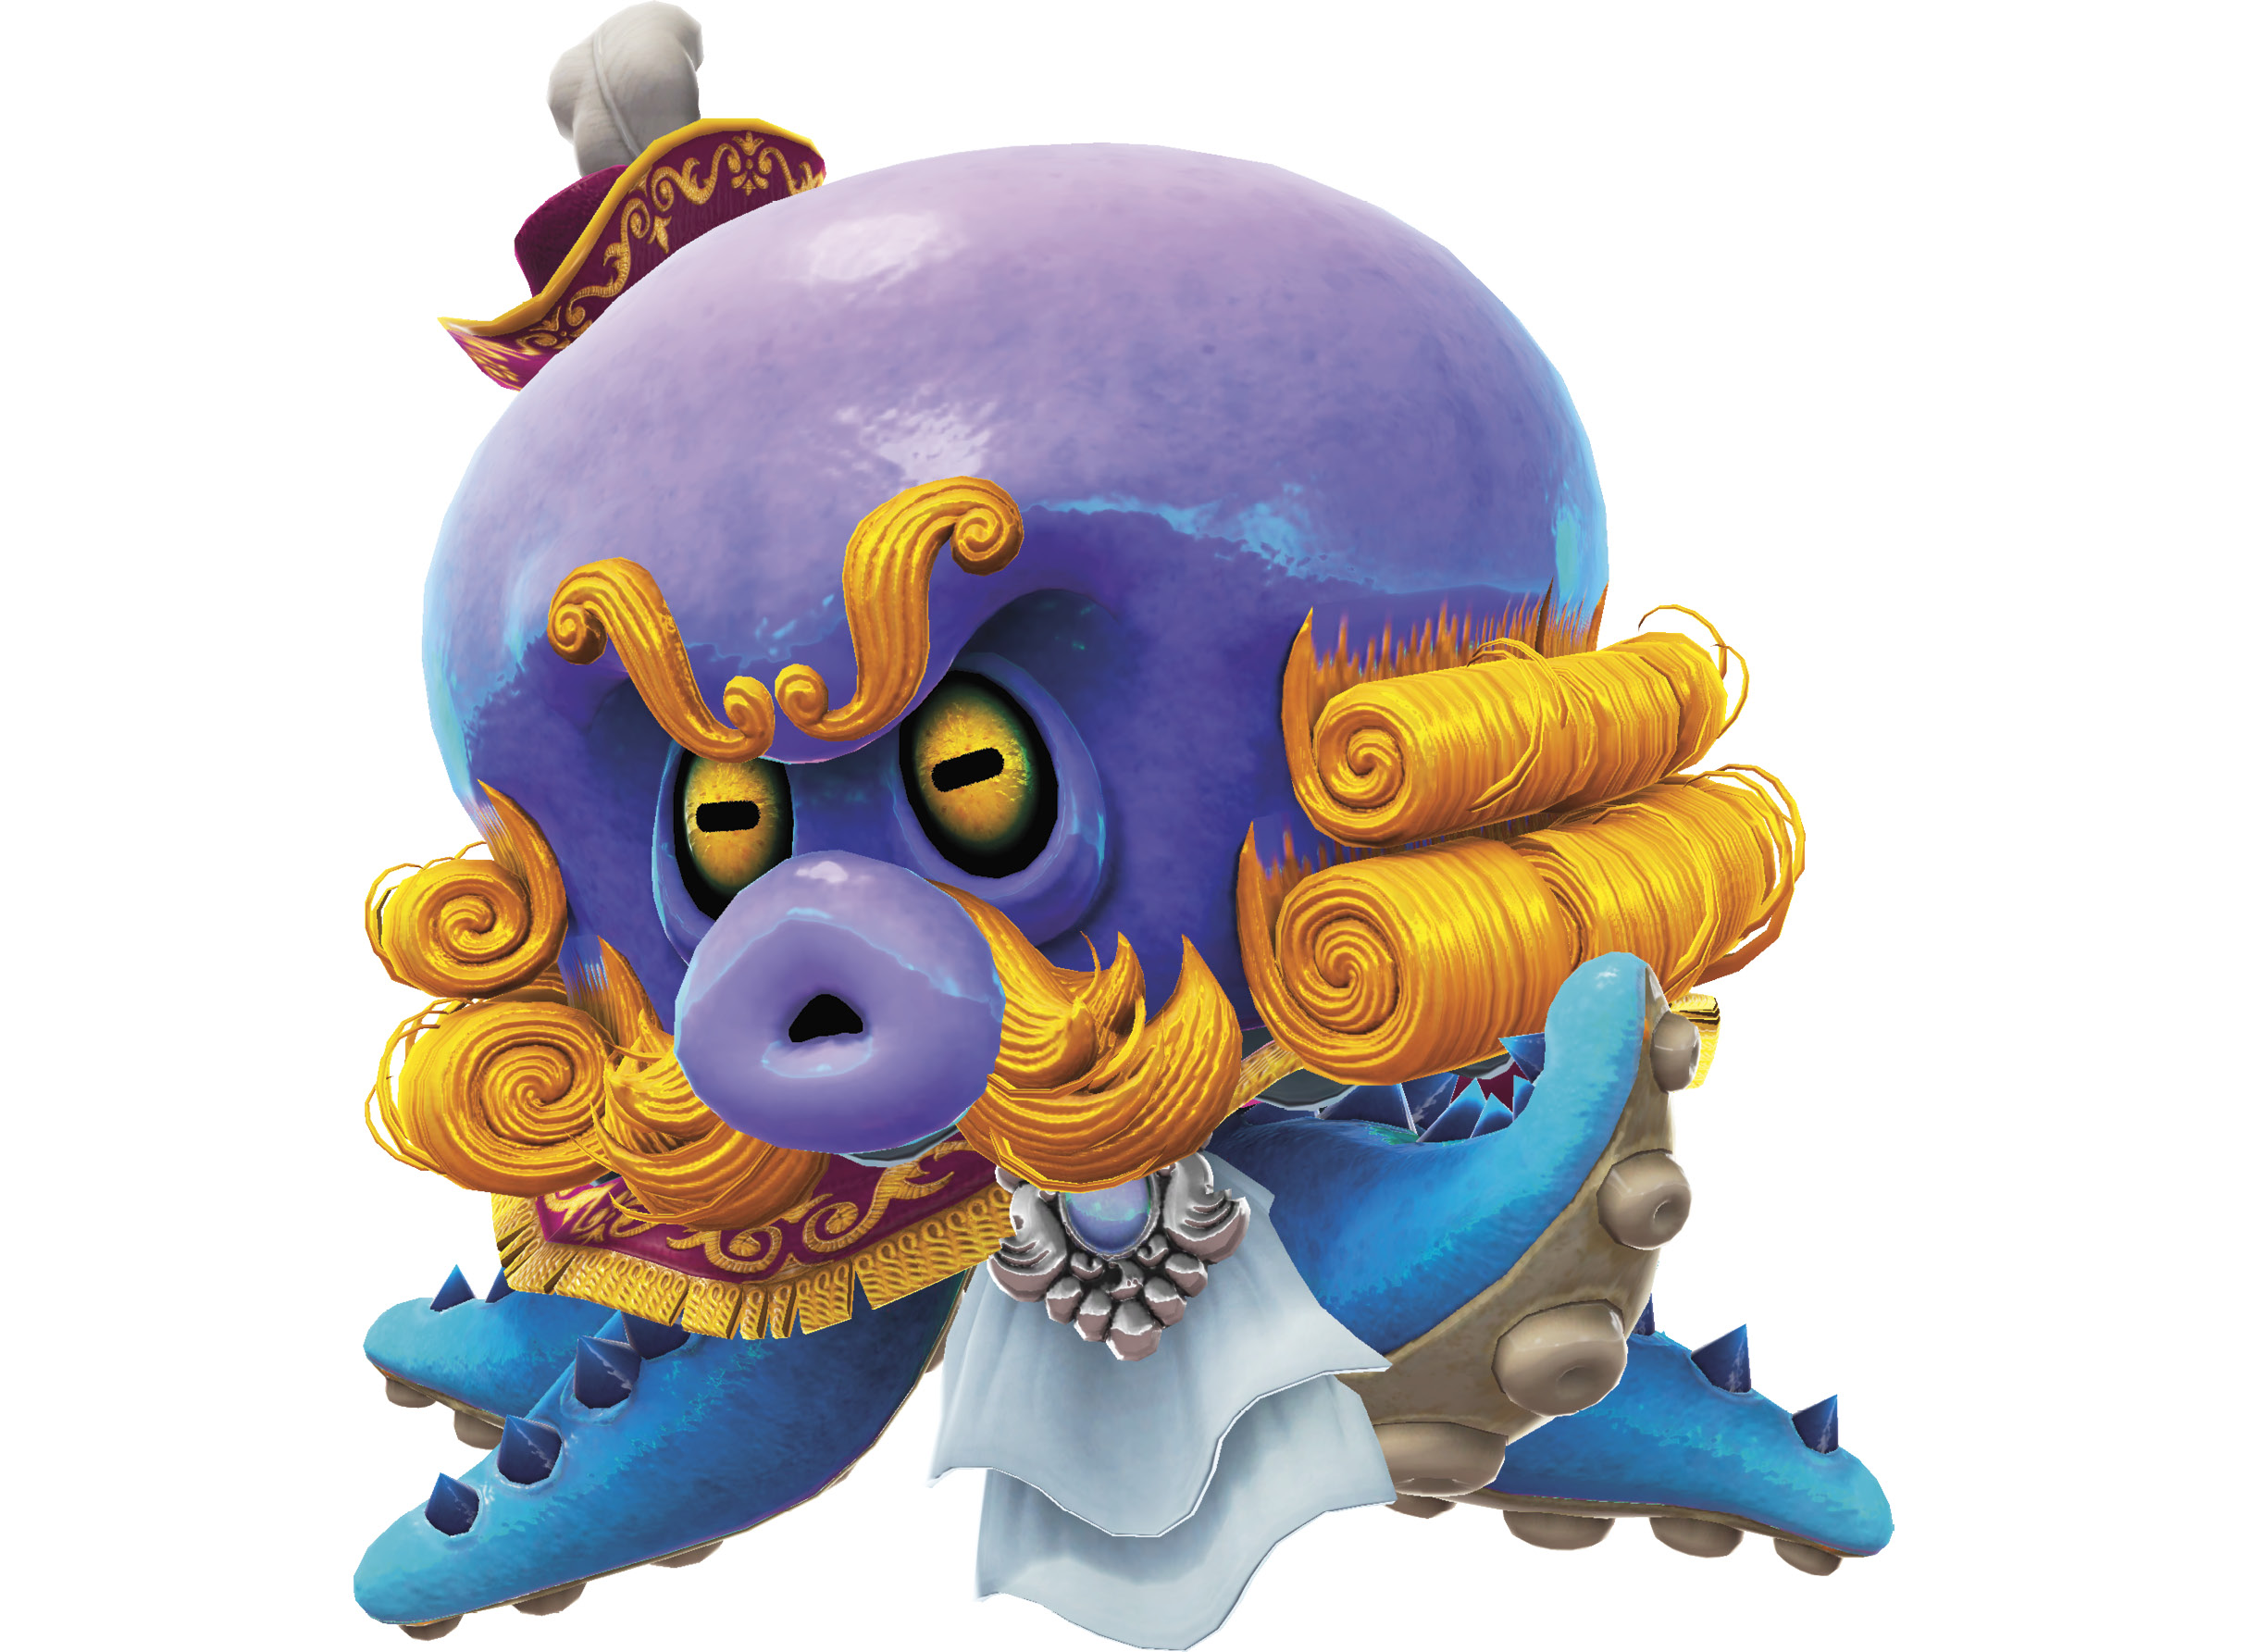
Boss: Brigadier Mollosque-Lanceur III, Dauphin of Bubblaine
This bulbous fiend may consider itself Bubblaine’s ruler, but it’s mostly just the king of headaches. Now that the four fountains have knocked him off his water-guzzling perch, Mollosque-Lanceur is a formidable enemy, the heftiest seen so far. He’s too big and mobile to take on on foot, so capture a Gushen to engage.
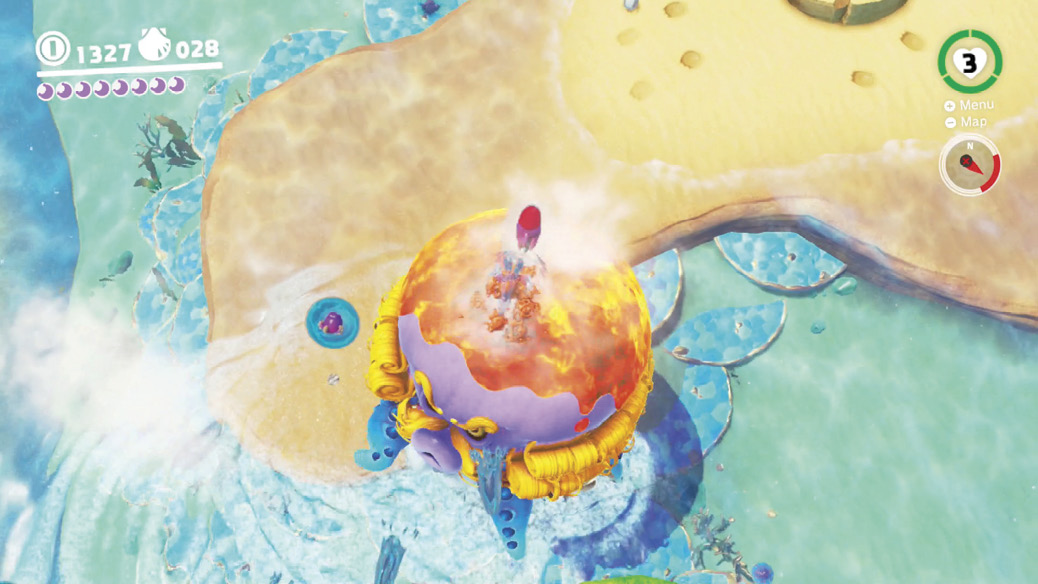
Initially, Mollosque-Lanceur is still covered in lava, remnants of his rage as you popped him with Bowser’s corks, clearing the stopped-up fountains. What a hothead! You’ll have to cool him down with Gushen water sprays.
There are three methods for getting good water shots in on Lanceur’s face. One is to jet toward Lanceur, getting as close as possible, then jetting away. Gushens project water in the direction opposite their movement, so shooting forward at an enemy requires flying away from them. Another method is to fly over him, then just keep flying; when Gushen switches sides over Lanceur’s head, the backward waterspout will now be hitting him square-on. The last method is to get above Lanceur to fire a continuous jet of water straight down onto him. Usually, he is too mobile to cooperate with getting pummeled by a straight-down waterspout for too long, but early in the fight he’s sluggish. Jet above Lanceur and dump enough water on him to clear the protective lava coating, exposing his slick head, which makes a very big target.
Mollosque-Lanceur initially upchucks hefty shells, then hurls them at Mario. These are great weapons when Mario’s on foot, but it’s hard for Lanceur to hit Mario in Gushen form unless Lanceur throws a shell straight up right as Gushen flies over him.
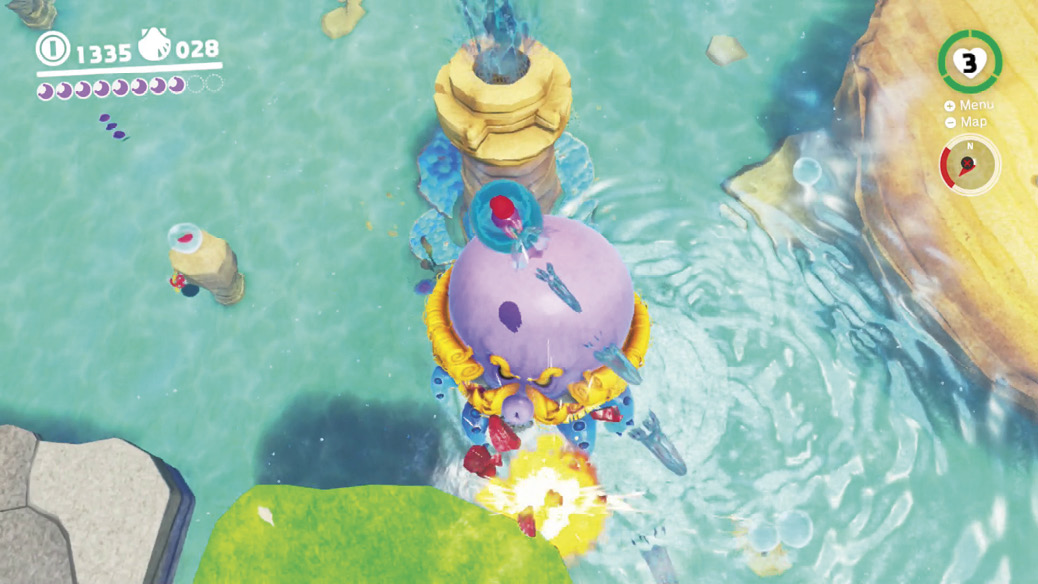
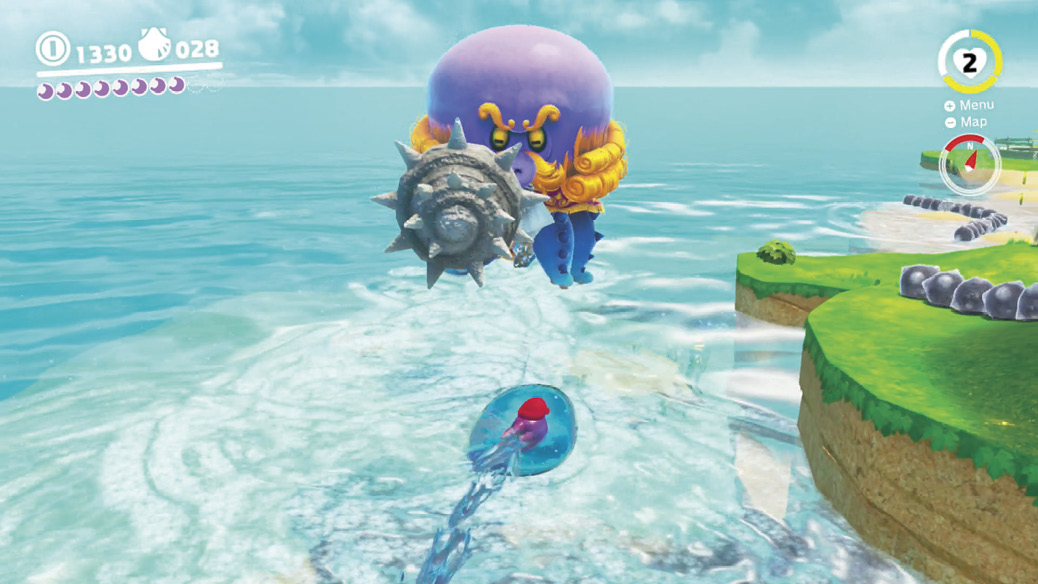
Once it’s apparent that Mario is a real threat, Lanceur gets serious, launching rocket-propelled red shells that look like drill bits. These have much more range than the shells he just tosses, and explode on impact. When fully riled up, Lanceur can fire red drill torpedoes repeatedly with no delay, so keep moving during these fusillades. Lanceur sometimes also startd spinning and moving rapidly, using sheer size as a weapon. Jet upward to higher altitude and move away until the spinning stops.
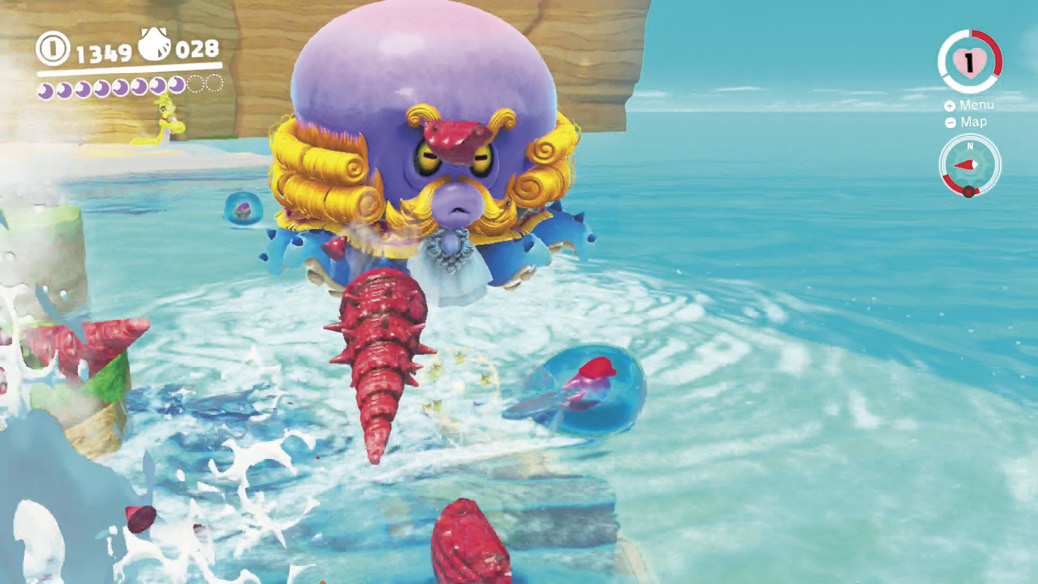
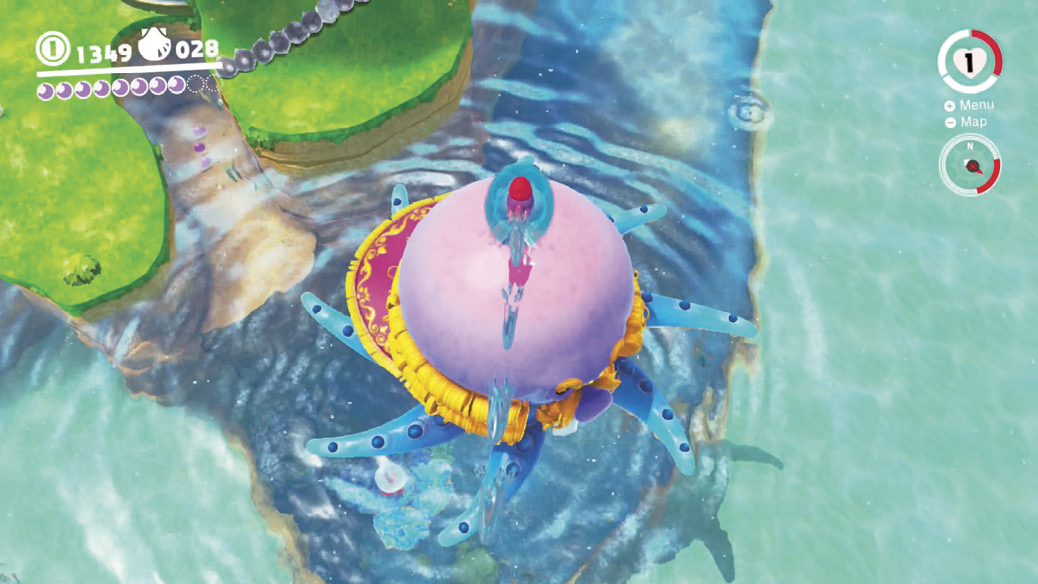
Keep getting in water shots on Lanceur’s head to damage him. Once the lava is washed off, it’s possible to stomp him with a ground pound, which does lots of damage all at once instead of little by little with little water spurts. To do this, wait until Lanceur isn’t moving around too much (like when he’s aiming drill projectiles, or when boxed in without somewhere to move quickly), then jet above him as Gushen, press the Crouch button to pop out as Mario, then ground pound straight down. Obvious, this runs a large risk if aim is poor!
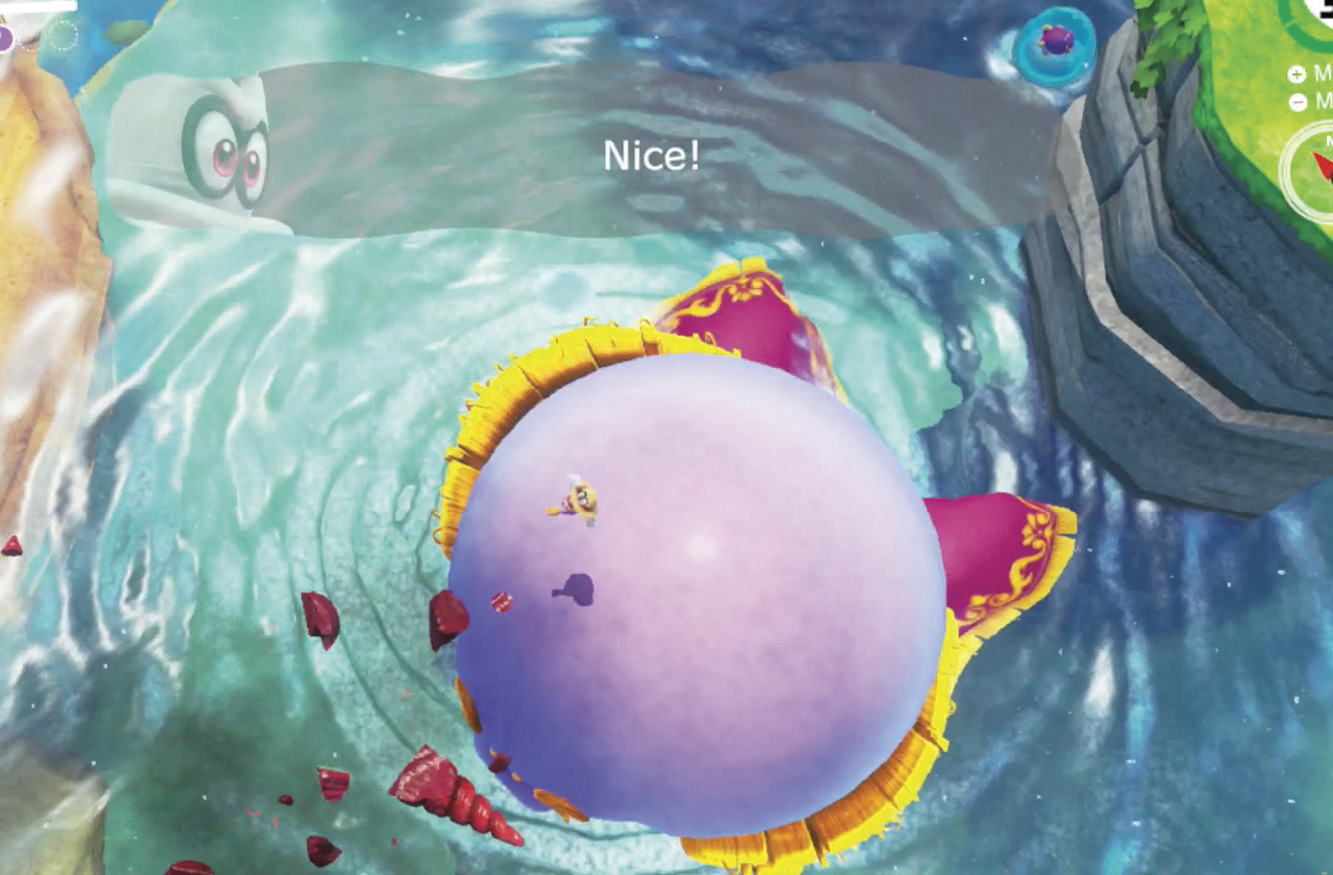
Laying waste to the pompous water thief leaves behind Power Moon #05, a Multi-Moon! It also finally relieves the residents of the terror they’ve experienced by Lanceur’s tentacles and Bowser’s traps.