
Super Mario Odyssey Guide Darker Side
Mario’s Itinerary
Confused on Arrival
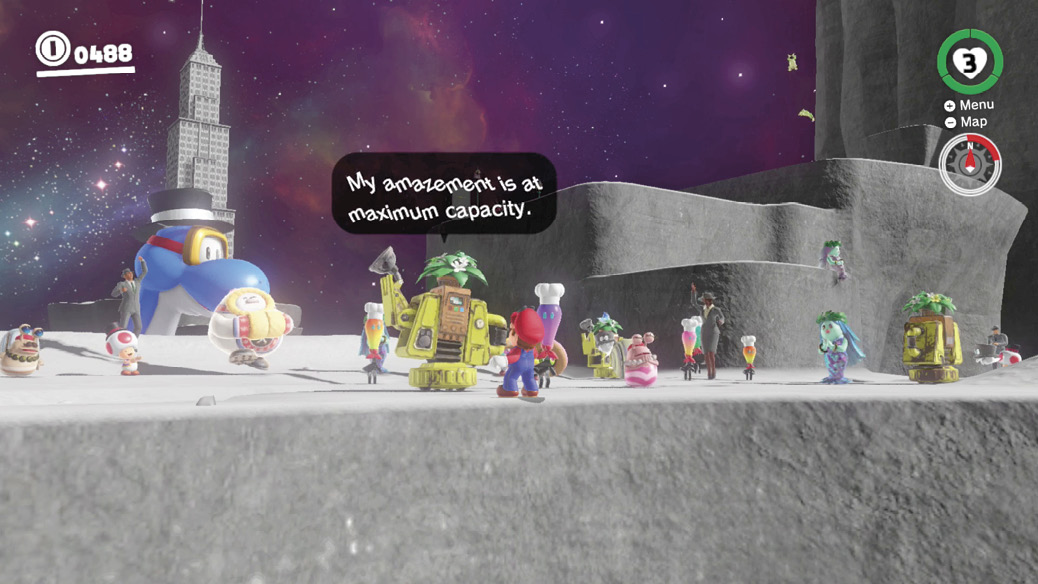
It took 500 Power Moons to get here, and the reward seems austere indeed: The Odyssey touches down on a skinny island of land in a sea of nothing. Binoculars near the landing zone allow some surveillance of the surroundings. Mario fans from every kingdom have already arrived, all set to cheer him on. High on a rise nearby, there’s a solitary green pipe. Capture one of the Frogs found near Mayor Pauline and use it to leapfrog up to the top. Enter the pipe and brace yourself.
 Culmina Caverns
Deep in the moon, gravity is like earth’s. Mario won’t float around like he does on the surface. The way here is winding and long, and a fatal fall or loss of health makes Mario start all over at the beginning. Although there are no explicit checkpoints, this cavern can be described by distinct segments.
Goombas
The first section is a little steppe covered in Goombas. The Goombas have air support in the form of a Yoo-foe. The Yoo-foe drops bombs and, when the bombs sometimes occasionally kill a Goomba or two, replacement Goombas.
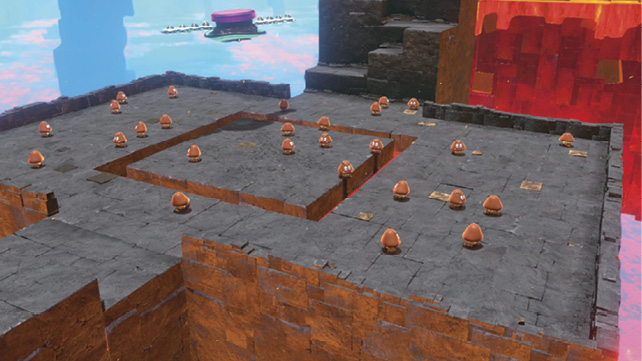
It’s not actually necessary to engage any of the Goombas, or the Yoo-foe, but destroying the Yoo-foe rewards a Life-Up Heart, and health is precious here indeed. This is a marathon, not a sprint, and every Heart matters.
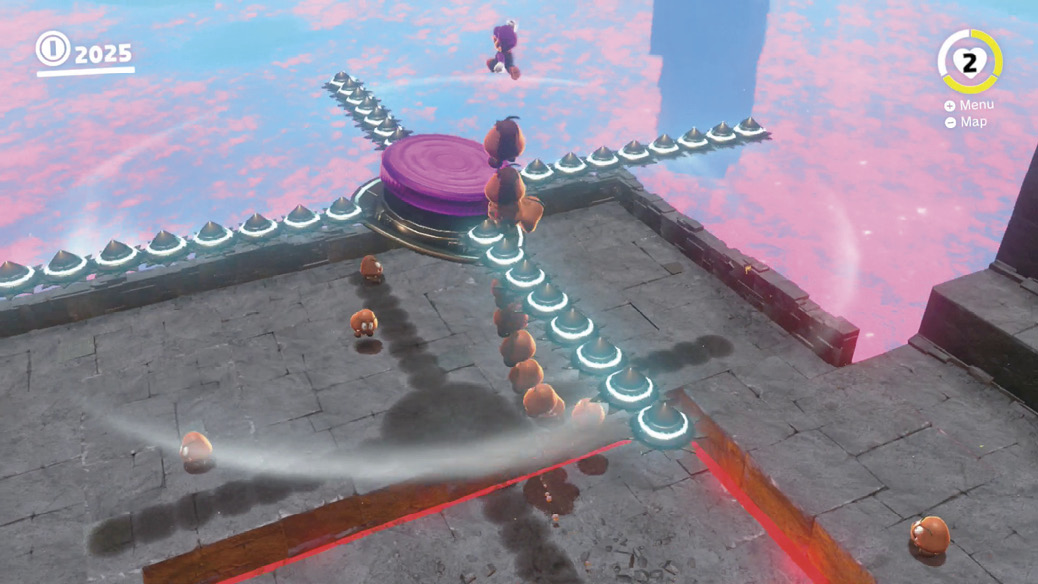
To take down the Yoo-foe, build a Goomba tower tall enough to allow jumping onto the Yoo-foe from above. Watch out for the saucer’s spinning blades while maneuvering a stack of Goombas. After dealing with the saucer (or not), jump up the big stone steps and move on to the big wall ahead.
Pole Crossing
This section tracks along a huge sheer wall, far too tall to consider mounting. Mario has to go around, complying with the path of sinking poles and grates. The trick here is that it’s not as complicated as it looks. When transitioning between poles, just rotate around each pole and jump off quickly. Don’t worry about climbing poles to maintain height, ascending quickly is easy whenever encountering a grate that bars Mario’s way. Here, wall jump quickly from the grate to the nearest pole and back, all the way up to the closest gap.
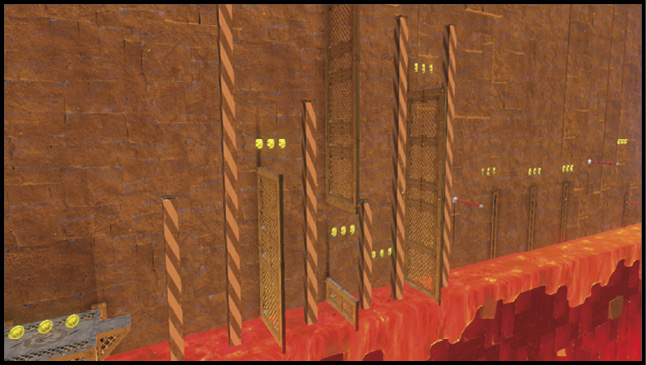
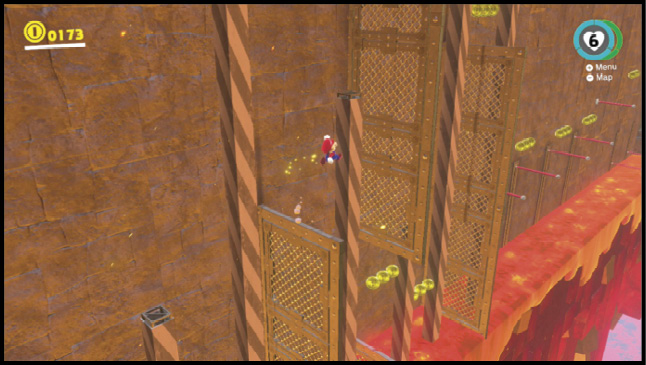
After the sinking pole section, another section follows of swinging poles that rise and lower along tracks that enter bubbling magma. It’s only safe to vault forward toward the swinging poles just as they’re rising from the lava. Quickly swing forward from pole to pole using Mario’s momentum, jumping while his feet are aimed at the next pole, without waiting for a backswing between forward jumps. Take a breath at the fixed poles. With a dive jump after leaping off one of the poles here, you can cut a lot of distance off this tricky section, but then you also risk plunging into hot lava, too. You might be able to hotfoot-bounce toward one of the poles as it rises from the lava, and Mario happily clings on if he’s close enough, but it’s chancy.
Hill Crossing
Beyond the poles, a row of solid hills spins through the lava without corroding, like the teeth of some enormous gear. The hills roll right past Mario, with grates here and there as obstacles along the way and another platform farther down, along the rolling path.
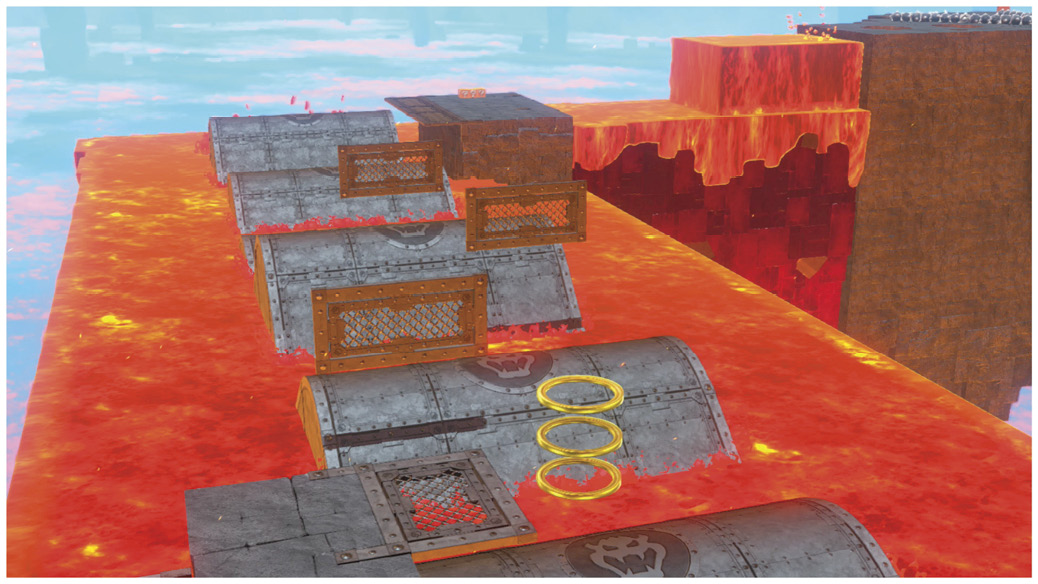
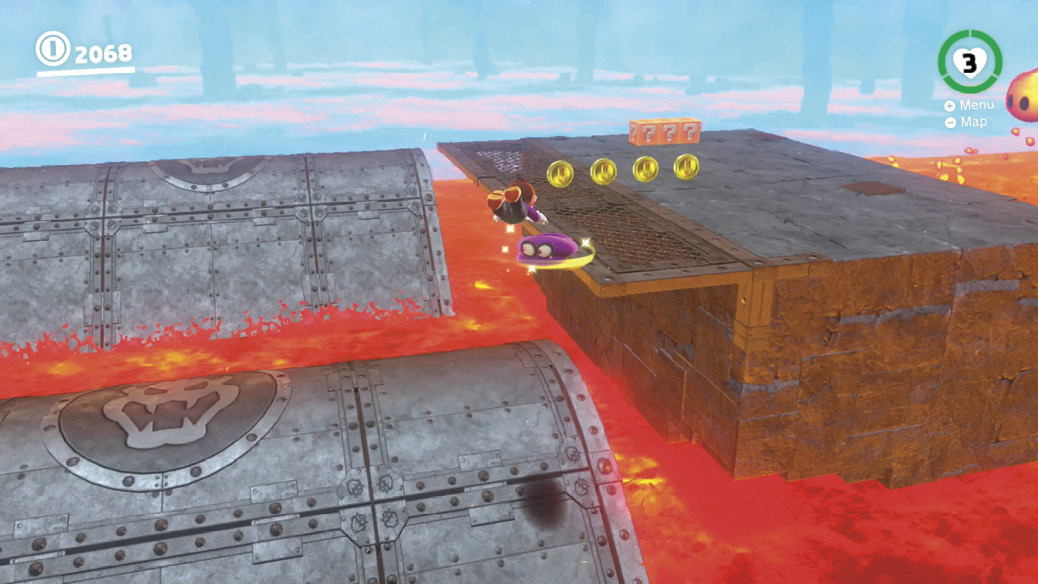
Look at the positions of the grates along the rolling path, then take a running long jump right off the side, toward the hills. Keep the Crouch button held down during this entire sequence so that whenever Mario touches solid ground, he immediately rolls forward. When Mario’s airborne, steer him generally away from upcoming grates. When rolling forward, be ready to go right from rolling right back into another running long jump at the top of each hill. At the far end, be ready to jump off the right side of the rolling hills and onto the platform leading onward.
Pause briefly and hit the triple ? block for some coins and a Heart.
Bubbling Up
This section is like a platforming challenge for Lava Bubbles over solid moon. Capture one of the nearby Lava Bubbles and swim up the lava flow to find circular pits of lava in between sections of cold, hard stone. What’s worse is that Moonsnakes slowly spin nearby, each muddying up the entry path to each pit. To proceed, a Lava Bubble must travel all the way across, so touching down on regular ground extinguishes the current capture, forcing Mario to go recruit another Lava Bubble and start over.
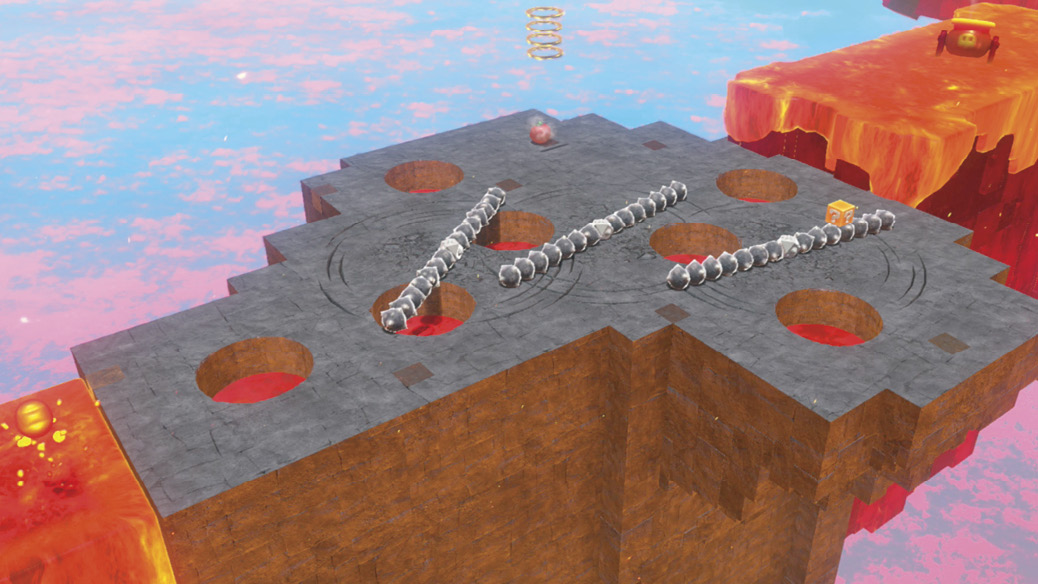
Hold a cap throw button throughout this sequence to keep the Lava Bubble swimming as quick as possible, adding a little extra reach to jumps. As a timing trick, jump for the next lava pit just before the nearest Moonsnake in the way swipes over the current lava pit. This usually grants a relatively clear shot falling into the next pit. When jumping, commit hard, and don’t be sheepish about jump momentum; you can keep going if you take a hit from a Moonsnake while falling into the next lava pool, but you can’t keep going if you hit solid ground and pop the Lava Bubble.
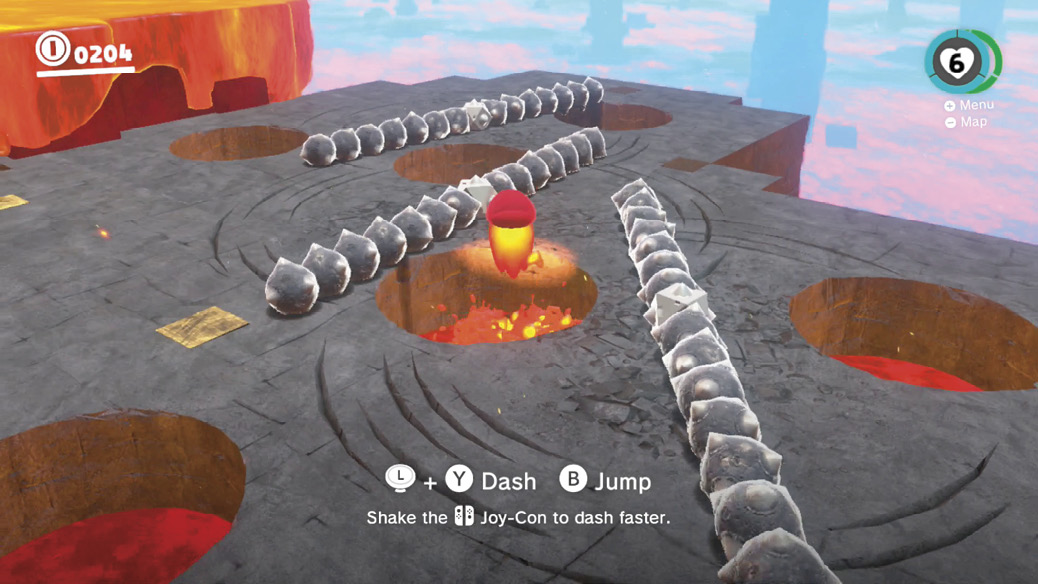
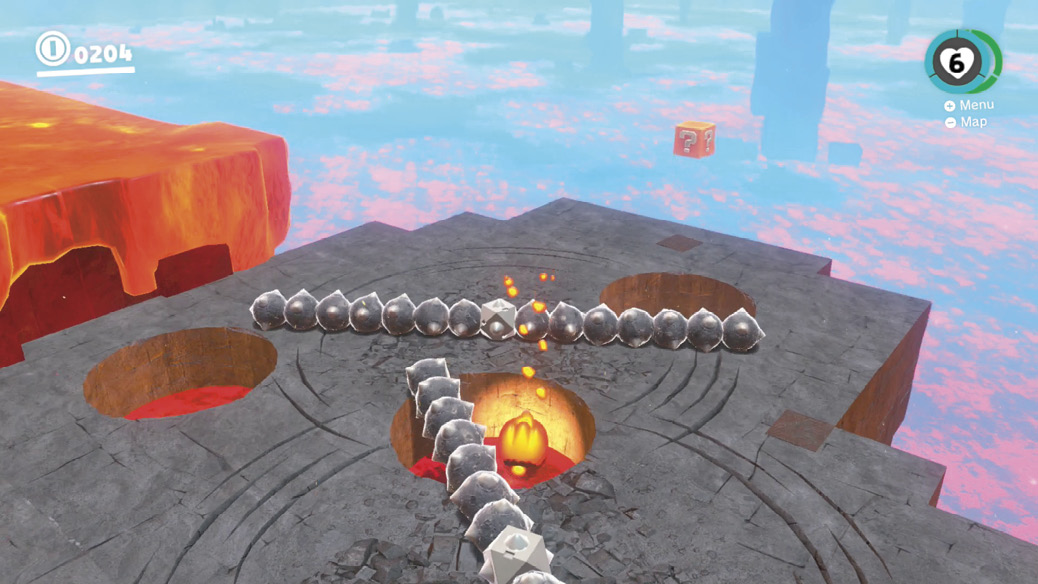
Hop across the lava pits and jump up to the shelf ahead to find a lava canon, all ready to launch the Lava Bubble across a huge chasm.
Uprooted
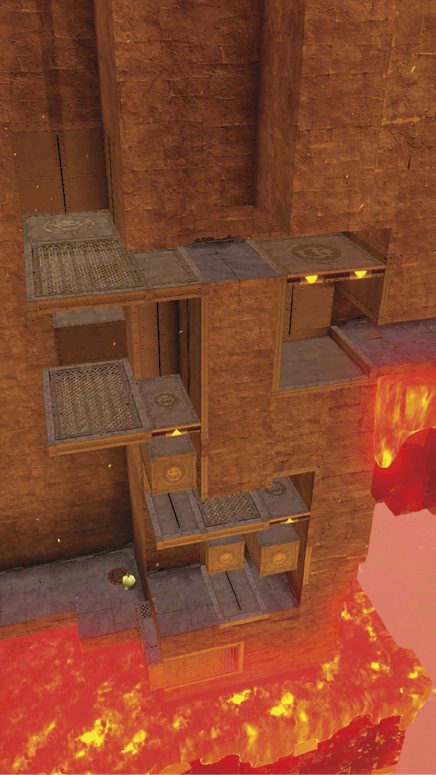
After splashdown from canon launch, swim around the right side of this curious structure to find a Heart hovering above the smoking murk. The Lava Bubble can easily leap high enough from the lava to get the Heart.
Swim back to the platform near the arrival zone to find a lone Uproot. This Uproot is the ticket upward here, since it’s all vertical, with some coverings along the way that Mario can’t bypass under his own power. The Uproot has to do it with its incredible on-the-spot growing power. Duos of moving cog-like platforms line the way up this tower. At several points along the route upward, you have to extend an Uproot’s legs to quickly land on the higher of two moving platforms. This needs to be handled while Burrbo hordes appear on motionless platforms along the way. You can drop out of the Uproot capture and slay the Burrbos with cap tosses, quickly re-capturing the dazed Uproot, but more Burrbos reappear. It’s better to navigate around the Burrbos, using their predictable movement to stay ahead of where they’ll be clumsily pouncing. Just avoiding the Burrbos in a small space rather than engaging them is good practice for later in this very kingdom, too.
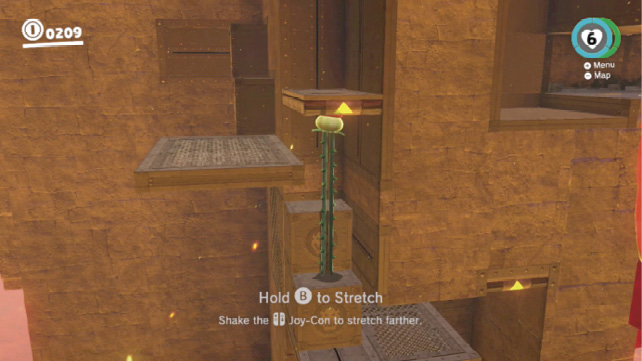
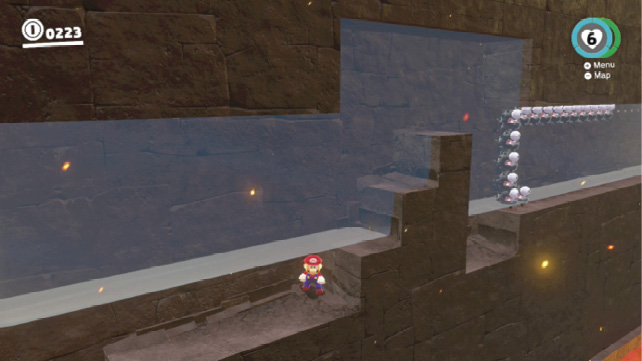
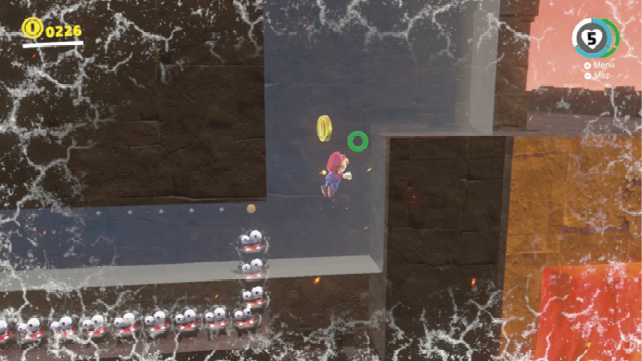
Keep an eye out for movable covers above the lifts and platforms along the way, and quickly move underneath them and raise them quickly by shaking motion control for a rapid, extra-tall Uproot extension. Atop the last vertical lift, right before the final platform that must be pushed down, stand atop it and fully extend by shaking the controller to reveal a ? block containing another Heart. This may be a diabolical marathon, but there’s proverbial hydration along the way.
At the top, a coin ring gives away a semi-hidden vertical chamber that can be ascended either by wall jumping or using Uproot. The final corridor in here requires bypassing some Fuzzies in a tight space that strangely fills and empties of icy water from the ceiling. Time short stints in the water to take you over short climbs and around the string of Fuzzies in the way, before finally popping out on a normal ledge beyond the ice water hallway.
Conveyors Licked
An old friend is here to help with the next bit. Break the egg and throw Cappy onto Yoshi, avoiding the Fuzzies who are in the way. Yoshi’s unique ability to stick to walls by licking is the key to traveling up the beams ahead, which have conveyor surfaces. Jump between them, then stick to one side by jumping and sticking Yoshi’s tongue to it.
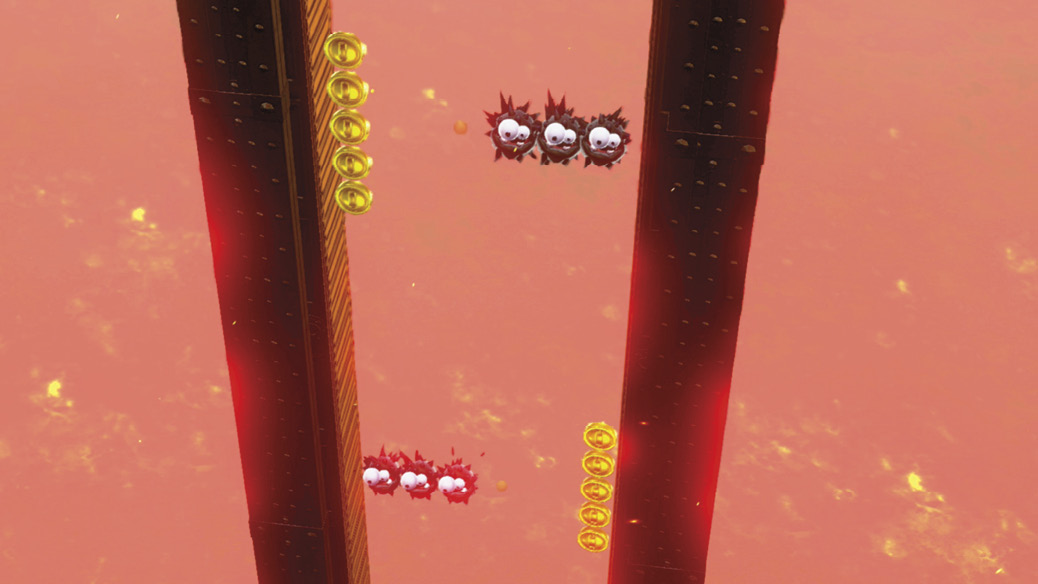
From here to the top, you need only hold the Cap Throw button as necessary to make Yoshi swap sides, whether to collect coin groups or to dodge Fuzzies. At the top, stick to the left side, ride it comfortably higher than the right side, then jump off. From here, you can either travel forward, or turn and look back down at the top of the rock you just climbed past—the crag topping the Uproot tower and icy hallway swim. There’s a big pile of coins atop it, which you can easily collect by jumping down from here, but you’ll need to take the conveyors up again using Yoshi’s tongue clings. You can keep Yoshi for the next section too, but he isn’t required for it.
Ivy League
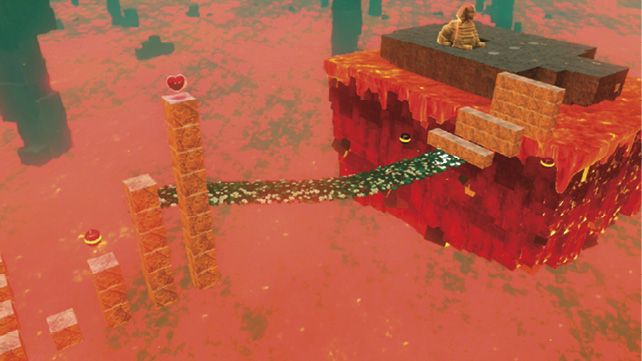
The P-Switch ahead heralds a tricky time-limited segment. The switch triggers a rapid growth of vines, forming a moving path ahead. Ahead on the vine road, a pulse beam floats a little to the right of the path, near a bunch of breakable blocks. You can easily just jump over them and pick them up on the other side, but striking the pulse beam (either with a cap toss or Yoshi’s tongue) causes an energy wave that destroys the blocks, netting a few coins.
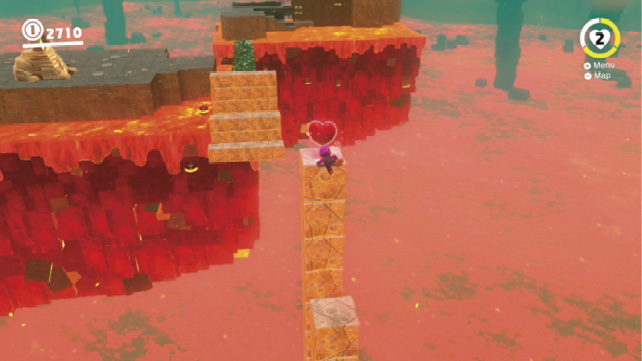
Farther along the weaving path, blocks hover to the right, leading on a precipitous gapped stairway upward toward a Heart. This is a fun path to take for the challenge of the climb, but is a little misleading, since a better health situation is up ahead on the vine road to the left.
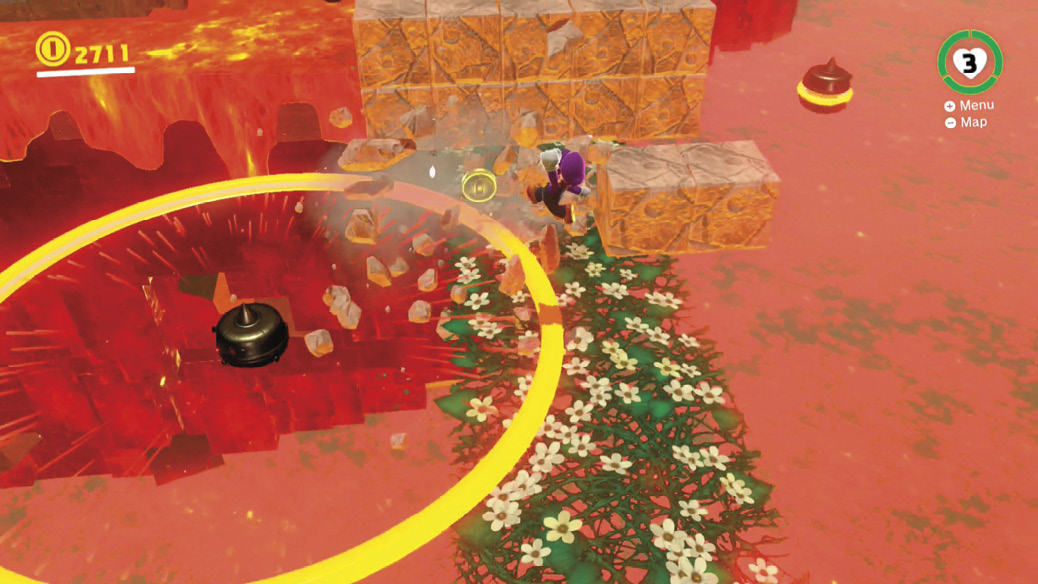
Before that, though, three sheer walls of breakable blocks lie in the path of the vine road. Either use deft, accurate jumping to clear the three increasingly tall block walls, or activate a nearby pulse beam, dodge the energy waves it emits, and run along the vine road underneath the block walls when the path is clear.
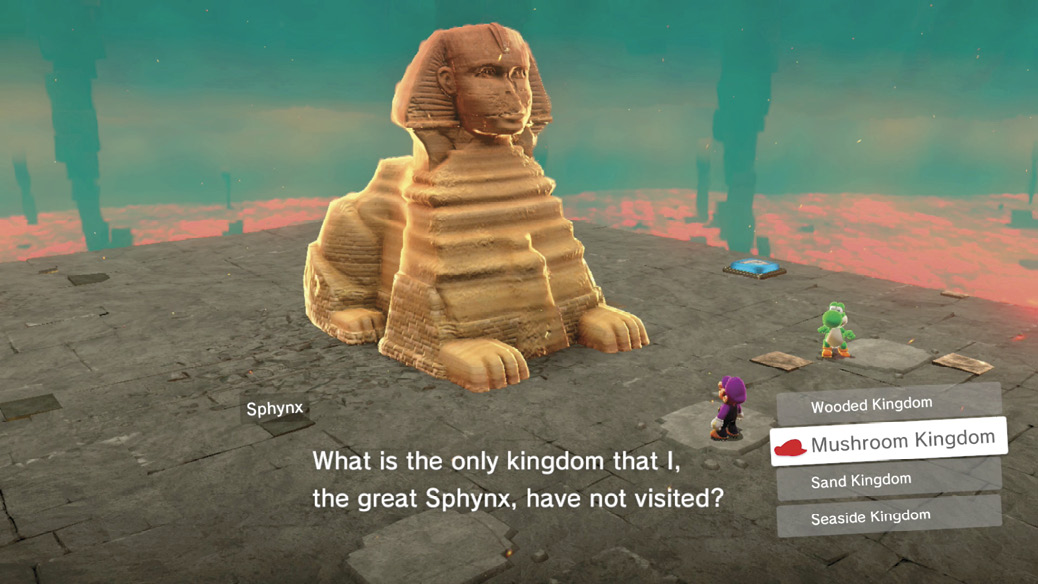
Ahead on the left a large flat platform hosts yet another appearance of the mysterious Sphynx, who has just one question: where hasn’t he visited? The correct answer reveals a Life-Up Heart in the chamber underneath him! If you fail somewhere farther along and restart at the beginning, this chamber is open already on future attempts, so you don’t have to keep answering the Sphynx’s final riddle.
This Life-Up Heart is a great boon and a nice recharge, the first one you find since the Yoo-foe at the very start. It’s also the last one, so guard the extra Hearts well. A fresh P-Switch on the Sphynx’s platform creates a vine bridge that leads to the next portion, which is where the previous vine path leads, if you don’t detour to the Sphynx plateau.
Block Party
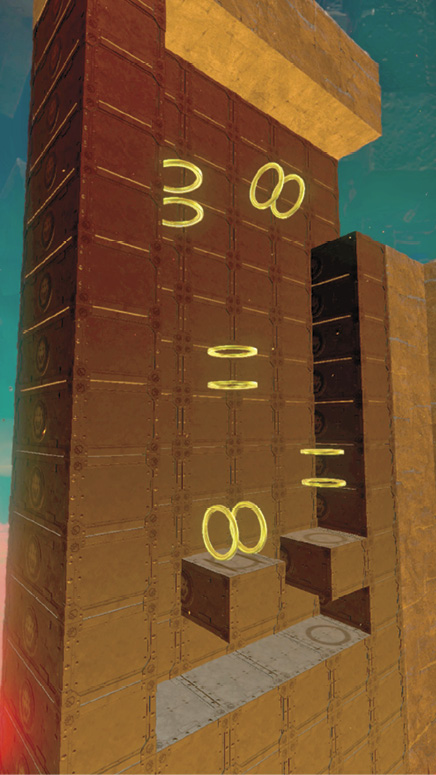
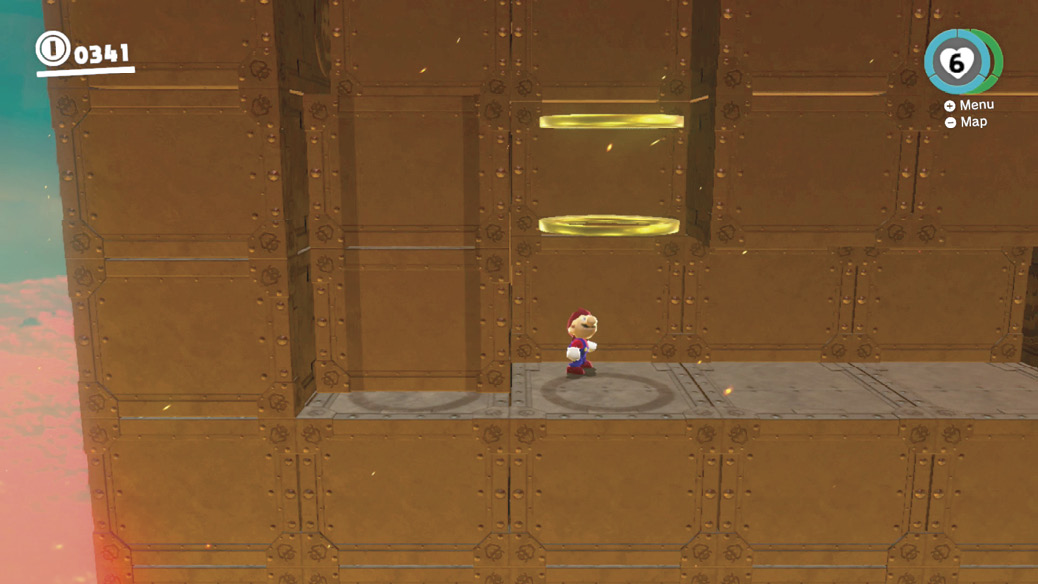
This is another tower climb like the one cleared with Uproot’s help, but with a twist. A sheer metal wall stands under a narrow platform, with a scarecrow dangling upside down from its own platform near the base. Standing on the narrow platform and throwing Cappy onto the scarecrow activates a dangerous sequence on the tall wall, where individual blocks thrust across the walkway and lock in place. If Mario’s in the way, they push him off and into the lava. If he’s to the left or right of the section pushing out, it becomes a new platform or wall jump surface. Sections of the wall shake in the background briefly before jutting out, giving Mario just a second (literally a second, it’s not long) to get out of the way. There’s no Cappy for cap/dive jumps here, since the Bonneter is riding the upside-down Scarecrow’s platform up next to the tower, powering the puzzle in the first place. He rejoins Mario at the top.
The first half of the climb is mostly just an exercise in learning not to get pushed off. On the first floor, go right as far as is safe, and be ready to wall jump up when jutting wall segments make that a possibility. Up one level, move as far to the left as is possible, and wait again for a new way upward to appear. Up on this third tier, move quickly back to the far right, wall jumping up through some coin rings. Up a fourth layer, quickly move under the next coin rings leading upward, then stop—this is the first time you don’t want to go as far as possible. Wait for walls to compress around the rings above, then wall jump up through them. Survive until this jutting of the wall makes a chimney snaking upward and you’re most of the way there—the rest is mostly just wall jumping back and forth all the way up as quickly as possible.
Soaring Underground
Before, Yoshi waited to help before a crucial area. Now, Glydon does the honors. The gliding lizard sees Mario across the next gap, which is saturated with clouds of Urban Stingbys. Hey, it doesn’t look very urban down here.
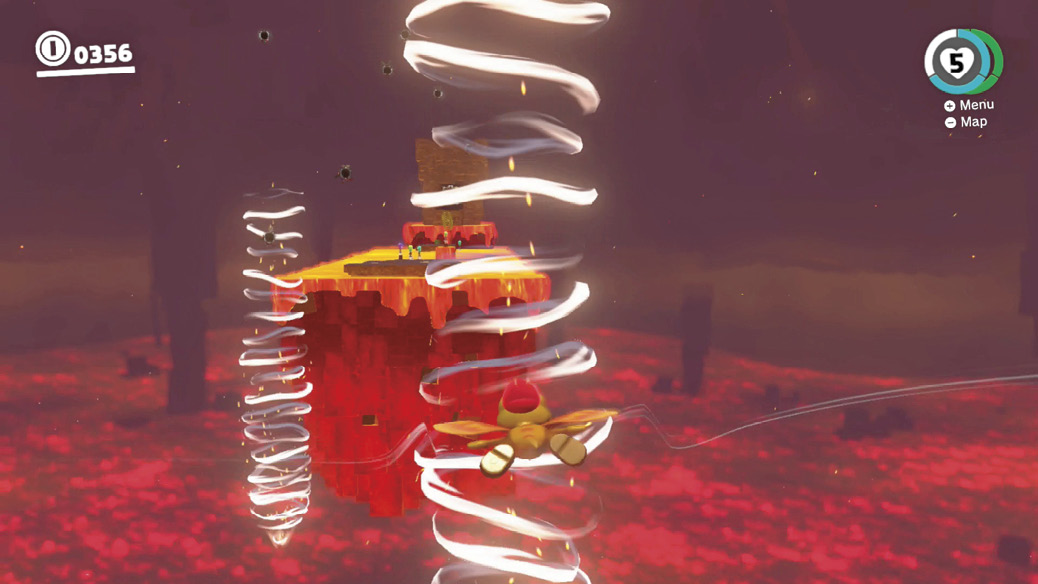
Capture Glydon and leap off the edge, immediately gliding and keeping an eye out for flies directly in Glydon’s flightpath. Steer left or right to avoid taking head-on hits, but not too much, since any effort besides neutral gliding loses a little lift. To make it across, you have to catch the spiraling updrafts along the way. Shake the controller for extra height when passing through the vortexes. At the far end, with a mix of skill and luck, Glydon lands unscathed on a solid platform before a large stretch of inhospitable lava.
Forkfuls of Lava
The stretch beyond the Glydon landing pad would be solutionless, if not for some trusty Volbonans who’ve trekked a tad ahead of Mario. Whether they’re here to help or just researching experimental cooking methods is no matter. Handholds are handholds.
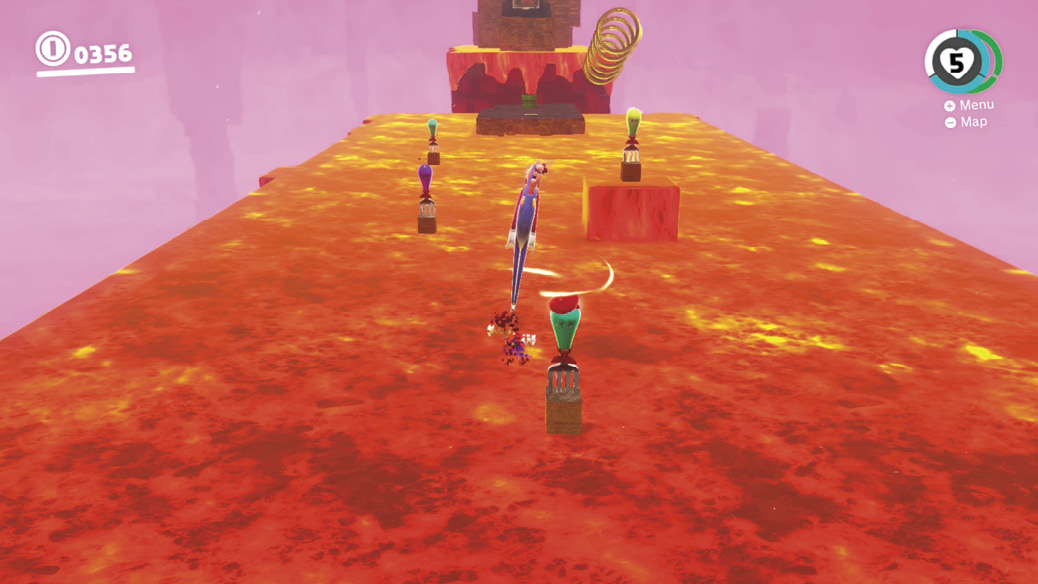
Mario must be flicked from one Volbonan to another in midair—capture a Volbonan fork, torque it back to build up power while aiming, then launch Mario toward the next Volbonan. On the way, just even with the fork and right above the lava, throw Cappy toward the next Volbonan head. Remember that throwing Cappy in midair briefly stops Mario’s vertical momentum, so make sure to wait and throw the cap at the right moment on the downward fall, rather than tossing Cappy too early, overeagerly.
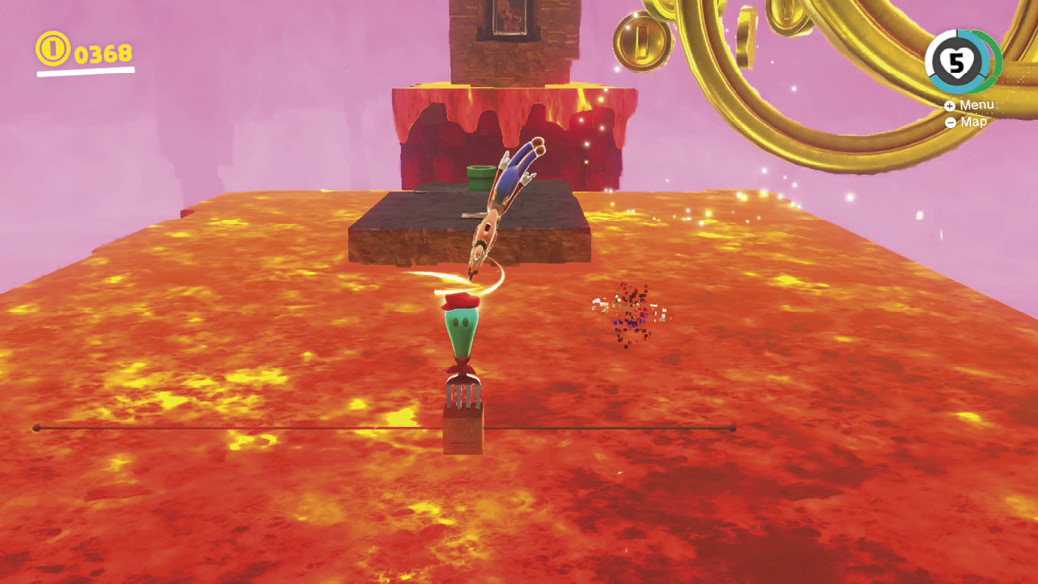
At each successive Volbonan, take a breath and aim carefully again. Miss the flick or the cap toss capture of any given step here and it’s probably curtains, since neither side will likely be within reach as Mario bounces across a sheer lava field, along the Volbonans but unable to throw his cap while burning. Make it all the way across and hop down the pipe here to continue onward.
Clouds of Burrbos
The moon gets ever more mysterious the farther inward an intrepid explorer plunges. Here, a sea of clouds blankets a vast pit, across which a single platform travels. Powering the platform is a pulse beam, located at its center. Along its route are numerous other pulse beams, which can resonate with energy emissions from the platform’s pulse beam, depending on the distance. And above the platform’s route are several platforms that mysteriously spawn frightening numbers of idiotic Burrbos. The colorful Burrbos hop and stumble down from these platforms and onto the moving platform. A bunch of Burrbos hopping around toward Mario on a small platform is naturally not an ideal situation. Using the Burrbo perches as platforms along the way might seem appealing, but is dangerous considering spiky Burrbos can suddenly appear anywhere on them. Riding the platform without triggering pulse beams can be done, but requires attentive stepping around the perimeter of the platform, baiting Burrbos into pouncing at Mario, then rotating around the edge or jumping over all of them to the other side.
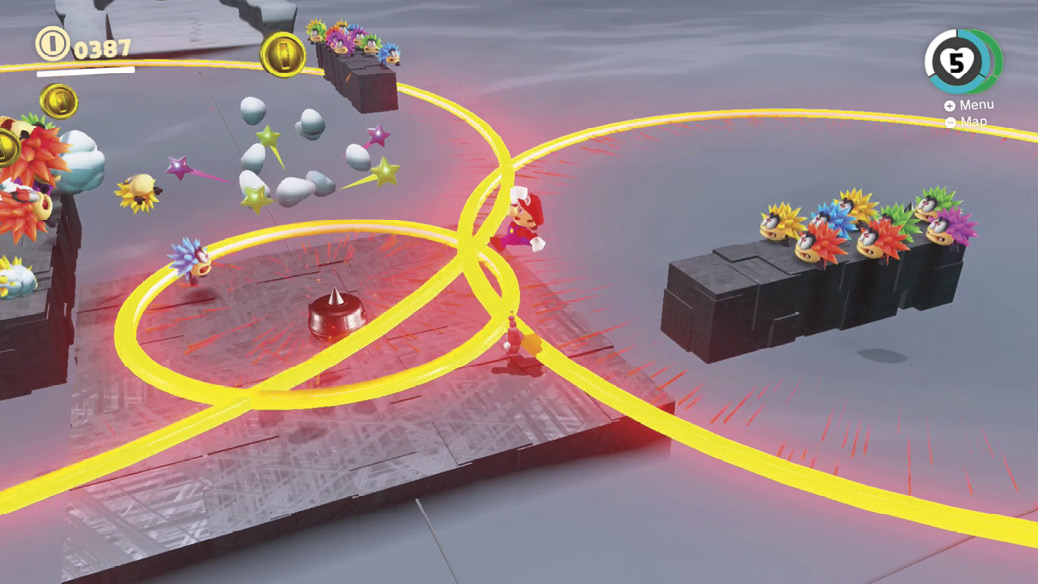
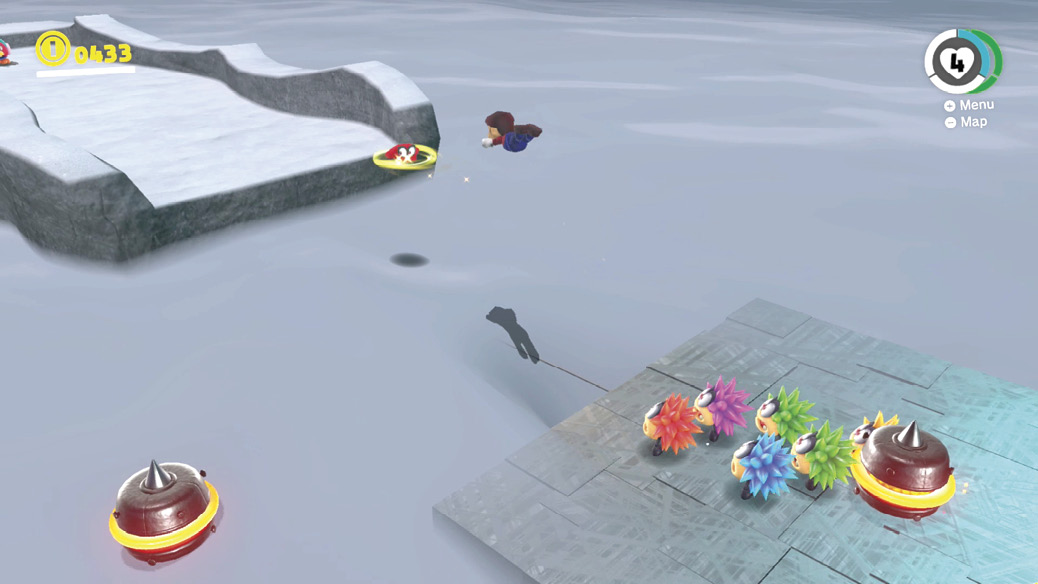
Of course, triggering the pulse beams and reveling in mass destruction of Burrbos in all directions works too, but you have to keep your attention on the platform instead of the Burrbo fireworks, because this sets up a variable platforming challenge for Mario along the way. Nearing the end, don’t be afraid to jump well off the platform and dive jump off Cappy toward solid ground to end the Burrbo and pulse beam chaos as early as possible. Ahead is a more sedate but exacting challenge.
Pokio’s Starring Role
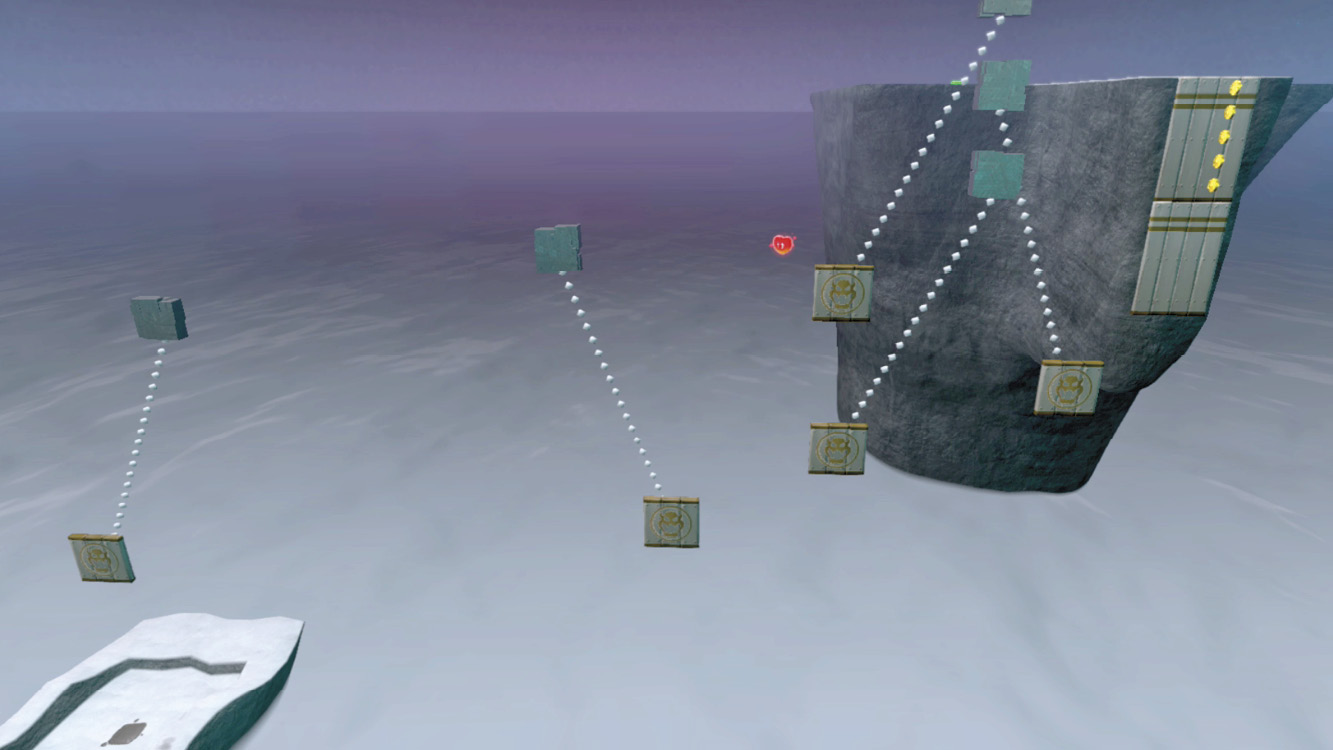
After crossing the misty sea down here, now it’s time to climb back toward the greater crater. A lone Pokio guards this climb, which is noble, but a single bird is no match for Mario by this point. Capture Pokio and observe the wooden pendulums swooping back and forth overhead.
Facing the abyss at the edge, jump straight up as the lowest cog swings down, poking it with the beak as it passes. Make sure to do this smoothly, without also inadvertently shaking the controller or tilting analog sticks.
With true aim, Pokio will now be stuck to the pendulum, swooping back and forth. At the edge of each pendulum’s swooping path, flick upward to the next level, deftly stabbing the next beakhold on the way up. You can drag back on the stick and release to flick upward, like aiming on a Pole or Volbonan, but you can also just shake the control (with no input on the analog stick) for a perfect upward launch. When stabbing at the next platform in midair, aim using the analog stick while poking with the beak, but release the analog stick immediately after aiming, to avoid accidentally pulling back for a flick right after sticking with the beak.
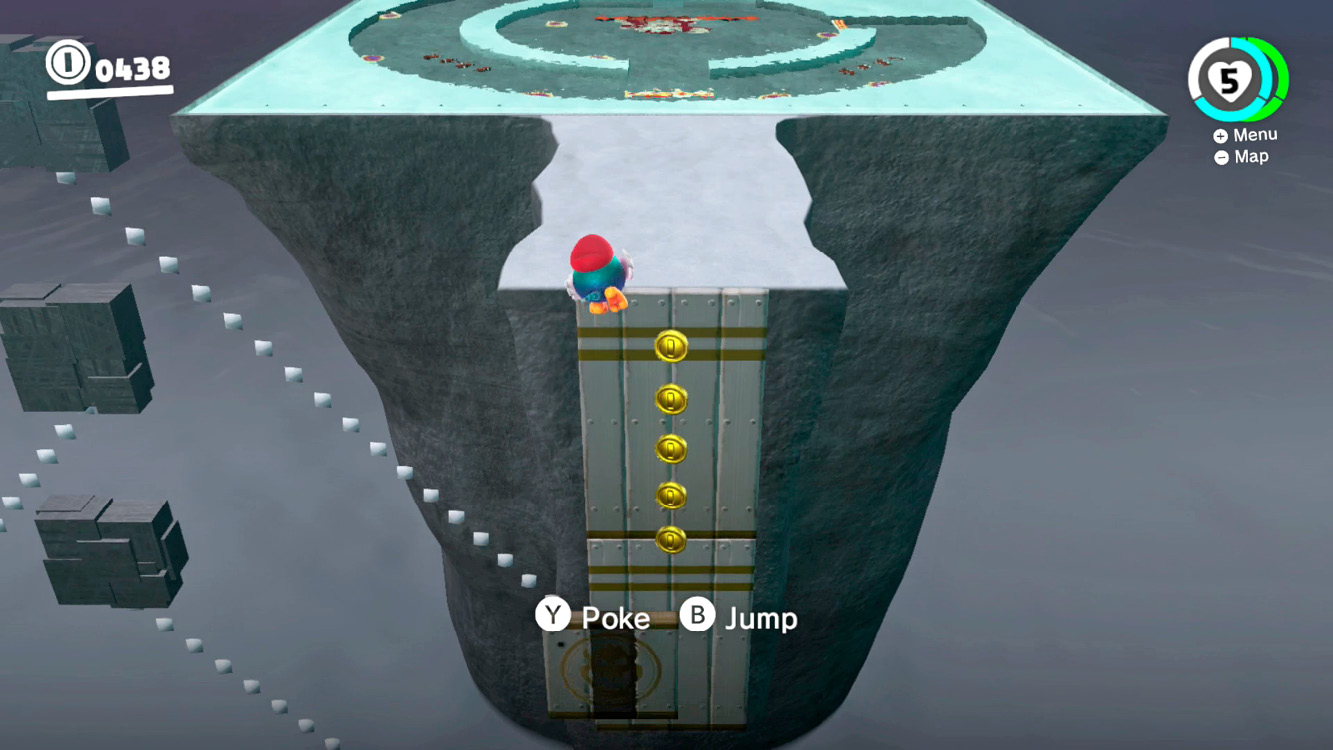
Midway up, a Heart can be had by riding one pendulum all the way to the left. Detour for this if you only have a Heart or two of health left. If at some point on this climb you miss a Pokio beak and begin falling, your first saving grace is the motion-shake Pokio spin, which works as a double jump once per airborne period. Your second saving grace is ditching Pokio in midair and tackling back toward the platform down below where you originally captured Pokio to begin with. Bailing out and redoing the section is a lot better than redoing the entire flaming cavern!
Donkey Kong at the Center of the Moon
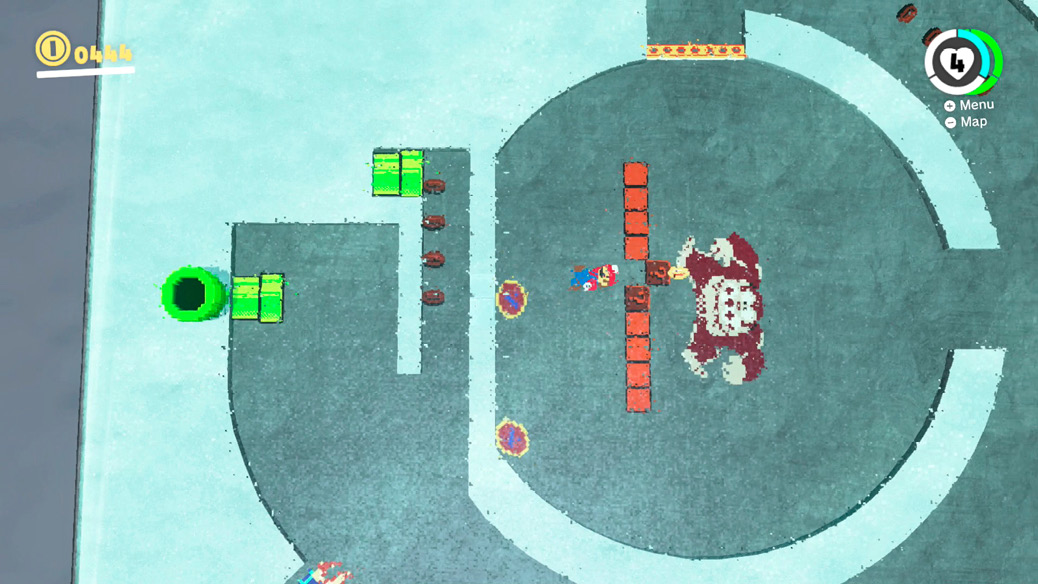
At the top, Pokio’s considerable talents aren’t needed anymore, and a curious 8-bit challenge ensues. Enter the 8-bit pipe here to begin a mind-bending platforming battle against Donkey Kong. The barrel-tosser resides in the center of the field here, and Mario must travel inward in a curving path around Donkey Kong. Wherever Mario is, it can be briefly confusing to reorient control after running all the way around part of the circle. Controls reset anytime you release the directions, so just remember to push in the direction you want Mario to go. If he’s facing up and you want him to run up you can just press up on the stick, you don’t need to worry about whether he’s facing up on his left or his right side or what have you.
Circle inward toward the classic nemesis and jump to trigger the four ? blocks located directly under him. Defeating Donkey Kong opens the way to the pipe leading back up out of this area to the larger chamber.
Escape, Redux
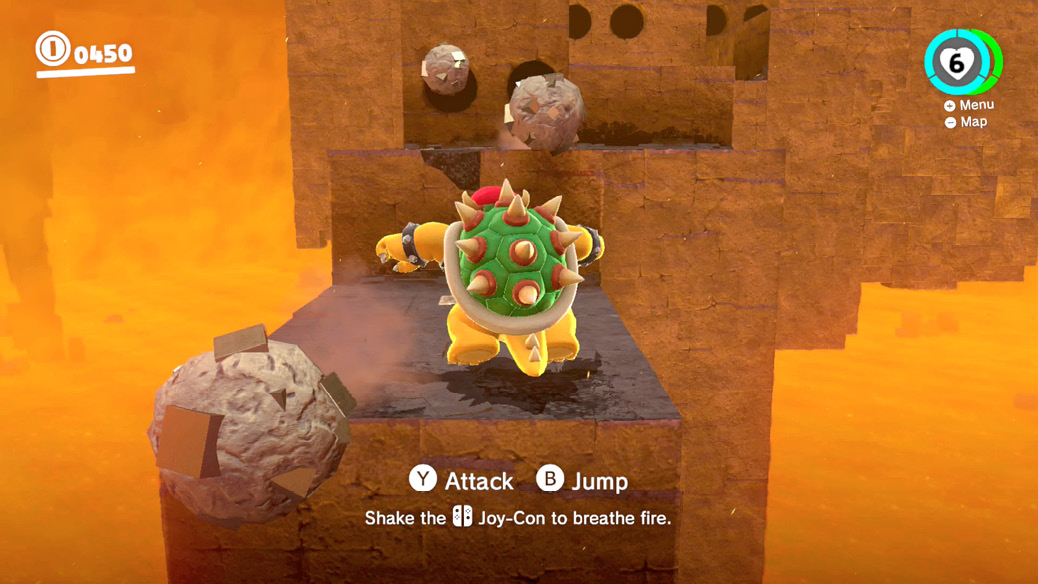
Now for something completely different. Ascending back to the cave proper, Mario finds a framed painting of a familiar enemy, but something about it is different…
Jump into the Bowser painting to take on a new challenge path with the king baddie! Lumber forward, shattering walls with Cap button claw swipes and motion-flick fireballs, to reveal a long stretch of narrow rock bridges over the abyss, guarded by cannons at almost every step along the way. Cannonballs come lumbering one after another for long stretches ahead. Luckily, Bowser’s attacks destroy incoming boulders, and he has a surprisingly mobile vertical jump. Move forward through the maze of rolling threats, either weaving through them, jumping over them, bashing them apart, or a mix of all three as needed.
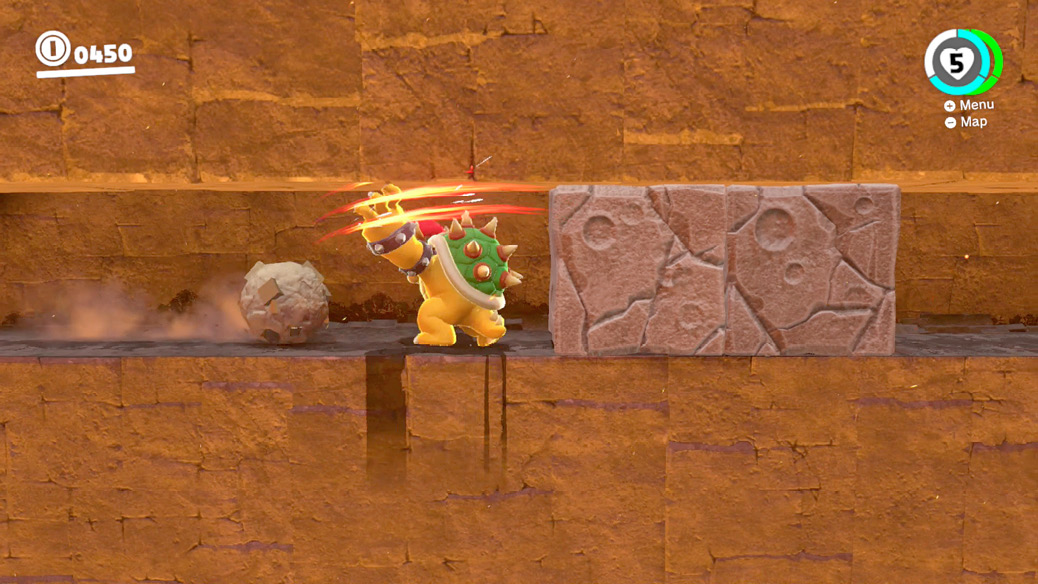
The toughest stretch probably occurs in a lengthy sideways corridor with boulder after boulder rolling in from behind, and a long stretch of hall ahead clogged with breakable sand. Bowser can advance, but only without getting greedy. Take one swipe to clear a block ahead, then turn and swipe at an incoming boulder, repeat. Don’t get anxious and think you can speed it up trying to squeeze in an extra swipe to bash another section of wall before attending to the cannonballs rolling in from behind. You can’t.
Culmina Town Hall
Emerge from the Bowser nightmare and you find some more ground to cover before escaping the cavern, but the threat is over. Enter the pipe at the end after crossing some congratulatory pylons to return to the moon’s surface, finally! Here are more Binoculars and Frogs, as well as the strange replica of New Donk City’s Town Hall.
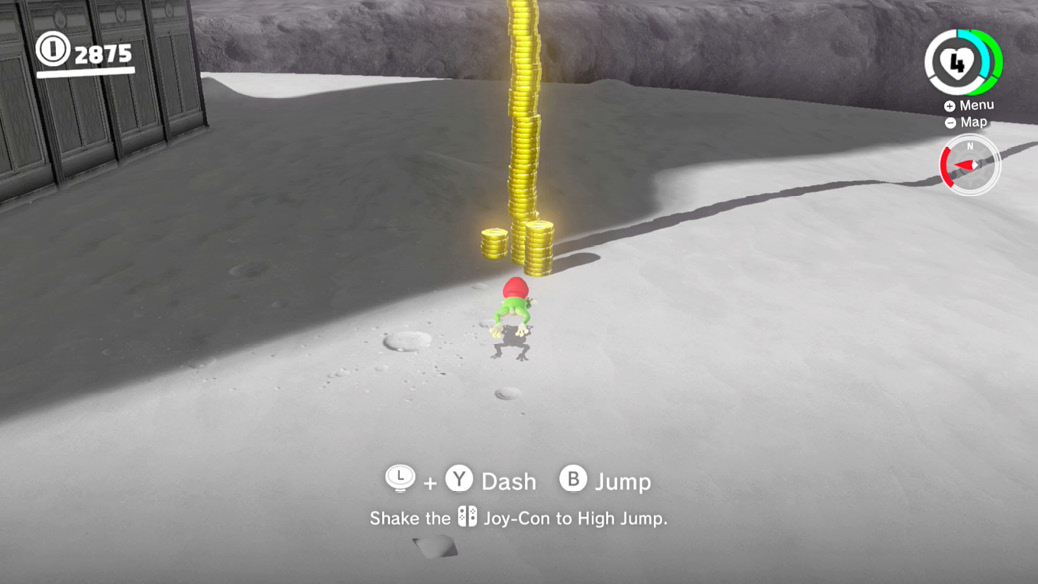
Capture a Frog again to get a leg up ascending the tower, which is quite tall. Use motion-flick jumps to get extra high while frog jumping. After climbing high enough to access the main antenna, it’s time to drop the Frog capture and drift to the spire as Mario. Mario hugs the antenna like a flagpole. Climb all the way to the top to reach the only Power Moon in this kingdom, but the single hardest Power Moon to acquire in the odyssey: Long Journey’s End!
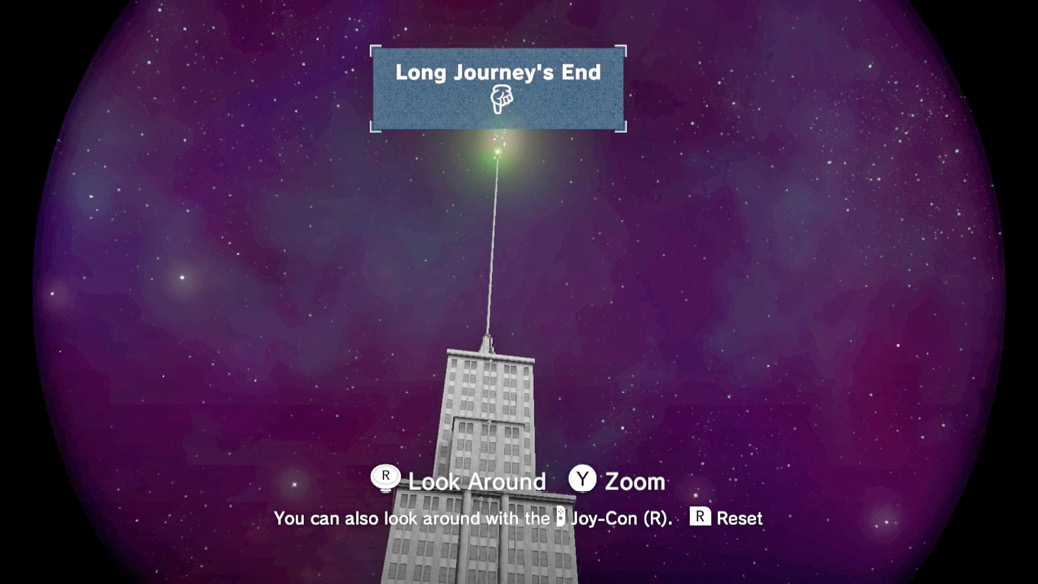
Earning this Multi-Moon also unlocks the Invisibility Hat! Wearing this hat makes Mario almost totally invisible, with only his shadow and Cappy’s eyes as indications that he’s there at all.