
Atari Flashback: The Essential Companion Guide 1988-90
Radar Lock

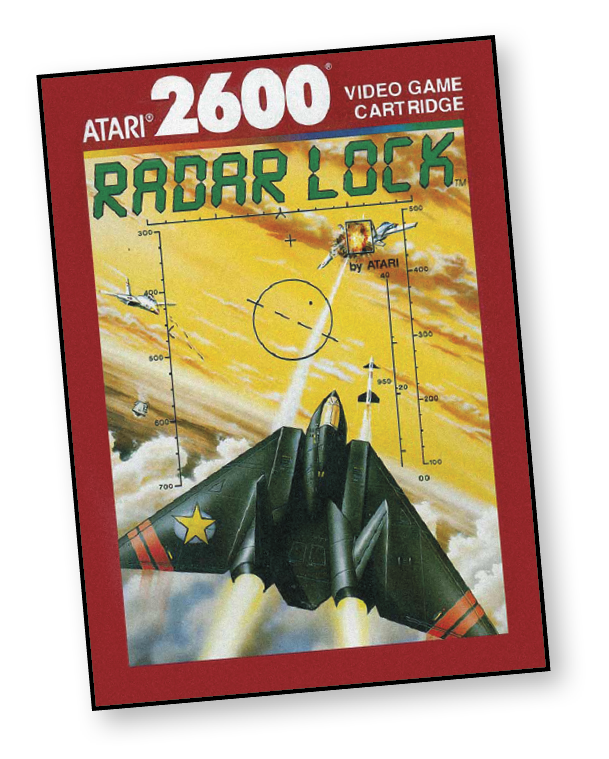
You’re locked in fight-to-the-death air combat with the enemy! You may be outnumbered—somehow you’ve been separated from your buddies—but this is far from your first mission. You’ve been flying your trusty little delta-wing fighter for more months than you care to remember.
Suddenly you sight an enemy Interceptor at 12 o’clock! These babies are a piece of cake. You sneak up from behind and zap it with a few rounds from your machine gun.
Just when you’re feeling a little cocky from your last successful hit, an enemy Bomber appears out of nowhere. This one’s not so easy. Not only is its tail gunner an expert shot, but the Bomber is surrounded by a fleet of Escorters, and you can’t even get at it with your guided missiles.
It’s going to take all of your expertise, along with your arsenal of ammunition, proximity missiles, and guided missiles, just to stay alive. Any minute you could be sabotaged by a cagey patroller or become the unsuspecting victim of a sneaky Stealth Fighter.
Prepare for the dogfight of your life. It’s going to be a killer!
About the Game
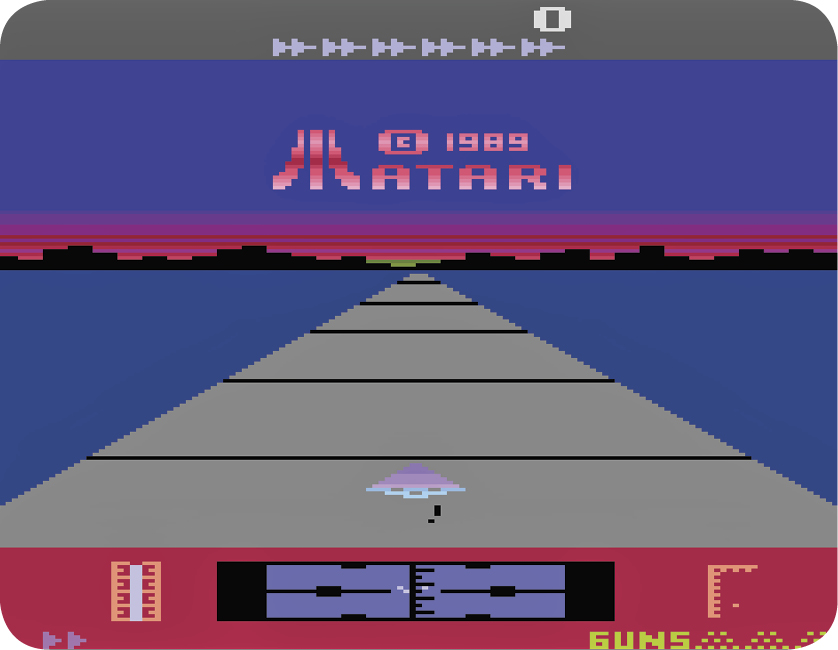
As stunning and unique as Radar Lock is, it was also a game that flew far under the radar, so to speak. Radar Lock was a difficult game, and understanding the controls took time and practice, but that didn’t keep it from being interesting and groundbreaking. The game was released at a strangely late time in the Atari 2600’s life cycle, and that could be a real reason why it was accepted the way it was.
Radar Lock wasn’t the first flight simulator that came to the 2600—it arrived the year after Tomcat F14 Fighter Simulator—but it was a major improvement on the genre. Primary differences included missions that featured a surrounding context, and extremely unique controls.
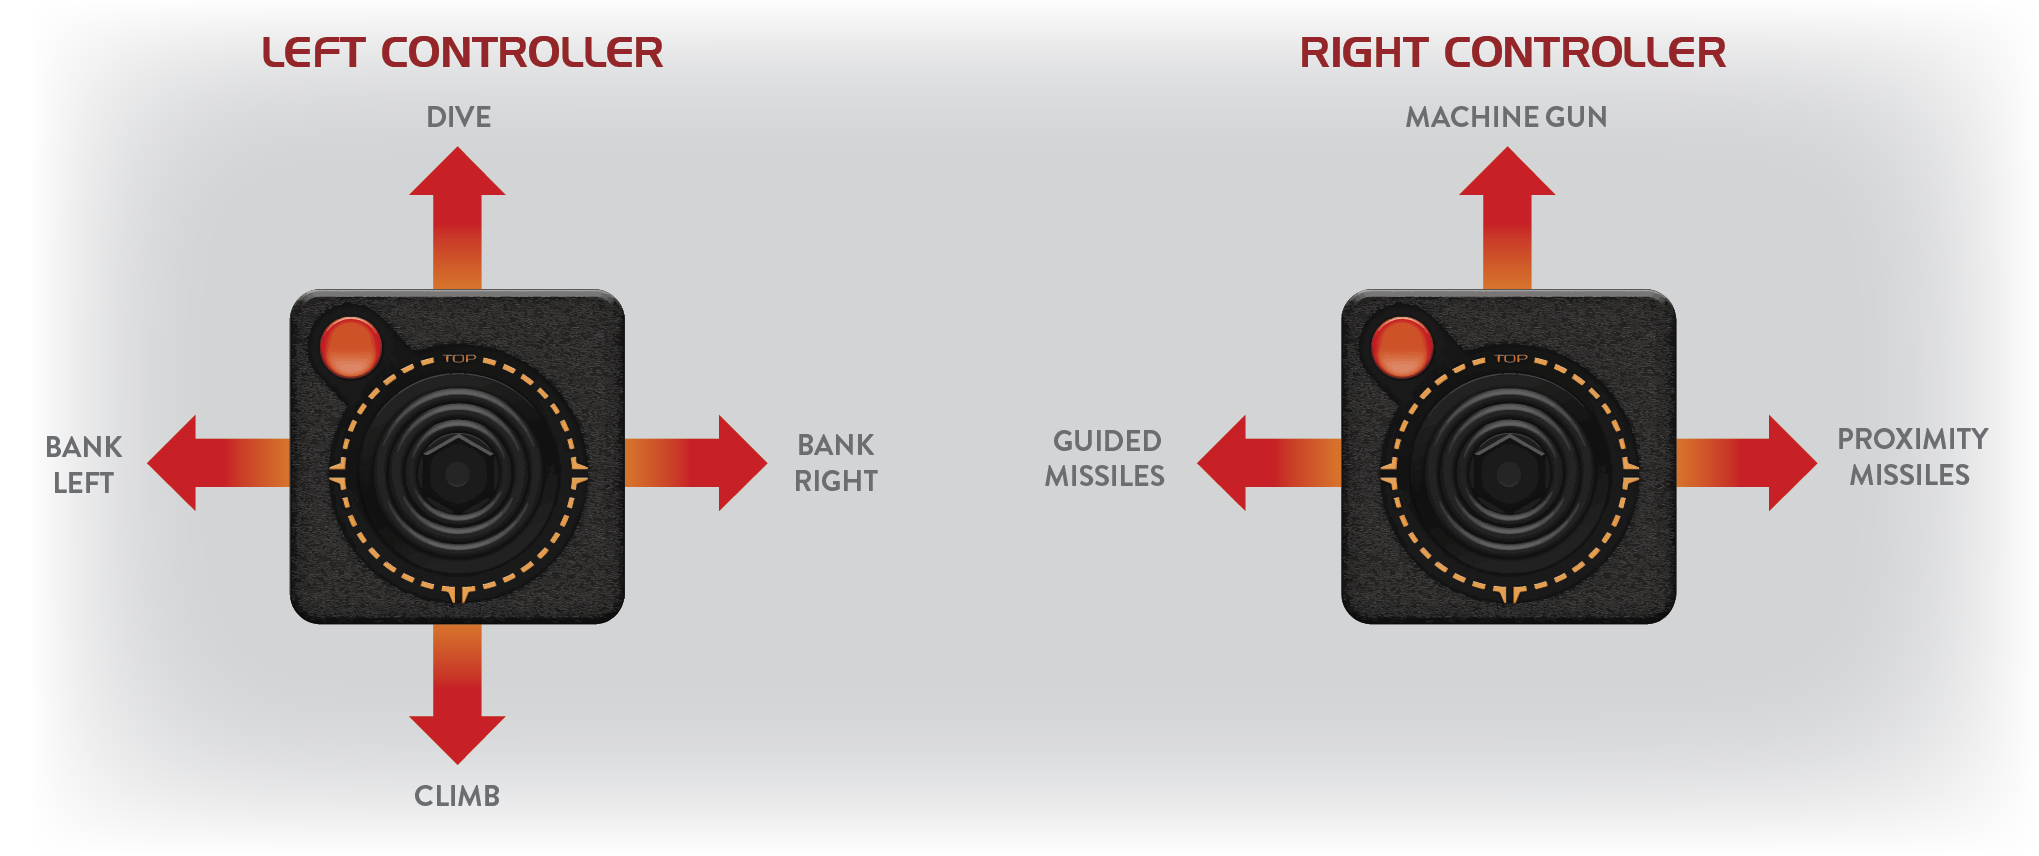
The way the controllers work in Radar Lock is one of the most interesting facets of this game. The fact that you’re required to use both controllers in order to fly your jet effectively is what makes it a realistic flight simulator. The two-player mode allows the second player to work the second controller, relieving the first player of a little pressure.
Overall, Radar Lock provided a unique experience for Atari 2600 gamers, combining simulation with high-speed arcade action. It may not have been seen by many, but it definitely set a high standard on the platform.
Object of the Game
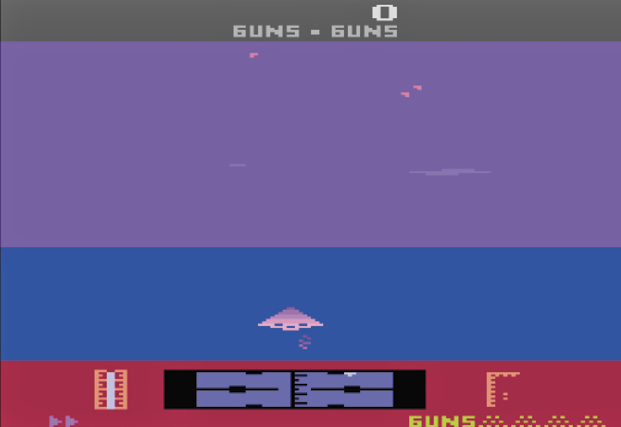
The object of the game is to use your state-of-the-art delta-wing fighter to defeat the enemy fleet in air combat. Your fighter plane is equipped with guided missiles, proximity missiles, and rapid-fire machine guns. The game consists of five missions of increasing difficulty.
When the game begins, your jet starts up, increases speed, and takes off from the airfield. The scene then switches to the combat screen.
At the end of each mission, you must refuel in flight. Use the left controller’s red button to control your speed during the in-flight refueling sequence.
Hold down red controller button to
How to Play
accelerate, and release the button to return to normal flying speed. Using the long-range radar and missile lock, fly to the fuel tanker. When you’re close to it, the tanker lowers its fuel hose. Once the nose of your jet is locked into the fuel hose, your mission is complete. You receive bonus points for your remaining fuel and weapons and then advance to your next mission.
Controlling Your Fighter
Use the controllers to operate your delta-wing fighter. Move the left controller to maneuver your jet in flight. Move the right controller to select the weapons you wish to use.
The Instrument Panel
The instrument panel is located at the bottom of the screen. The missile-lock radar is located in the center of the instrument panel, and the long-range radar is to the right.
Use the long-range radar to locate enemy jets and the refueling tanker when they’re not visible on the screen. The small dot in the middle of the radar screen marks the location of the jet. Enemy jets appear in front of or behind your jet.
The fuel gauge is shown to the left of the missile-lock radar. When you’re low on fuel, the gauge flashes and you hear a warning tone. You must reach the tanker and refuel before your fuel runs out completely.
The number of lives you have left is shown in the lower-left corner of the instrument panel. The number of rounds you have left in your machine gun is shown on the right.
The weapon you have selected is shown at the top of the screen, just below the score.
Weapons
Your jet starts out equipped with five guided missiles and about 2550 rounds of machine gun ammunition. In Missions 3, 4, and 5, your jet also carries three proximity missiles.
Guided Missiles
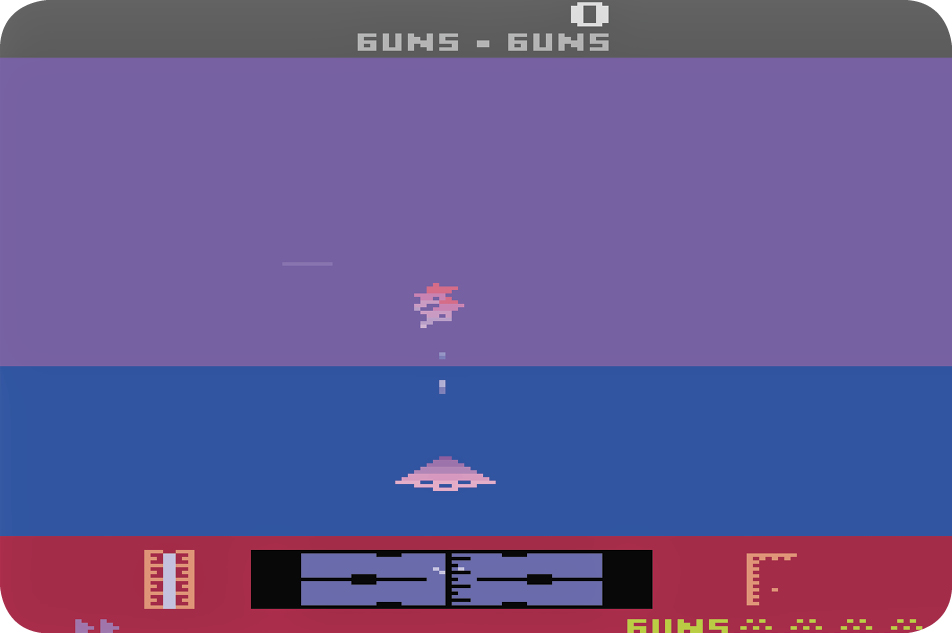
If you wish to fire guided missiles, you must change your weapon selection. Move the right controller to the left. Your missiles remaining display across the top of the screen.
The primary function of guided missiles is to destroy enemy Bombers. When an enemy jet is within range, the missile-lock radar turns bright blue and you hear a beeping tone. Steer your jet until the locked-on enemy jet is in the crosshairs. The missile-lock radar then turns deep red, and you hear a steady tone. Fire your missile immediately to destroy the enemy jet.
Machine Guns
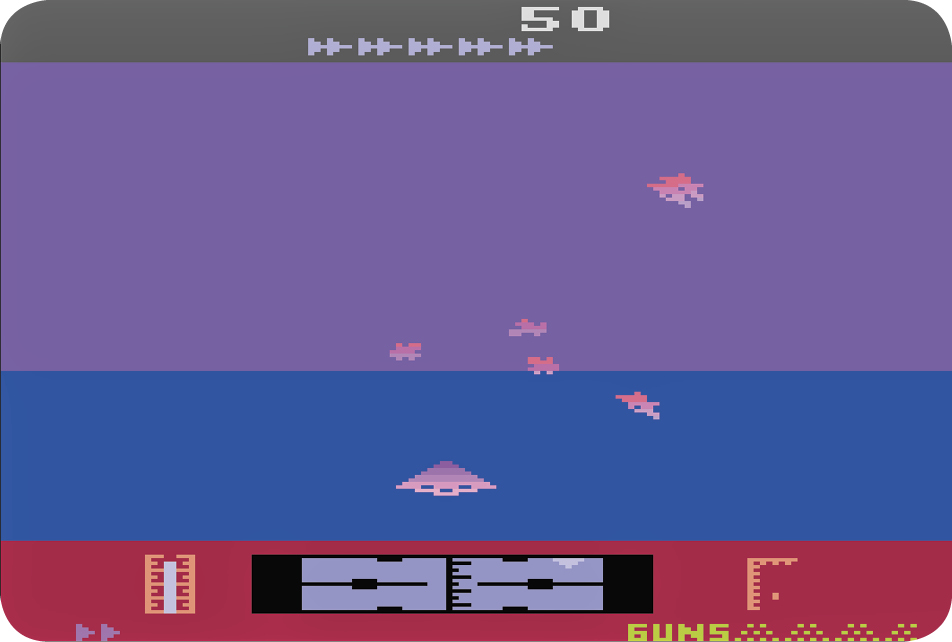
In addition to the guided missiles, your jet is equipped with rapid-fire machine guns. You begin your missions with this weapon ready to fire. The number of rounds remaining is displayed in the bottom-right corner of the screen. Use the machine guns to destroy all enemy jets except for Bombers; it takes 25 hits from a machine gun to destroy a Bomber.
Proximity Missiles
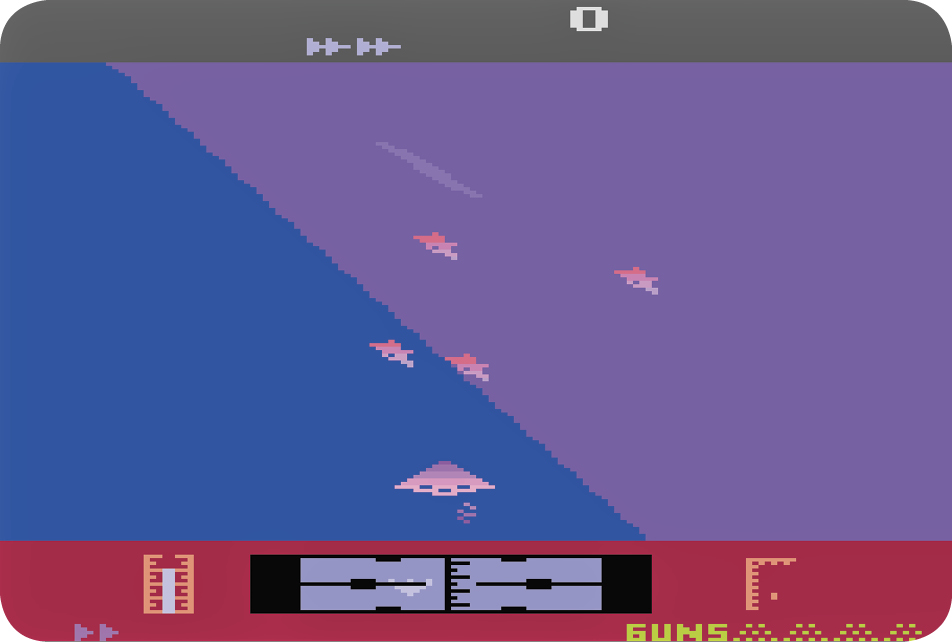
In Missions 3, 4, and 5, your jet is equipped with proximity missiles. Press the red controller button to launch a missile; release the button to detonate it. Detonating a missile destroys all visible enemy jets except Bombers.
The Enemy Fleet
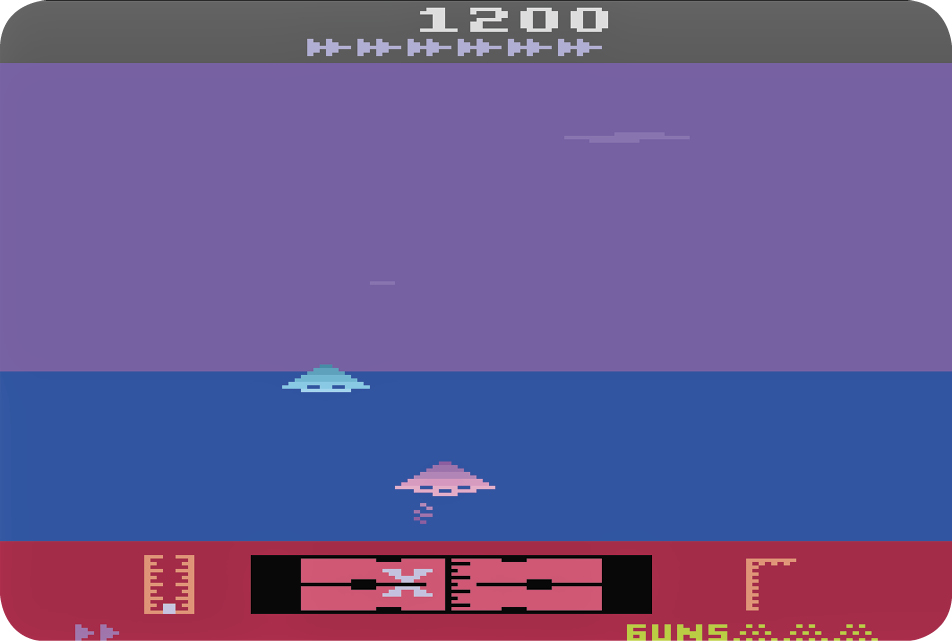
As you fly missions against the enemy, you encounter different enemy aircraft. Similar in appearance, these aircraft differ in their basic color and capabilities.
- Drones appear only in Mission 1. They are red and look like Interceptors, only they can’t shoot. Drones are easy to hit and make good target practice for higher missions.
- Interceptors first appear in Mission 2 and are the basic enemy jet. They’re also red and are the easiest of the fighter jets to destroy. They aren’t equipped with tail gunners, so they can’t hit you when you’re behind them.
- Patrollers first appear in the second wave of Mission 2 and are yellow. In Mission 2, they follow assigned patrol routes. In higher missions, Patrollers can sneak up from behind and shoot you.
- Escorters first appear in Mission 3 and are blue. Their primary purpose is to protect enemy Bombers, and they tend to fire quickly.
- Stealth Fighters first appear in Mission 4 and are black. Stealth Fighters can jam your long-range radar so you don’t know exactly where they are. They can sneak up behind you and fire on you, although they aren’t as aggressive as Patrollers.
- Bombers are large, white delta-wing jets that are very difficult to destroy. They first appear in Mission 3. The Bomber has a tail gunner so that it can fire behind itself. Proximity missiles can’t harm a Bomber, and it takes 25 machine-gun hits to destroy one, so guided missiles are your best bet with these. Bombers usually follow assigned routes.
- Super Bombers are the most dangerous enemy jets. They appear only in Mission 5. They’re blue and red delta-wing jets, and guided missiles are the most effective weapons for destroying them. Super Bombers fire a barrage of missiles at once, making them especially lethal.
The Missions
There are five missions in this game.
Mission 1: Drones
Mission 1 is the easiest of the missions and offers good target practice against the Drones, which can’t shoot. Start with this mission to practice maneuvering your jet, shooting your weapons, and refueling.
Mission 2: Interceptors and Patrollers
Wave 1: Interceptors are the primary enemy attack jet. They can shoot only what is in front of them.
Wave 2: Patroller jets follow assigned routes. Use your long-range radar to locate the Patroller squadron. After you’ve identified them, use thrusters (or afterburners) and quick maneuvering to bring them into your sights. Use your thrusters when you want quick acceleration. When you complete Mission 2, you earn an extra life.
Mission 3: Bombers
Wave 1: In Mission 3, Bombers follow assigned patrol routes. They shoot from either the front or the back and are difficult to destroy. They’re also protected by Escorters.
Wave 2: The Patrollers try to sneak up and shoot you from behind. When you complete Mission 3, you earn an extra life.
Mission 4: Stealth Fighters
Wave 1: In Mission 4, your ship gains the ability to roll. This makes it much easier to maneuver, and the game moves much more quickly at this point.
Wave 2: Enemy Stealth Fighters appear. They can jam your long-range radar and sneak up behind you, so move quickly to avoid being hit. When you complete Mission 4, you earn an extra life.
Mission 5: Super Bombers
Wave 1: You get one last warm-up round of Interceptors before the Super Bombers appear.
Wave 2: Your final mission is to destroy five Super Bombers, which are escorted by Patrollers, Stealth Fighters, and Escorters.
Number of Players
One-Player Games
In one-player games, the pilot controls both the firing of weapons and the jet’s flight. Press the red controller button on the left controller to fire the selected weapon. To increase your jet’s speed, hold down the button on the right controller.
Two-Player Games
In two-player games, the flight officer uses the left controller to fly the ship. The weapons officer uses the right directional control to select weapons and the right red controller button to fire them.
Scoring
|
Drone |
50 points |
|
Interceptor |
100 points |
|
Escorter |
250 points |
|
Stealth Fighter |
400 points |
|
Patroller |
500 points |
|
Bomber |
950 points |
|
Super Bomber |
2,000 points |
At the end of each mission, you score bonus points as follows:
|
Each gallon of fuel remaining |
1 point |
|
Each bullet remaining |
1 point |
|
Each missile remaining |
350 points |
|
Completing the mission |
801 points |
You earn a bonus jet after completing Mission 2, Mission 3, and Mission 4.