
Atari Flashback: The Essential Companion Guide 1981-82
Swordquest: Fireworld


Welcome to FireWorld. You may have already travelled through EarthWorld and succeeded in solving the EarthWorld puzzle. FireWorld is the second in a series of worlds that you must pass through on your quest for the Sword of Ultimate Sorcery.
You enter FireWorld as a mighty warrior. Your skill and courage will be tested with dangerous trials and obstacles. The object of the game is to solve the puzzle.
The FireWorld puzzle is based on the Tree of Life, with 10 rooms linked together by 10 rooms with doorways. FireWorld has ten treasure chest rooms, some containing different magical objects. These objects will help you on your journey through FireWorld. Carrying particular objects will help you find clues. Before you can explore these rooms, you’ll be called on to demonstrate certain skills, just as Torr and Tarra are tested in the FireWorld comic book. As a warrior, your skills are important to conquering FireWorld.
You have just leaped into the blazing flames of FireWorld—see if you can survive and triumph!
Object of the Game
As a warrior, you’ll need courage and skill. In addition, you must be a a detective and an explorer to find the hidden clues and solve the FireWorld puzzle.
How to Play
Use the joystick to move through the 10 connected maze rooms. Each maze room is linked to a treasure chamber that shares the same color. However, you must complete skill and action sequences in order to enter treasure chambers. Moving between maze rooms never requires a skill and action sequence.
Press the red controller button to start the skill and action sequence of a given room. There are six different skill and action sequences, meaning some appear in more than one room. To exit a treasure chamber, move the cursor over the door symbol and press the red controller button.
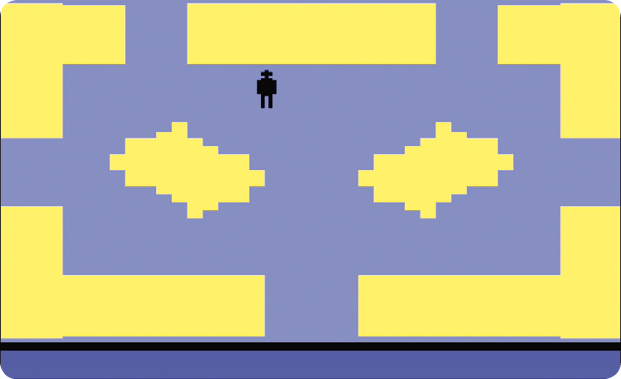

Treasure chambers initially contain anywhere from zero to four treasures. To pick up a treasure, position your cursor over a treasure and press the red controller button. The treasure moves to your inventory at the bottom of the screen. You can carry a maximum of six items in your inventory. To leave a treasure in a room (don’t worry, it will be there if you leave and return), go to the bottom of the screen, position your cursor over the object, and press the red button.
|
Breakdown of Rooms |
||
|
Maze Room |
Skill & Action Sequence |
Treasure Chamber Contents (At Start) |
|
Room 1 |
Flying Fire Goblins |
None |
|
|
||
|
Room 2 |
Deadly Snakes |
None |
|
|
||
|
Room 3 |
Flaming Hot Knives |
Shield, Amulet |
|
|
||
|
|
||
|
Room 4 |
Fire-Breathing Dragons |
Shoes of Stealth, Cloak of Invisibility |
|
|
||
|
|
||
|
Room 5 |
Flaming Firebirds |
Rope, Chalice, Leather Armor, Dagger |
|
|
||
|
|
||
|
Room 6 |
Flying Fire Goblins |
Talisman of Passage, Oil Lamp |
|
|
||
|
|
||
|
Room 7 |
Deadly Snakes |
Water, Ring |
|
|
||
|
|
||
|
Room 8 |
Flaming Hot Knives |
Short Sword, Warrior’s Sword |
|
|
||
|
|
||
|
Room 9 |
Fire-Breathing Dragons |
Food, Grappling Hook |
|
|
||
|
|
||
|
Room 10 |
Jawing Salamanders |
None |
|
|
||























Skill & Action Sequences
Completion of the following sequences grants access to treasure chambers. Holding certain treasures in your inventory makes the challenges (except Deadly Snakes) much easier to accomplish.
Flying Fire Goblins
You must catch and place these fire goblins into a box. Use the joystick to move the box from side to side. Slide underneath the goblins before they reach the bottom of the screen until you are allowed into the treasure chamber. Eight misses returns you to the maze room. Carry the Amulet to make this sequence easier.
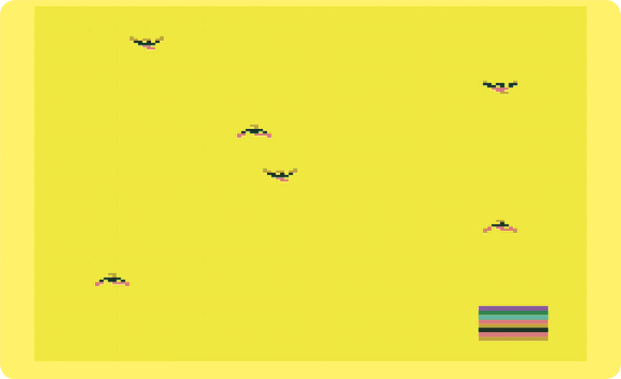
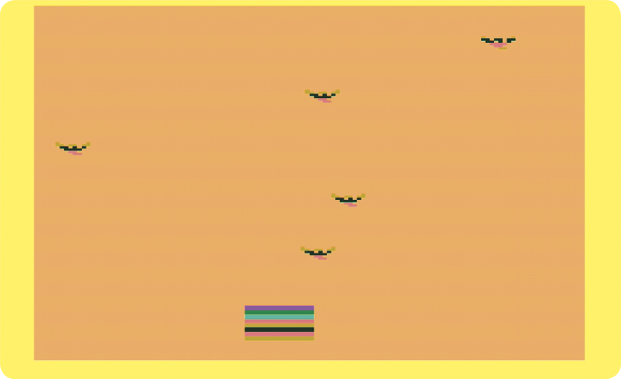
You encounter Flying Fire Goblins in Rooms 1 and 6.
Deadly Snakes
A real test of courage. You must pass through this deadly pit of venomous snakes. Use the joystick to guide your avatar around the snake pit. Press the red controller button to fire; you shoot in the direction your avatar travels. Touching a wall causes a new snake to appear, while touching a snake sends you back to the maze room.
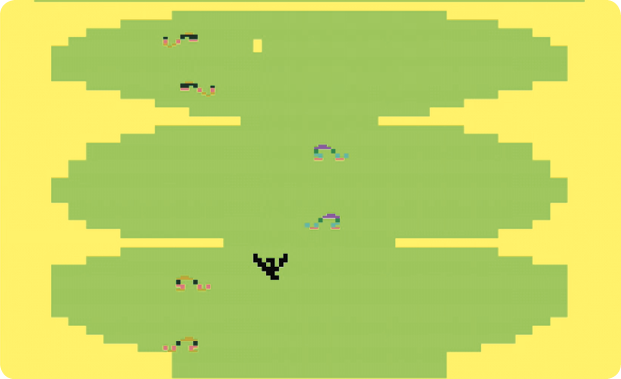
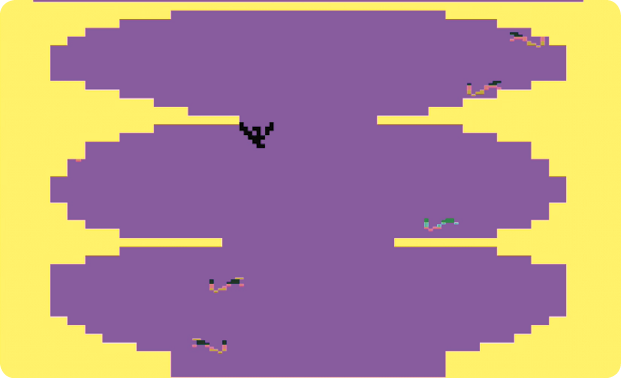
You encounter Deadly Snakes in Rooms 2 and 7.
Flaming Hot Knives
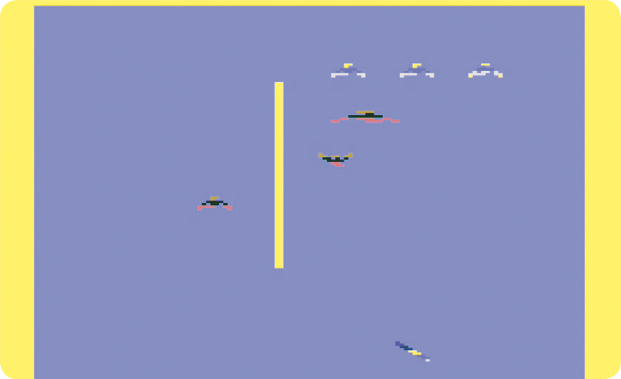
Protect yourself from hot knives that fall from the ceiling by guiding the knives into a stationary pit. Use the joystick to direct the falling knives toward the center of the screen. This one will take some getting used to since you’re moving the background, not the pit entrance. Eight misses returns you to the maze room. Don’t forget to carry the Shoes of Stealth to make this sequence easier.
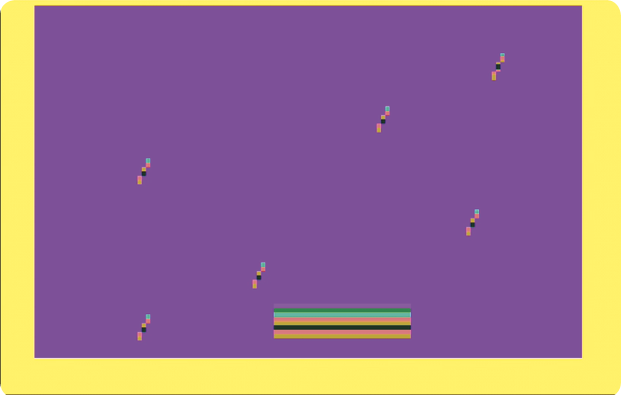
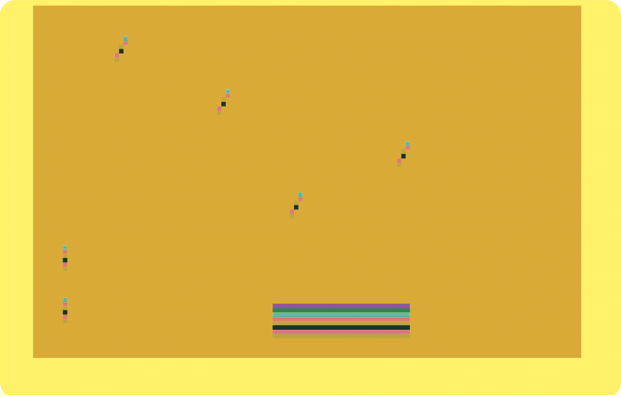
You encounter Flaming Hot Knives in Rooms 3 and 8
Fire-Breathing Dragons
Use arrows to shoot down fire-breathing dragons and watch out for their hot flames. Press the red controller button to launch a knife at the descending dragons. Move from side to side to line up your shots and avoid incoming dragon attacks; get hit and you’re returned to the maze room. Carry the Dagger to make this sequence easier.
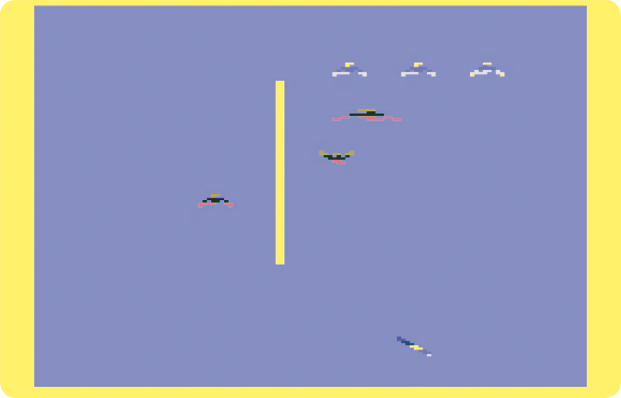
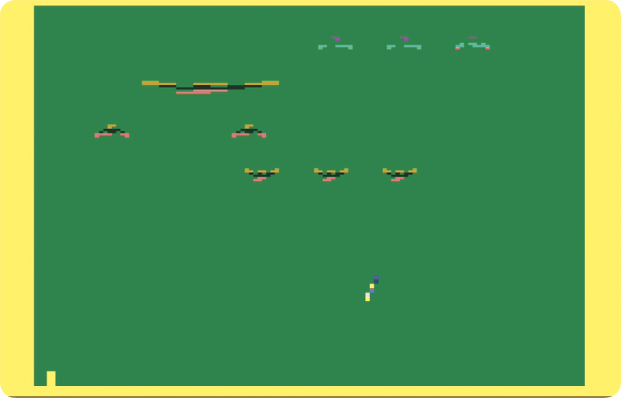
You encounter Fire-Breathing Dragons in Rooms 4 and 9.
Flaming Firebirds
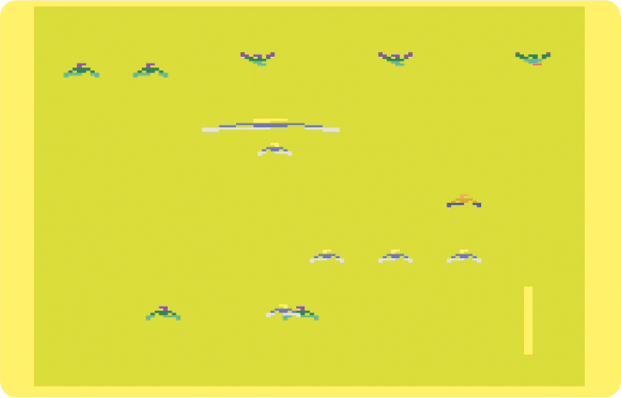
Dodge the flaming firebirds; if you touch them, they become wild! When tamed, these birds could lead you to a treasure chest of magical objects. The joystick controls a bar at the bottom of the screen. Move the bar to avoid the descending firebirds. If you get hit eight times, you return to the maze room. Carry the Cloak of Invisibility to make this sequence easier.
Jawing Salamanders
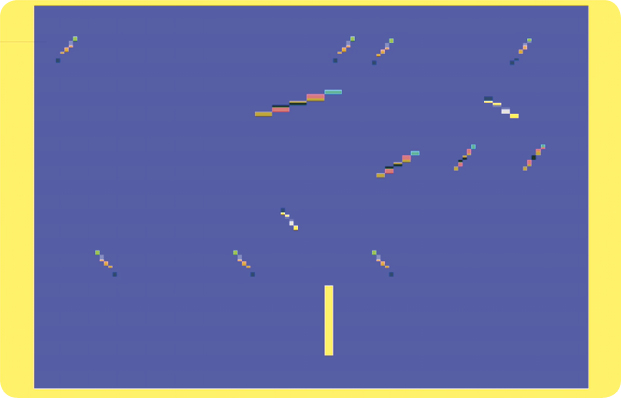
What appear to be innocent snakes could turn out to be huge salamanders. You must dodge the salamanders to stay alive. The joystick controls a bar at the bottom of the screen. Move the bar to avoid the salamanders, which come in various sizes and spin as they descend. If you get hit eight times, you return to the maze room. Carry the Leather Armor to make this sequence easier.
Treasures
Most items and treasures are used only for uncovering clues, however, a number of treasures grant additional abilities.
|
Treasures |
||
|
Treasure |
Where Found |
Ability in Your Inventory |
|
Amulet |
Room 3 |
Easier Flying Fire Goblins. |
|
|
||
|
Chalice |
Room 5 |
Reveals extra exits in maze rooms. |
|
|
||
|
Cloak of Invisibility |
Room 4 |
Easier Flaming Firebirds. |
|
|
||
|
Dagger |
Room 5 |
Easier Fire-Breathing Dragons. |
|
|
||
|
Food |
Room 9 |
N/A |
|
|
||
|
Grappling Hook |
Room 9 |
N/A |
|
|
||
|
Leather Armor |
Room 5 |
Easier Jawing Salamanders. |
|
|
||
|
Oil Lamp |
Room 6 |
N/A |
|
|
||
|
Ring |
Room 7 |
N/A |
|
|
||
|
Rope |
Room 5 |
N/A |
|
|
||
|
Shield |
Room 3 |
N/A |
|
|
||
|
Shoes of Stealth |
Room 4 |
Easier Flaming Hot Knives. |
|
|
||
|
Short Sword |
Room 8 |
N/A |
|
|
||
|
Talisman of Passage |
Room 6 |
N/A |
|
|
||
|
Warrior’s Sword |
Room 8 |
N/A |
|
|
||
|
Water |
Room 7 |
N/A |
|
|
||


Rooms Changed by the Chalice
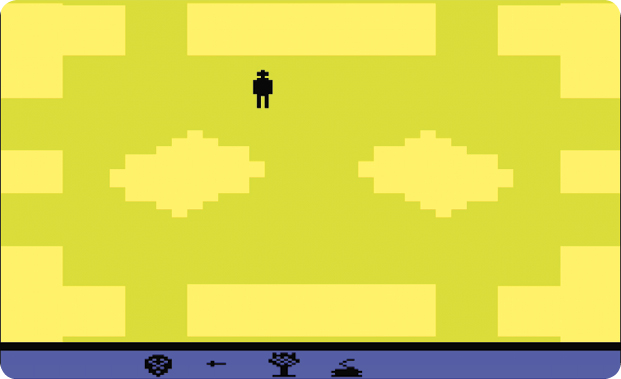
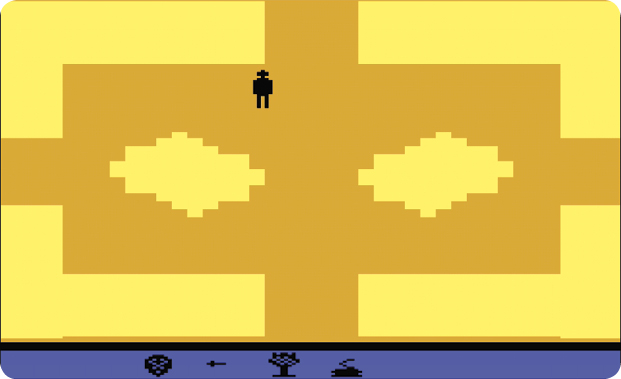
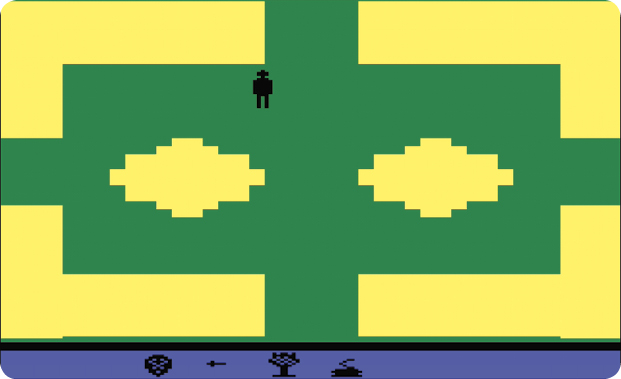
Carrying the Chalice reveals a number of new exits in three rooms. Without the Chalice, there’s only one way to enter Room 10 (see “Tips and Tricks” for more information). With the Chalice, each of the following rooms now has a path to Room 10.
Advancing the Game
When you leave the correct treasures in appropriate chambers, the screen immediately displays a number. (Please note that chambers—plural—is correct.) You must place correct treasure (or treasures) in two separate rooms. Not only that, but the rooms must be completed in order.

For example, to obtain the first number (00), place the Chalice in Room 1’s treasure chamber, then place the Food, Oil Lamp, Ring, and Shoes of Stealth in Room 10 (check “Tips and Tricks” for help with this). Once all four treasures are in Room 10, you’ll see the number. If your inventory is full, you can place all the items in the second room before placing the object in the first room. Just return to the second chamber, pick up one of the objects, then replace it.
Unlike EarthWorld, the numbers in FireWorld are a countdown to indicate how many chambers you’ve cleared. To complete the game, you must get to 09, starting from 00.