
Atari Flashback: The Essential Companion Guide 1981-82
Swordquest: Waterworld

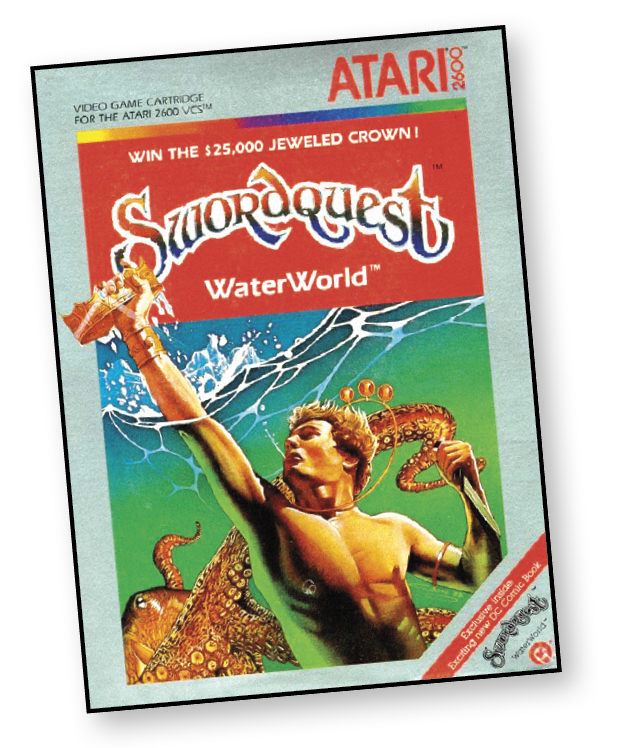
WaterWorld is the third in a series of individual contests comprising the Atari SwordQuest Challenge. The ultimate objective is to pass certain tests of dexterity and cleverness.
Object of the Game

Your goal is to travel successfully from room to room, discover the relationships of the treasures to each other and to the rooms, and place a correct combination of treasures in the appropriate room to receive a numerical clue.
How to Play
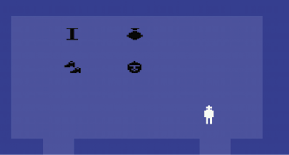
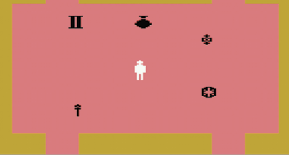
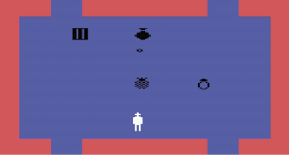
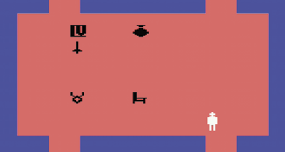
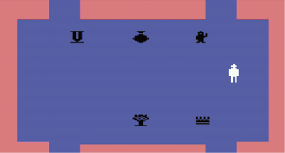
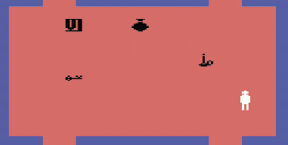
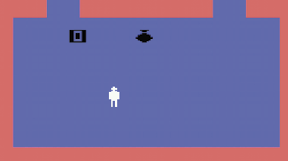
Use the joystick to move through seven numbered and connected rooms. There are 16 treasures scattered throughout these rooms. These treasures are related to each other and the seven rooms. Isolating the rooms from each other are three skill and action sequences that you must master in order to successfully enter a room and manipulate the treasures in that room.
Pressing the red controller button while you are in the midst of a skill and action sequence is a sign of surrender. You are transported directly to the desired room, but without the power to see or successfully manipulate all the treasures in that room.
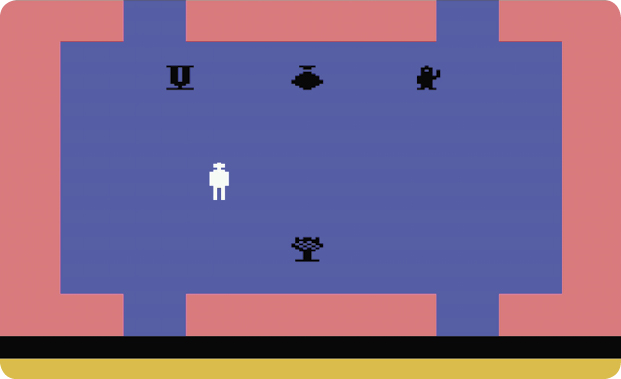
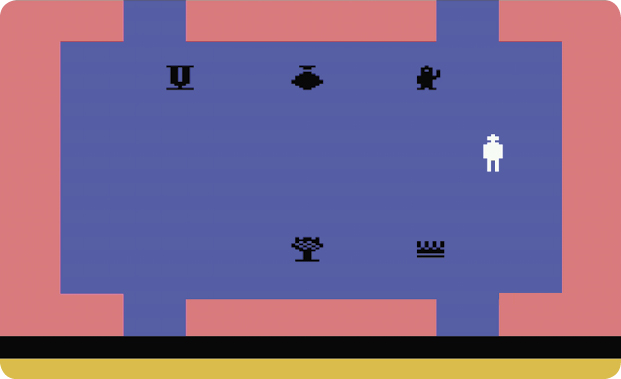
To pick up a treasure, move on top of it and press the red controller button. To transfer treasures back into the room, you must first enter the carrying pouch. To do this, move over the carrying pouch symbol at the top of the screen and press the red controller button. To emerge from the pouch, simply push up on the joystick.
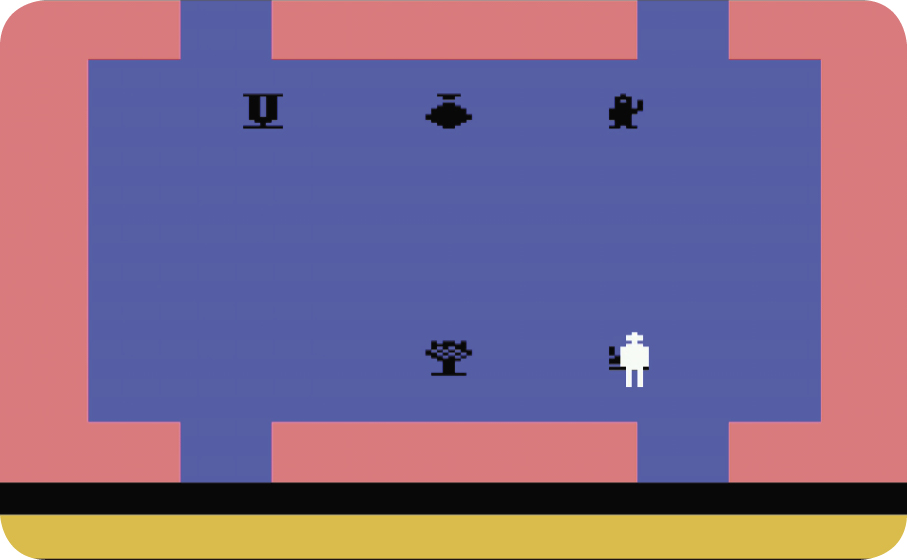
You can carry a total of six treasures in your inventory. You gain information about the treasures and their relationships by transferring them back and forth from the room to the carrying pouch in each of the seven rooms.
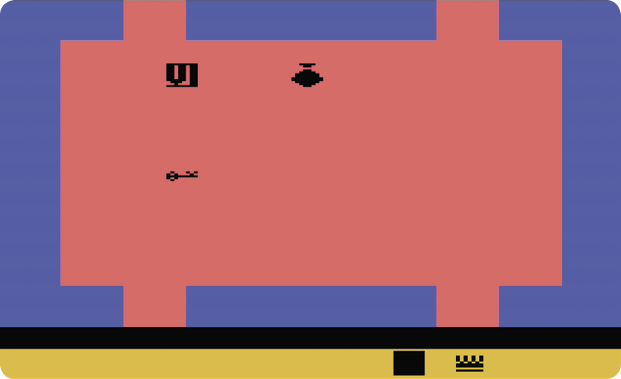
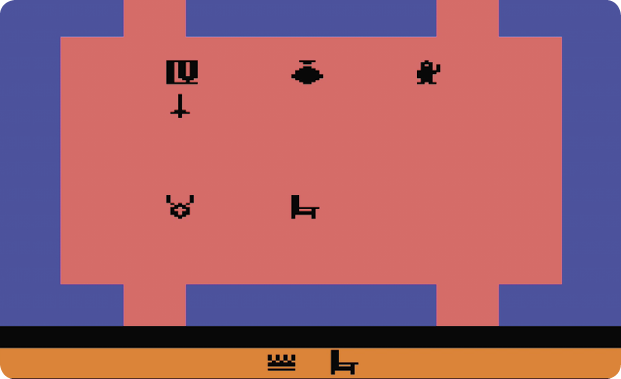
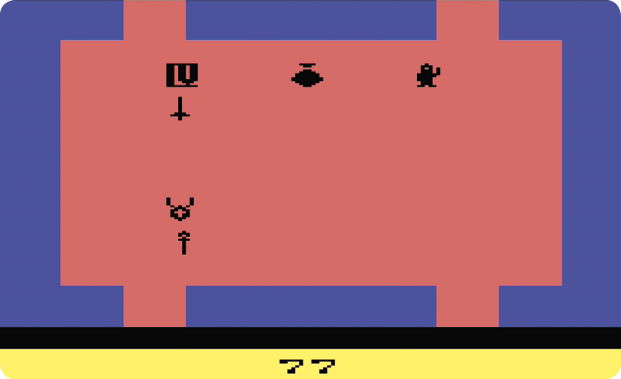
Each room needs a unique set of seven treasures to trigger a clue. If you correctly place at least four of the seven treasures designated for a specific room, a numerical clue is revealed at the bottom of the screen.
|
Breakdown of Rooms |
||
|
Room |
Always Visible |
Success Required to See |
|
Room I |
Shoes of Stealth |
Shield |
|
|
|
|
|
|
||
|
Room II |
Royal Seal |
Amulet, Scepter |
|
|
|
|
|
Room III |
Money Purse, Peasant’s Ring |
King’s Ring |
|
|
|
|
|
Room IV |
Medallion |
Throne, Warrior’s Sword |
|
|
|
|
|
Room V |
Chalice, Talisman of Passage |
Crown |
|
|
|
|
|
Room VI |
Lamp |
Key |
|
|
|
|
|
Room 0 |
N/A |
N/A |
|
|
||












Skill & Action Sequences
When you move between rooms, you must complete a skill and action sequence within a short timeframe. Completing a sequence grants access to all treasures in a room. Holding certain treasures in your inventory allows you to bypass some or all sequences.
School of Octopi
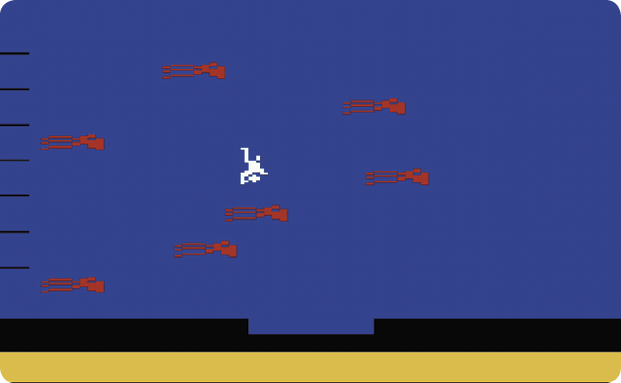
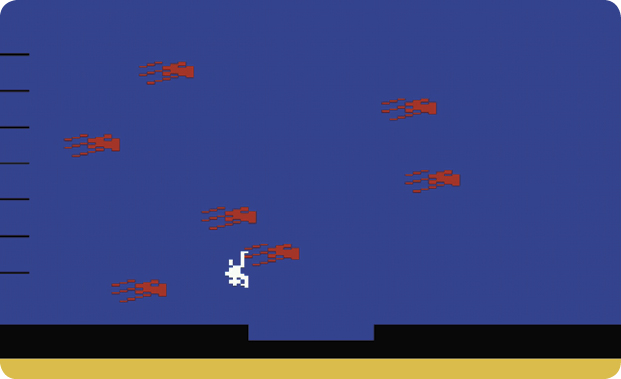
Swim to the opening at the bottom of the screen while avoiding the octopi. If you touch an octopus, it carries you in the direction it’s swimming, but does not return you to the start point. The School of Octopi appears when you travel between Room I & Room II and between Room IV & Room V.
Sea of Sharks

Swim across the screen and touch the right edge of the screen. Touching a shark returns you to the start point. You must cross the Sea of Sharks to reach Room I (yes, every time you start over), when moving between Room III & Room IV and Room VI & Room 0.

|
Treasures |
||
|
Treasure |
Where Found |
Ability in Your Inventory |
|
Amulet |
Room II (success) |
N/A |
|
|
||
|
Chalice |
Room V |
N/A |
|
|
||
|
Crown |
Room V (success) |
Skip all skill and action sequences. |
|
|
||
|
Key |
Room VI (success) |
N/A |
|
|
||
|
King’s Ring |
Room III (success) |
N/A |
|
|
||
|
Lamp |
Room VI |
N/A |
|
|
||
|
Medallion |
Room IV |
Skip Slippery Ice Floes skill and action sequences (between Rooms II & III and Rooms V & VI). |
|
|
||
|
Money Purse |
Room III |
Skip Sea of Sharks skill and action sequences (between Rooms III & IV and Rooms VI & 0). |
|
|
||
|
Peasant’s Ring |
Room III |
N/A |
|
|
||
|
Royal Seal |
Room II |
Skip School of Octopi skill and action sequences (between Rooms I & II and Rooms IV & V). |
|
|
||
|
Scepter |
Room II (success) |
N/A |
|
|
||
|
Shield |
Room I |
N/A |
|
|
||
|
Shoes of Stealth |
Room I (success) |
N/A |
|
|
||
|
Talisman of Passage |
Room V |
N/A |
|
|
||
|
Throne |
Room IV (success) |
N/A |
|
|
||
|
Warrior’s Sword |
Room IV (success) |
N/A |
|
|
||


Slippery Ice Floes

Move side to side (or up and down) the rows of ice floes. You can continue to move left and right while standing on an ice floe. Get to the gap at the top of the screen to complete the challenge.
Touching the water returns you to the start point. Don’t worry about fading ice chunks, as they never completely submerge. Ice floes appear between Room II & Room III and between Room V & Room VI.
Treasures
Most items and treasures are used only for uncovering clues, however, a number of treasures grant additional abilities.
Advancing the Game

Each time you uncover a clue, the game resets. All treasures return to their original rooms and you must swim through sharks to return to Room I. Unlike EarthWorld and FireWorld, there’s no set order to the clues. It’s worth your while to note the clues you’ve already uncovered so you can skip placing treasures in certain rooms.