
Atari Flashback: The Essential Companion Guide 1981-82
SwordQuest: Earthworld


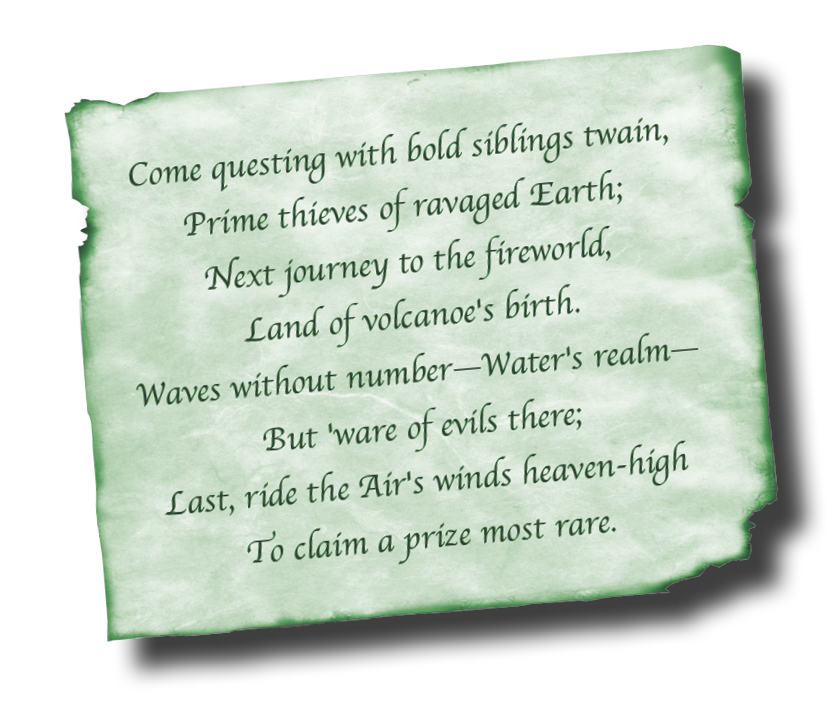
All you who enter EarthWorld will encounter danger, trials, tests, and obstacles. All will have an equal chance to decipher the hidden message.
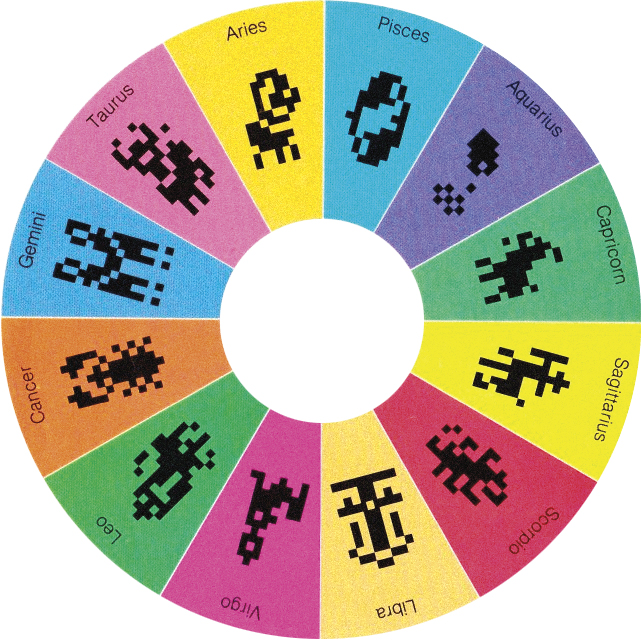
As you explore EarthWorld, you will traverse 12 rooms, each named after a sign of the zodiac. You will encounter danger such as the horns of a charging Taurus bull and you will be called upon to demonstrate your skill and ingenuity.
A variety of magical objects will assist you in the challenging journey ahead. These are strewn about the various zodiac chambers. Carrying certain objects along with you helps with game play. For example, the lamp allows you to see the charging horns in the dark bull pit of Taurus. By leaving the right combination of objects in the right zodiac chamber, you’ll discover illuminating clues.
Object of the Game
As an explorer and clue seeker in the subterranean landscape represented in this game cartridge, your objective is to find the hidden clues and solve the puzzle. Clues must be completed in a specific order. If you meet conditions for a future clue, it will appear immediately after the clue one spot earlier in the list is revealed.
How to Play
Use the joystick to move through the maze rooms. Initially, only the top and bottom doorways in each maze room are active. Each maze room is linked to a zodiac chamber that shares the same color. Press the red controller button to enter the zodiac chamber tied to a given maze room. To exit a zodiac chamber, move the cursor over the door symbol and press the red controller button.
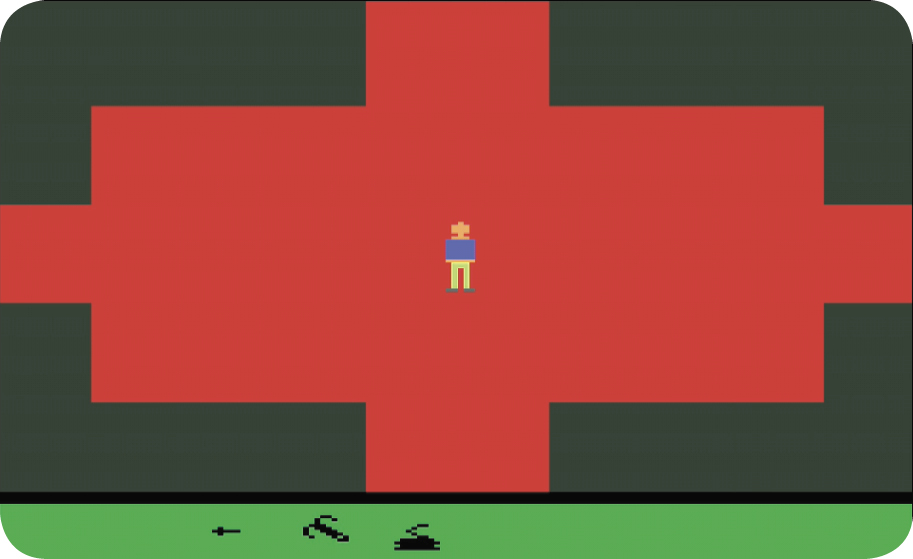
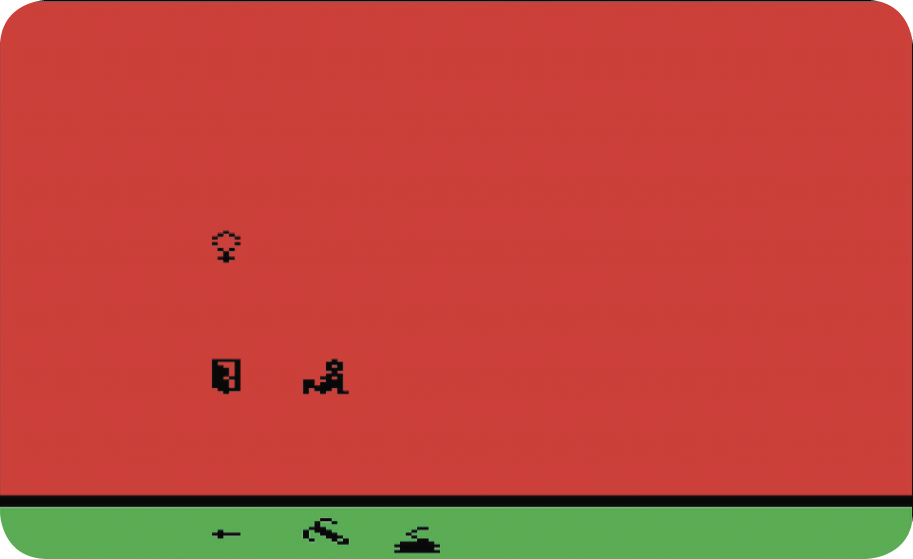
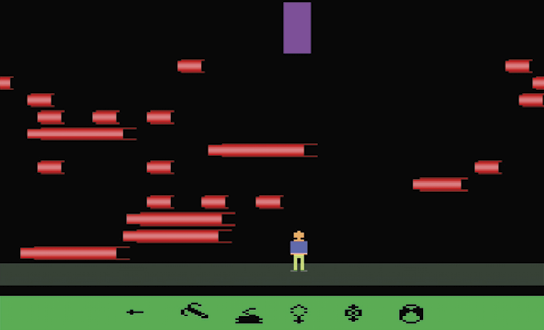
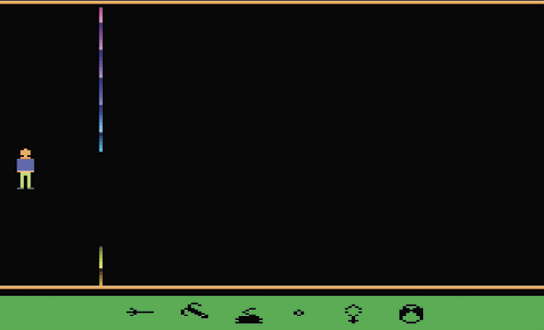
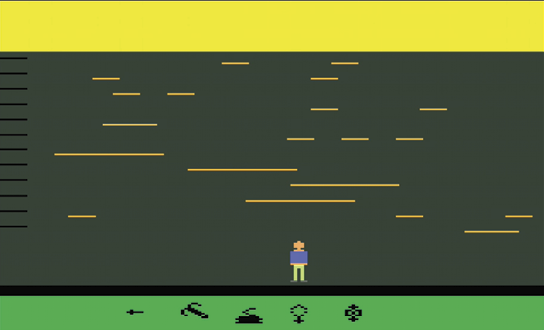
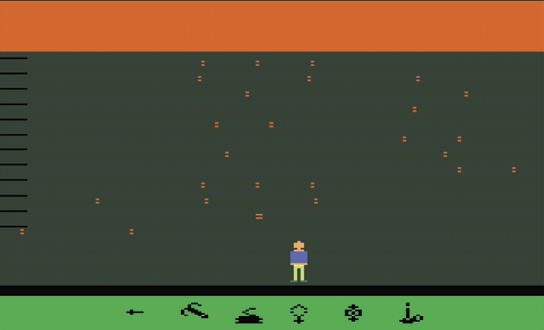
Eight of the 12 zodiac chambers are unguarded. You can freely enter and exit them. To enter the remaining four zodiac chambers (see the following table), you must complete a skill and action challenge. Press the red controller button during a challenge to return to the maze room. Keep in mind that you must complete the challenge (or carry the proper treasure) to reach the zodiac chamber and its contents.
Zodiac Chamber Challenges
|
Sign |
Challenge |
Description |
|
Aquarius |
Rafts in Aquarian Rapids |
Push up or down (no lateral movement) to leap to the next line of rafts. Jump through the door at the top of the screen to enter Aquarius’s chamber. Falling off a raft returns you to the start point. |
|
|
||
|
Leo |
Leo Waterfall |
Cross the room by passing through the gaps in the waterfalls. Waterfalls advance slowly to the left with each passage of their gap. Touching a waterfall returns you to the start point. Carry the Talisman of Passage to advance directly to Leo’s chamber. |
|
|
||
|
Sagittarius |
Sagittarius Spears |
Avoid the spears while moving from the bottom of the screen to the top. Touching a spear returns you to the start point. Carry the Leather Armor to pass through the spears unharmed. Carry the Cloak of Invisibility to advance directly to Sagittarius’s chamber. |
|
|
||
|
Taurus |
Charging Taurus Horns |
Avoid the horns while moving from the bottom of the screen to the top. Touching a horn returns you to the start point. Unless you carry the lamp, the horns are invisible. Carry the Leather Armor to pass through the spears unharmed. Carry the Cloak of Invisibility to advance directly to Taurus’s chamber. |
|
|
Treasures
Most zodiac chambers contain one or more treasures (see the table on the following page). To pick up a treasure, position your cursor over a treasure and press the red controller button. The treasure moves to your inventory at the bottom of the screen. You can carry a maximum of six items in your inventory. You begin the game carrying a dagger, grappling hook, and rope, which all count toward your inventory maximum. To leave a treasure in a room (don’t worry, it will be there if you leave and return), go to the bottom of the screen, position your cursor over the object, and press the red controller button.
|
Zodiac Chamber Treasures |
|||
|
Sign |
Initial Treasures |
||
|
Aquarius |
|
Talisman of Passage, Water |
|
|
Aries |
N/A |
||
|
Cancer |
|
Ring |
|
|
Capricorn |
|
Leather Armor |
|
|
Gemini |
|
|
Lamp, Short Sword |
|
Leo |
|
Food |
|
|
Libra |
N/A |
||
|
Pisces |
N/A |
||
|
Sagittarius |
|
Cloak of Invisibility |
|
|
Scorpio |
|
Amulet |
|
|
Taurus |
|
|
Key, Shoes of Stealth |
|
Virgo |
|
Necklace |
|



Most items and treasures are used only for uncovering clues, however, a number of treasures grant additional abilities.
|
Treasures and Abilities |
||
|
Treasure |
Where Found |
Ability in Inventory |
|
Amulet |
Scorpio’s Chamber |
Maze room exits lead to random maze rooms. |
|
Cloak of Invisibility |
Sagittarius’s Chamber |
Skip Charging Taurus Horns and Sagittarius Spears challenges. |
|
Dagger |
Starting Inventory |
N/A |
|
Food |
Leo’s Chamber |
N/A |
|
Grappling Hook |
Starting Inventory |
N/A |
|
Key |
Taurus’s Chamber |
You can now exit maze rooms to the left or right in addition to up or down. |
|
Lamp |
Gemini’s Chamber |
Horns from Charging Taurus Horns challenge are now visible. |
|
Leather Armor |
Capricorn’s Chamber |
Can walk through Charging Taurus Horns and Sagittarius Spears challenges unharmed. |
|
Necklace |
Virgo’s Chamber |
Cancels random room effect of Amulet |
|
Ring |
Cancer’s Chamber |
N/A |
|
Rope |
Starting Inventory |
N/A |
|
Shoes of Stealth |
Taurus’s Chamber |
Silent footfalls. |
|
Short Sword |
Gemini’s Chamber |
N/A |
|
Talisman of Passage |
Aquarius’s Chamber |
Skip Leo Waterfall challenge. |
|
Warrior’s Sword |
Complete the game |
N/A |
|
Water |
Aquarius’s Chamber |
N/A |
Obtaining Clues
When you leave the correct treasures in appropriate chambers, the screen flashes a set of numbers upon entering the next maze room. The numbers are clues used in conjunction with the comic book that was packaged with the original game. For example, the first clue (which you see when you enter the maze room outside Aries’s chamber) is 16-4. This directed players to the fourth panel of the sixteenth page of the comic. There are eleven clues to uncover, but not all of the clues were valid. An additional clue hidden in the comic book provided guidance on picking out valid clues.
After gathering all the clues, you are returned to the SwordQuest screen, which had a final clue in place of the copyright notice. Players could read the clue, then push the red controller button to enter the Warrior’s Sword chamber.
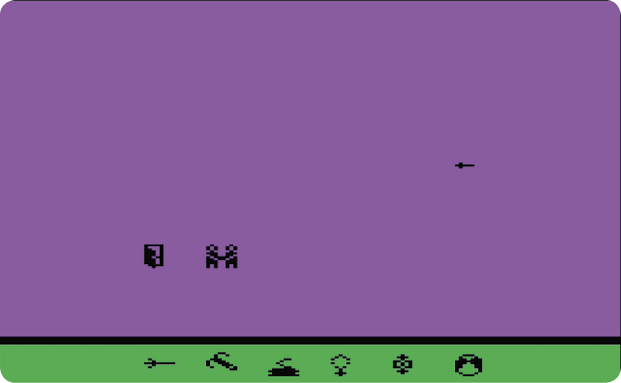
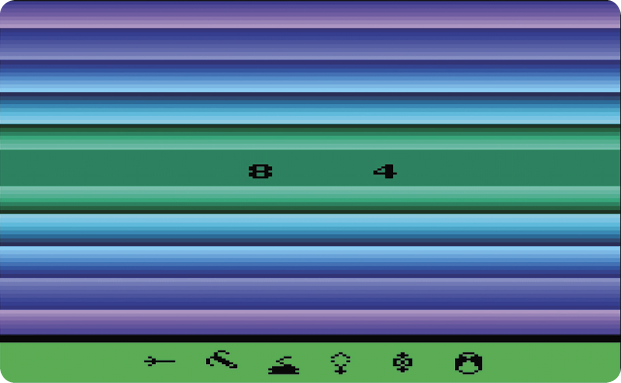
These shots show the solution to obtaining the second clue (left) and the second clue itself (right).