
Super Smash Bros. WiiU/3DS Guide Wii U GAME MODES Wii U - Smash Tour
Smash Tour Basics
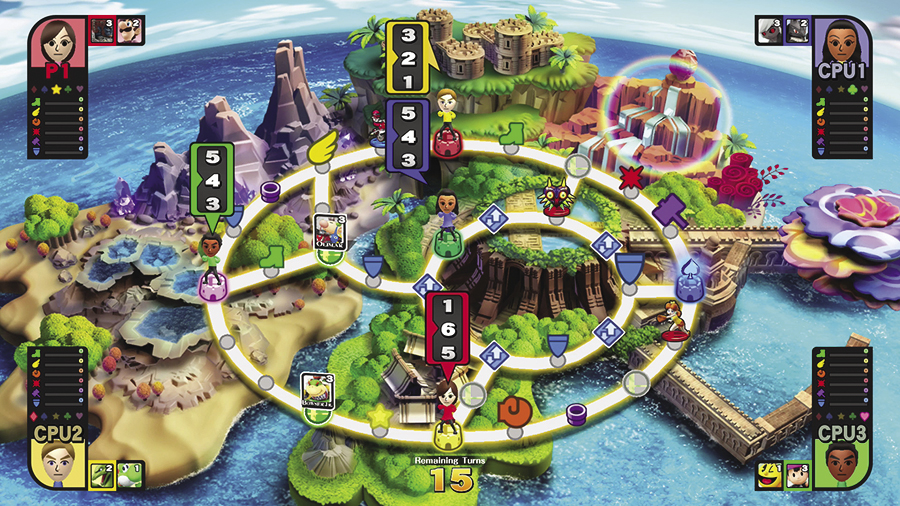
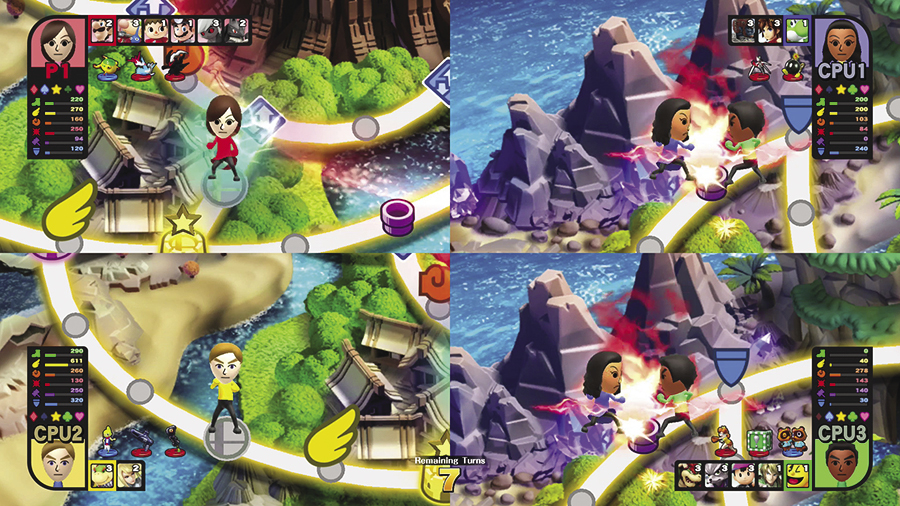
When the game starts, each player receives two randomly selected fighters. Once the starting fighters have been distributed, four roulette spinners appear. Stop your spinner to determine how many spaces you’re permitted to move before the turn ends.
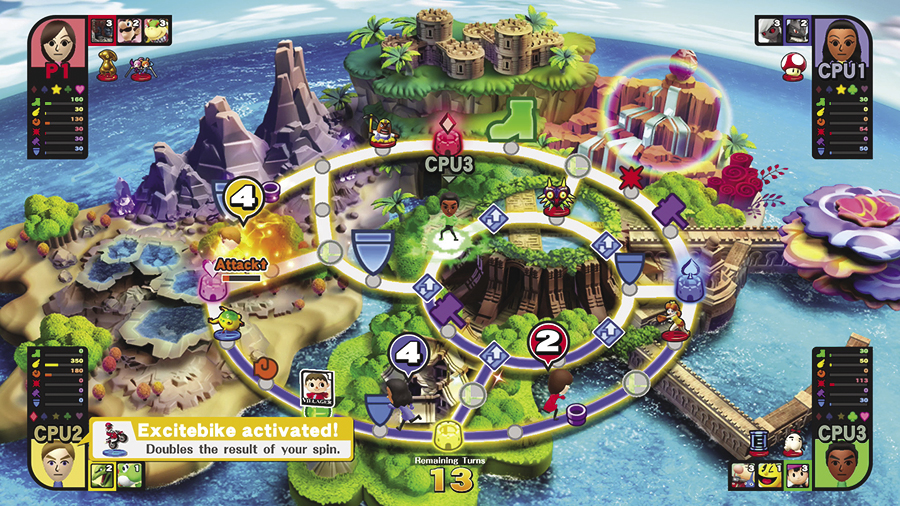
Once you’ve determined how many spaces you can move, use the Left Stick to select an available path. When choosing a path, consider where your fighter will eventually stop and which items he or she will grab along the way. Subsequent turns will follow a similar format. Instead of receiving randomly selected fighters, however, players will usually be given a randomly selected item at the start of each turn.
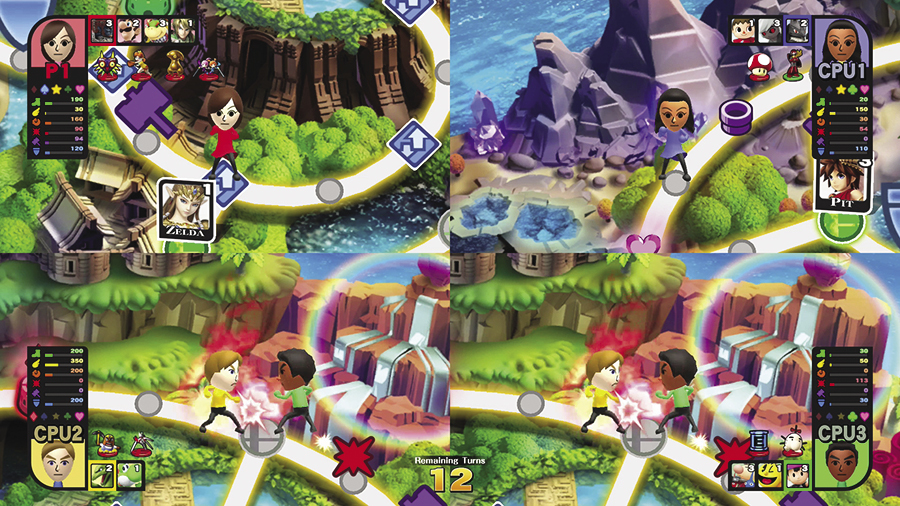
If two players bump into each other, all four players leave the board to compete in a battle. When the battle ends, the winner claims a new fighter, the remaining players each lose a fighter, and the next turn begins.
Collectible Items
New items appear on the board during each turn. Grab them to add new fighters to your stable, to power up your existing fighters, or to gain single-use items.
Fighter Panels
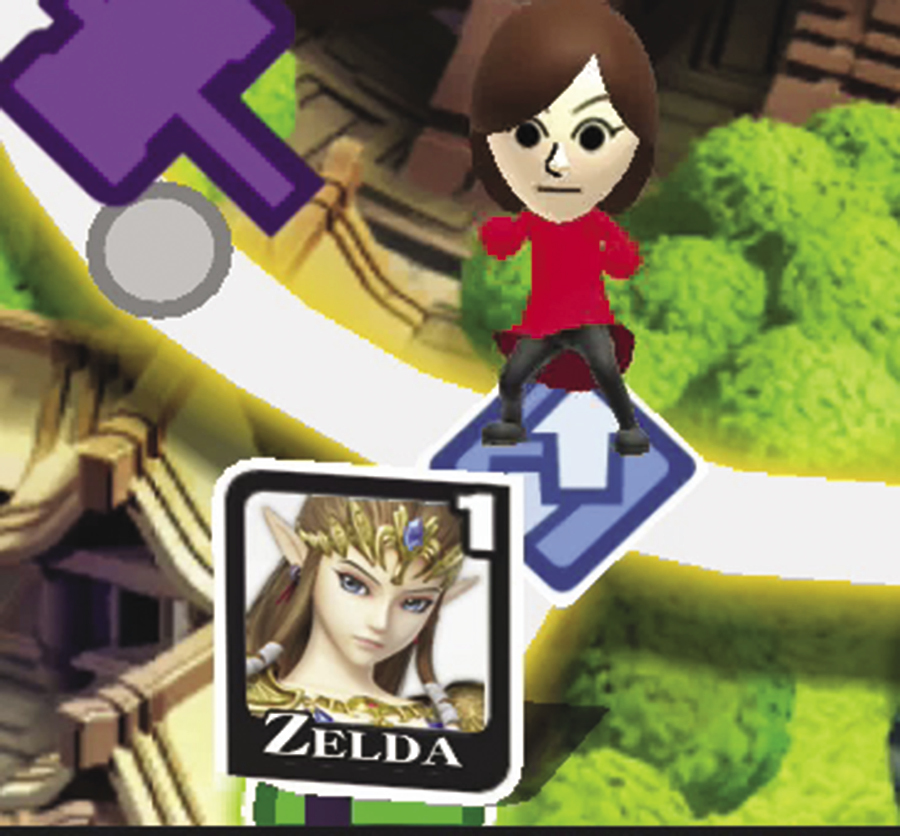
Collect fighter panels to add the corresponding fighter to your stable of fighters. Fighter panels can be found on Fighter Spaces or are dropped by opponents and certain Smash Tour enemies.
Stat Boosts
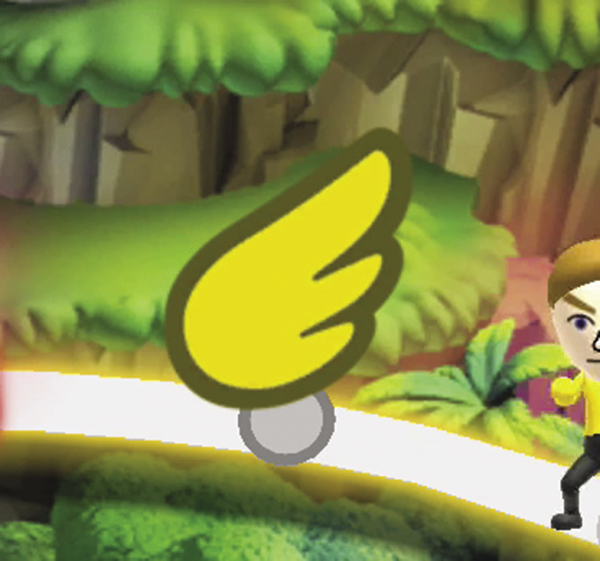
Collect stat boosts to power up all of your fighters. Different stat boosts affect different fighter abilities. The size of a stat boost determines how much of an effect it has.
There are seven different types of stat boosts in Smash Tour:
Speed

Speed determines how fast your fighter moves on the ground and in the air. Increase this stat by collecting Speed stat bonuses or by running through the battlefield.
Jump

Jump determines how high and how far your fighters can jump.
Attack

Attack determines the damage caused by your fighters’ standard attacks, tilt (strong) attacks, and Smash attacks.
Special

Special determines the damage caused by your fighters’ Special attacks.
Arms

Arms determines the effectiveness of items and the power of your fighters’ throws.
Defense

Defense determines how difficult it is to launch your fighters.
All

Collect special star-shaped stat boosts to improve all of your fighters’ stats.
Usable Items
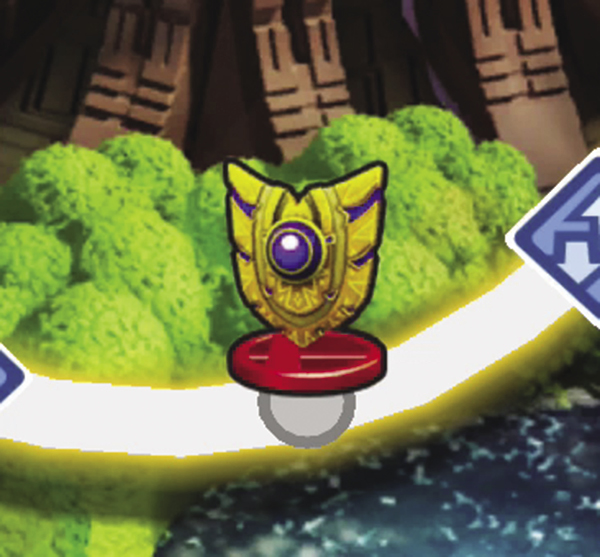
The game contains a variety of usable, trophy-like items that can be activated at certain points in the game. Each player can only hold four usable items at one time. If a fifth item is collected, that player’s oldest item is automatically discarded.
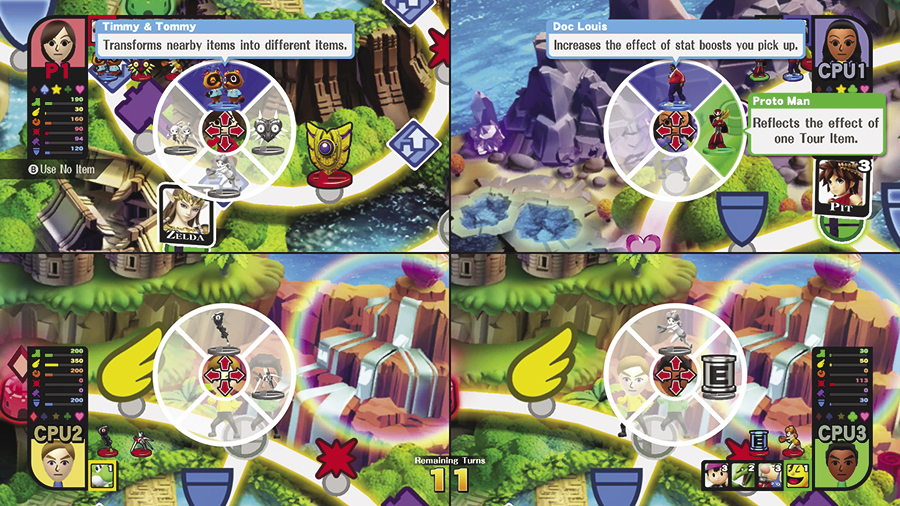
You’ll have the opportunity to use an item at the beginning of each turn and each time a battle is triggered. When the inventory wheel appears, use the Left Stick to select one of the available choices and gain the described effect. Once you use an item, it’s removed from your inventory, so choose wisely!
Usable items are divided into three categories: board items, battle items, and general items.
Board Items
A board item can be identified by its blue base. These items can only be used at the start of a turn before the roulette spinner appears. Board items tend to focus on things like player movement and collectible items.
Available Board Items
| Name | Effect Trigger | Effect Description |
|---|---|---|
| Excitebike | When the roulette outcome is decided | Your roulette result is doubled |
| Ashley | At the start of roulette | The roulette spins slower |
| Great Fox | At the start of the movement phase | Warps you to a checkpoint you haven’t yet passed |
| Boss Galaga | At the start of the movement phase | Shuffles all other players |
| Dillon | When bumping into or moving by an opponent | Launches an opponent out of your path |
| Doc Louis | At the start of the movement phase | The effect of a power-up you pick up is increased |
| Riki | At the start of the movement phase | Draws in nearby items as you move |
| Ghosts (Luigi’s Mansion) | When bumping into an opponent | Allows you to move past another player |
| Isabelle | At the start of the movement phase | All nearby power-ups are increased to their maximum value |
| Timmy & Tommy | At the start of the movement phase | All nearby items are changed into different items |
| Tetra | Placement: When entering movement; Activation: When someone moves onto the square it is placed on | Places a trap that steals fighters |
| Zingers | Placement: When entering movement; Activation: When someone moves onto the square it is placed on | Places a trap that launches a player |
| Snorlax | When you are launched | Allows you to stay in place if you’re launched |
| Yellow Wollywog | When stepping on a trap | Neutralizes any trap you touch |
| Chain Chomp | At the start of the movement phase | Launches all nearby opponents |
| Bus to the City | At the start of the movement phase | All players are warped to your position |
| POW Block | At the start of the movement phase | All other players lose a fighter |
| Tingle | At the start of the movement phase | All fighters are shuffled |
| Super Star | At the start of the movement phase | You become invincible, and your roulette result is doubled |
Battle Items
A battle item can be identified by its red base. These items can only be used when a battle is triggered. Battle items tend to focus on things like combat items and fighter abilities.
Available Battle Items
| Name | Effect Trigger | Effect Description |
|---|---|---|
| Majora’s Mask | Before the start of Battle | Inflicts 50% damage, but doubles your stats |
| Energy Tank | Before the start of Battle | Recovers 50% damage once when damage is at 100% |
| Mr. Saturn | Before the start of Battle | Does great damage to an opponent’s shield with attacks |
| Black Knight | Before the start of Battle | Grants a chance that Smash attacks will turn into a one-hit KO |
| Dixie Kong | Before the start of Battle | Allows +1 mid-air Jump |
| Phosphora | Before the start of Battle | Grants an instant landing when the Left Stick is flicked downward |
| Sidesteppers | Before the start of Battle | Increases the speed of dodging to the left and right |
| Kat & Ana | Before the start of Battle | Minimizes the impact from being launched into walls and ceilings |
| Daisy (uniform) | Before the start of Battle | Allows you to automatically catch items |
| Plasm Wraith | Before the start of Battle | Grants health recover when you block an attack with your shield |
| Mecha-Fiora | Before the start of Battle | Increases your attack power as you take more damage |
| Wolfen | Before the start of Battle | Adds 100% to the damage of the chosen opponent |
| Resetti | Before the start of Battle | Reduces the chosen opponent’s stats to 0 for a single battle |
| Poison Mushroom | Before the start of Battle | Shrinks the chosen opponent |
| Darkrai | Before the start of Battle | Puts the chosen opponent to sleep |
| Boo | Before the start of Battle | Turn invisible for a limited time during the battle |
| Hammer | Before the start of Battle | Grants a Hammer at the start of the battle |
| Super Scope | Before the start of Battle | Grants a Super Scope at the start of the battle |
| Home-Run Bat | Before the start of Battle | Grants a Home-Run Bat at the start of the battle |
| Bob-omb | Before the start of Battle | Grants a Bob-omb at the start of the battle |
| Ore Club | Before the start of Battle | Grants an Ore Club at the start of the battle |
| Steel Diver | Before the start of Battle | Grants a Steel Diver at the start of the battle |
| X Bomb | Before the start of Battle | Grants an X Bomb at the start of the battle |
| Metal Box | Before the start of Battle | Turns you metallic for one battle |
| Super Mushroom | Before the start of Battle | Turns you giant for one battle |
| Franklin Badge | Before the start of Battle | Grants a Franklin Badge at the start of the battle |
| Bunny Hood | Before the start of Battle | Grants a Bunny Hood at the start of the battle |
| Rocket Belt | Before the start of Battle | Grants a Rocket Belt at the start of the battle |
| Back-Shield | Before the start of Battle | Grants a Back-Shield at the start of the battle |
| DK Barrel | Before the start of Battle | Allows you to team up with one of your fighters |
| Latias & Latios | Before the start of Battle | Allows you to team up with one of your opponents |
| Ultimate Chimera | Before the start of Battle | Causes the last player you KO to lose an additional fighter. This item has no effect if you fail to score a KO during the battle |
| Magnus | Before the start of Battle | Launches all players that you KO’d during the battle |
General Items
A general item can be identified by its green base. These items can be used at the beginning of a turn or before a battle starts. General items redirect the effects of other players’ items.
Available General Items
| Name | Effect Trigger | Effect Description |
|---|---|---|
| Proto Man | When an item is used on you | Reflects the effect of an item used on you |
| Substitute Doll | When an item is used on you | Redirects the effects of a used item from you to one of your opponents |
| Porky | When the chosen opponent uses an item | Steals an item used by a chosen opponent |
Board Spaces
The board contains a variety of special spaces. Stopping on one of these spaces will trigger a special event or effect.
Warp Space

Stopping on a Warp Space instantly moves your fighter to another Warp Space across the board.
Stat Boost Space

Stopping on a Stat Boost Space triggers one of three possible effects: your stats are shuffled, your stats are raised, or your stats are lowered.
Battle Space

Stopping on a Battle Space instantly triggers a battle.
Fighter Space

Reach a Fighter Space to collect its fighter panel before one of your opponents can claim it!
Checkpoints
Each Smash Tour board contains five checkpoints. Pass over a checkpoint to receive a small stat boost. Pass over all five of the checkpoints to earn a Checkpoint Bonus for a huge boost to your stats!
Smash Tour Enemies
Occasionally, a special enemy will appear on the Smash Tour board. Some enemies are best avoided, but a few of them offer special bonuses!
Enemies
| Portrait | Name | Duration | Effect |
|---|---|---|---|
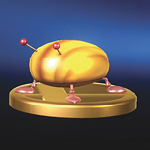 |
Iridescent Glint Beetle | Lasts 5 turns or until a player bumps into it | Bump into these enemies to collect any fighter panels they might be carrying! |
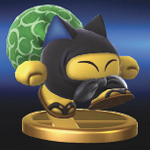 |
Tac | Lasts 5 turns or until a player bumps into it | Bump into these enemies to collect large stat boosts! |
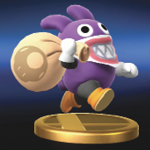 |
Nabbit | Lasts until a player bumps into it | Bump into these enemies to collect any items it has swiped from the board! |
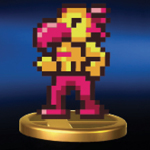 |
Flying Man | Lasts 3 turns after a player bumps into it, or until it launches an opponent or absorbs damage intended for the player. | Bump into these enemies to convert them into temporary allies! |
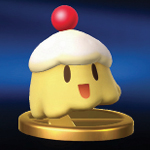 |
Souflee | Lasts 5 turns or until a player bumps into it | Bump into these enemies to earn Checkpoint Bonuses. |
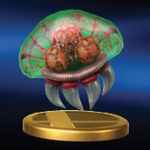 |
Metroid | Lasts 5 turns or until a player bumps into it two times | Bumping into this enemy costs you several stat boosts! Reclaim lost stat boosts by bumping into it a second time. |
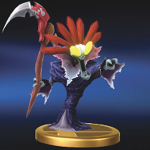 |
Reaper | Lasts 3 turns | Bump into this enemy to exchange 3 fighters for a Checkpoint Boost. If you don’t have enough fighters, bumping into a Reaper will cause it to launch you. Push the Left Stick toward a Reaper to pass it without bumping into it. |
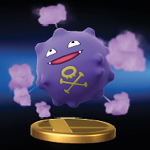 |
Koffing | Lasts 1 turn | This enemy covers the board in a gas cloud that vanishes at the end of the turn. |
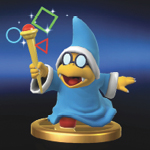 |
Kamek | Lasts 1 turn | This enemy shuffles all of the board’s checkpoints. The effect lasts for the remainder of the game. |
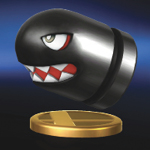 |
Banzai Bill | Lasts 1 turn | When a Banzai Bill appears, it marks a large section of the board. When the turn ends, the Banzai Bill crashes into the indicated area, releasing stat boosts and launching any players caught in the blast. |
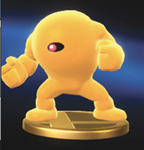 |
Yellow Devil | Last 3 turns or until it’s defeated in battle | Bump into this enemy to trigger a battle. If a player manages to defeat the Yellow Devil, he or she is rewarded a massive boost to all stats. Stat boosts can also be earned if a player wins the battle by scoring KOs against his or her opponents. If the Yellow Devil is not defeated in time, it will retain its remaining stamina and move to another space on the board. |
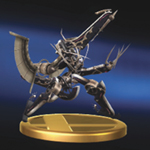 |
Metal Face | Lasts 3 turns or until he’s defeated in battle | Bump into this enemy to trigger a battle. If a player manages to defeat Metal Face, he or she is rewarded a massive boost to all stats. Stat boosts can also be earned if a player wins the battle by scoring KOs against his or her opponents. If Metal Face is not defeated in time, he will retain his remaining stamina and move to another space on the board. |
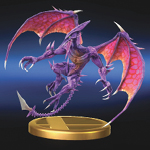 |
Ridley | Lasts 3 turns or until he’s defeated in battle | Bump into this enemy to trigger a battle. If a player manages to defeat Ridley, he or she is rewarded a massive boost to all stats. Stat boosts can also be earned if a player wins the battle by scoring KOs against his or her opponents. If Ridley is not defeated in time, he will retain his remaining stamina and move to another space on the board. |
Battles
Battles are triggered when two players bump into each other or when a player lands on a Battle Space. The game automatically selects a random Smash battle-type, each of which features a special rule. In Pokémon Smash, for example, Poké Balls frequently appear over the course of the battle.
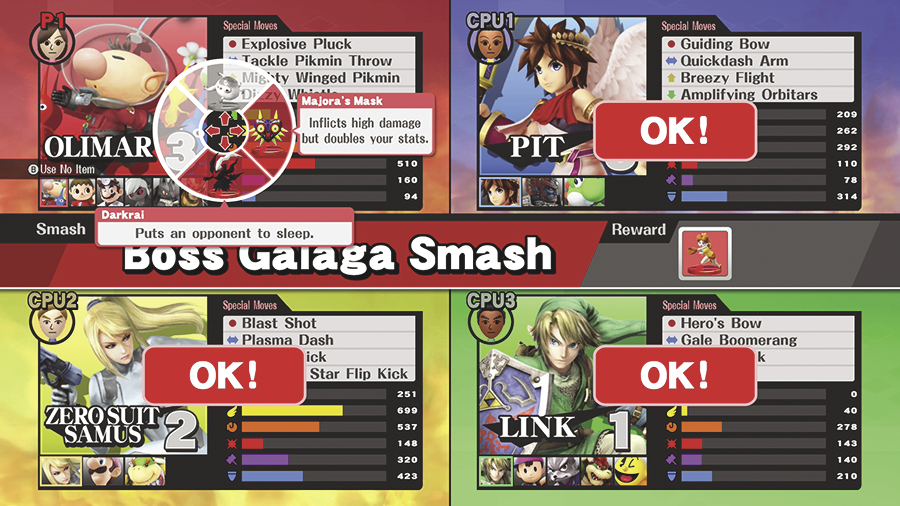
Before a battle starts, each fighter is given the chance to activate one of the usable items in his or her inventory. Most of the Smash Tour items will provide significant benefits, but some of them can even add special rules to a battle. For example, the battle item Latias & Latios causes two fighters to team up for the duration of the battle.
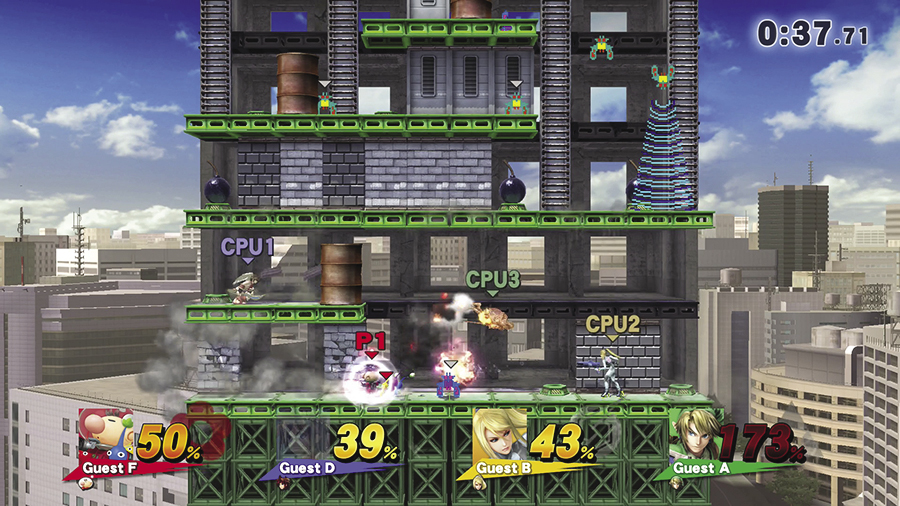
In standard Smash Tour battles, each player is given one stock life. KO your opponents to remove them from the battle before time runs out. The winner of the battle is awarded the last fighter he or she managed to KO. The players ranked third and fourth place simply lose their fighters. Each battle also offers a randomly selected usable item to be rewarded to the victor.
The Final Battle
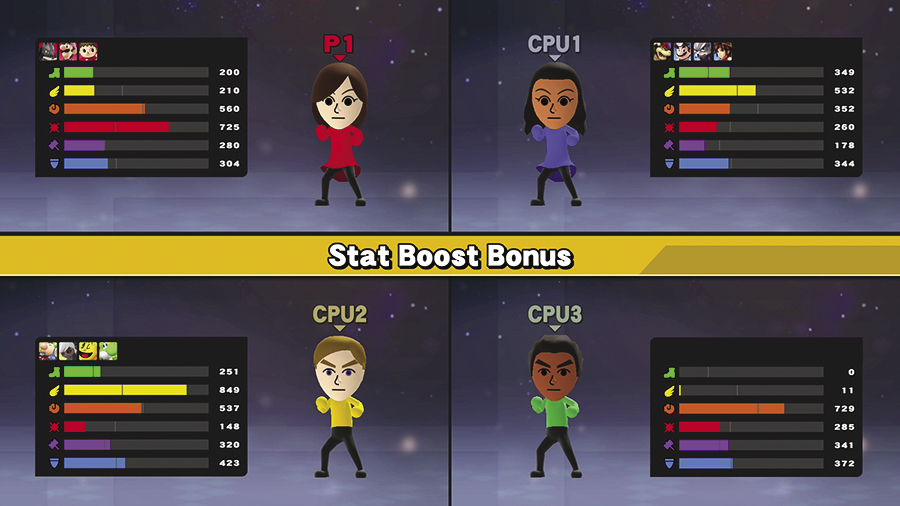
When the game’s last turn ends, all fighters are transported to Stat Boost Bonus. Here, players have the chance receive additional stats and fighters before beginning the final battle.
Possible Stat Boost Bonuses
| Bonus | Effect |
|---|---|
| Distance Moved | Speed stat is boosted based on the number of spaces moved! |
| Lucky 7 | All stats with a 7 are powered up! |
| Booby Prize | You get a fighter! |
| Launched Ace | You get a fighter! |
| Launching Ace | Your powerful stats will increase even more! |
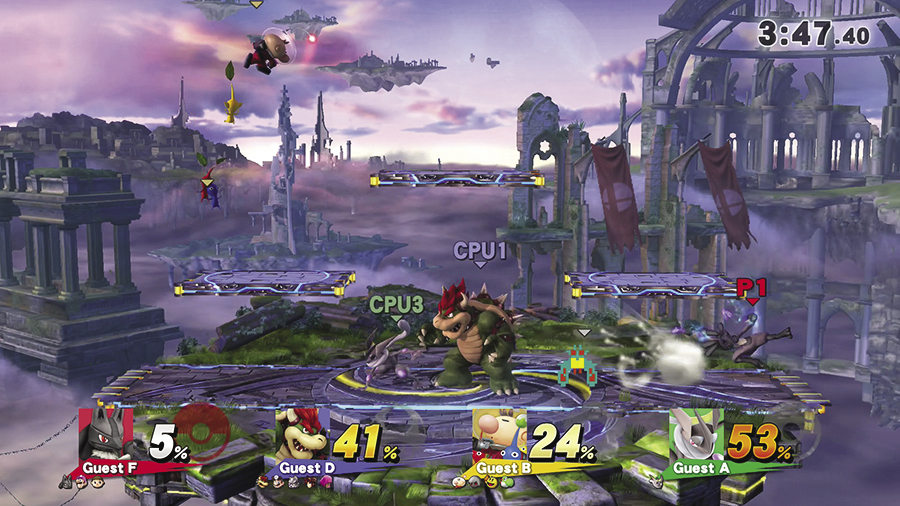
In the final battle, each player uses all of the fighters remaining in his or her stable. When a fighter is KO’d, the next fighter in that player’s stable automatically enters the battle. The match ends when the four-minute time limit expires or when only one player remains. Claim first place in the final battle to win the game of Smash Tour!
Smash Tour Tips
Smash Tour contains a wide variety of random elements, so it can be difficult to utilize a specific strategy. Still, there are a few things you can do to improve your chances of victory:
- Focus on powering up your fighters! It’s important to keep at least a few fighters in your stable, but three or four strong fighters will usually be more effective than an army of underpowered combatants.
- If you’re not sure which path to take, head for the nearest unclaimed checkpoint. Checkpoint Bonuses go a long way to powering up your fighters.
- Checkpoint Bonuses are based on your current stat boosts. The more powerful your fighters are, the larger your Checkpoint Bonuses will become.
- Remember that you can’t choose which fighter you use during a battle. It’s sometimes best to avoid collecting any that don’t complement your playstyle.
- Unless you’re running low on fighters, it’s often best to avoid unnecessary battles. Bumping into an opponent will cause you to forfeit any remaining movement points. The more spaces you move, the better your chances of powering up your fighter!
- Using the appropriate items at the appropriate times can make a big difference over the course of a game. Don’t miss a chance to turn the tables on your opponents.
- Remember that you can only hold four usable items at a time. If a powerful item is in danger of being dropped from your inventory, activate it as soon as possible.