
Super Smash Bros. WiiU/3DS Guide CHARACTERS
Diddy Kong
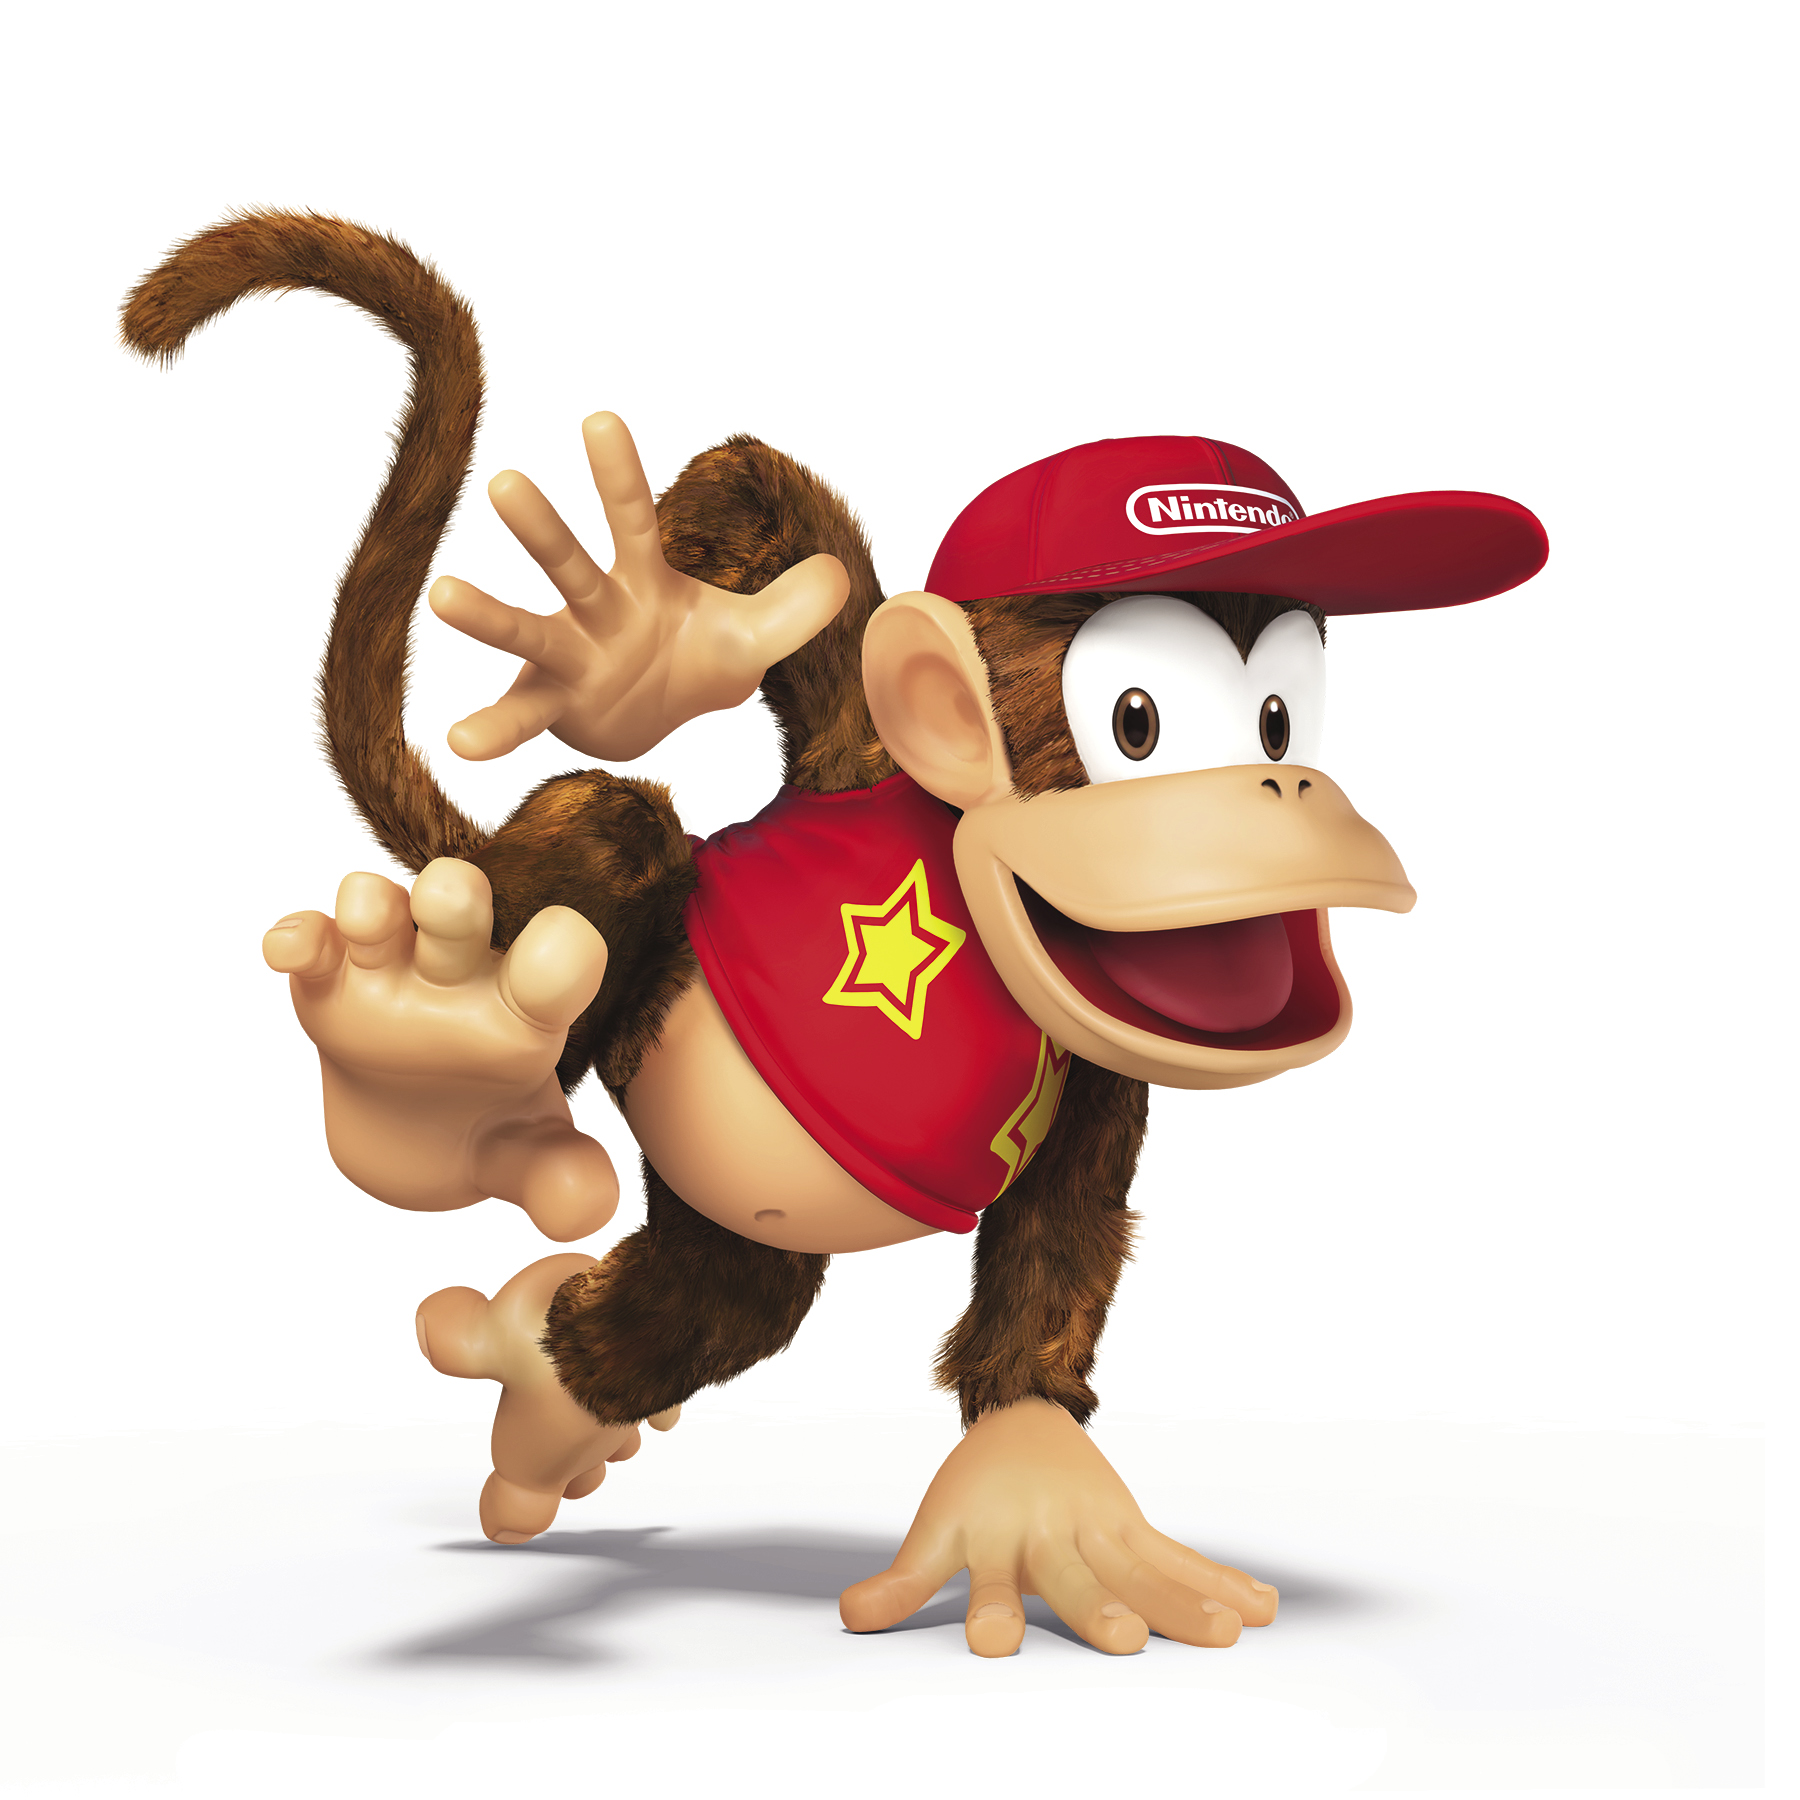
Trophy Description
Red cap? Red T-shirt? Rocketbarrel Pack? Yep, it’s Diddy Kong. His agility lets him get attacks in quickly in this game. Fire up his Rocketbarrel Pack and keep the button held down to fly further. You can even steer him in the air! Tip: If you don’t mind fighting dirty, make your opponent slip on a Banana Peel, then hit ‘em while they’re down.
Statistics
Maximum Number of Jumps: 2
Can Wall Jump: Yes
Can Wall Cling: Yes
Can Crawl: Yes
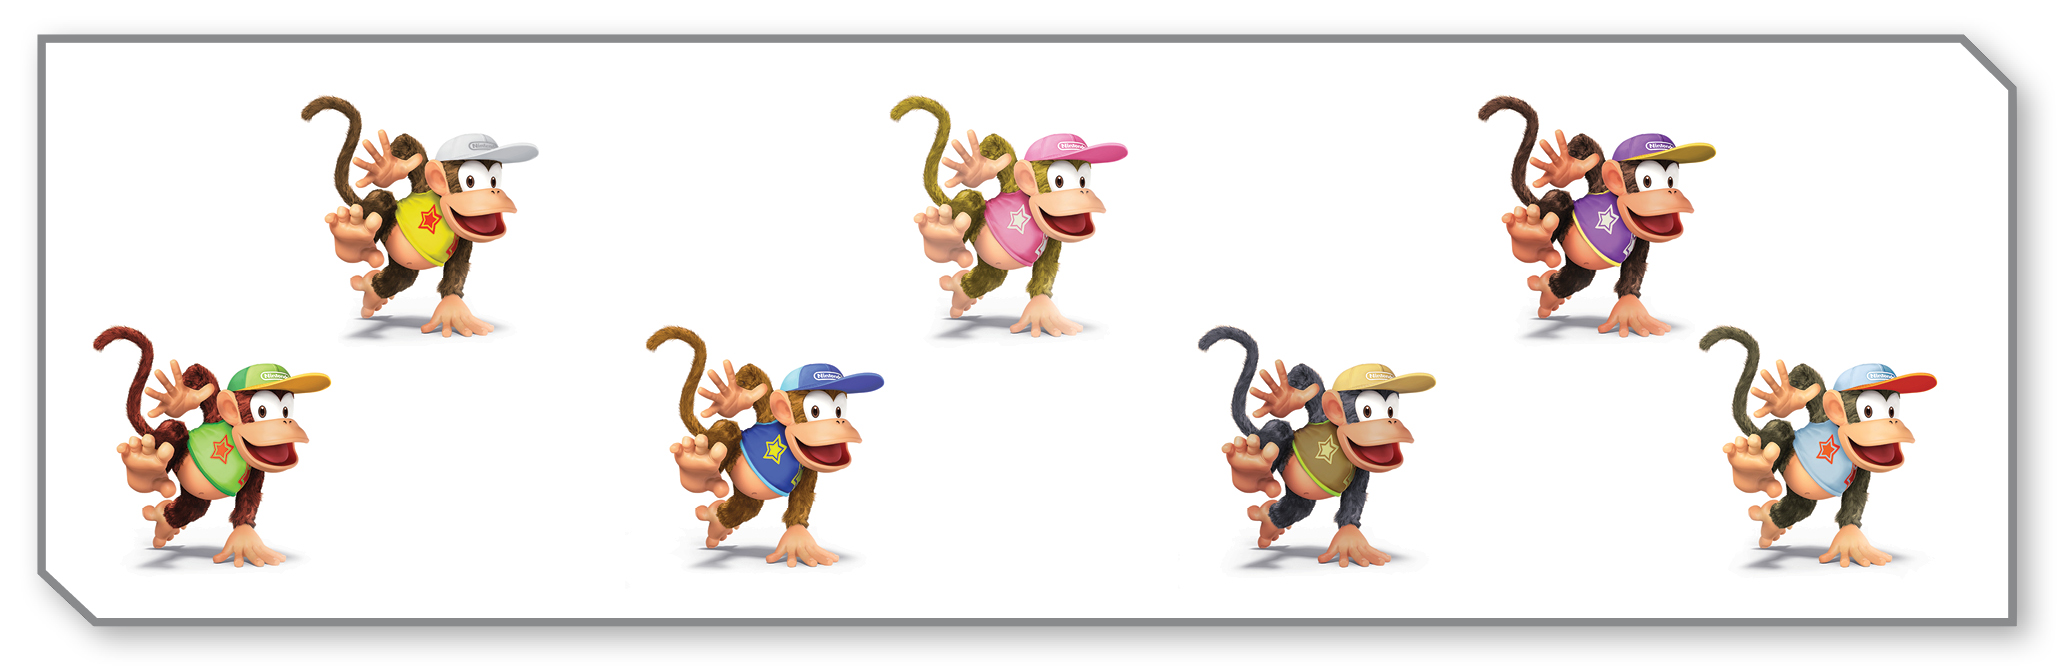
Alternate Colors
Smash Attacks
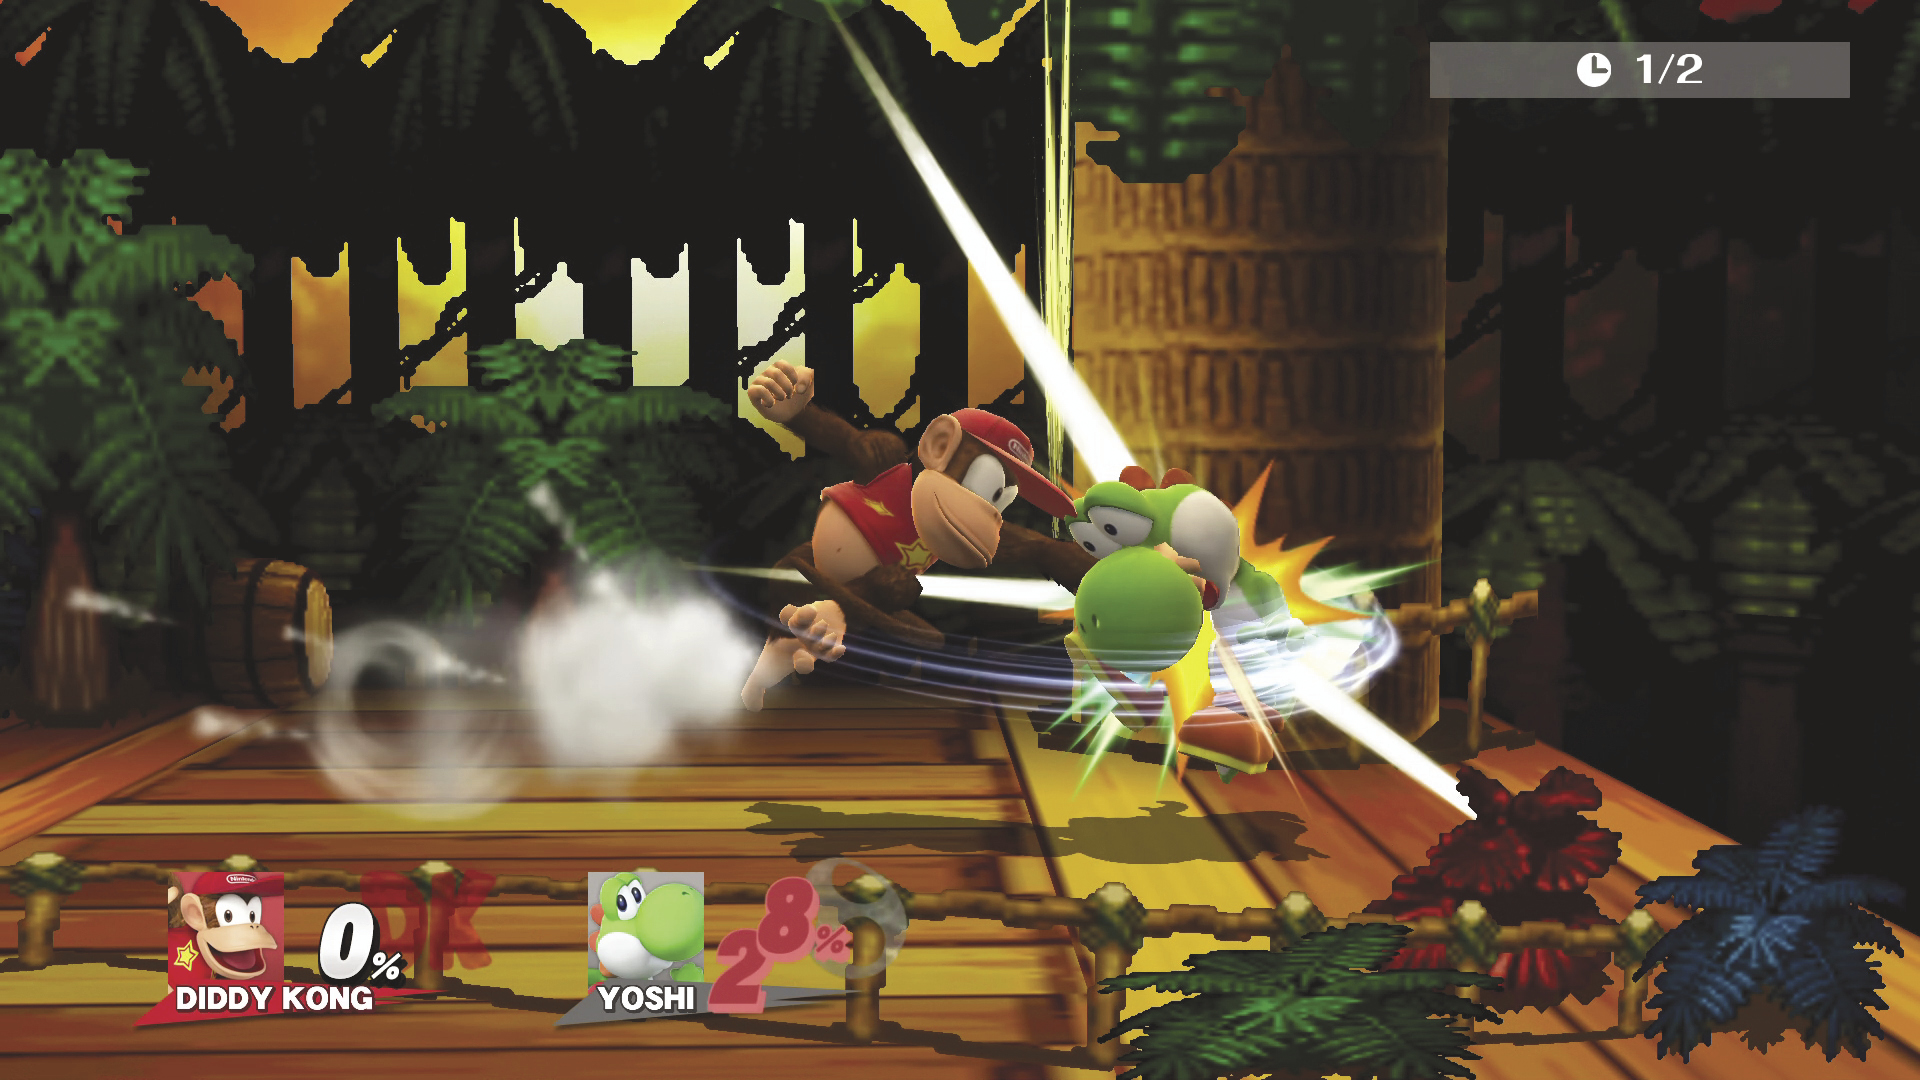
SIDE SMASH DAMAGE 5~11% MAX DAMAGE 16% : 2 Hits
Diddy Kong performs a spinning two-hit attack.
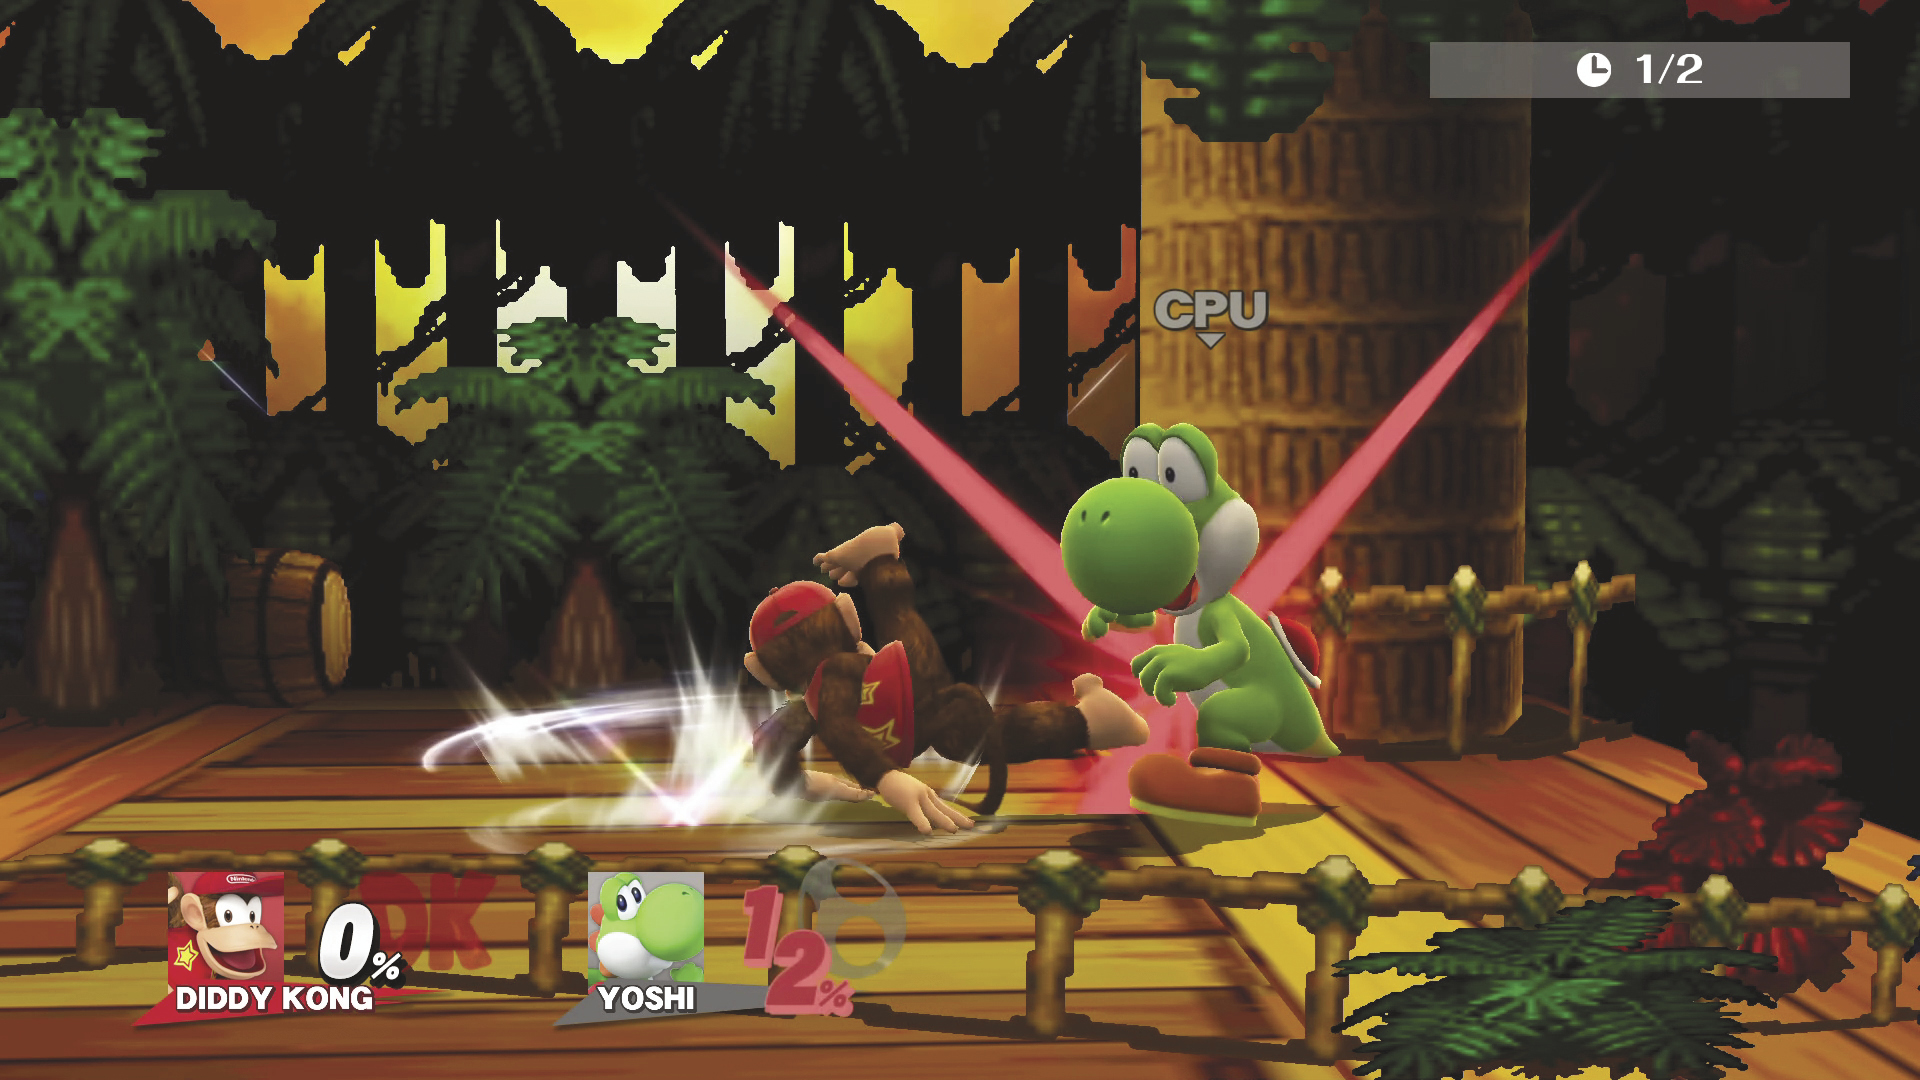
DOWN SMASH DAMAGE 12~15%
A wide, circular sweep attack.
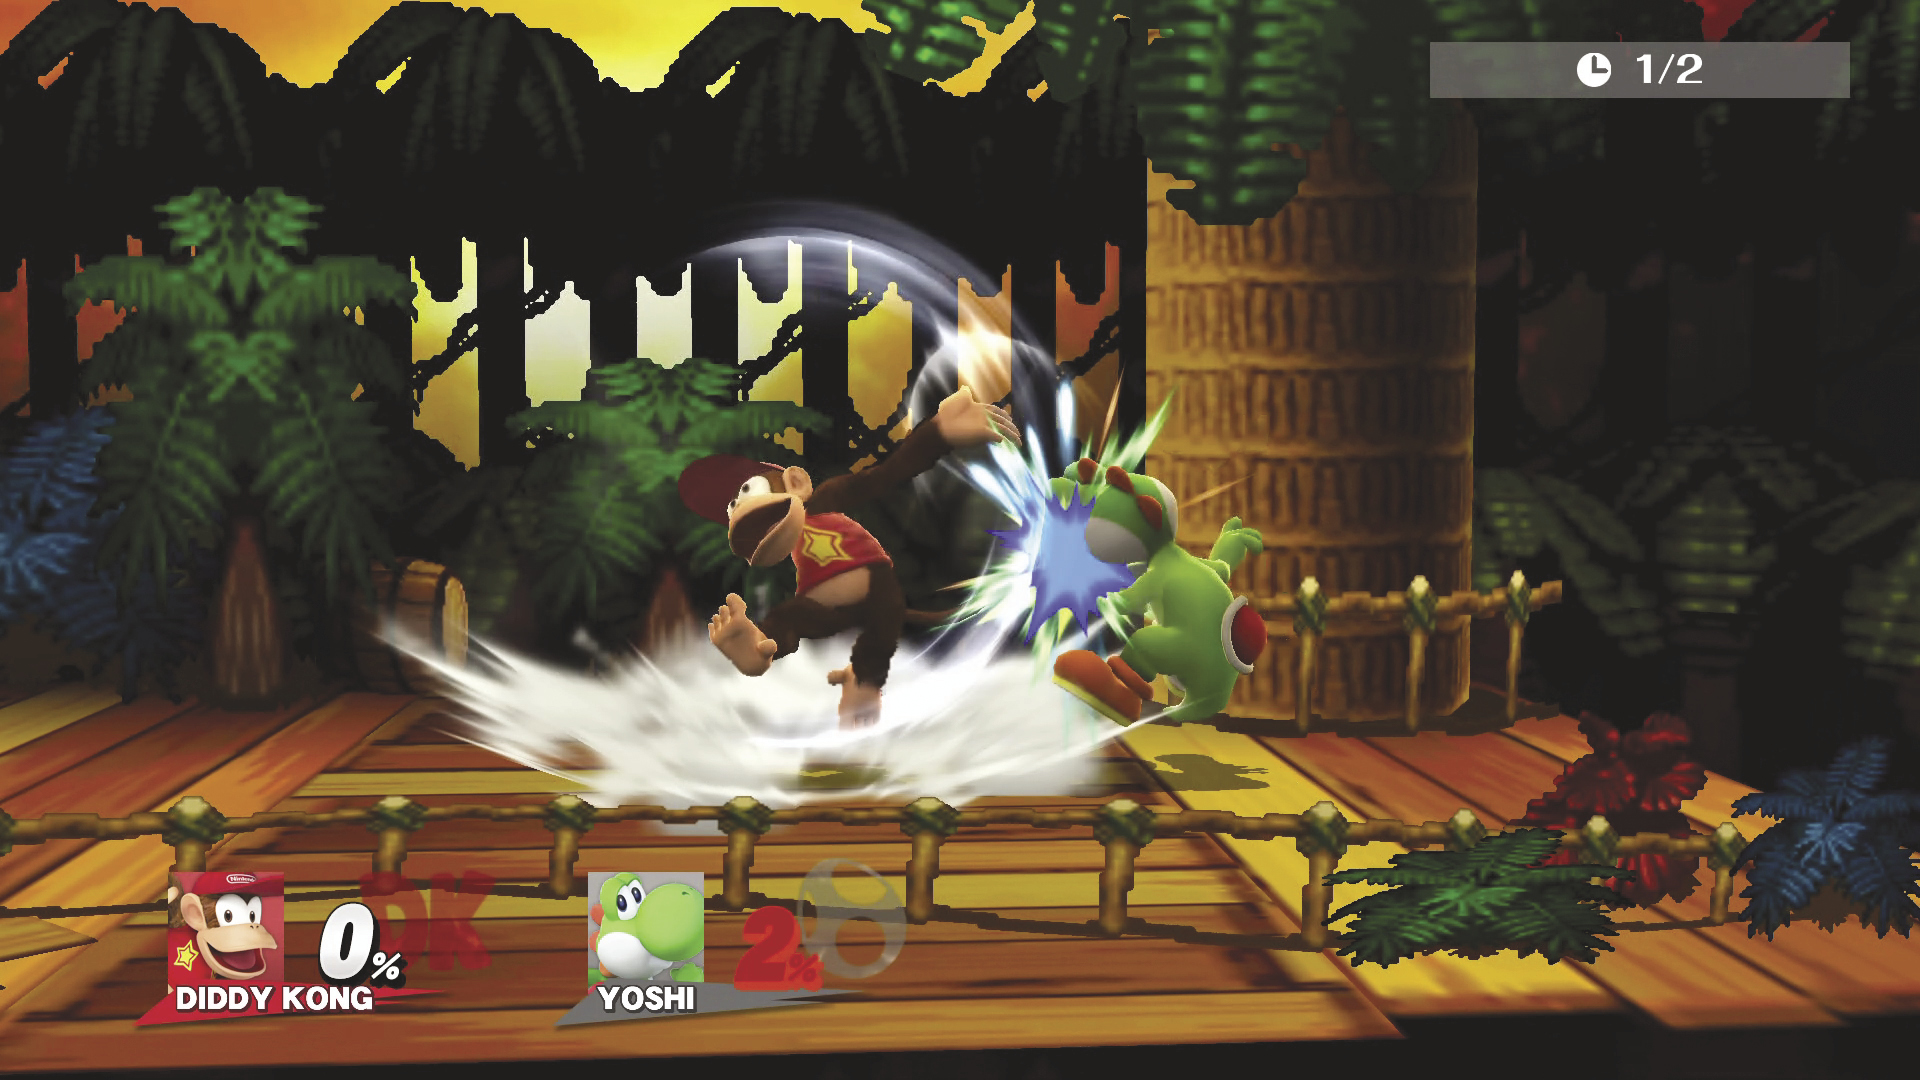
UP SMASH DAMAGE 2.5~6% MAX DAMAGE 11% : 3 Hits
Diddy Kong flips upward, hitting multiple times and ending with an uppercut that sends opponents upward.
Basic Attacks
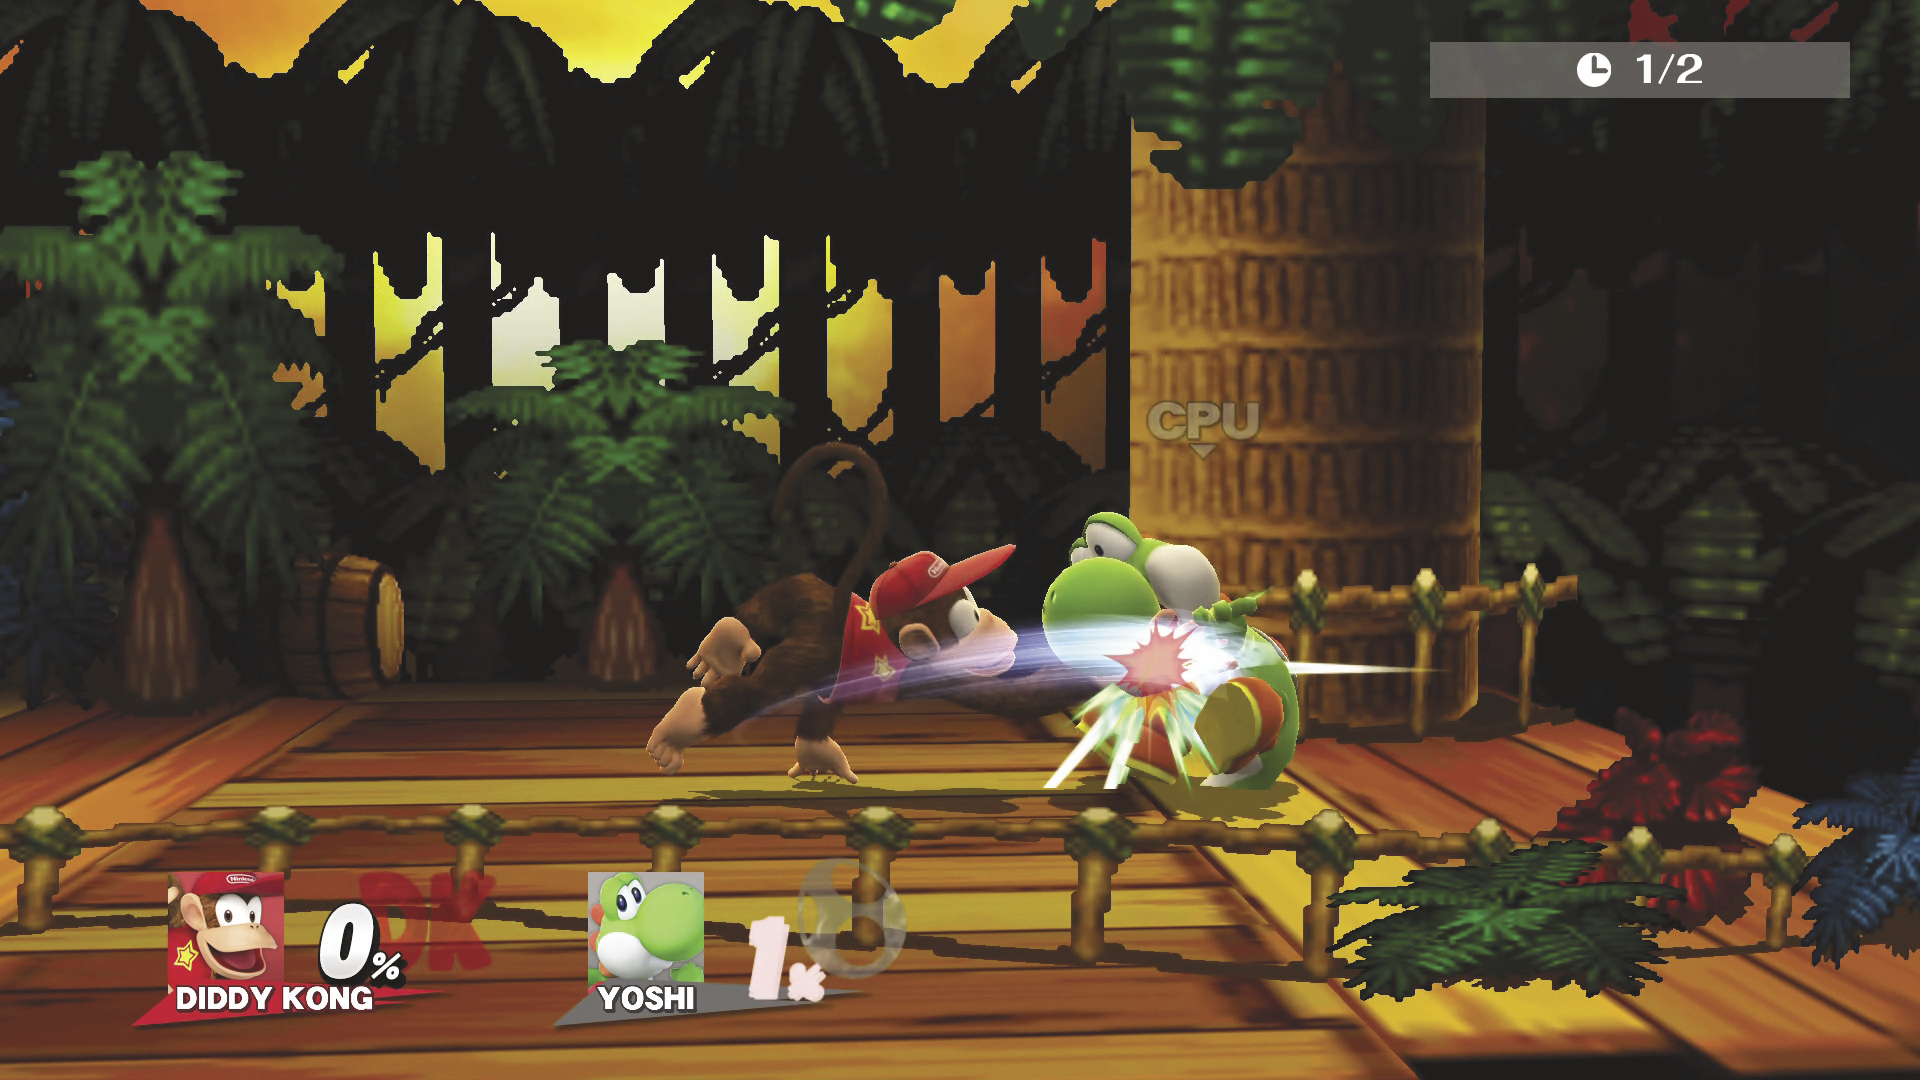
Standing Attack DAMAGE 1.5%, 1.5%, 2% RAPID STRIKES 9% : 7 Hits
Diddy Kong performs two punches and a tail strike before going into rapid strikes with his tail.
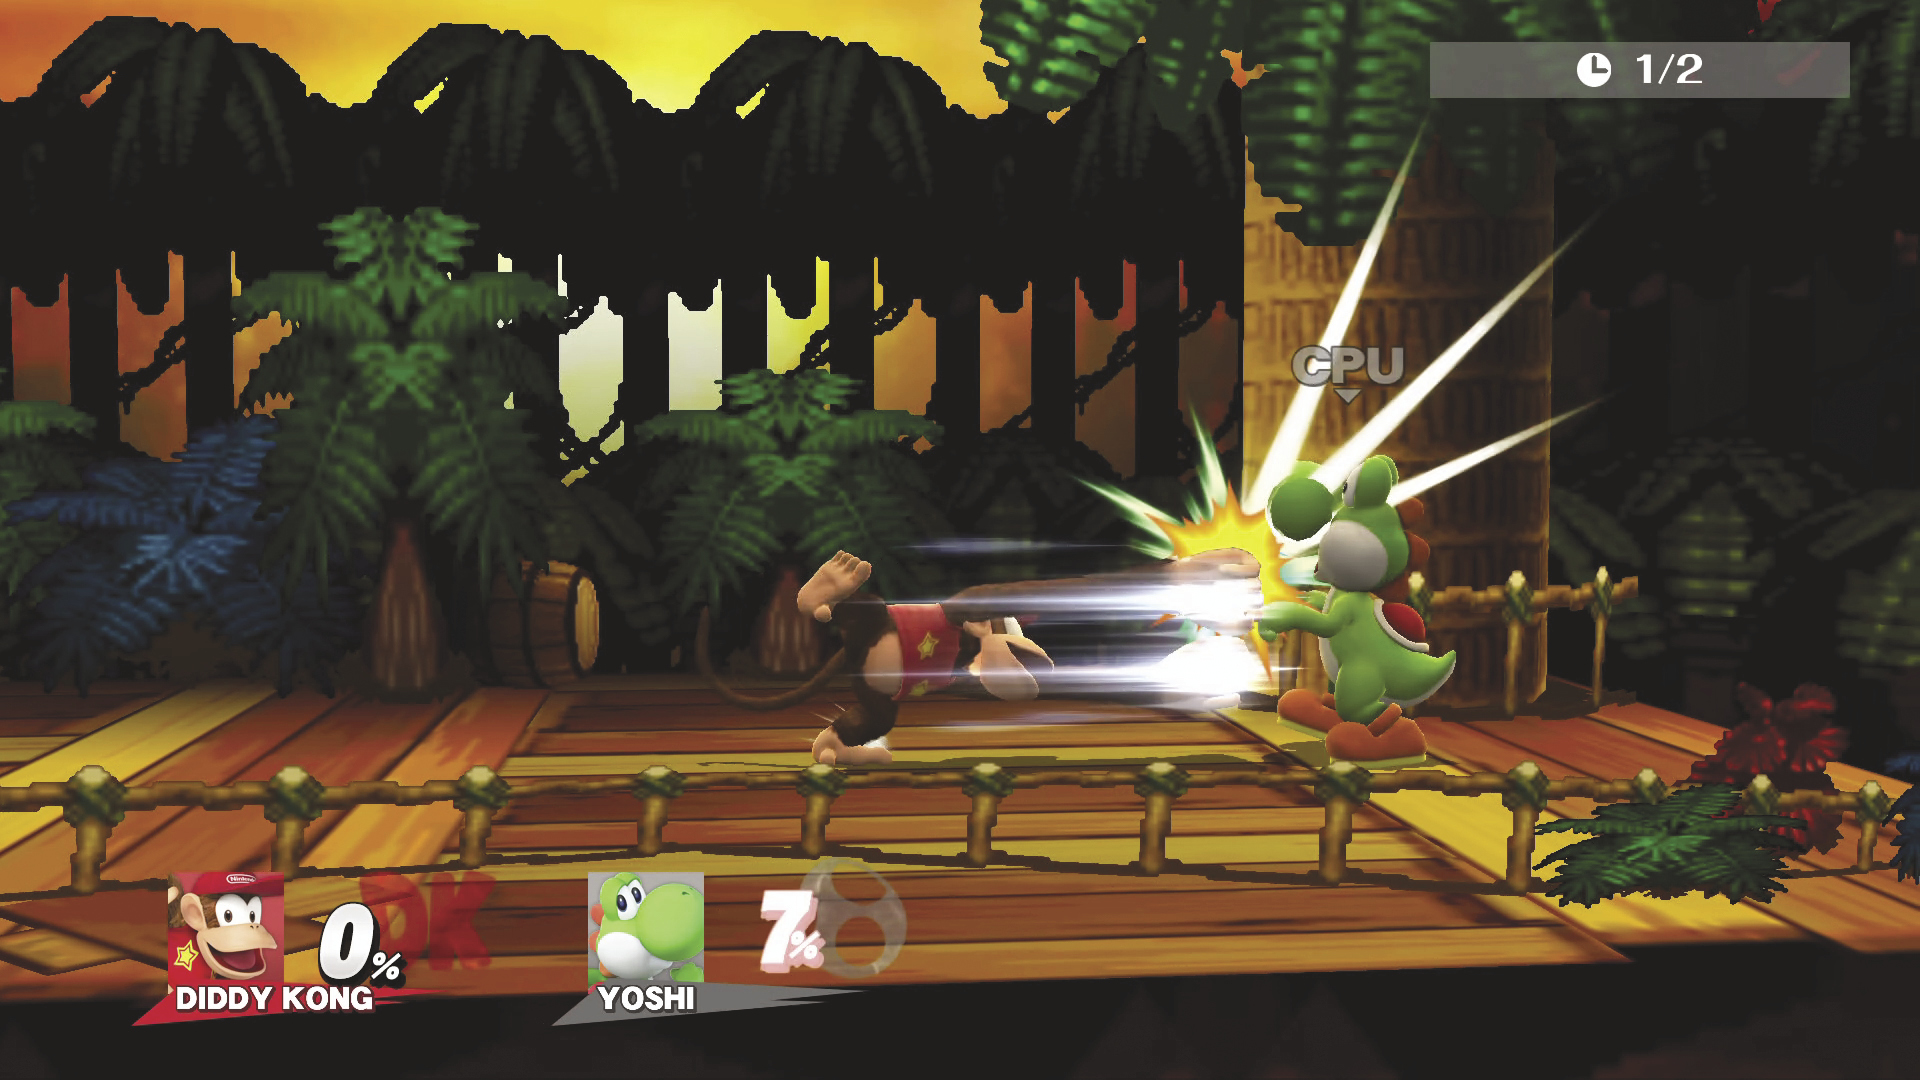
Side Tilt DAMAGE 7~10%
Diddy Kong leans forward and strikes with both arms outstretched. Can be aimed up or down.
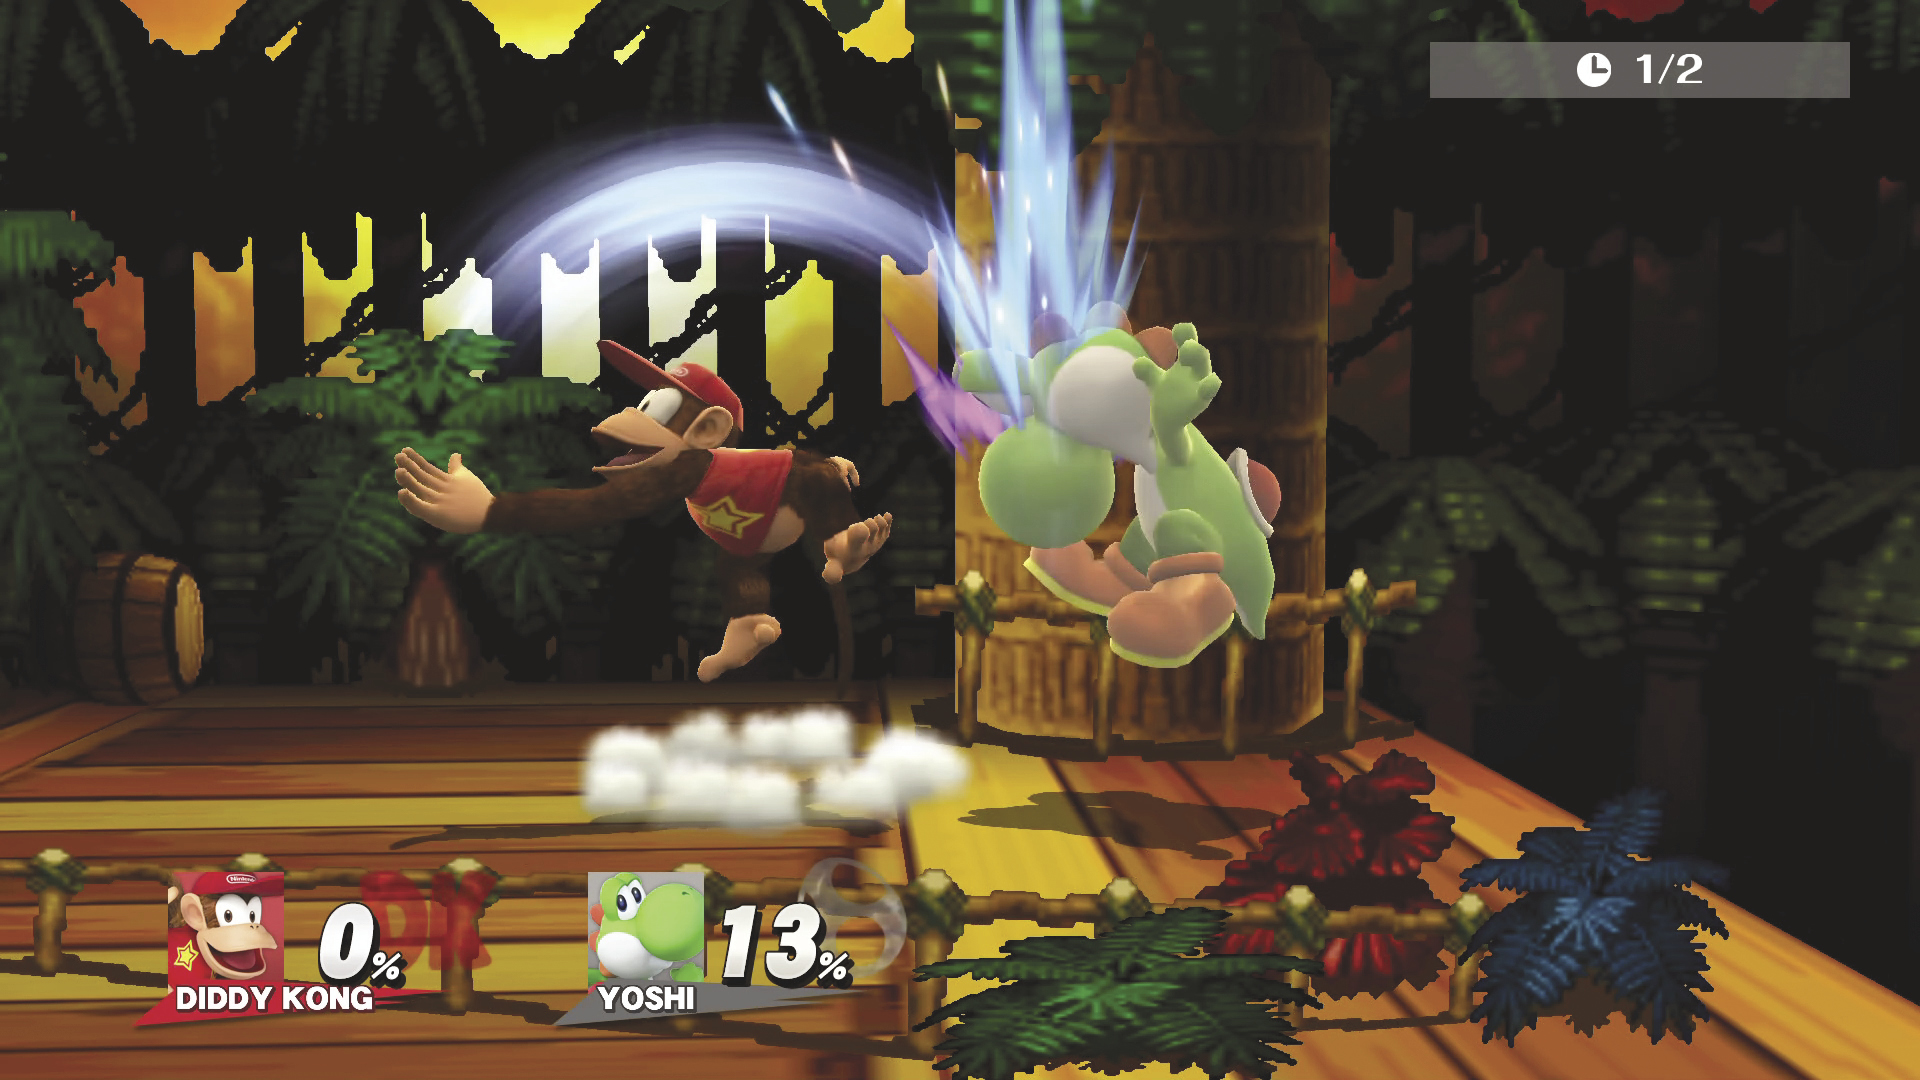
Up Tilt DAMAGE 6%
Diddy Kong hops and swings his arm in an arc overhead. A hit sends opponents upward.
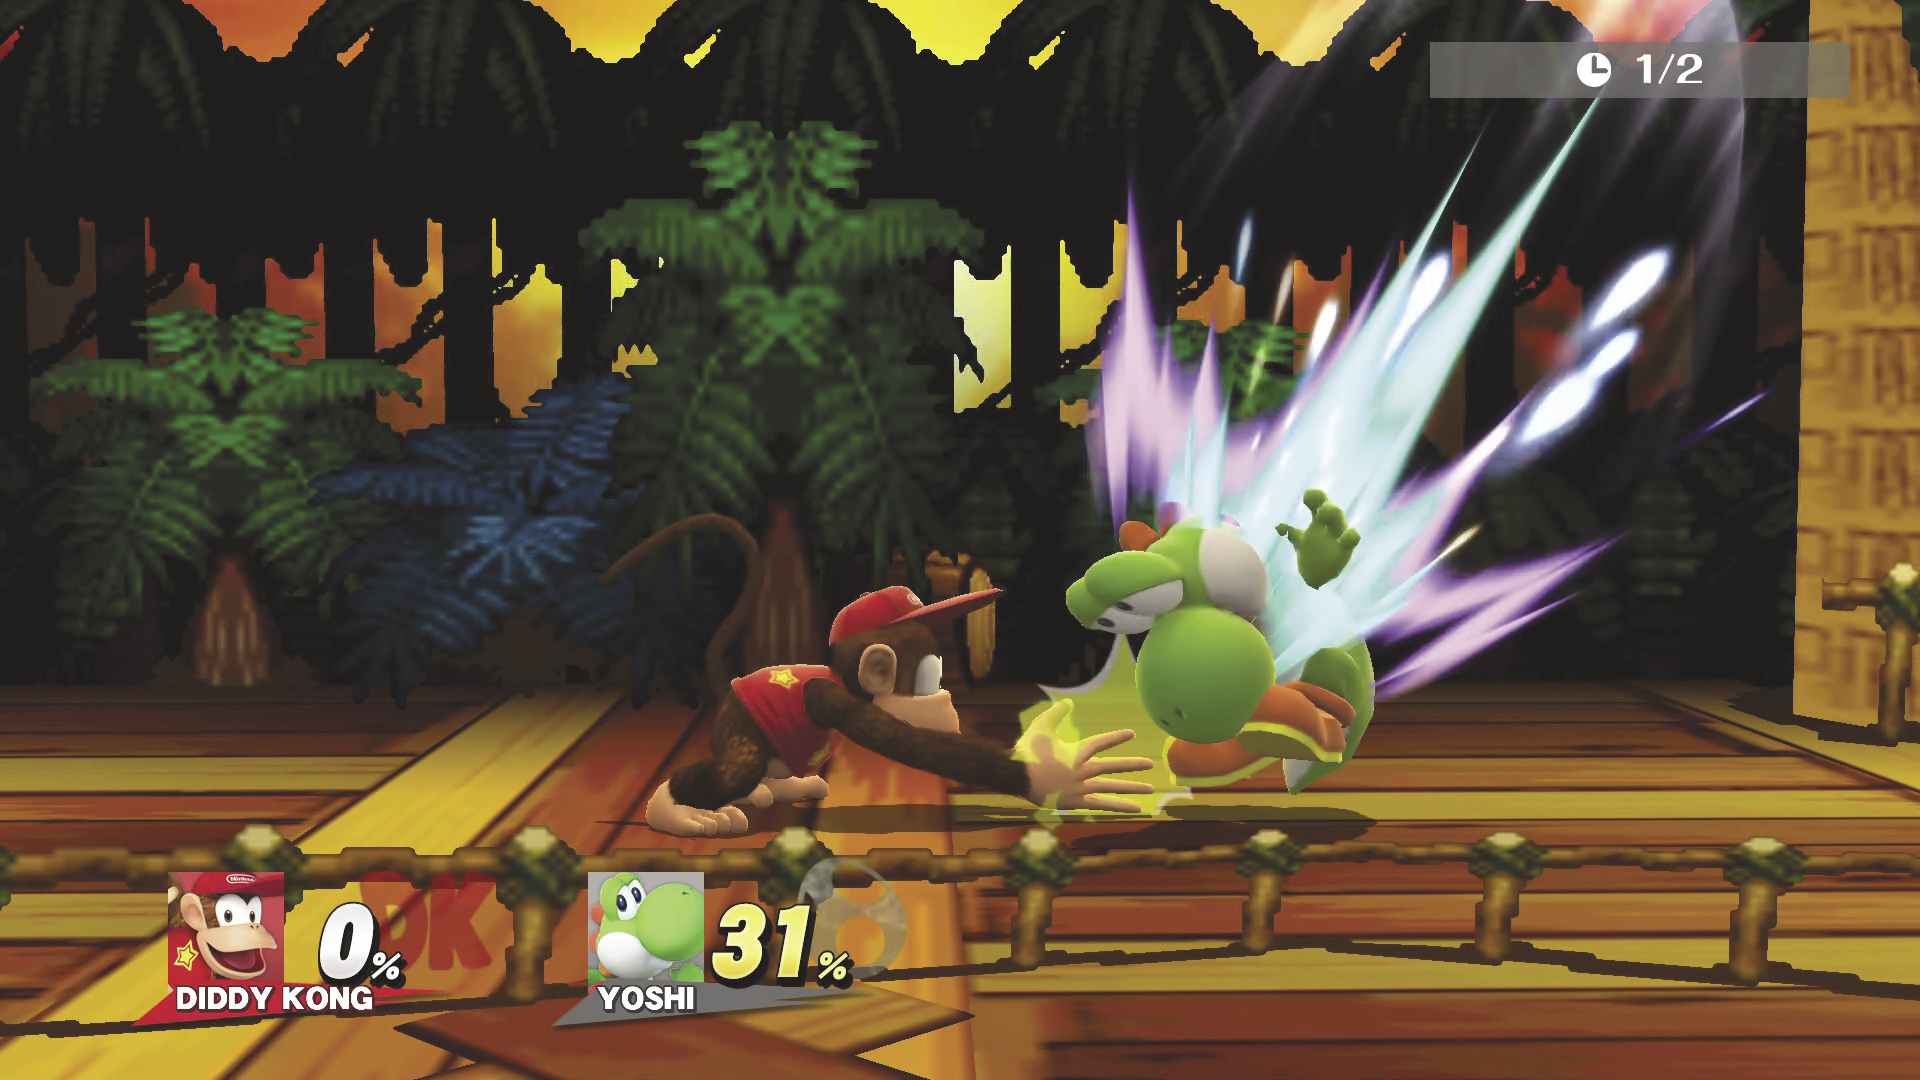
Down Tilt DAMAGE 6%
A double-handed attack toward your opponent’s feet.
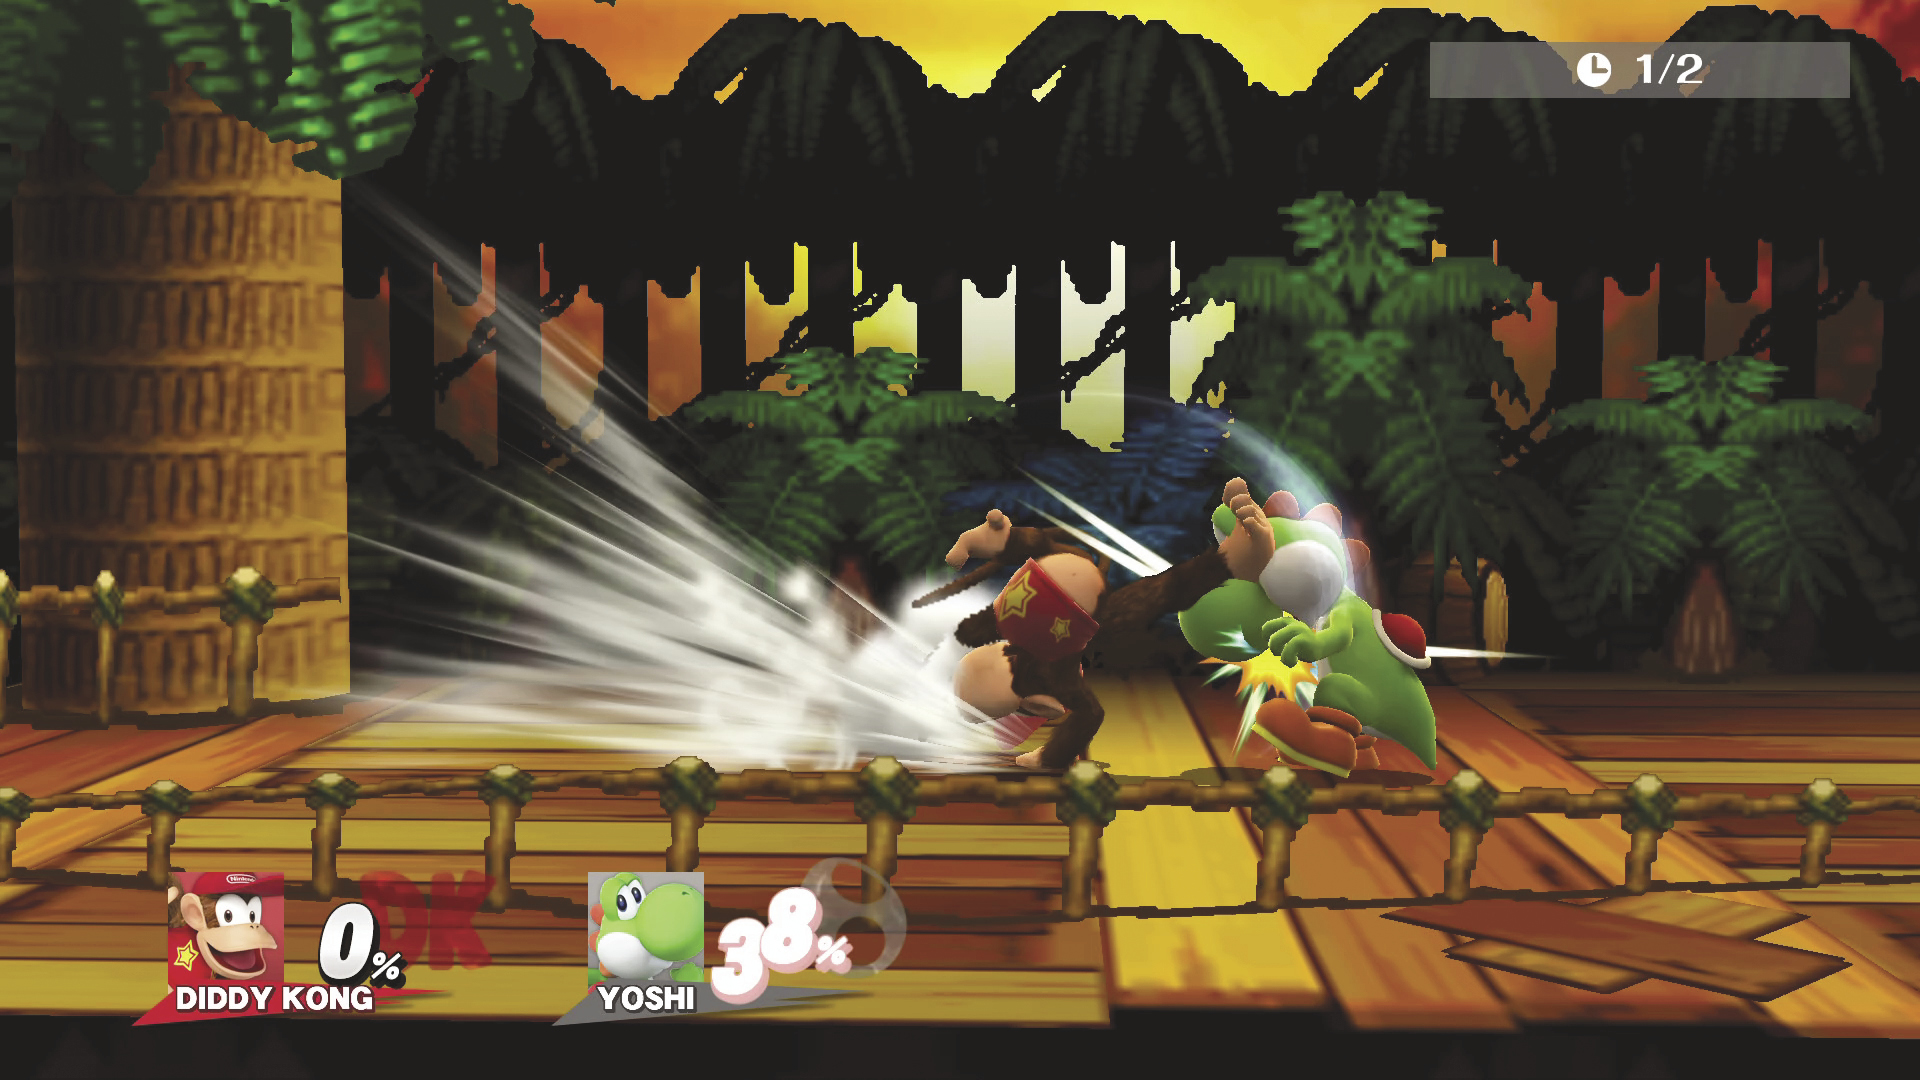
Dash Attack DAMAGE 2~3% MAX DAMAGE 7% : 3 Hits
A cartwheeling multi-hitting attack!
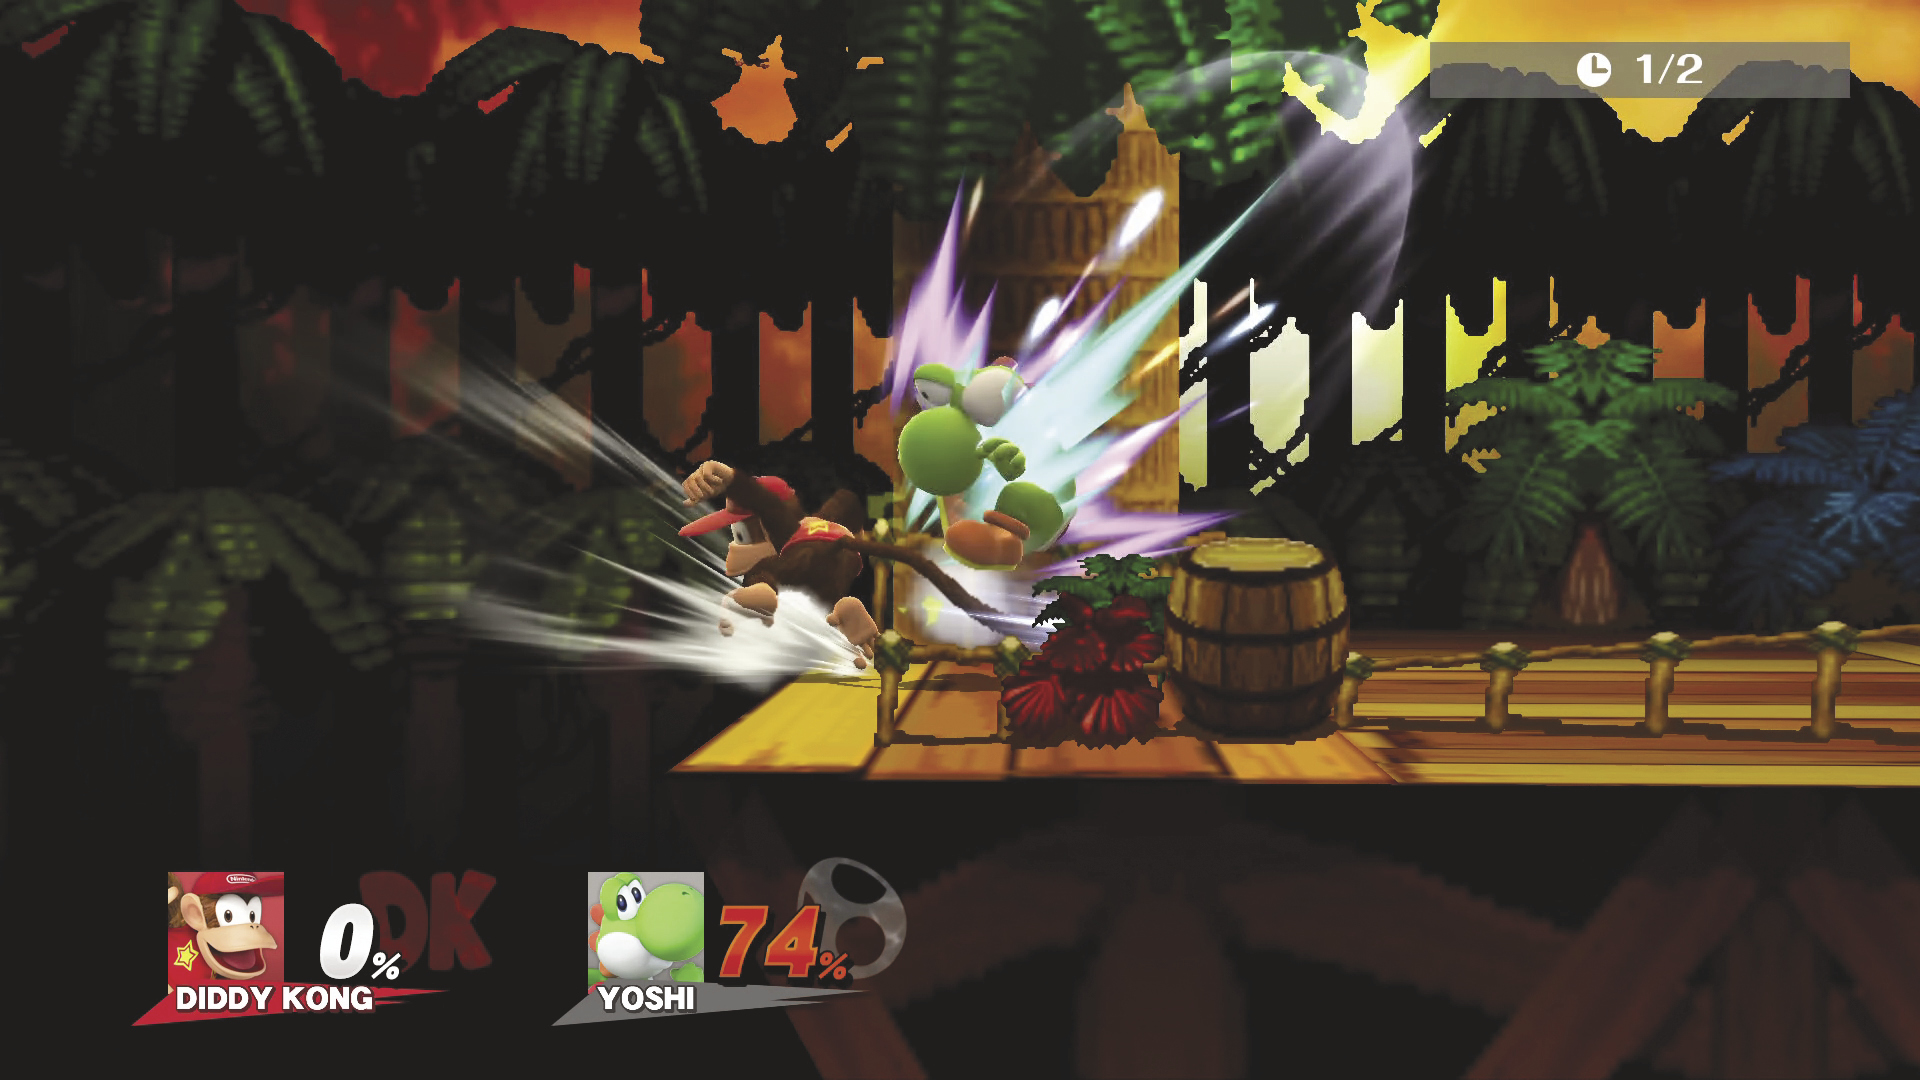
Edge Attack
Diddy Kong hops back to the stage while swinging his tail around to hit anyone nearby.
Air Attacks
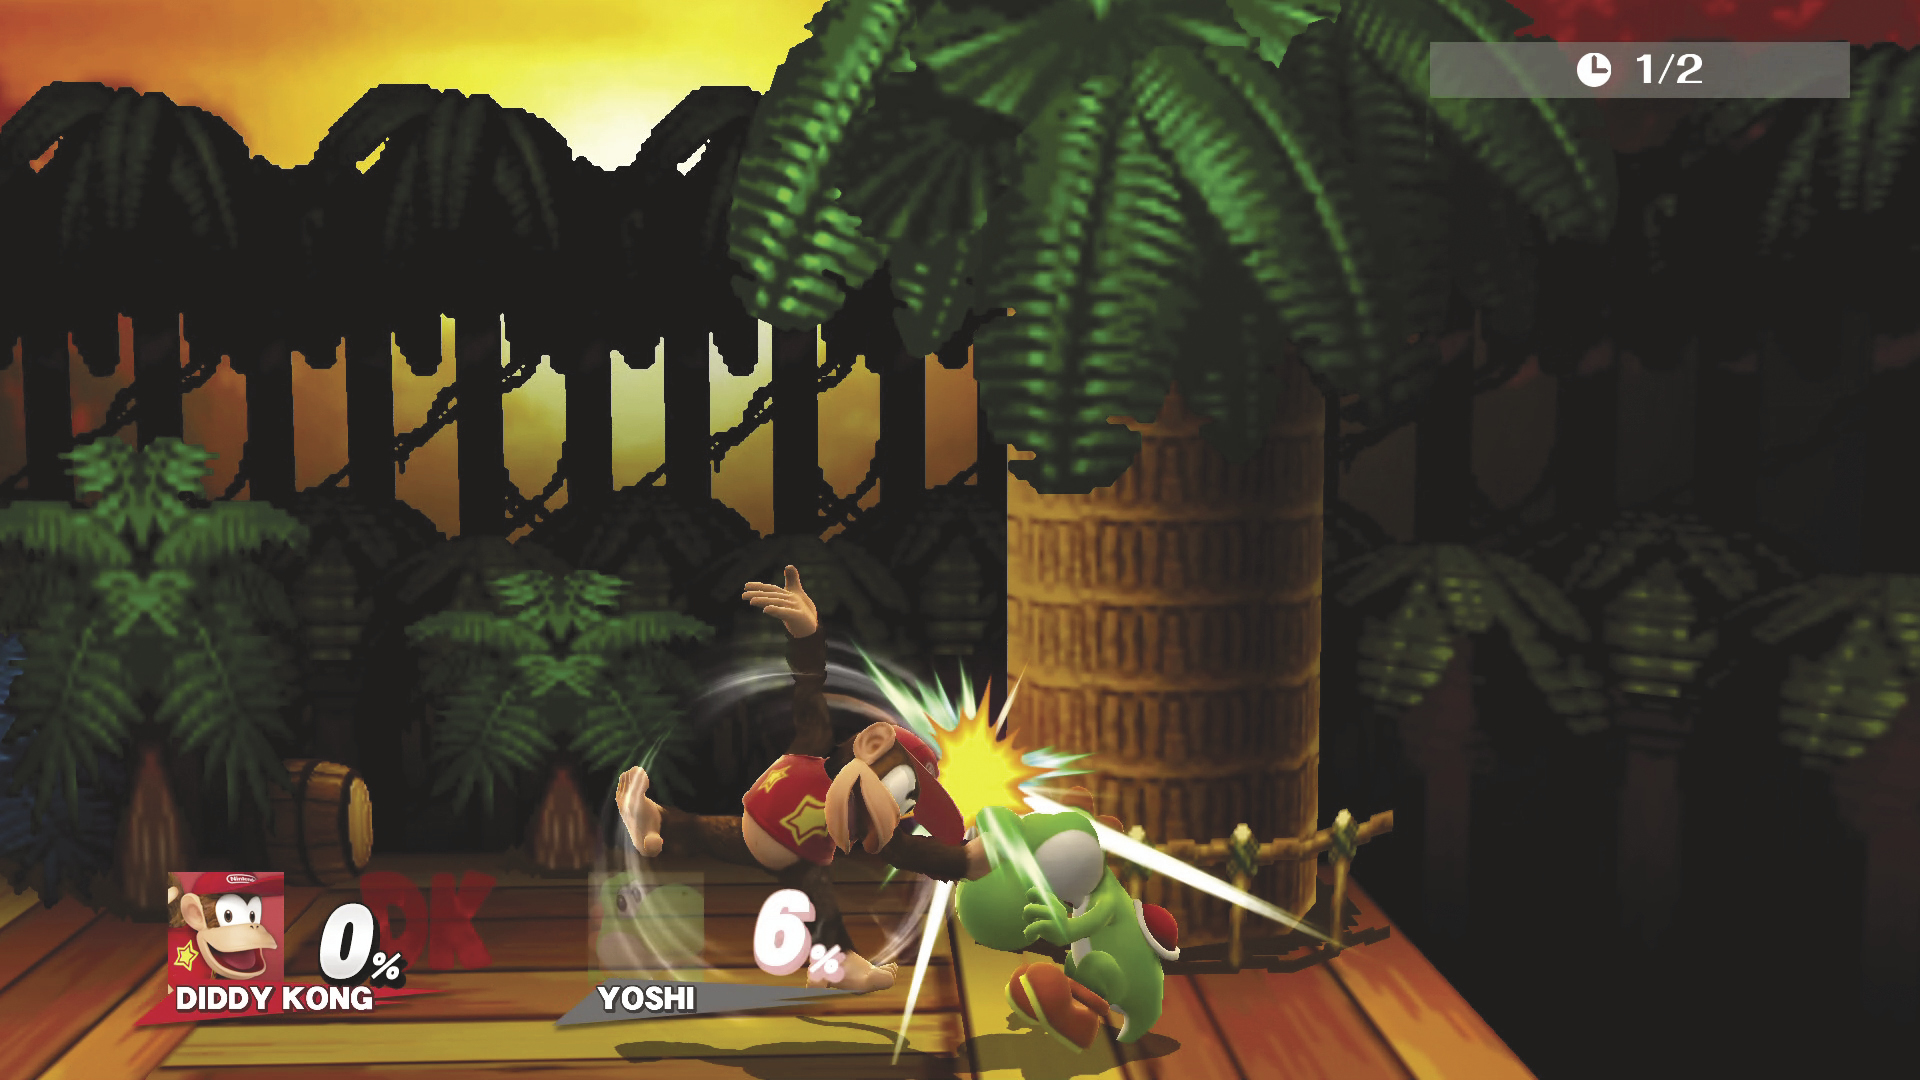
Neutral Air Attack DAMAGE 6%
A jumping flip attack that can hit both in front of and behind Diddy Kong. This is best used when you are above your opponent. Try to chase afterward with Up Air.
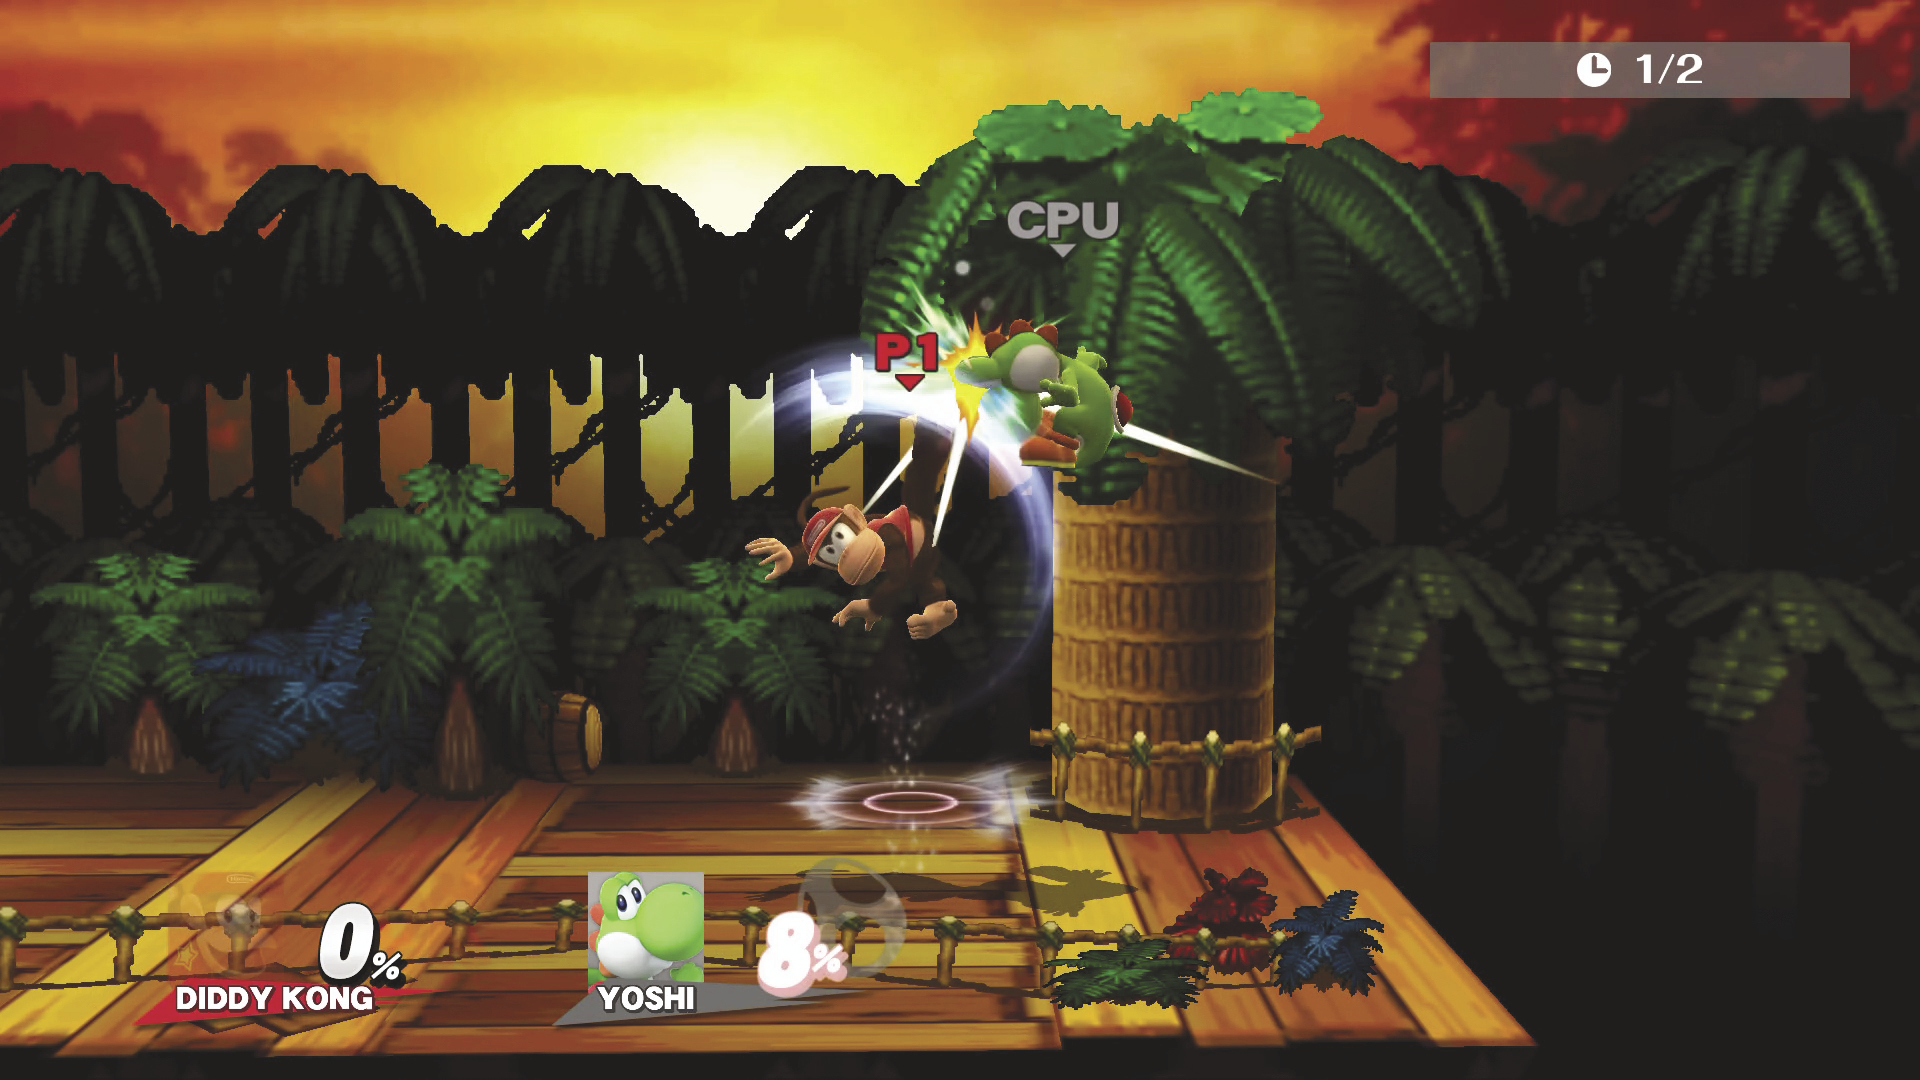
Up Air Attack DAMAGE 8%
Diddy Kong shows his flexibility by kicking over his head. Try to use it after hitting a Neutral Air Attack. It is also a fairly good KO move.
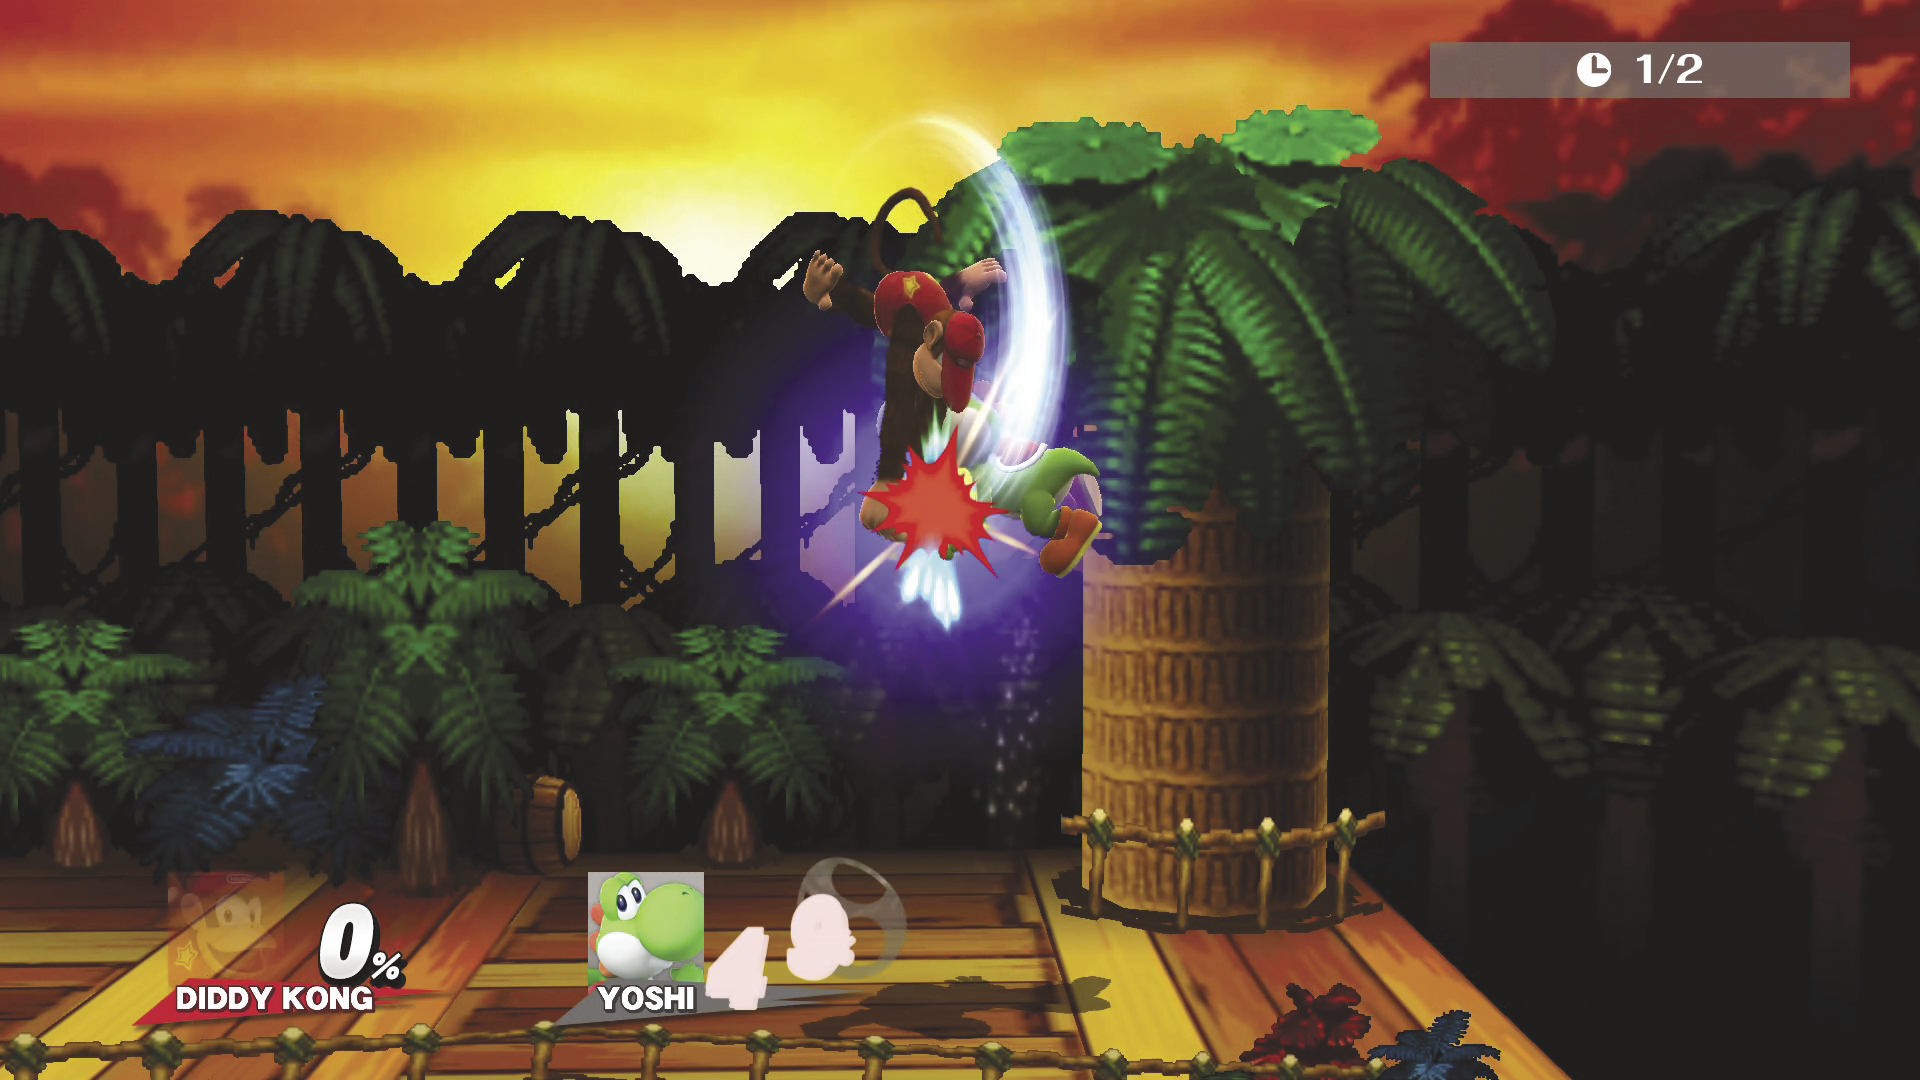
Down Air Attack DAMAGE 10~13%
A huge double overhead strike that bounces opponents off the ground.
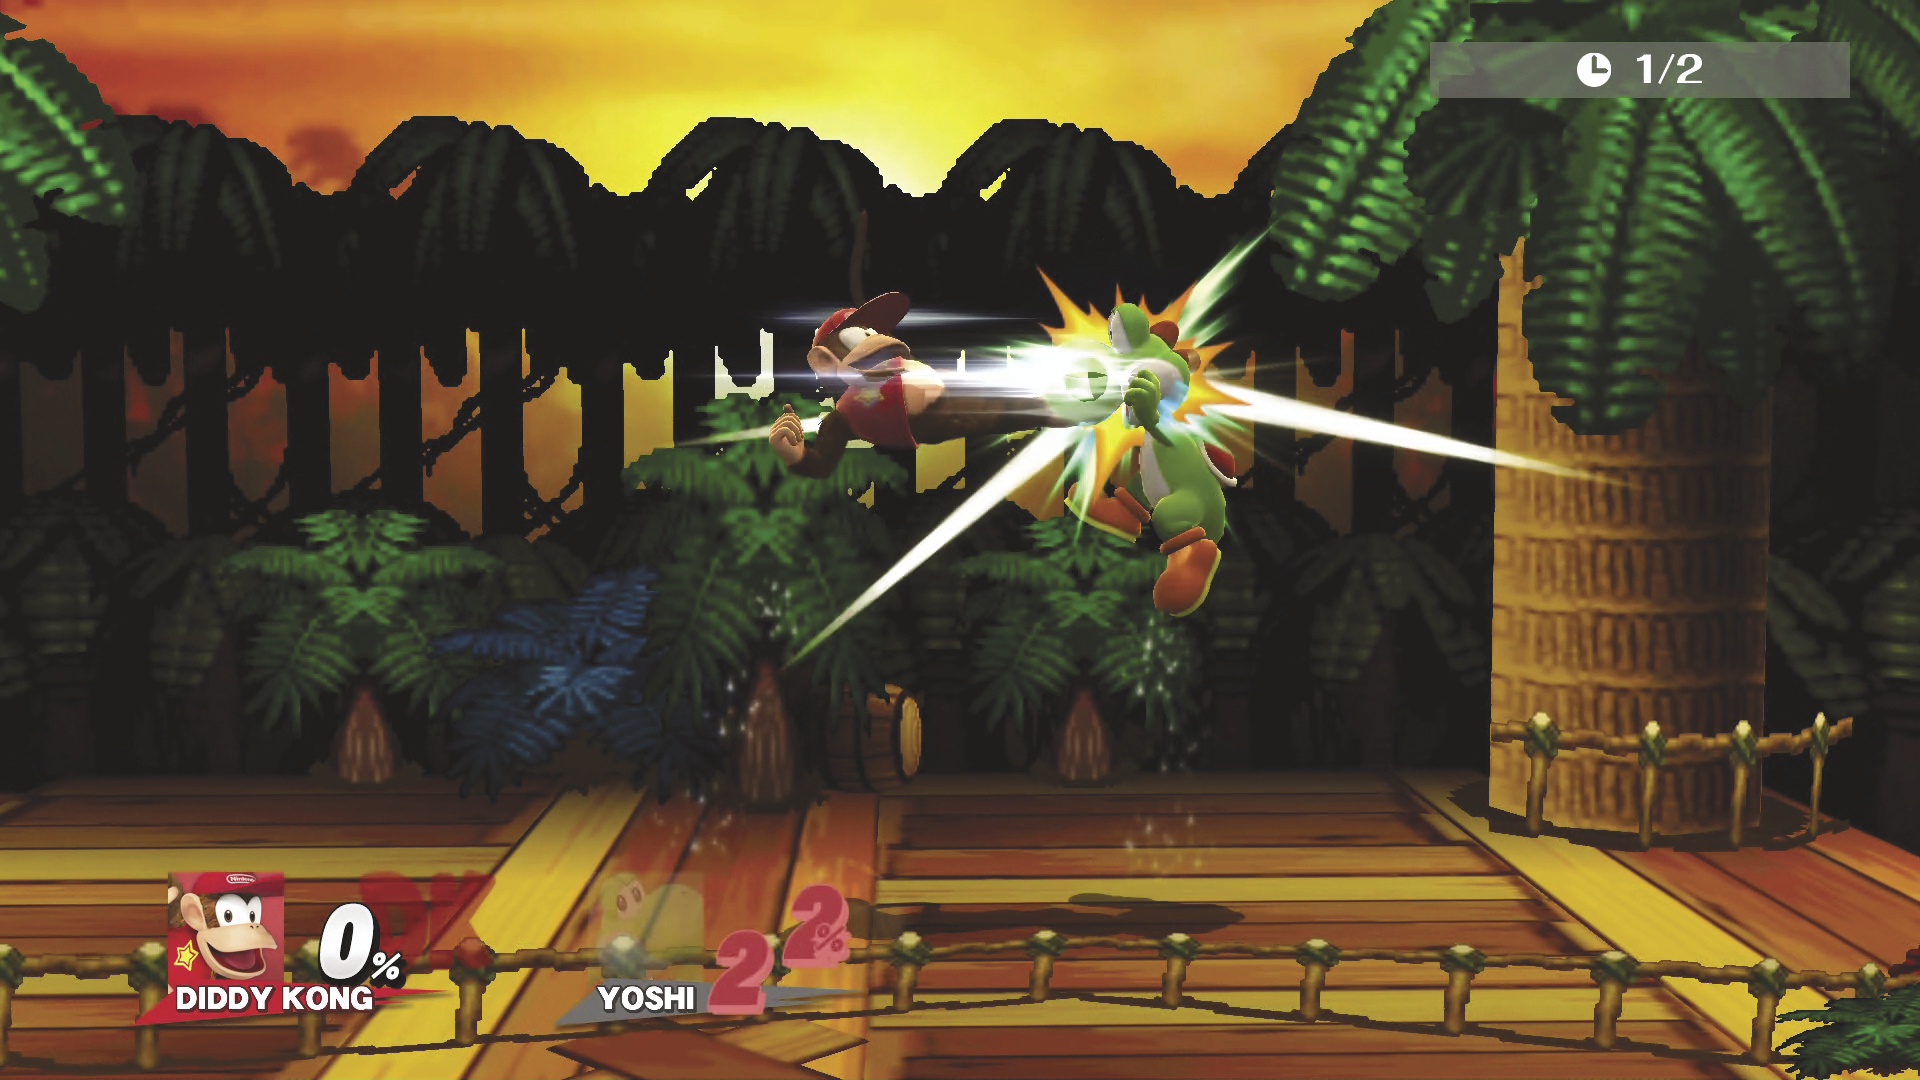
Forward Air Attack DAMAGE 10~12%
A spinning dropkick attack that sends opponents away from Diddy Kong.
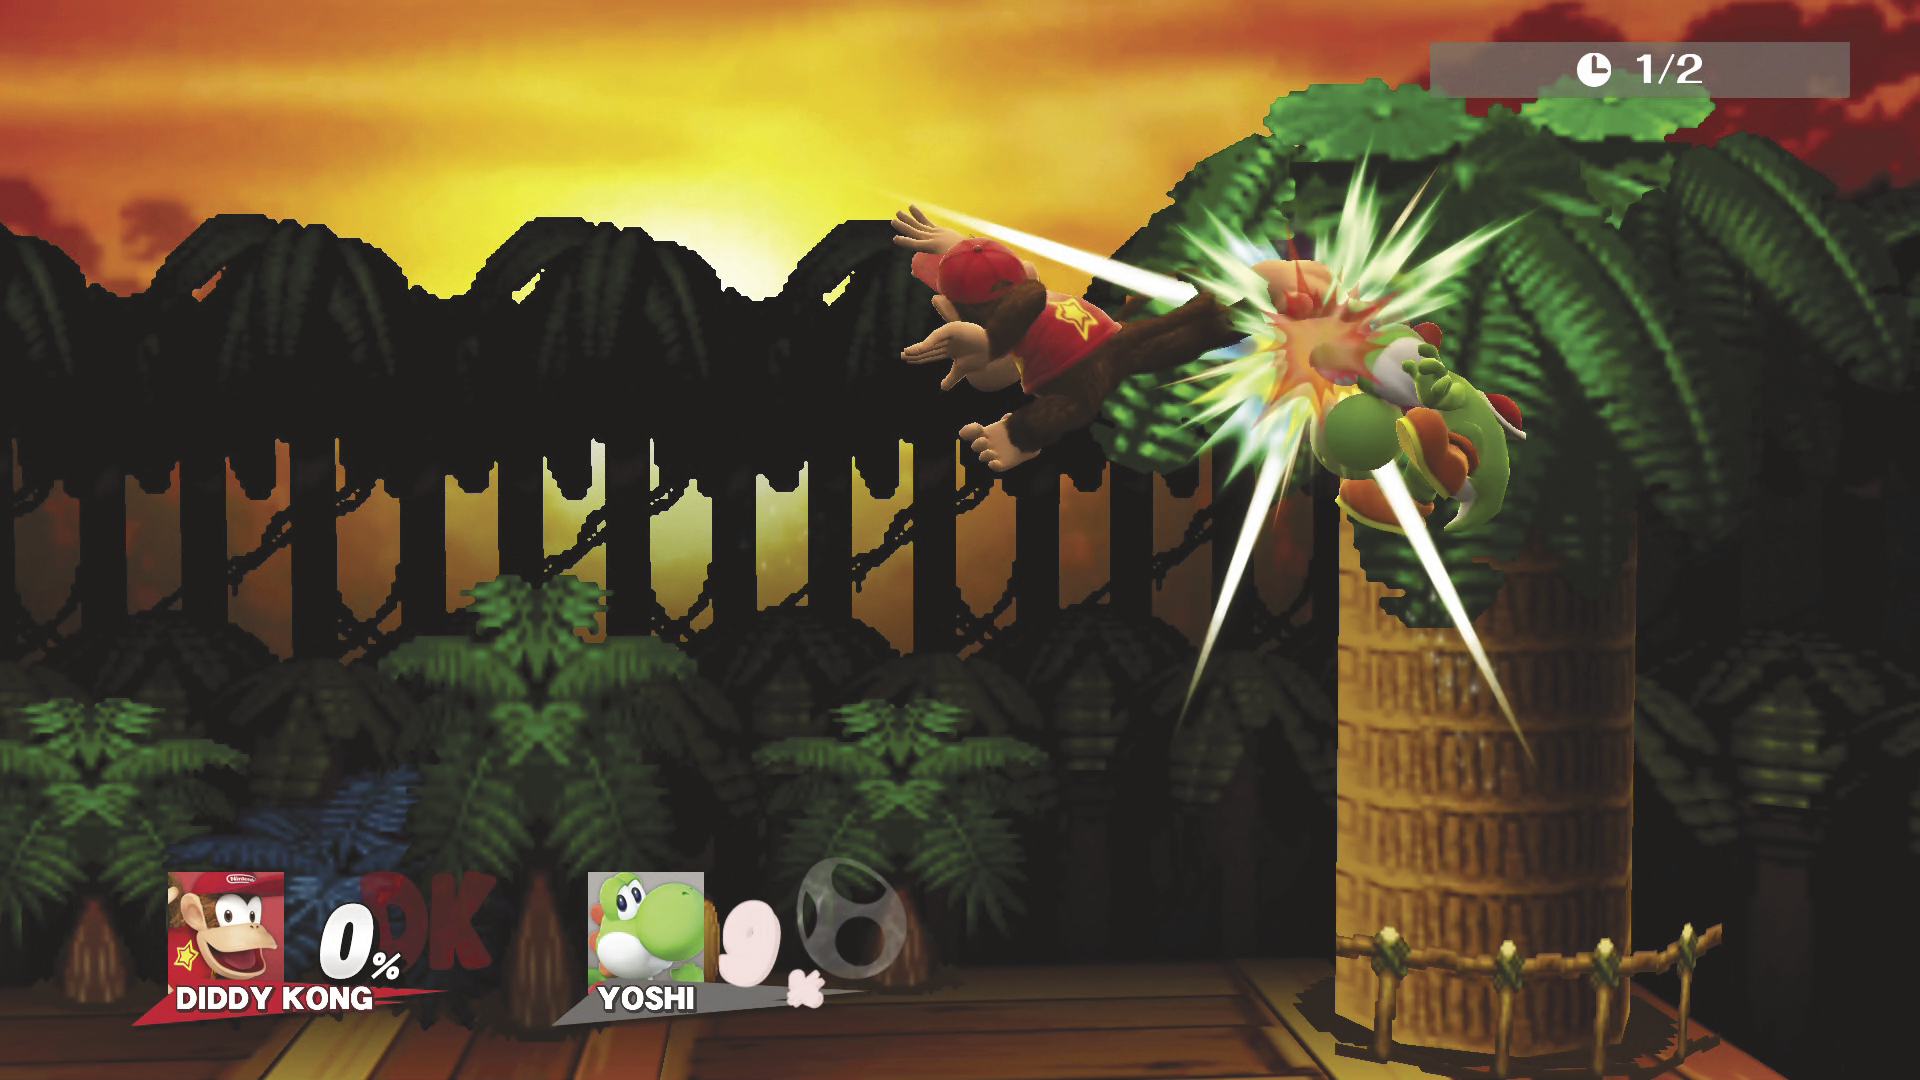
Back Air Attack DAMAGE 9%
Diddy Kong kicks way behind him. This is one of his best aerial attacks.
Special Attacks
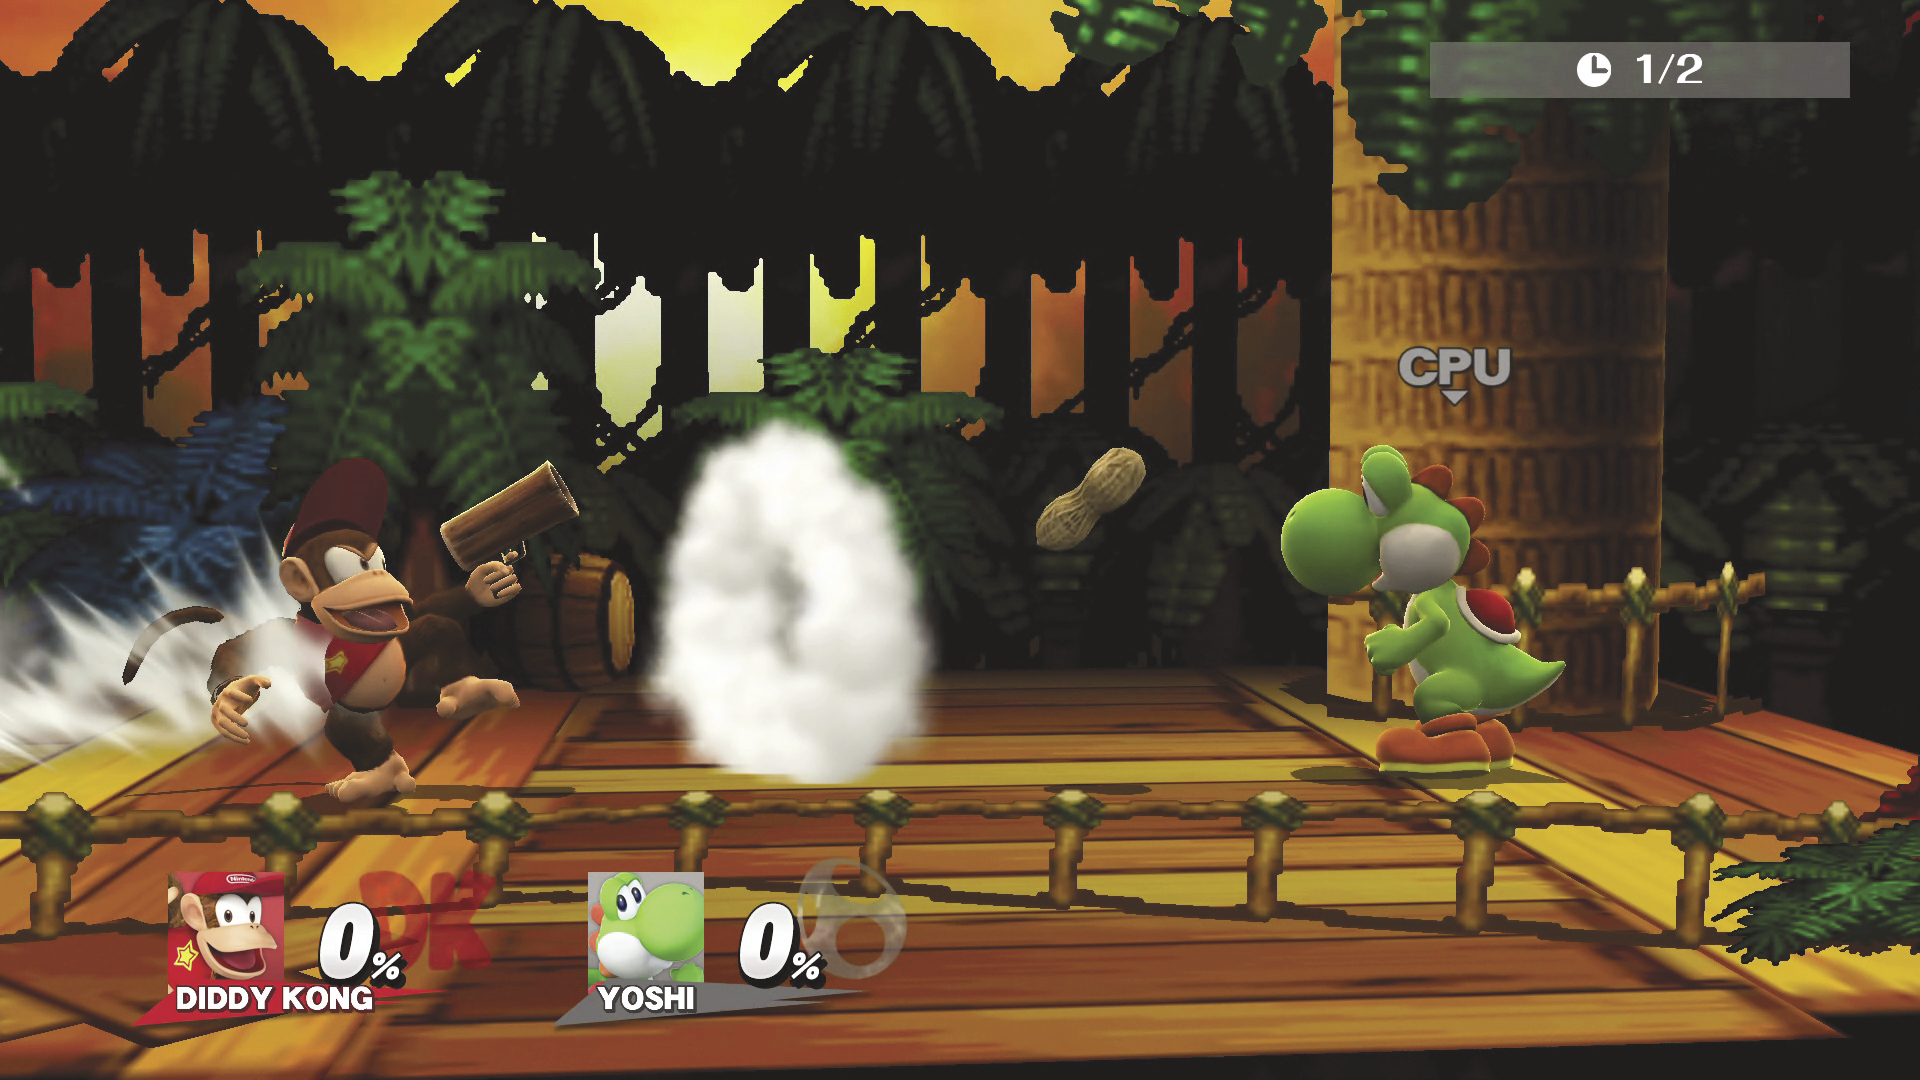
Peanut Popgun (Neutral Special) DAMAGE 3.4~12.3% EXPLOSION 23%
Diddy Kong’s primary projectile, his peanut shooter. Charging it up will shoot farther and cause more damage, but overcharge it and it can explode in your face! Watch for Diddy Kong grabbing his hat, as this is the sign the Popgun is about to backfire!
Exploding Popgun DAMAGE 1% EXPLOSION 18~25%
This popgun does not shoot peanuts! Instead, it charges up to the explosion in about half the time. The explosion has more range than usual, is most powerful in the center, and pushes Diddy Kong back a bit. If you release early, the pogun just fires a puff of air that does 1% damage.
Jumbo Peanuts DAMAGE 7.6~11.4% EXPLOSION 18%
A slower variation of the popgun that shoots giant, stronger peanuts. These giant peanuts do not travel as far, but they certainly deal more damage.
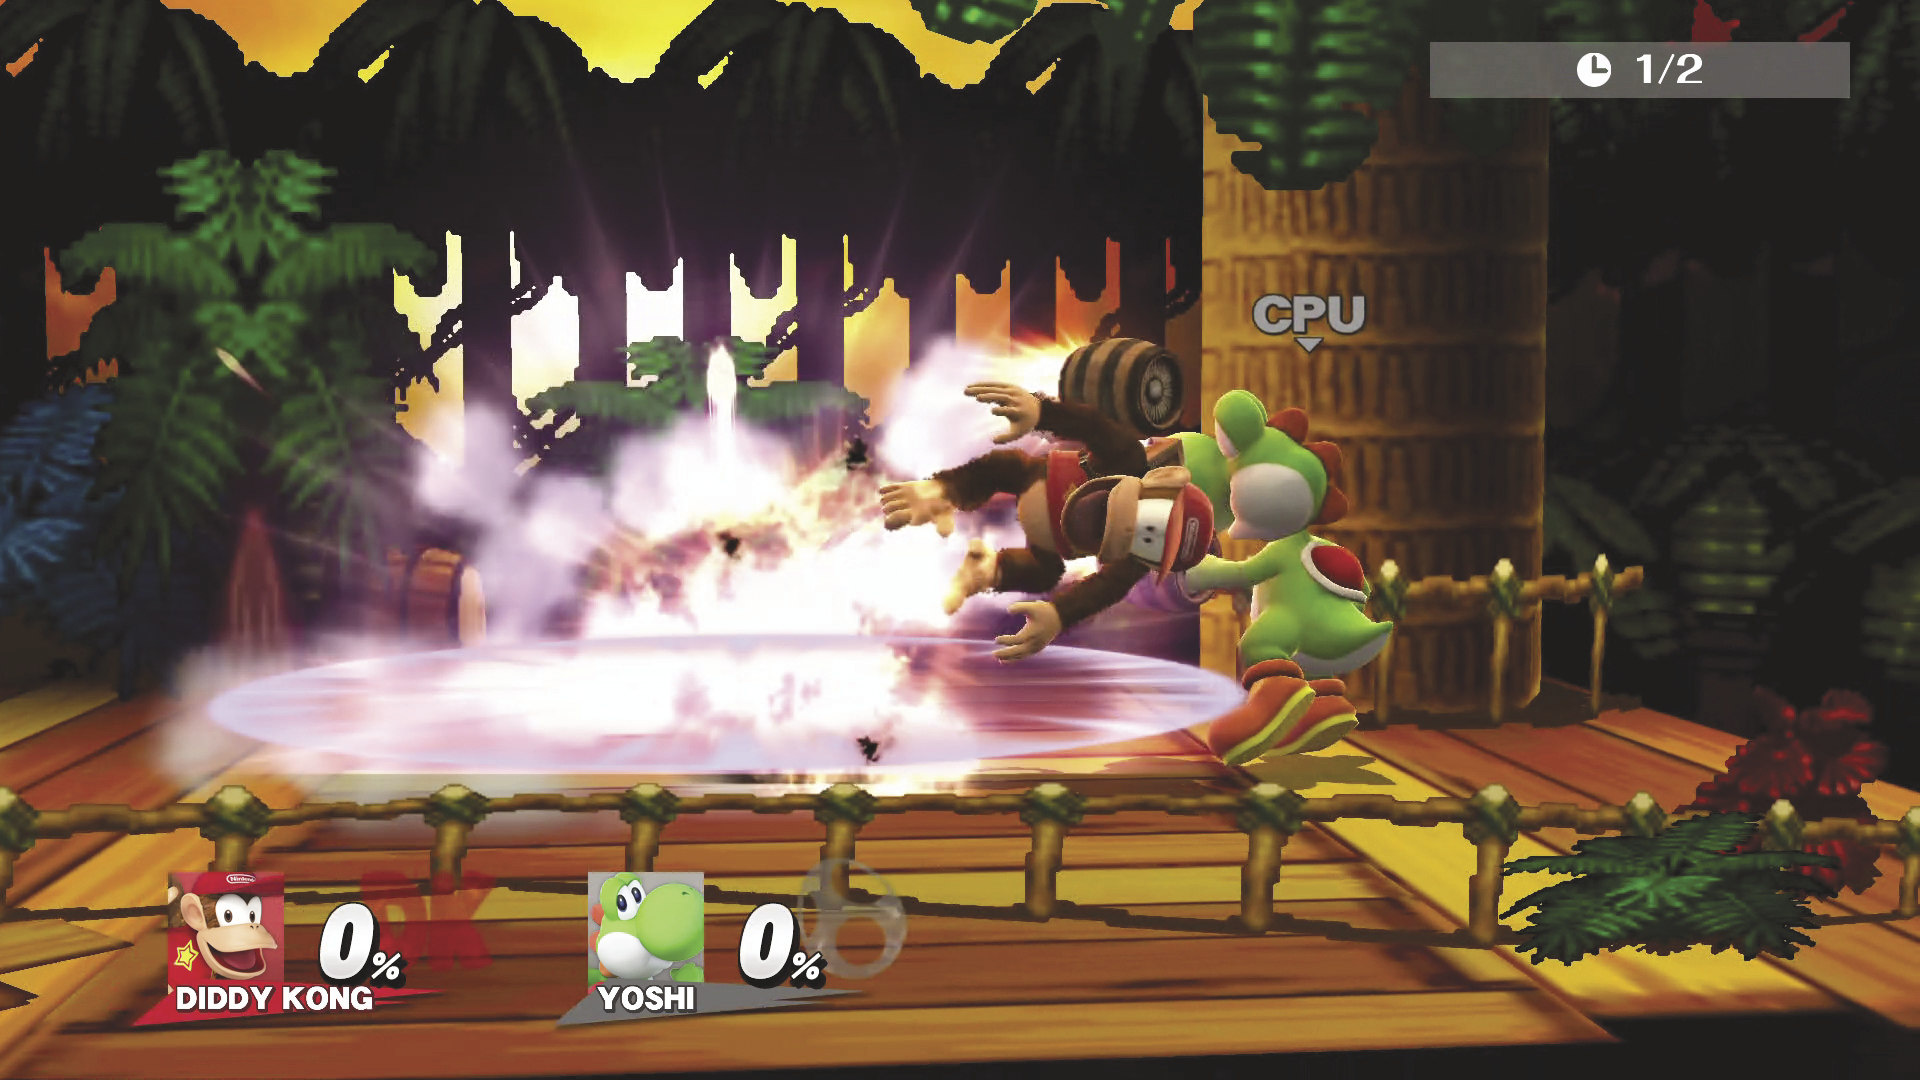
Rocketbarrel Boost (Up Special) FLYING DAMAGE 6~10% EXPLOSION DAMAGE 18%
Allows Diddy Kong to rocket through the air while you steer. Charging it allows you to travel farther. While charging, you can choose a direction to fly in.
Rocketbarrel Attack FLYING DAMAGE 15~18% EXPLOSION DAMAGE 20%
This heavier version of Rocketbarrel deals more damage on hits and during explosions. The downside, though, is it is a bit more difficult to fly. It also has more recovery time than the regular version.
Rocketbarrel Kaboom FLYING DAMAGE 5~7% EXPLOSION DAMAGE 11~17%
This Rocketbarrel charges to full in about half the time and has higher manueverability. One major difference, though, is that any impact with the ground causes the Rocketbarrel to explode. The size of the explosion is larger than normal.
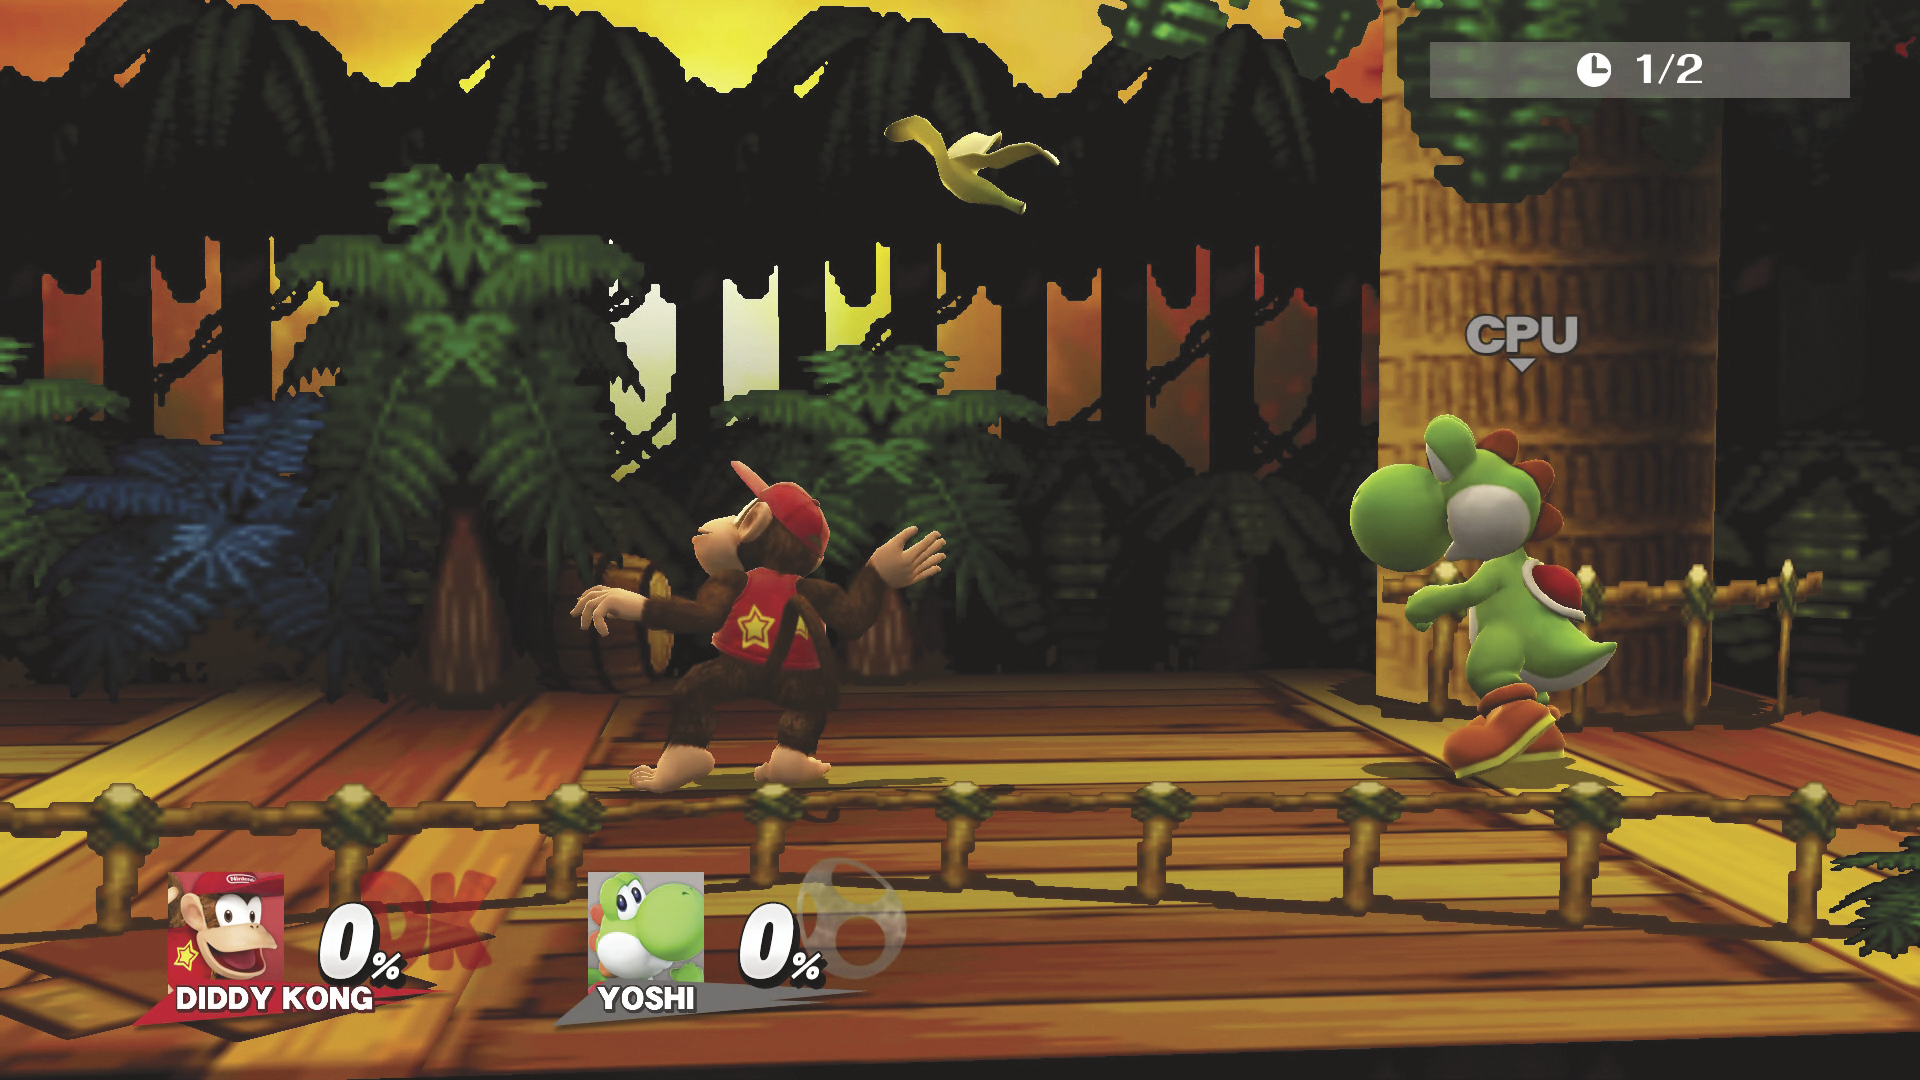
Banana Peel (Down Special) DAMAGE 4.7~6.2%
Toss a banana peel into the air behind you to slip up your enemies! Only one banana peel can be out at a time. You can also pick it up off the ground to throw it again, but it will vanish after being thrown twice, after hitting an opponent, or after being slipped on.
Shocking Banana Peel DAMAGE 4.4~5.4%
This banana peel shocks and paralyzes opponents. Banana peels that are stepped on paralyze opponents longer. You can’t toss this banana peel as high as the regular version.
Battering Banana Peel DAMAGE 5.4~7.1%
Diddy Kong throws this banana peel straight up into the air. If it hits any opponents, they aree knocked upward. If it’s stepped on, this banana peel also knocks opponents into the air.
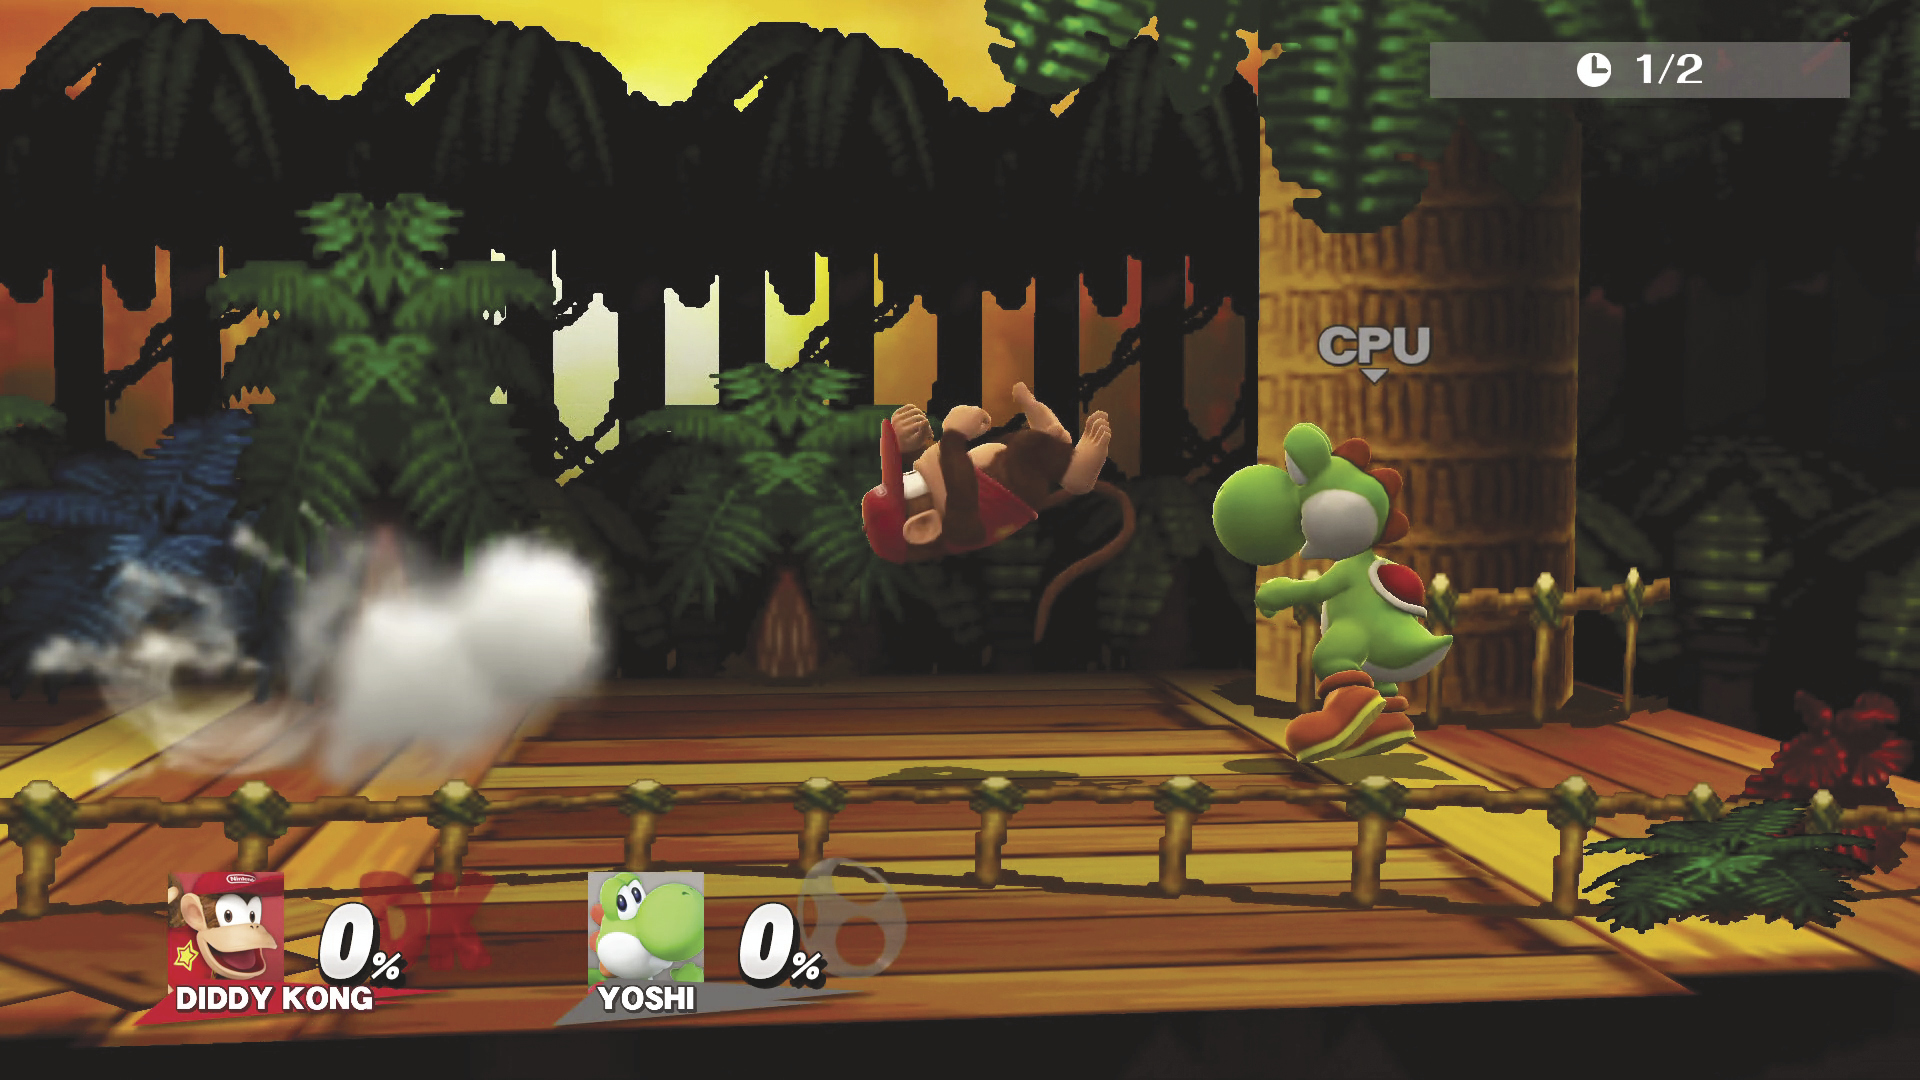
Monkey Flip (Side Special) GRAB DAMAGE 1% MAX DAMAGE 3% : 3 Hits THROW DAMAGE 5~7% MAX DAMAGE 12% : 2 Hits STOMP DAMAGE 5% MAX DAMAGE 10% : 2 Hits KICK DAMAGE 12~14%
Diddy Kong leaps forward at your opponent. On a hit, he grabs the opponent, and you can either hit the Attack button to launch that opponent sideways or press Up to jump off the opponent’s head. If you grab an opponent in the air, that opponent will break free quicker than an opponent you grab on the ground. Alternatively, instead of going for the grab, you can hit the Special button again to have Diddy Kong kick while jumping.
Back FlipKICK DAMAGE 8~17%
Diddy Kong backflips, and his only attack option out of this is a flying forward kick. This kick is stronger than the default kick and is also quicker.
Flying Monkey Flip GRAB DAMAGE 1% MAX DAMAGE 3% : 3 Hits THROW DAMAGE 3~5% MAX DAMAGE 8% : 2 Hits STOMP DAMAGE 7.5% MAX DAMAGE 15% : 2 Hits KICK DAMAGE 8~10%
Diddy Kong jumps higher in this variation and gains extra damage and a meteor smash effect during his stomp. His horizontal movement is slightly reduced as well.
Final Smash
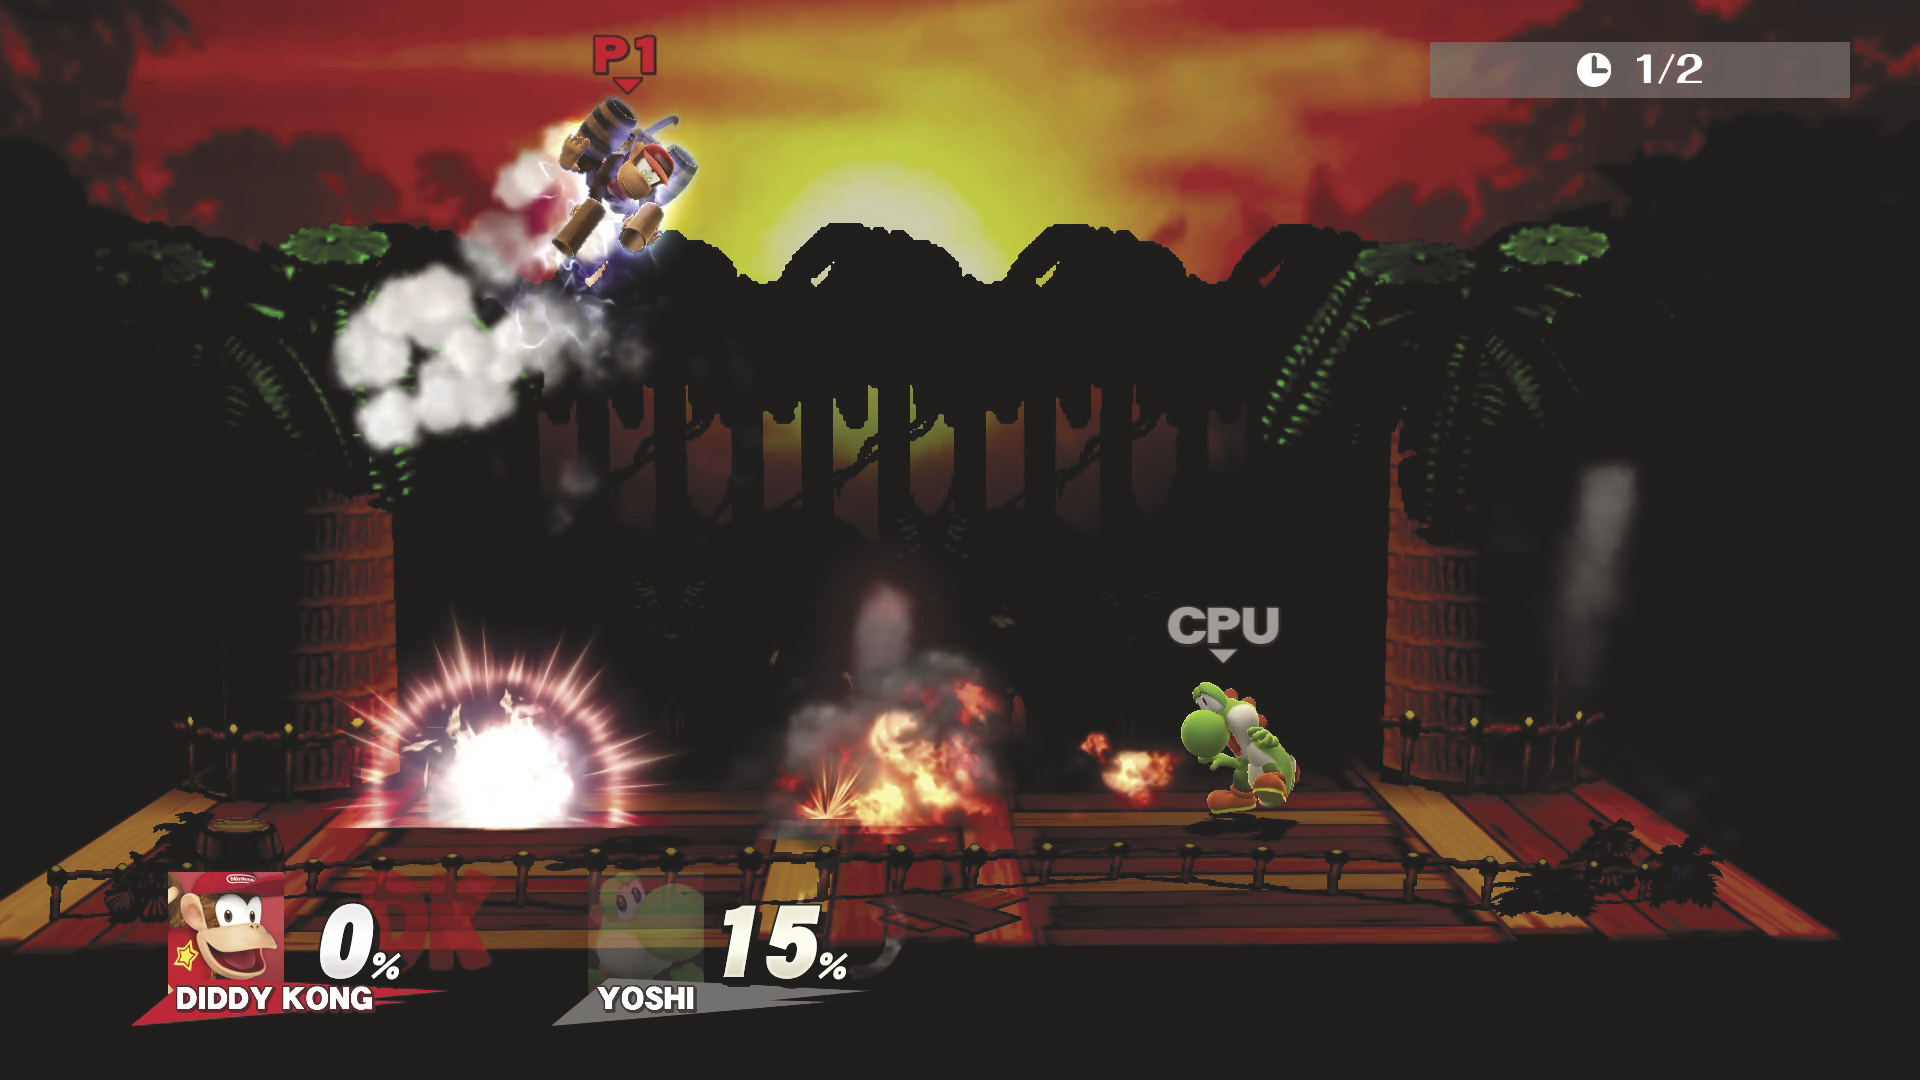
Rocketbarrel Barrage
Diddy Kong straps on his Rocketbarrel and takes flight! While this is active, he can fly continuously through the air for about 14 seconds before the Rocketbarrel explodes. Each peanut shot does about 5% damage while the explosion of the Rocketbarrel does about 20% but doesn’t harm Diddy Kong. You can also ram into opponents while flying for about 12% damage. One strategy might be to fly along the top of the stage, out of reach of opponents, while raining peanuts on them from above! You have invincibility during this Final Smash, so don’t be afraid to get close if necessary!
Strategy
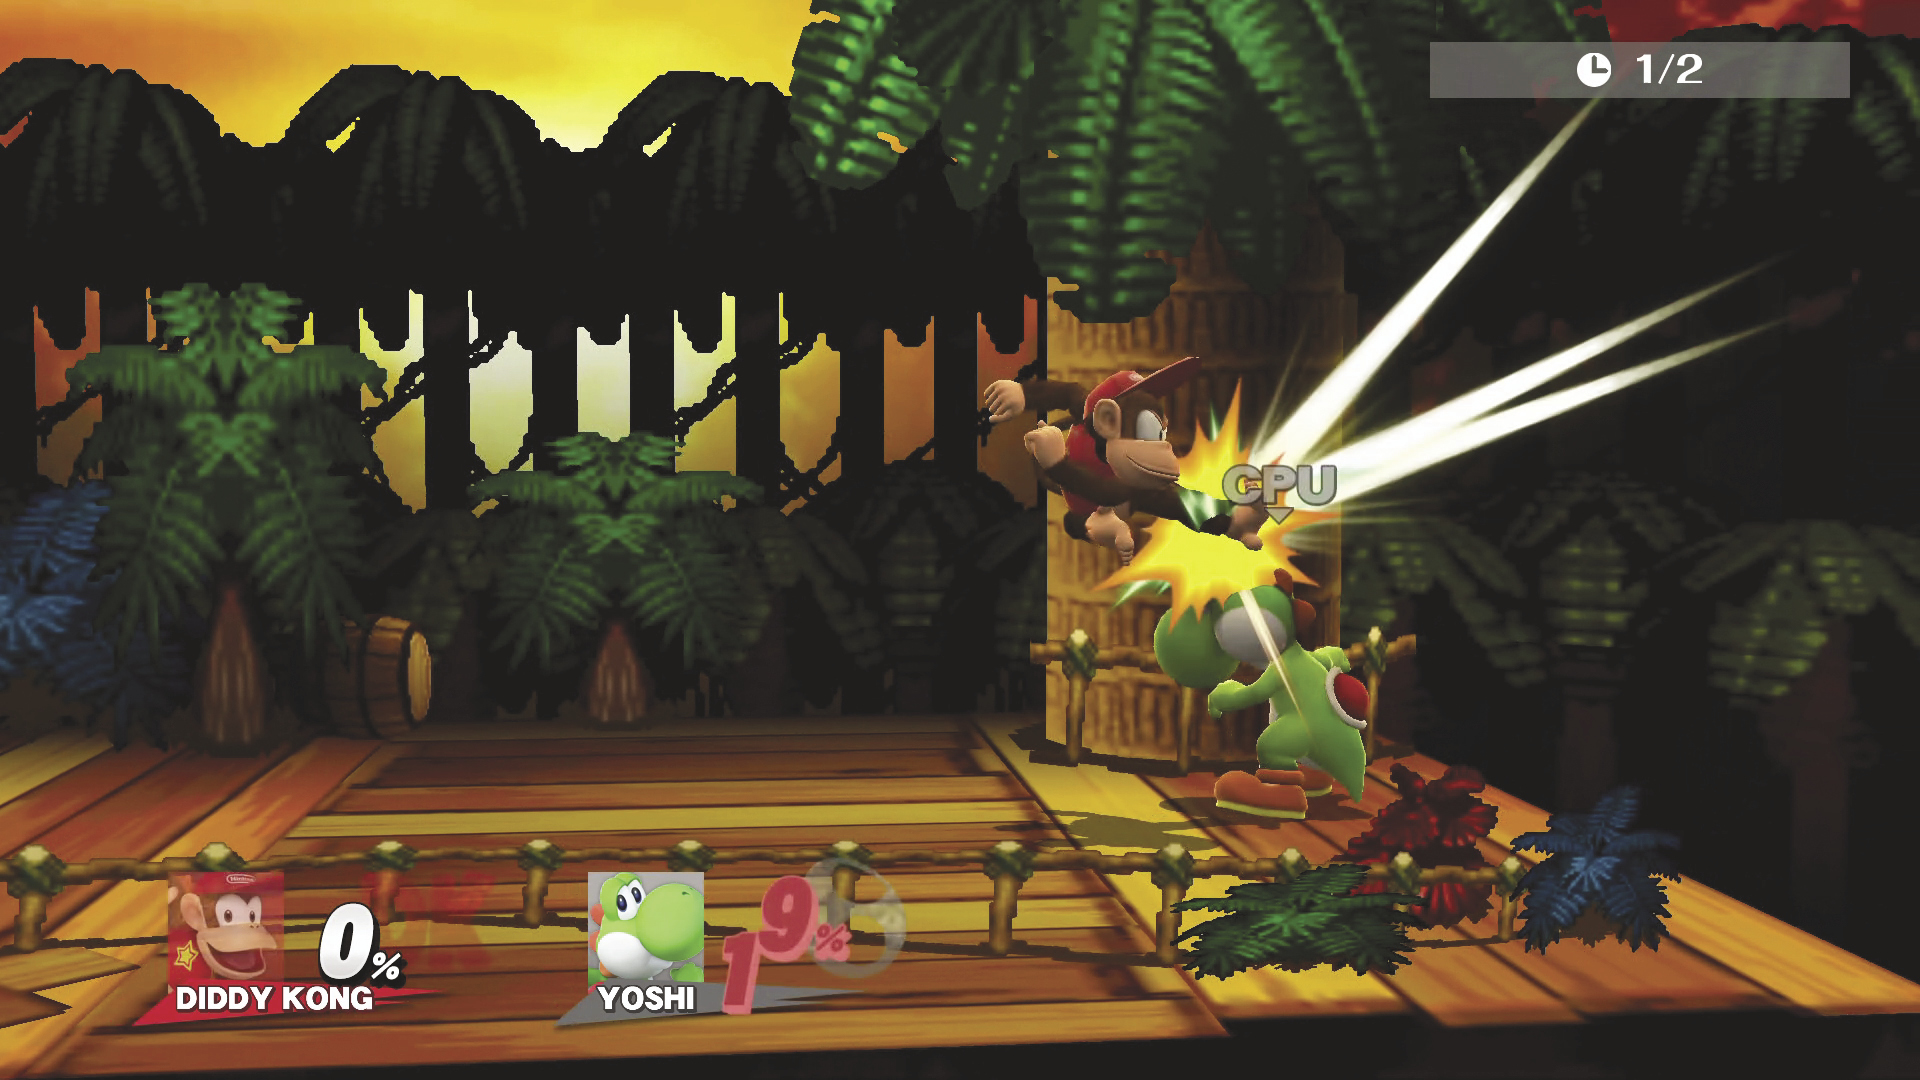
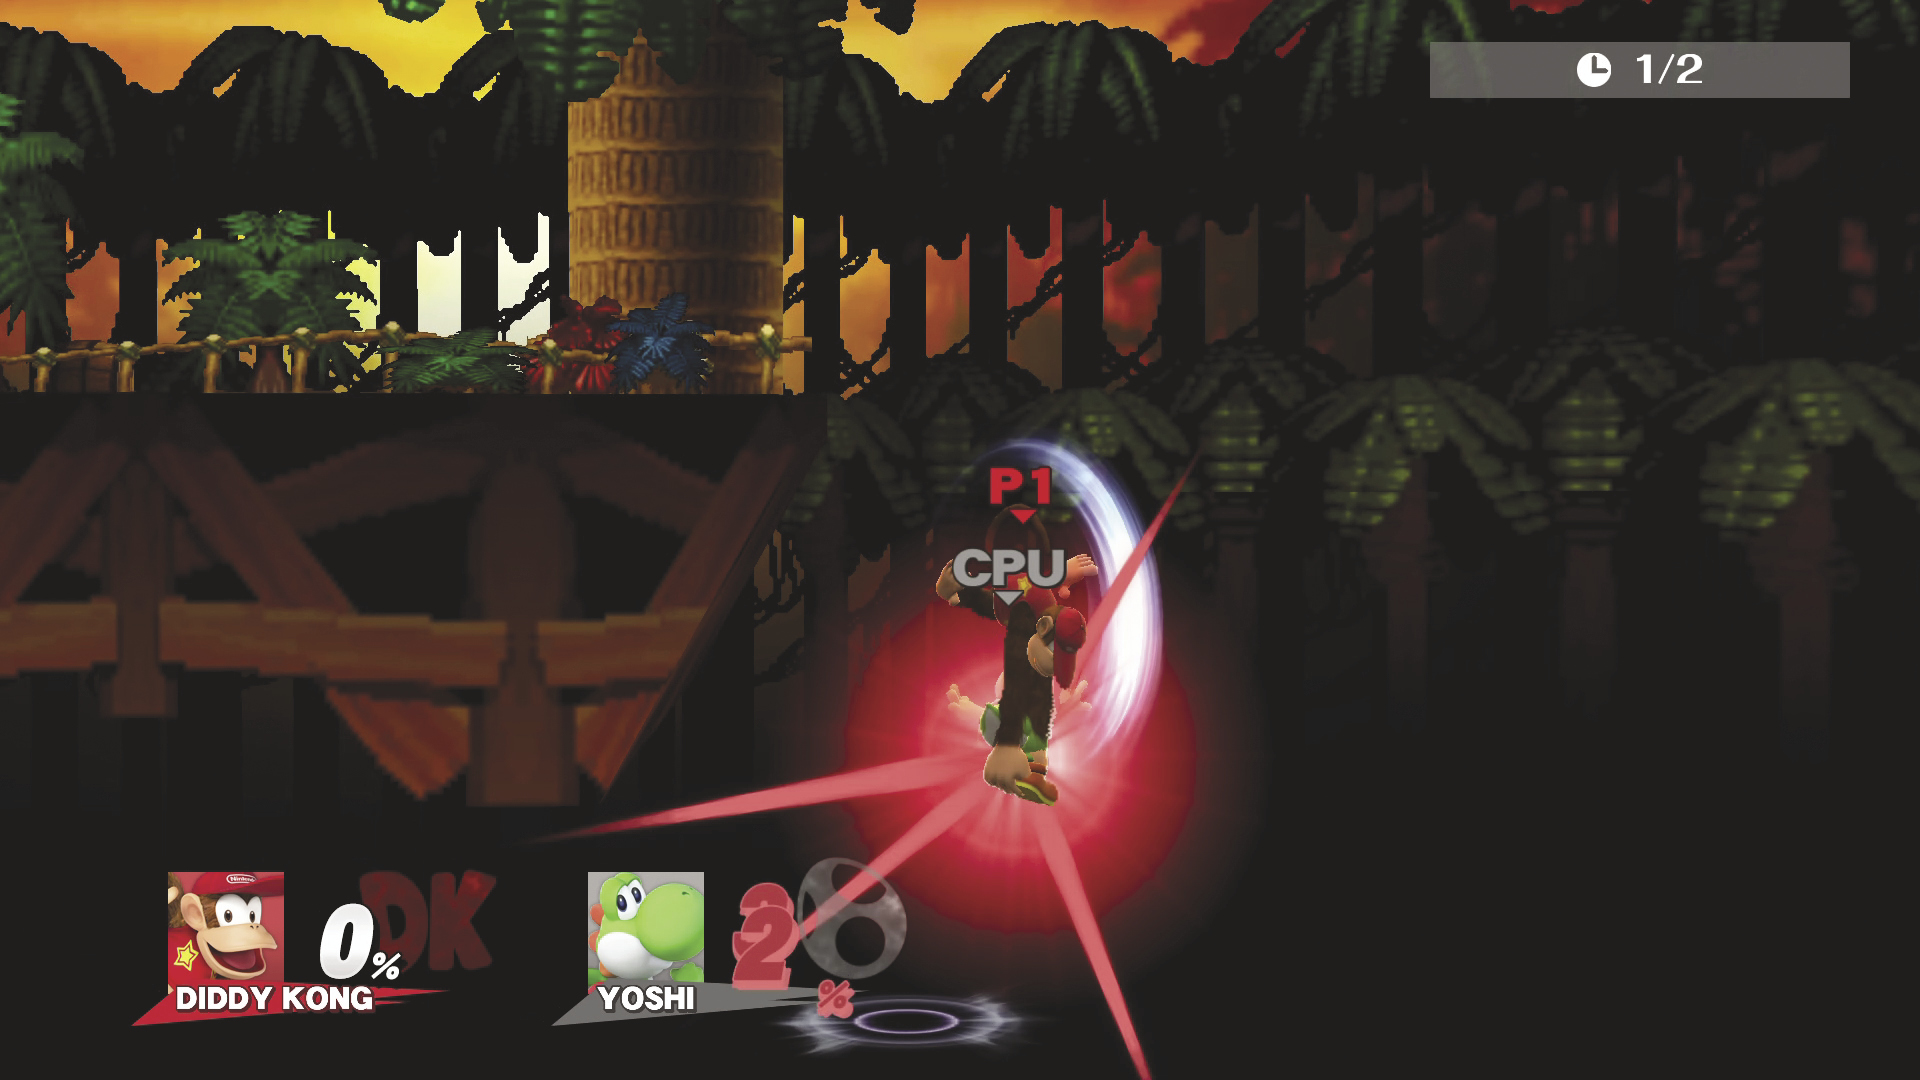
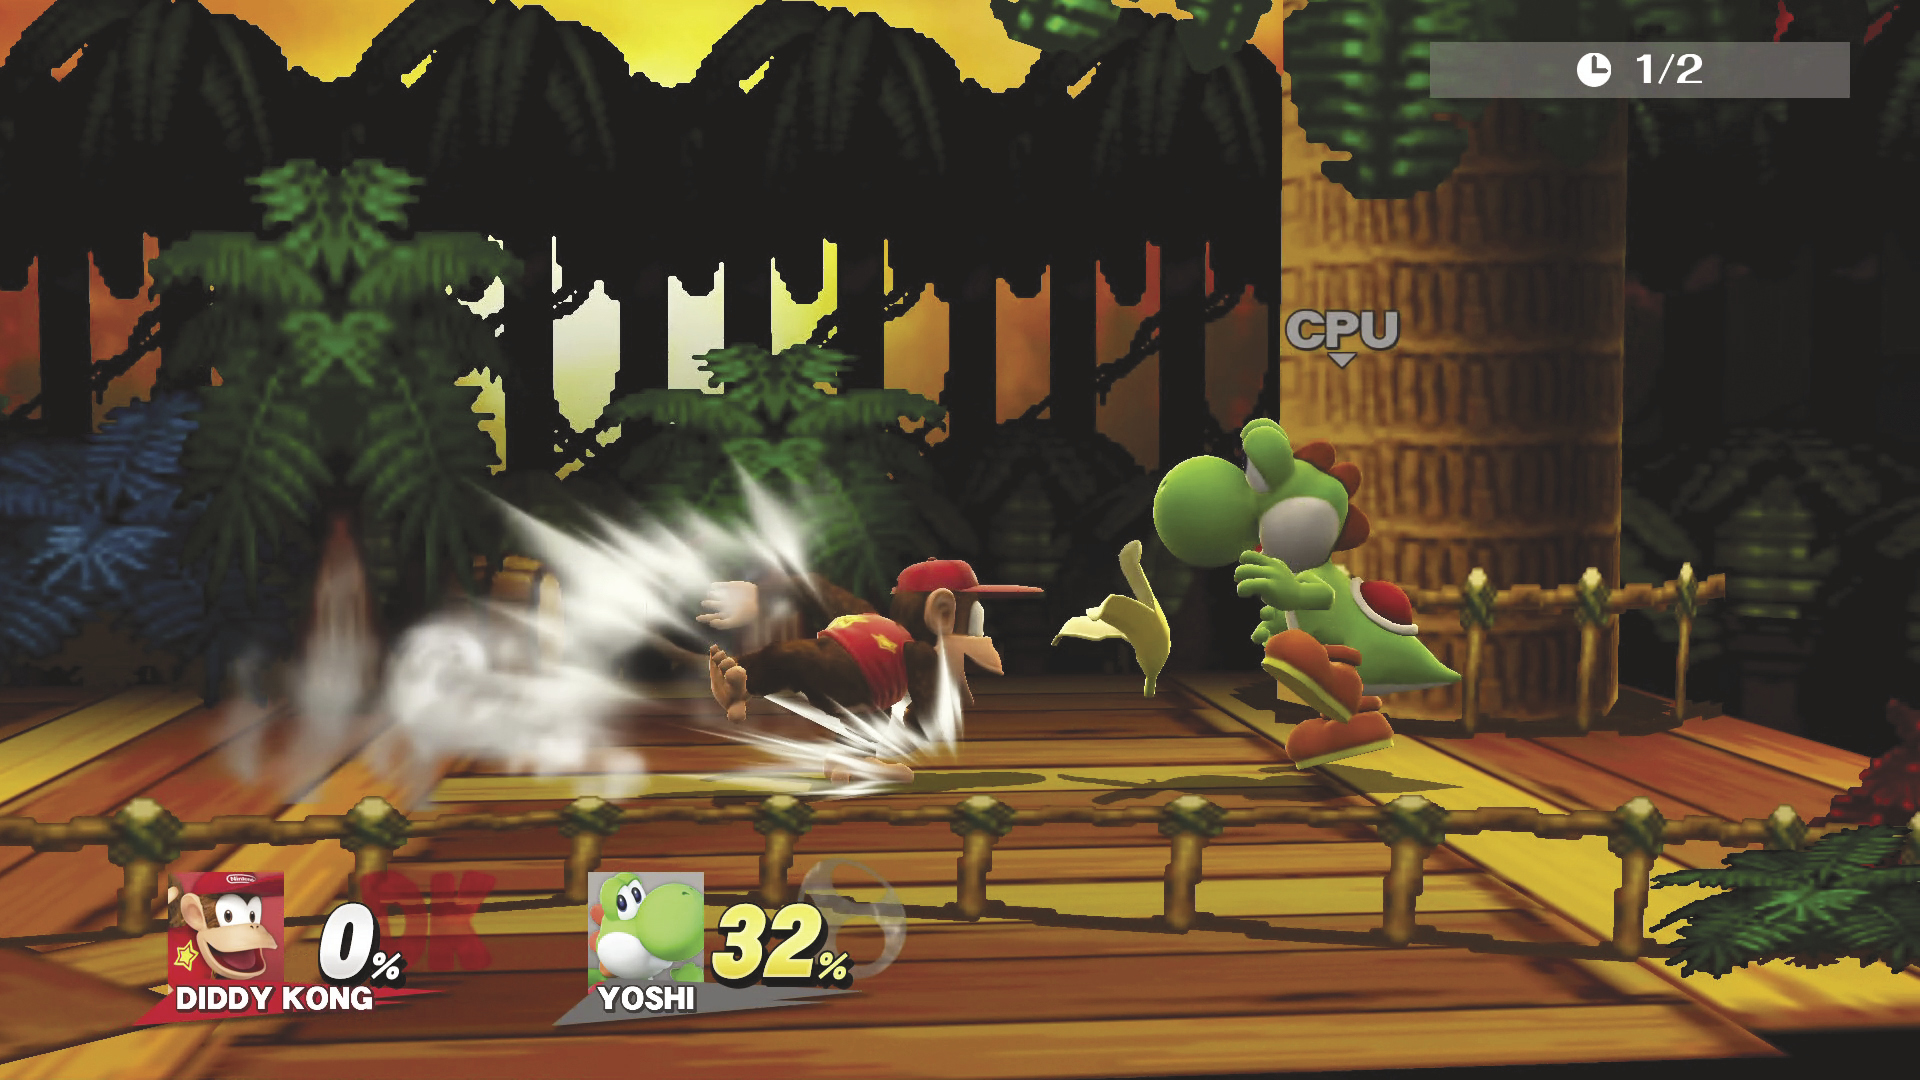
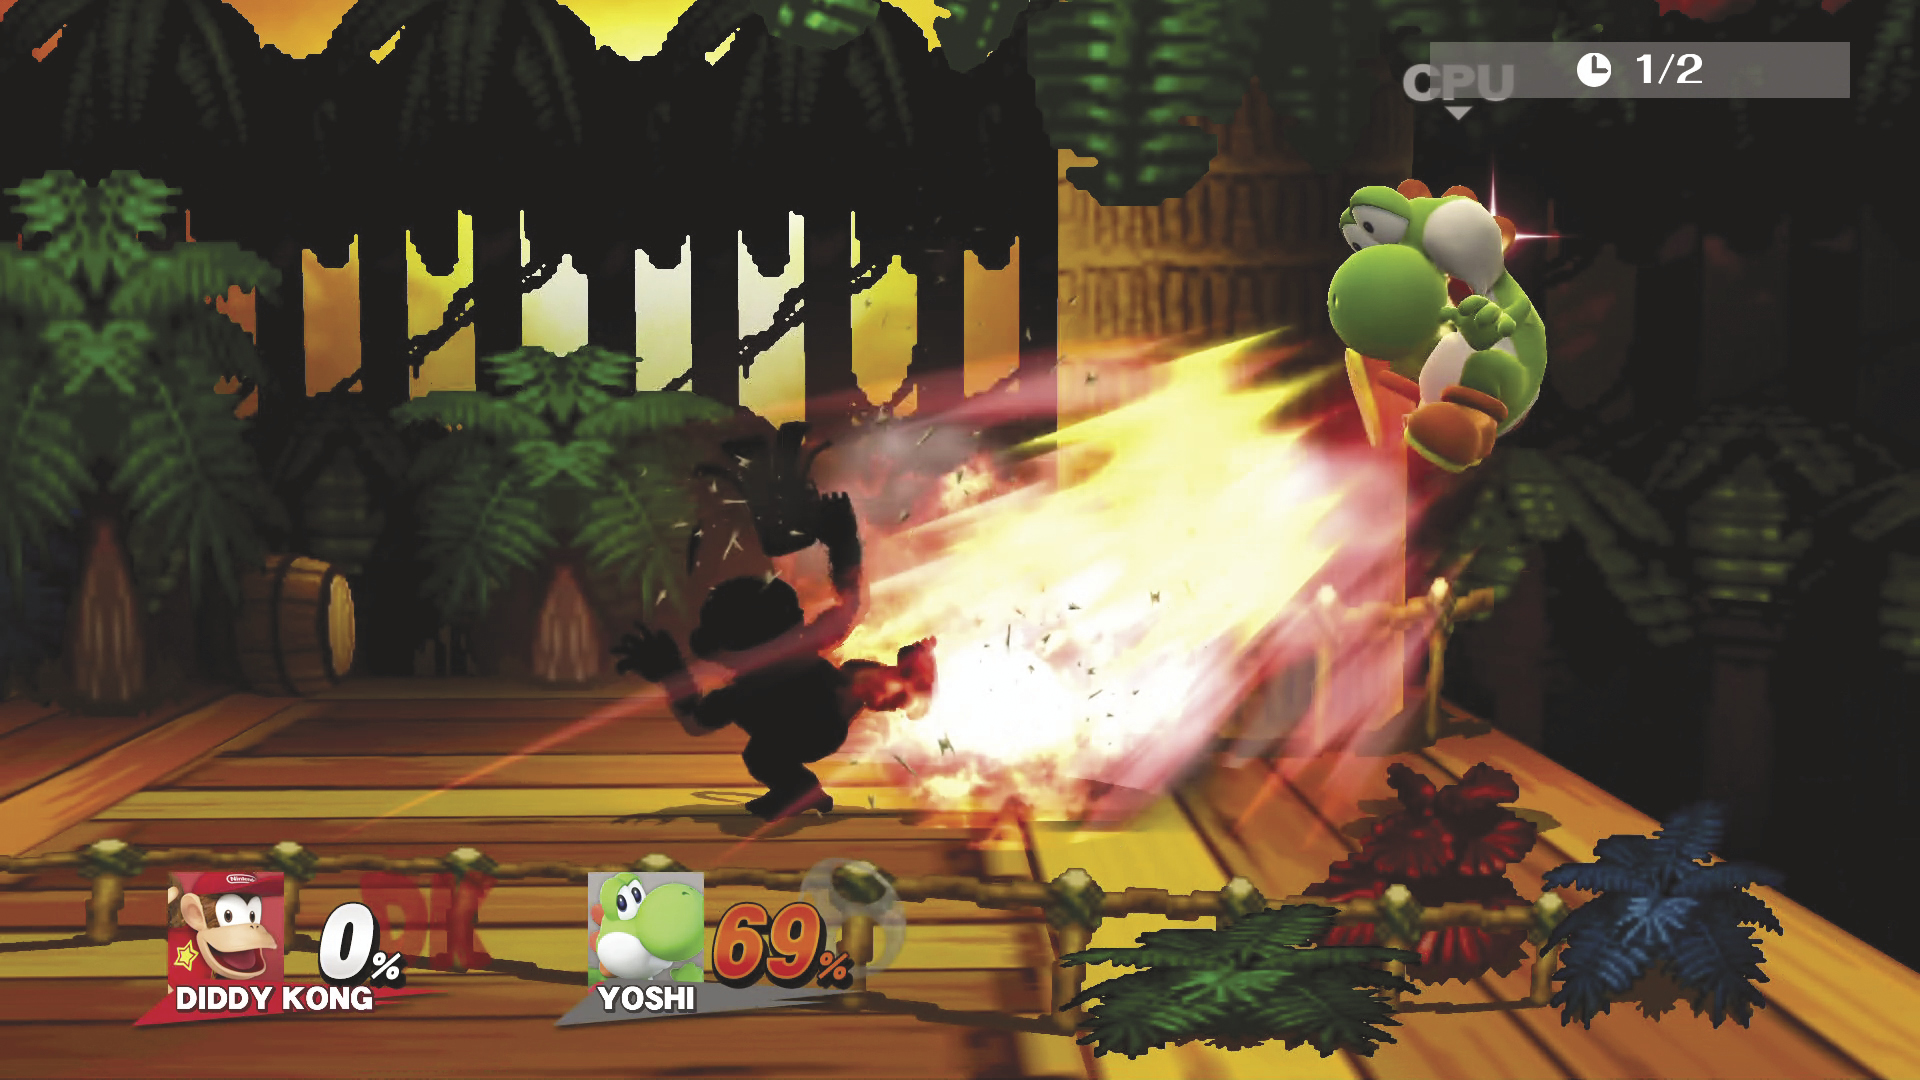
With impressive speed, Diddy Kong is one of the lighter medium-weight characters in the game. His mobility is a notch above other characters as he can also crawl, wall cling, and wall jump. He has a strong projectile game with his Peanut Popgun, his Banana Peel, and good range on most of his attacks. Use his speed and projectiles to fight from a distance. When you have a Banana Peel out, try to stay nearby—if someone slips on it, or even goes to pick it up, you can use this as an opportunity to attack with your Dash attack or Monkey Flip. Or if you are closer, go for a Side or Down Smash! With his tilt attacks, Diddy’s Kong’s Side Tilt has great range and damage while his Up Tilt knocks opponents fairly high. Down Smash, Side Smash, and Forward Air are his strongest attacks for KOs.
In the air, Diddy Kong also has good options. His Forward Air has great range and does good damage. Down Air has a meteor effect, which can be very useful earlier in matches. And Back Air, while not particularly damaging, has great speed, range, and recovery, allowing you to use it multiple times in a single short hop. Aside from his average weight, one of Diddy Kong’s weaknesses is that all of his projectiles can be caught or picked up! Banana Peels can be picked up and thrown back at Diddy Kong, and peanuts he fires can be caught and thrown back, too! Note that if you attack a peanut shell, sometimes you’ll get a peanut you can eat to recover health. If an opponent is waiting for your peanut, consider charging it up all the way! This is risky because the backfire will leave Diddy Kong extremely vulnerable, but it does no damage to him, and if it hits an opponent, it delivers a whopping 23% damage! In general, though, be sure to mix up how long you charge it so it will be harder for opponents to catch.
Monkey Flip has a variety of uses, as it covers great distance and has a multitude of options. If you use the Up or Jump option after catching an opponent in the air, it actually gives you a small meteor effect. When using the jump kick out of Monkey Flip while you still have your double jump available, you can use double jump to follow up with a Forward Air as well! Rocketbarrel Boost gives much more control to you than ever before—now you can even use it go horizontally! If it’s fully charged, though, take care not to blast yourself off the stage!
Recovery
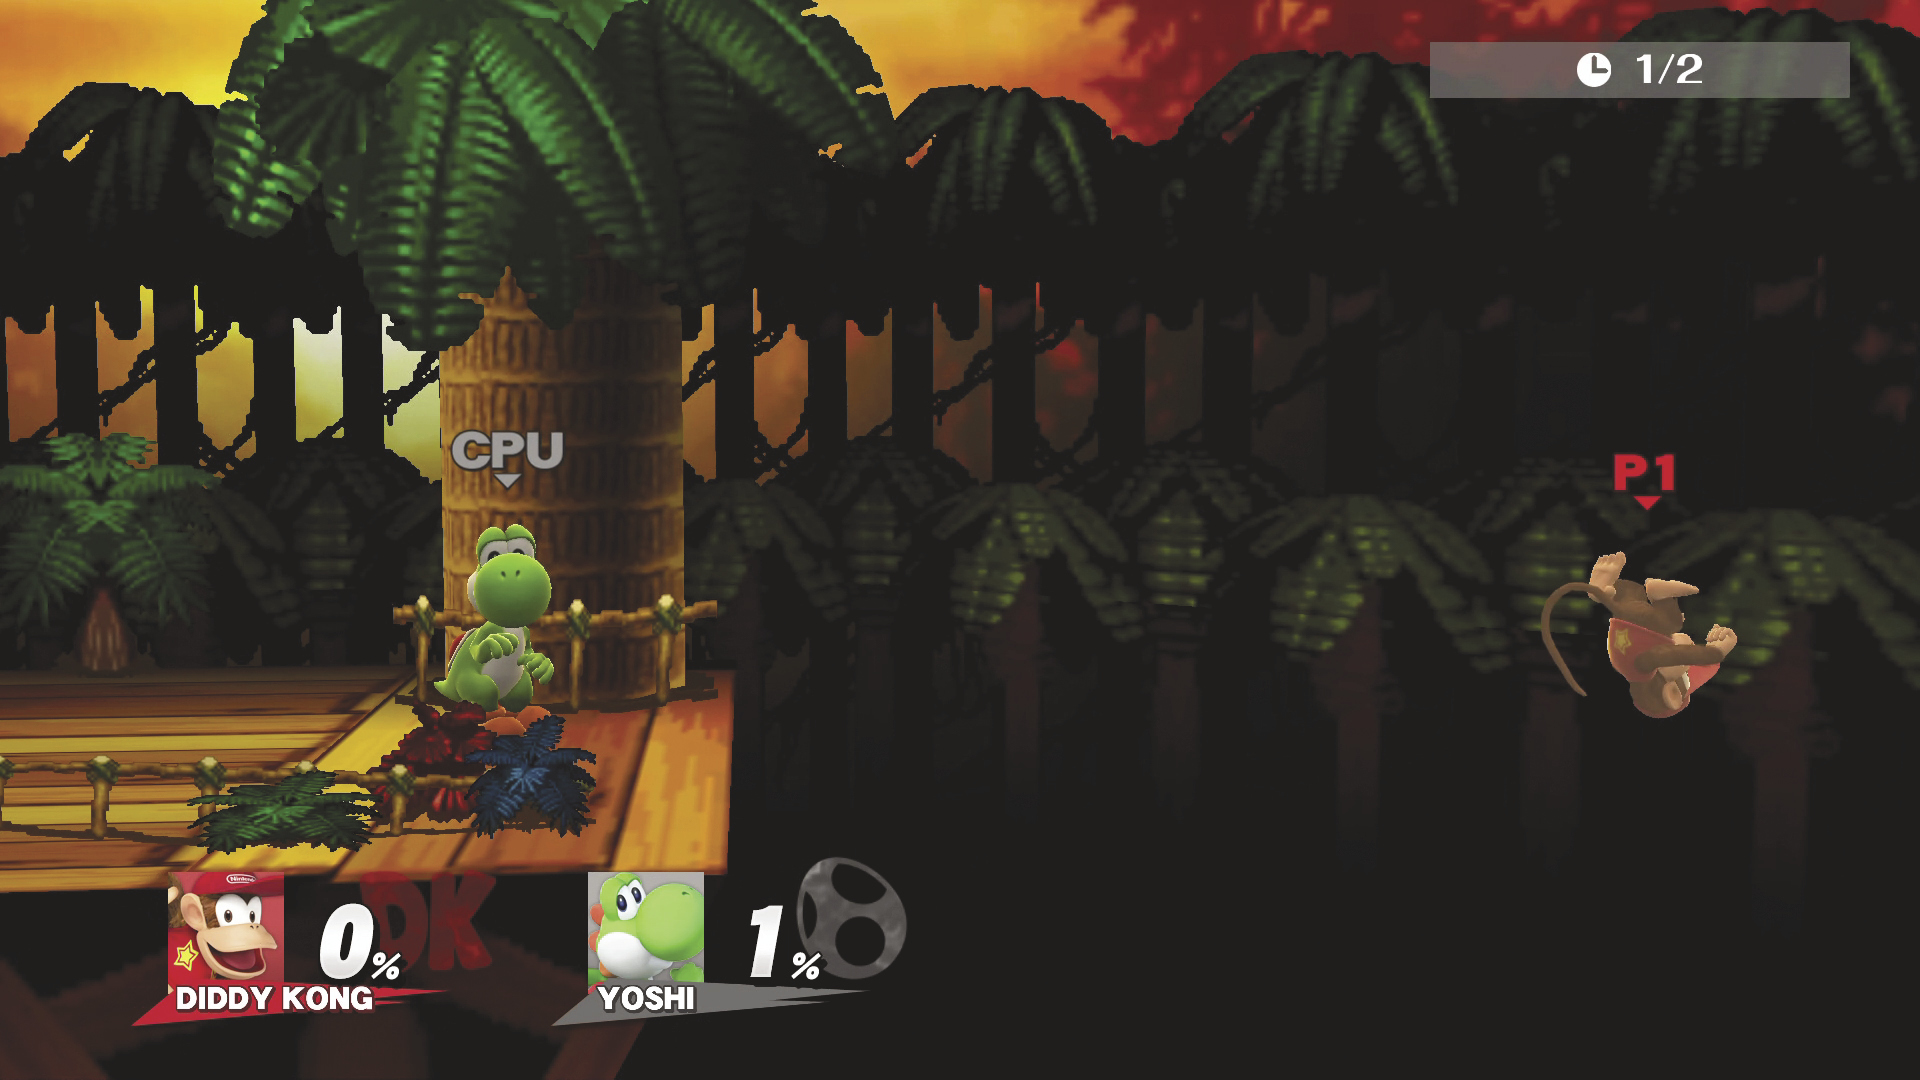
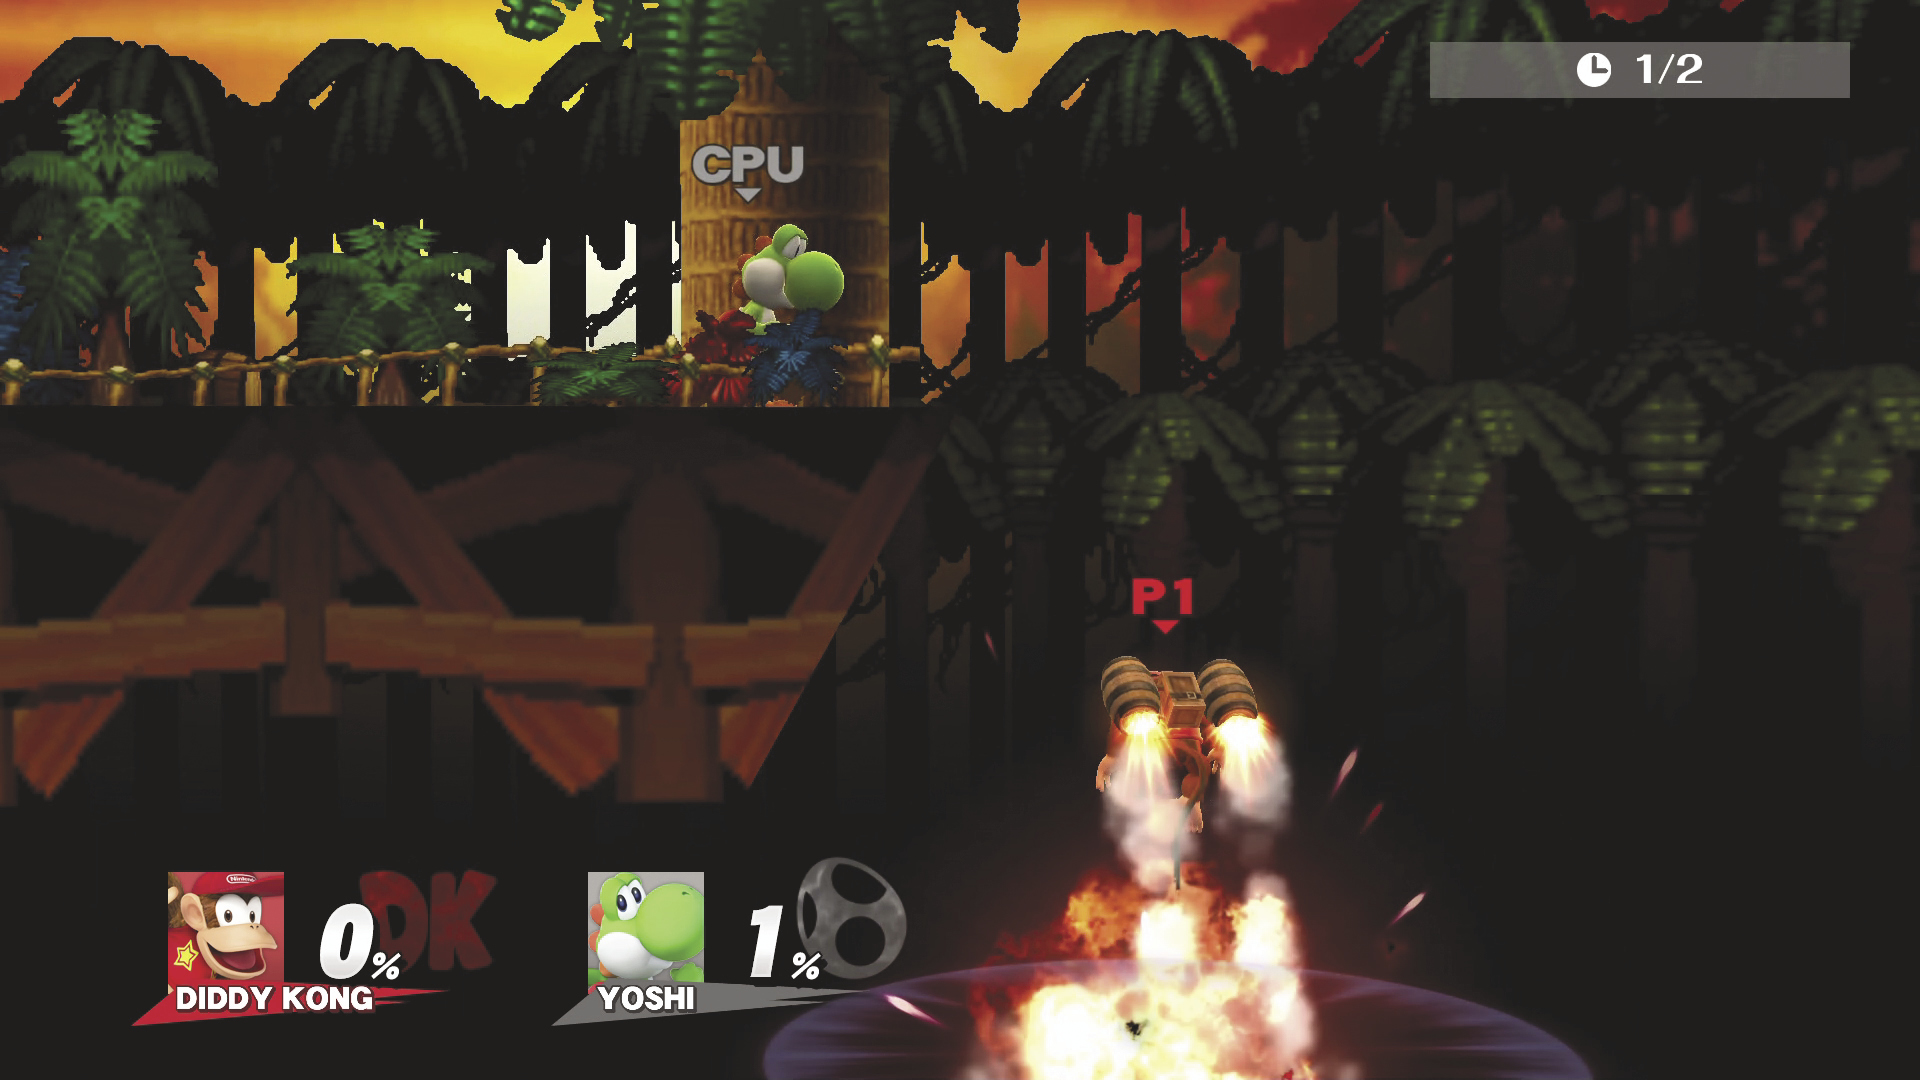
Diddy Kong has two good recovery tools. First, he has his Monkey Flip for horizontal recovery. This swings Diddy Kong forward a considerable distance. If you still have your double jump, use it; otherwise, you’ll be in a fall state. Second, Diddy Kong has his Rocketbarrel Boost, which allows him to steer while flying. Rocketbarrel Boost should be his main vertical recovery tool—he has Monkey Flip to cover horizontal ones, though charging Rocketbarrel Boost up in time is sometimes difficult. Note that if Diddy is attacked while using his Rocketbarrel Boost, the pack breaks free and flies off on its own. To cover a lot of distance, do one jump, Monkey Flip, double jump, charge Rocketbarrel Boost, and then take off!