
Super Smash Bros. WiiU/3DS Guide Wii U GAME MODES Wii U - Challenges
Challenge Tips
Most of the game’s Challenges are straightforward, and many of them can be completed without any special techniques or knowledge. Some of them, however, call for a significant amount of skill and strategy. Here are some tips to help you complete a few of the game’s trickier Challenges.
Combos
All of the combo Challenges must be performed in Training. This not only makes it easy to monitor the effectiveness of each attempt, but it allows you make each attempt under the ideal conditions.
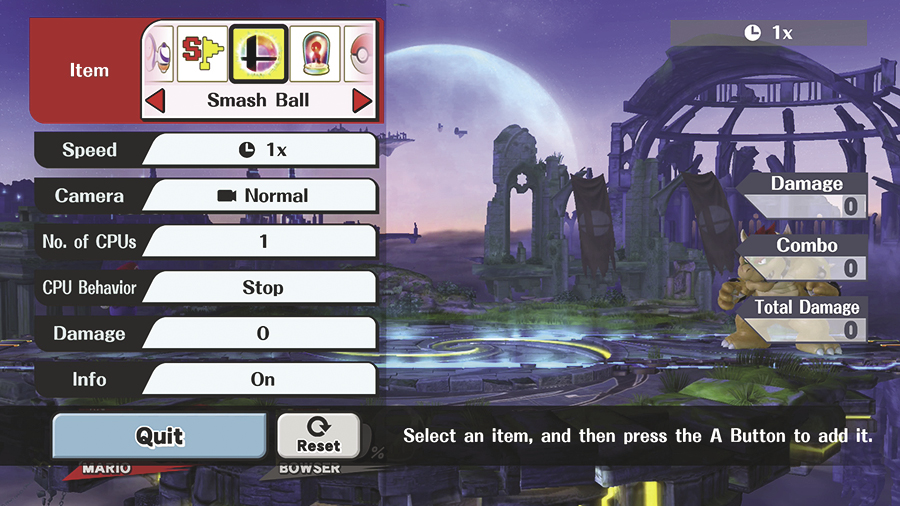
By using the available items, any character should be able to perform combos of at least 50 hits. Stand near your opponent, then activate the Training menu and summon four X Bombs and four Smart Bombs. Grab a Smart Bomb and toss it onto the pile to trigger an explosive combo!
Classic
Many of the available Challenges involve clearing Classic. The best way to complete most of these Challenges is to simply hone your skills with plenty of practice. However, there are few things you can do to gain an advantage as you master Classic.
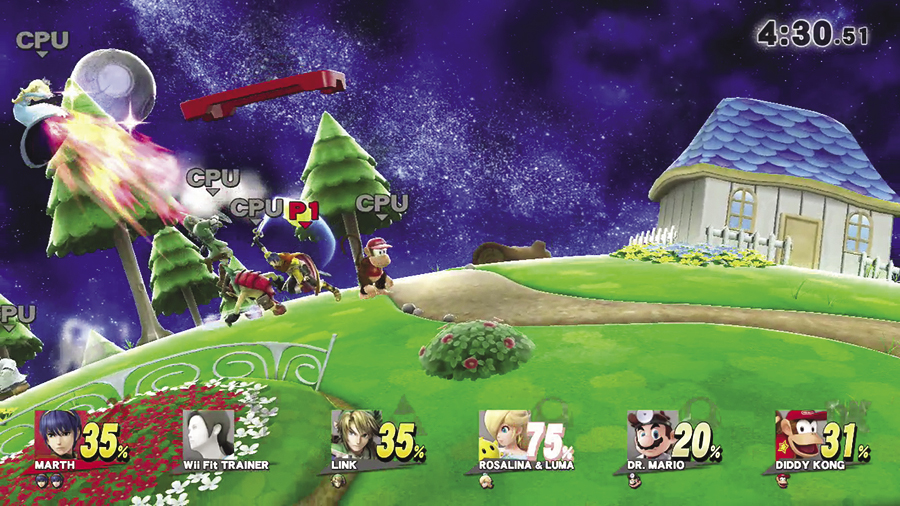
For Challenges that allow customizations, choosing the right equipment can make all the difference. Remember that equipment with negative bonus effects tend to grant much better stats boosts. If you’re attempting to clear Classic at intensity 9.0 without losing a life, consider using a piece of equipment with the “No respawn invincibility” bonus effect. Since respawning would mean failing the Challenge, this negative bonus effect won’t be a factor! If a Classic-related Challenge involves a strict time limit, use equipment to build up your fighter’s “Attack” rating for faster KOs.
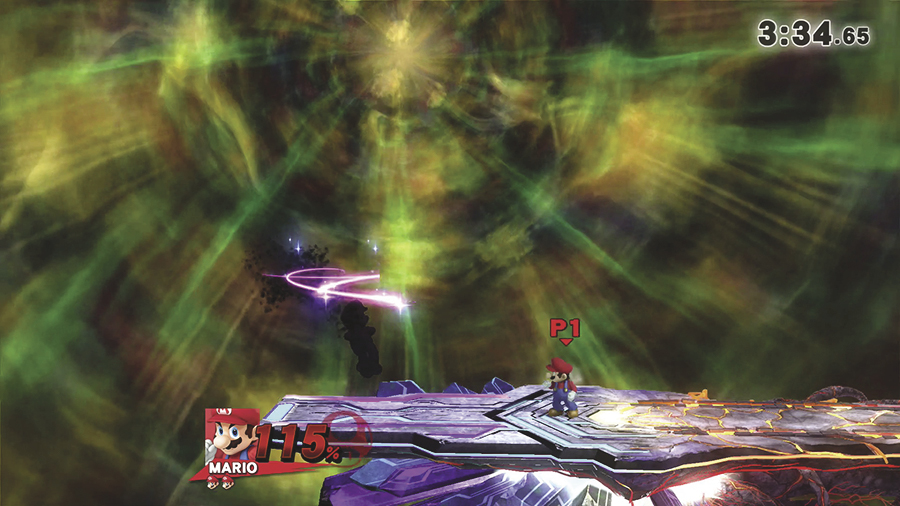
Of course, equipment with positive bonus effects can also be a big help. Anything that grants health recovery, for example, will make it much easier to survive early battles. Just remember that at intensities of 5.1 and above, you’ll eventually face Master Core’s mirror form. This doppelganger will receive the same stat boosts and bonus effects of any equipment your fighter is using.
All-Star
All-Star doesn’t allow the use of any customizations, and many of the Challenges related to All-Star specify the characters that must be used or the difficulty levels that must be cleared. As such, completing most of these Challenges is simply a matter of developing the required skills.
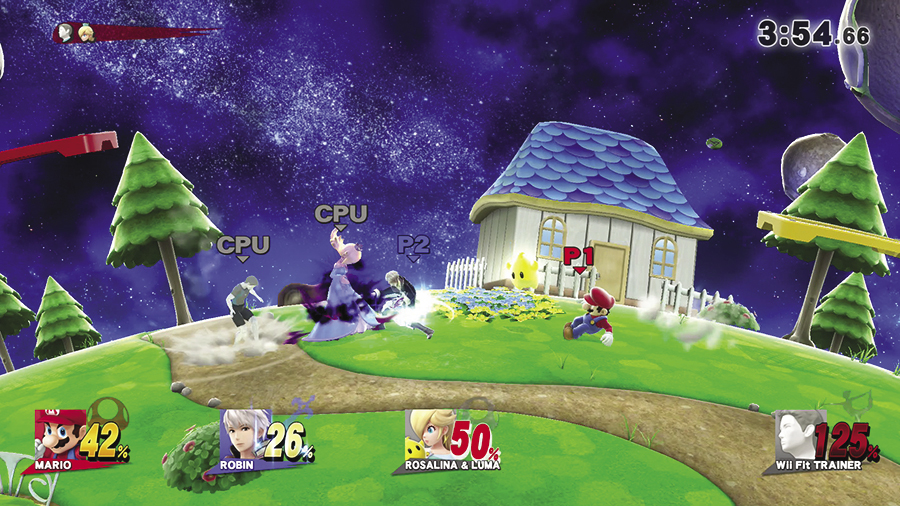
If an All-Star Challenge doesn’t require the use of a specific character, consider choosing Robin for his (or her) Down Special, Nosferatu. This move allows Robin to regain health throughout the game without using the rest area recovery items.
Staff Credits
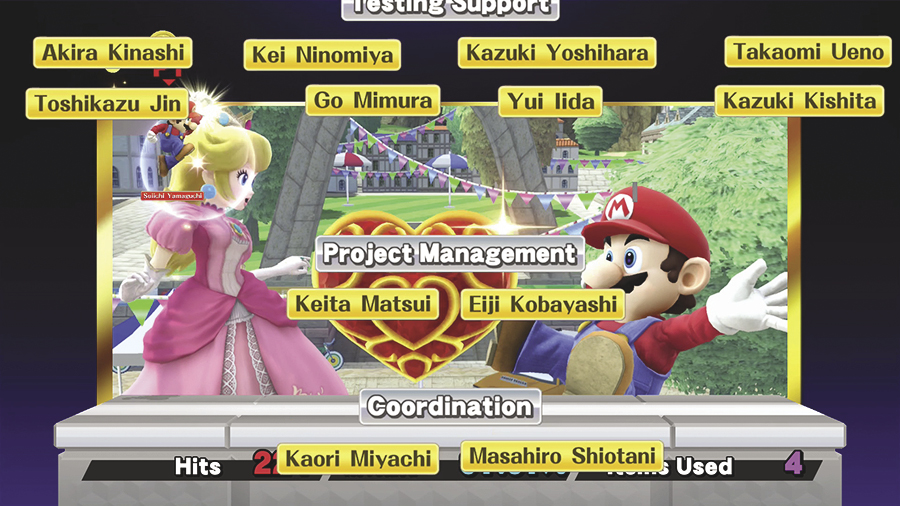
When you complete a game of Classic or All-Star, you can use your fighter to attack the staff credits. When done properly, attacking individual names reveals a image on the back wall. For a name to contribute to the image, however, you must hit it at just the right time and in just the right spot. Jump up and use aerial attacks to reveal the top of the image as the names pass in front of any blank areas, then work your way down.
As you reveal more of the image, it becomes important to aim your shots. Look for the sparkles that help identify hidden sections, then strike a name as it passes through the area.
Crazy Orders
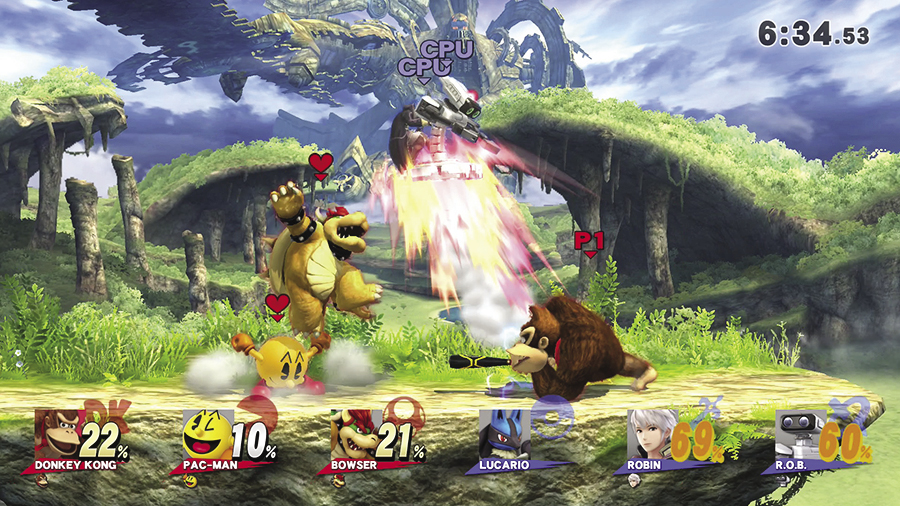
It’s much easier to perform well in Crazy Orders once you’ve collected equipment with specific bonus effects. One of the best ways to stay ahead of the clock is to combine equipment with the “Home-Run Bat equipped” and “Quick bat swing” bonus effects. This can result in remarkably fast KOs, allowing you to speed through many more turns than you might otherwise clear in the 10-minute time limit. To help ensure your fighter stays healthy, use your remaining equipment slot for something that grants a recovery-based bonus effect. Equipment with the “KO Healer” bonus effect is particularly good for fast recovery. Best of all, this strategy works well with any character!
3-Minute Smash
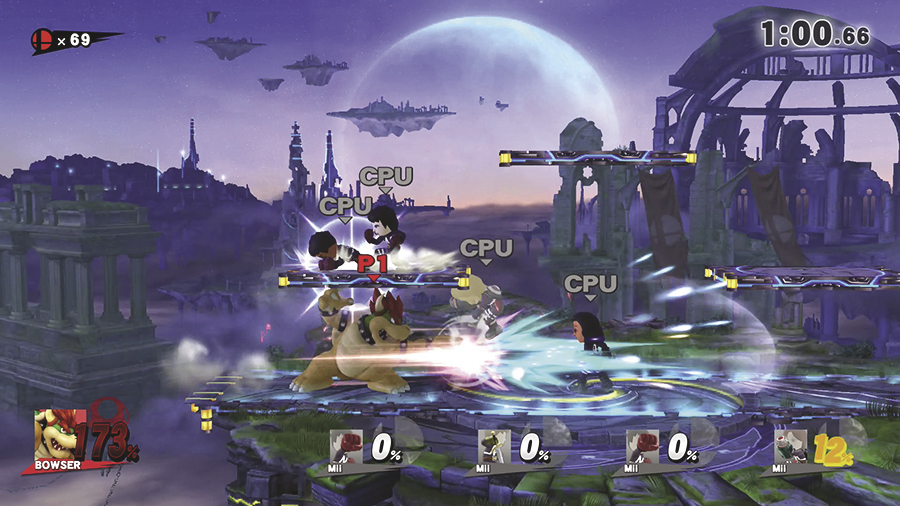
To score 110 KOs within a single round of 3-Minute Smash, you need to stay very active. Luckily, your opponents tend to be very aggressive. It’s often best to stick to the main platform and use tilt attacks to score a steady stream of KOs as your enemies approach. If your enemies linger out of reach, use a dash attack to close the distance as quickly as possible.
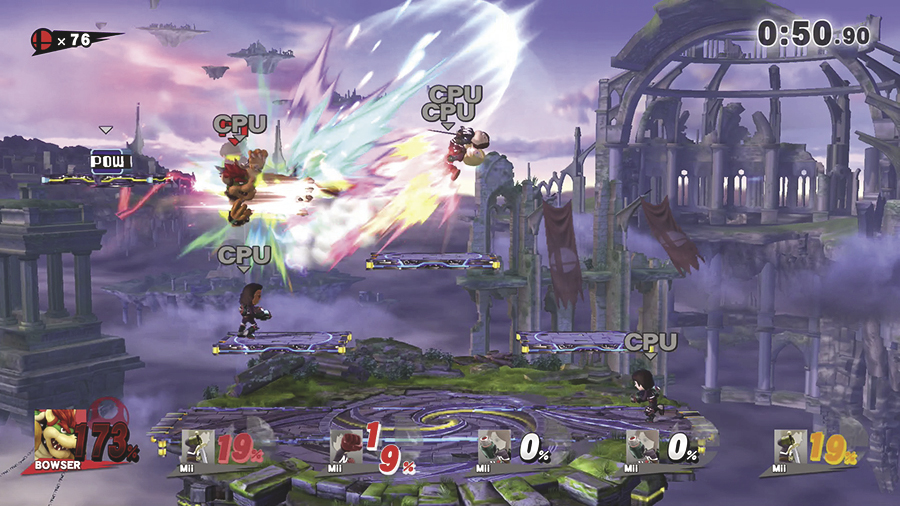
Mii Gunners are bound to be your most troublesome opponents, so make taking them out your priority. Dodge to the left or right to quickly close short distances. If a Mii Gunner refuses to approach, hop onto one of the available platforms to get clear of incoming projectile attacks. This often forces a Mii Gunner to relocate as you deal with nearby opponents.
Cruel Smash
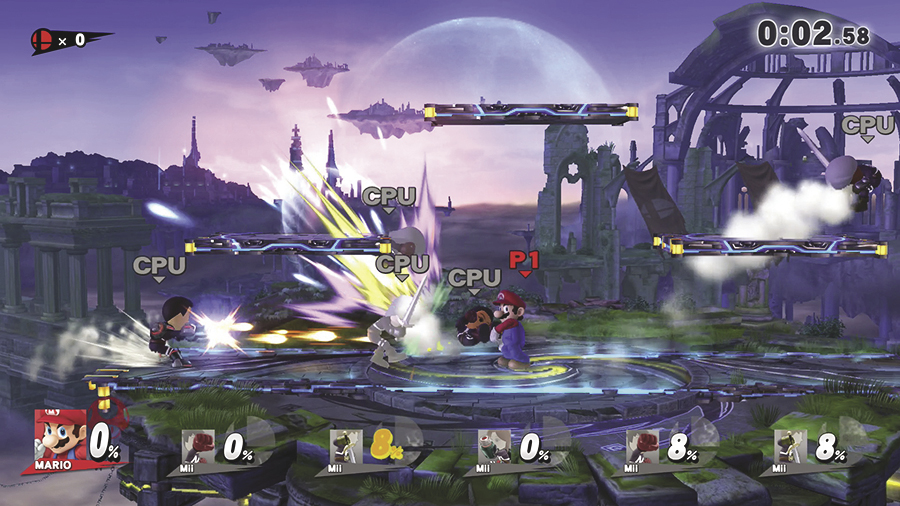
In Cruel Smash, it can be difficult to score even a single KO before you’re eliminated. There are, however, a few things you can do to improve your chances. Some fighters—like Mario and Luigi—spin around while they perform Back Throws. This allows you to strike nearby opponents as you create a little breathing room.
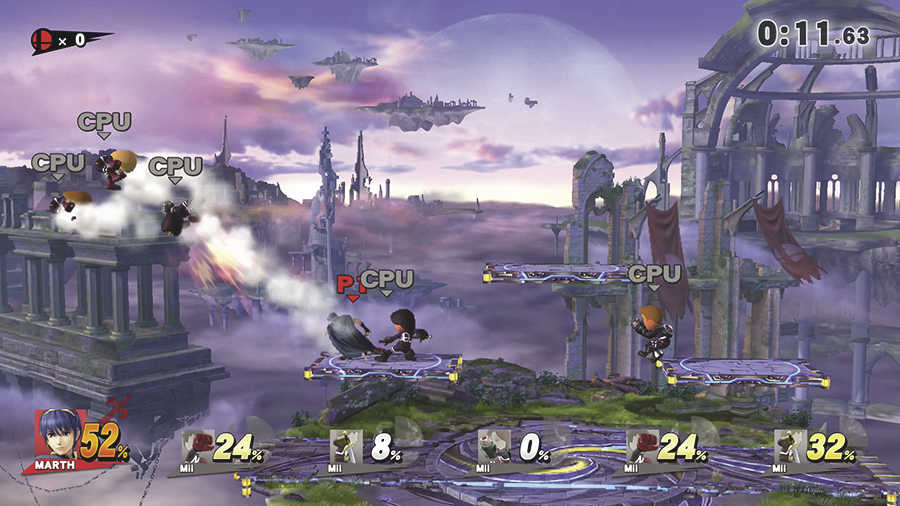
Characters equipped with a Counter special—like Marth, for example—can be very effective. Because your opponents are particularly aggressive, it’s often possible to catch several of them with a single Counter. When this happens near the edge of the stage, you have an excellent chance of scoring multiple KOs. No matter which character you use, however, try to move the battle to the edge of the platform. Your opponents have trouble recovering from falls, and the temporary invincibility granted by your own edge moves can sometimes allow you to escape dangerous situations.
Home-Run Contest
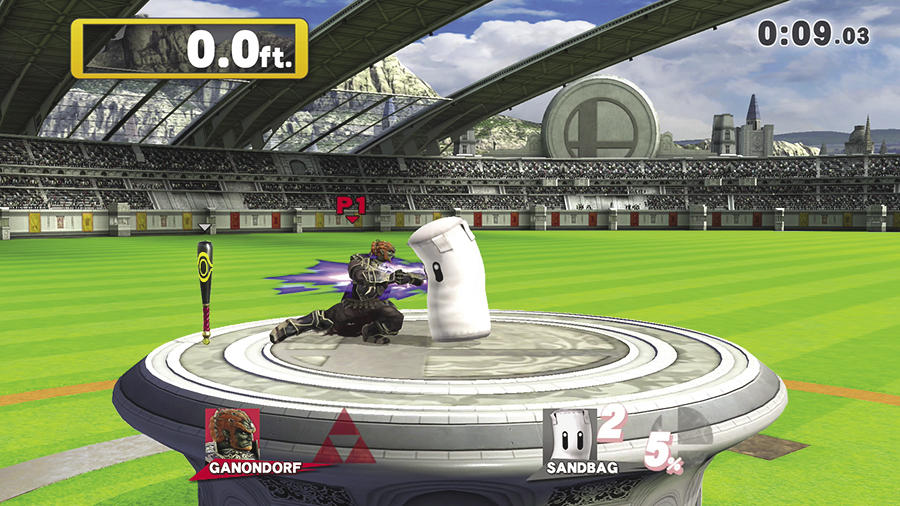
Many of the game’s Home-Run Contest Challenges can be completed with standard techniques, but a few require the use of specific characters and attack combos. Completing these Challenges is likely to take a fair amount of practice, but there are some specific strategies that can yield consistent results:
Ganondorf
- Hit Sandbag with two uncharged Side Smash attacks.
- Perform seven Side Tilt attacks.
- Face away from Sandbag and perform a turn-around Warlock Punch (immediately after you begin the Warlock Punch, push the Left Stick toward Sandbag).
Charizard
- Hit Sandbag with an uncharged Side Smash attack.
- Perform six uncharged Down Smash attacks.
- Launch Sandbag with a fully charged Side Smash.
R.O.B.
- Hit Sandbag with an uncharged Side Smash attack.
- Move into range and hit Sandbag with three more uncharged Side Smash attacks. This should cause Sandbag to bounce past you.
- Turn back to the left and hit Sandbag with two more uncharged Side Smash attacks.
- Grab the Home-Run Bat and move as close to Sandbag as possible to deliver one last Side Smash.
Target Blast
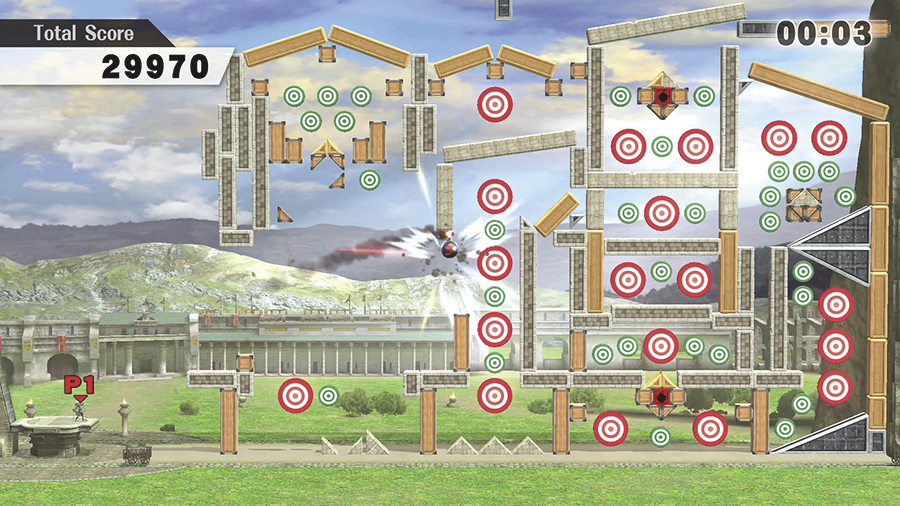
Clearing all of the Target Blast targets is always a little tricky. You have to consider your character’s attacks, the position on the platform, and exactly when to launch the bomb. It takes a bit of practice to find the right combination of moves for each situation, but once you’ve mastered specific sequence of attacks, you’ll have a better chance of achieving consistent results with each character.
Bowser Jr. on Stage 1
Bomb 1
- Jump over the first bomb and hit it with a Back Air attack (to the left) just before you land. The bomb should now show 14% damage.
- Hit the bomb with one Side Tilt attack (to the left). The bomb should now show 22% damage.
- Jab the bomb with a single neutral standing attack (to the left). The bomb should now show 25% damage.
- Quickly hit the bomb with a Side Tilt attack (to the left). The bomb should now show 33% damage.
- Use a fully charged Side Smash attack to launch the bomb off of the back wall (to the left). The bomb should show 55% damage as it leaves the platform.
Bomb 2
- Approach the bomb and hit it with two Side Tilt attacks (to the right). The bomb should now show 16% damage.
- Launch the bomb with a fully charged Side Smash attack (to the right).
Zelda on Stage 1
Bomb 1
- Bump the bomb to activate it.
- Let the bomb explode without launching it.
Bomb 2
- Jump over the bomb and face back to the left.
- Hit the bomb with a Side Tilt attack (to the left). The bomb should now show 12% damage.
- Approach the bomb and hit it with a Side Tilt attack (to the left). The bomb should now show 24% damage.
- Hit the bomb with two Down Tilt attacks (to the left). The bomb should now show 33% damage.
Use a fully charged Side Smash attack to launch the bomb off of the back wall (to the left). The bomb should show 56% damage as it leaves the platform.
Palutena on Stage 2
Bomb 1
- Approach the bomb and hit it with the tip of an uncharged Side Smash attack. The bomb should now show 13% damage.
- Hurry in and hit the bomb with an uncharged Up Smash attack. The bomb should now show 29% damage.
- Hit the bomb with another uncharged Up Smash attack. The bomb should now show 45% damage.
- Dash past the bomb, then turn back and perform an uncharged Side Smash attack to launch the bomb off of the back wall (to the left). The bomb should show 61% damage as it leaves the platform.
Bomb 2
- Jump over the bomb and face back to the left.
- Approach the bomb and perform four uncharged Up Smash attacks. The bomb should now show 64% damage.
- Use an uncharged Side Smash attack to launch the bomb off of the back wall (to the left). The bomb should show 80% damage as it leaves the platform.
Toon Link on Stage 2
Bomb 1
- Bump the bomb to activate it.
- Let the bomb explode without launching it.
Bomb 2
- Approach the bomb and hit it with a Down Tilt attack. The bomb should now show 7% damage.
- Follow the bomb and perform a series of 10 Down Tilt attacks. The bomb should now show 77% damage.
- Perform a short hop and use a Forward Air attack to launch the bomb toward the targets. The bomb should show 90% damage as it leaves the platform.
Ness on Stage 3
Bomb 1
- Jump over the bomb and hit it with a Back Air attack (to the left) just before you land. The bomb should now show 15% damage.
- Hit the bomb with a Side Tilt attack (to the left). The bomb should now show 24% damage.
- Approach the bomb and use a Side Smash attack to launch it off of the back wall (to the left). When you do, make sure you hit the bomb with the center of Ness’ bat. The bomb should show 42% damage as it leaves the platform.
Bomb 2
- Jump over the bomb and face back to the left.
- Approach the bomb and hit it with three Side Tilt attacks (to the left). The bomb should now show 27% damage.
- Use a fully charged Side Smash Attack to launch the bomb off of the back wall (to the left). When you do, make sure you hit the bomb with the center of Ness’ bat. The bomb should show 52% damage as it leaves the platform.
PAC-MAN on Stage 3
Bomb 1
- Bump the bomb to activate it.
- Let the bomb explode without launching it.
Bomb 2
- Approach the bomb and hit it with two uncharged Up Smash attacks. The bomb should now show 34% damage.
- Step toward the bomb to get back into range, then hit it with a series of six Up Tilt attacks. When done properly, the bomb should land behind you (to the left). The bomb should now show 76% damage.
- Use a fully charged Forward Smash attack to launch the bomb off of the back wall (to the left). The bomb should show 98% damage as it leaves the platform.