
Super Smash Bros. WiiU/3DS Guide CHARACTERS
Ness
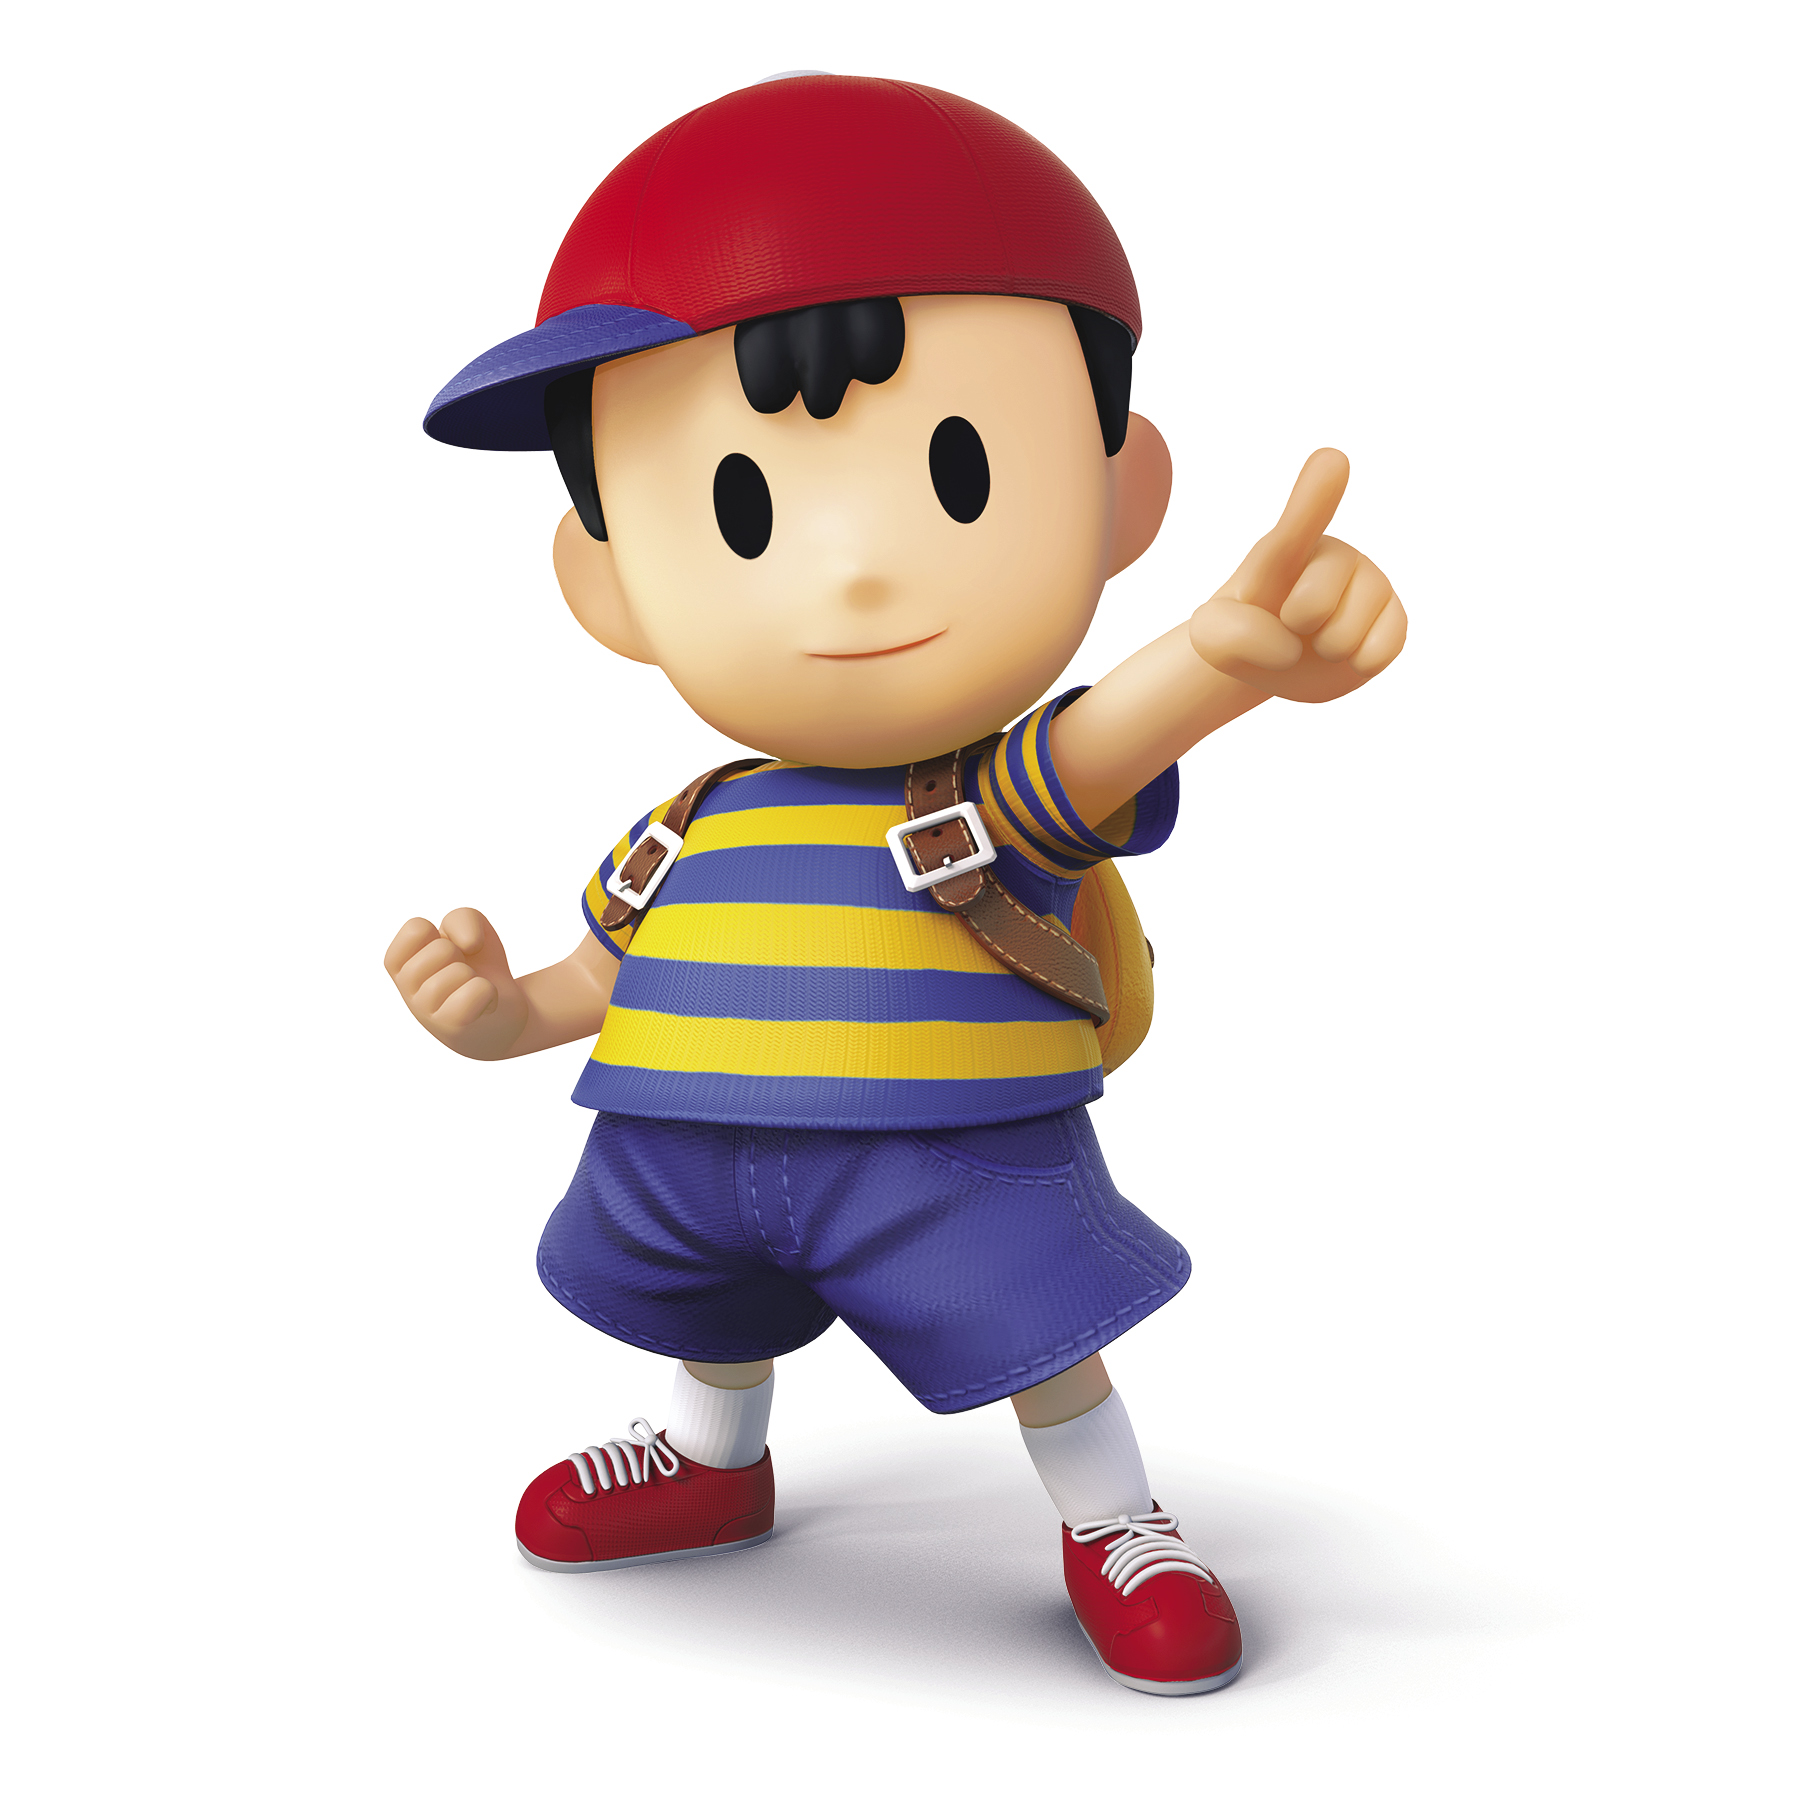
Trophy Description
Hailing from Onett, a small town in Eagleland, this young boy’s ordinary looks hide his psychic powers. Ness fought against the evil Gigas in EarthBound, and in Smash Bros., he unleashes some of the same PSI moves. Watch out for the PK Thunder, a guided attack that can also launch Ness like a rocket!
Statistics
Maximum Number of Jumps: 2
Can Wall Jump: No
Can Wall Cling: No
Can Crawl: No
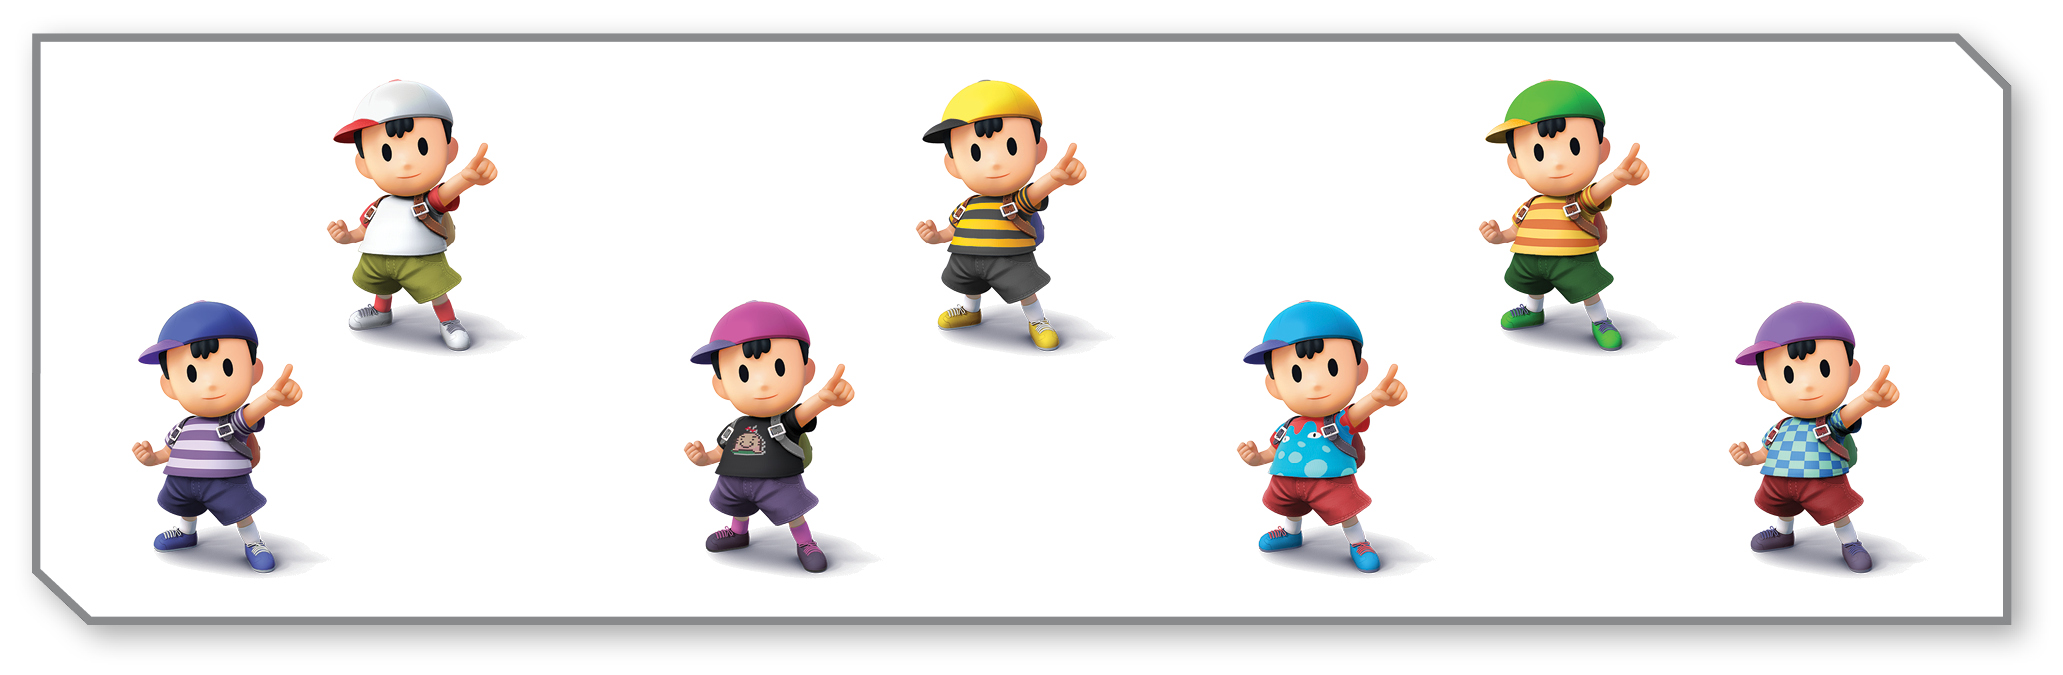
Alternate Colors
Smash Attacks
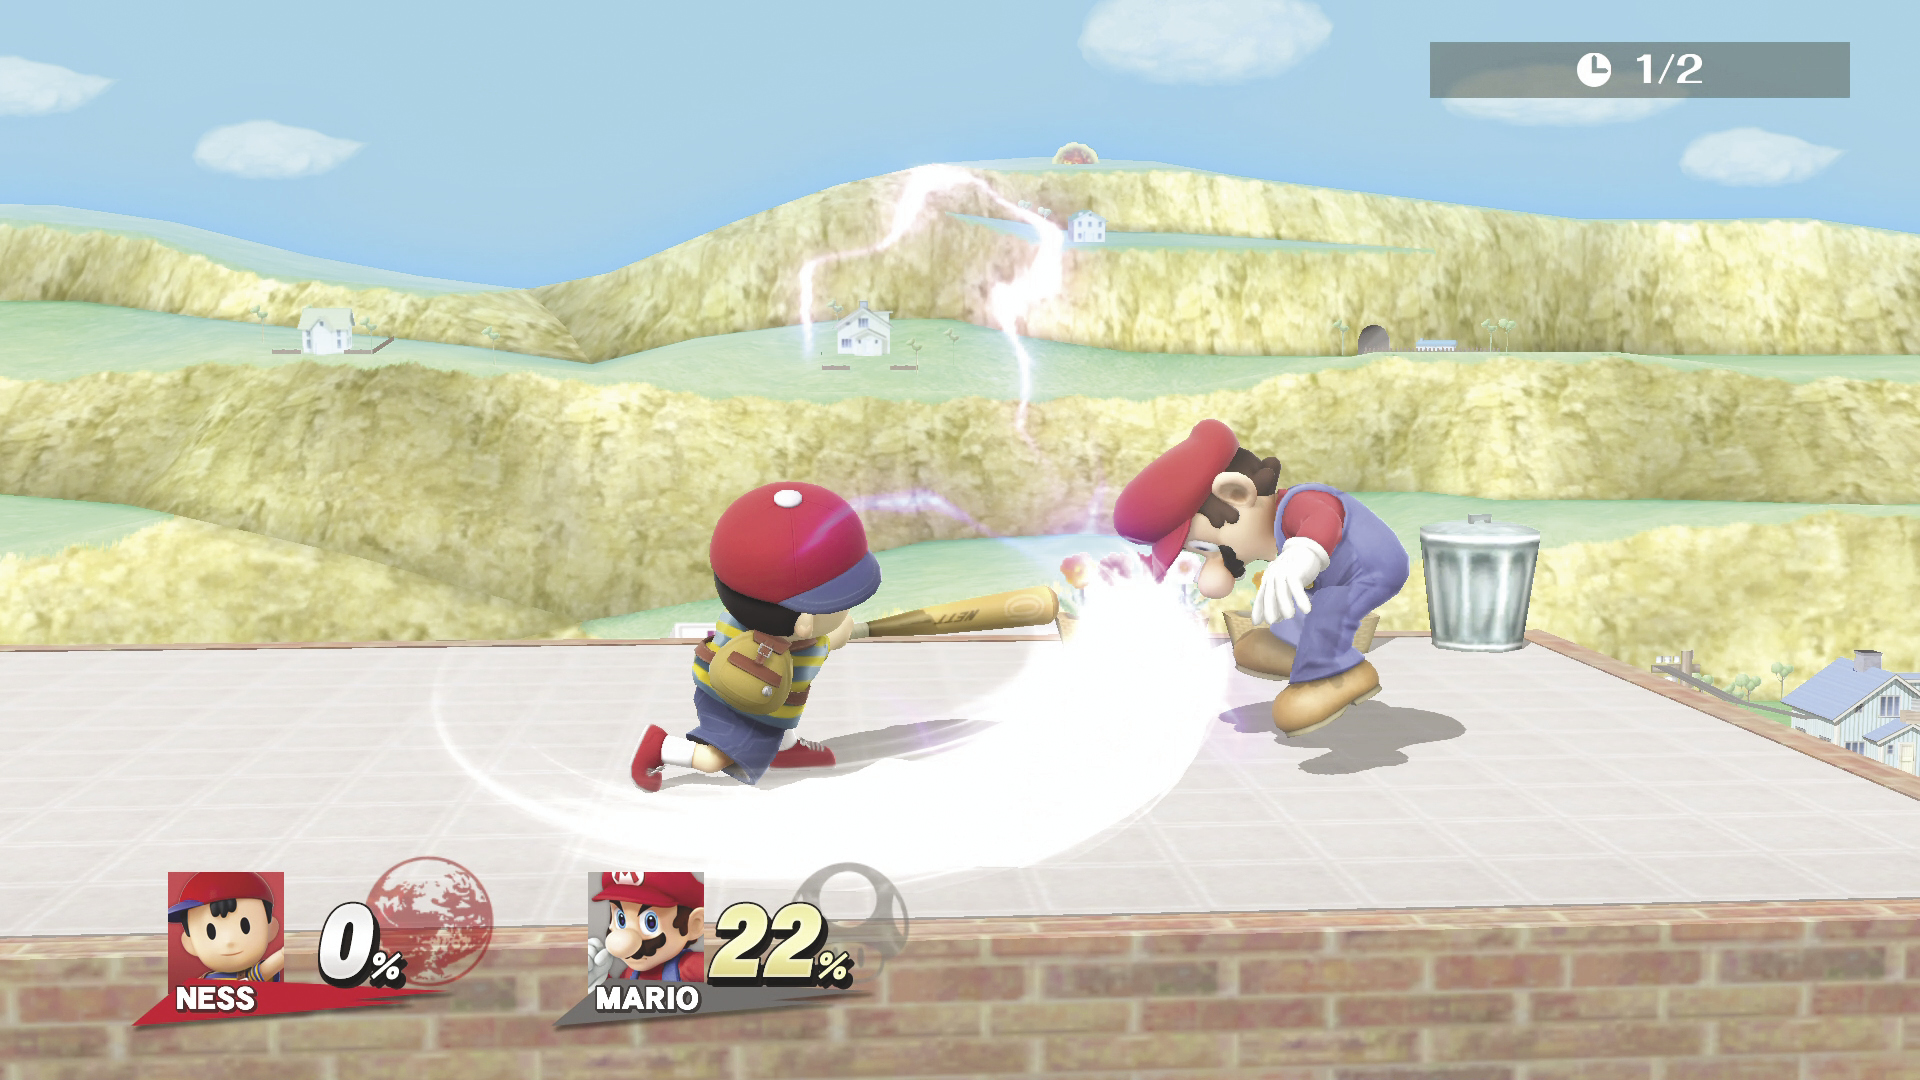
SIDE SMASH DAMAGE 18~22%
Ness swings a baseball bat at the opponent horizontally. This baseball bat has insane launching power and can also be used to reflect projectiles!.
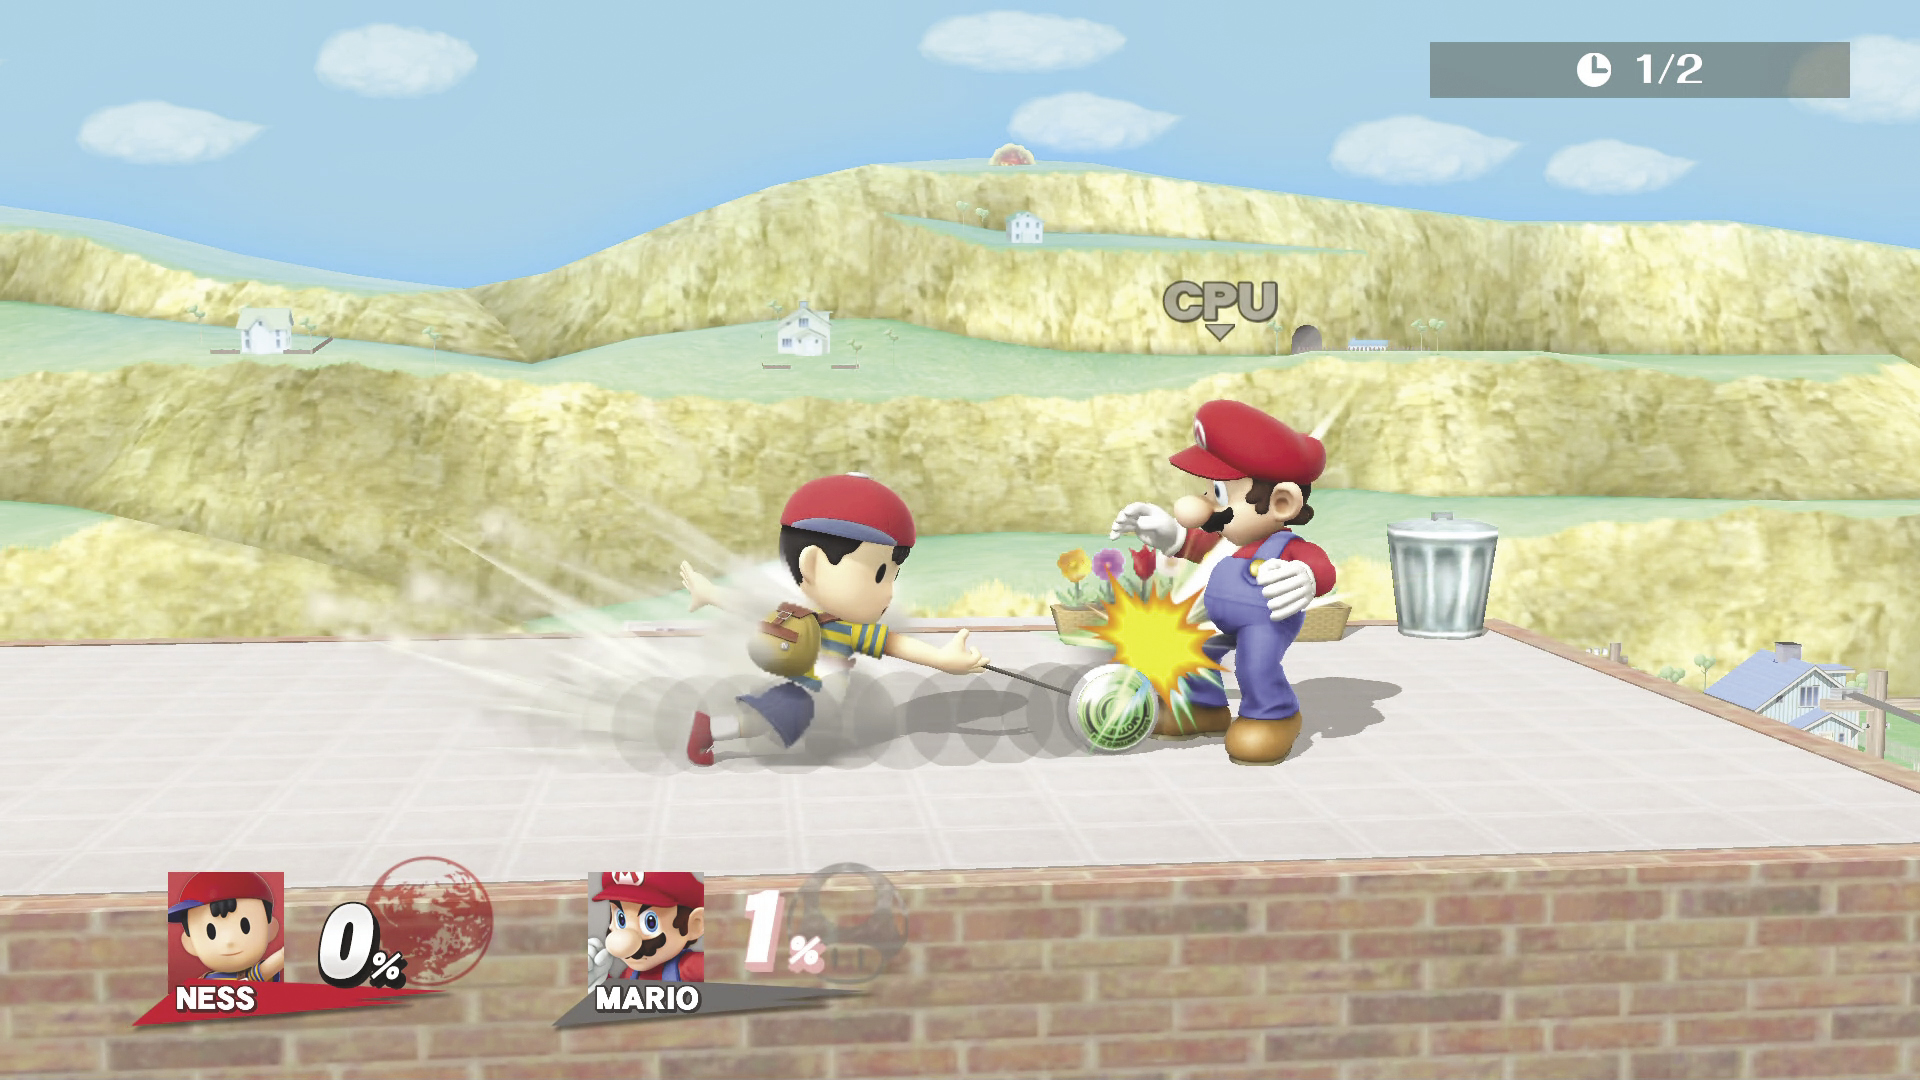
DOWN SMASH DAMAGE 1~10% MAX DAMAGE 12% : 3 Hits
Ness sends his yo-yo backward before rolling it forward with the “walk the dog” trick. This knocks opponents away horizontally.
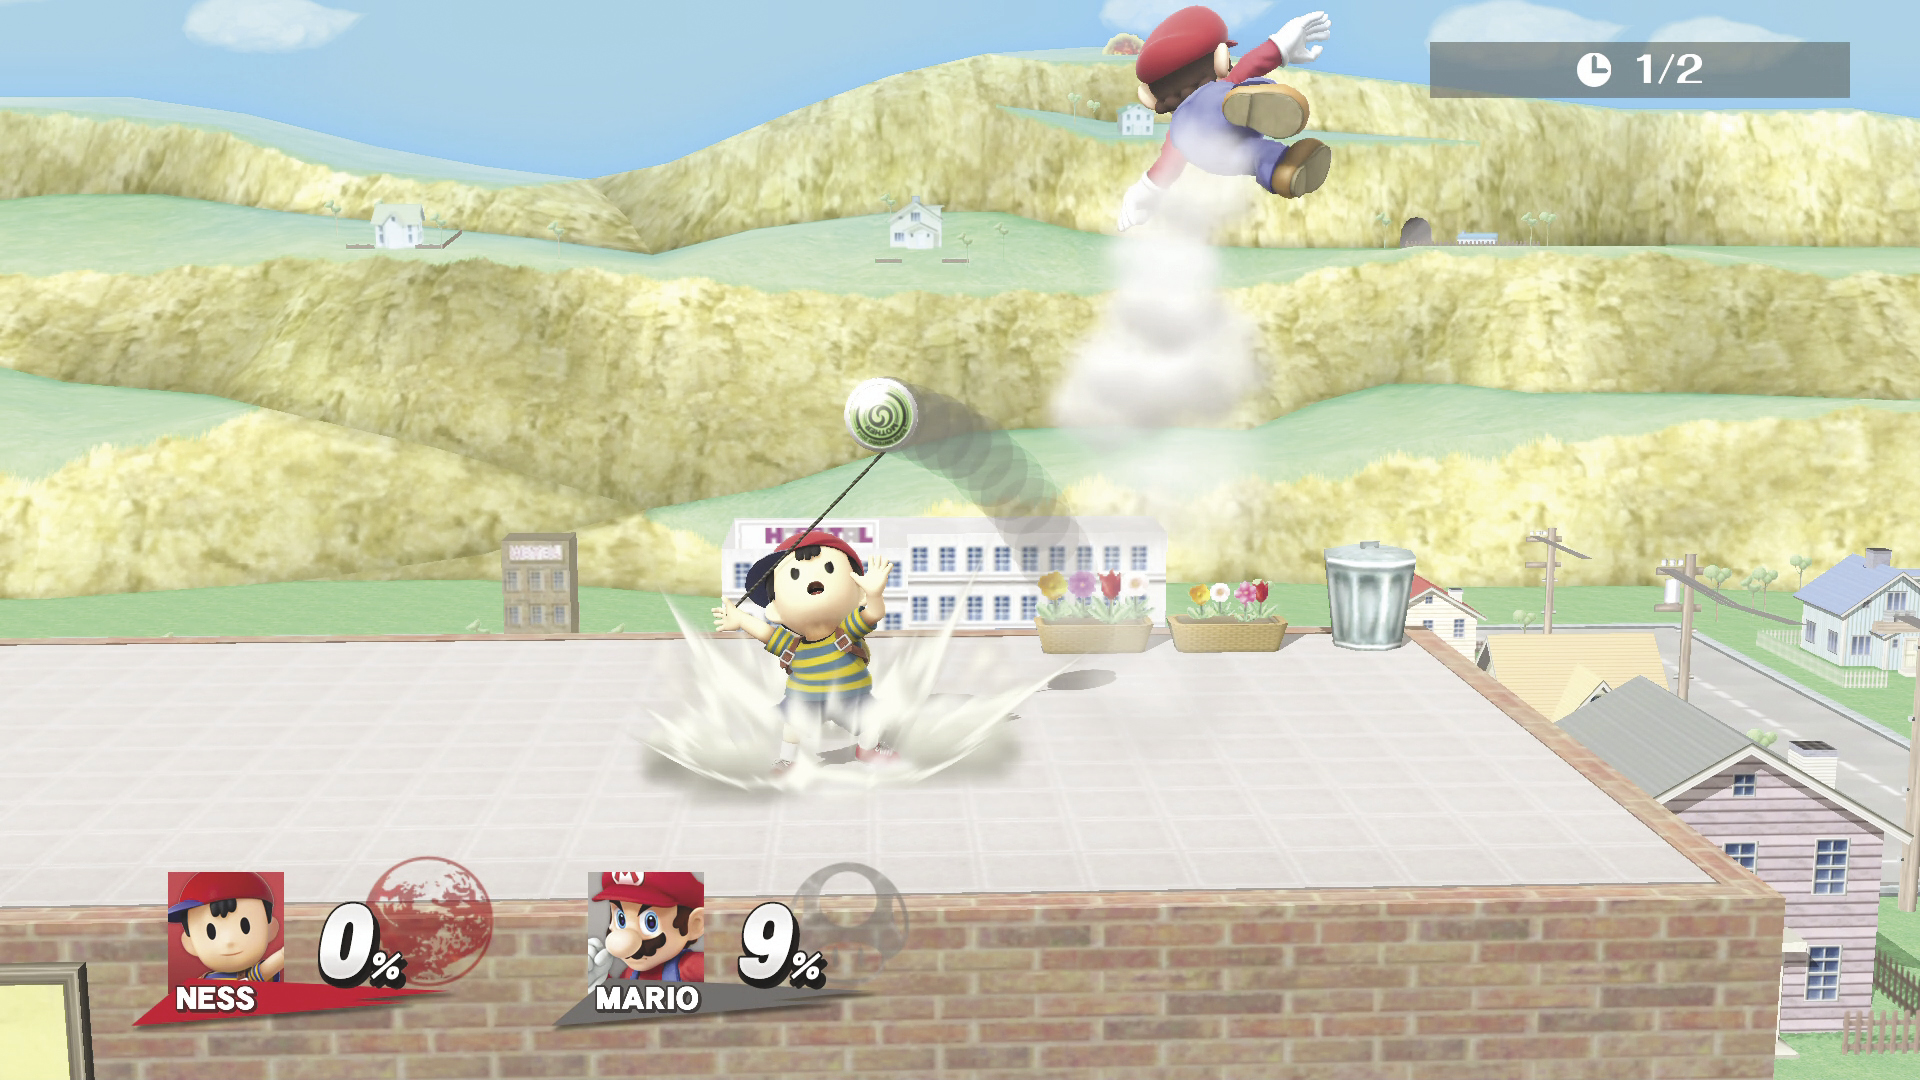
UP SMASH DAMAGE 9~13%
Ness swings a yo-yo at your opponent. This attack actually starts behind Ness before swinging it all around him with the “around the world” trick
| Reflect | Startup | Duration | DAMAGE Scaling | Speed Scaling |
|---|---|---|---|---|
| Side Smash | 19th frame | 13 frames | 2x | 2.5x |
Basic Attacks
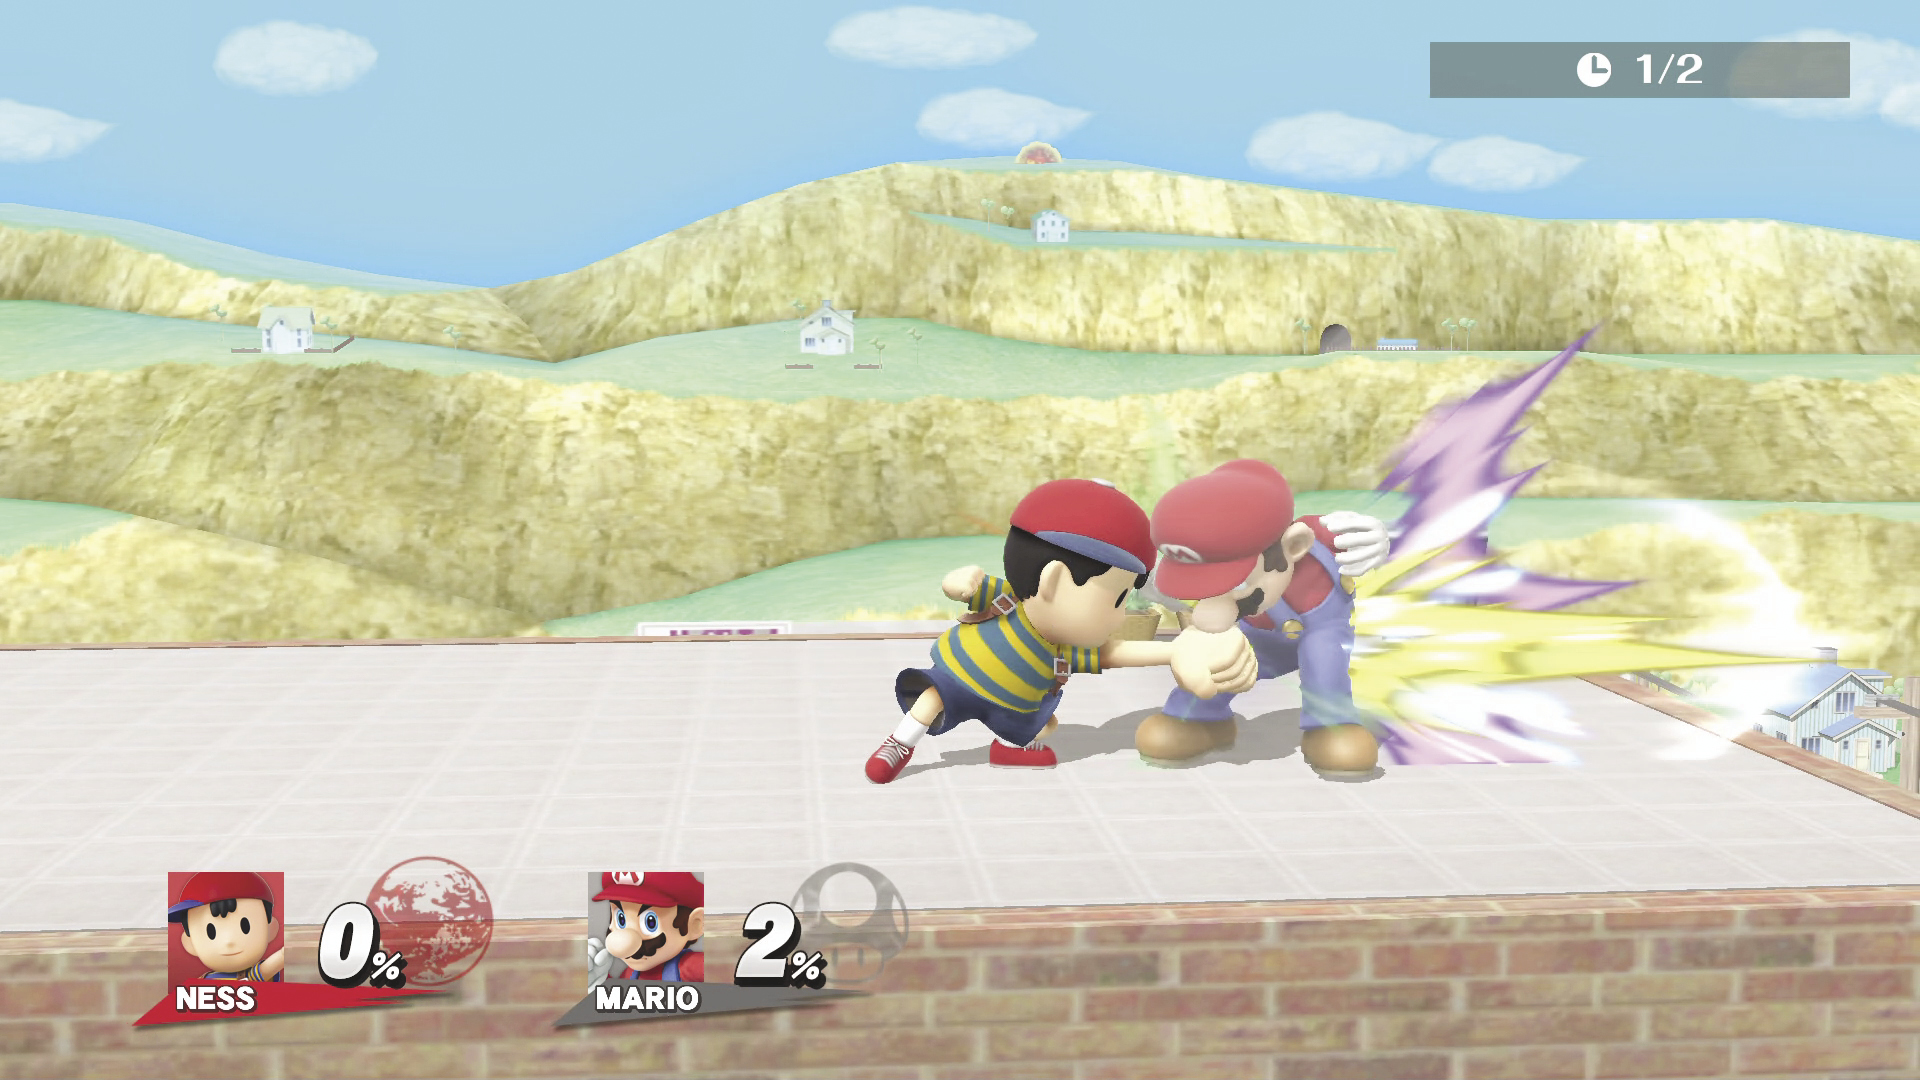
Standing Attack DAMAGE 2%, 2%, 4%
Ness jabs forward twice then kicks the opponent away.
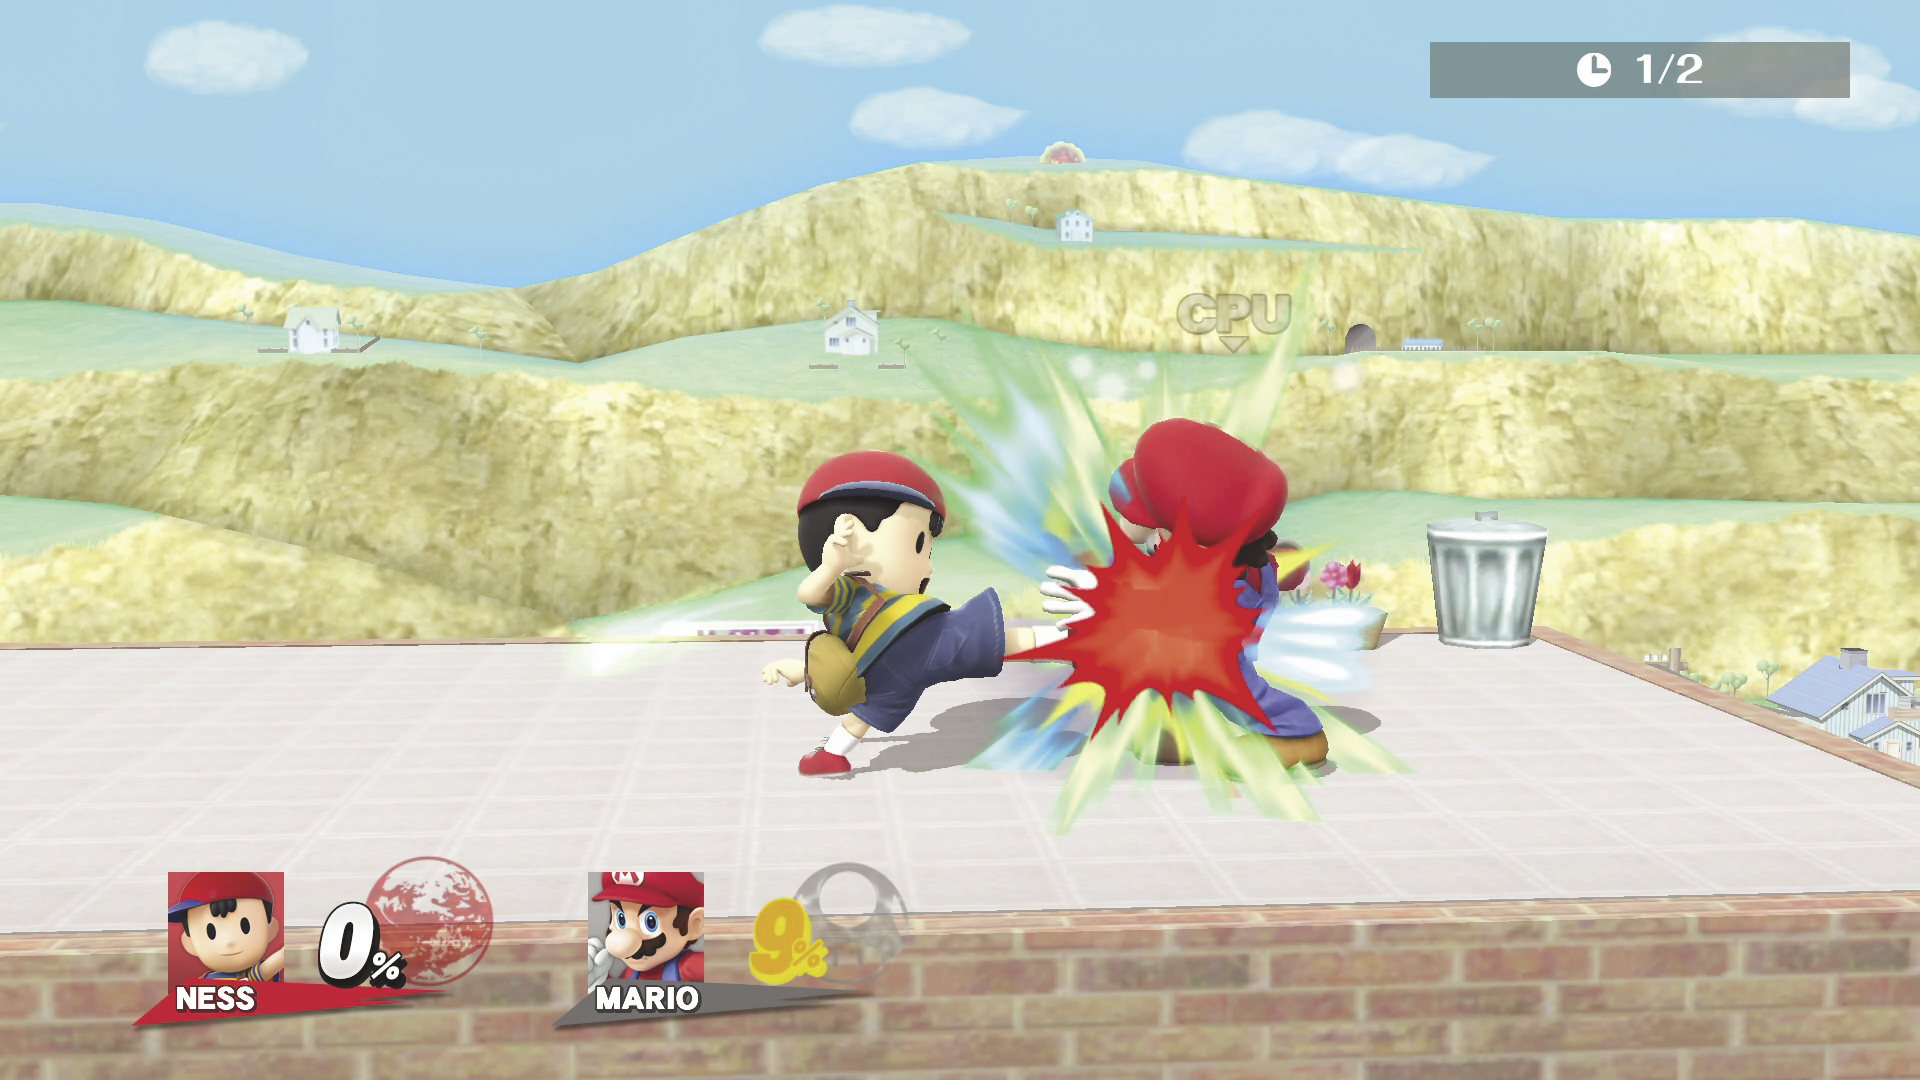
Side Tilt DAMAGE 9%
Ness kicks forward horizontally. This can be aimed up or down.
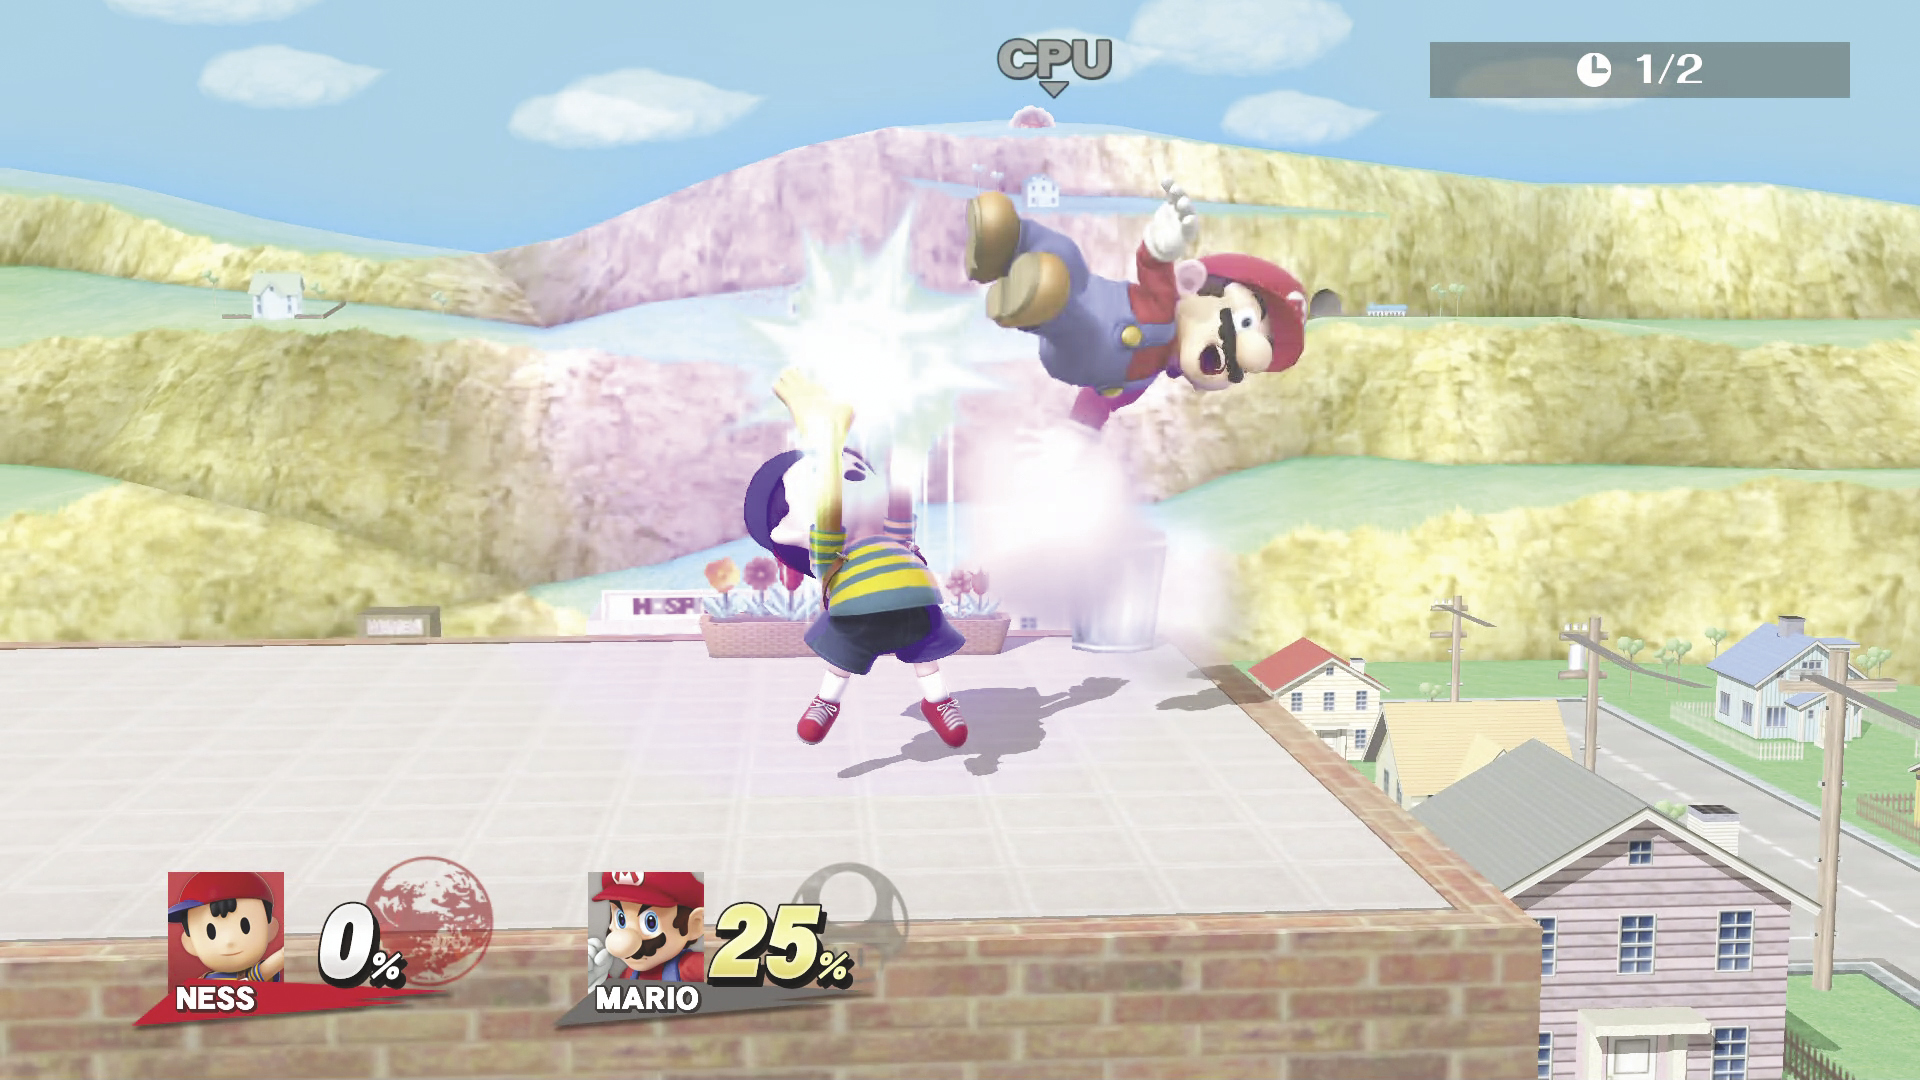
Up Tilt DAMAGE 5~7%
Ness lifts both hands into the air before blasting the opponent with his psychic powers.
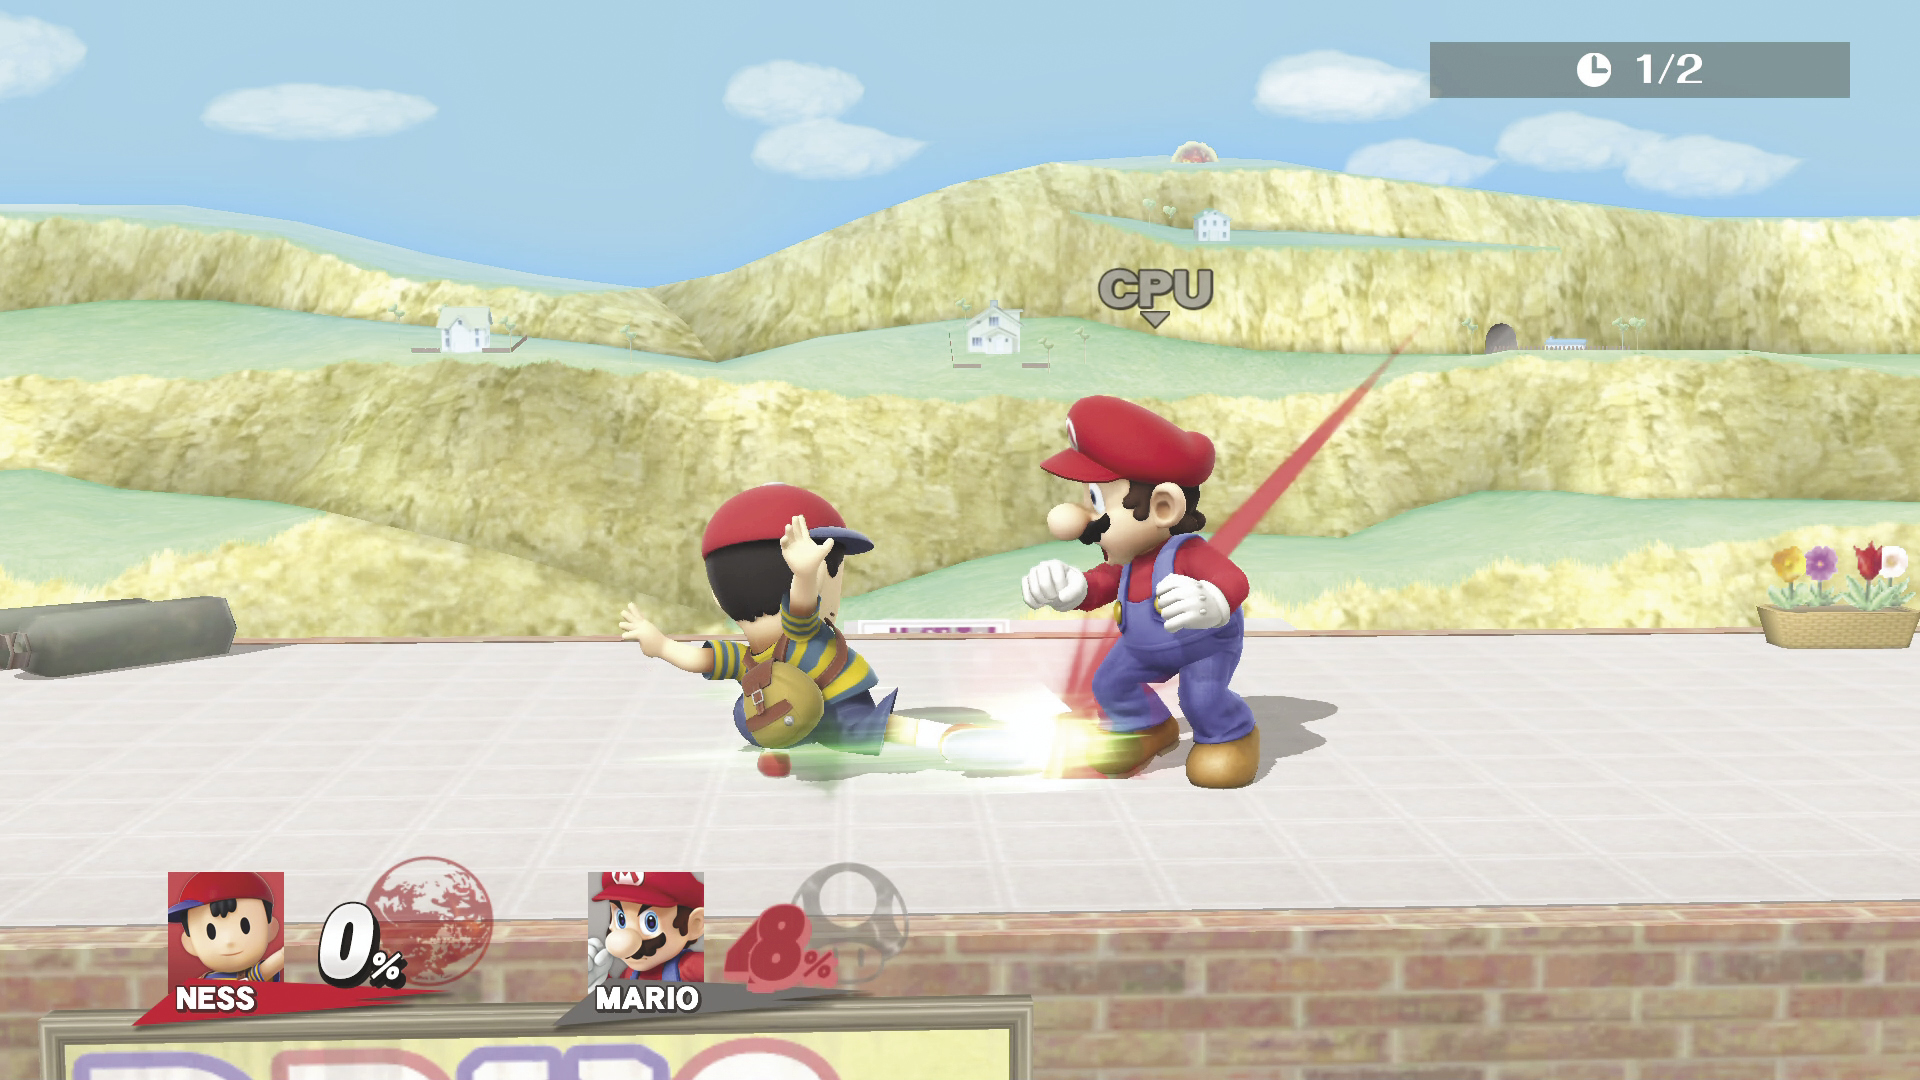
Down Tilt DAMAGE 2~4%
While crouching, Ness quickly kicks out at the opponent. This can trip opponents when used at max range.
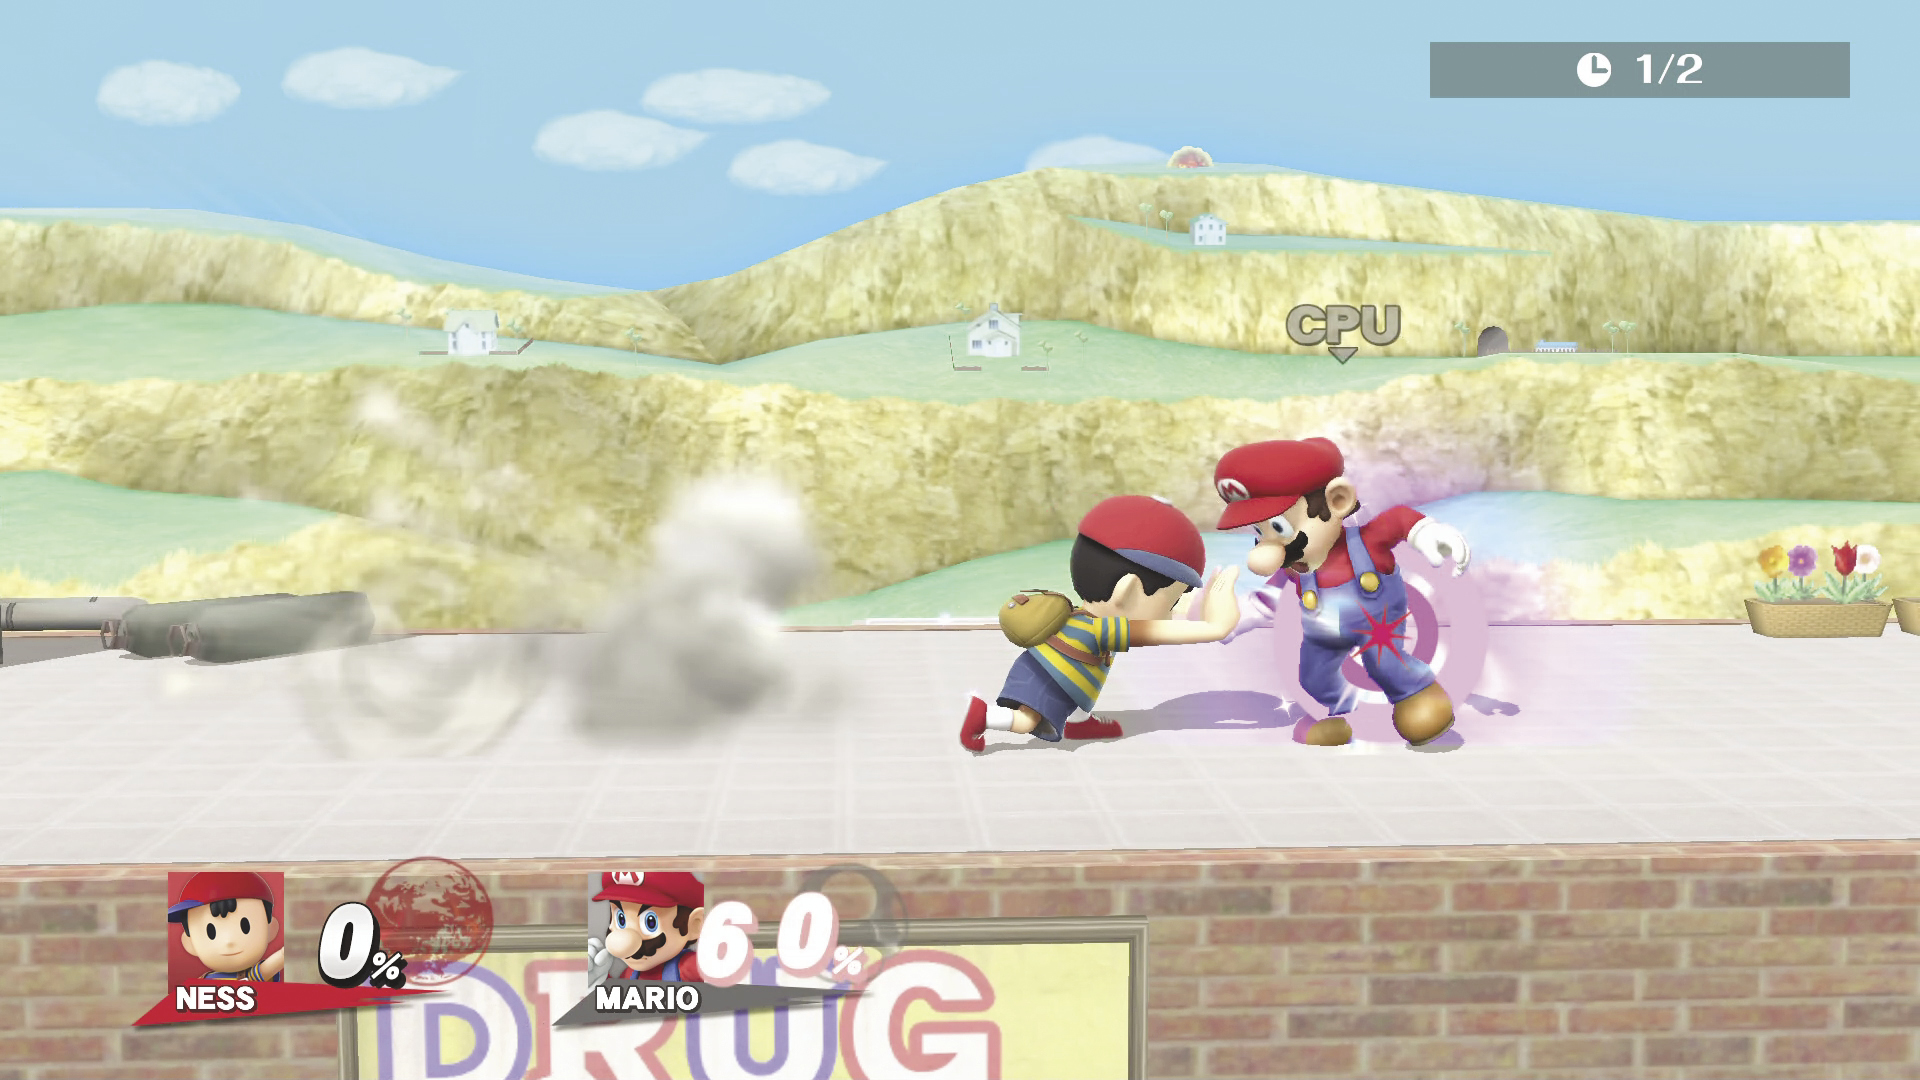
Dash Attack DAMAGE 2~7% MAX DAMAGE 10% : 3 Hits
Ness rushes toward the opponent, with both arms outstretched, while creating a PSI force in front of him. This attack hits multiple times.
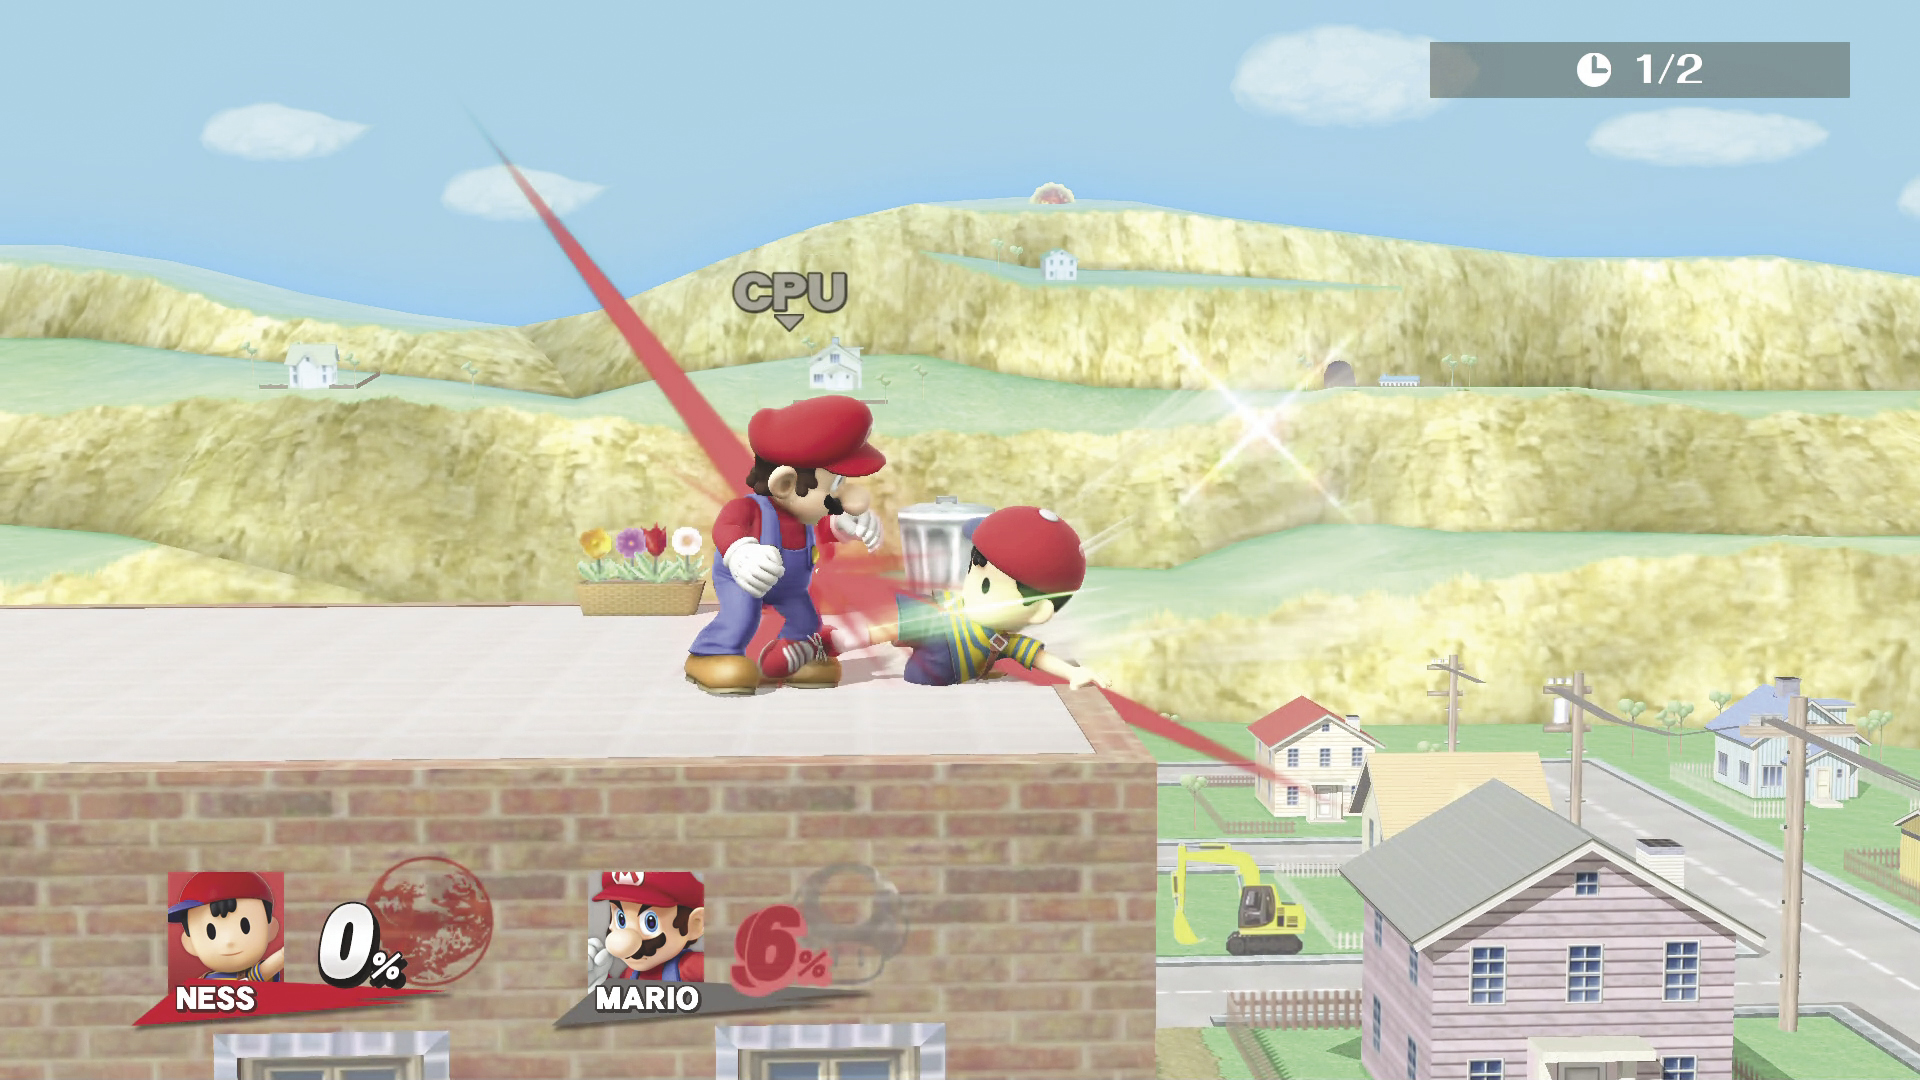
Edge Attack
Ness returns to the stage and does a quick sweep attack.
Air Attacks
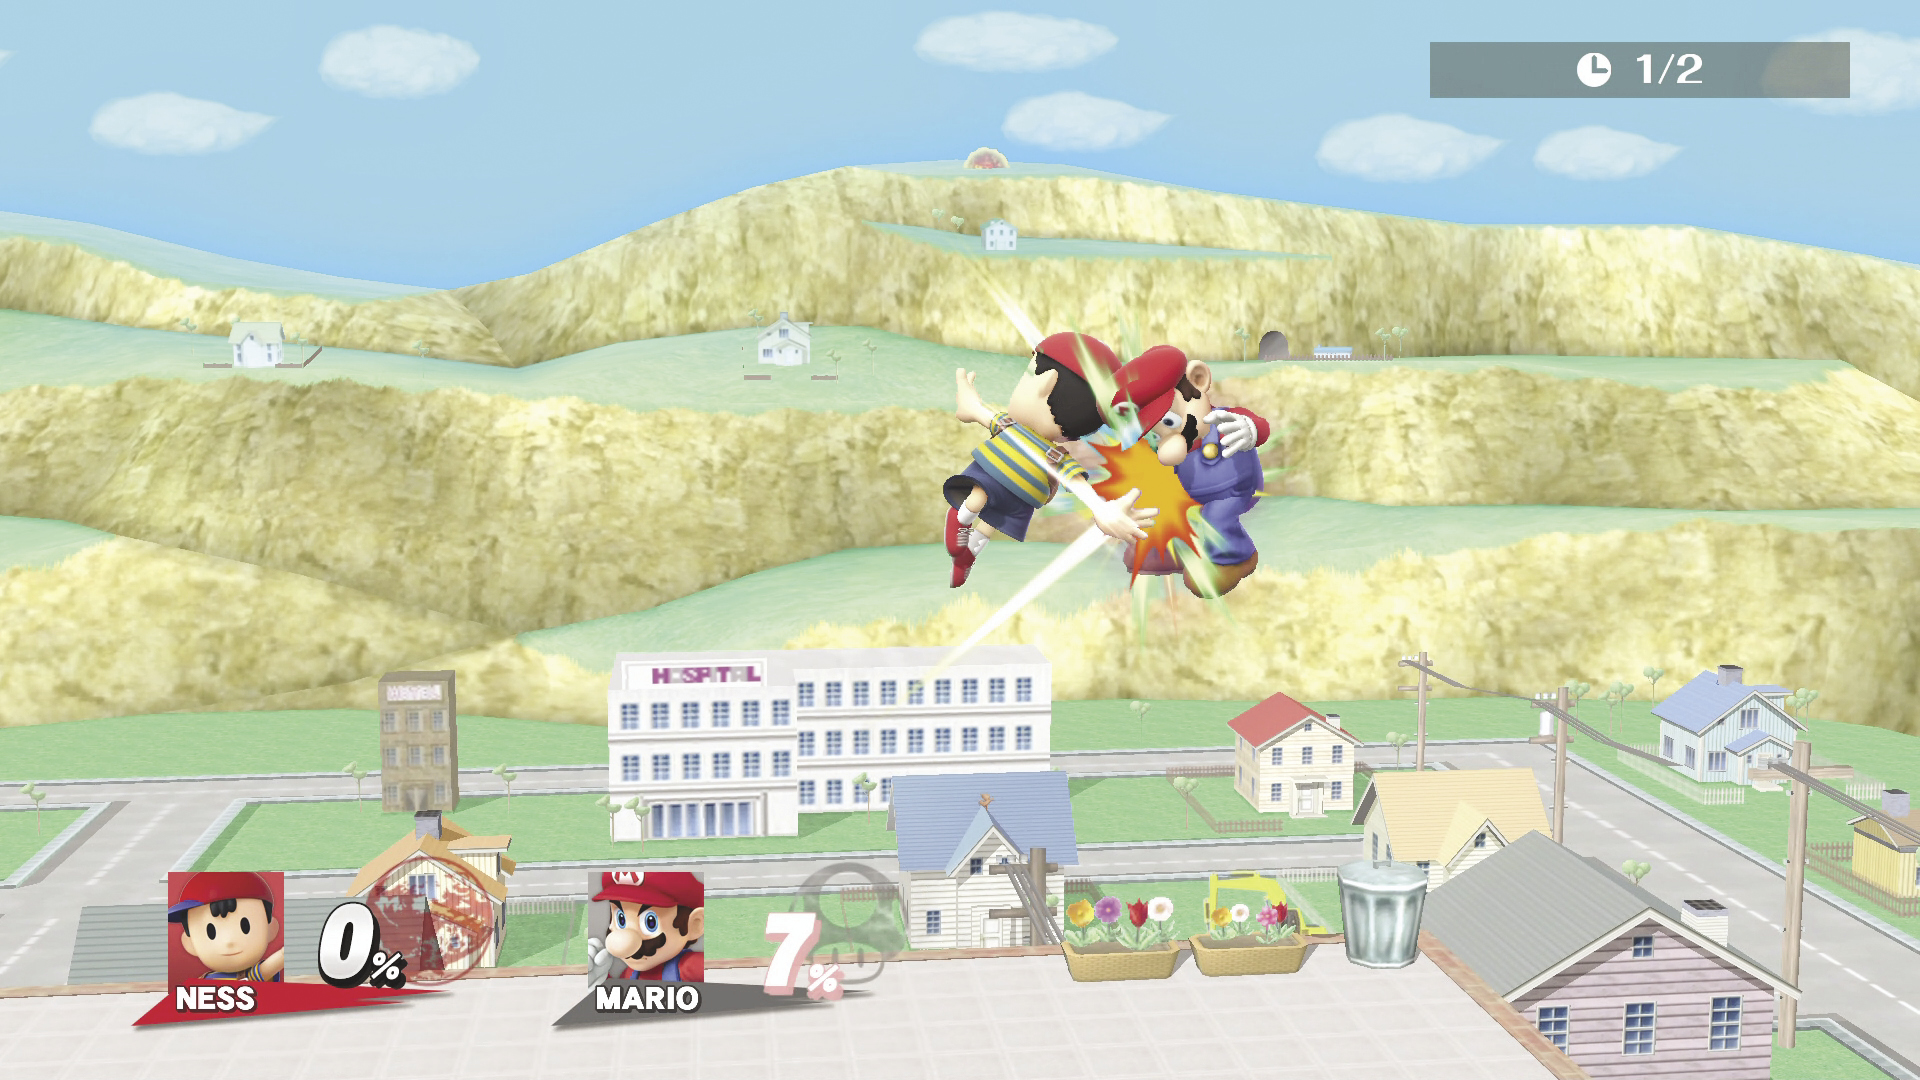
Neutral Air Attack DAMAGE 7~11%
A spinning attack with both arms outstretched.
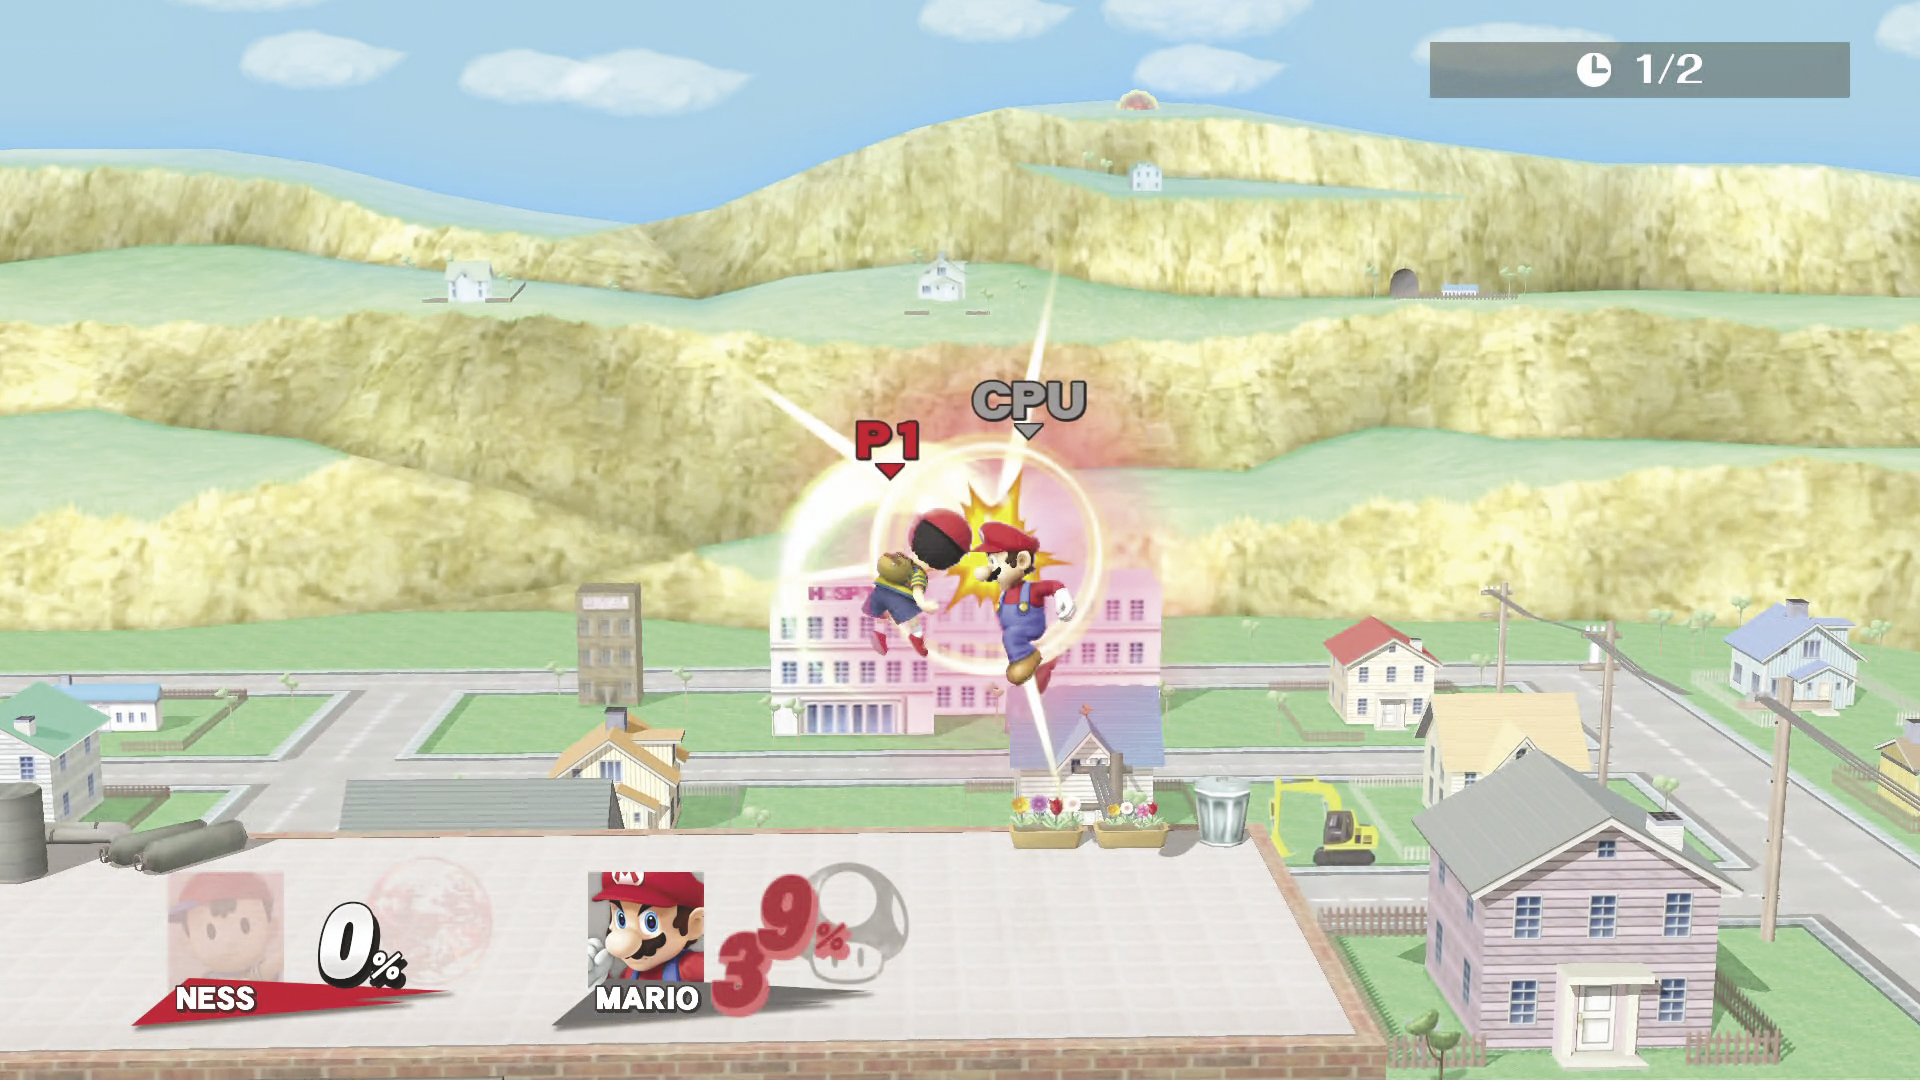
Up Air Attack DAMAGE 13%
Ness flips his body while simultaneously unleashing a massive headbutt that can launch opponents upward.
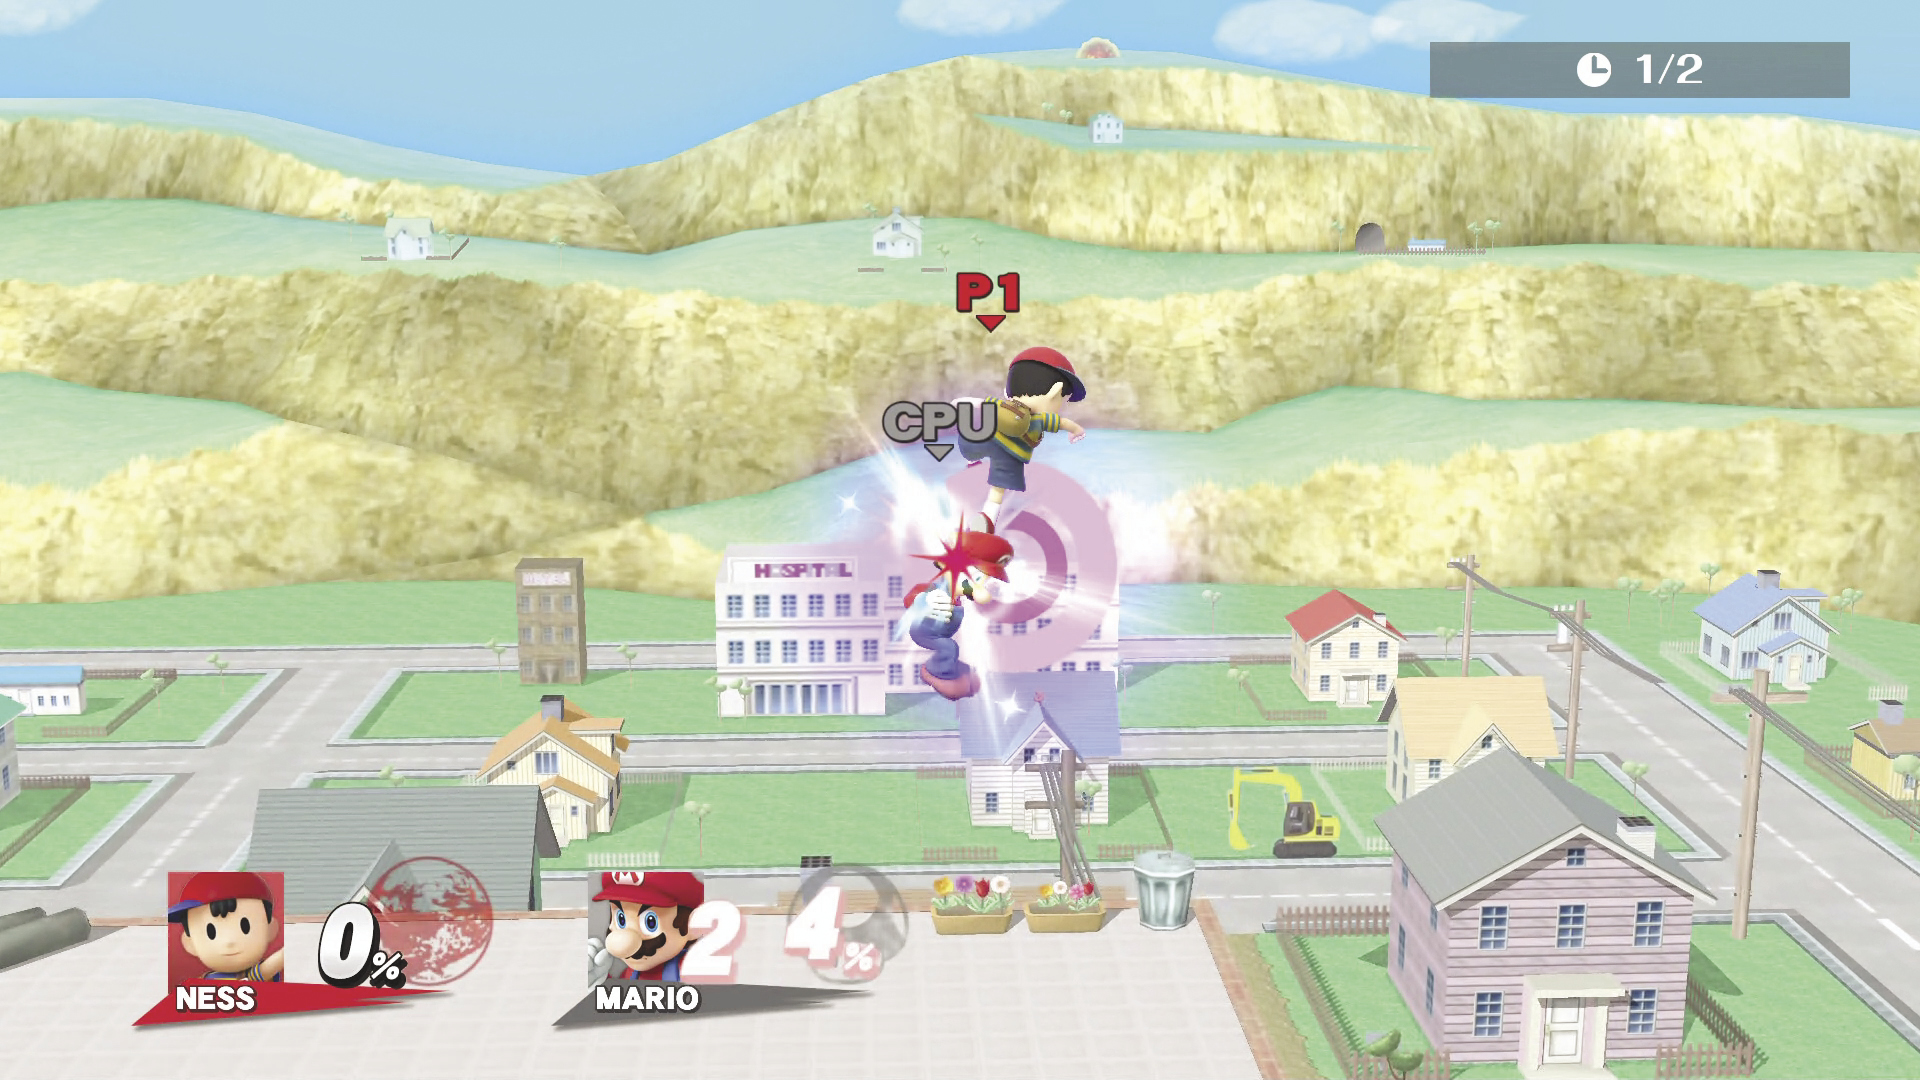
Down Air Attack DAMAGE 10~12%
Ness kicks downward with one leg. This attack can meteor smash your opponent.
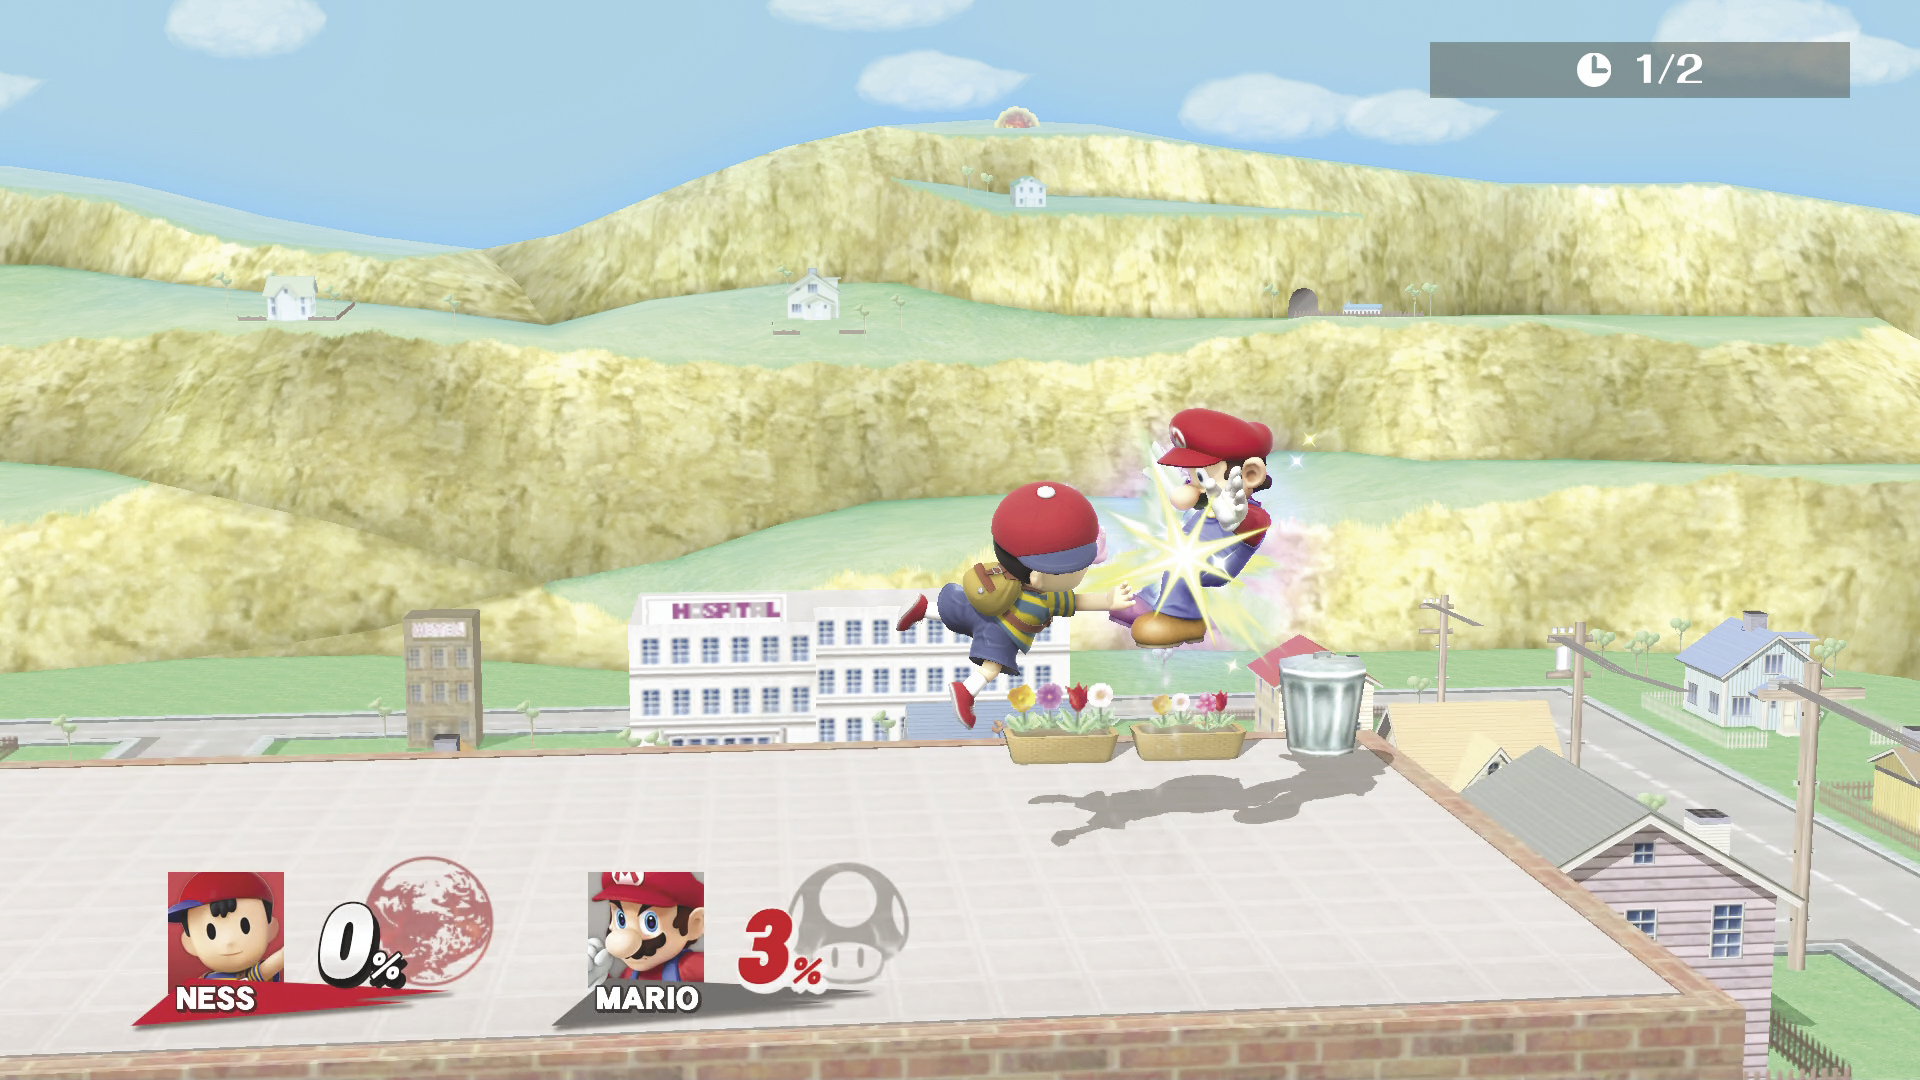
Forward Air Attack DAMAGE 1~4% MAX DAMAGE 7% : 4 Hits
Ness reaches forward to blast opponents with his psychic powers. This can hit multiple times.
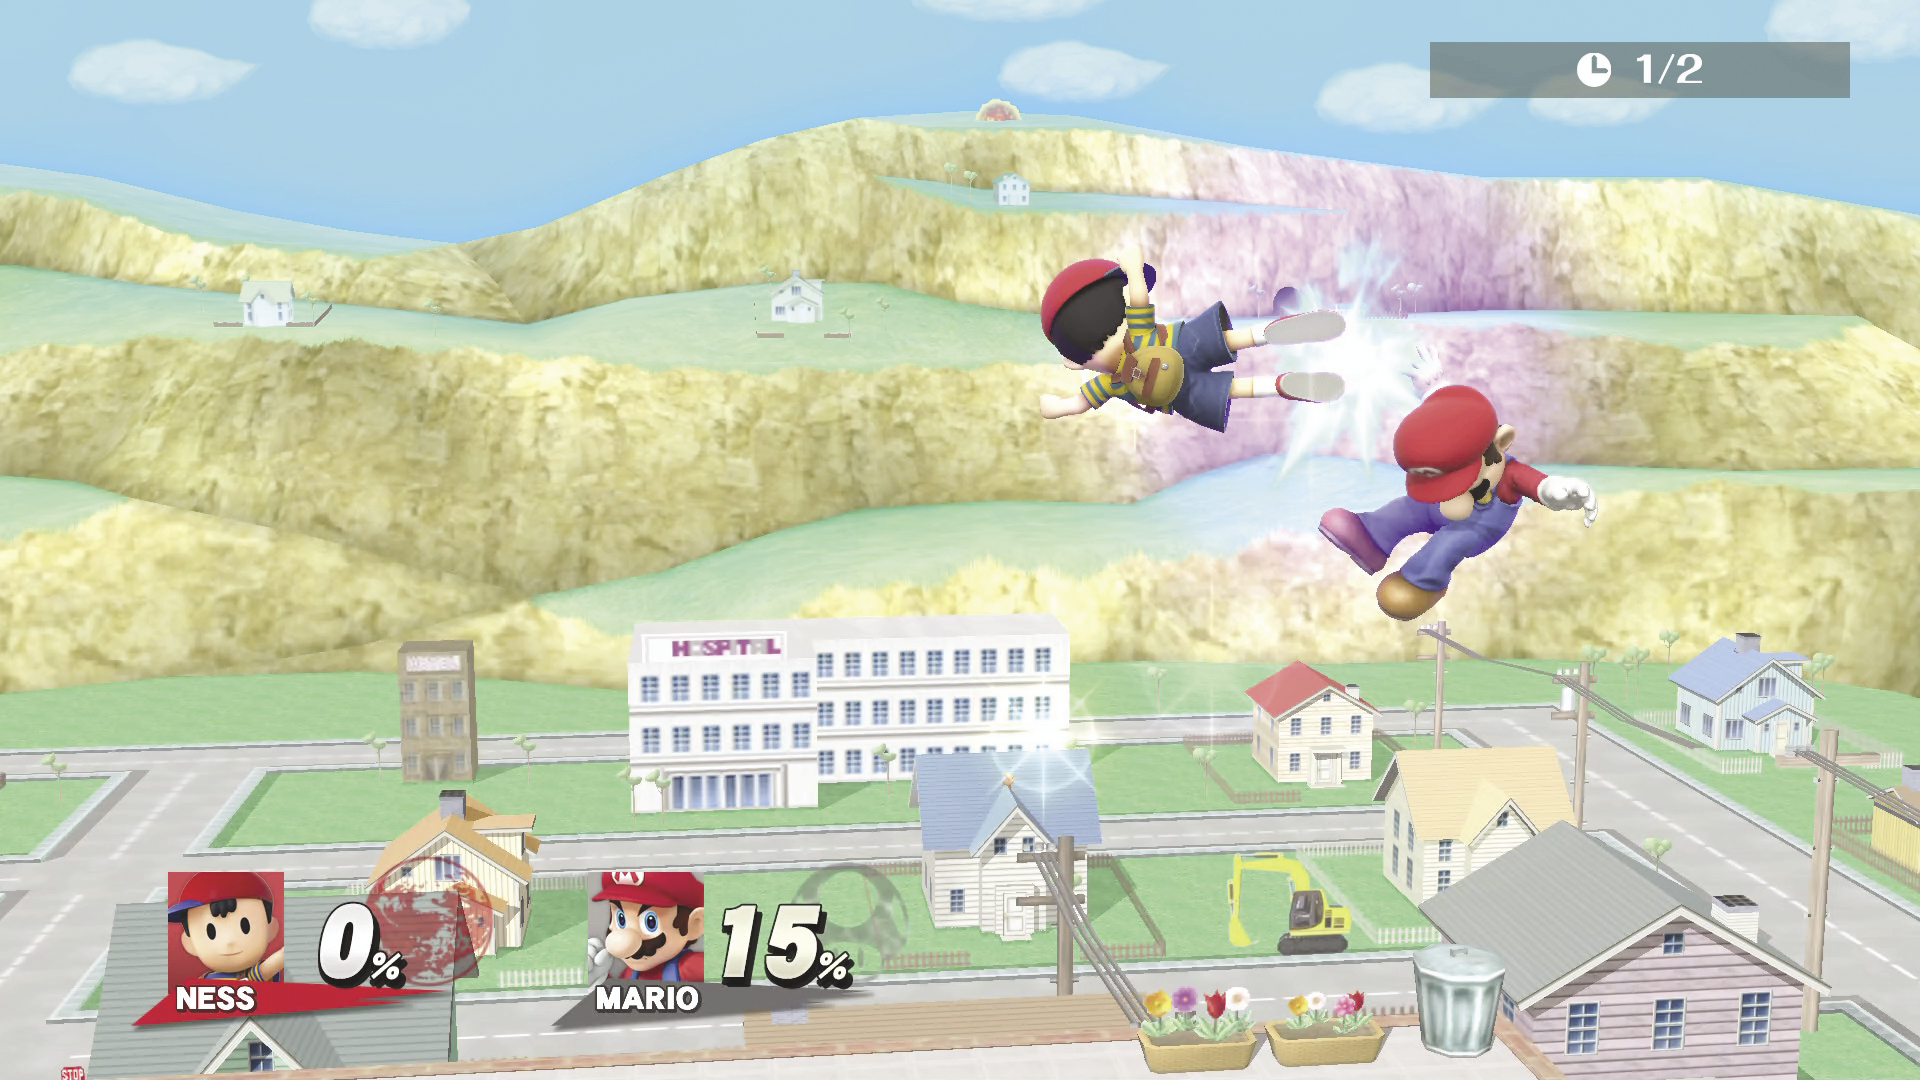
Back Air Attack DAMAGE 8~15%
A reverse dropkick attack with decent knockback.
Special Attacks
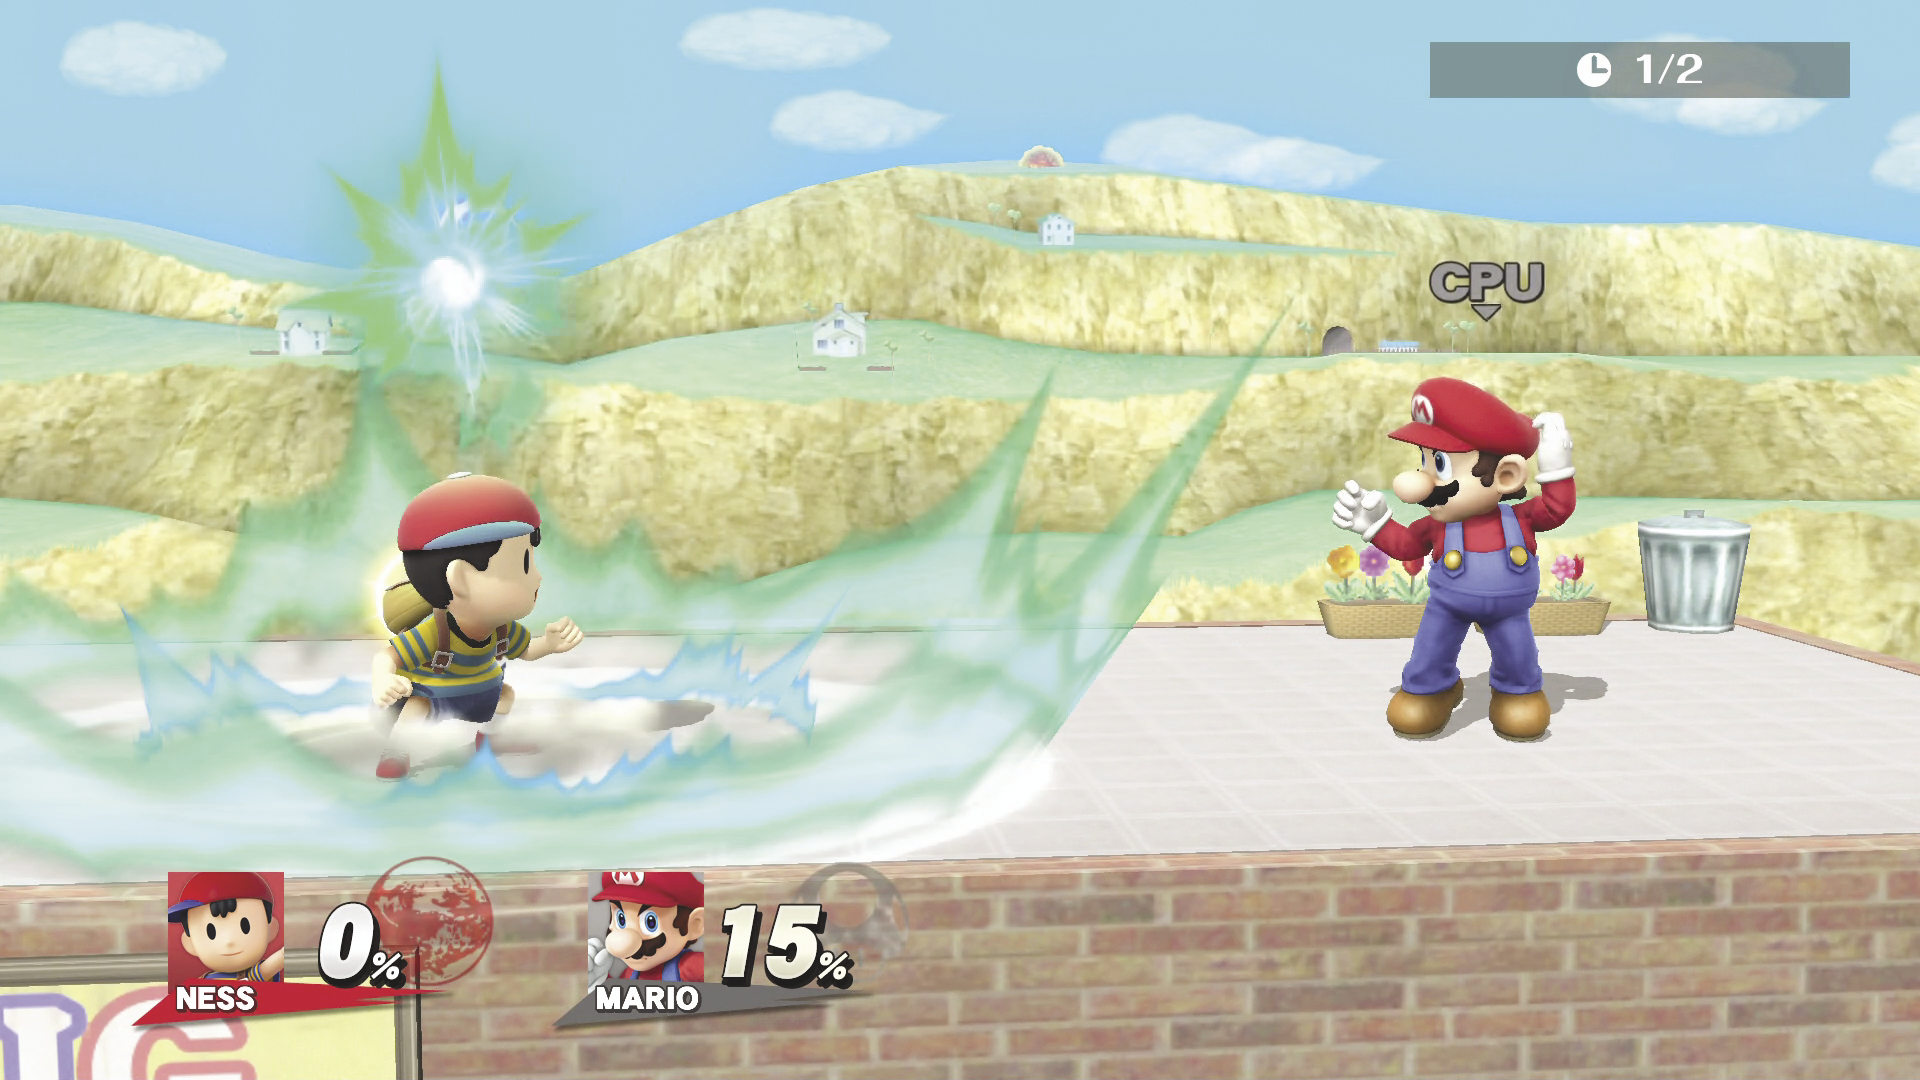
PK Flash(Neutral Special) DAMAGE 9~37%
This electrical blast rises vertically out of Ness before descending. You can control its downward arc either to the left or right. Hold the button to increase the DAMAGE and range of the explosion and to extend the amount of time you have to control it. Once you release the button, the blast explodes. It also explodes after about three seconds.
Rising PK Flash DAMAGE 6~24%
This PK Flash continues to rise. You cannot move it much horizontally, and it deals less DAMAGE.
PK Freeze DAMAGE 10~19%
Much less DAMAGE, but the hit itself freezes opponents in their tracks! The falling speed is slightly slower than the regular version.
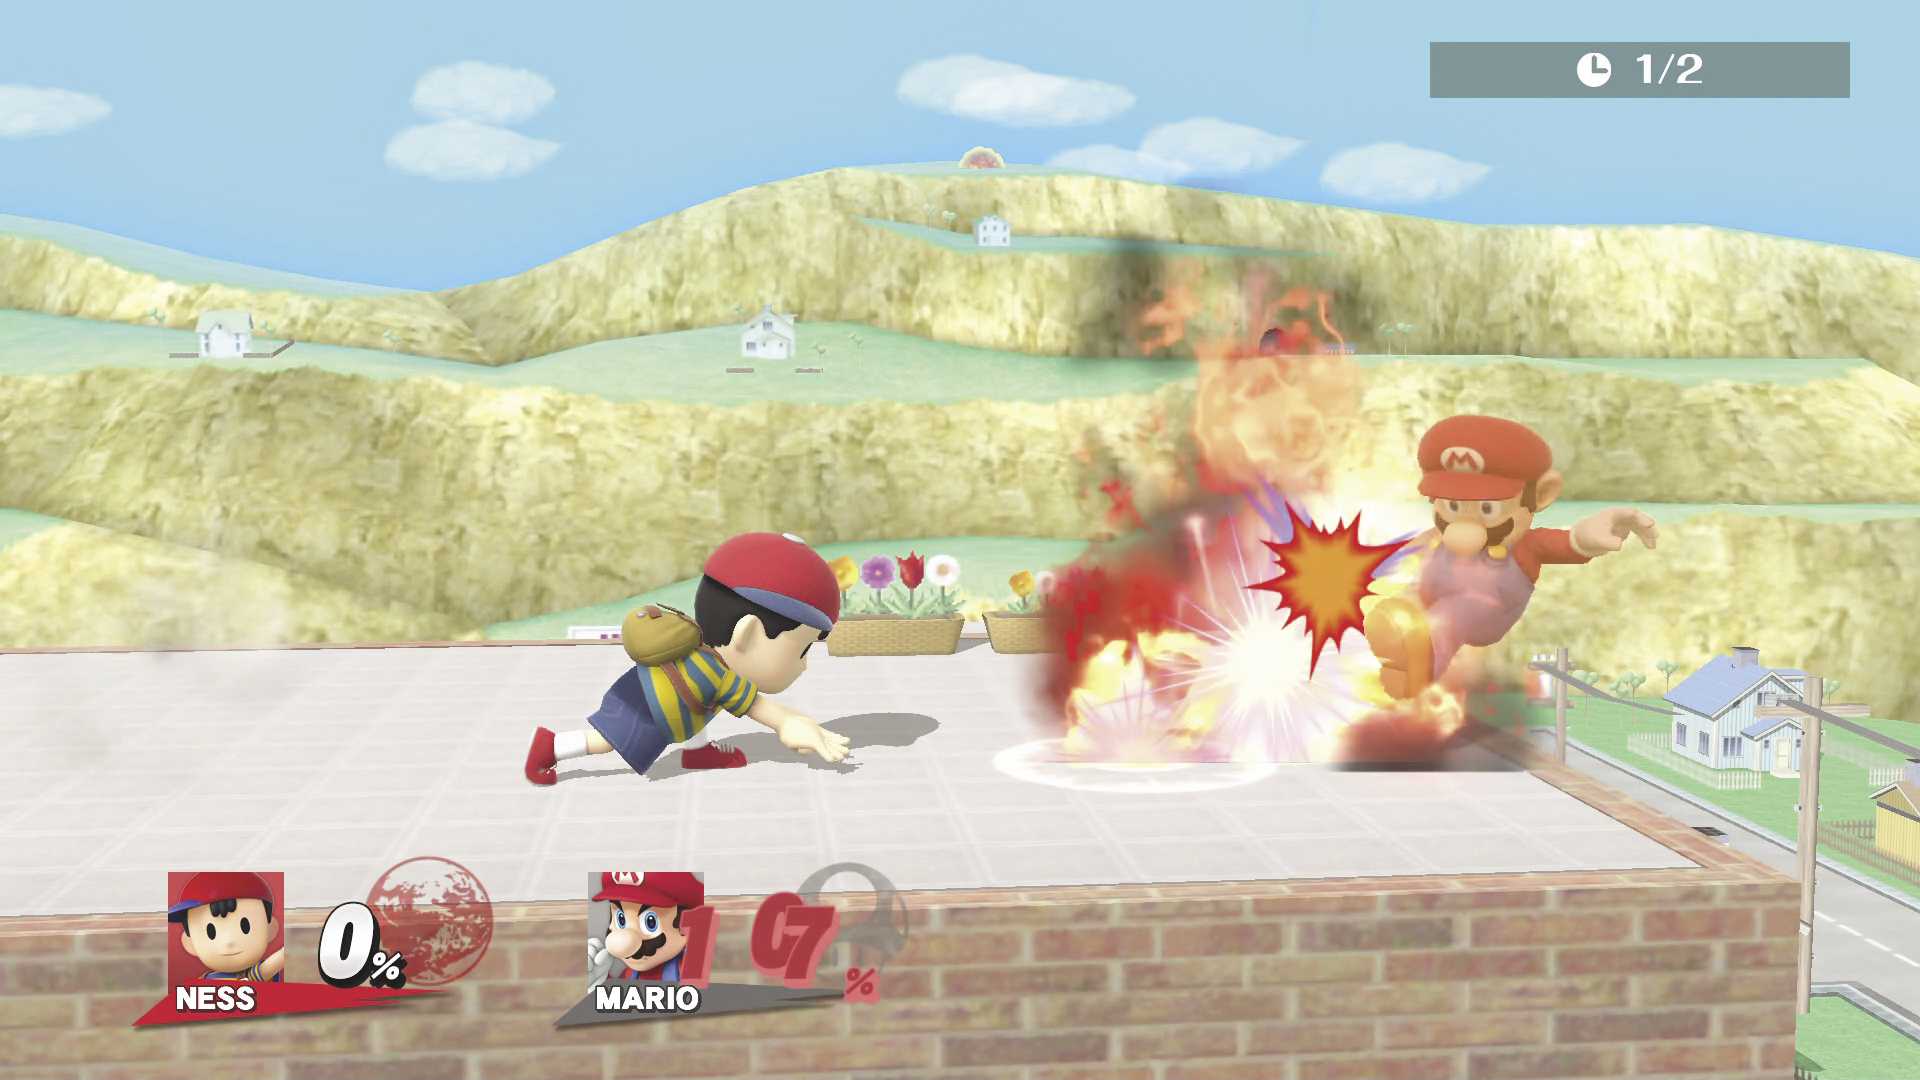
PK Fire (Side Special) DAMAGE 1~4% MAX DAMAGE 22% : 10 Hits
Ness throws a lightning bolt that explodes into a pillar of flames once it connects with an opponent. When Ness is grounded, he throws the lightning bolt horizontally, but when he’s airborne, he throws the lightning bolt downward at an angle.
PK Bonfire DAMAGE 2~5% MAX DAMAGE 52% : 11 Hits
In this variation, the range is much shorter on the lightning bolt, but the flame pillar sticks around for much longer. The bolt travels slightly slower and the flame pillar doesn’t shrink over time.
PK Fire Burst DAMAGE 1~8% MAX DAMAGE 9% : 2 Hits
This lightning bolt bursts into a single flame on contact with an enemy. The single flame knocks back opponents much more strongly than in the other versions. This version travels slightly farther than the default version.
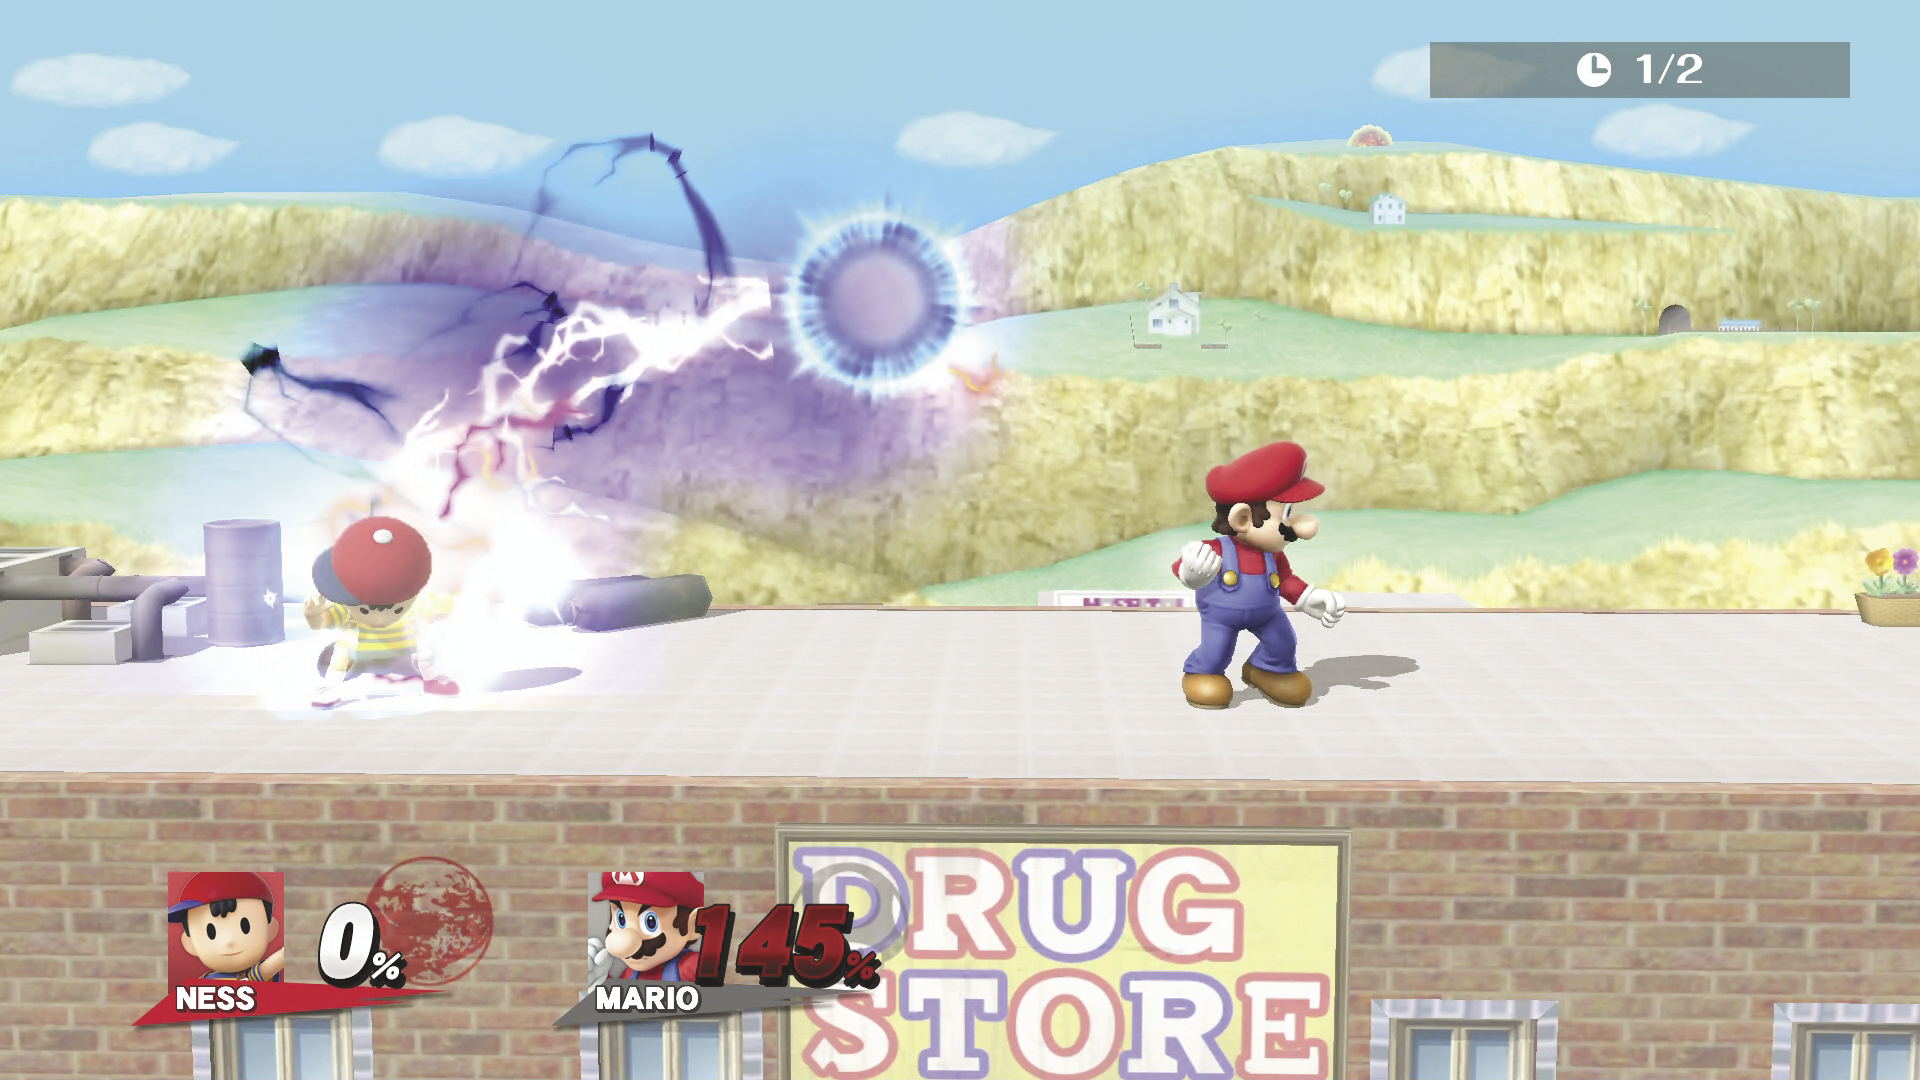
PK Thunder (Up Special) DAMAGE 1~8% MAX DAMAGE 9% : 2 Hits
BODY BLOW 21~25%
Ness releases a ball of lightning that you have total control over. Hitting your opponent with this nets you some DAMAGE. If you can steer it back into Ness, it shoots Ness off in the direction it was last traveling; Ness takes 0 DAMAGE. If you hit Ness with the lightning and he then hits an opponent, it results in massive DAMAGE to the opponent only! Ness cannot move during this attack. If used in the air, Ness will fall slowly.
Lasting PK Thunder DAMAGE 1~7% MAX DAMAGE 11% : 5 Hits
BODY BLOW 1.5~10% MAX DAMAGE 25% : 11 Hits
This ball of lightning pierces through opponents and doesn’t disappear, which allows it to hit multiple times. Even if you hit it into Ness, the resulting body blow can hit multiple times. Another difference is Ness’s speed doesn’t decrease much after hitting someone with the body blow.
Rolling PK Thunder DAMAGE 1~12% MAX DAMAGE 13% : 2 Hits
BODY BLOW 30%
A stronger but slower version of PK Thunder. The DAMAGE on the body blow is also increased, but Ness’s speed does not decrease after hitting an opponent.
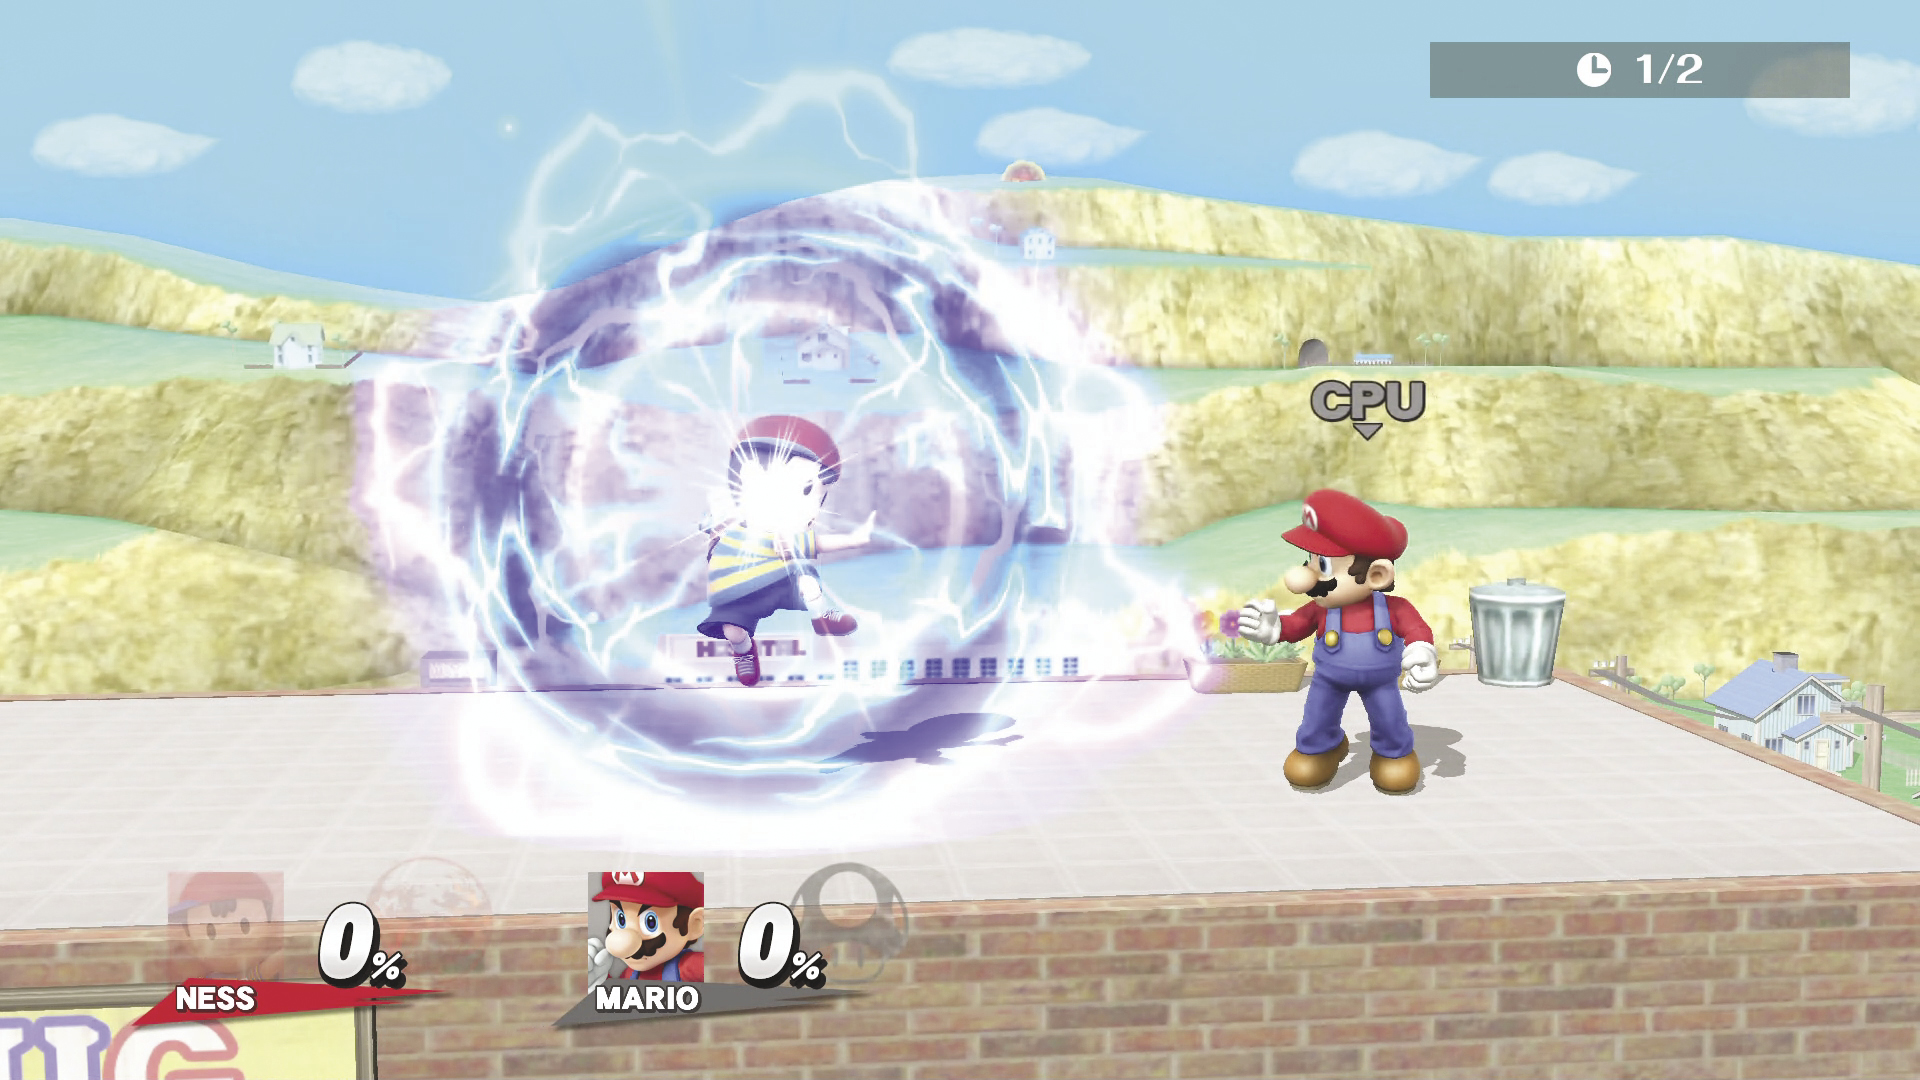
PSI Magnet (Down Special) DAMAGE 0%
Ness surrounds himself in a giant magnet bubble that absorbs energy-based projectiles to heal his DAMAGE. Hold the button to extend the duration of the bubble. When you release the button, it has a push effect on anyone else inside or near the bubble.
PSI Vacuum DAMAGE 5~10%
Ness pulls in opponents then DAMAGEs them at the end of the move. The closer opponents are to Ness, the stronger they are knocked away. In this variation, projectiles are not absorbed.
Forward PSI Magnet DAMAGE 9%
Ness creates a PSI Magnet field in front of him. When the move completes, it deal DAMAGEs and knocks away anyone who is too close. It also absorbs projectiles.
| Absorb Data | Startup | Duration | Recovery Rate | Max Recovery |
|---|---|---|---|---|
| PSI Magnet | 10th frame | 35 frames | 1.6x | 30% |
| Forward PSI Magnet | 12th frame | 32 frames | 1.2x | 30% |
Final Smash
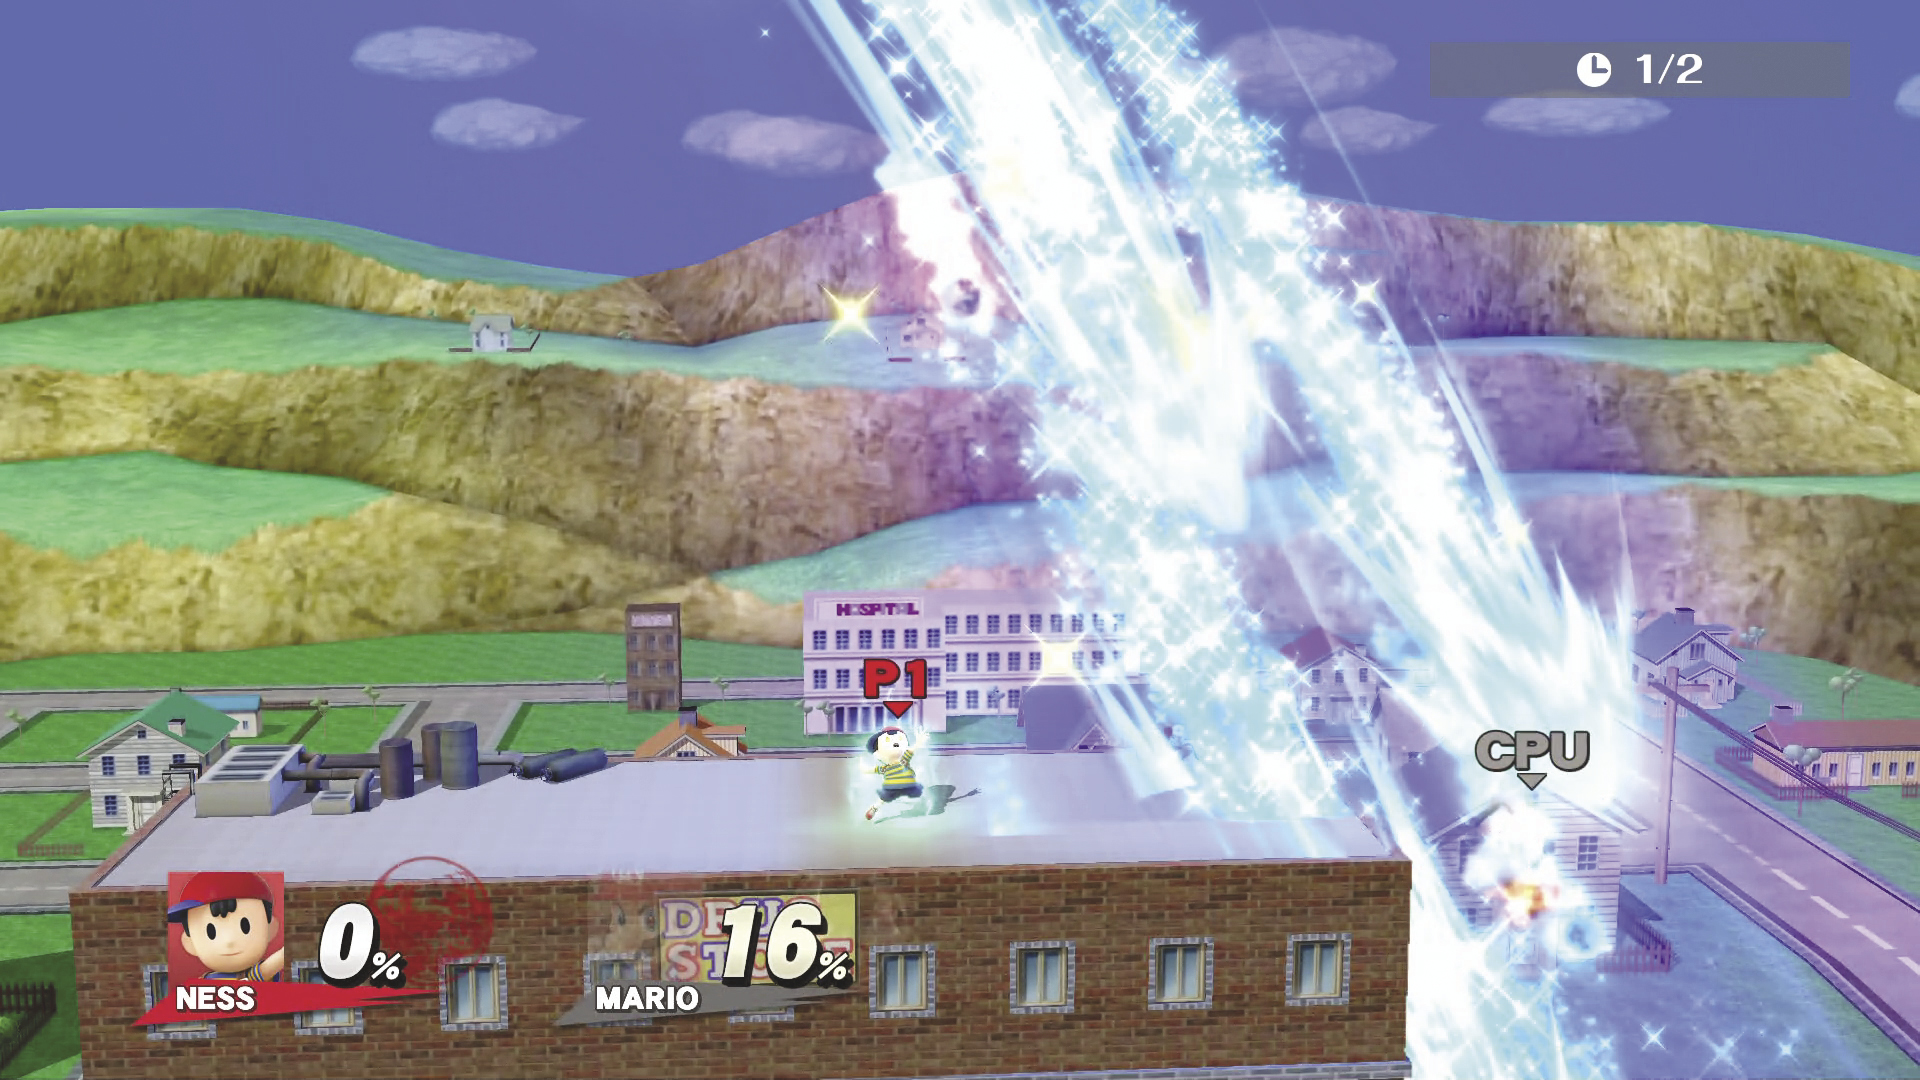
PK Starstorm
Ness calls down a rain of stars to the center of the stage. You can control the PK Starstorm by angling it left or right, but its origin point is over the center of the stage. Each hit does about 8% DAMAGE and knocks the opponent away more horizontally than vertically. You are invincible during the attack, and if it’s used while airborne, you do not fall.
Strategy
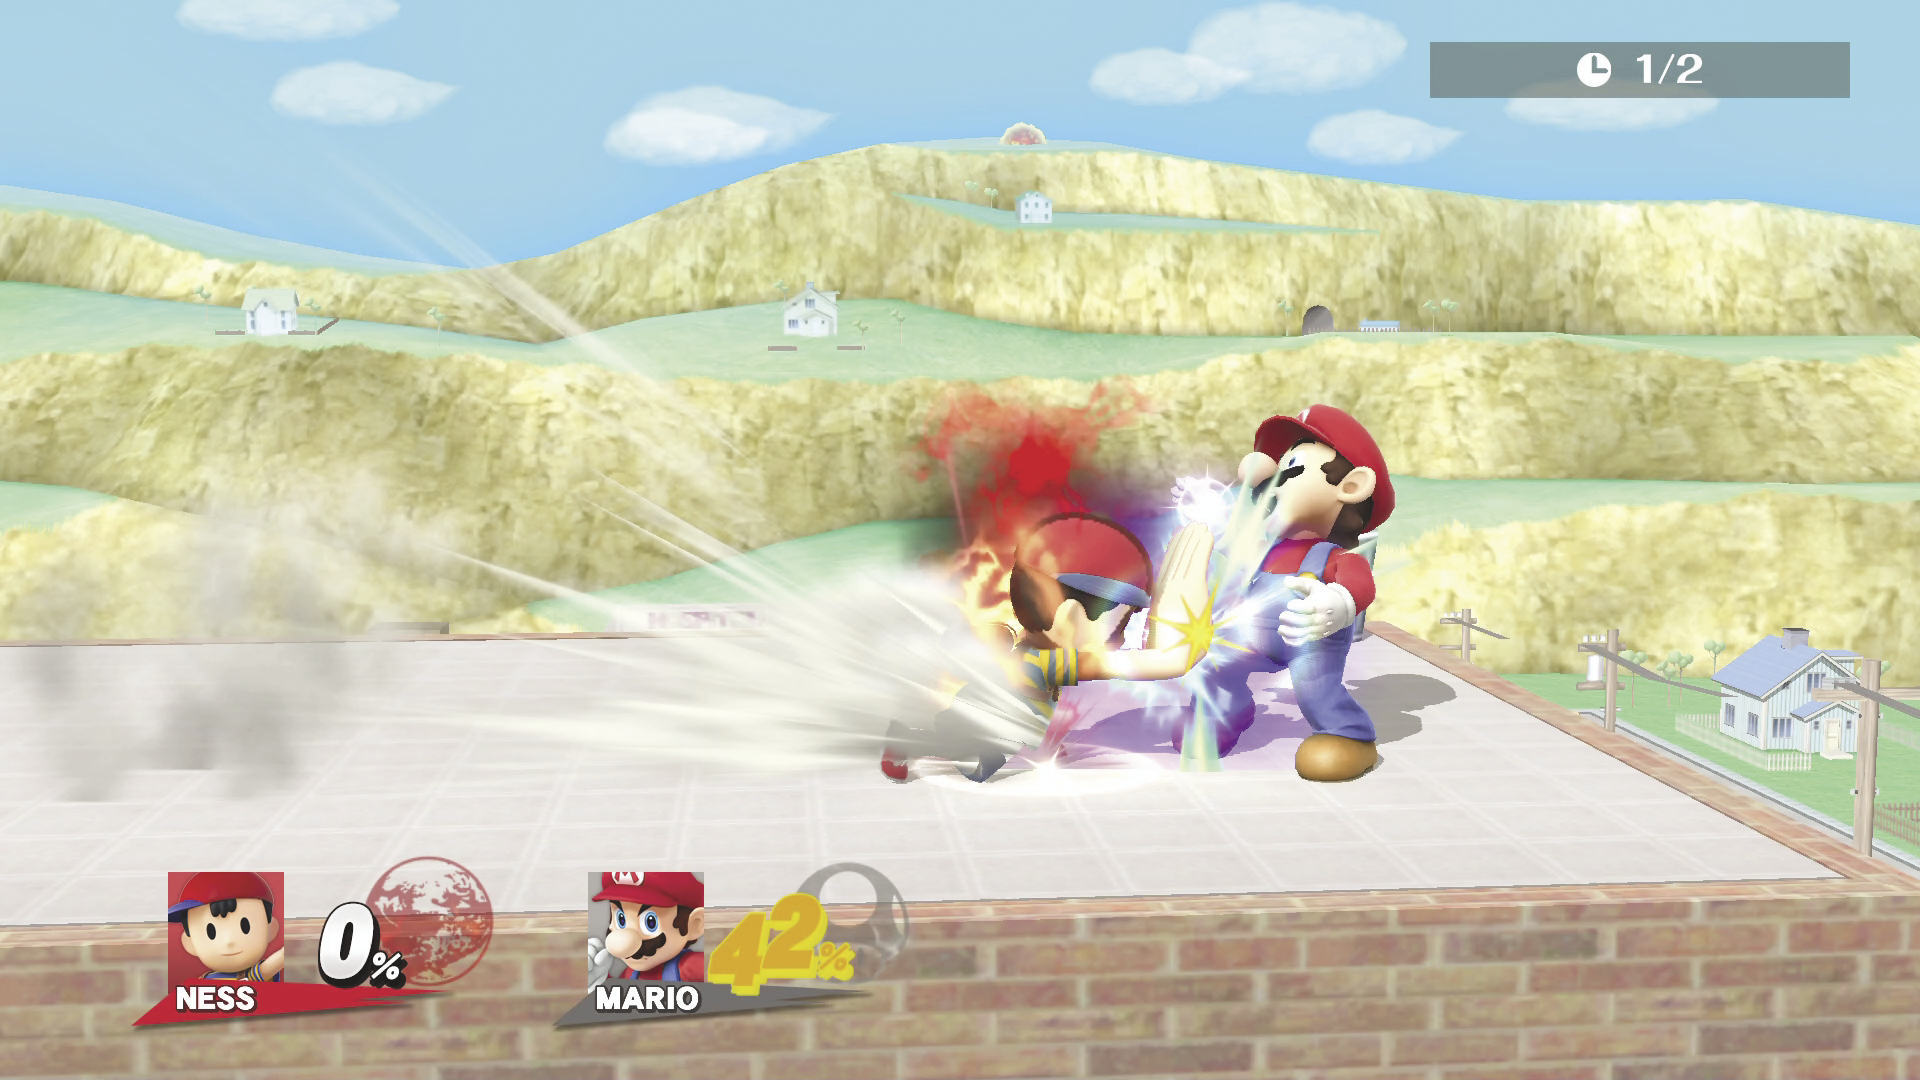
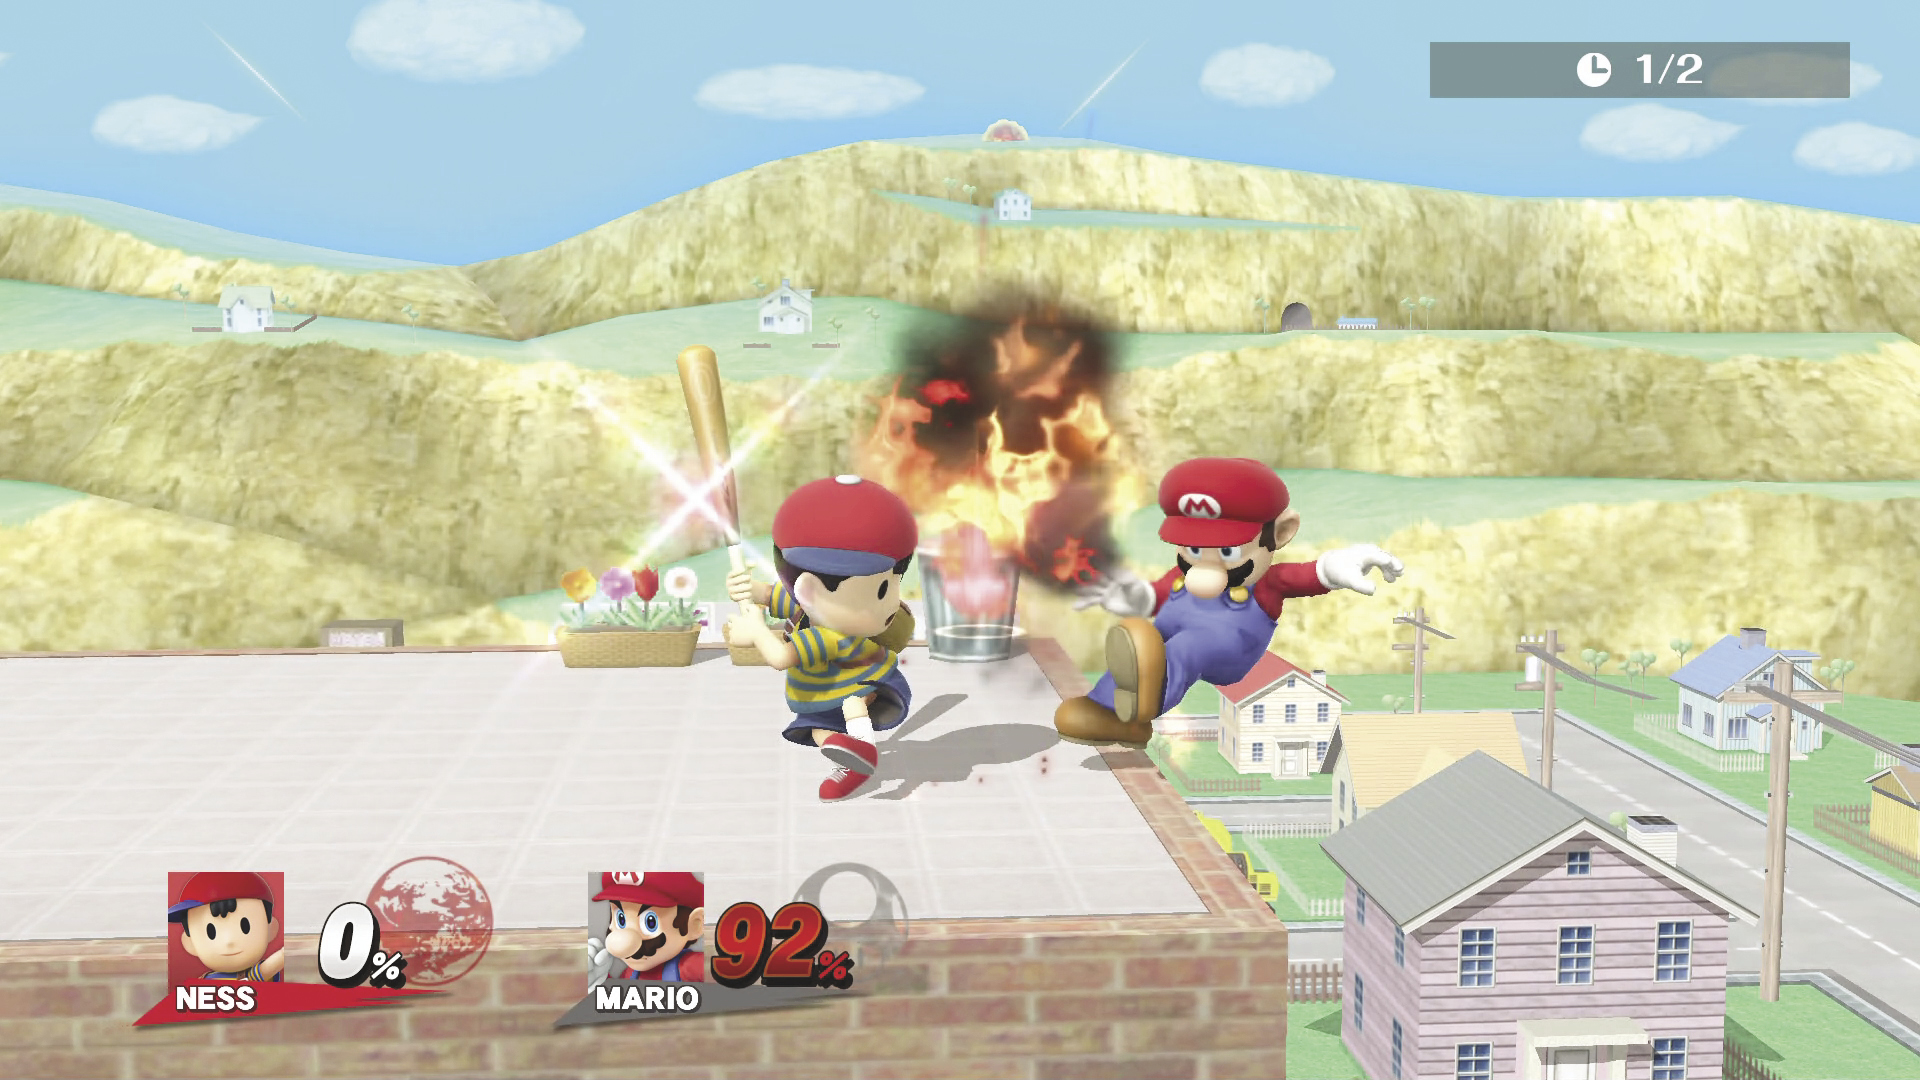
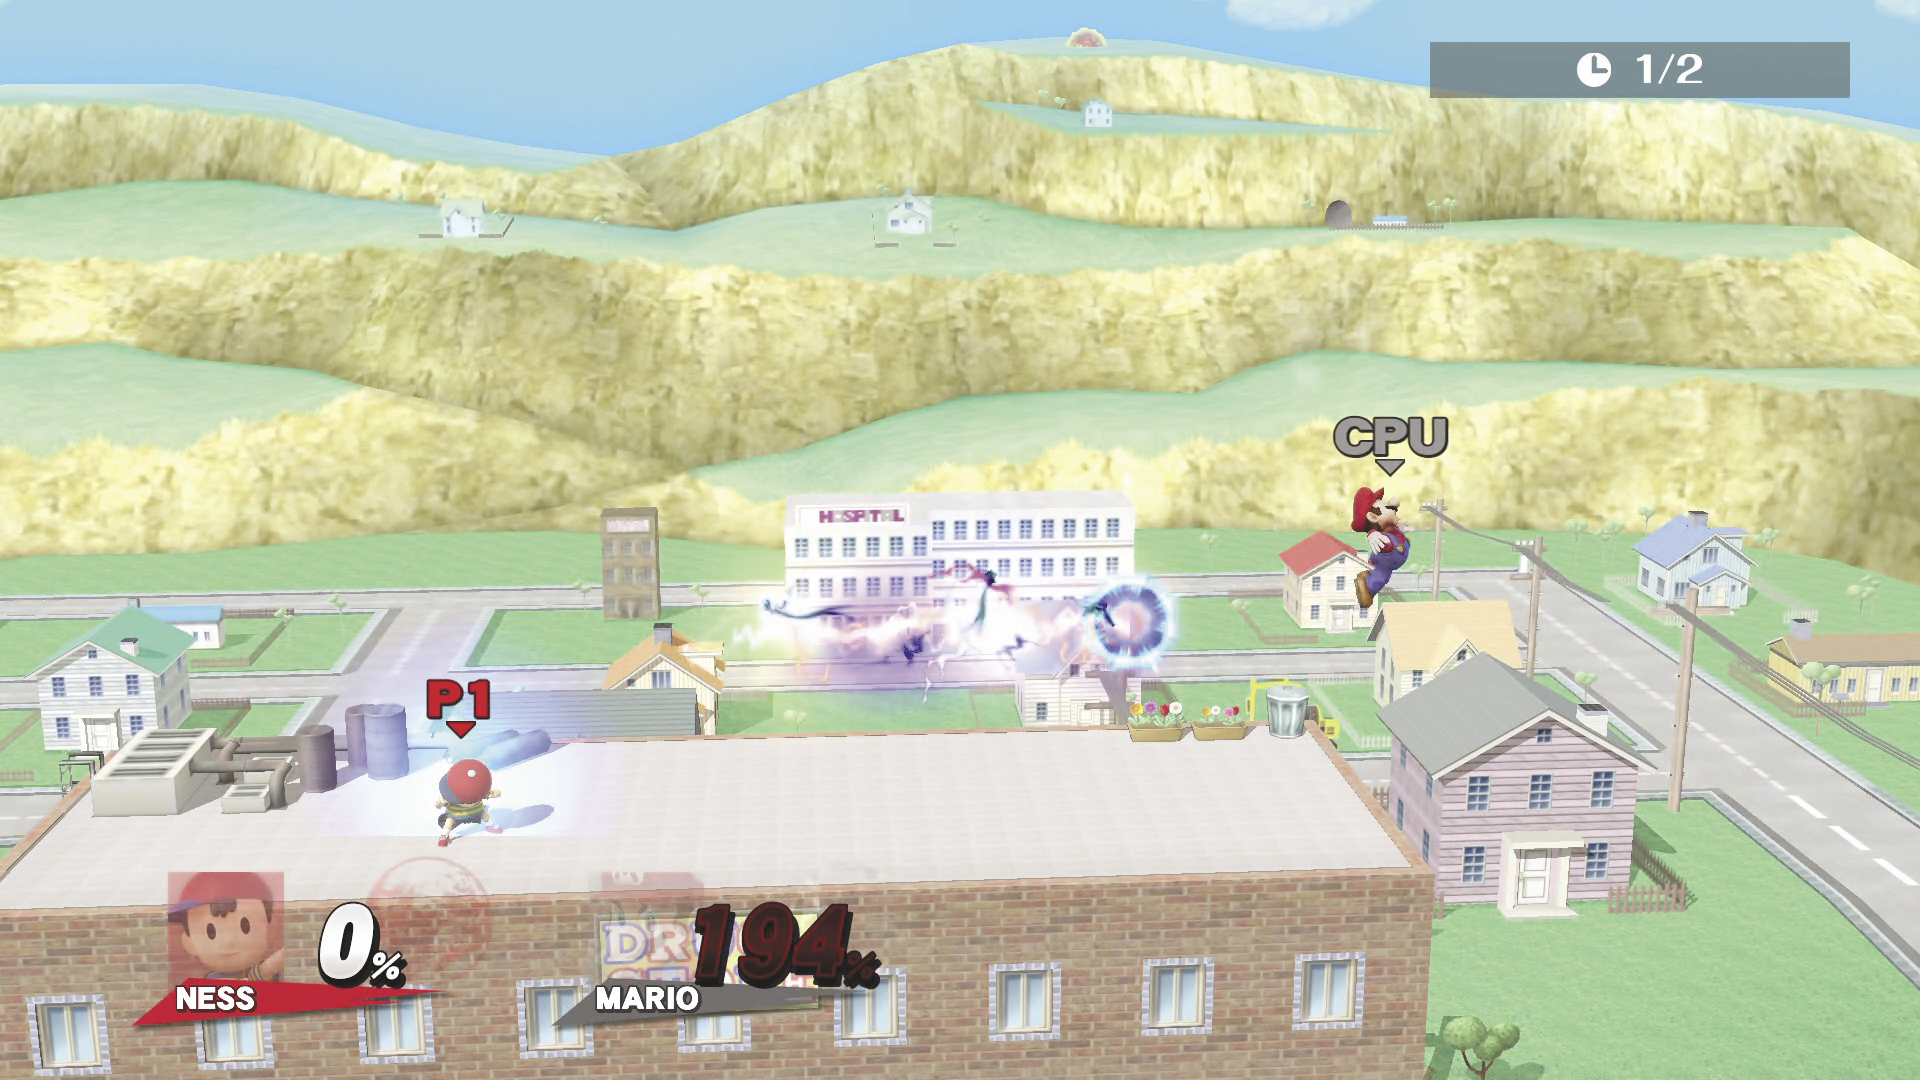
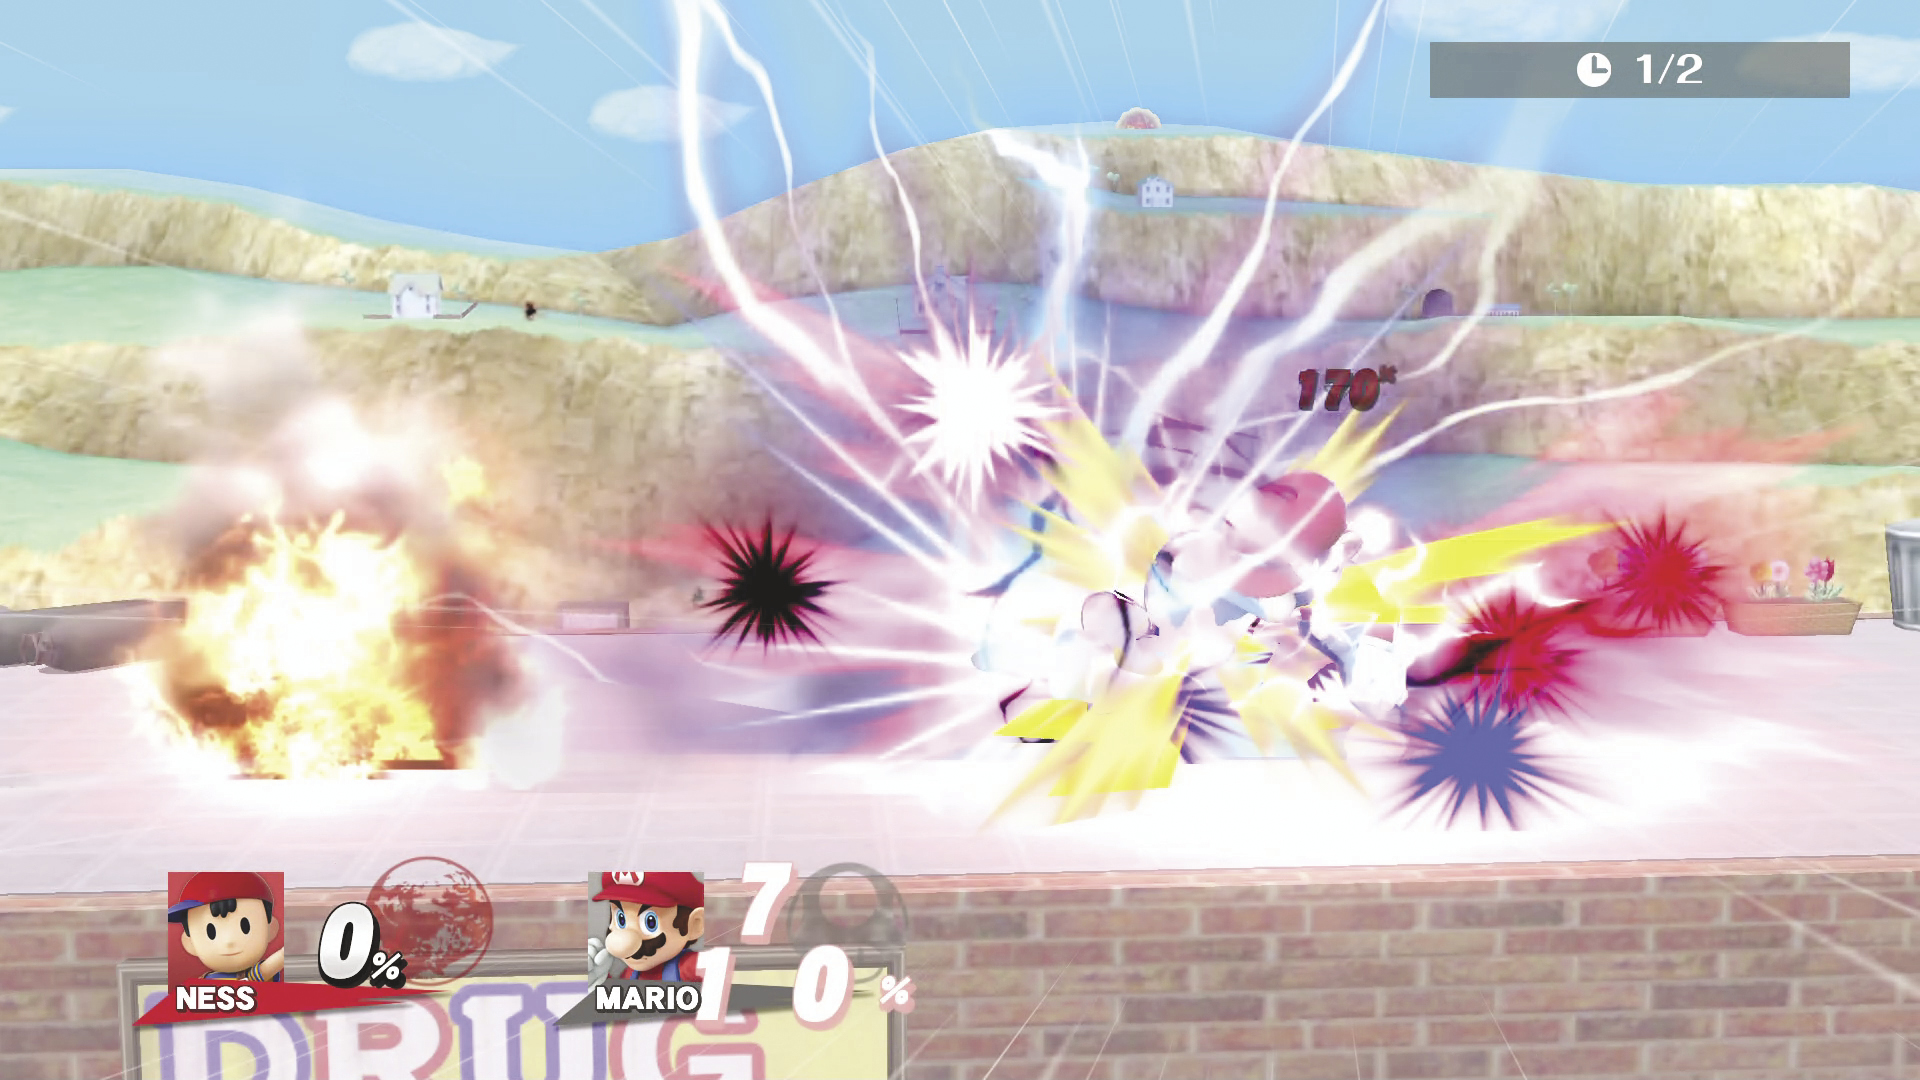
Despite Ness’s compact size, he is actually an average-weight character! He has a variety of projectile attacks to protect himself at range, and he has some devastating throws and Smash attacks. His mobility and jump height are average, but he has a unique double jump that sends him higher than most. His weaknesses are in his recovery and Smash attack range. With quick attacks, a decent projectile game, and surprise KO power, though, he’s a force to be reckoned with. For surprise KOs, master using PK Thunder to hit Ness into opponents and learn the range on Ness’s Side Smash!
PK Thunder is Ness’s primary projectile, as it is his most versatile projectile. Because you have total control over its path, you can use it to attack at range, zone out opponents, edge-guard, or blast it into Ness to KO opponents! Blasting it into Ness is your main recovery tool, so be sure to practice this technique. PK Fire is best to trap opponents for combos and to keep them out. PK Flash is best used for edge guarding since it has a long startup and recovery. Using it for edge guarding will allow you to better position yourself and charge it up. Make sure you have enough space before attempting to use this. PSI Magnet heals Ness when used against projectile-heavy characters. Note, however, that this only absorbs energy-based projectiles. So, while this absorbs Mario’s fireballs, it does not absorb Dr. Mario’s capsules!
In the air, Ness has many quick aerial attacks. Forward Air has the best range because of the psychic blast in front of Ness, but other characters can still outdistance you. Up Air and Back Air are good for KOs, while Down Air is good for its meteor smash. On the ground, range is still an issue, but your tilt attacks are fairly fast. Smash attacks have poor range, but Up Smash can actually cause DAMAGE while being charged. Ness’s throws are also particularly good if you can reach your opponent, particularly with Ness’s Back Throw. The Side Smash baseball bat has awesome KO power, so this is definitely the option you want to look for. When edge-guarding, use your PK Thunder and PK Flash to make it difficult for opponents to return. PK Fire is a good trap on-stage and can also be thrown at opponents as they try to make their way back to the stage.
Recovery
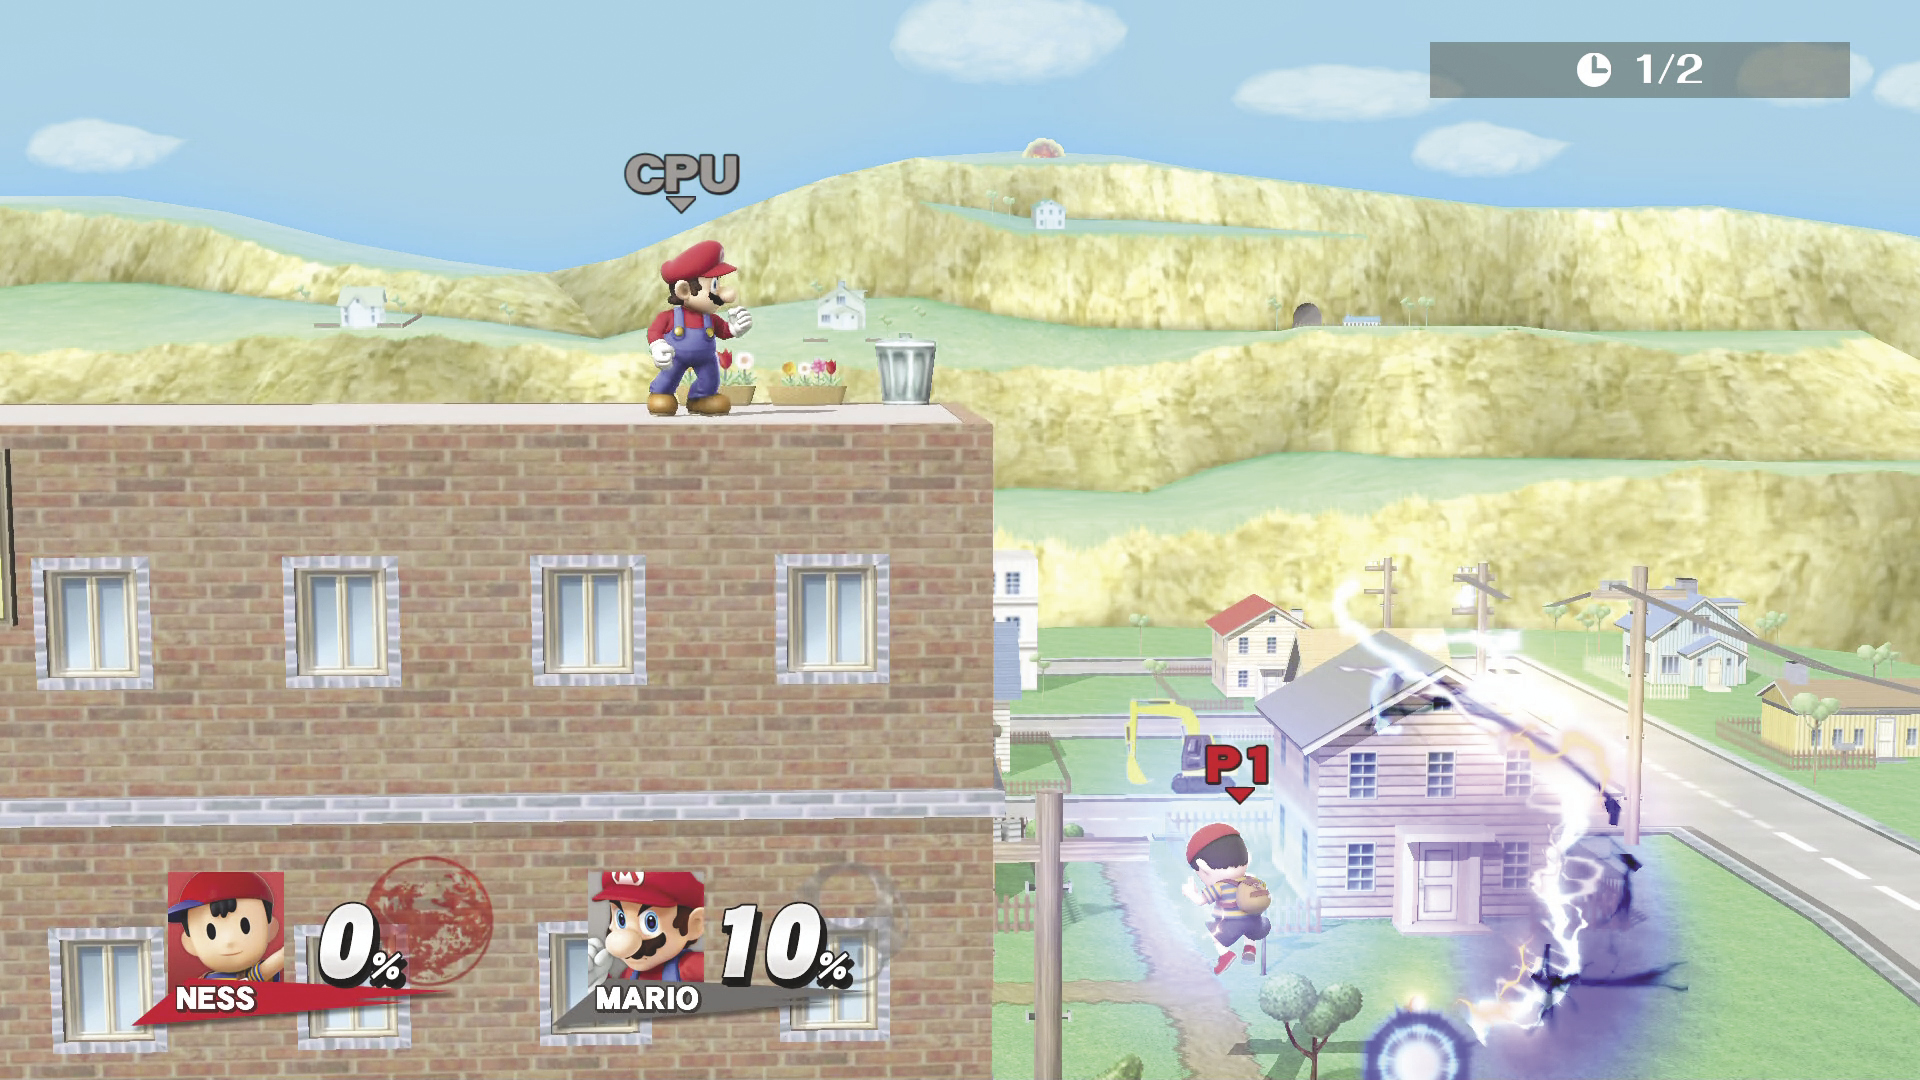
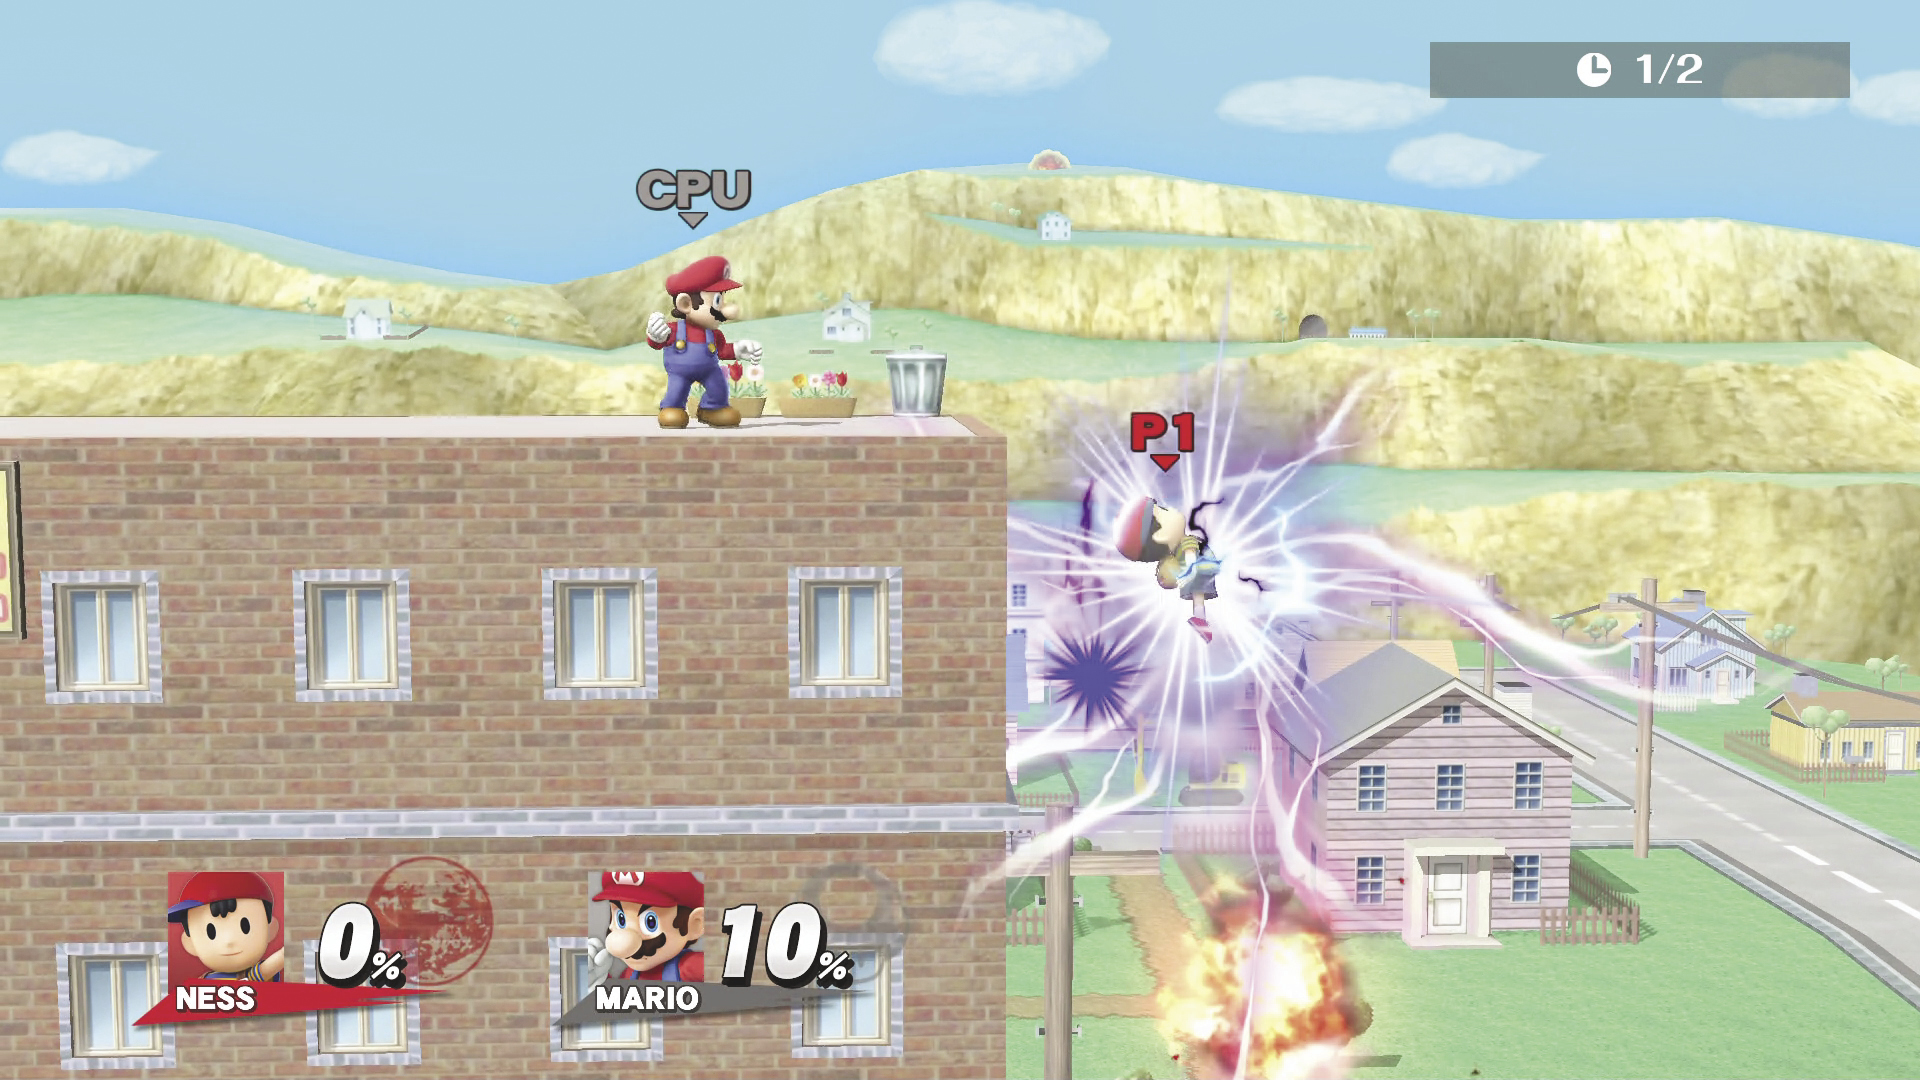
Ness is one of the most difficult characters to recover with in the game. While his double jump gets him fairly high, none of his Specials move him vertically or horizontally. Instead, master PK Thunder to circle around yourself then hit you in the correct direction you want to recover in. After this hits Ness, though, you are left in a fall state unless you collide with a stage floor or an opponent. If approaching from above the stage, hitting yourself into the stage floor is usually your best option. The best way to hit this is to control PK Thunder up and away from Ness then down and toward him. If opponents are hitting you with projectiles, use PSI Magnet to absorb them before using PK Thunder to get back to the stage.