
Super Smash Bros. WiiU/3DS Guide Wii U GAME MODES Wii U - Games & More
Solo
Solo Overview
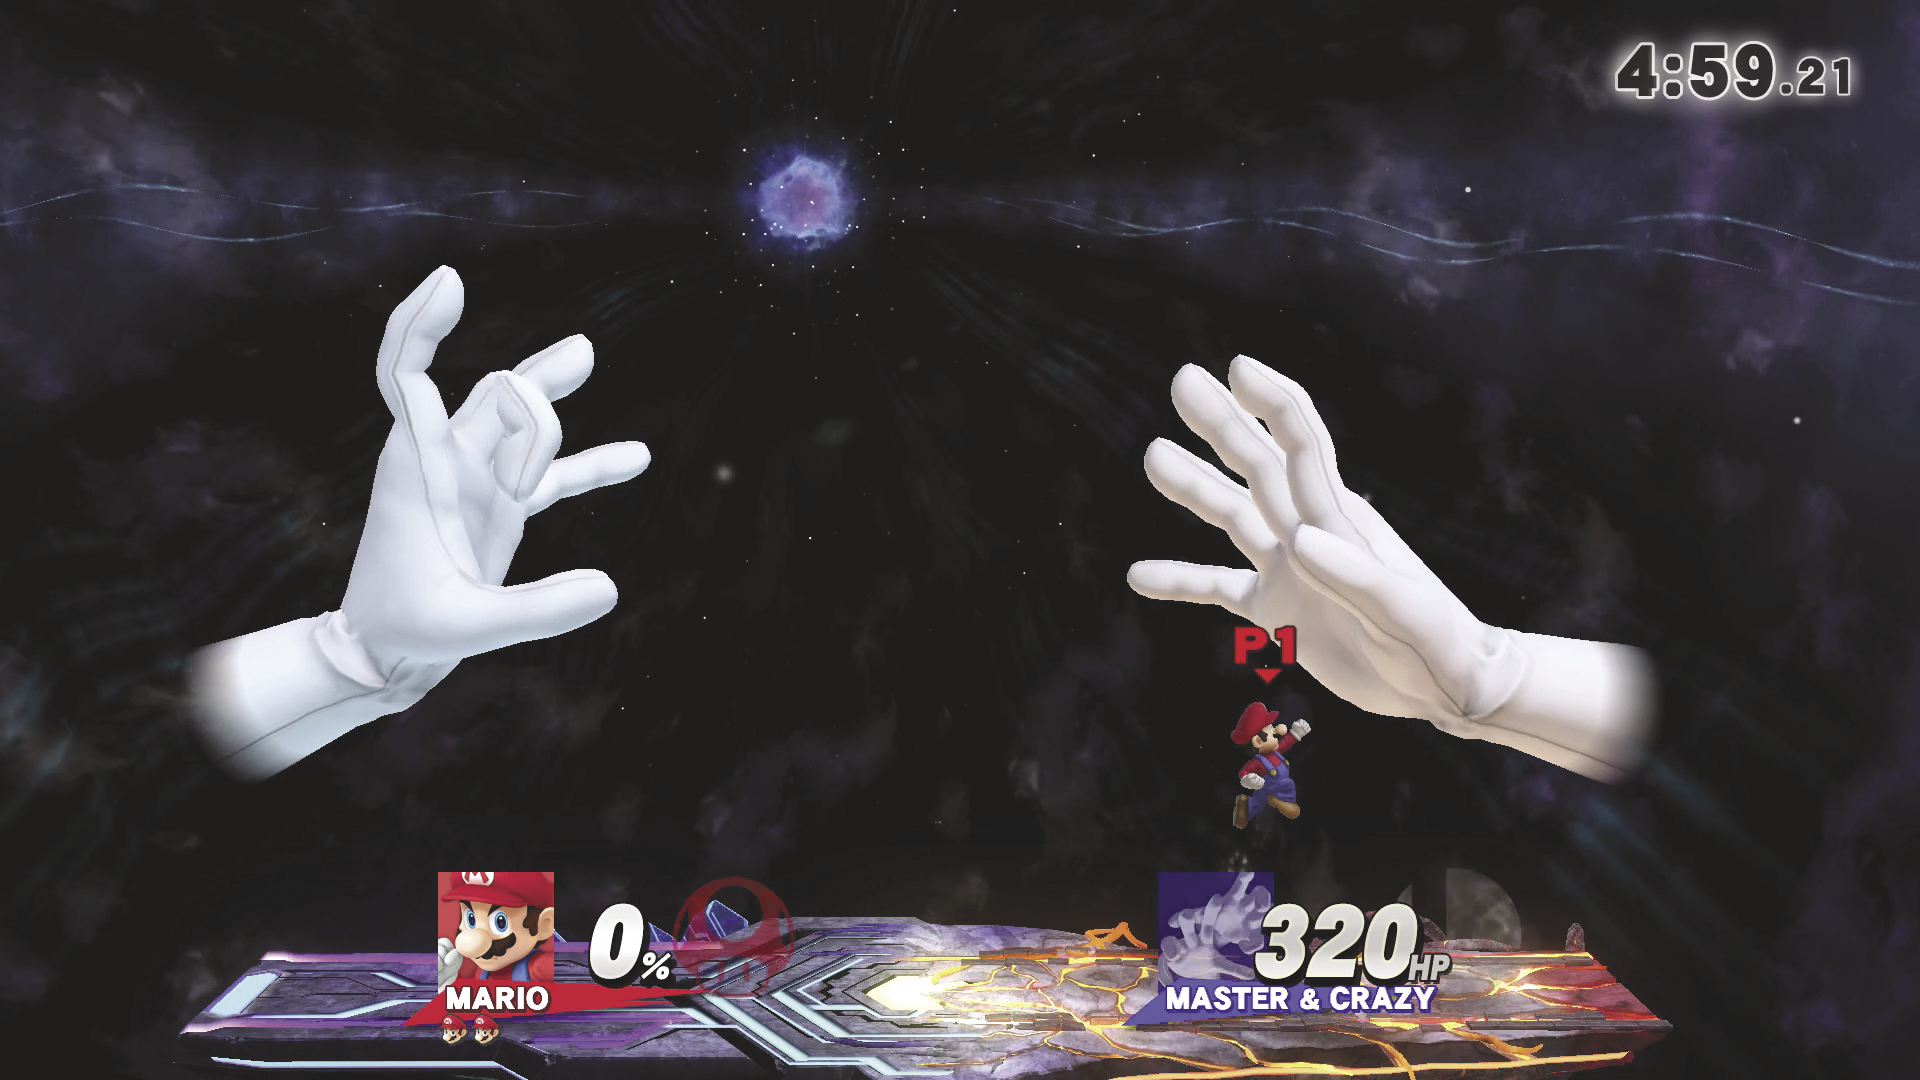
Solo contains a diverse selection of single-player offerings. You’ll find some fairly extensive game modes along with a variety of challenging scenarios and minigames. Exploring these game modes is a great way to hone your skills as you earn gold, trophies, equipment, and more.
Solo Menu
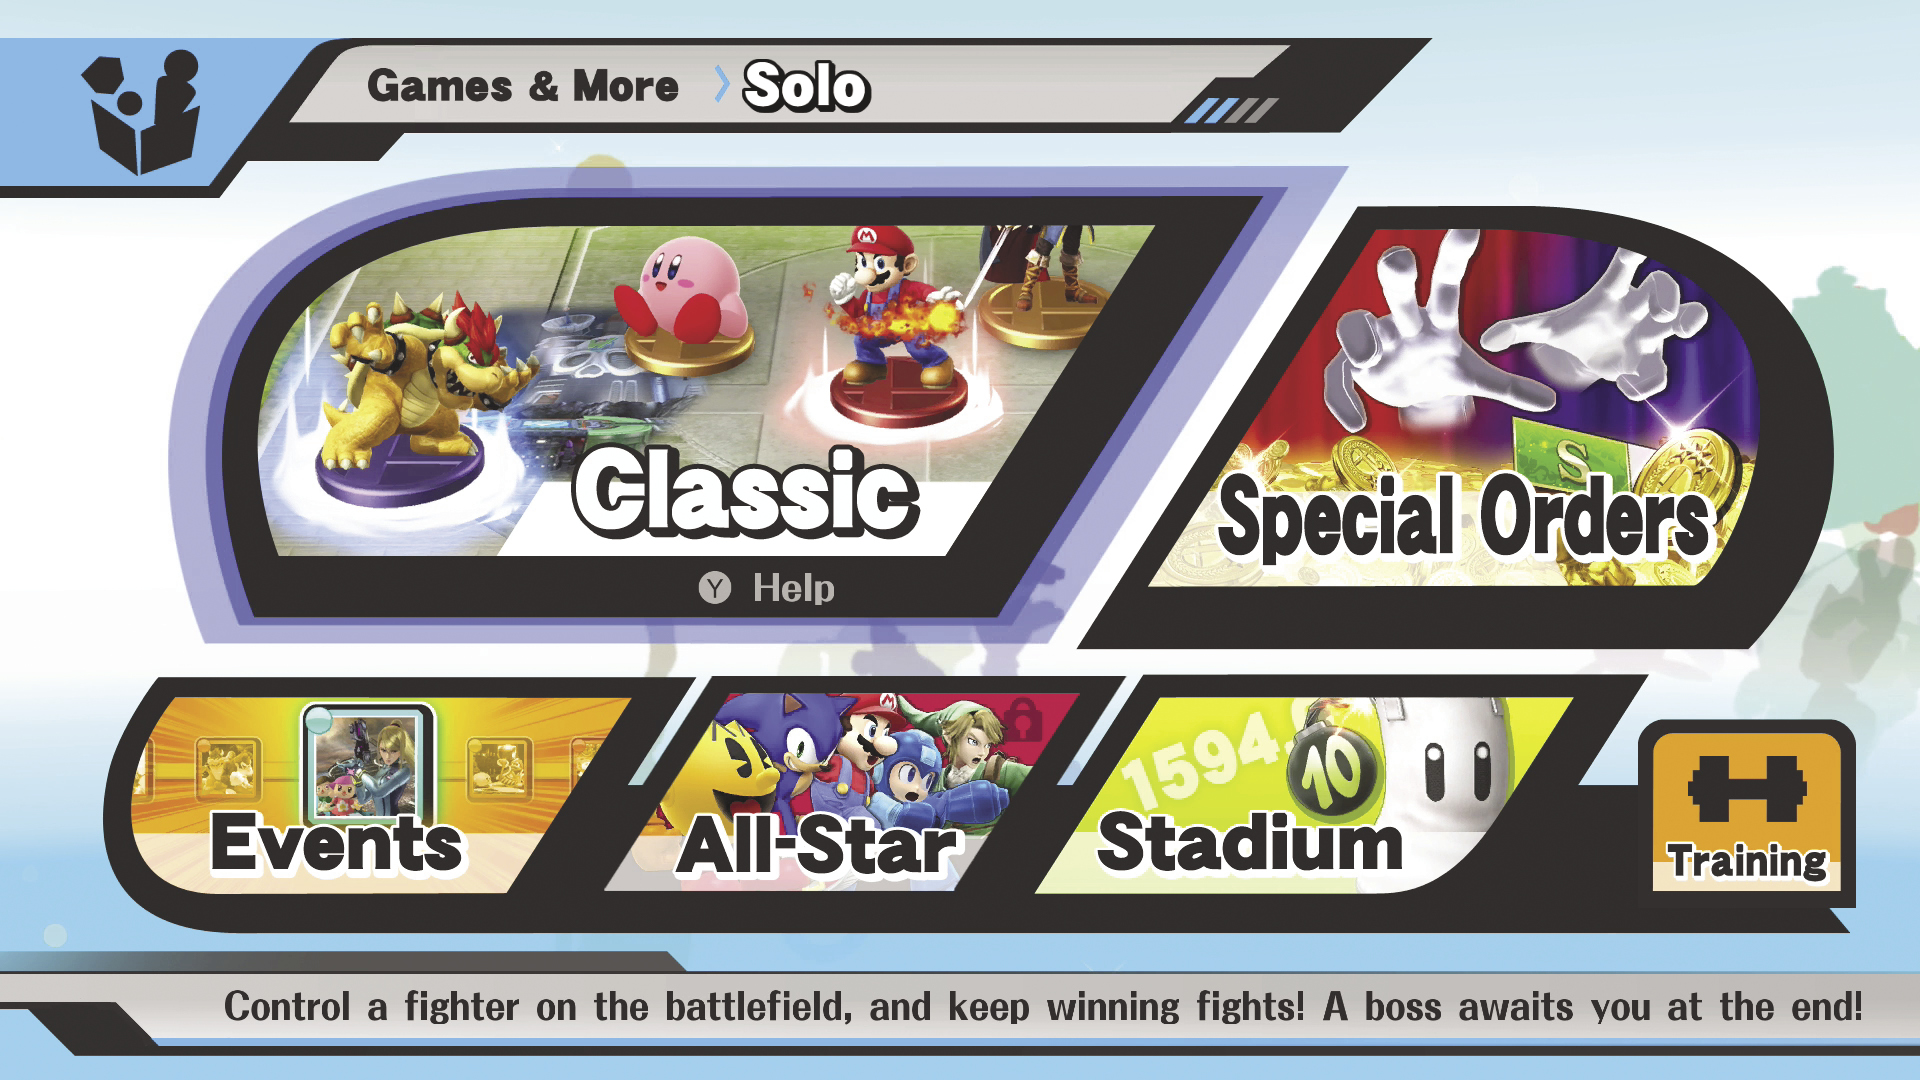
The “Solo” menu contains six selections:
- Classic: Control a fighter on the battlefield, and keep winning fights! A boss awaits you at the end!
- Special Orders: Clear challenges set by Master Hand and Crazy Hand to win rewards!
- Events: Fight under set conditions to win rewards! (Strict “no-items” policy.)
- All-Star: Take on every fighter in reverse chronological order!
- Stadium: Defeat an army, destroy targets, hit a home run…and beat your high scores!
- Training: Try out a fighter for the first time or brush up on an old favorite!
Classic (Solo)
Classic Overview
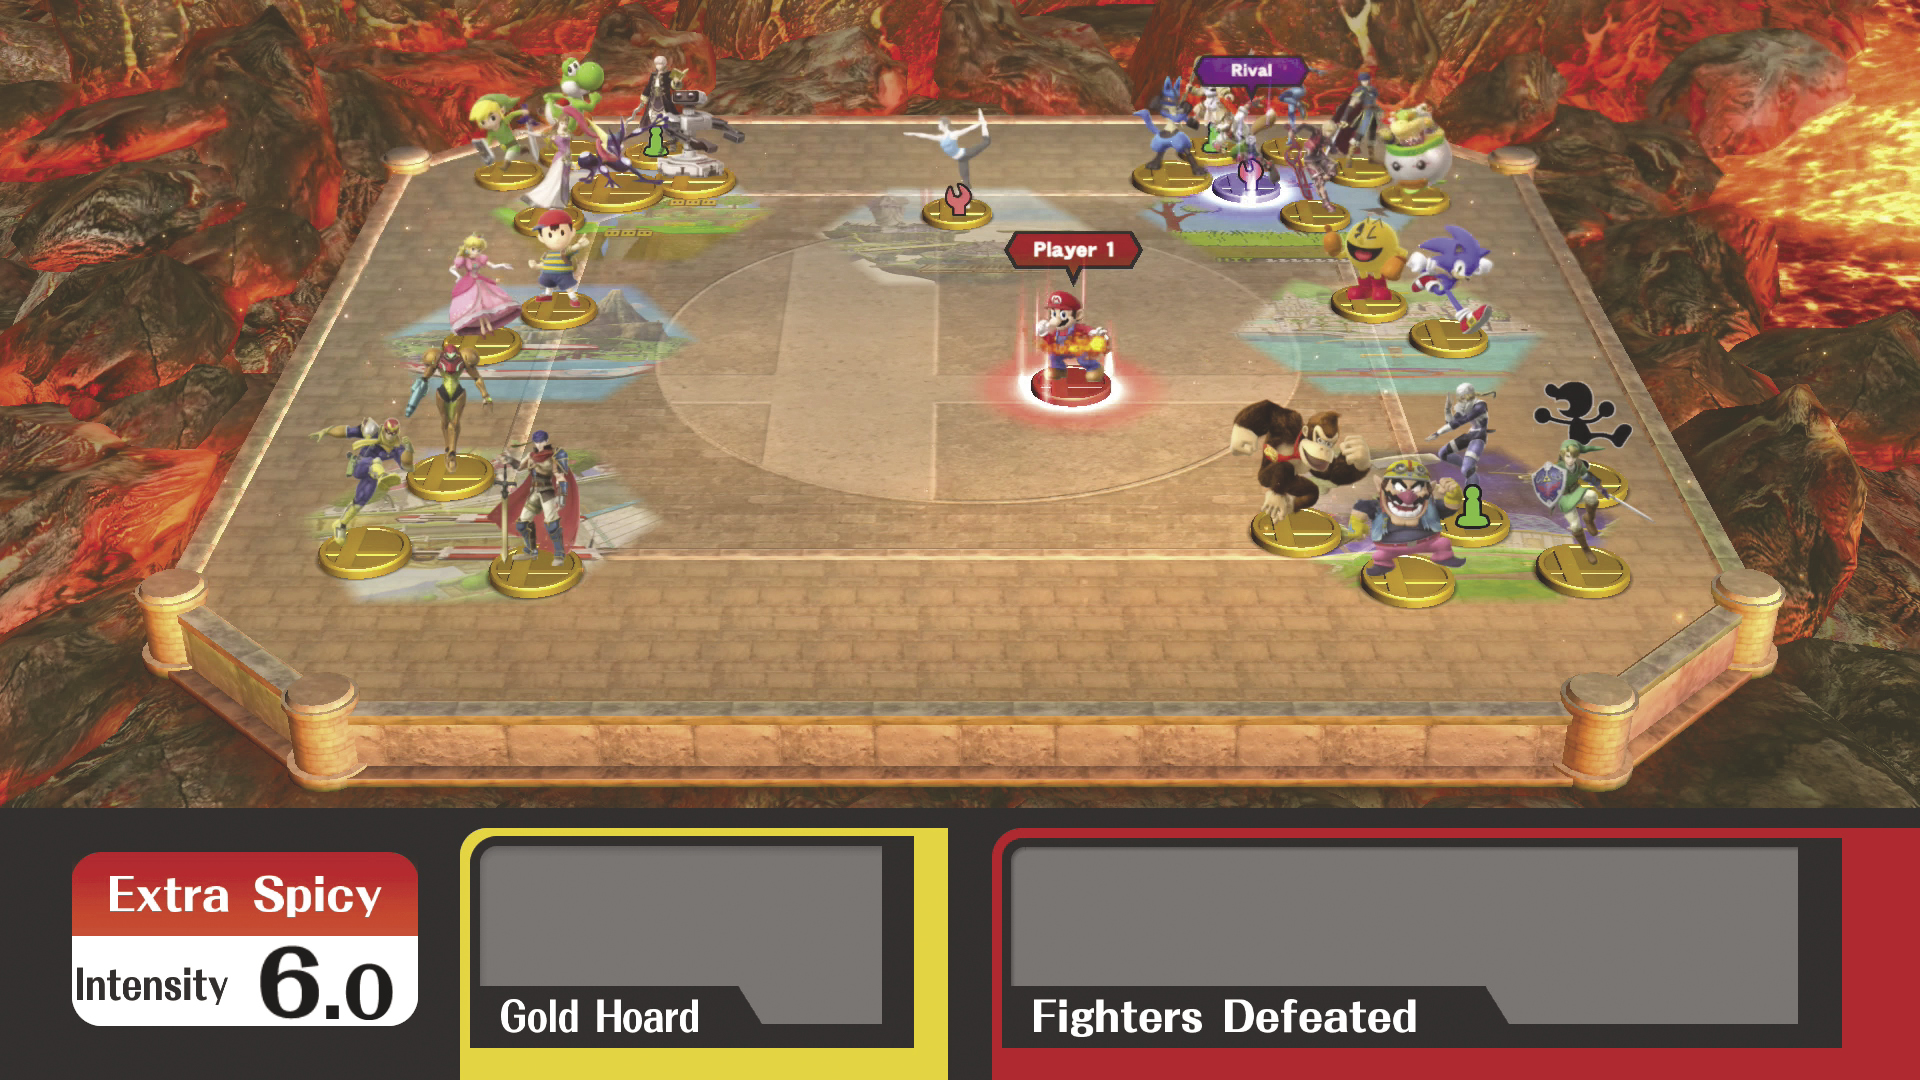
Compete in a five-round Smash tournament, then put your skills to the test as you face off against some less conventional opponents! You can spend gold to increase the difficulty for a chance to earn better rewards with each battle.
Intensity
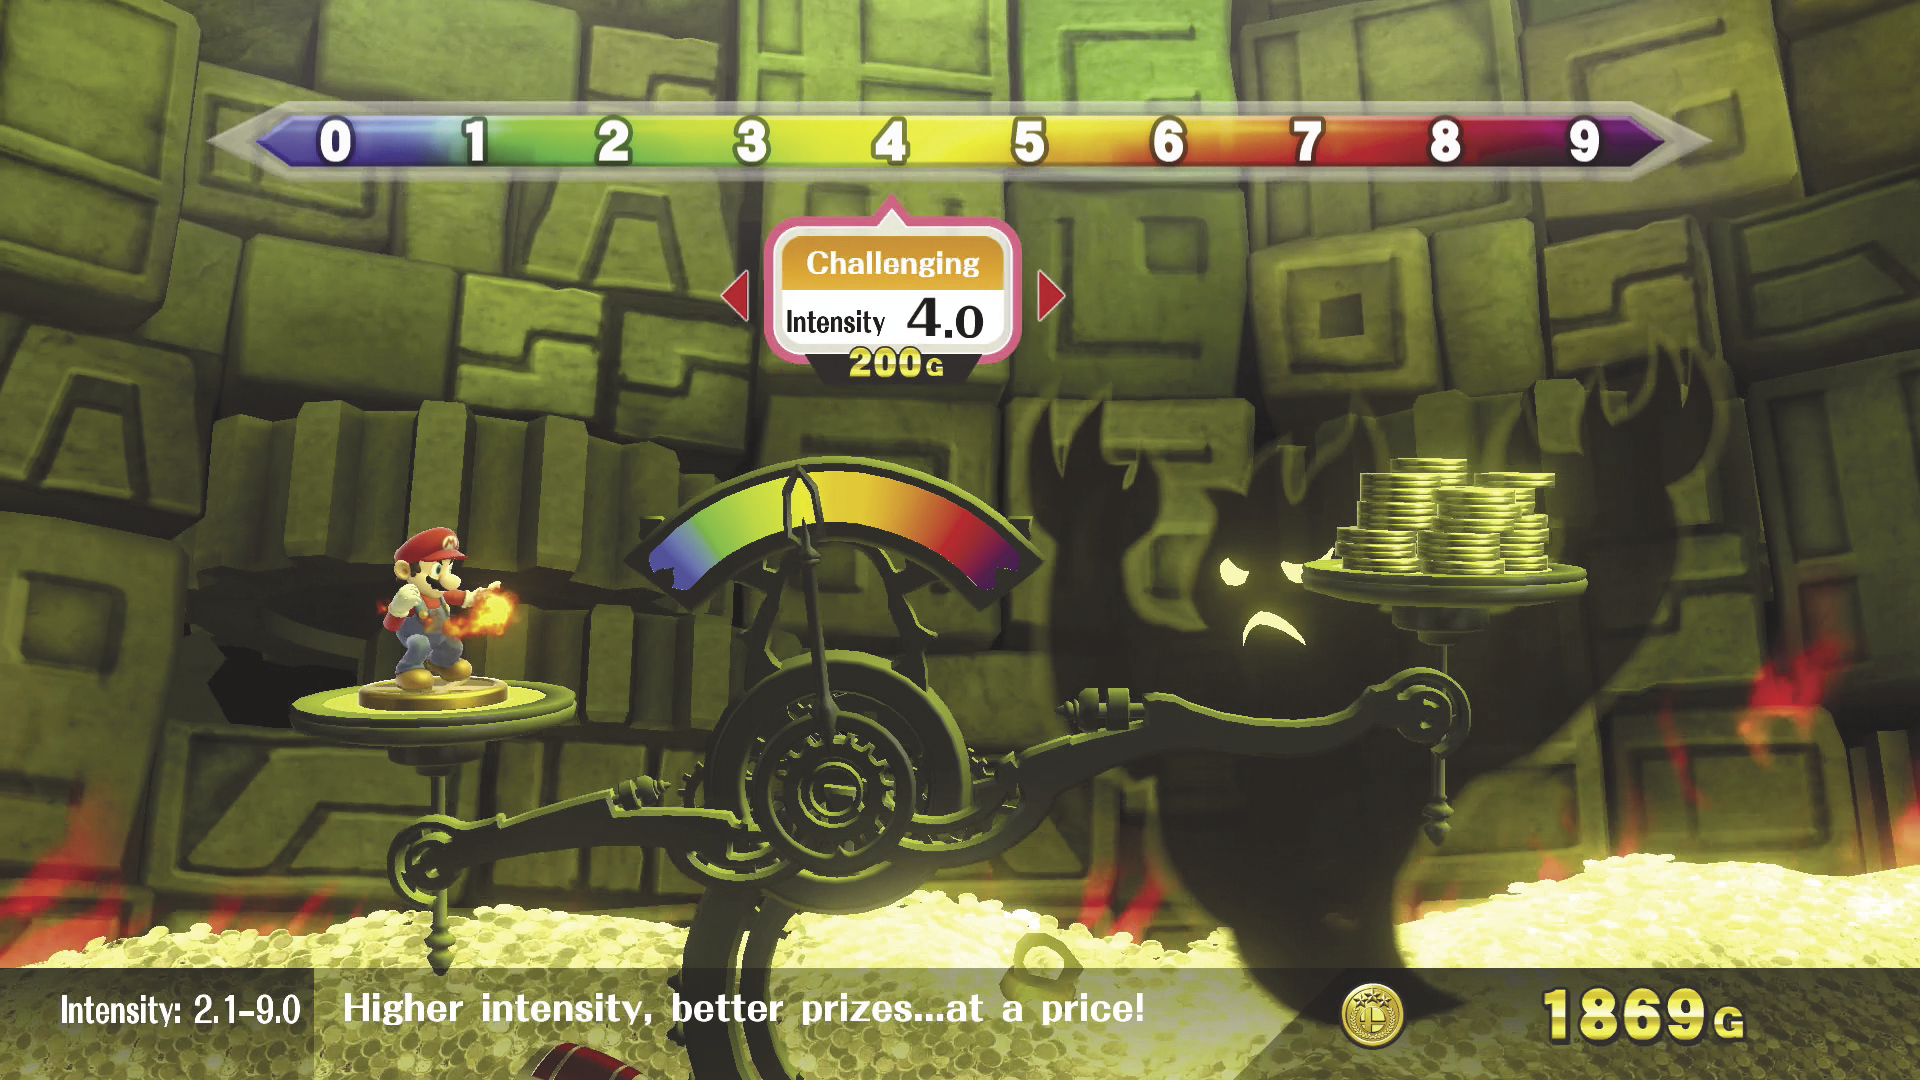
After choosing a fighter, you can spend gold to adjust the game’s intensity. The default intensity of 2.0 is the only no-cost option. Raising the intensity results in a more difficult game with the chance to earn better prizes. Lowering the intensity results in an easier game; doing so costs only a small amount of gold, but it will limit your potential prizes.
Intensity Thresholds
Increasing the intensity level has several effects:
- Opponents are harder to launch.
- Opponents are more aggressive and can launch you more easily.
- You have a greater chance to fight team battles without the aid of CPU allies.
- The reward roulette at the start of each battle grants more prizes.
In addition to these gradual effects, some specific elements are only available at or above certain intensity levels:
- At an intensity level between of 2.9 and below, you will face Master Hand in the final match.
- At an intensity level between 3.0 and 5.0, you will face both Master Hand and Crazy Hand in the final match.
- At an intensity level between 5.1 and 5.9, you will face Master Hand, Crazy Hand, and Master Core during the final battle. Master Core will utilize two distinct combat forms.
- At an intensity level between 6.0 and 6.9, you will face Master Hand, Crazy Hand, and Master Core during the final battle. Master Core will utilize three distinct combat forms.
- At an intensity level between 7.0 and 7.9, you will face Master Hand, Crazy Hand, and Master Core during the final battle. Master Core will utilize four distinct combat forms.
- At an intensity level of 8.0 and above, you will face Master Hand, Crazy Hand, and Master Core during the final battle. Master Core will utilize five distinct combat forms.
Selecting Battles
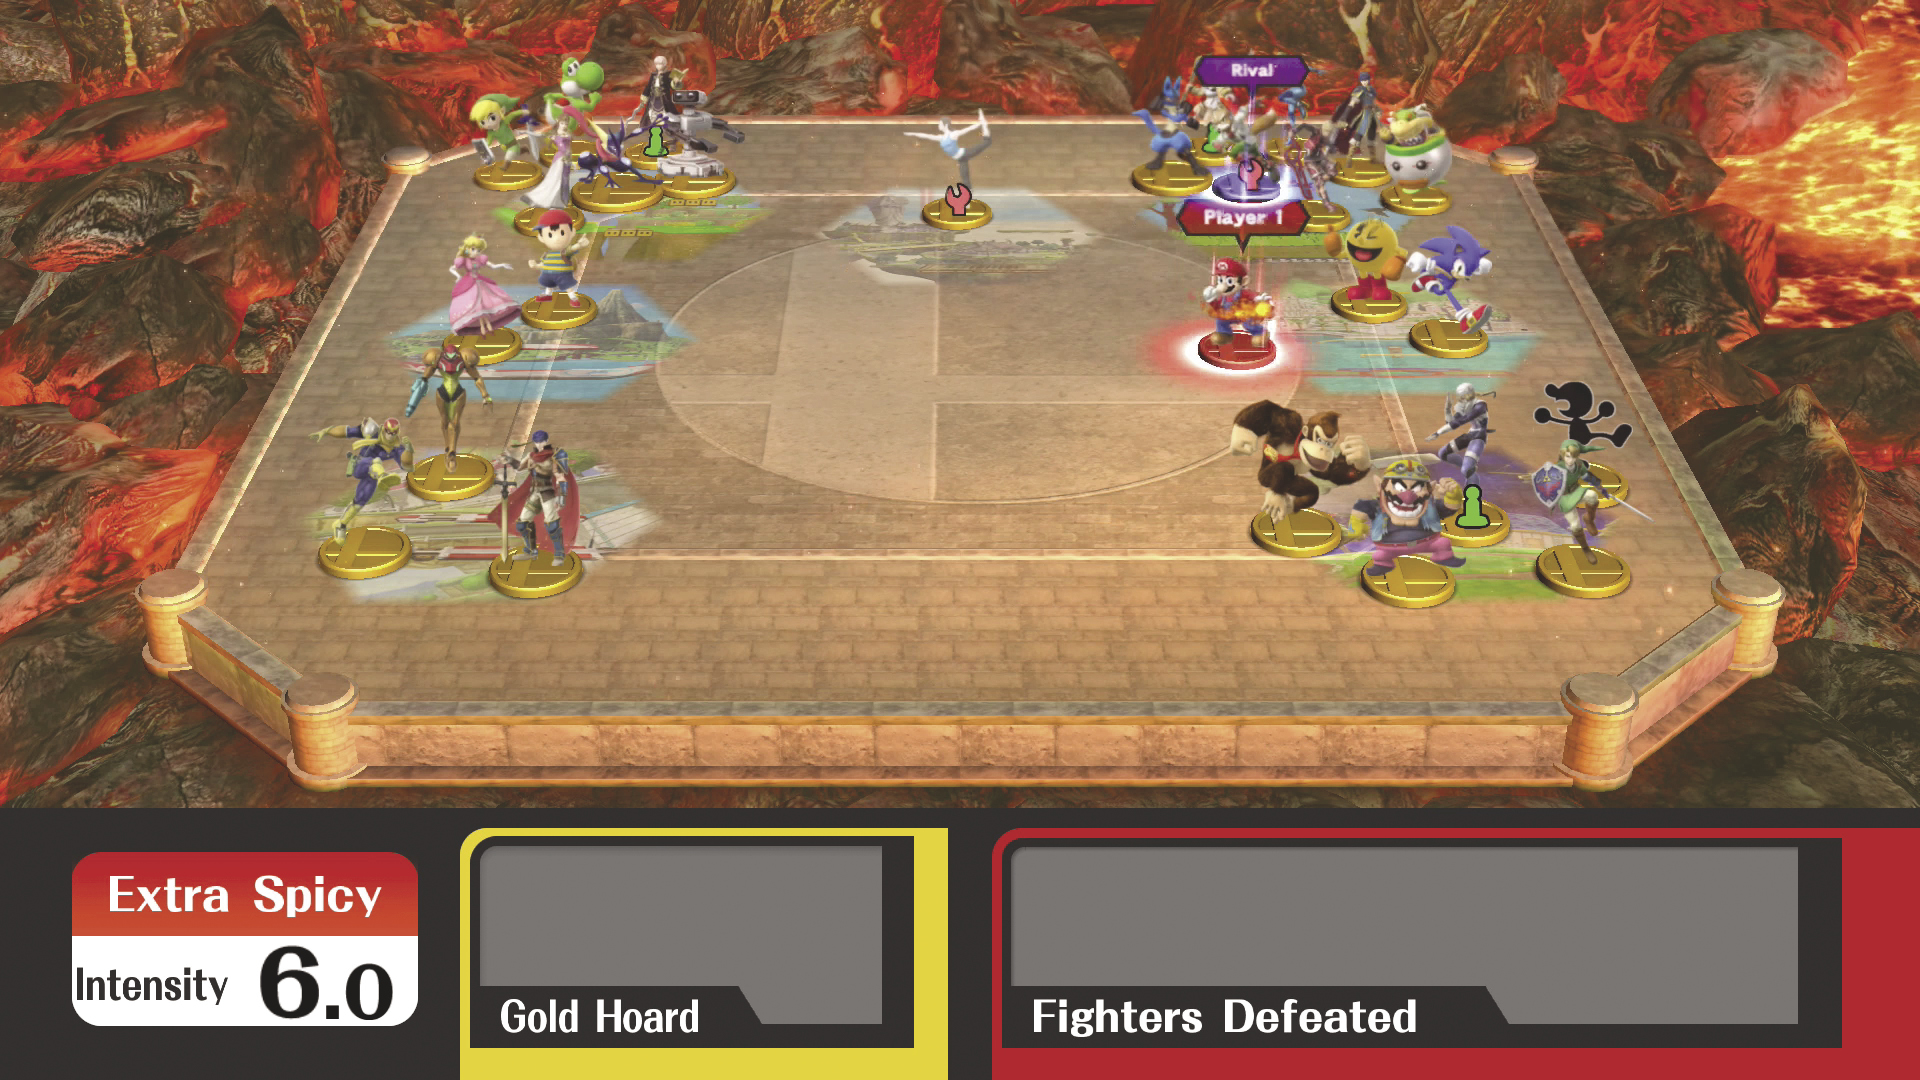
Before each battle, your fighter is represented as a figurine on a large board with opponents clustered at one or more locations. Look at each group to determine the number of participants, as well as any additional customizations rewards that might be involved in the corresponding battle.
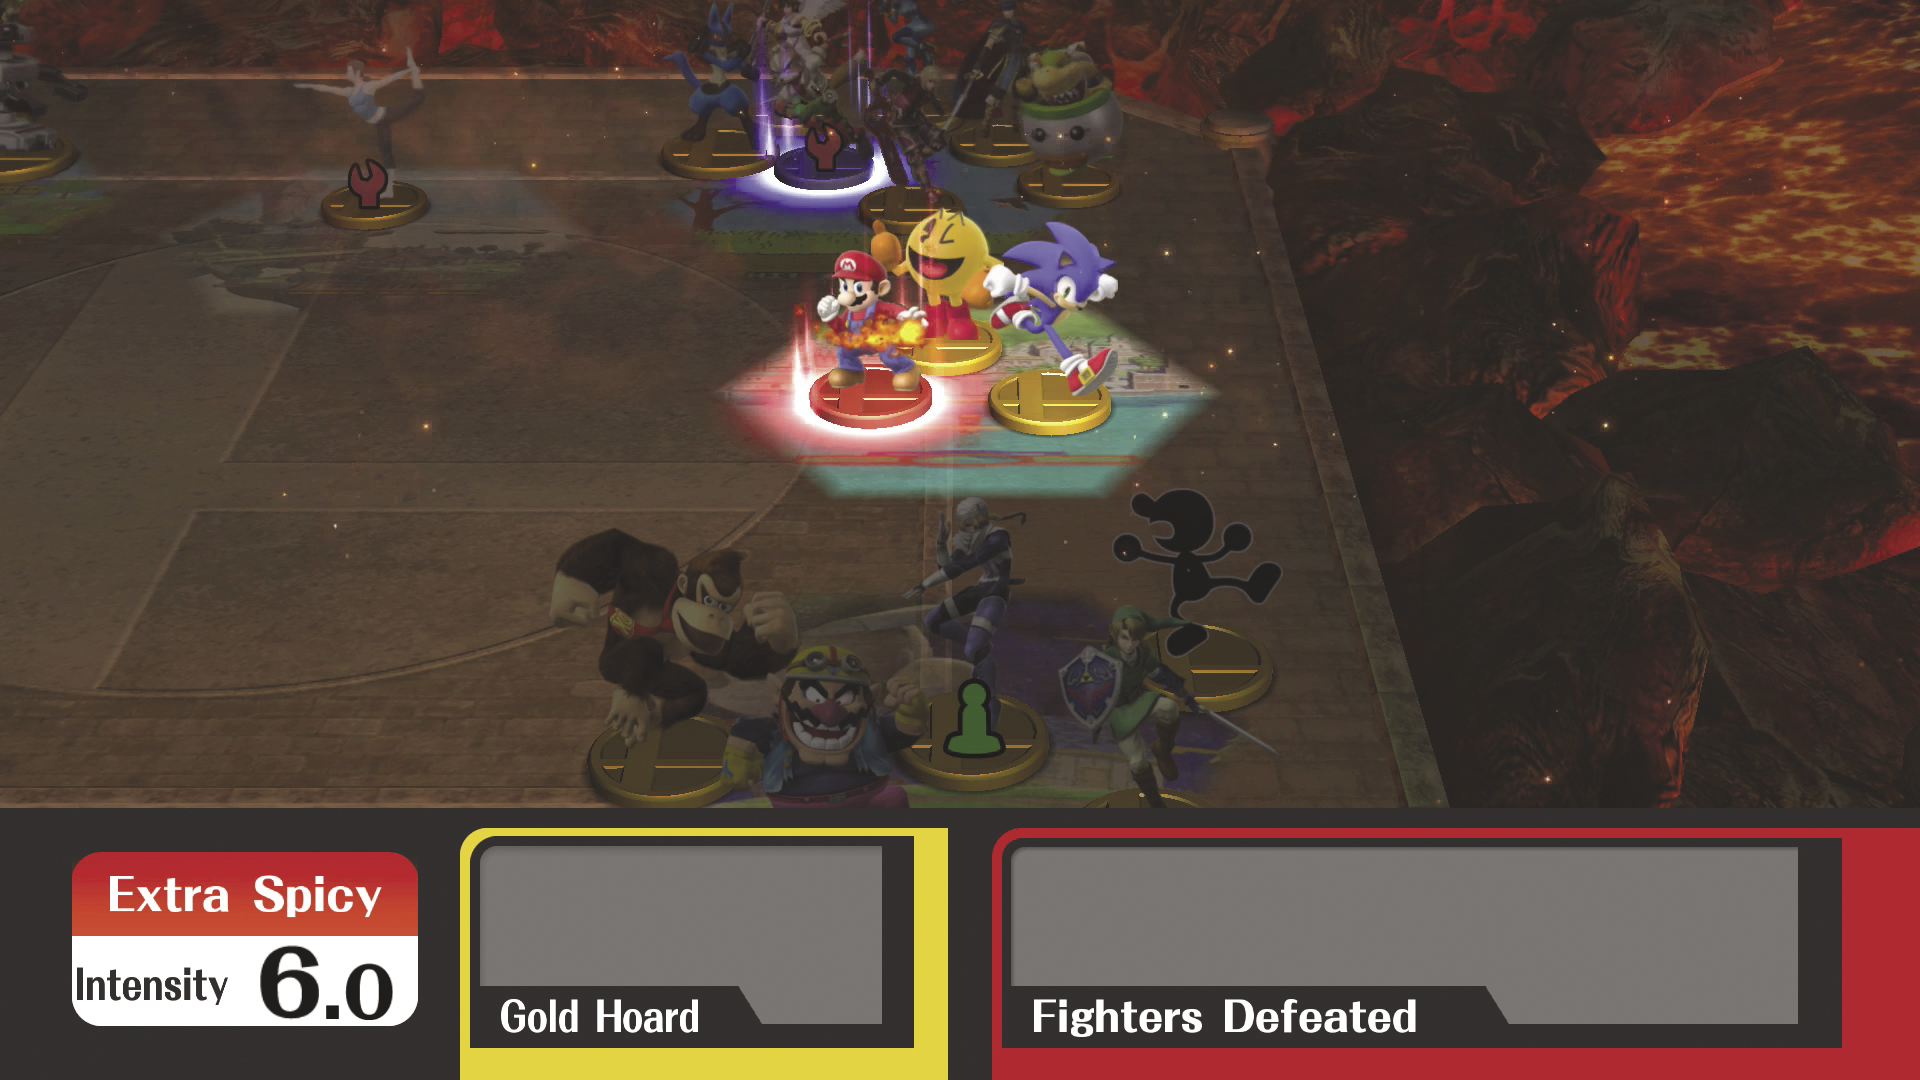
Use the Left Stick to direct your fighter’s figurine toward a group of enemies to trigger a battle. You have 30 seconds to choose your opponents. Otherwise, you’ll be drawn into a randomly selected battle.
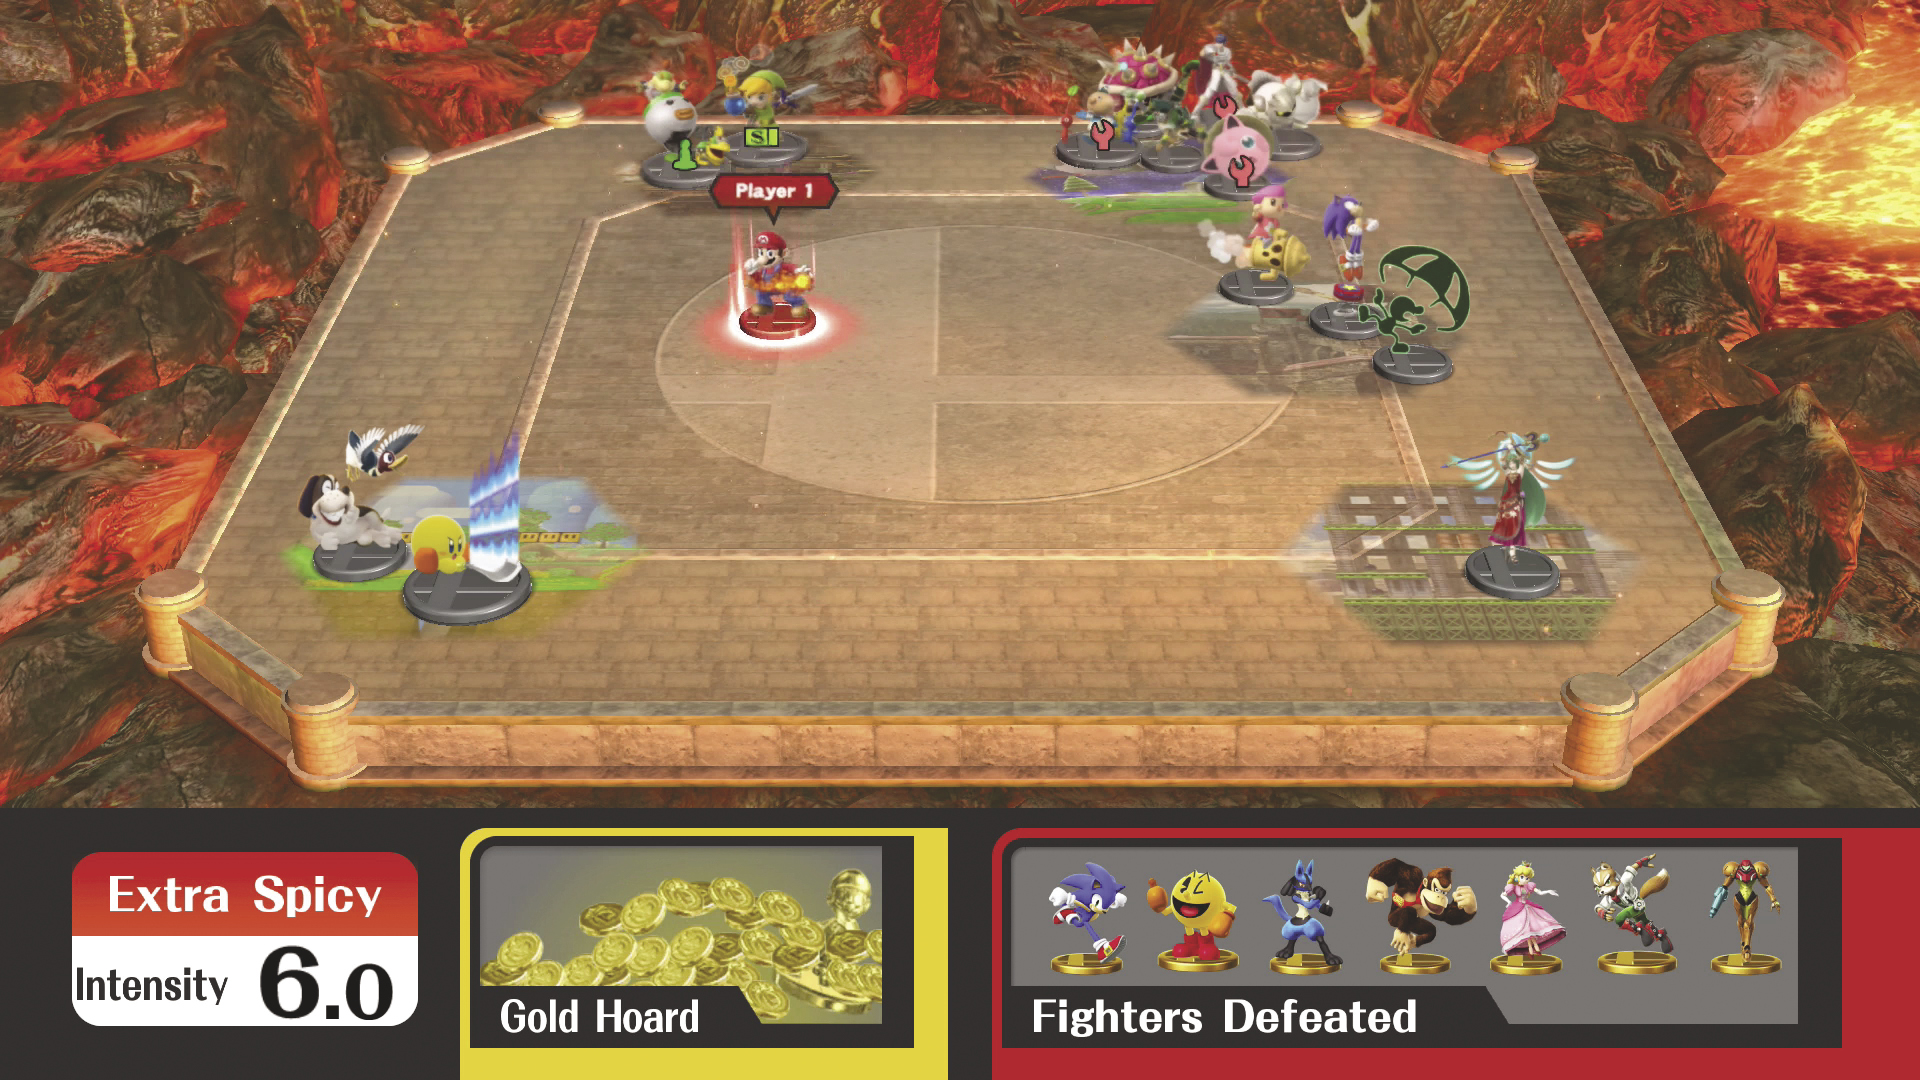
After each battle, you’re automatically returned to the board to find a new selection of available opponents. Any fighters you’ve managed to defeat are displayed near the bottom of the screen. In some cases, you’ll be prompted to choose one or more of these defeated fighters to aid you in team battles.
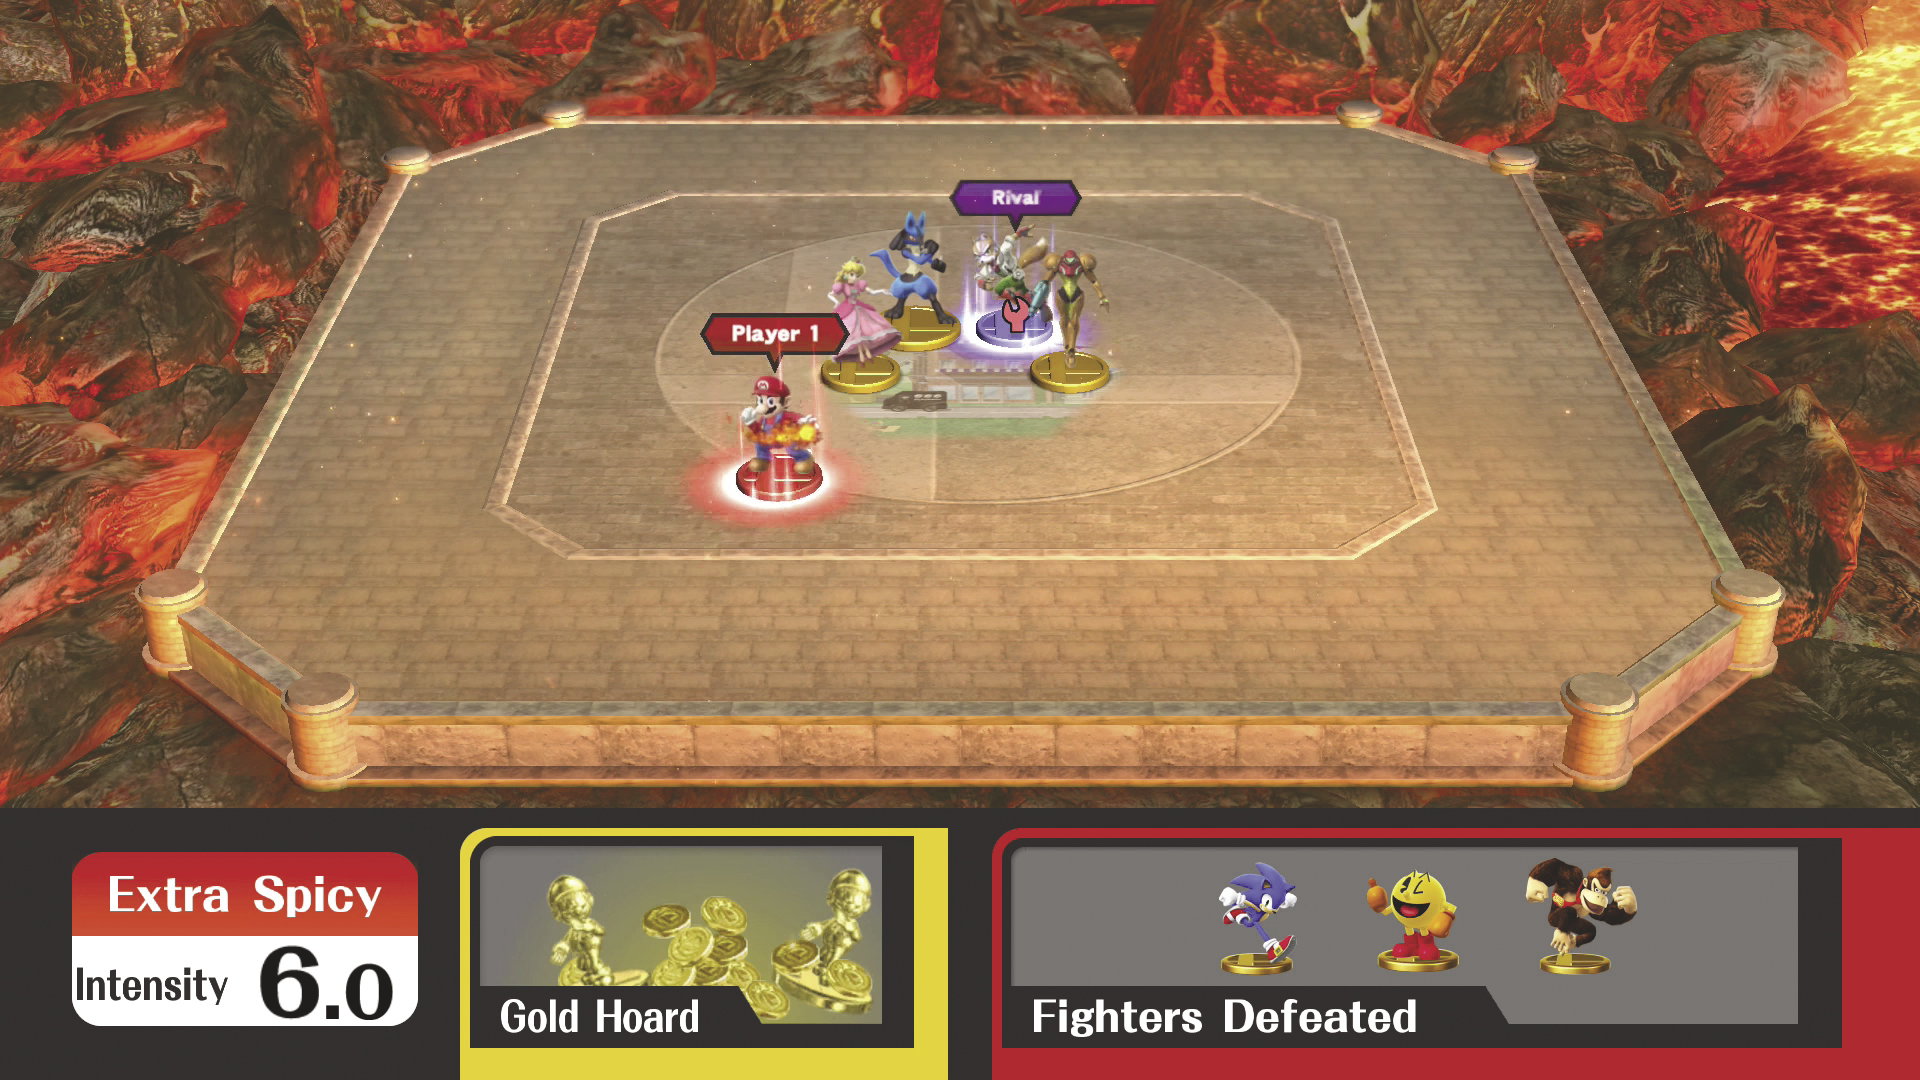
Each game of Classic includes a rival figurine. Rivals get stronger as they win battles of their own. Defeat a rival while he or she is more powerful to earn better prizes!
Intruder Alert
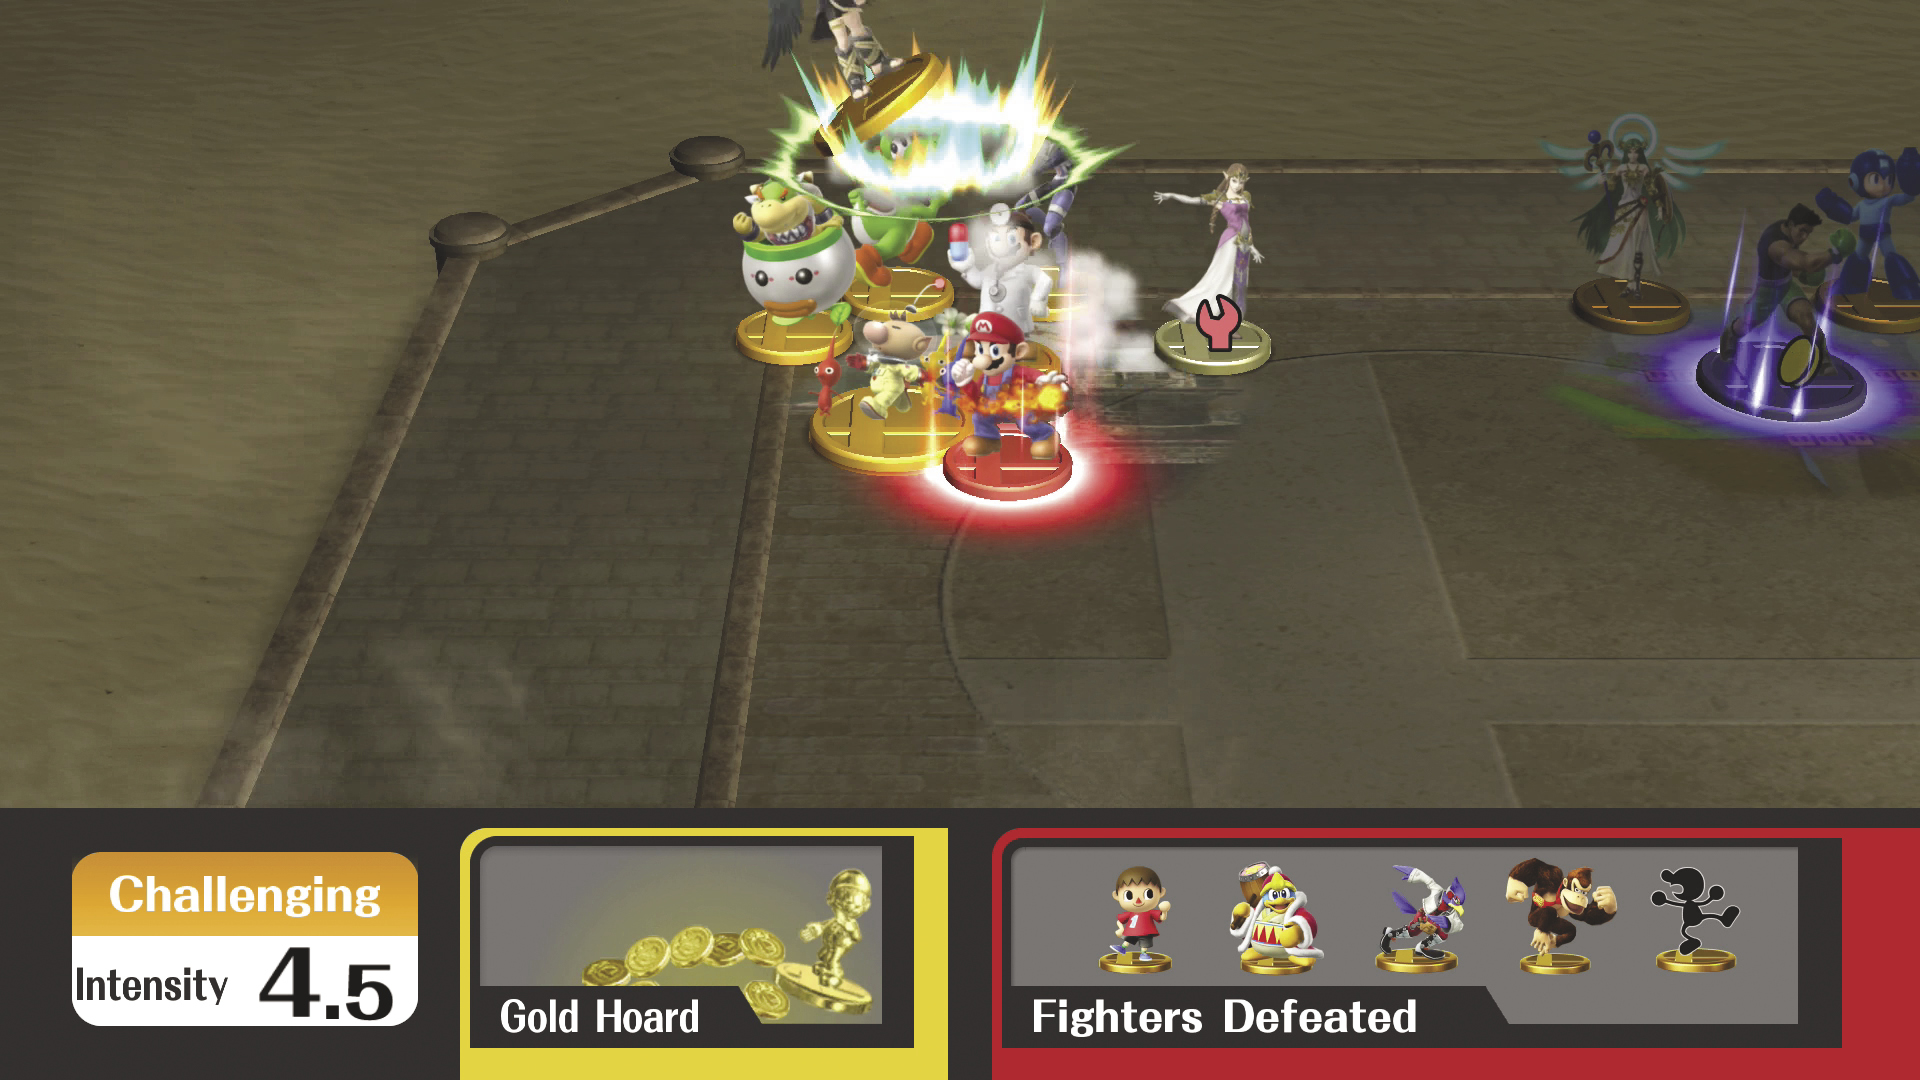
You’ll sometimes receive an “intruder alert” after you’ve selected a battle. This means that a new fighter has unexpectedly joined the fight. Intruders will either be giant or metallic, so be prepared for a tougher battle!
Progressing through Classic
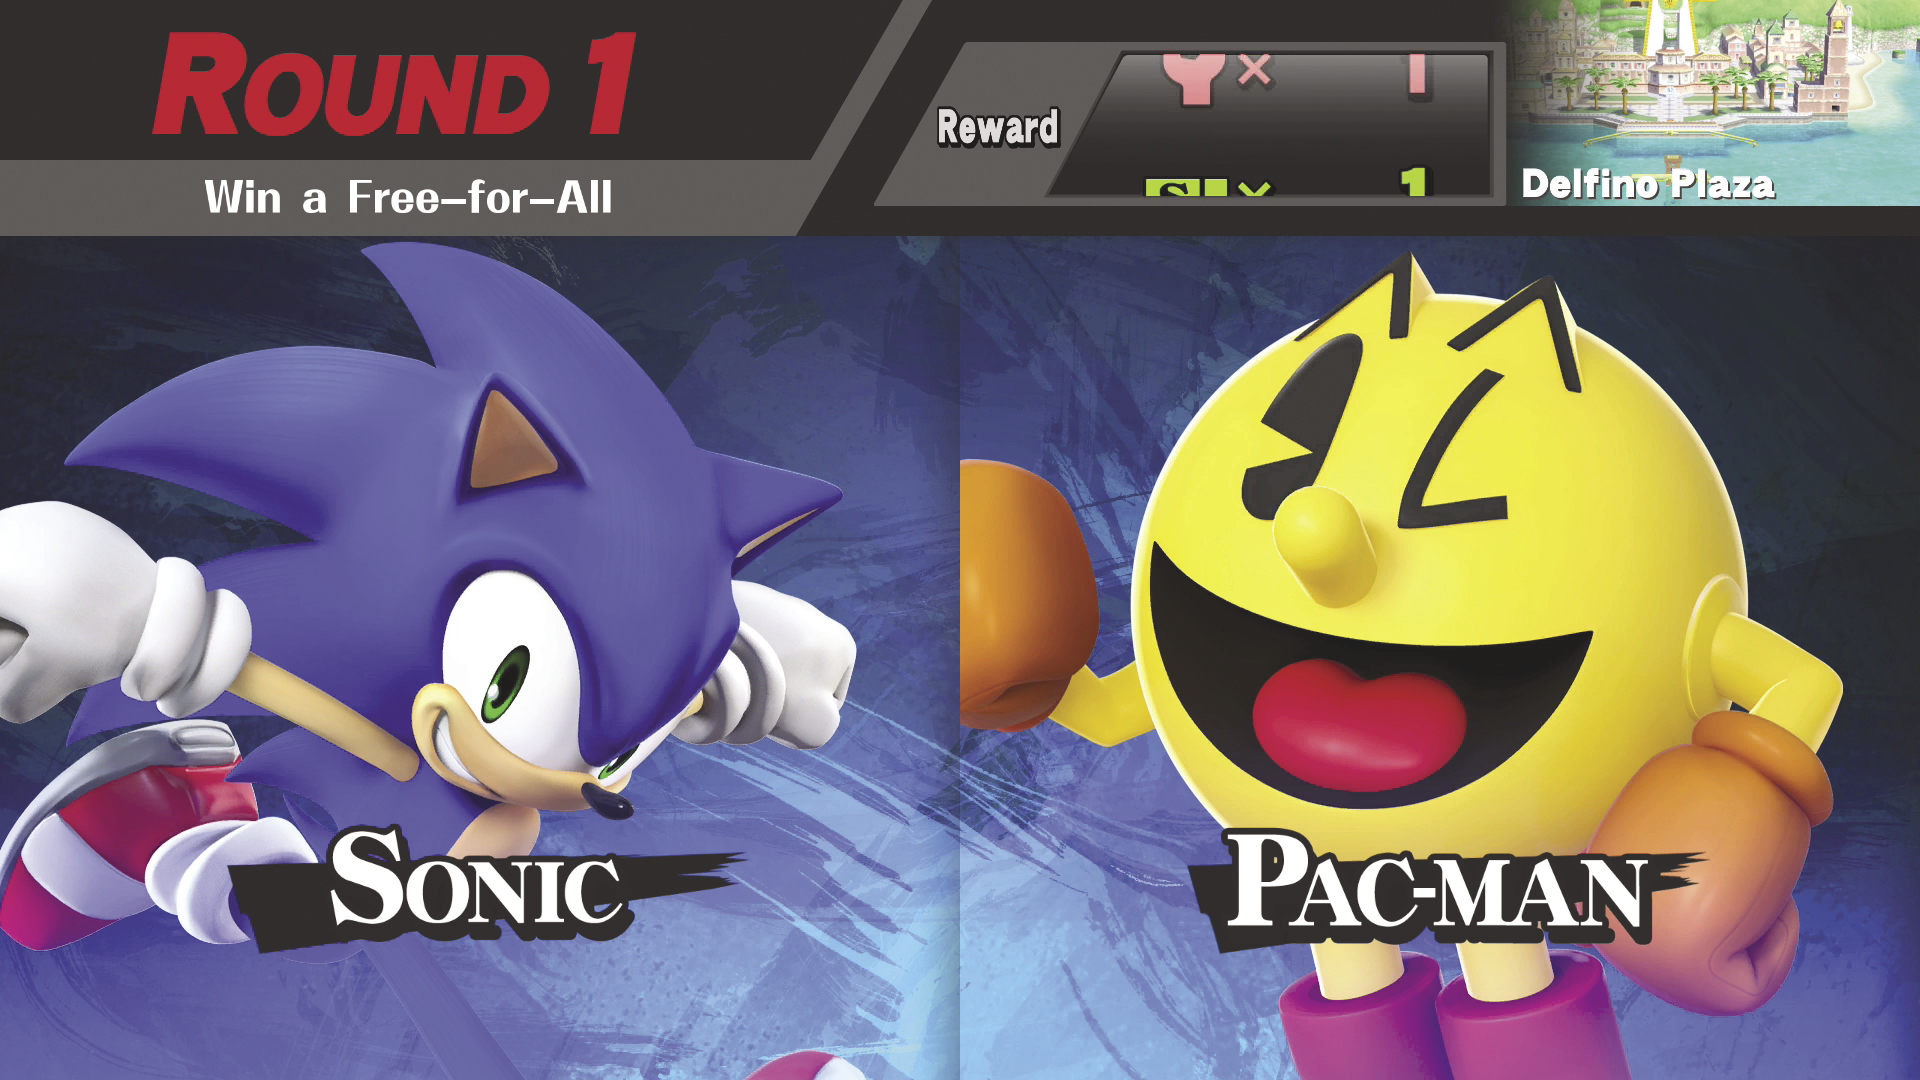
Each game of Classic consists of seven battles. Before each battle, use the roulette spinner to determine the type of reward you can earn by defeating your opponents. Specific rules will vary, but you’ll always be granted two stock lives. This means that you can suffer one KO without being eliminated from the match. Each match also has a five-minute time limit—failing to win a match before time expires will end your game.
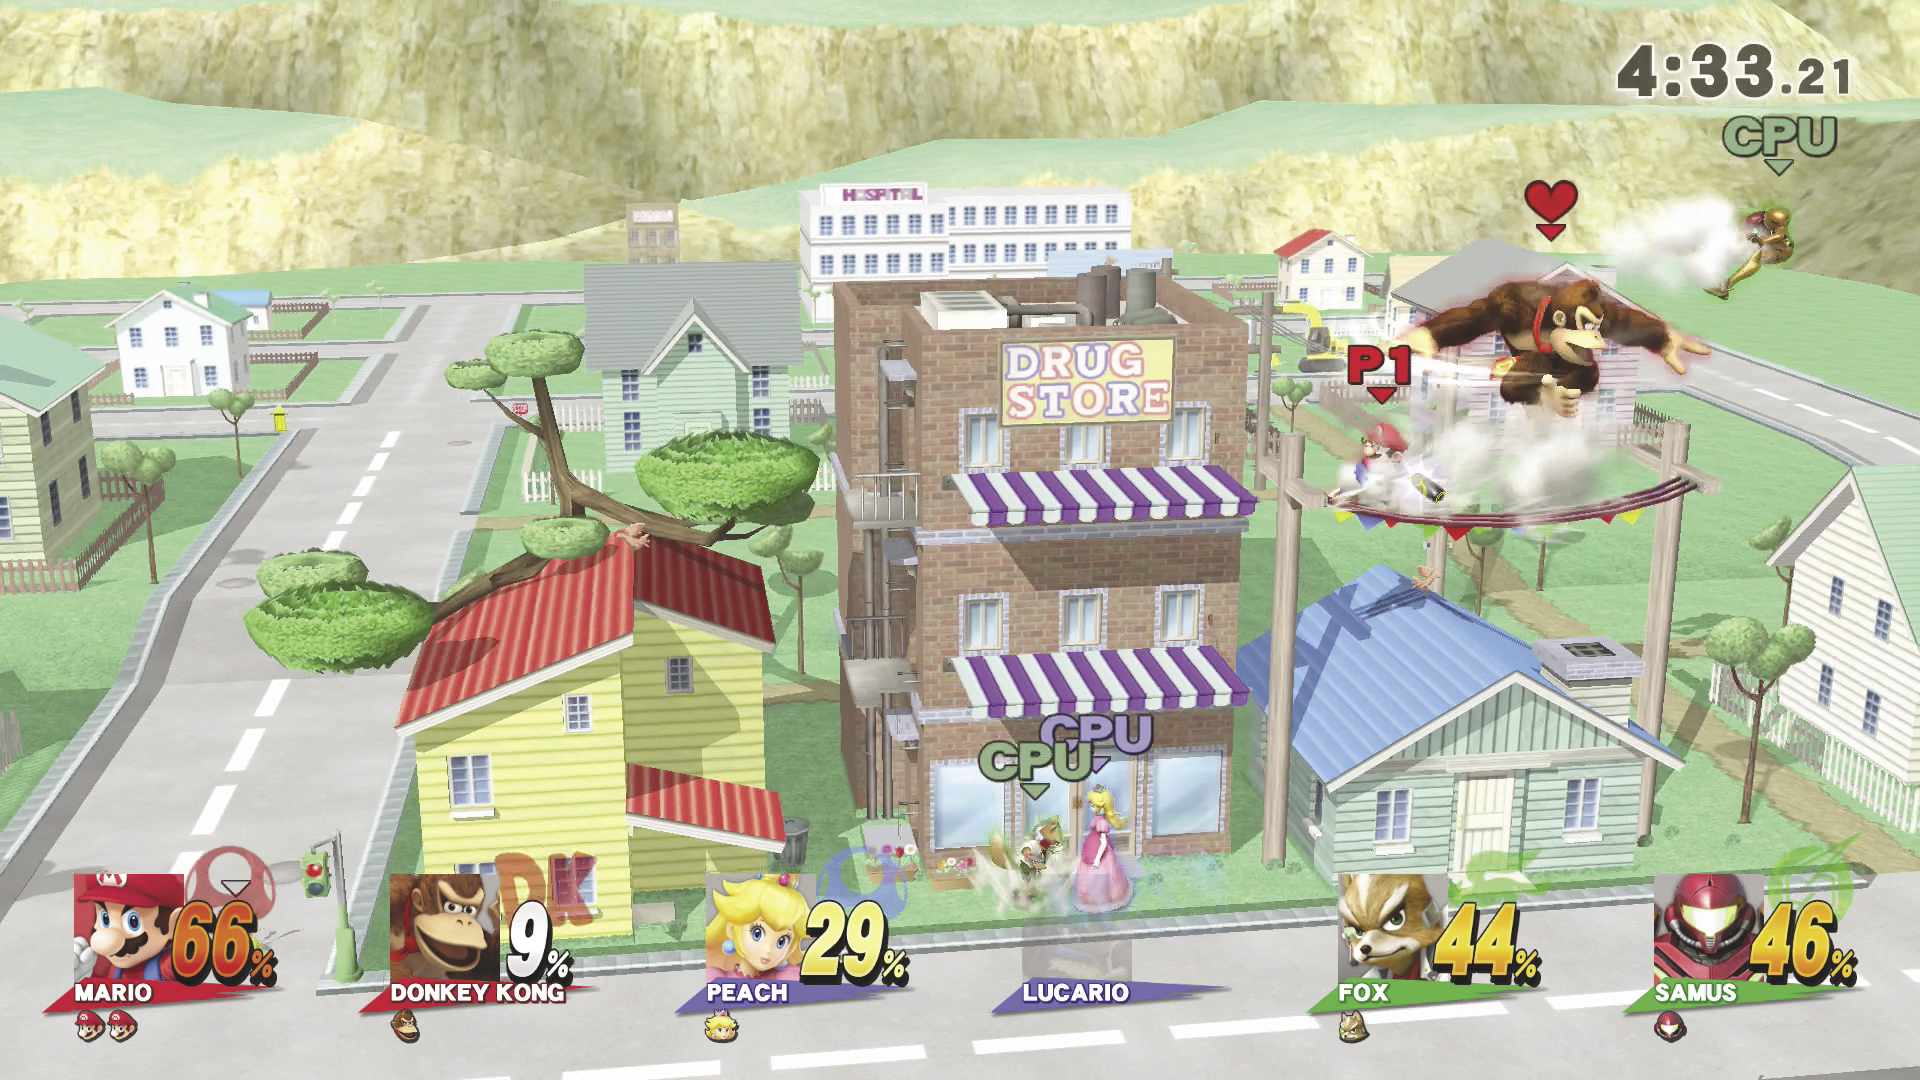
The first five battles are randomized versions of Smash and Team Smash. Specific rules are only revealed after the battle is selected, but the basic objective is always the same: survive long enough to KO all of your opponents!
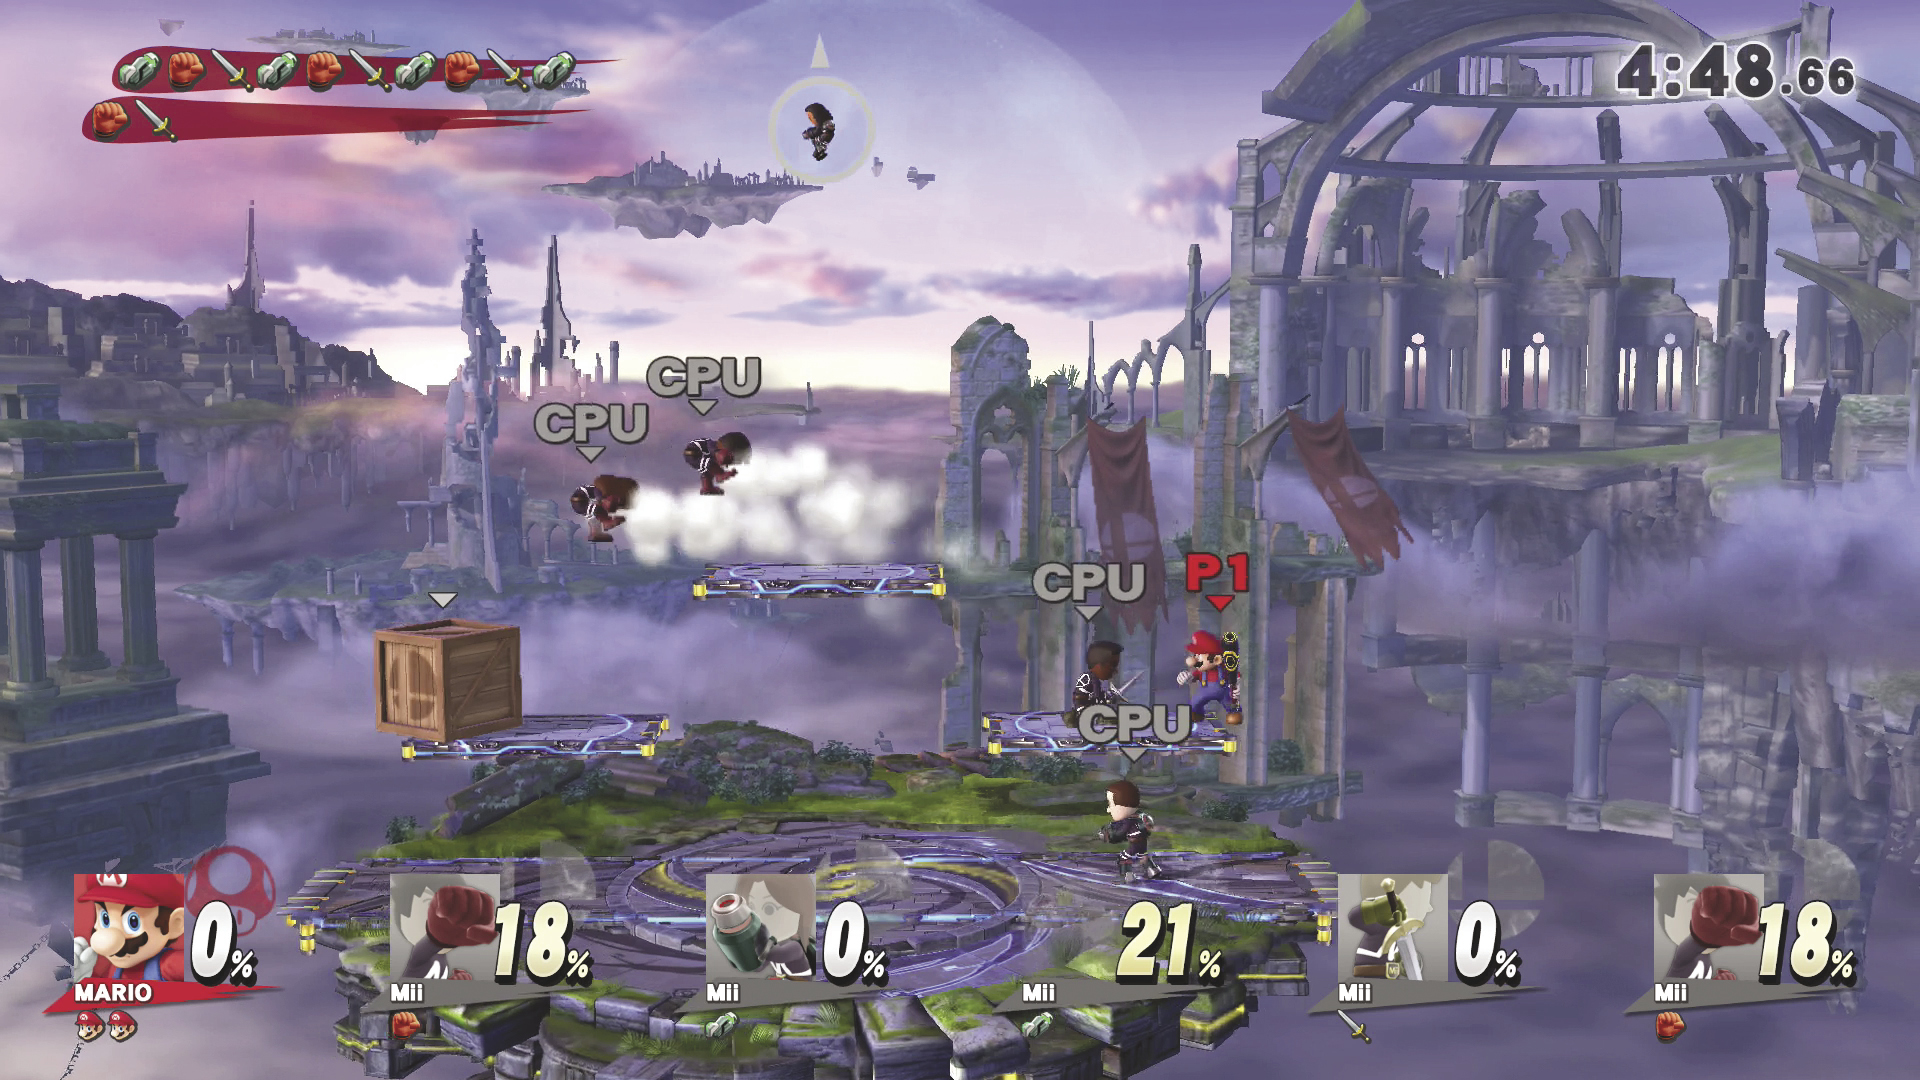
The sixth battle pits you against an army of 20 opponents. These fighters are fairly easy to launch, but their sheer numbers make them fairly dangerous. Use your skills and any available items to clear out the opposition before you’re overwhelmed.
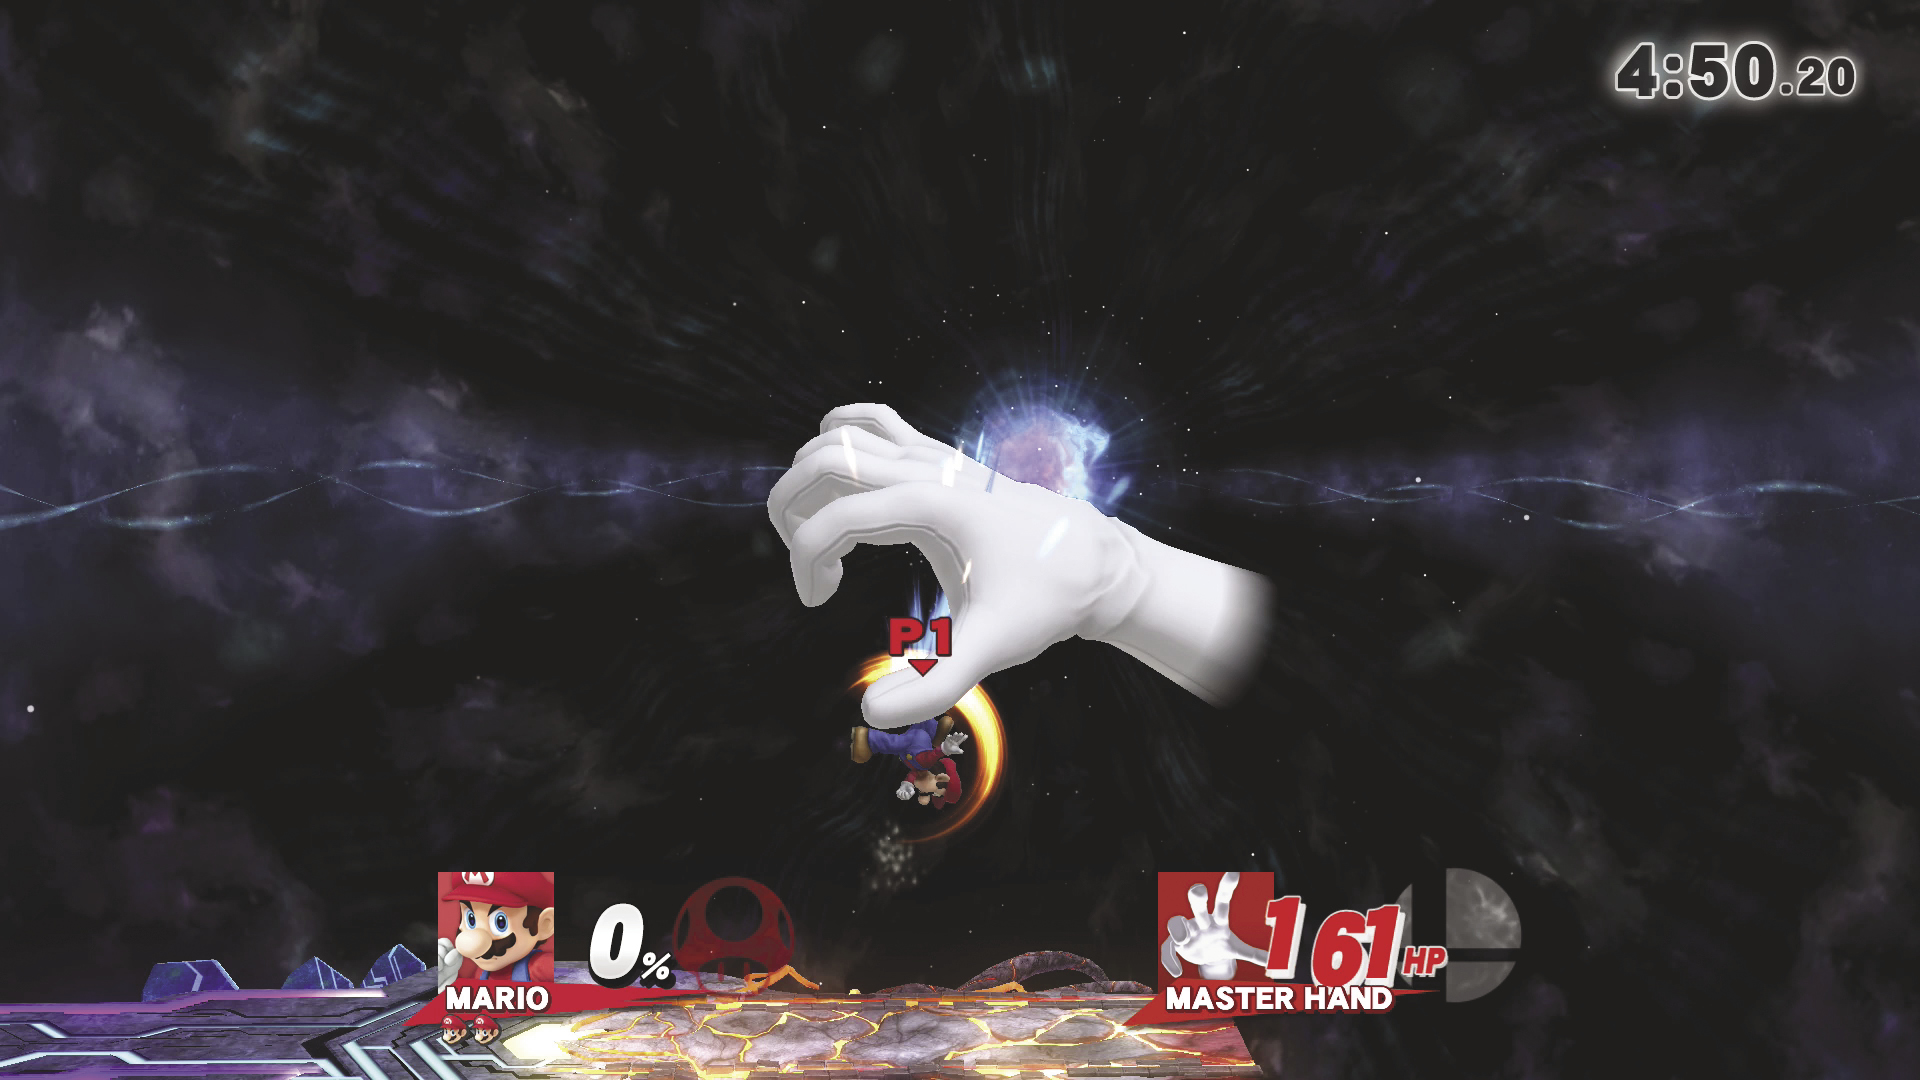
The final battle consists of one or more boss fights. Master Hand is always involved in the finale, but depending on your chosen intensity level, you may also face Crazy Hand and Master Core.
Master Hand
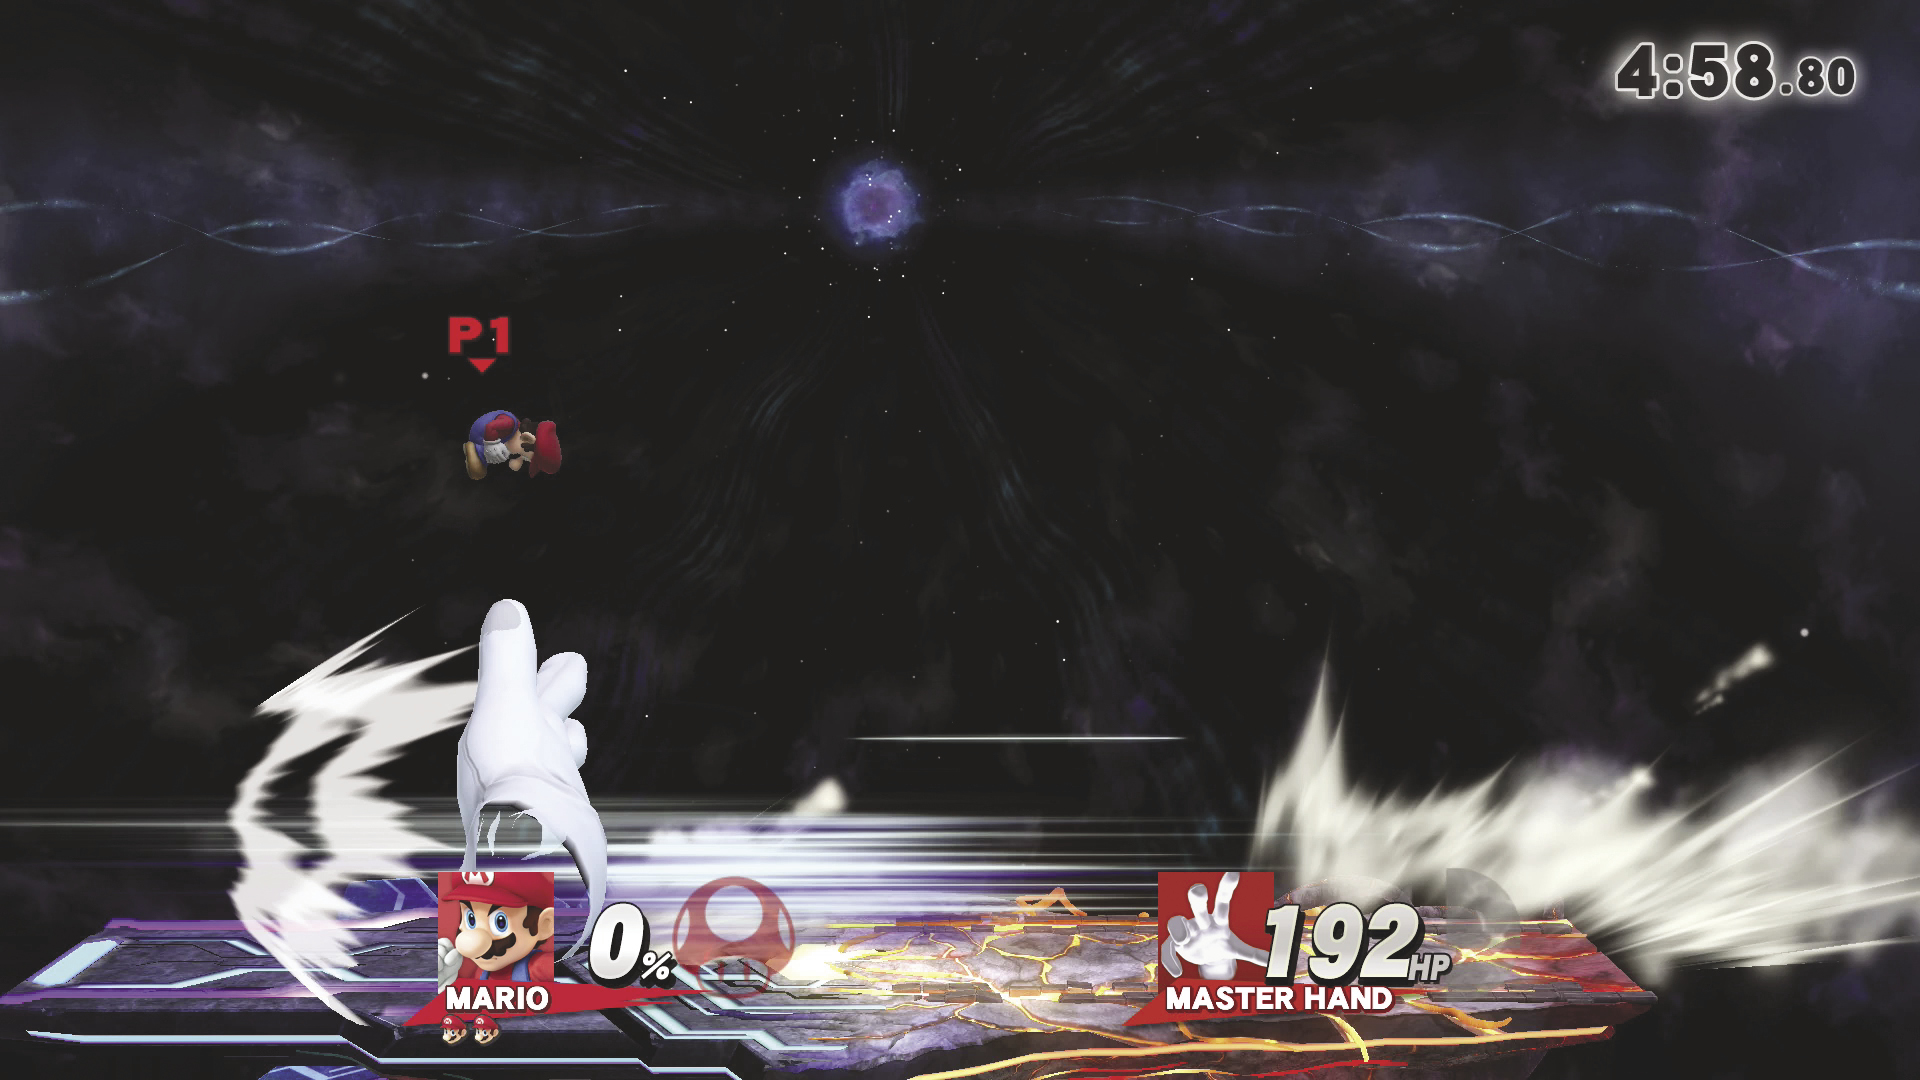
On his own, Master Hand is a formidable opponent with a wide variety of devastating attacks. Most of these attacks take some time to charge, however, making it simpler to identify and avoid incoming threats. A few of his attacks are fairly quick, though, so it’s often best to keep your distance until he commits to a move.
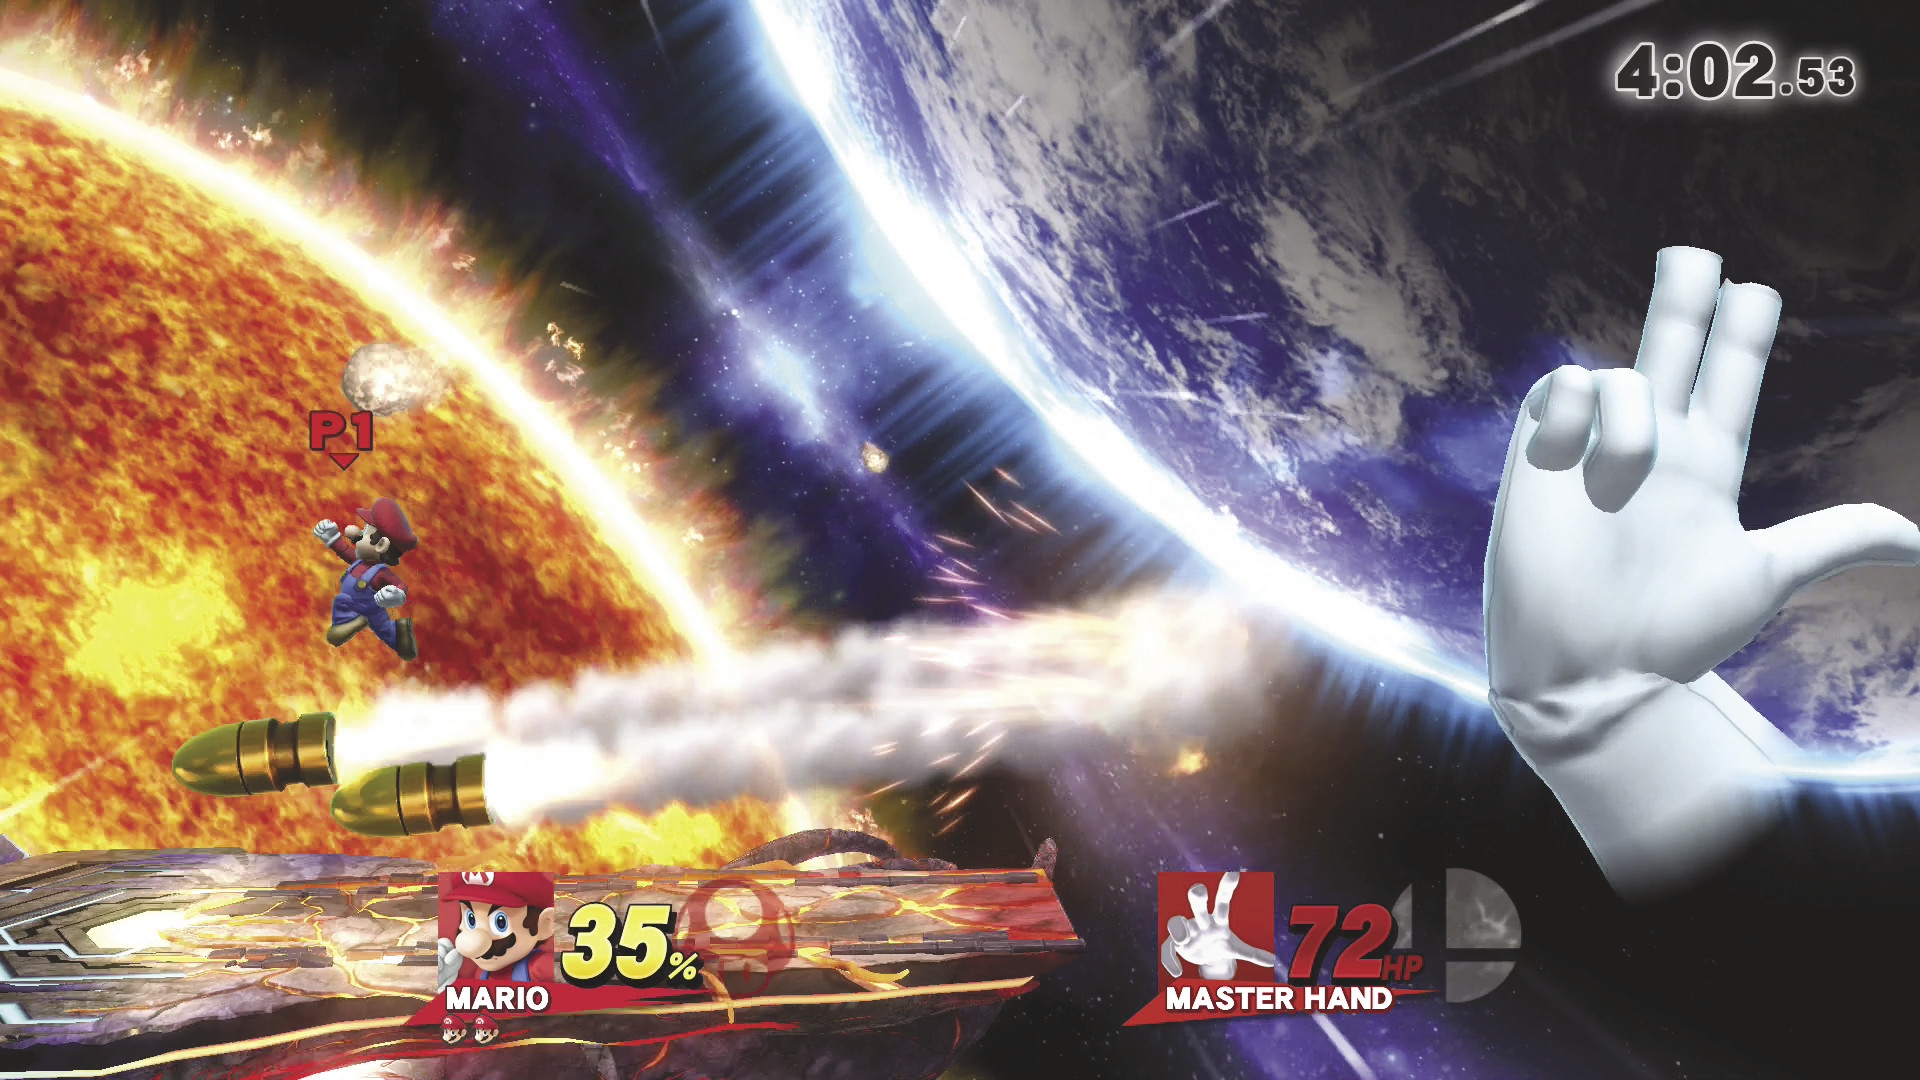
Master Hand’s elaborate attacks are easy to identify, so the results are easier to predict. Whether he’s snapping his fingers for a short-range attack, clenching his fist to slam down on the platform, or tracking your movements as he charges a projectile attack, you simply need wait until just before he strikes, then activate your shield or dodge the attack.
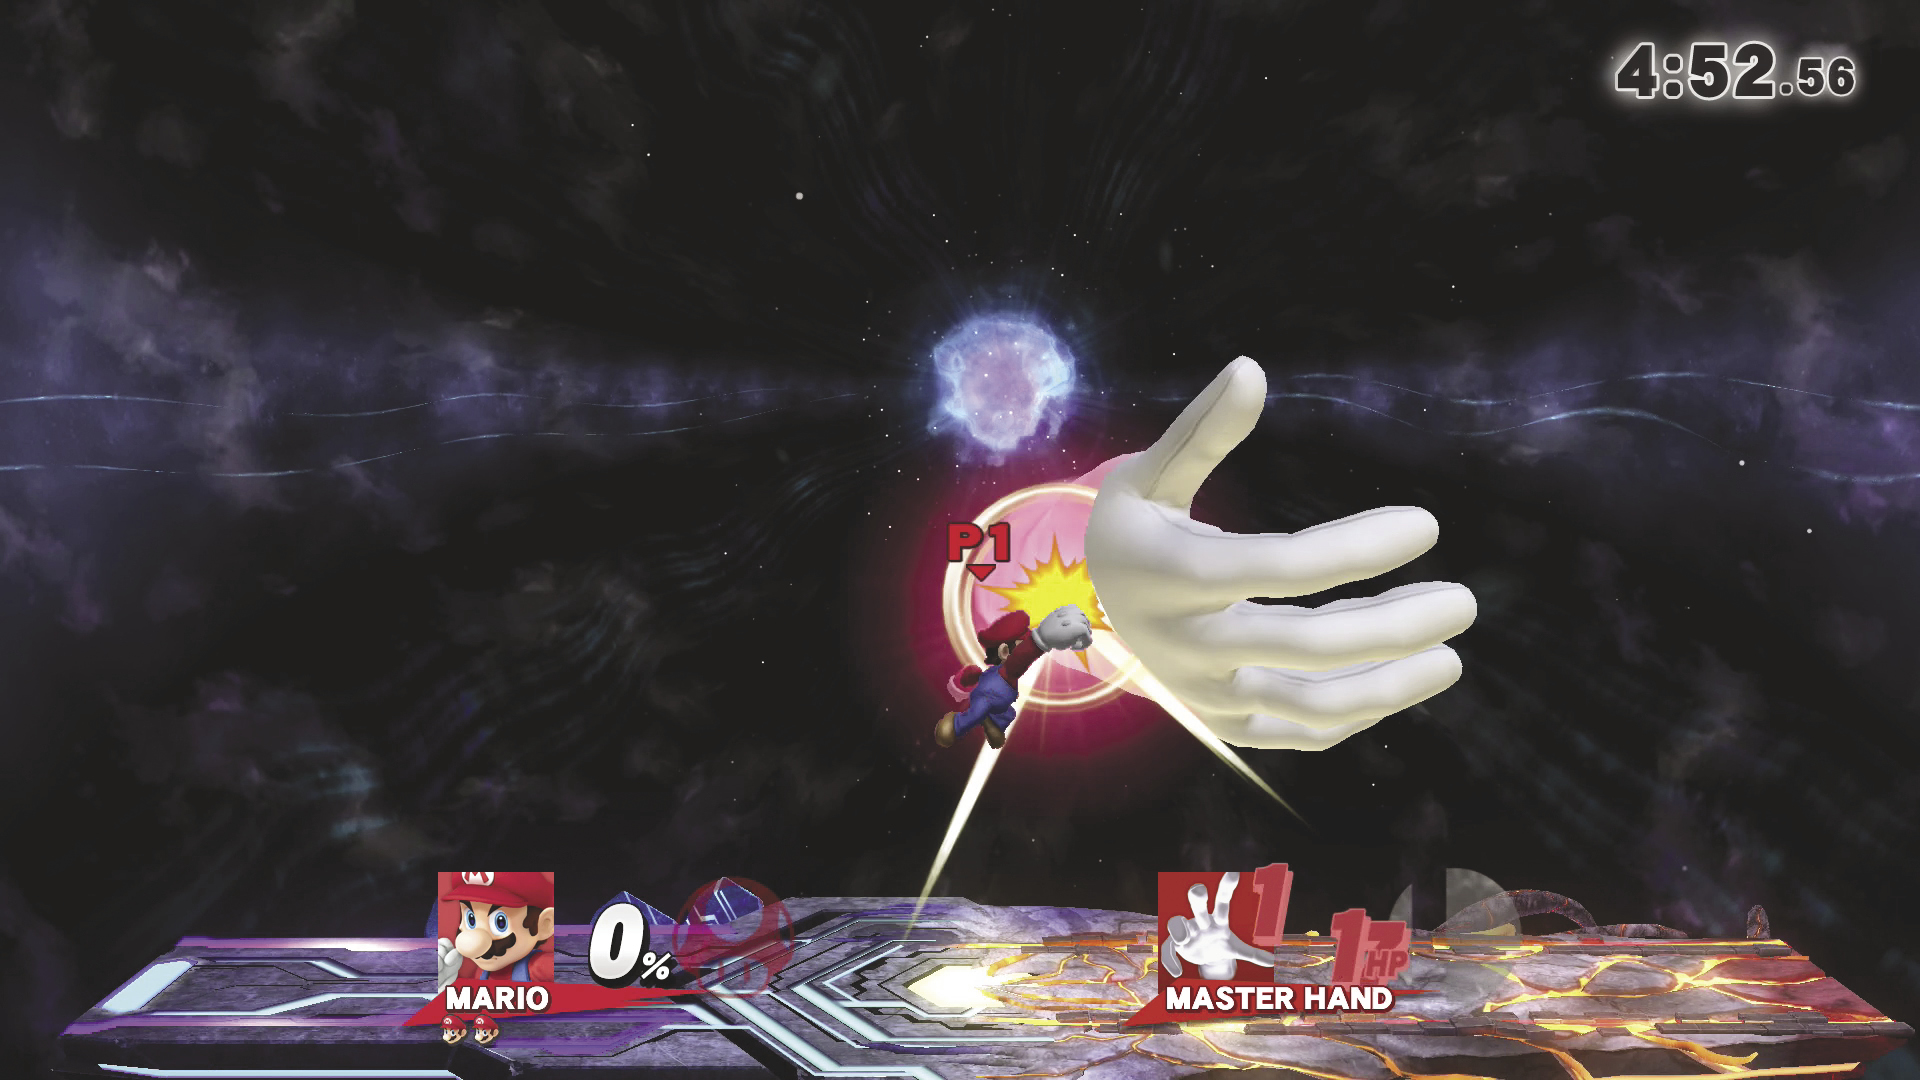
Master Hand is particularly vulnerable immediately after he attacks. This is the best time to go on the offensive, so move in and unleash one or two of your most powerful moves. It’s often safe to strike while he’s charging one of his moves, but make sure you allow enough time to get clear of the impending attack.
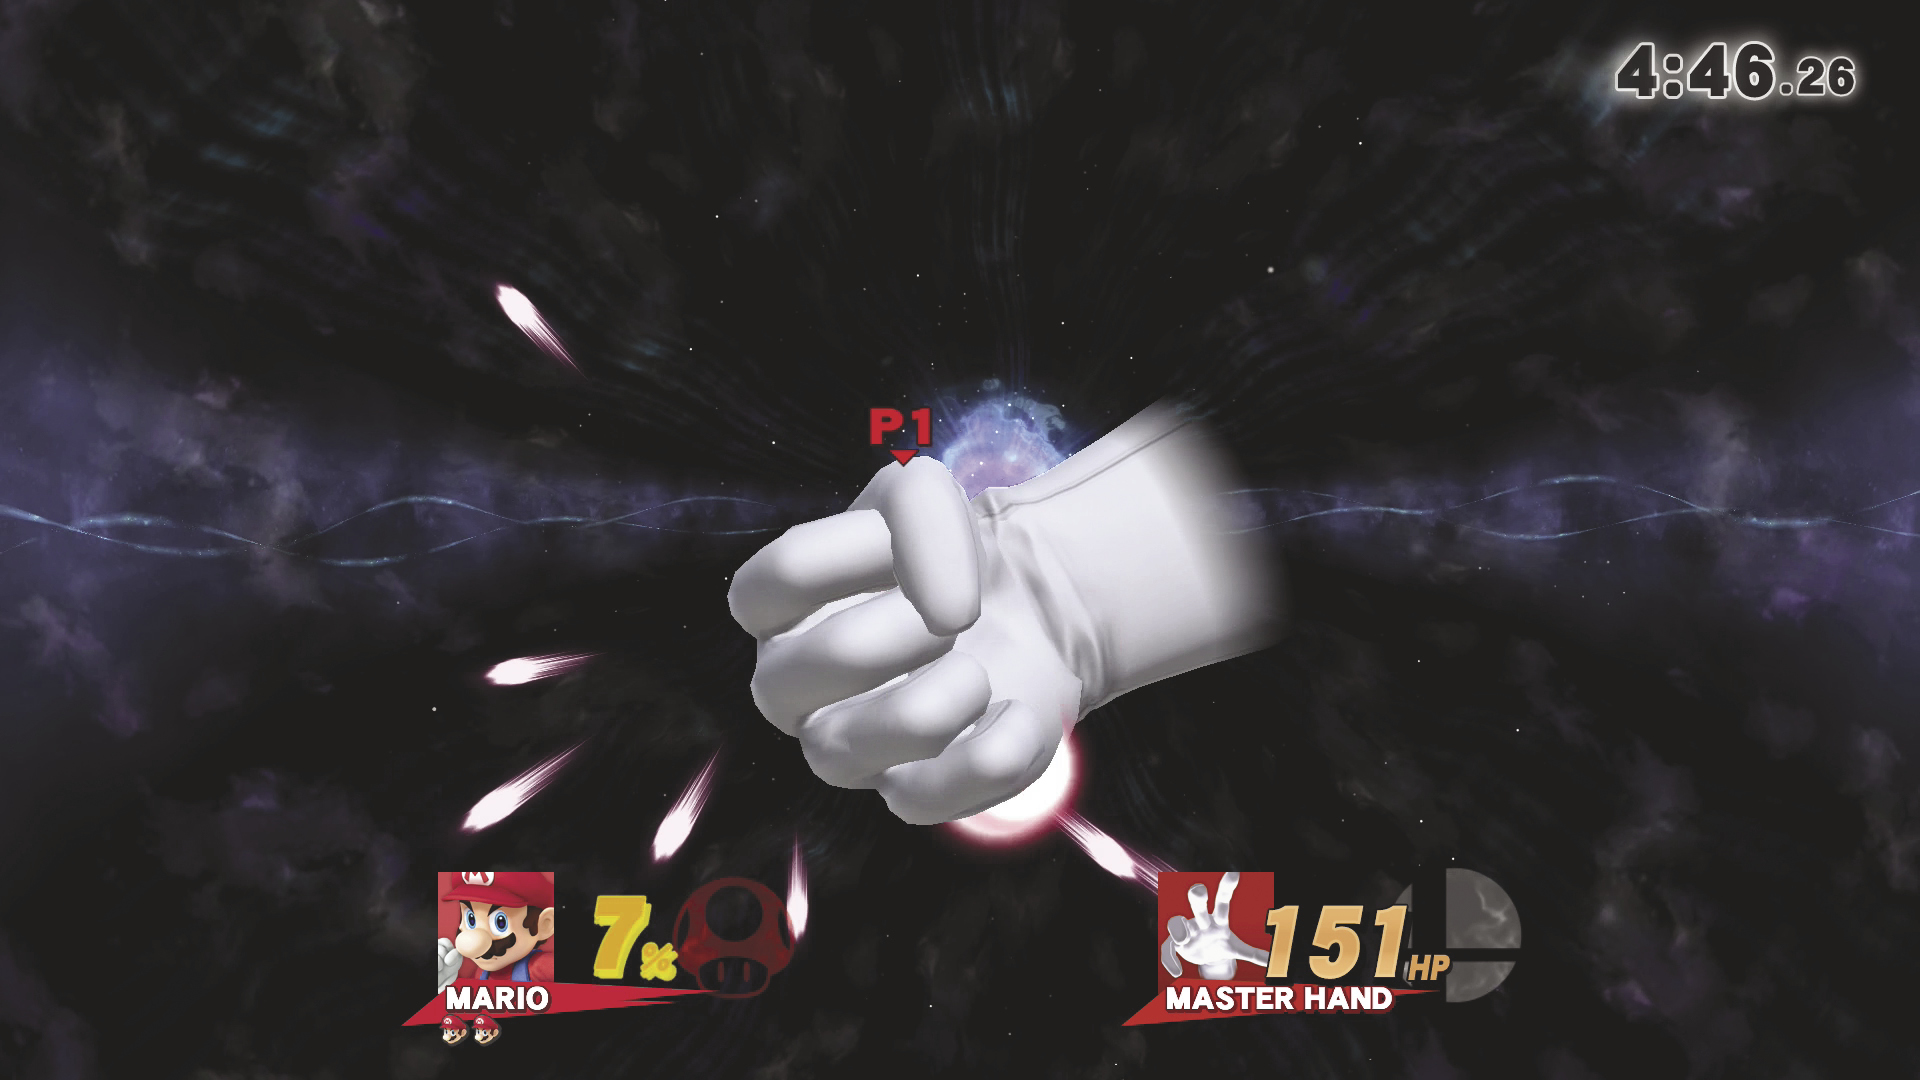
Master Hand is usually idle for several seconds between his attacks. You can deal a lot of damage during this time, but be careful—not all of his moves are easy to anticipate. Try to stick with your quick attacks and watch for any sudden movements; lingering near Master Hand can allow him to grab you right off of the platform. If this happens, flick the Left Stick back and forth until you break free of his grip.
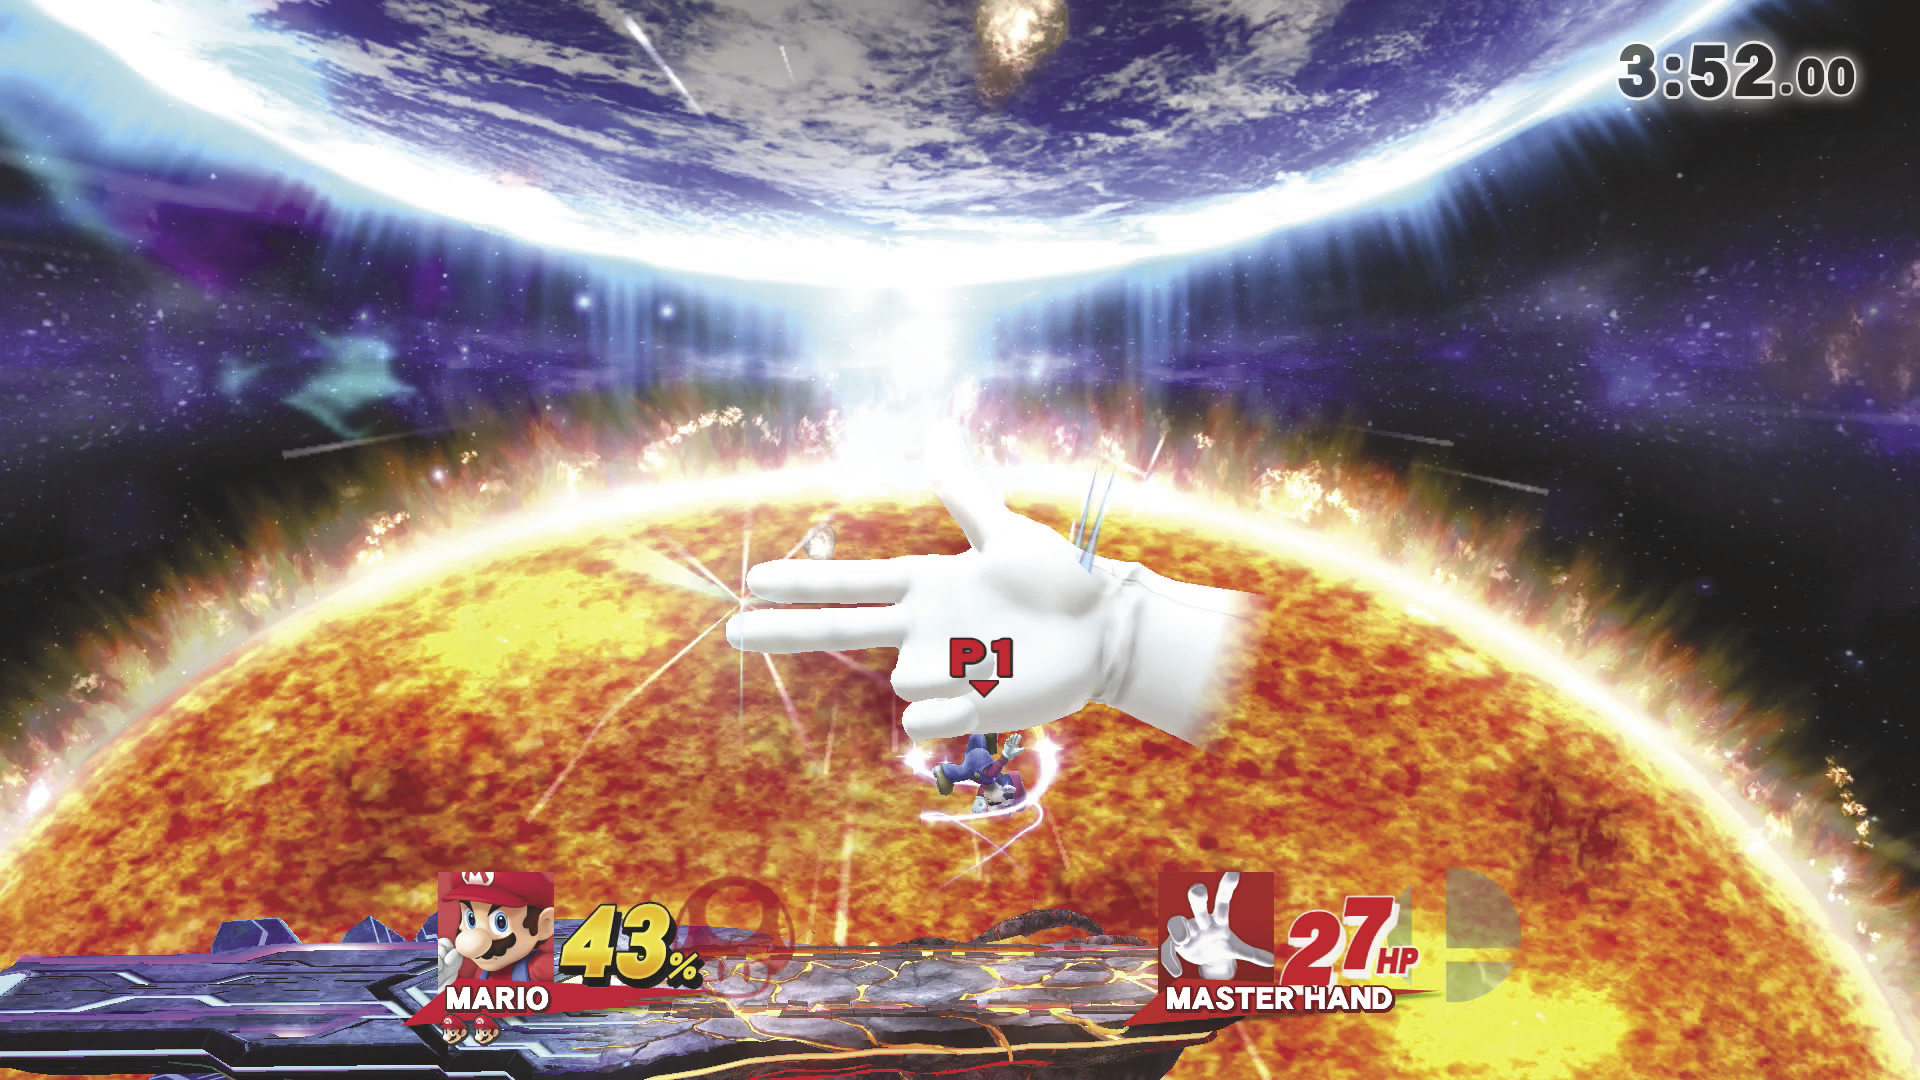
Master Hand’s health is displayed near the bottom of the screen. Use this number to gauge your progress over the course of the battle. At an intensity of 2.9 and below, you’ll face Master Hand on his own. Defeat him to end the battle and complete your game of Classic.
Master Hand and Crazy Hand
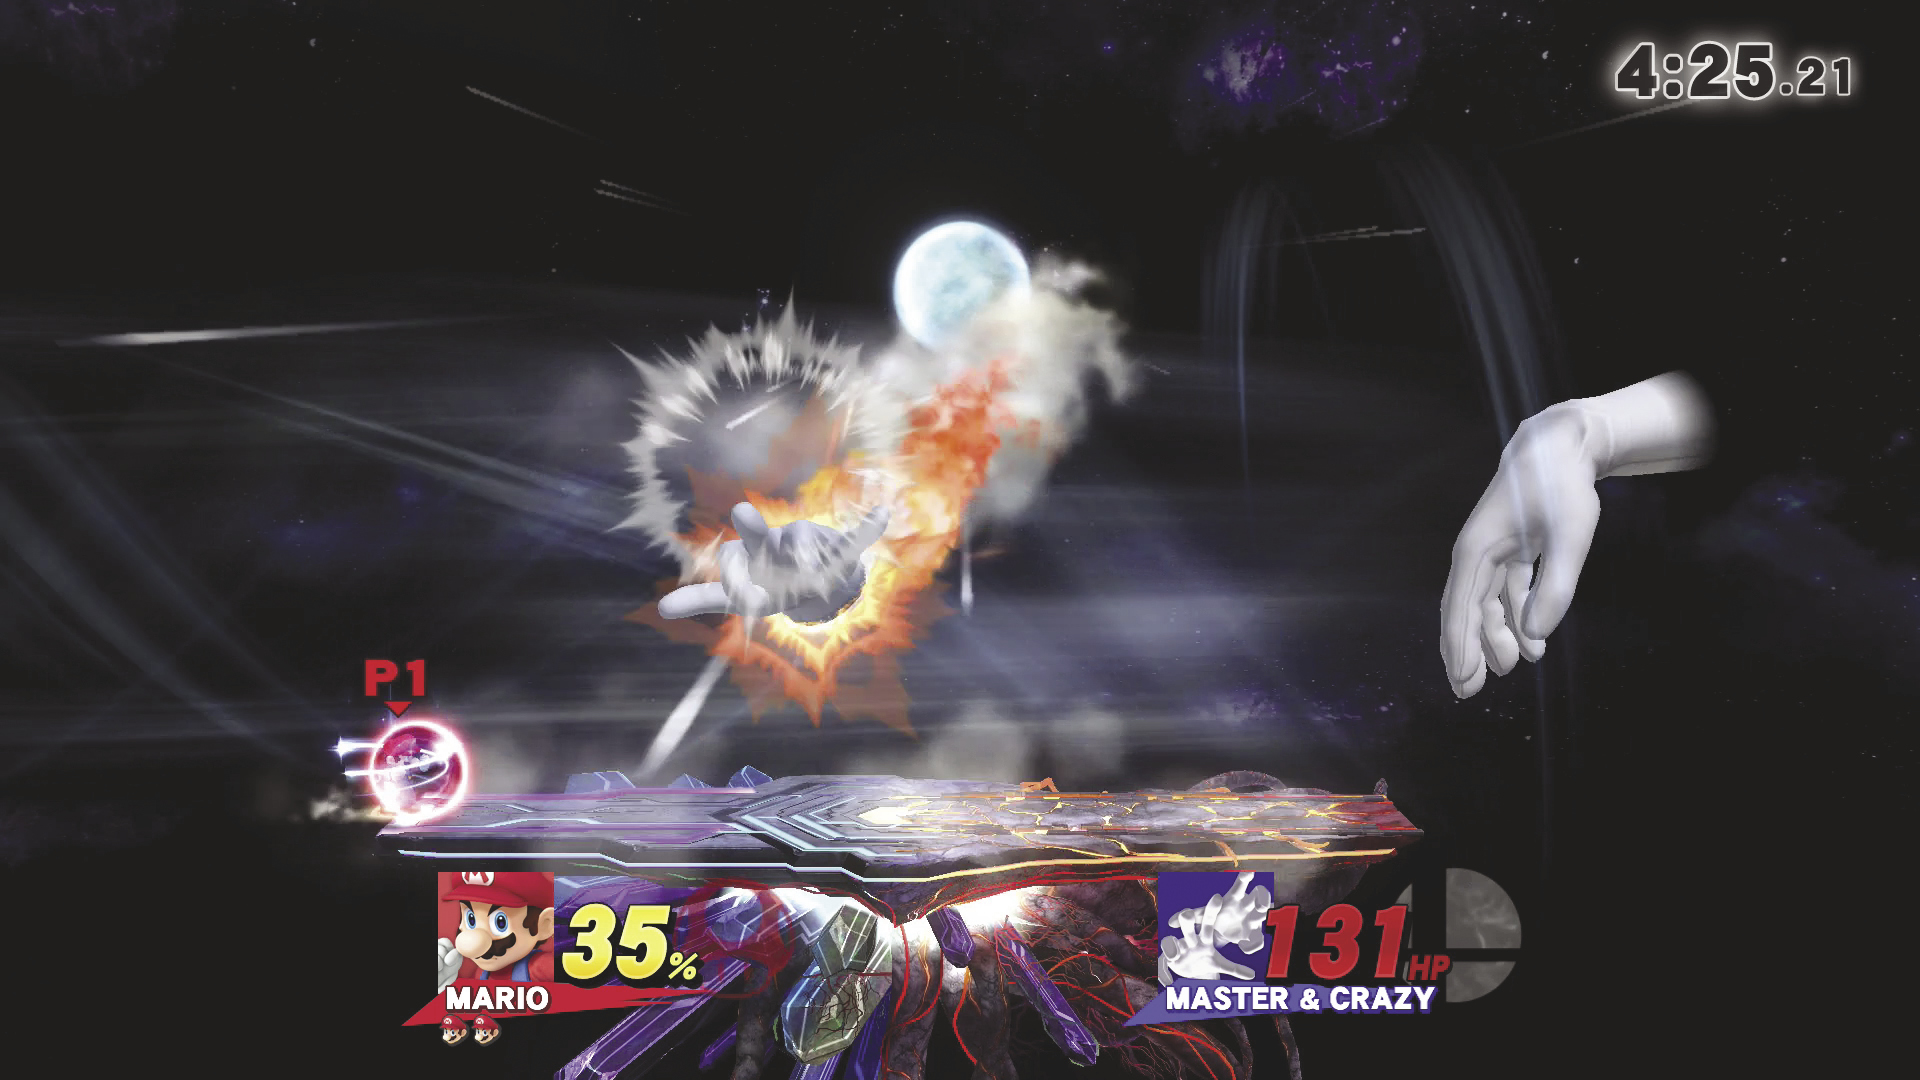
If your intensity is set to 3.0 or above, Master Hand and Crazy Hand will team up in the final match. These two do more than simply split your attention, however—Master Hand and Crazy Hand often coordinate their attacks, making it difficult to maintain a solid defense.
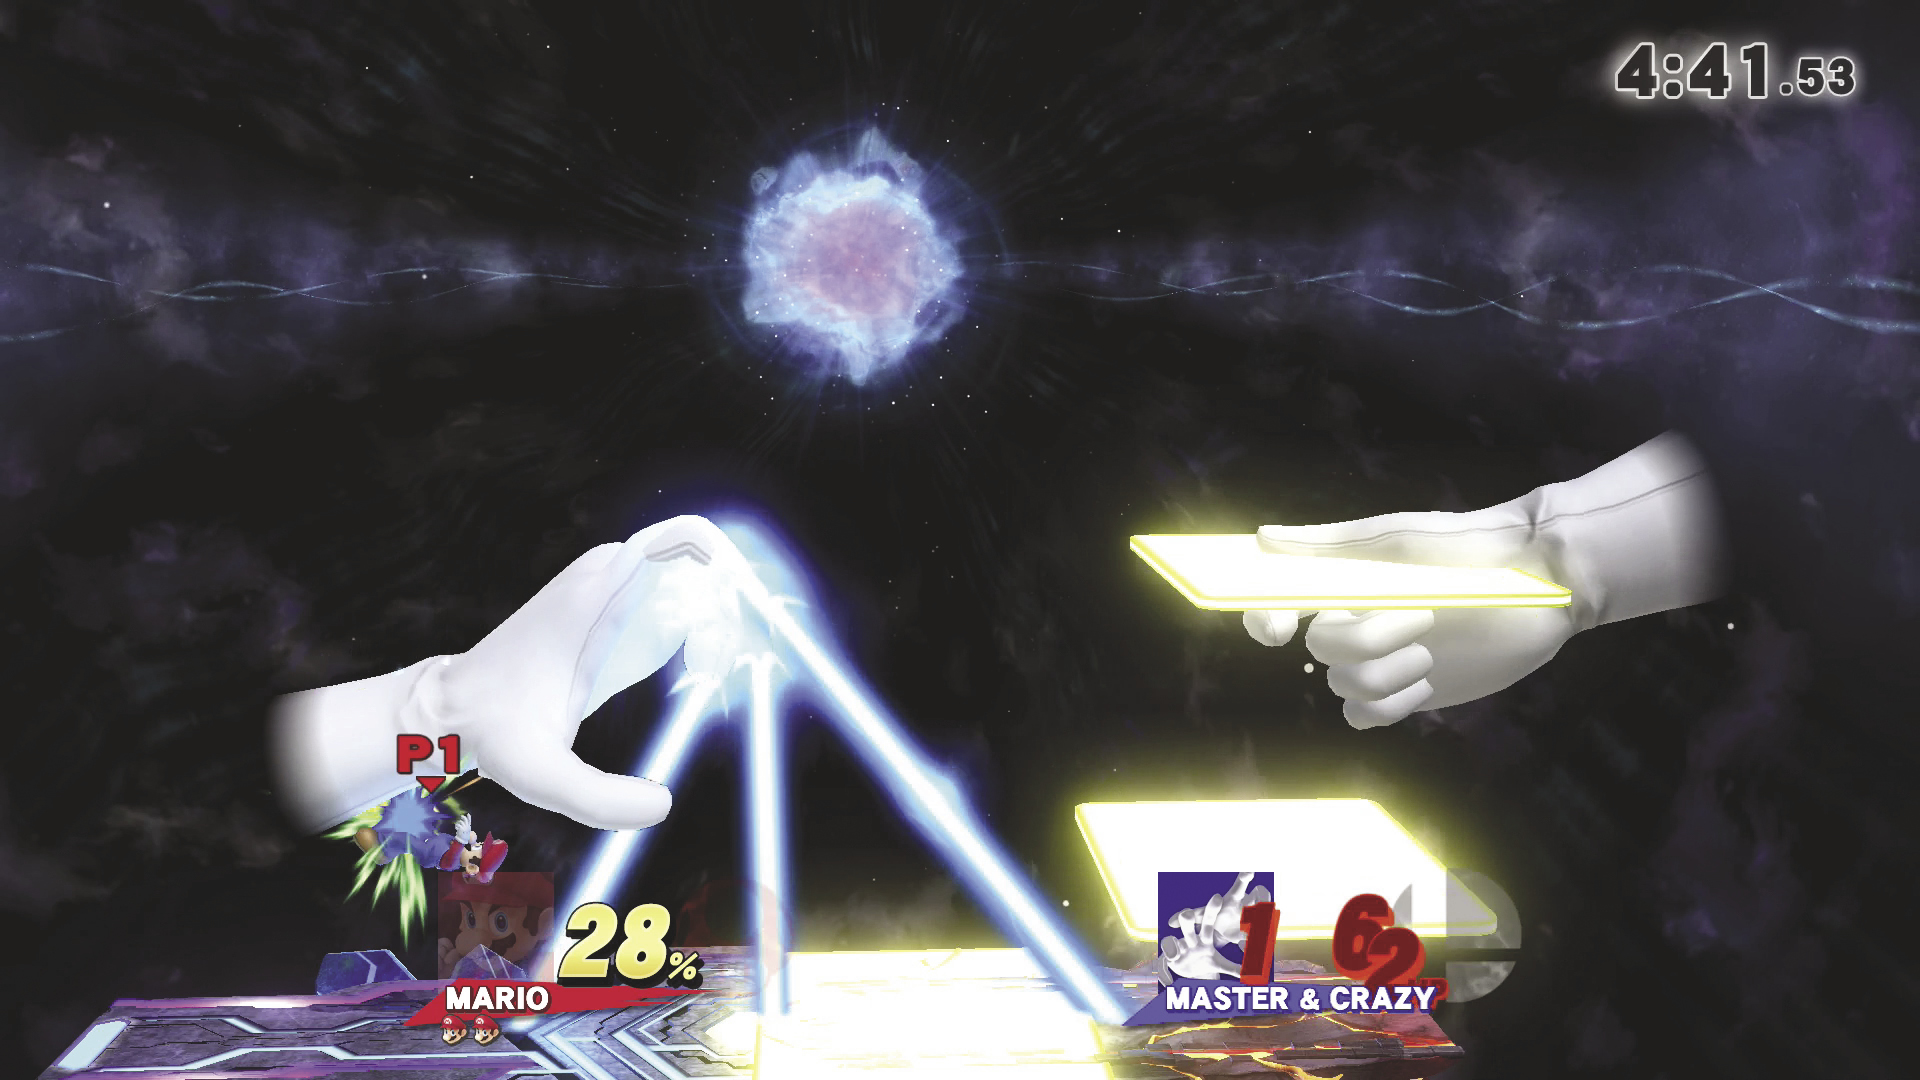
It’s important to attack whenever the opportunity presents itself, but make sure you pay attention to the entire battlefield. When one opponent seems vulnerable, there’s a good chance his partner is preparing an attack of his own. Avoid committing to slower moves unless you’re certain you have enough time to see them through.
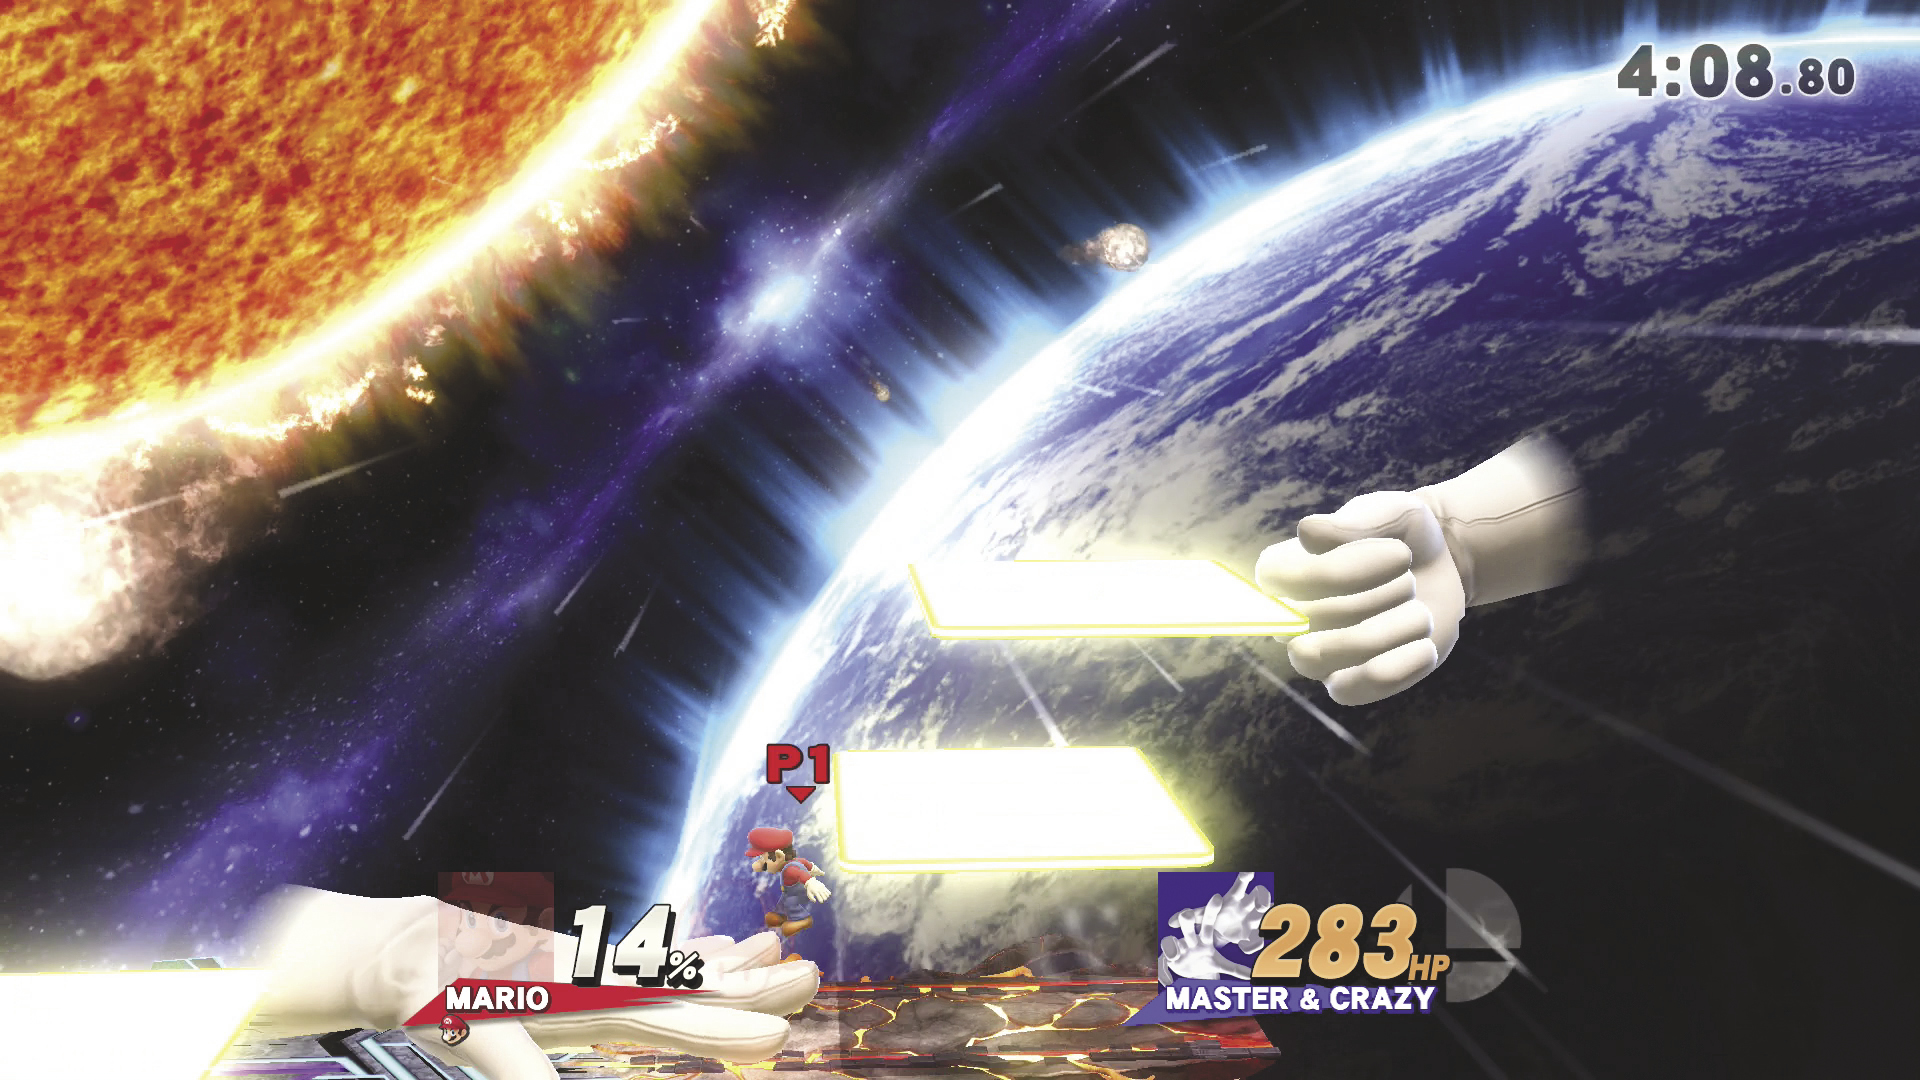
Master Hand and Crazy Hand often combine their attacks. Whether they attack simultaneously or in quick succession, the effect is generally the same—it’s much more difficult to stay out of harm’s way. For example, escaping from one of Master Hand’s rising platforms could send you tumbling right into Crazy Hand’s flailing attack. Similarly, any attempts to spot-dodge or shield yourself are unlikely to protect you for the duration of a coordinated attack.
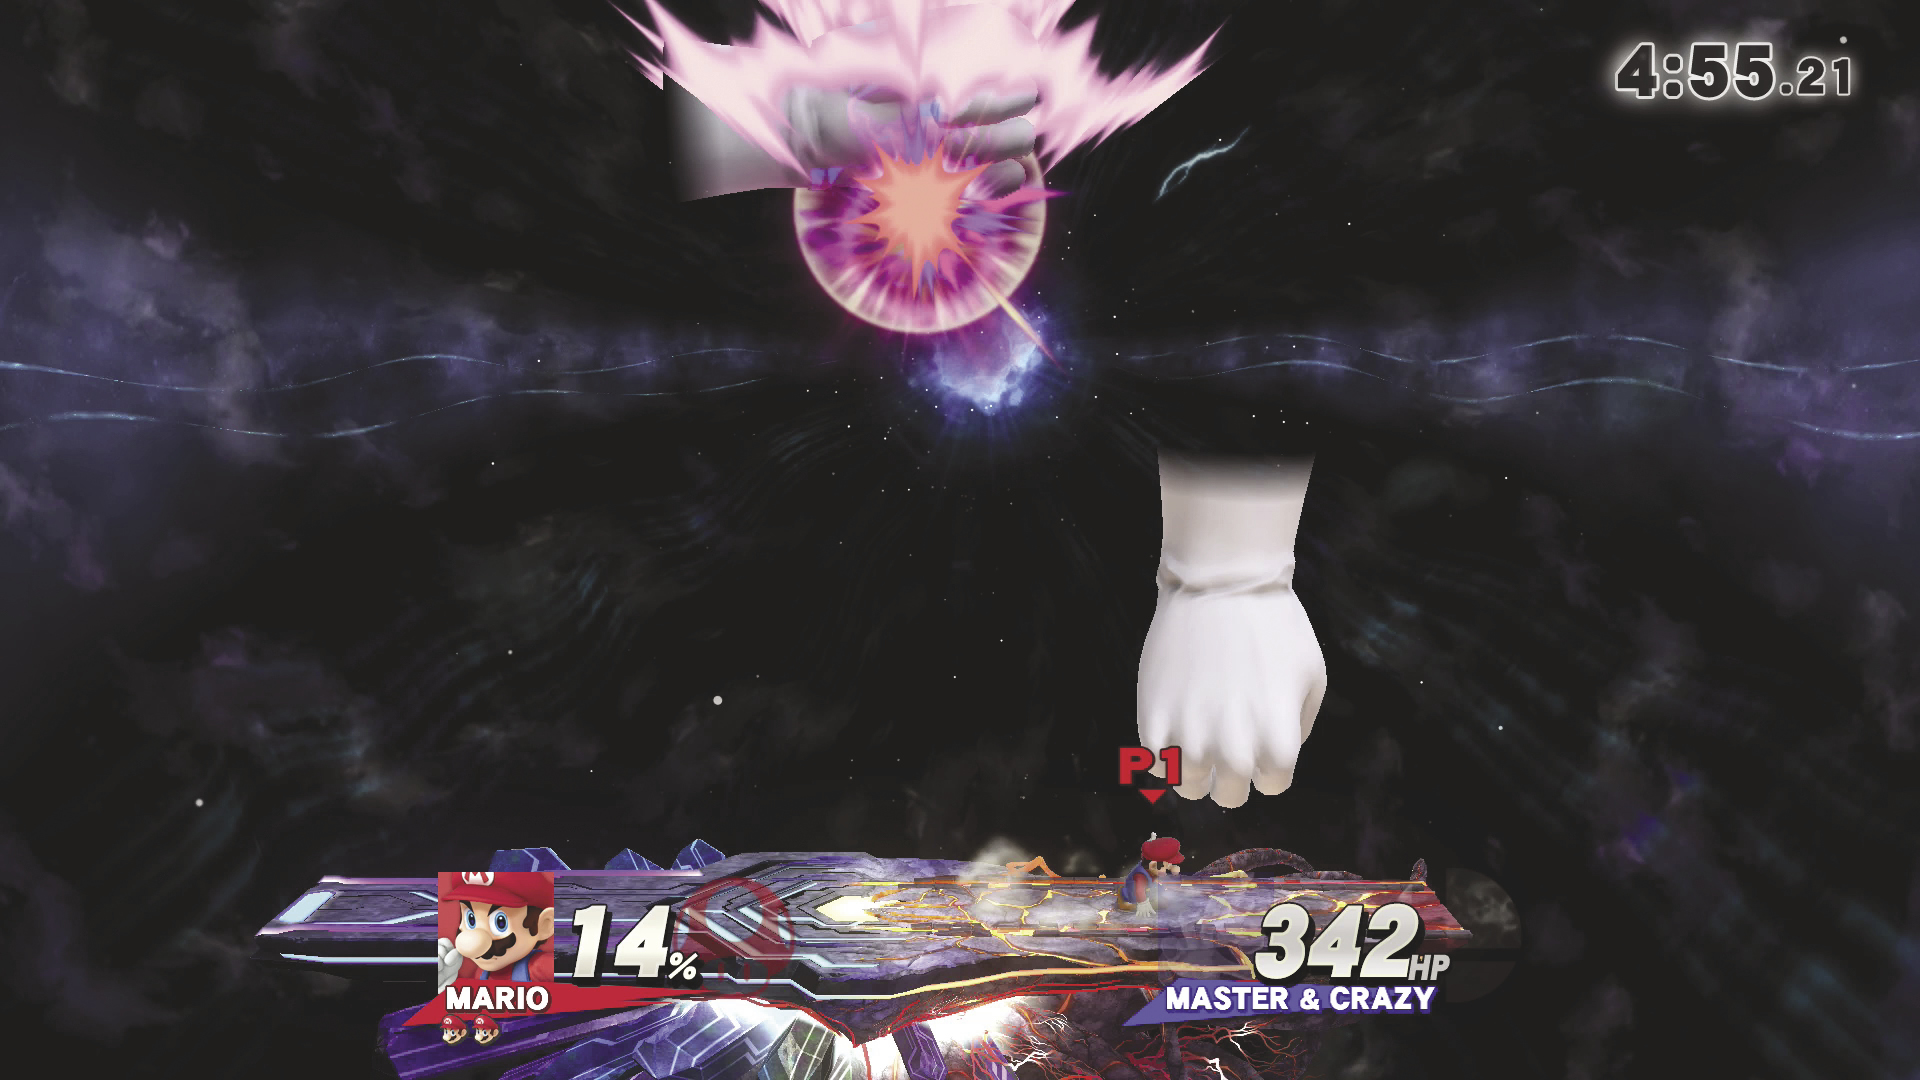
Surviving unscathed often means alternating between activating your shield and dodging. If both of your opponents are charging their attacks, use the time to weigh your defensive options. Whether you plan on dodging or relying on your shield, try to be patient. Watch your opponents as they move around the area, and adjust your position as needed. Wait until they commit to their attacks and then react accordingly.
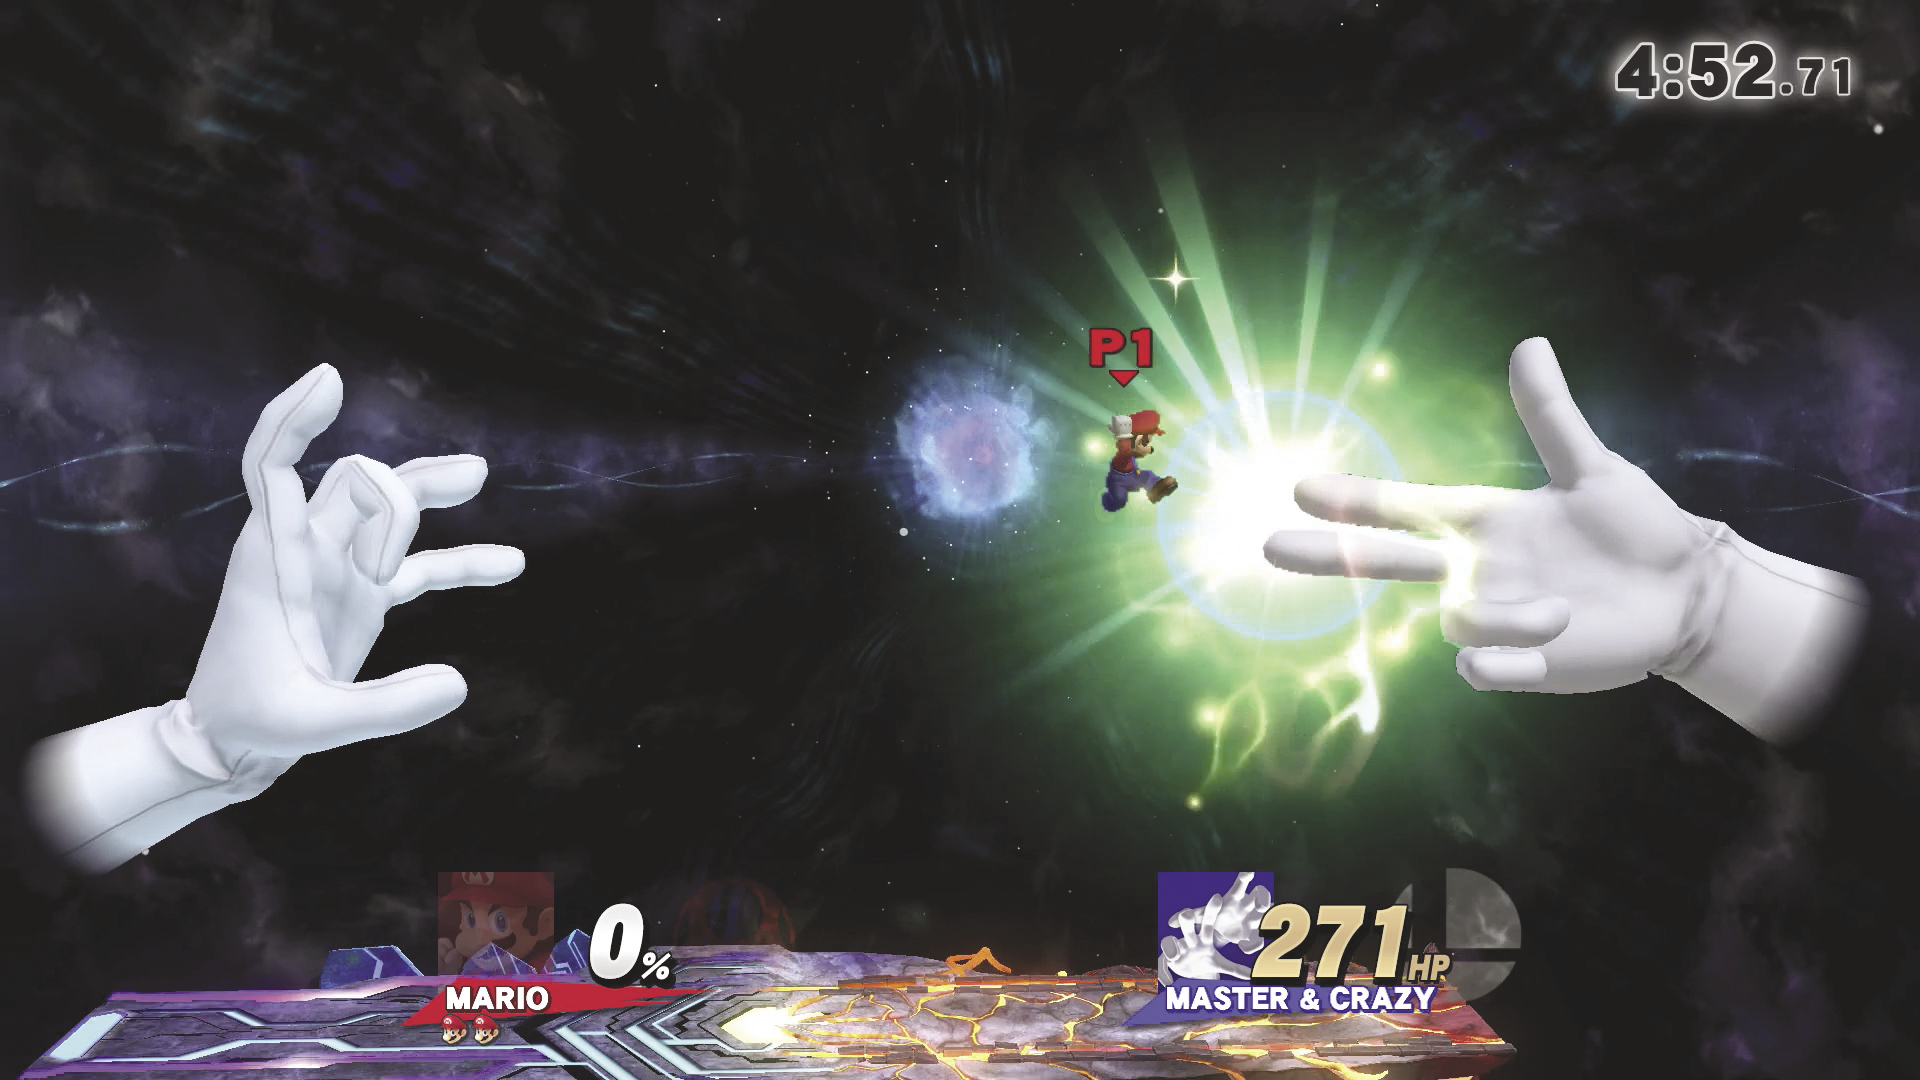
Jumping is an important part of every fight, but remember your defensive options are limited while you’re in the air. The more time you spend off of the platform, the more likely it is you’ll be caught in an extended attack. Before you commit to a big jump or an aerial attack, make sure you have a safe place to land. When all else fails, try to use the air dodge and fast fall techniques to avoid your opponents’ juggling attacks.
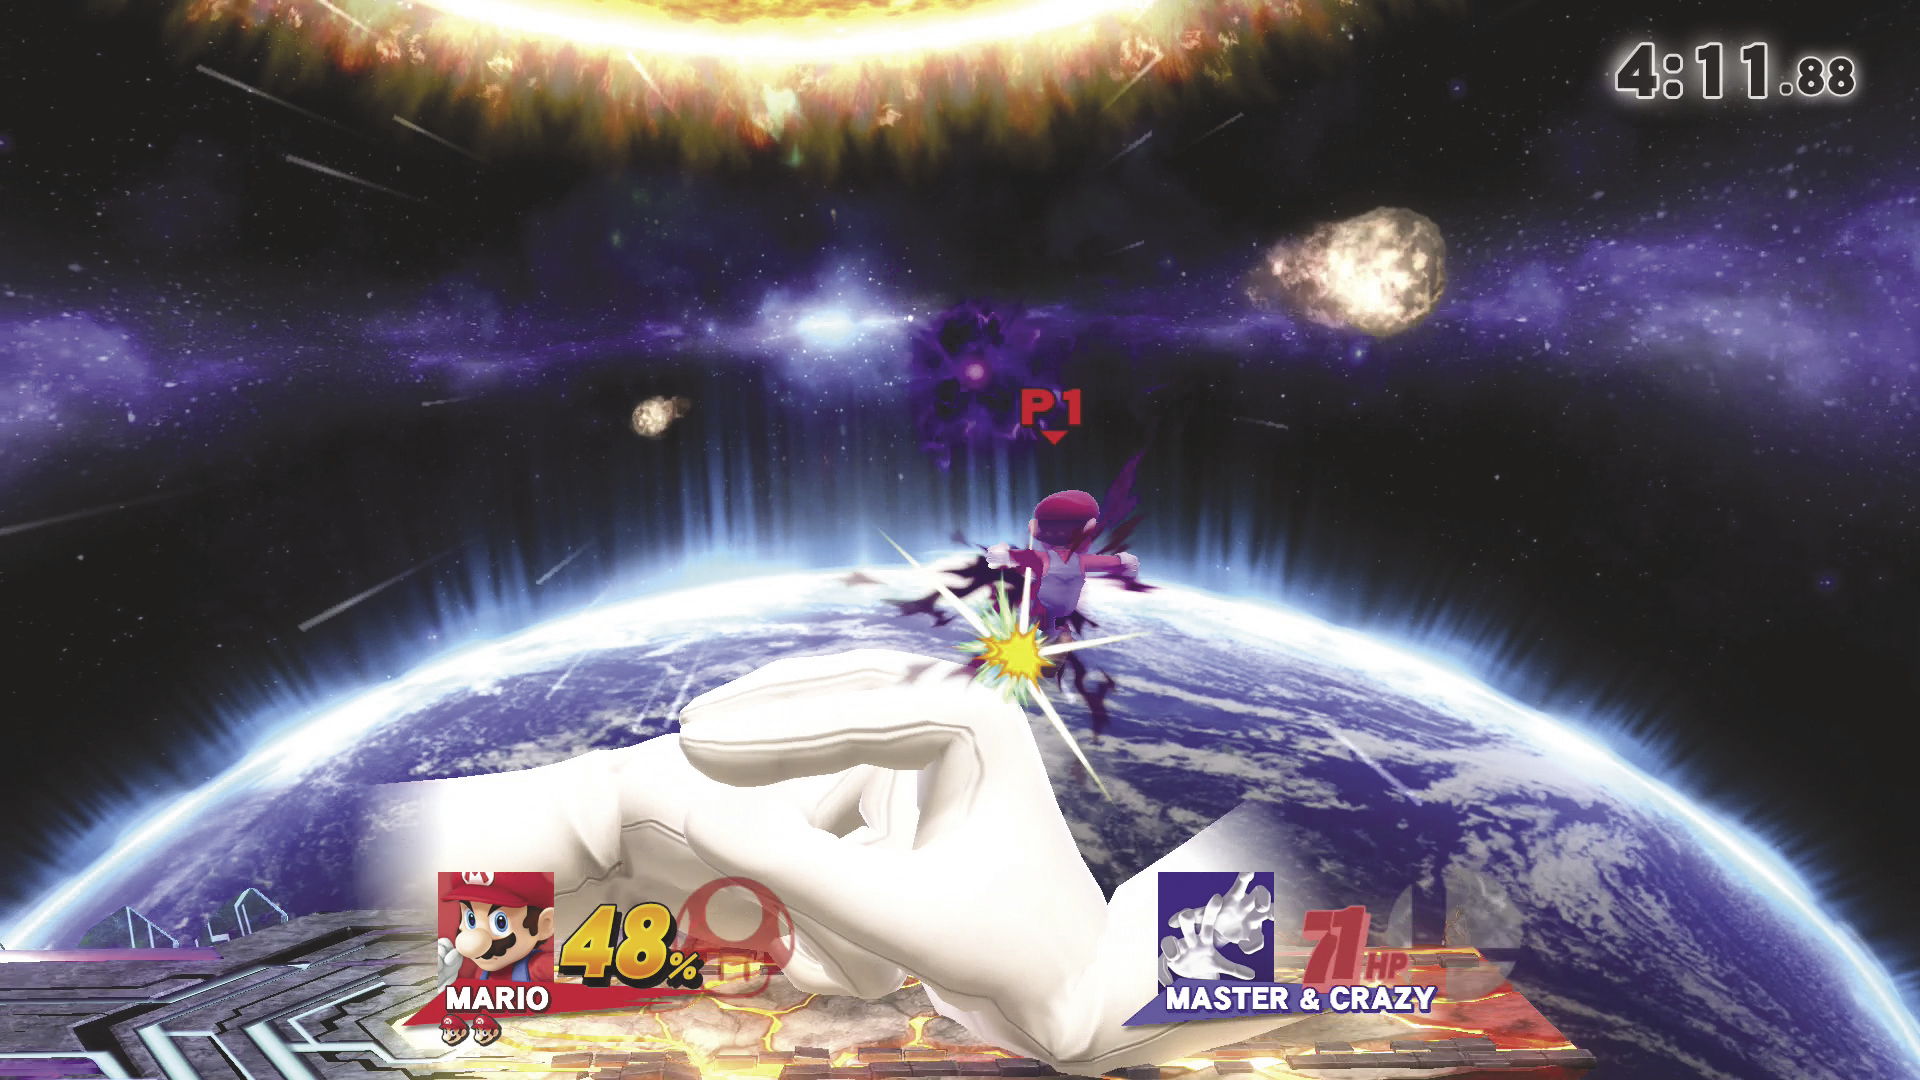
Master Hand and Crazy Hand share a single pool of health, and you can deal heavy damage each time you manage to hit both enemies with a single attack. At intensity levels of 5.0 and below, the battle ends when you defeat these opponents. At higher intensity levels, however, Master Core will step in if Master Hand and Crazy Hand fail to stop you. During these battles, it’s important to beat Master Hand and Crazy Hand as quickly as possible. Be aggressive!
Master Core
Your intensity level not only determines if you’re able to face Master Core, but it also affects exactly which forms Master Core will take during the battle. Regardless of your intensity level, however, you must deal damage to each of Master Core’s forms to progress through the battle and eventually defeat your enemy.
Master Giant
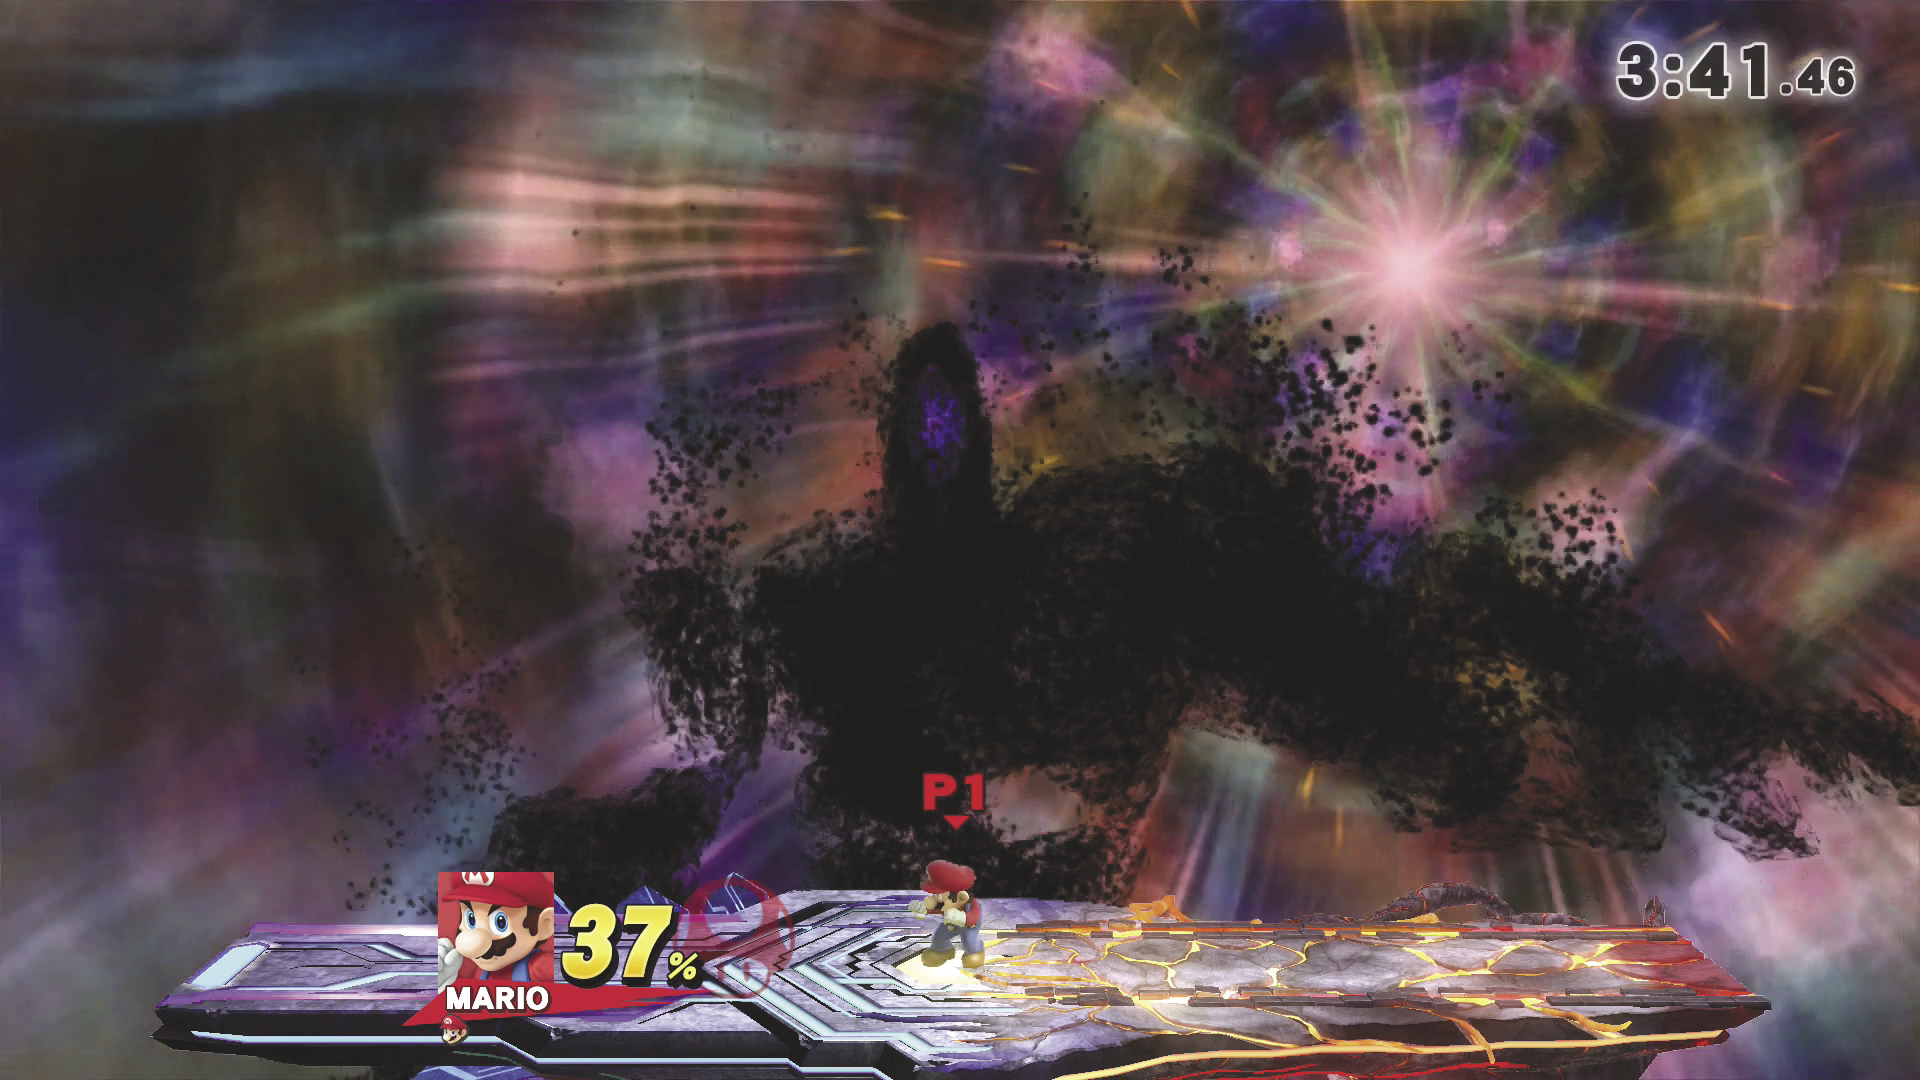
When the intensity is set to 7.0 and above, Master Core first appears in the form of Master Giant. While in this form, he’s capable of several attacks, most of which affect the bulk of the battlefield. When you’re not busy defending yourself, move below Master Giant’s head and attack upward. It takes a few seconds for Master Giant to recover from its own attacks, so you should have enough time to use your fighter’s more powerful attacks.
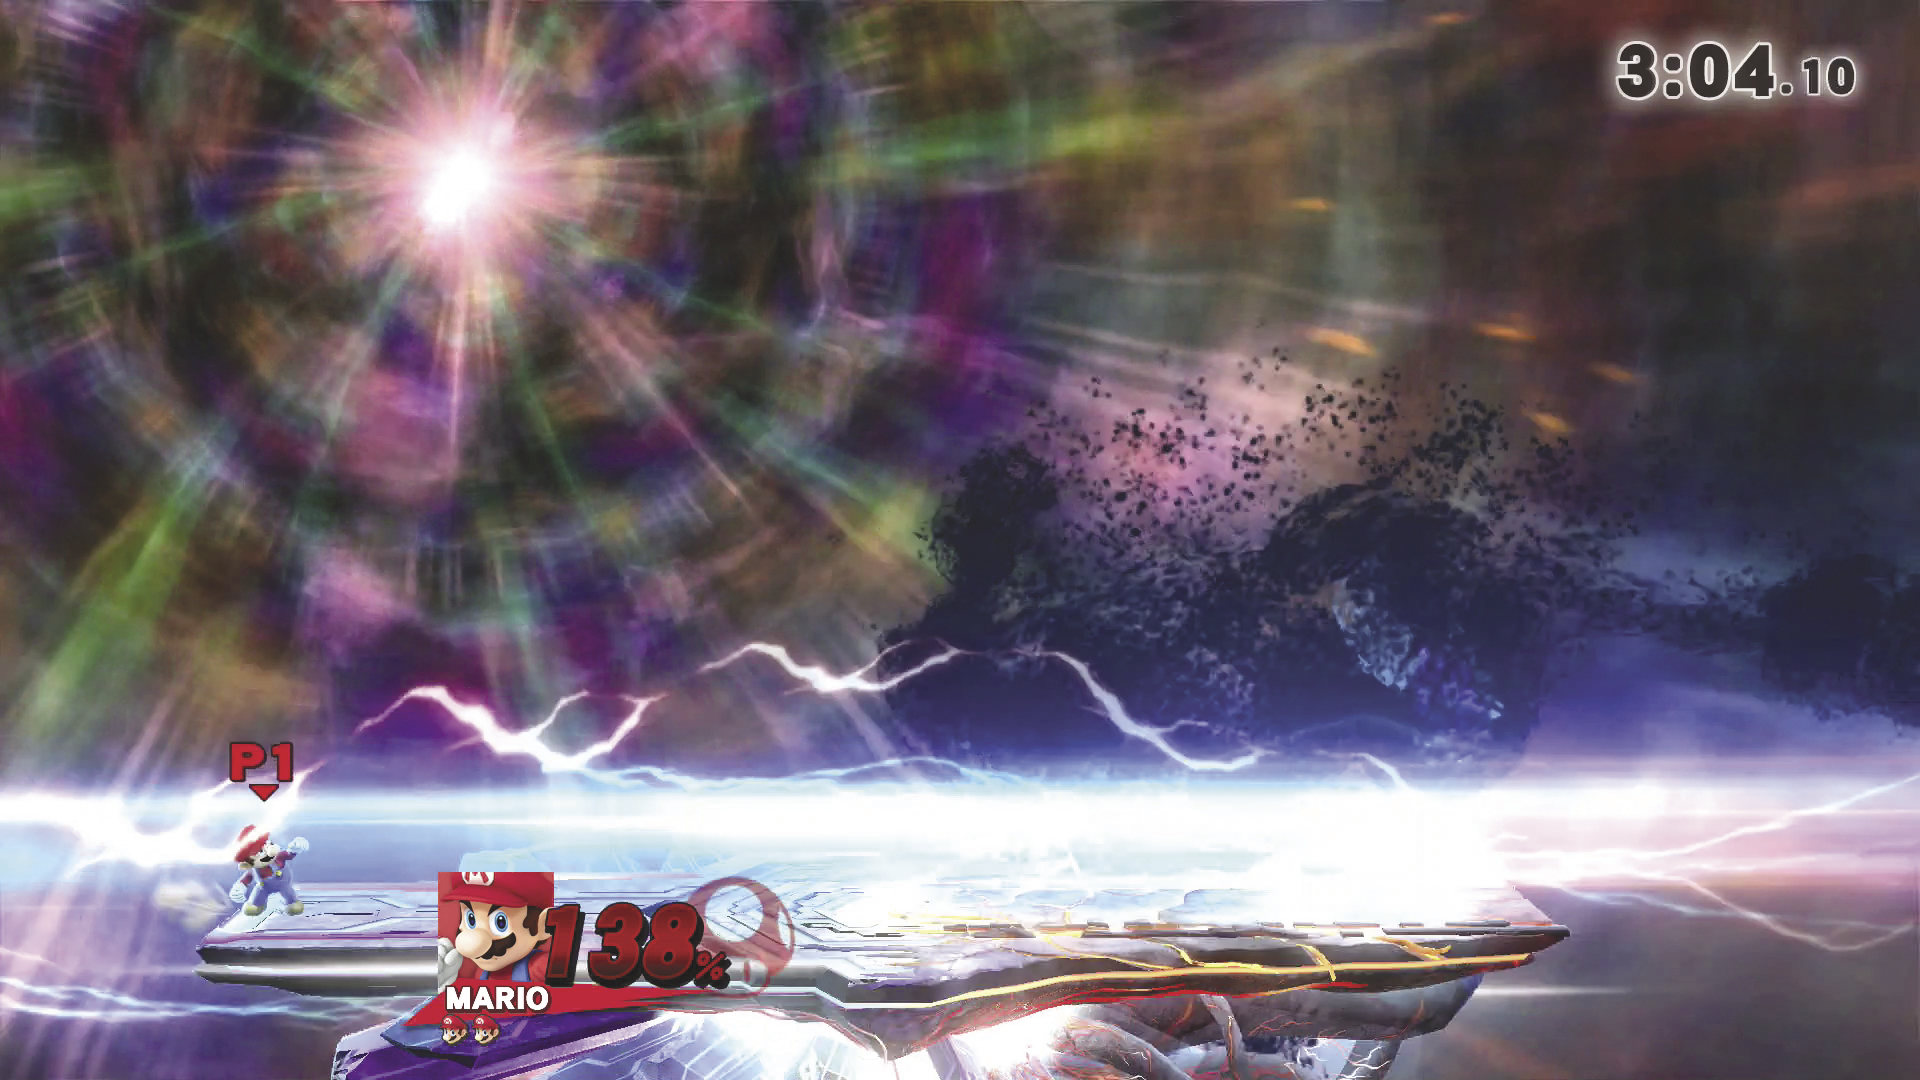
Soon after Master Giant sweeps its arm through the area, a large beam speeds toward you. This beam moves very quickly, so a well-executed dodge will allow you to avoid taking damage. The beam appears soon after the swipe’s shadowy trail vanishes.
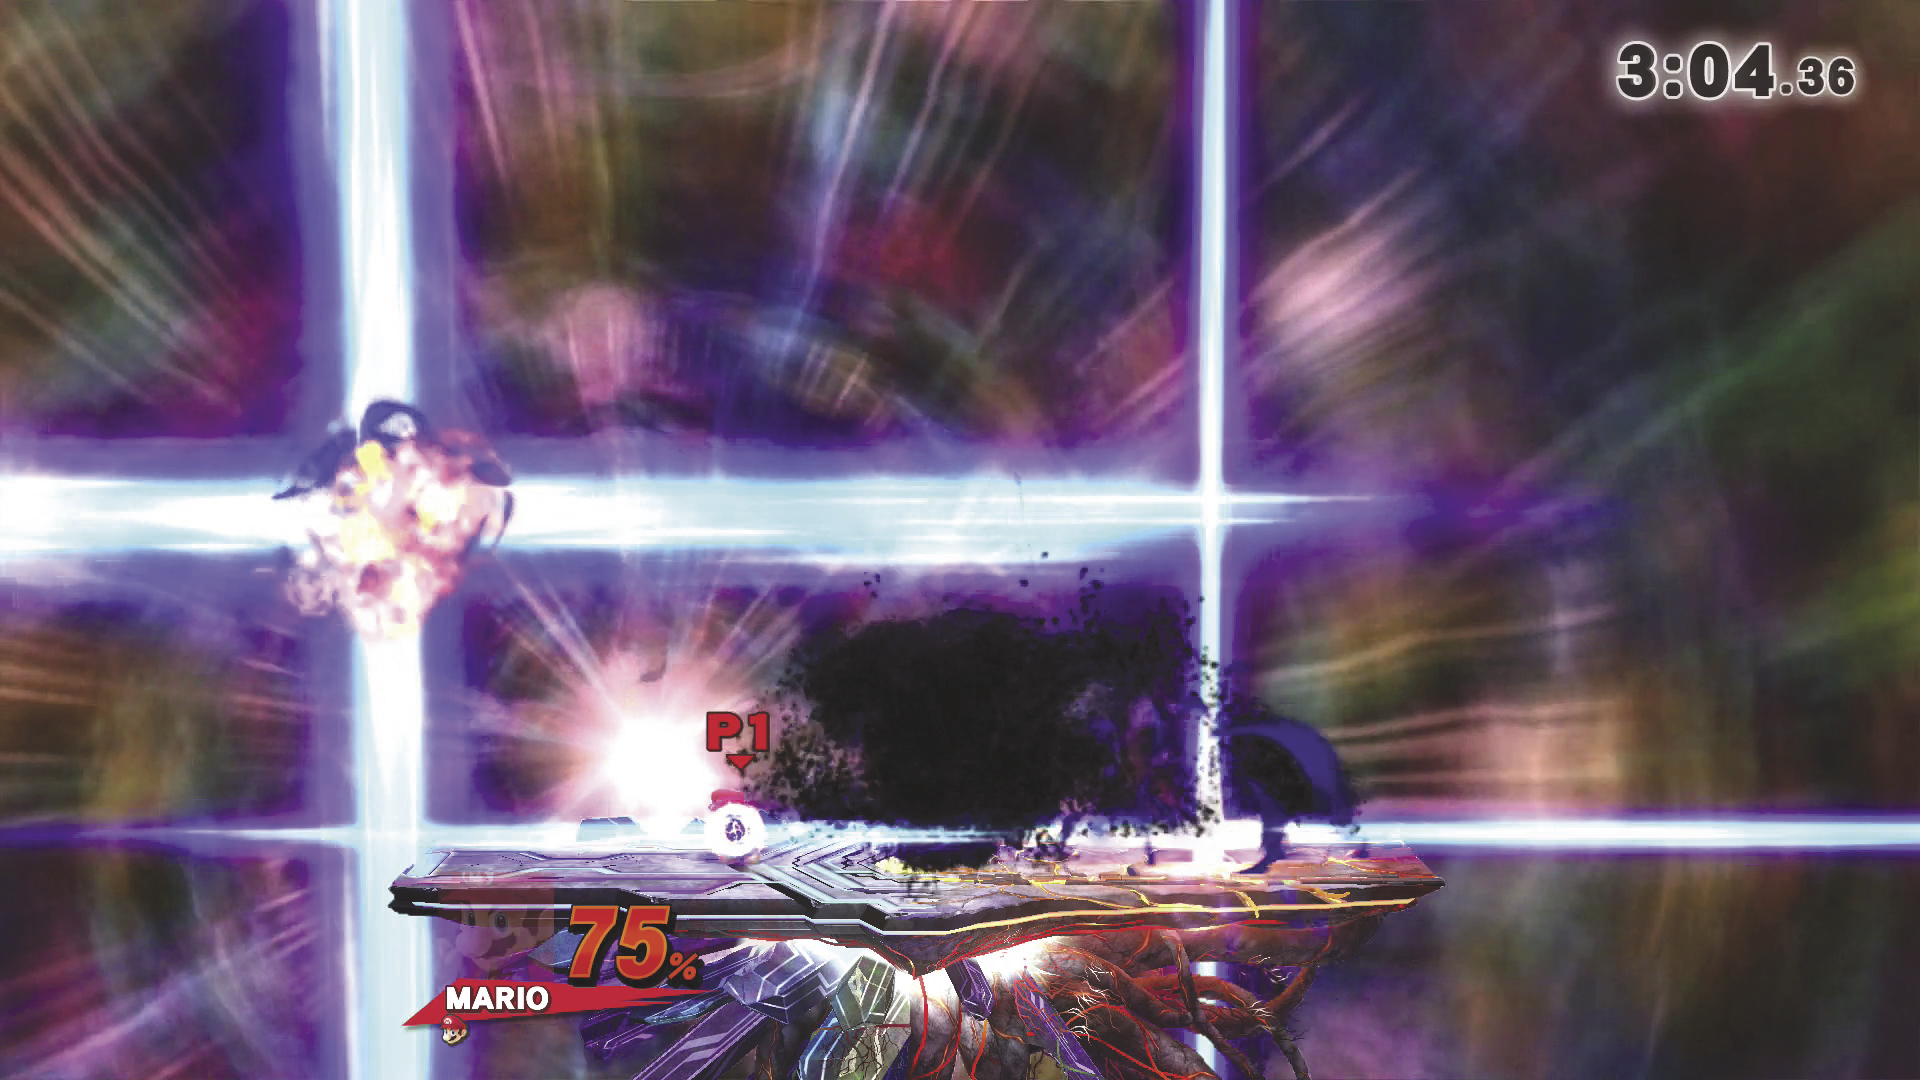
Watch for the growths that sometimes appear on top of the Master Giant’s head. Soon after they do, Master Giant smashes down on the platform and releases them into the air. Once the shadowy blobs are in place, each of them detonates, releasing horizontal and vertical beams in the process. Position yourself to avoid all of the beams until they fade, or shield yourself to avoid taking damage. Resume your attacks as soon as the beams vanish.
_opt.jpeg)
When Master Giant sprouts extra arms, two of its hands begin to glow. Evade these glowing fists to avoid being temporarily absorbed into the shadowy figure. Dodge the glowing fists, or hop off of the platform and grab its edge to help stay out of Master Giant’s attack range. Some larger characters can still be grabbed from this position, so be prepared to release the edge and air jump to safety.
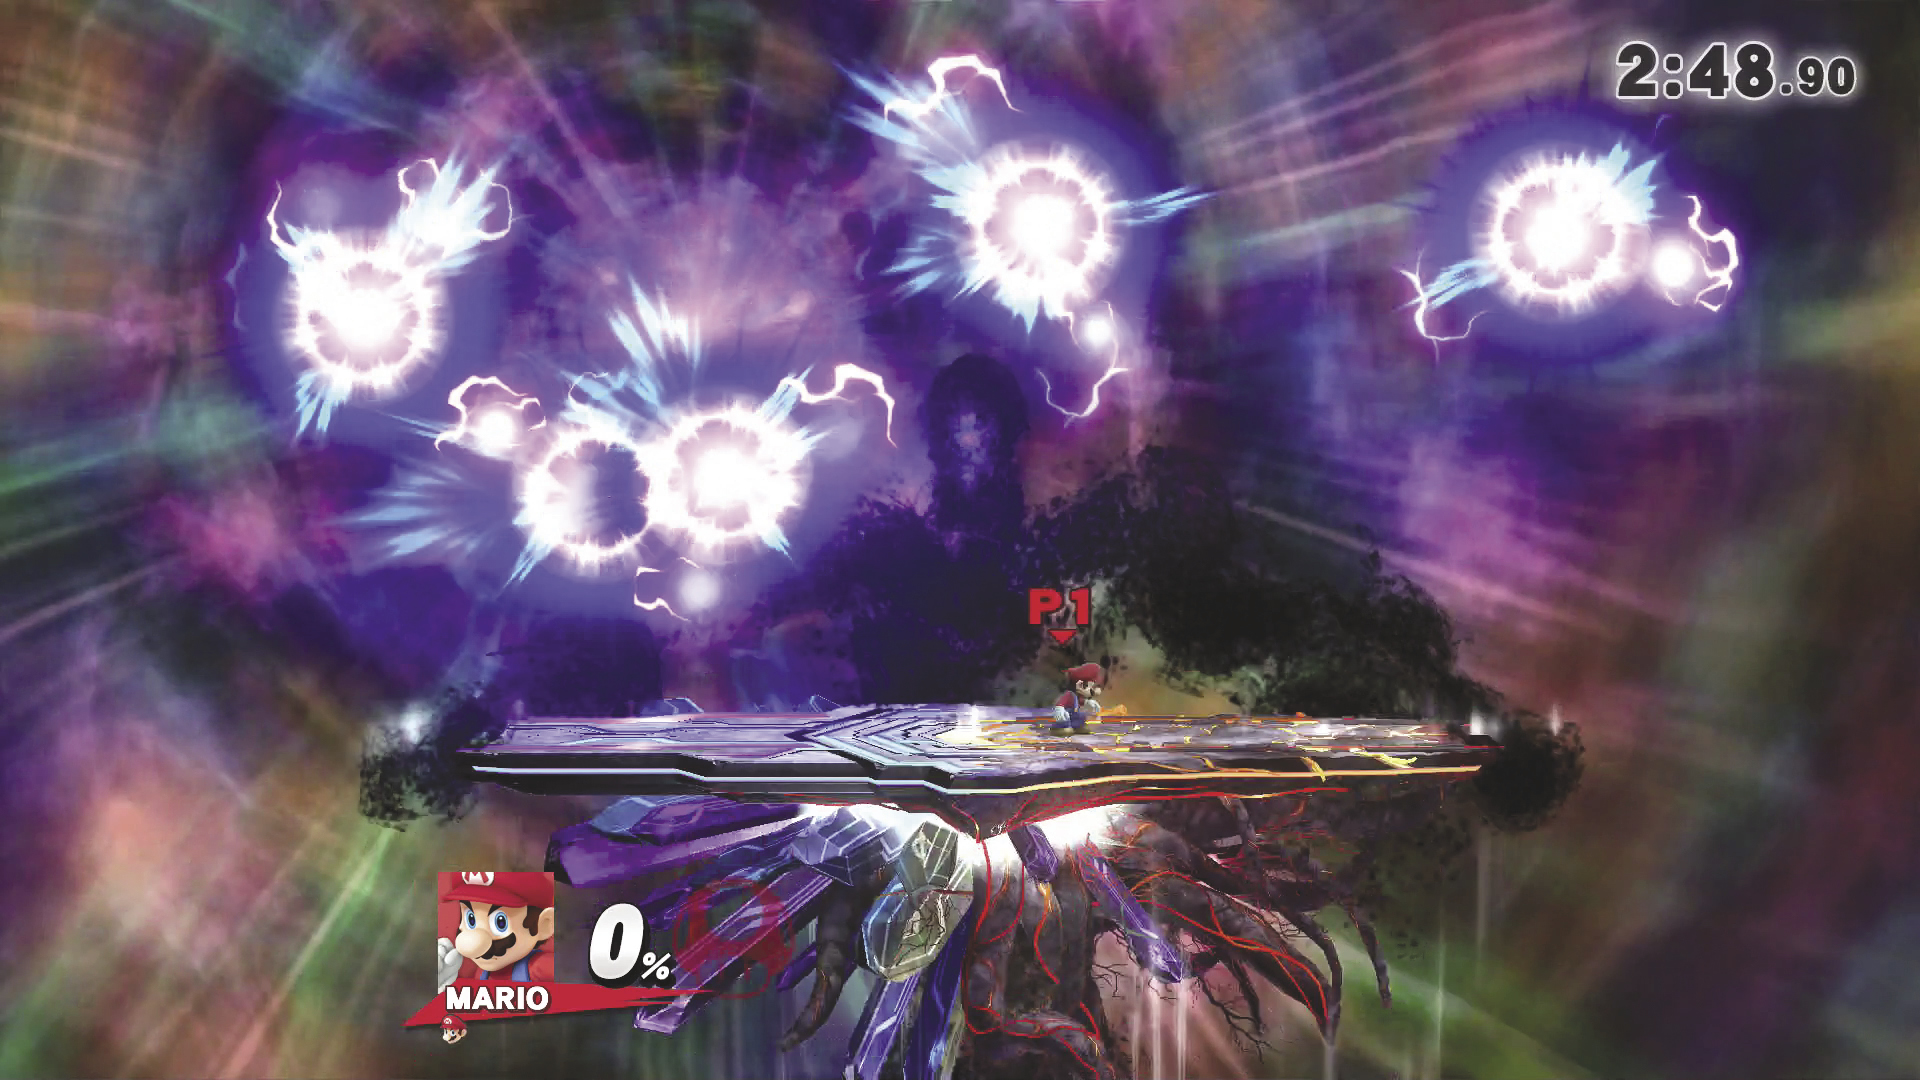
When Master Giant releases a swarm of energy orbs, try to deal a bit of damage then activate your shield as the platform is lifted toward the top of the screen. If defense is your priority, you can position yourself directly under a gap between the hazards. This often makes it much easier to avoid taking damage. The orbs roam for the duration of the attack, though, so be prepared to shield or dodge as necessary.
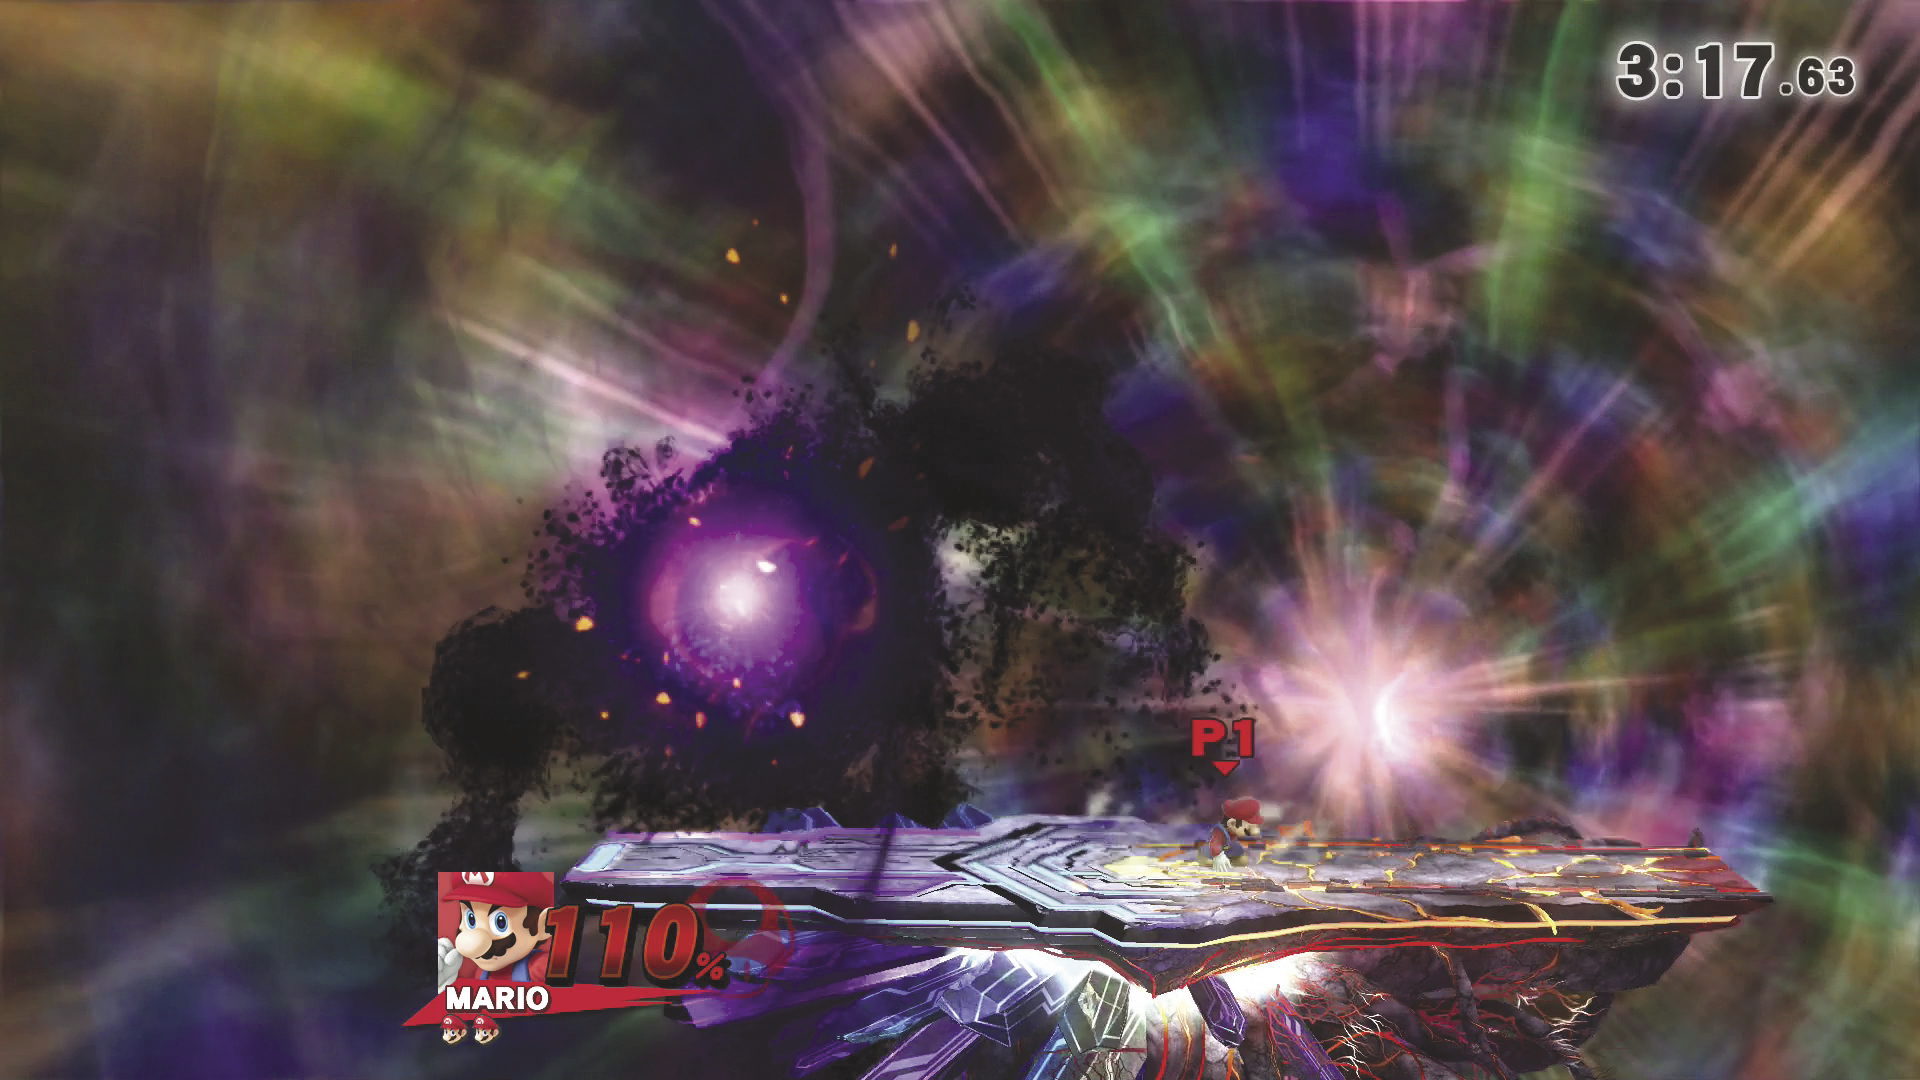
Master Giant sometimes creates a rift in the space near its head. Stand completely still as you’re drawn toward the rift—you’ll only be pulled into the rift if you’re in the air. Stick to the platform and use your shield to defend yourself from the energy orbs that move through the area. If one of the orbs makes contact, you’ll be launched into the air and pulled into the rift for heavy damage.
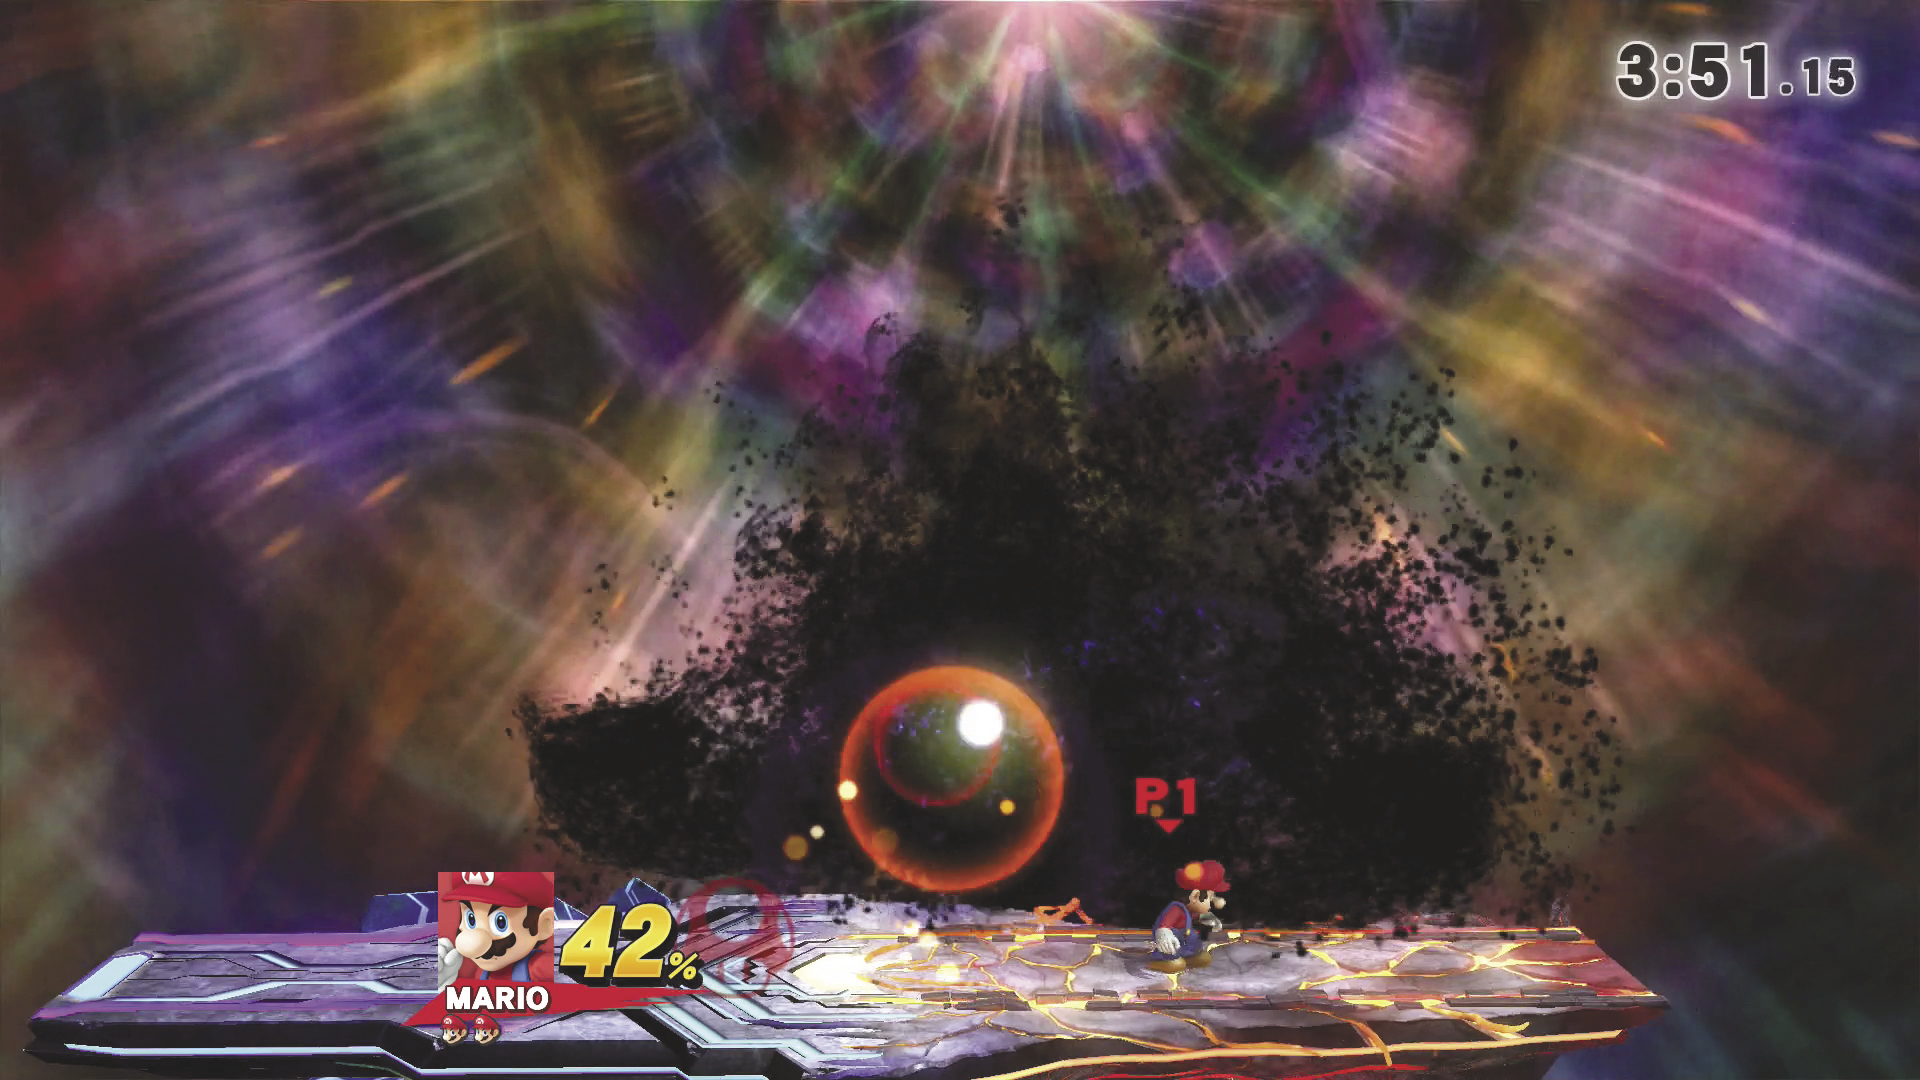
When Master Giant clutches its head and writhes around, this signals an impending burst of energy. Watch for the small waves of energy to appear, then dodge just as the massive foe releases a powerful shriek. Don’t bother shielding, as it won’t protect you from the pulse’s powerful knockback effect. Above all, make sure you stick to the platform. If the blast catches you in the air, it will very likely result in a KO.
Master Beast
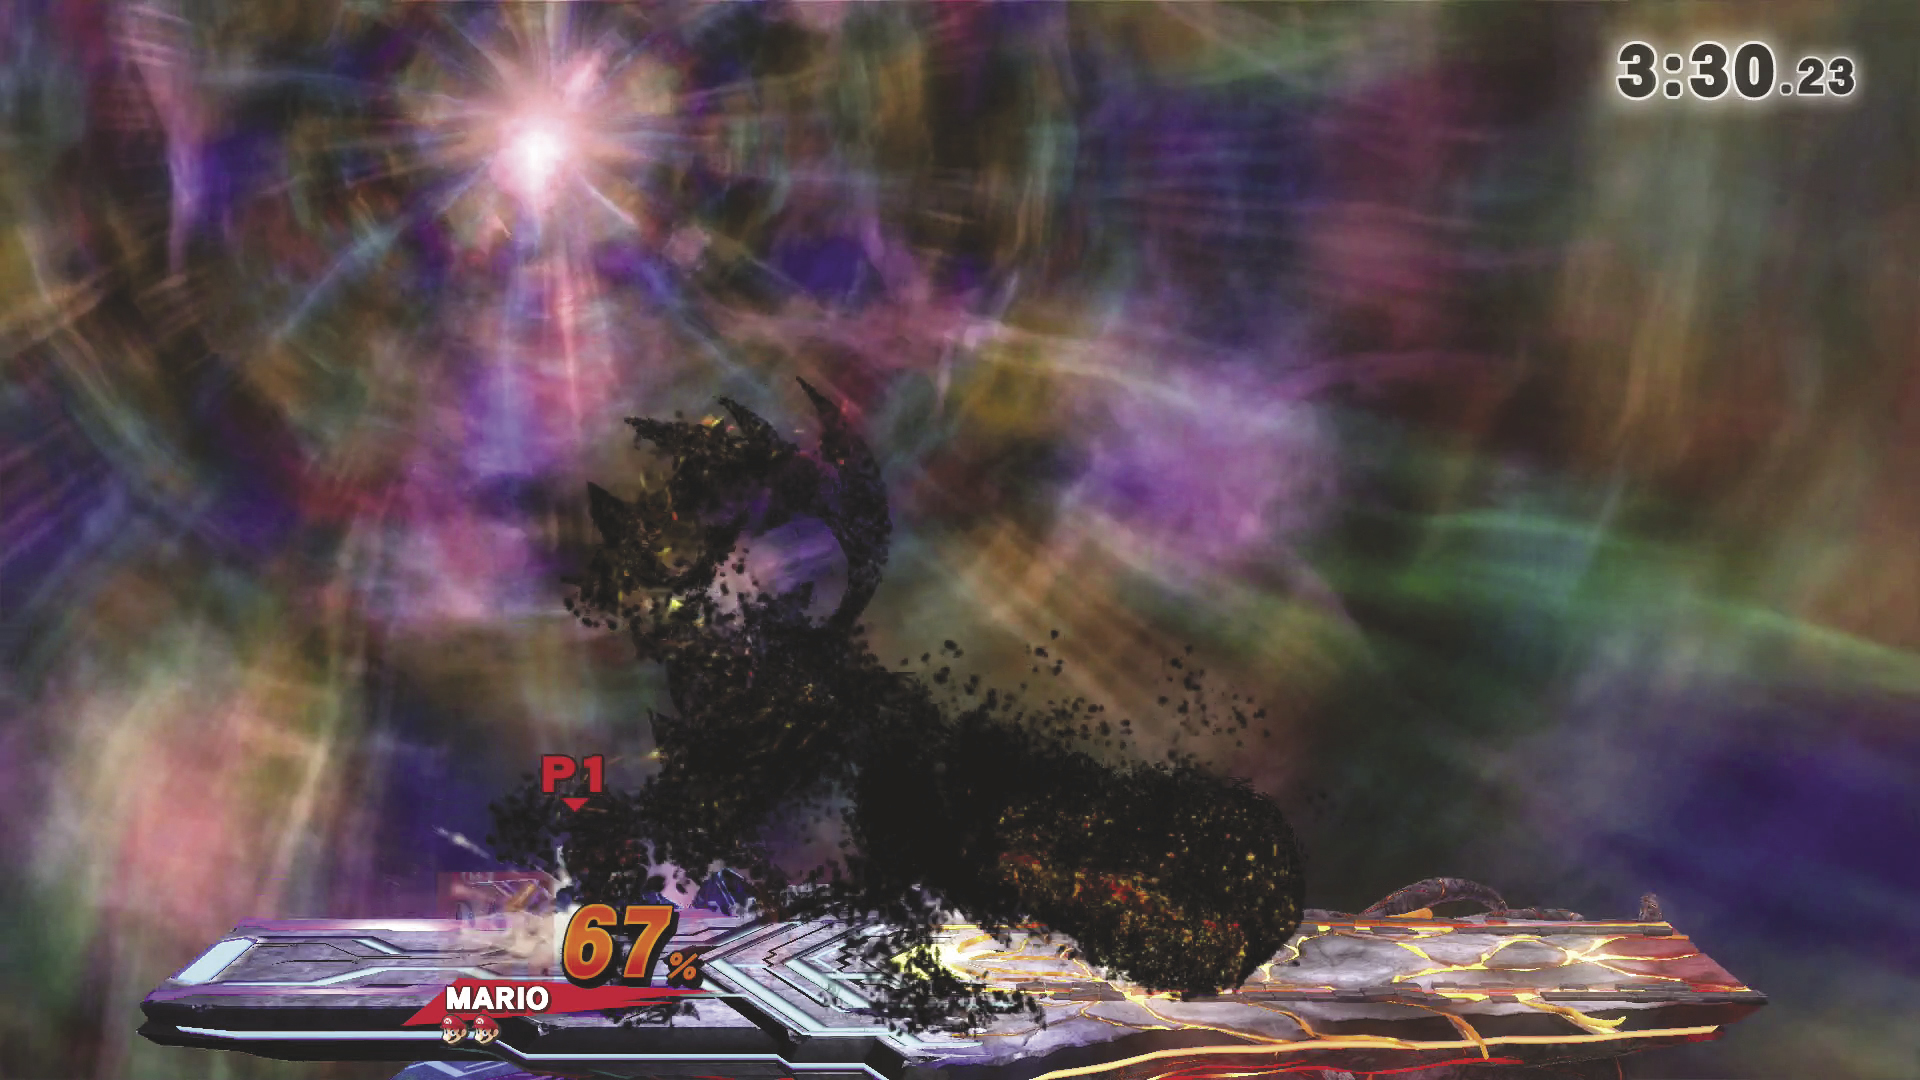
When the intensity level is set between 6.0 and 6.9, Master Core first appears in the form of Master Beast. At intensity levels of 7.0 and above, this monstrous form appears after you defeat Master Giant. Master Beast has a few distinct attacks. Once you learn to identify each of them, they’re fairly easy to avoid. After each of Master Beast’s attacks, you should have enough time to deal significant damage with a Smash attack or two.
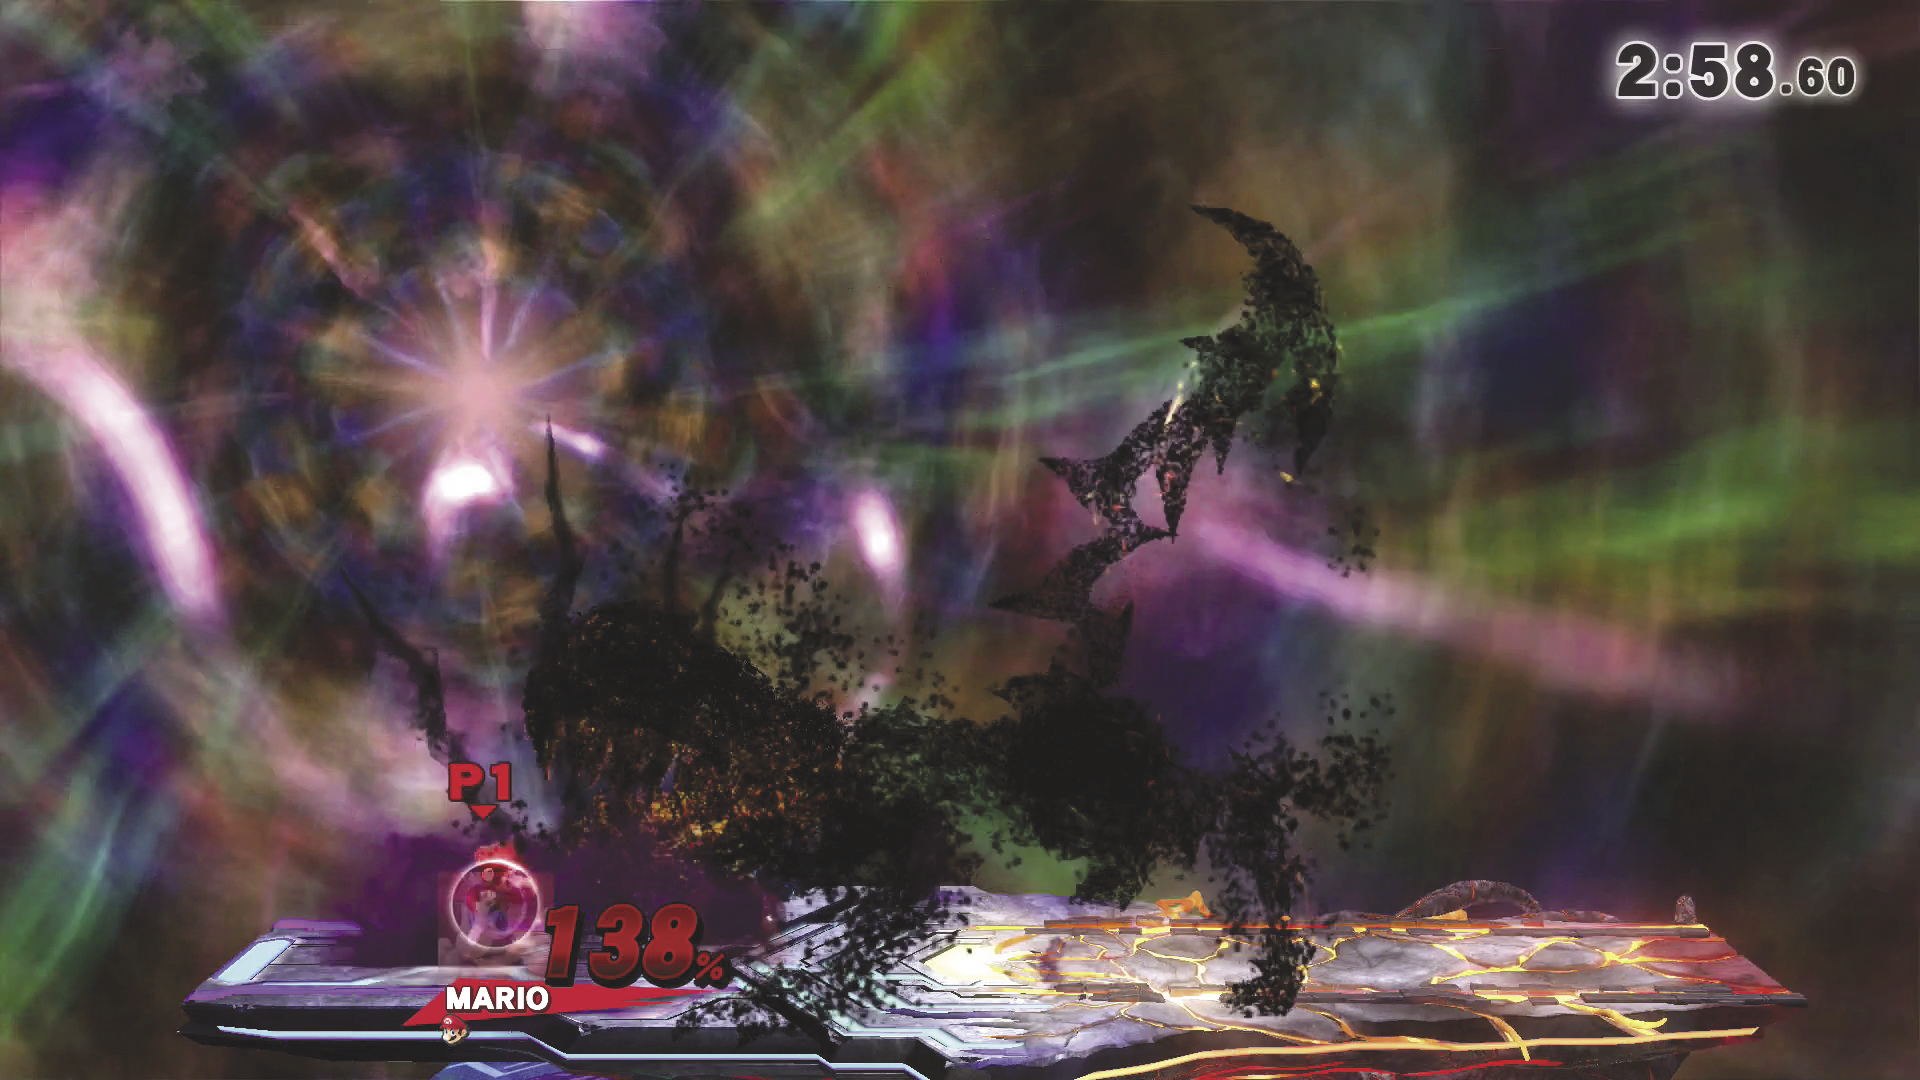
Soon after Master Beast sprouts spikes on its back, a trail of dark energy appears. When this trail reaches your position, spikes erupt from the platform. If you’re on the ground, activate your shield or dodge away from the spikes just before they emerge. If you’re caught in the air, use your recovery moves to land safely away from the spikes.
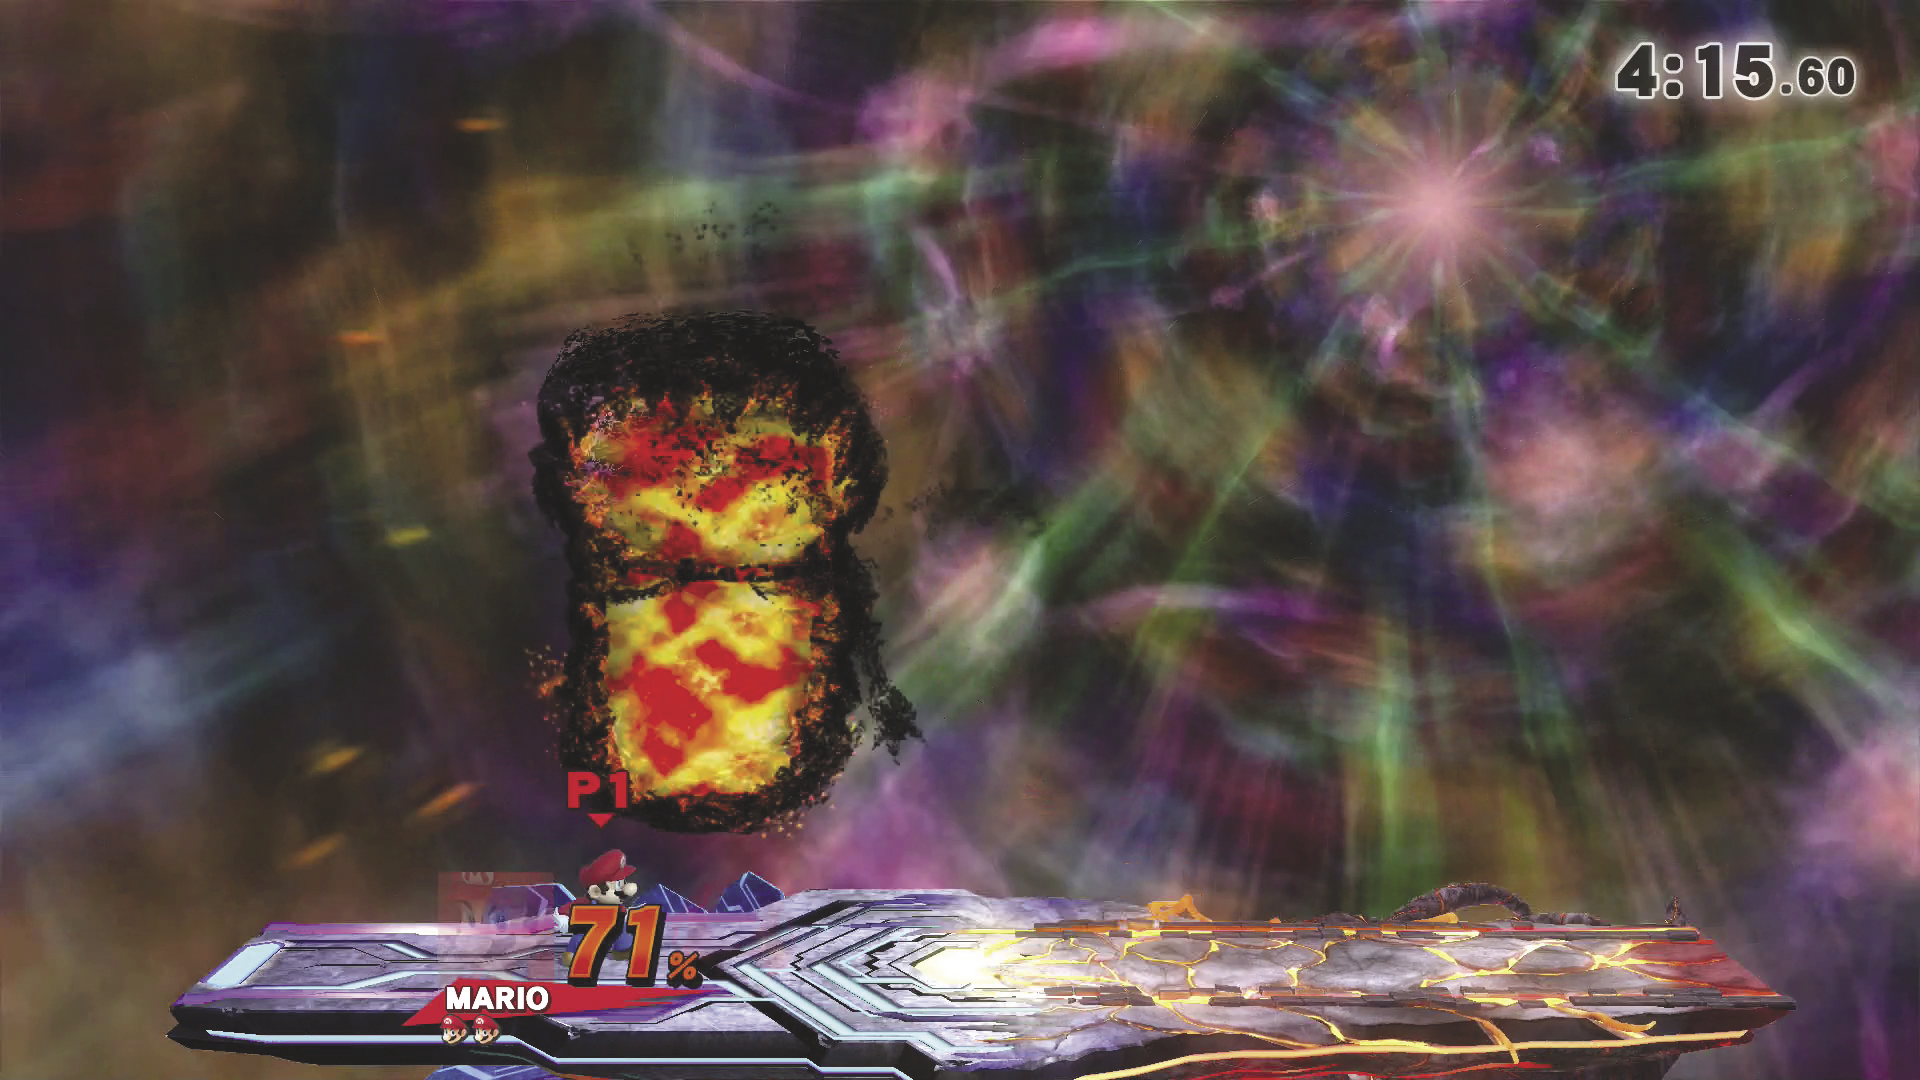
Each time Master Beast leaps into the background, it hooks back and snaps its jaws as it returns to the platform. Activate your shield or dodge away from the attack just before Master Beast reaches you.
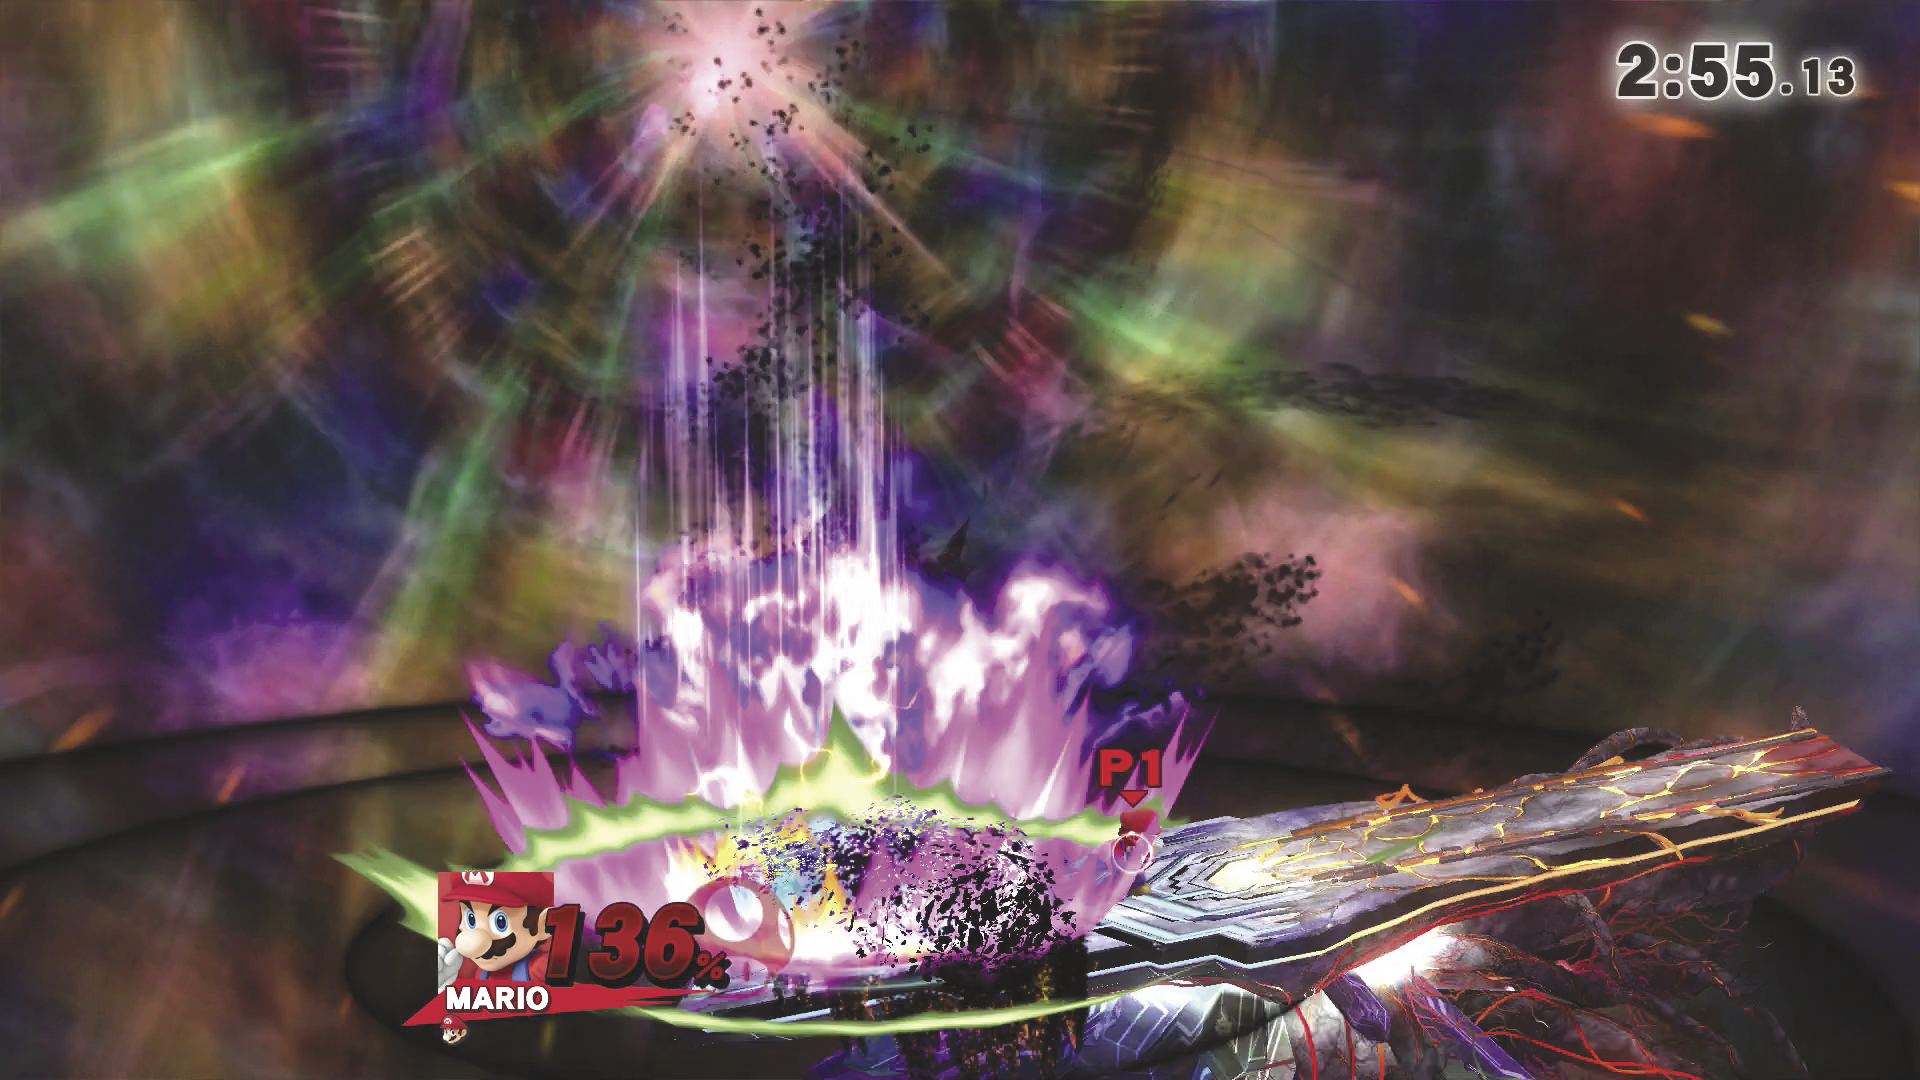
Sometimes Master Beast leaps straight into the air and comes crashing down with enough force to tilt the platform. If you are near the point of impact, activate your shield to avoid taking damage. If you manage to get clear of the initial hit, shield or jump to maintain control of your fighter as the platform tilts upward.
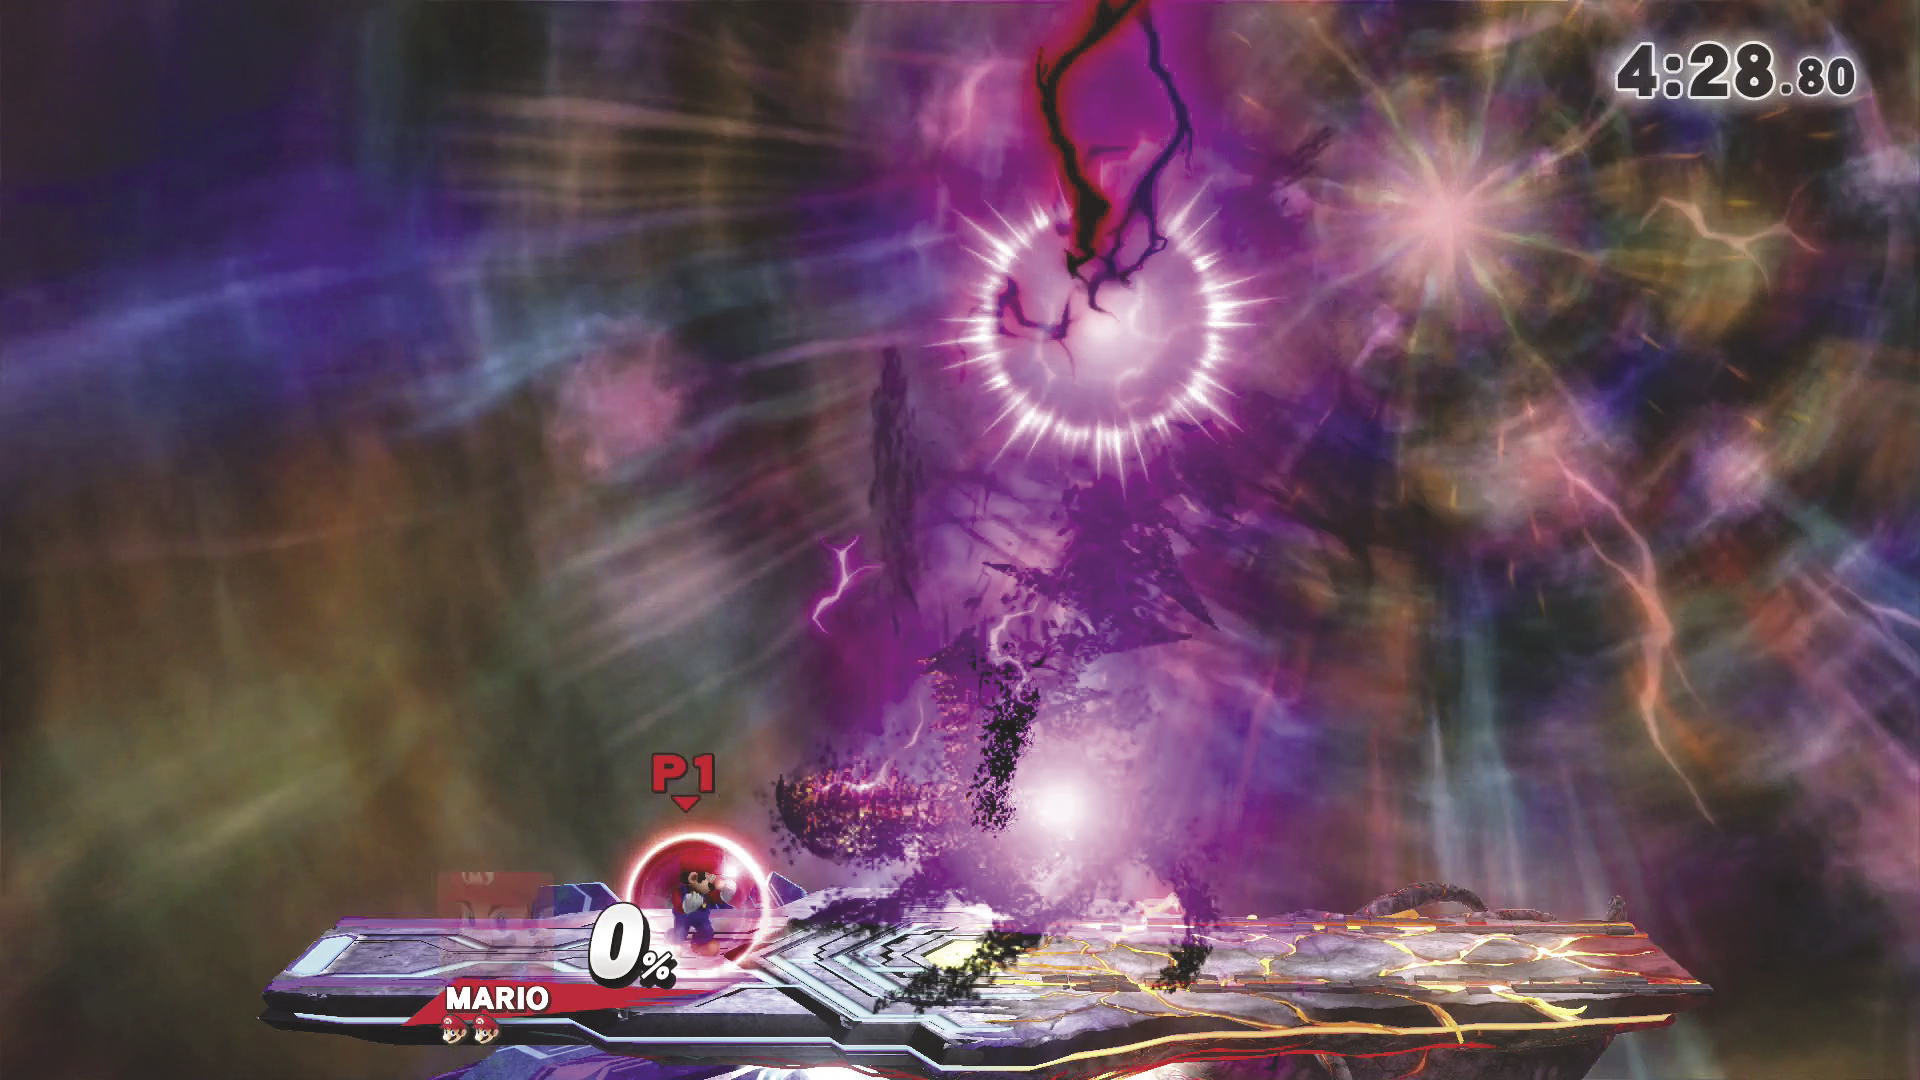
If Master Beast uses its tail to summon a bolt of dark energy, move away to avoid the impending eruption. If that’s not possible, activate your shield to avoid taking damage.
Master Edges
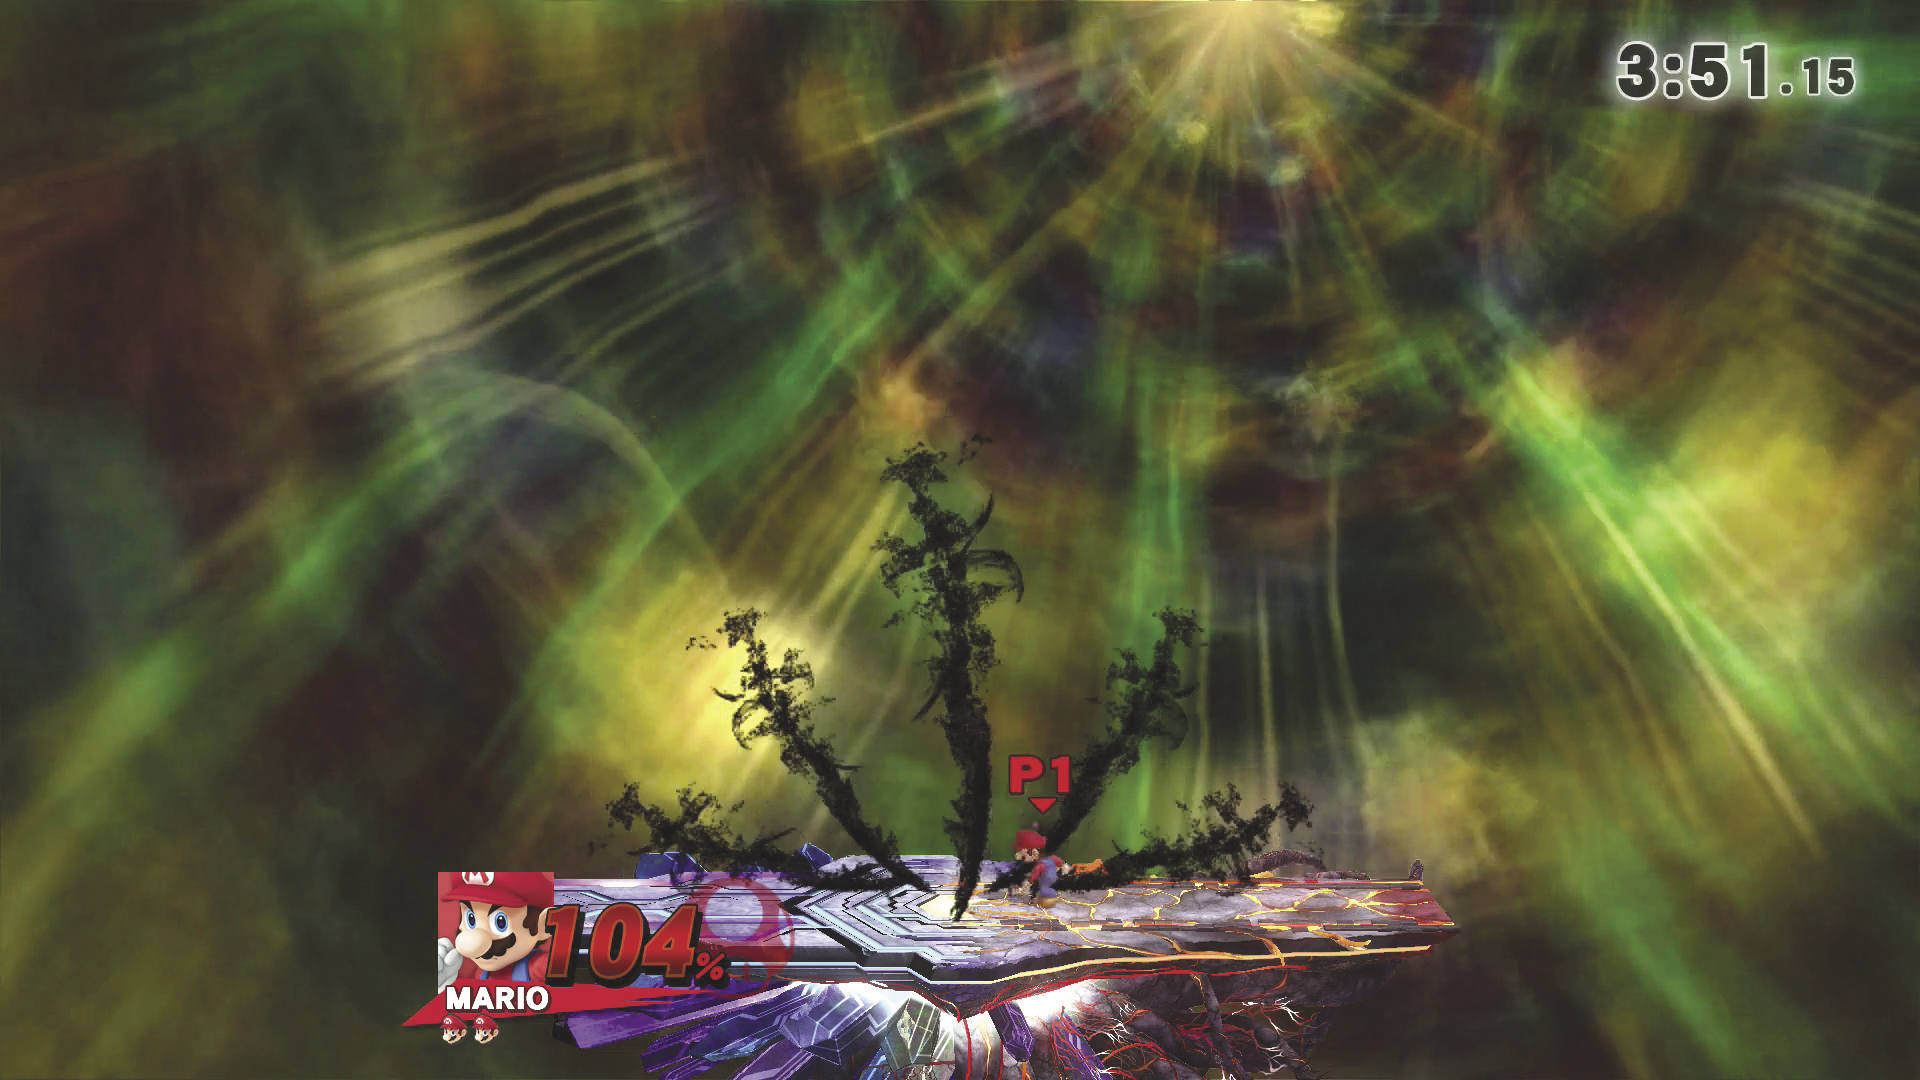
If your intensity is set between 5.1 and 5.9, Master Core first appears in the form of five shadowy blades known as Master Edges. At higher intensities, he changes to this form after you’ve dealt enough damage to his Master Beast. The Master Edges form can attack as individual swords or as a single cluster of blades. Additionally, this form summons dangerous orbs of dark energy. These floating blades often hover high above the platform, so be prepared to use aerial attacks. When Master Edges is within range, though, look for opportunities to use some of your fighter’s more powerful attacks.
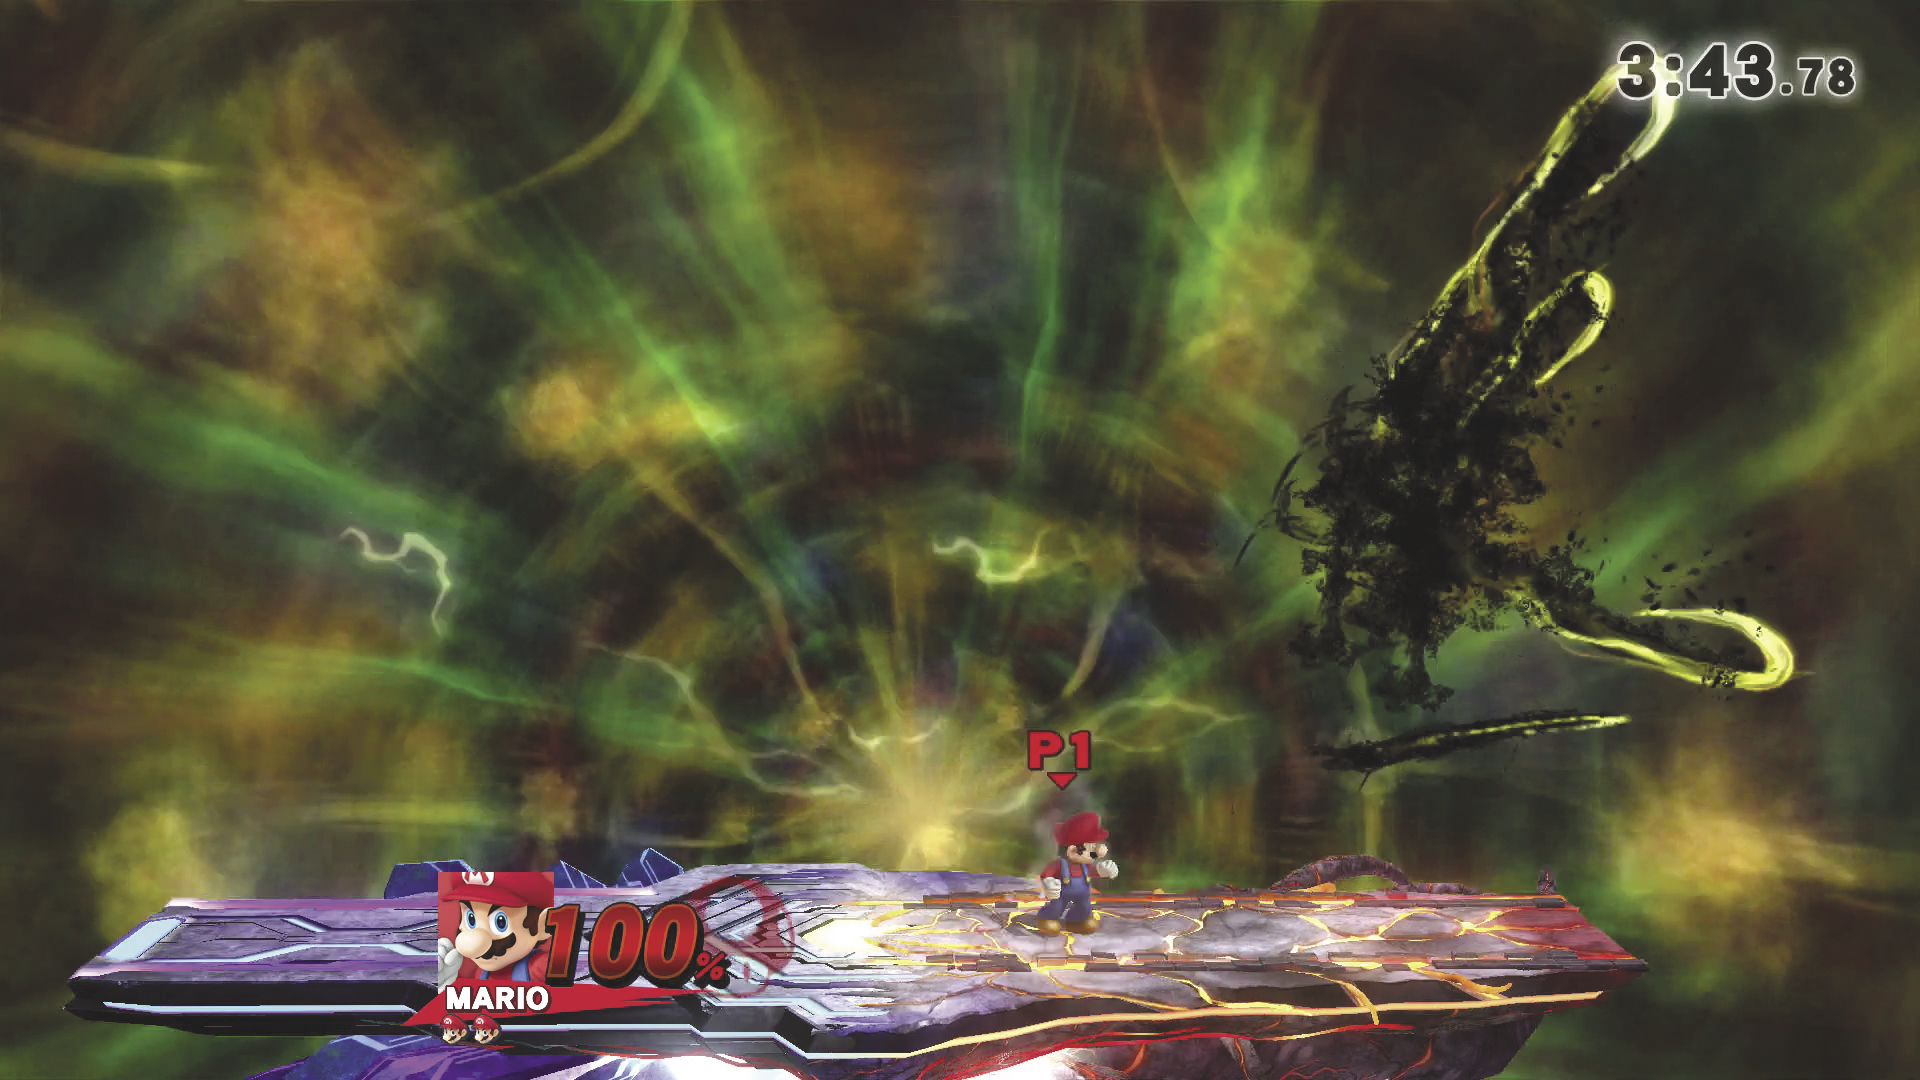
When facing Master Edges, look for the yellowish shimmer that appears along the blades just before each attack. If the blades shimmer while they’re tightly clustered and pointing upward, it means they’re about to release a flurry of strikes. This flurry has a fairly long range, so it’s often best to simply activate your shield just as the attack begins. Your shield should last until the pause after the initial flurry—deactivate your shield and dodge the final strike to avoid taking damage.
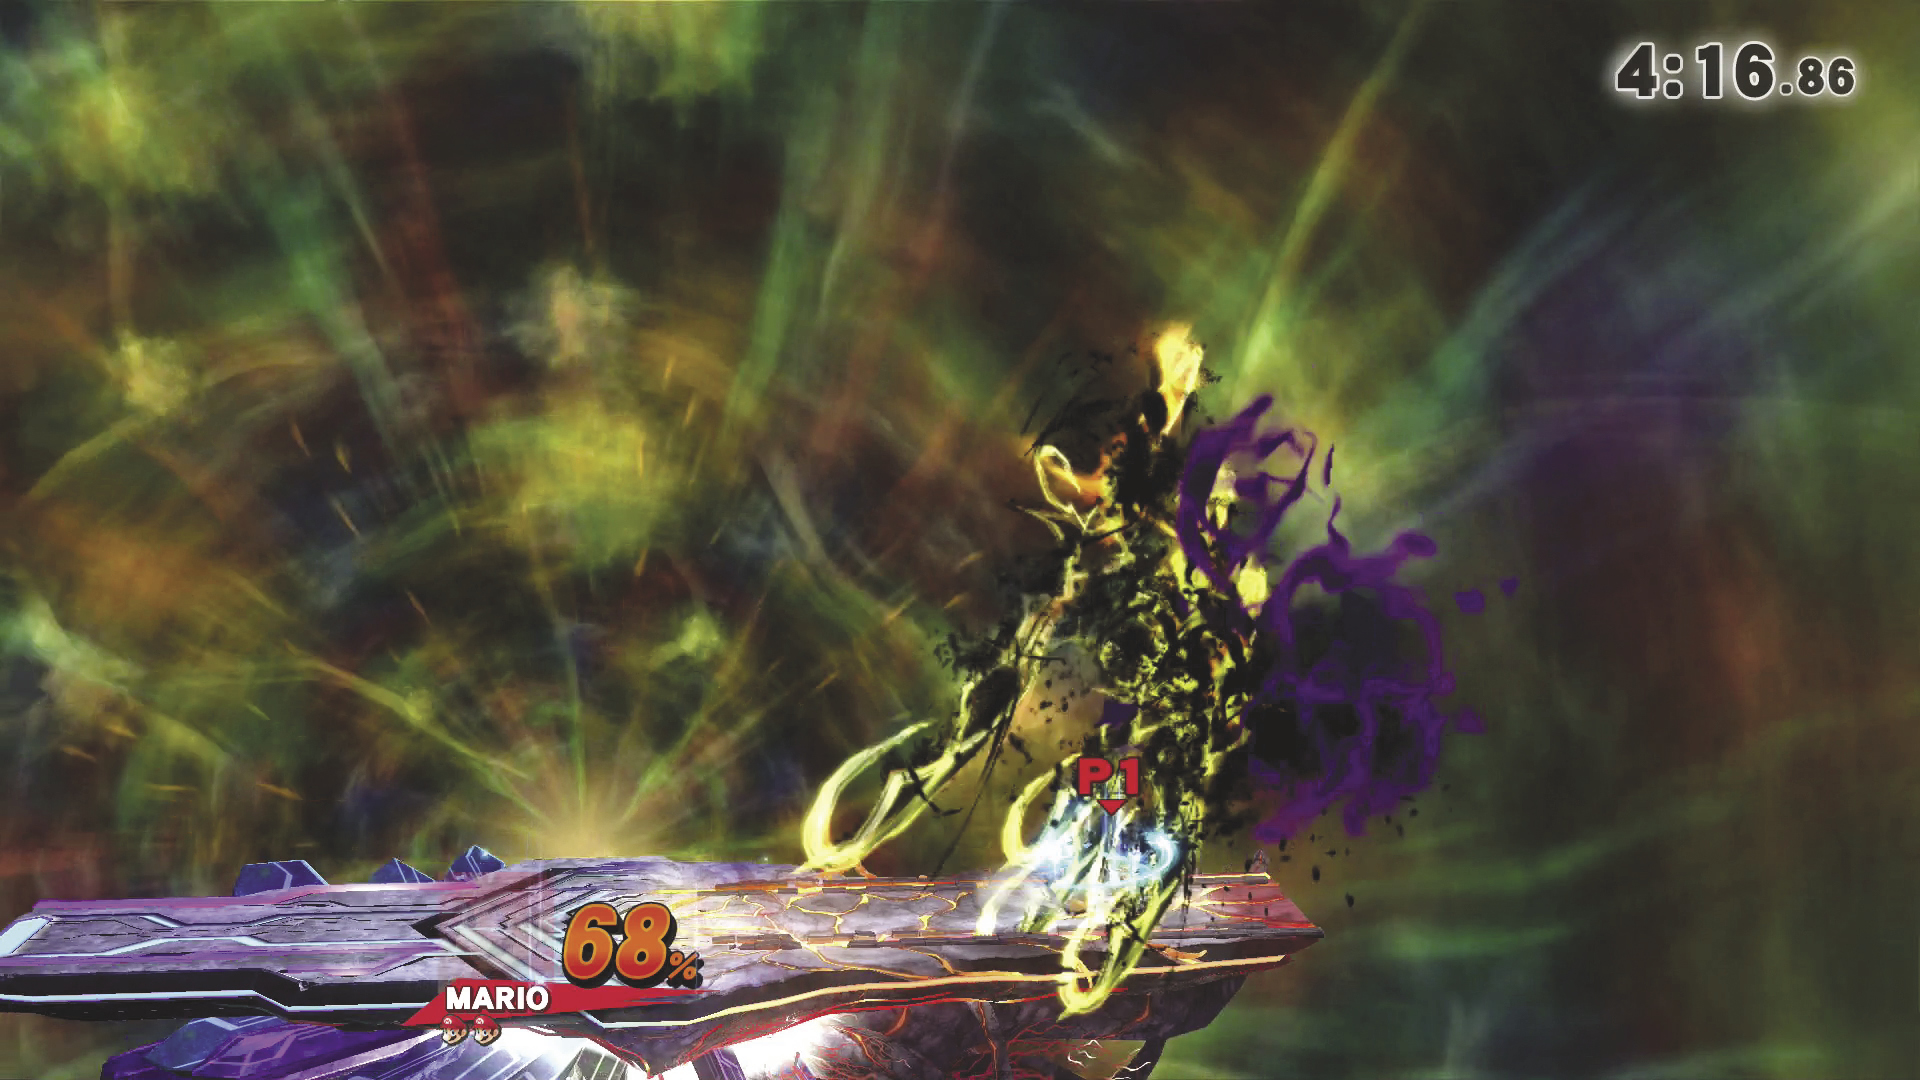
If the blades are pointing downward when they shimmer, it usually indicates some type of quick slash attack. Slashing attacks often produce orbs of dark energy. Use your shield to defend yourself from the initial strike, and then evade the orbs as they move through the area.
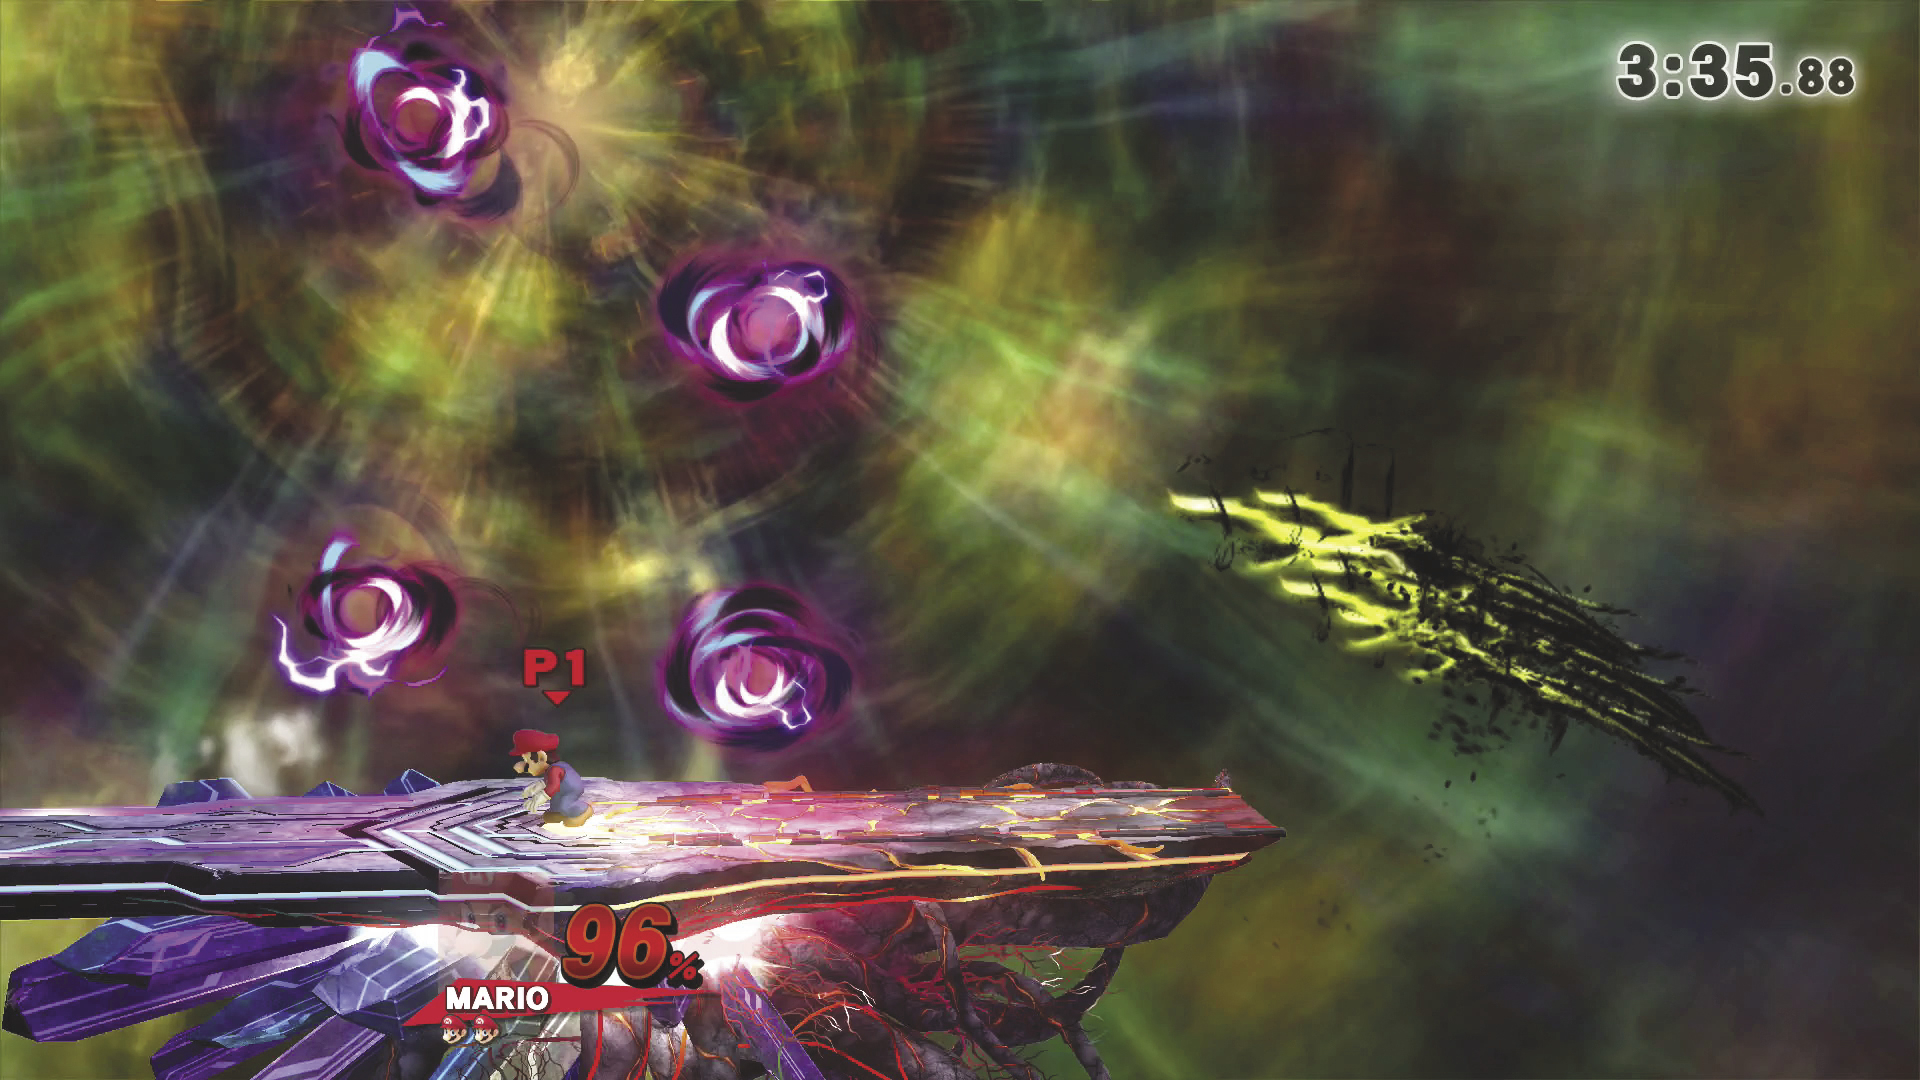
Smaller orbs move fairly slowly, but they’re very good at homing in on your position. This can make the orbs surprisingly difficult to avoid, so it’s important to time your jumps and dodges properly.
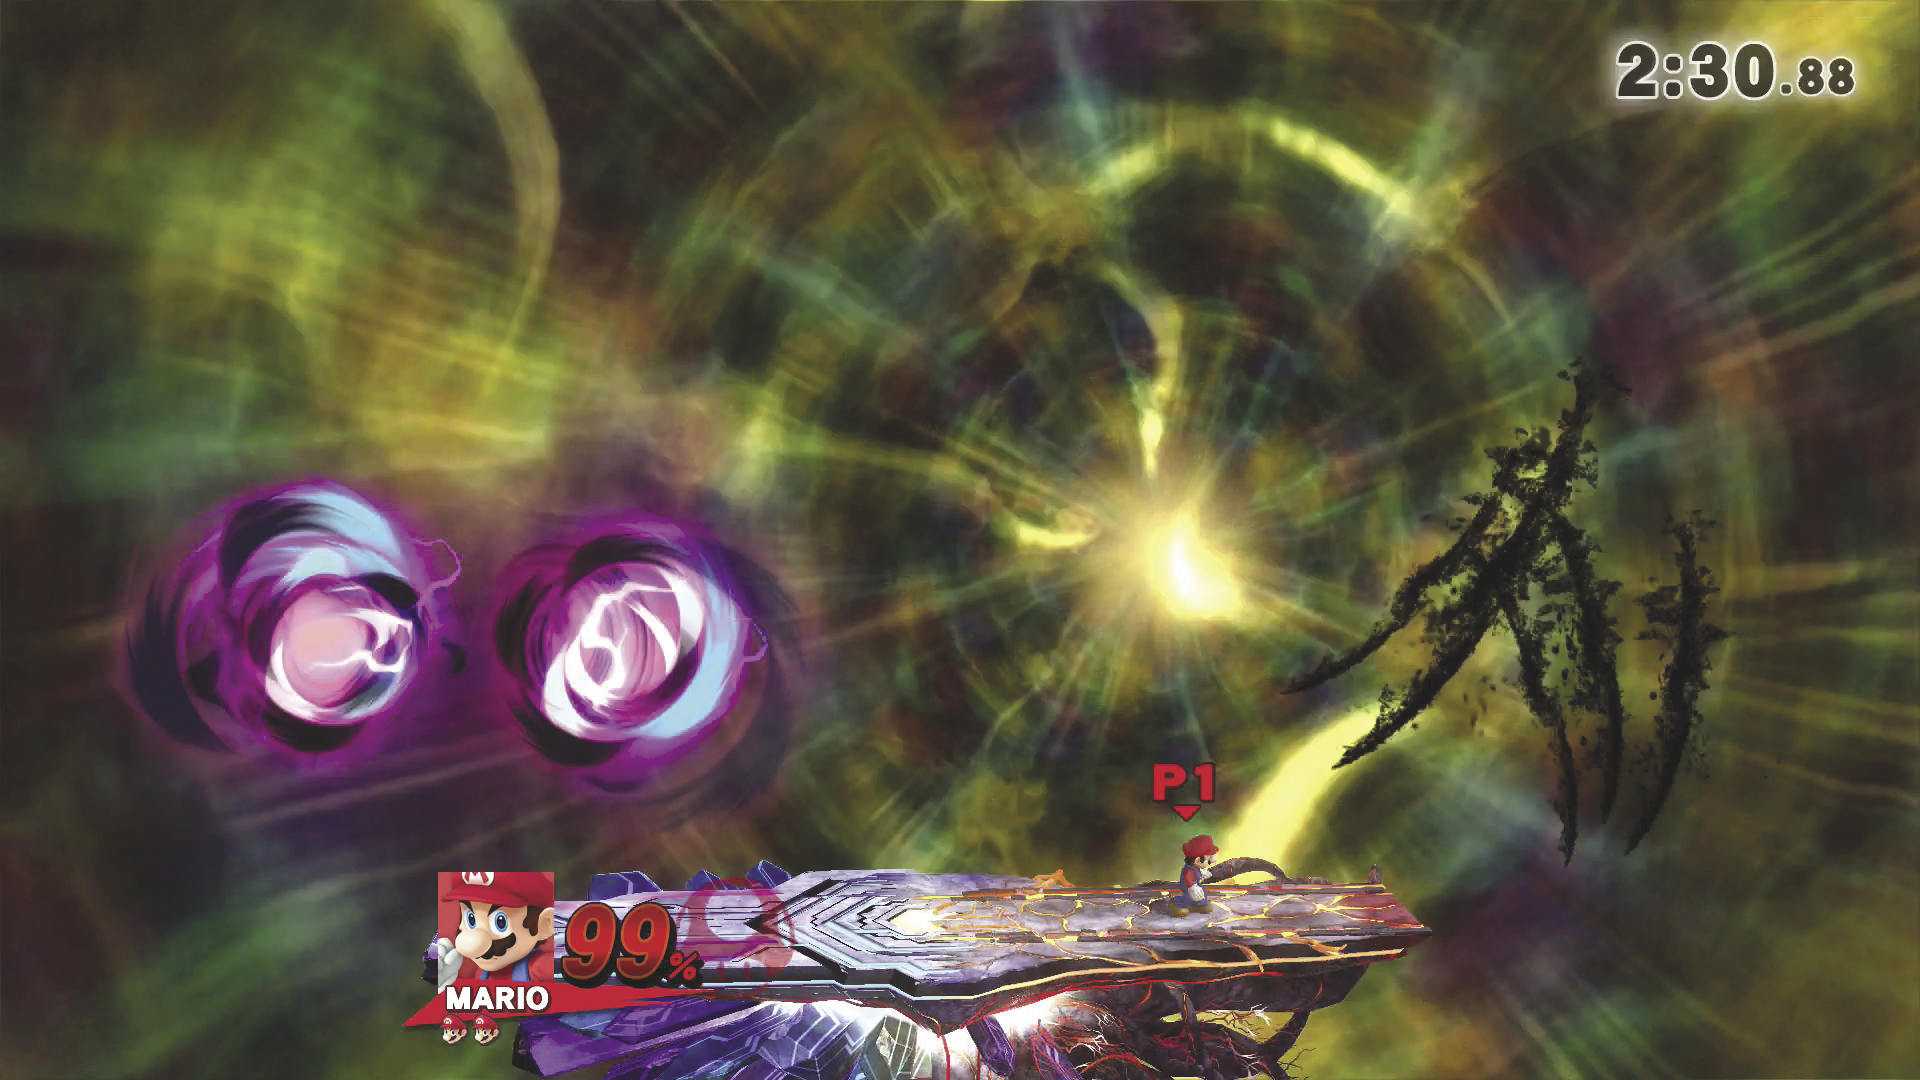
The larger orbs have limited homing ability, but they move considerably faster than their smaller counterparts. Their sheer size can also make it more difficult to slip around the larger orbs—so, be prepared to spot-dodge or activate your shield as needed.
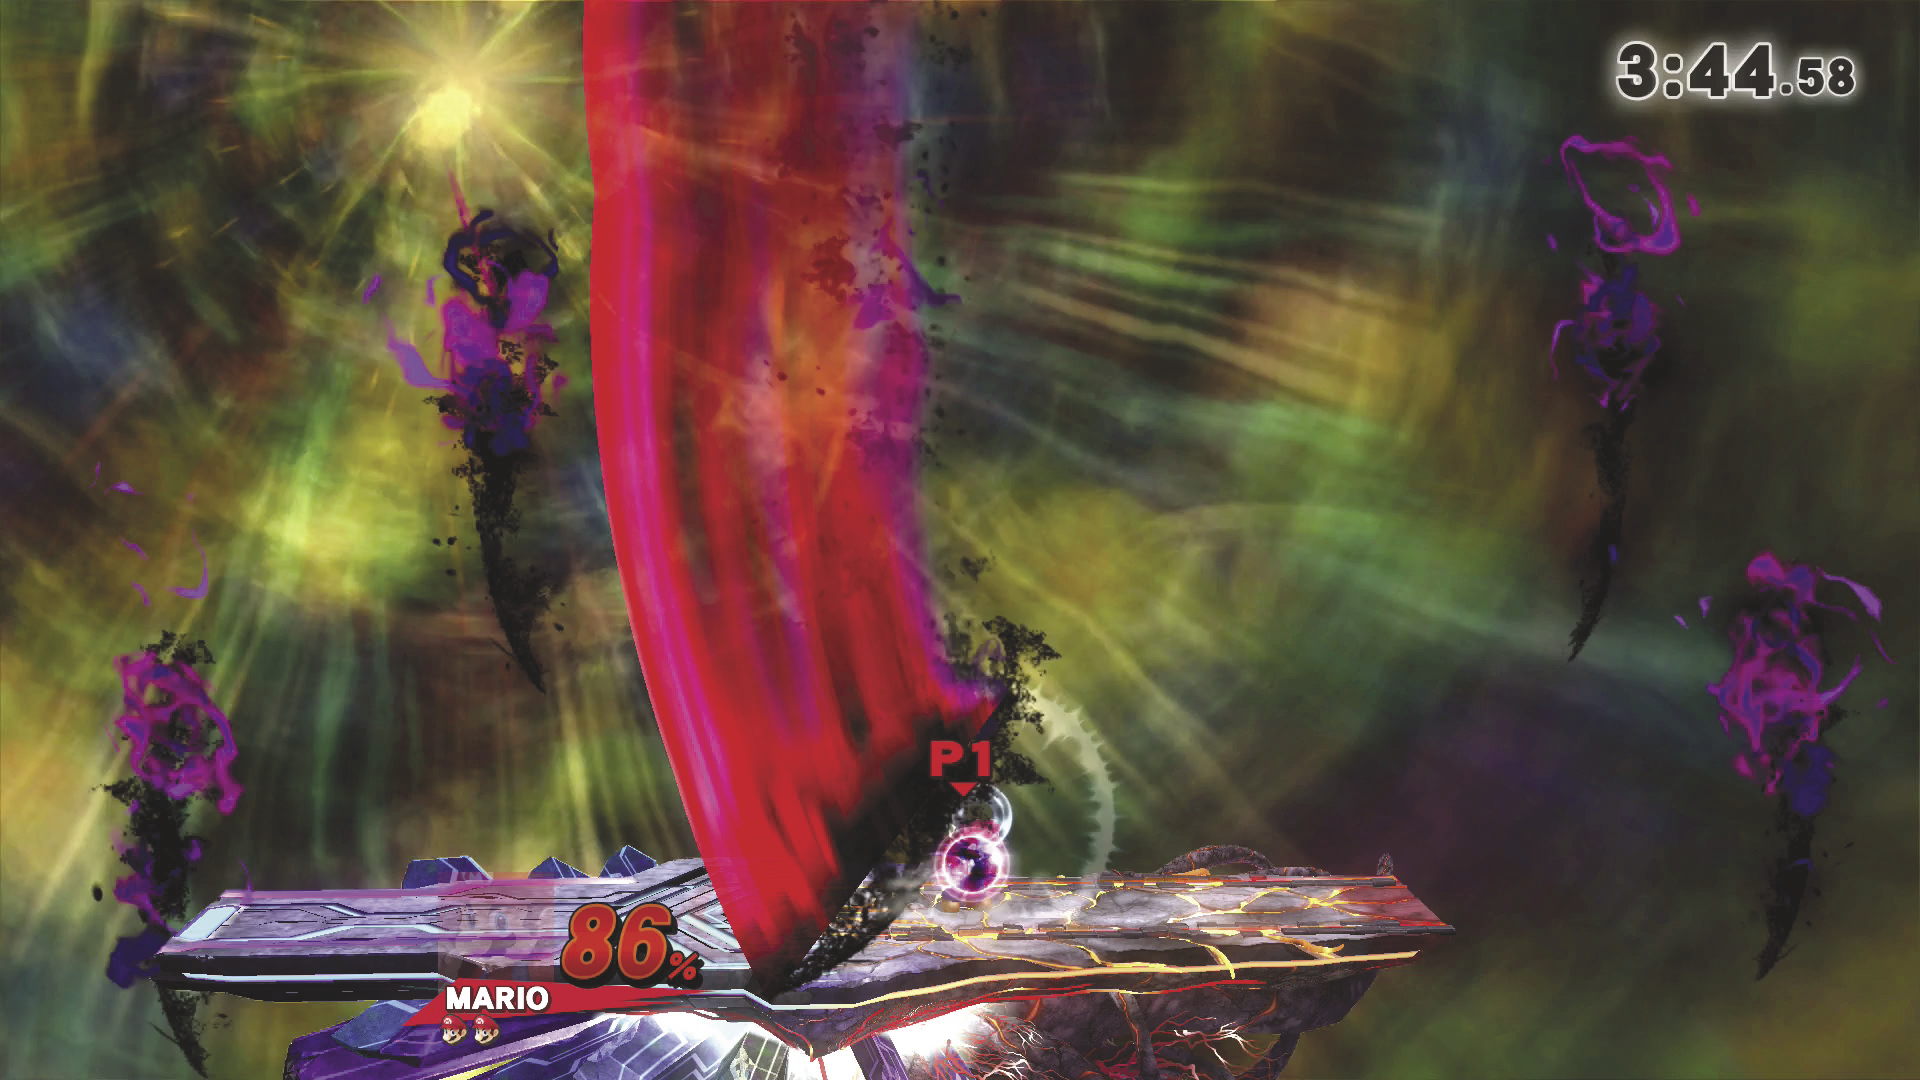
Occasionally, Master Edges’s blades separate in order to surround you. When this happens, move to the center of the platform and wait for the attack. Spot-dodge each of the smaller blades as they slash through the area. The attack ends when the large blade above you comes crashing down to the platform. Shield yourself from the impact or dodge away and hit the large blade with a Smash attack.
Master Shadow
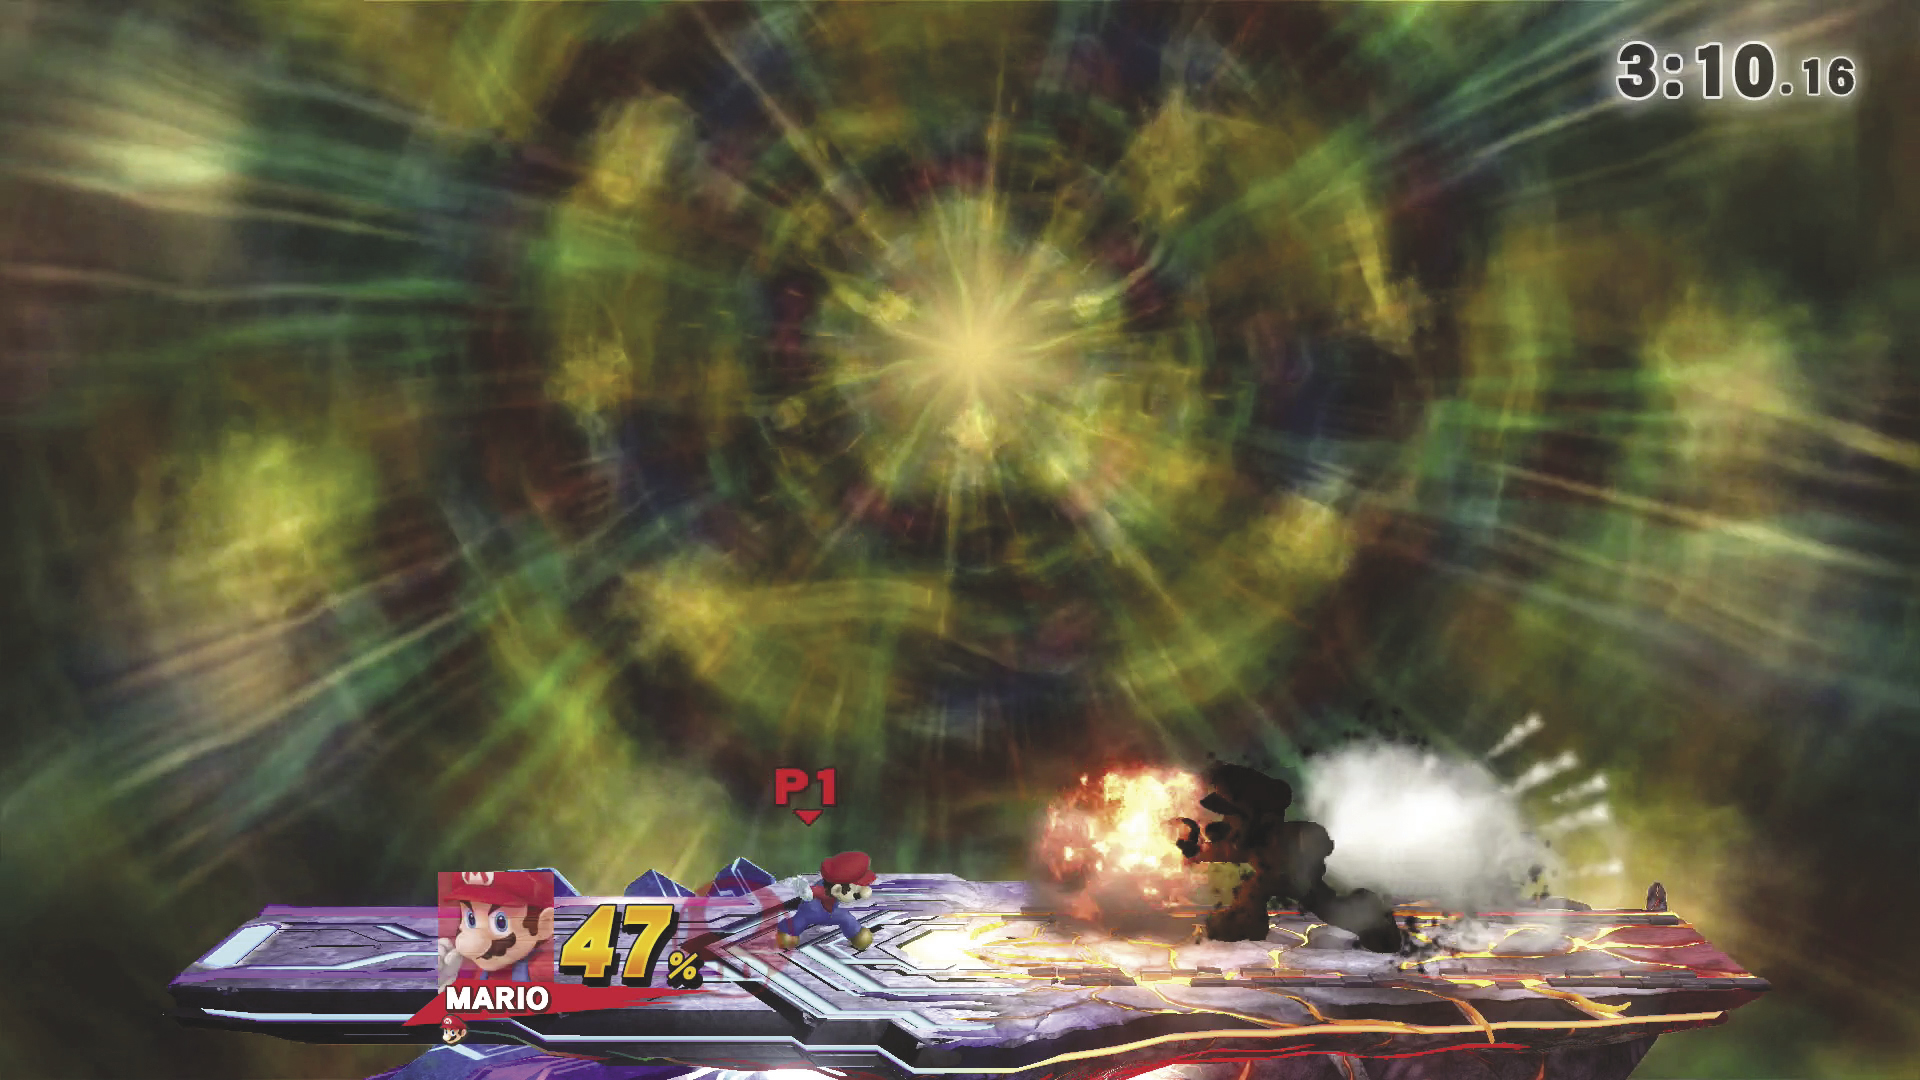
Whenever you face Master Core—regardless of your intensity level—he creates a shadowy version of your fighter once you’ve defeated Master Edges. This form is known as Master Shadow. Master Shadow possesses more powerful versions of your fighter’s abilities and equipment. This means its attacks do more damage than yours, and any equipment-based bonus effects are more potent than those granted to your fighter.
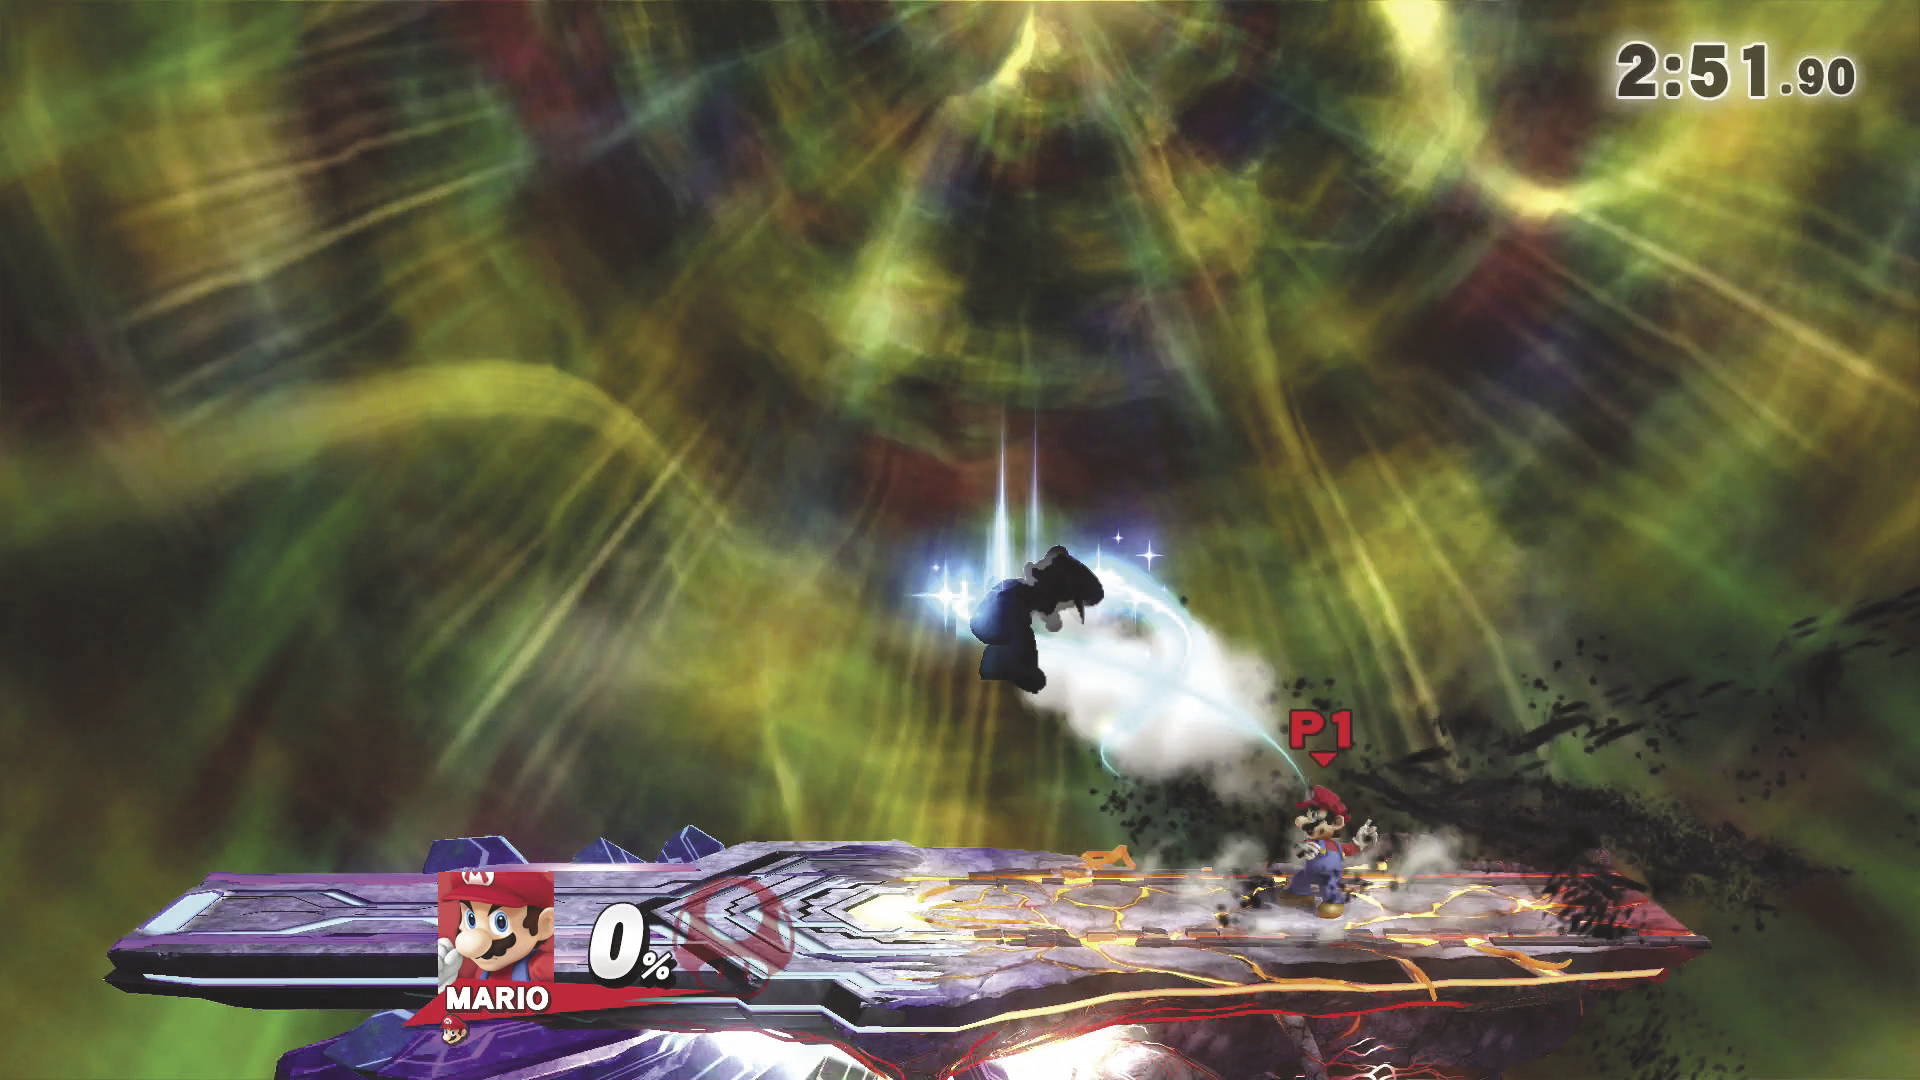
When Master Shadow is first revealed, your shadowy opponent is a considerably larger version of your fighter. Your successful attacks, however, will slowly cut your doppelgänger down to size. Remember that Master Shadow isn’t limited to offensive maneuvers—it can shield itself and dodge your attacks as well as any standard opponent. Use your more powerful attacks each time you see an opening, and use plenty of throws to break through Master Shadow’s defenses. Continue to deal damage until you destroy Master Shadow or until you’re able to launch your opponent out of the stage.
Master Fortress
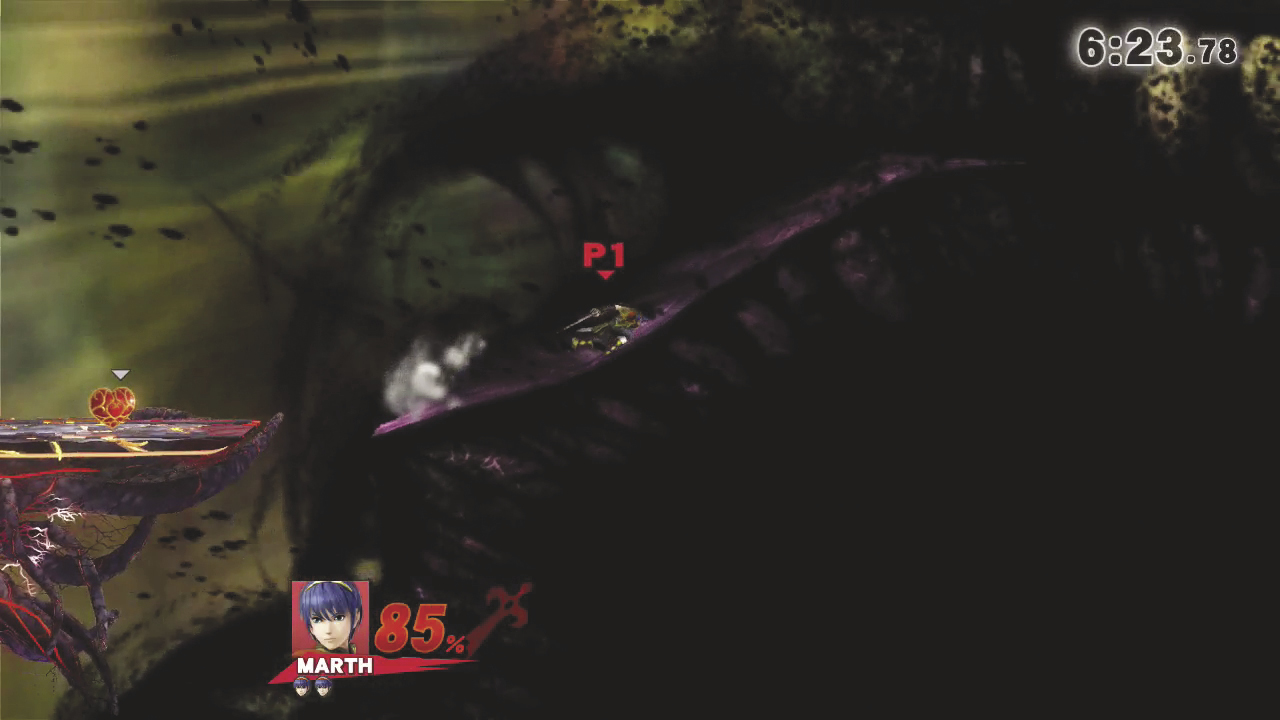
At an intensity level of 8.0 and above, Master Fortress appears after you defeat Master Shadow. To defeat Master Fortress, you must find and destroy four glowing cores hidden within the shadowy structure. When Master Fortress appears, you’re given a Heart Container, and a little extra time is added to the clock. Unless your damage is above 100%, it’s usually best to leave the Heart Container until you’ve destroyed at least one of Master Fortress’s cores. Monitor your health and claim the Heart Container whenever you need it.
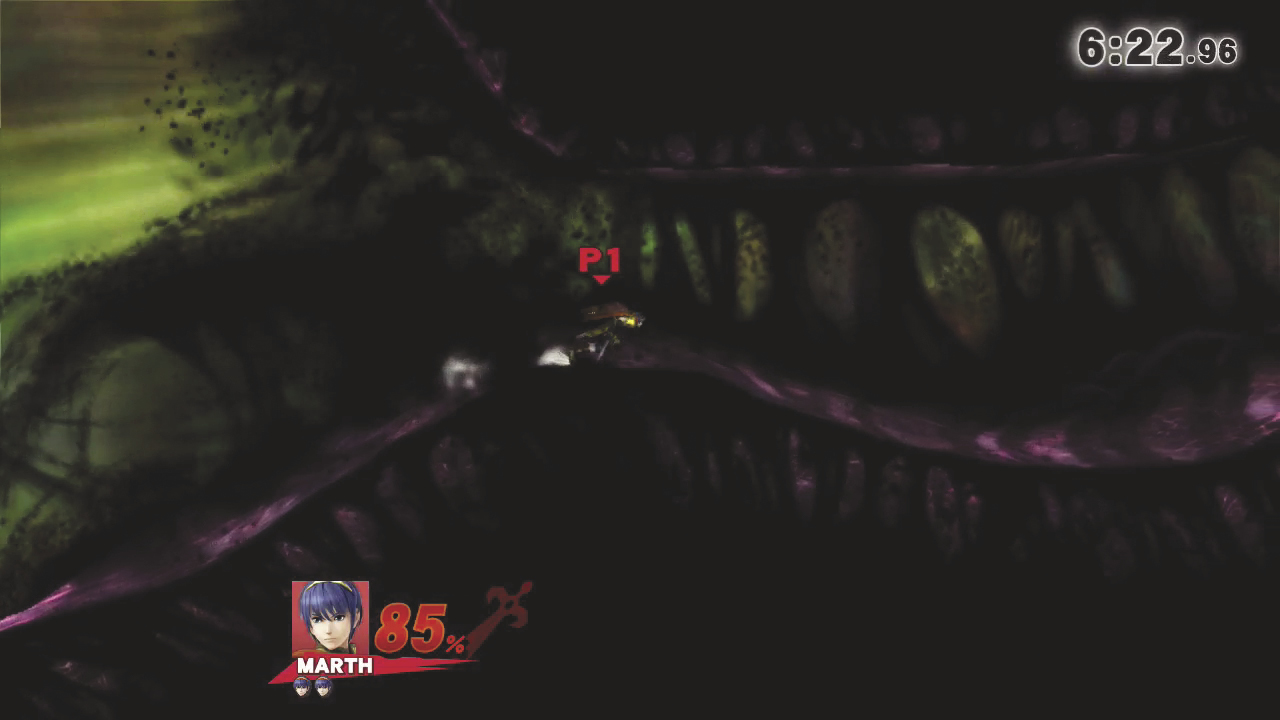
When Master Fortress first appears, there’s only one path inside. Follow this path to find the first core within a small enclosure. A new path appears each time you destroy a core. Pay attention to your surroundings to ensure you can identify newly accessible areas.
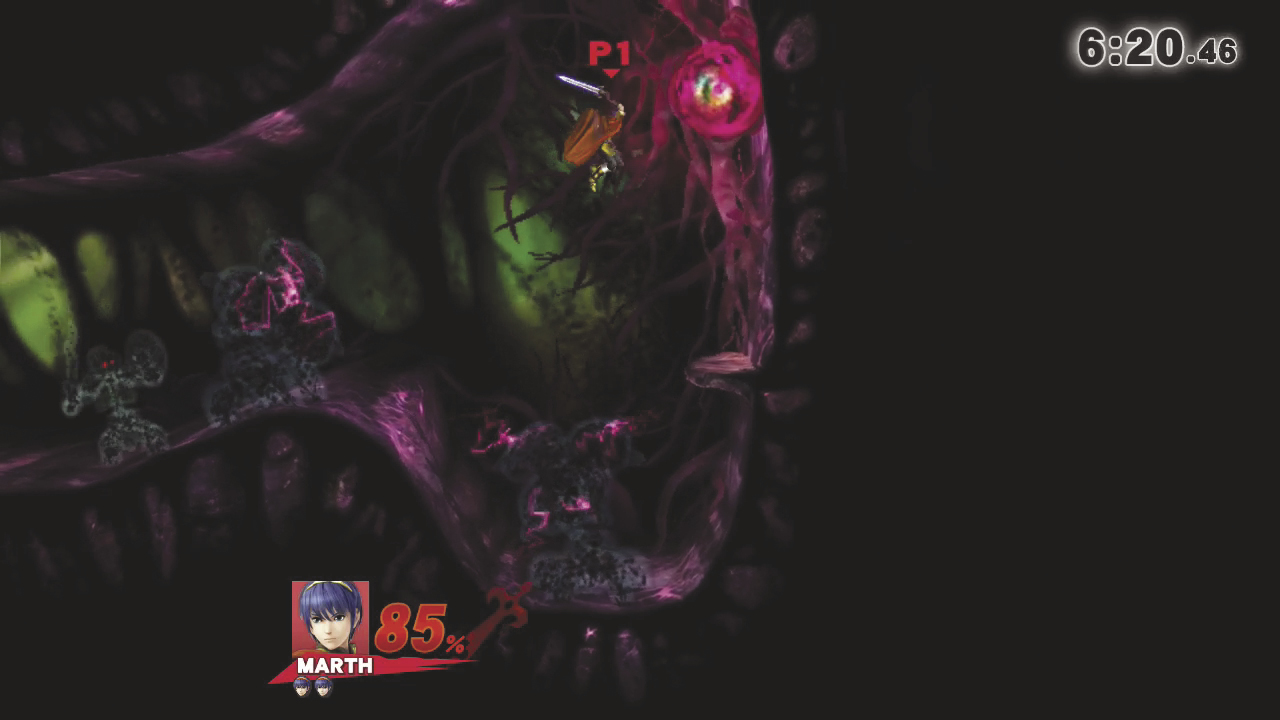
Master Fortress is filled with shadowy enemies intent on impeding your progress. When and if you should engage each enemy depends on your chosen fighter’s abilities and equipment and how quickly you aim to complete your playthrough. Learn to identify each of the shadowy enemies to ensure that you can deal with them as needed:
- The flower-like turrets should usually be your highest priority. Attack them quickly to interrupt their beam attacks then finish them off as quickly as possible.
- The shadowy flame-like enemies have a variety of dangerous attacks, so it’s often best to deal with them quickly. If possible, use projectile attacks or long-range vertical attacks to stay out of danger as you finish them off.
- The shadowy skeletons use shields to block your attacks. Grab and throw these enemies then attack them before they can recover.
- The wall-crawling enemies aren’t particularly tough. Simply attack them until they’re defeated.
Remember to dodge and shield as needed, and consider dashing past enemies that don’t pose an immediate threat.
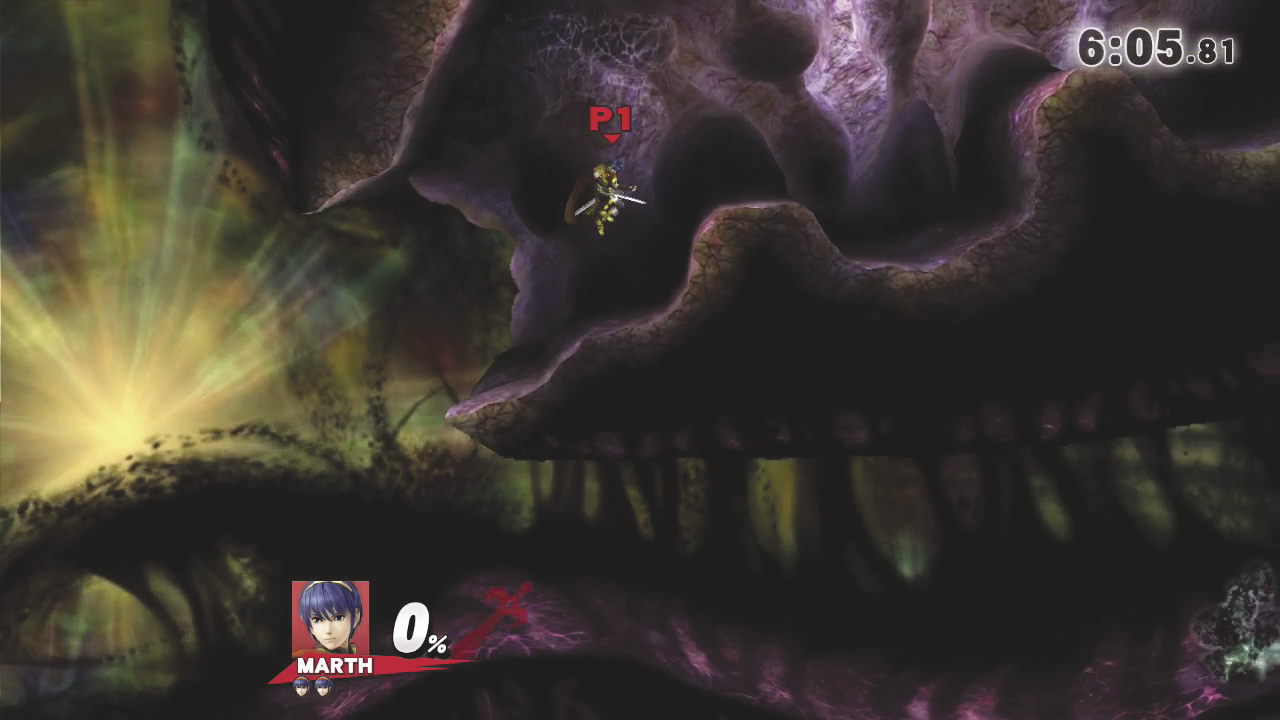
After you destroy the first core, leave the enclosure to find a new path above the original entrance. Defeat or avoid patrolling enemies as you follow the path to the second core.
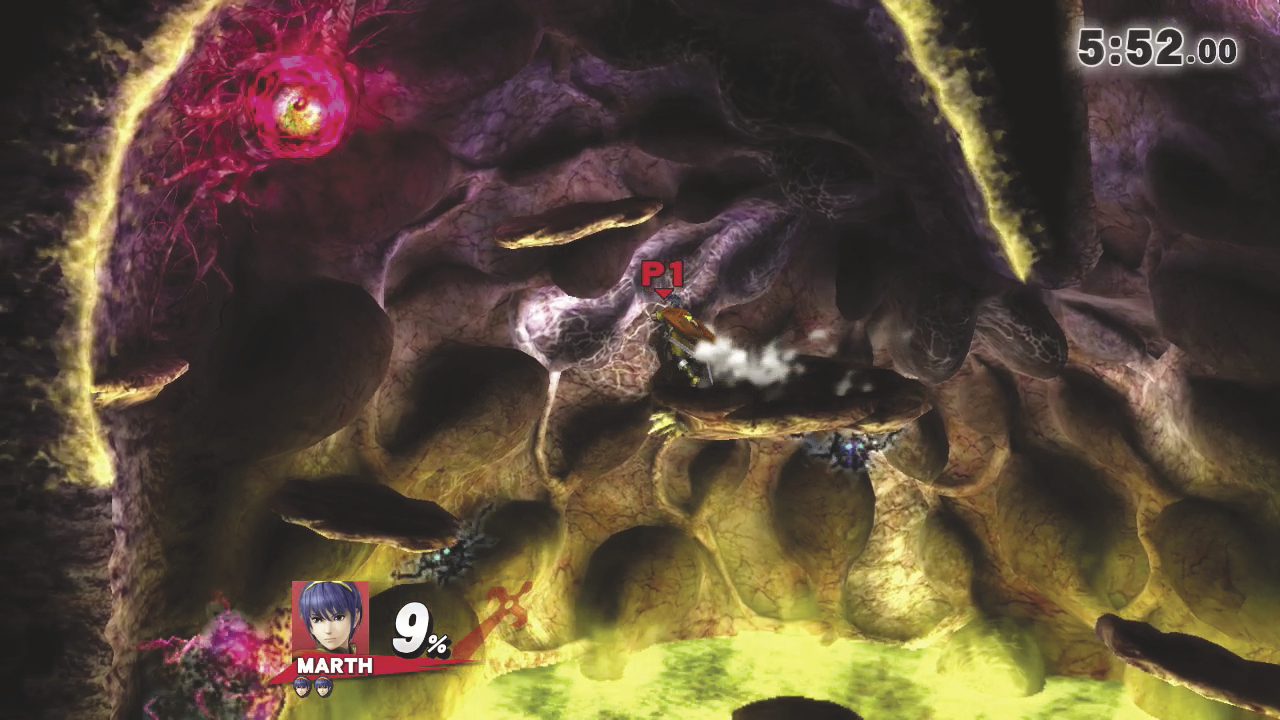
Take care to avoid all of the glowing yellow areas scattered throughout Master Fortress. Touching one of these areas causes heavy damage to you. If your damage is above 125%, touching one of the glowing areas will result in an instant KO. After you destroy the second core, you’re automatically ejected from Master Fortress.
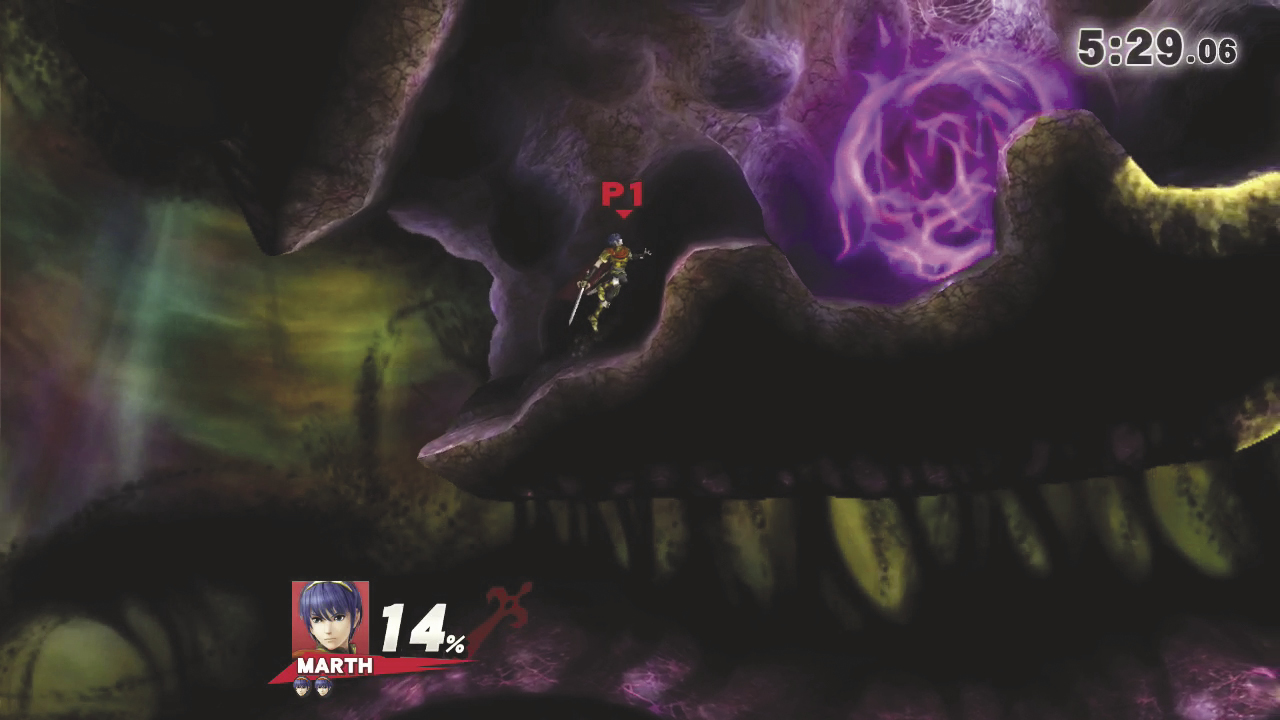
Hop back over to Master Fortress and follow the upper path through the area.
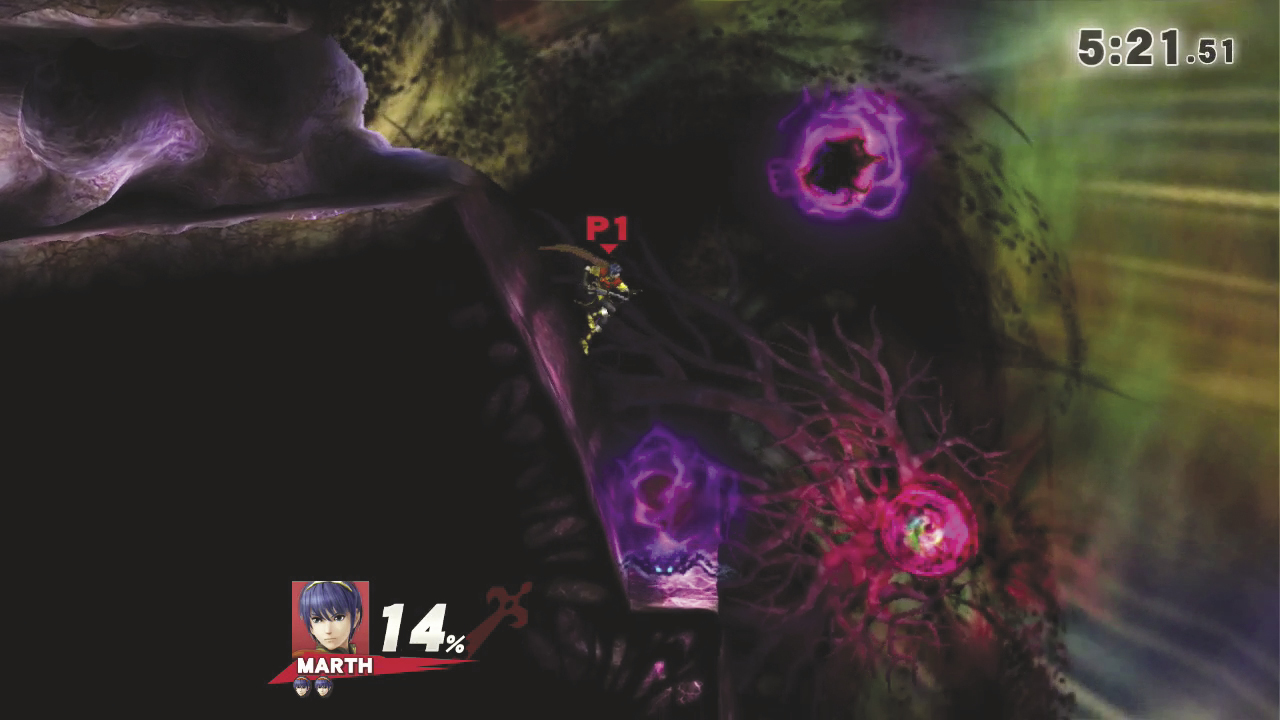
The third core is floating just off the far edge of Master Fortress. If possible, use projectile attacks to destroy the core from the nearby ledge. Otherwise, use aerial attacks to destroy the core—just make sure you return to the nearby ledge after each blow. Once you’ve destroyed the third core, a large shadow moves through the area. Turn back and jump up to the newly revealed ledge to the left.
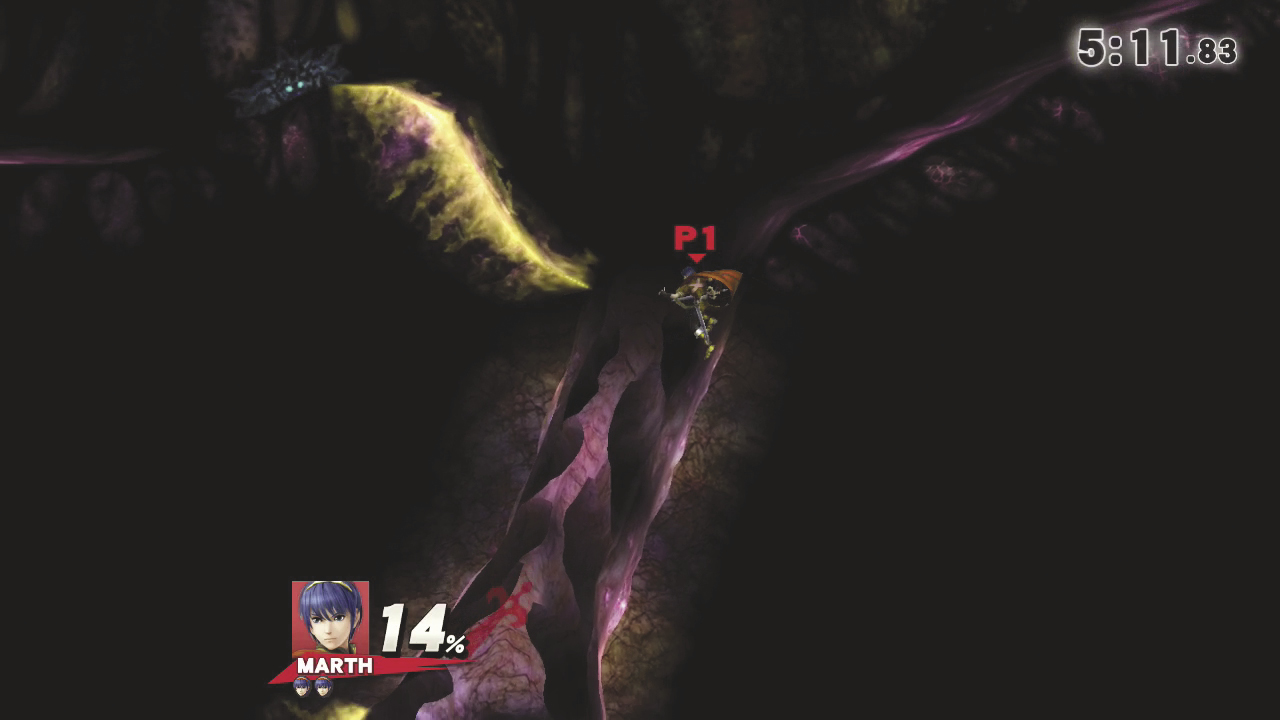
Follow the path to the left and drop down into the newly accessible area. Be careful, though! This path contains massive amounts of glowing yellow areas, so it’s important to land on one of the available platforms.
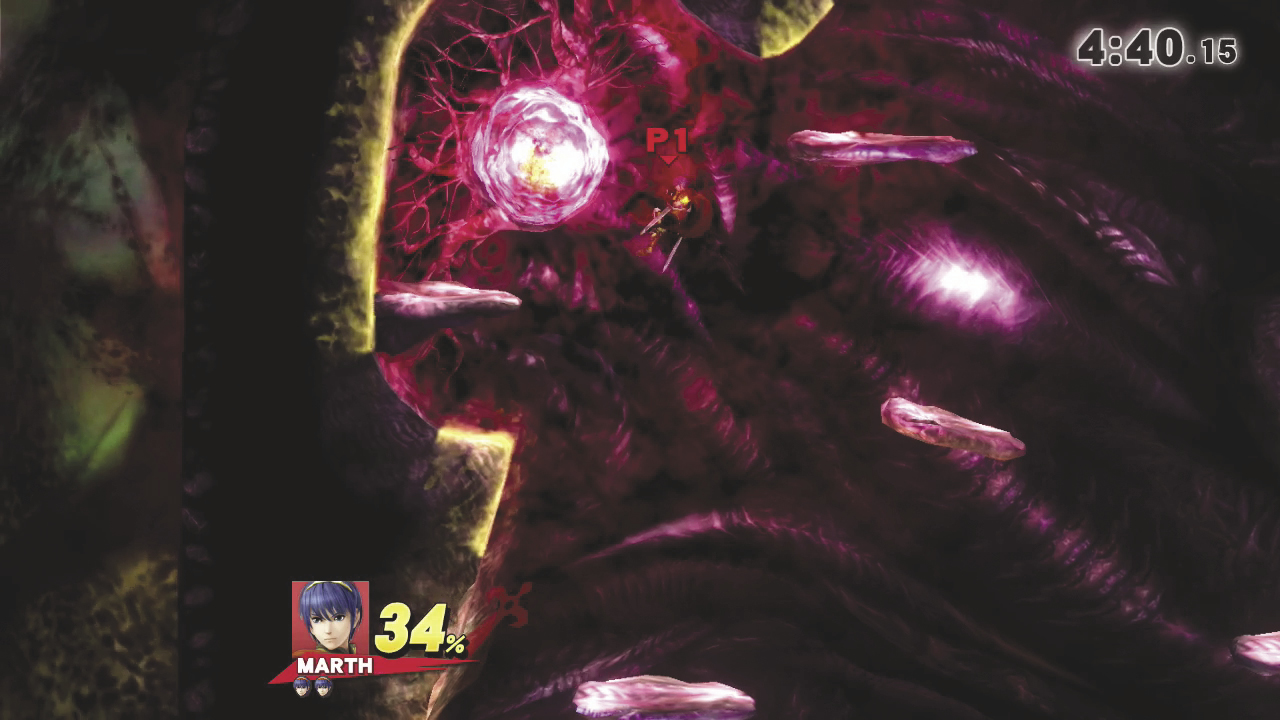
Follow the path as it twists its way to the fourth and final core. You’ll find plenty of enemies in this area, and incoming attacks are likely to knock you right into a nearby glowing hazard. Clear out the enemies then jump up to the last remaining core and destroy it.
Master Core
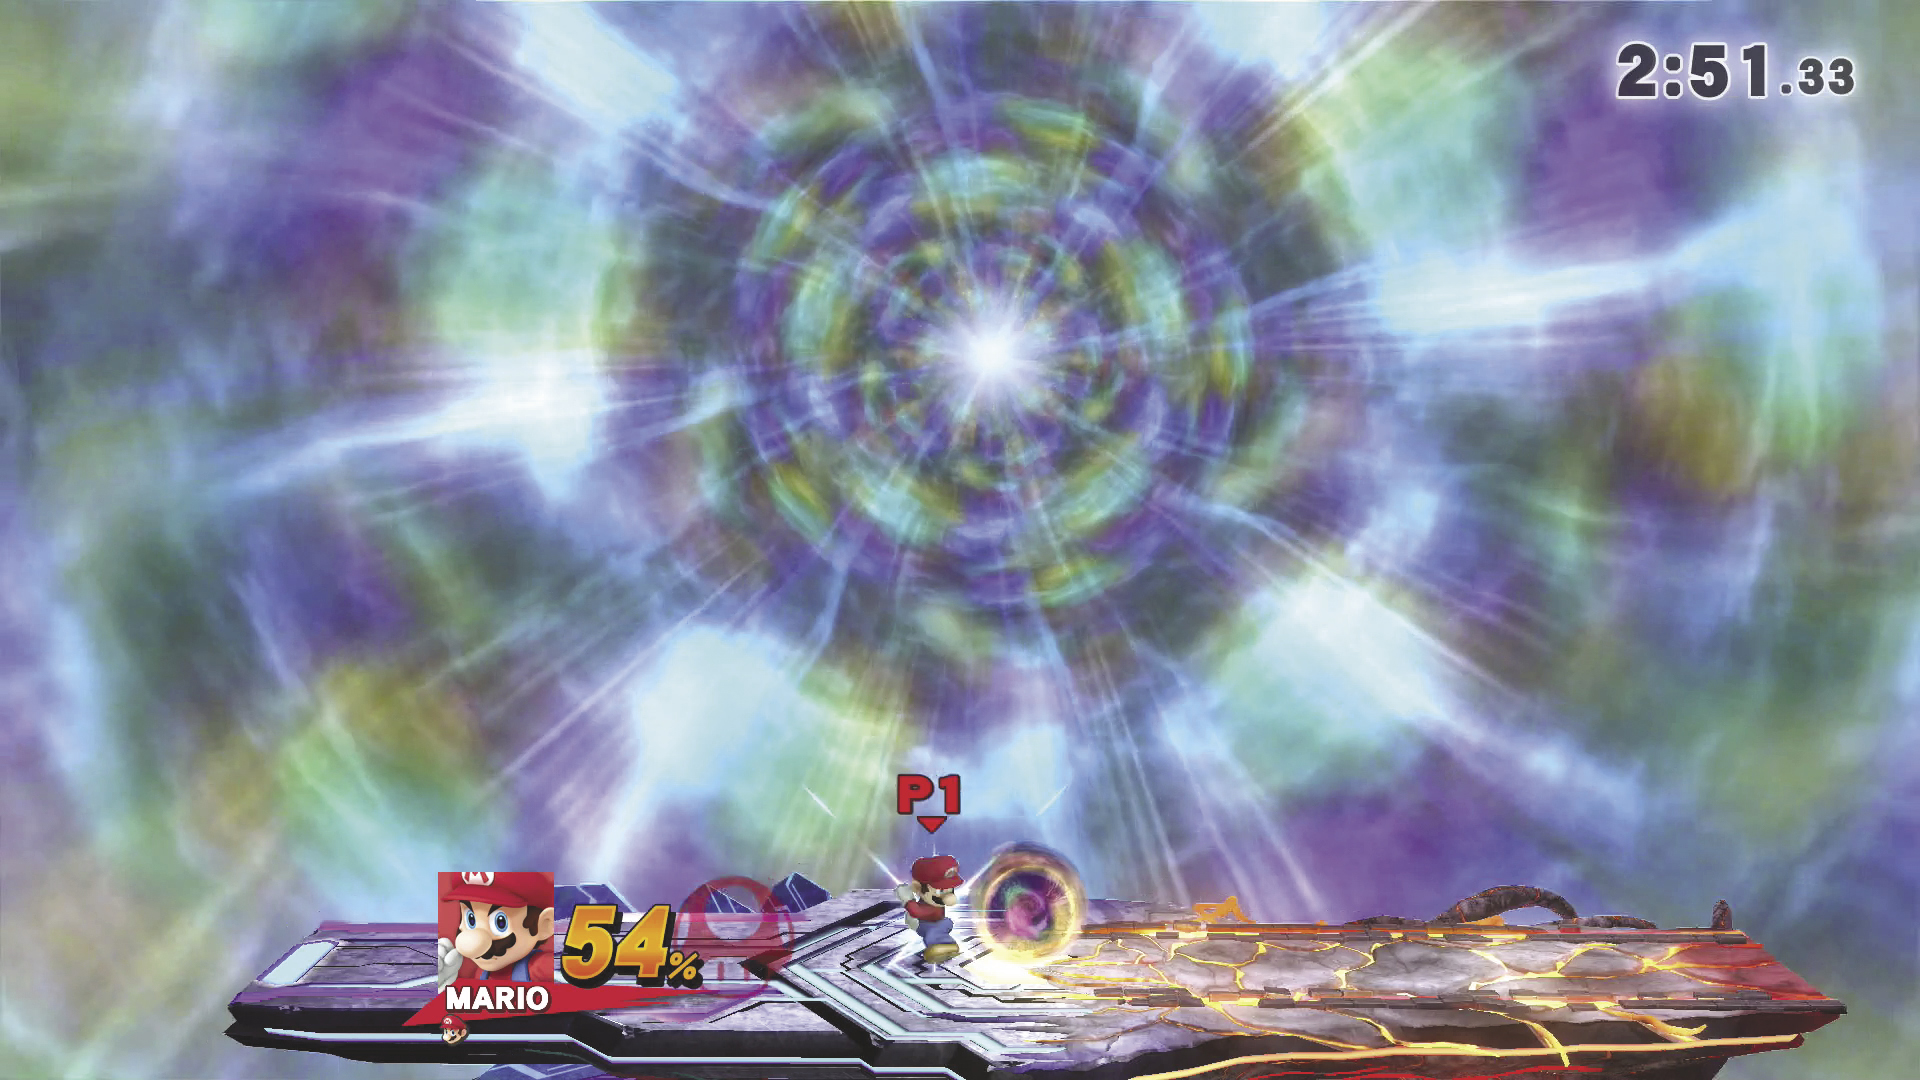
Once you’ve defeated all of Master Core’s shadowy forms, his true form is revealed. When he’s exposed, Master Core lacks any defensive abilities. If you remain idle too long, however, Master Core will unleash a powerful attack, resulting in an instant KO! Dash in and perform a series of attacks to prevent this from happening. All of your attacks should prove effective, but you must KO Master Core to finish the battle. Hit Master Core with a series of Smash attacks until you launch him out of the stage.
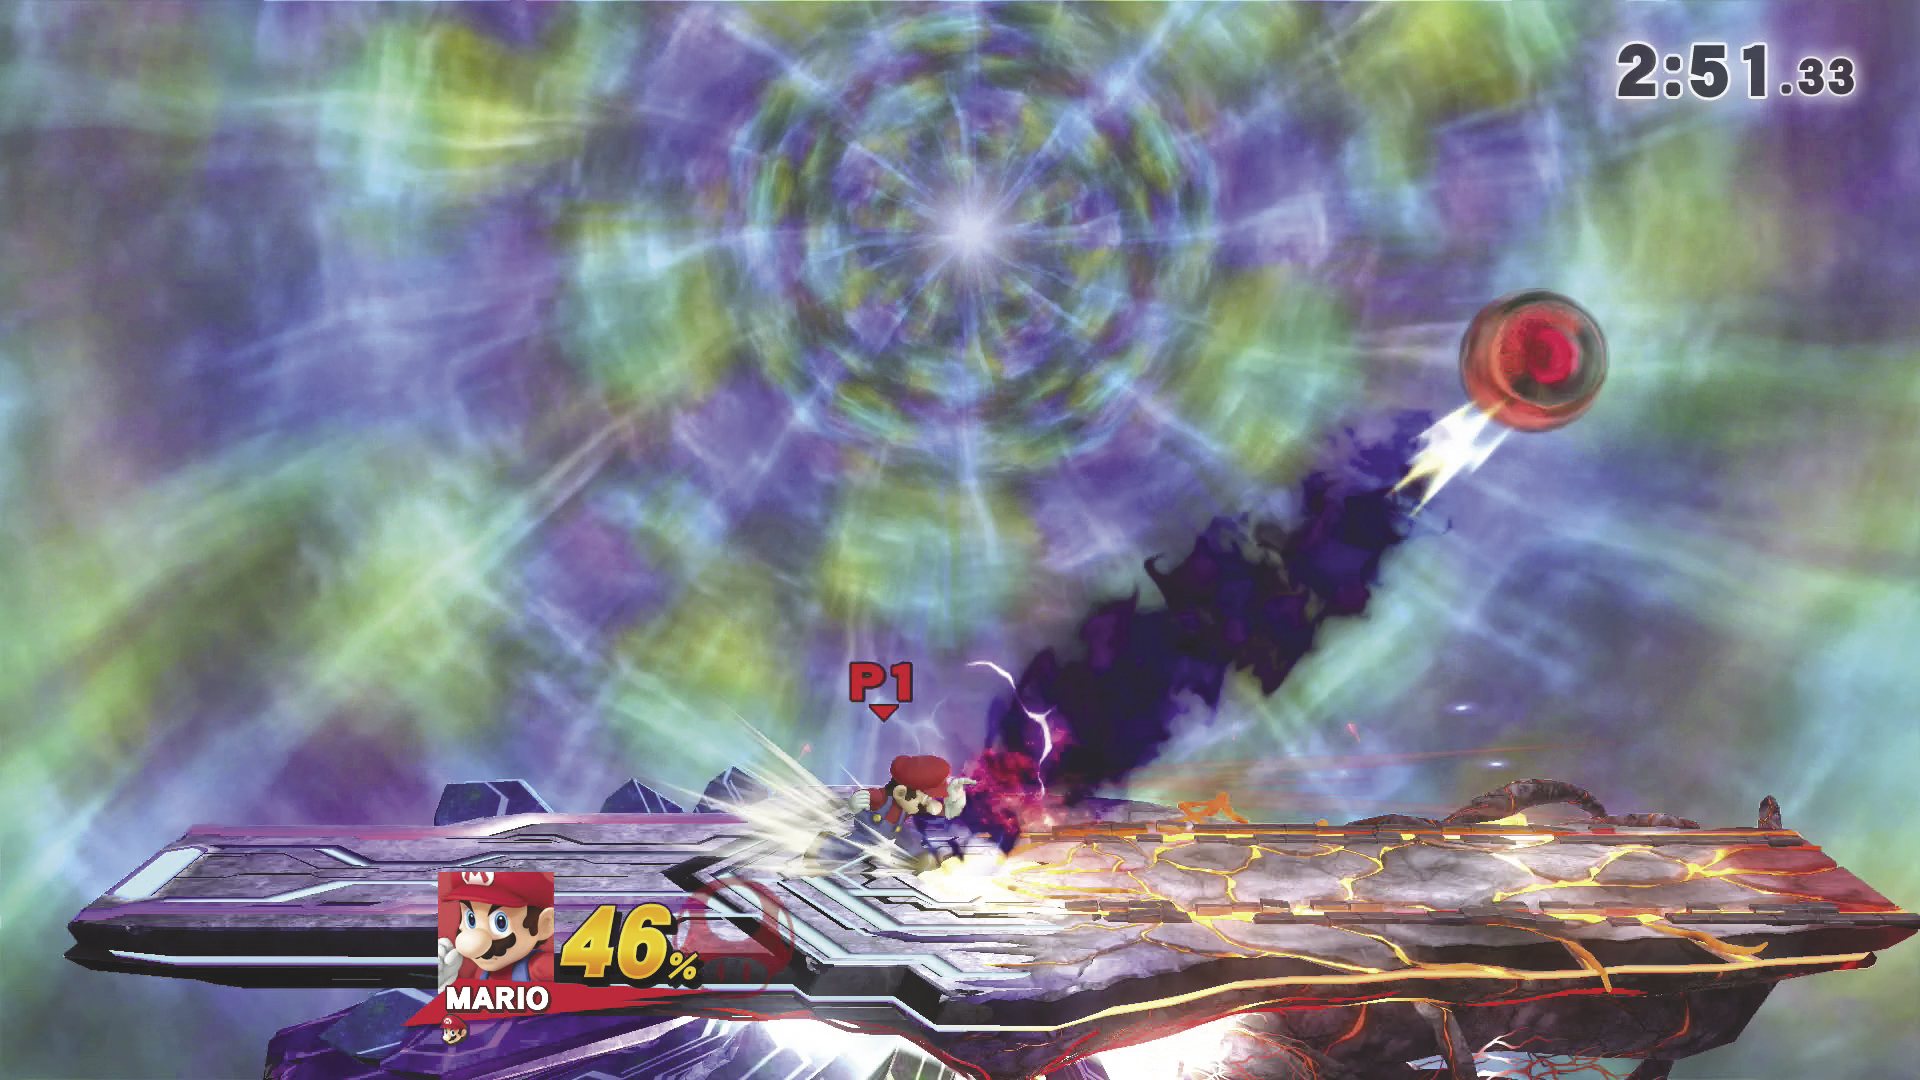
As Master Core takes damage, he becomes easier to launch. Until you finally score the KO, however, he’ll return to the center of the platform after each of your attacks. Luckily, the clock stops once Master Core’s true form is revealed, so you’re free to hit Master Core as many times as needed.
Game Over
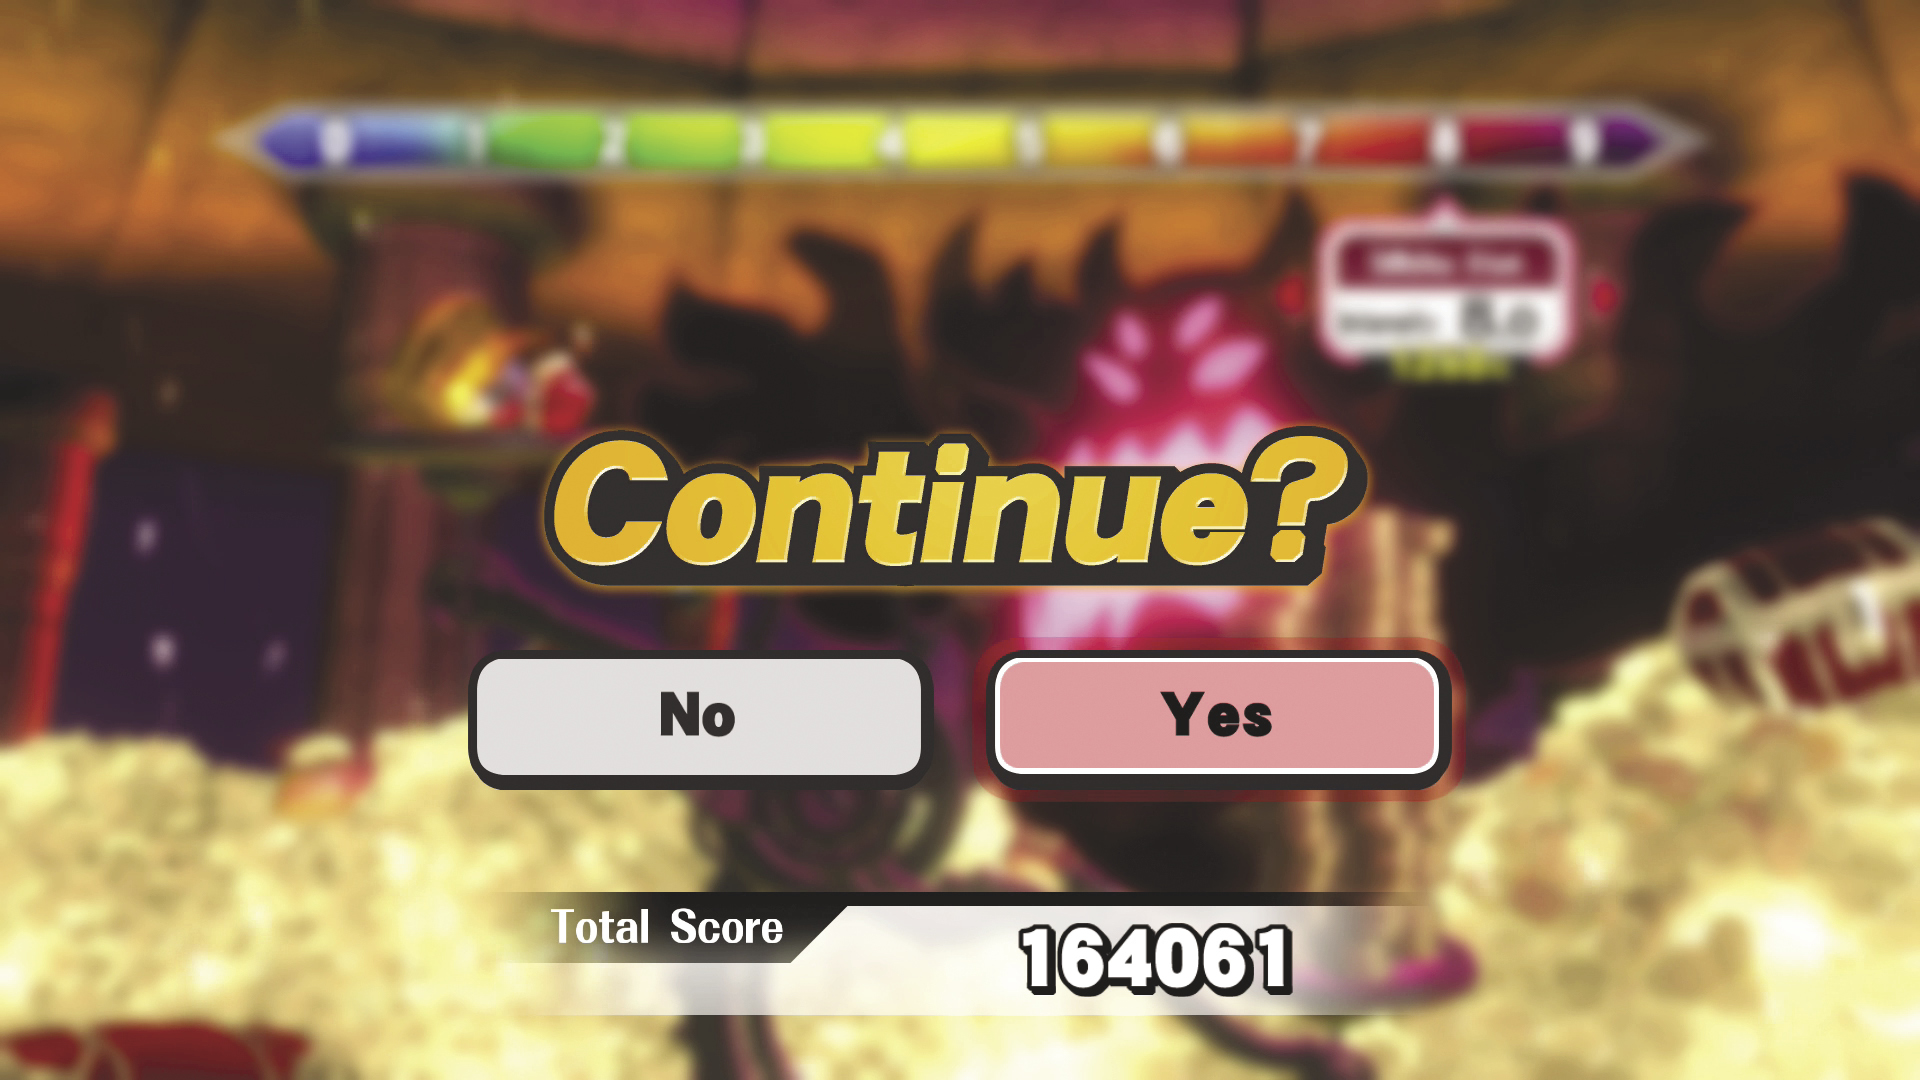
In Classic, you start each match with two stock lives. This means that you can suffer one KO during each battle without losing the match. If you lose both of your stock lives during a match—or if you fail to complete a match within the allotted time—the game ends. This reduces your score and gold, and it usually eliminates at least a few of the rewards you’ve earned. Each time you lose a match, however, you’re given the opportunity to continue. This allows you to resume your playthrough, but any penalties you took remain in place. In most cases, continuing your game also affects the intensity level for the remaining matches.
If you decide not to continue, you’re granted whatever score, gold, and rewards are displayed on the results screen.
Clearing Classic
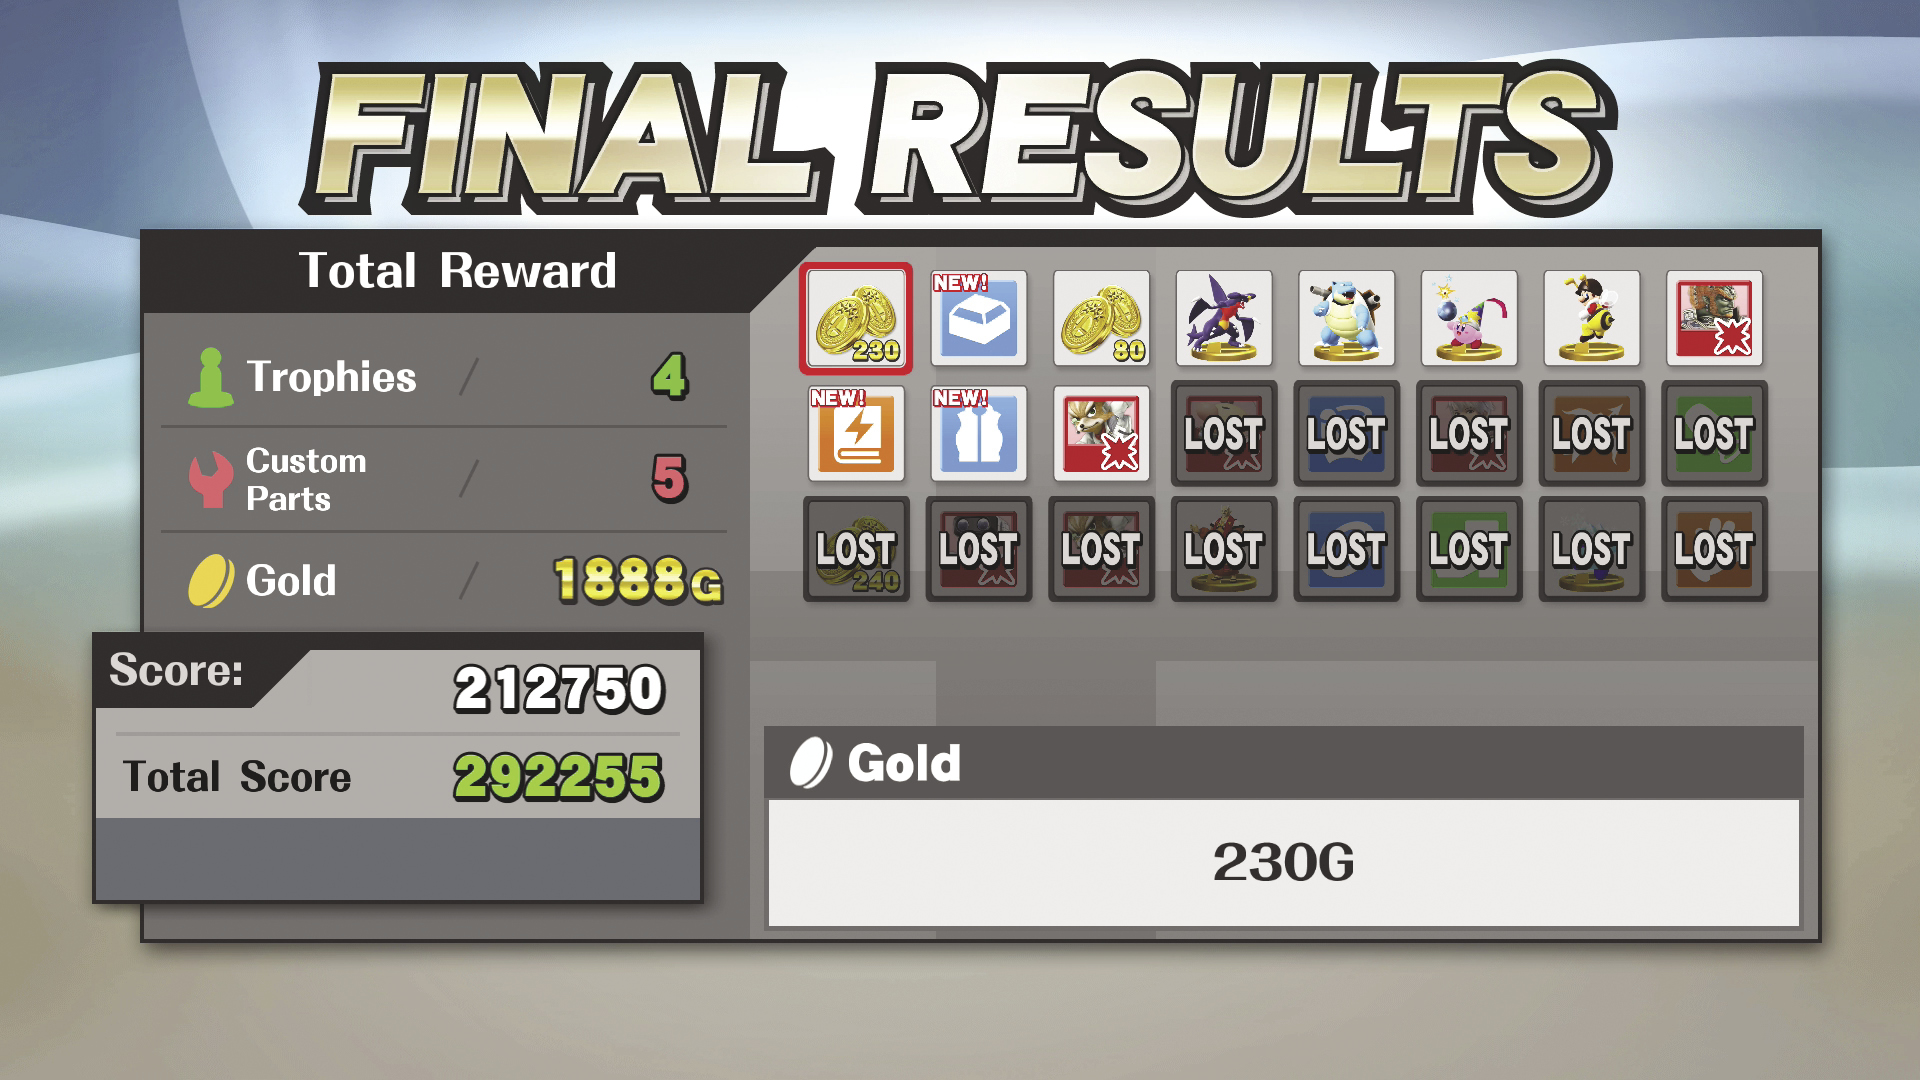
When you clear a game of Classic, you receive information about your score, as well as any gold and rewards you’ve earned. Any rewards you might have lost are also displayed. Most important, however, clearing Classic unlocks your fighter’s primary trophy and triggers the staff credits!
StaffCredits
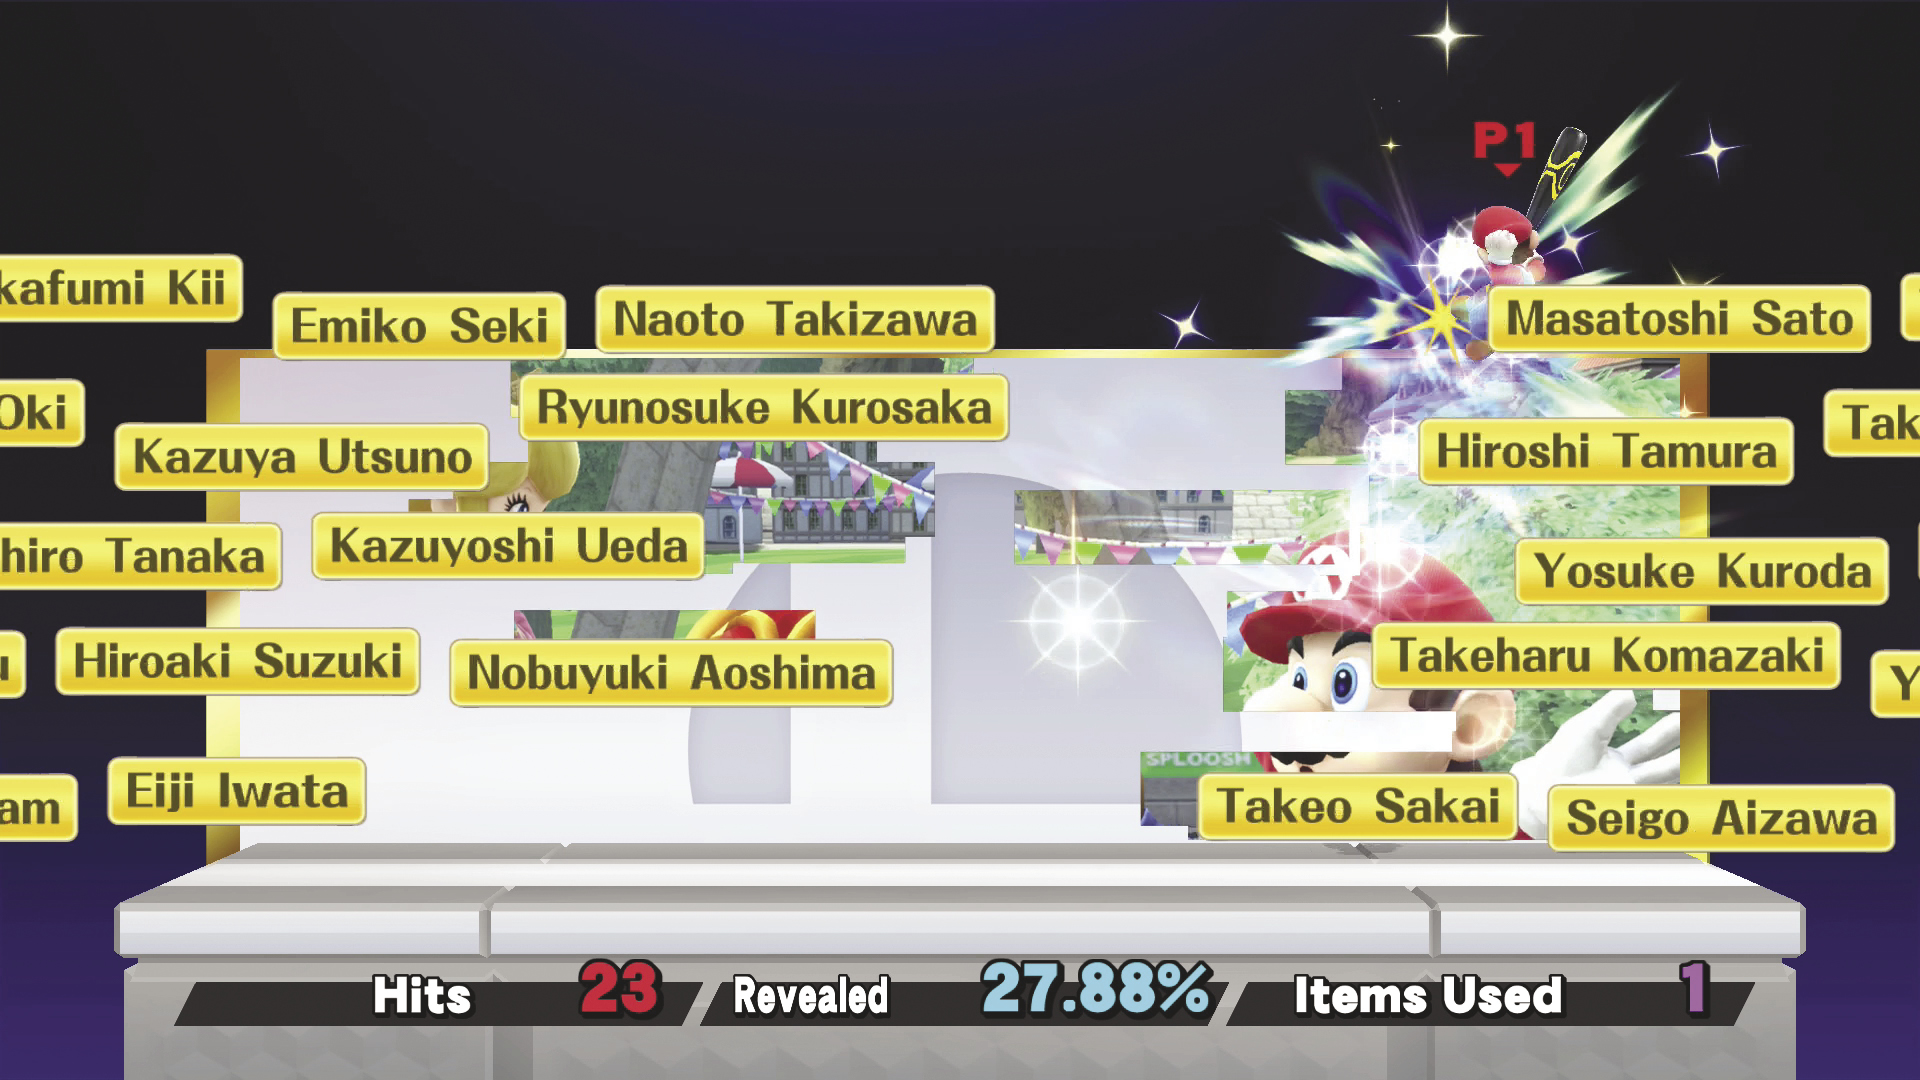
During the staff credits, you can attack the individual names to slowly reveal the image on the wall. For a name to contribute to the image, however, you must hit it at the just the right time and in just the right spot. Jump up and use aerial attacks to reveal the top of the image as the names pass in front of any blank areas, then work your way down.
As you reveal more of the image, it becomes important to aim your shots. Look for the sparkles that help identify hidden sections, then strike a name as it passes through the area. Watch for helpful items that sometimes appear, and use them to attack several names at once!
Special Orders
Special Orders Overview
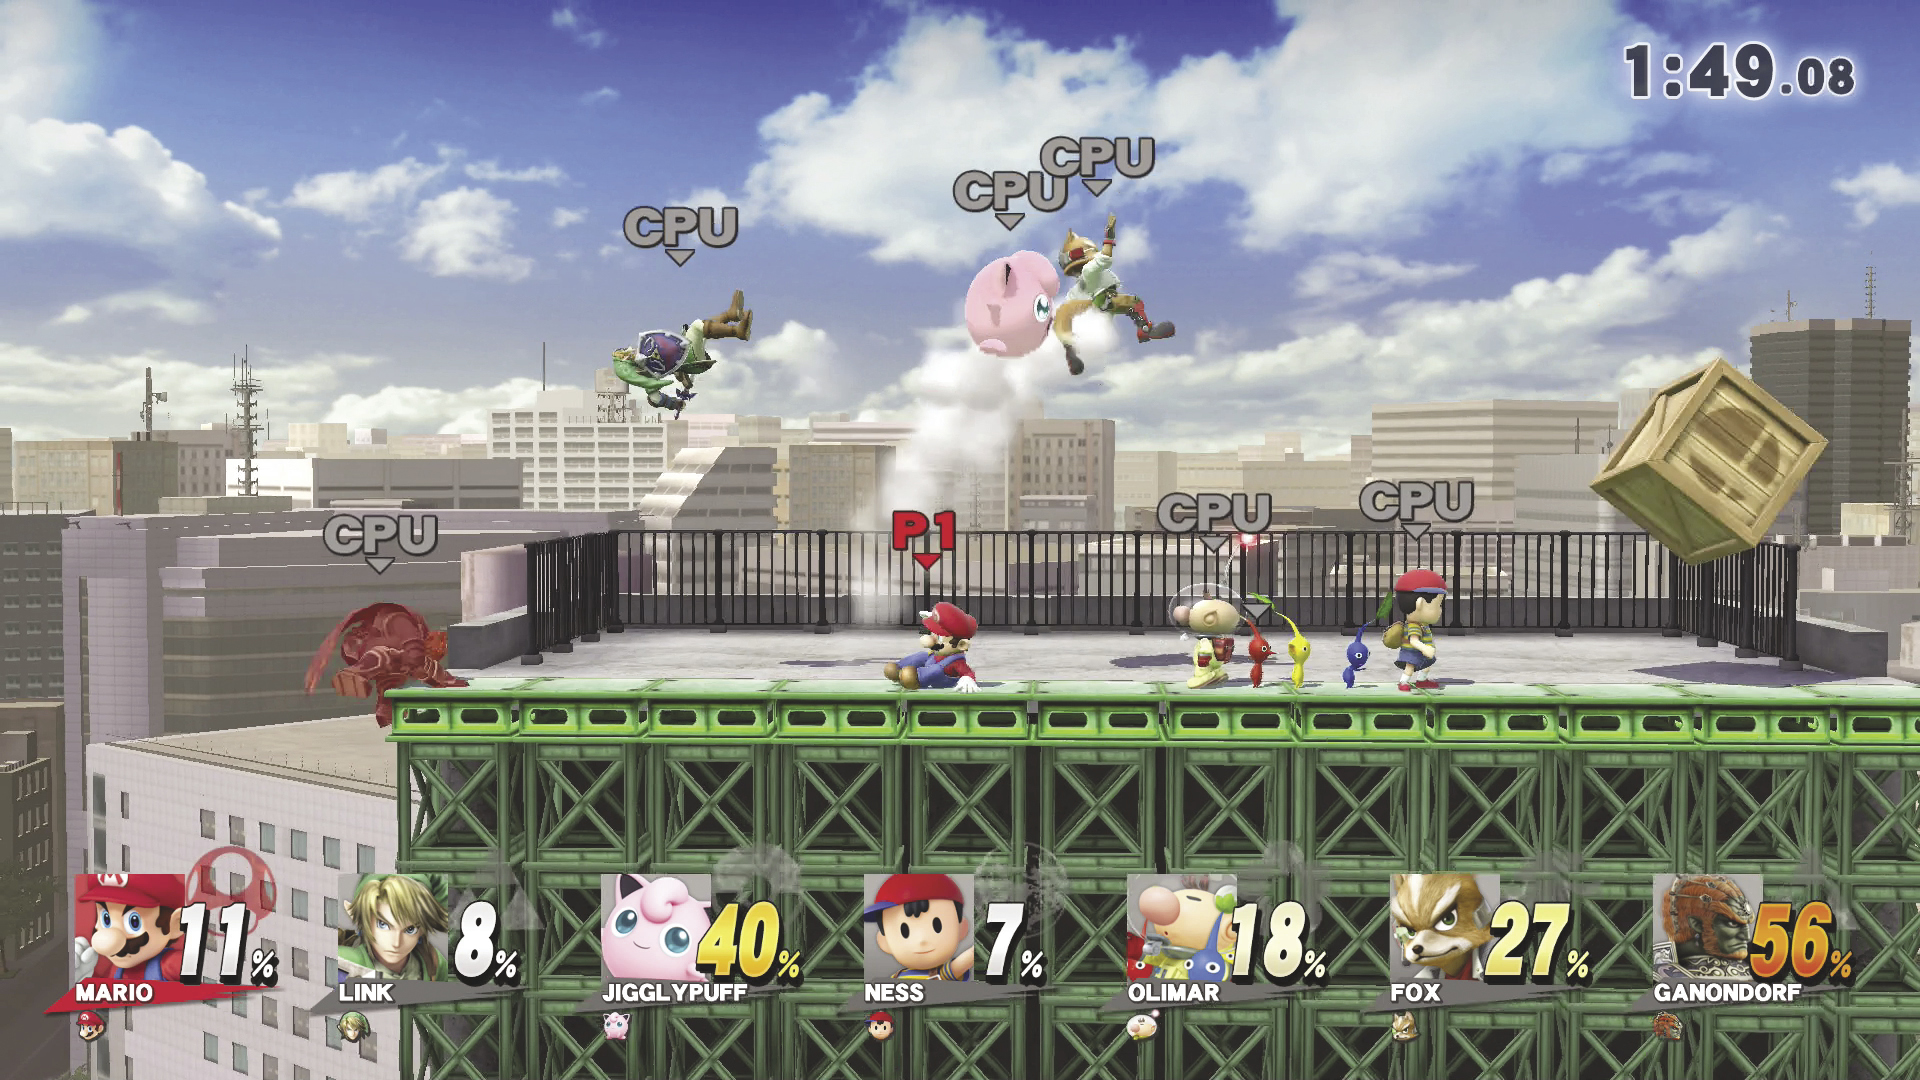
There are two different categories of Special Orders: Master Orders and Crazy Orders. Both categories offer randomly selected scenarios that can be completed for rewards, but Master Orders and Crazy Orders each have a number of distinct features.
Master Orders
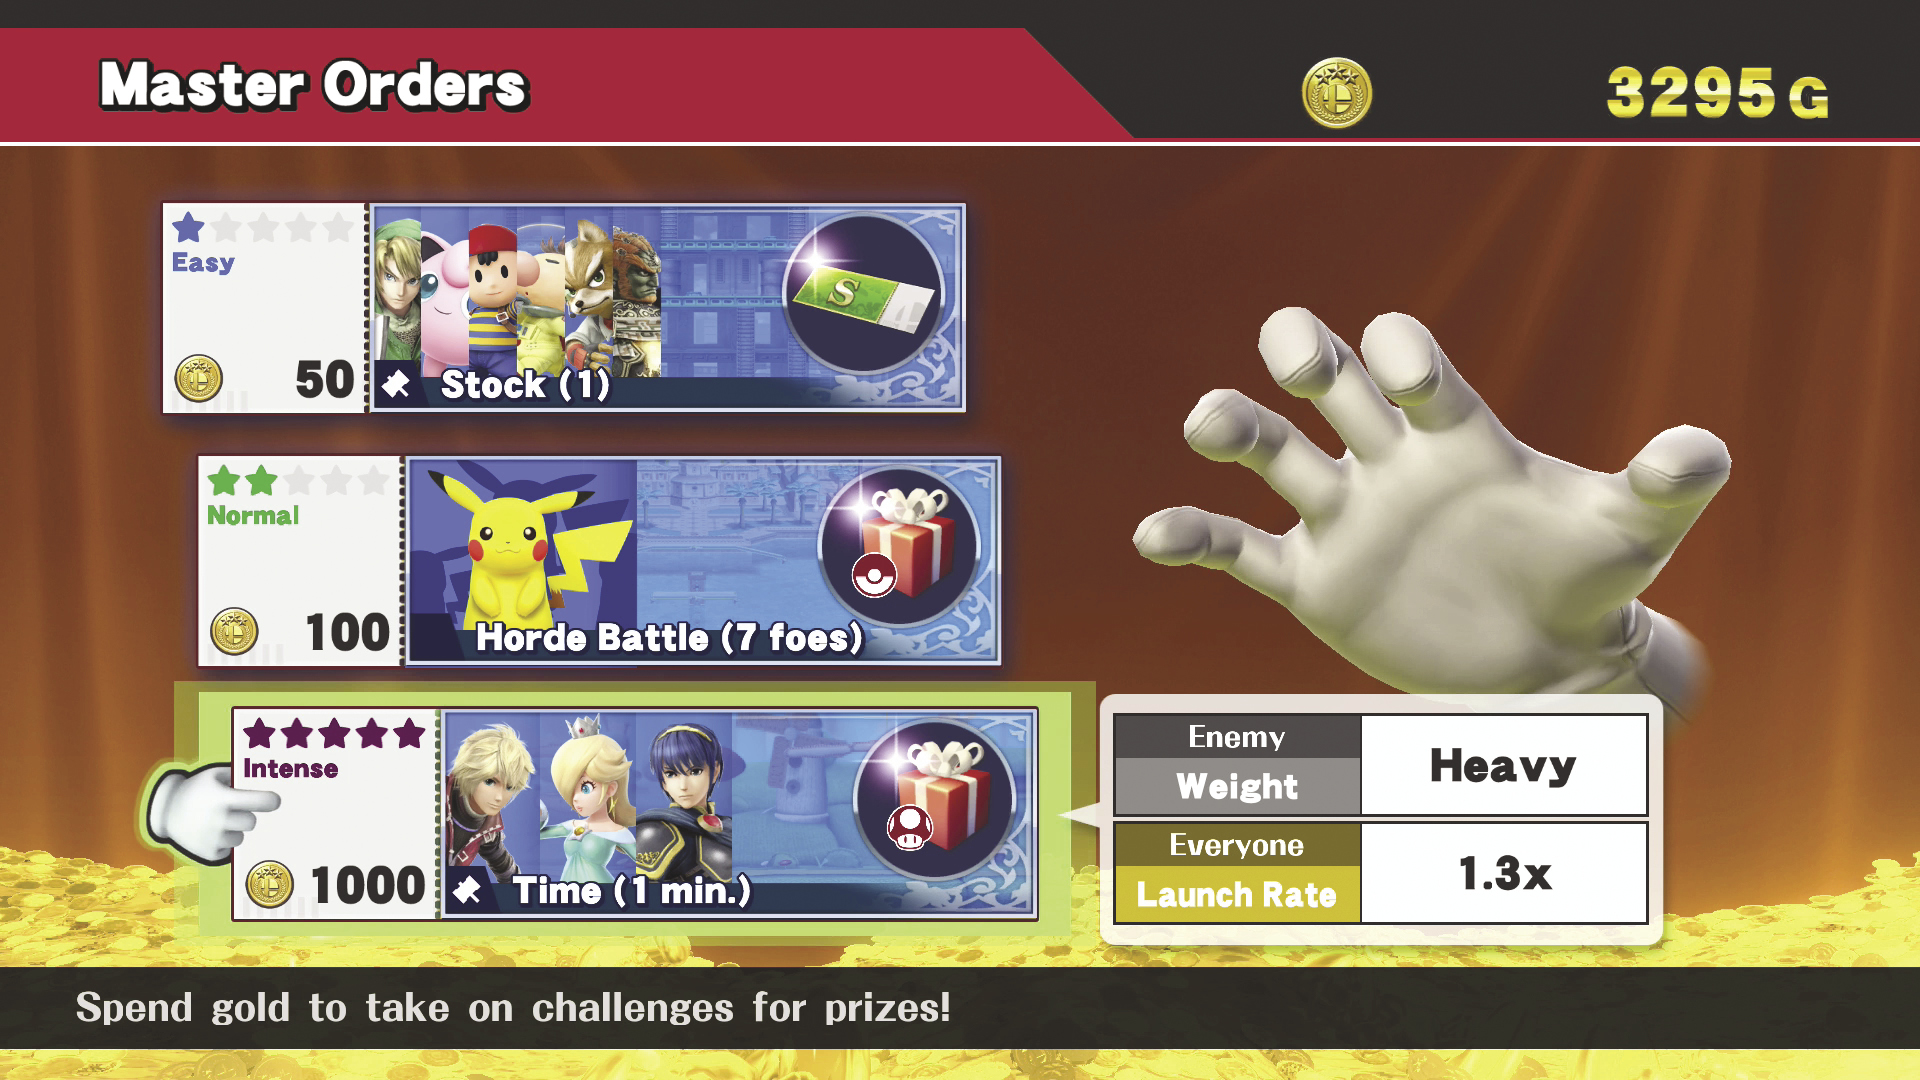
In Master Orders, you can exchange gold for entry into one of three randomly selected scenarios. Check the available tickets for each scenario’s cost, difficulty level, and rules. Tickets also include information about the opponents you’ll face and potential rewards. Highlight individual tickets to see any special rules that might be in place and which fighters those rules affect.
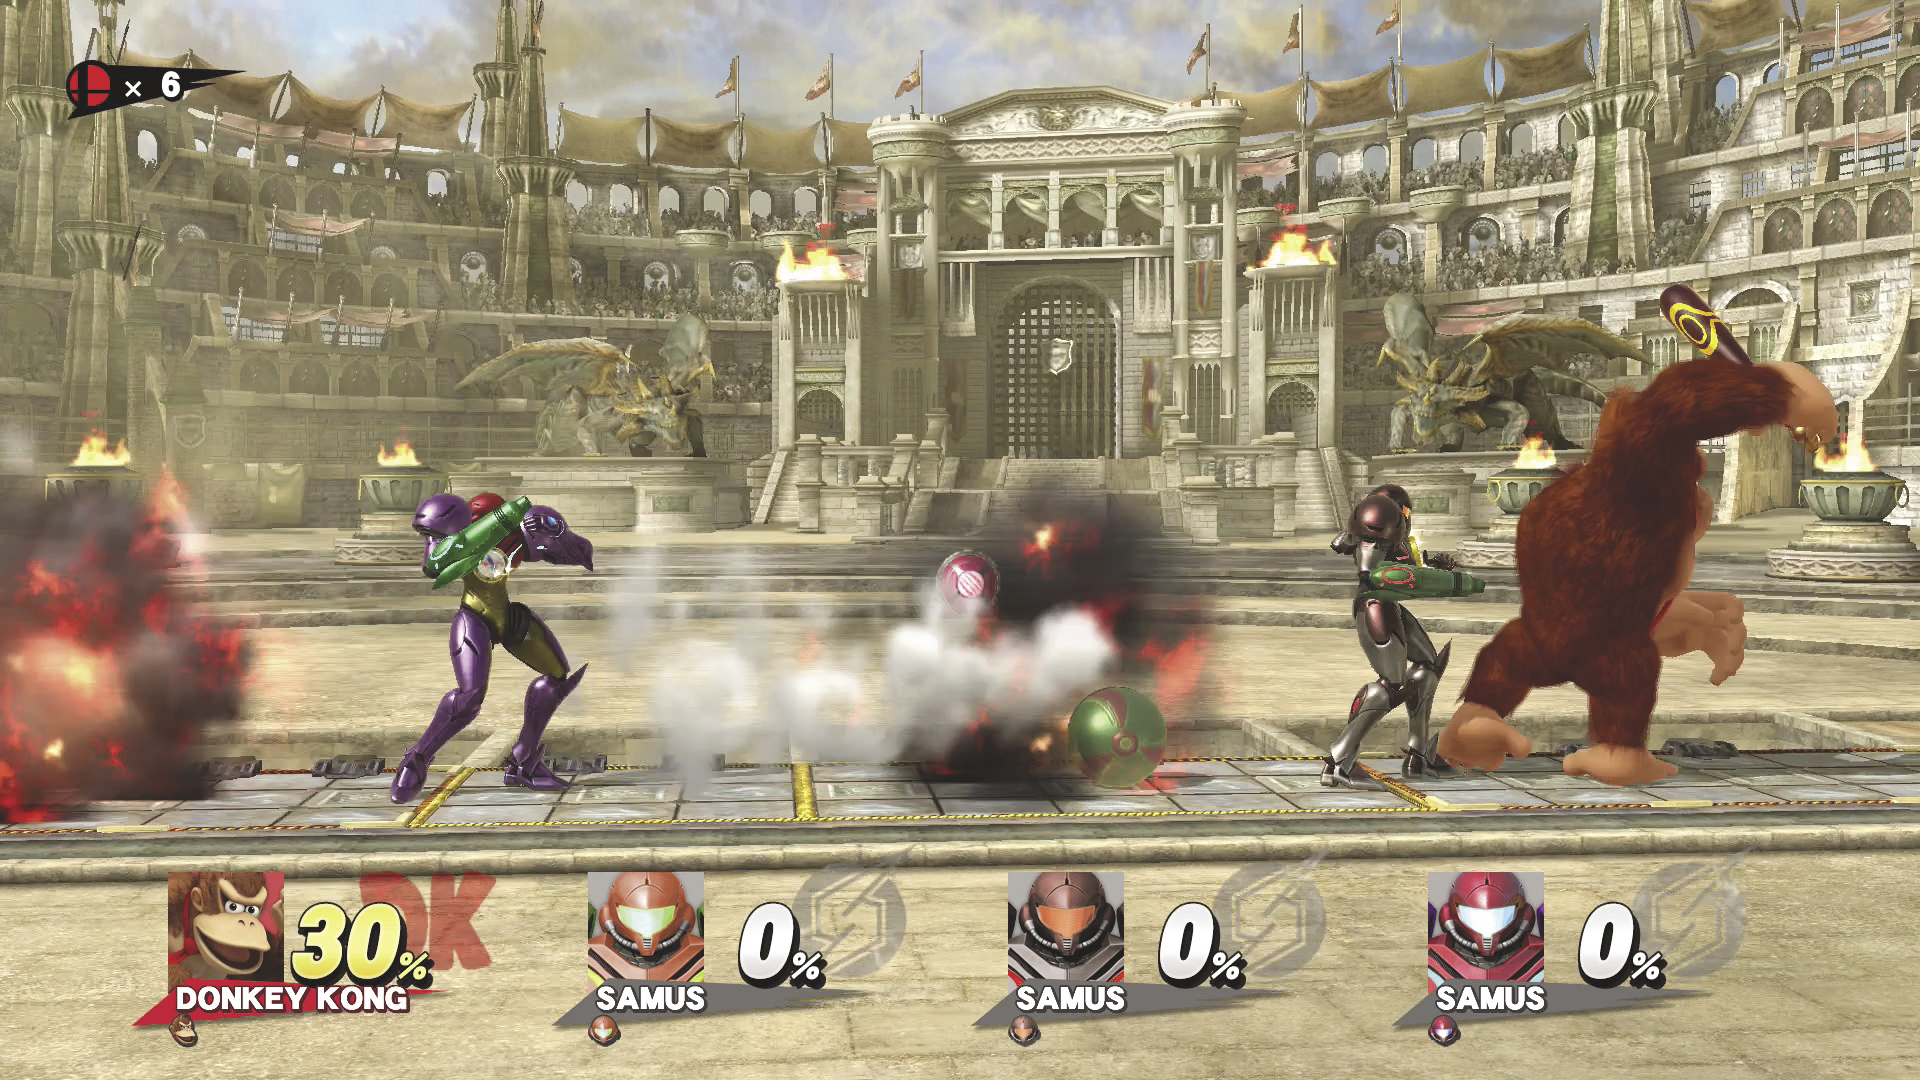
You’re free to use customizations to complete Master Orders. Choosing the right characters, equipment, and Special moves can make difficult scenarios much easier to handle!
Crazy Orders
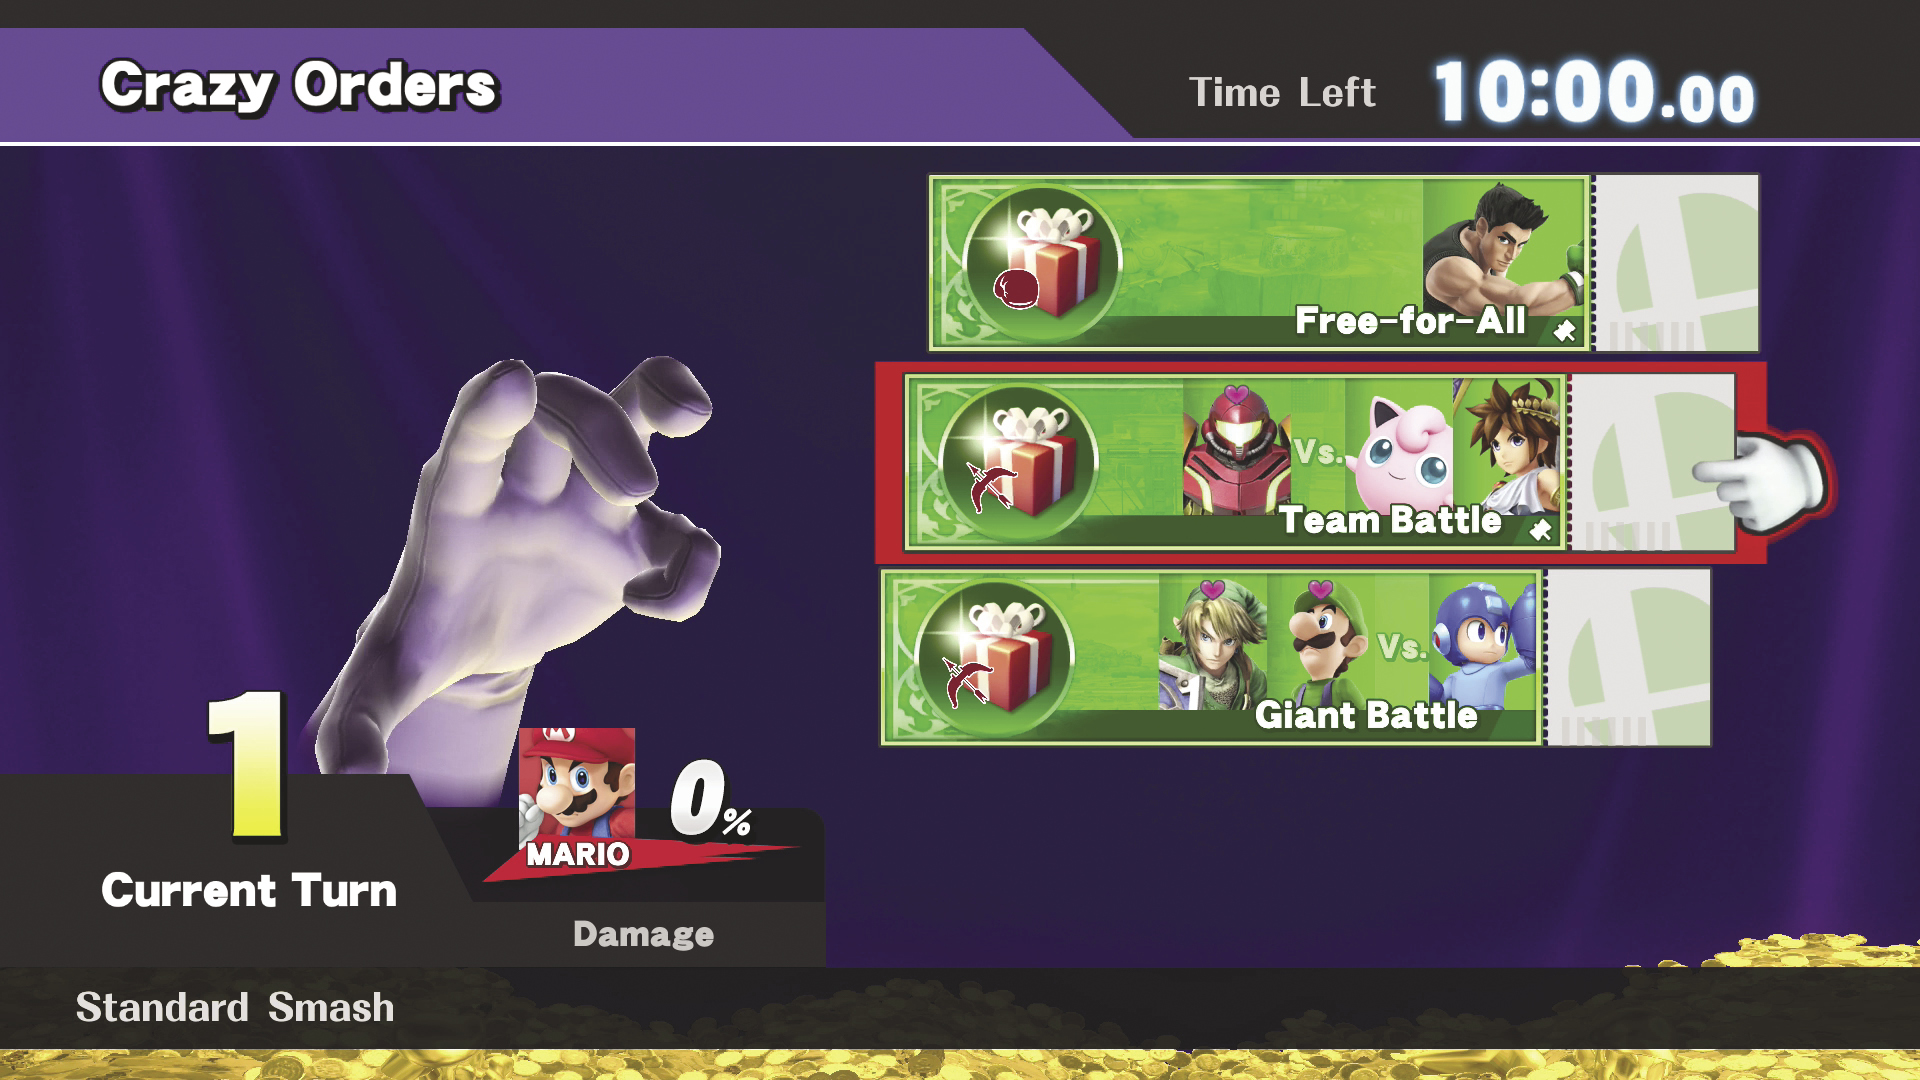
In Crazy Orders, you can complete a series of matches to earn bigger and bigger rewards. To play, you must invest 5,000G or use a Crazy Orders Pass. Once you’ve purchased entry into Crazy Orders, you’re given one stock life and 10 minutes to clear as many matches as possible. You must then defeat Crazy Hand in a final battle. During each turn, select one of the available tickets to begin a match. Tickets display match types, opponents, and potential rewards, so choose wisely!
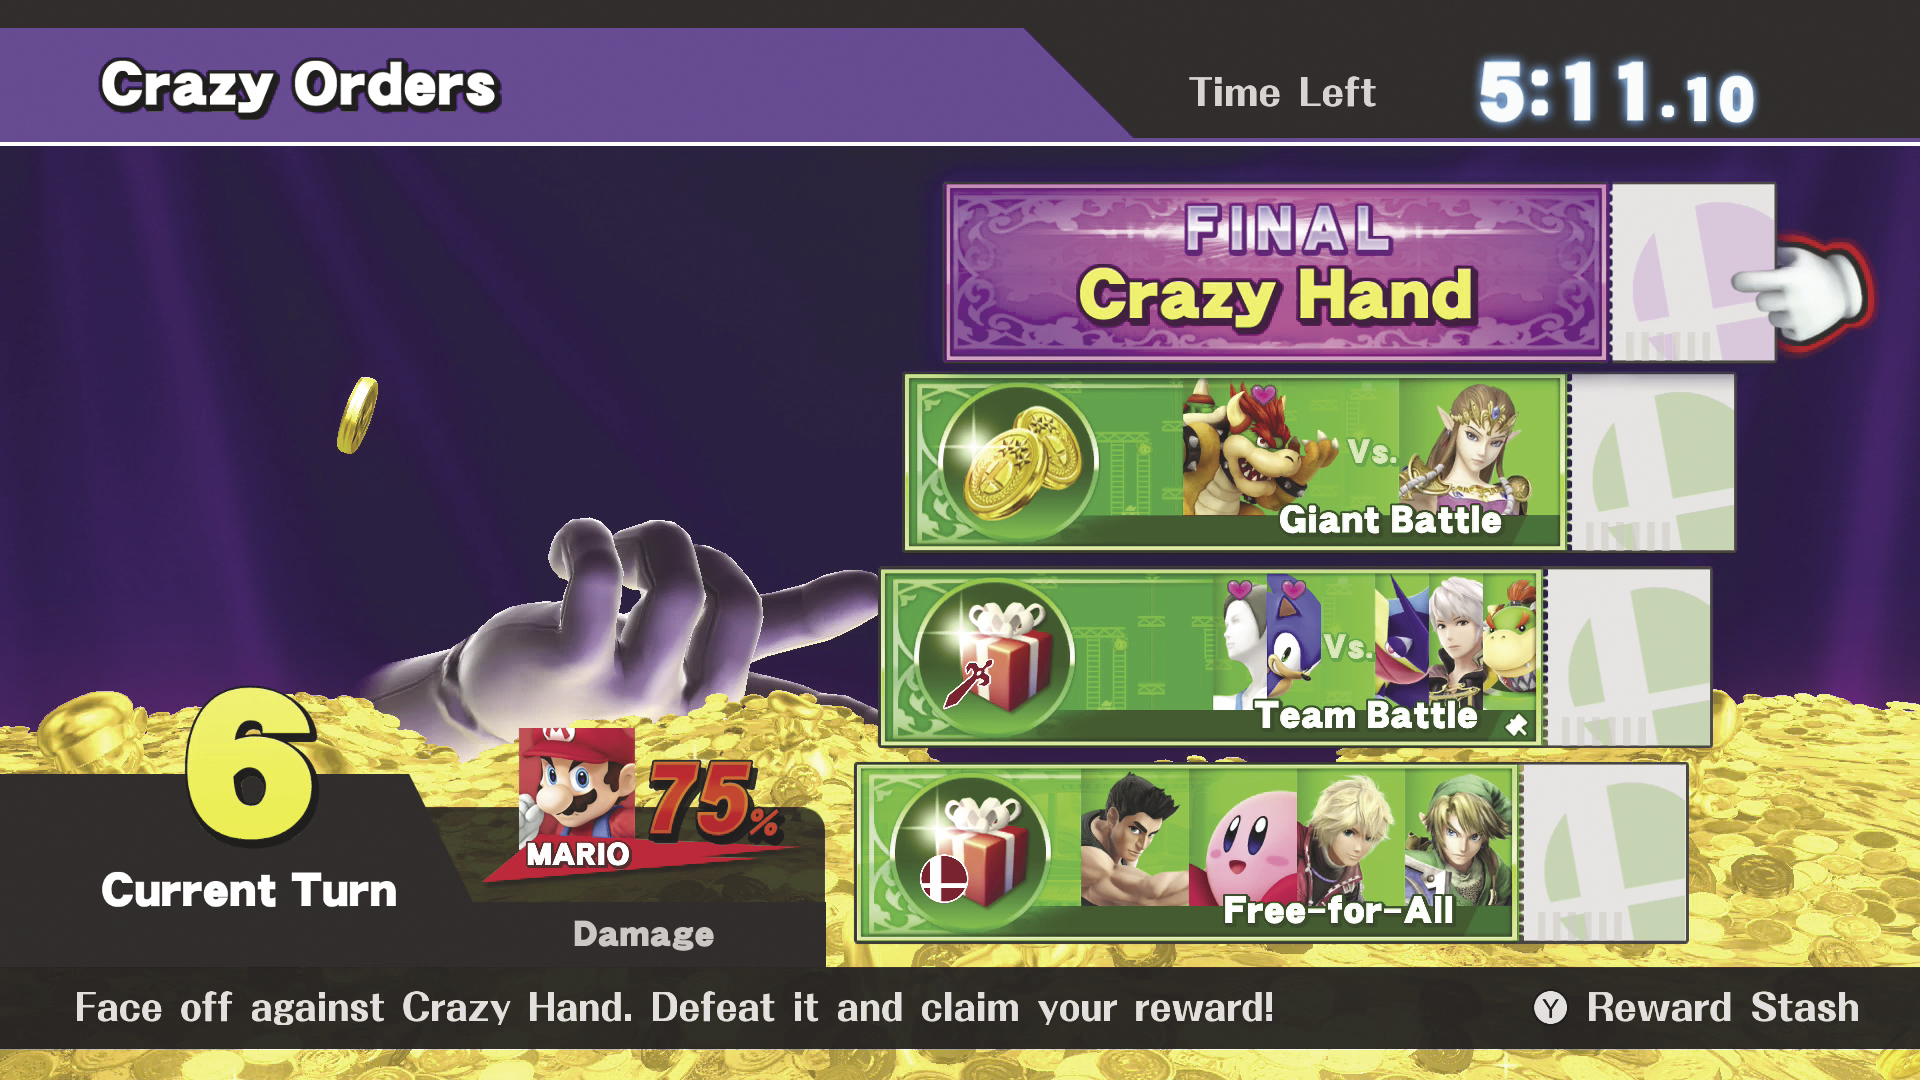
After you complete at least one turn, you have the option to face Crazy Hand in the final battle. Complete as many turns as possible before you face Crazy Hand to maximize your rewards. Be warned, though—if you suffer a KO or fail to begin the final battle within the allotted time, you’ll lose the bulk of any rewards you’ve earned!
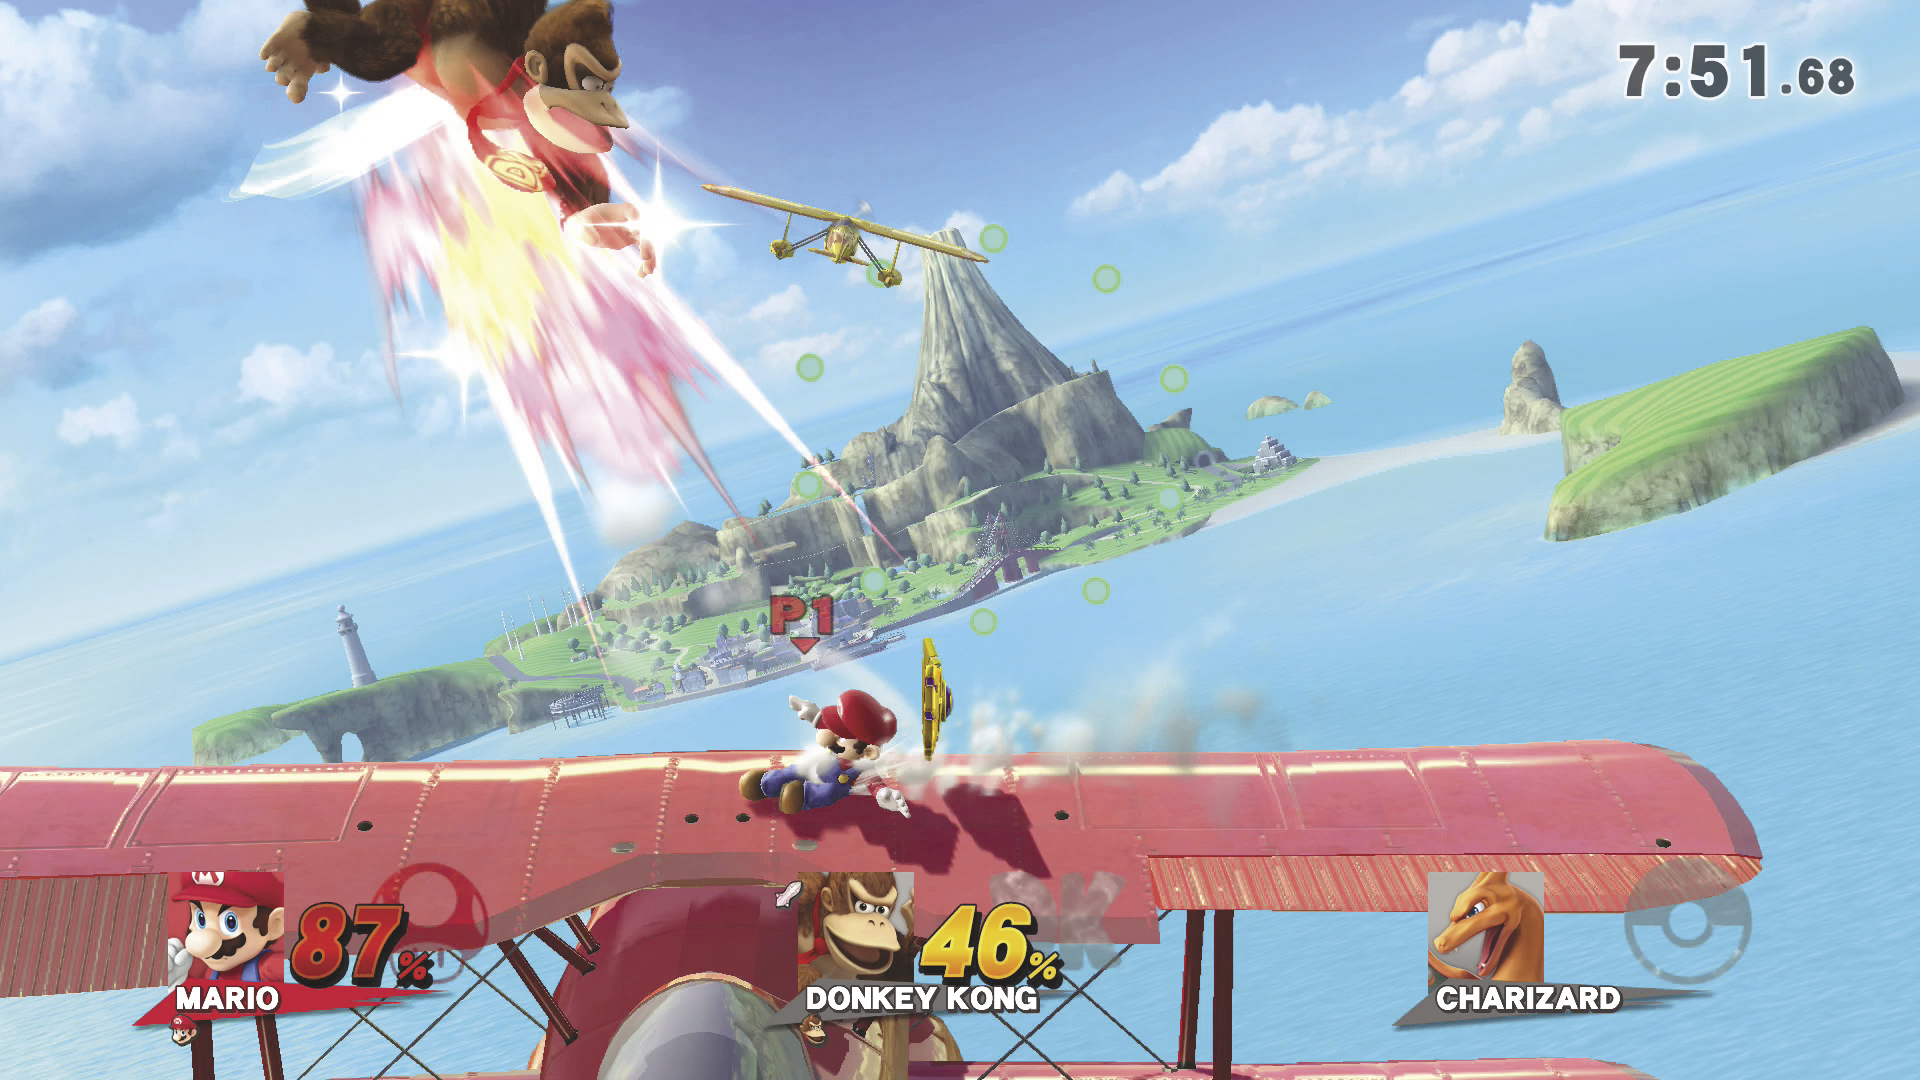
Only the time spent in battle counts against the 10-minute time limit, so try to deal with your opponents as quickly as possible. You’ll recover a bit of health during each turn, but damage will accumulate throughout a Crazy Orders playthrough.
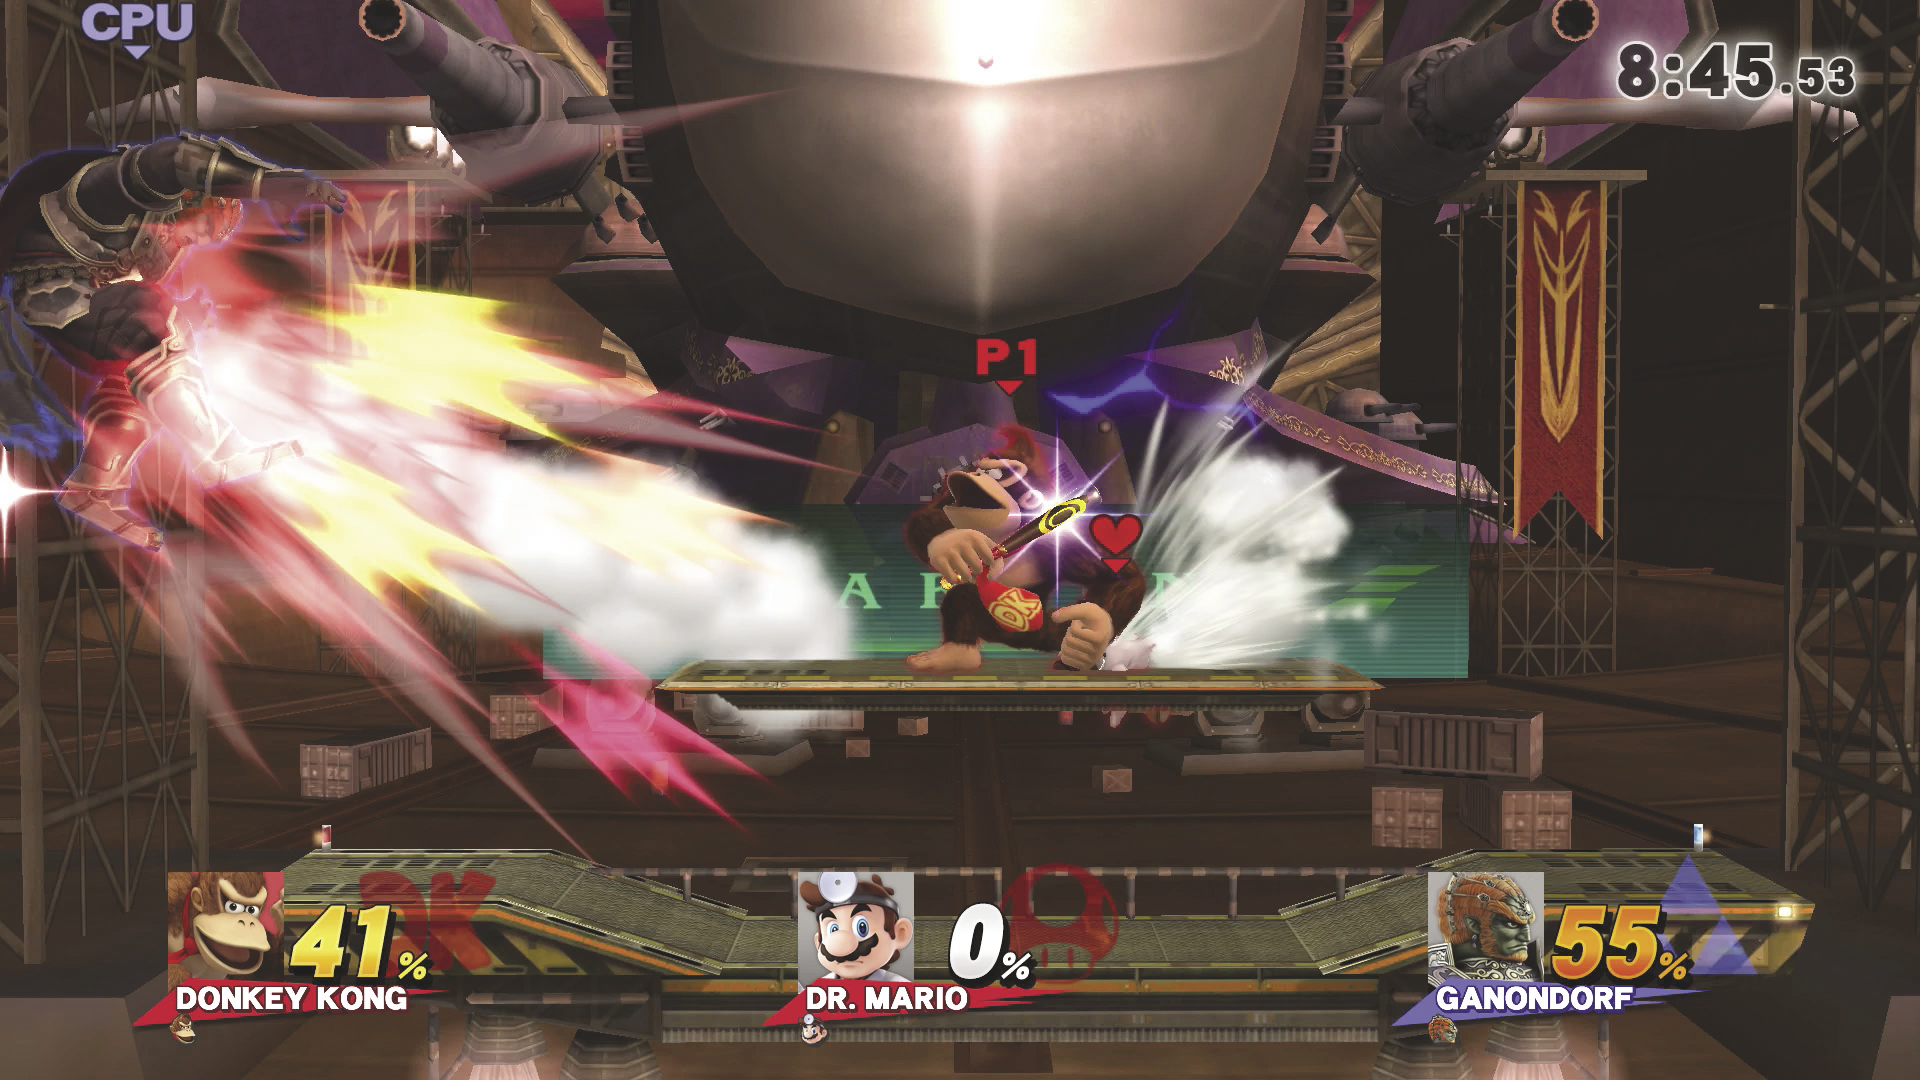
You’re free to use customized characters during Crazy Orders, and doing so can allow you to finish matches very quickly. Combine equipment with the “Home-Run Bat equipped” and “Quick bat swing” bonus effects to score instant KOs! It can also be helpful to utilize a piece of equipment that grants some form of health recovery.
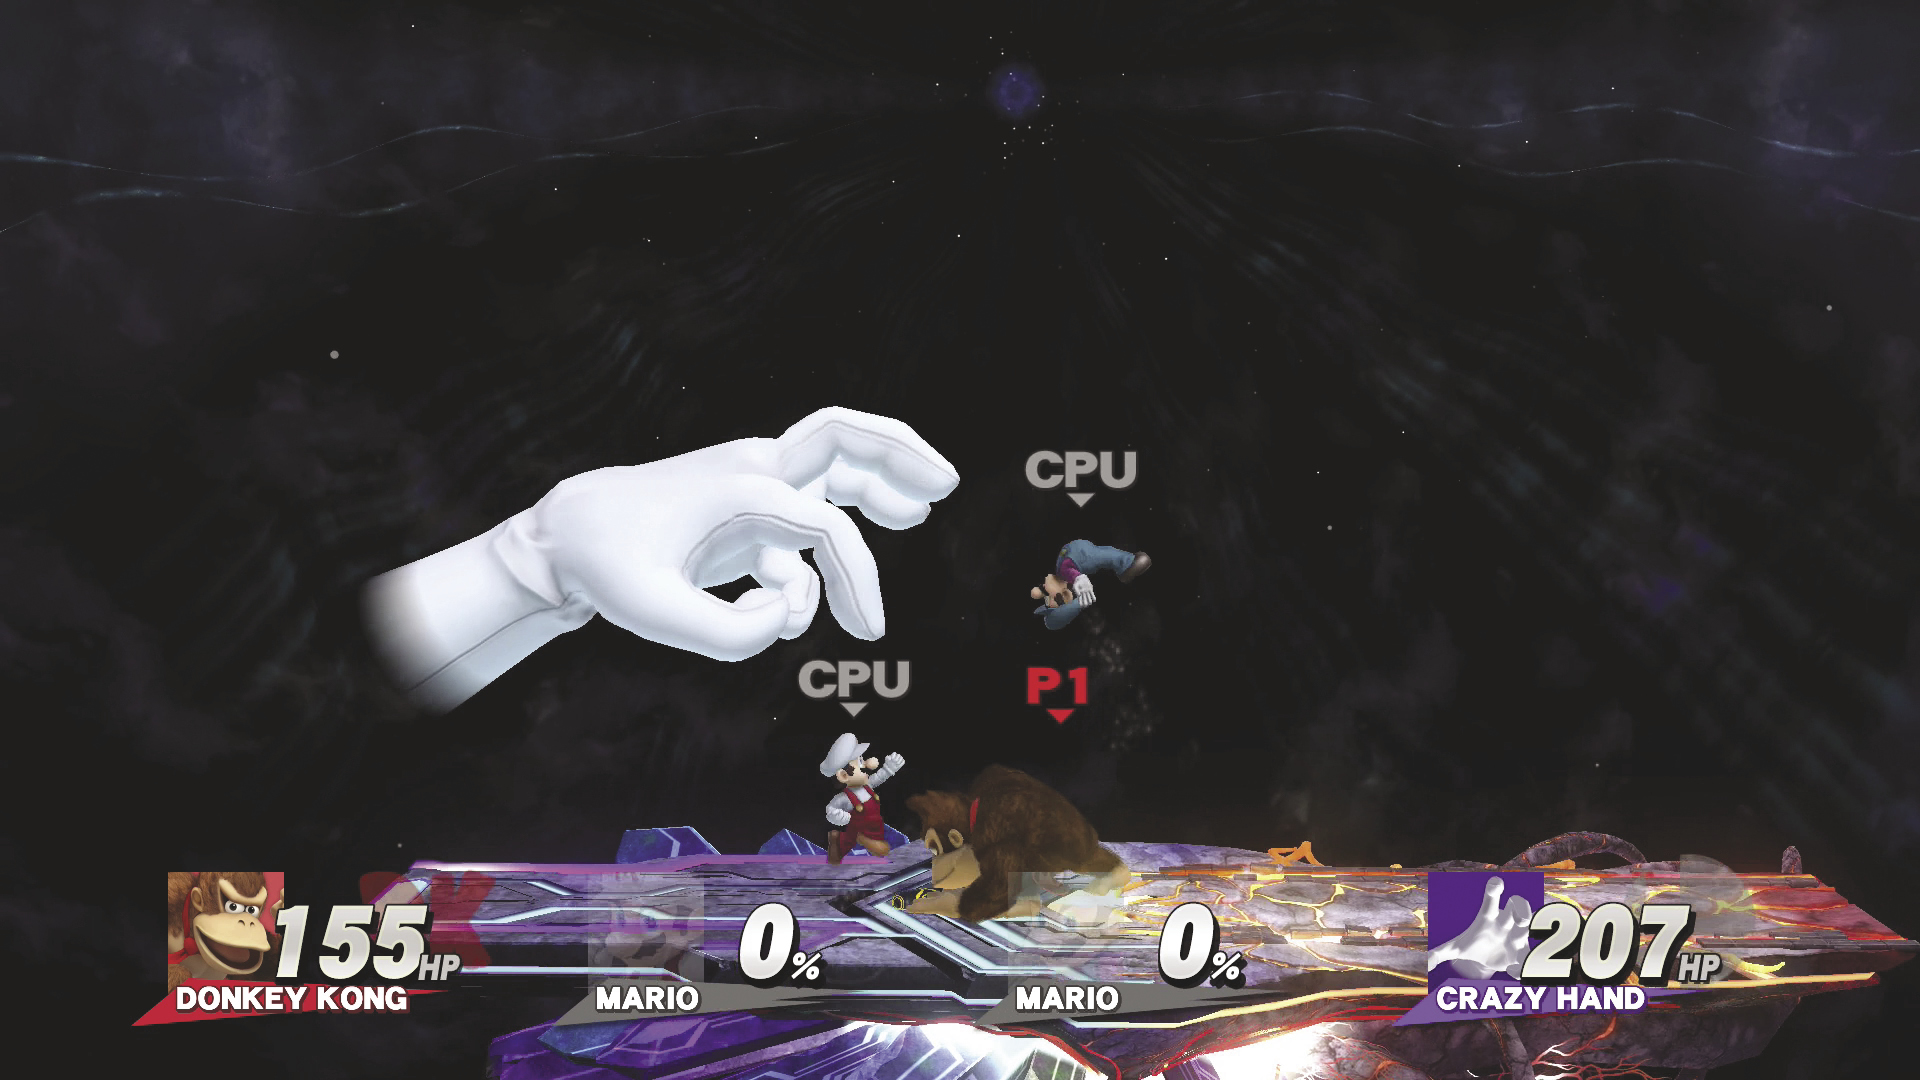
At the start of each turn, check the remaining time and your current damage percentage. Remember that while additional victories will bring greater rewards, failure will cost you the bulk of what you’ve earned. When you’re ready, select the “Crazy Hand” ticket to begin the final battle. While Crazy Hand will always be featured, final battles can contain additional foes. When you face Crazy Hand after 14 or more turns, Master Hand will join the battle! This makes for a tougher fight, but you’ll have plenty of chances to earn additional chests..
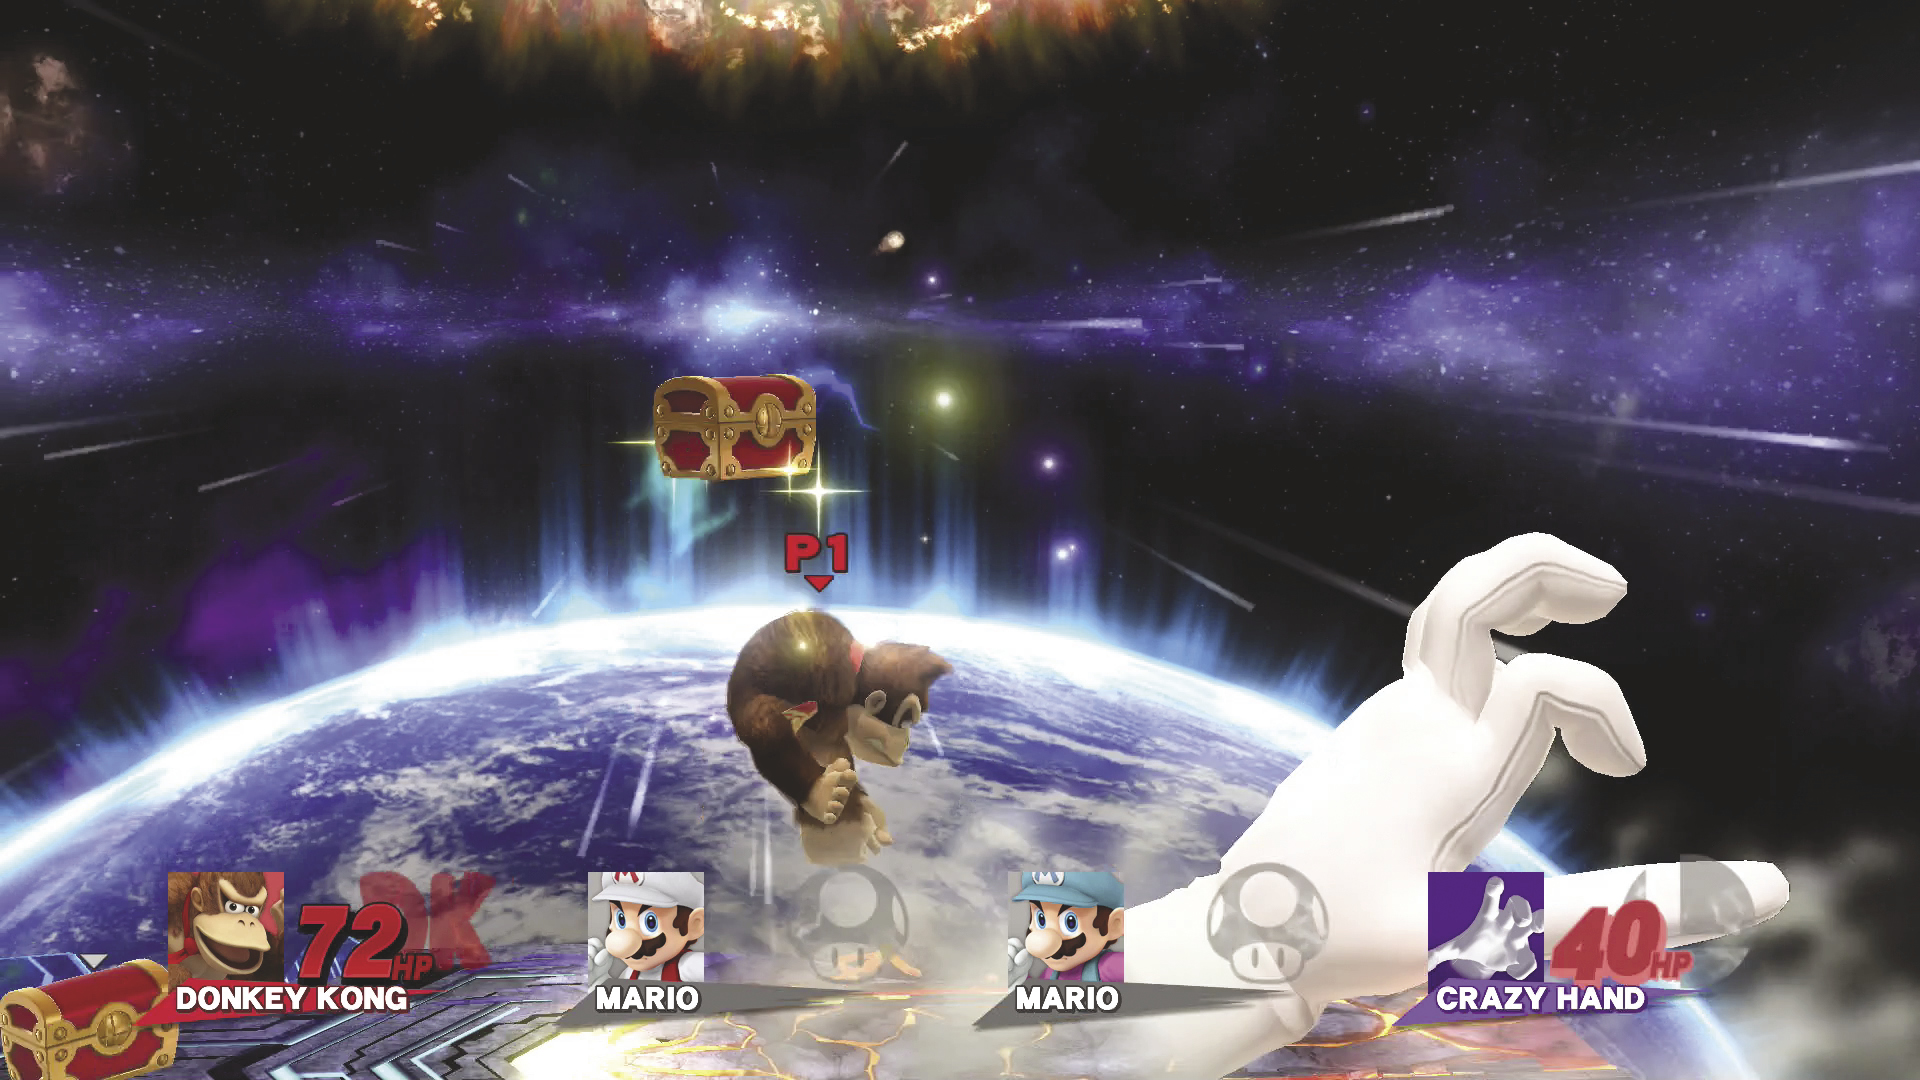
The final battle is always a stamina battle with no time limit. Your starting HP is determined by how much damage you’ve taken in previous matches. The higher your damage percentage, the more HP you’ll have! Attacking Crazy Hand not only lowers his HP, but it often produces chests with additional rewards. Stay healthy, collect any chests you find, and defeat Crazy Hand to claim all of the rewards you’ve earned in Crazy Orders!
Events (Solo)
Events Overview
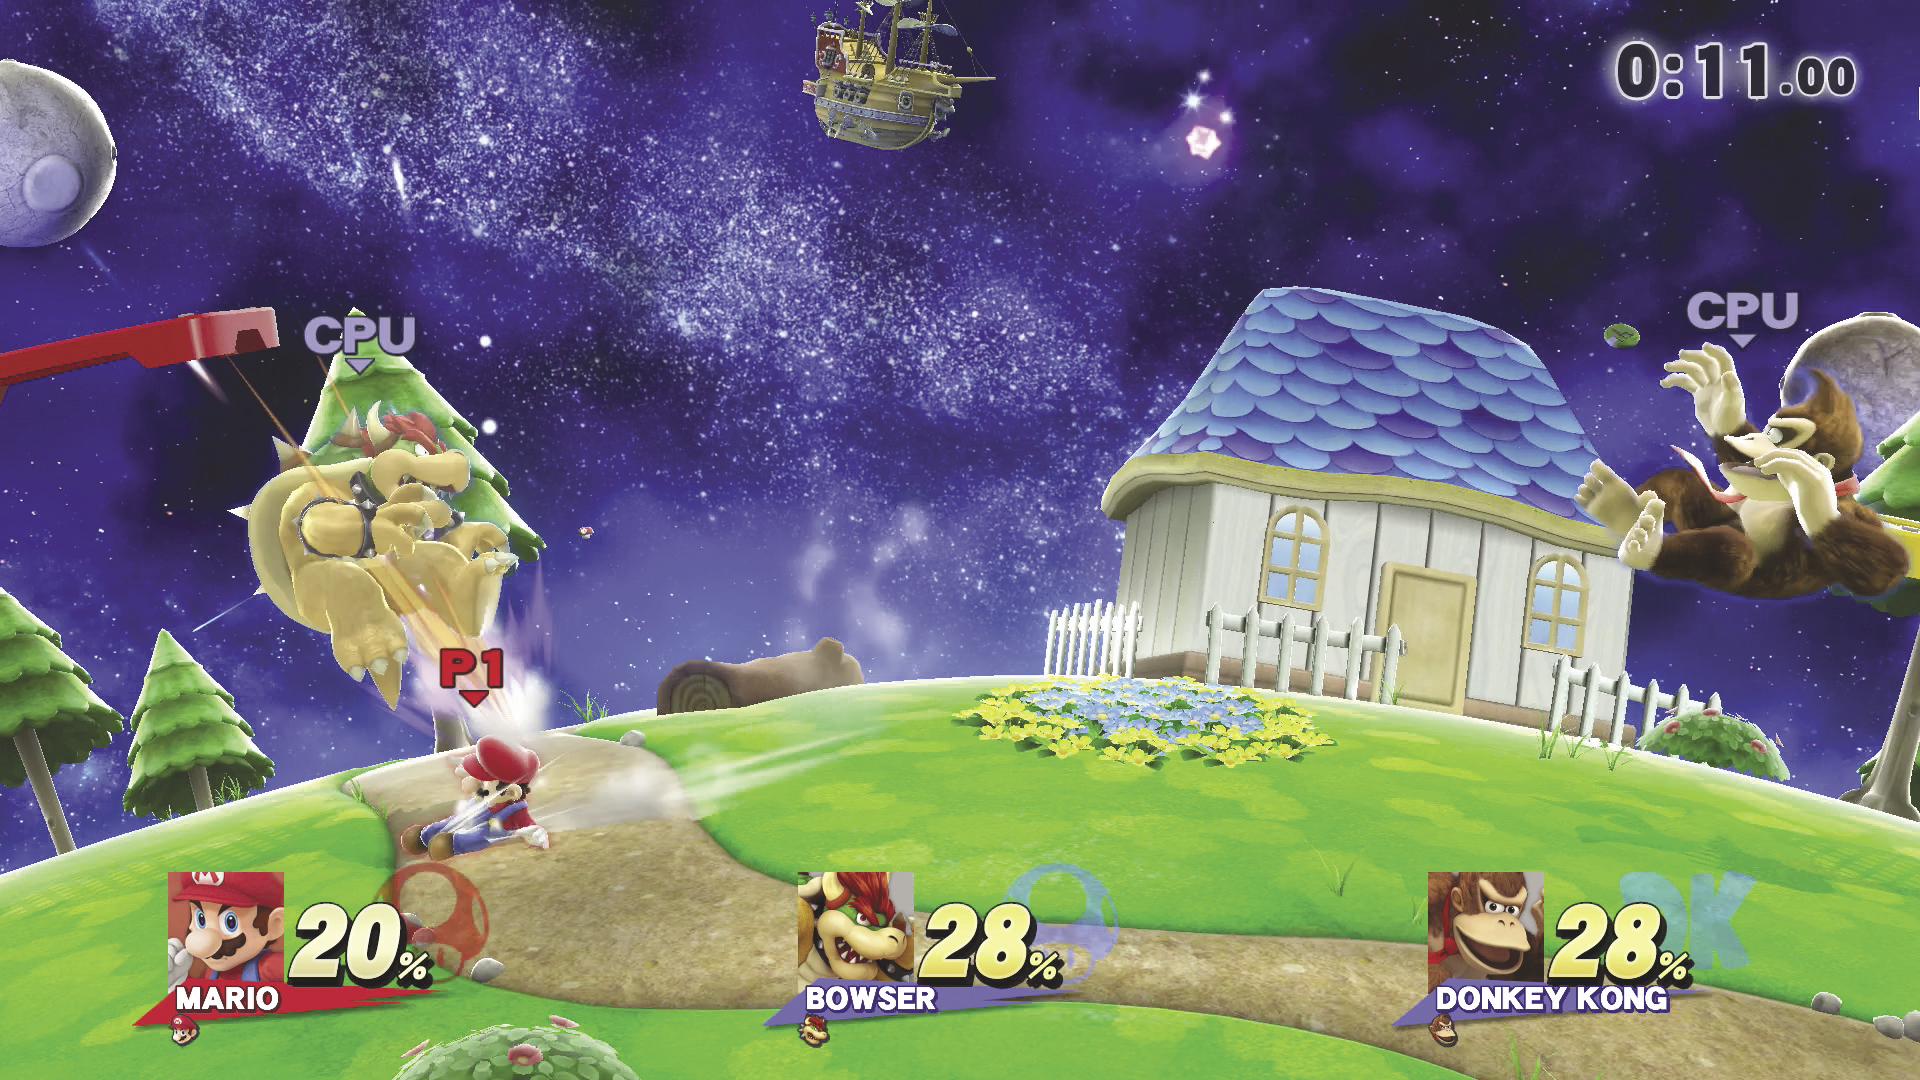
In Events, you must complete challenging scenarios under set conditions. Clear Events to record high scores and unlock additional scenarios. Use your skills to complete special objectives to receive useful rewards!
Clearing Events
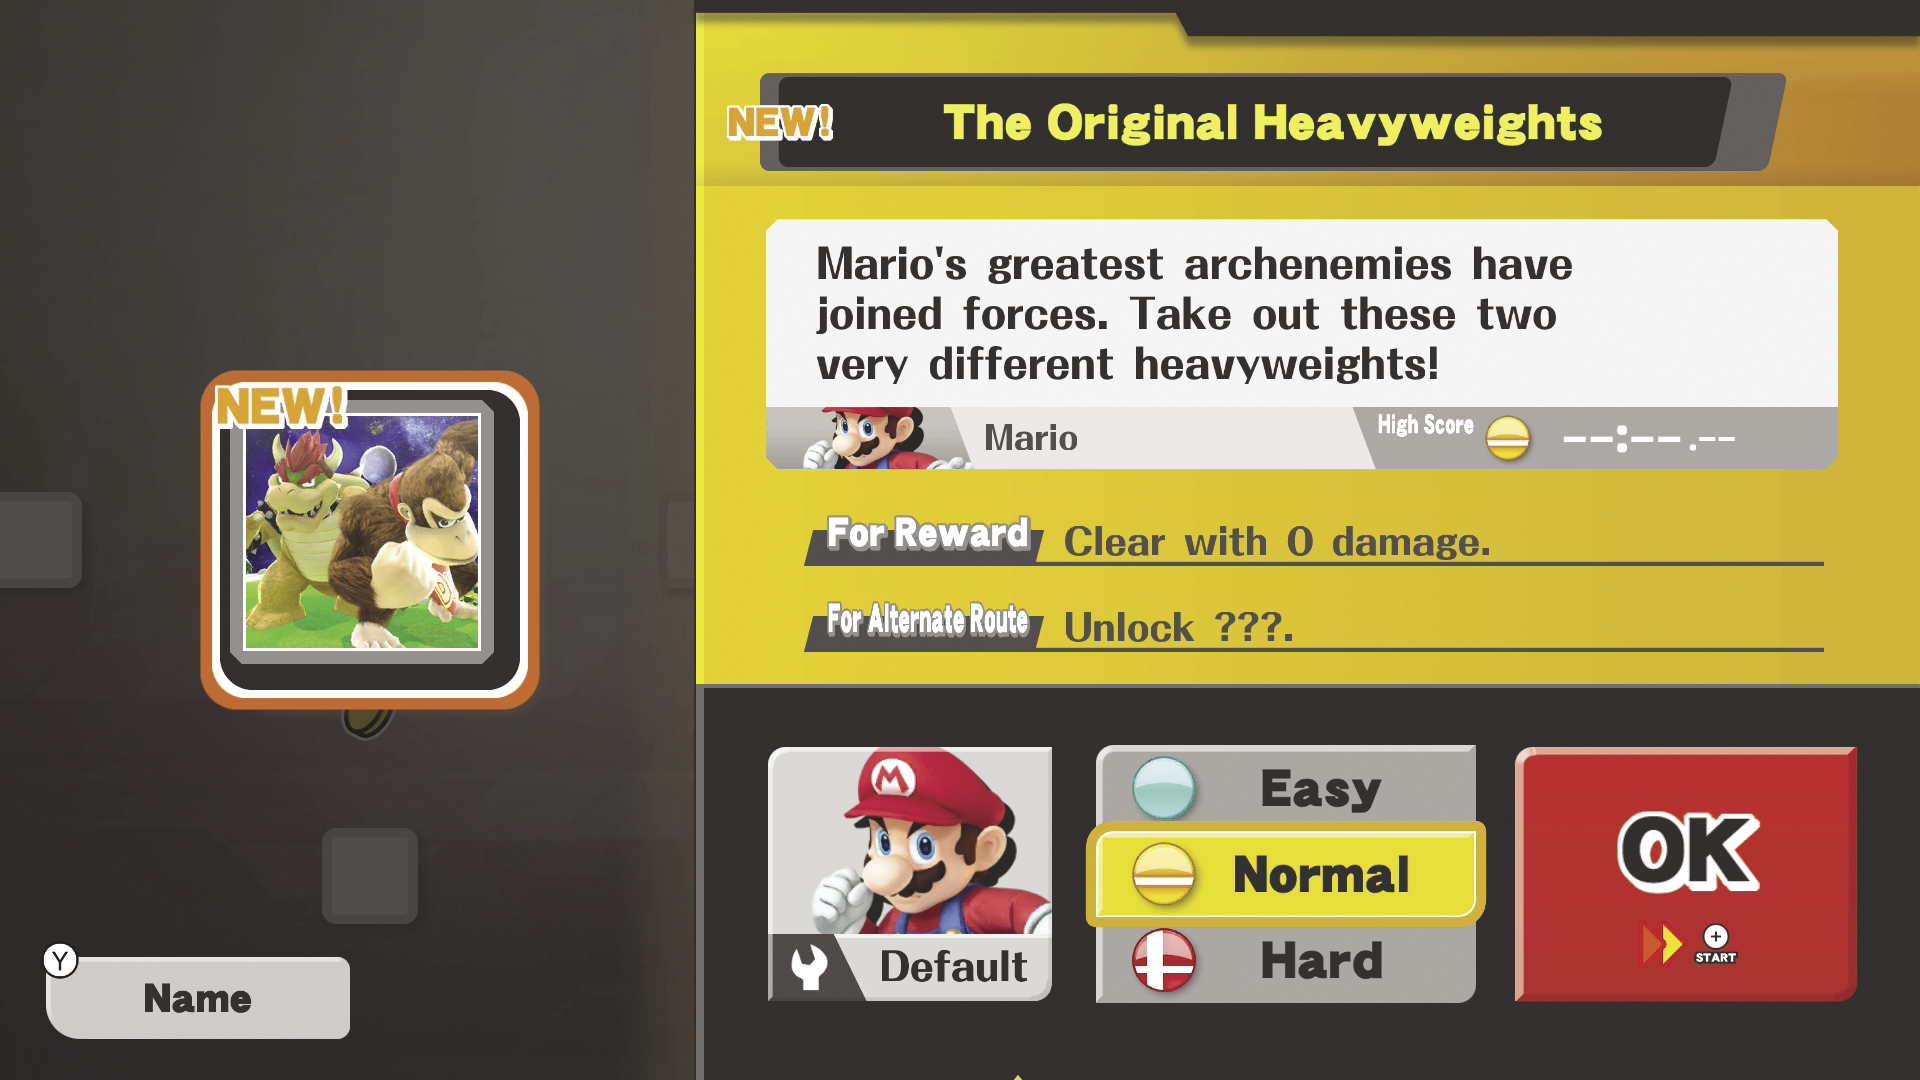
Select an available Event tile for a description of the specific scenario, reward conditions, and permitted fighters. Most Events can only be completed with a specified character, but you’re free to use any custom sets you’ve created. Each Event offers three difficulty levels: easy, normal, and hard. Difficulty levels can sometimes play an important role in reward conditions and Event-related Challenges, so choose wisely!
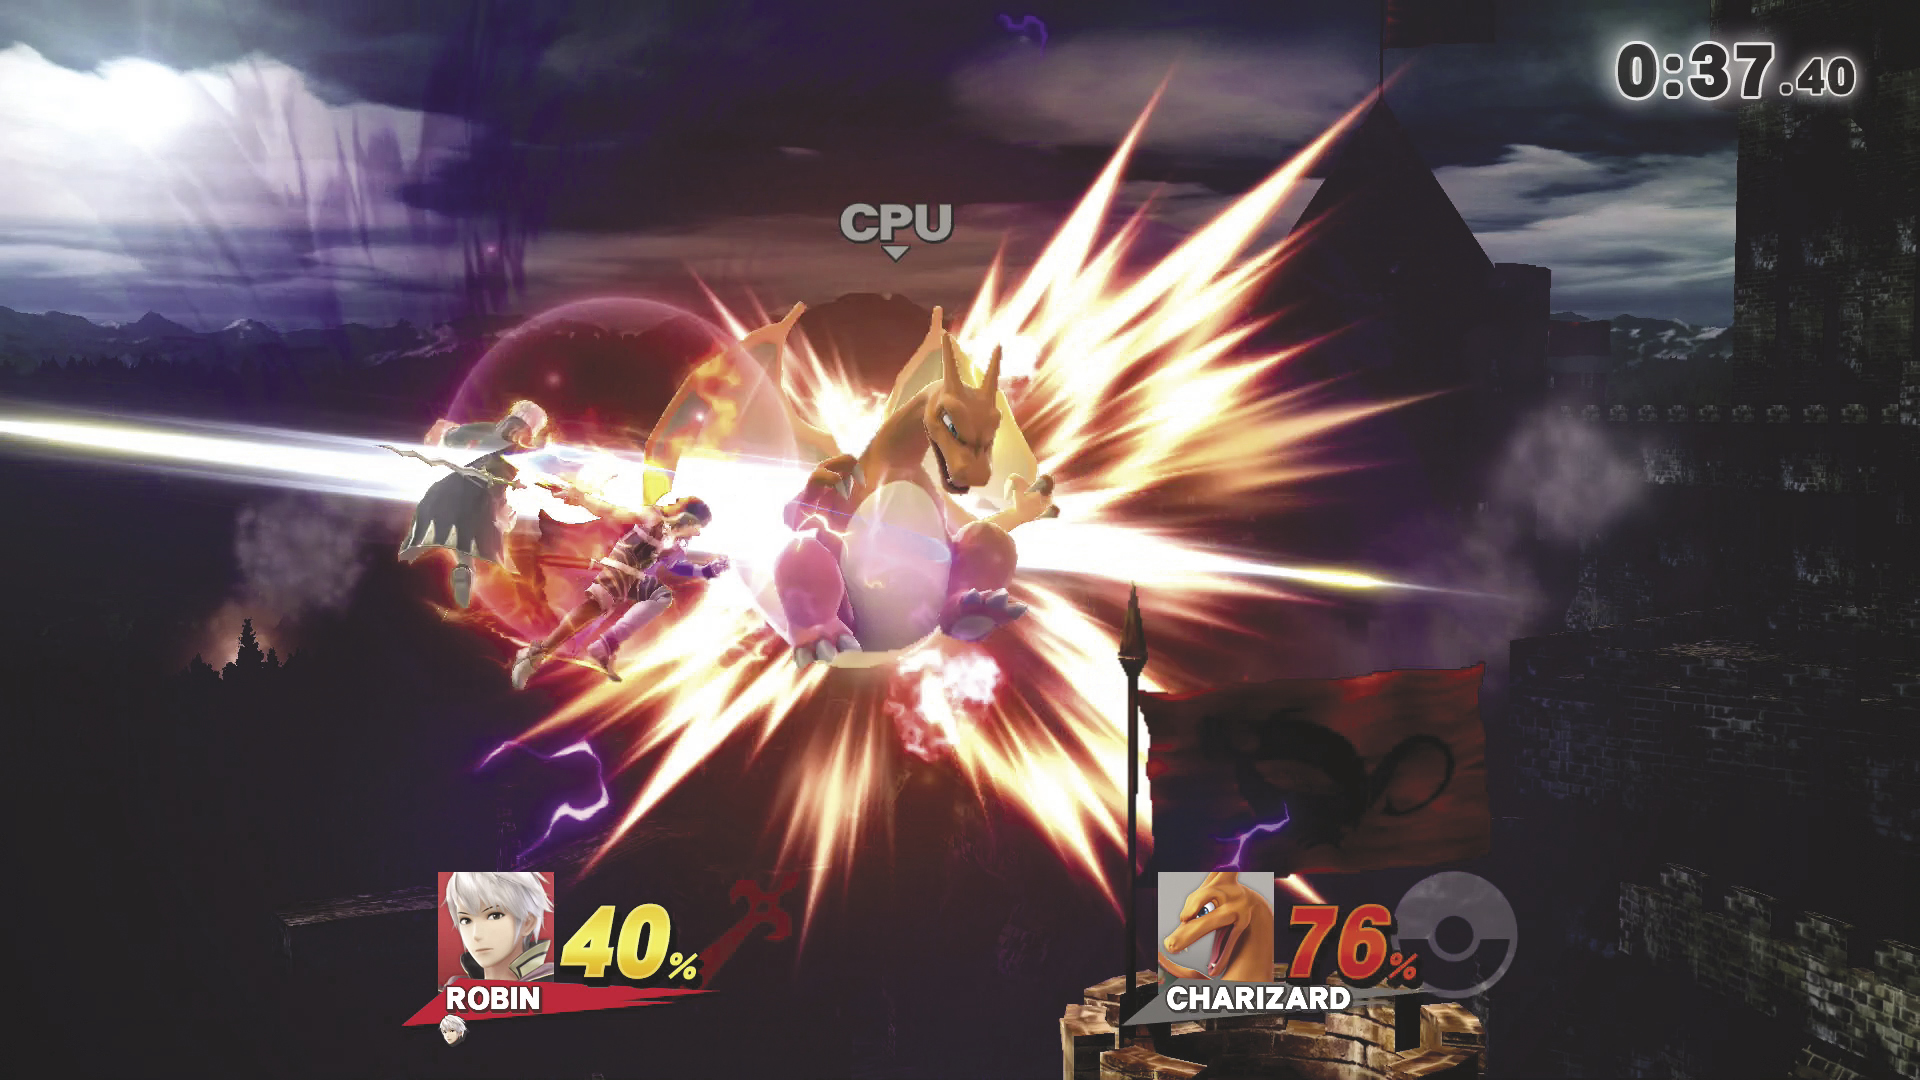
Make sure you read the Event description for important details about your primary objective. Some Events require that you utilize Special moves, defeat opponents within a certain amount of time, or prevent other fighters from completing objectives of their own. Clearing the “The Falchion’s Seal” Event, for example, requires the use of a Final Smash to defeat your opponent.
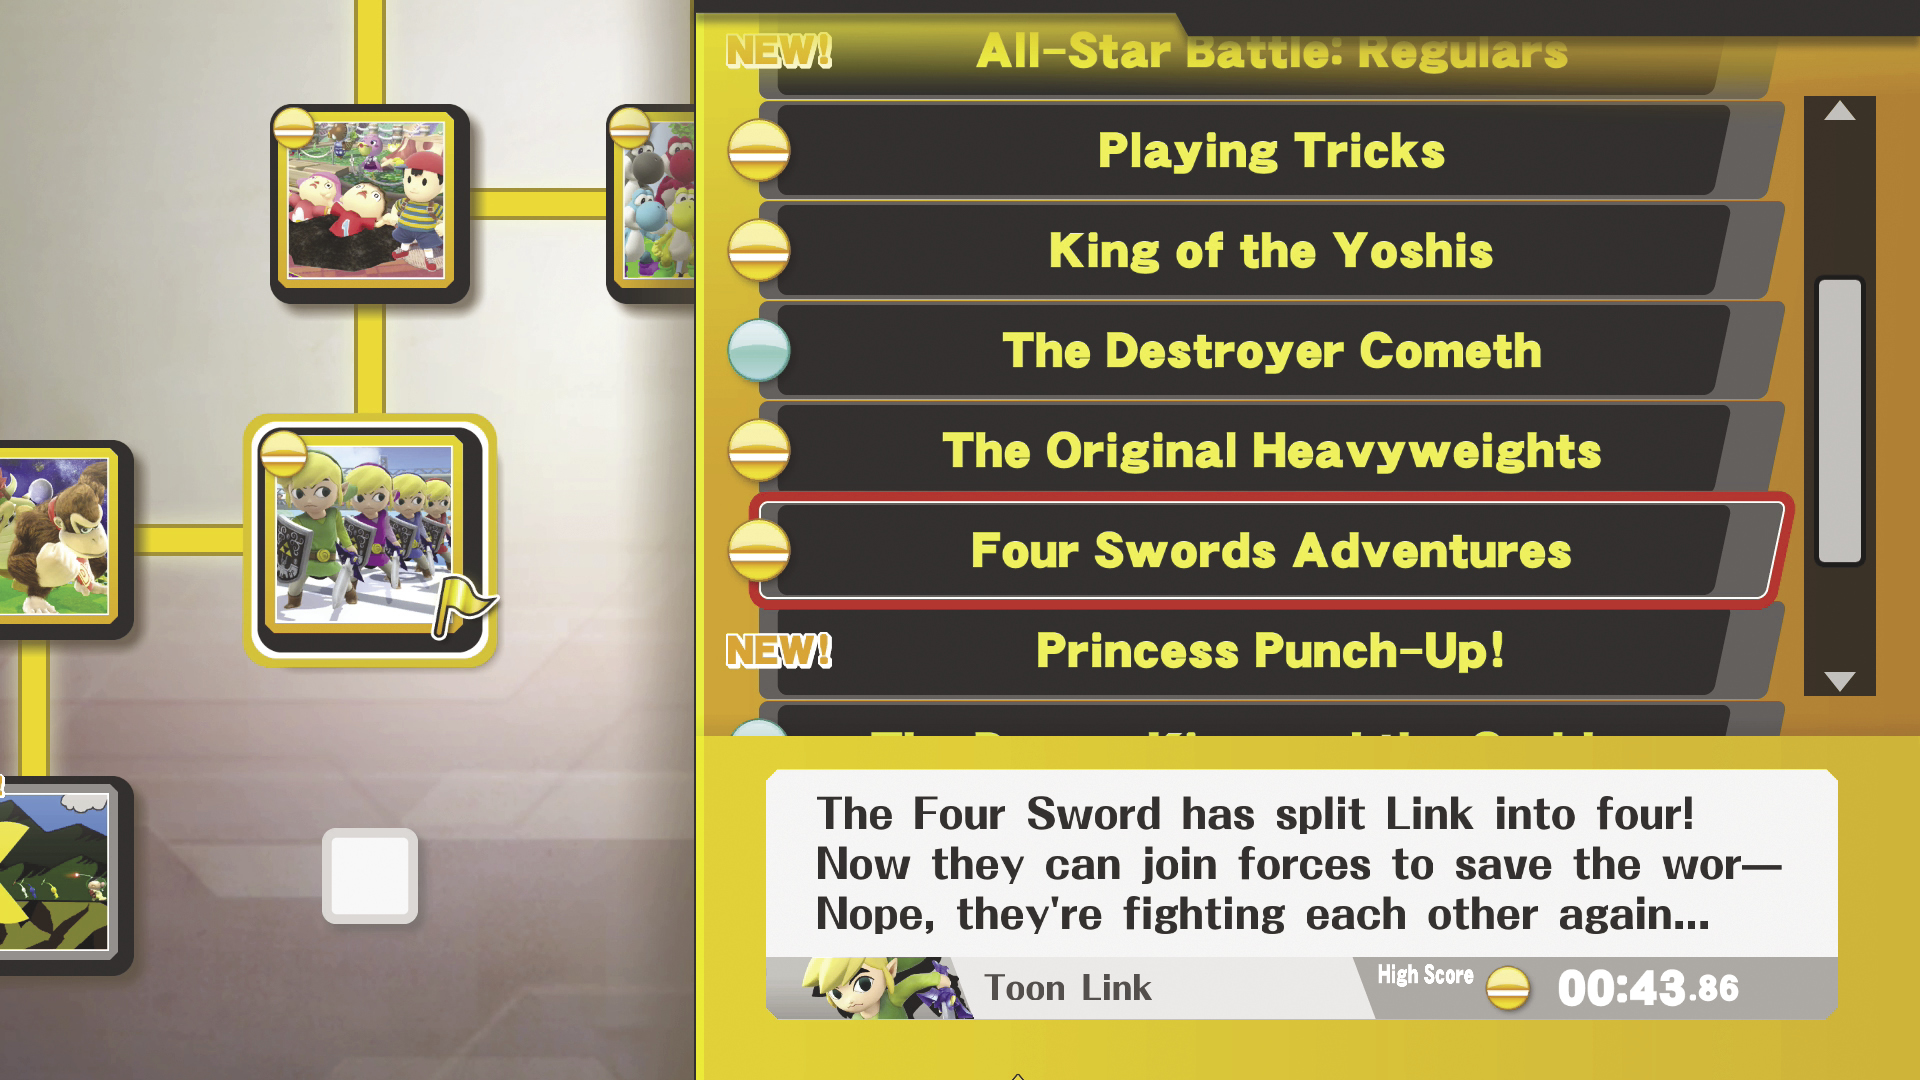
Once you’ve cleared an Event, an icon appears in the upper-left corner of its tile. The specific icon varies depending on your chosen difficulty level. A gold flag appears in the tile’s lower-right corner if you’ve managed to meet the Event’s reward condition. You can also press  to activate the Event list. The Event list is a quick and easy way to locate specific Events, review your progress, and identify unfinished tasks.
Unlocking New Events
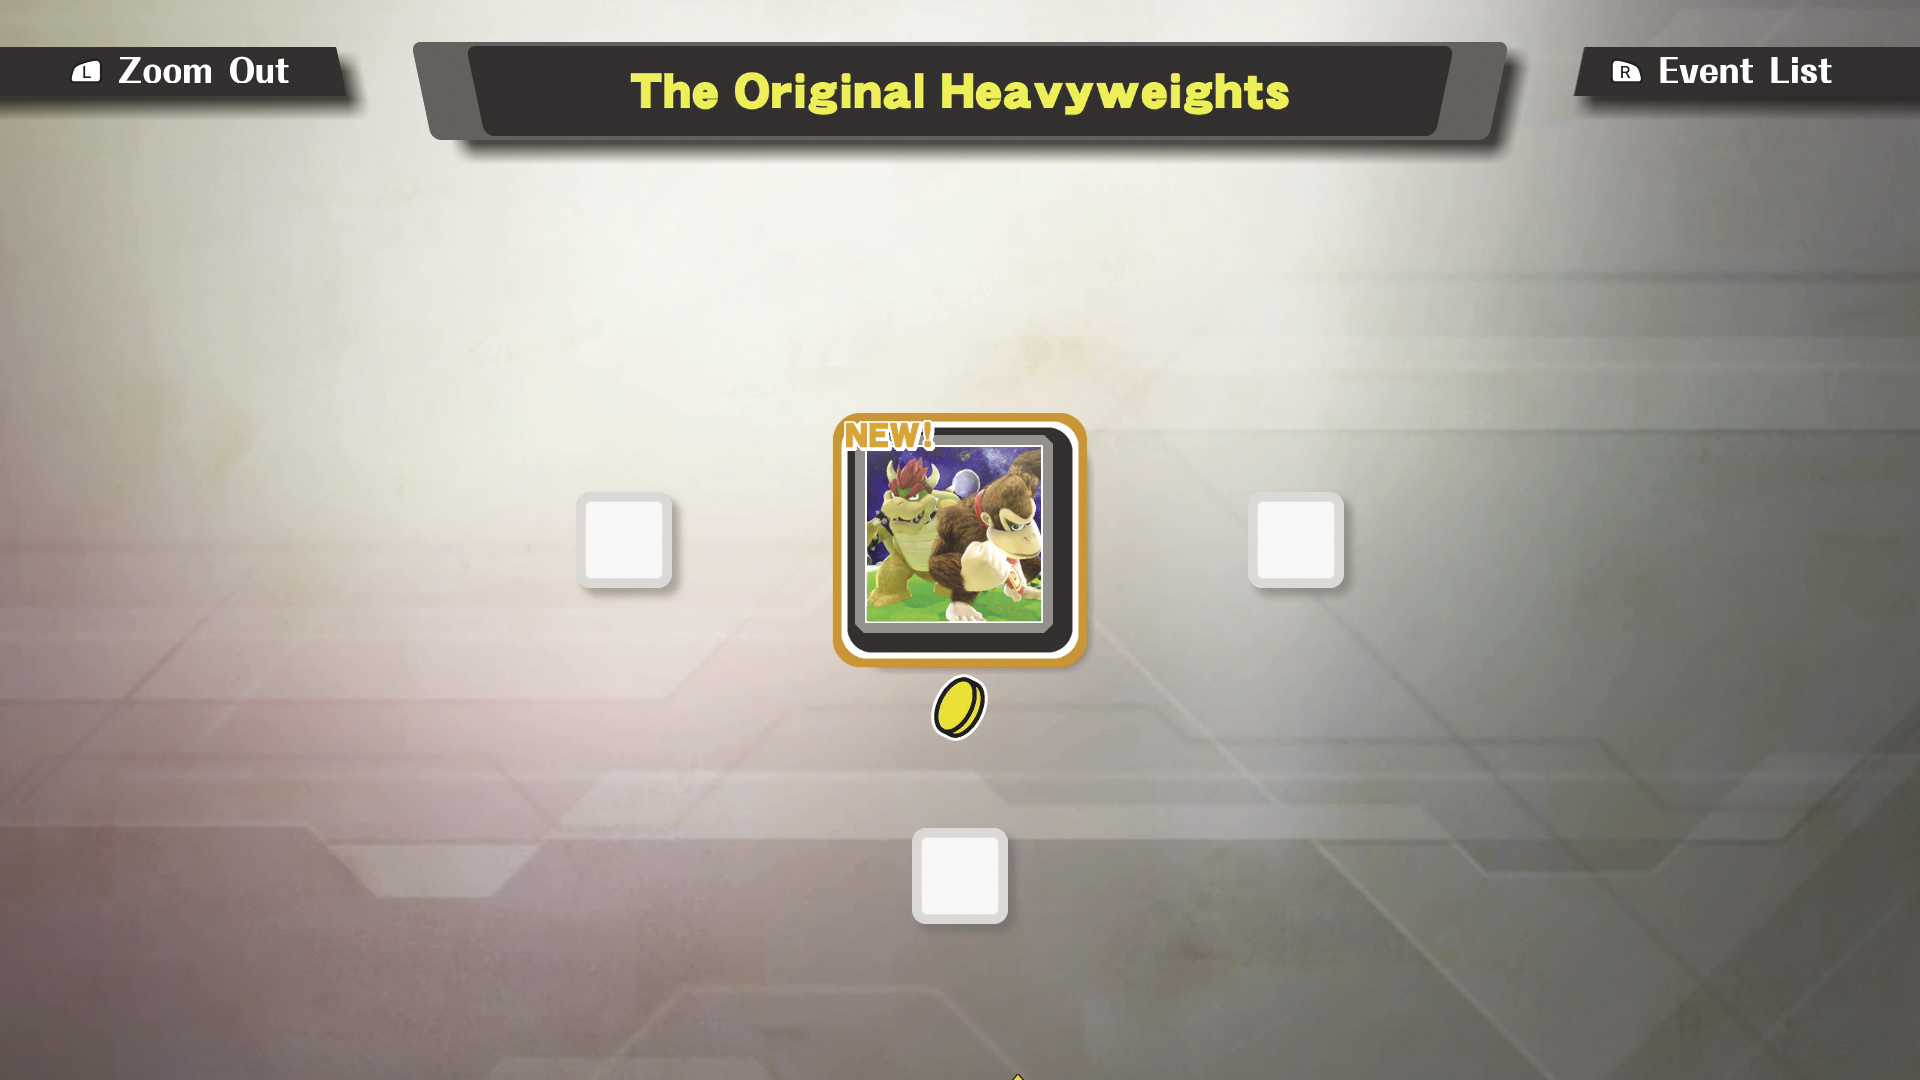
By default, only one Event tile is available. Clear the “The Original Heavyweights” Event to unlock nearby tiles. Some Events can only be unlocked after specific characters are added to your roster. If an Event description includes a condition for a hidden route, it means one of the connected Events involves a hidden character. A hidden route will appear only after you’ve cleared the appropriate Event and unlocked the required fighter.
Tile Key
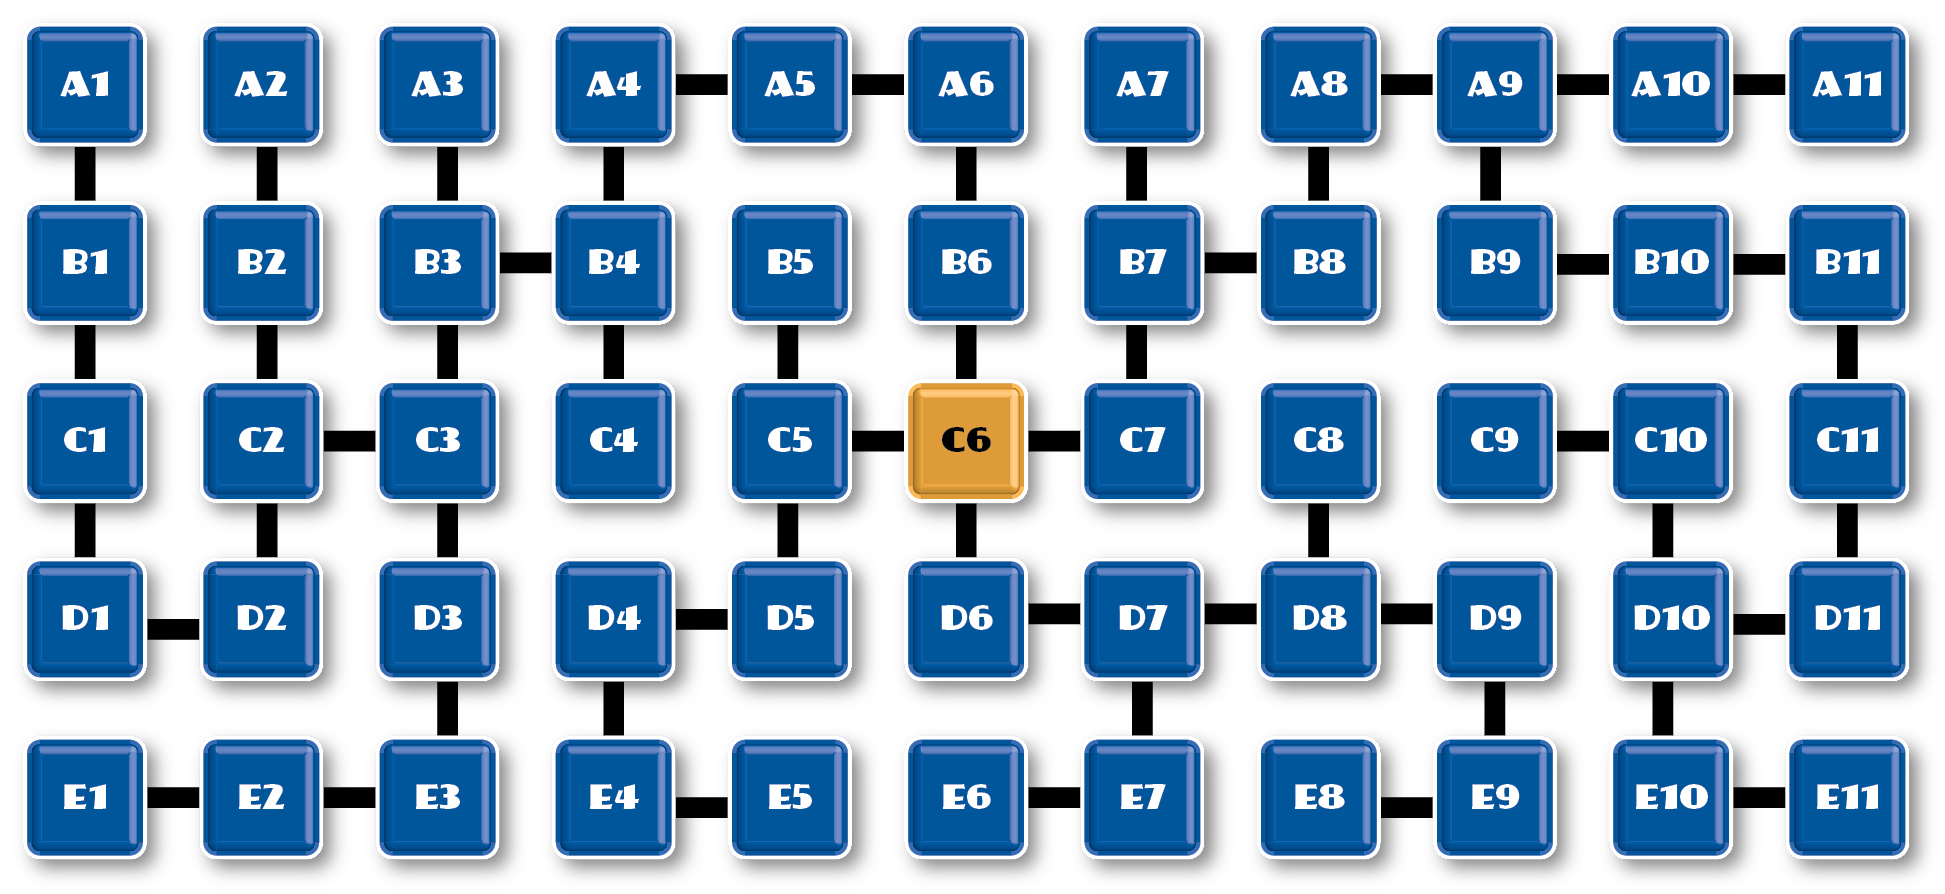
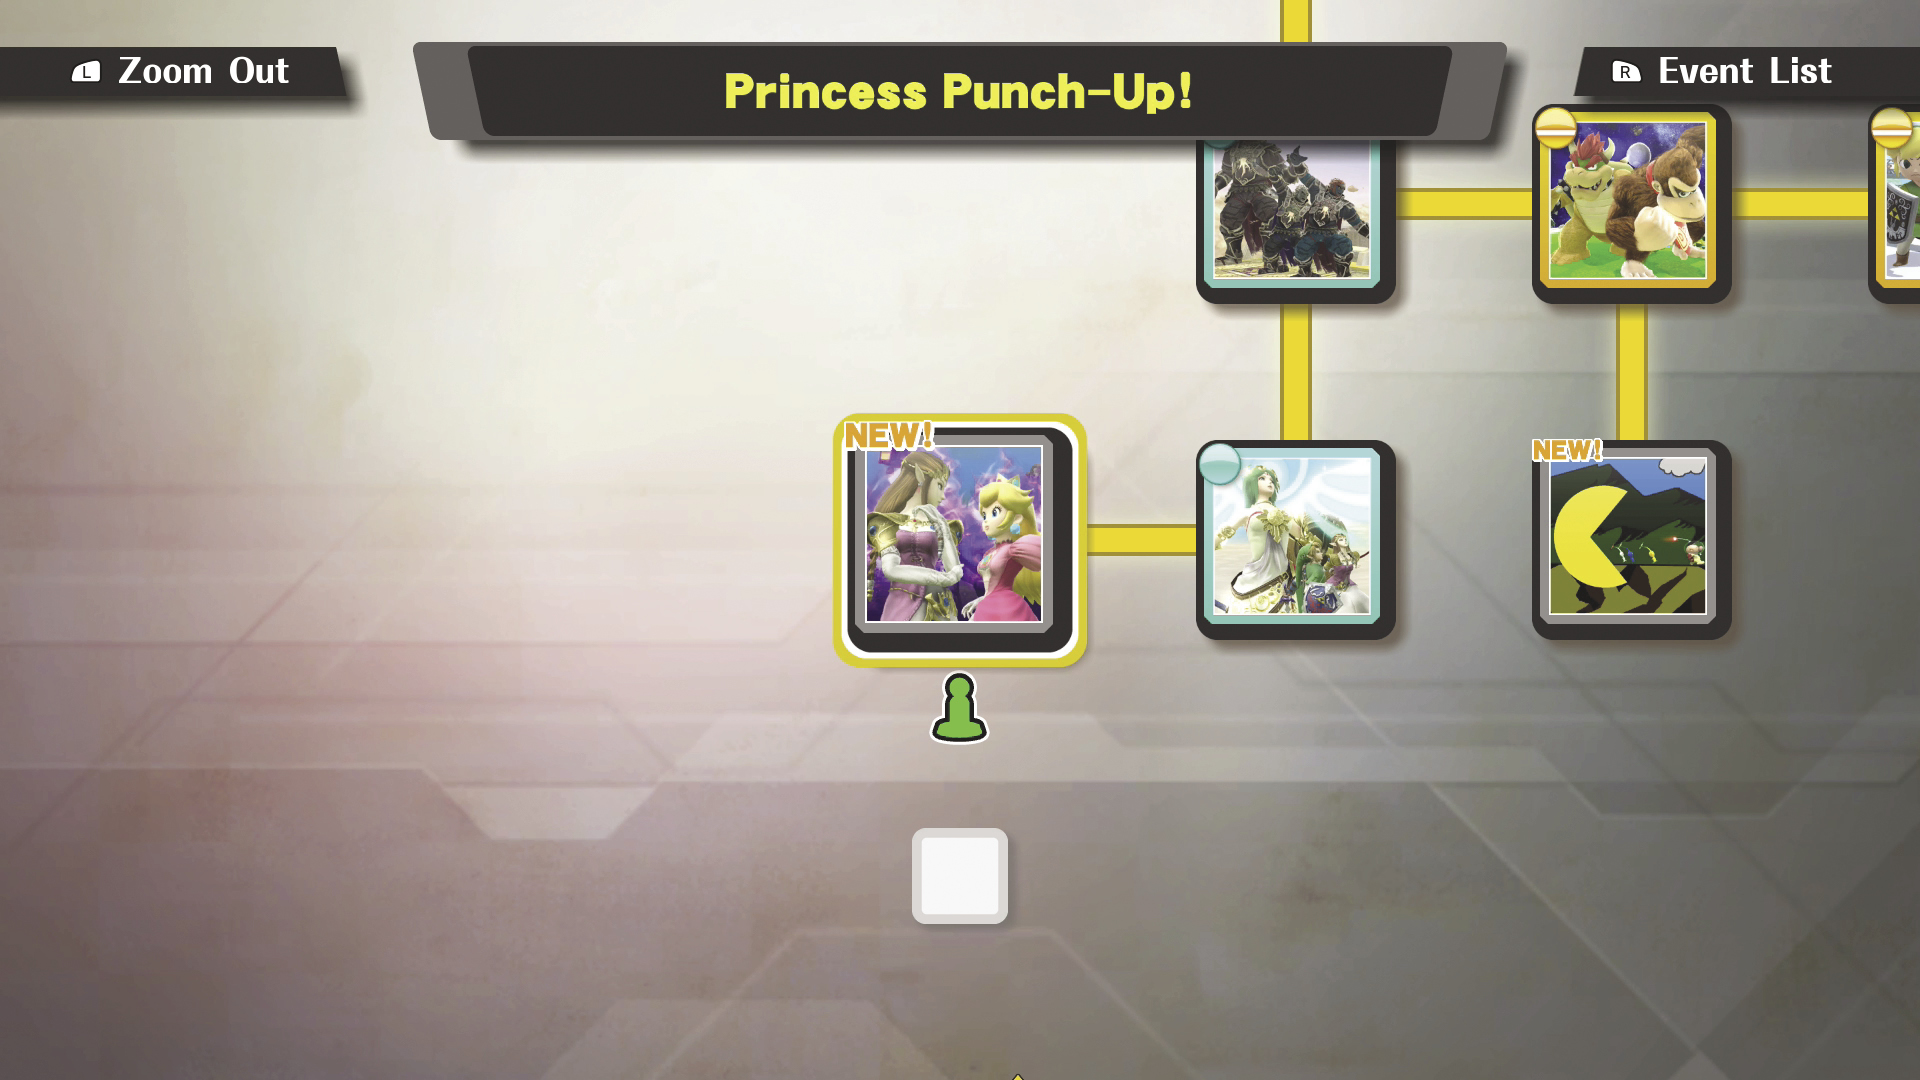
Unlocking paths not only allows access to new Events, it can sometimes grant you additional rewards like gold, trophies, as Crazy Orders Passes. These rewards are automatically collected when the appropriate paths are revealed.
Event Details
The game includes a total of 55 Solo Events connected by a series of branching paths.
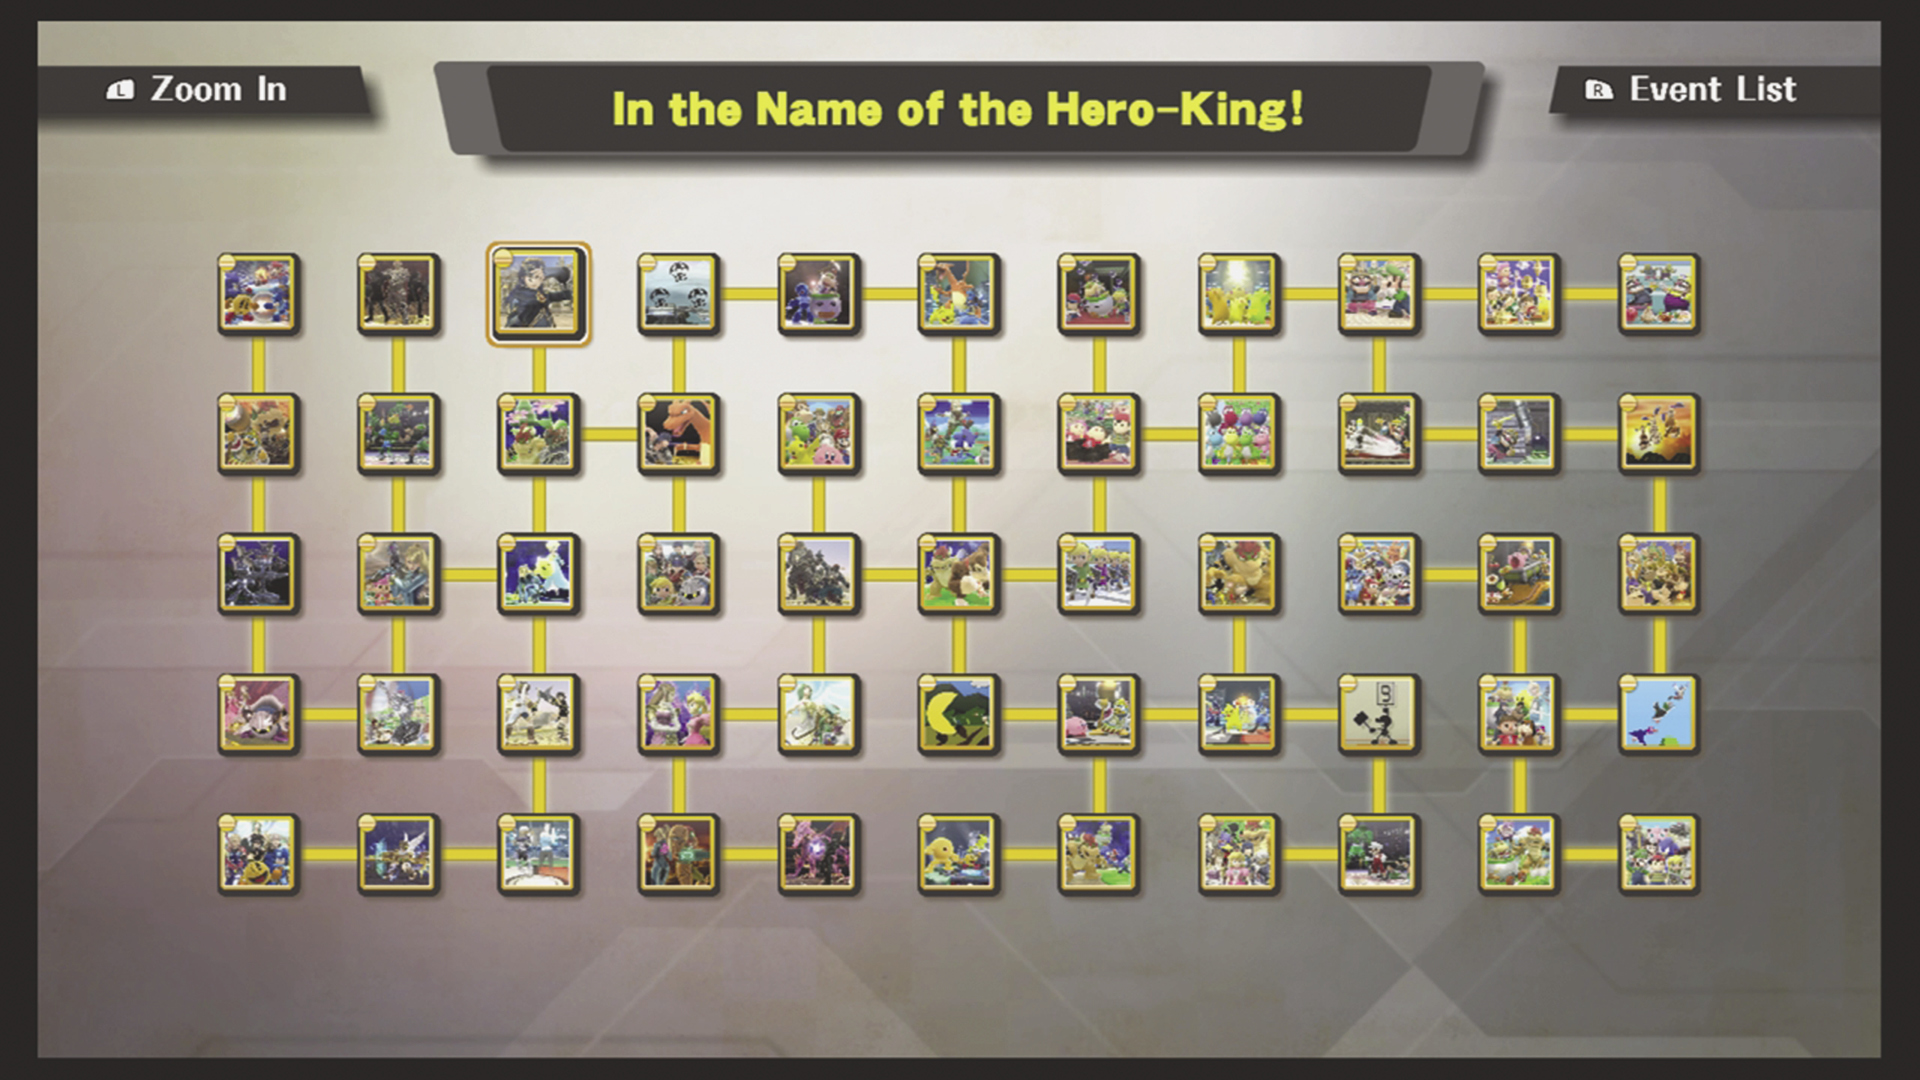
Solo Events
| Location | Event Name | Description | Required Character | Reward Condition | Hidden Route Condition |
|---|---|---|---|---|---|
| A1 | The FINAL Final Battle | This is it…the true FINAL BATTLE! | Your choice | Clear the stage on hard difficulty. | None |
| A2 | A Fated Battle | The fate of the world hangs in the balance. Ganondorf seems to have something up his sleeve, though… | Link | Clear on normal difficulty or higher within 80 seconds. | None |
| A3 | In the Name of the Hero-King! | “You may have taken my name…but can you match my strength?” | Marth | Clear the stage on hard difficulty. | None |
| A4 | Great Fox Defense | A mysterious group of bandits is invading! Don’t let a single one of them on board! | Falco | Clear the stage on hard difficulty. | None |
| A5 | Behind Enemy Lines | Fox has been critically injured in battle. Survive the ongoing skirmish until backup can arrive! | Fox | Clear on normal difficulty or higher after defeating 8 enemies. | Unlock Mr. Game & Watch. |
| A6 | Pokémon Battle | It’s a Pokémon battle royal. Gotta beat ’em all! | Greninja | Clear on normal difficulty or higher after defeating 2 enemies. | None |
| A7 | It’s Past Your Bedtime! | It’s WAY past these kids’ bedtime, but they’re still playing around! Send them all to sleep with a lullaby! | Jigglypuff | Clear the stage on hard difficulty. | None |
| A8 | When Lightning Strikes | It’s Pikachu versus Pikachu in an electrifying battle! Grab the Lightning items to take out the enemies quickly! | Pikachu | Clear on normal difficulty or higher within 60 seconds. | Unlock Wario. |
| A9 | Oh Yeah, Luigi Time! | What do you do when your bro is late for his duel with Wario? Beat Wario yourself, and show the world you’re player-one material! | Luigi | Clear within 30 seconds. | Unlock Dr. Mario. |
| A10 | Jackpot Opportunity | Tom Nook has set up a tournament, and the prizes are massive! Collect 1,000G, and pay off your loan! | Villager | Clear on normal difficulty or higher within 100 seconds. | None |
| A11 | Fitness Junkie | These two couch potatoes don’t get enough exercise. Time to whip them into shape! | Wii Fit Trainer | Clear on hard difficulty within 45 seconds. | None |
| B1 | The Final Battle | You have overcome many struggles and reached your final destination. Defeat these three bosses and claim victory! | Your choice | Clear the stage on hard difficulty. | None |
| B2 | No Mere Sparring Match | Little Mac has a new training regimen: a 60-second onslaught of walking punching bags! | Little Mac | Clear on normal difficulty or higher within 40 seconds. | None |
| B3 | Beautification | These fighters’ faces are a bit…scary. Give them a much-needed makeover by planting beautiful flowers on their heads! | Rosalina & Luma | Clear on hard difficulty within 60 seconds. | Unlock Lucina. |
| B4 | The Falchion’s Seal | This fearsome dragon cannot be sealed away without Chrom’s help. A Final Smash should do the trick! | Robin | Clear on normal difficulty or higher within 60 seconds. | None |
| B5 | All-Star Battle: Regulars | Take on eight fighters who have been smashing since the very beginning! | Your choice | Clear the stage on normal difficulty or higher. | None |
| B6 | Up to Speed | The quickest fighters in the land have met to do battle! Take out your opponents…if you can catch them! | Sonic | Clear on hard difficulty within 25 seconds. | None |
| B7 | Playing Tricks | Kids sure love to cause trouble, and Ness is no different! Use Pitfalls to bury both of the Villagers at once! | Ness | Clear on normal difficulty or higher within 20 seconds. | None |
| B8 | King of the Yoshis | Only one Yoshi can join Mario on his next big adventure. May the best Yoshi win! | Yoshi | Clear after defeating at least 5 enemies. | None |
| B9 | Doctor Schmoctor | “Ugh…I ain’t feelin’ so hot. Must be all that raw garlic I munched. Better waft on over to the doctor’s office! WAHAHAHA!” | Wario | Clear on normal difficulty or higher within 30 seconds. | None |
| B10 | Wrecking Mario | It’s not every day the wrecking crew asks for backup. Better demolish this building lickety-split to help them out! | Mario | Clear the stage on hard difficulty. | Unlock Duck Hunt. |
| B11 | Guardian of the Jungle | “Looks like poachers are hunting in my jungle. Time to teach them a lesson!” | Donkey Kong | Clear within 60 seconds. | None |
| C1 | Mechanical Menace | We knew this day would come. The robots have become self-aware! Take them out quickly or they’ll call for backup. | Shulk | Clear within 60 seconds. | None |
| C2 | Bounty Hunter Clash | Two bounty hunters fight over a priceless bounty! But they may not be the only ones looking to make a quick buck… | Captain Falcon | Clear on normal difficulty or higher within 80 seconds. | Unlock R.O.B. |
| C3 | A Situation of Some Gravity | In the far reaches of the galaxy, Samus discovers a planet with unusually strong gravity. Can she withstand it enough to defeat this alien life form? | Zero Suit Samus | Clear on normal difficulty or higher within 50 seconds. | Unlock Dark Pit. |
| C4 | The Ultimate Swordsman | In the middle of a training journey, Ike happens upon a castle under siege! It’s the perfect opportunity to test his skills! | Ike | Clear on normal difficulty or higher after defeating 5 enemies. | None |
| C5 | The Destroyer Cometh | The dark king and his brood have come to destroy Skyworld! Take them out before they smash up all of the terrain! | Palutena | Clear within 45 seconds. | None |
| C6 | The Original Heavyweights | Mario’s greatest archenemies have joined forces. Take out these two very different heavyweights! | Mario | Clear without taking any damage. | Unlock Falco. |
| C7 | Four Swords Adventures | The Four Sword has split Link into four! Now they can join forces to save the wor—Nope, they’re fighting each other again… | Toon Link | Clear on normal difficulty or higher within 45 seconds. | None |
| C8 | A Battle of Scale | They may be small, but they never give up! Prove that the biggest doesn’t always mean the best! | Olimar | Clear within 60 seconds. | None |
| C9 | All-Star Battle: Brawl | Take on 10 fighters who’ve been in the roster since Super Smash Bros. Brawl! | Your choice | Clear the stage on normal difficulty or higher. | None |
| C10 | Kirby’s Crazy Appetite | Kirby’s absolutely starving over here! Feed him until he’s all healthy again. | Kirby | Clear the stage on hard difficulty. | None |
| C11 | The Jungle in Chaos | Are they Kongs, or are they bunnies?! Whatever they are, these strange creatures are causing a ruckus. Chase them out quickly! | Diddy Kong | Clear on normal difficulty or higher within 90 seconds. | Unlock Falco. |
| D1 | Unwavering Chivalry | A noble knight raises not his sword against a lady. Therefore, KO no maiden—Marth is your only target! | Meta Knight | Clear the stage on hard difficulty. | None |
| D2 | Robotic Rampage | A new experimental giant robot has gone haywire! If you don’t take it out, it might destroy the whole island! | R.O.B. | Clear within 70 seconds. | None |
| D3 | Doppelgänger Duel | Dark Pit has challenged Pit to a duel! Time to decide once and for all which angel is the real deal! | Dark Pit | Clear the stage on hard difficulty. | None |
| D4 | Princess Punch-Up! | It’s princess against princess in a royal showdown! Looks like their bodyguards just became obsolete. | Zelda | Clear on normal difficulty or higher within 60 seconds. | None |
| D5 | The Demon King and the Goddess | The Demon King wages battle against his eternal foes. They seem more confident than usual—some trick up their sleeve? | Ganondorf | Clear on normal difficulty or higher within 45 seconds. | None |
| D6 | The Big 7650! | Use PAC-MAN’s Final Smash to chomp through six enemies in a row to get a 7,650-point bonus! | PAC-MAN | Clear the stage on hard difficulty. | None |
| D7 | The King Strikes Back | King Dedede has set up a one-on-one prizefight to settle things with his nemesis! Will the king finally prevail?! | King Dedede | Clear without taking any damage. | None |
| D8 | Fire-Type Frenzy | Some rather unlikely Pokémon have turned up the heat! Show them who’s the real Fire-type around here! | Charizard | Clear on normal difficulty or higher within 70 seconds. | Unlock Mr. Game & Watch. |
| D9 | That Elusive 9 | Defeat the enemy with the number 9 Judge attack! If you use anything else, you’ll be here awhile… | Mr. Game & Watch | Clear the stage on hard difficulty. | None |
| D10 | New Challengers 1 | Take on seven of the newcomers to the Smash Bros. series! | Your choice | Clear the stage on normal difficulty or higher. | None |
| D11 | Duck Hunt! | Today’s target: take out 10 ducks in a row. But there are some extra birds who are determined to get in the way… | Duck Hunt | Clear the stage on hard difficulty. | Unlock Lucina. |
| E1 | New Challengers 2 | Take on another seven newcomers to the Smash Bros. series! | Your choice | Clear the stage on normal difficulty or higher. | None |
| E2 | The Break of Day | Collect the three parts required to assemble the Daybreak, then bring the ruin to your opponents with this powerful weapon! | Pit | Clear within 70 seconds. | None |
| E3 | Aura Mastery | A true master of Aura doesn’t need eyes to sense the enemy. With your ultimate Aura at the ready, defeat the invisible foes! | Lucario | Clear on normal difficulty or higher within 90 seconds. | None |
| E4 | Identity Crisis | Two fierce heroines, each with her own secrets. Only one will reign victorious! | Sheik | Clear on hard difficulty within 50 seconds. | None |
| E5 | Galactic Avenger | “The time has come to avenge my parents. Anyone in my path will be destroyed!” | Samus | Clear on normal difficulty or higher within 80 seconds. | None |
| E6 | Yellow Devils | “Ah, it’s my old foe, the Yellow Devil. But who are these other yellow monsters?! Is this the work of Dr. Wily?!” | Mega Man | Clear on normal difficulty or higher within 90 seconds. | None |
| E7 | Family Ties | Your big, bad dad wants to show you the ropes of being a villain. Back him up as he takes on those pesky brothers! | Bowser Jr. | Clear on normal difficulty or higher within 30 seconds. | None |
| E8 | All-Star Battle: Melee | Take on eight fighters who have been in the roster since Super Smash Bros. Melee! | Your choice | Clear the stage on normal difficulty or higher. | None |
| E9 | Below the Belt | The battle is decided…but this contender won’t stop attacking! It’s up to the referee to intervene! | Mario | Clear on hard difficulty within 60 seconds. | Unlock Falco. |
| E10 | Enough with the Kidnapping! | When you’ve been kidnapped this many times, maybe it’s time to learn some self-defense… | Peach | Clear within 60 seconds. | Unlock R.O.B. |
| E11 | All-Star Battle: Secret | Take on eight fighters who were secret unlockables in previous titles! | Your choice | Clear the stage on normal difficulty or higher. | None |
All-Star (Solo)
All-Star Overview
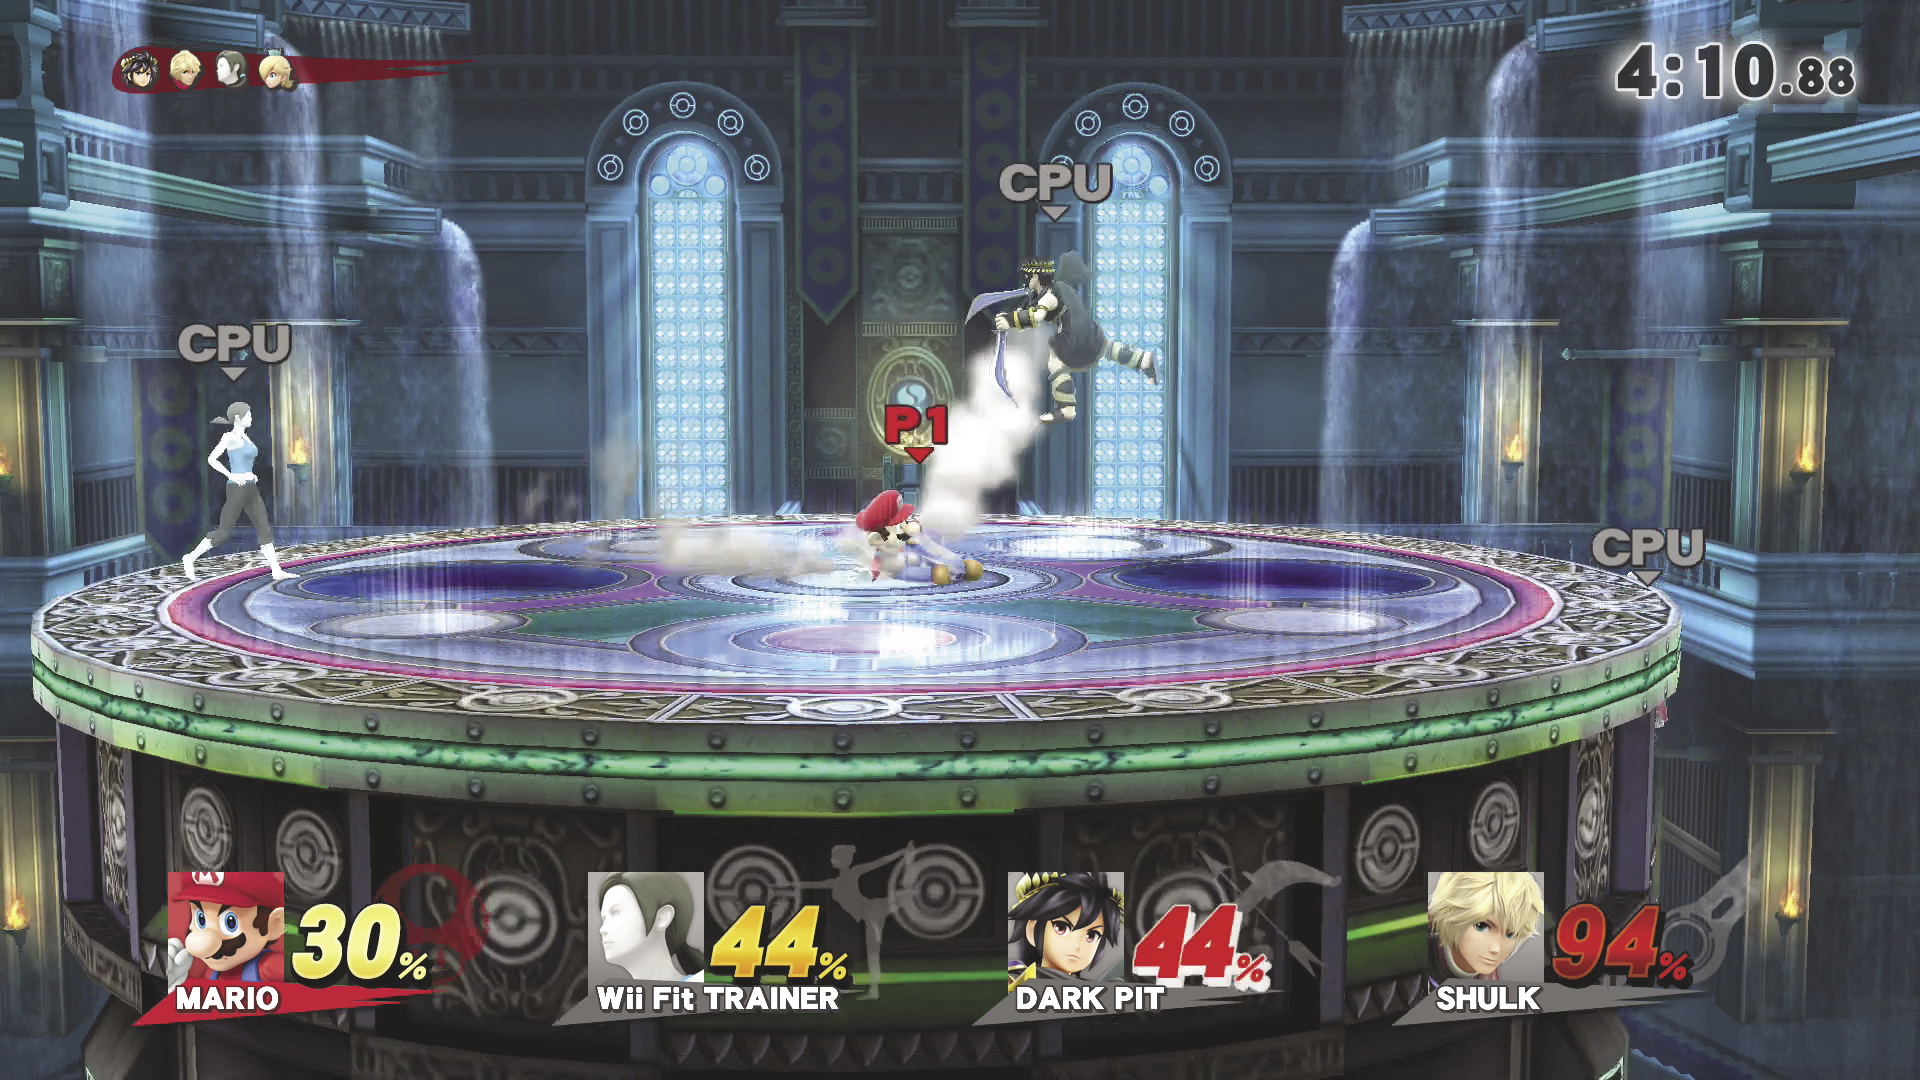
In All-Star, you must complete a series of seven matches, each of which contains fighters from various time periods of video game history. To win a match, simply KO all of the available opponents.
You’re only given a single life to complete a game of All-Star—if you’re KO’d, the game ends, and you must restart from the beginning. You are, however, provided with a limited supply of recovery items that can be used between matches. Knowing when to use each of the available items is an important part of any All-Star strategy.
Between Matches
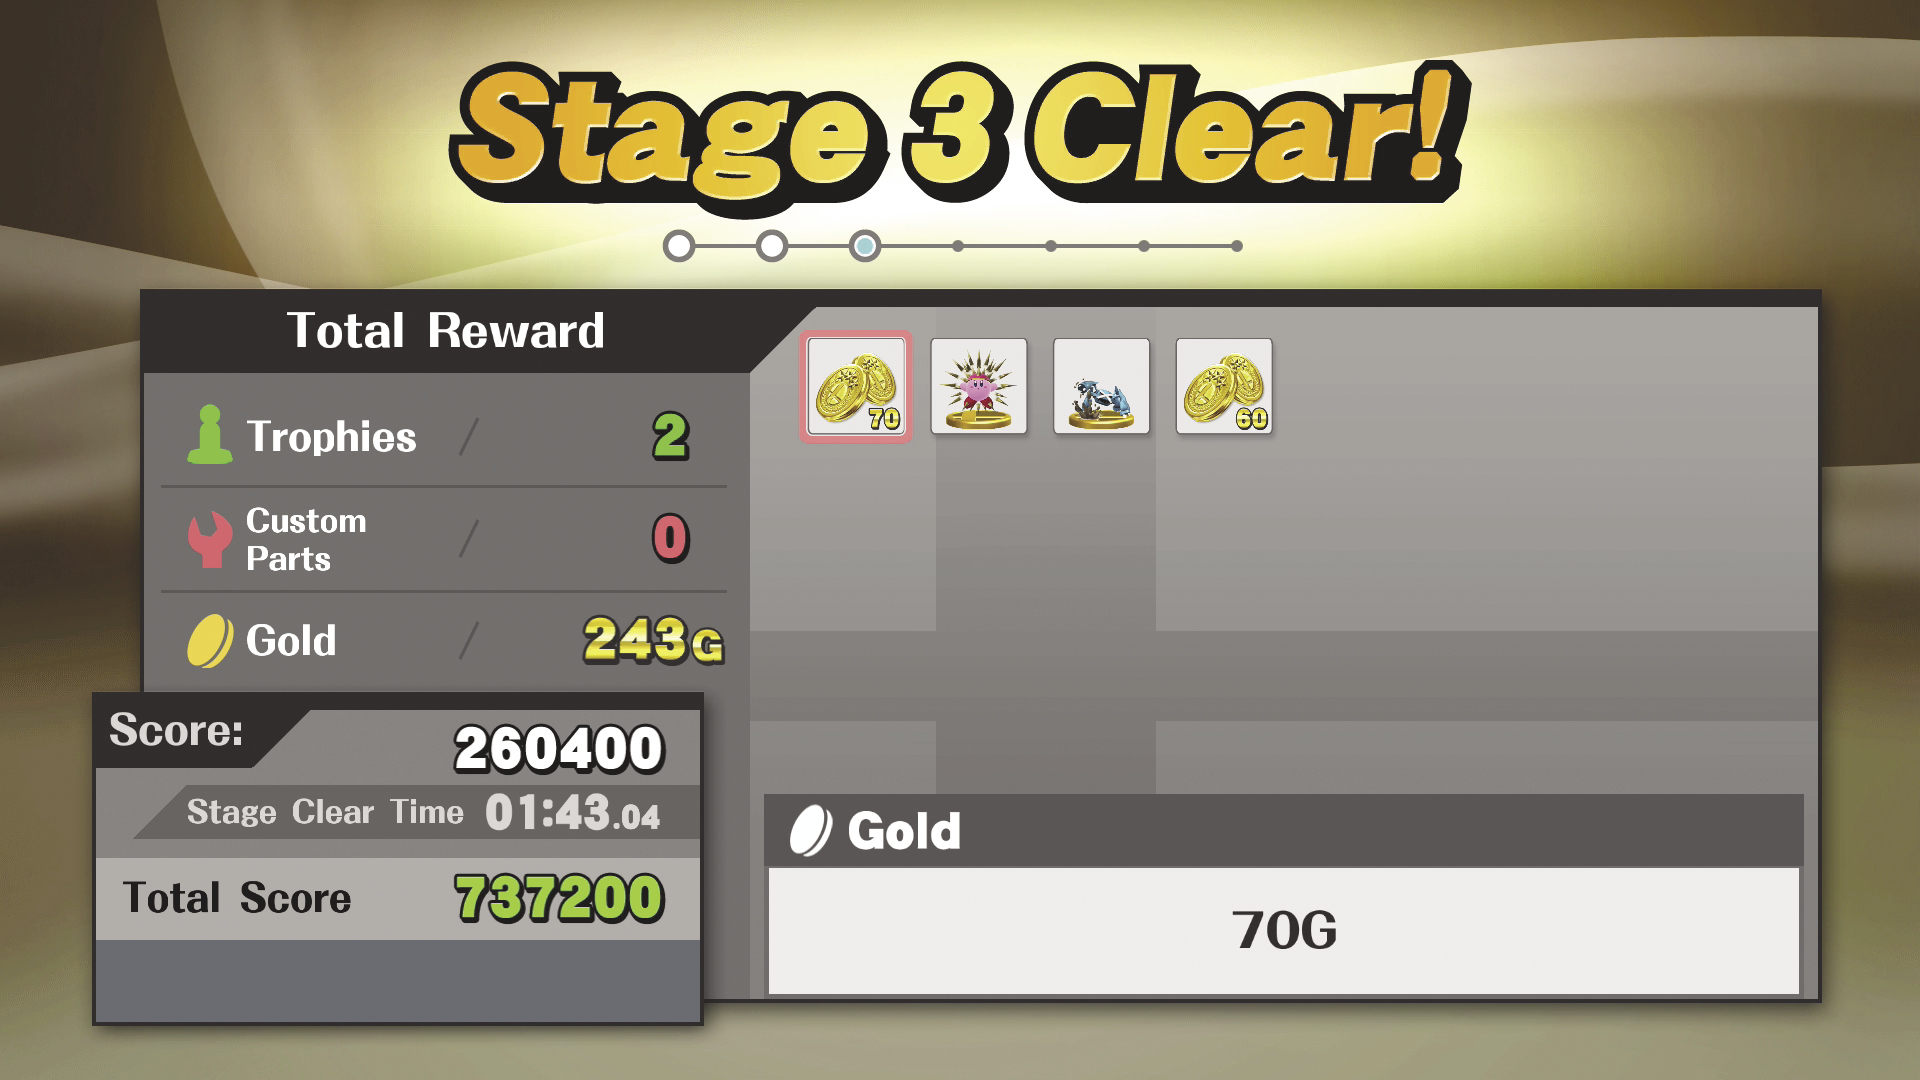
After you clear a stage, you’re given a reward based on your performance. When the results are displayed, use the Left Stick to review all of the rewards you’ve collected during your All-Star playthrough.
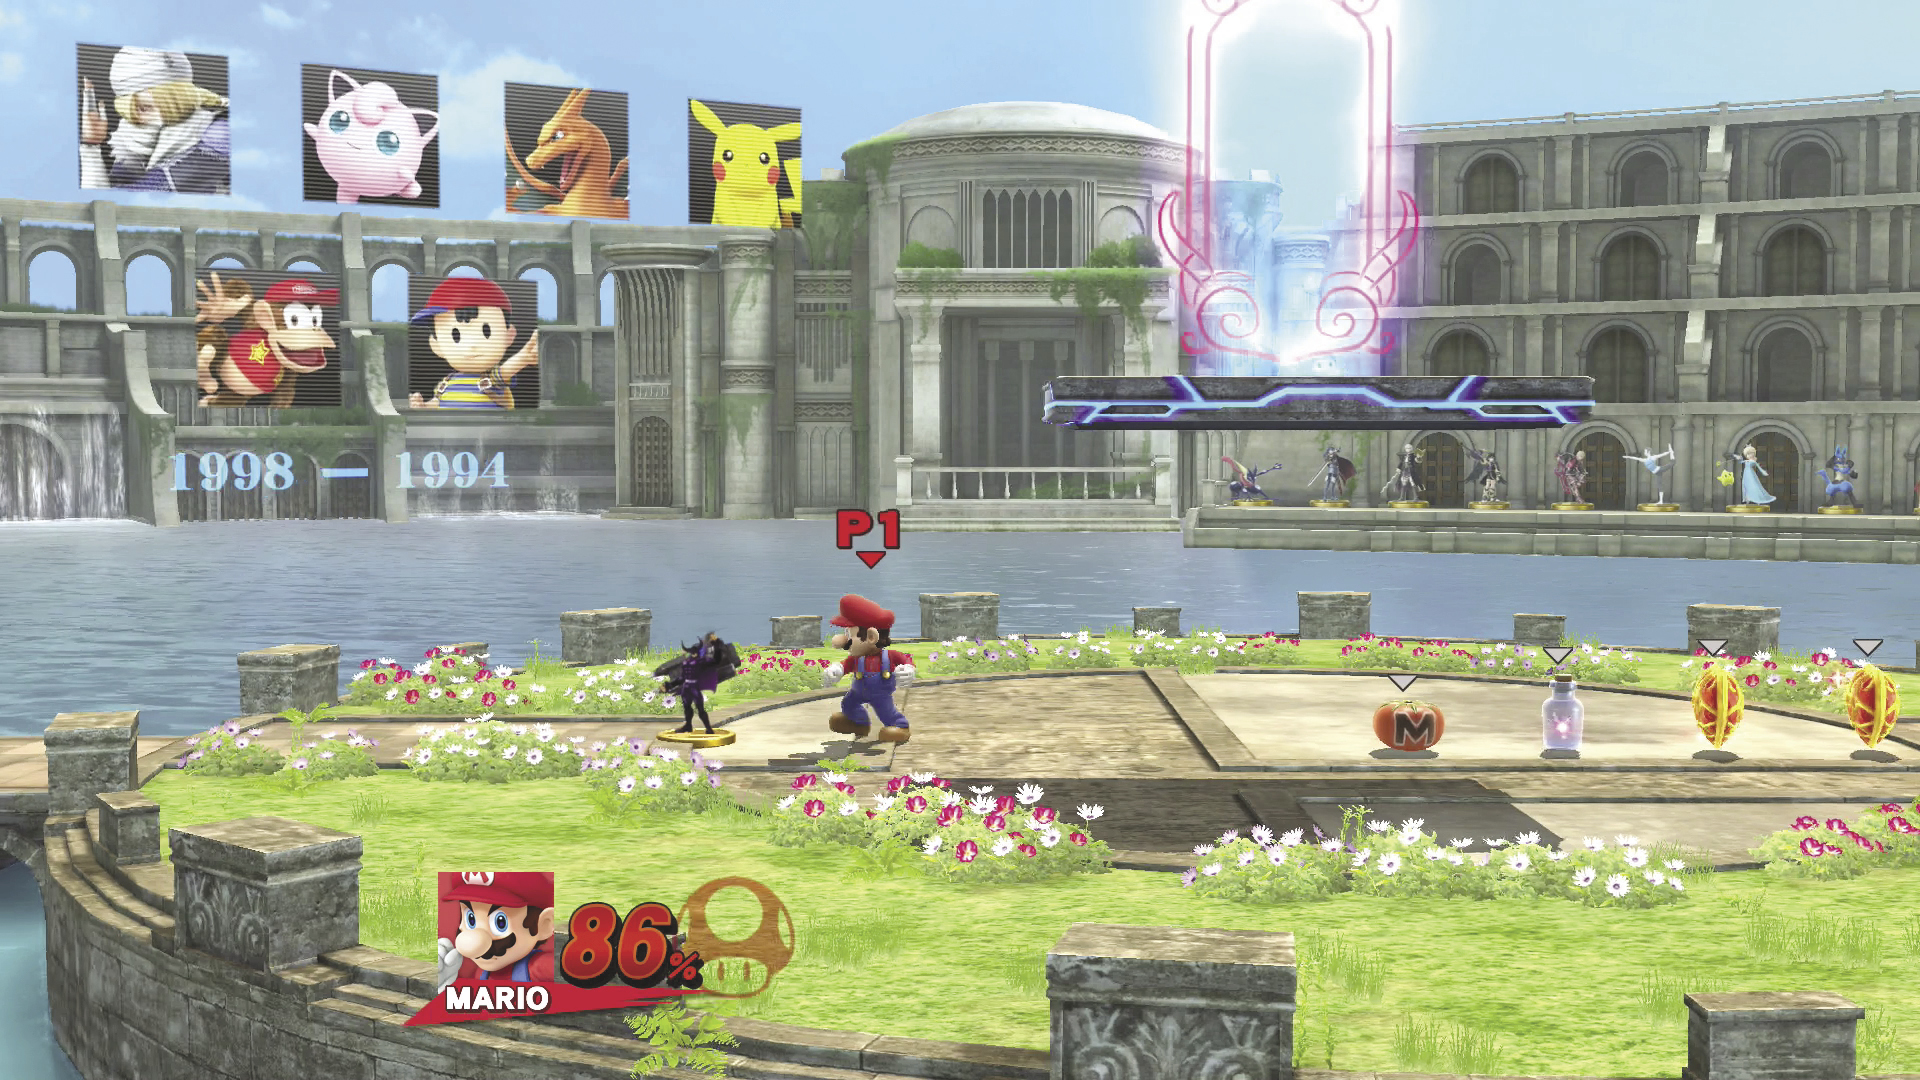
Between matches, your fighter appears in the rest area. The portal floating near the center of the rest area will transport your fighter to the next match, so avoid touching it until you’re ready to continue. The portraits that appear near to the left of the portal indicate your opponents in the upcoming match. Sometimes a randomly selected collectible item appears near these portraits, so make sure you check that area before you head out.
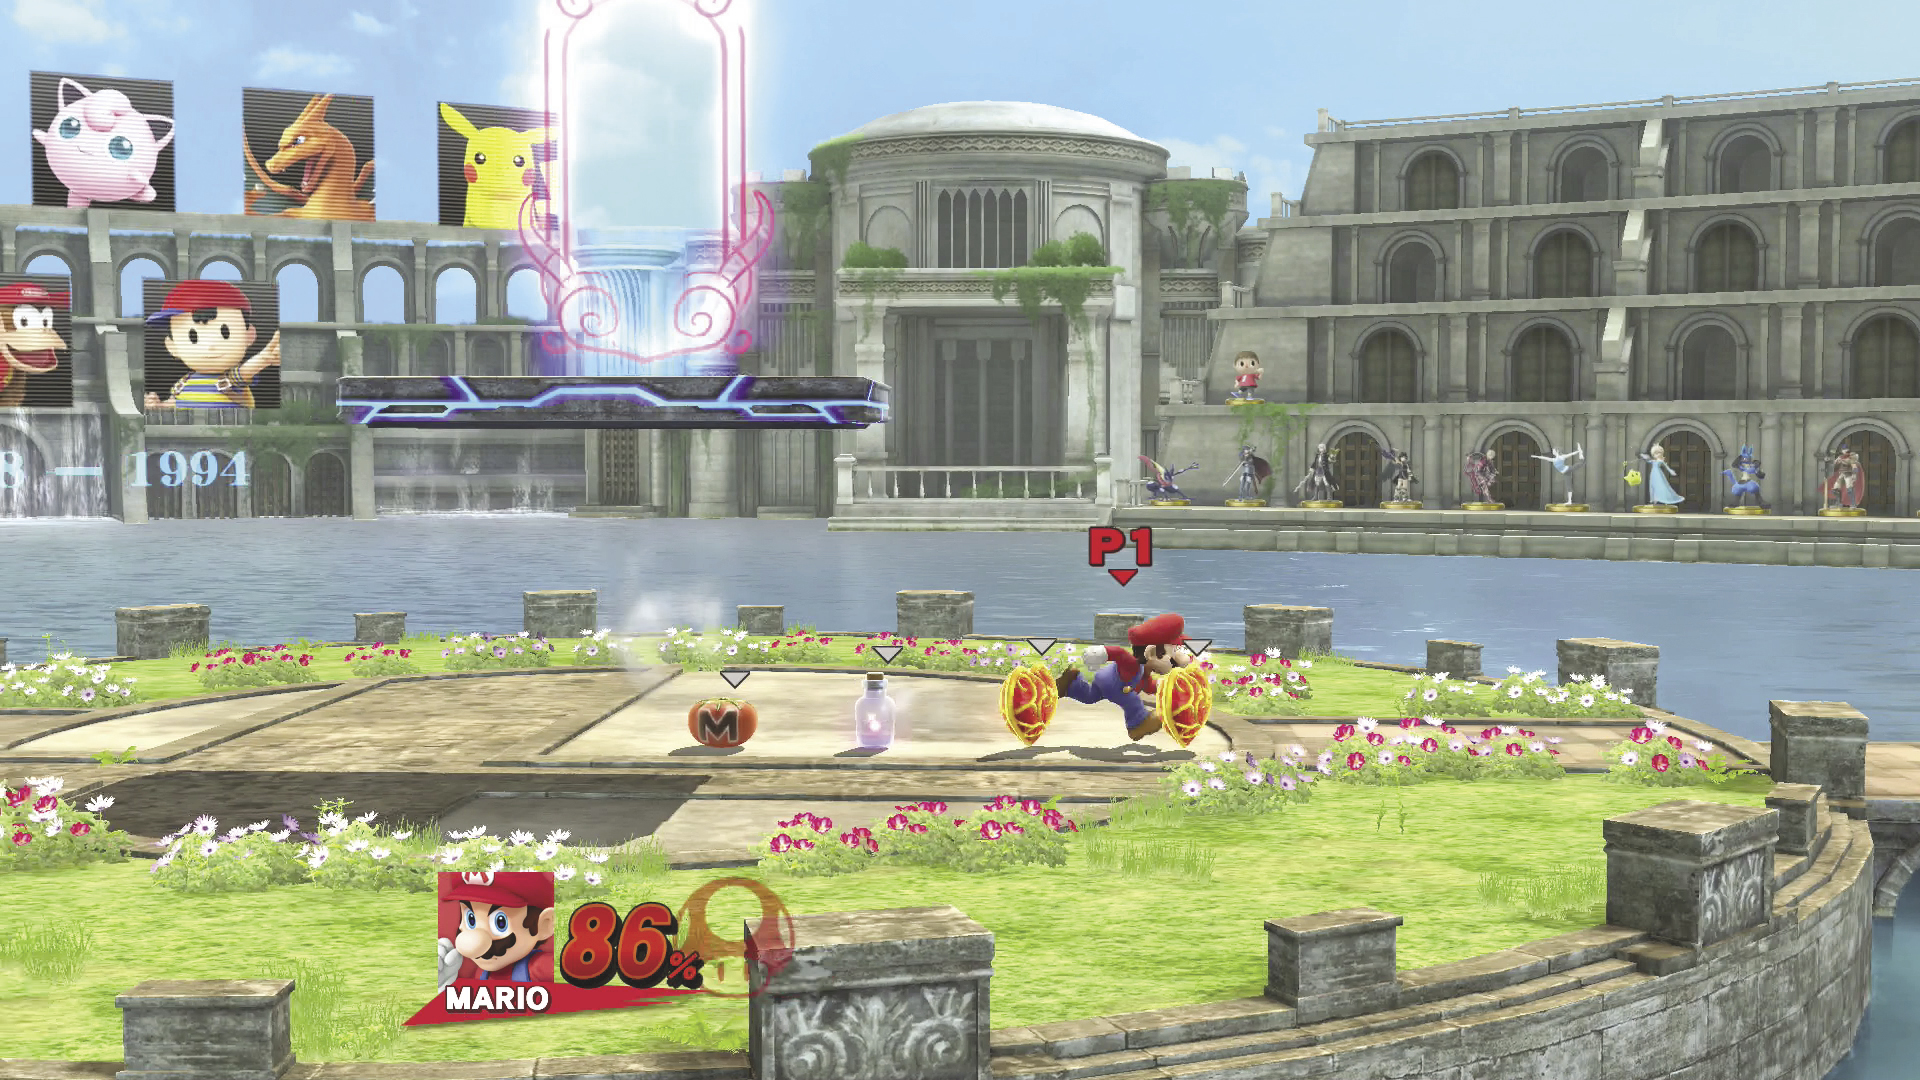
Your available recovery items are located to the right of the rest area portal. There’s no way to earn additional recovery items, so remember to pace yourself. The figurines that appear in the background indicate the fighters you’ve already defeated during your playthrough.
True All-Star
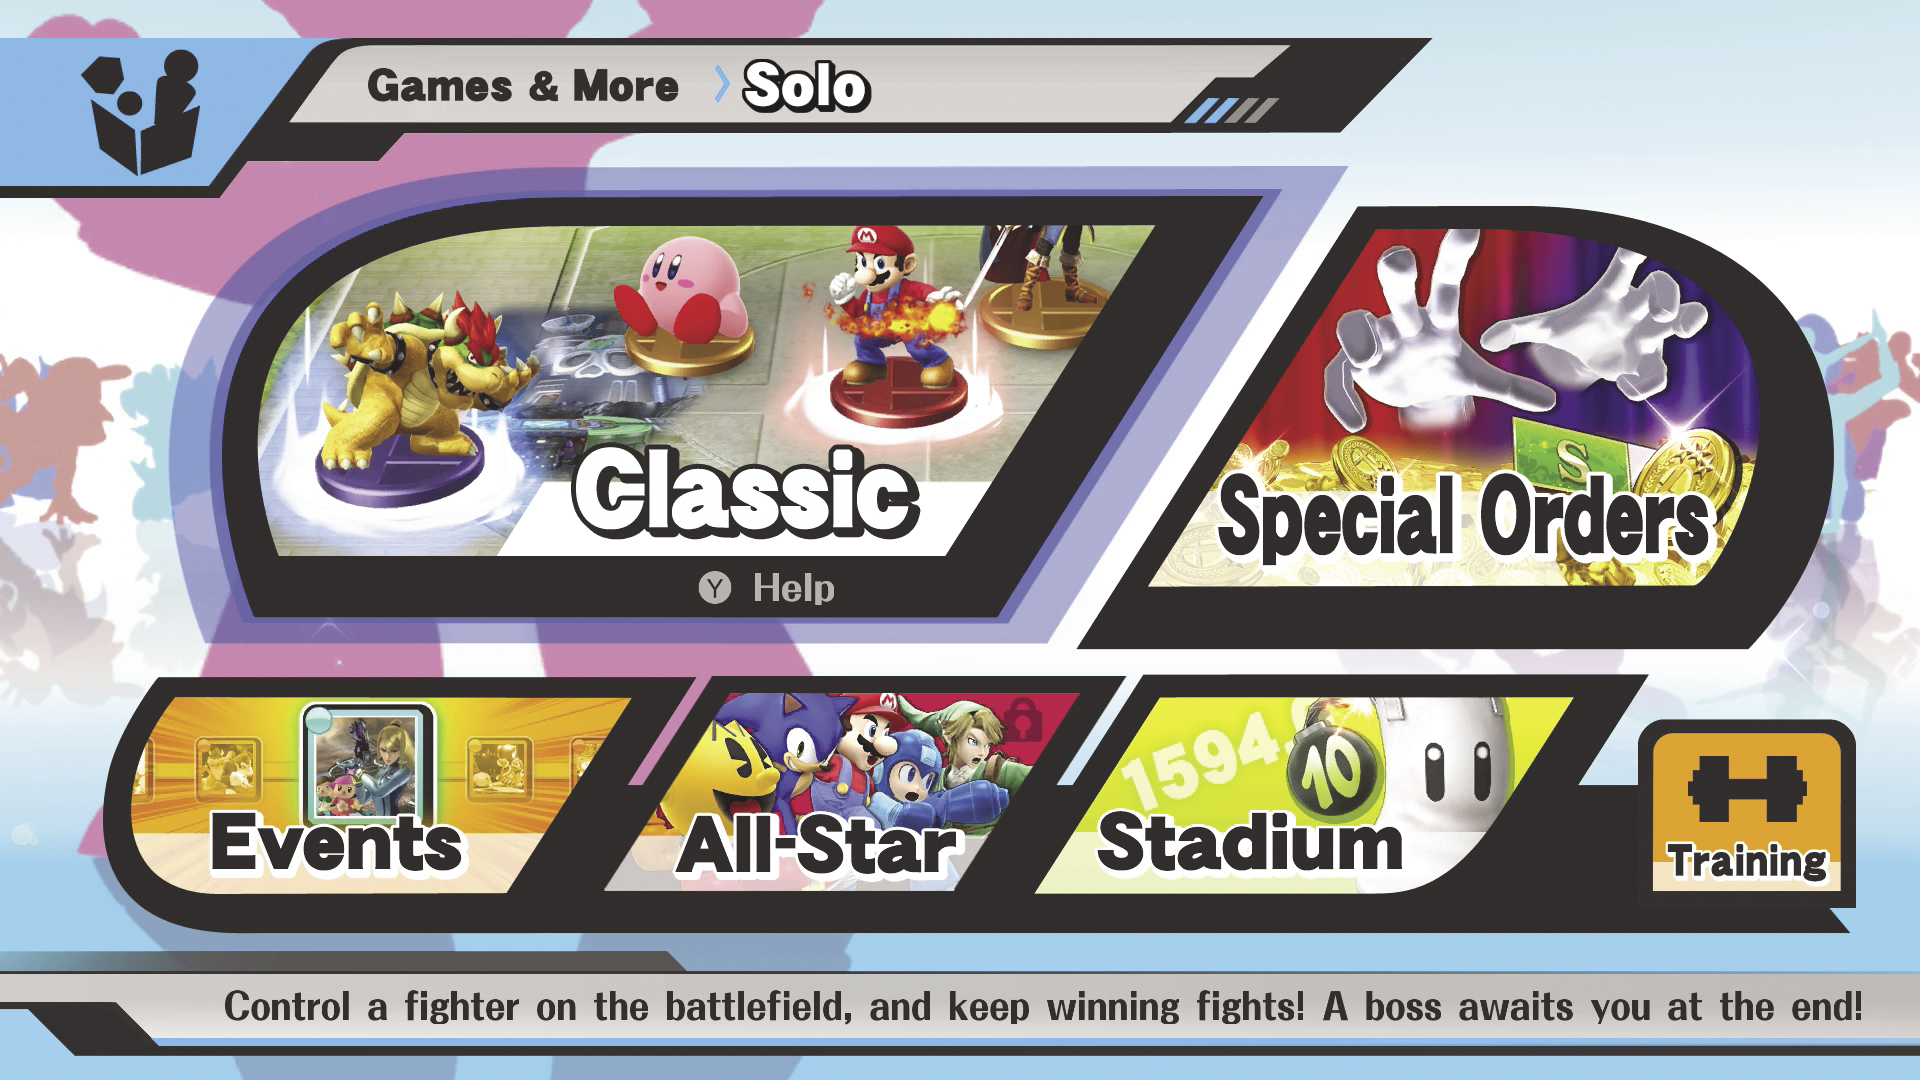
True All-Star only becomes available after you unlock all of the game’s hidden characters. Until then, you have access to a temporary version of All-Star. This modified game mode is indicated by the small padlock icon that appears on the “All-Star” option within Games & More.
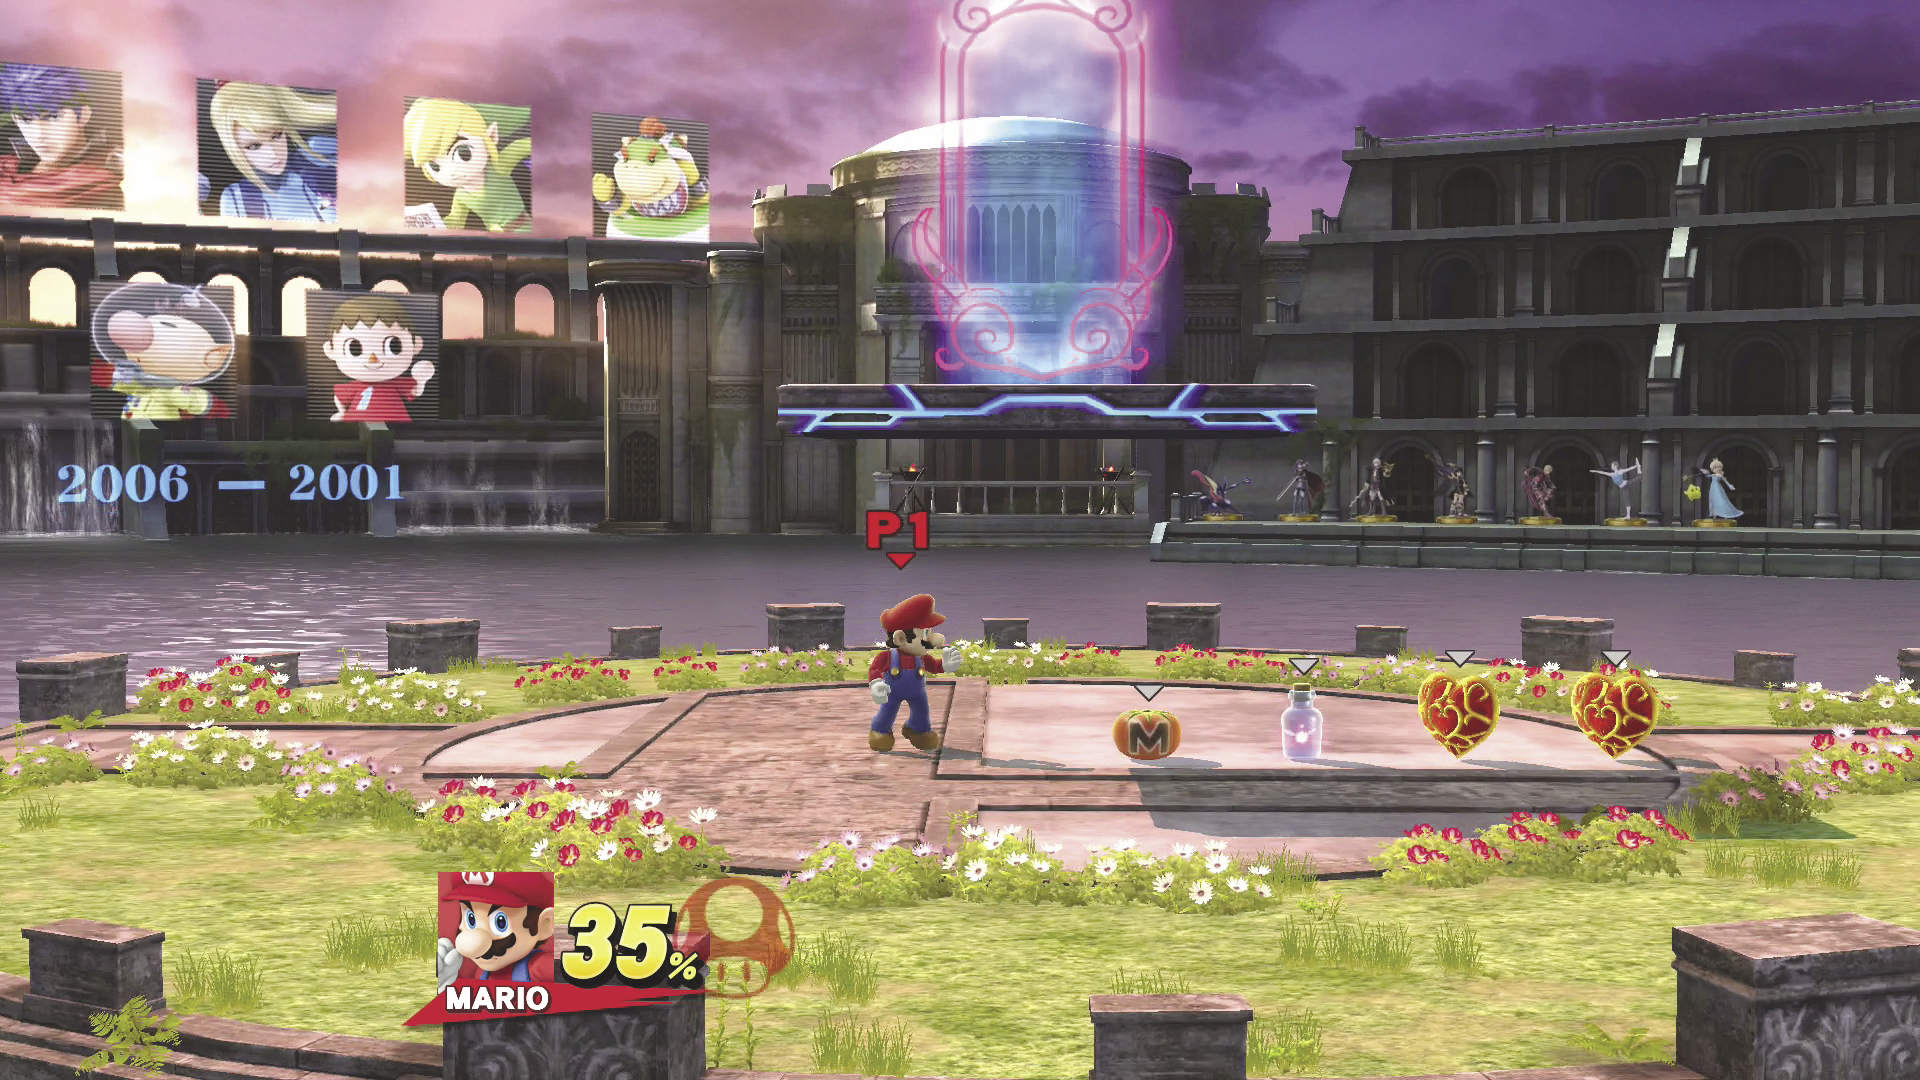
True All-Star is similar to the temporary version, but unlocking the full roster does trigger a few important changes. Some stages will contain a different number of opponents, you’ll be provided with different recovery items, and you’ll be eligible for different bonus scores.
Opponents Per Stage
| Stage | Temporary All-Star | True All-Star |
|---|---|---|
| Stage 1 | 5 opponents | 7 opponents |
| Stage 2 | 7 opponents | 7 opponents |
| Stage 3 | 7 opponents | 7 opponents |
| Stage 4 | 5 opponents | 7 opponents |
| Stage 5 | 6 opponents | 7 opponents |
| Stage 6 | 5 opponents | 7 opponents |
| Stage 7 | 5 opponents | 6 opponents |
Rest Area Recovery Items
| Recovery Item | Number Available in Temporary All-Star | Number Available in True All-Star |
|---|---|---|
| Maxim Tomato | 2 | 1 |
| Fairy Bottle | 1 | 1 |
| Heart Container | 1 | 2 |
Difficulty
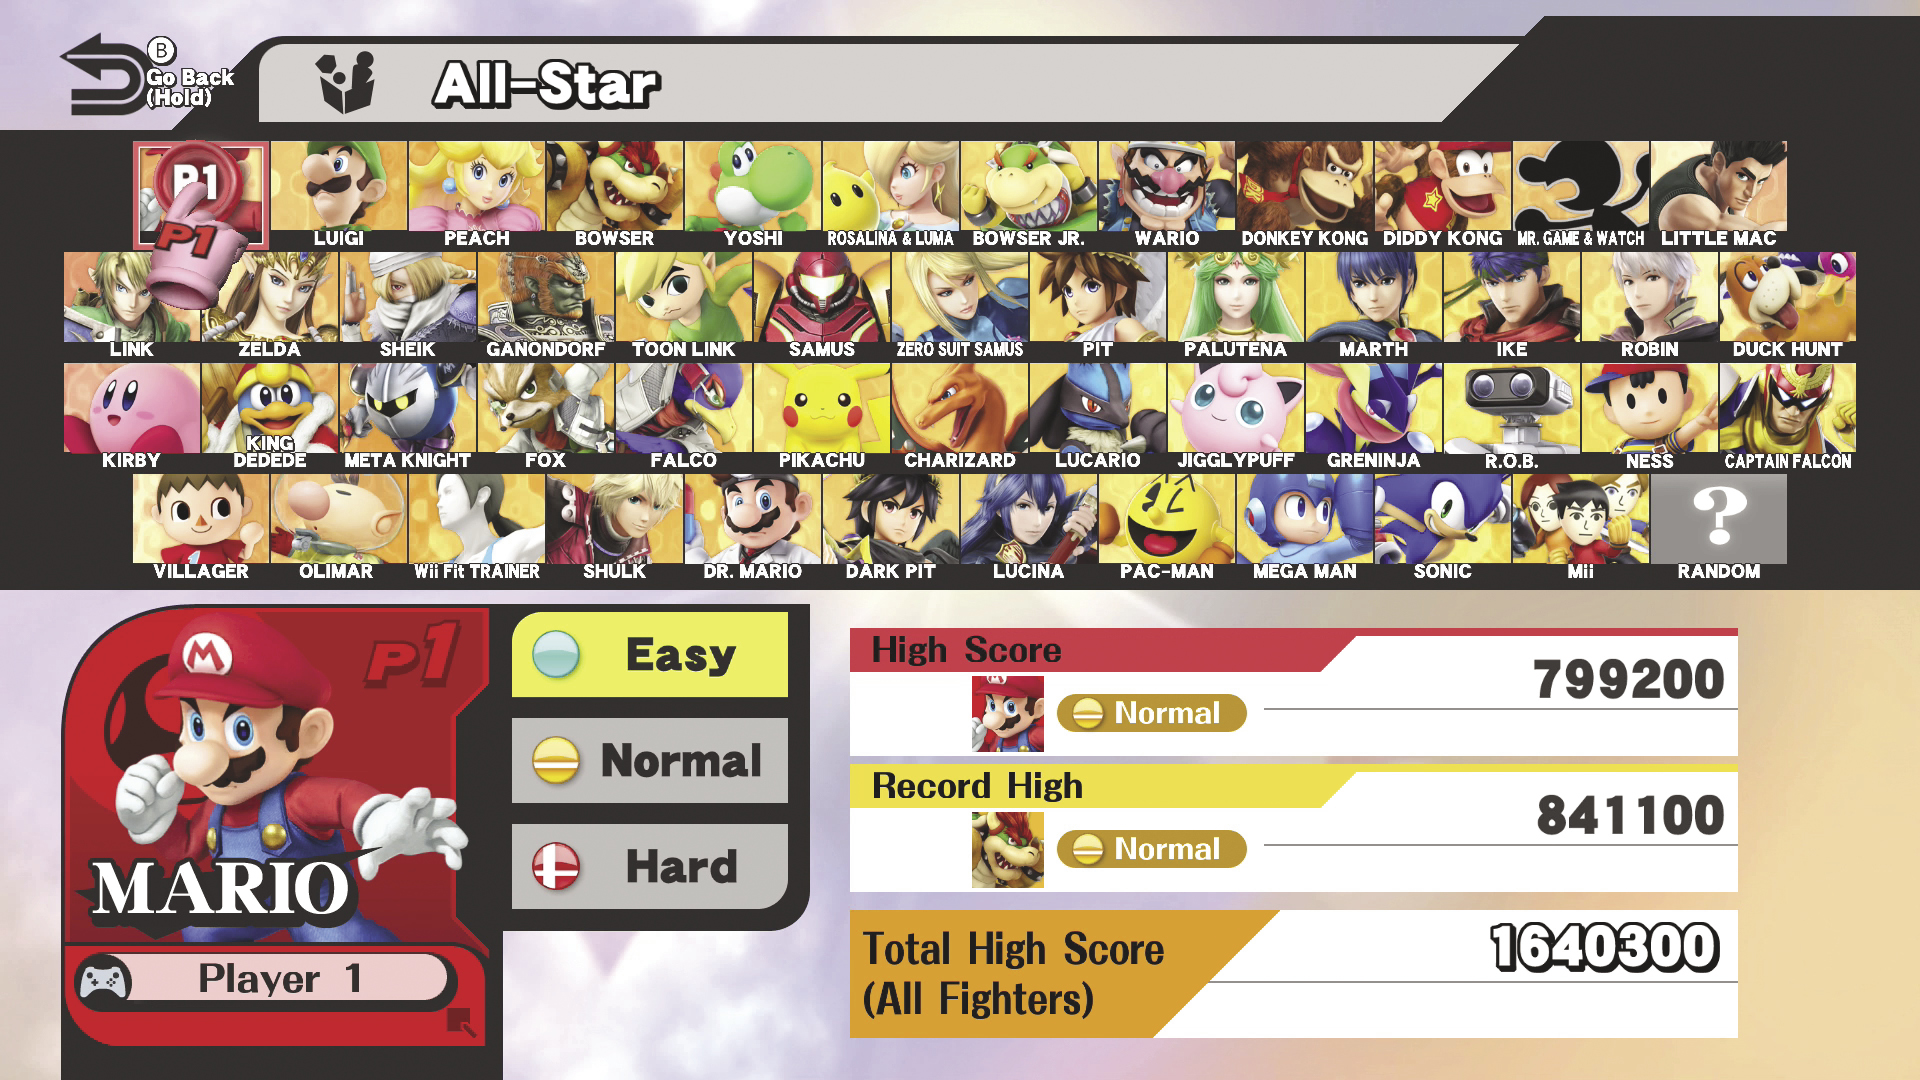
Both the temporary All-Star mode and the true All-Star mode offer three difficulty settings. Choose your desired setting during character selection.
At harder difficulties, your opponents are more aggressive and harder to launch. Playing at higher difficulties, however, also increases your potential score and rewards, and All-Star difficulty is an important part of completing some of the game’s Challenges.
Clearing All-Star
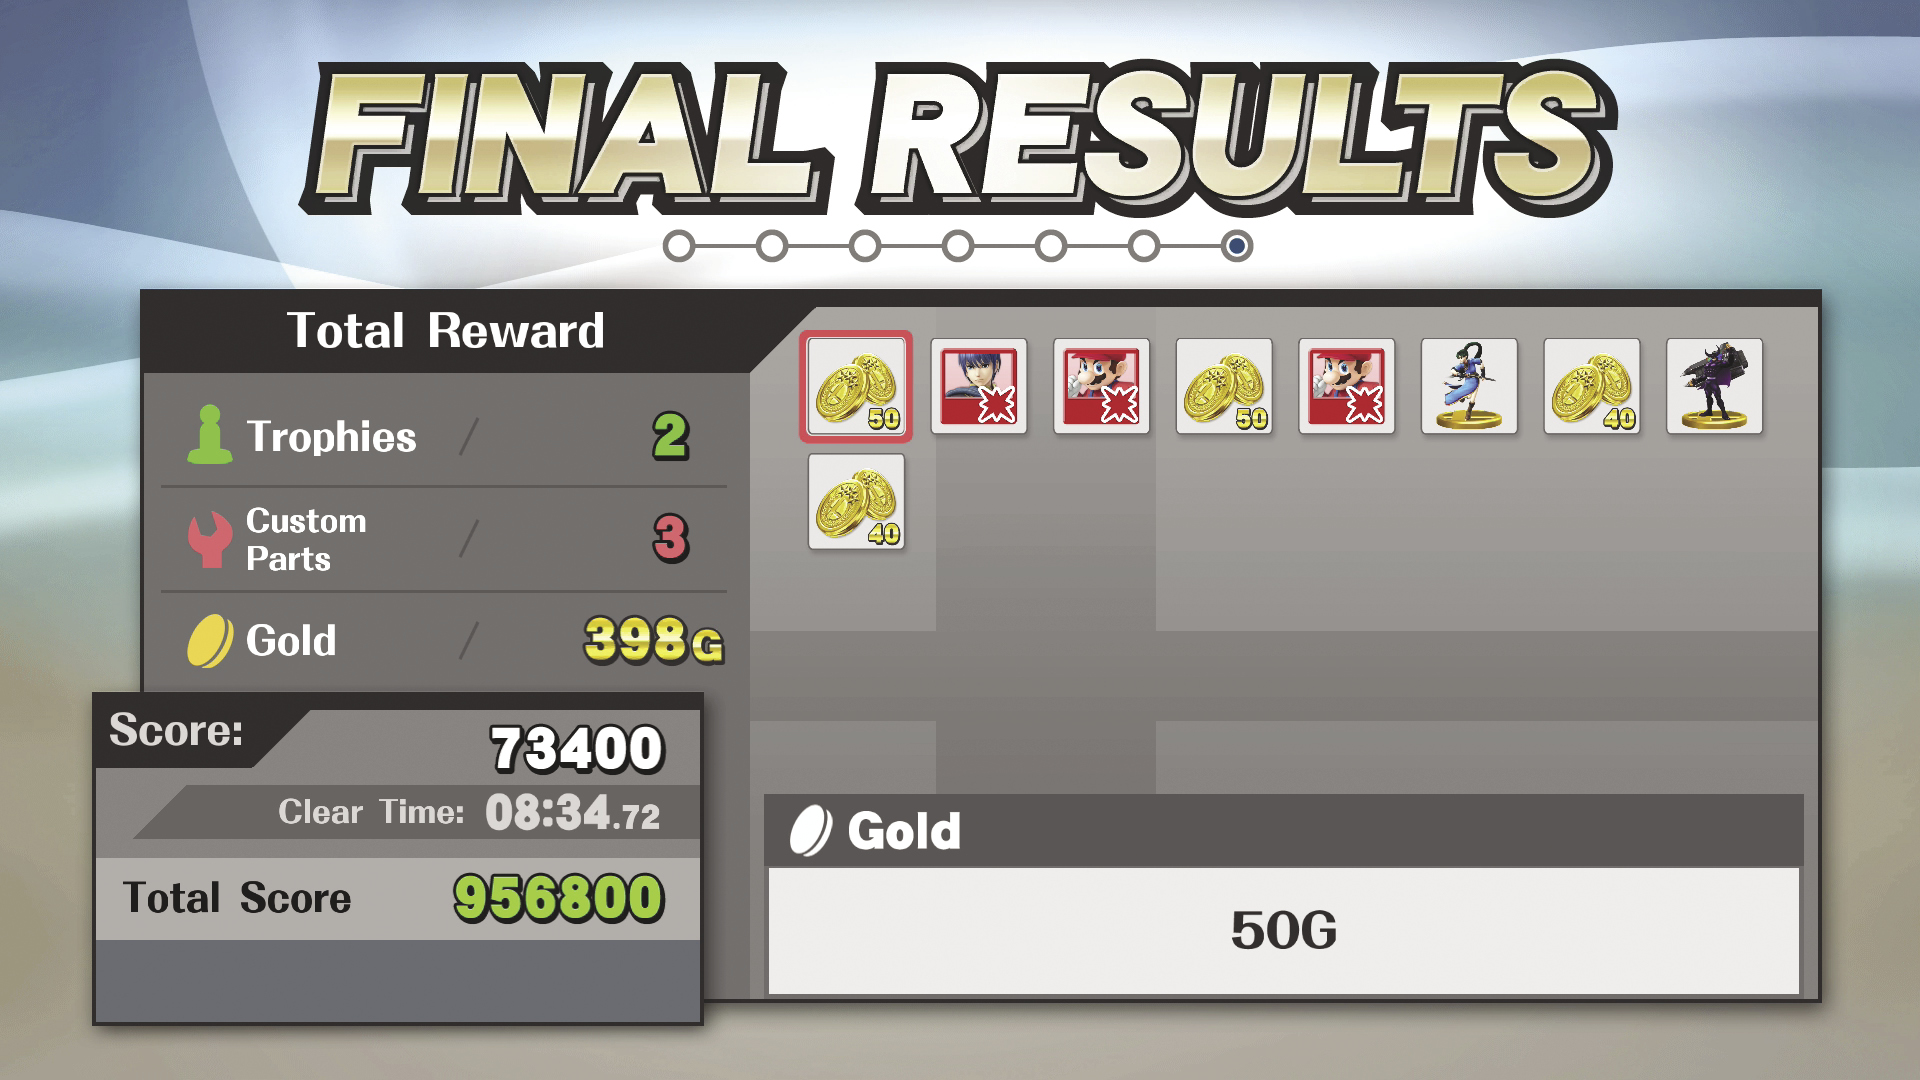
Whether your All-Star playthrough ends in victory or failure, you’re able to keep all of the gold and rewards you’ve collected during your playthrough. Highlight specific items for additional details about your rewards. Of course, clearing All-Star does provide additional benefits—ayou’ll unlock your fighter’s Final Smash trophy, your fighter’s alternate trophy will have a chance to appear in the Shop, and you’ll trigger the staff credits.
StaffCredits
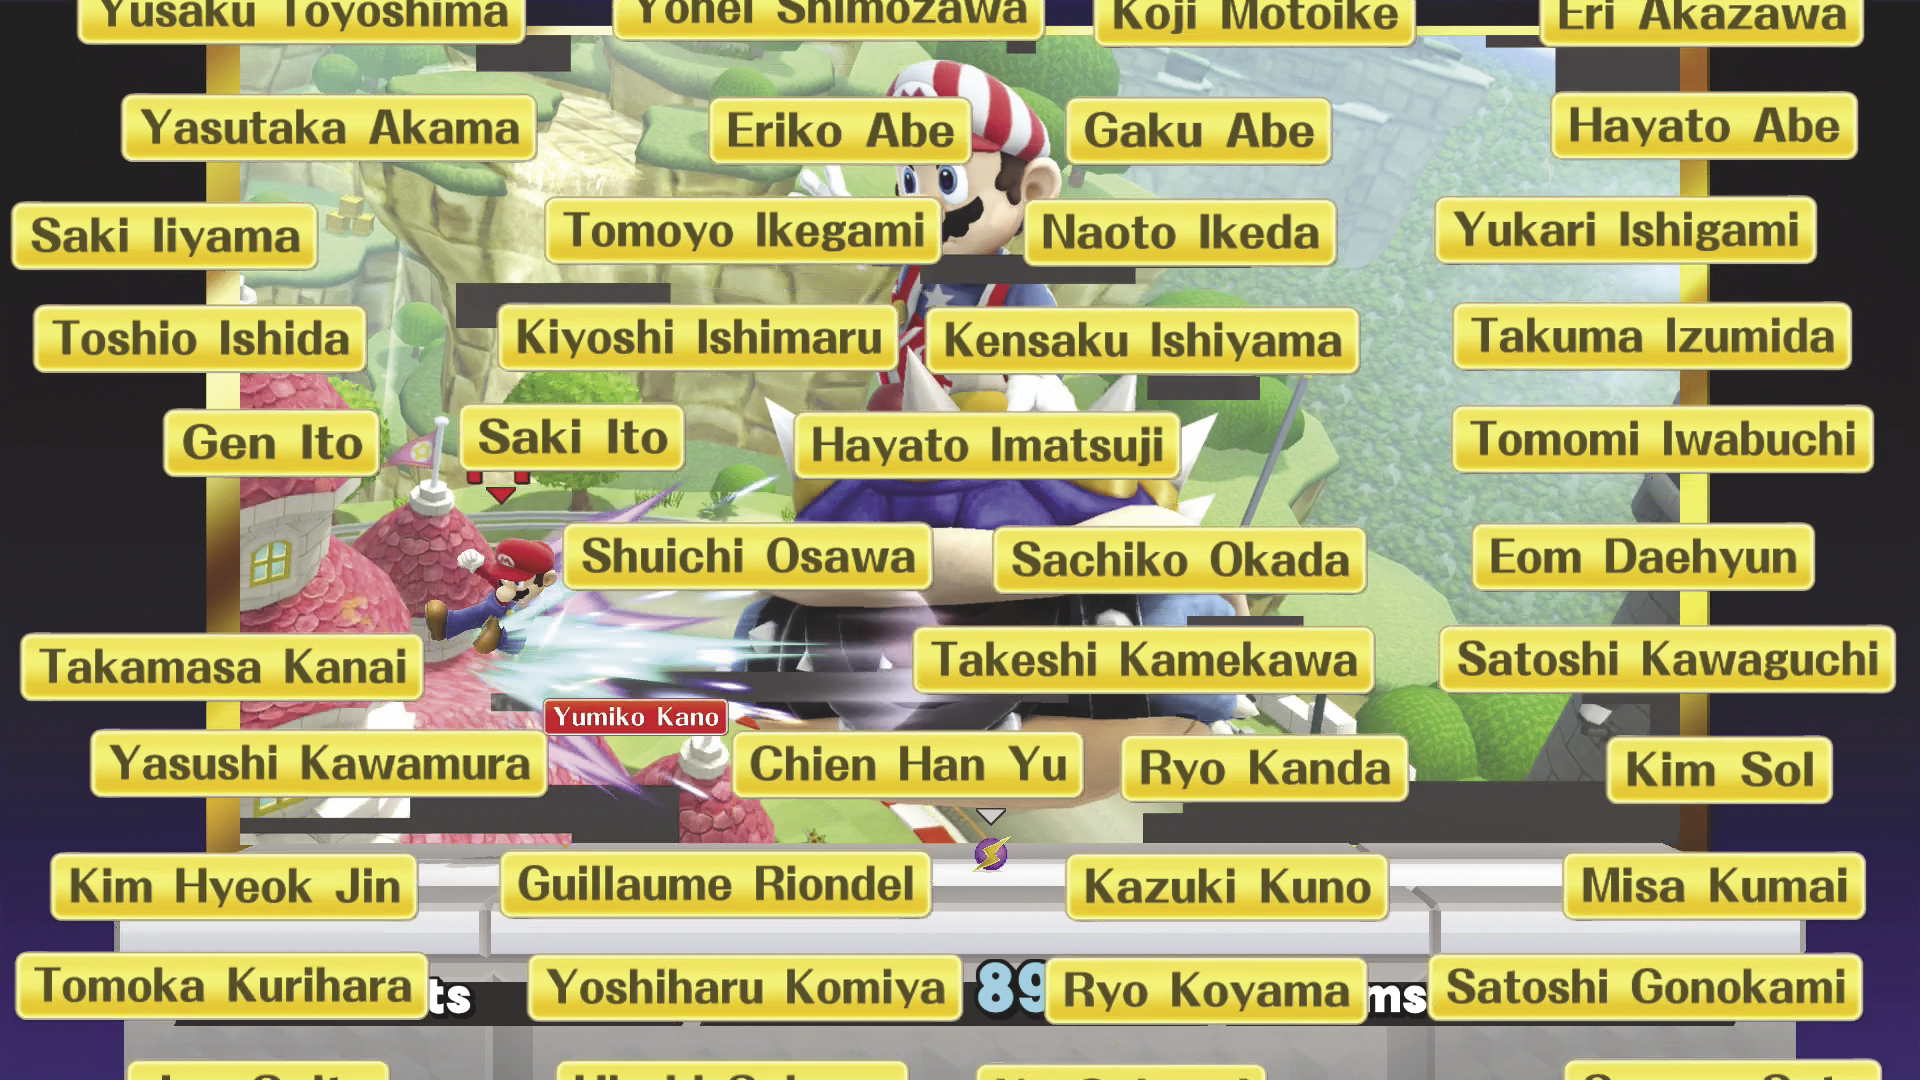
As in the Classic staff credits, you can attack the names in the All-Star staff credits to reveal the hidden image in the background. Jump up and use aerial attacks to reveal the top of the image as the names pass in front of any blank areas, then work your way down. Again, as you reveal more of the image, it becomes important to aim your shots. Look for the sparkles that help identify hidden sections, and then strike a name as it passes through the area.
Stadium (Solo)
Stadium Overview
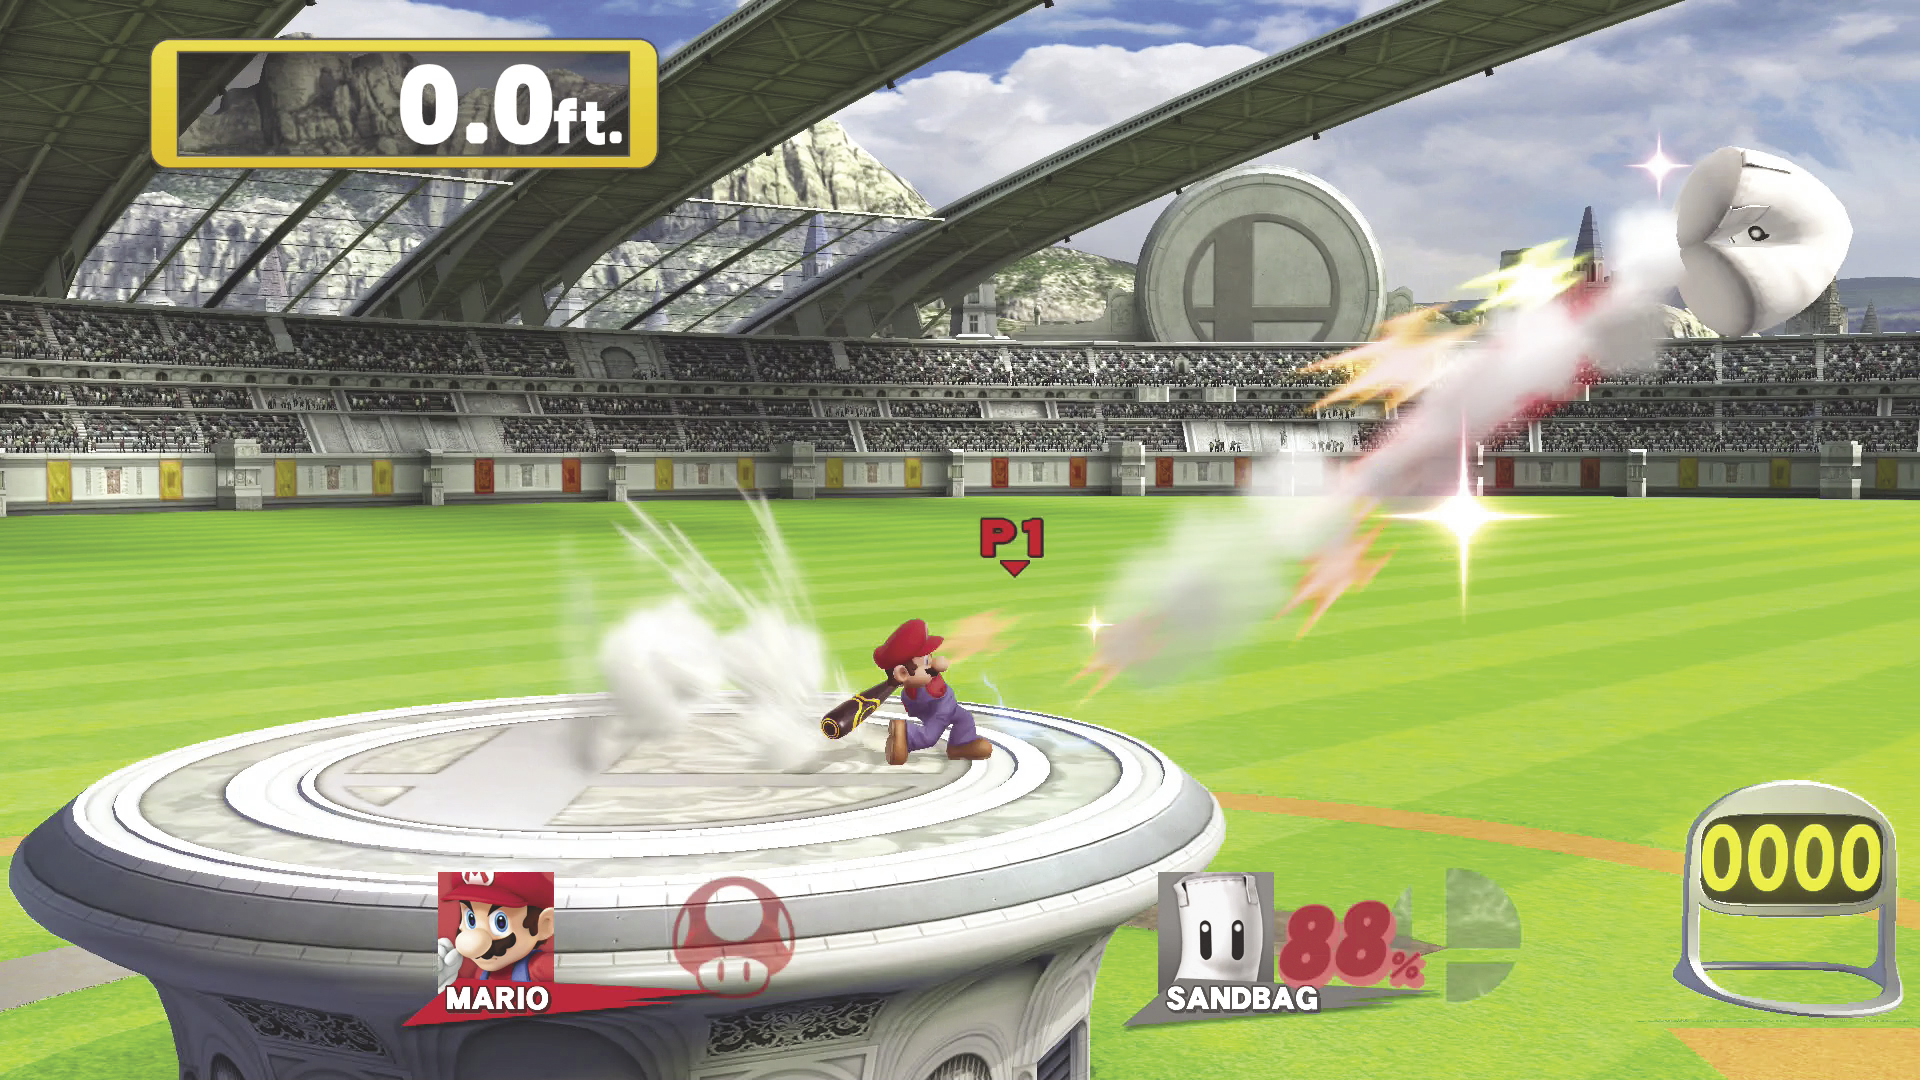
Stadium contains a variety of single-player game modes. You’ll find several opportunities for combat, but Stadium also allows you to use your fighter’s skills in new and interesting ways.
Stadium Menu
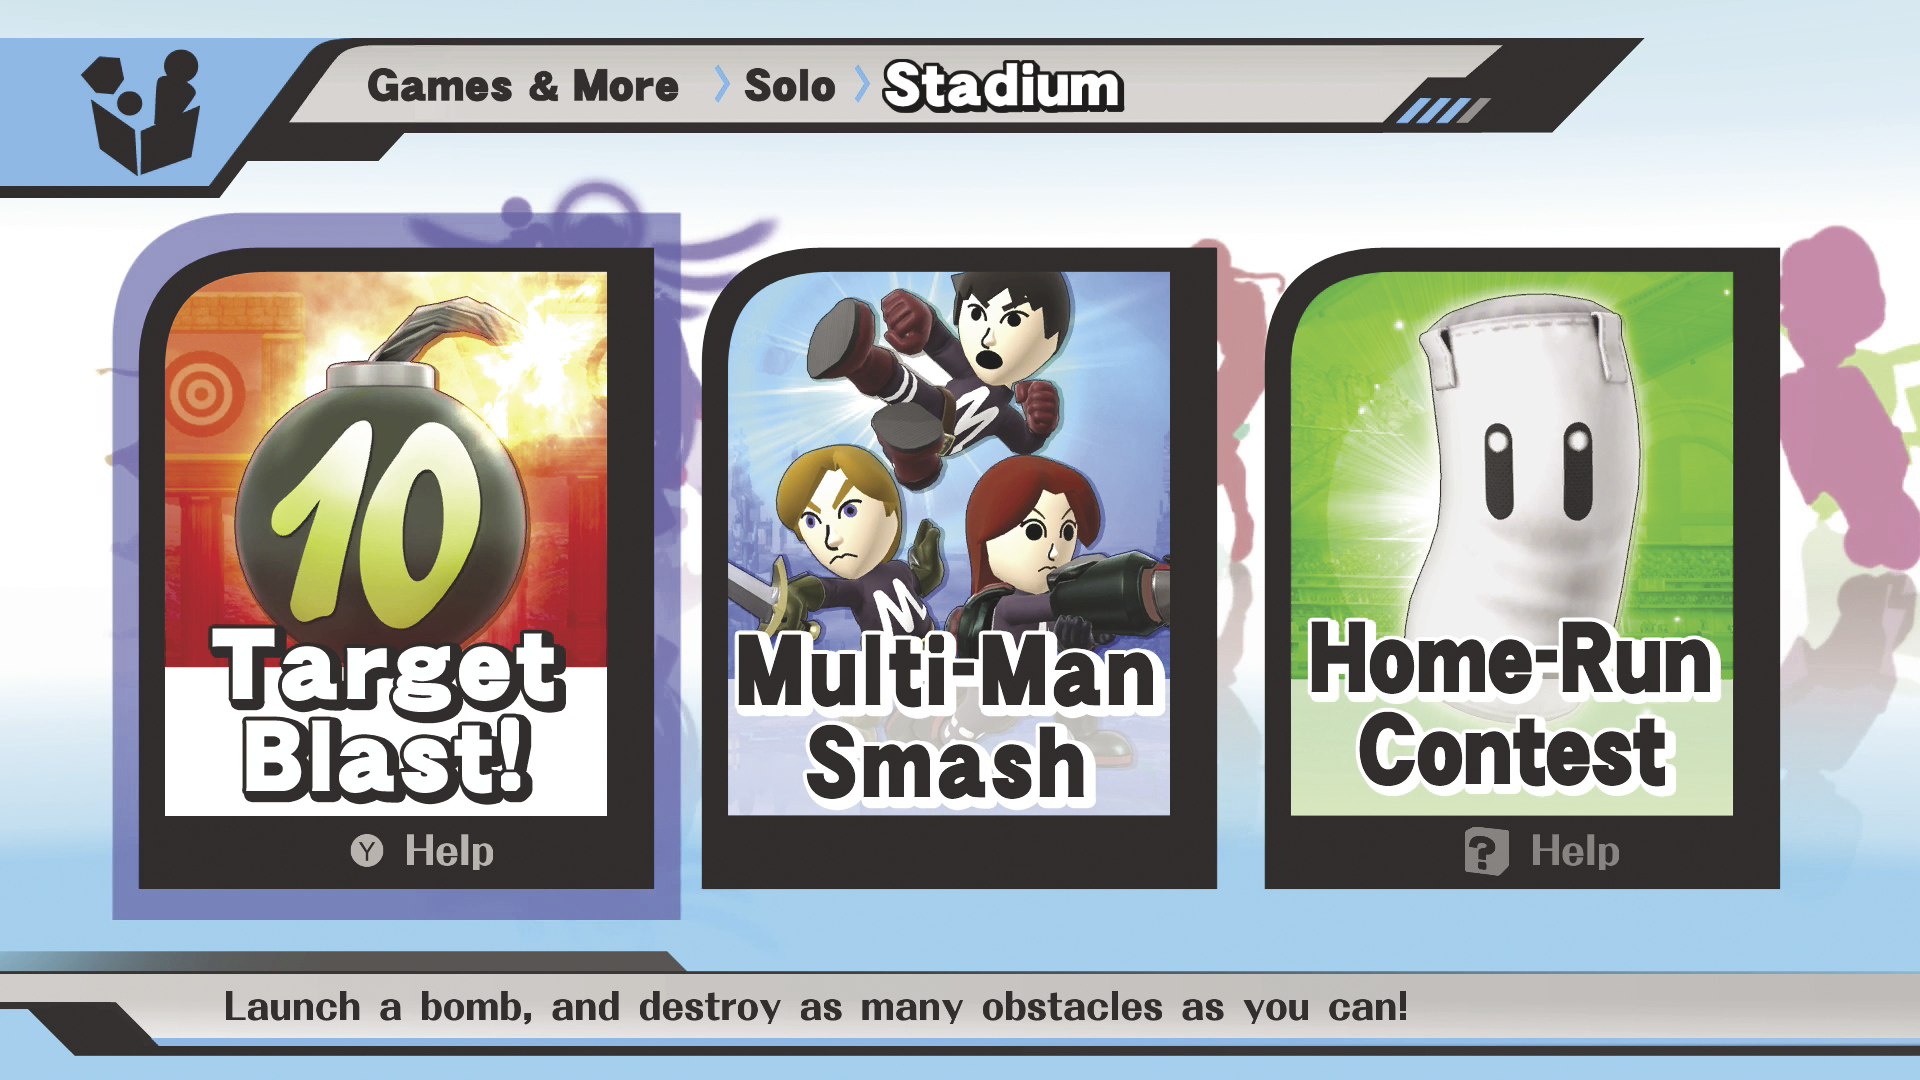
Stadium Menu contains three selections, each of which offers a unique game mode:
- Target Blast!: Launch a bomb, and destroy as many obstacles as you can!
- Multi-Man Smash: Stand strong against an oncoming horde!
- Home-Run Contest: Help Sandbag go the distance! It’s a glutton for punishment!
Target Blast!
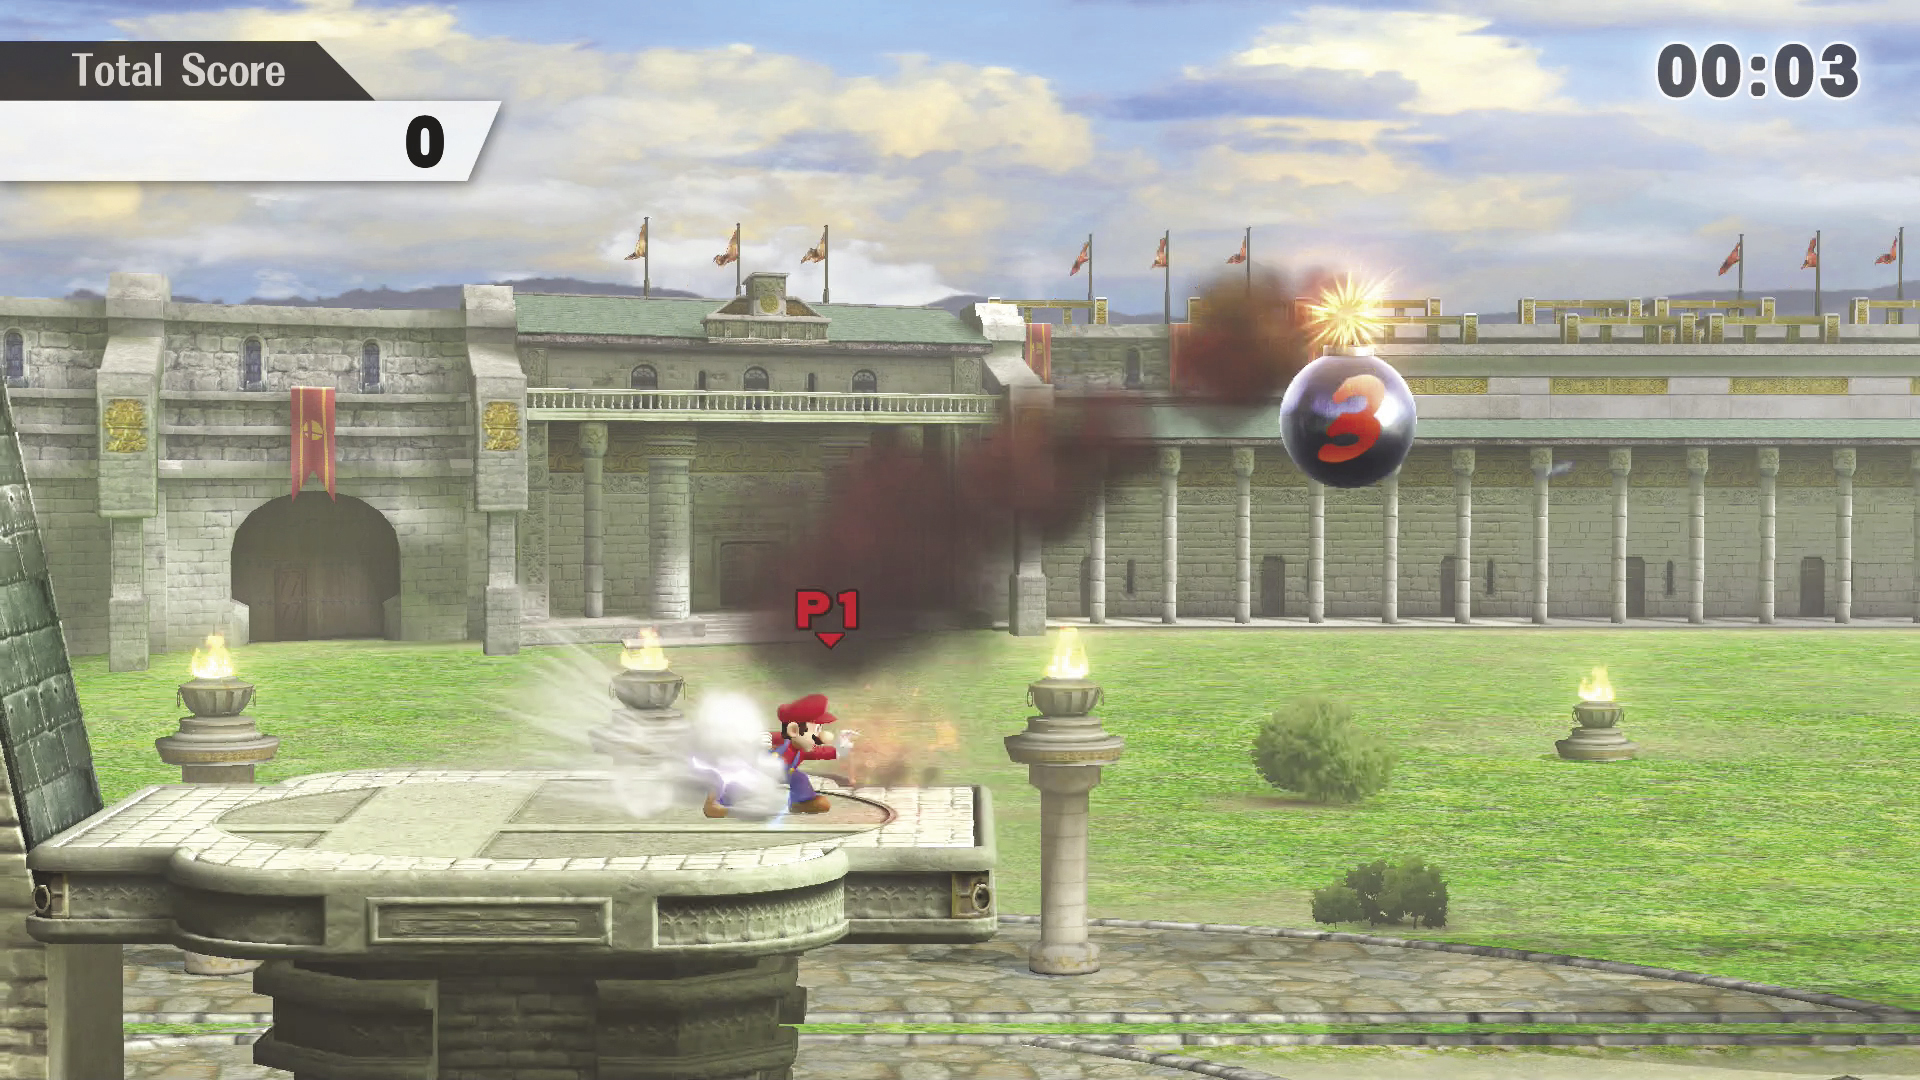
In Target Blast, you have two bombs to destroy as many targets and obstacles as you can. The bomb begins a brief countdown as soon as you touch it. Use the available time to damage the bomb, then use a Smash attack to launch it from the platform.
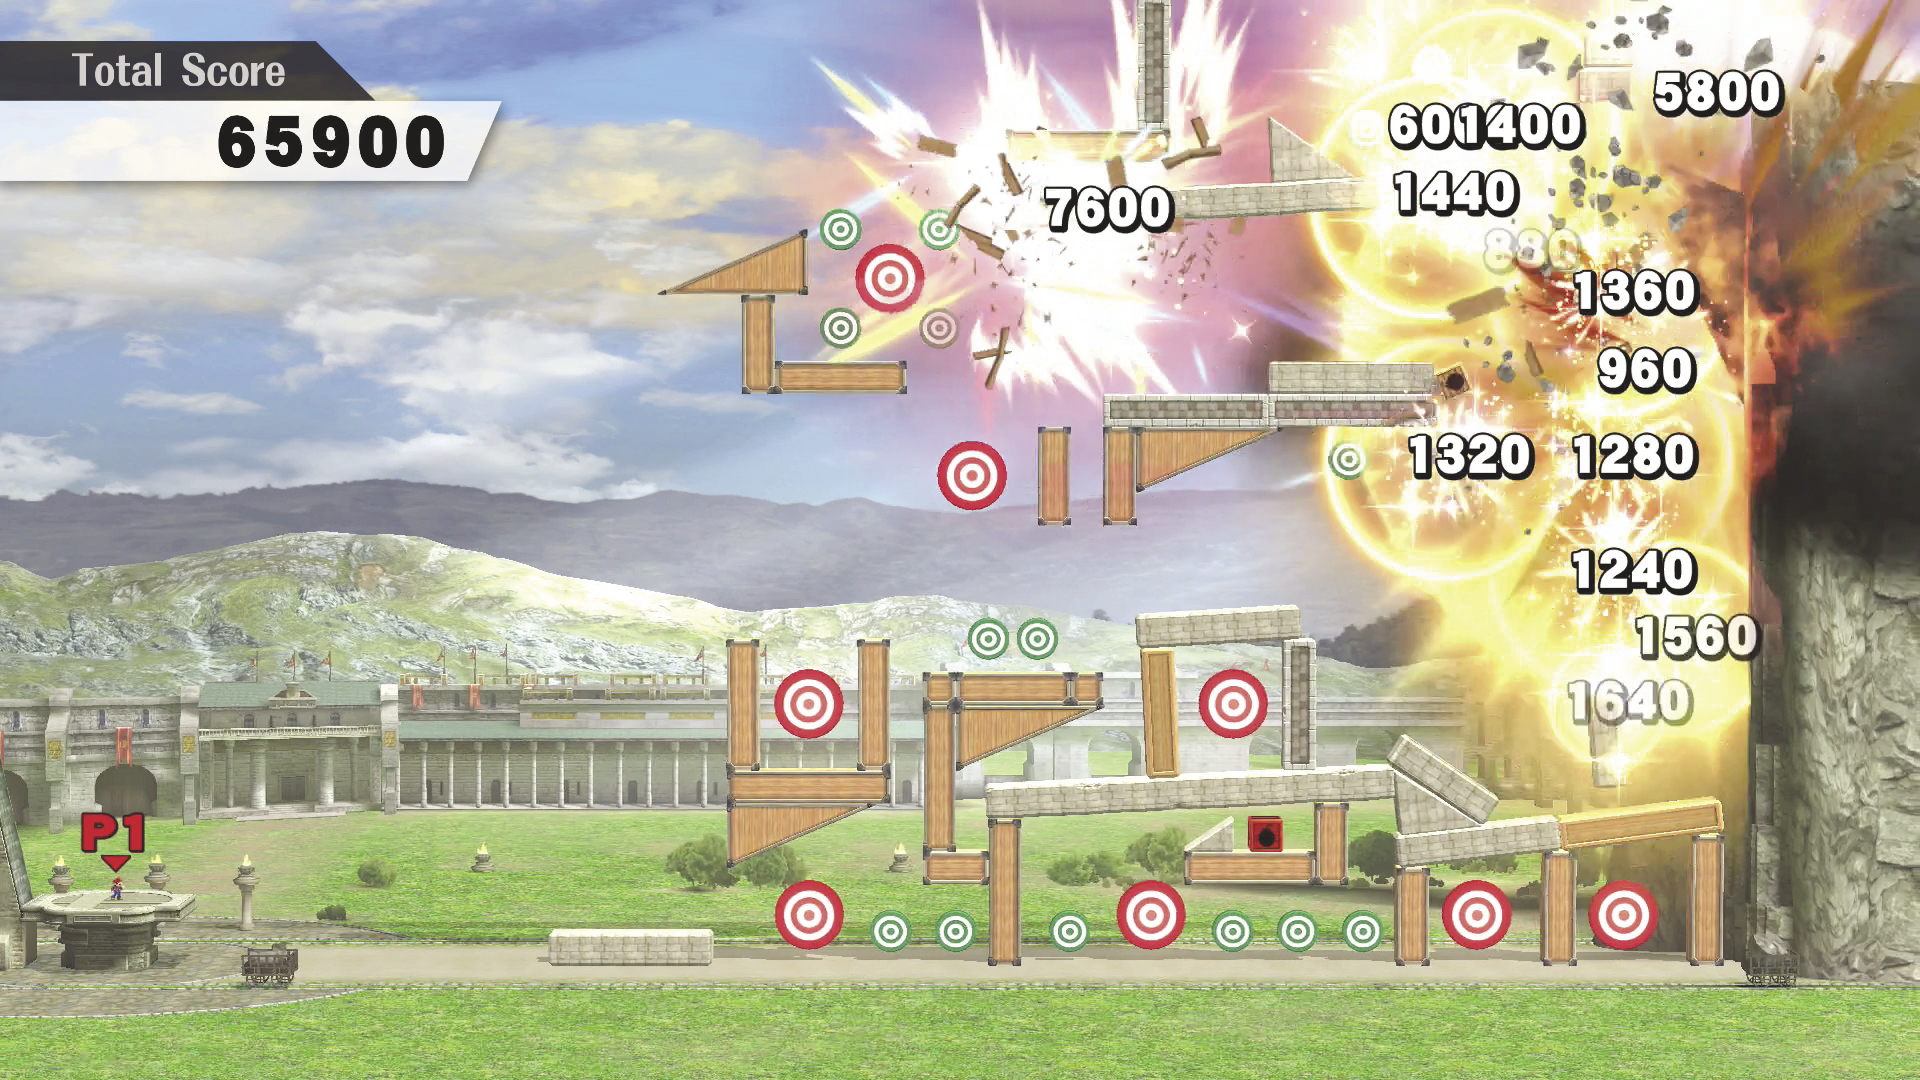
Success is based on timing and accuracy, so keep track of all pertinent factors. What was the bomb’s damage percentage? How long did you charge your Smash attack? What was your position on the platform? How much time was left on the countdown? Knowing these answers allows you to make small adjustments in future attempts.
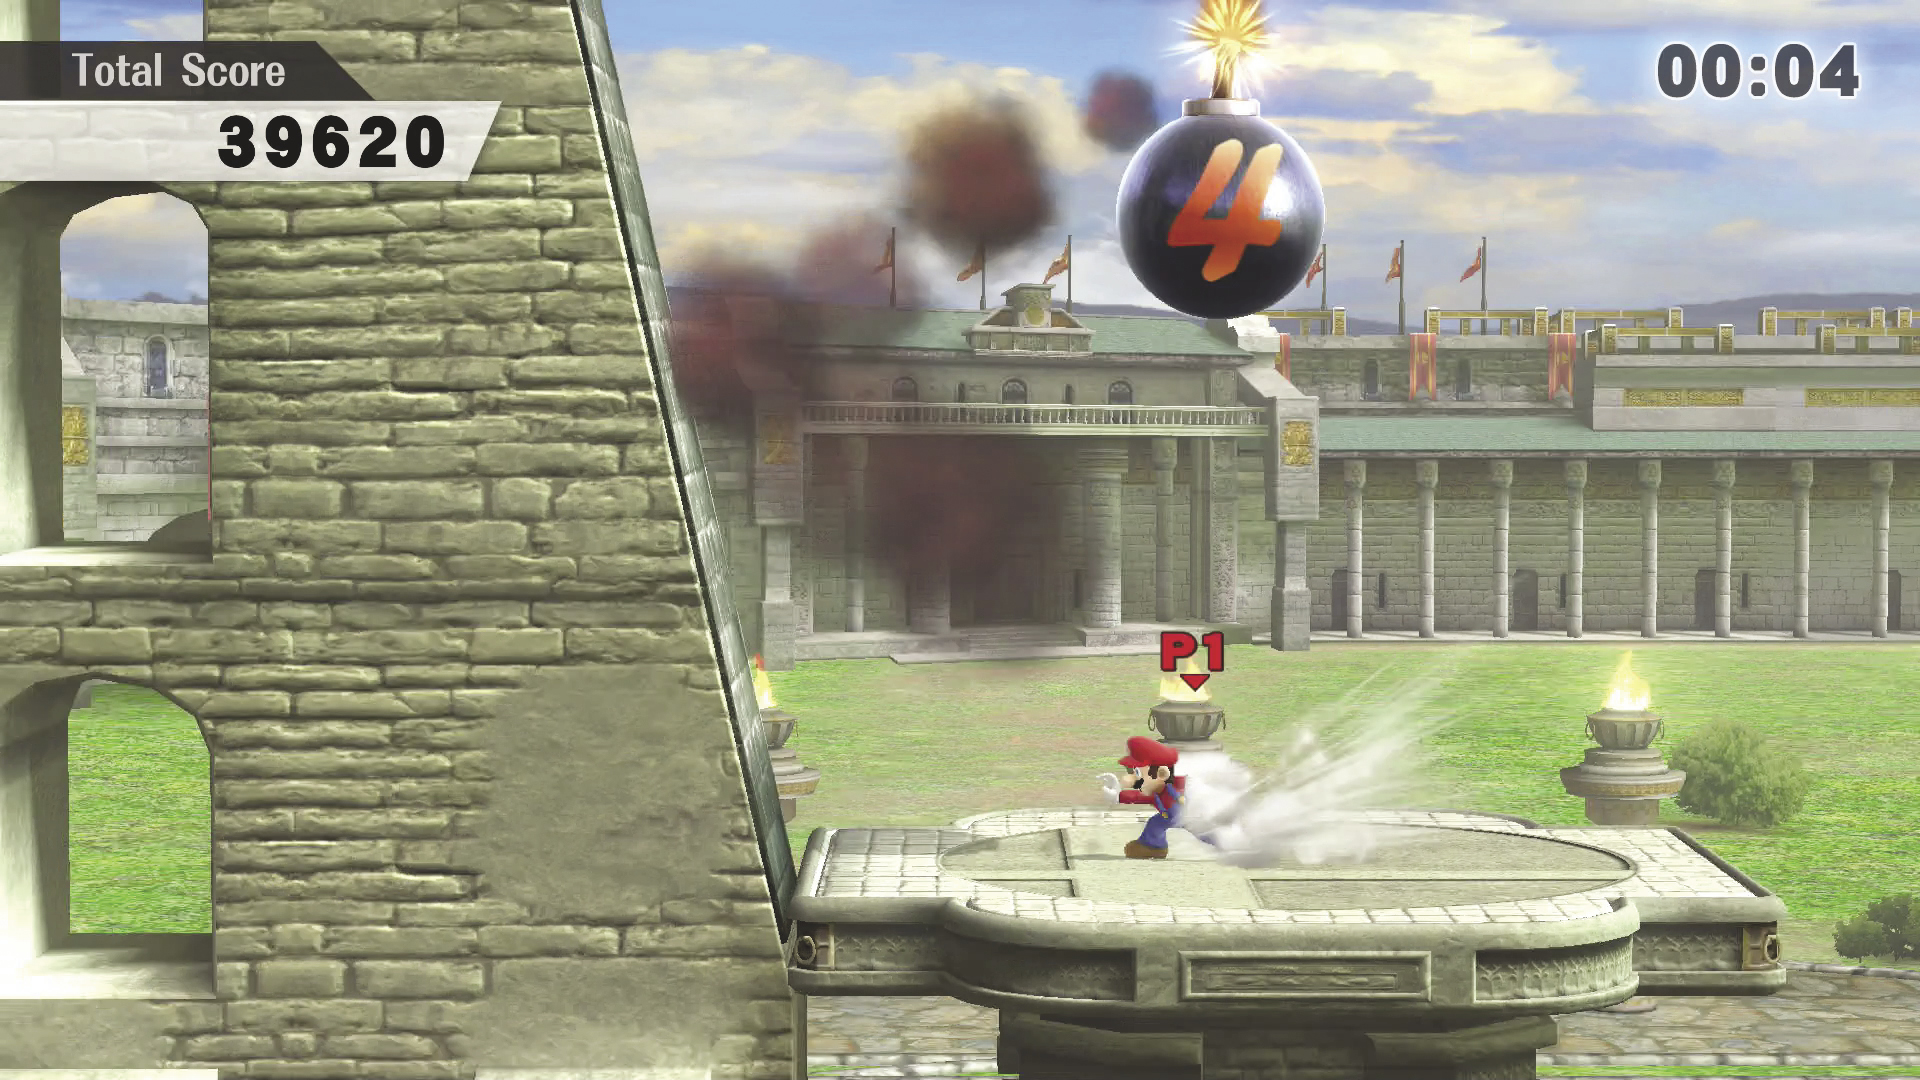
Bombs often create falling debris, so it can be very effective to aim for the higher targets during your first round—a well-placed bomb can create chain reactions of loose obstacles. If you’re having trouble controlling the angle of your launch, try bouncing one of your bombs off of the nearby wall. This allows you to achieve dramatically different results with the same basic attacks. Utilizing the wall is also an important part of some Challenges.
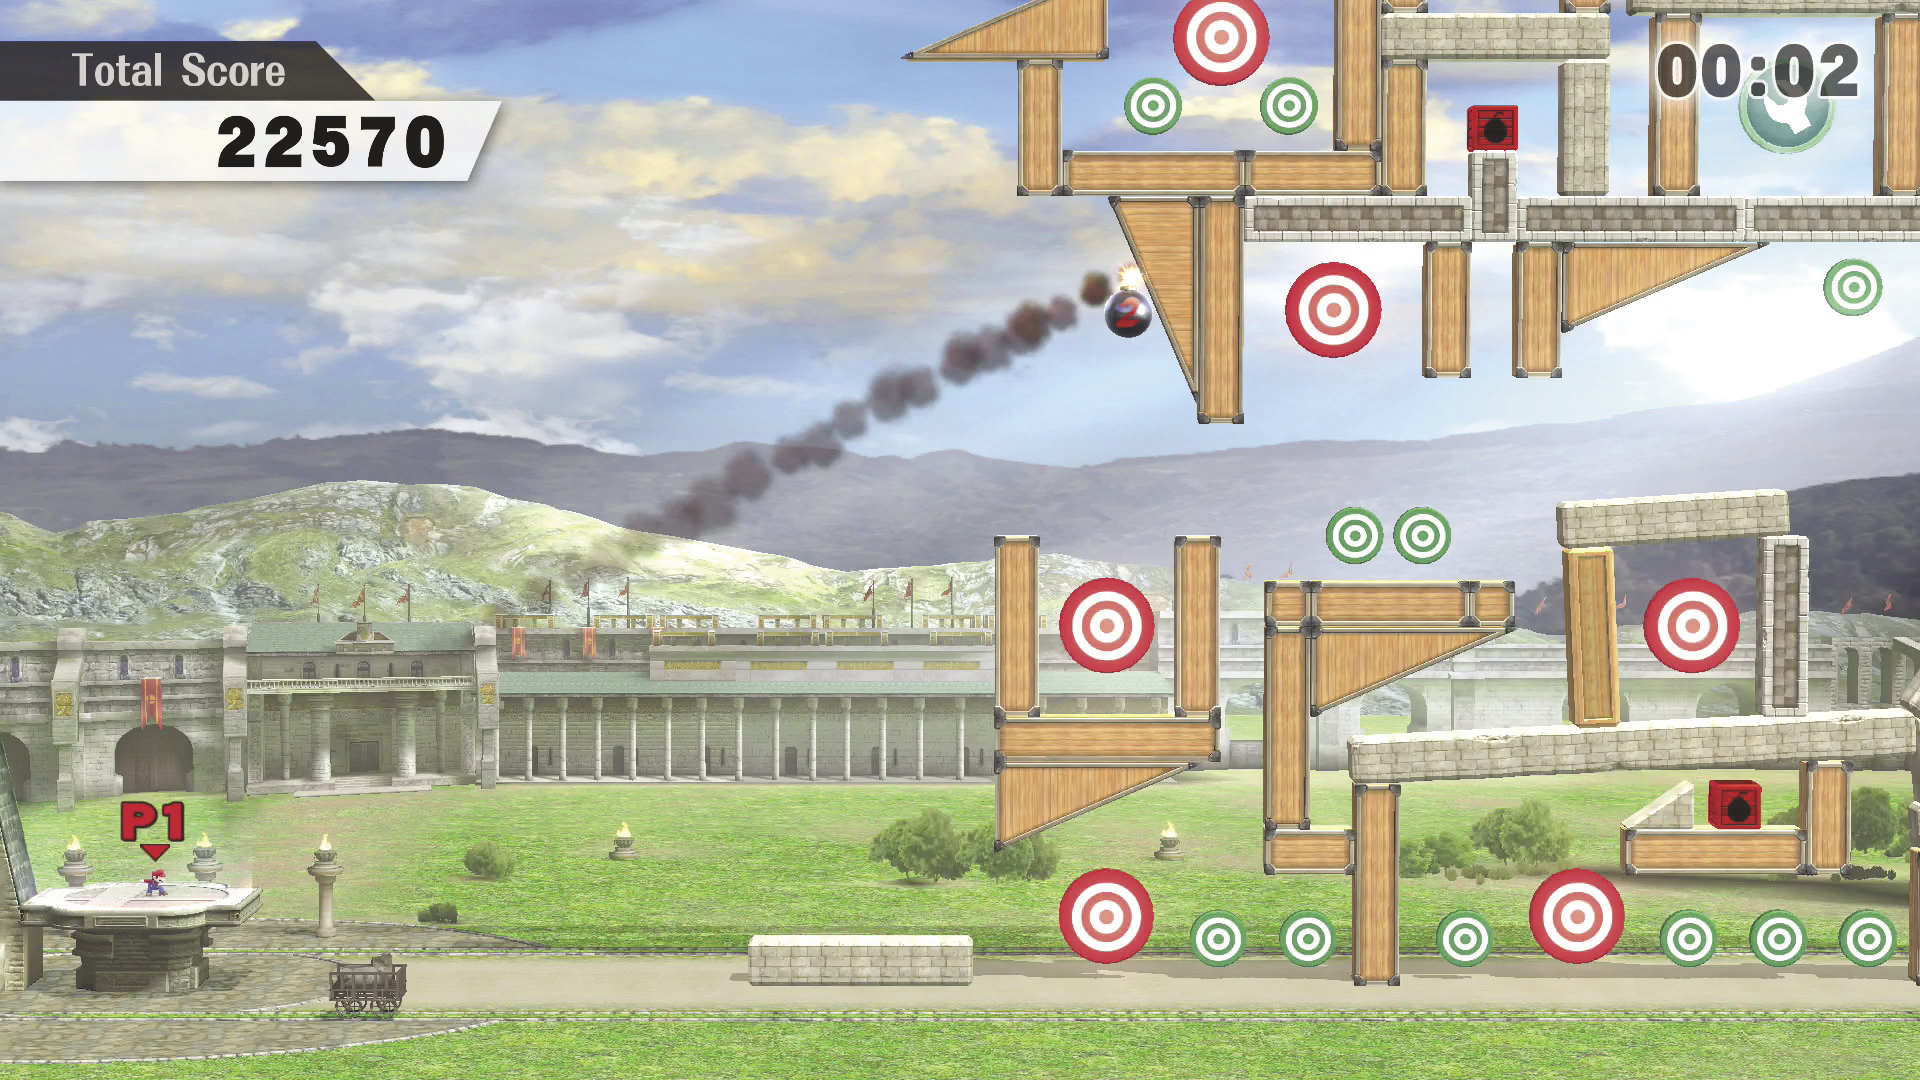
Target Blast offers three distinct stages, each of which provides a different basic arrangement of targets and obstacles. To maximize your score, make sure you take advantage of any available explosive blocks. These blocks will detonate soon after they’re jostled; hit an explosive block with a bomb, catch it in a bomb’s blast, or send debris crashing into it! Every game of Target Blast contains at least a few random elements, but the basic layout of each stage remains fairly consistent between playthroughs.
Multi-Man Smash
10-Man Smash
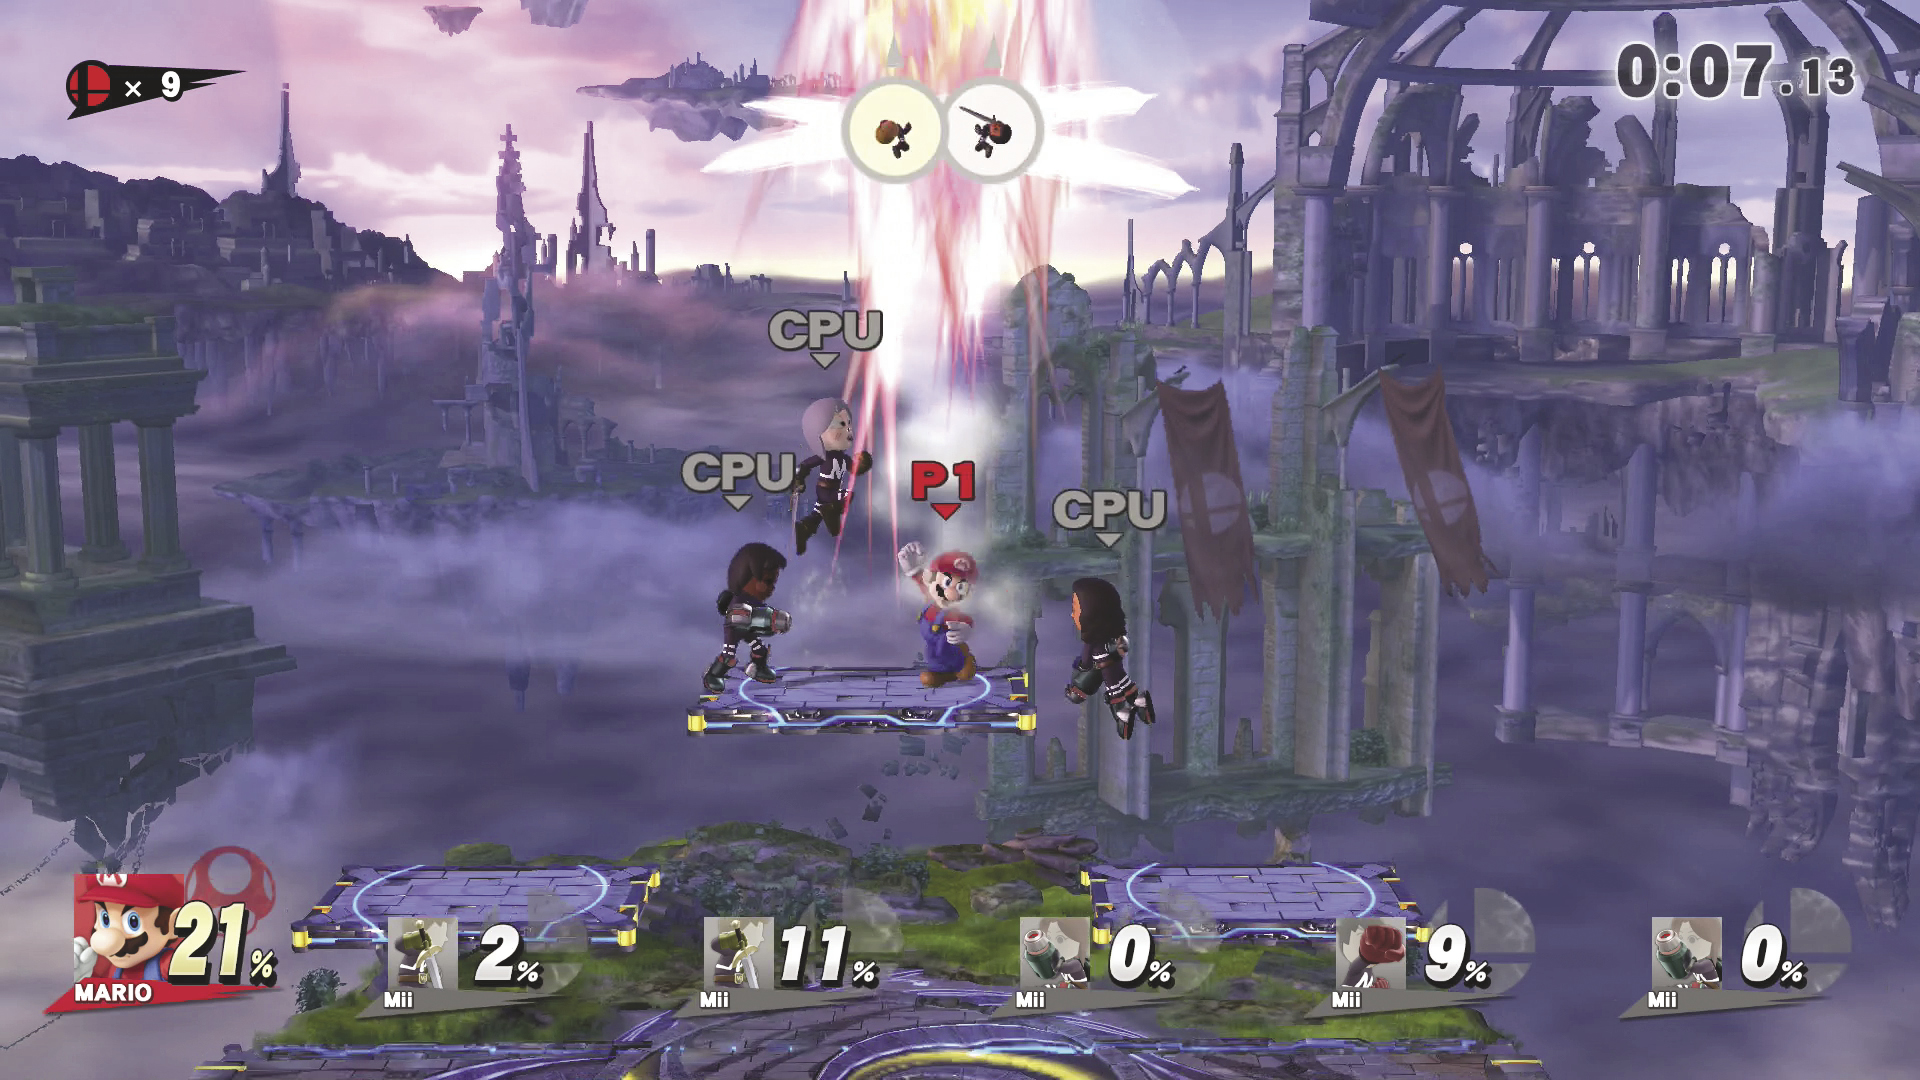
Defeat a 10-man army as fast as you can! Your opponents are very easy to launch, so you don’t generally need to waste time with extended combos or charged attacks. A quick Smash attack is almost always enough to KO all fighters within range. Dash attacks can be particularly effective—especially when your opponents use projectile weapons to attack from a distance—and aerial attacks are great for dealing with more agile enemies.
100-Man Smash
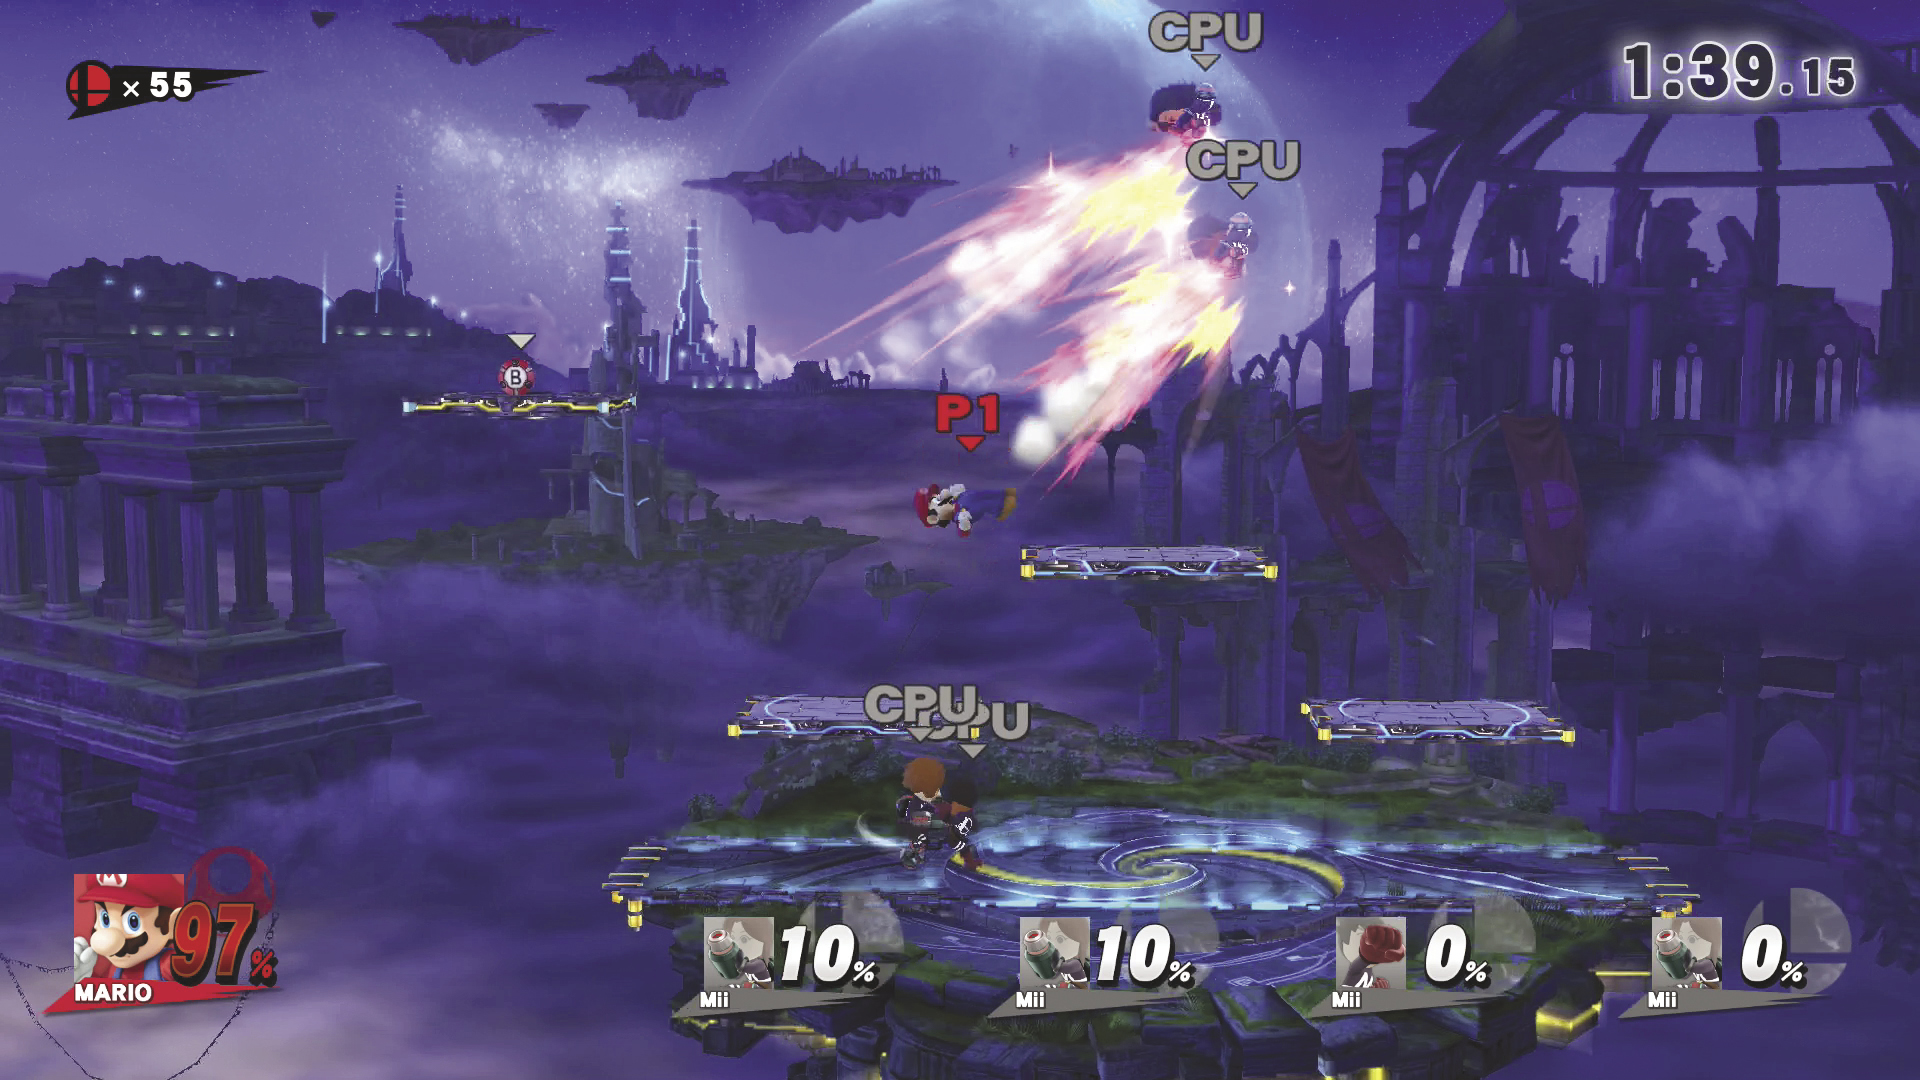
Defeat a 100-man army as fast as you can! Your opponents are still very easy to launch, but their sheer numbers can make it difficult to defend yourself from incoming attacks. Keep an eye on your fighter’s damage percentage, and take advantage of the items that occasionally appear near the top of the stage. Be particularly wary of enemies that utilize ranged attacks. Use the available platforms to move the battle away from incoming projectiles—just remember that some enemies can aim their projectiles upward!
3-Minute Smash
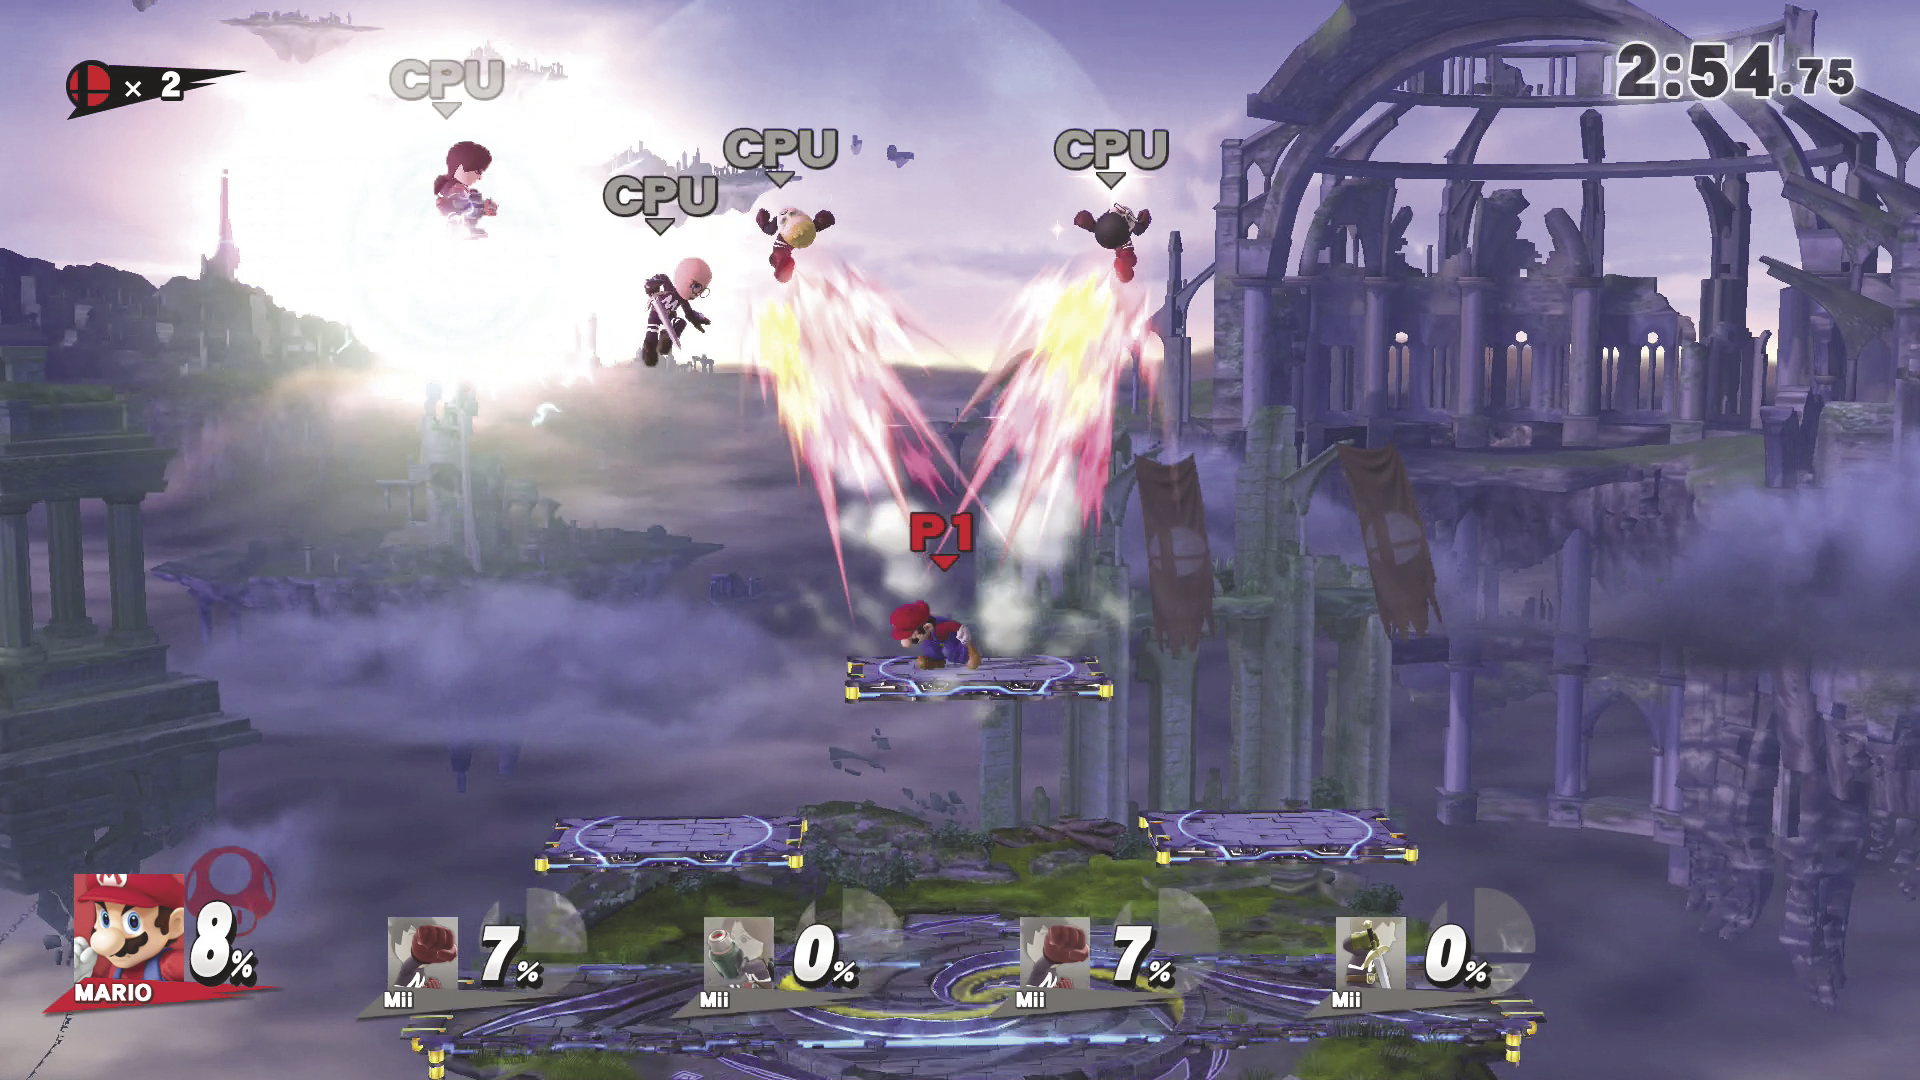
Defeat as many enemies as you can within the time limit! You have three minutes and an endless supply of easily launched opponents. You can build a decent score using virtually any techniques, and the items that appear in the area can be very useful. Again, dodging projectile attacks will be an important part of effective defense. Avoid lingering in one spot for too long!
Rival Smash
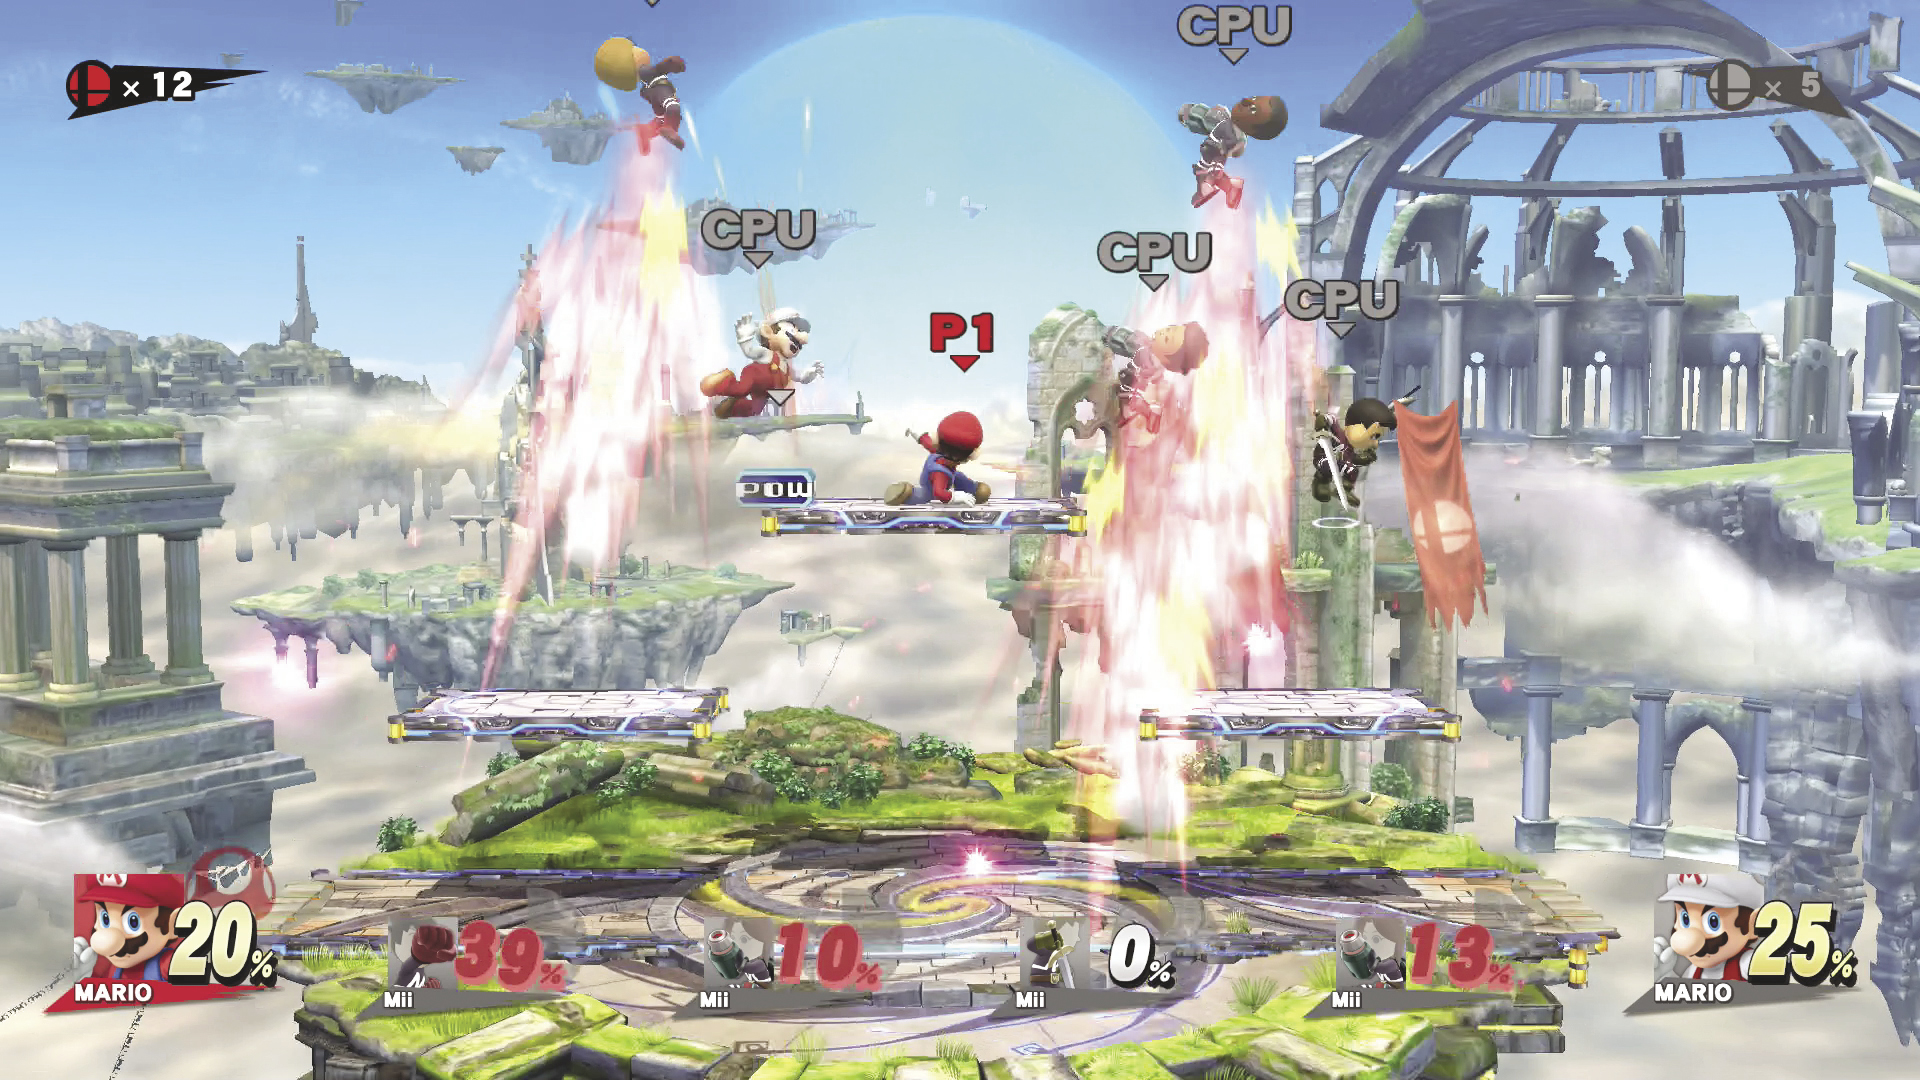
Defeat more enemies than your rival! Standard enemies are very easy to launch, but this also benefits your rival. There’s no time limit, but you are limited to a single stock life—once you’re defeated, the final score determines the winner. Your rival, on the other hand, has an infinite supply of stock lives. Scoring a KO on your rival is worth three points, but he or she can absorb much more damage than standard opponents.
Endless Smash
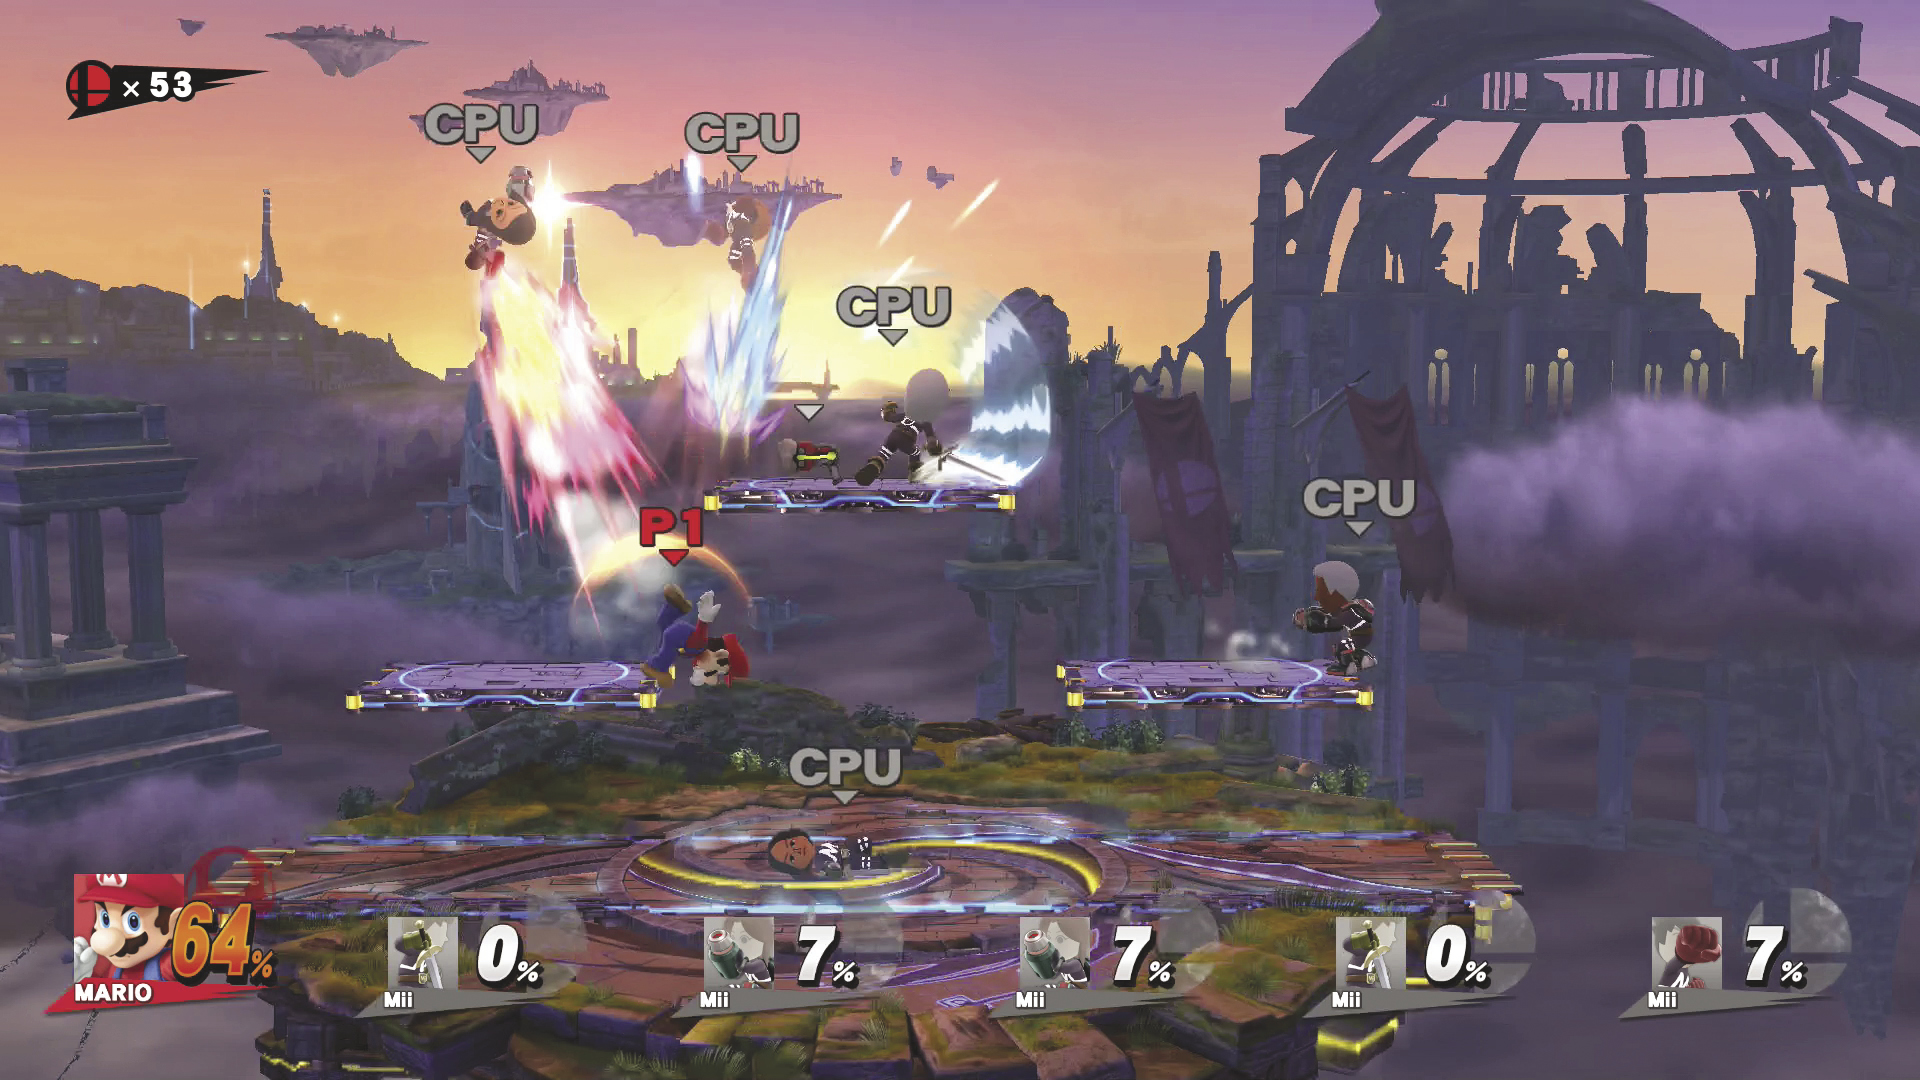
No time limit! Fight until you can fight no more! Endless Smash lets you put your skills to the test. Like most Multi-Man Smash modes, your enemies are very easy to launch. Given enough time, though, you’re sure to sustain enough damage that even the lightest hit will launch you clear out of that stage—so, use your preferred techniques to score points until that happens.
Cruel Smash
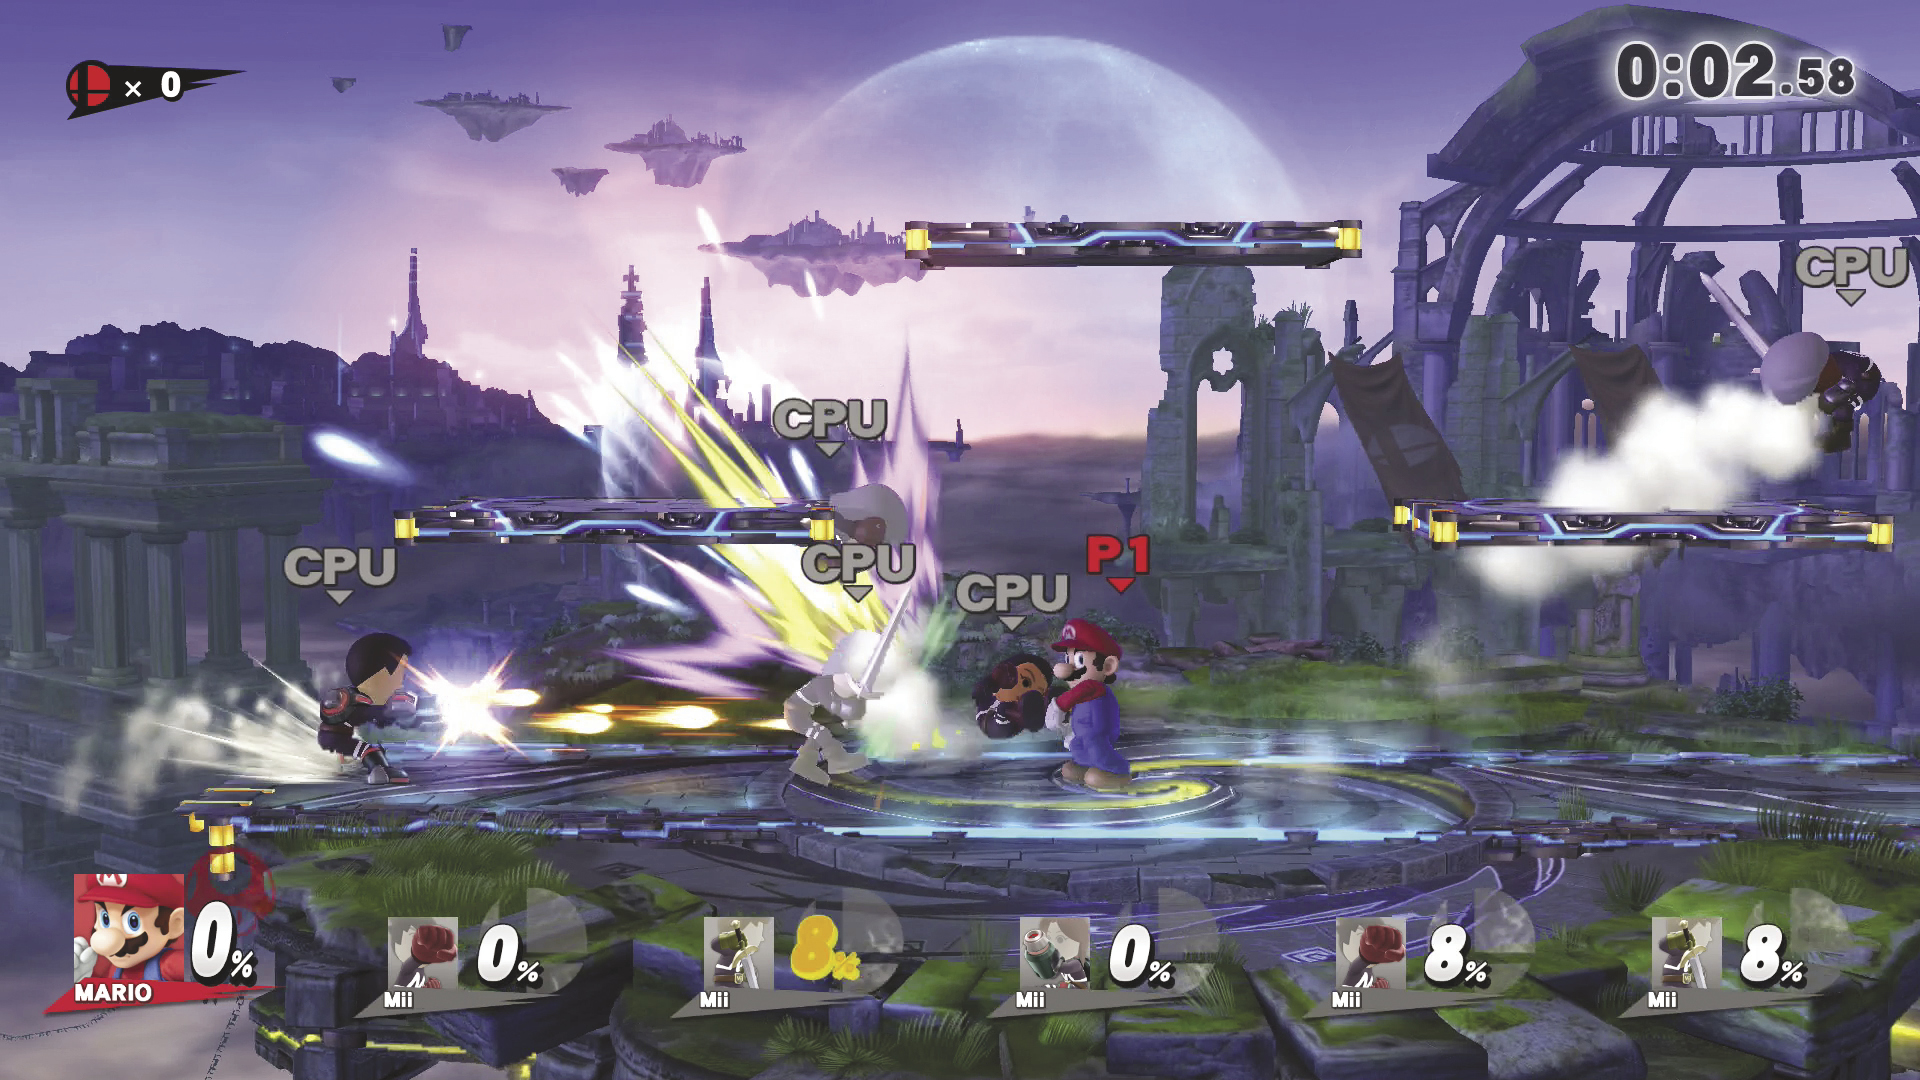
The elite army is ready to attack! Don’t hold back—it’s a fight to the end! In Cruel Smash, you opponents are extremely hard to launch. Unfortunately, the same can’t be said for your fighter; each of your opponents packs enough of a punch to send you soaring off of the platform. Throwing your opponents is often effective. These powerful foes have minimal fall recovery, so throws can be particularly effective if your fighter is near the edge of the platform.
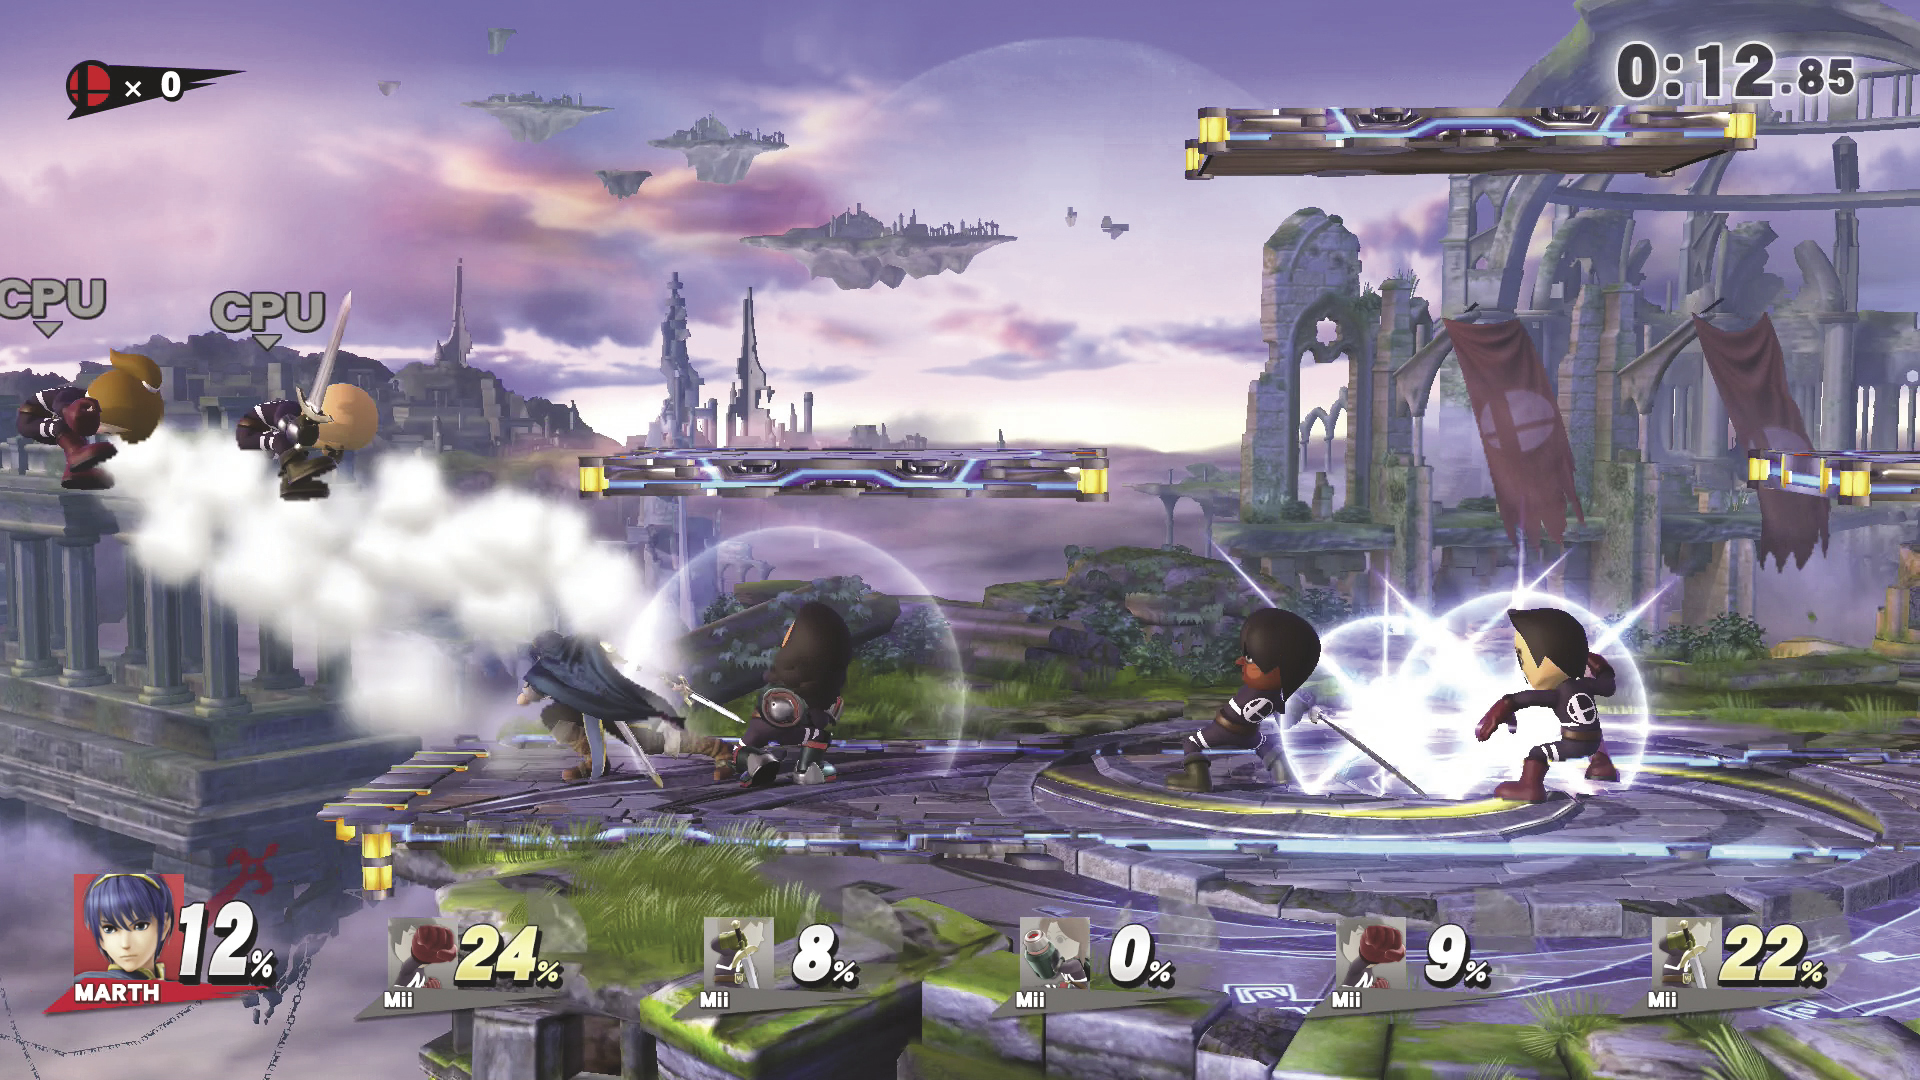
Characters equipped with a Counter special—like Marth, for example—can be very useful in Cruel Smash. It’s often possible to catch several opponents with a single Counter. If you lure them to the end of the stage, you have an excellent chance of scoring multiple KOs with a single Counter.
Home-Run Contest
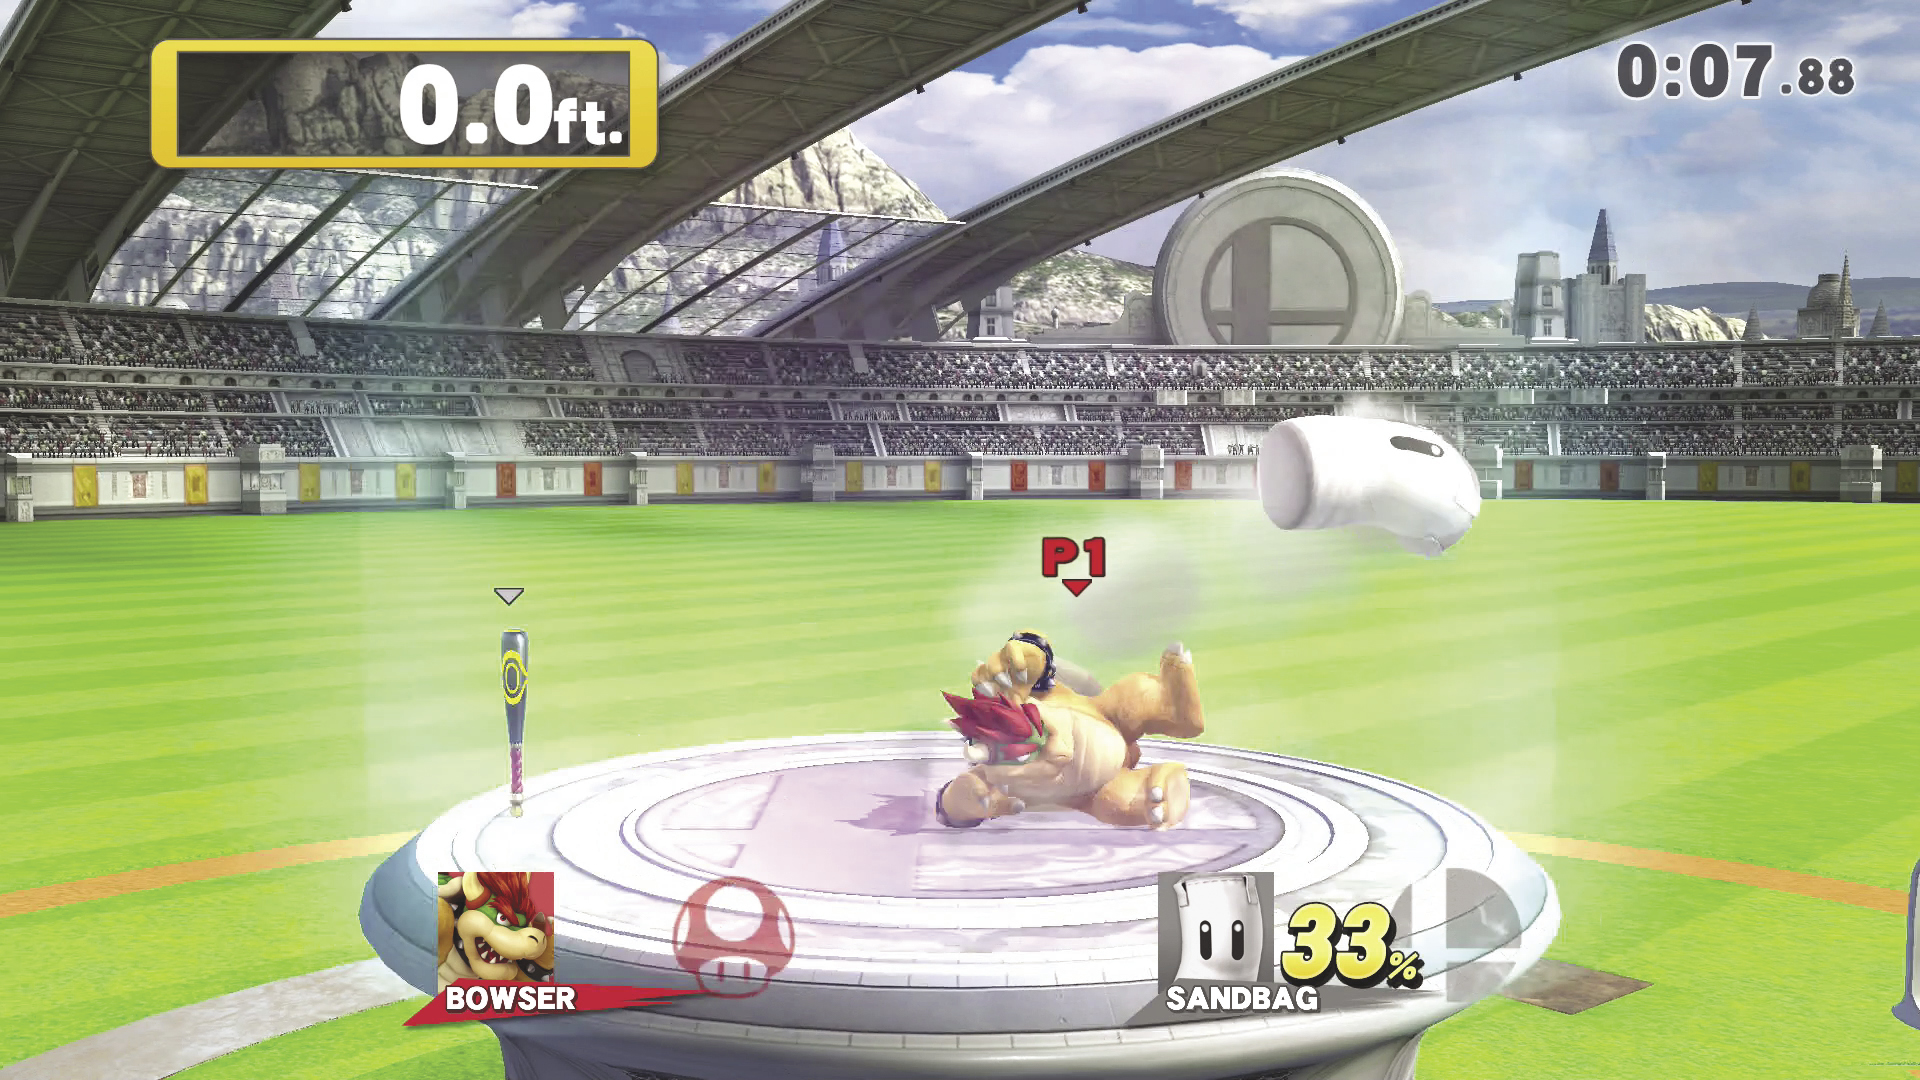
In Home-Run Contest, you must launch Sandbag as far as possible. Use your fighter’s attacks to increase Sandbag’s damage percentage, then grab the Home-Run Bat and use it to launch Sandbag from the platform. It’s best to minimize the time you spend chasing Sandbag across the platform. Try using Smash attacks and tilt attacks to bounce Sandbag against the invisible wall that surrounds the platform. Sandbag’s damage percentage will change the angle of its bounce, but small adjustments should allow you to land a steady series of hits.
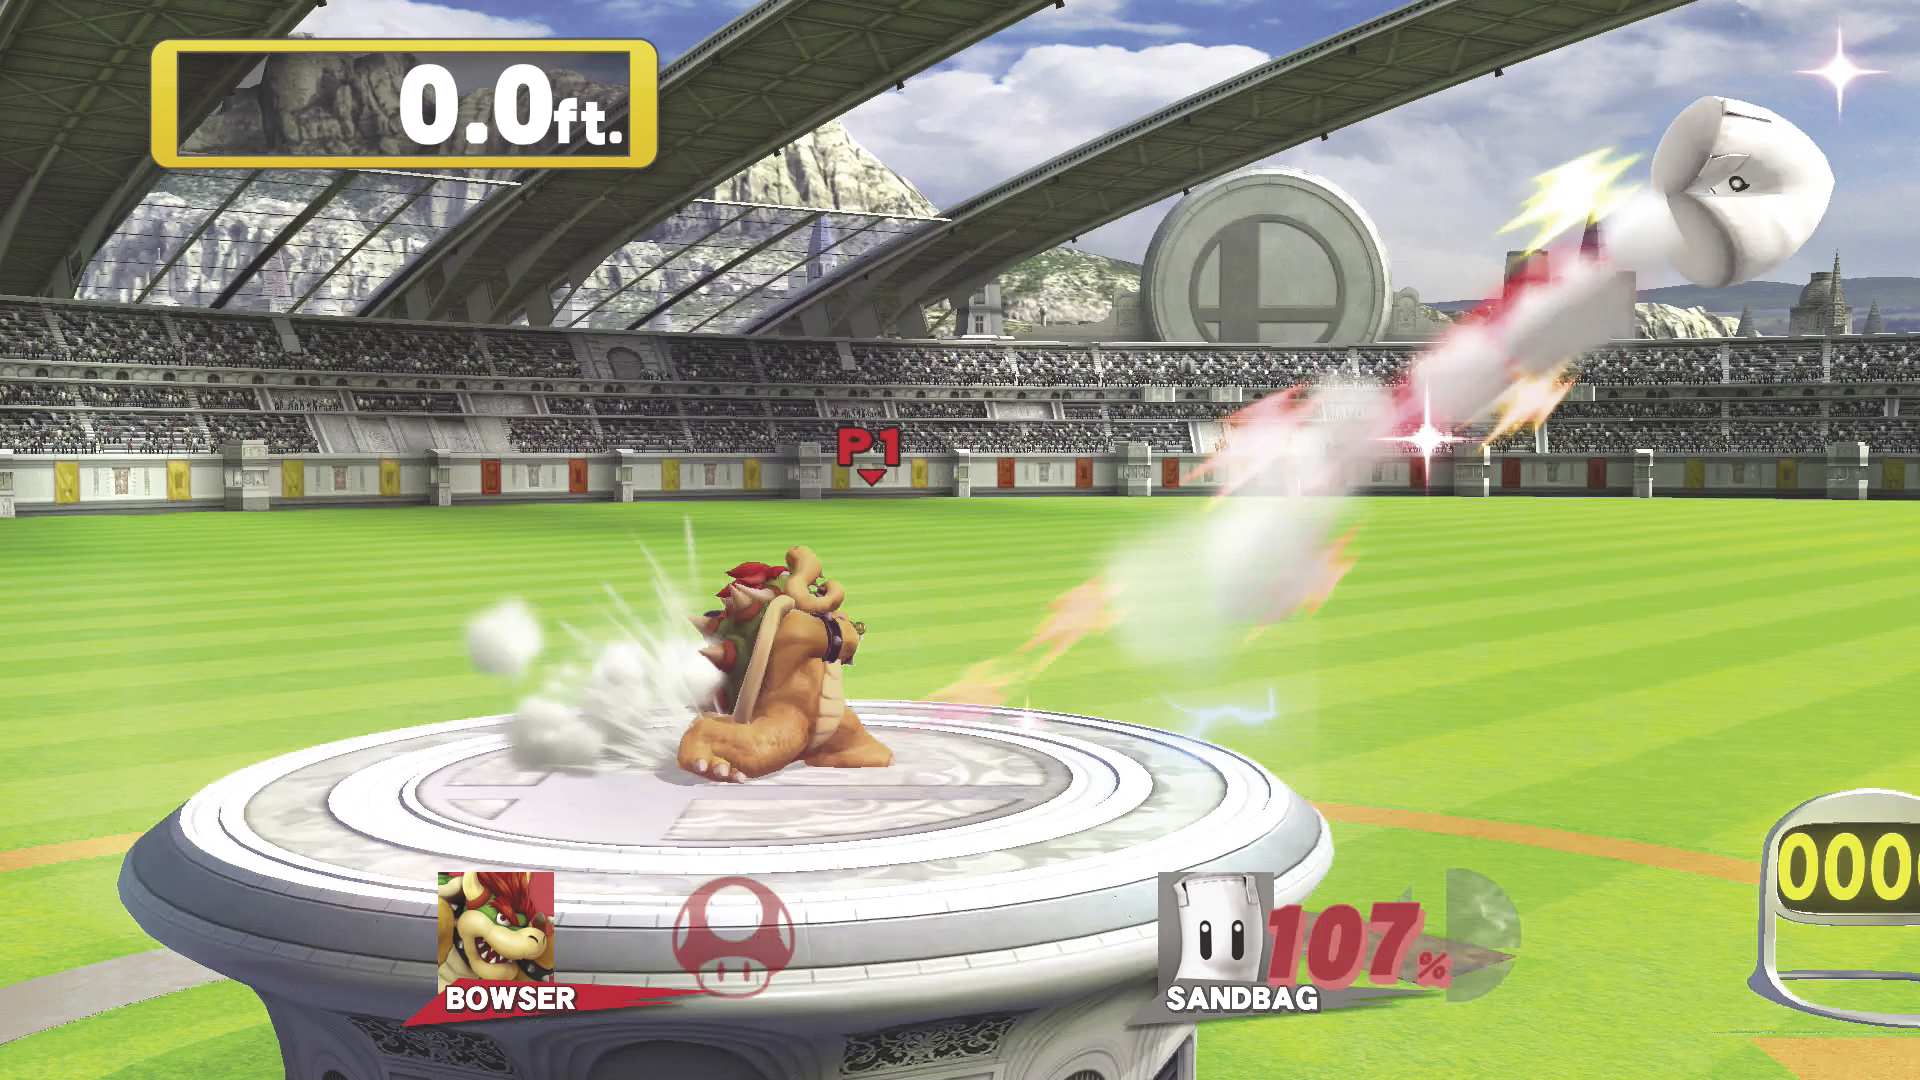
As you pummel Sandbag, watch for the countdown to appear on the screen. With most fighters, you must grab the Home-Run Bat and begin your final attack before time runs out. If you grab the Home-Run Bat too early, you’ll sacrifice any additional damage you might have delivered to Sandbag. Grabbing the Home-Run Bat too late, on the other hand, will prevent you from launching Sandbag at all.
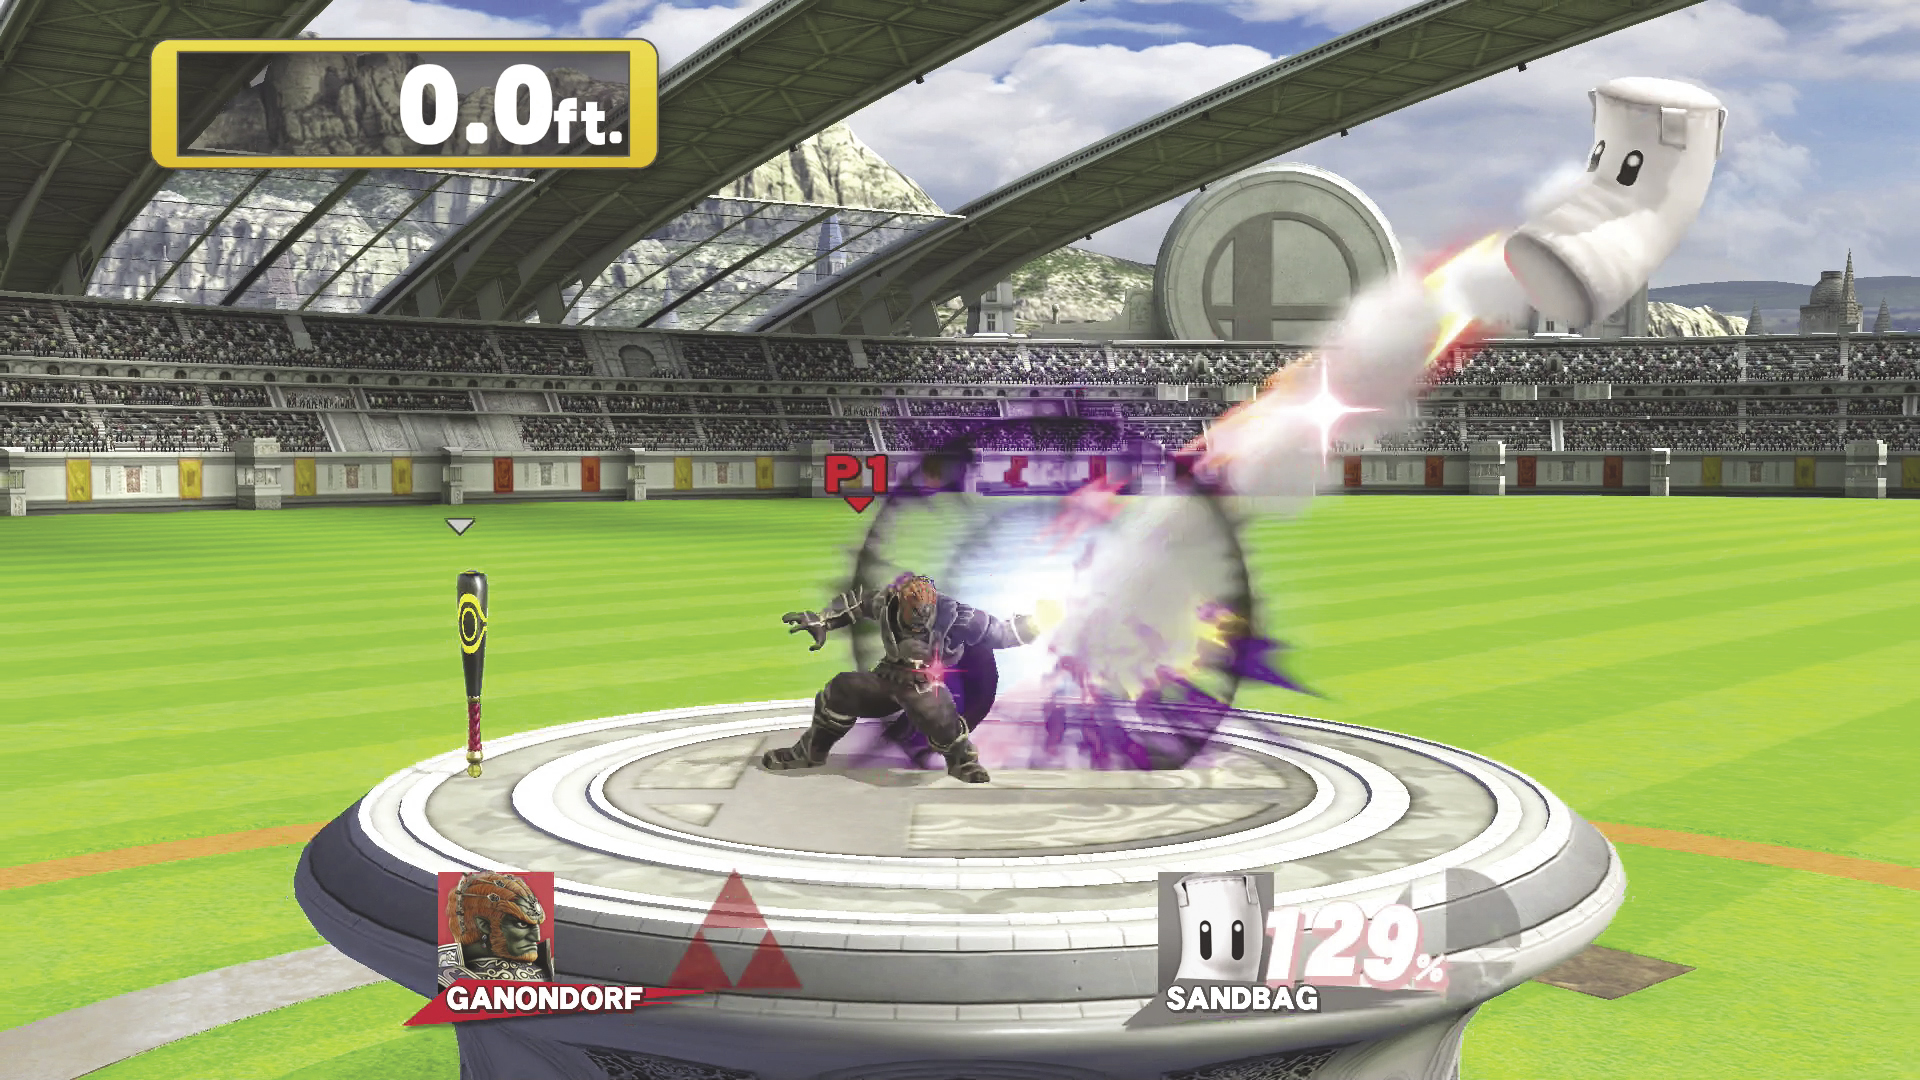
Some characters have powerful attacks that can launch Sandbag without using the Home-Run Bat. Ganondorf’s turn-around Warlock Punch is particularly effective. For most characters, however, knowing when to grab the Home-Run Bat and start your swing is an important part of maximizing your distance.
Training
Training Overview
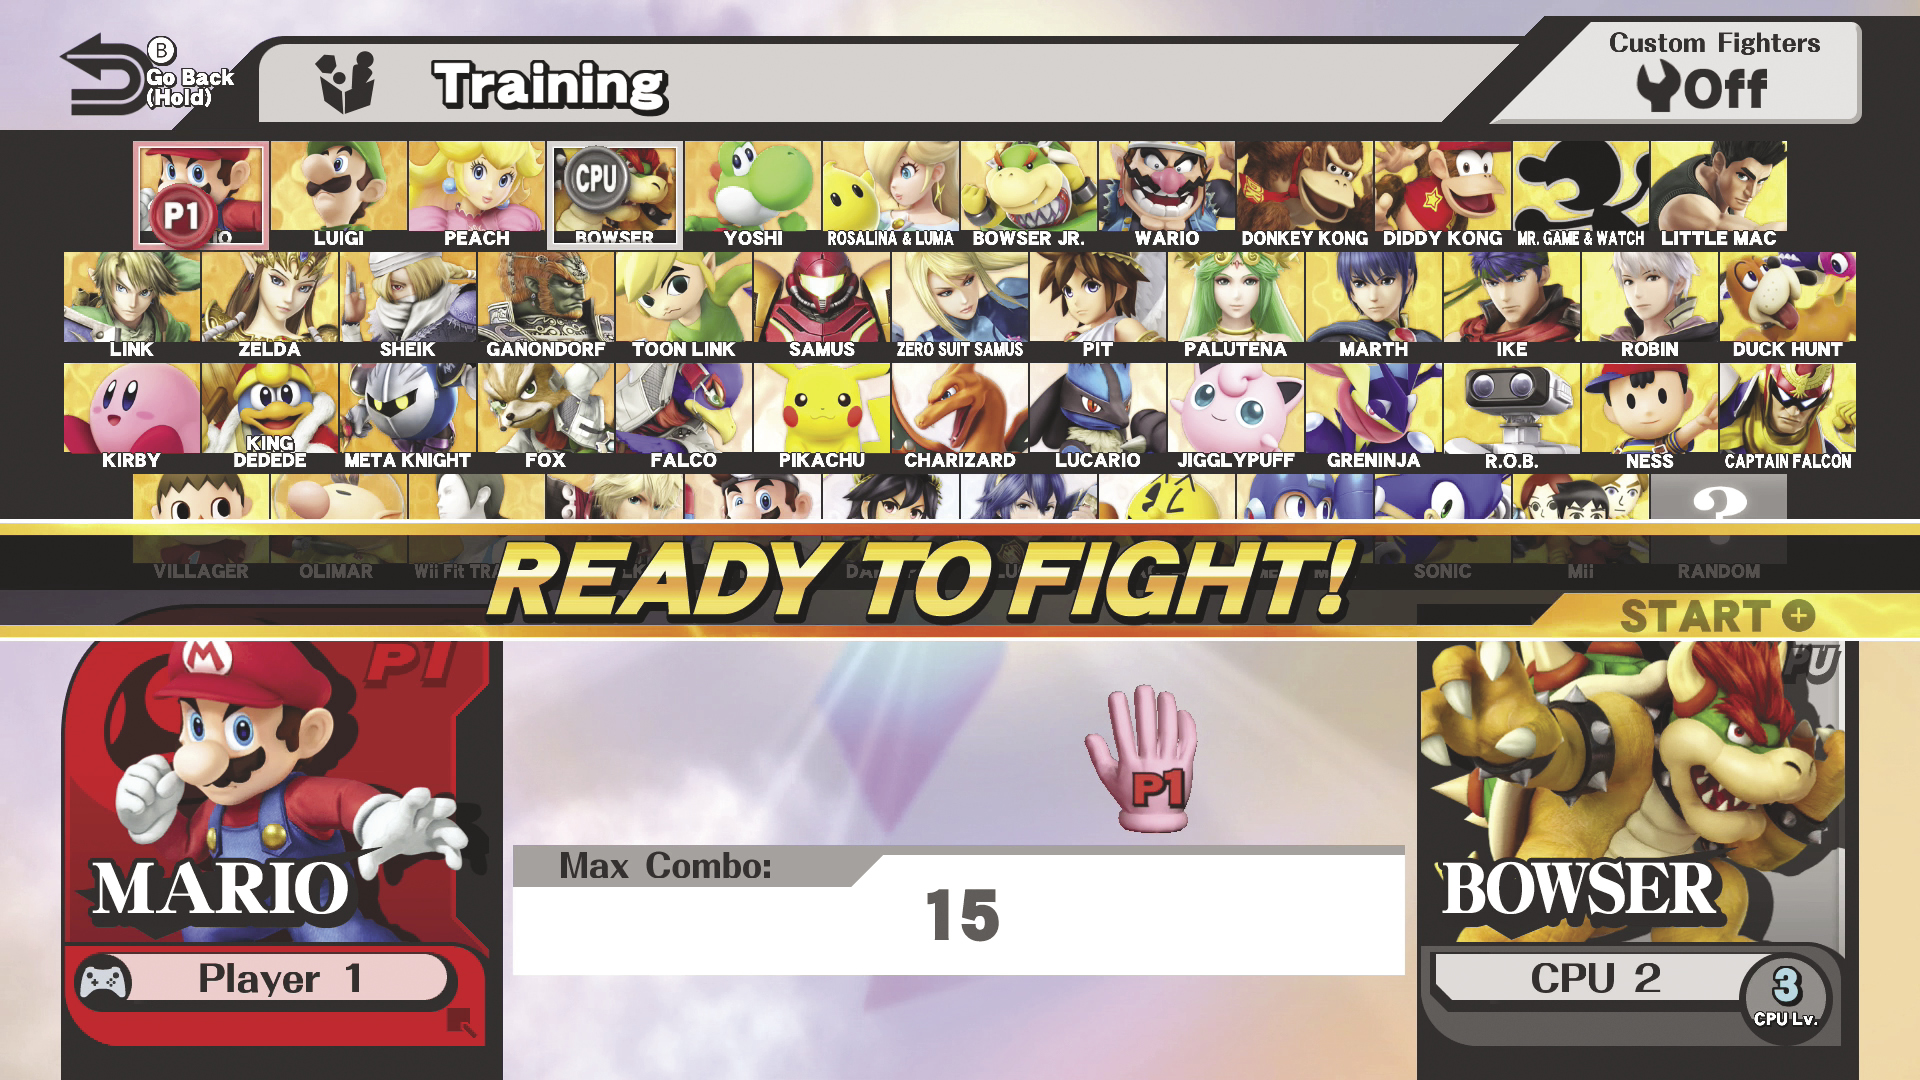
Training is a great way to practice with—and against—specific fighters under a variety of conditions. Select your fighter, your opponent, and your stage just as you would when starting a game of Smash.
During Training
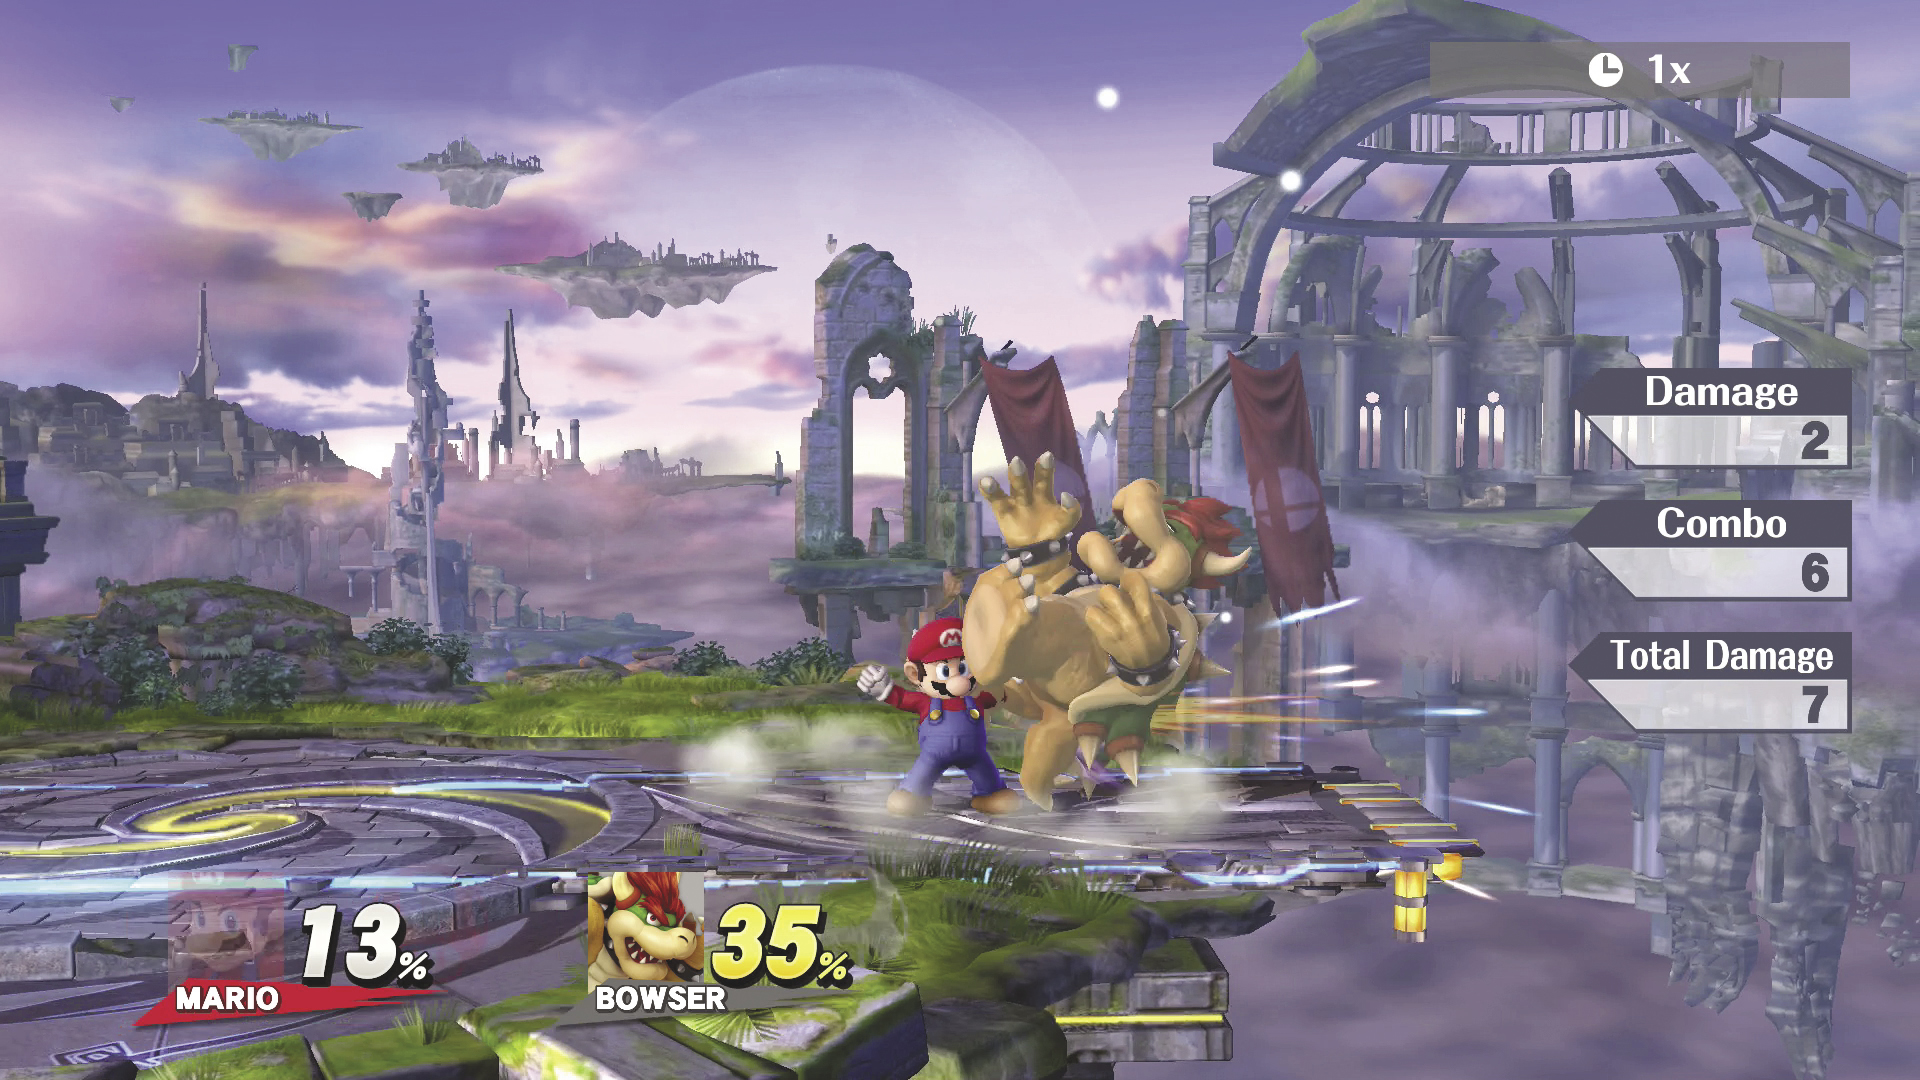
By default, useful information is displayed near the screen’s right edge. Use these panels to track the damage caused by your attacks and the length of any combos you perform.
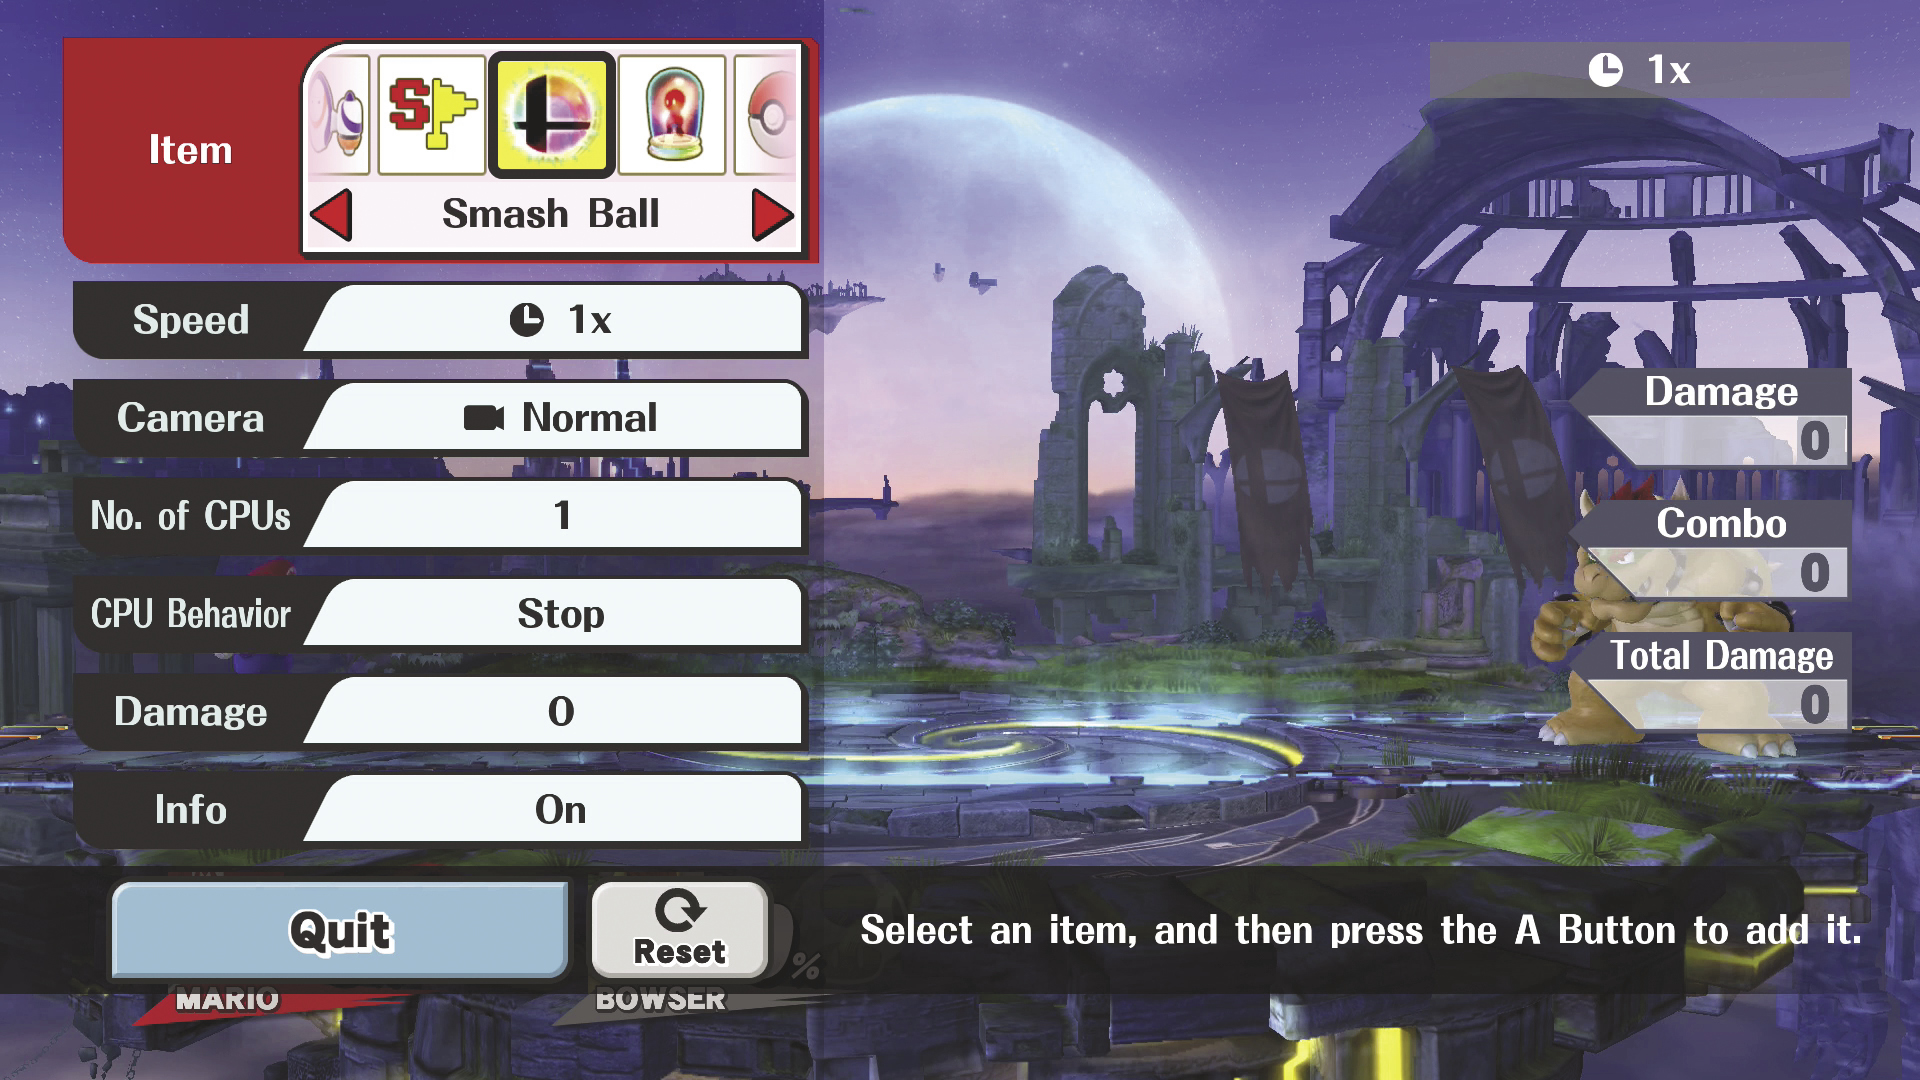
Pause the game to adjust the available Training settings at any time during your session:
- Item: Use the Left Stick to cycle through the game’s various items. Confirm a selection to spawn the indicated item on the battlefield.
- Speed: Change the game’s speed. This includes options for constant effects and speed changes that are triggered by holding
 .
. - Camera: Choose between normal, zoom, and fixed camera settings.
- No. of CPUs: This setting determines if you face one, two, or three CPU opponents.
- CPU Behavior: Use this setting to determine whether your opponents stand still (stop), walk, run, jump, or attack. You even have the option to control your opponent with an additional controller!
- Damage: Adjust the current damage percentage for all fighters.
- Info: Hide or show the information panels displayed at the screen’s right edge.