
Super Smash Bros. WiiU/3DS Guide CHARACTERS
Lucario
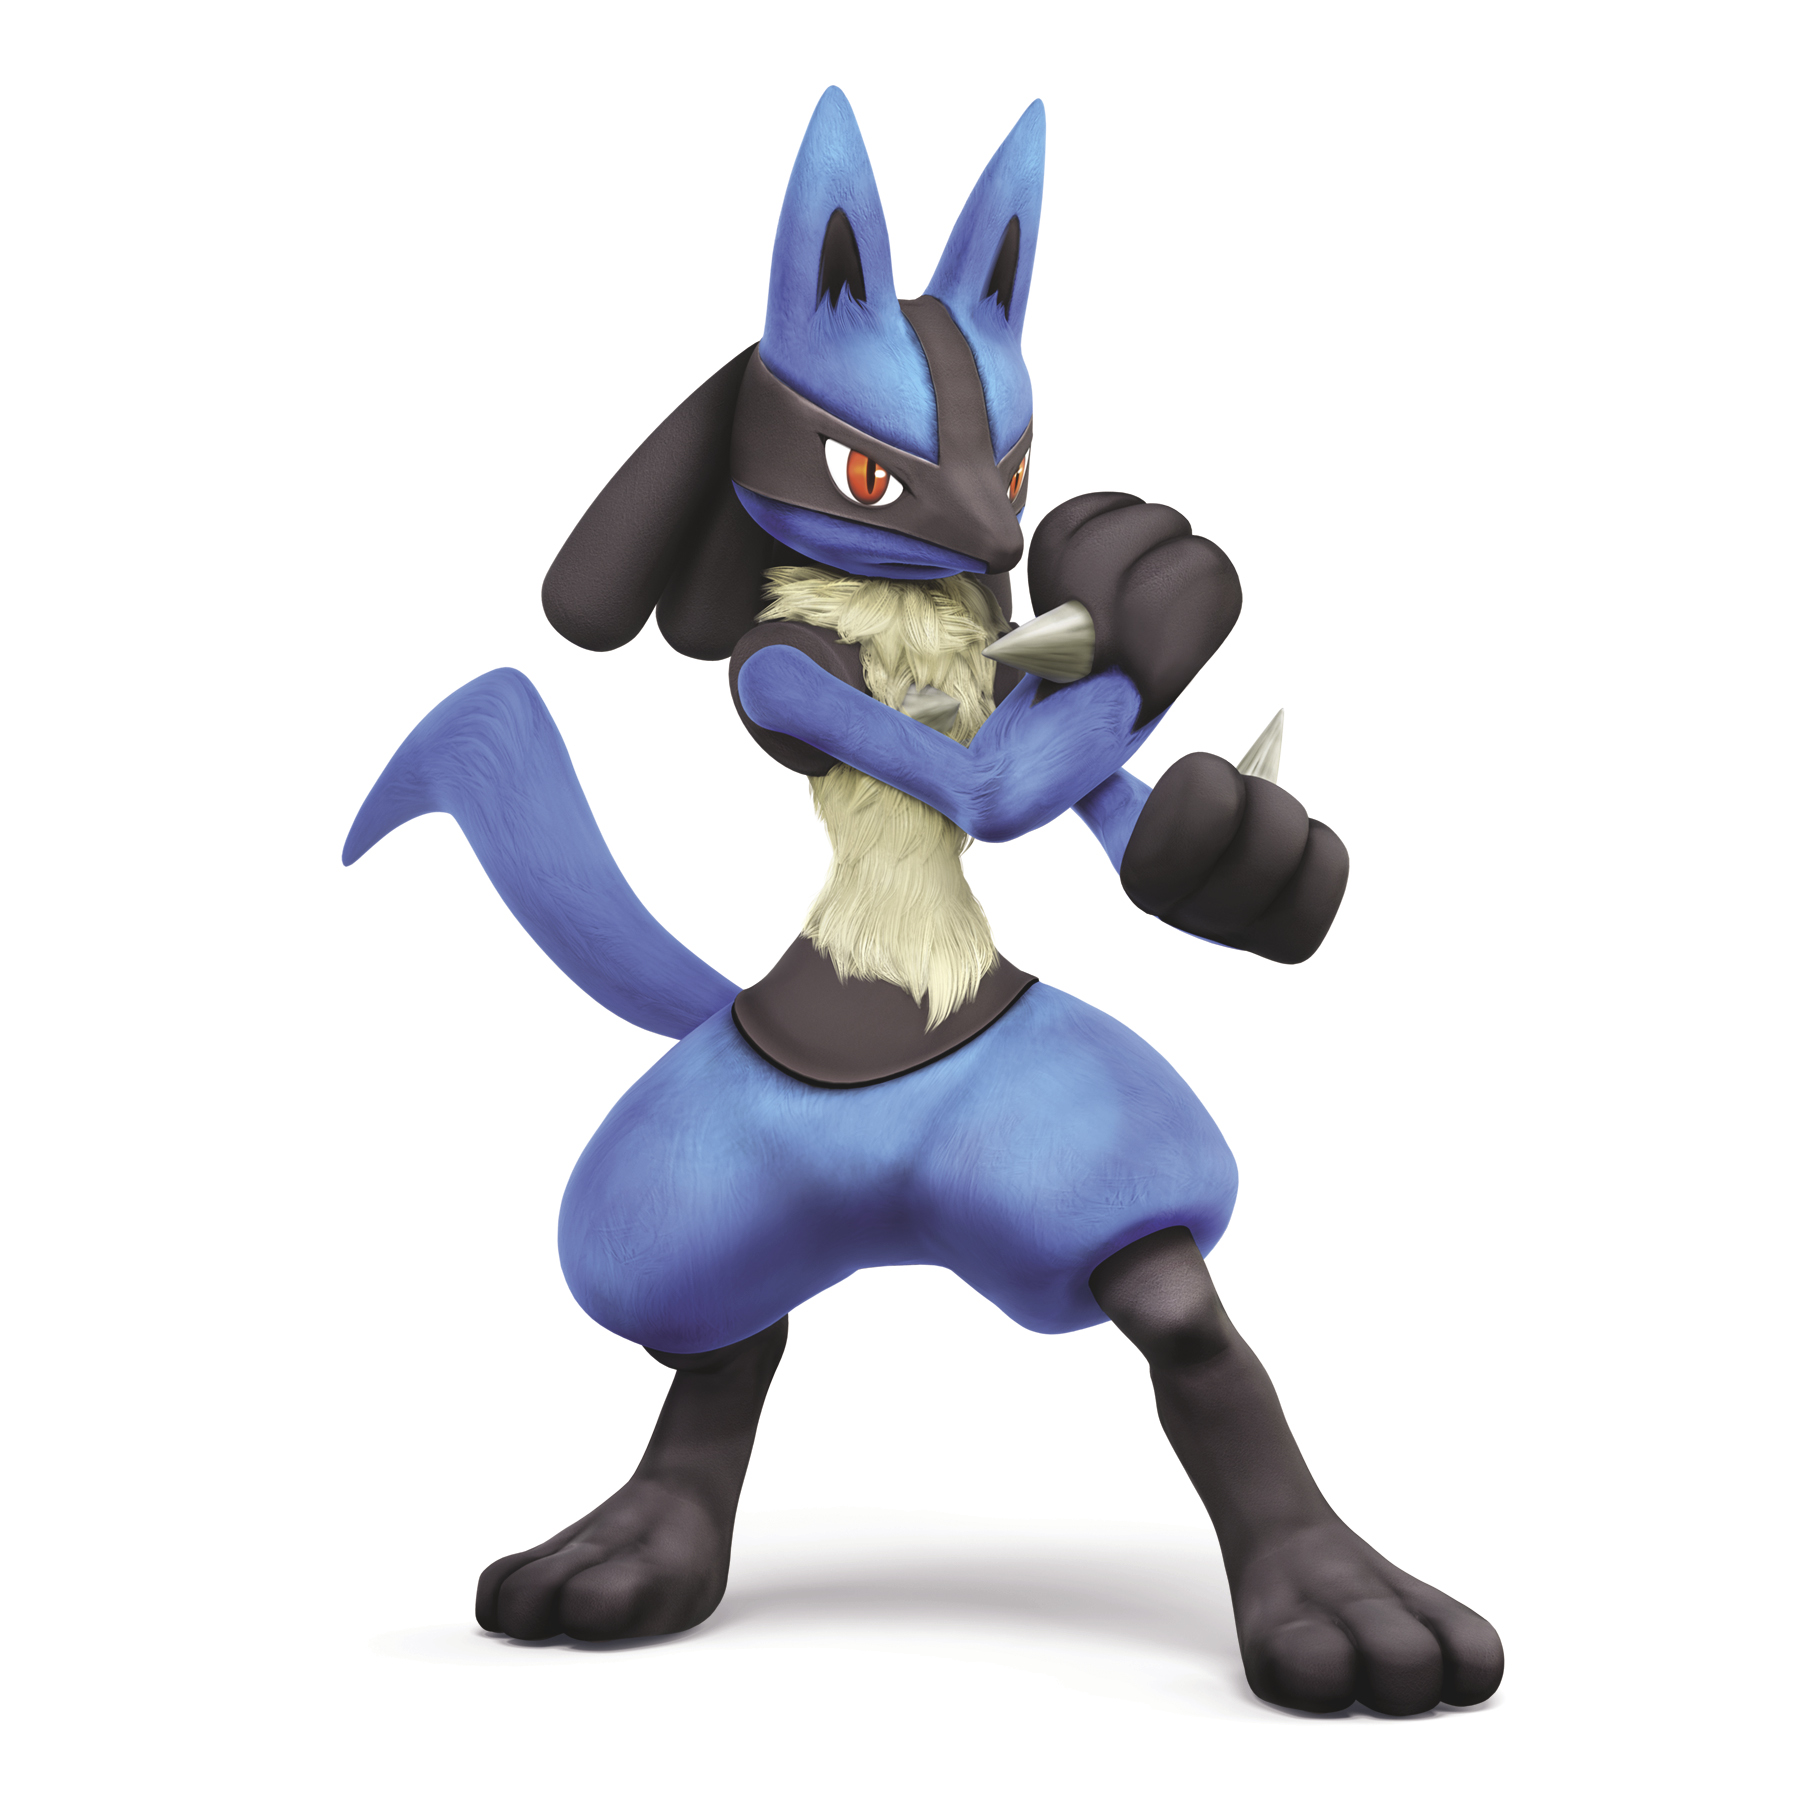
Trophy Description
A Fighting/Steel-type Pokémon that excels in combat through the reading and manipulation of Aura. As Lucario takes more DAMAGE, its attacks grow in strength. At maximum power, Lucario deals triple DAMAGE and its Aura Sphere is particularly devastating! Foes won’t even know what hit them!
Statistics
Maximum Number of Jumps: 2
Can Wall Jump: Yes
Can Wall Cling: Yes
Can Crawl: Yes
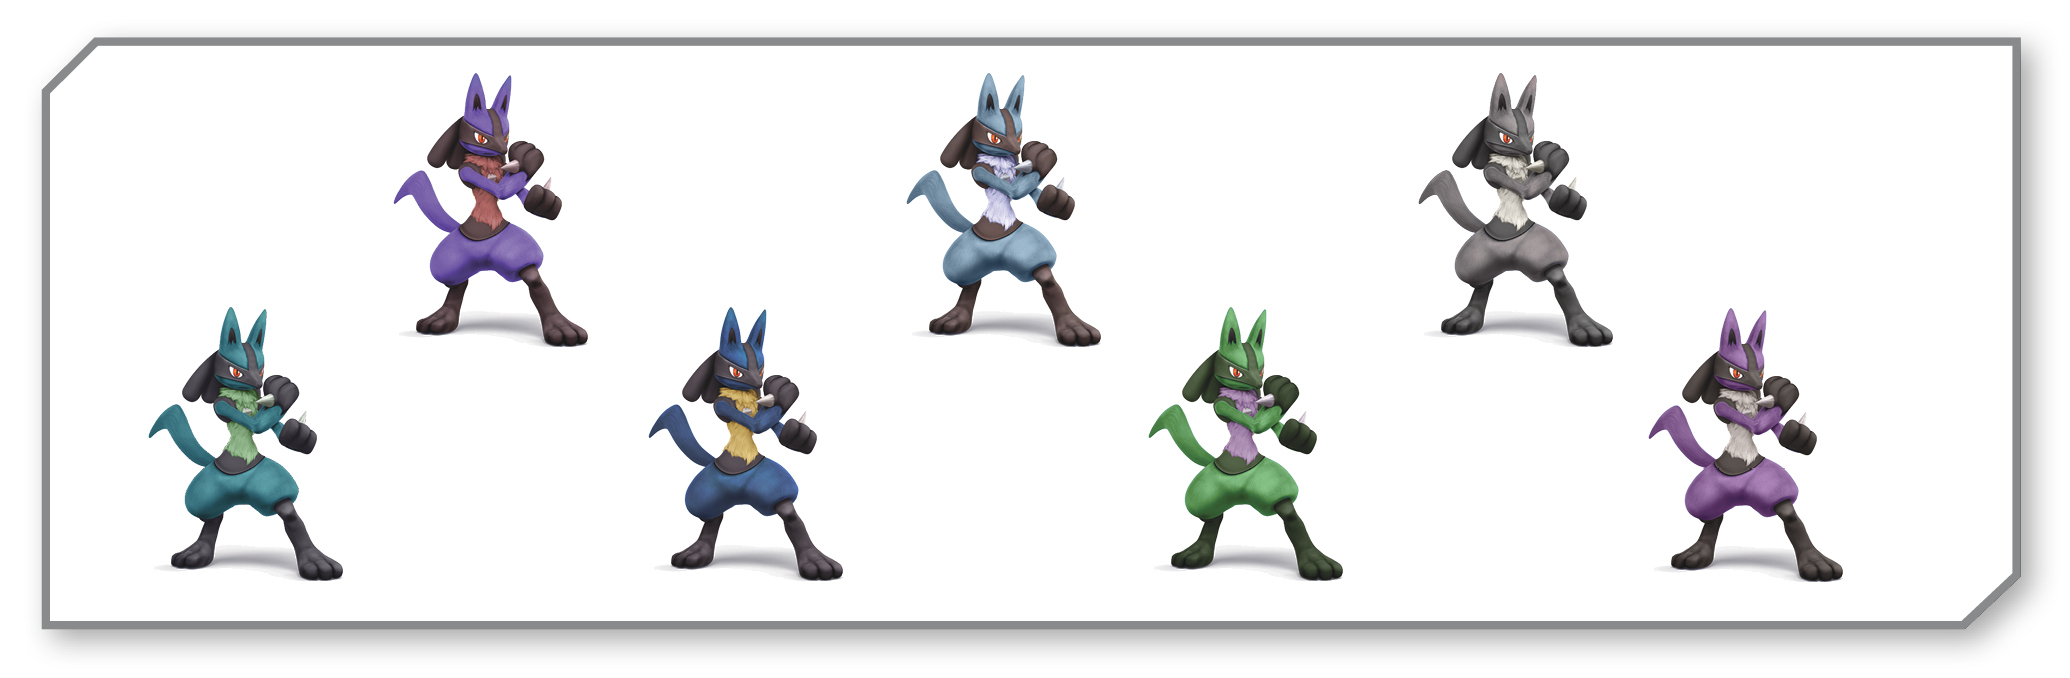
Alternate Colors
Smash Attacks
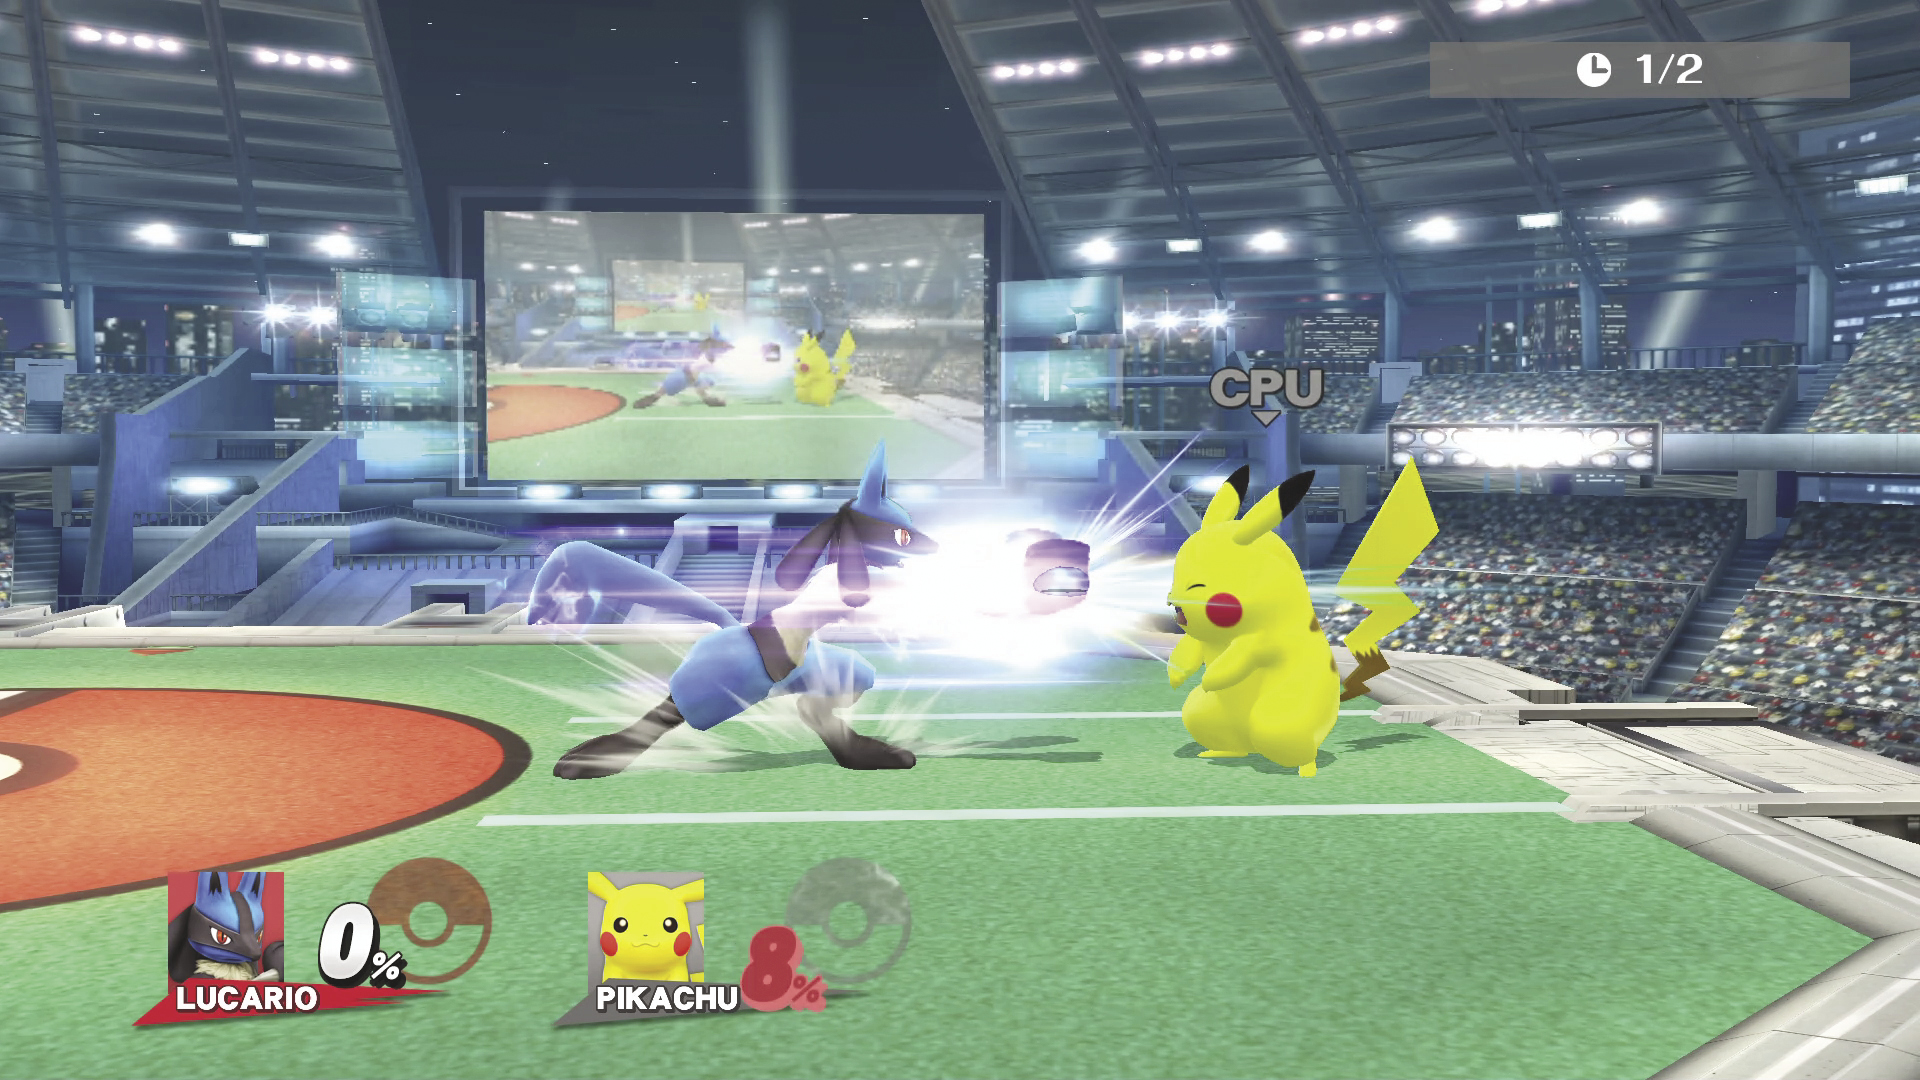
SIDE SMASH
| Aura Levels | DAMAGE |
|---|---|
| Smallest | 8.6~10.6% |
| Largest | 22.1~27.2% |
Lucario attacks directly in front of itself with an Aura blast.
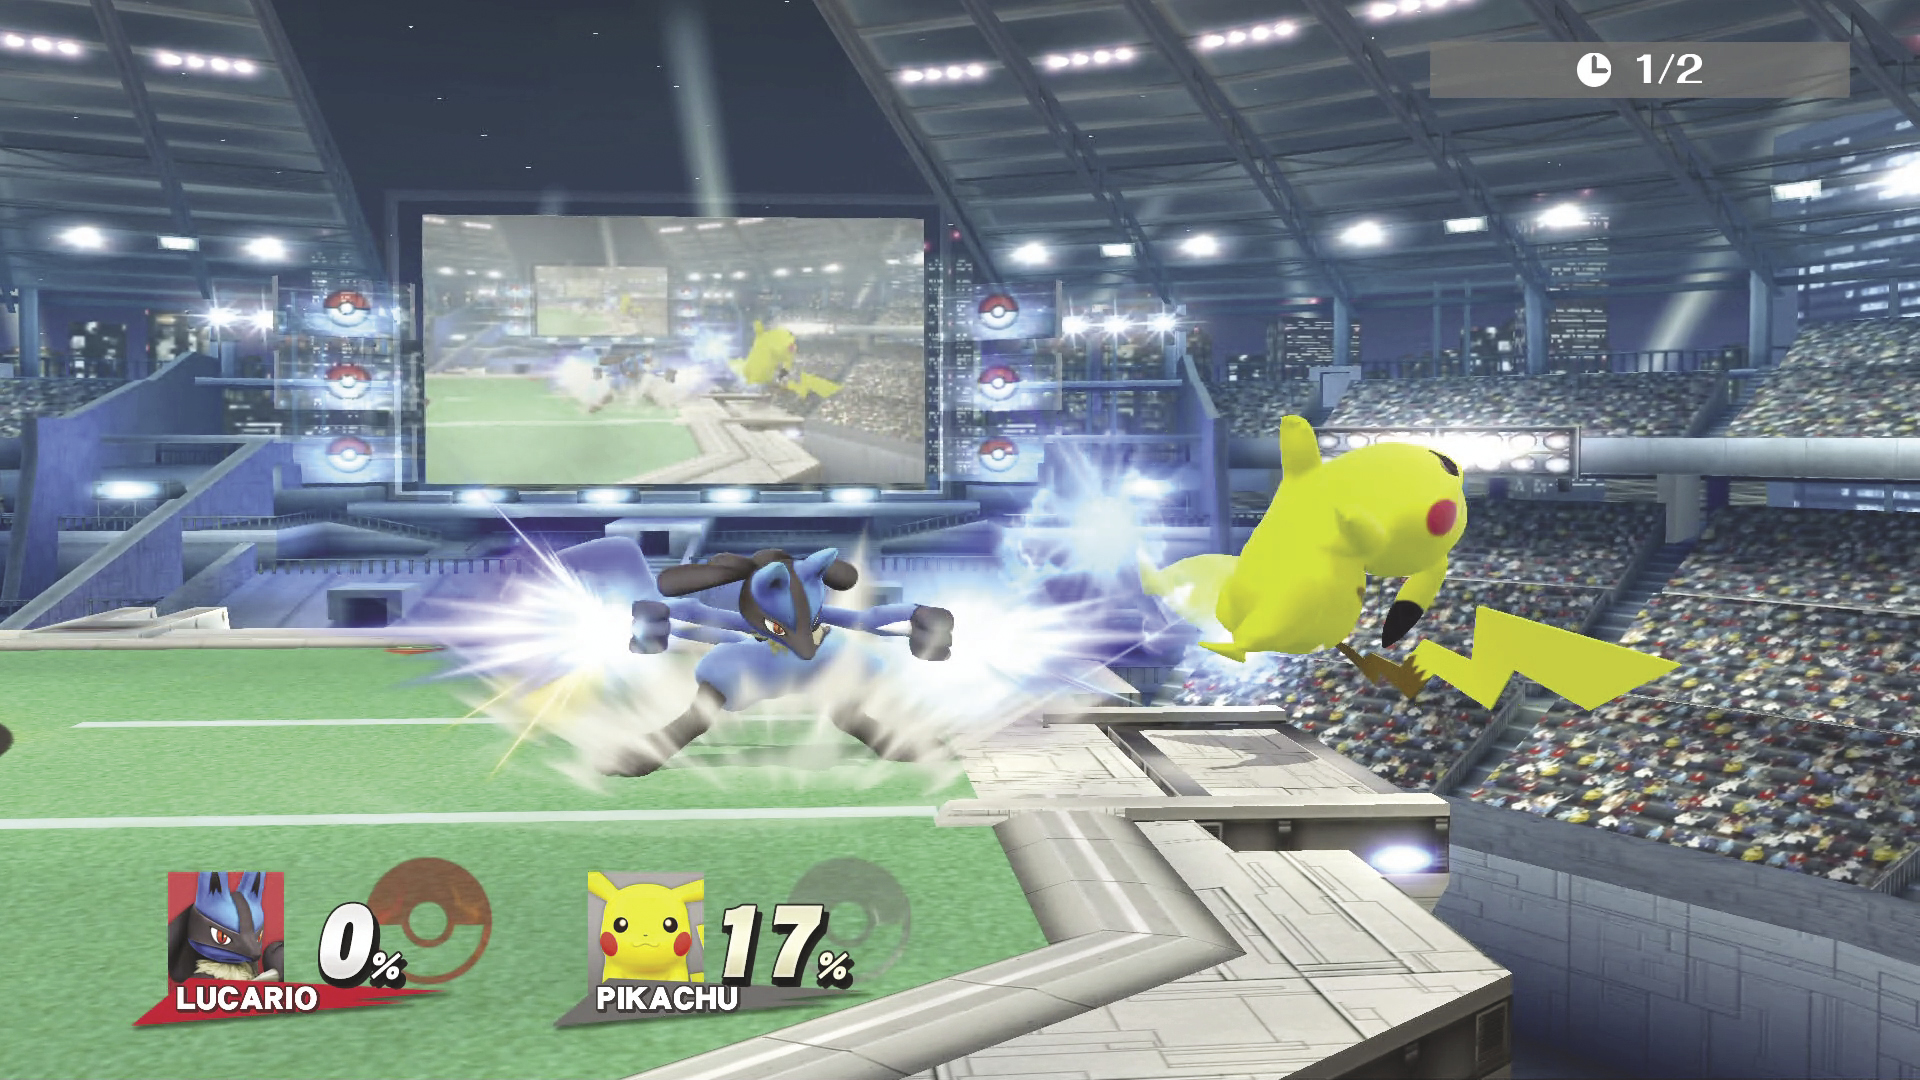
DOWN SMASH
| Aura Levels | DAMAGE |
|---|---|
| Smallest | 9.2% |
| Largest | 23.8% |
Lucario strikes out with both hands, sending an Aura blast in each direction.
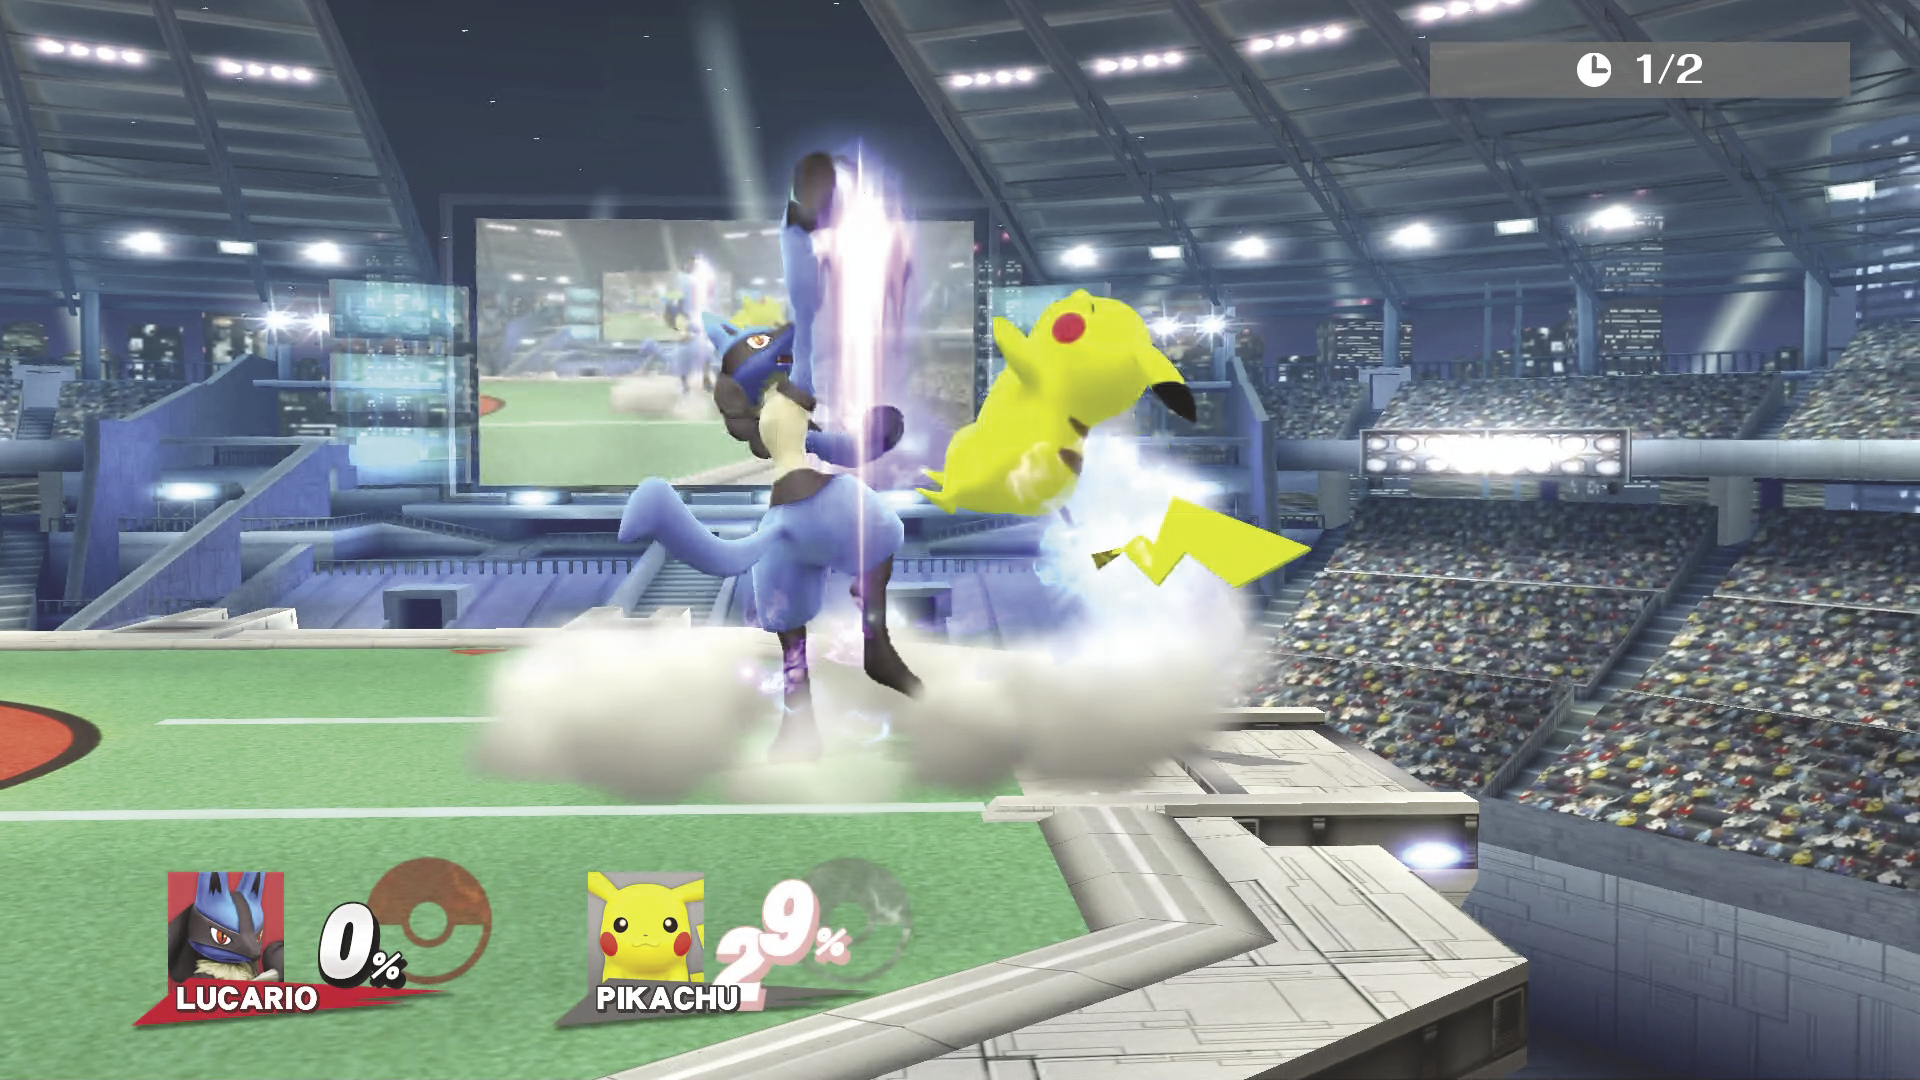
UP SMASH
| Aura Levels | DAMAGE | MAX DAMAGE |
|---|---|---|
| Smallest | 2.6~9.2% | 11.9% : 2 Hits |
| Largest | 6.8~23.8% | 30.6% : 2 Hits |
Lucario uses an Aura attack to lift your opponent directly in front of it.
Basic Attacks
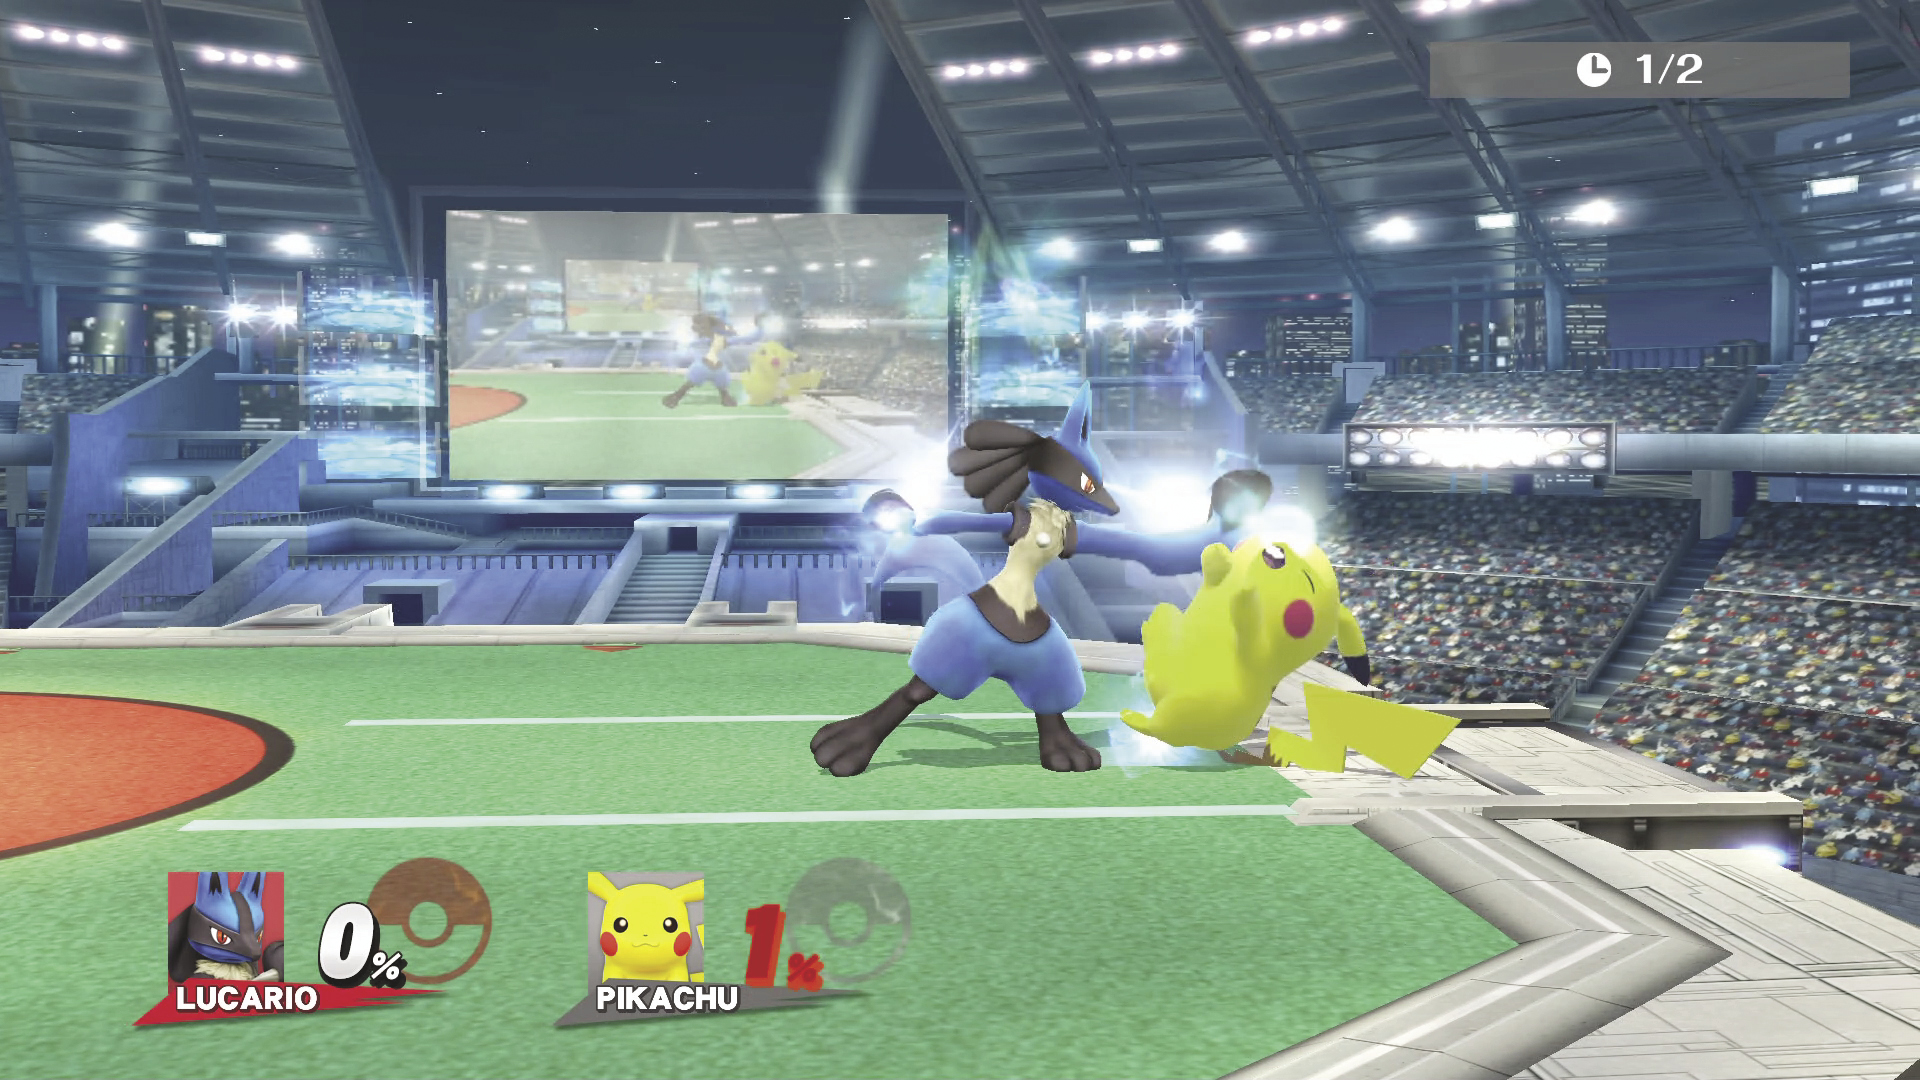
Standing Attack
| Aura Levels | DAMAGE |
|---|---|
| Smallest | 1.7%, 1.3%, 2% |
| Largest | 4.3%, 3.4%, 5.1% |
Lucario does a three-hit combo, ending with a kick that sends your opponent diagonally away.
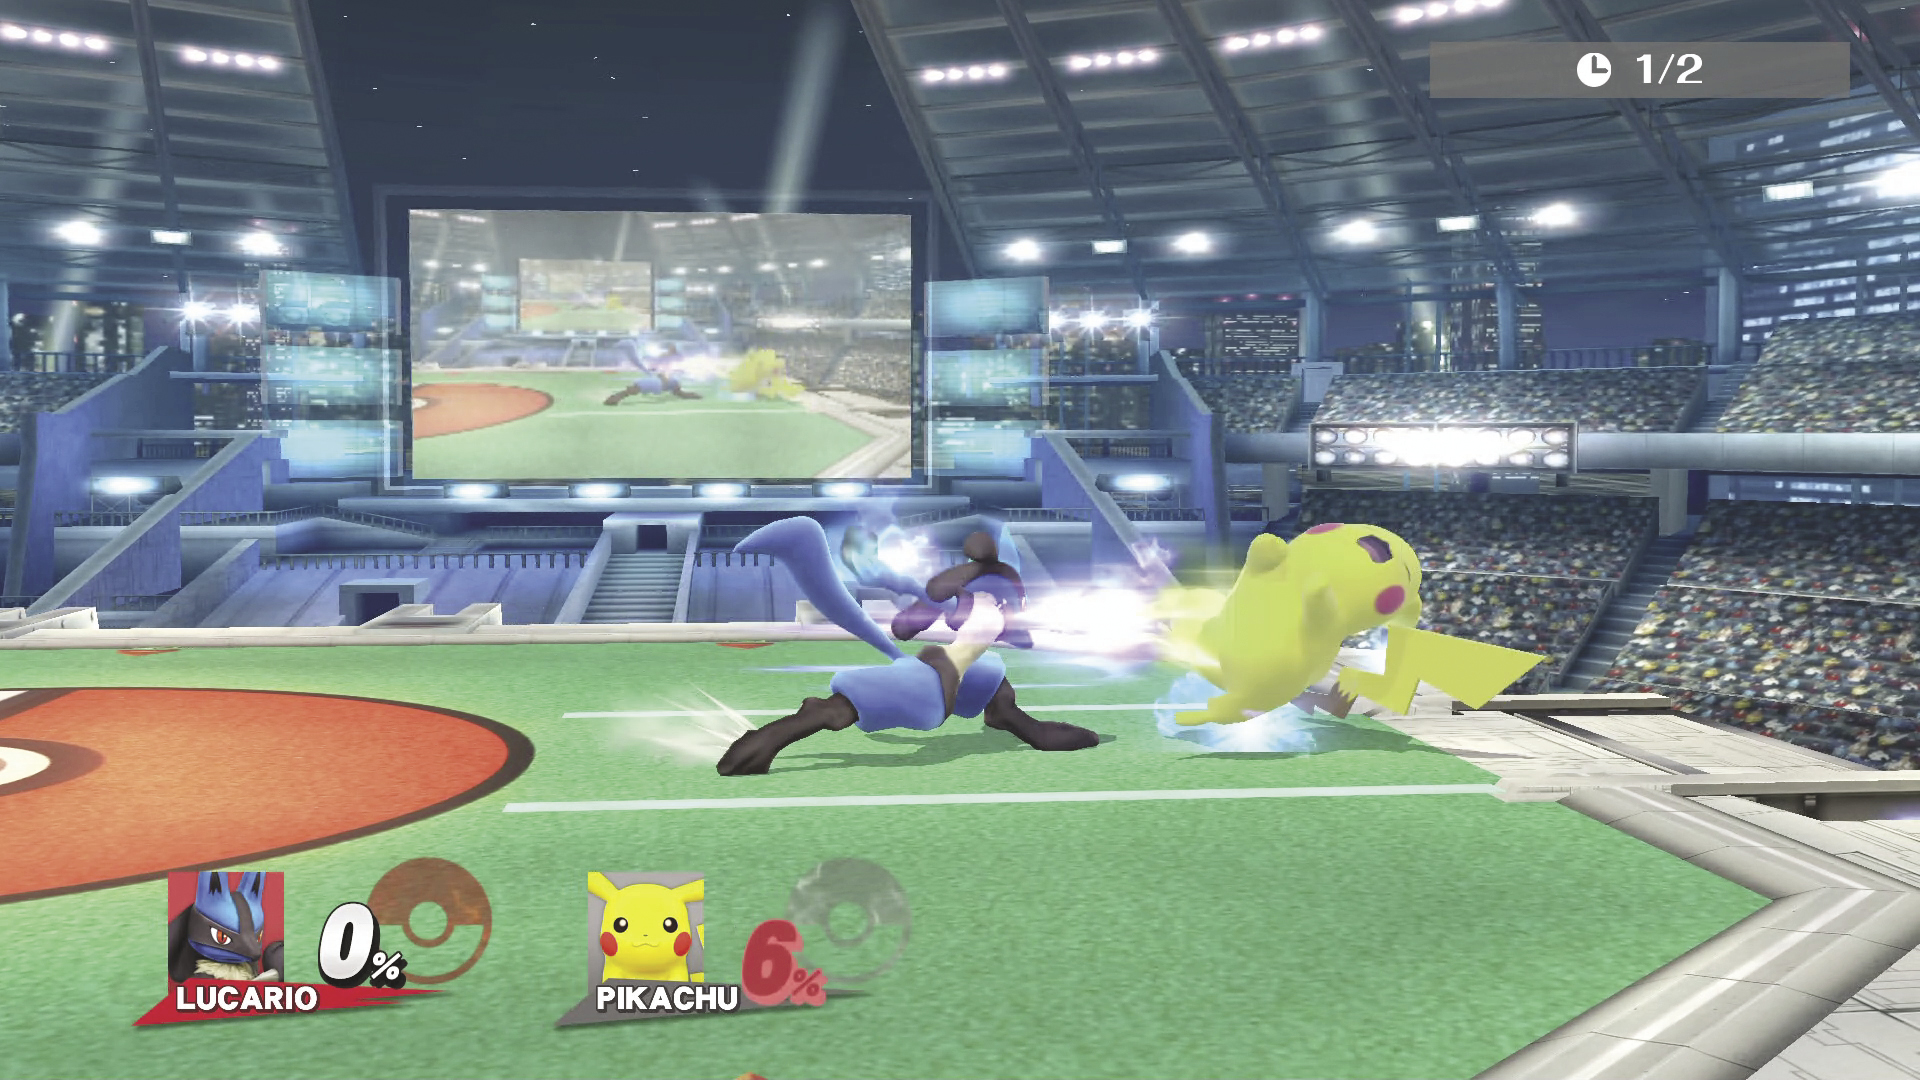
Side Tilt
| Aura Levels | DAMAGE | MAX DAMAGE |
|---|---|---|
| Smallest | 2.6~4% | 6.6% : 2 Hits |
| Largest | 6.8~10.2% | 17% : 2 Hits |
Lucario steps forward and punches with an Aura blast at the end of its hand. This can be aimed up or down.
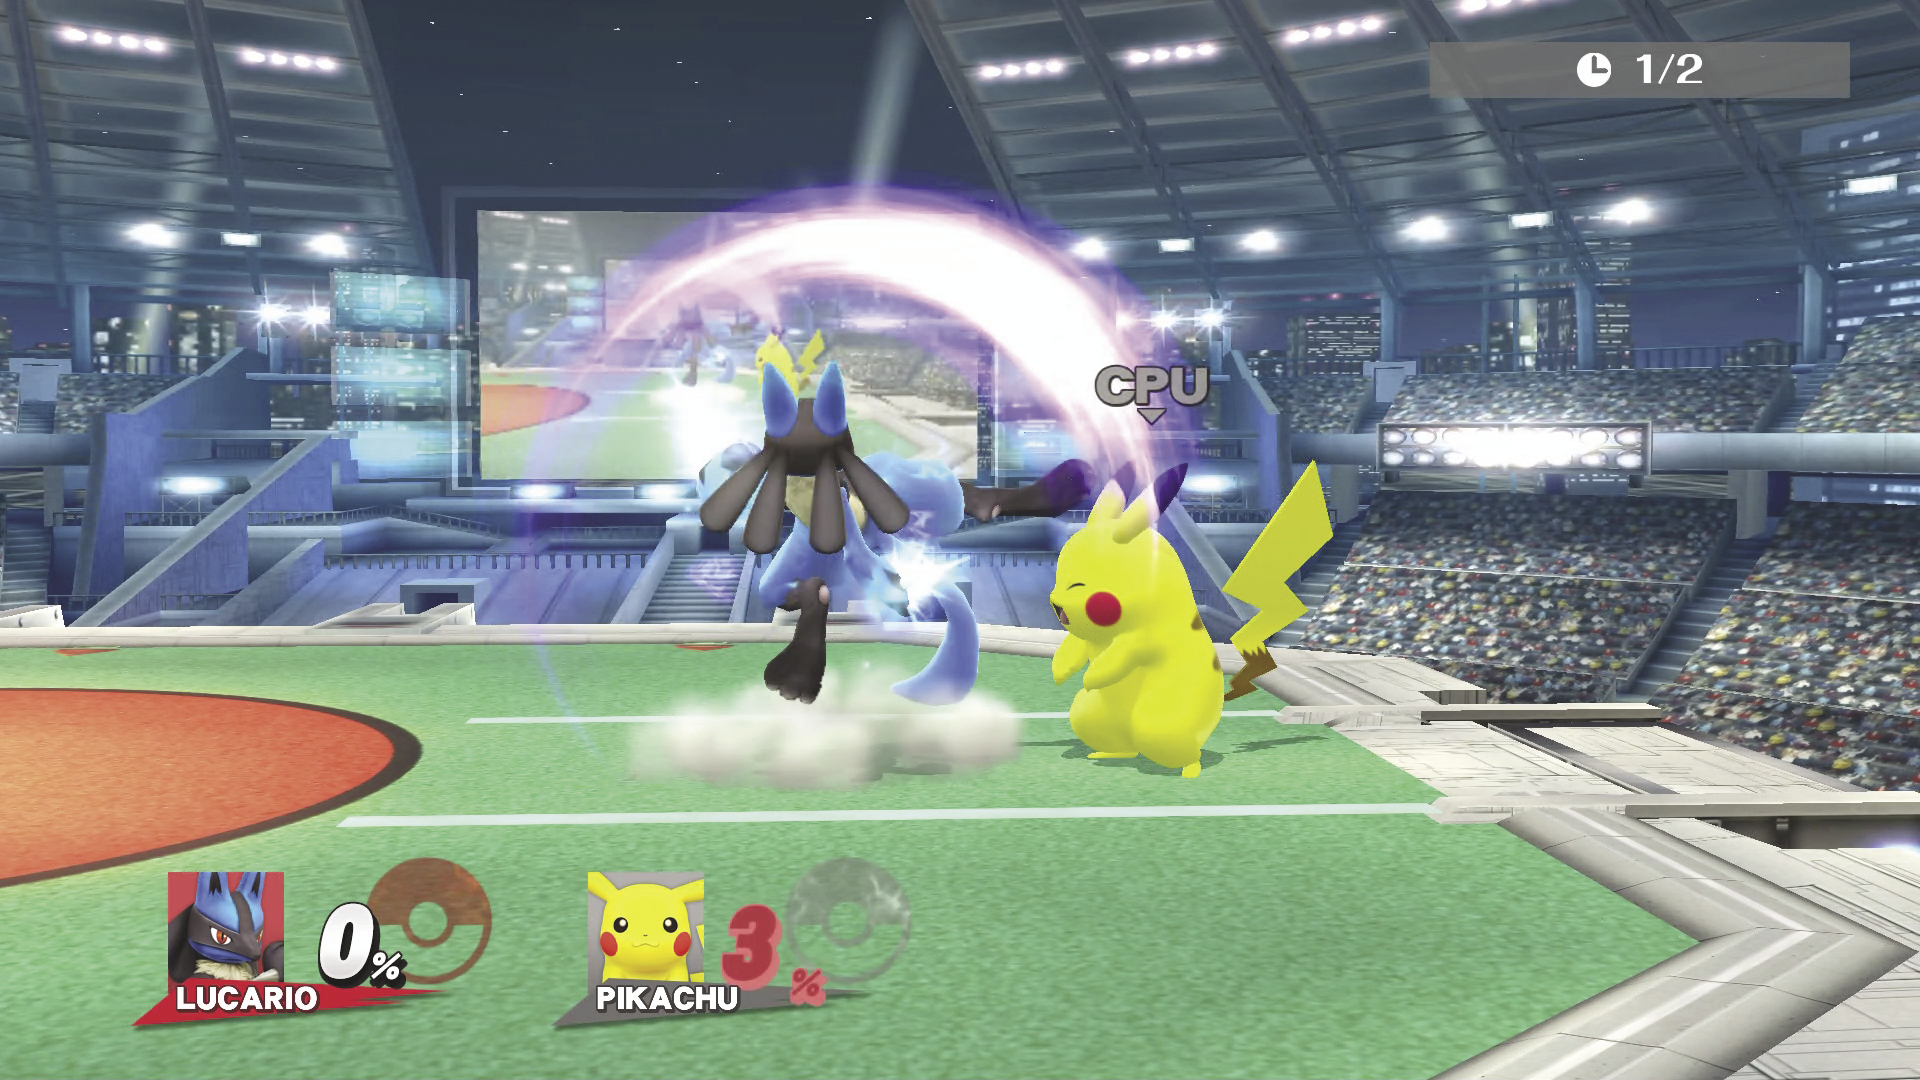
Up Tilt
| Aura Levels | DAMAGE |
|---|---|
| Smallest | 3.3~4% |
| Largest | 8.5~10.5% |
Lucario swings its leg in a roundhouse kick that lands on the ground in front of it. Pops your opponent up and can combo into itself at low percentages.
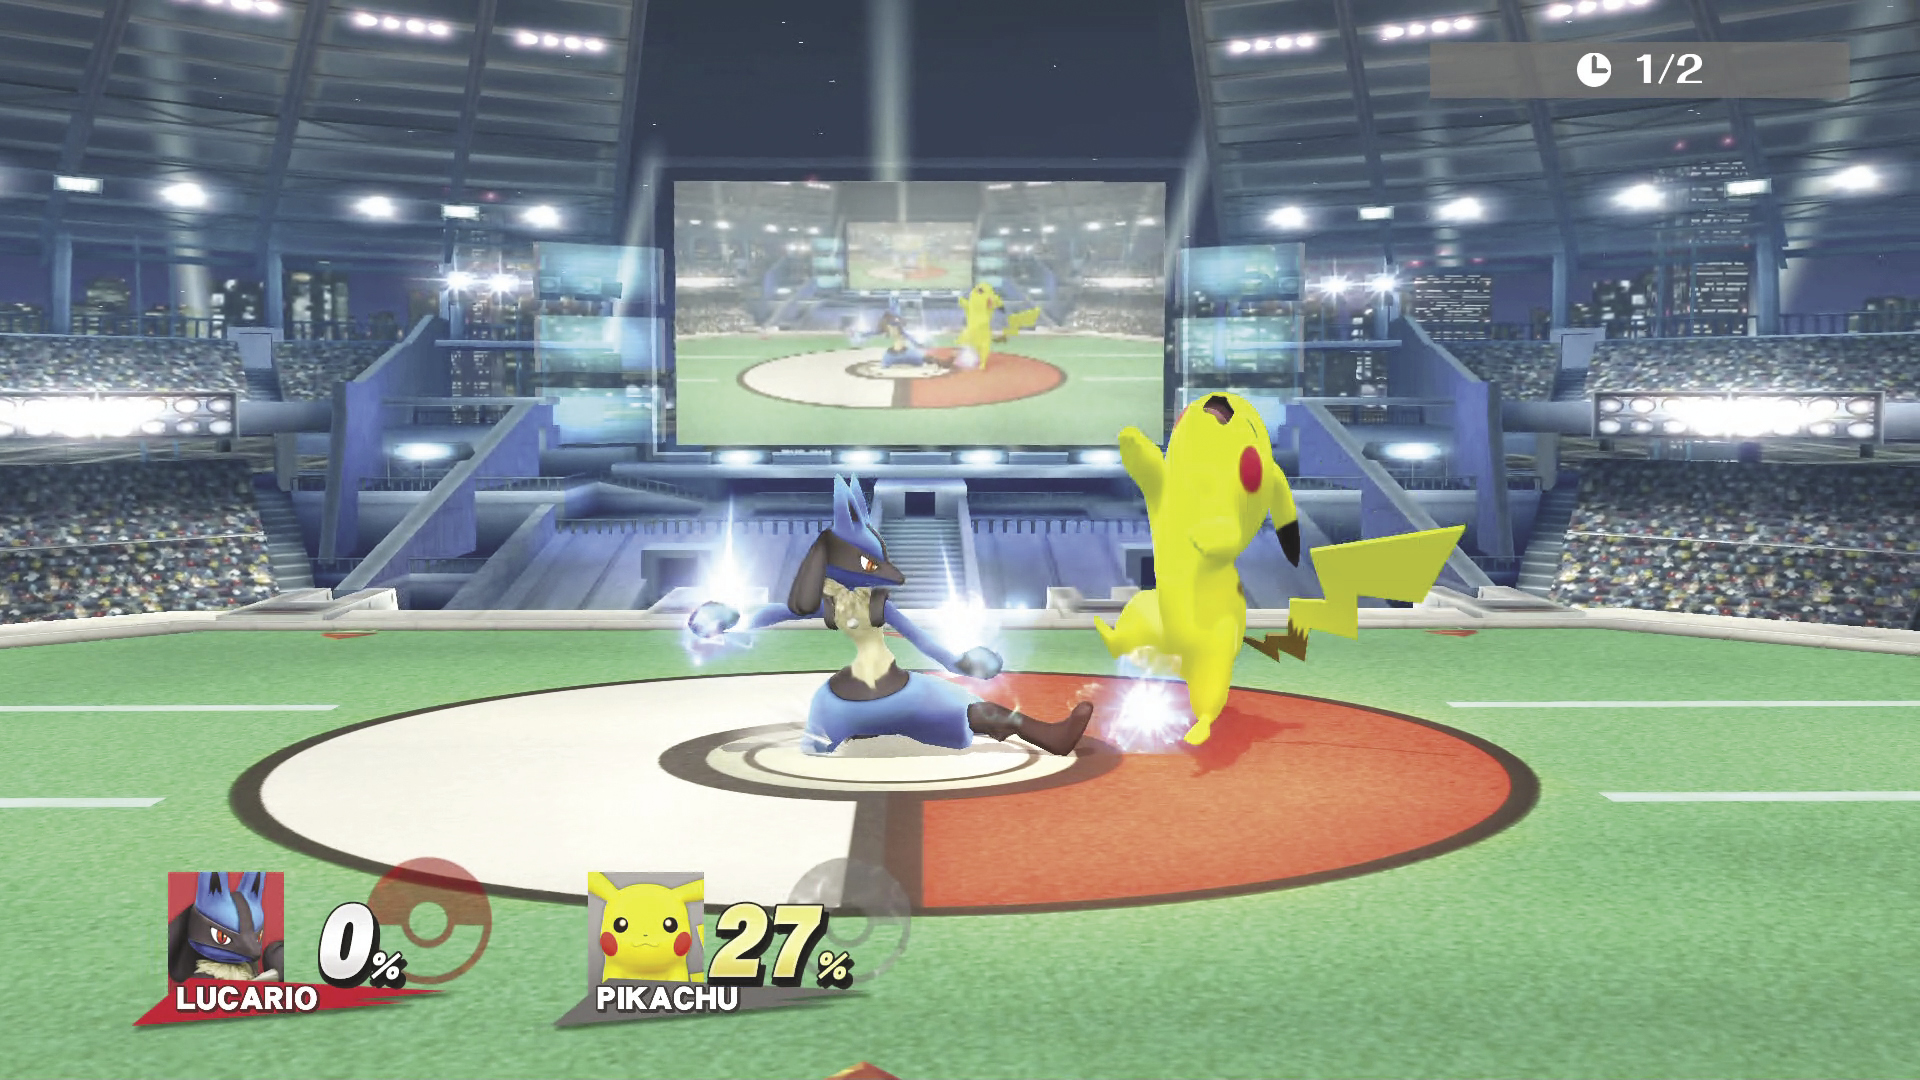
Down Tilt
| Aura Levels | DAMAGE |
|---|---|
| Smallest | 3.3% |
| Largest | 8.5% |
Lucario crouches and kicks out one leg to sweep the opponent, knocking that opponent away horizontally.
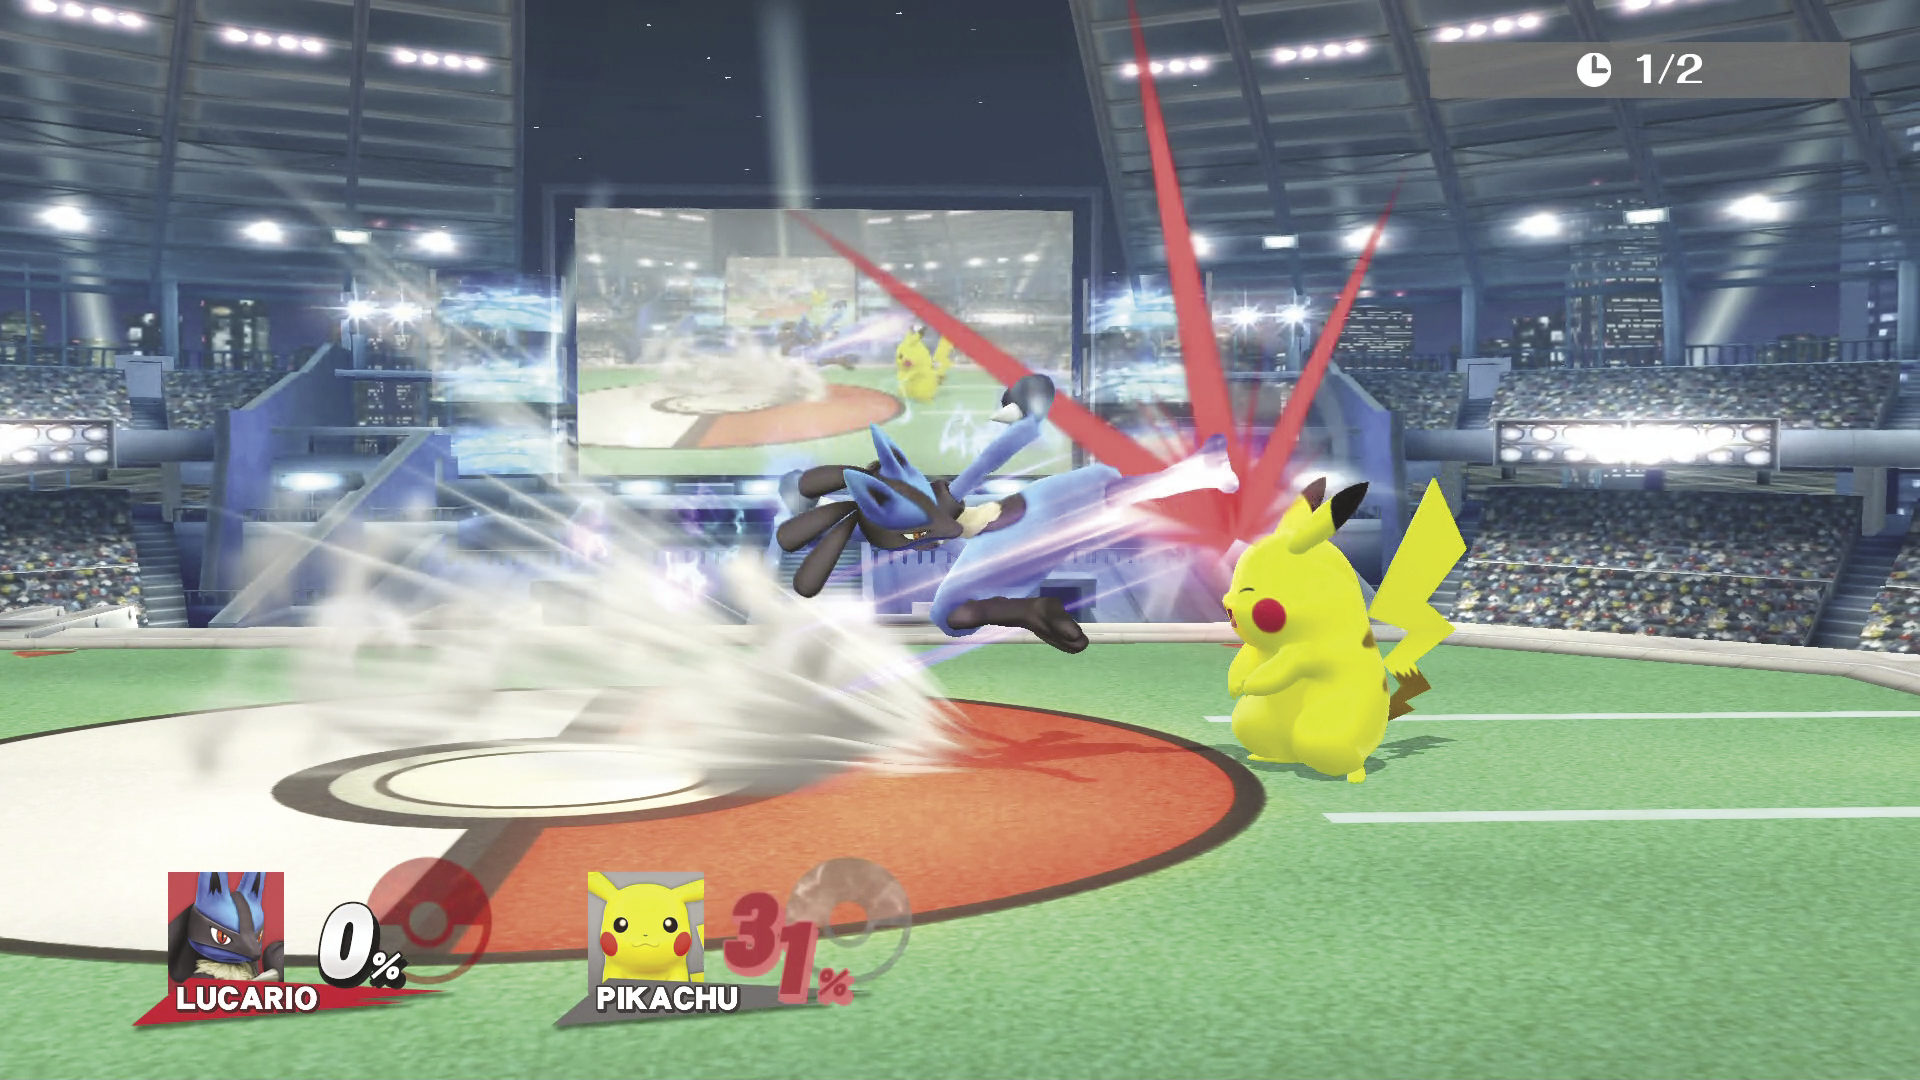
Dash Attack
| Aura Levels | DAMAGE |
|---|---|
| Smallest | 4~5.3% |
| Largest | 10.2~13.6% |
A running jump kick attack from Lucario.
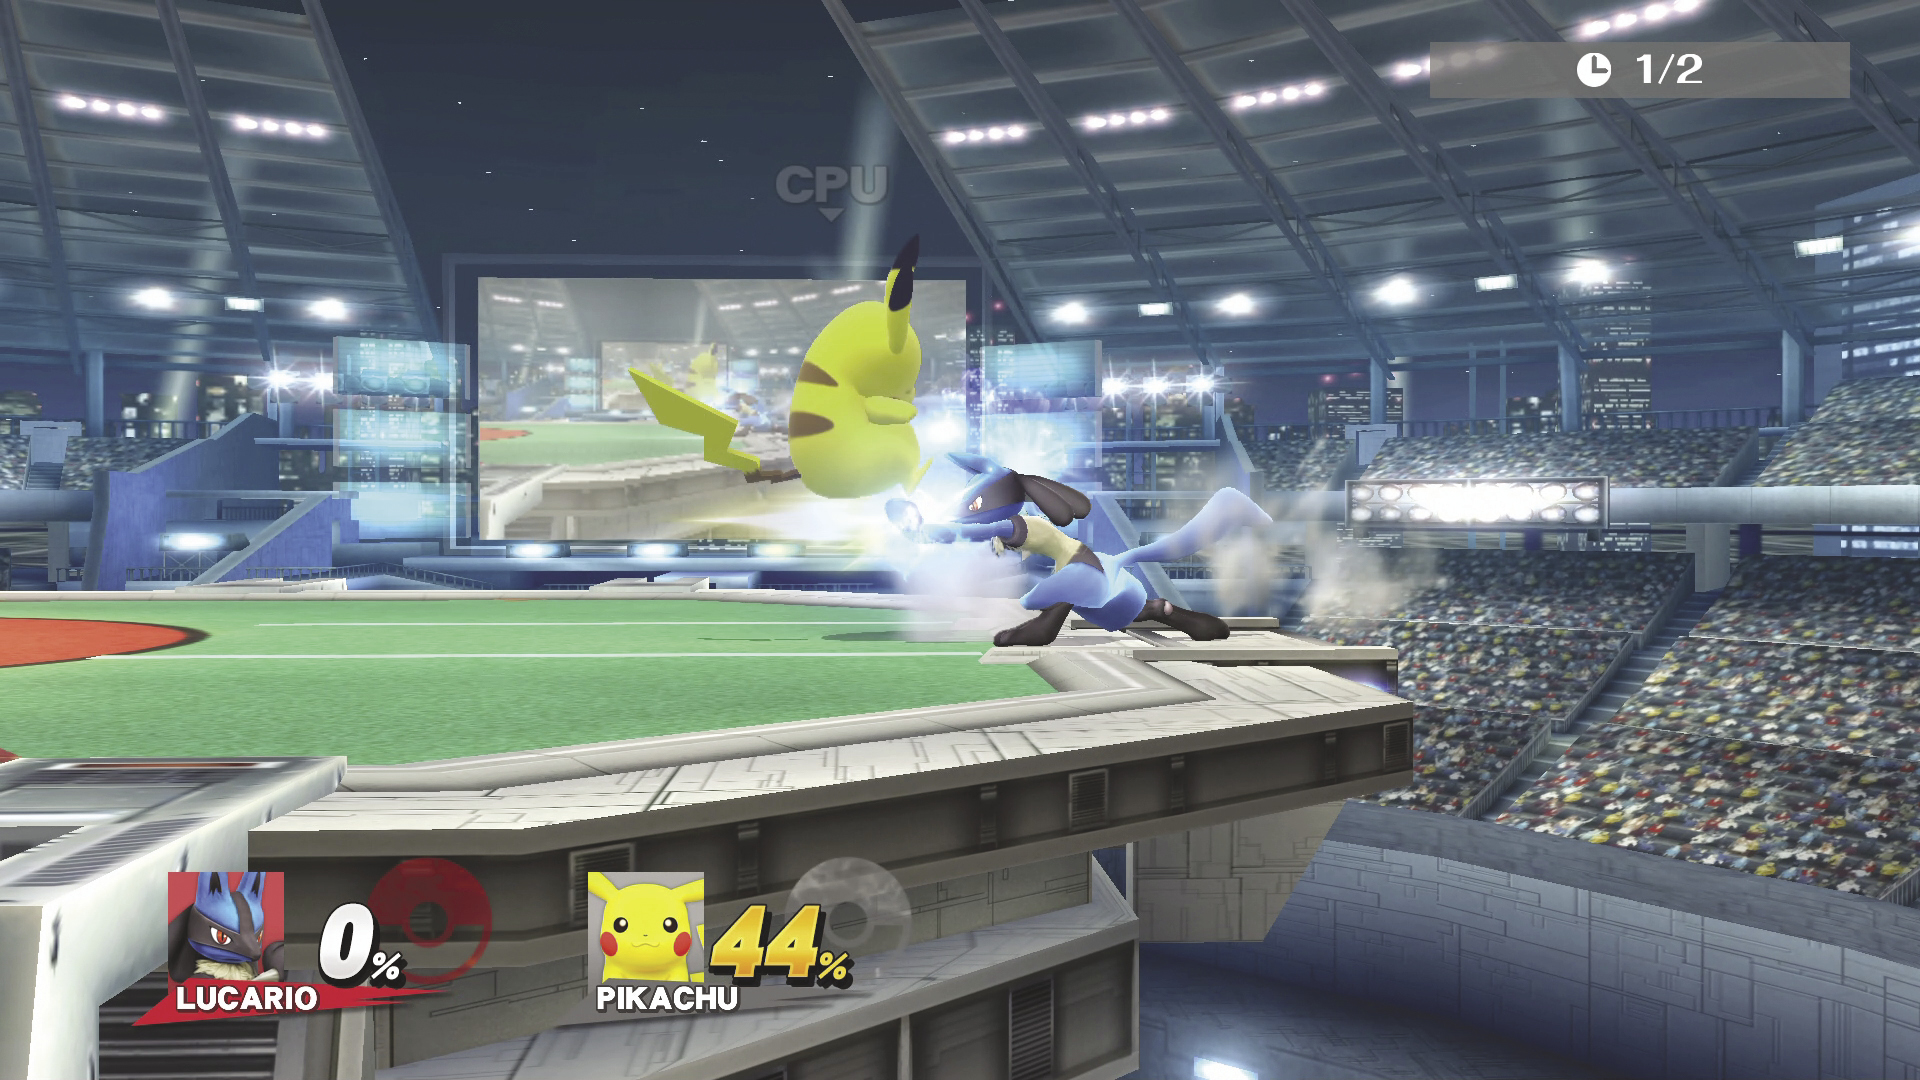
Edge Attack
Lucario hops back onto the stage and blasts the opponent with Aura.
Air Attacks
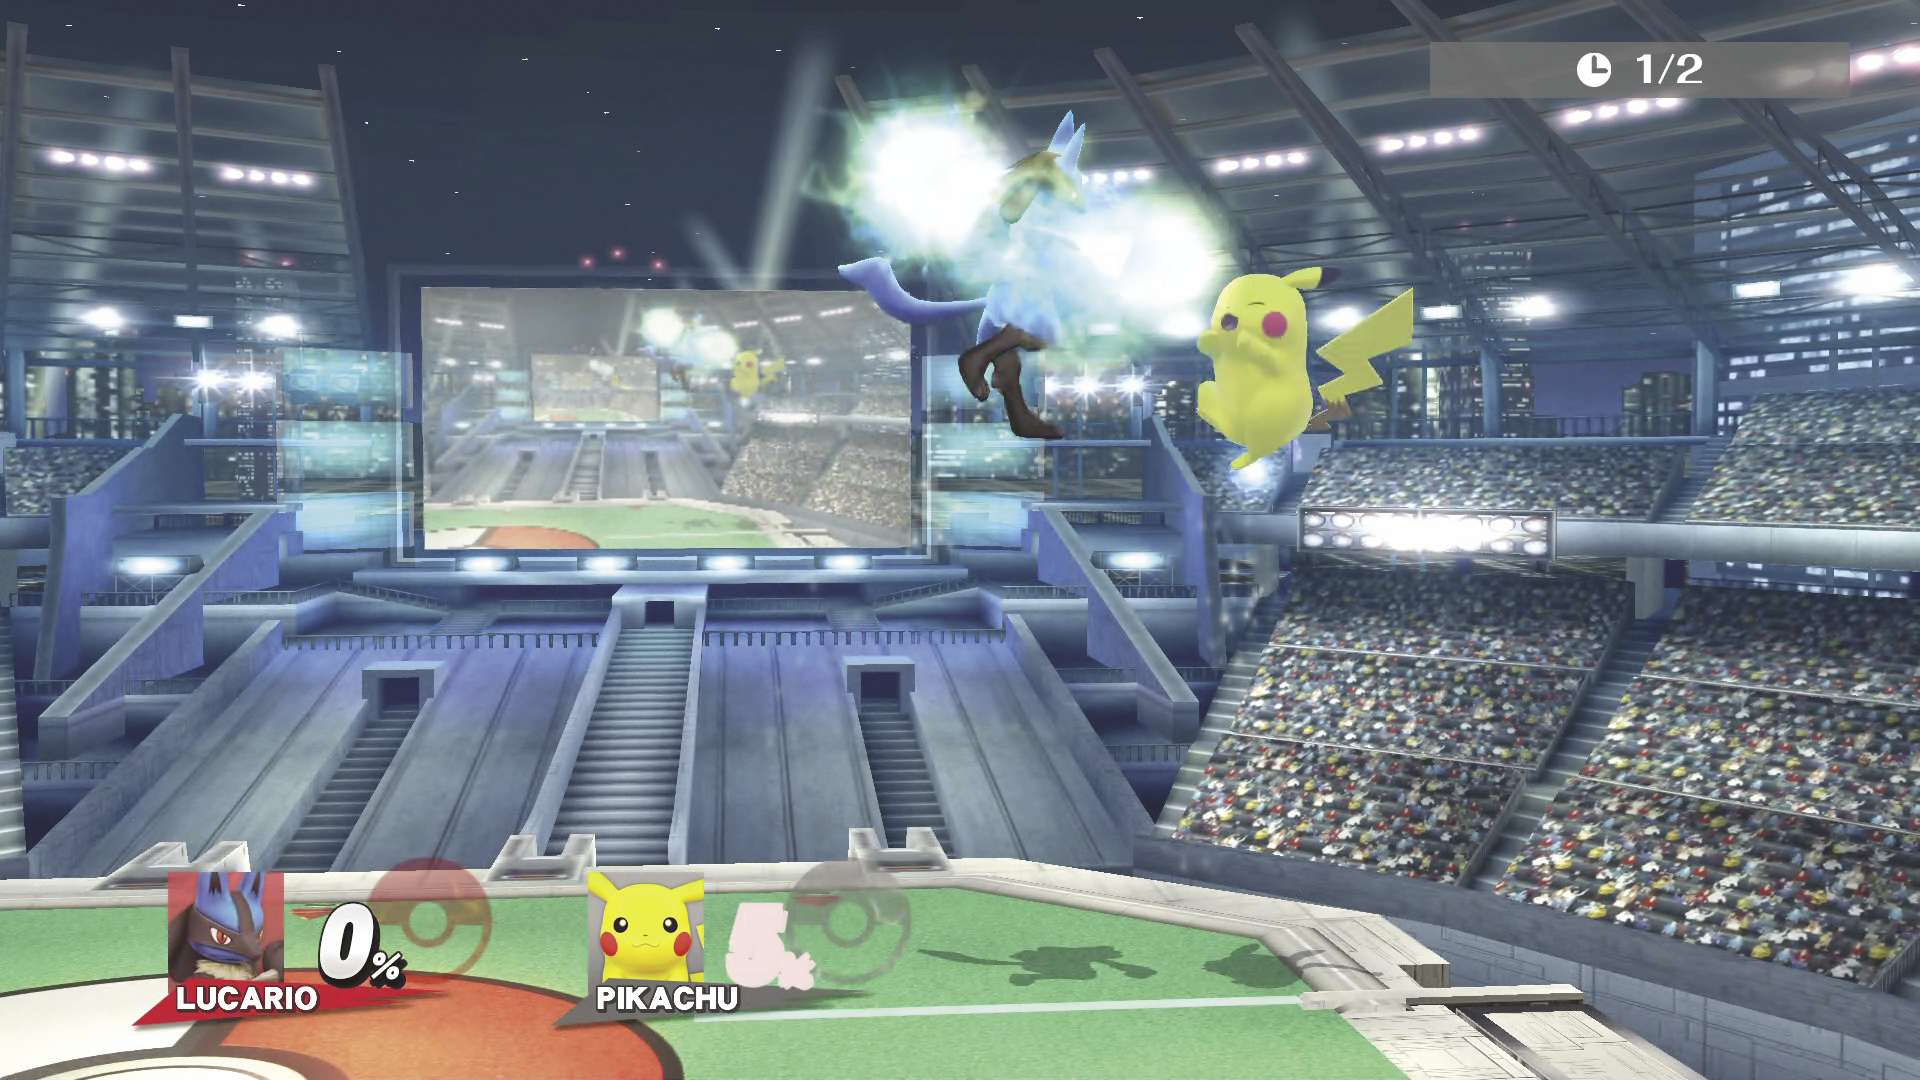
Neutral Air Attack
| Aura Levels | DAMAGE | MAX DAMAGE |
|---|---|---|
| Smallest | 4~5.3% | 9.2% : 2 Hits |
| Largest | 10.2~13.6% | 23.8% : 2 Hits |
Lucario unleashes a spinning Aura attack in front of and behind itself that has surprisingly good range. This can hit multiple times.
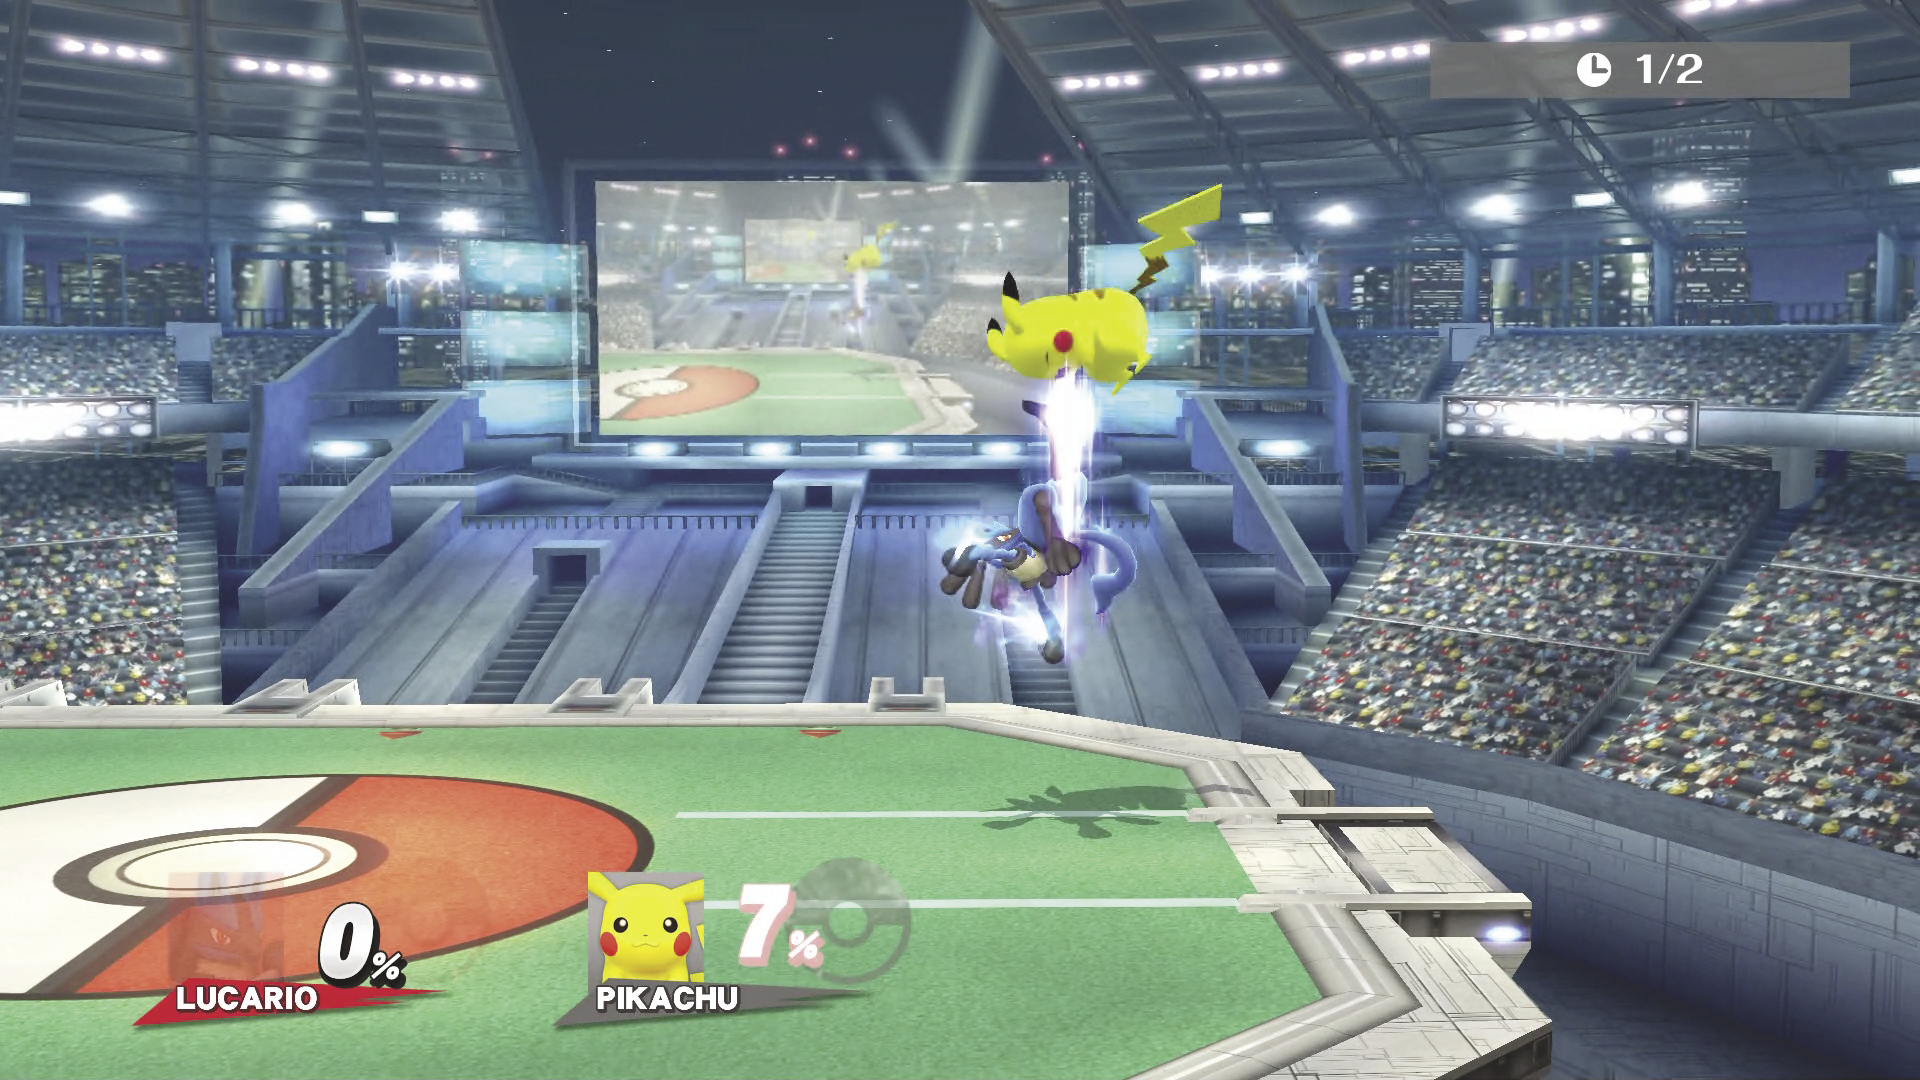
Up Air Attack
| Aura Levels | DAMAGE |
|---|---|
| Smallest | 4~7.3% |
| Largest | 10.2~18.7% |
Lucario gets vertical and kicks upward with one leg.
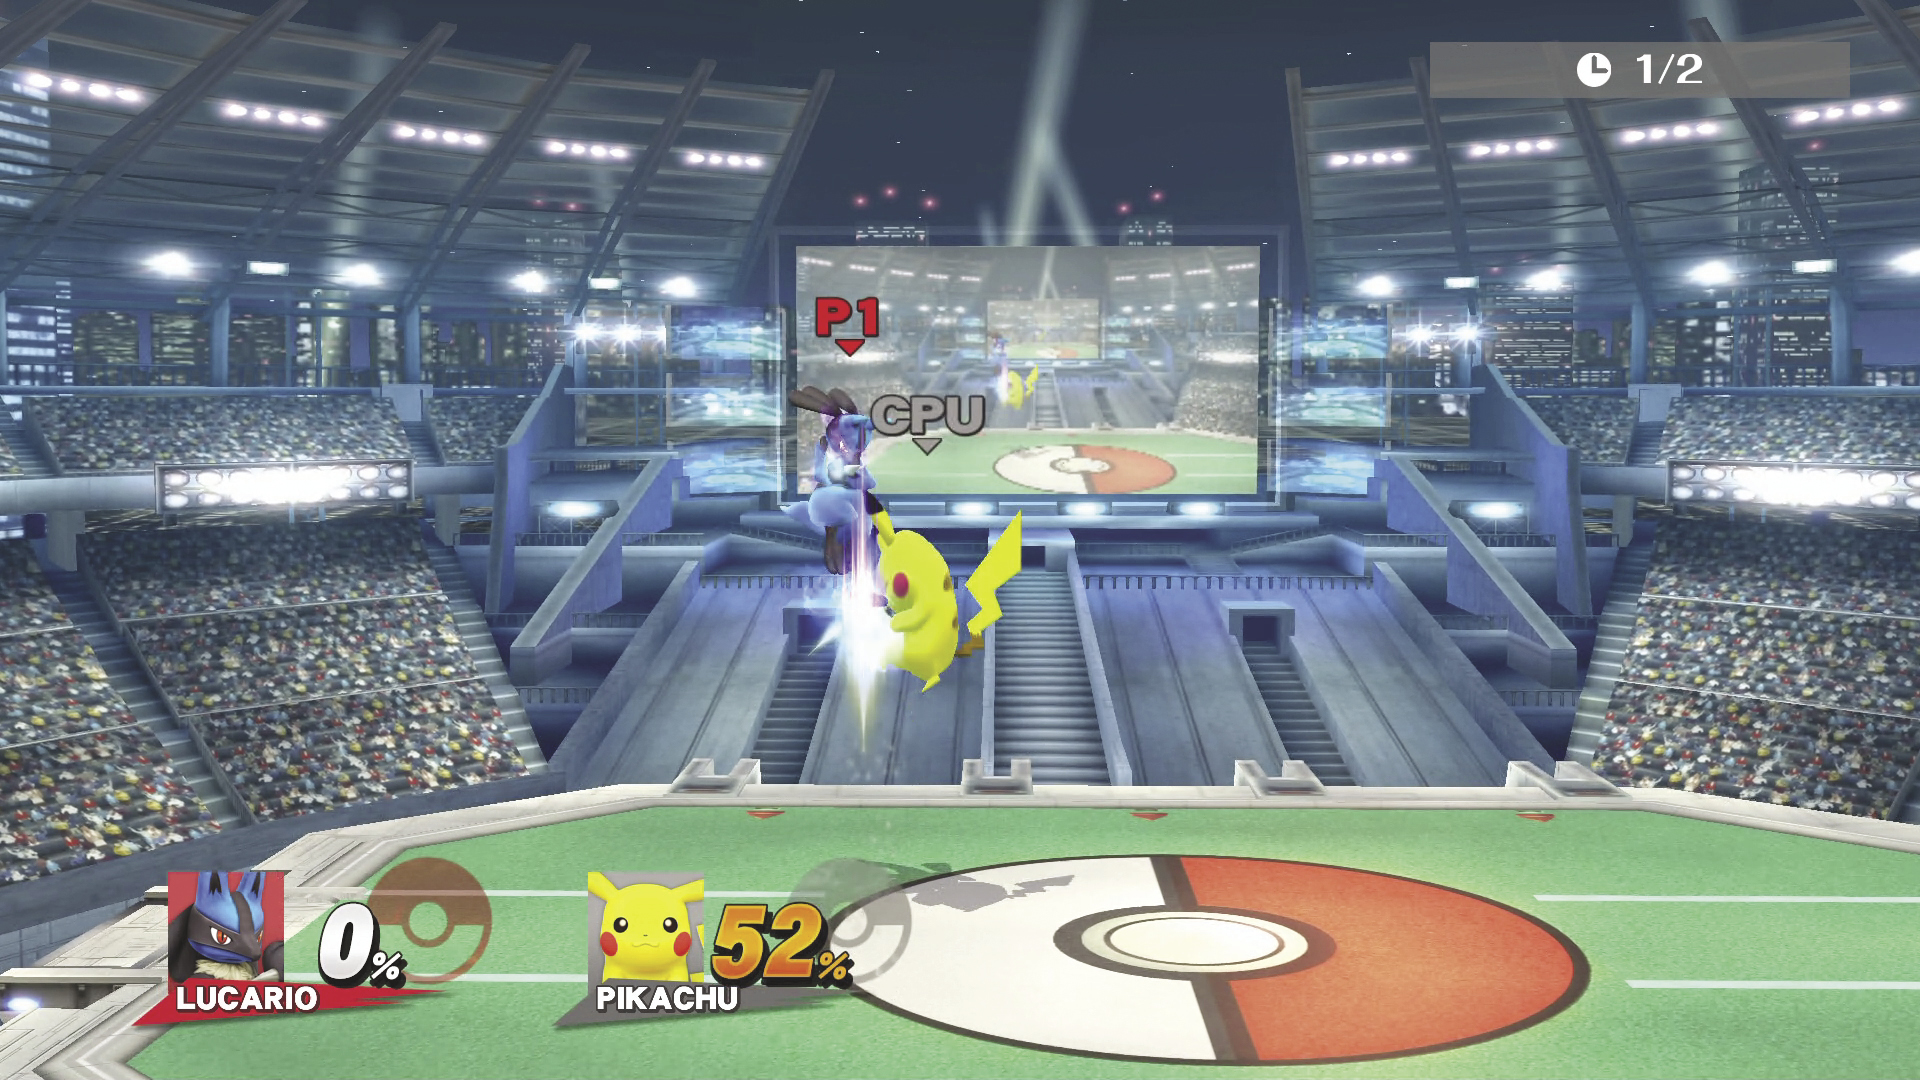
Down Air Attack
| Aura Levels | DAMAGE | MAX DAMAGE |
|---|---|---|
| Smallest | 3.3~4% | 7.3% : 2 Hits |
| Largest | 8.5~10.2% | 18.7% : 2 Hits |
Lucario kicks downward twice.
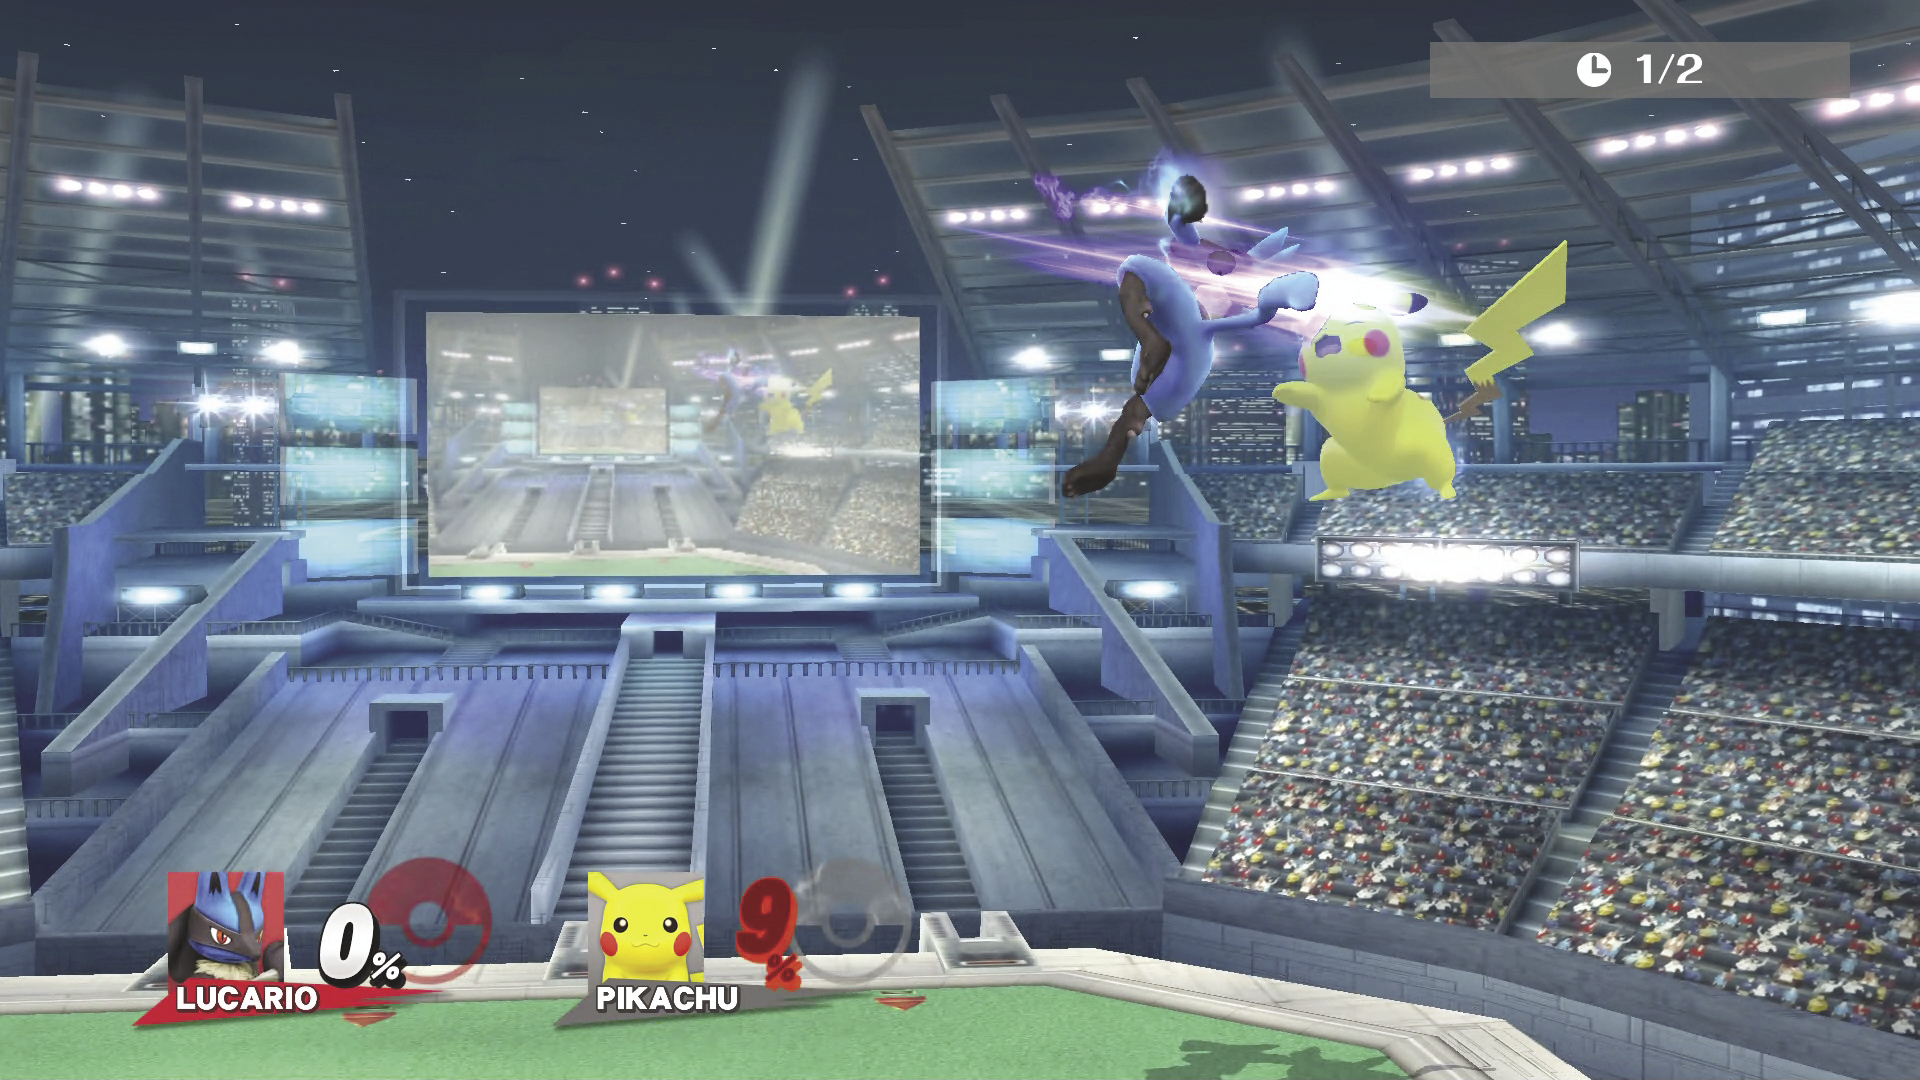
Back Air Attack
| Aura Levels | DAMAGE |
|---|---|
| Smallest | 9.9% |
| Largest | 25.5% |
Lucario turns midair and strikes backward with one arm.
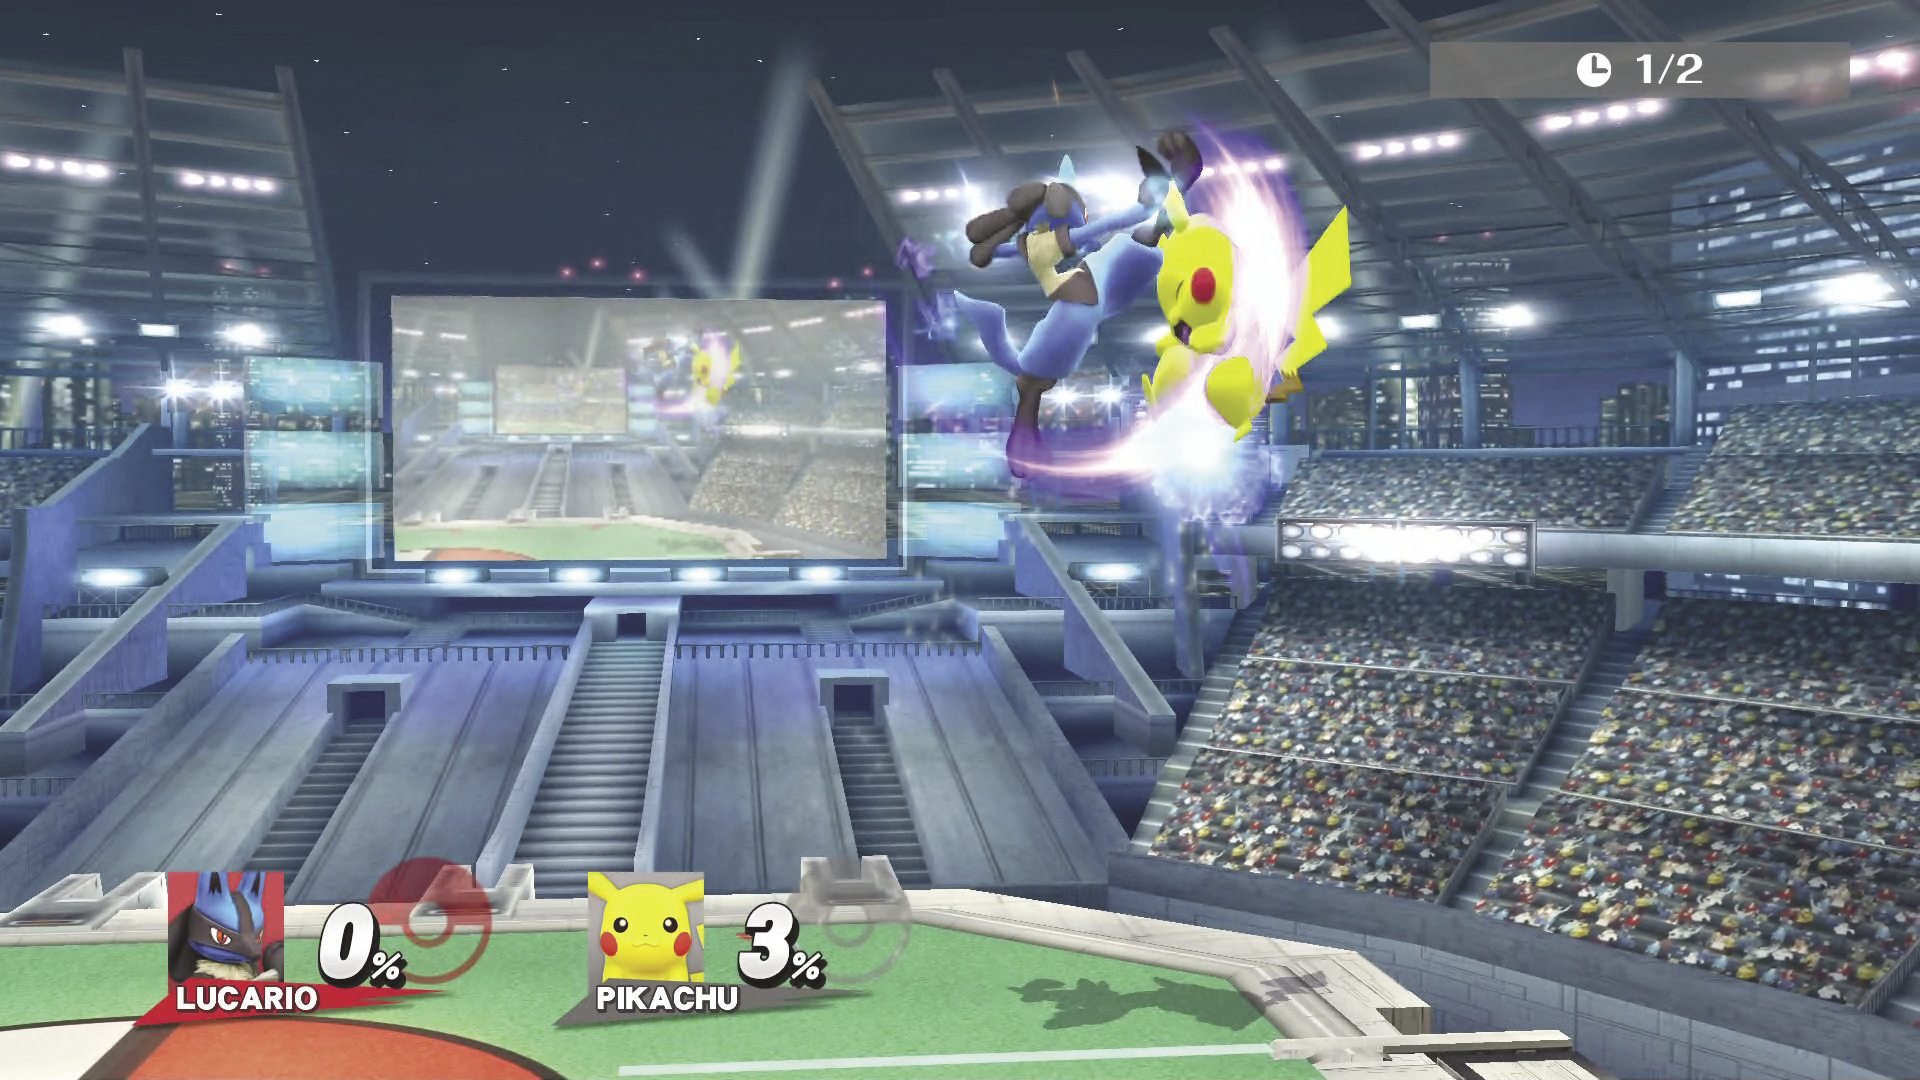
Forward Air Attack
| Aura Levels | DAMAGE |
|---|---|
| Smallest | 4% |
| Largest | 10.2% |
This high kick attack sends opponents diagonally upward.
Special Attacks
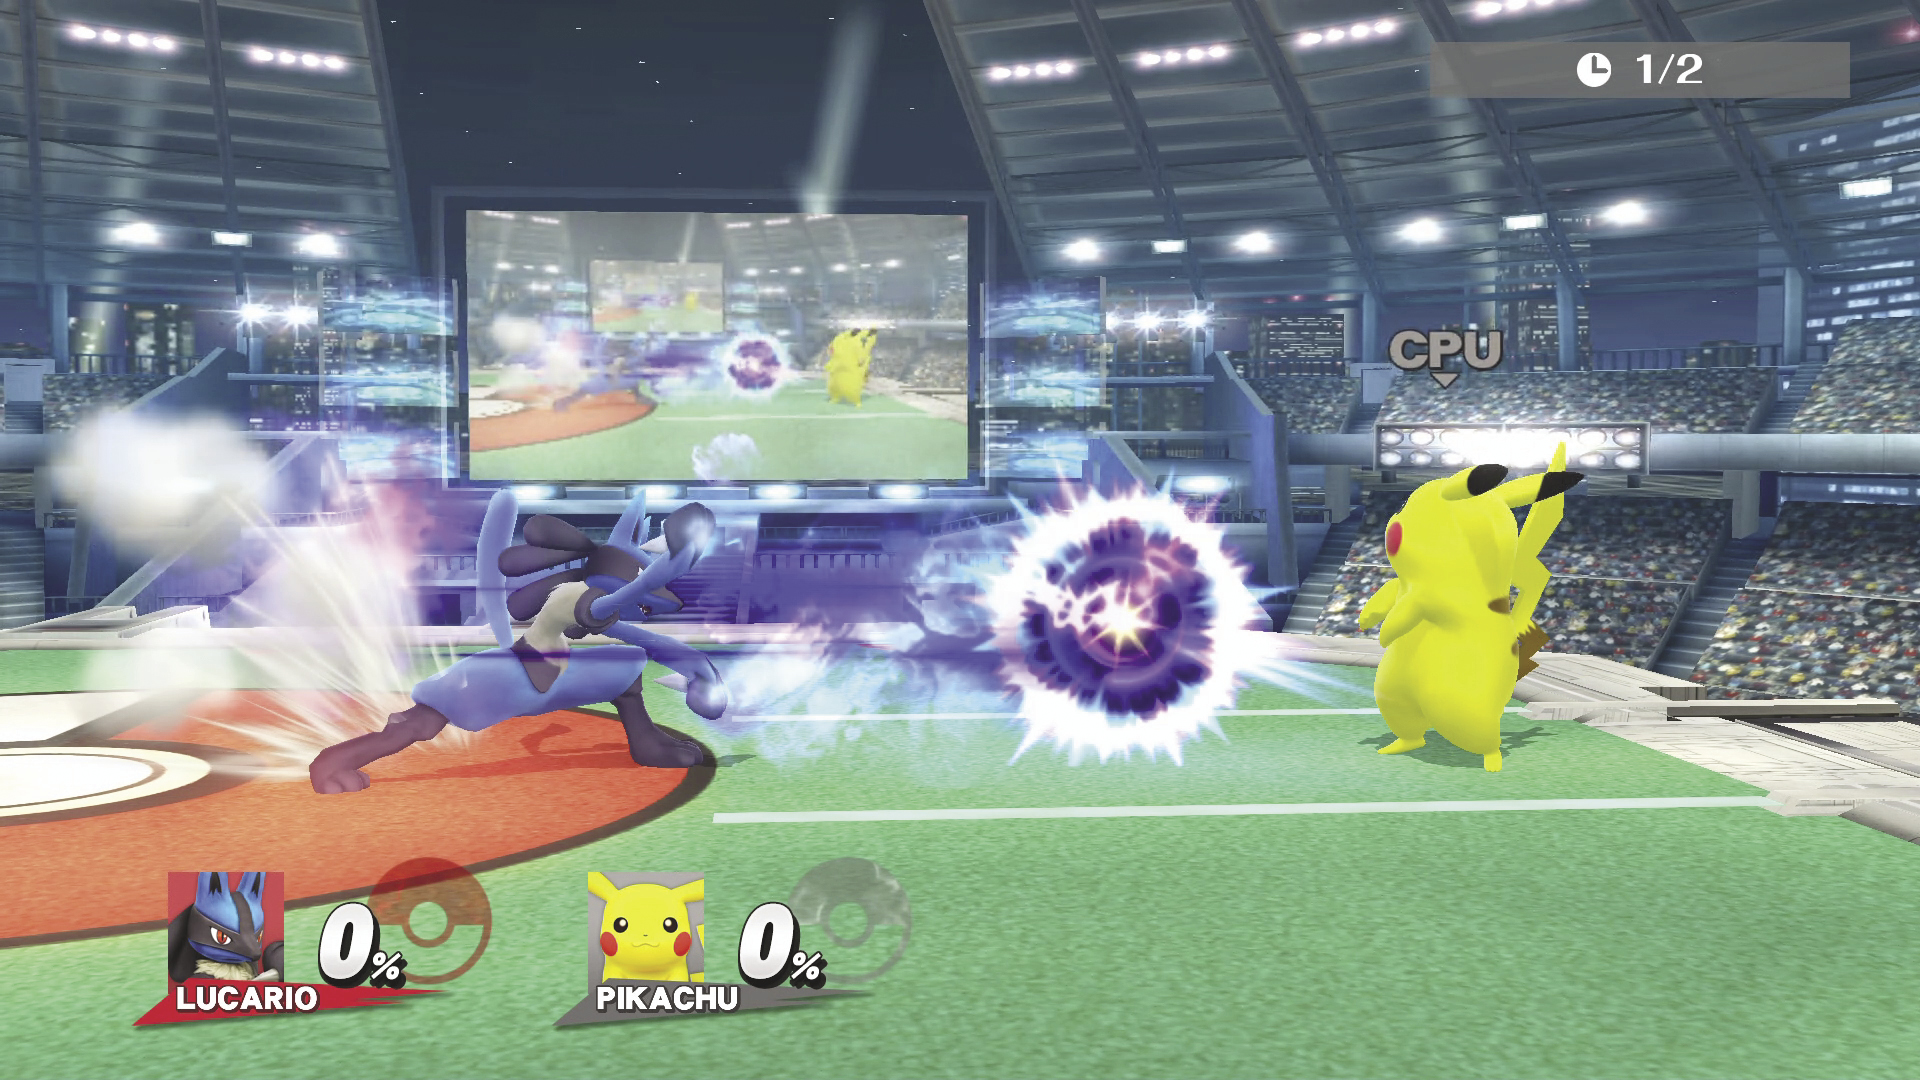
Aura Sphere (Neutral Special)
| Aura Levels | DAMAGE |
|---|---|
| Smallest | 4.6~11.4% : While Charging 0.5% |
| Largest | 11.7~29.3% : While Charging 1.2% |
Charges a ball of energy that can cause DAMAGE even while it’s charging. Store your charge by hitting Left or Right to use your evasive roll. Press the button again to launch it. Store your charge while airborne by air dodging. The higher your Aura, the more DAMAGE it deals and the bigger the charged energy ball gets.
Snaring Aura Sphere
| Aura Levels | DAMAGE |
|---|---|
| Smallest | 1.7~9.6% : While Charging 0.3% |
| Largest | 4.3~24.7% : While Charging 0.9% |
This Aura Sphere is slow moving but draws opponents in. The longer you charge it, the slower it moves. Additionally, this Aura Sphere doesn’t disappear once it hits an opponent.
Piercing Aura Sphere
| Aura Levels | DAMAGE |
|---|---|
| Smallest | 2~4.5% : While Charging 0.5% |
| Largest | 5.1~11.5% : While Charging 1.3% |
A faster, weaker Aura Sphere that pierces through opponents and continues traveling forward. It takes about half the time of the regular version to charge to full.
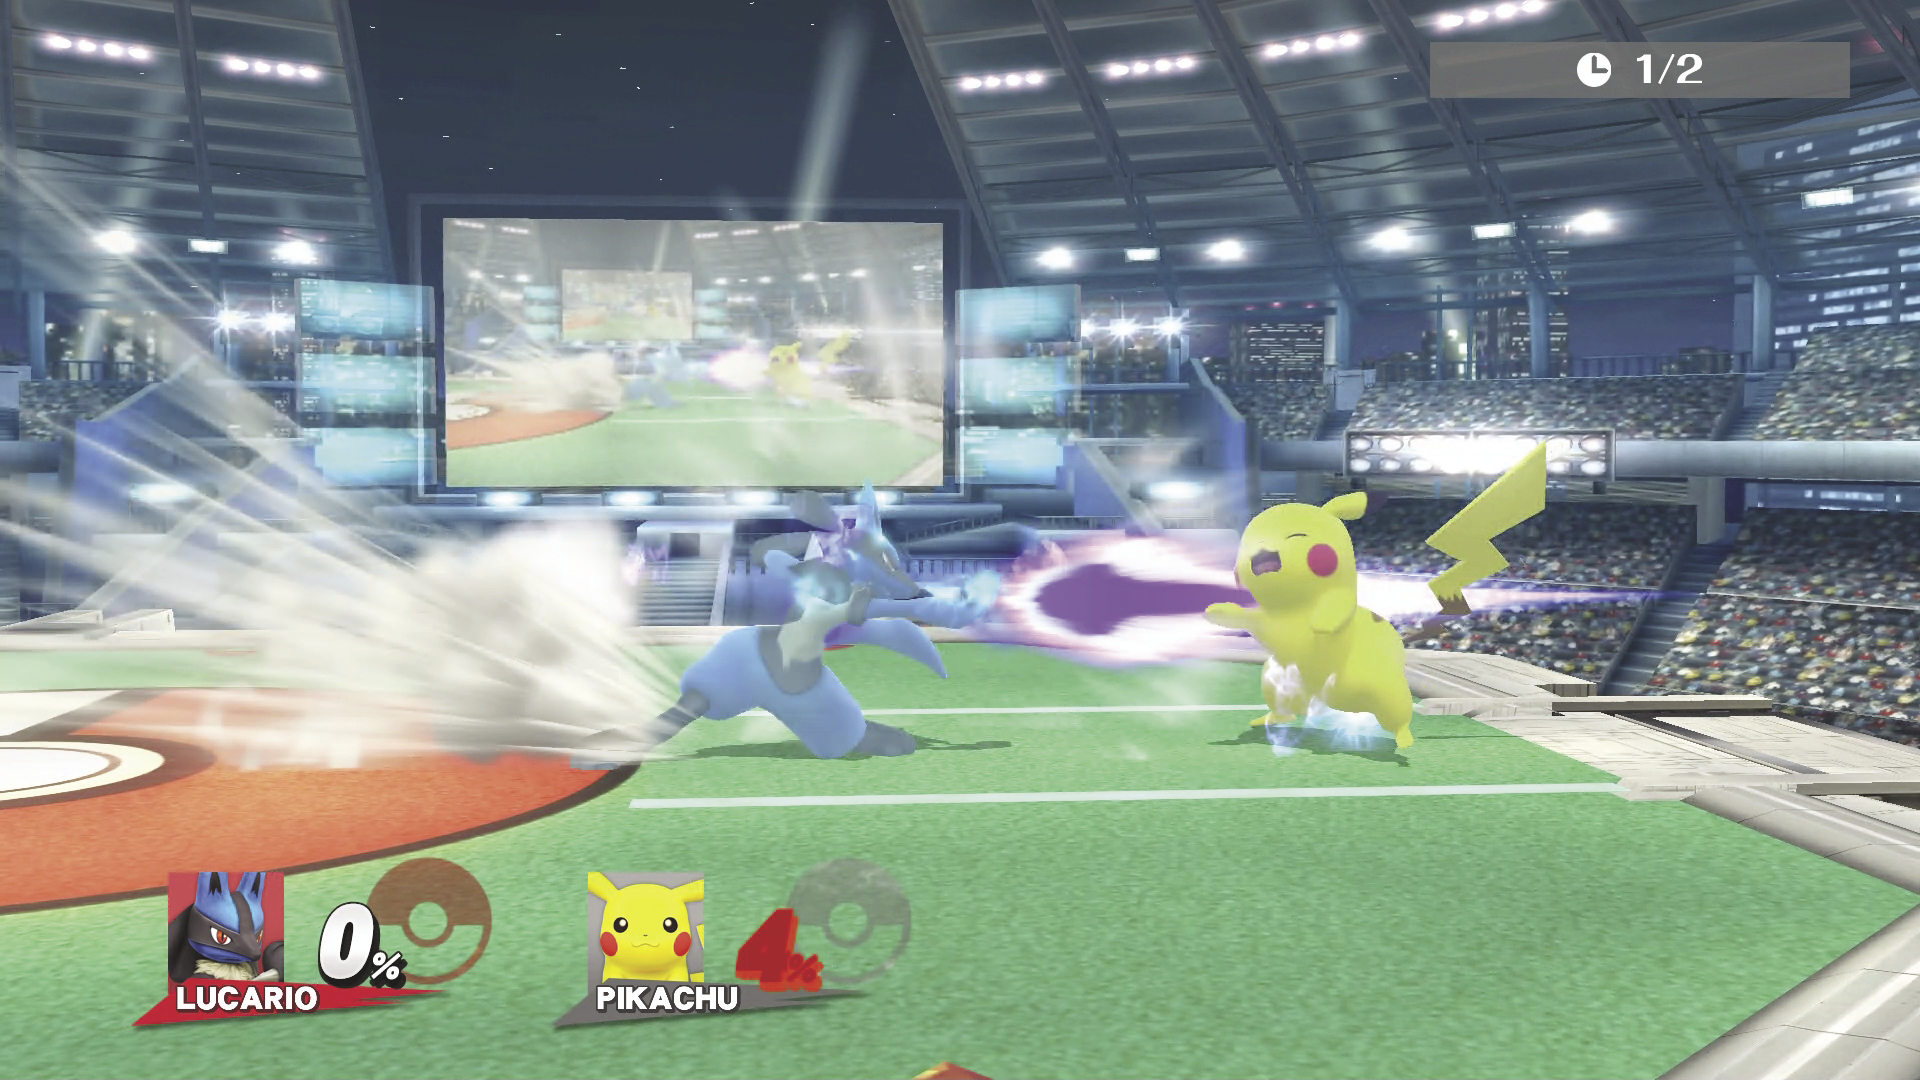
Force Palm (Side Special)
| Aura Levels | DAMAGE | Grab | Grab aloe |
|---|---|---|---|
| Smallest | 5~7.8% | 8.6% | 6.6% |
| Largest | 12.9~20.2% | 22.1% | 17% |
This punch uses Lucario’s Aura for its range and DAMAGE to knock your opponent back. If used up close, Lucario will grab the opponent before punching and knocking that opponent diagonally upward.
Advancing Force Palm
| Aura Levels | DAMAGE | Grab | Grab aloe |
|---|---|---|---|
| Smallest | 4~6.6% | 6.6% | 4.6% |
| Largest | 10.2~17% | 17.9% | 11.9% |
Lucario dashes forward as he uses the Force Palm. Range is slightly shorter and does not get larger with higher Aura levels.
Long Distance Force Palm
| Aura Levels | DAMAGE | Grab | Grab aloe |
|---|---|---|---|
| Smallest | 2.8~4.9% | 8.6% | 4~5.3% |
| Largest | 7.2~12.6% | 22.1% | 10.2~13.6% |
A longer range Force Palm that deals less DAMAGE.
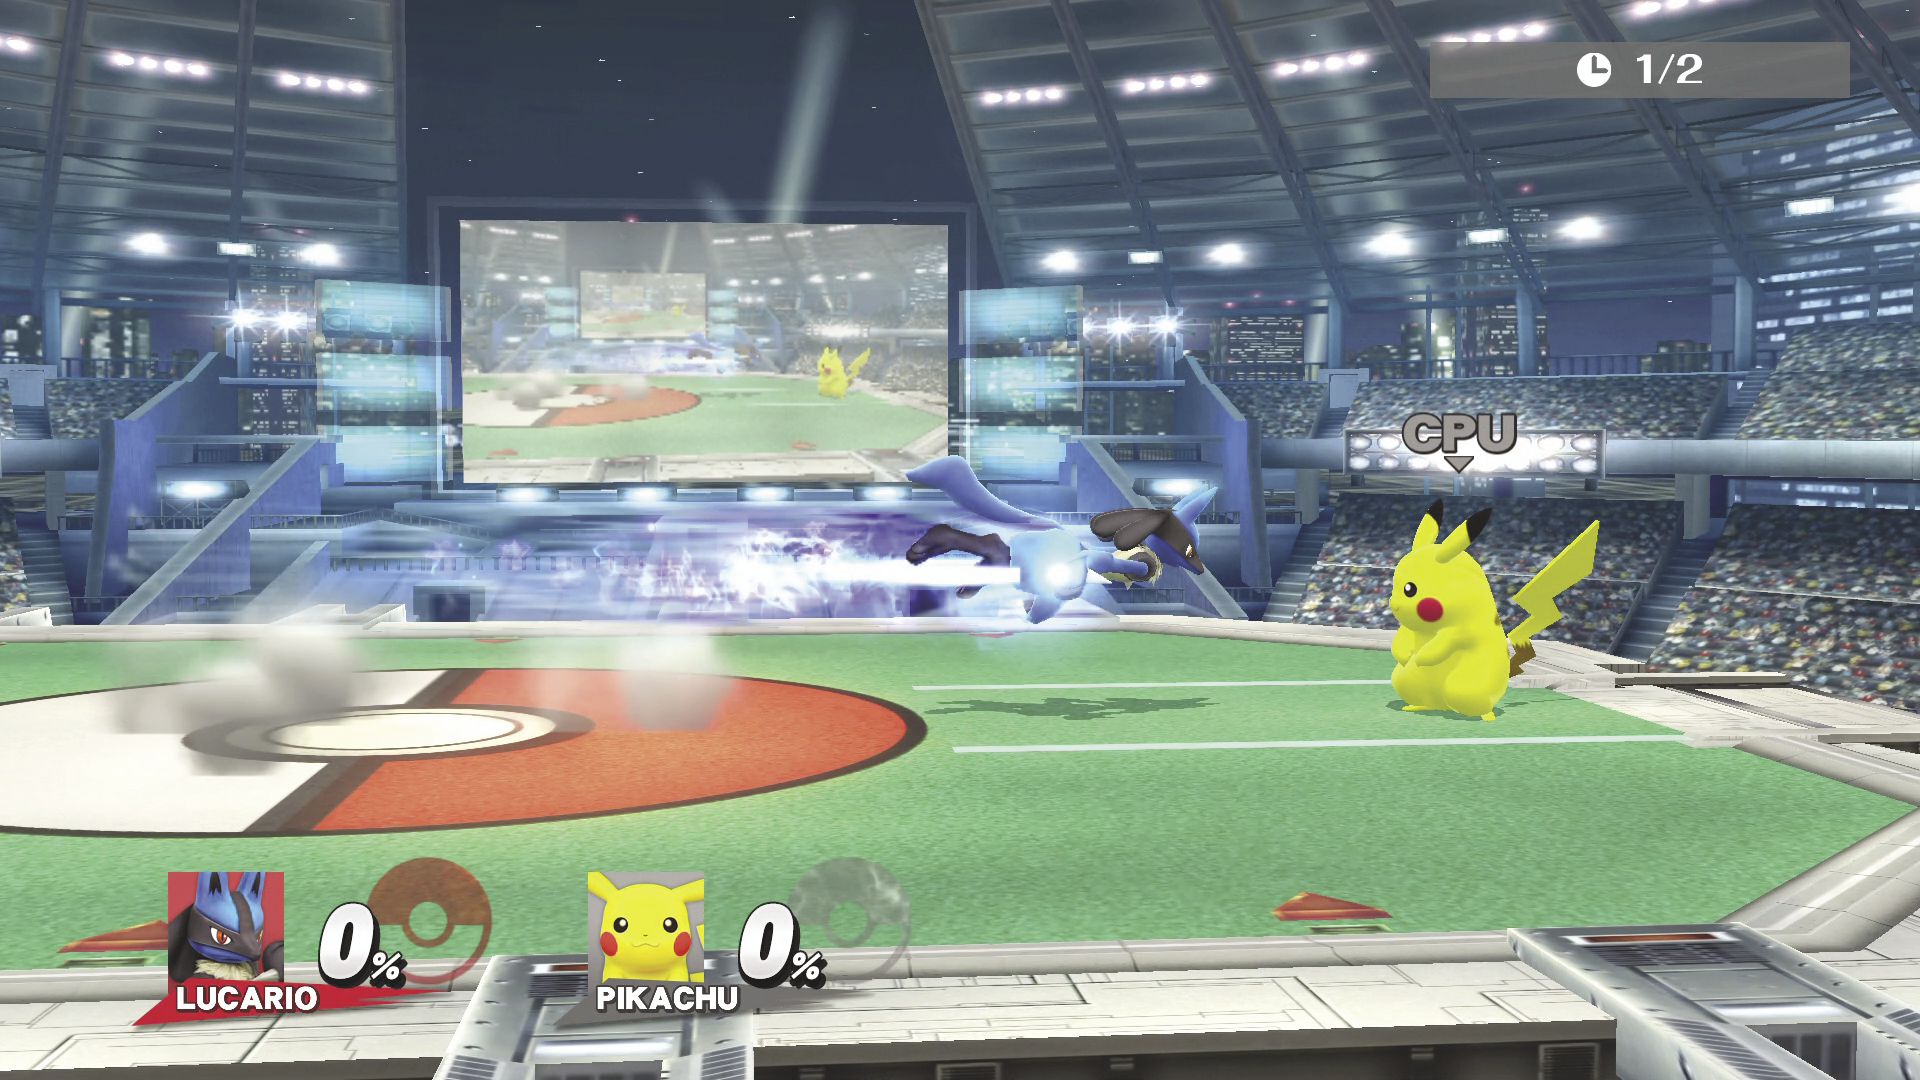
Extreme Speed (Up Special)
| Aura Levels | DAMAGE |
|---|---|
| Smallest | 4% |
| Largest | 10.2% |
Lucario’s Aura is used to blast Lucario through the air in the direction of your choosing. The higher your Aura, the farther you fly. You also have some control over Lucario’s movement through the air. The move ends with a small kick attack upon landing. Lucario is in a fall state if this move ends while you are still in the air.
Ride the Wind DAMAGE 0%
Lucario soars through the air for a longer period of time. This doesn’t deal any DAMAGE and Lucario travels through the air slower.
Extreme Speed Attack
| Aura Levels | DAMAGE | MAX DAMAGE |
|---|---|---|
| Smallest | 2.6~4.6% | 7.3% : 2 Hits |
| Largest | 6.8~11.9% | 18.7% : 2 Hits |
This variation hits and causes DAMAGE to any opponents in Lucario’s path. It is slower to startup and Lucario doesn’t travel as far compared to the regular version.
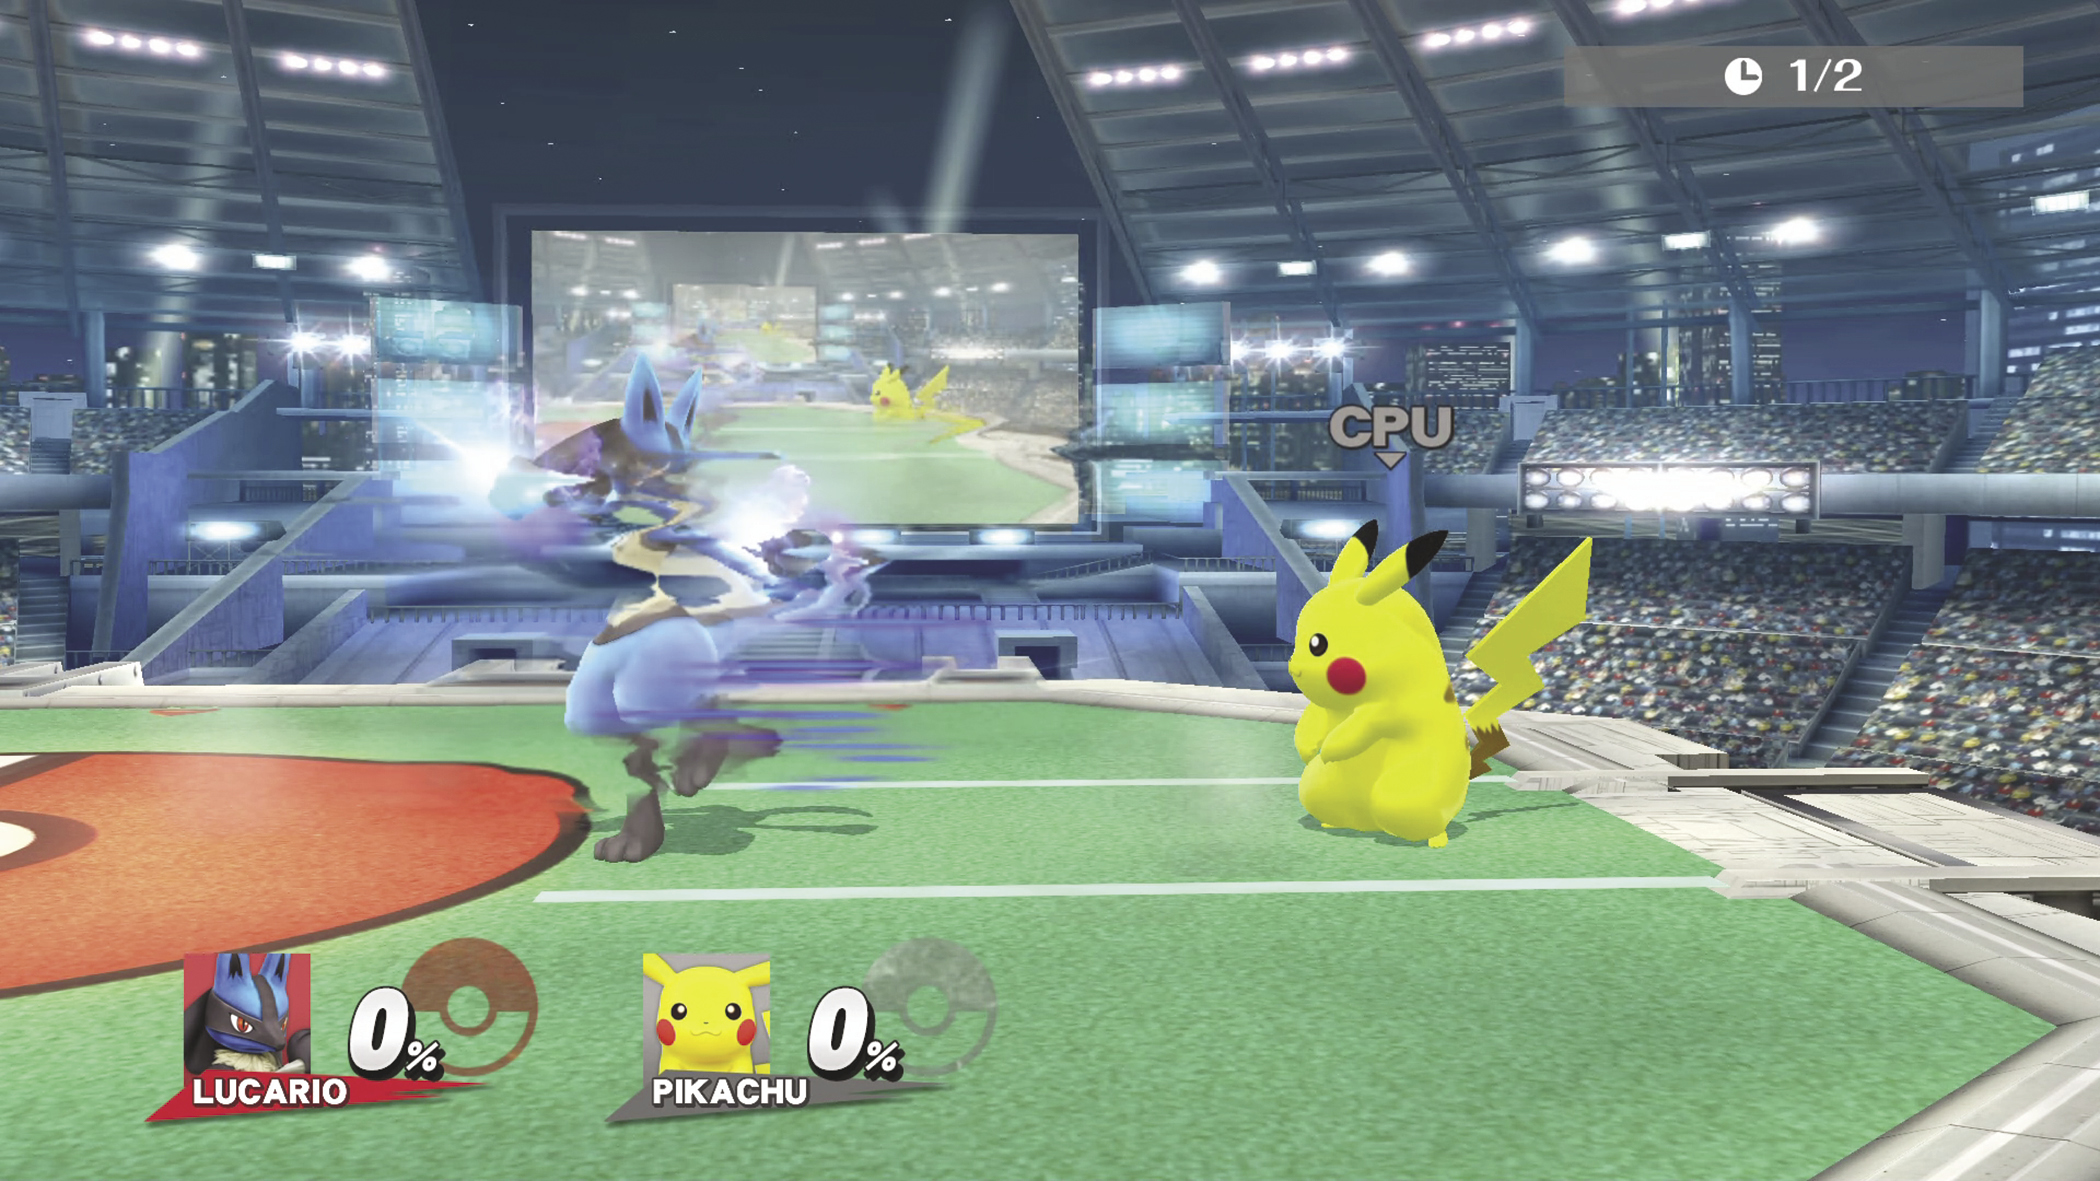
Double Team (Down Special)
| Aura Levels | DAMAGE |
|---|---|
| Smallest | 7.3% |
| Largest | 18.7% |
Lucario waves its hands around and prepares to counter your opponent’s next strike. If successful, Lucario counters with a side kick. You can enter the opposite direction of the countered attack to change the direction of Lucario’s attack. Lucario is invincible during its counterattack.
Glancing Counter
| Aura Levels | DAMAGE |
|---|---|
| Smallest | 6.6% |
| Largest | 17% |
In this variation, Lucario dodges briefly then strikes back with a strong punch. This occurs even if Lucario does not counter or dodge any incoming attack.
Stunning Double Team
| Aura Levels | DAMAGE | MAX DAMAGE |
|---|---|---|
| Smallest | 0.6% | 1.9% : 3 Hits |
| Largest | 1.7% | 5.1% : 3 Hits |
Instead of being hit by a counterattack, the opponent is paralyzed, and Lucario reappears for you to retaliate! The higher the opponent’s accumulated DAMAGE, the longer that opponent is paralyzed.
| Counter Data | Startup | Duration |
|---|---|---|
| Double Team | 5th frame | 35 frames |
| Stunning Double Team | 5th frame | 35 frames |
Strategy
Lucario’s defining aspect is its Aura mechanic. The more DAMAGE Lucario takes or the more behind in a match it is, the larger its Aura will be. When its Aura is larger, Lucario will deal more DAMAGE and some of its Special attacks are also affected in strength, size, or range. As Lucario is average weight with average ground speed and good air mobility, Aura requires a lot of risk and reward management. The risk comes from Lucario having to be close to KO’d or losing a match before becoming super effective! Your reward is easier come-from-behind victories because of Lucario’s growing strength!
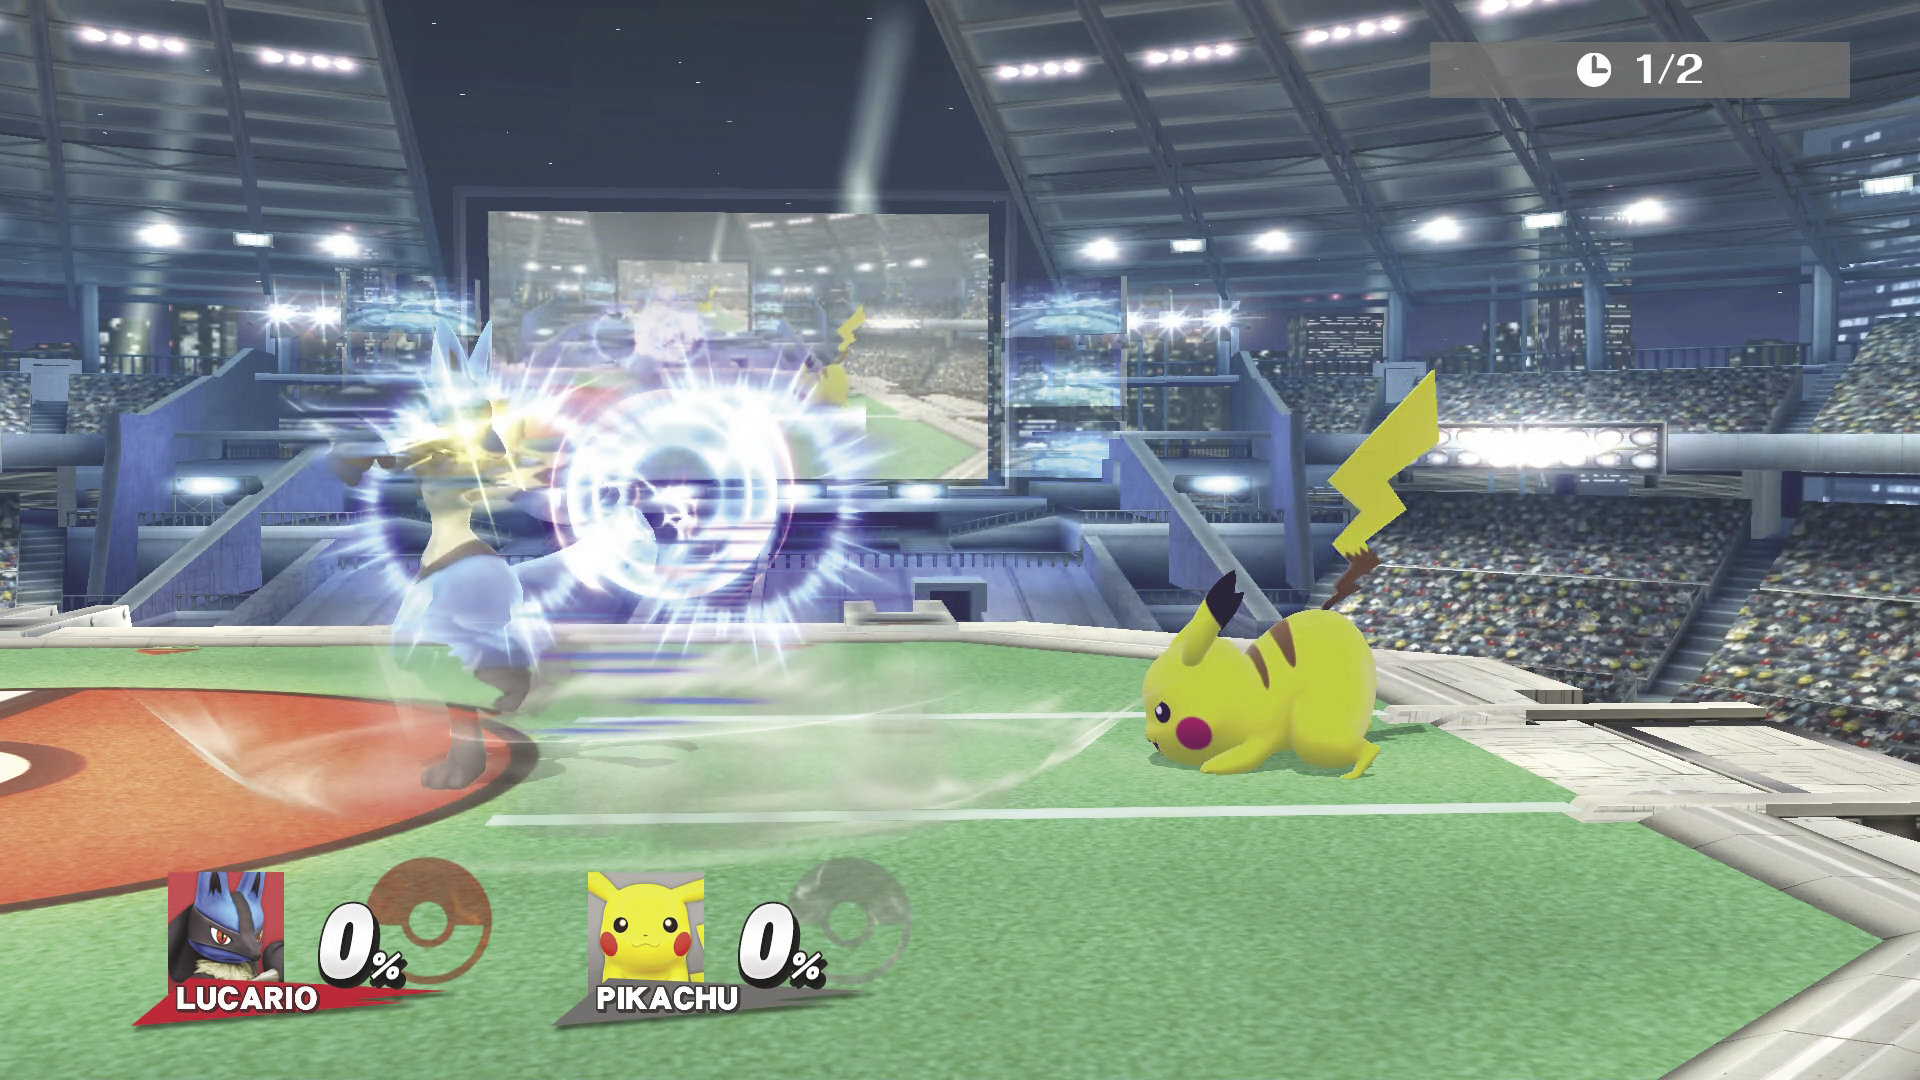
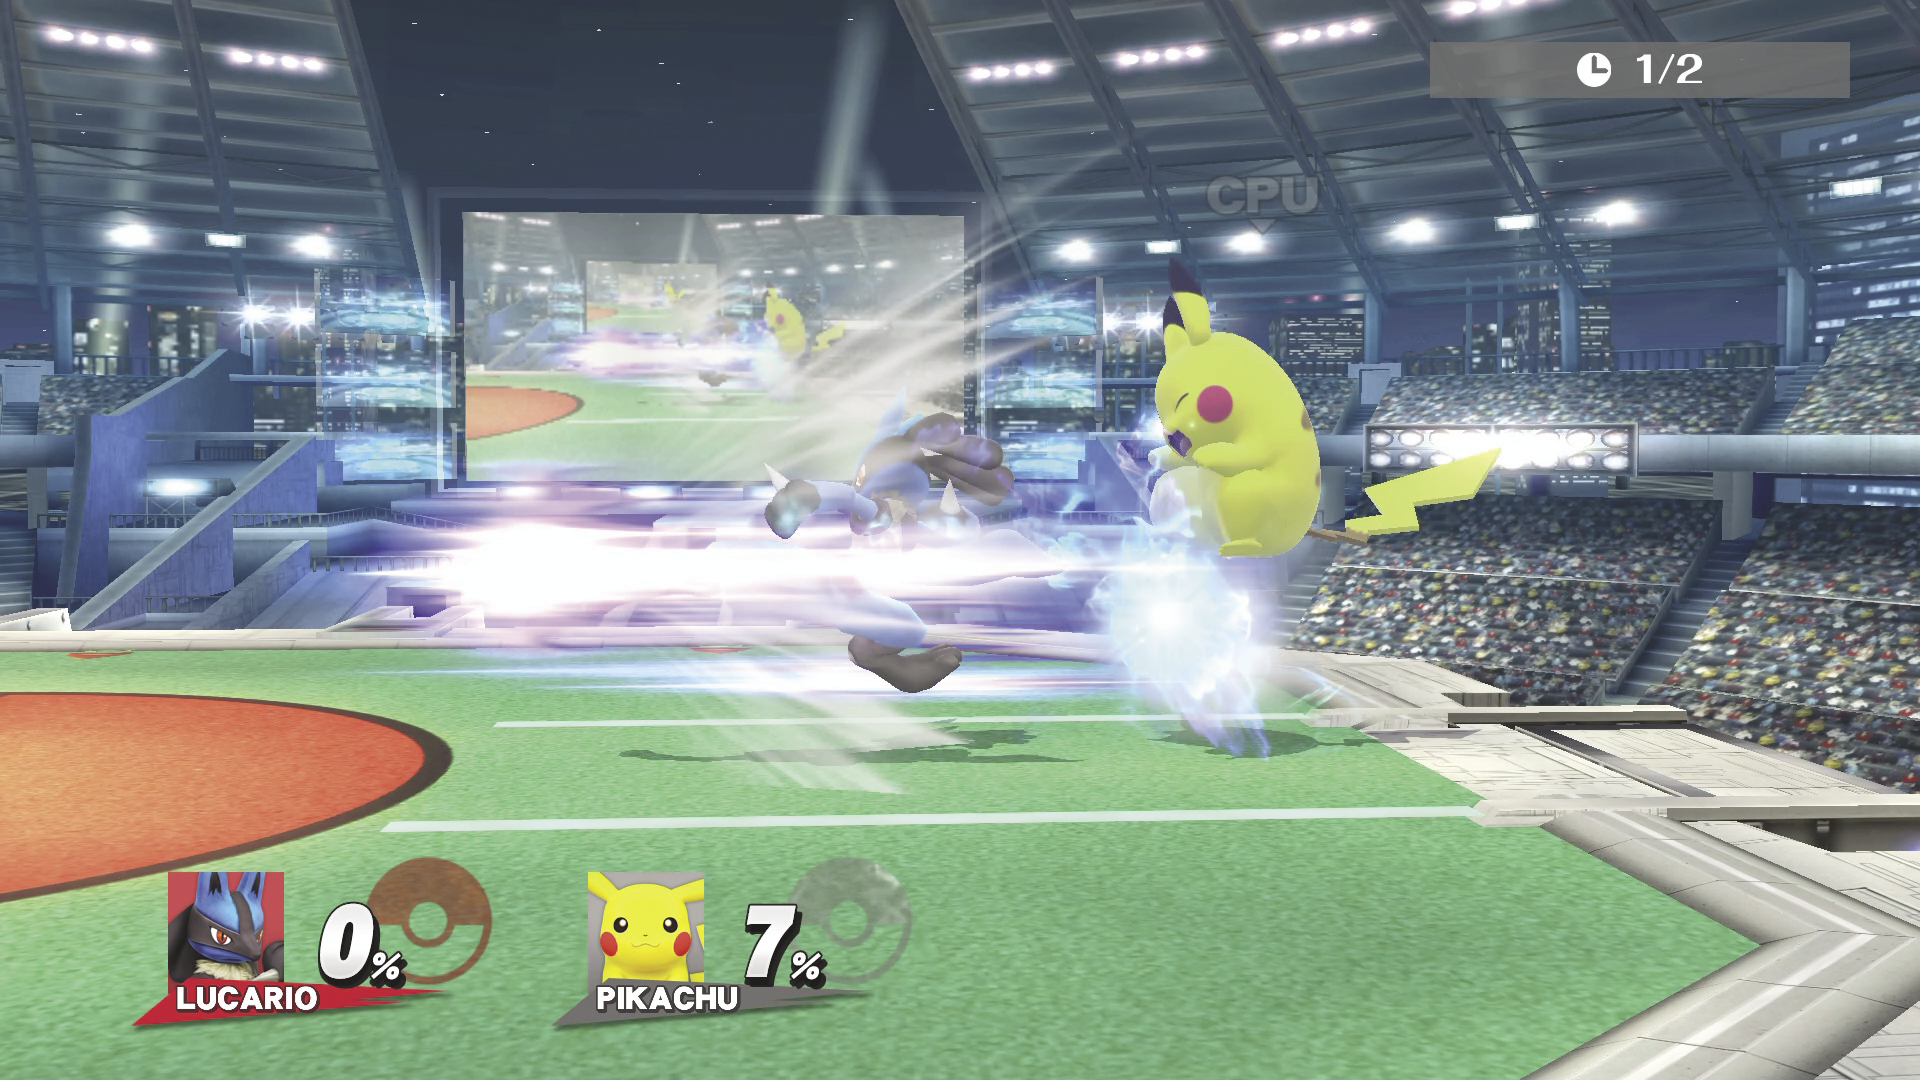
Aura Sphere is useful in multiple ways. First, use it completely uncharged to harass opponents. It’s fairly fast and wobbles up and down a little when it’s uncharged. When used in the air, it isn’t affected by gravity, which is useful in zoning your opponents to limit their approach options. The move has a long recovery, so the uncharged version is best used in the air. As you charge it up, Aura Sphere can actually DAMAGE opponents around it or wear down their shield. It charges fairly fast, making it useful as an attack, and once it’s fully charged, it does a lot more DAMAGE and knockback. The higher your Aura, the larger the sphere gets and the more DAMAGE it does. Force Palm also extends Lucario’s range and does extra DAMAGE when used up close, as it becomes a grab. This grab can also DAMAGE other opponents around its impact area because Lucario hits the grabbed opponent with an Aura blast that sends that opponent flying up and away. With higher Aura, Force Palm’s range and DAMAGE increases, but the grab range up close remains the same. Lucario’s Extreme Speed sends it blasting through the air and can end with a kick attack at the end of its animation. The higher your Aura, the farther Lucario flies through the air! Double Team is a quick counter that stays active a good amount of time and can be useful against slower opponents.
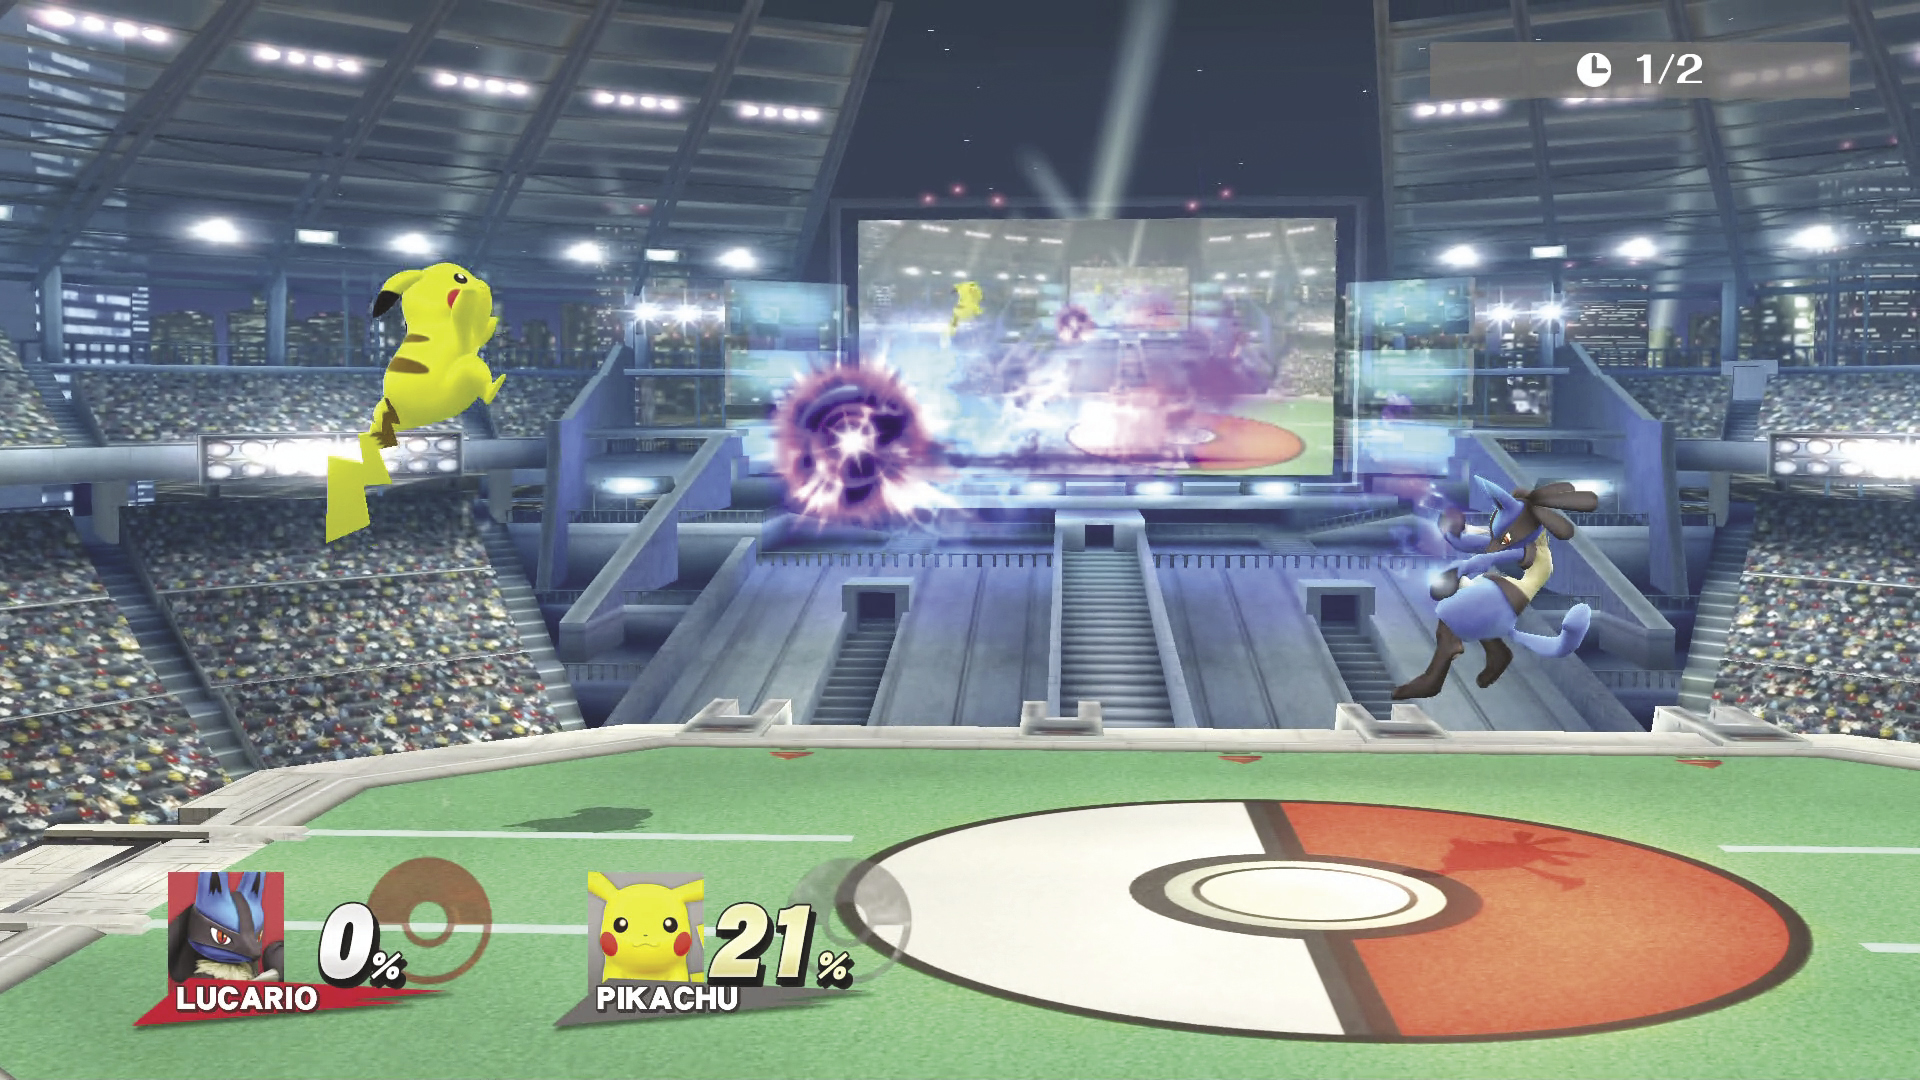
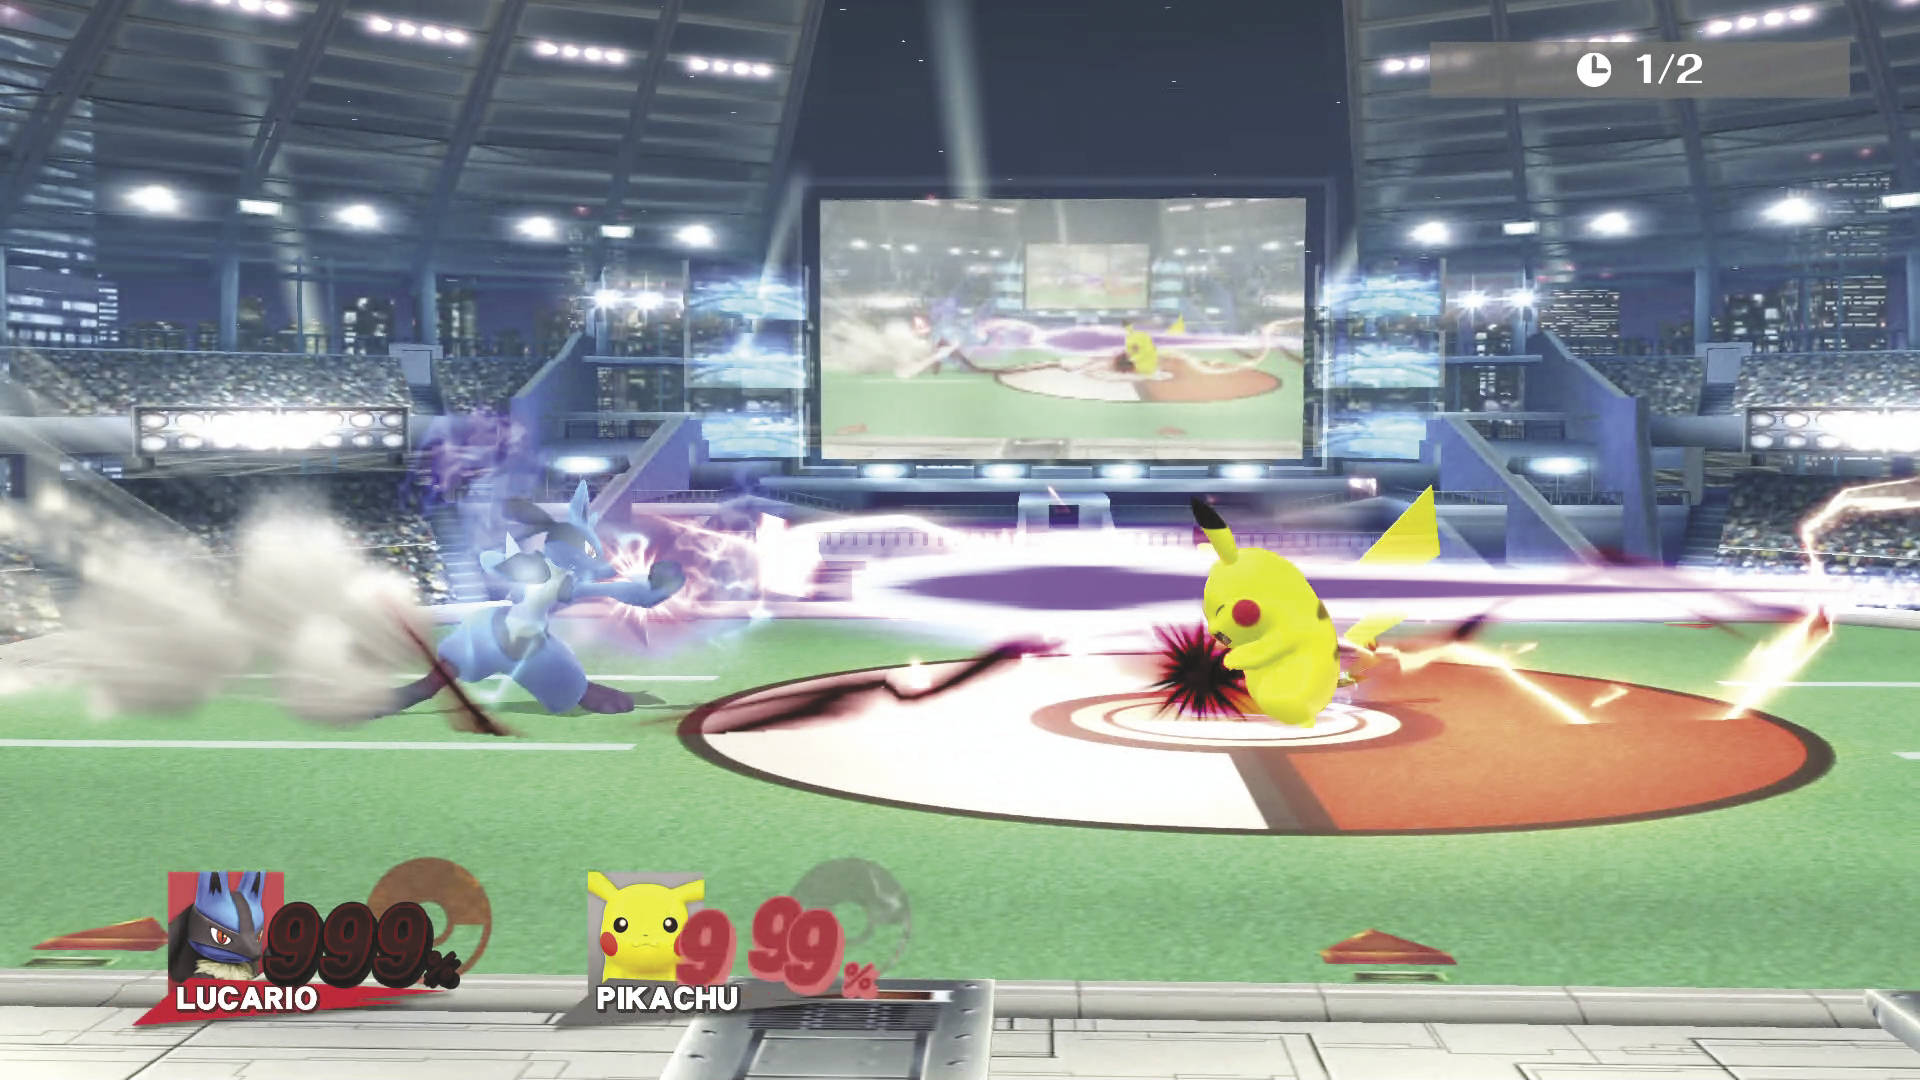
Lucario’s air mobility is good, given its solid jump height and aerial attacks, but it lacks a true meteor smash. Down Air works well, especially for edge-guarding, but you might want to use the generic foot stool as well. Neutral Air has good range, Up Air is useful for vertical KOs, and Back Air is a good choice when going for horizontal KOs. Forward Air and Up Air are your popular choices for combos. On the ground, Lucario’s Smash attacks are all fairly slow, and you need to have Lucario’s Aura up before those attacks have any KO power. Use Lucario’s jab, Side Tilt, and Up Tilt if you’re forced to fight up close at low percentage. Lucario’s grab range is pretty good. Use Down Throw and follow up with air attacks to rack up DAMAGE. While higher Aura is important, don’t let opponents DAMAGE you for free just to obtain a higher Aura level! Always deal DAMAGE, so when your Aura is higher, it’s even easier to get a KO!
Final Smash
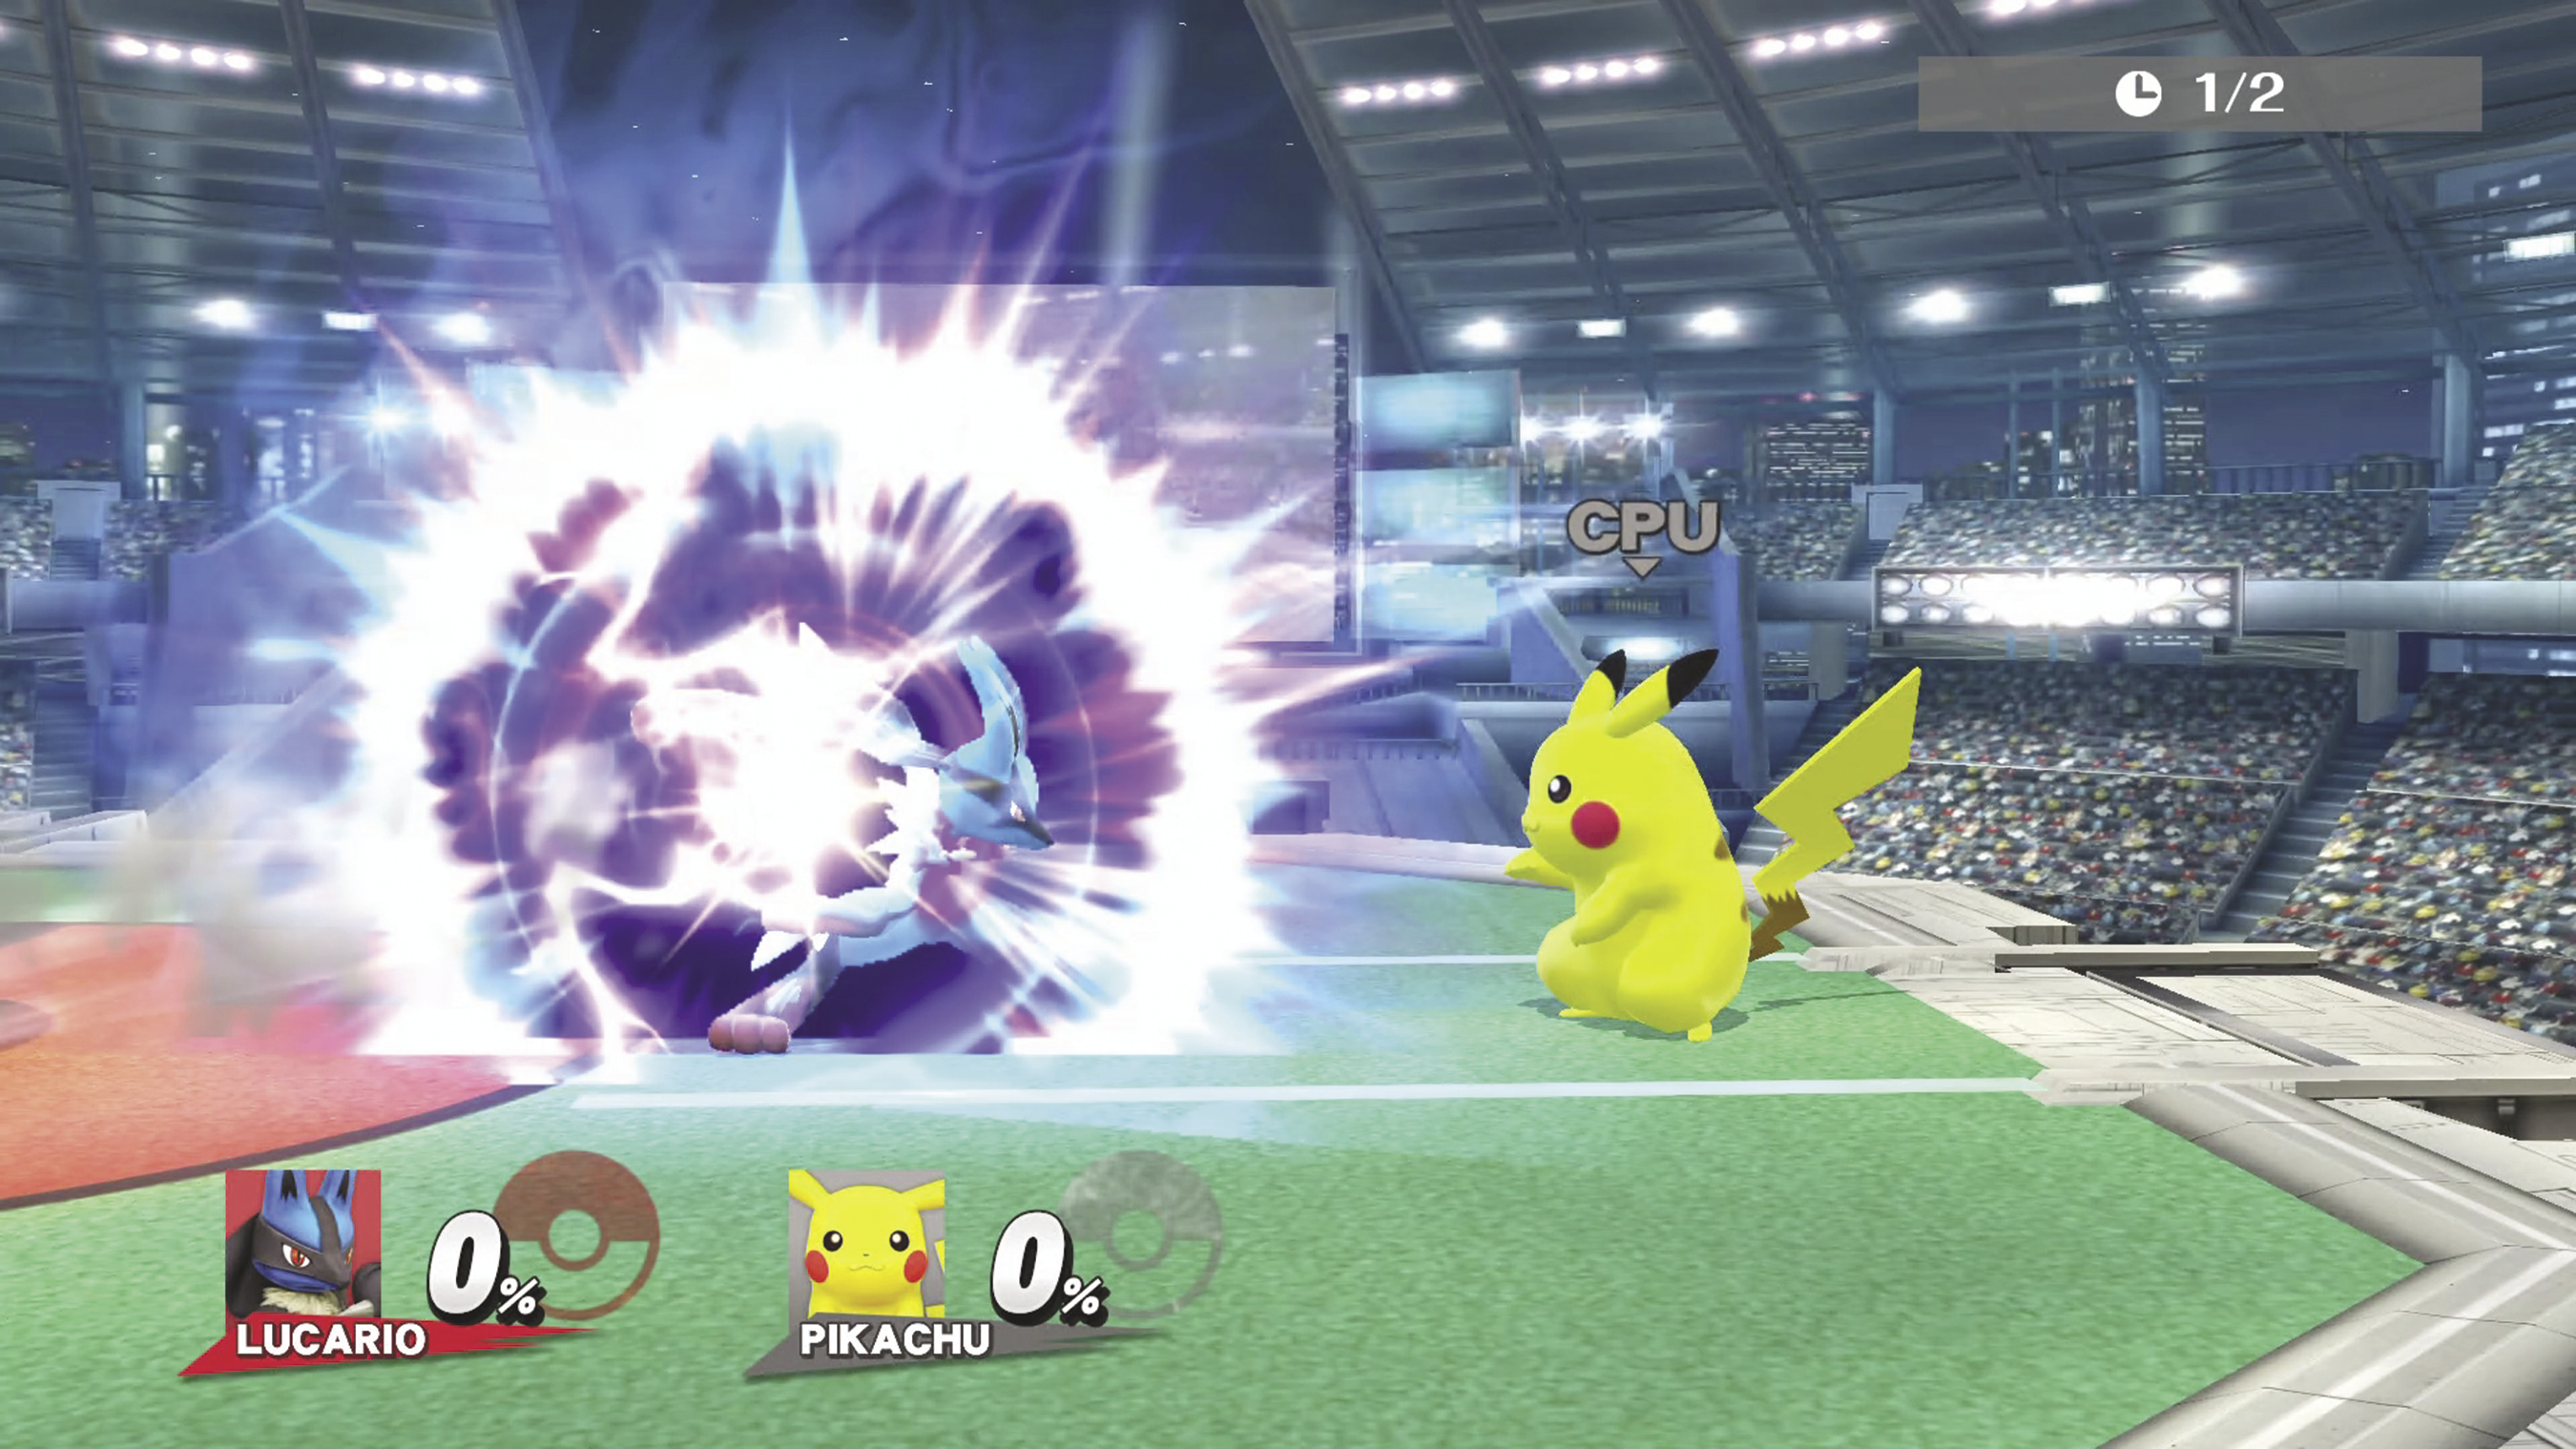
Mega Evolution
Lucario transforms into Mega Lucario. Mega Lucario has super armor so doesn’t flinch from being hit but still takes DAMAGE. Taking DAMAGE reduces the time Lucario spends in this transformed state. In this form, Lucario’s Aura will be at maximum level, regardless of Lucario’s current DAMAGE. This means its Aura Sphere is larger and causes more DAMAGE. This also affects Lucario’s Force Palm’s range, DAMAGE, and knockback. Additionally, this give Lucario ridiculous recovery with Extreme Speed flying very far and very fast. Be careful with the Extreme Speed, though, because it can be a little hard to control.
Recovery
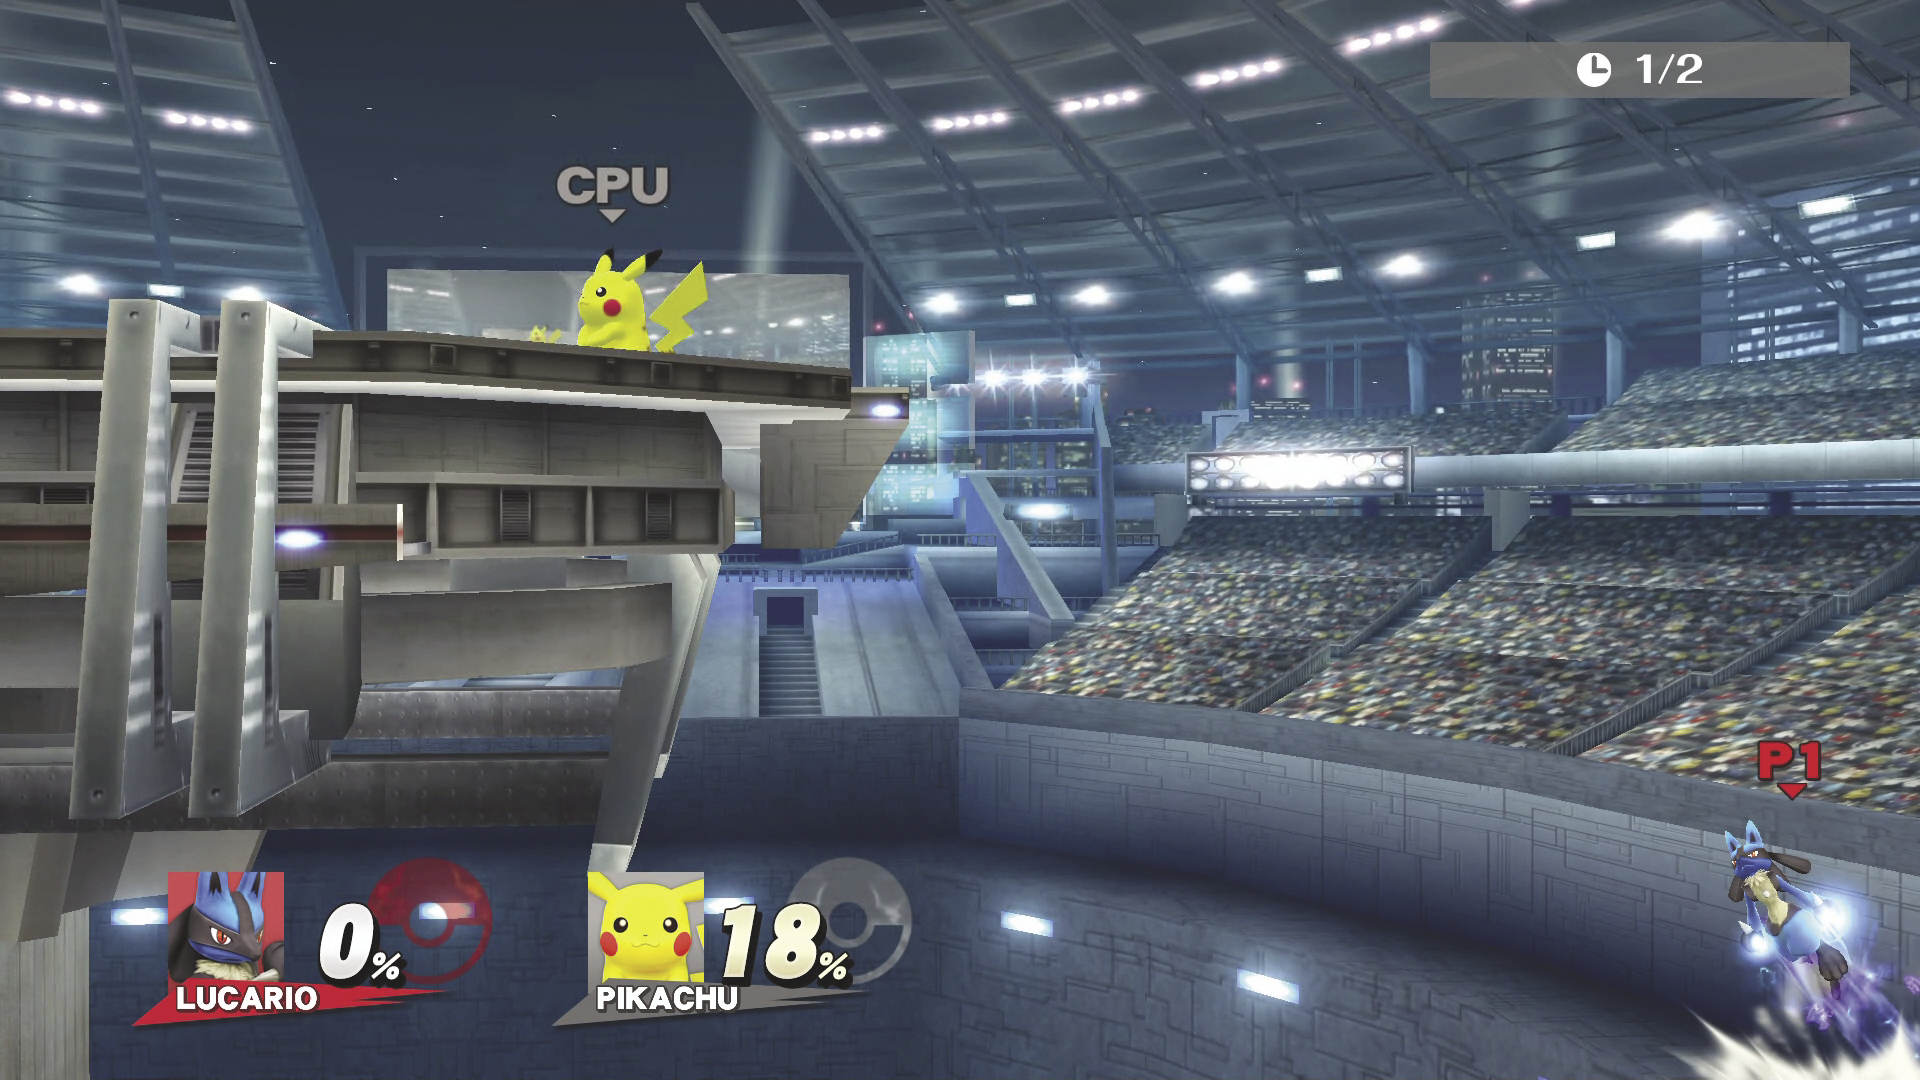
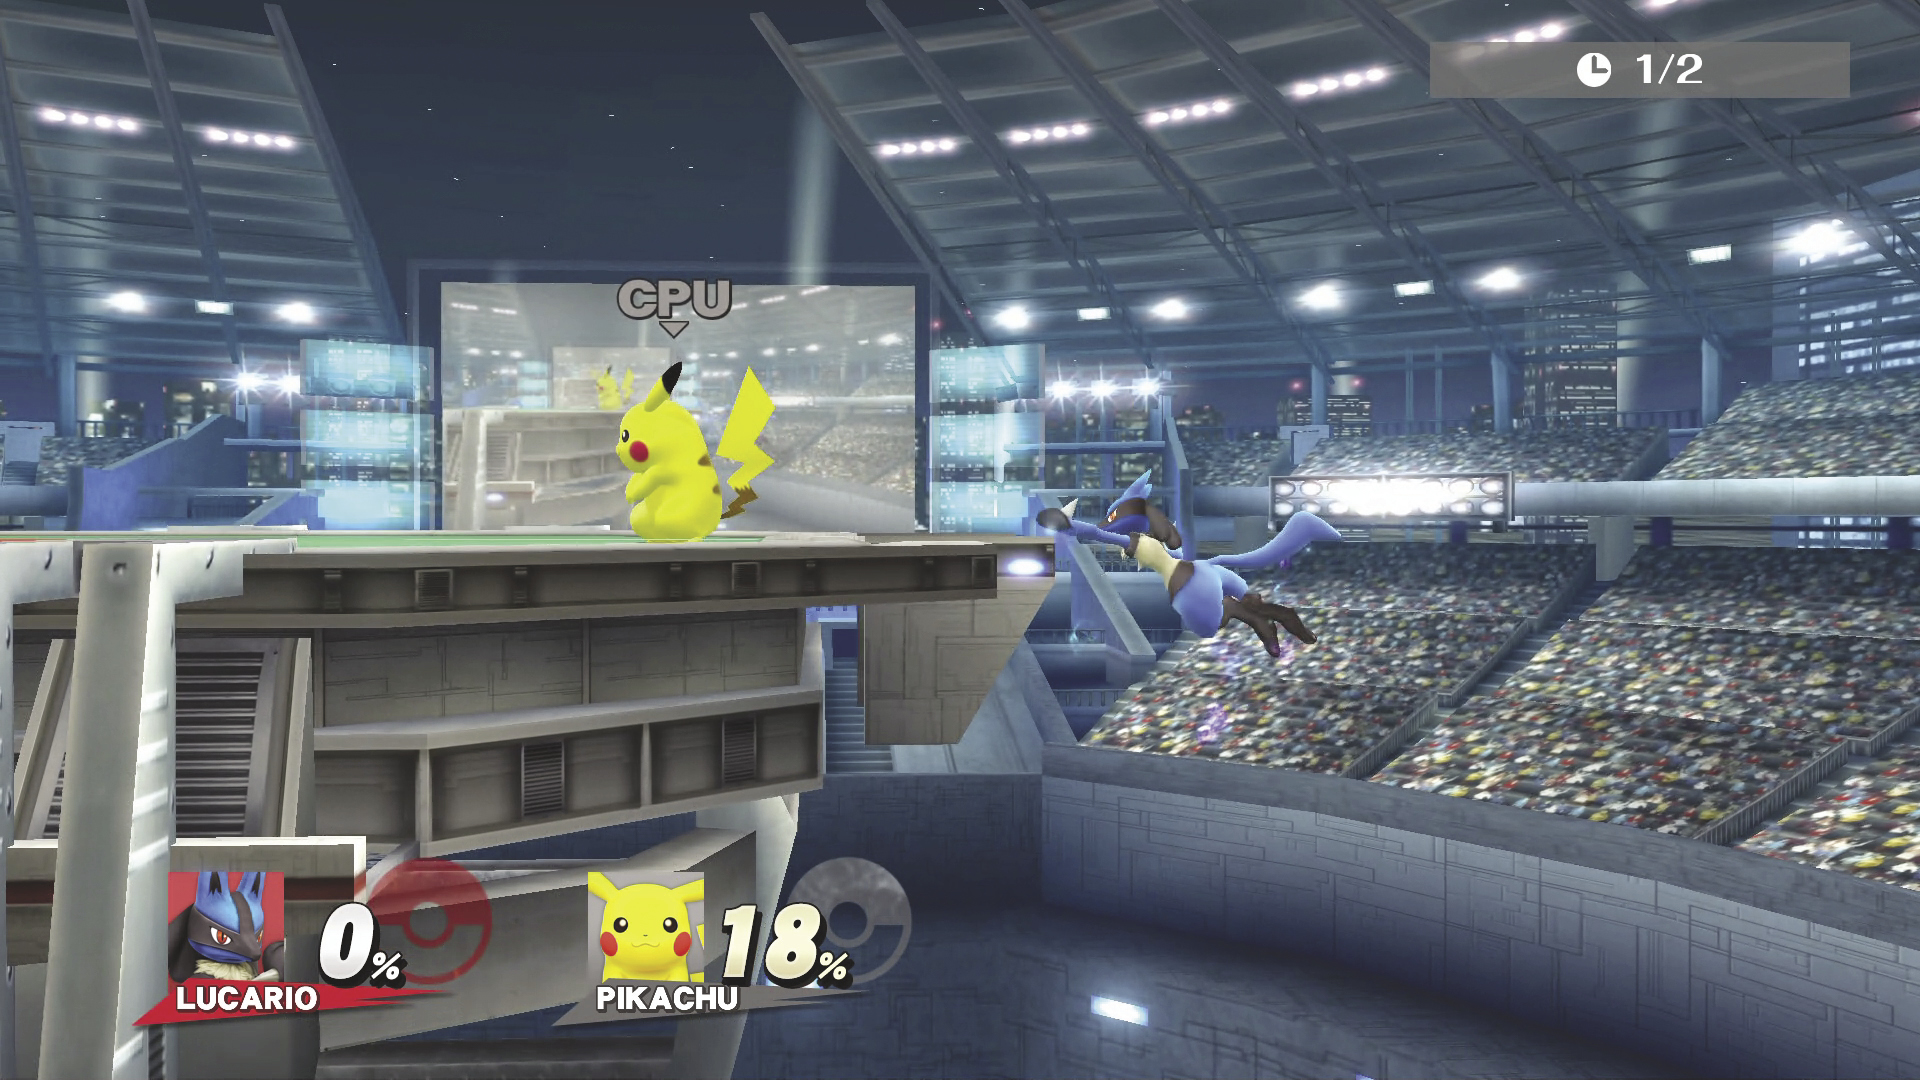
Lucario’s main recovery option is its Extreme Speed. With this attack, you can send Lucario blasting off both horizontally or vertically, but it will be in a fall state afterward. Additionally, once Lucario takes off, you can control it through the air, almost in a full circle. The more DAMAGE Lucario has taken, however, the further Lucario flies with this recovery. For instance, when you have Lucario’s Final Smash active, this is at max distance, and you can even blast yourself off the stage to self-destruct! When returning to a stage from high above, use his Double Team to slow Lucario’s fall while trying to counter. Also remember that Lucario is one of the few characters with both a wall cling and a wall jump. Use these to time your return to the stage better, especially when things are hectic above!