
Super Smash Bros. WiiU/3DS Guide CHARACTERS
Little Mac

Trophy Description
This little boxer from the Punch-Out!! series makes up in heart what he lacks in height. He wasn’t afraid to take on the boxing champs, and he’s not afraid of the Nintendo stars, either. In Smash Bros., he packs a serious punch. When his KO Meter fills up, wade in and trigger a devastating uppercut.
Statistics
Maximum Number of Jumps: 2
Can Wall Jump: Yes
Can Wall Cling: No
Can Crawl: No
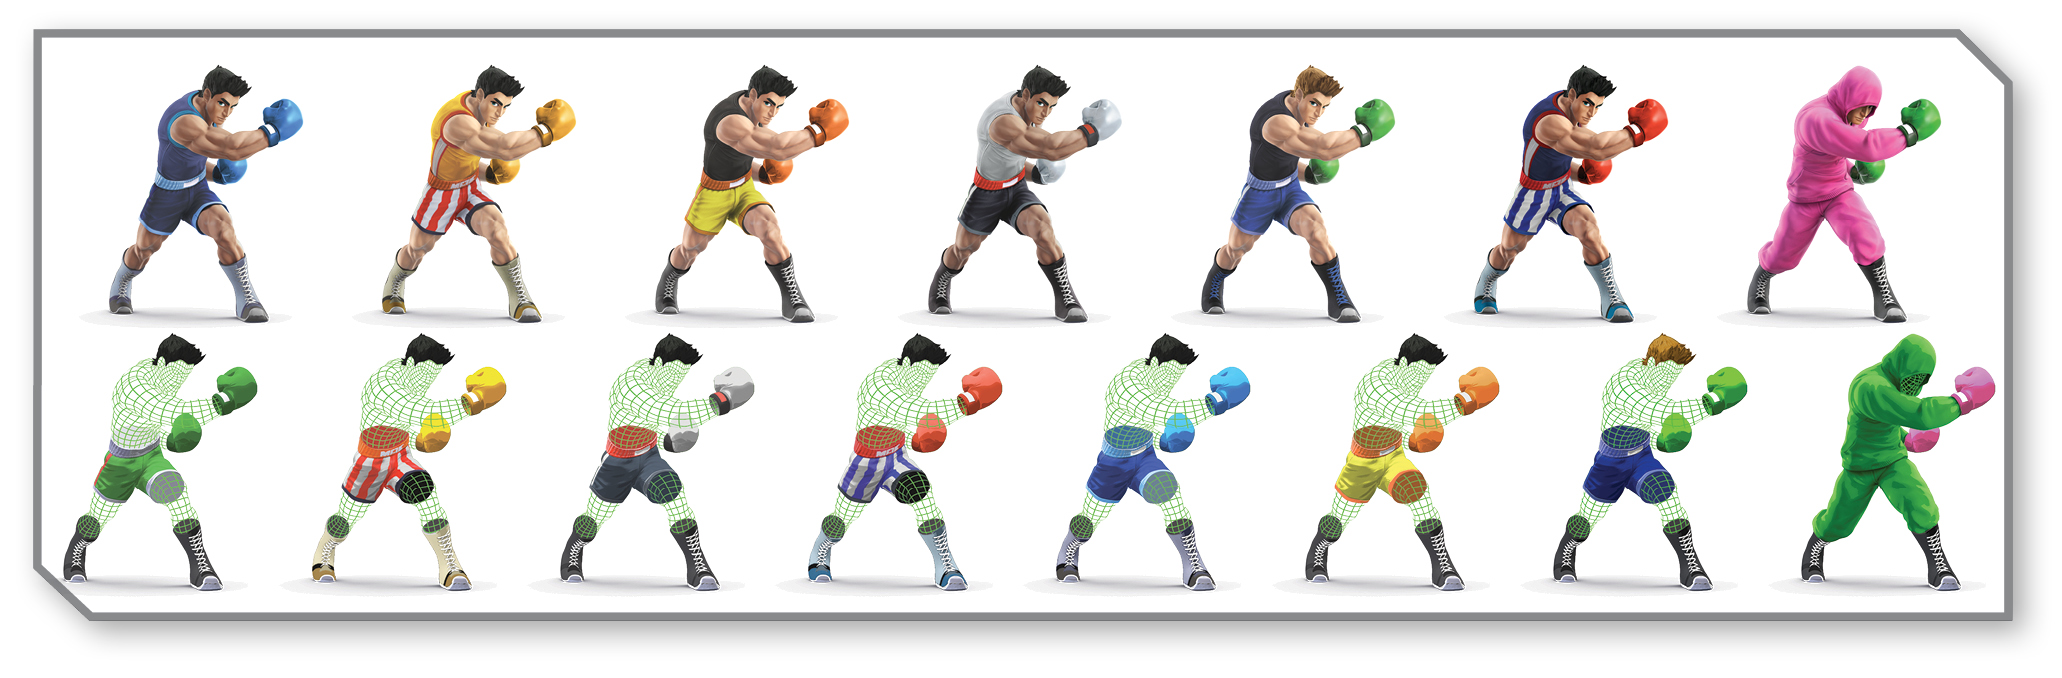
Alternate Colors
Smash Attacks
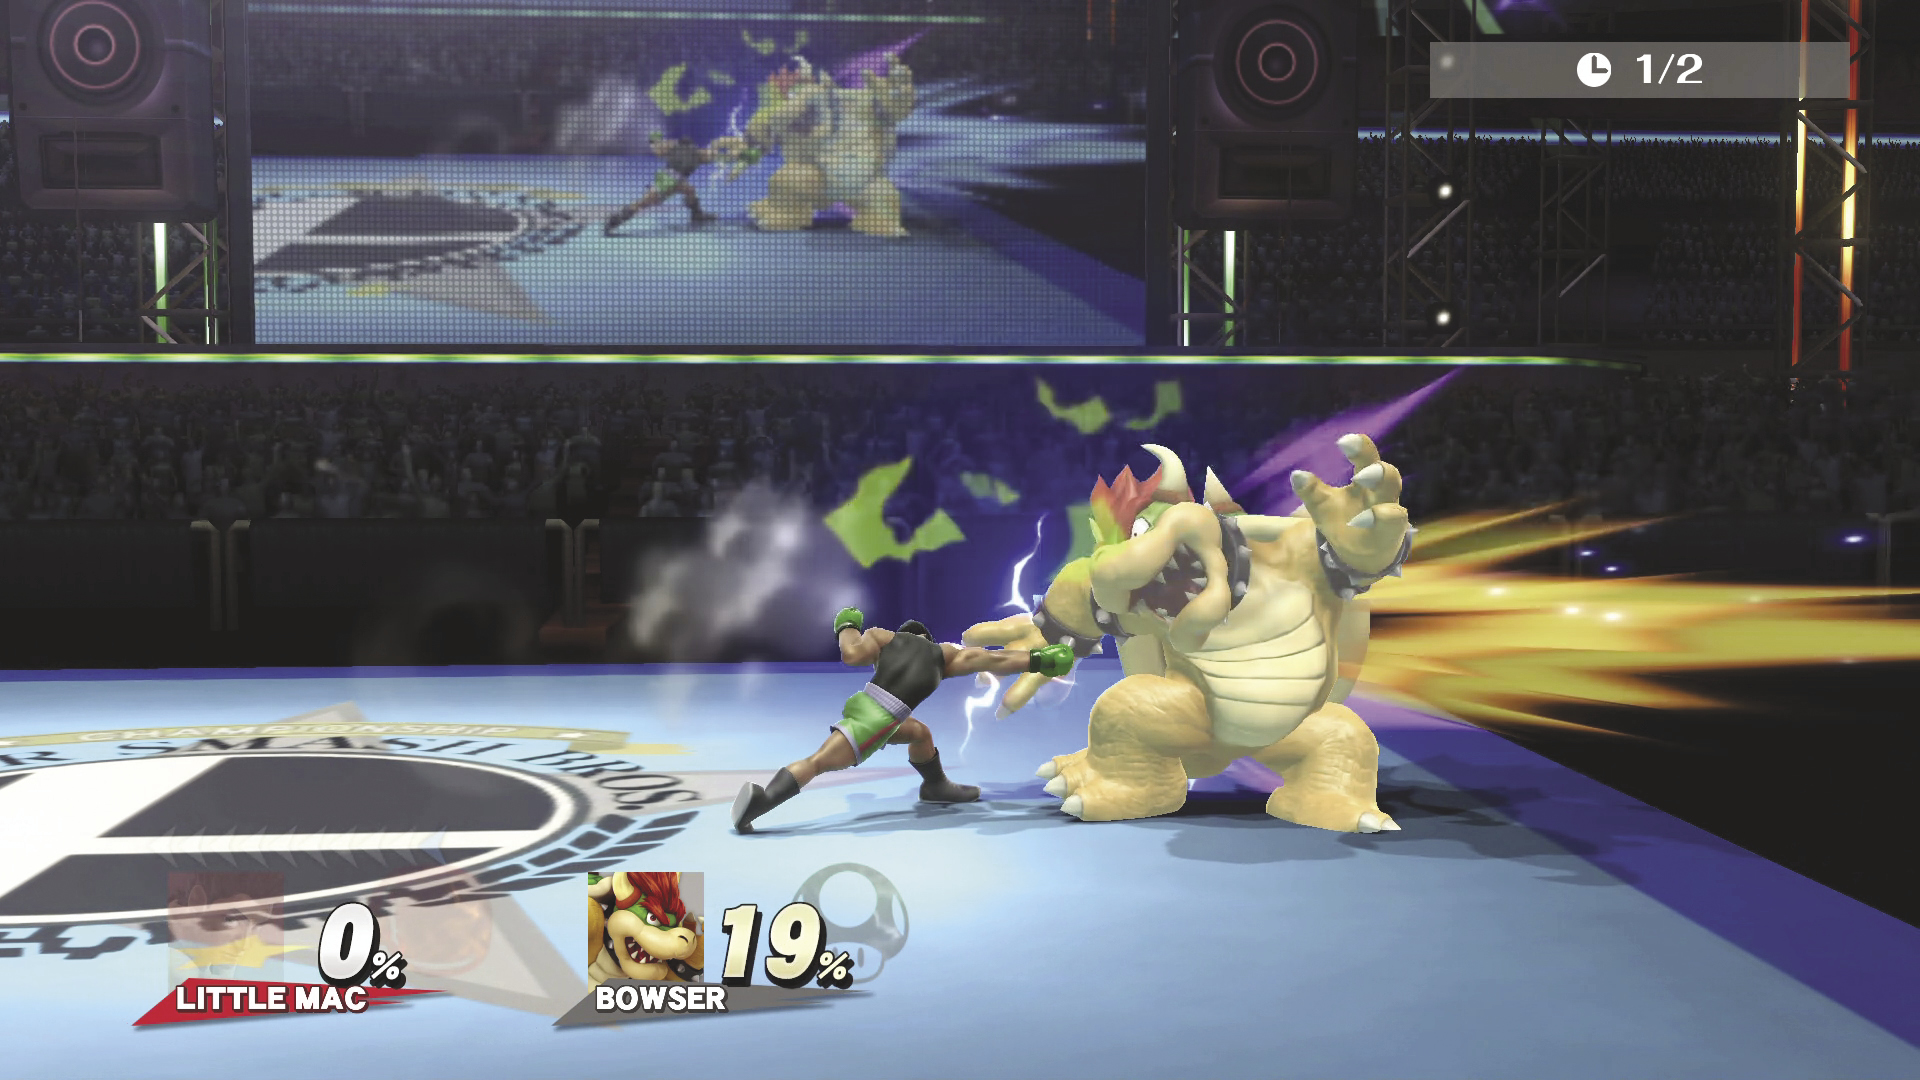
SIDE SMASH DAMAGE 17~19% : ANGLED DOWN 22%
Little Mac lunges forward with a straight punch. Press Up during this Side Smash to transition into an uppercut that launches opponents upward. Press Down for a lower-hitting Smash that is strong against shields and deals more DAMAGE! Little Mac has super armor during this attack.
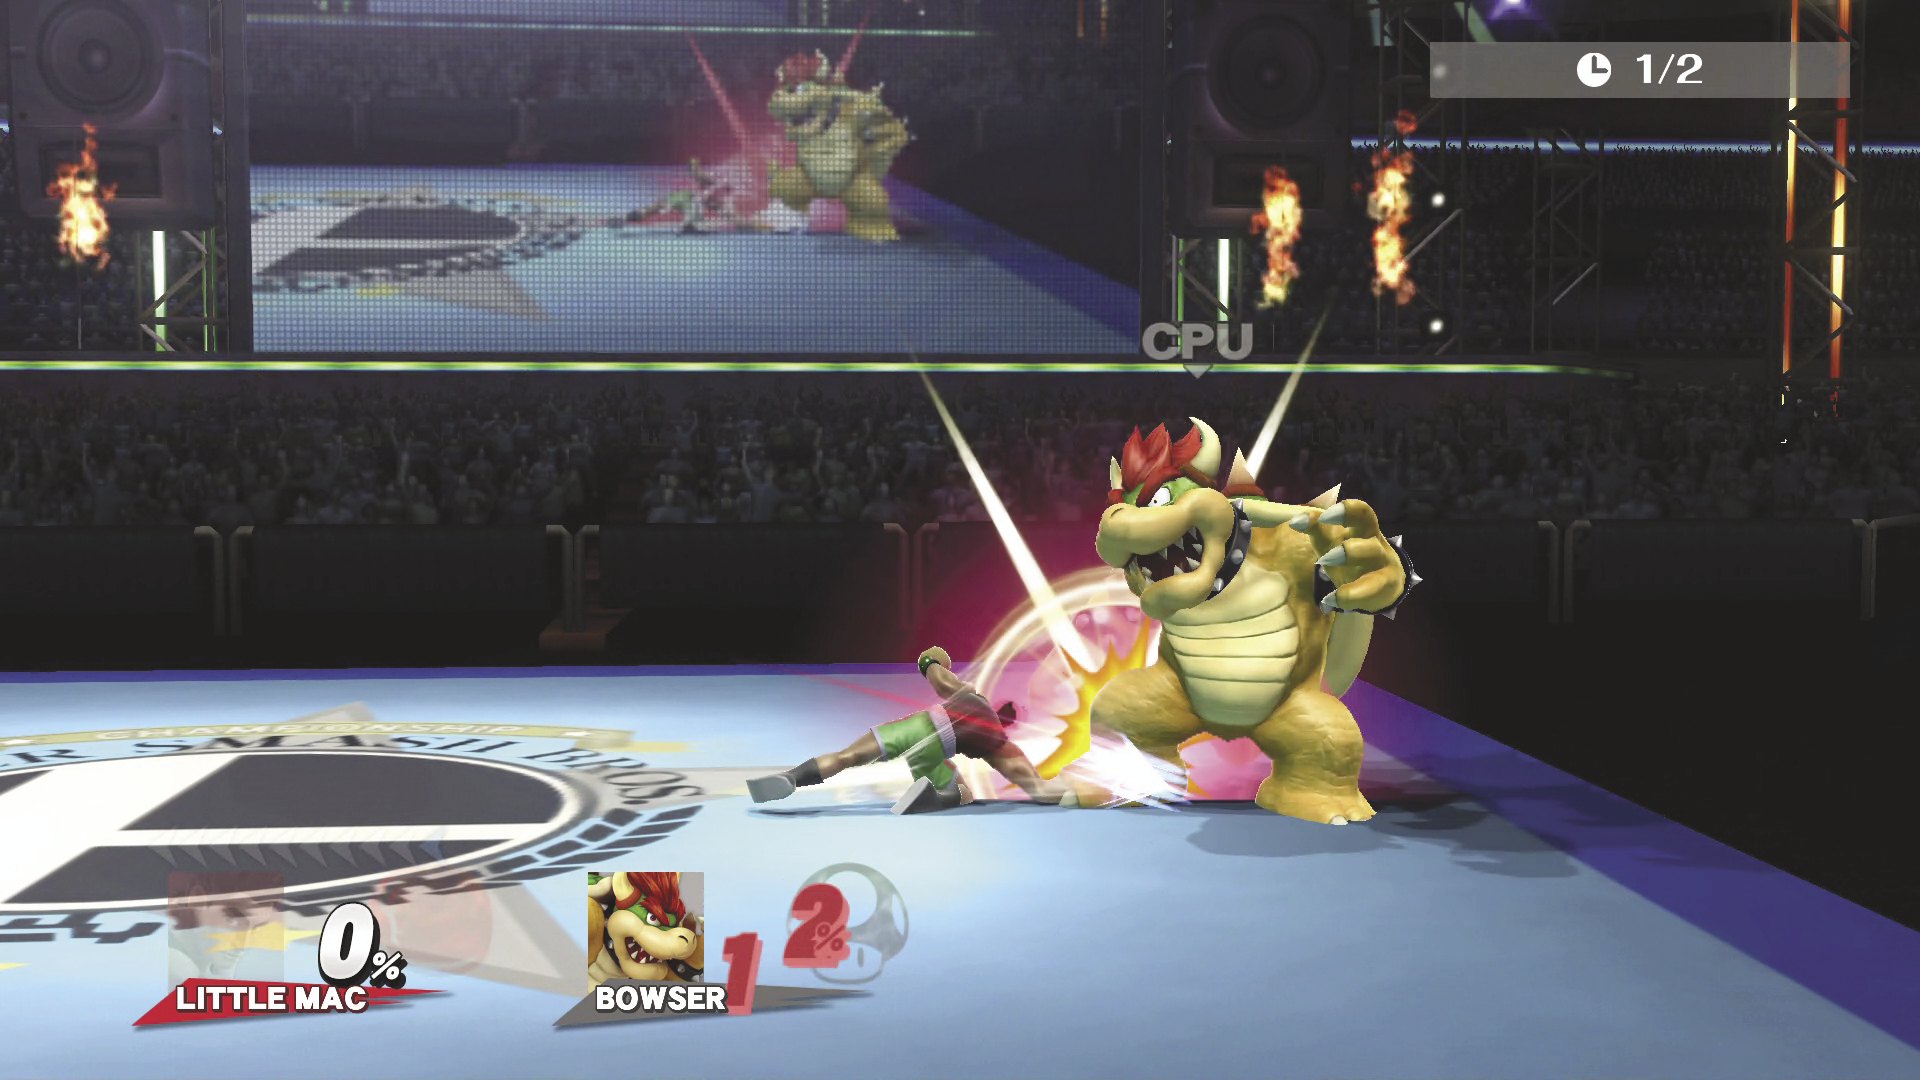
DOWN SMASH DAMAGE 12%
Little Mac briefly winds up, then punches at the feet of the opponent, sending that opponent horizontally away. Note that this is two hits: first in front and then behind Little Mac. Little Mac has super armor during this attack.
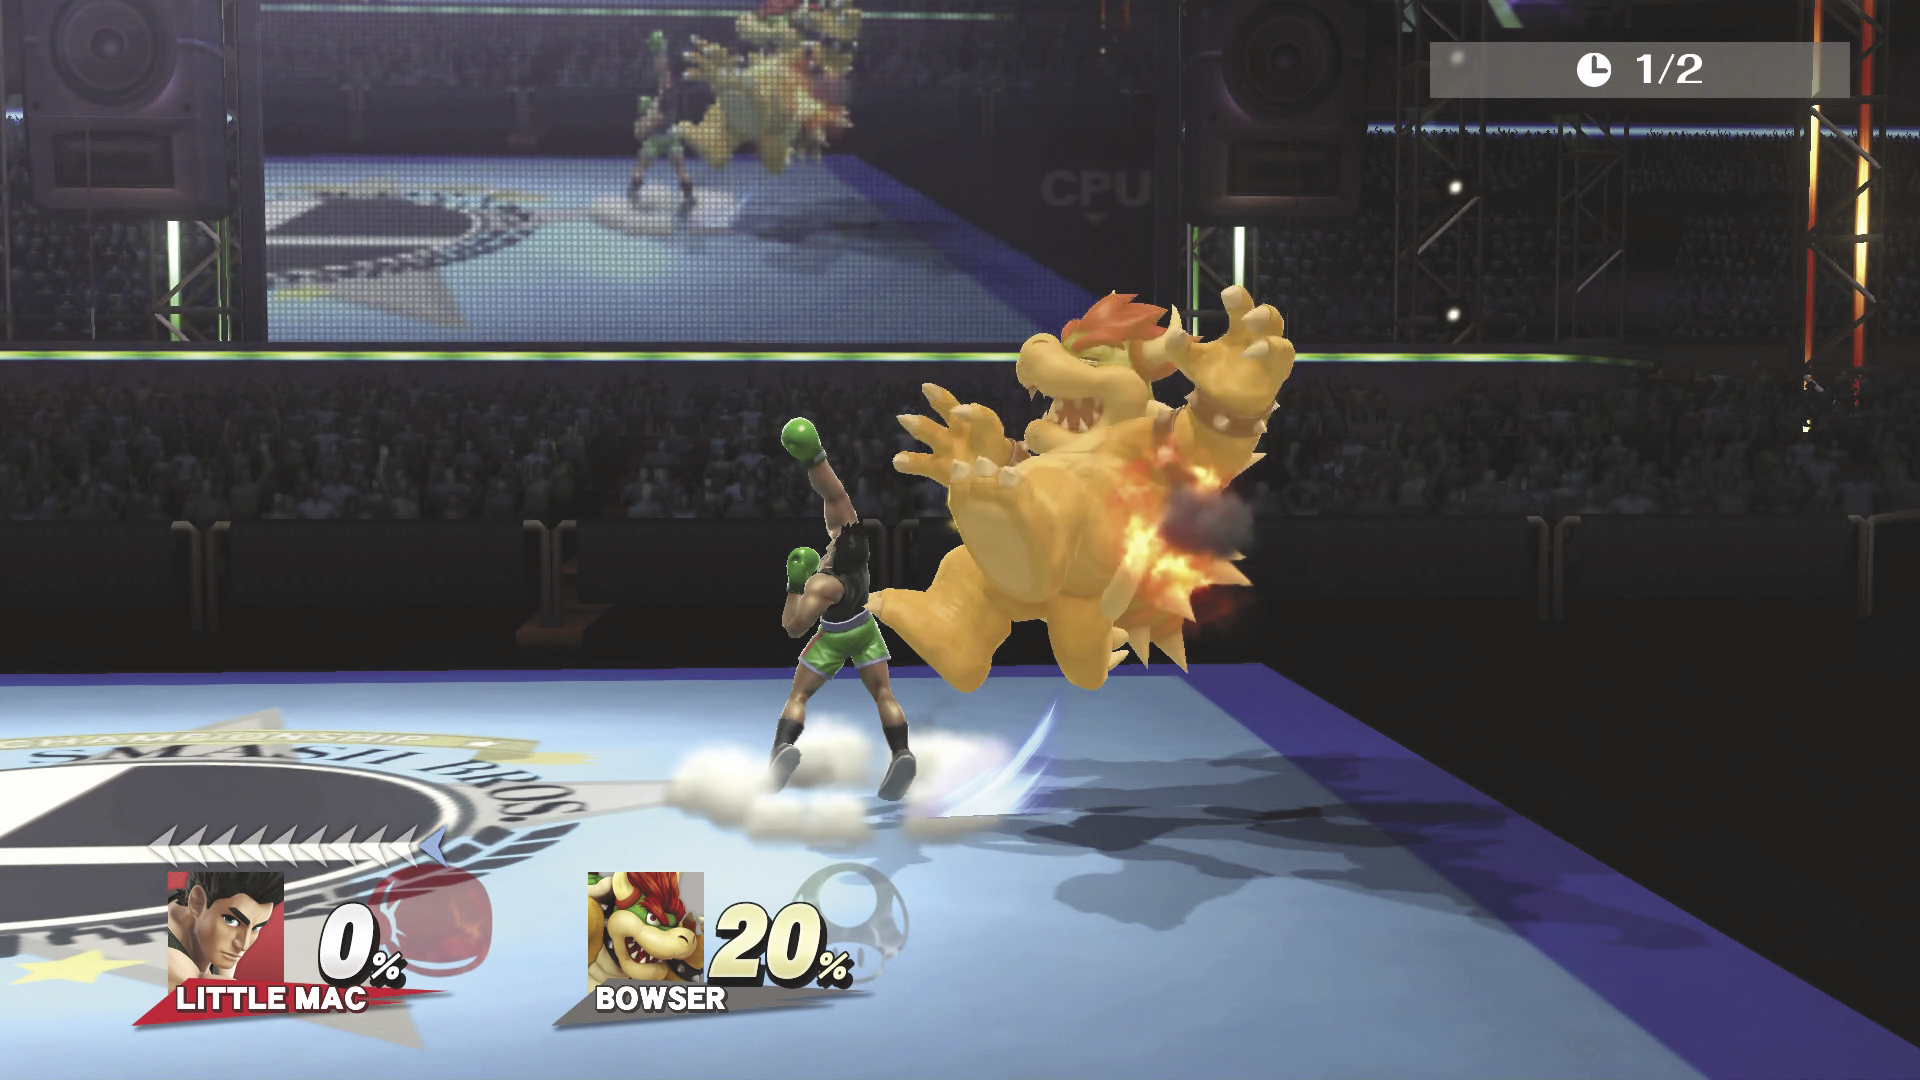
UP SMASH DAMAGE 15~20%
With this overhead punch, Little Mac swings his fist in an arc over his head. When performed up close, this becomes a fire overhead punch and deals more DAMAGE! Little Mac has super armor during this attack.
Basic Attacks
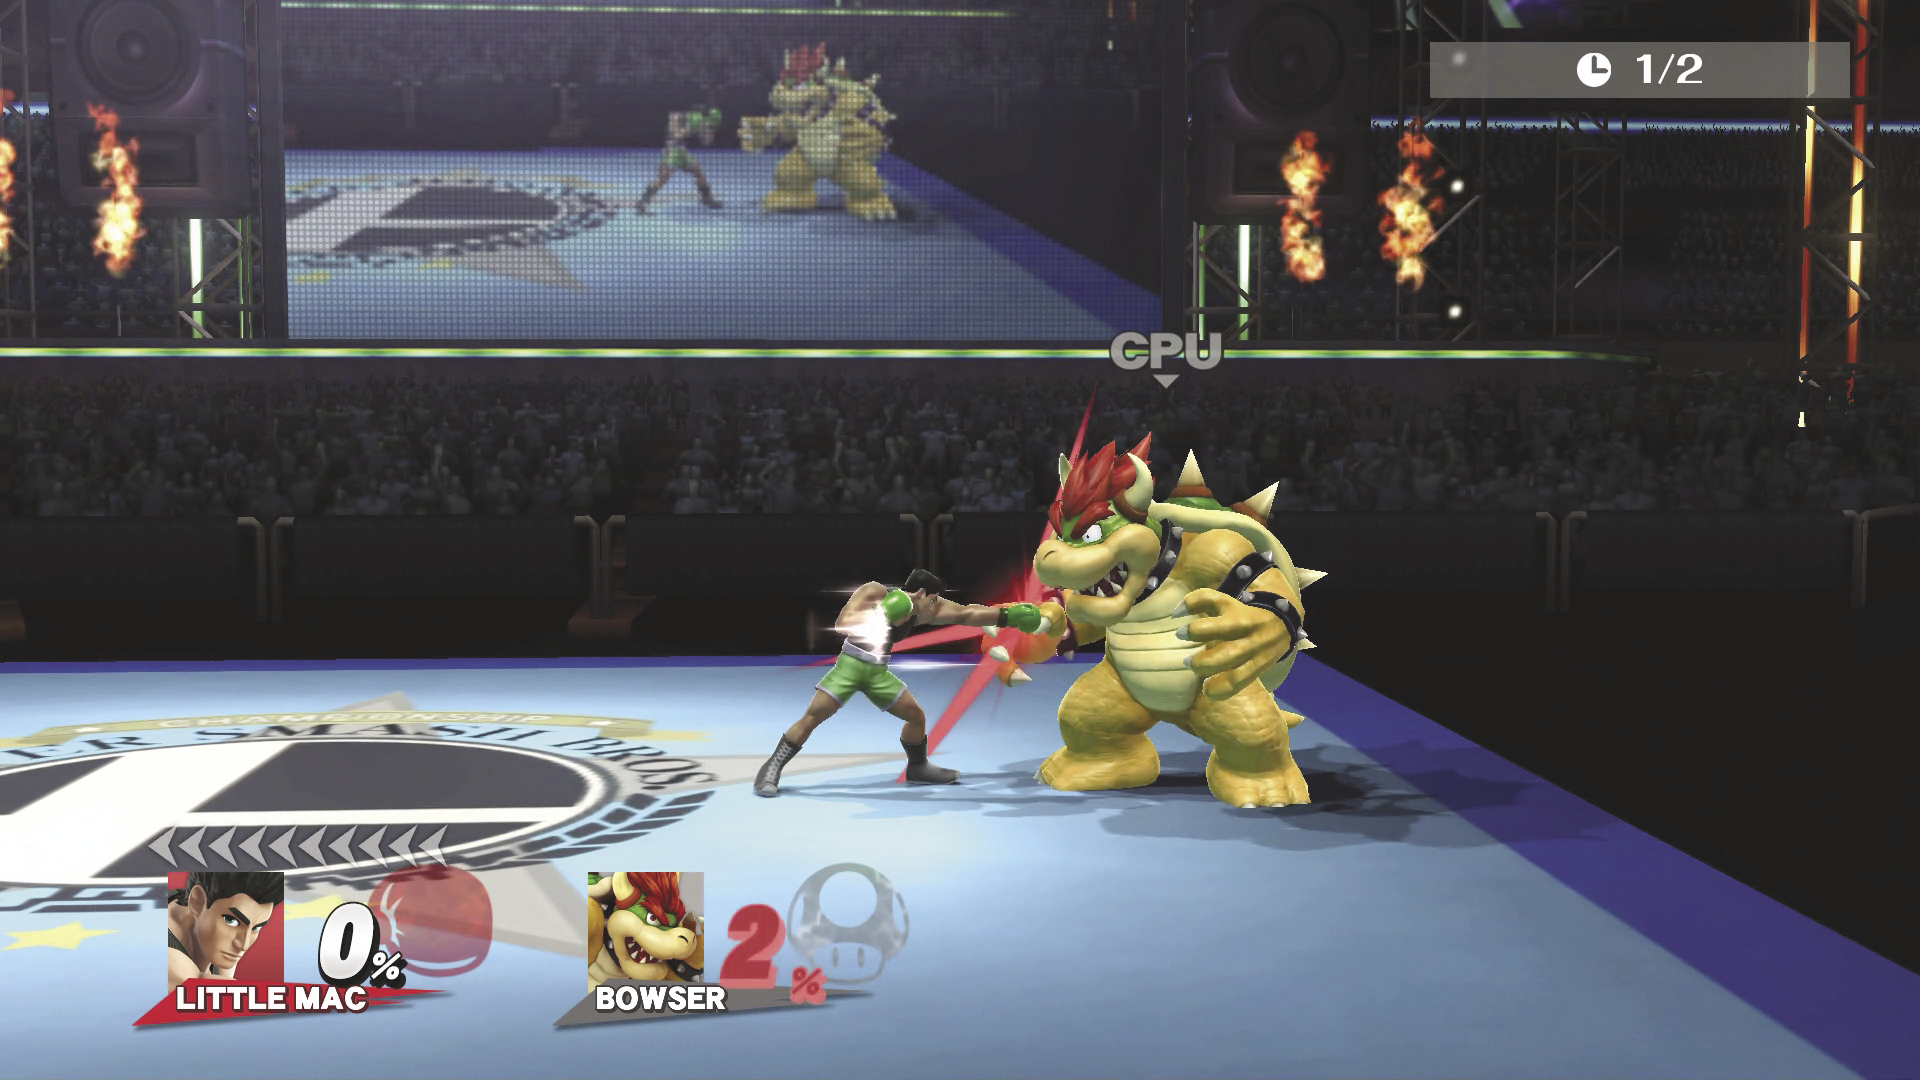
Standing Attack DAMAGE 2%, 3%, 8% RAPID STRIKES 11%: 9 Hits
Little Mac can do three punch attacks before turning his opponent into a punching bag with his rapid strikes and then ending with an uppercut.
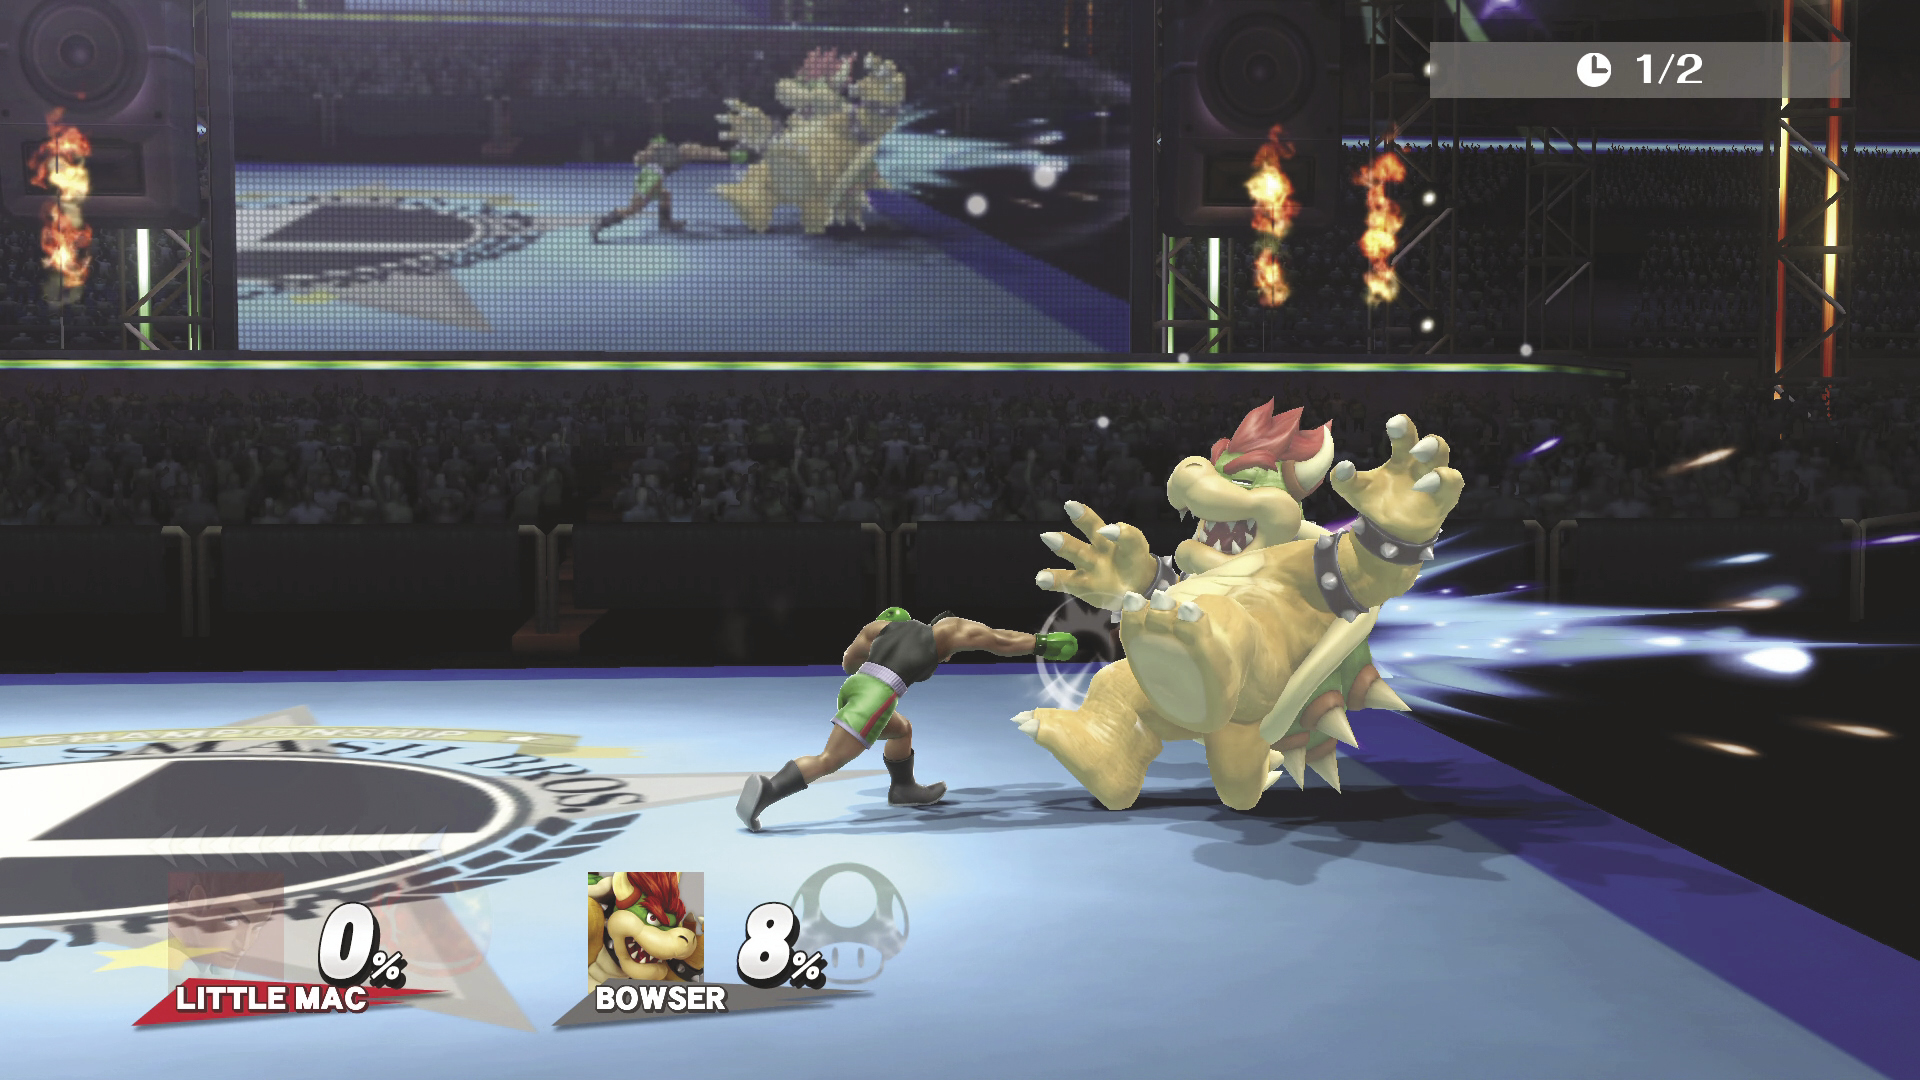
Side Tilt DAMAGE 4~8% MAX DAMAGE 12% : 2 Hits
Little Mac steps forward and delivers a one-two combination of straight punches.
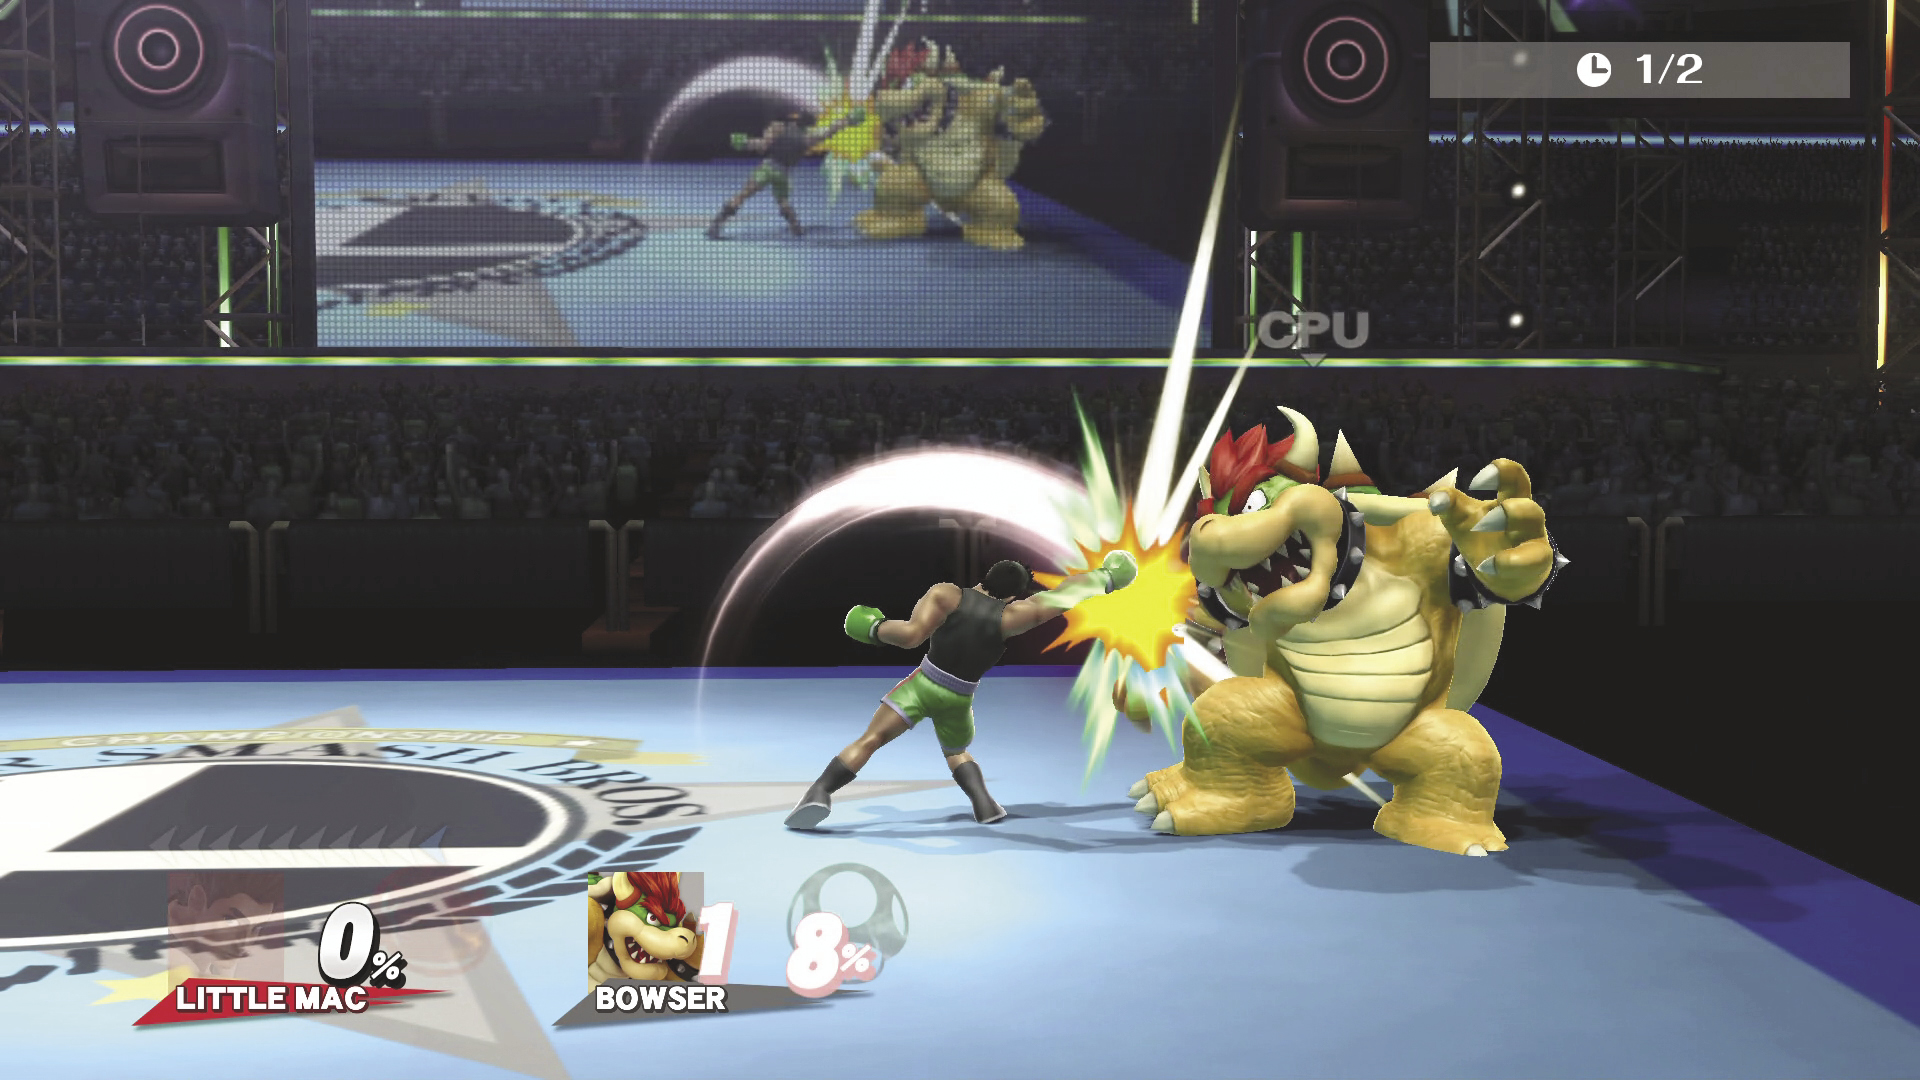
Up Tilt DAMAGE 9%
Little Mac attacks behind him with a wild overhead swing of his fist.
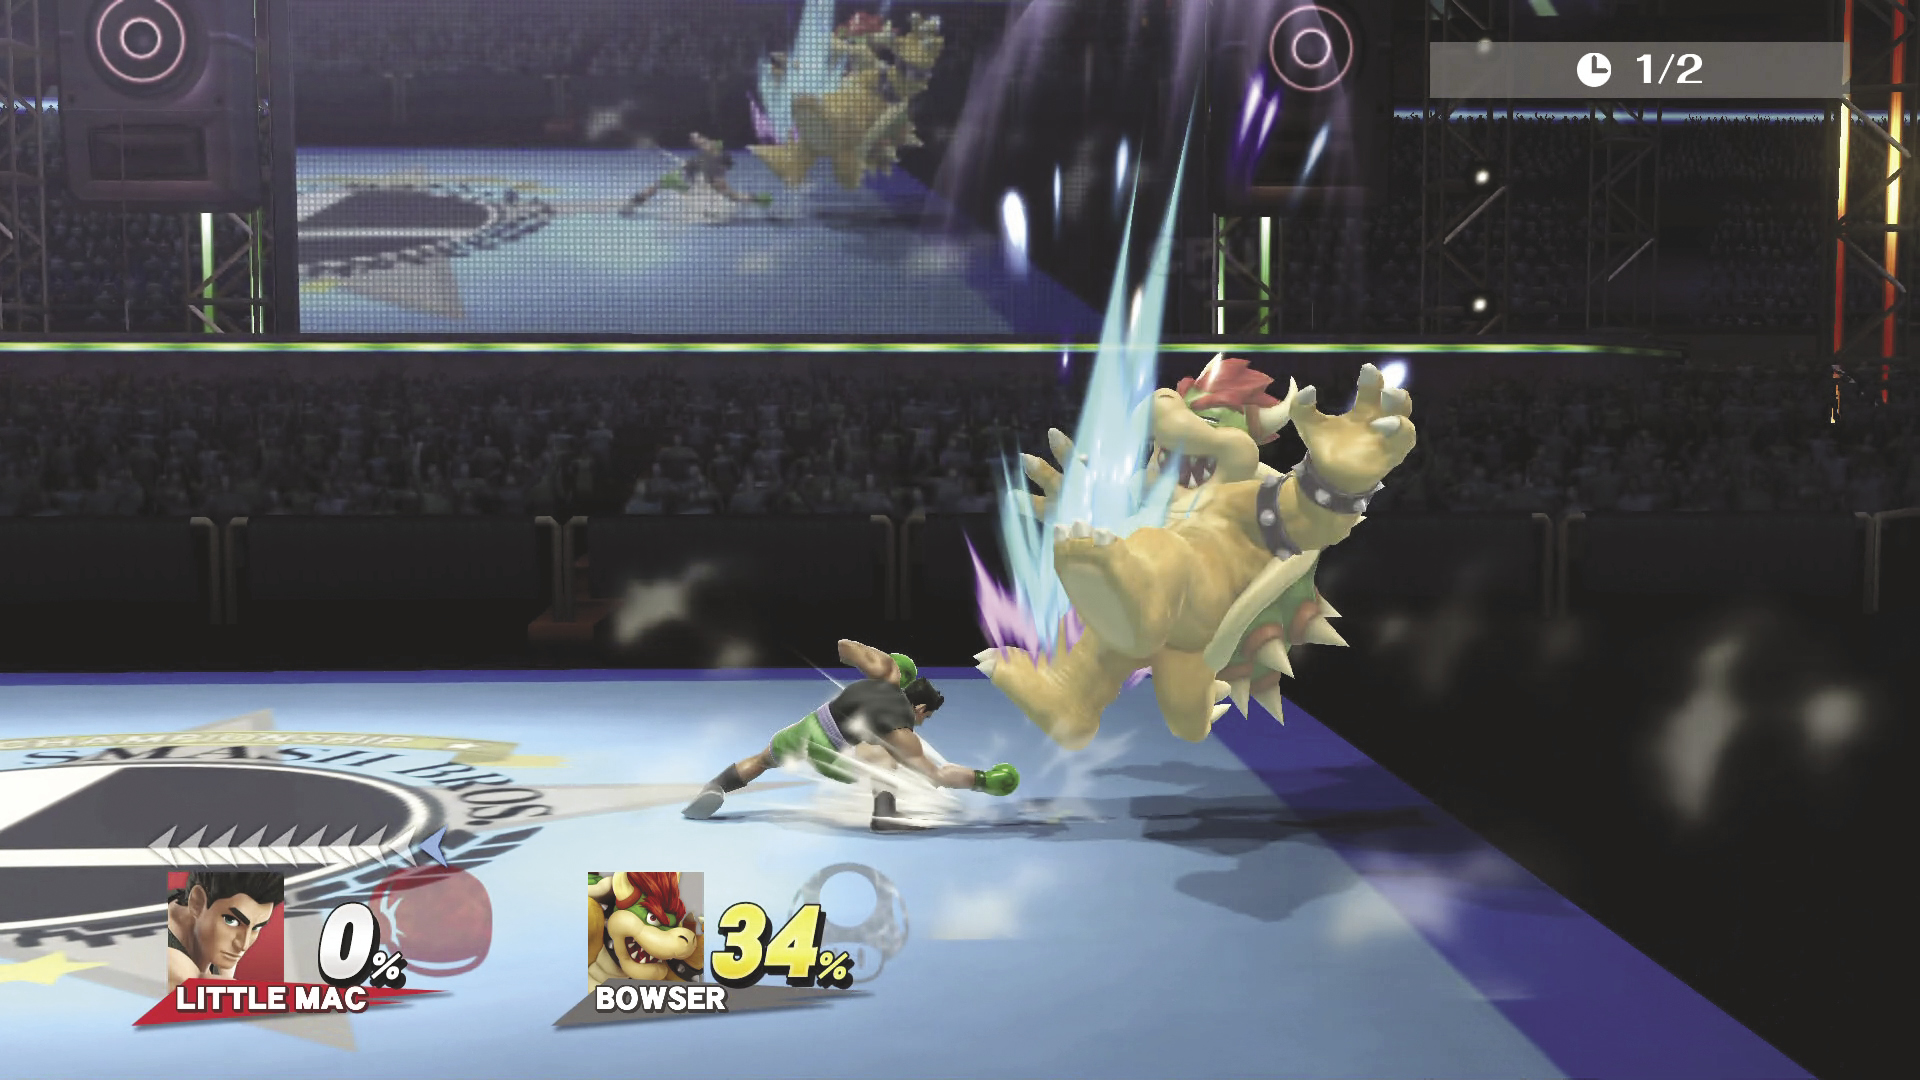
Down Tilt DAMAGE 8%
A crouching long-range punch that knocks your opponent into the air.
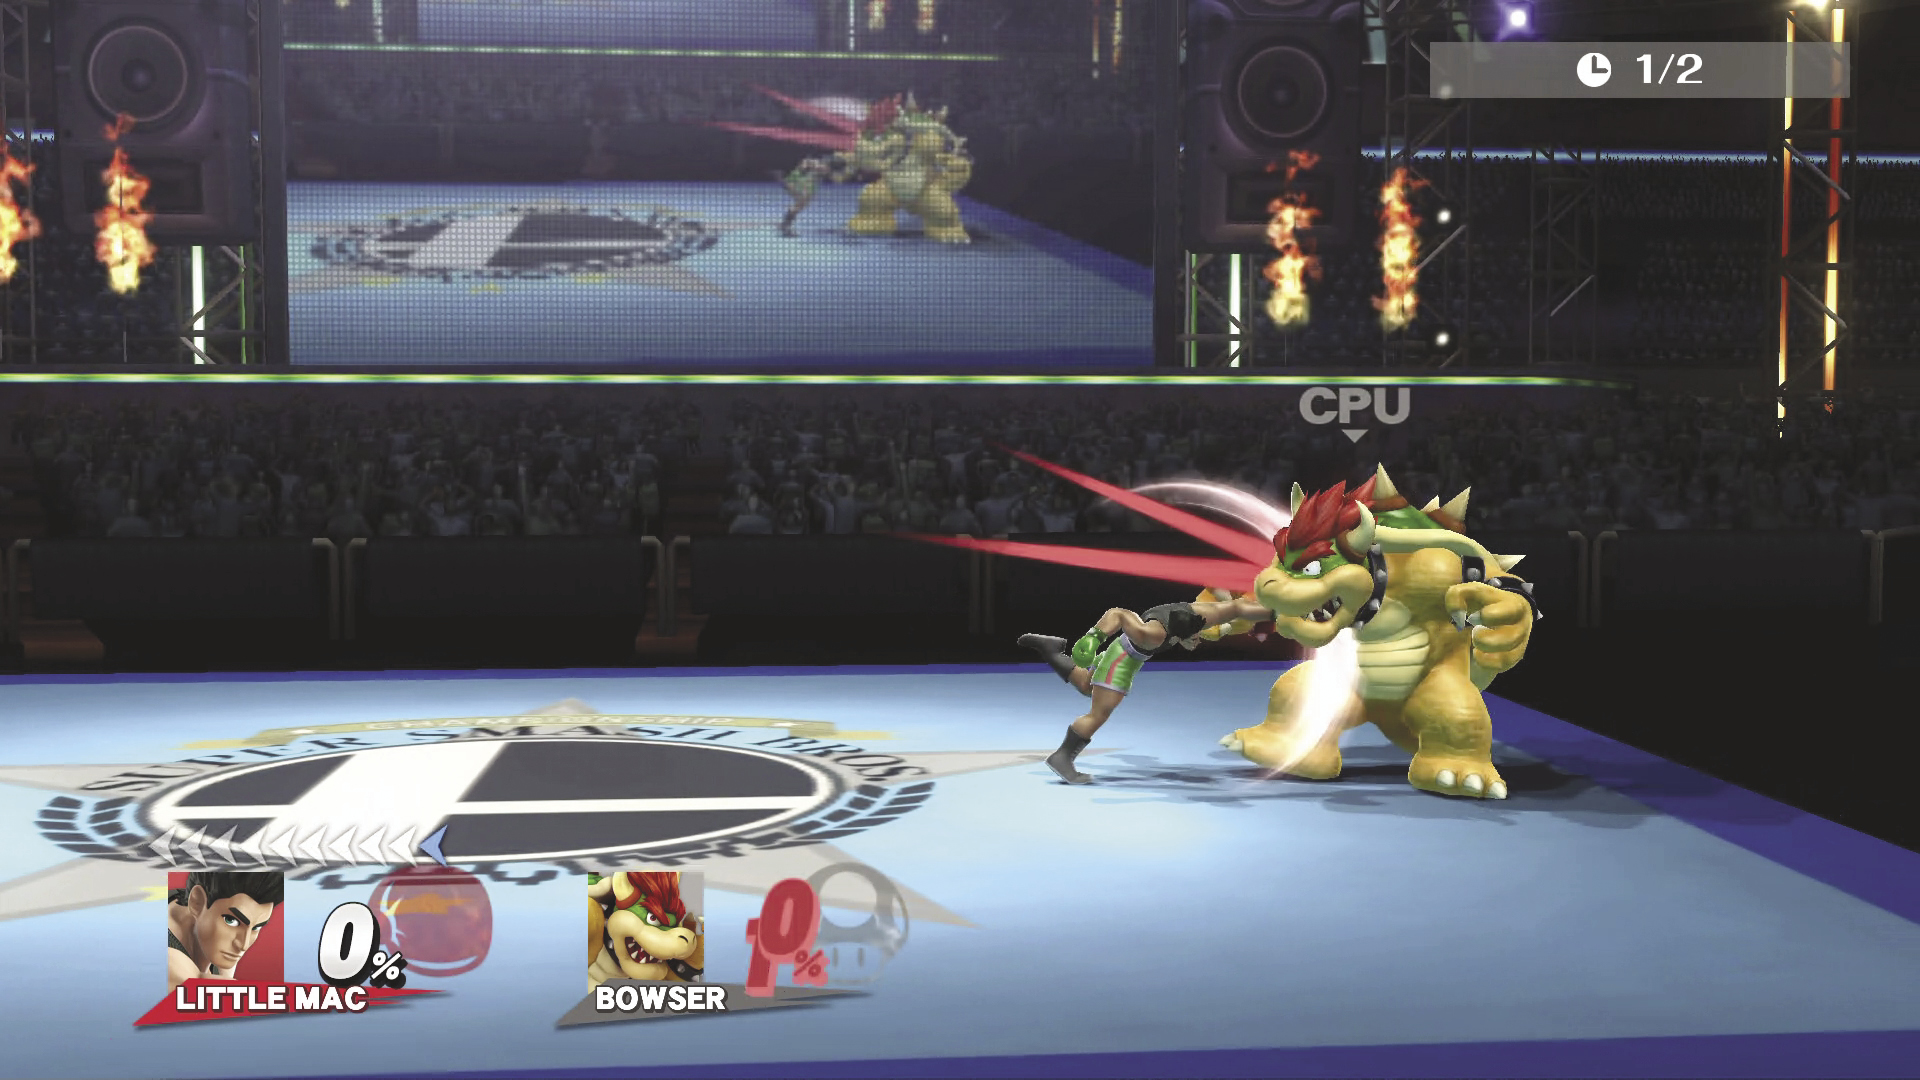
Dash Attack DAMAGE 10%
This running overhead downward punch has good knockback and can catch opponents off-guard.
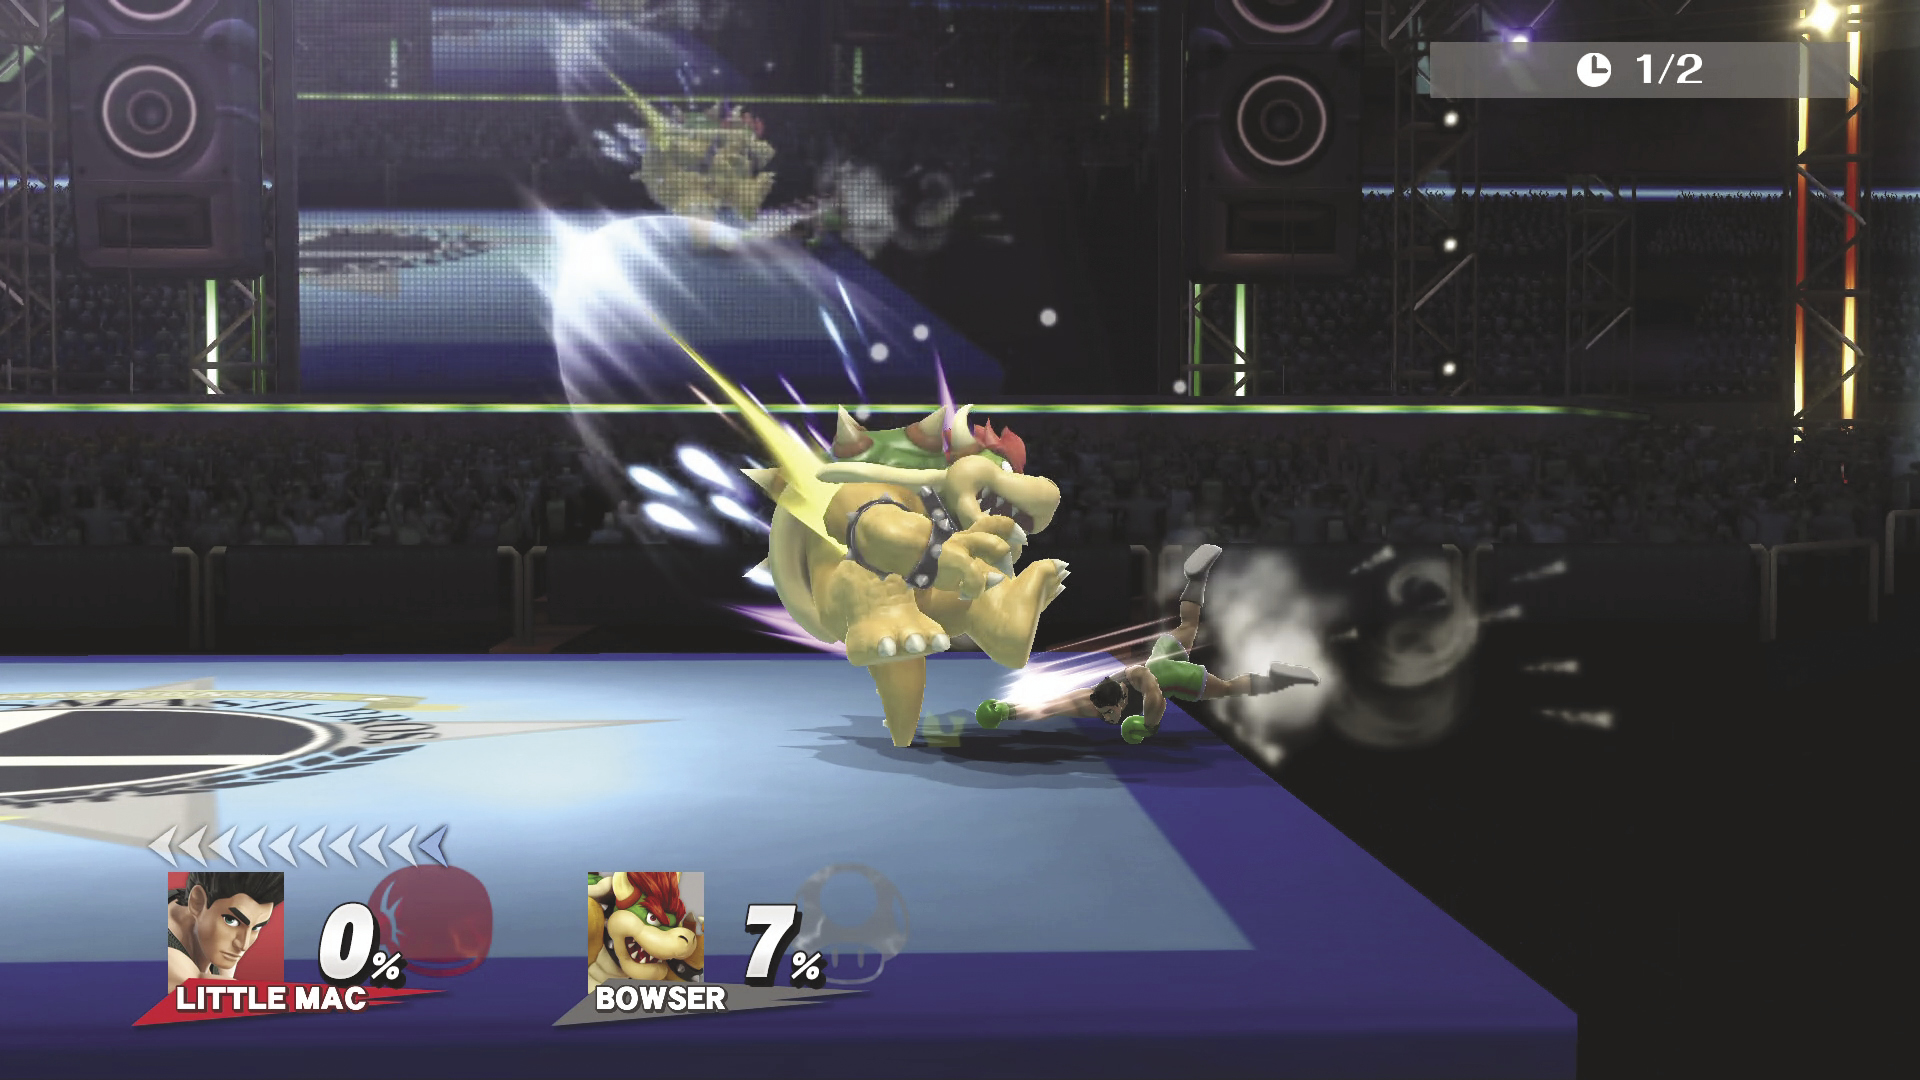
Edge Attack
Little Mac hops back on stage and swings at the opponent’s feet.
Air Attacks
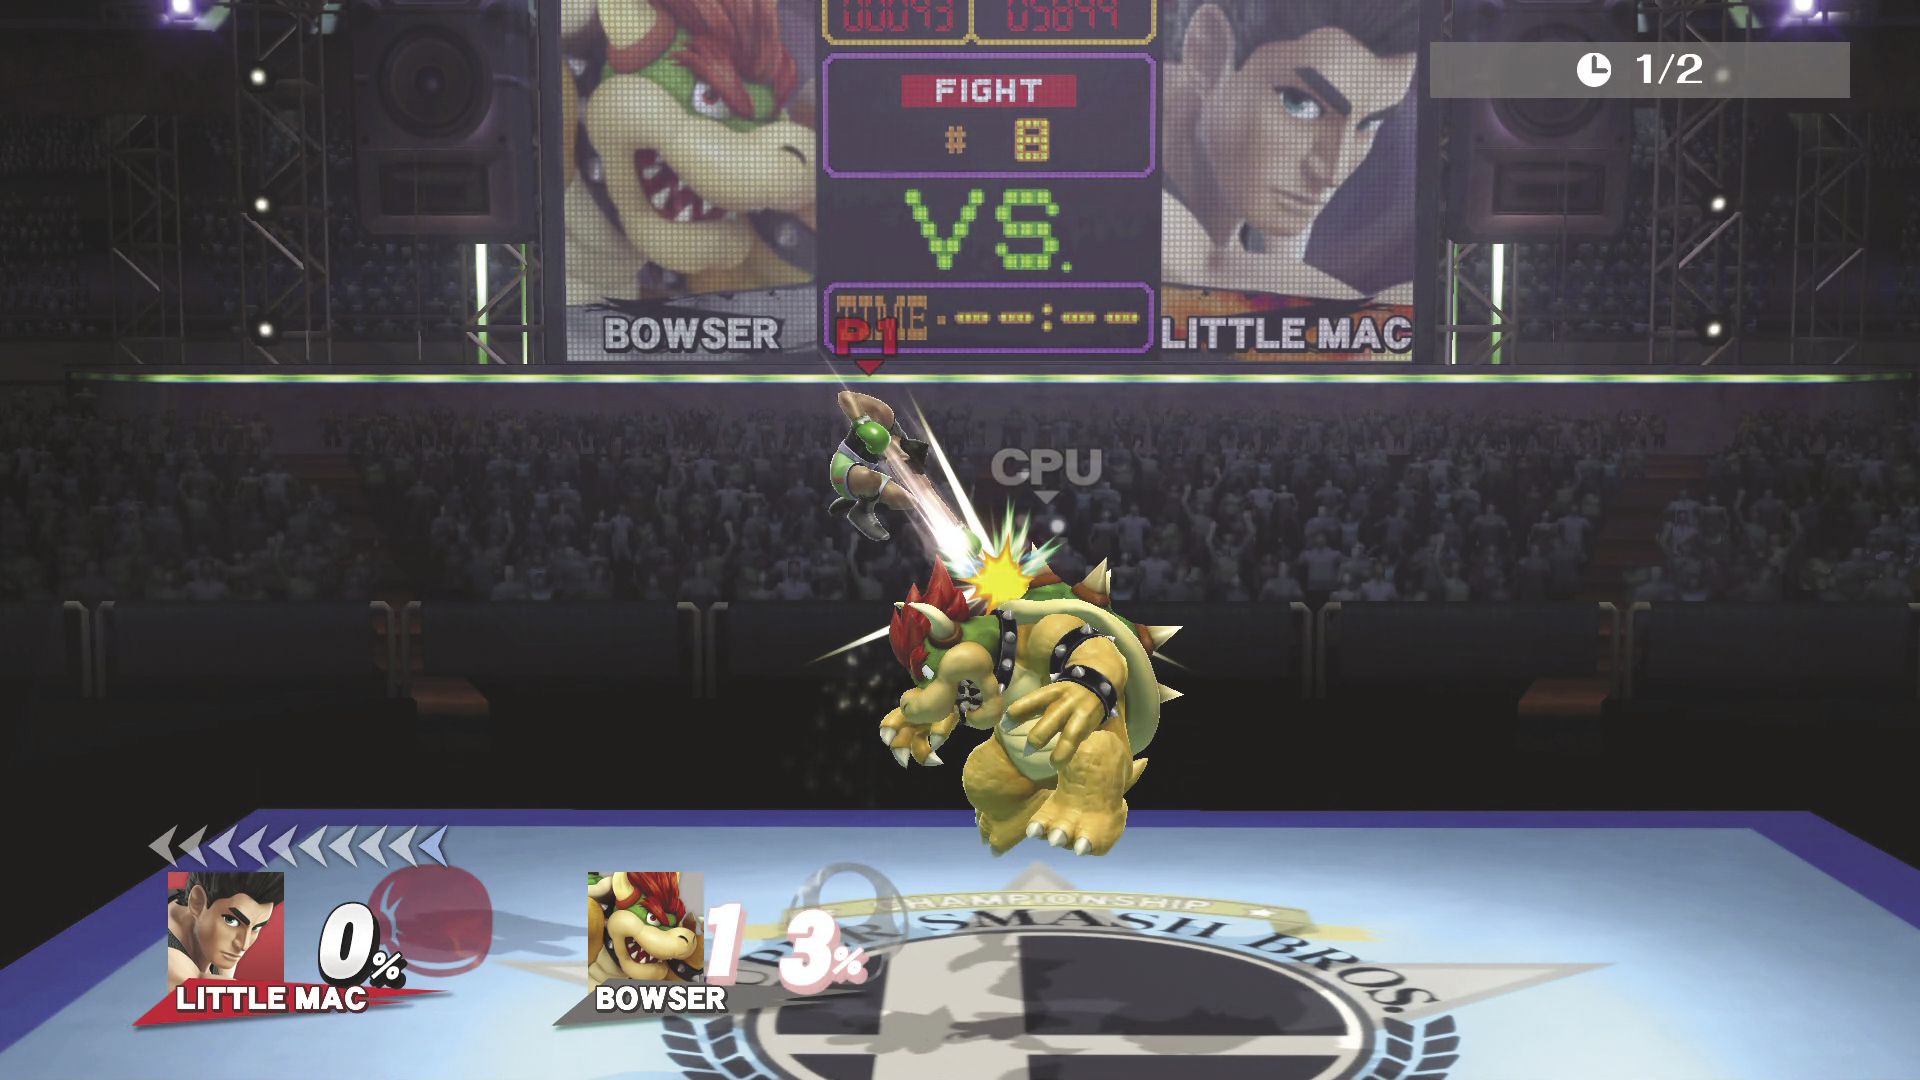
Neutral Air Attack DAMAGE 2%
Little Mac does a single punch directly in front of him.
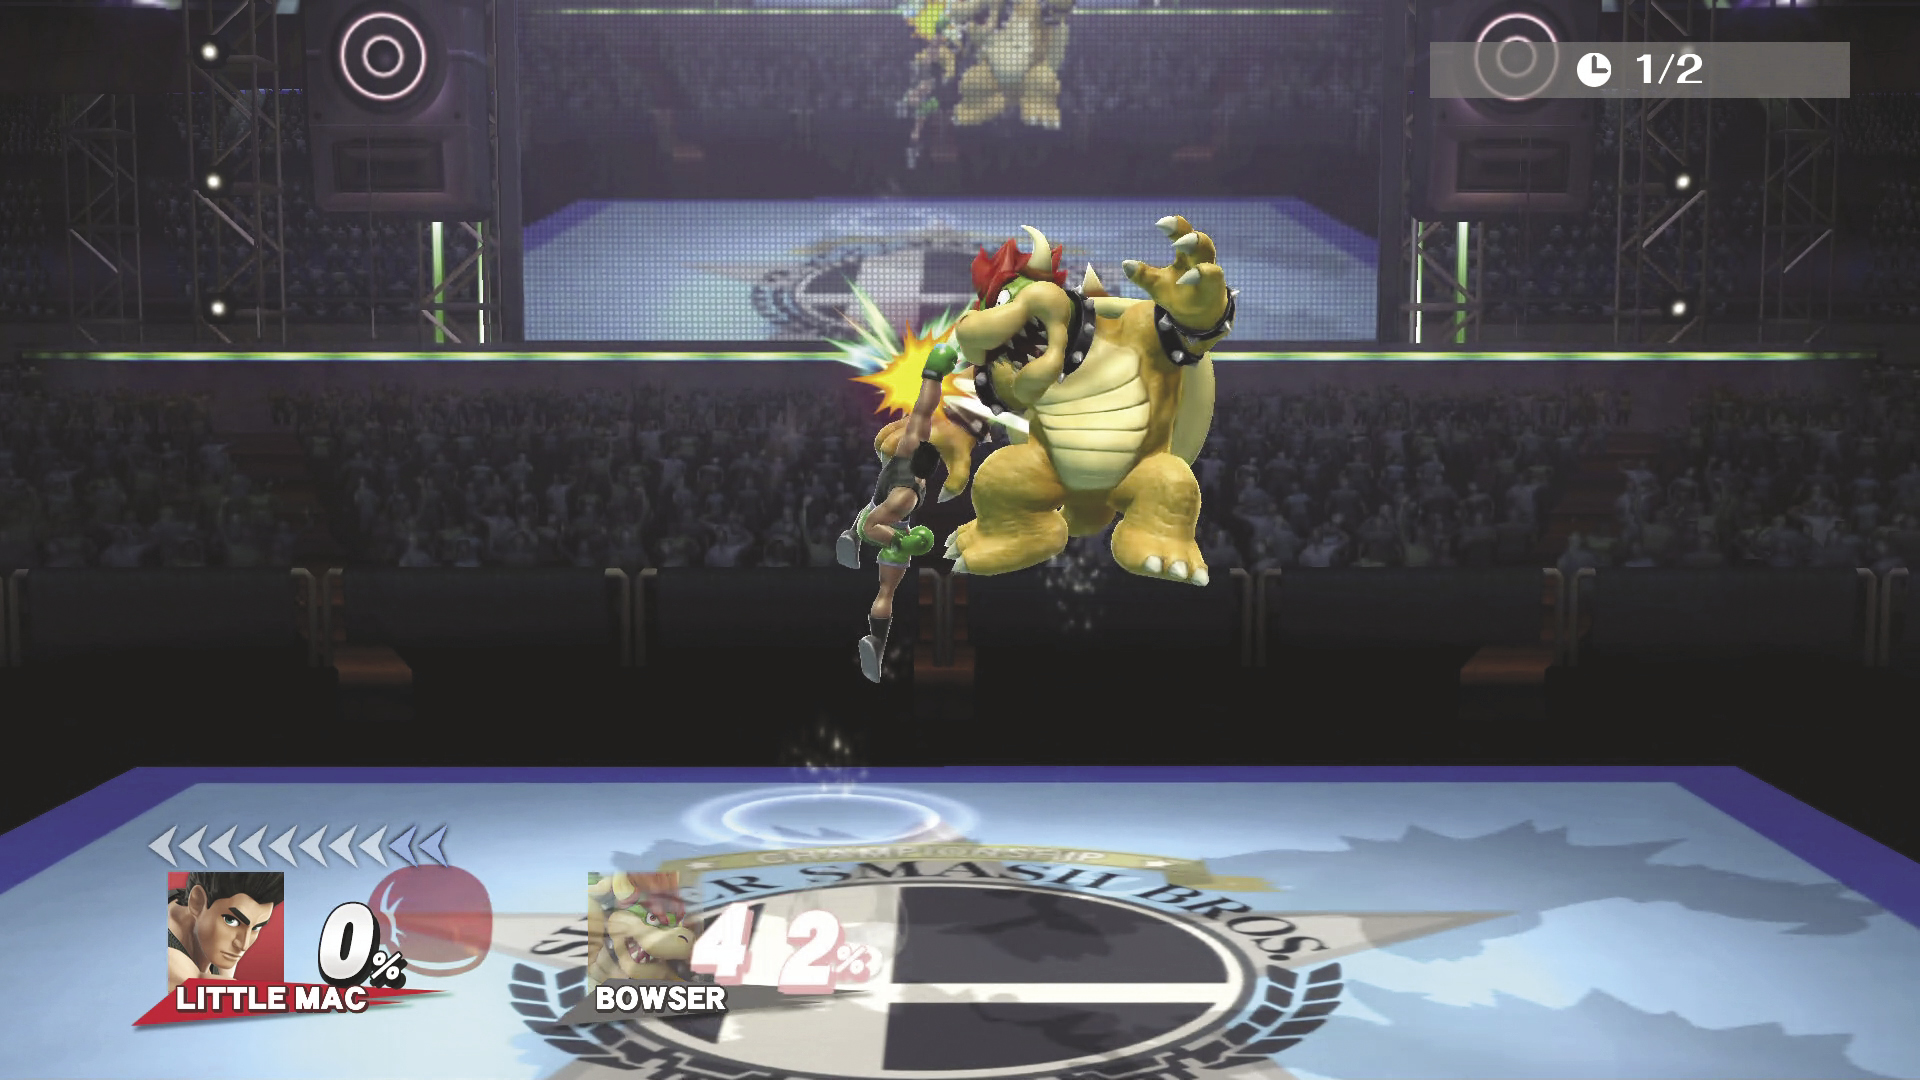
Up Air Attack DAMAGE 4~5%
Little Mac reaches up and forward as he does this overhead downward punch.
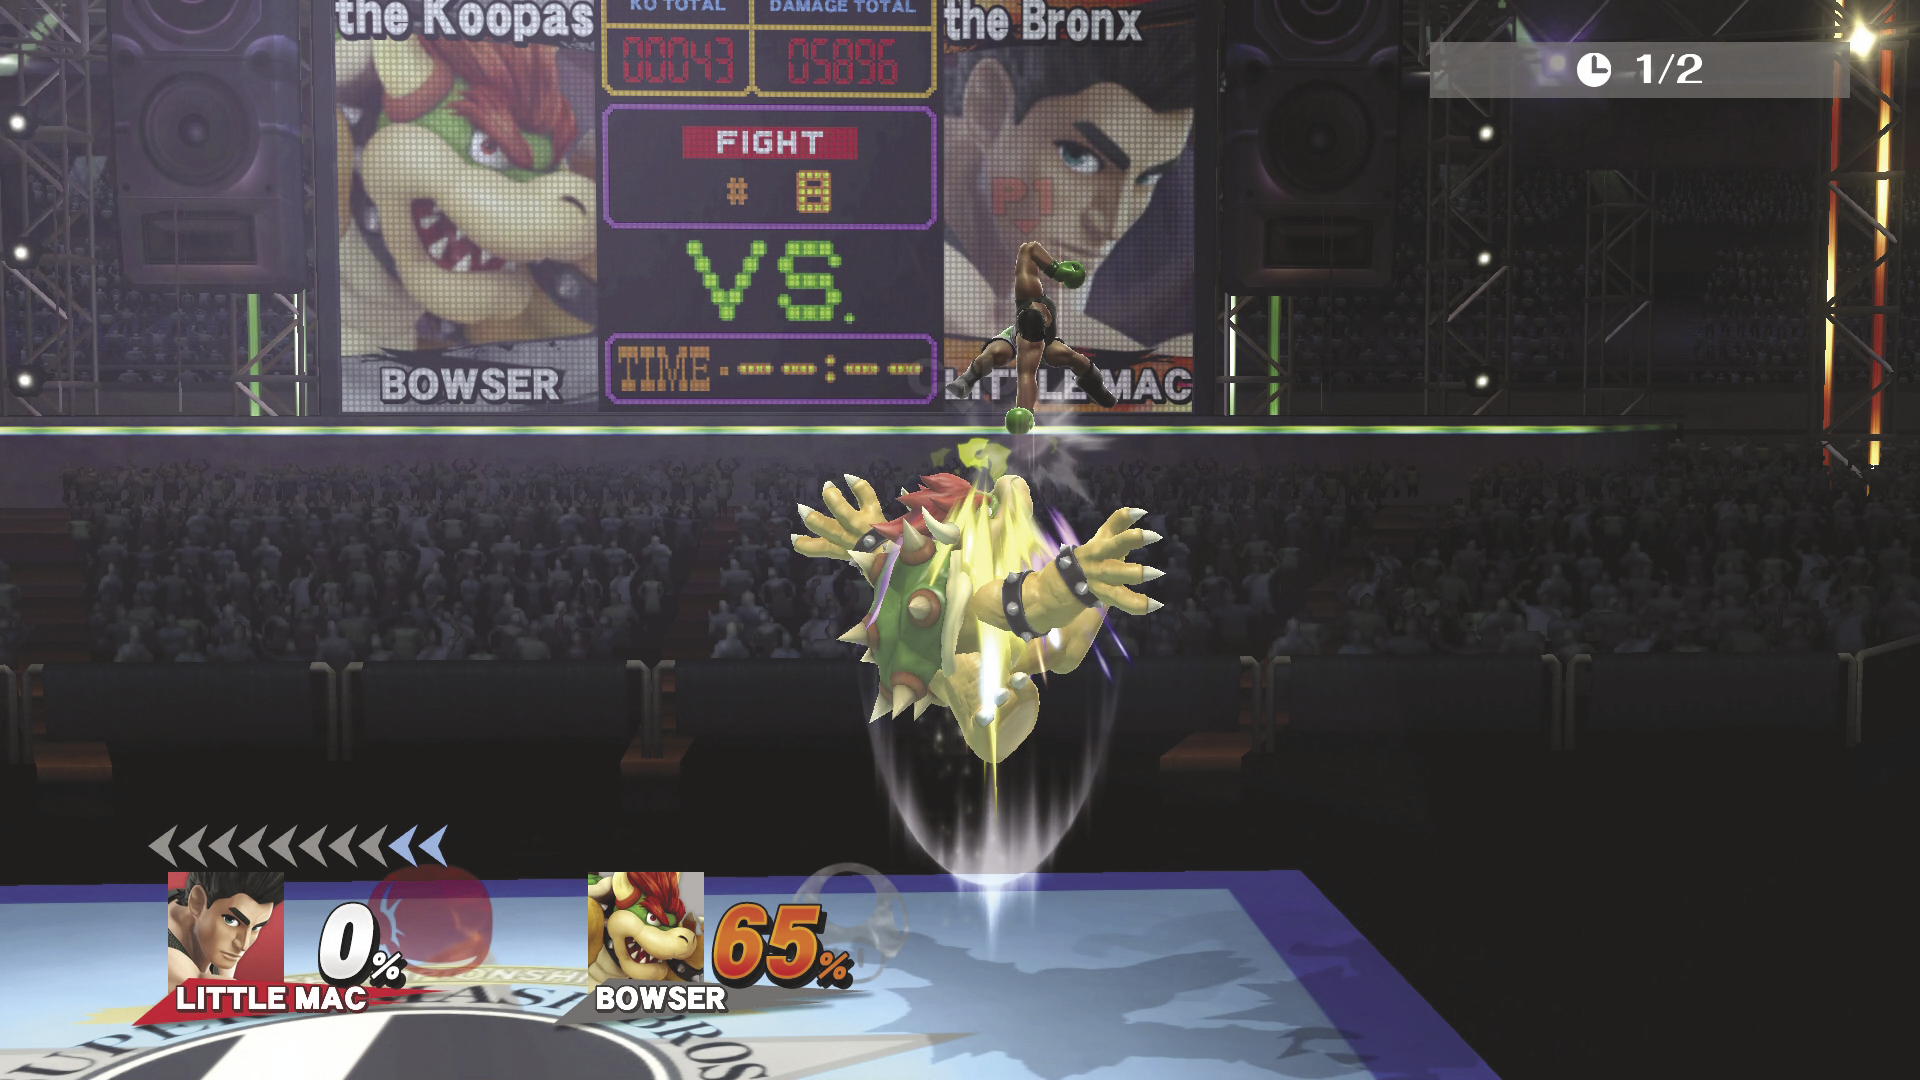
Down Air Attack DAMAGE 4~5%
This downward punch attack has a meteor effect at the tip.
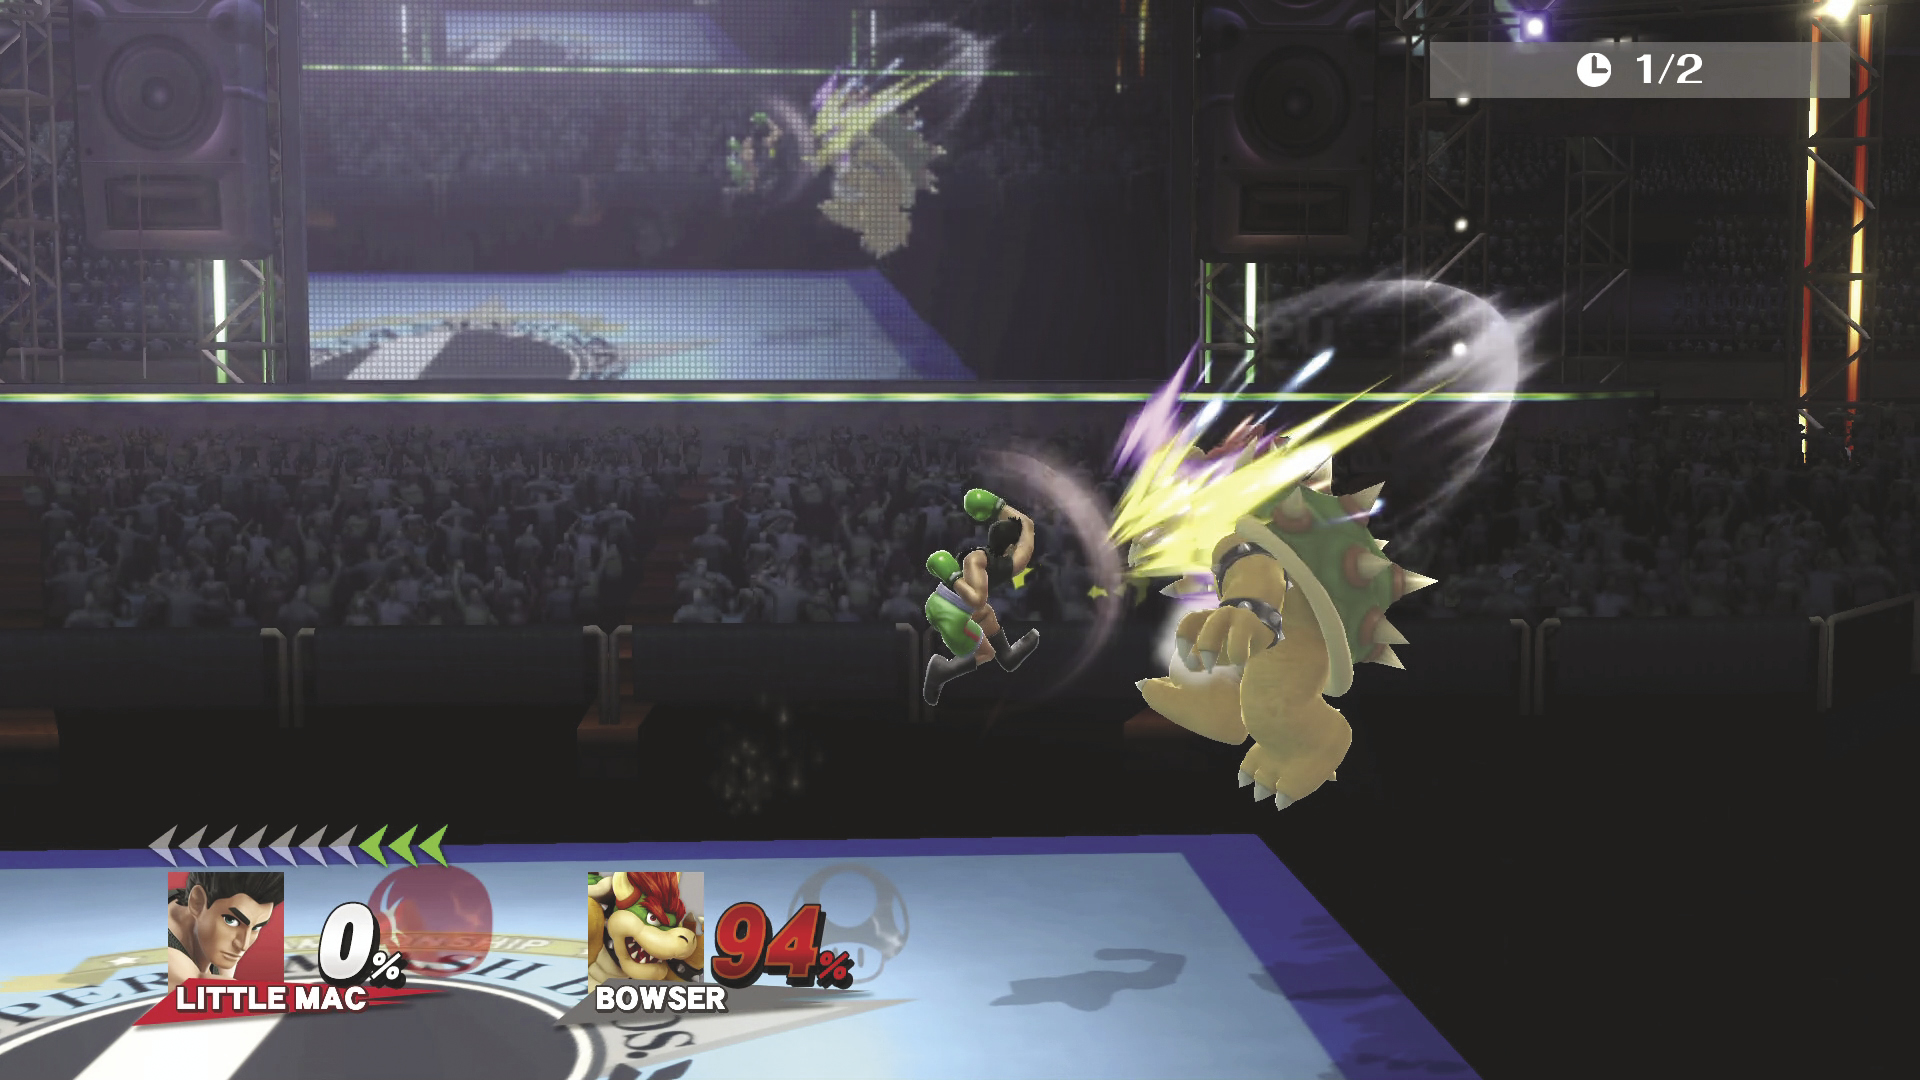
Forward Air Attack DAMAGE 4~5%
A jumping hook punch toward the opponent.
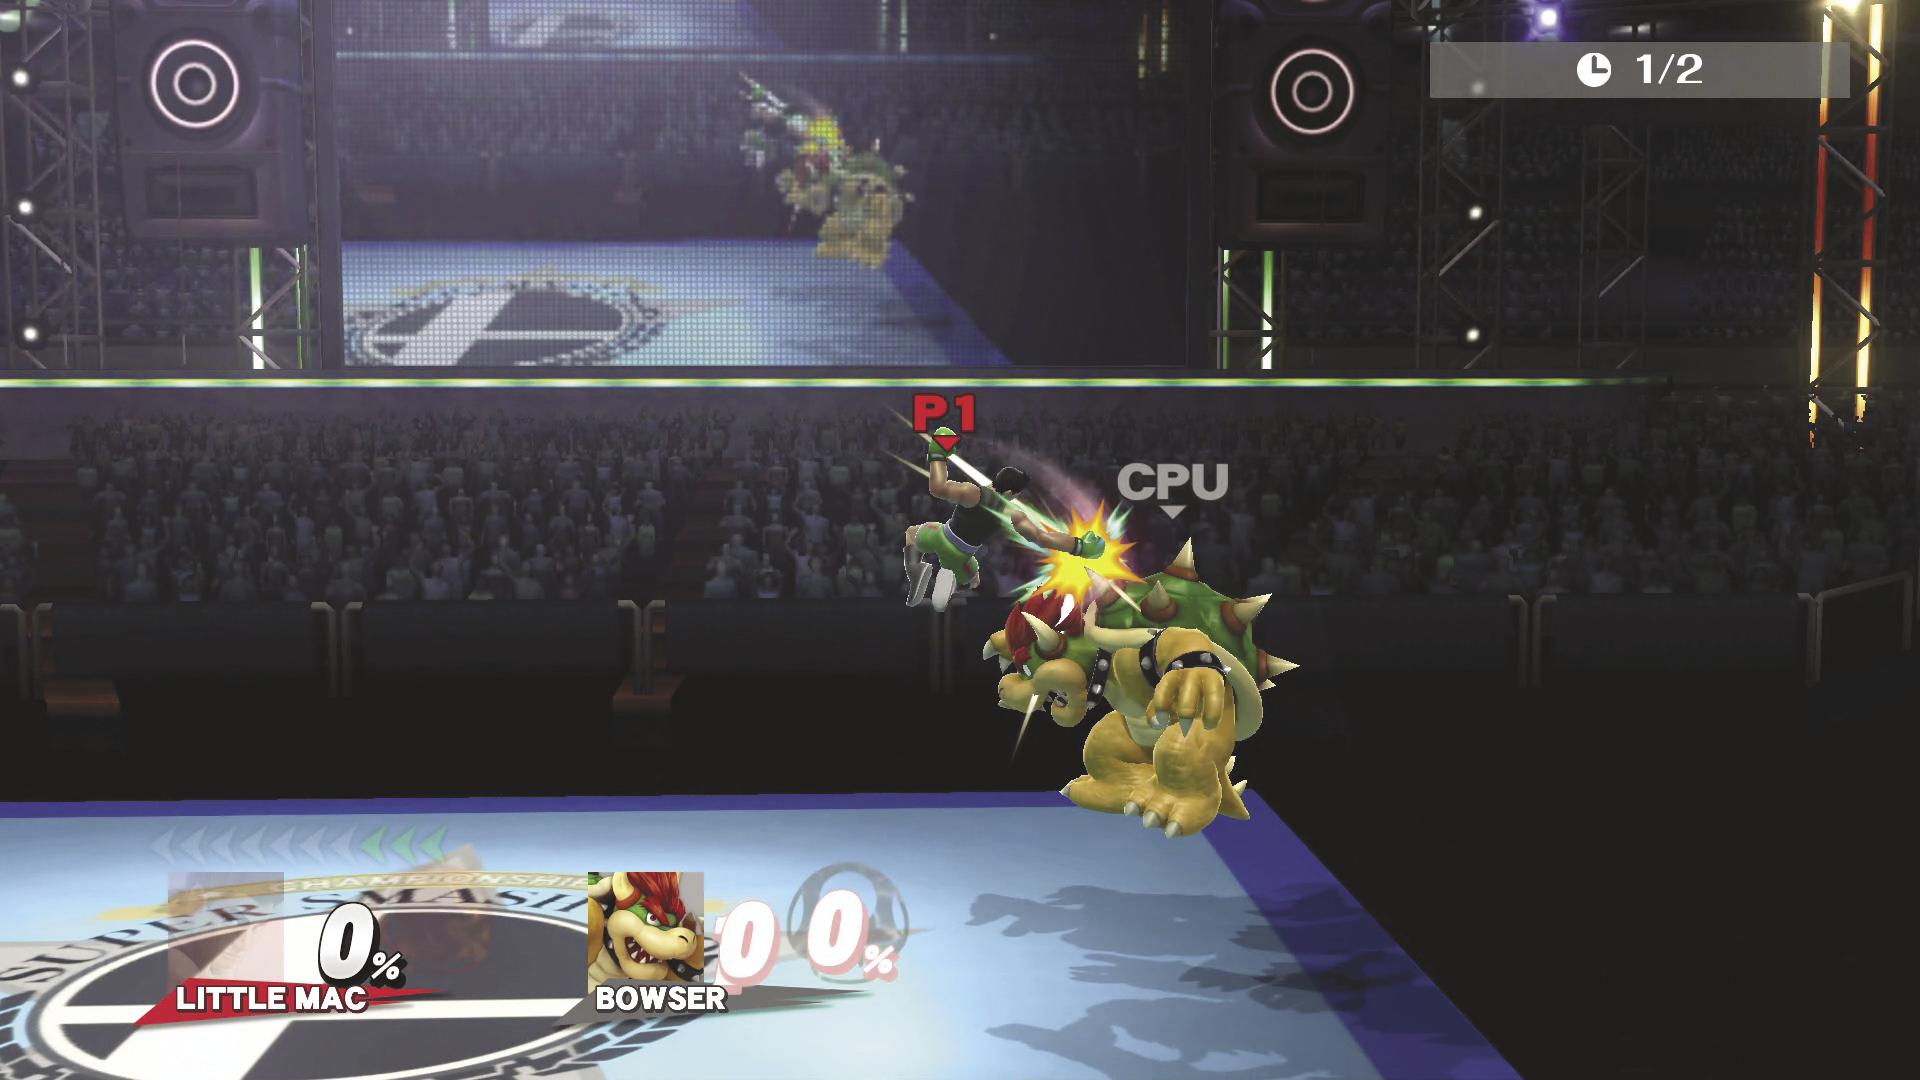
Back Air Attack DAMAGE 4~6%
Little Mac swings an arm behind him as he spins around.
Special Attacks
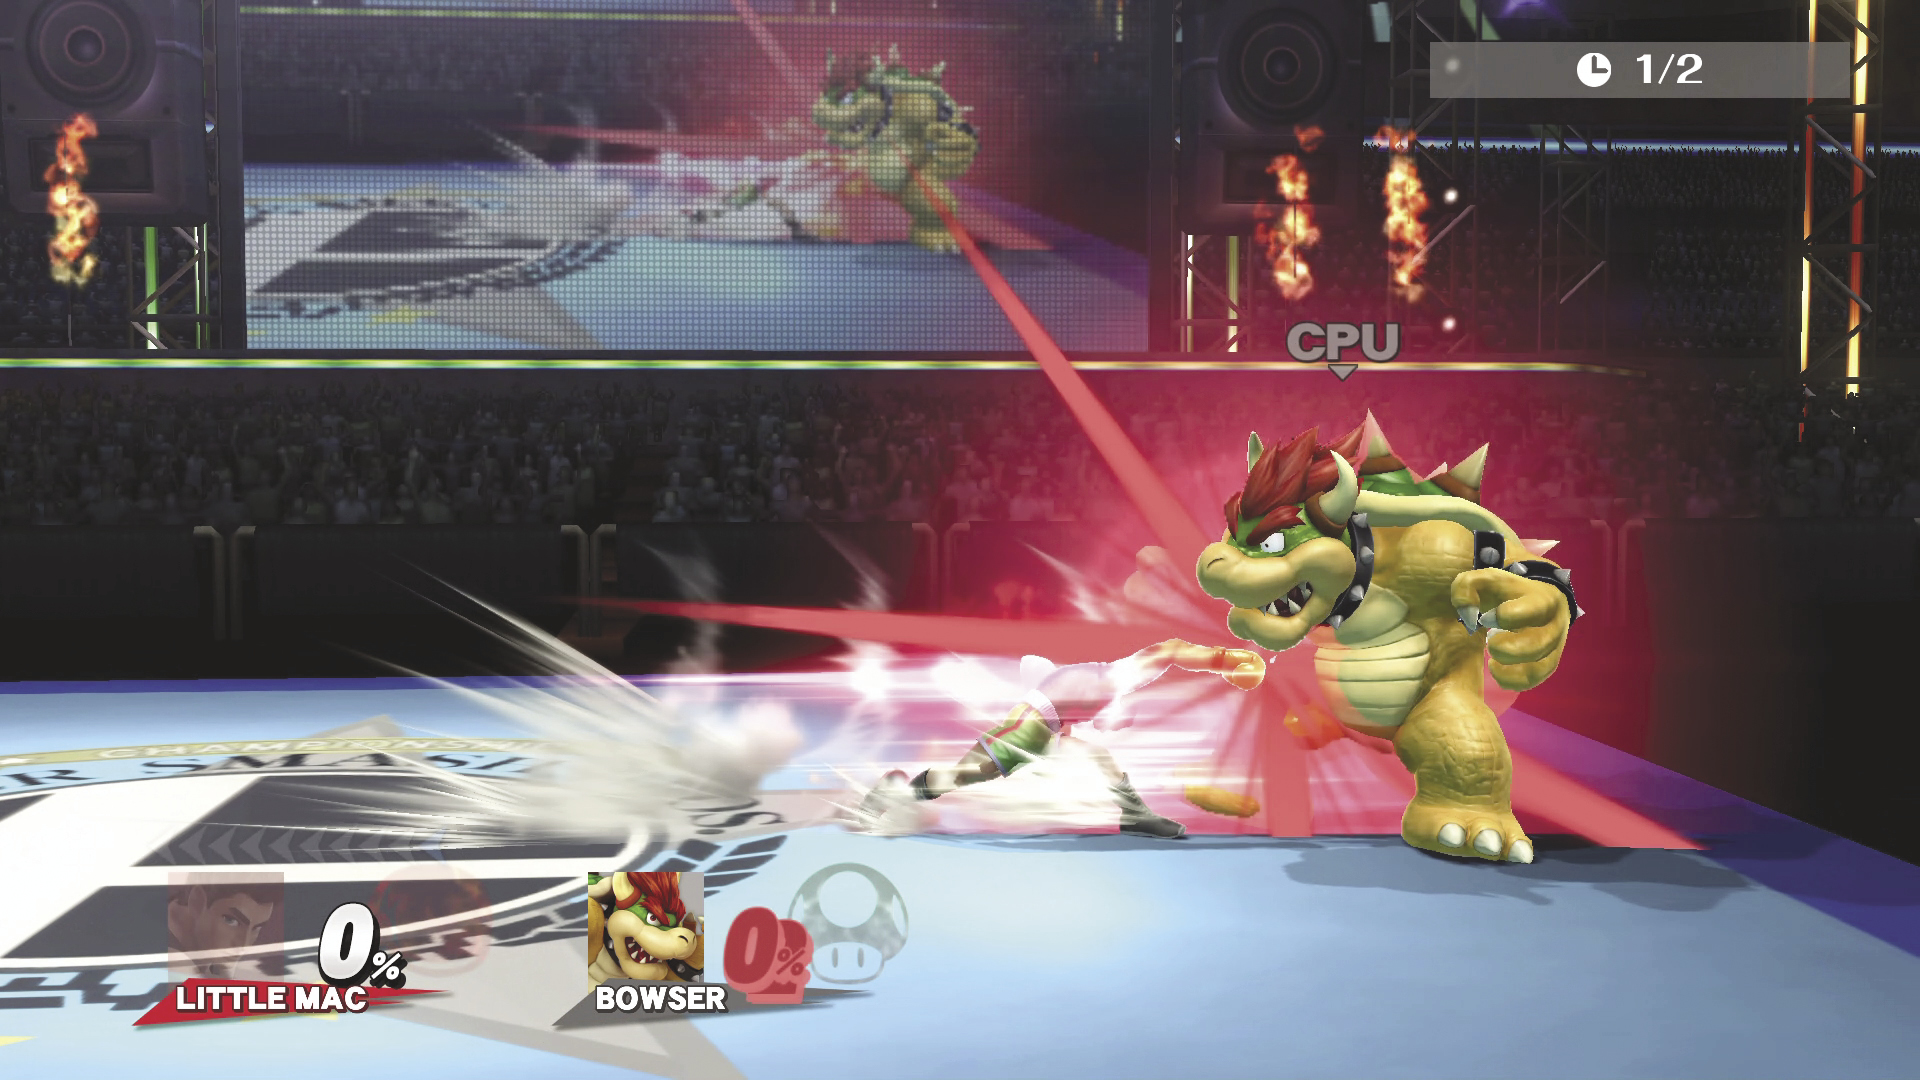
Straight Lunge (Neutral Special)
ON LAND 9~14% : MAX CHARGE 20~25%
IN AIR 7~10% : MAX CHARGE 15%
KO PUNCH ON LAND 35%
KO PUNCH IN AIR 13%
A long, lunging, powerful punch. Press once to start charging it up and then again to release it. The longer you charge it, the more range and Damage it delivers. During the charge and the dash, Little Mac has super armor. When your KO Meter fills up from dealing or receiving Damage, this attack transitions into the KO Punch attack. Note the KO Punch is also super armored.
Flaming Straight Lunge
ON LAND 9~14% : MAXCHARGE 20~25%
IN AIR 7~10% : MAX CHARGE 15%
Little Mac charges forward with a flaming punch that hits opponents multiple times before launching them.
Stunning Straight Lunge
ON LAND NO CHARGE 7~10% : MAX DAMAGE 6% : 3 Hits
ON LAND MAX CHARGE 10~18% : MAX DAMAGE 16.8% : 7 Hits
IN AIR NO CHARGE 1.2~3% :MAX DAMAGE 5.4% : 3 Hits
IN AIR MAX CHARGE 1.4~5% : MAX DAMAGE 13.4% : 7 Hits
When this variation is fully charged, it delivers a punch that stuns the opponent. It charges to full a little quicker than the regular version, but there is no super armor at all on this version.
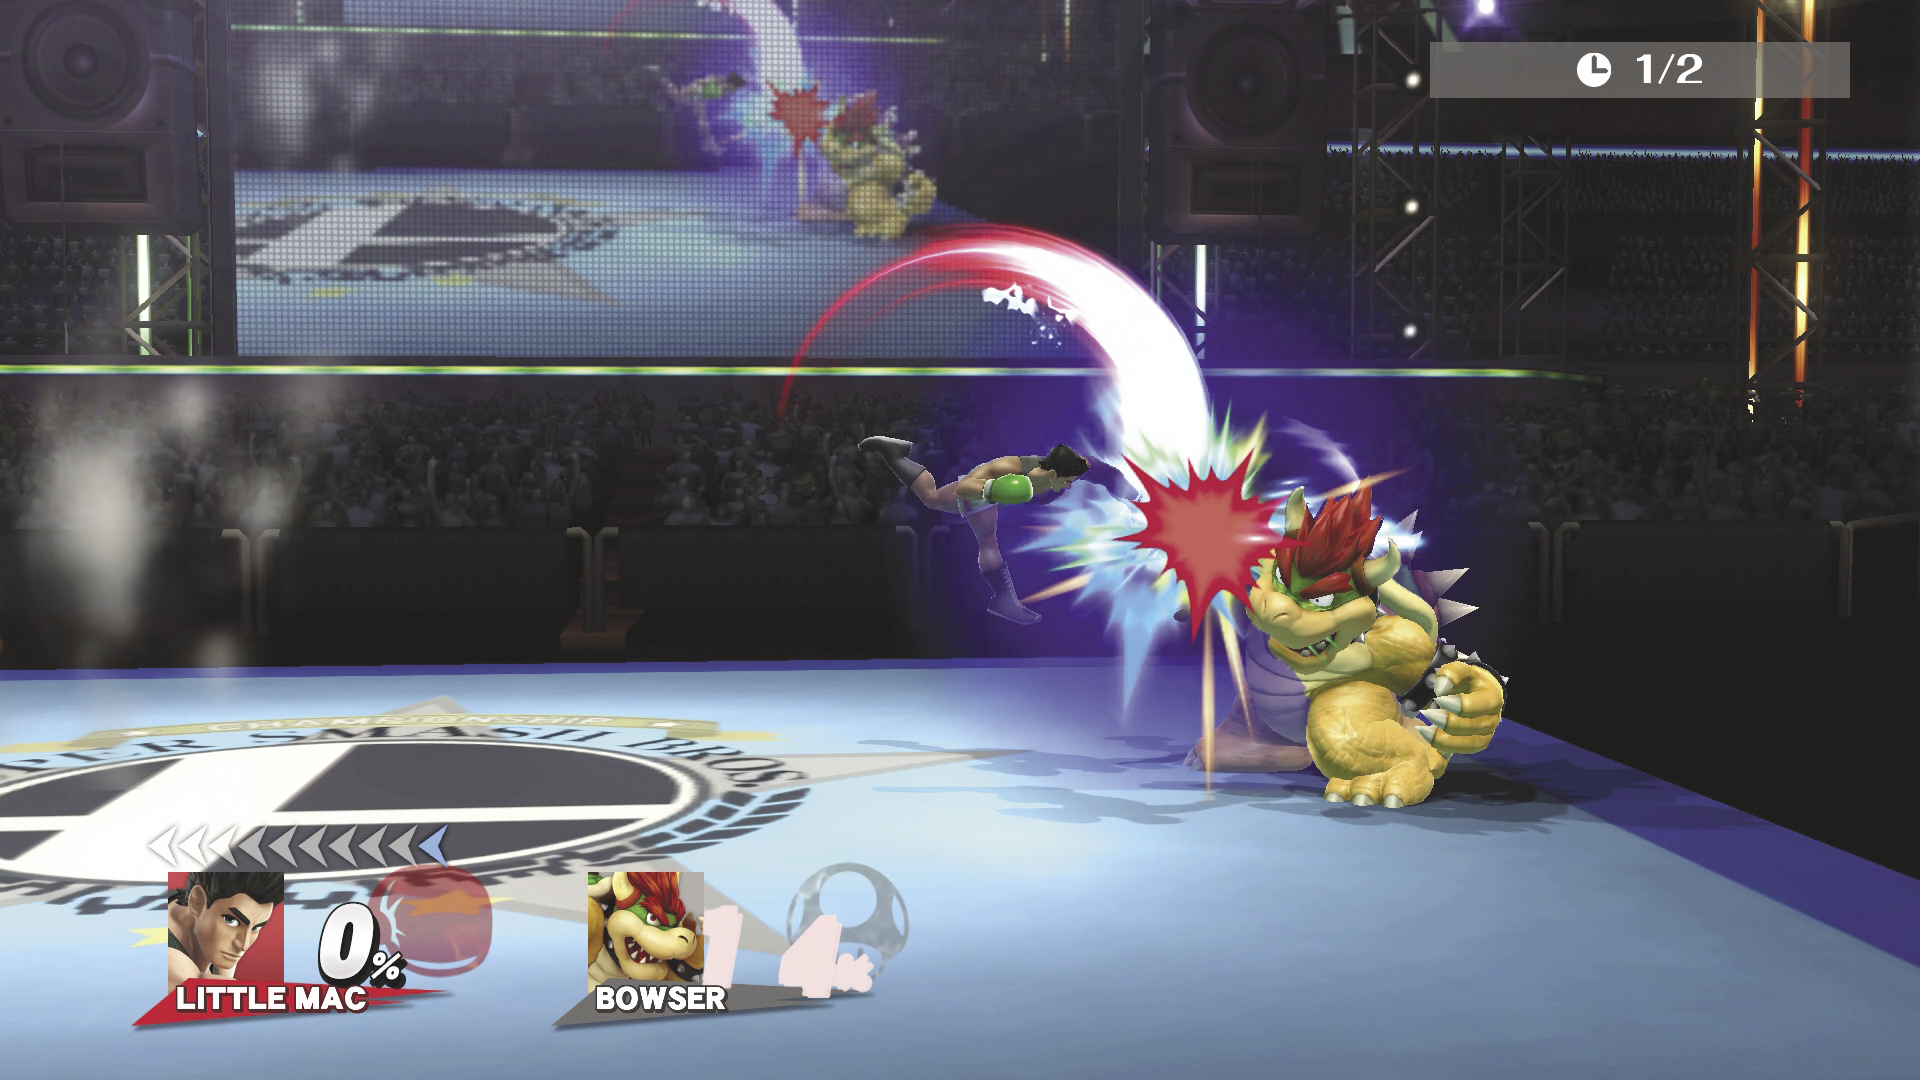
Jolt Haymaker (Side Special) DAMAGE 14%
Little Mac performs a leaping overhead punch that jumps over low attacks. To cut his range shorter or to punch earlier, simply press the button again. You get a little invincibility when this is used from the ground but not from the air. Be careful how close you are to the edge before using this!
Grounding Blow DAMAGE 9%
This variation has a meteor effect against airborne opponents and buries grounded opponents on hit.
Guard Breaker DAMAGE 18%
A slower Jolt Haymaker attack that pierces through shields! It has no invincibility but does have super armor during the jump. Pressing the Special button again while you are airborne doesn’t cause the punch to come out any faster.
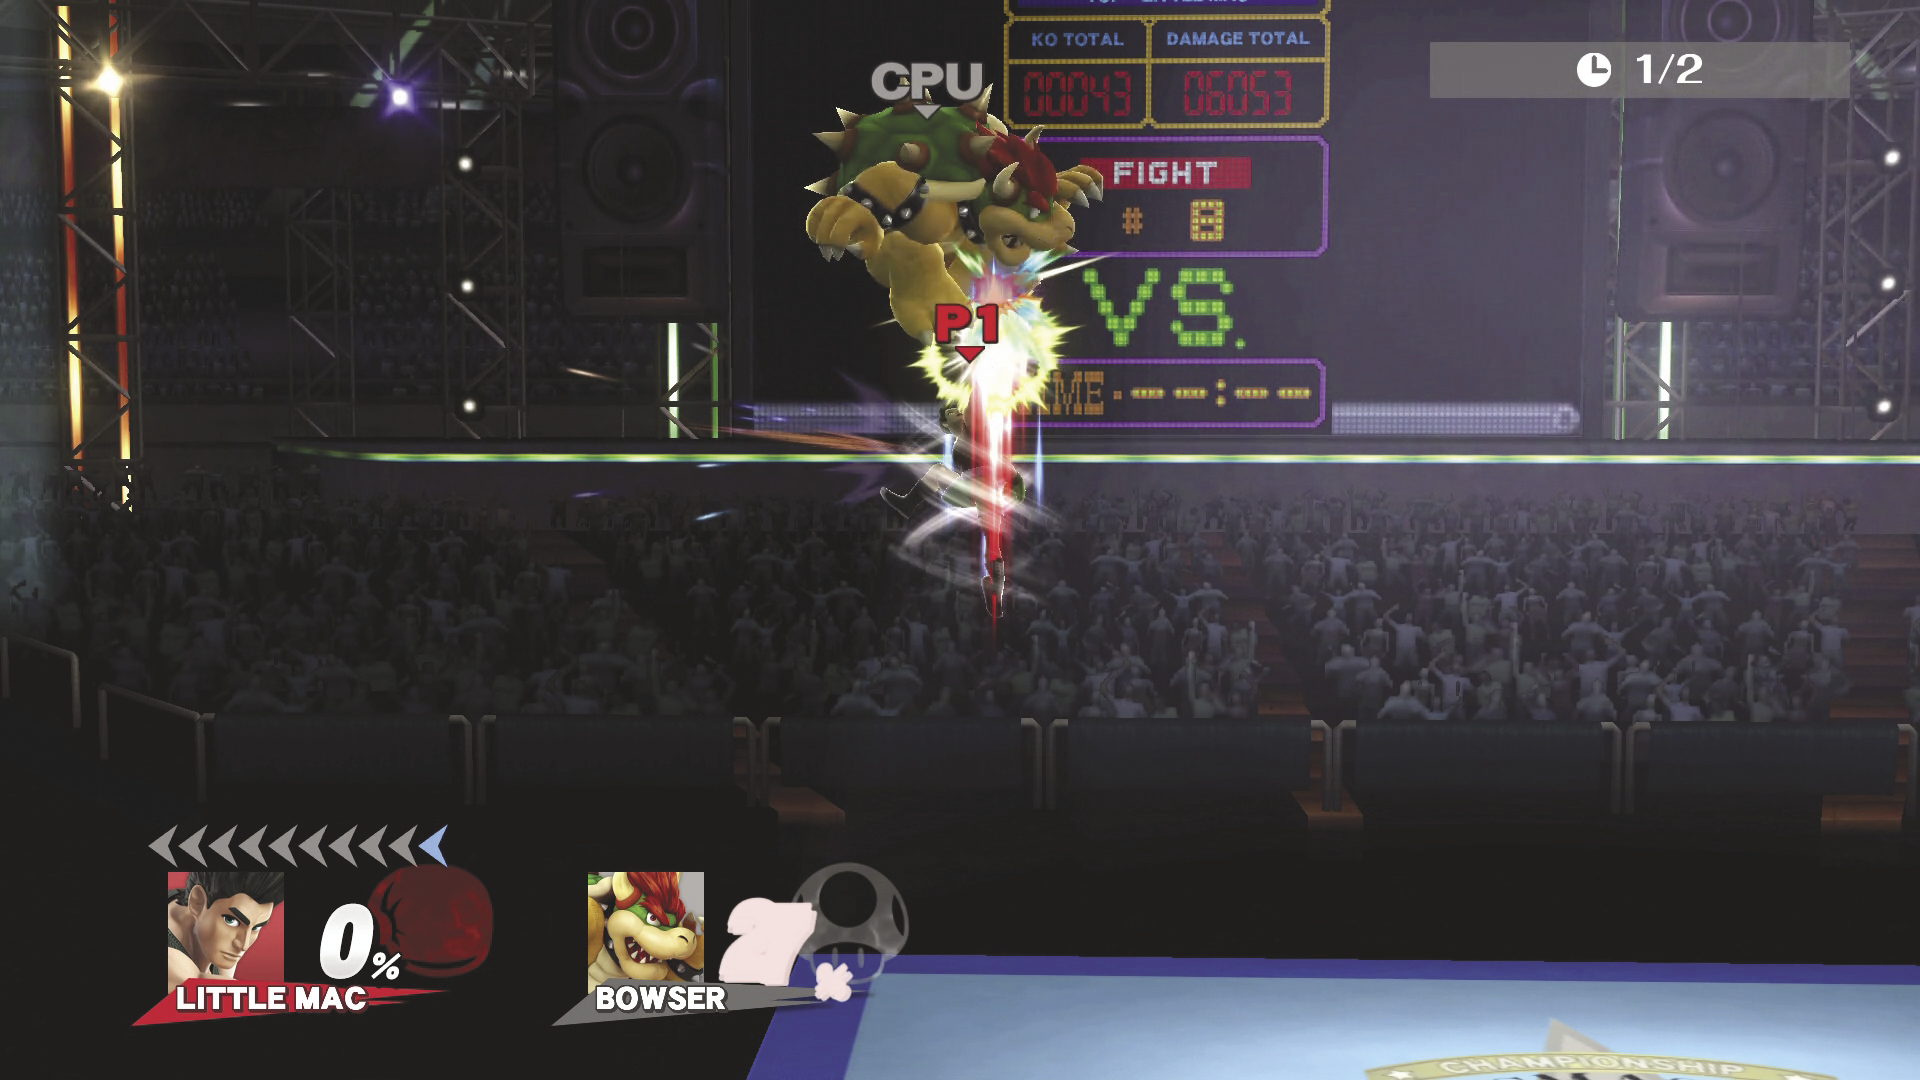
Rising Uppercut (Up Special) DAMAGE 1~3% MAX DAMAGE 10% : 6 Hits
This spinning uppercut sends Little Mac spiraling upward while striking opponents multiple times. You can control it a bit to the left or right.
Tornado Uppercut DAMAGE 3~4%
Little Mac jumps even higher with this version, and nearby opponents are blown away by the power of the wind. It only hits opponents once before knocking them away. The final hit at the peak is stronger than usual,
Rising Smash DAMAGE 4~16% MAX DAMAGE 20% : 2 Hits
Launch opponents up into the air then jump after them to deliver a damaging punch. Little Mac doesn’t jump as high in this alternate Special, and you can’t move him horizontally while he is ascending.
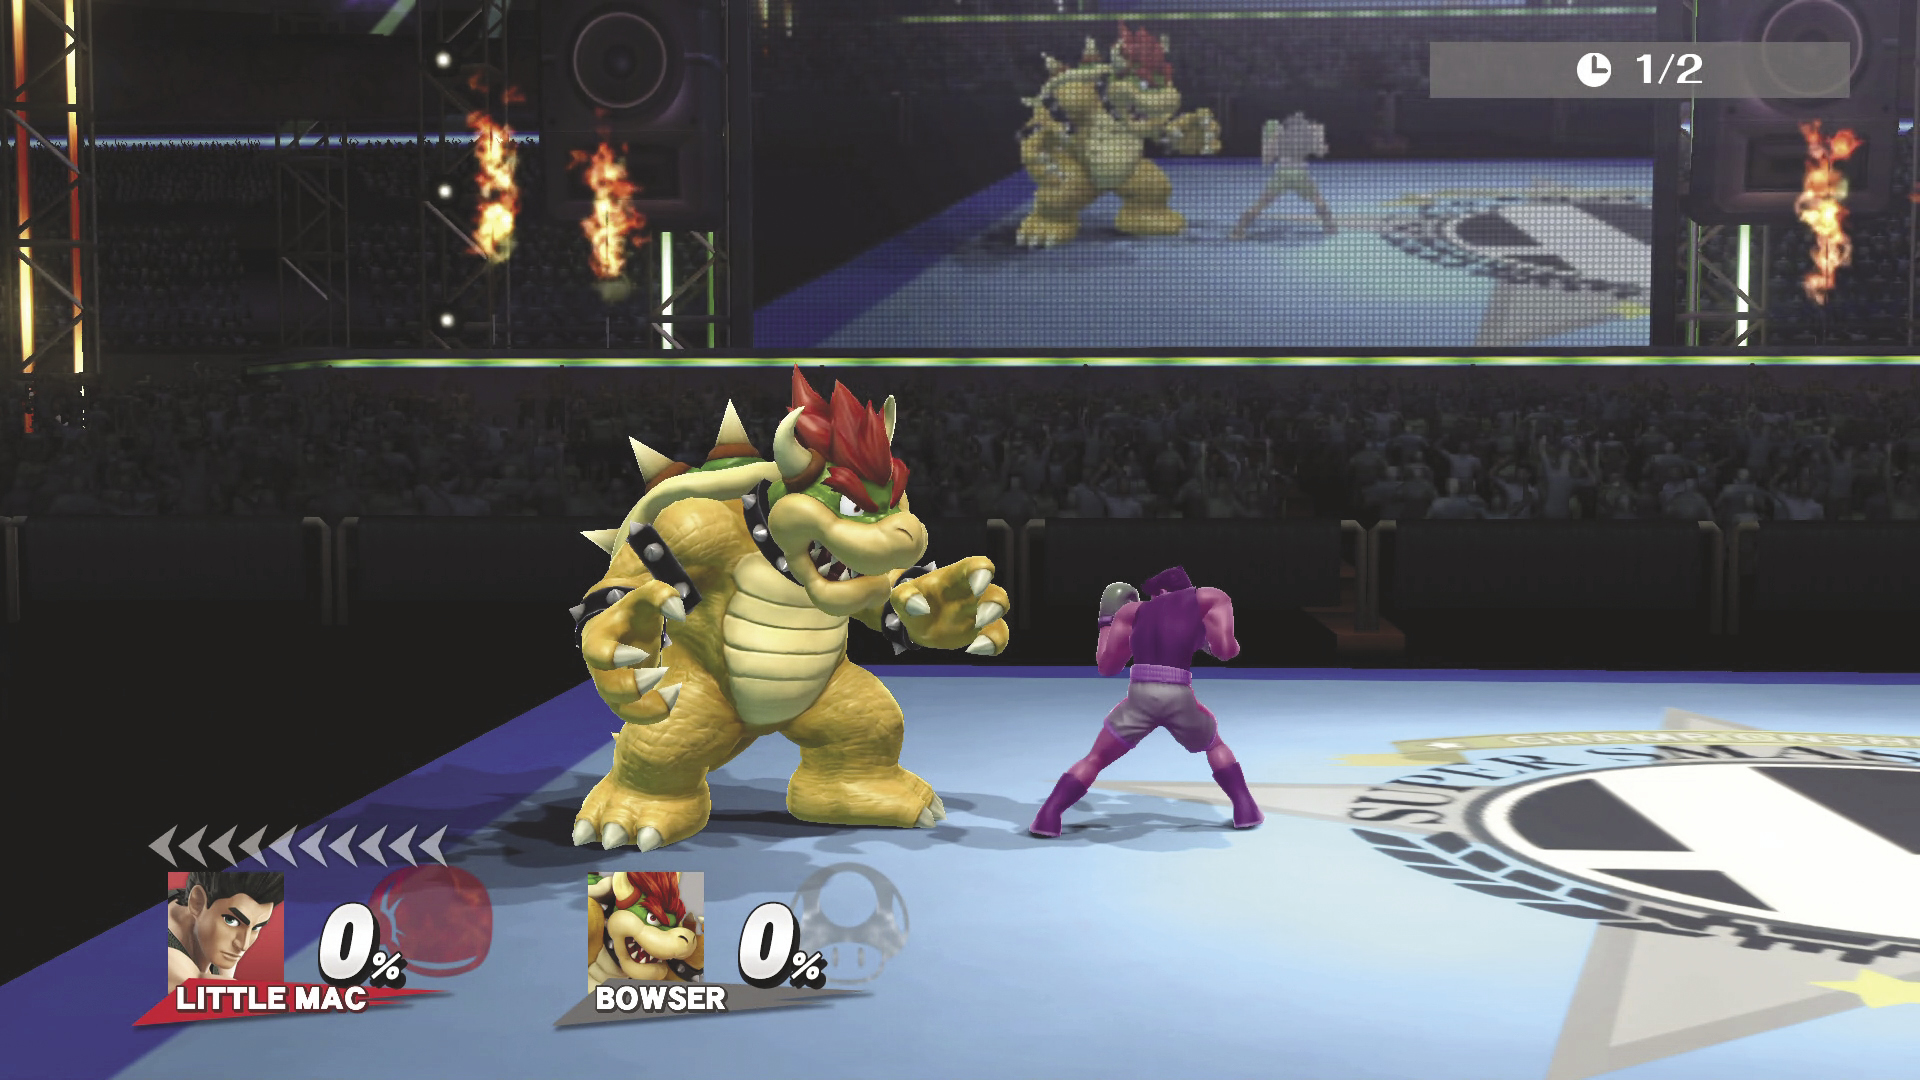
Slip Counter (Down Special) DAMAGE See Counter Data Table
Little Mac puts his guard up in anticipation of an enemy attack. If he catches an attack, he doesn’t receive any Damage and counters with an uppercut. You are invincible during the counterattack.
Compact Counter DAMAGE See Counter Data Table
A weaker counterattack that leaves your opponent in range for you to follow up with additional attacks. Even if an opponent’s Damage is very high you won’t knock that opponent back as far as normal.
Dash Counter DAMAGE See Counter Data Table
This counterattack sees Little Mac dashing farther to retaliate. The counter window duration is smaller, but the counter also starts up a little quicker. The dash distance is longer when used from the ground than it is from the air.
| Counter Data | |||||
|---|---|---|---|---|---|
| Startup | Duration | DAMAGE Scaling | Min DAMAGE | MAX DAMAGE | |
|
Slip Counter |
5th frame | 25 frames | 1.3x | 10% | 50% |
|
Compact Counter |
5th frame | 25 frames | 0.8x | 4% | 50% |
|
Dash Counter |
4th frame | 21 frames | 1.1x | 7% | 50% |
Final Smash
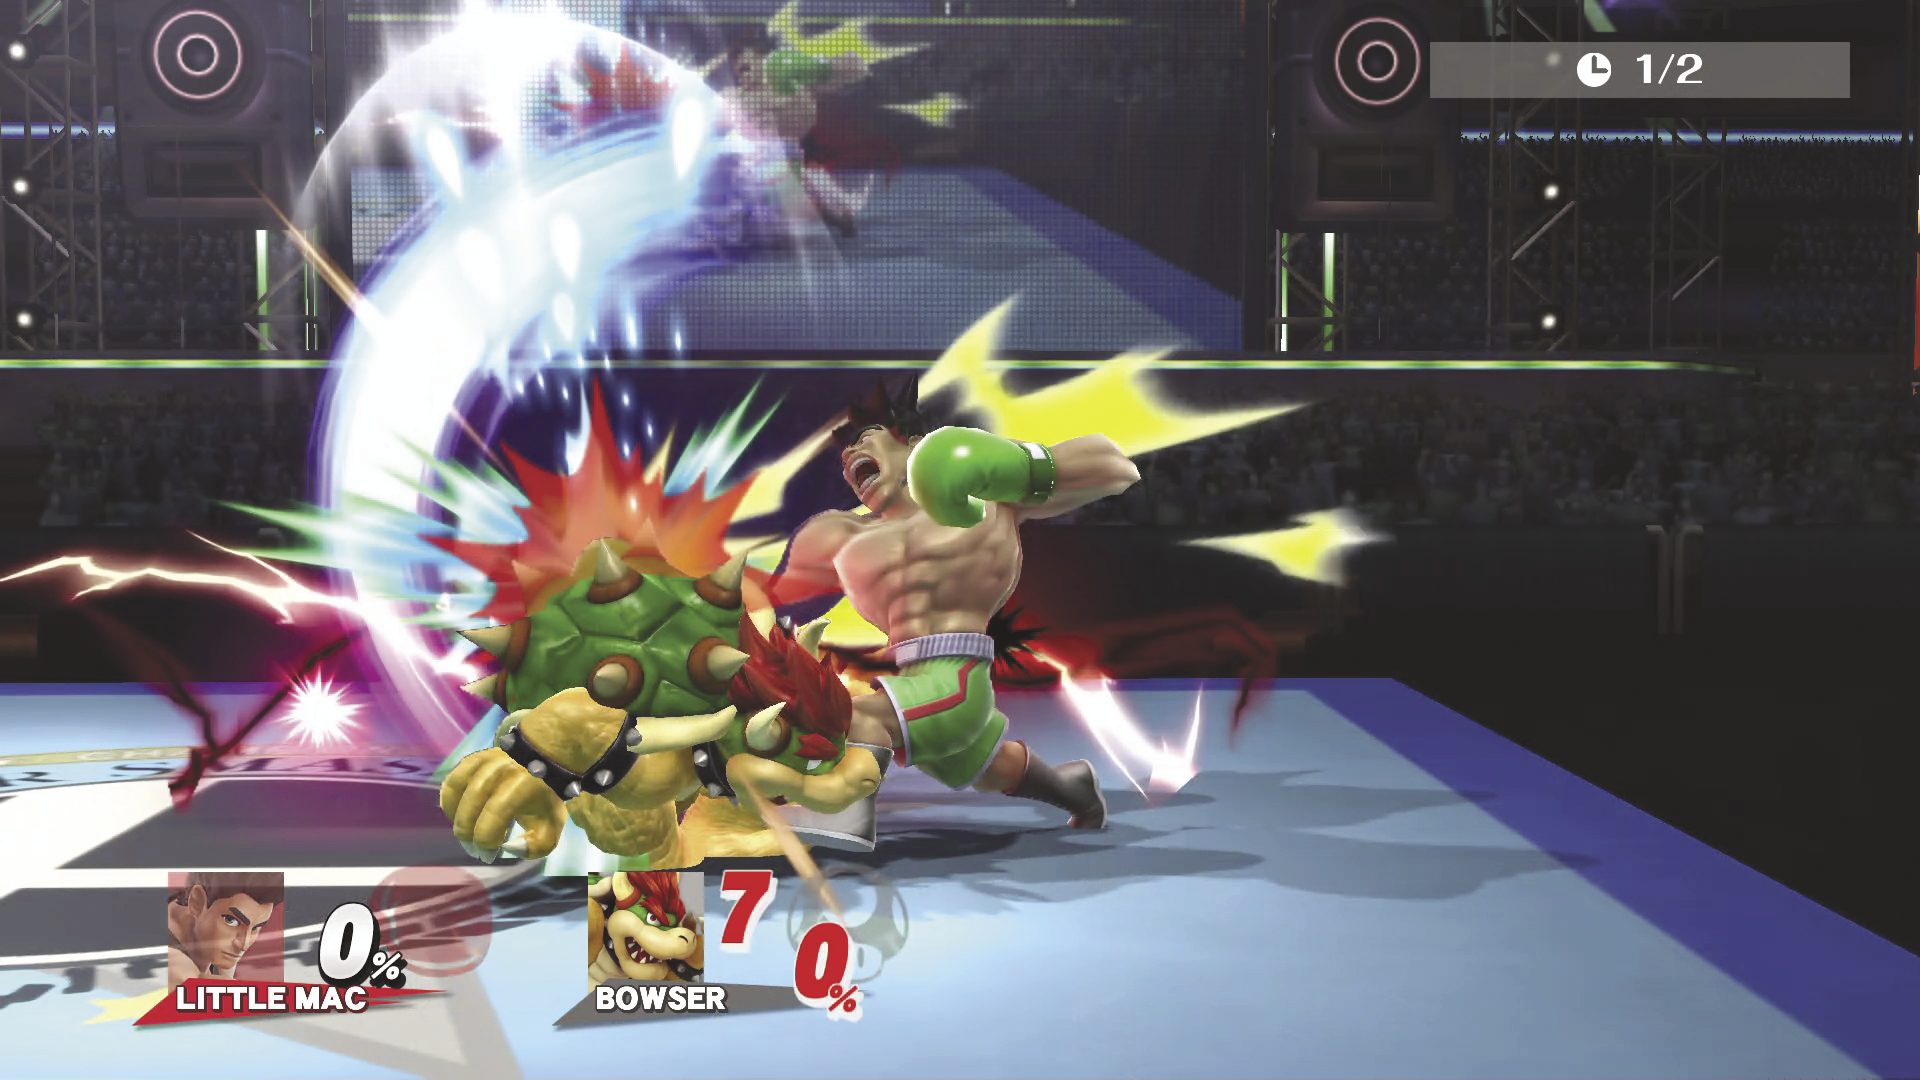
Giga Mac
Little Mac transforms into Giga Mac! In this form, he still has access to his same moves, including Smash attacks, tilts, throws, Specials, and aerials. The difference is that Damage is increased, and he has increased range because of his size. Additionally, his KO Meter temporarily disappears while he is Giga Mac, so no KO Punch is available. His fully charged forward smash uppercut variation is a one-hit KO against most of the cast. Giga Mac still takes Damage, but he doesn’t flinch when getting hit. Use this to your advantage and as soon as they hit you, punish attacks with attacks of your own!
Strategy
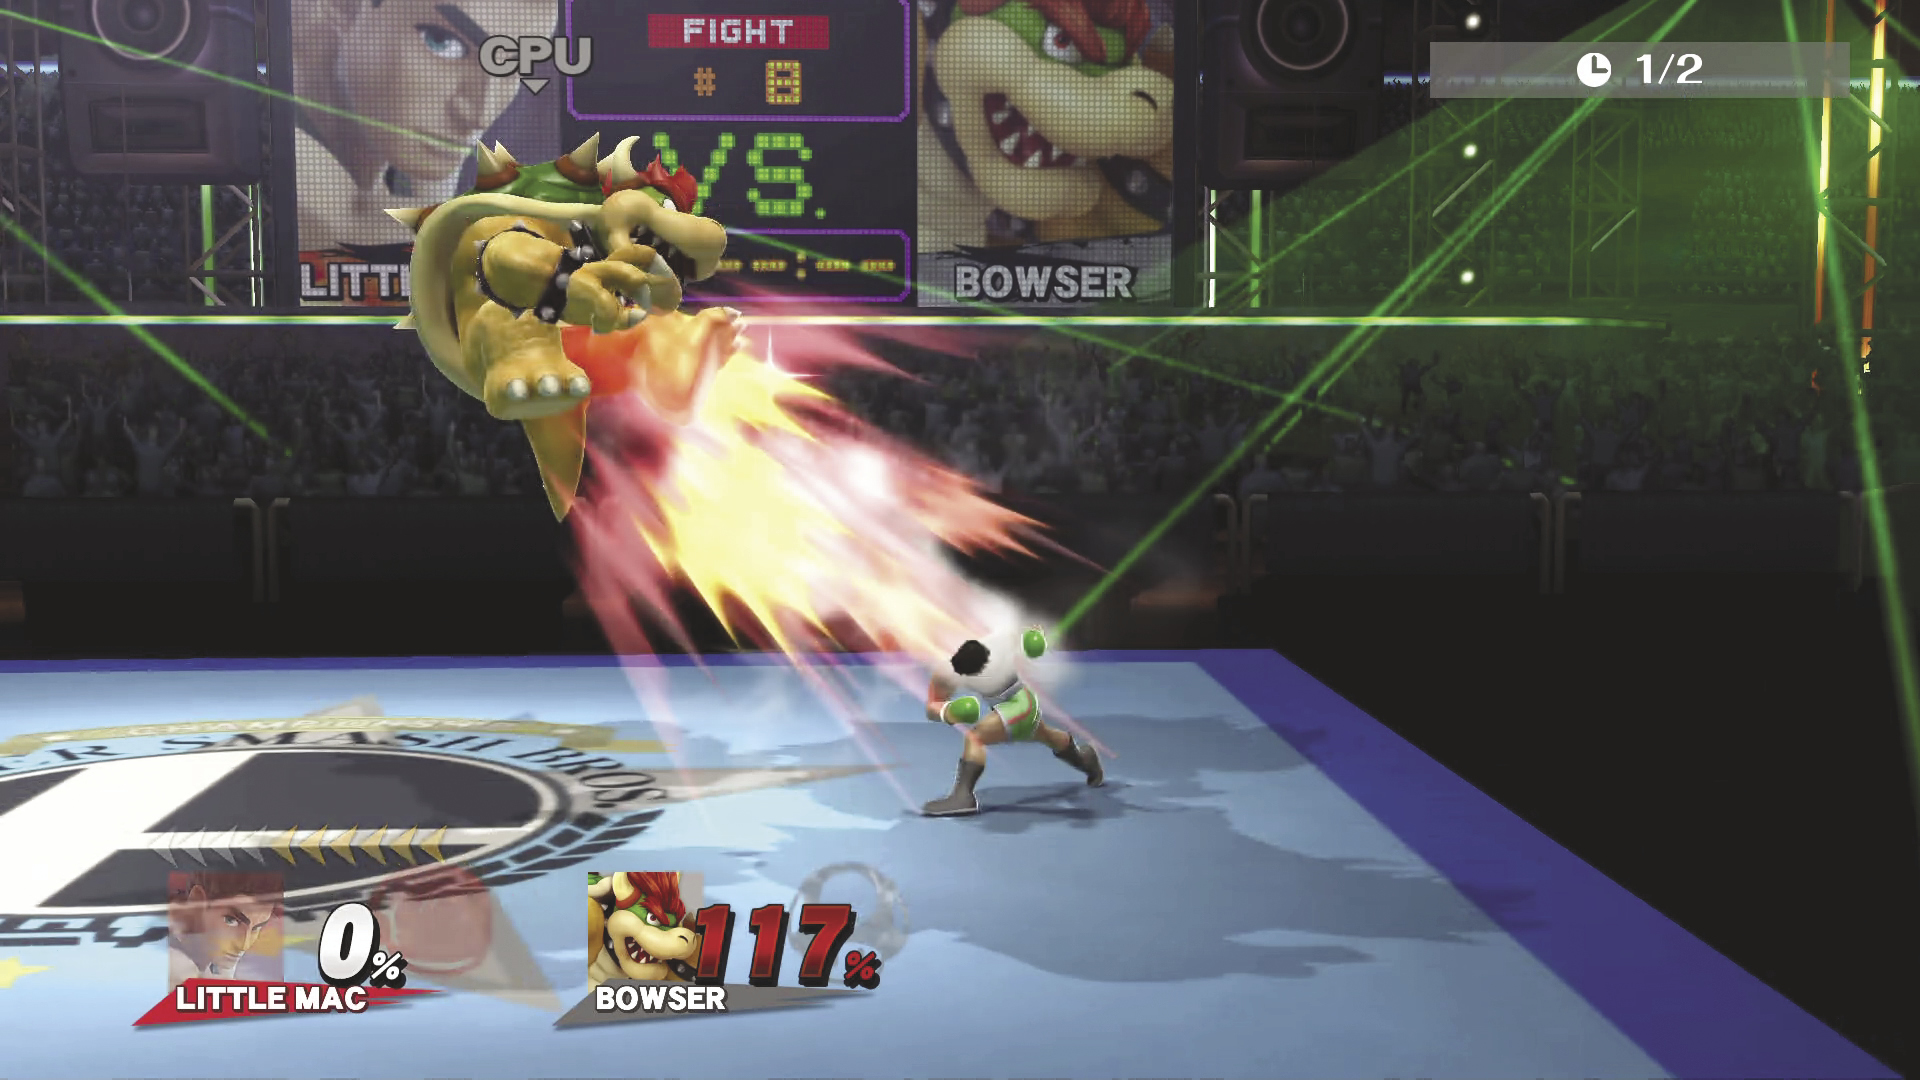
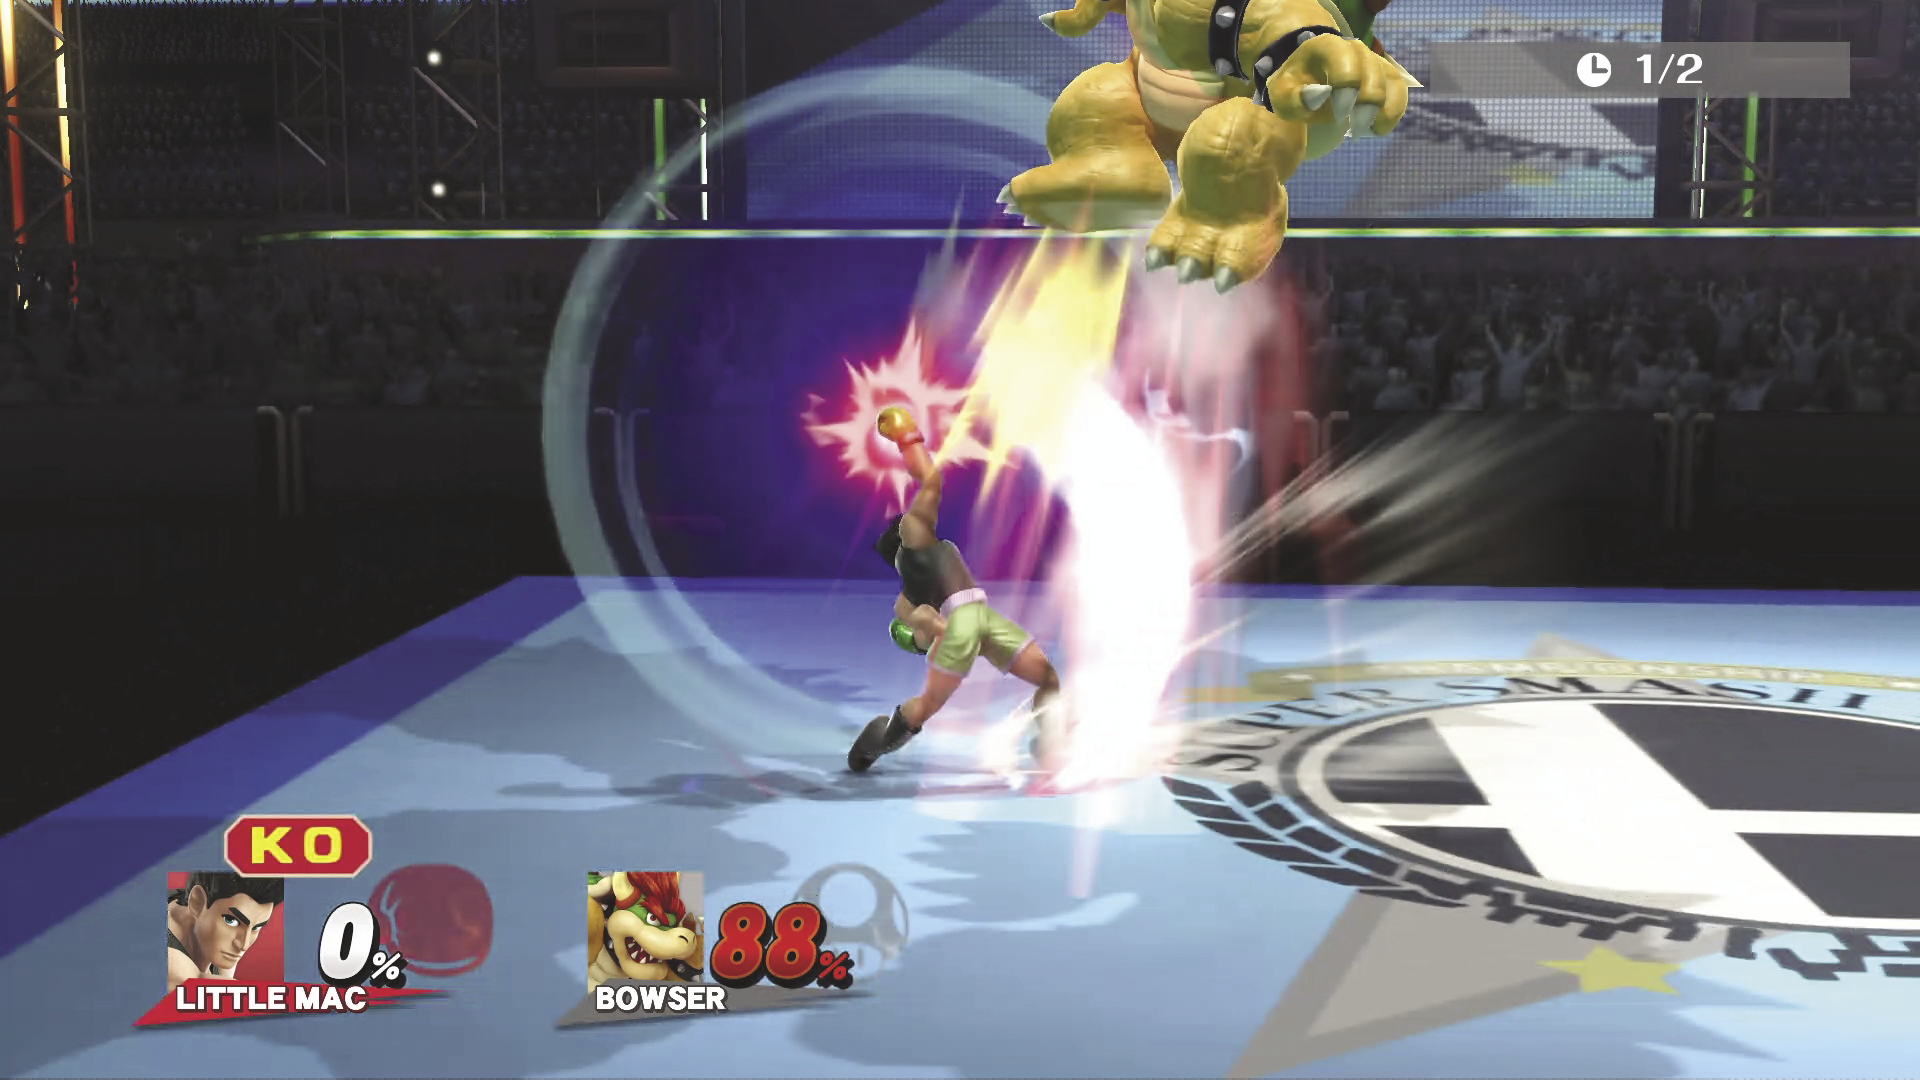
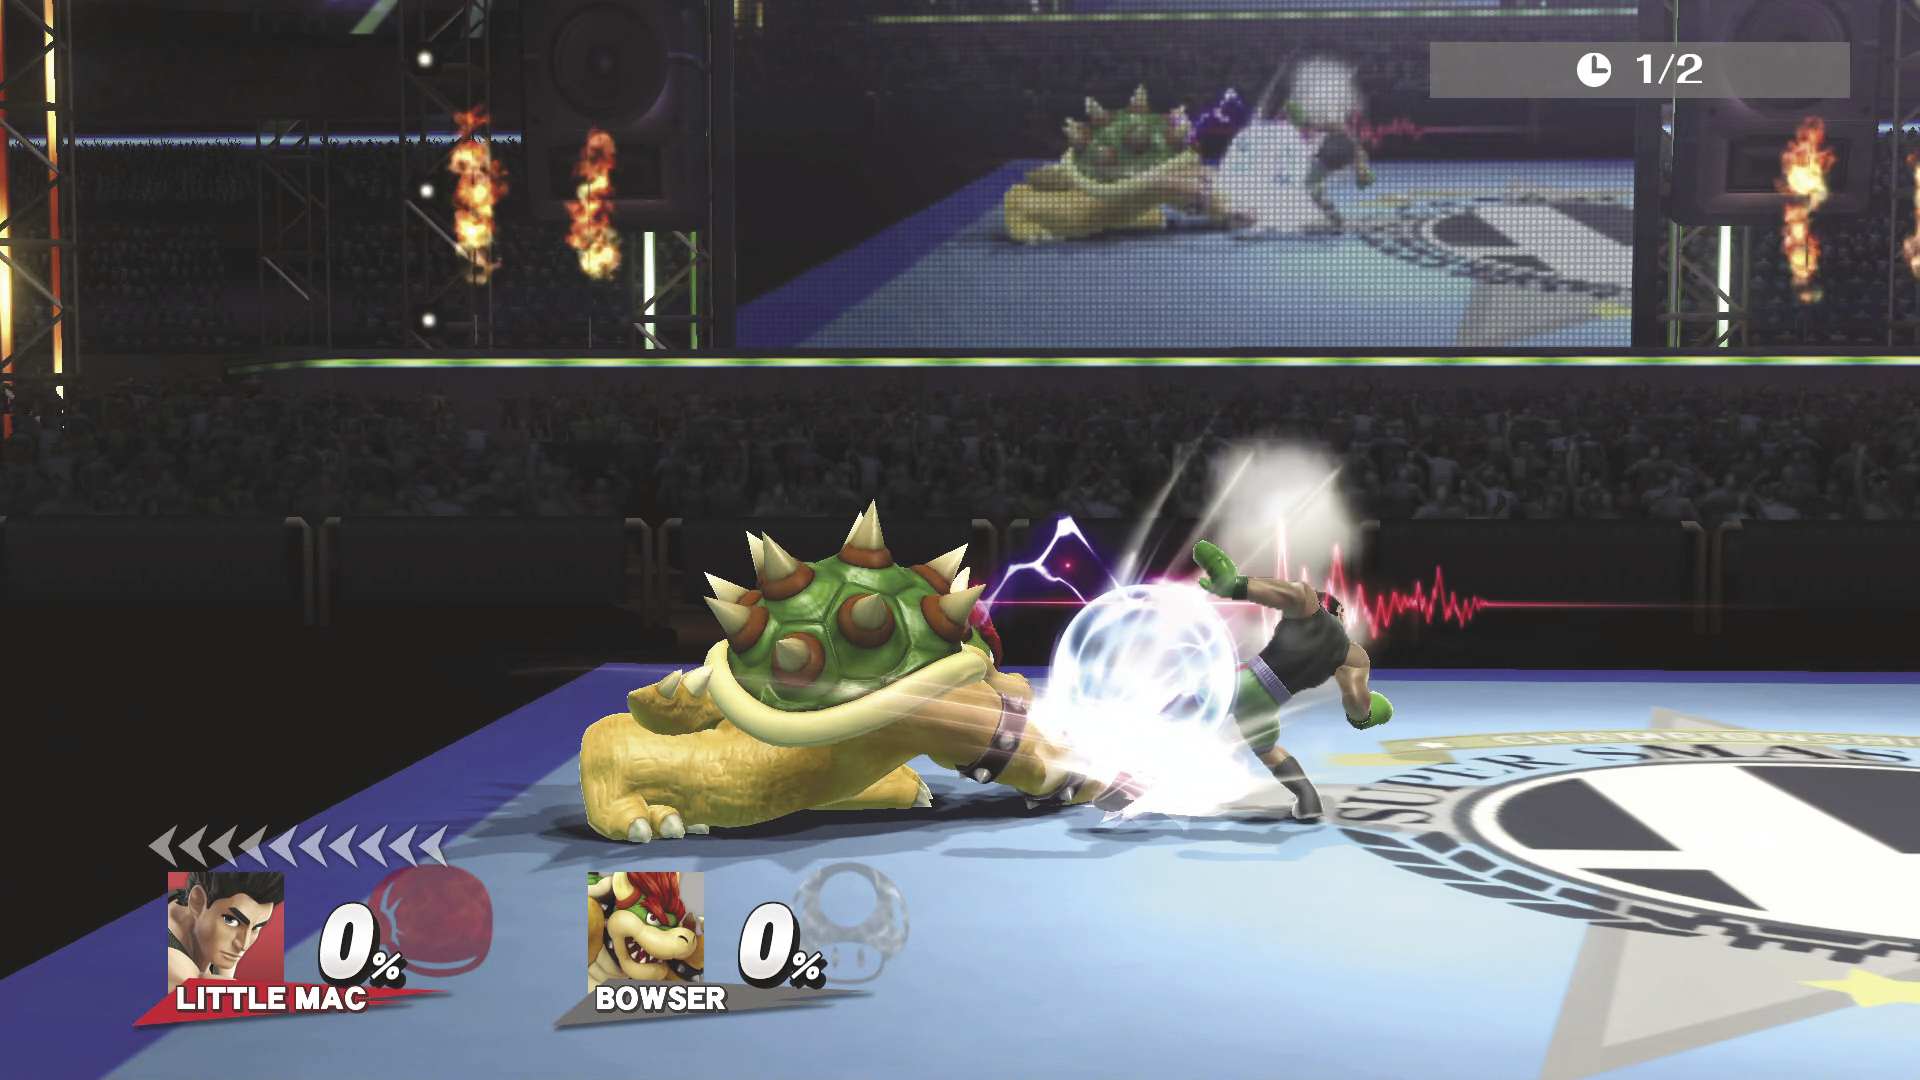
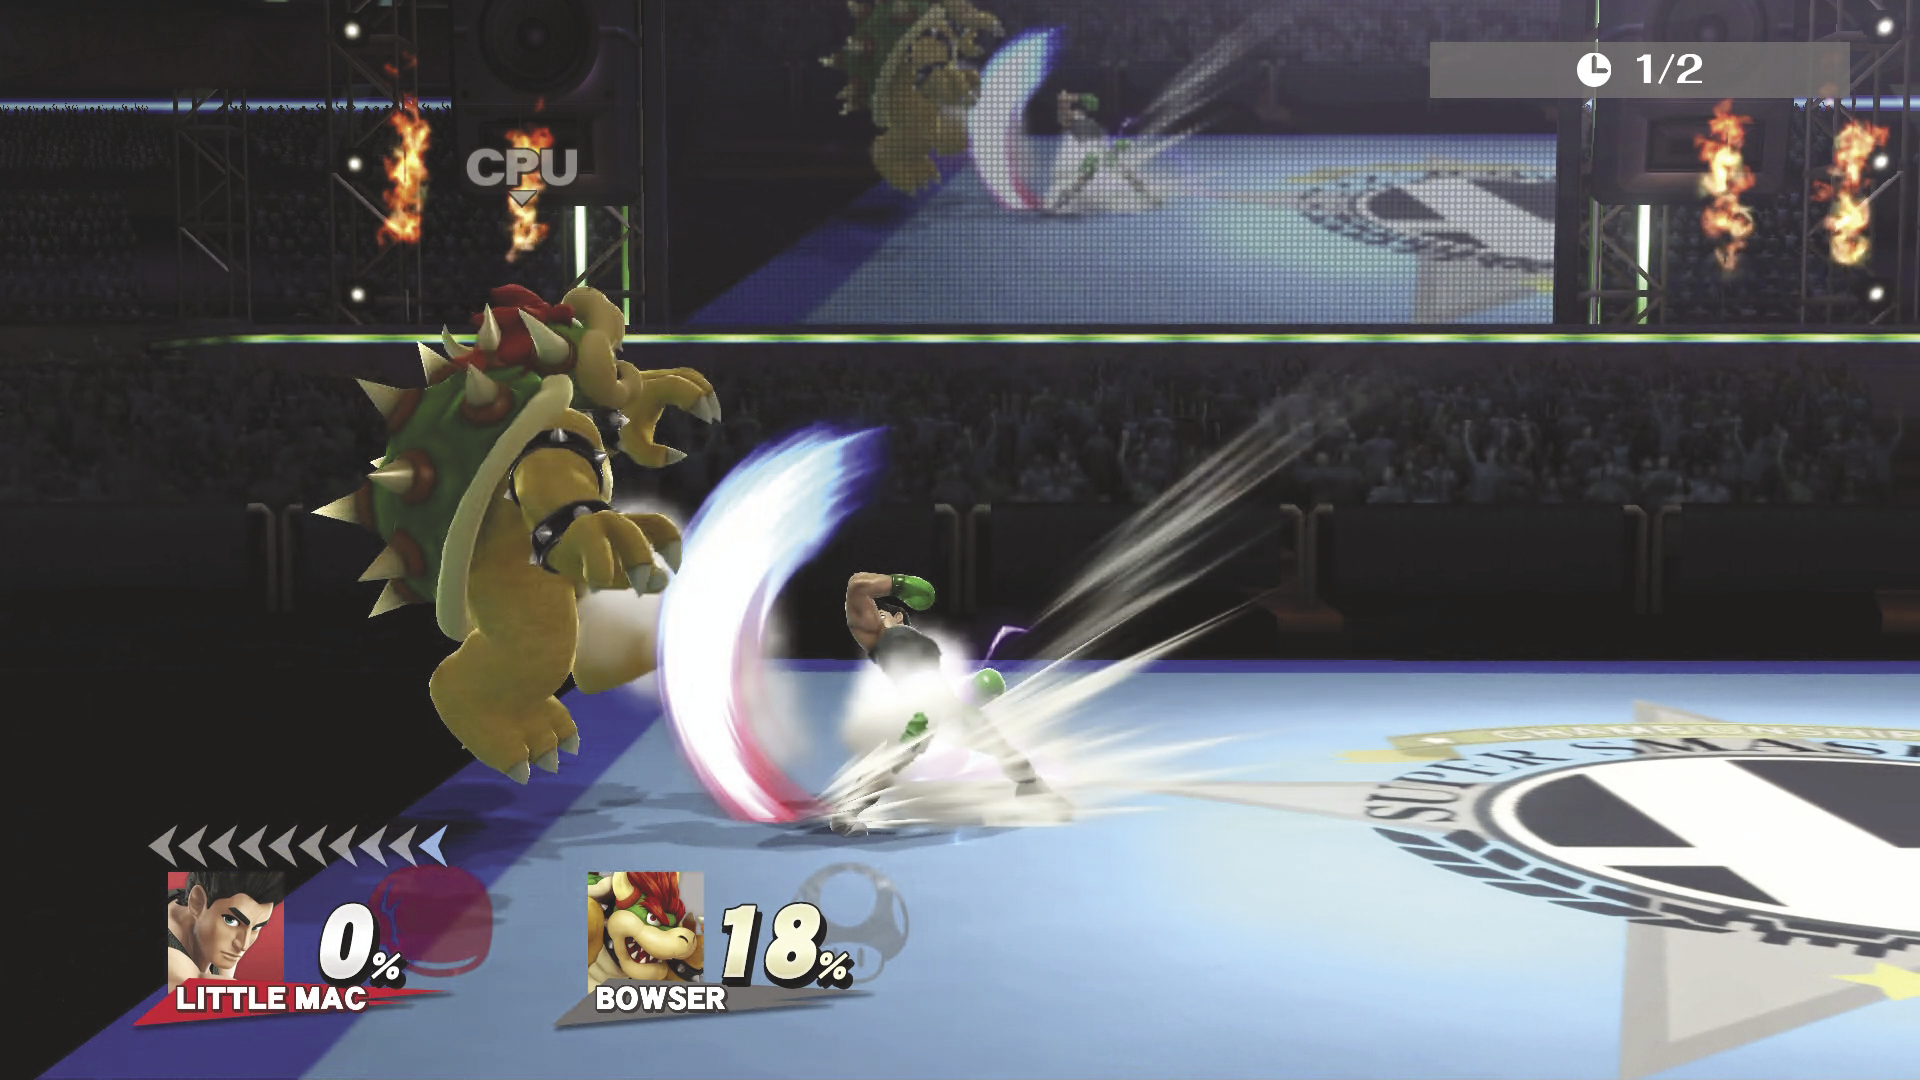
Ground-based combat is the name of the game for Little Mac. He has super armor on all of his Smash attacks, and his KO mechanic gives him an even stronger attack from the ground. Little Mac has very good ground speed, but he’s also below average in terms of weight. Boxers aren’t using to jumping while fighting, though, and Little Mac highlights this weakness with his poor jump height, aerial attack range, and Damage. This is balanced by his impressive jab speed, KO Punch, and one of the best counters in the game. Keep the fight on the ground, and use your KO Punches wisely.
Little Mac’s KO Meter is filled up whenever he receives or deals Damage. When his KO Meter is full, you will see a KO symbol by health percentage. Wait for the right opening, then hit your Neutral Special attack to unleash the KO Punch, which has huge Damage and launching potential. In general, Straight Lunge is a good way to close distance and deal a lot of Damage, but opponents can see it charging from a mile away. Luckily, it has super armor, but since Little Mac is lighter than average, you have to make sure not to take too much Damage! Jolt Haymaker takes some getting used to, as it travels ridiculously far. Practice shortening its range to hit opponents by hitting the Special button again early. Also, use it from the ground to take advantage of its invincibility that the air variation doesn’t have. Rising Uppercut is useful against opponents jumping in; it has some invincibility, but you are in a fall state afterward. When opponents are being predictable or using slow attacks, be sure to use the Slip Counter. It’s one of the best counters in the game—it has a faster startup, a longer window of opportunity, and higher Damage potential than even Marth’s Counter!
For KOs, of course your best option is going to be Little Mac’s KO Punch, if you have it available. Treat it like a Final Smash, and try to hit multiple opponents with it. Otherwise, Side Smash and its Up variation can be useful for KOs, as can Side Tilt. Little Mac’s dash attack can be very surprising and useful for KOs as well, but it’s usually safer to approach with your jab or Side Tilt. In the air, your best KO option is to Down Air and get a meteor smash. Little Mac’s Back Air has the best range out of all of his aerials, but it’s still relatively weak, so focus on your ground game. Don’t forget to mix your opponents up by using Little Mac’s throws as well. When edge-guarding, stay on stage and use his Down Tilt, Side Smash, charged Straight Lunge, and Slip Counter.
Recovery
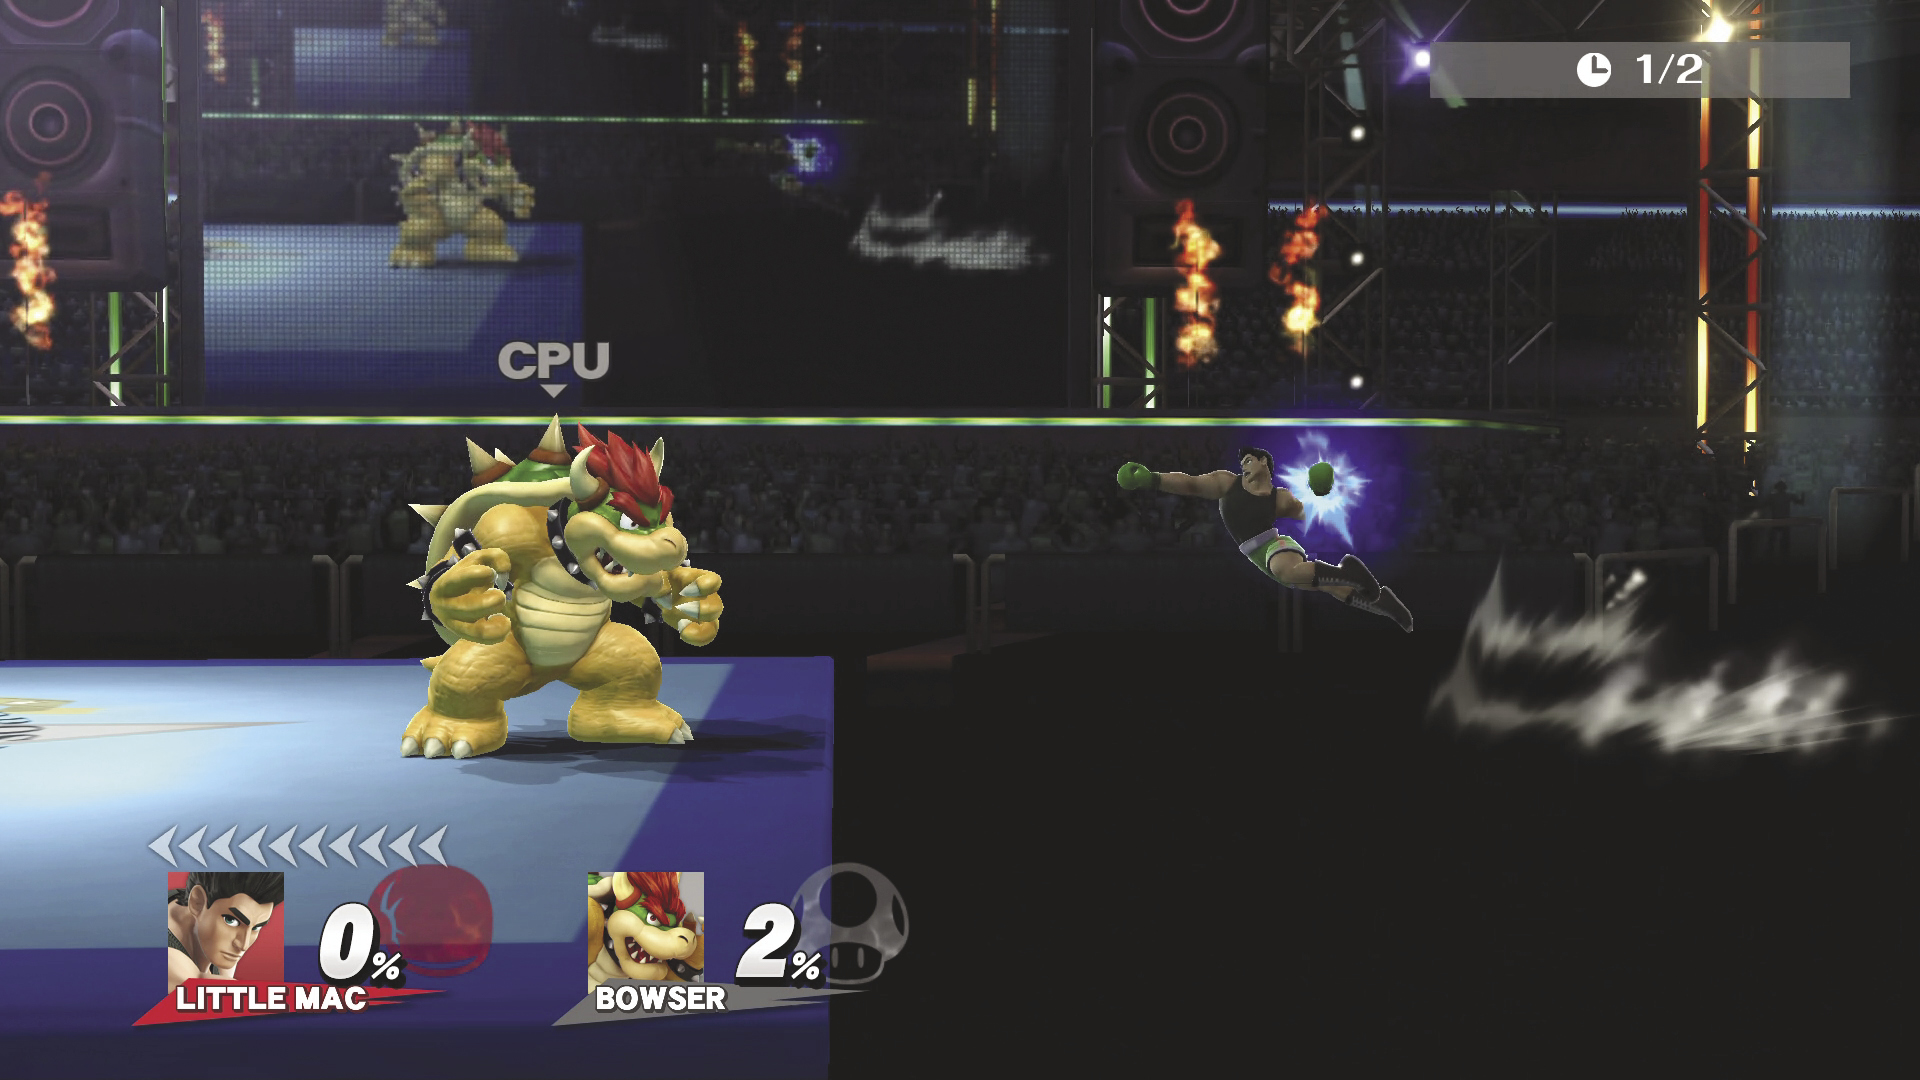
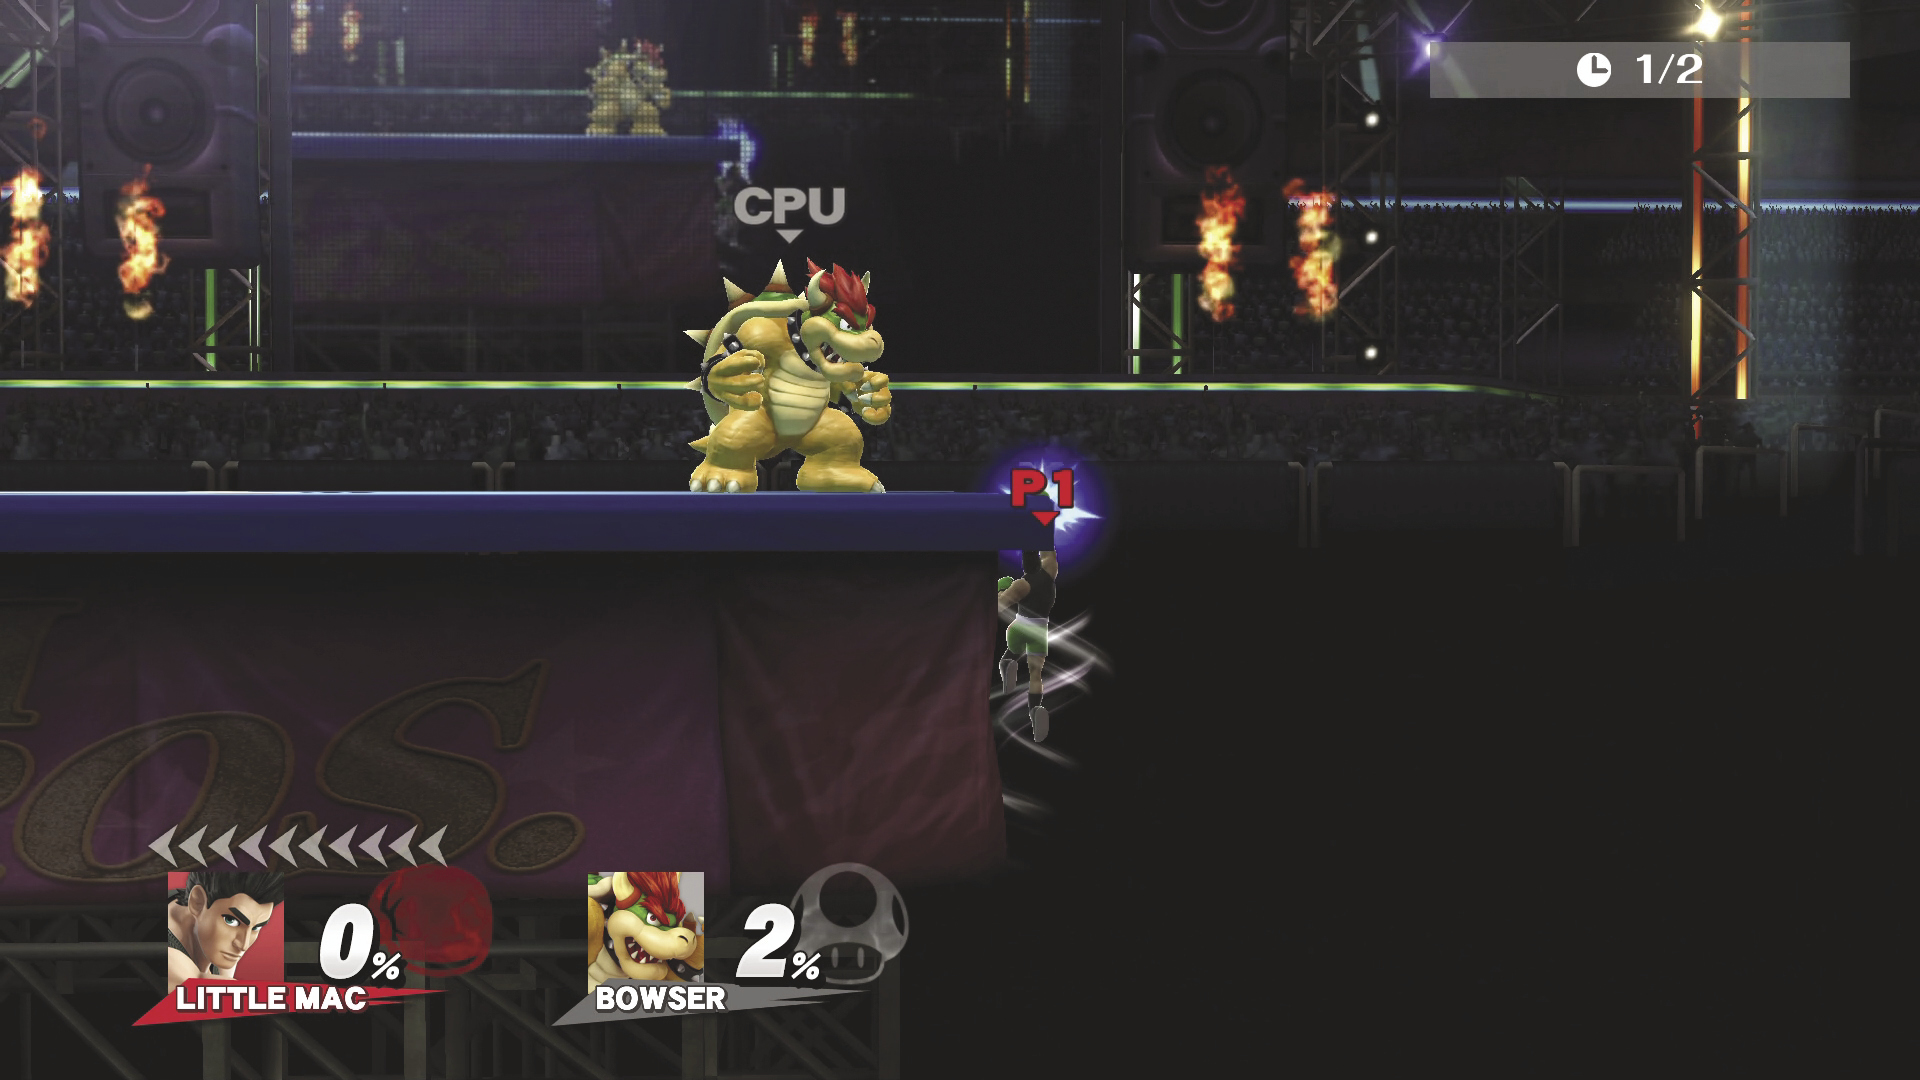
Little Mac’s best vertical recovery option is his Rising Uppercut. This recovery gains a lot of vertical height but accepts very little directional influence left or right. It also leaves you in a fall state if it doesn’t connect with the stage. For horizontal recovery, Little Mac has Jolt Haymaker, which sends him soaring through the air to attack. You can shorten the range of this attack by hitting the Special button again earlier. If you miss the stage, though, this also leaves you in a fall state. When approaching the stage from high above, use Slip Counter to slow your fall and still recover with Rising Uppercut or Jolt Haymaker afterward. And don’t forget to use your Wall Jump if the opportunity presents itself! In general, Little Mac’s recovery is lacking, so it is best to position yourself far from edges whenever possible