
Super Smash Bros. WiiU/3DS Guide CHARACTERS
R.O.B.
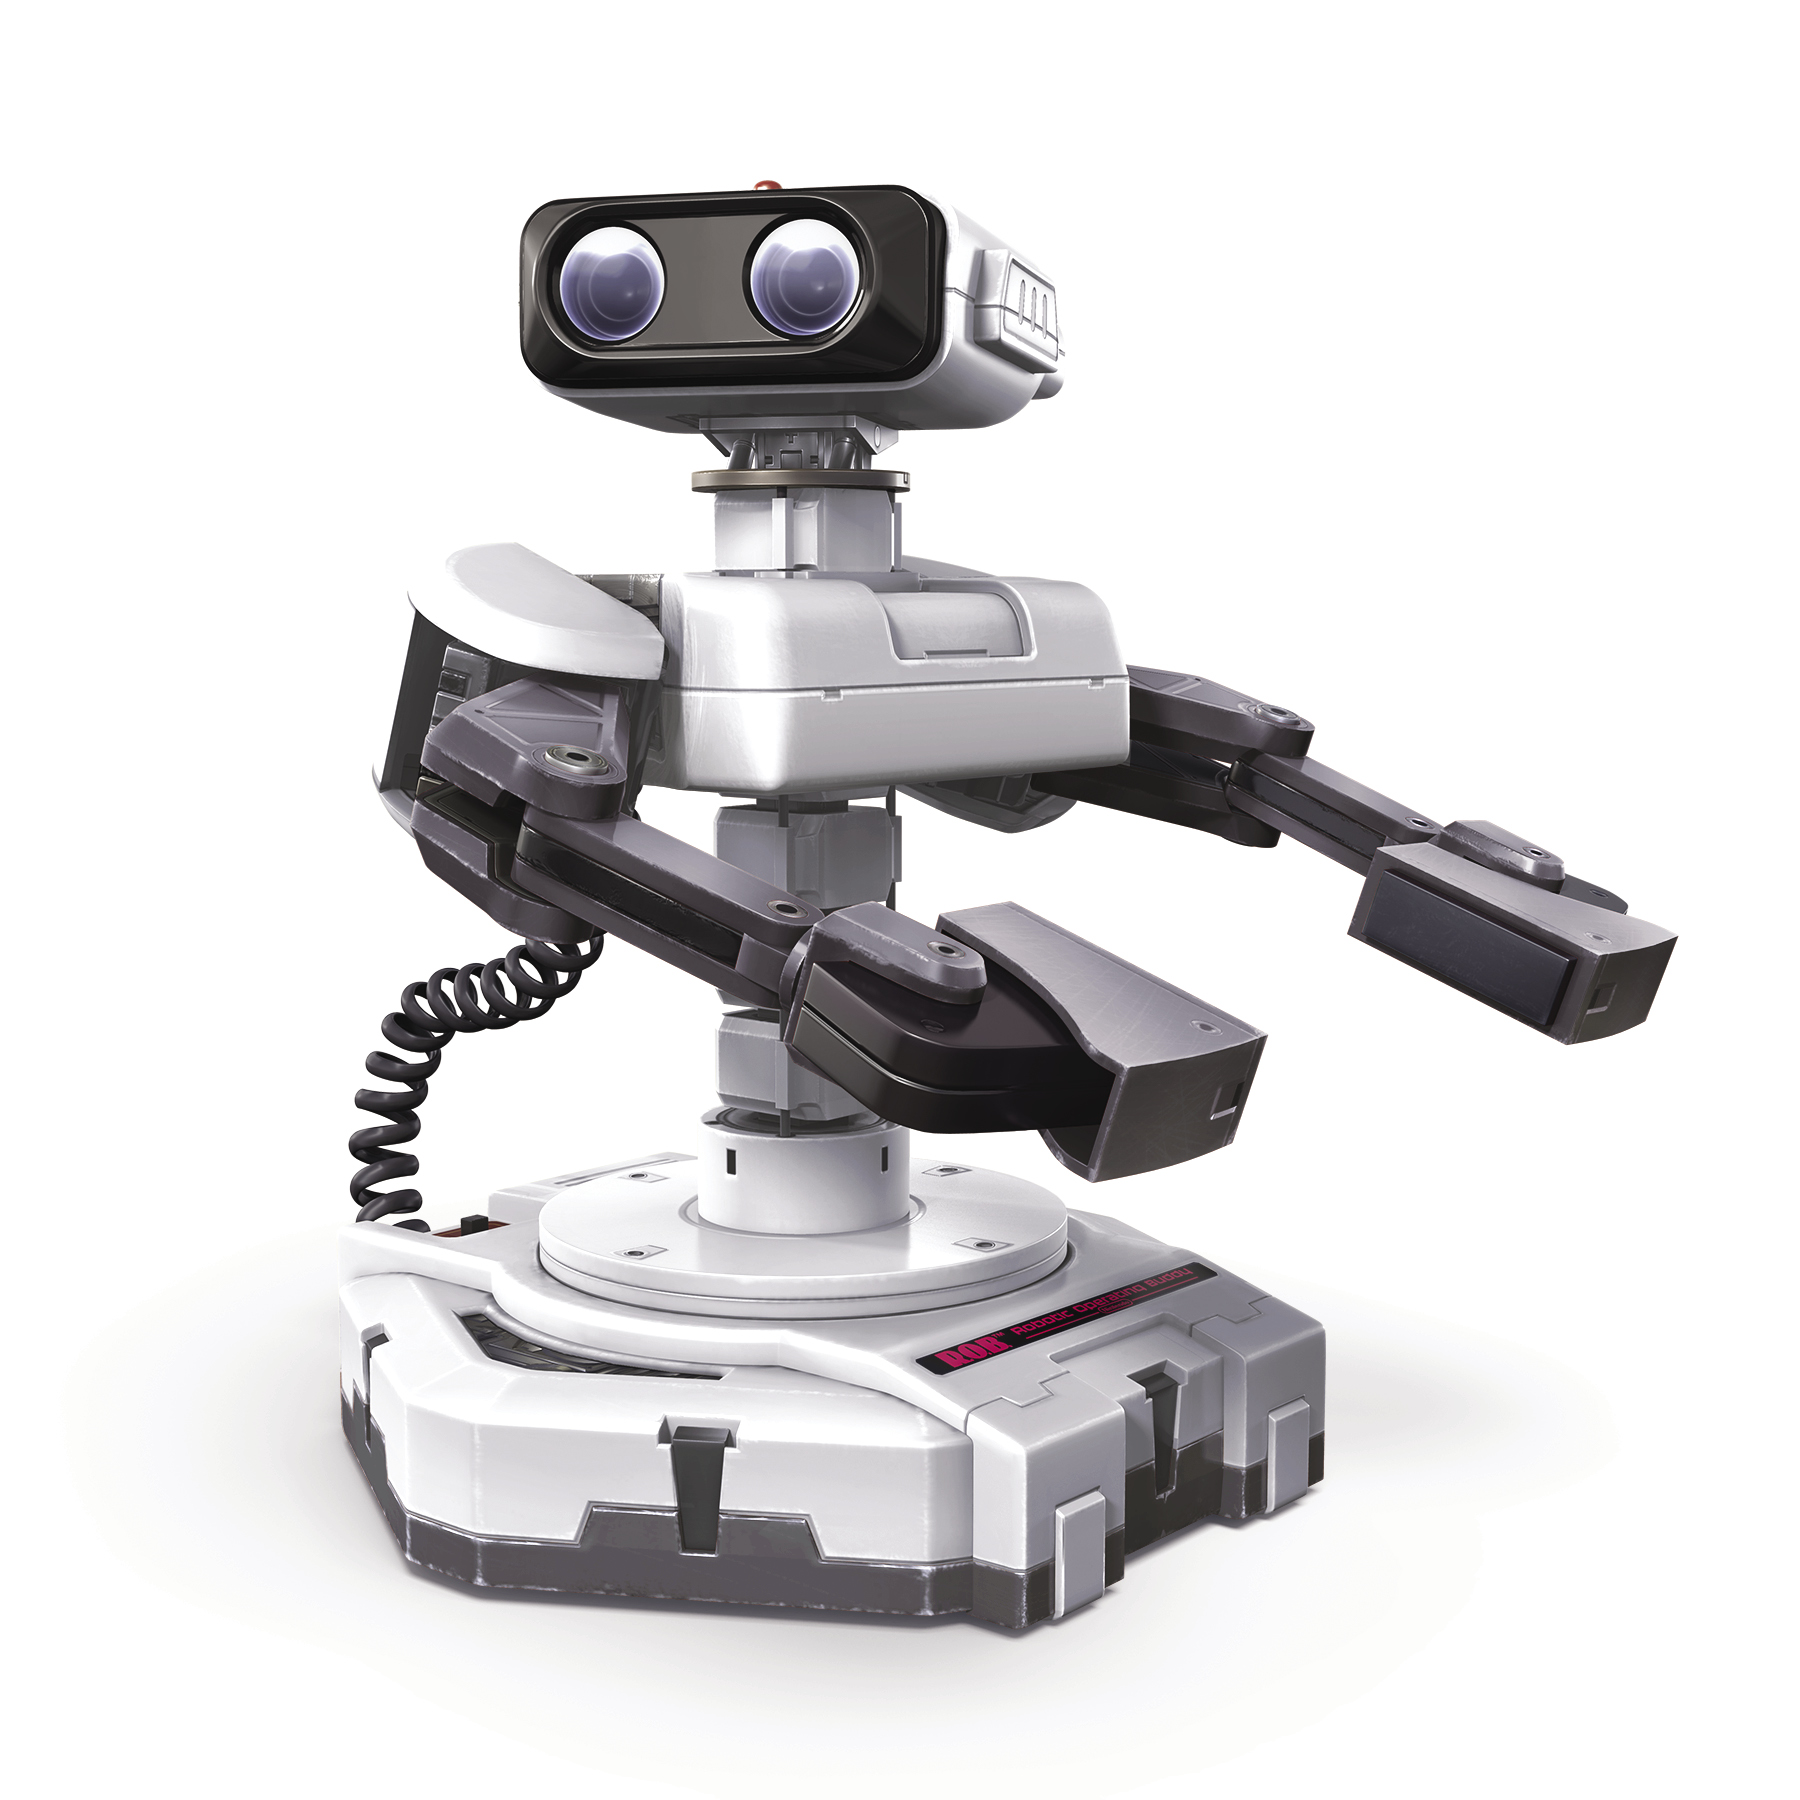
Trophy Description
This NES accessory was released in 1985, a groundbreaking system that controlled the robot via a game on the screen. In Smash Bros., R.O.B. has two projectile weapons and can use his rocket base to fly through the air. If you let his Robo Beam charge over time, it’ll make for a powerful blast.
Statistics
Maximum Number of Jumps: 2
Can Wall Jump: No
Can Wall Cling: No
Can Crawl: No
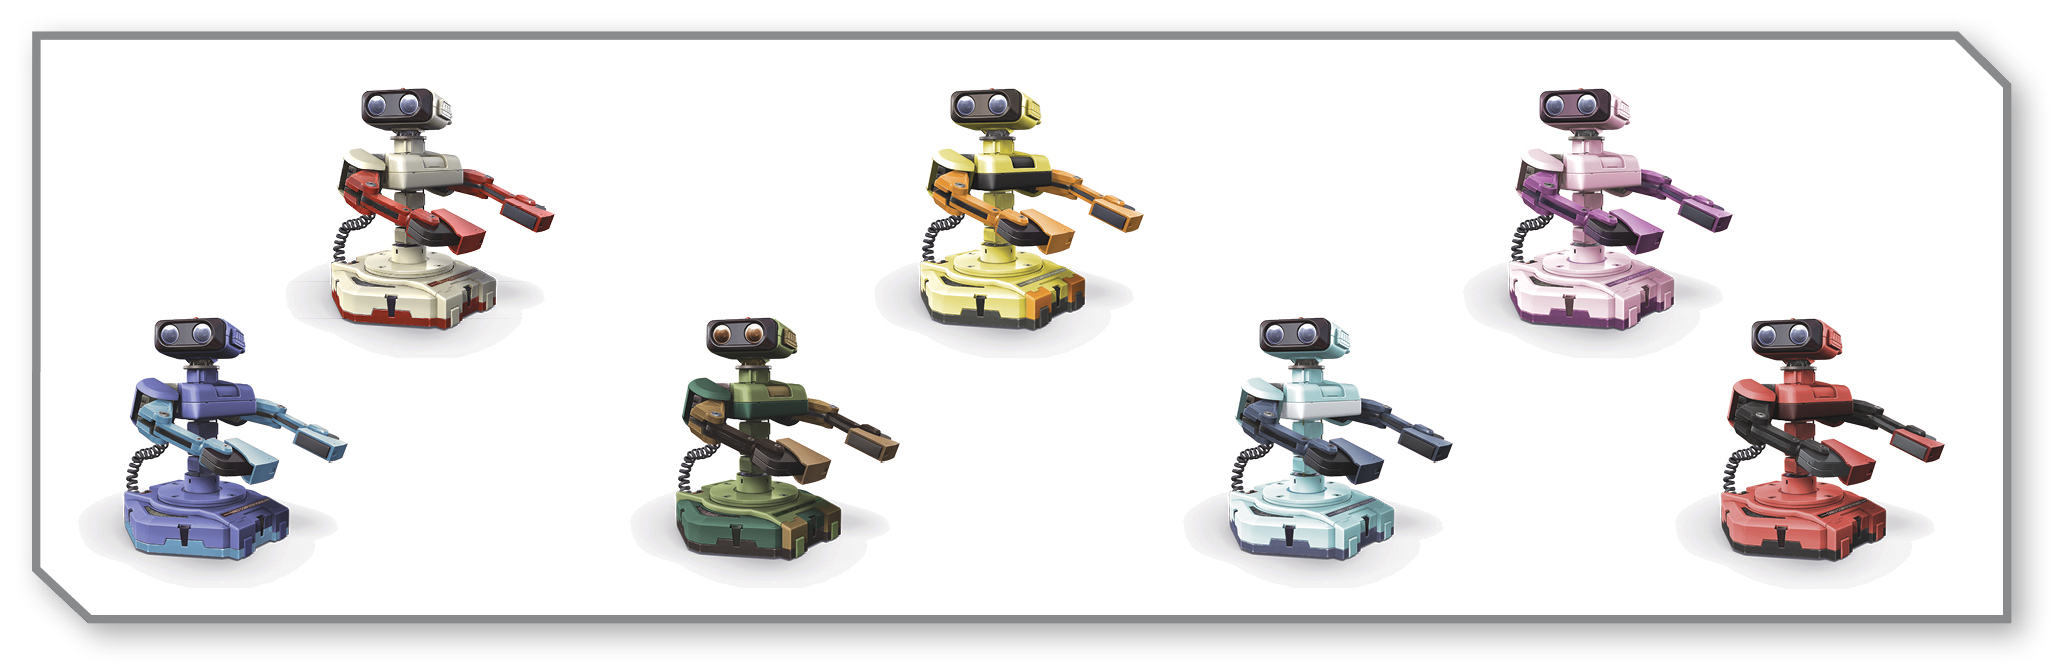
Alternate Colors
Smash Attacks
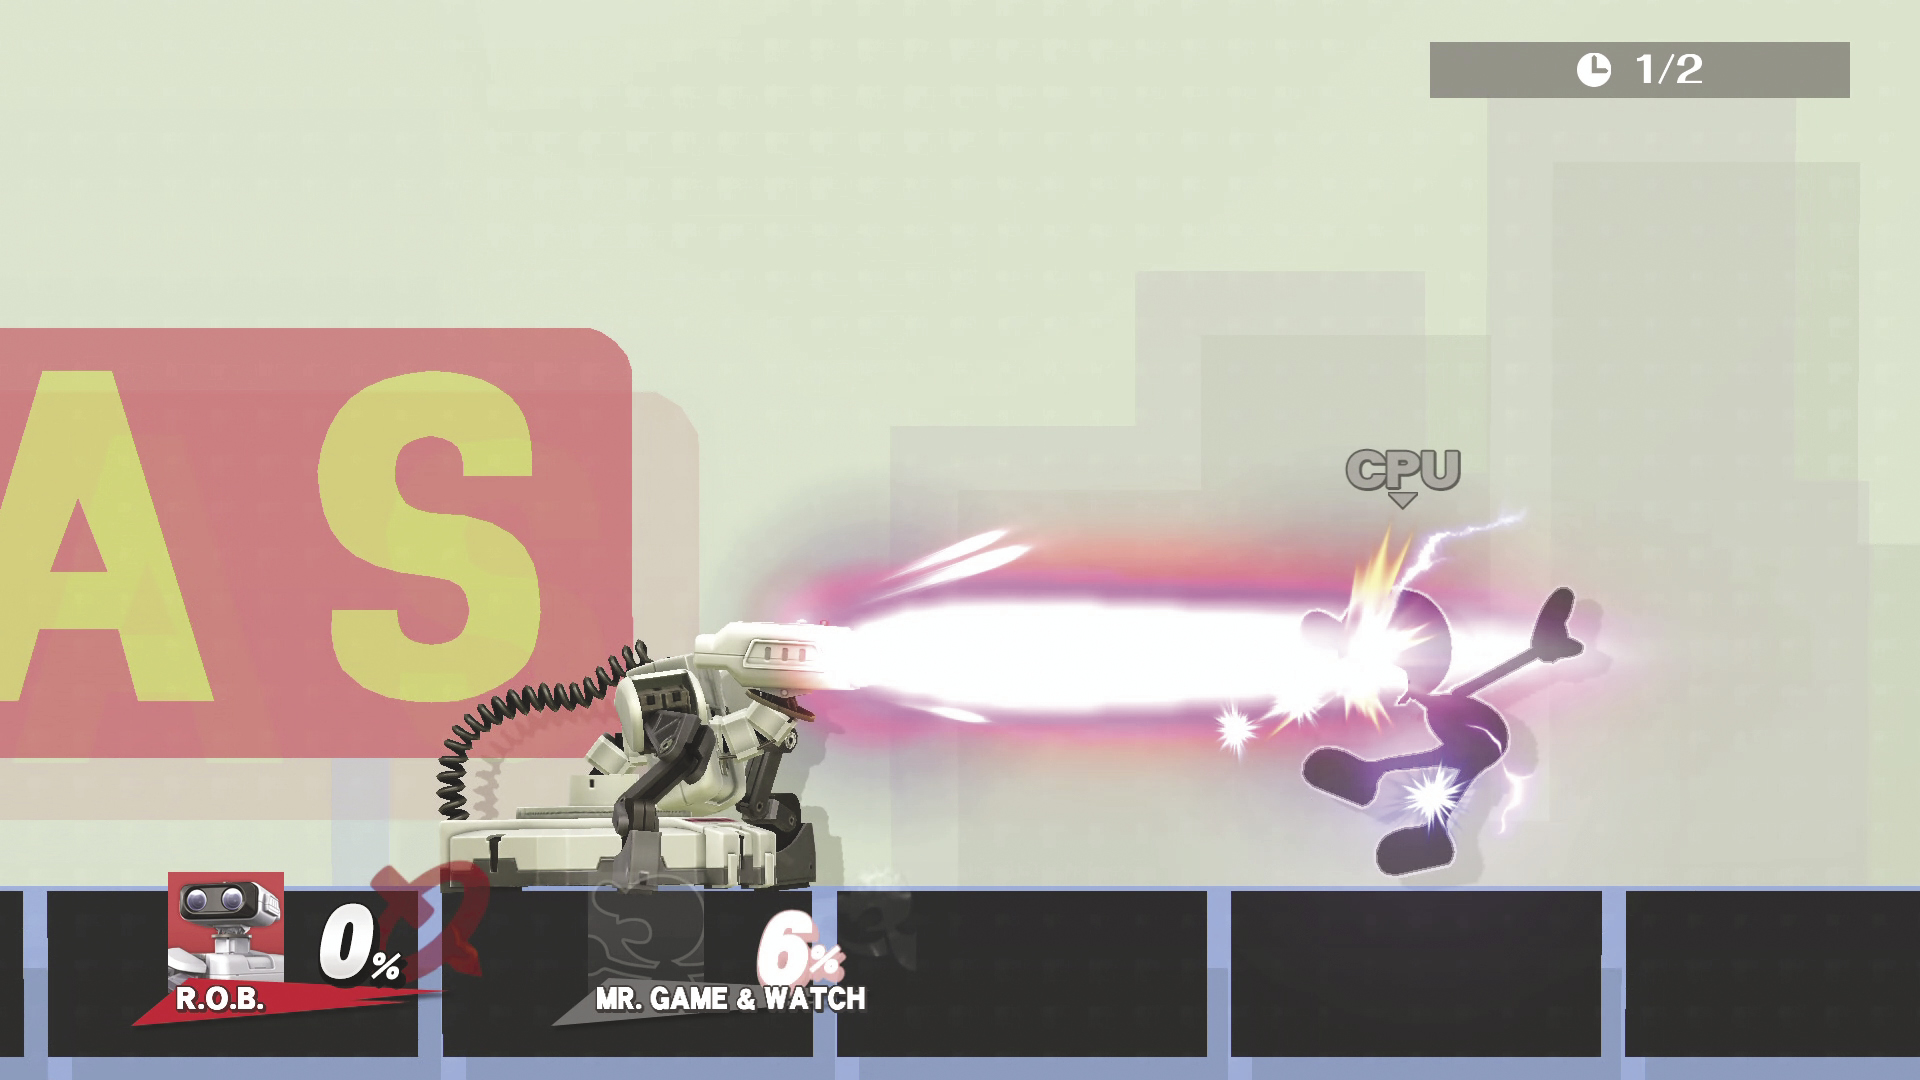
SIDE SMASH DAMAGE 6~15%
R.O.B. leans forward and blasts opponents with a medium-range beam. This can be aimed up or down.
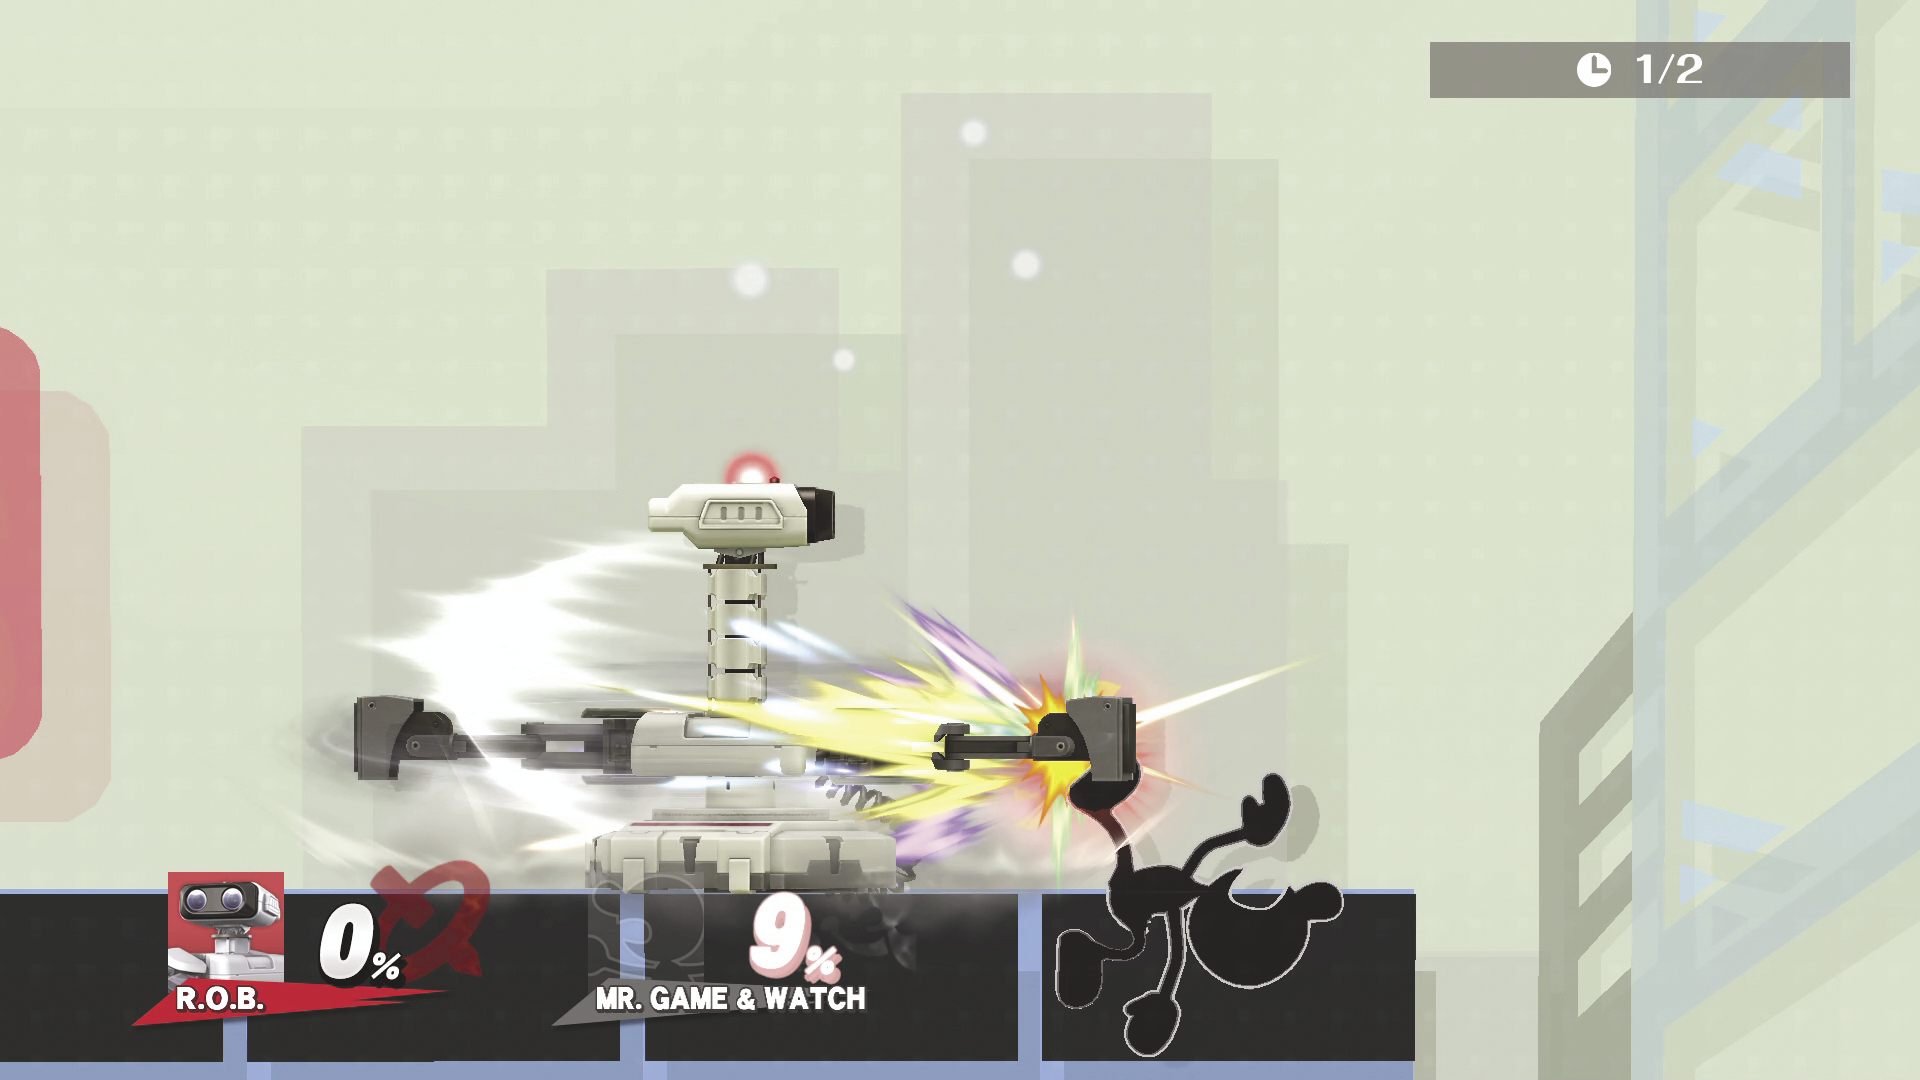
DOWN SMASH DAMAGE 1.5~5% MAX DAMAGE 13% : 5 Hits
R.O.B. extends his arm and does a spin attack. This can hit multiple times.
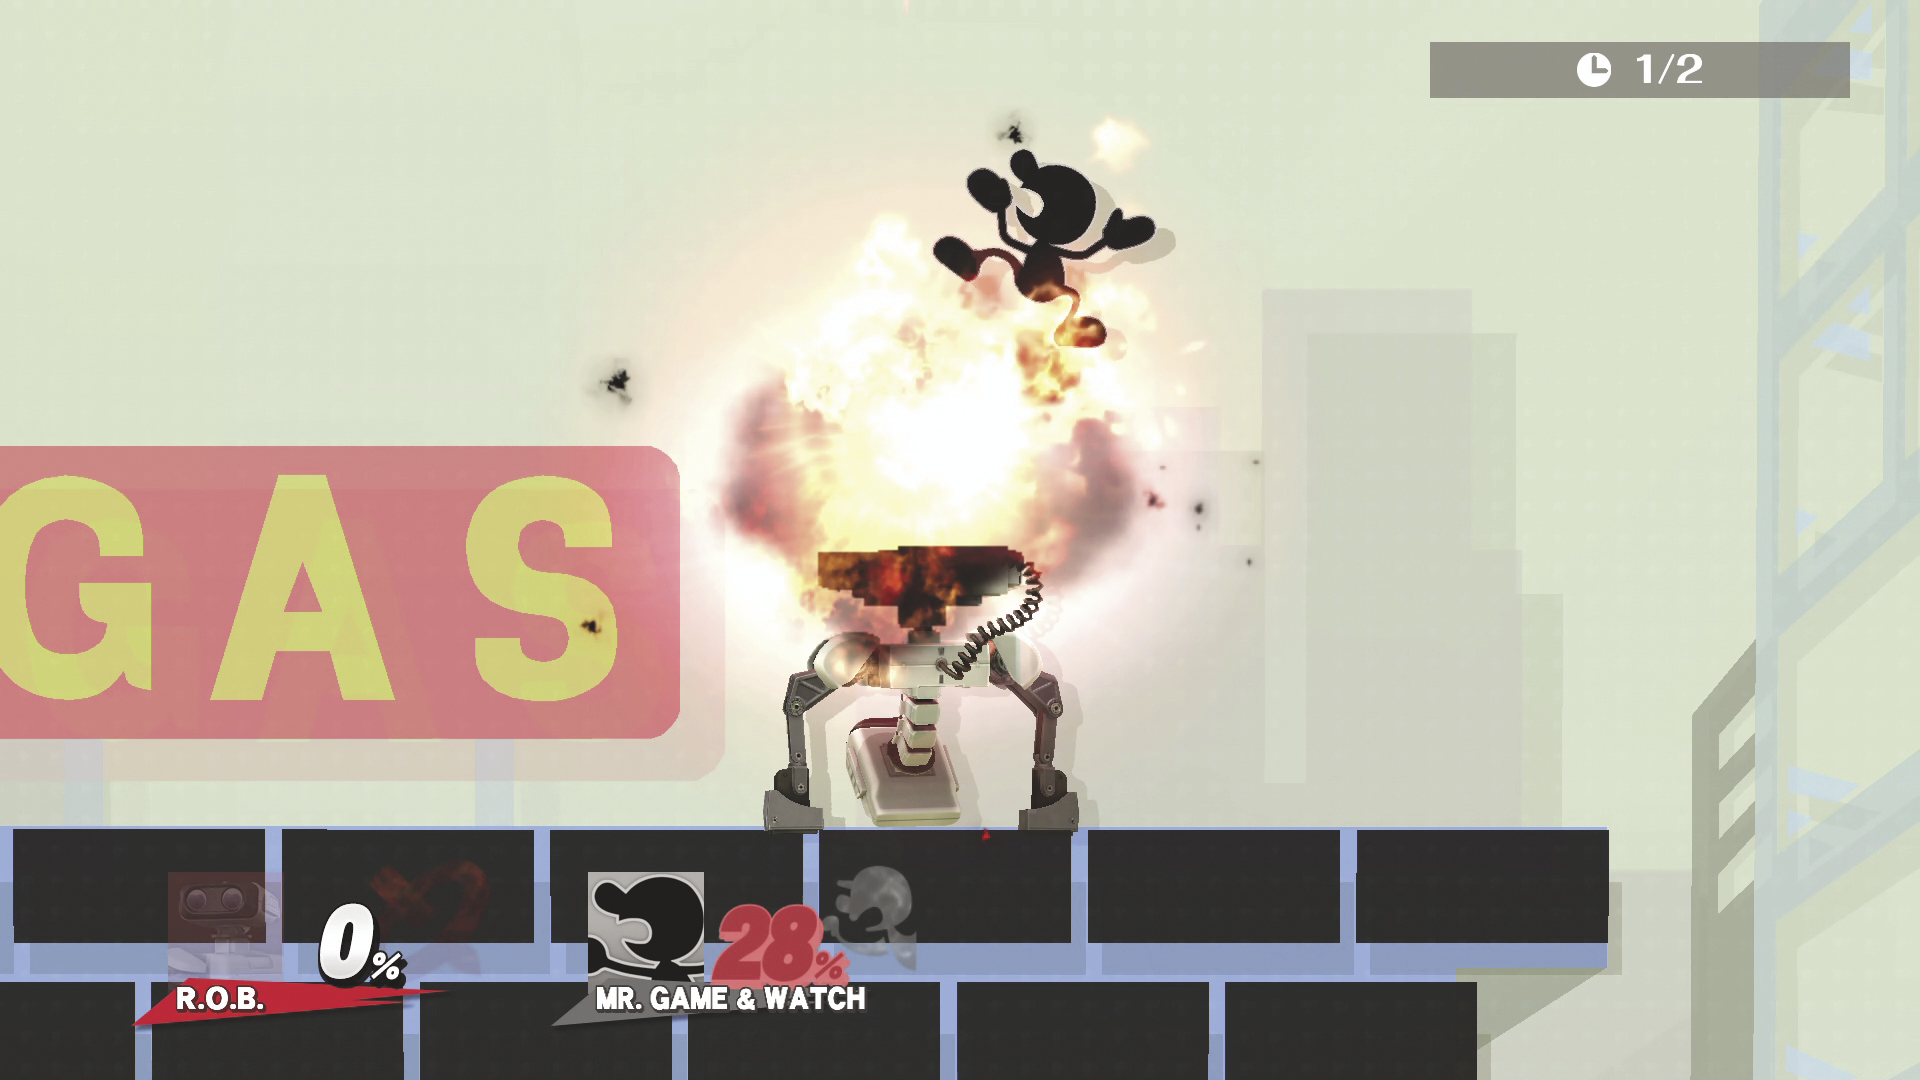
UP SMASH DAMAGE 3~14% MAX DAMAGE 17% : 2 Hits
R.O.B. does a handstand and uses his rocket base to blast opponents upward.
Basic Attacks
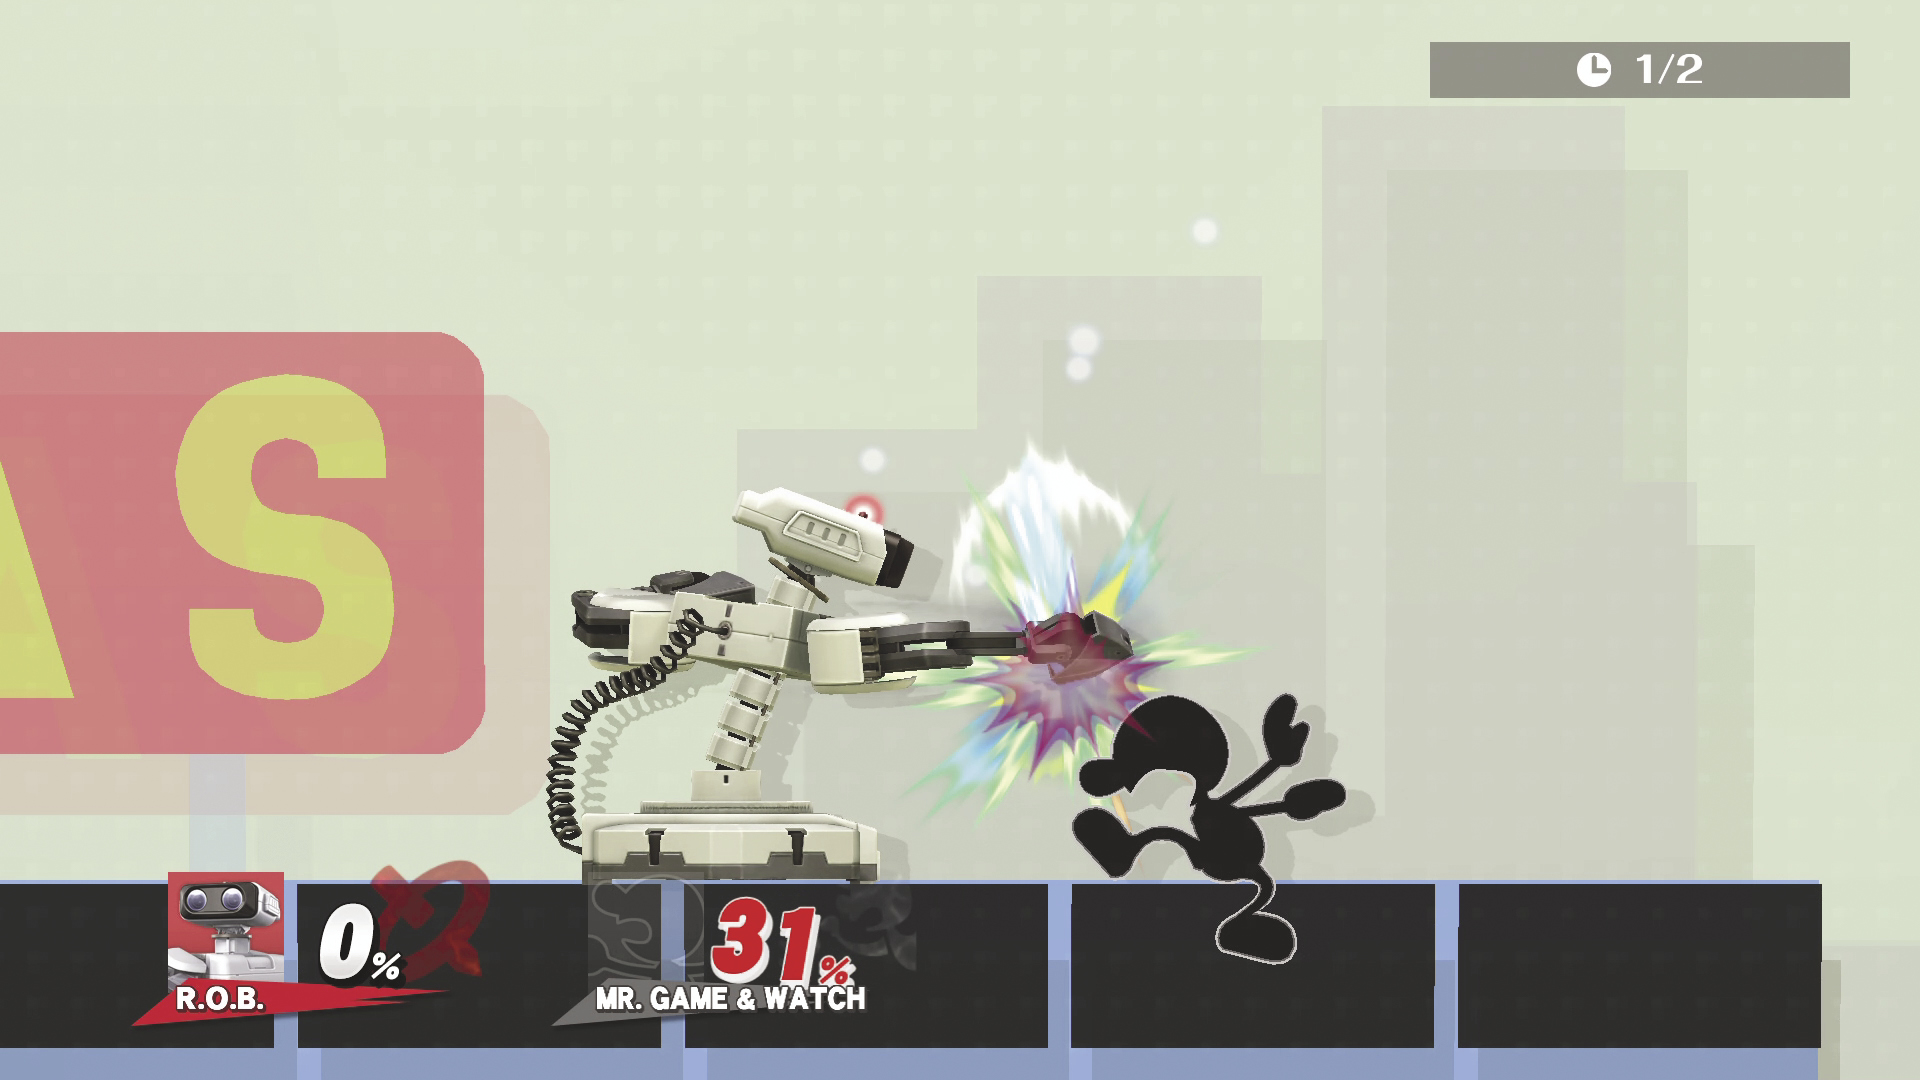
Standing Attack DAMAGE 3%, 3%
R.O.B. swings forward in this two-punch attack string.
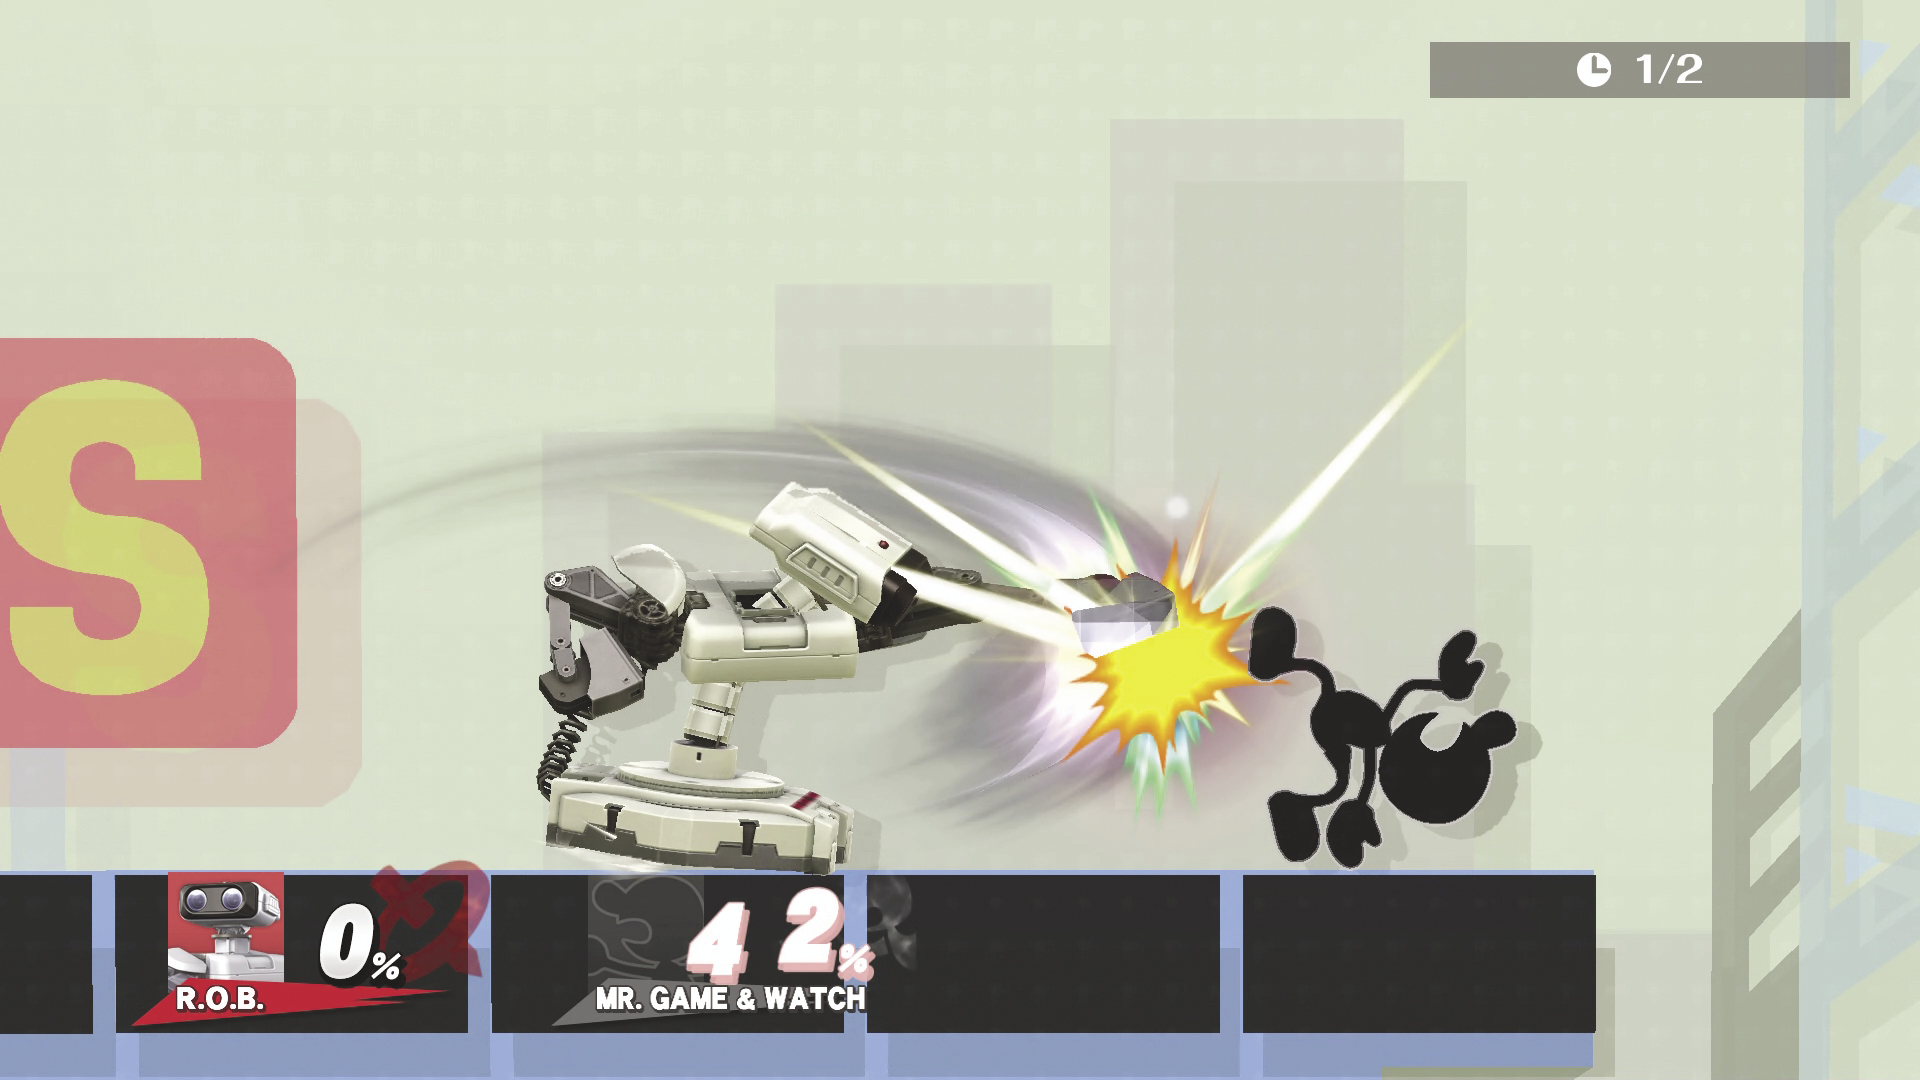
Side Tilt DAMAGE 5~8%
R.O.B. delivers a solid hook punch. This can be aimed up or down.
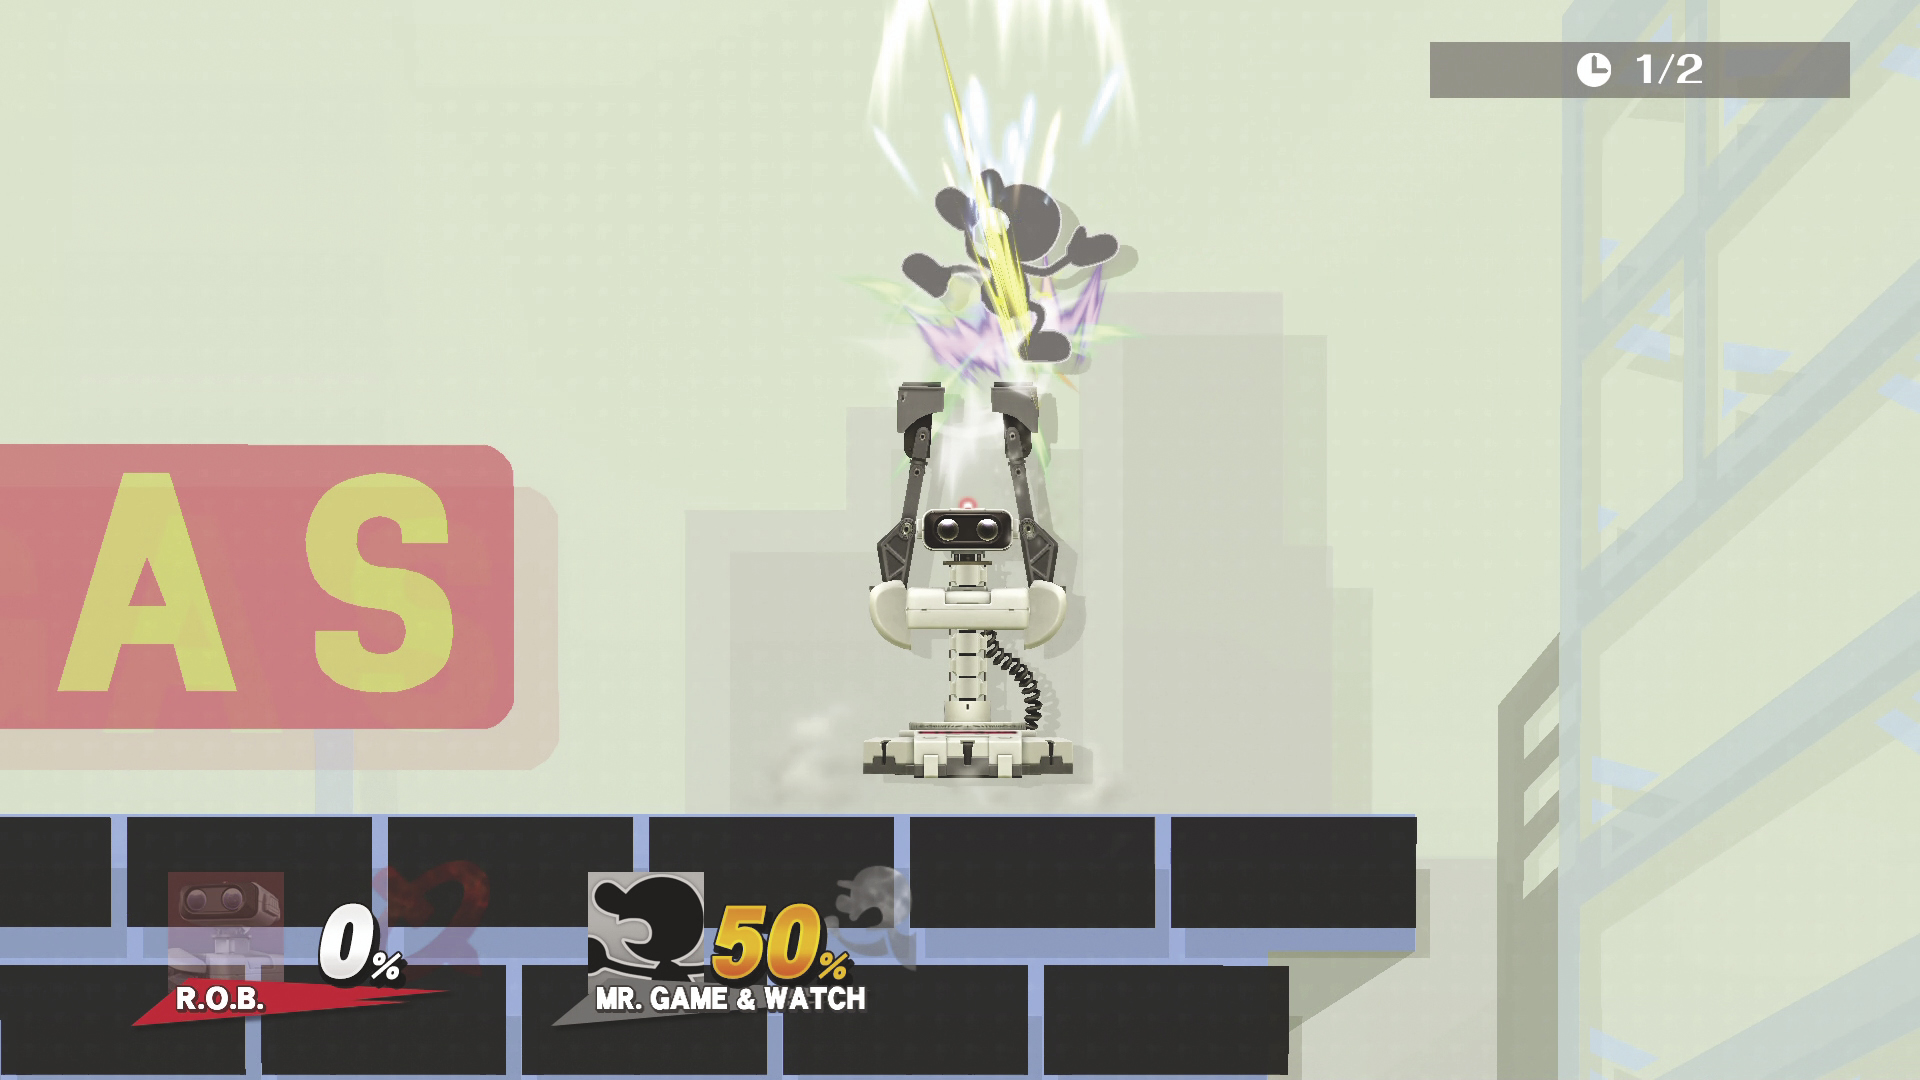
Up Tilt DAMAGE 3~6% MAX DAMAGE 9% : 2 Hits
Using both of his long arms, R.O.B. strikes upward. Useful to combo at low percentage.
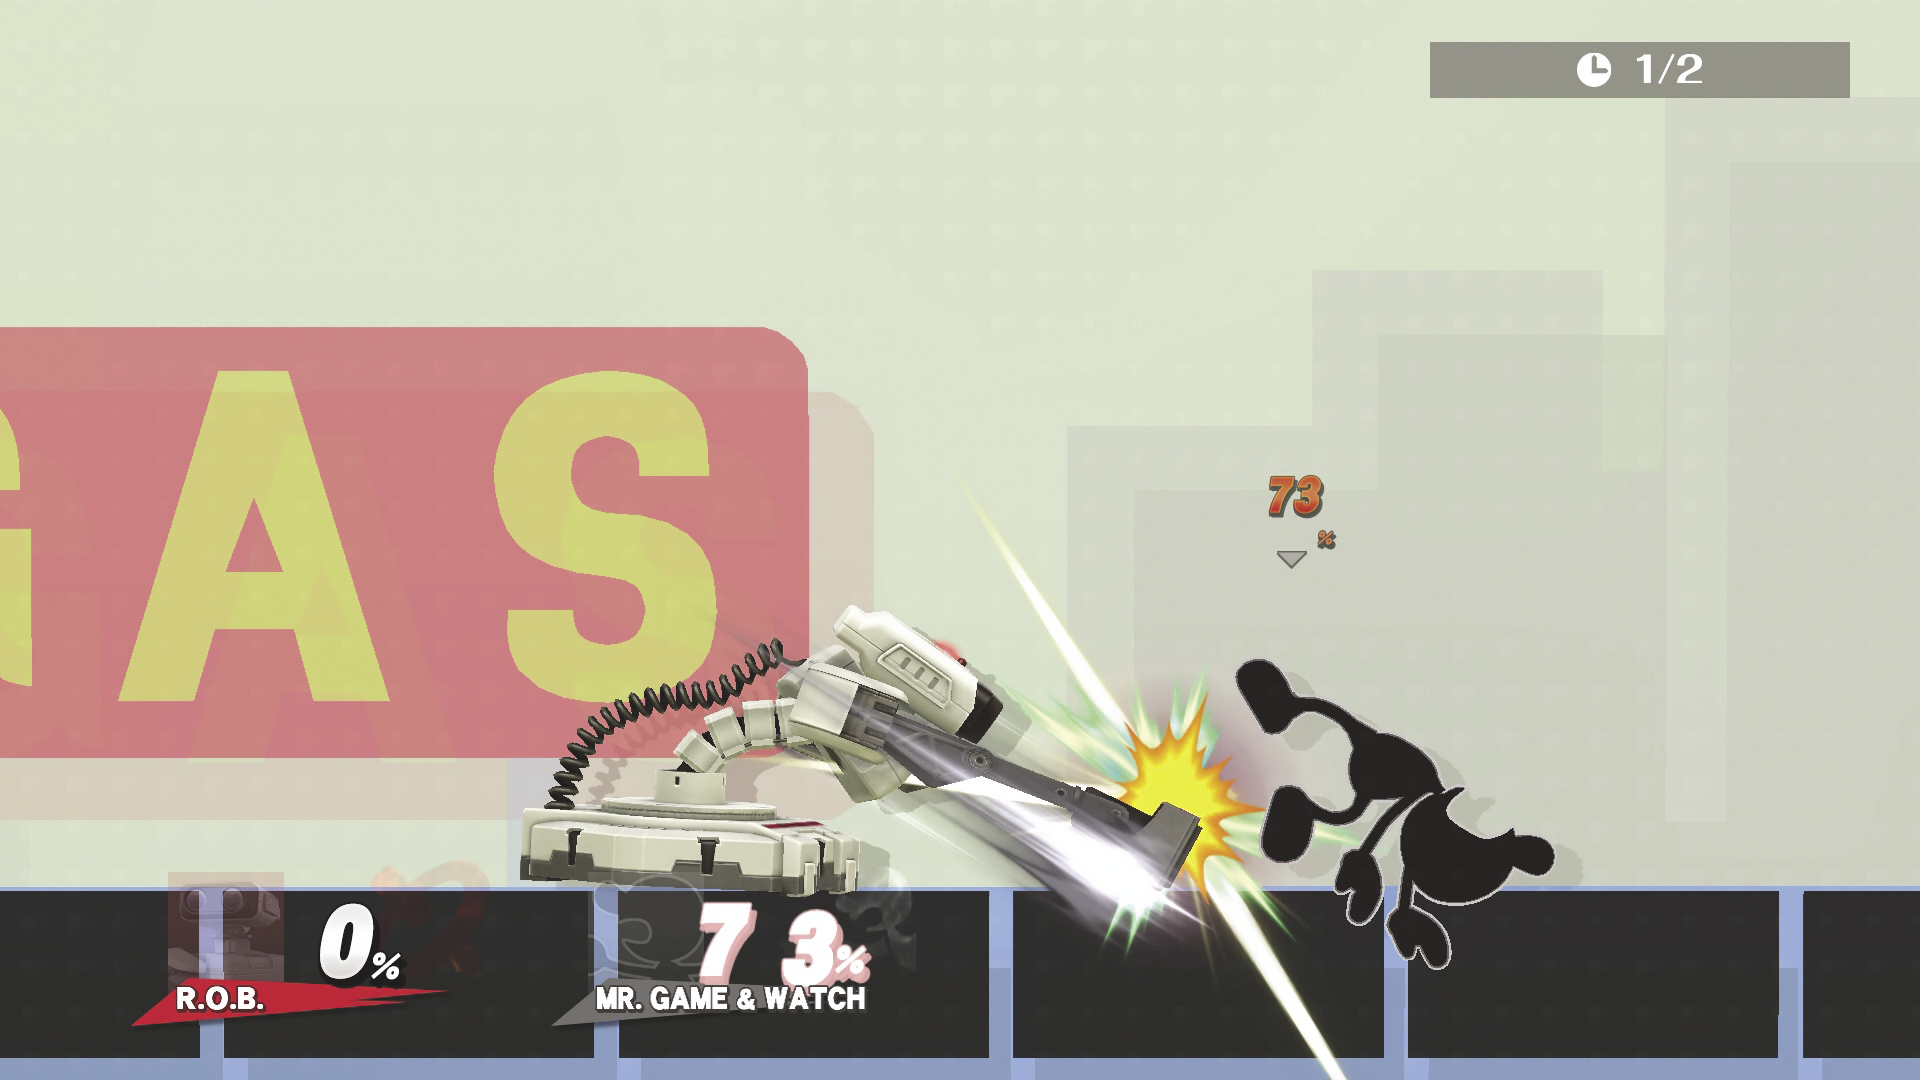
Down Tilt DAMAGE 5%
While crouching down, R.O.B. does a quick jab toward the opponent’s feet.
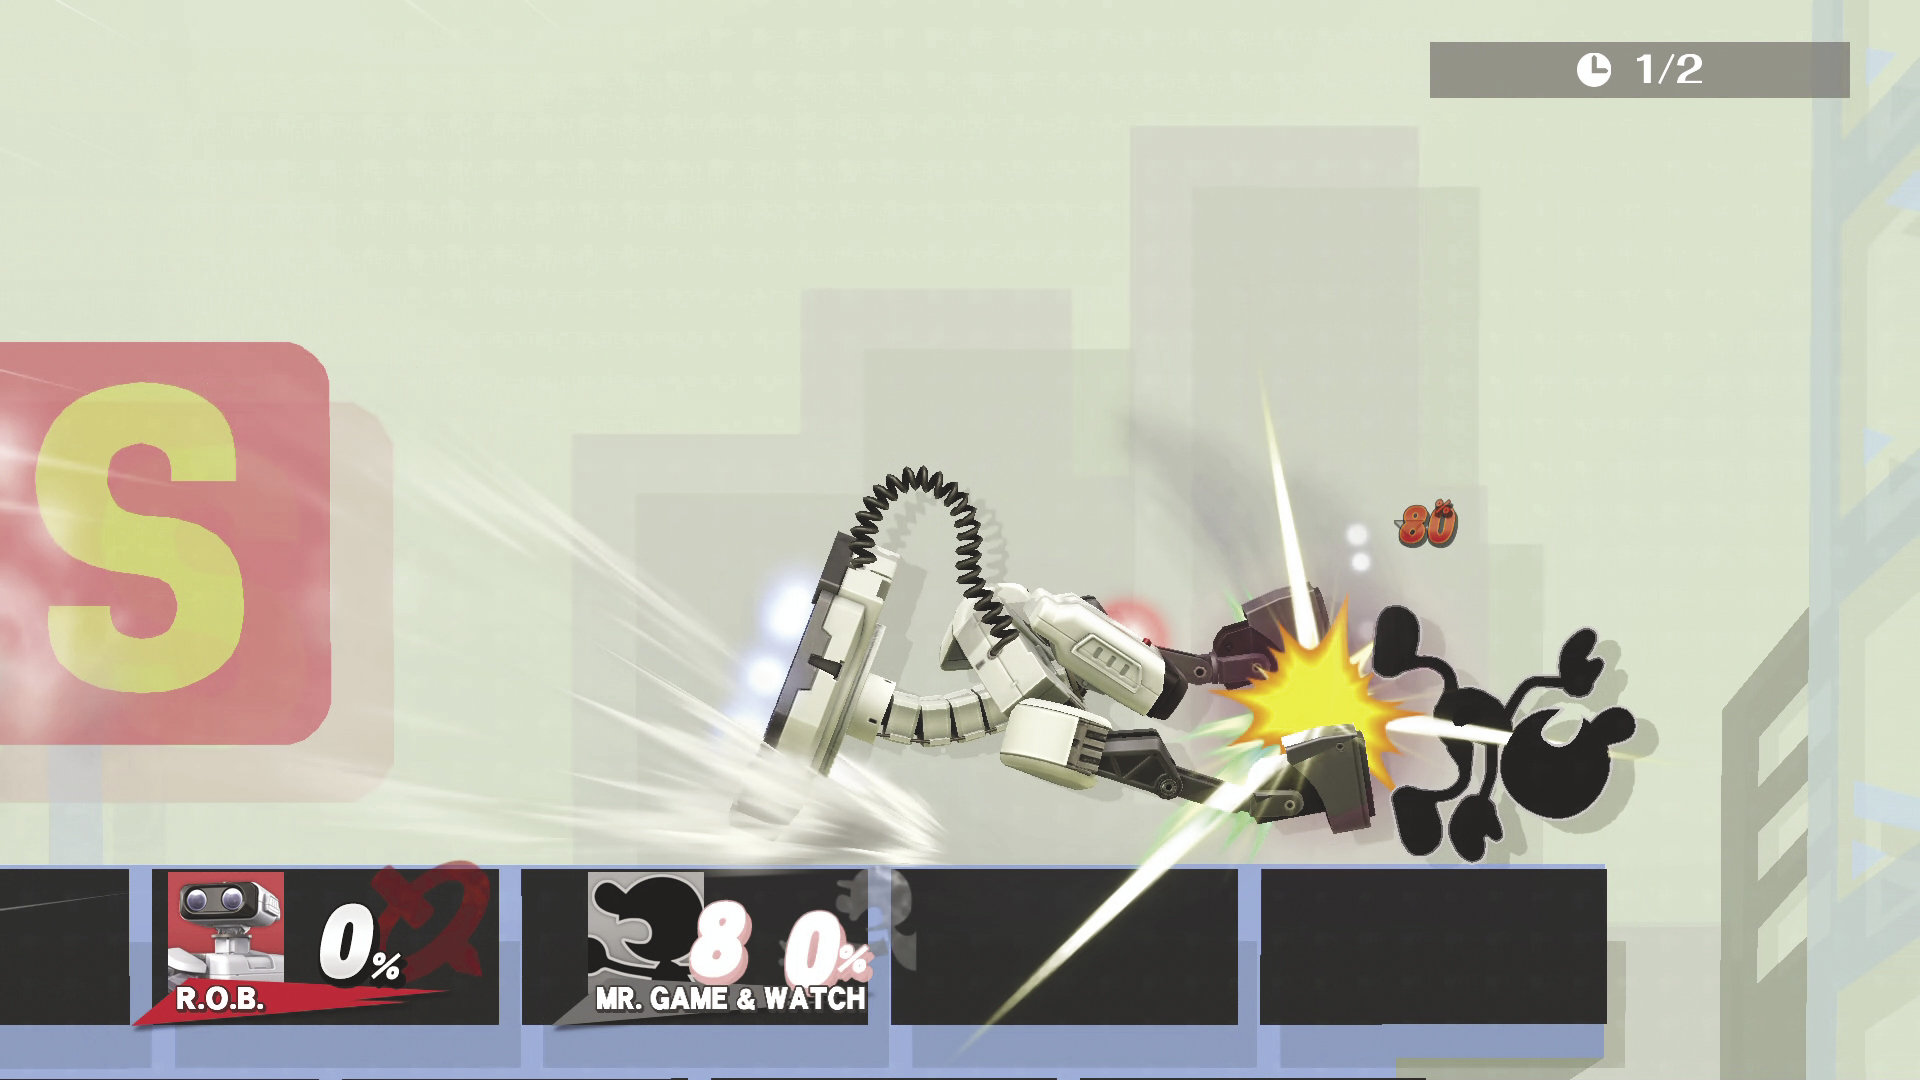
Dash Attack DAMAGE 7%
R.O.B. rolls on forward then suddenly strikes downward with both arms.
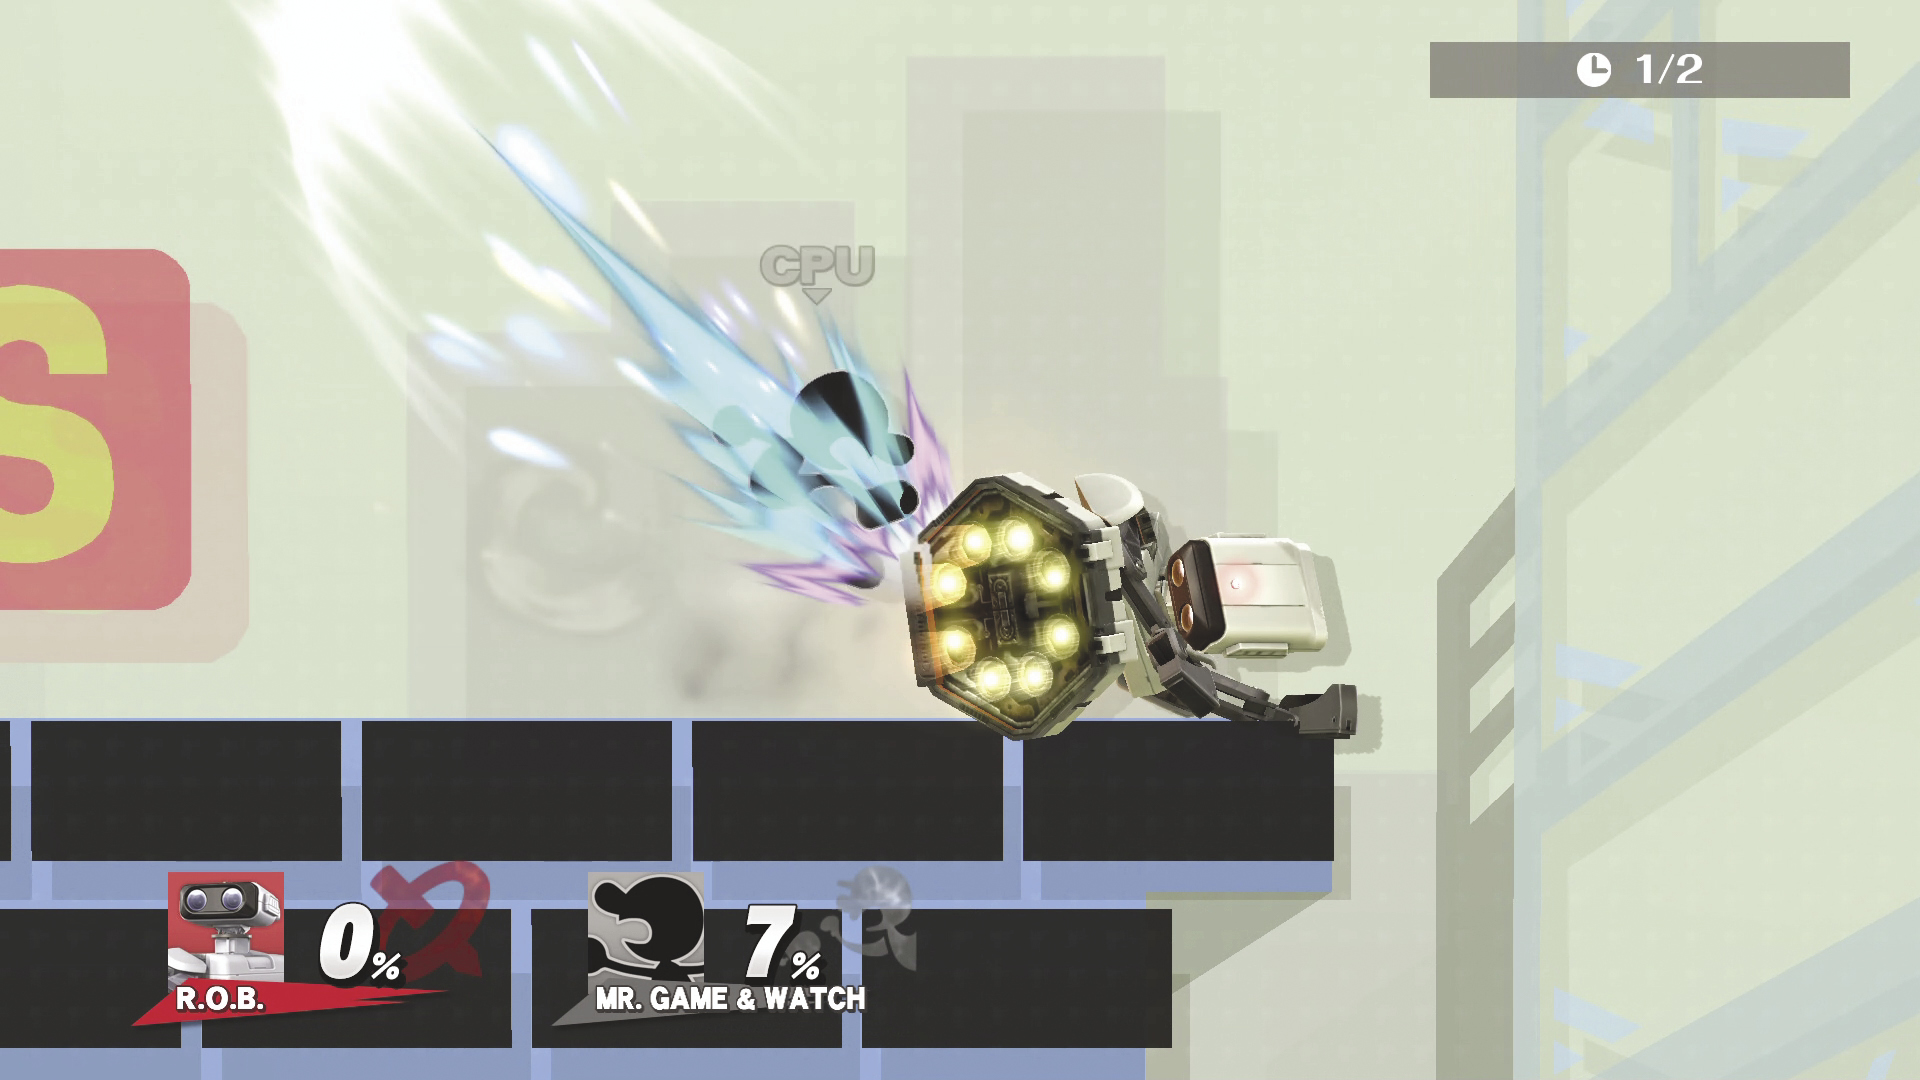
Edge Attack
R.O.B. pulls himself up and swings his rocket base at the opponent.
Air Attacks
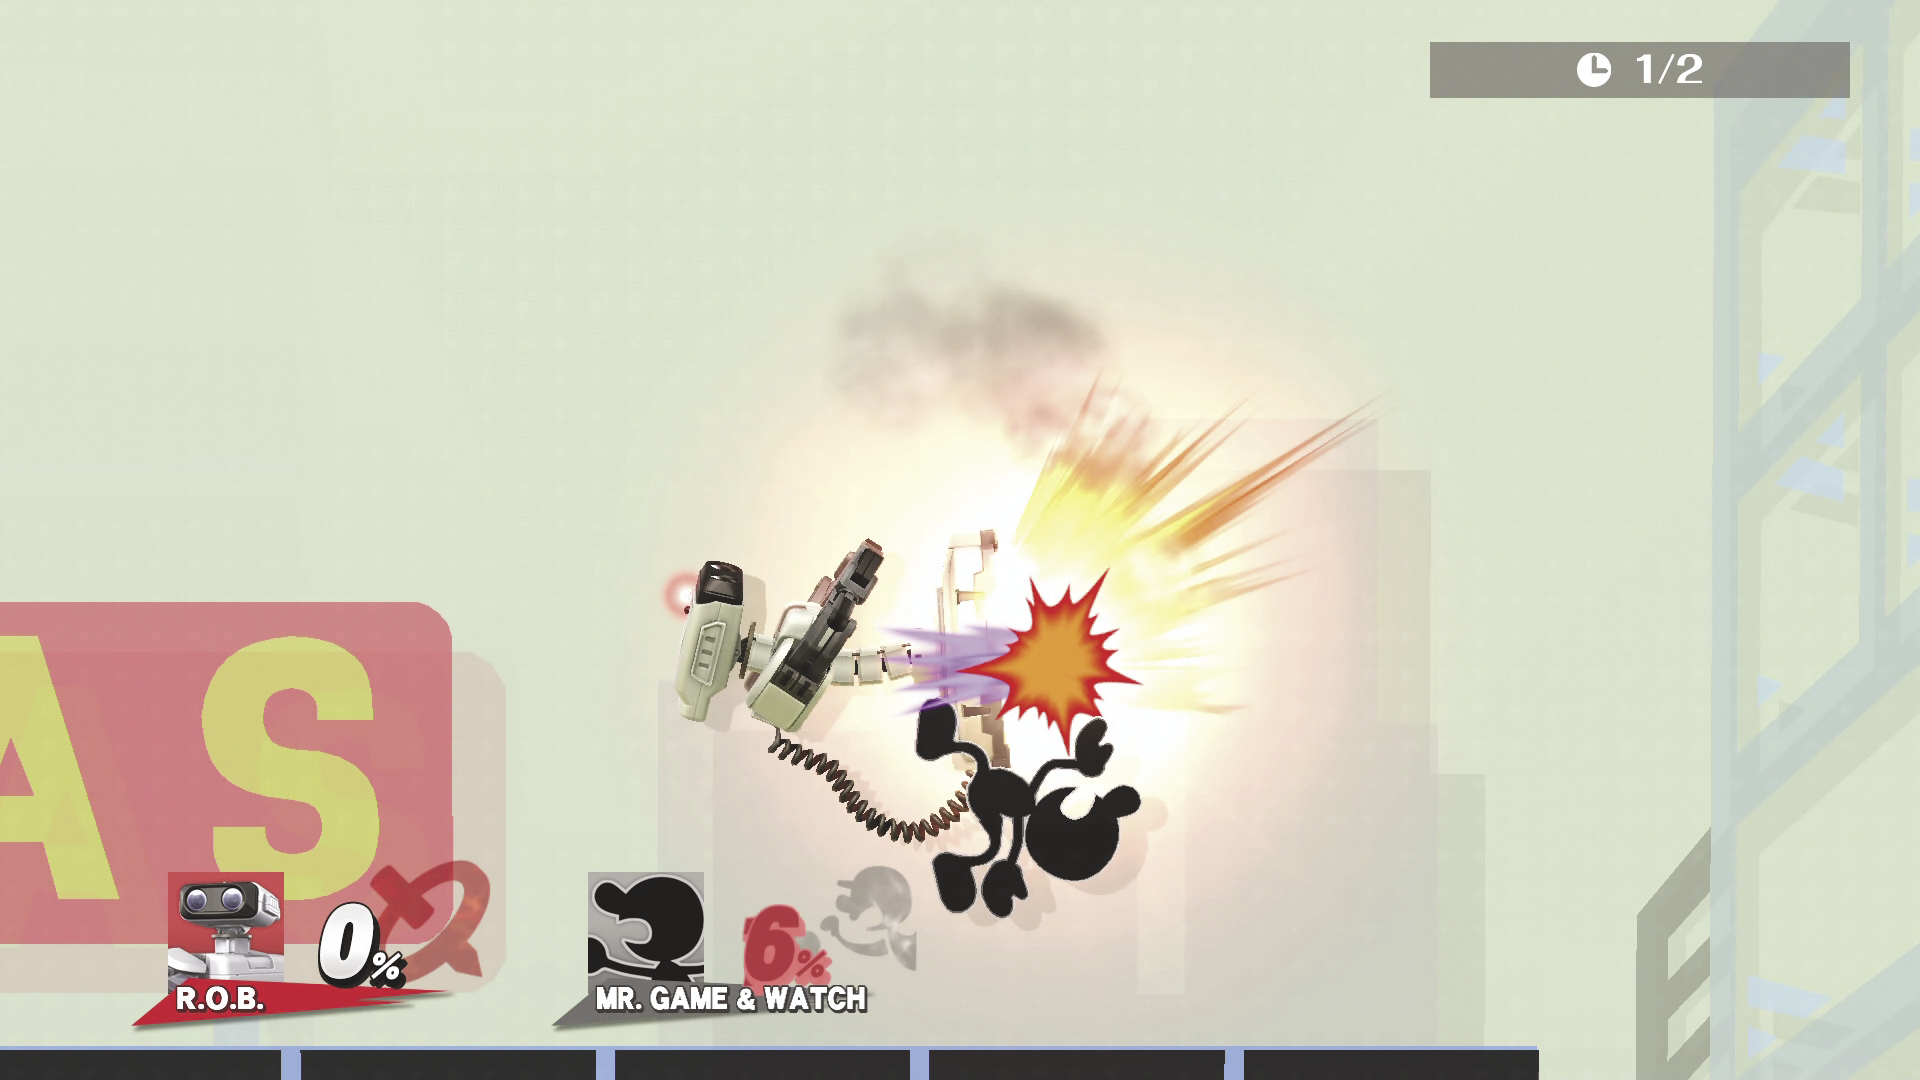
Neutral Air Attack DAMAGE 6~8%
R.O.B. uses his rocket base to blast himself around in this strong front-flip attack.
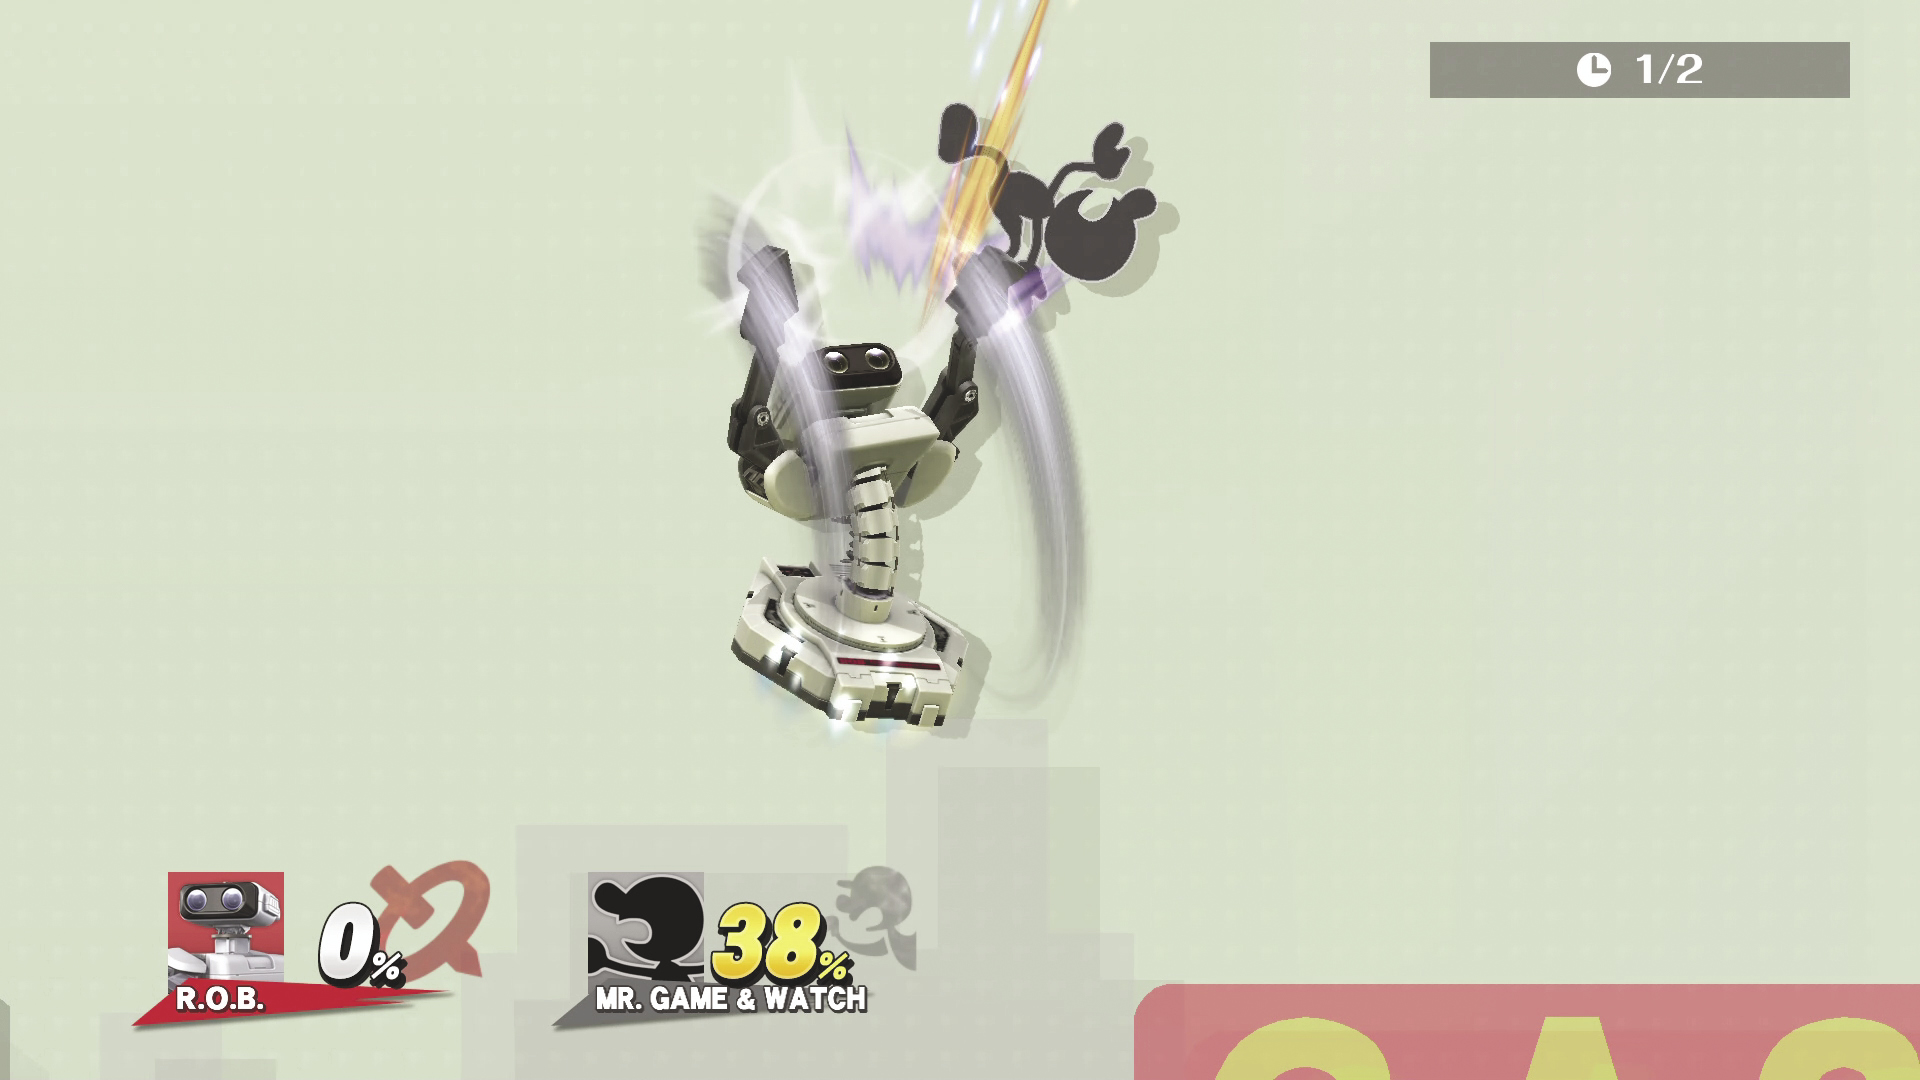
Up Air Attack DAMAGE 1.5~4% MAX DAMAGE 10% : 5 Hits
Using his robotic joints, R.O.B. spins his arms rapidly upward, striking opponents multiple times. The last hit launches the highest vertically.
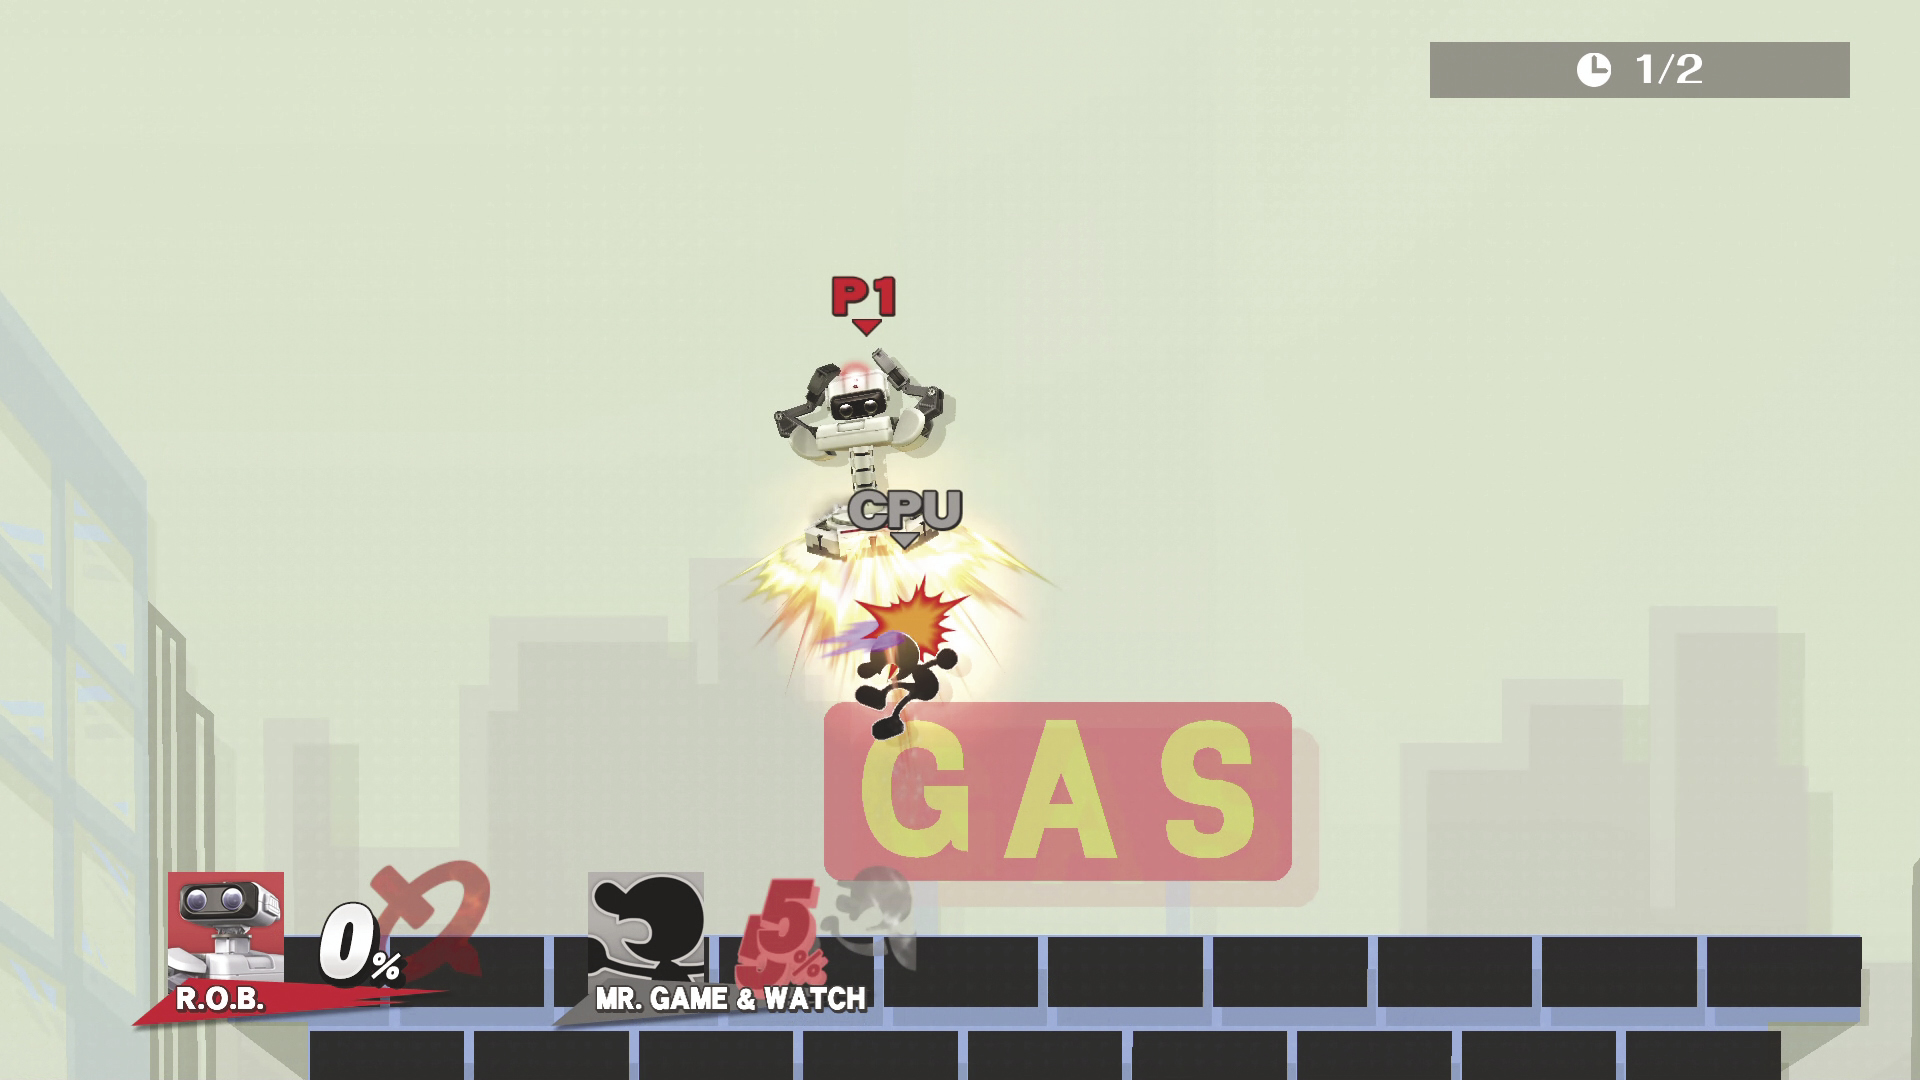
Down Air Attack DAMAGE 6~12%
R.O.B. shoots the burners on his rocket base to hit opponents from above. This can also meteor smash opponents.
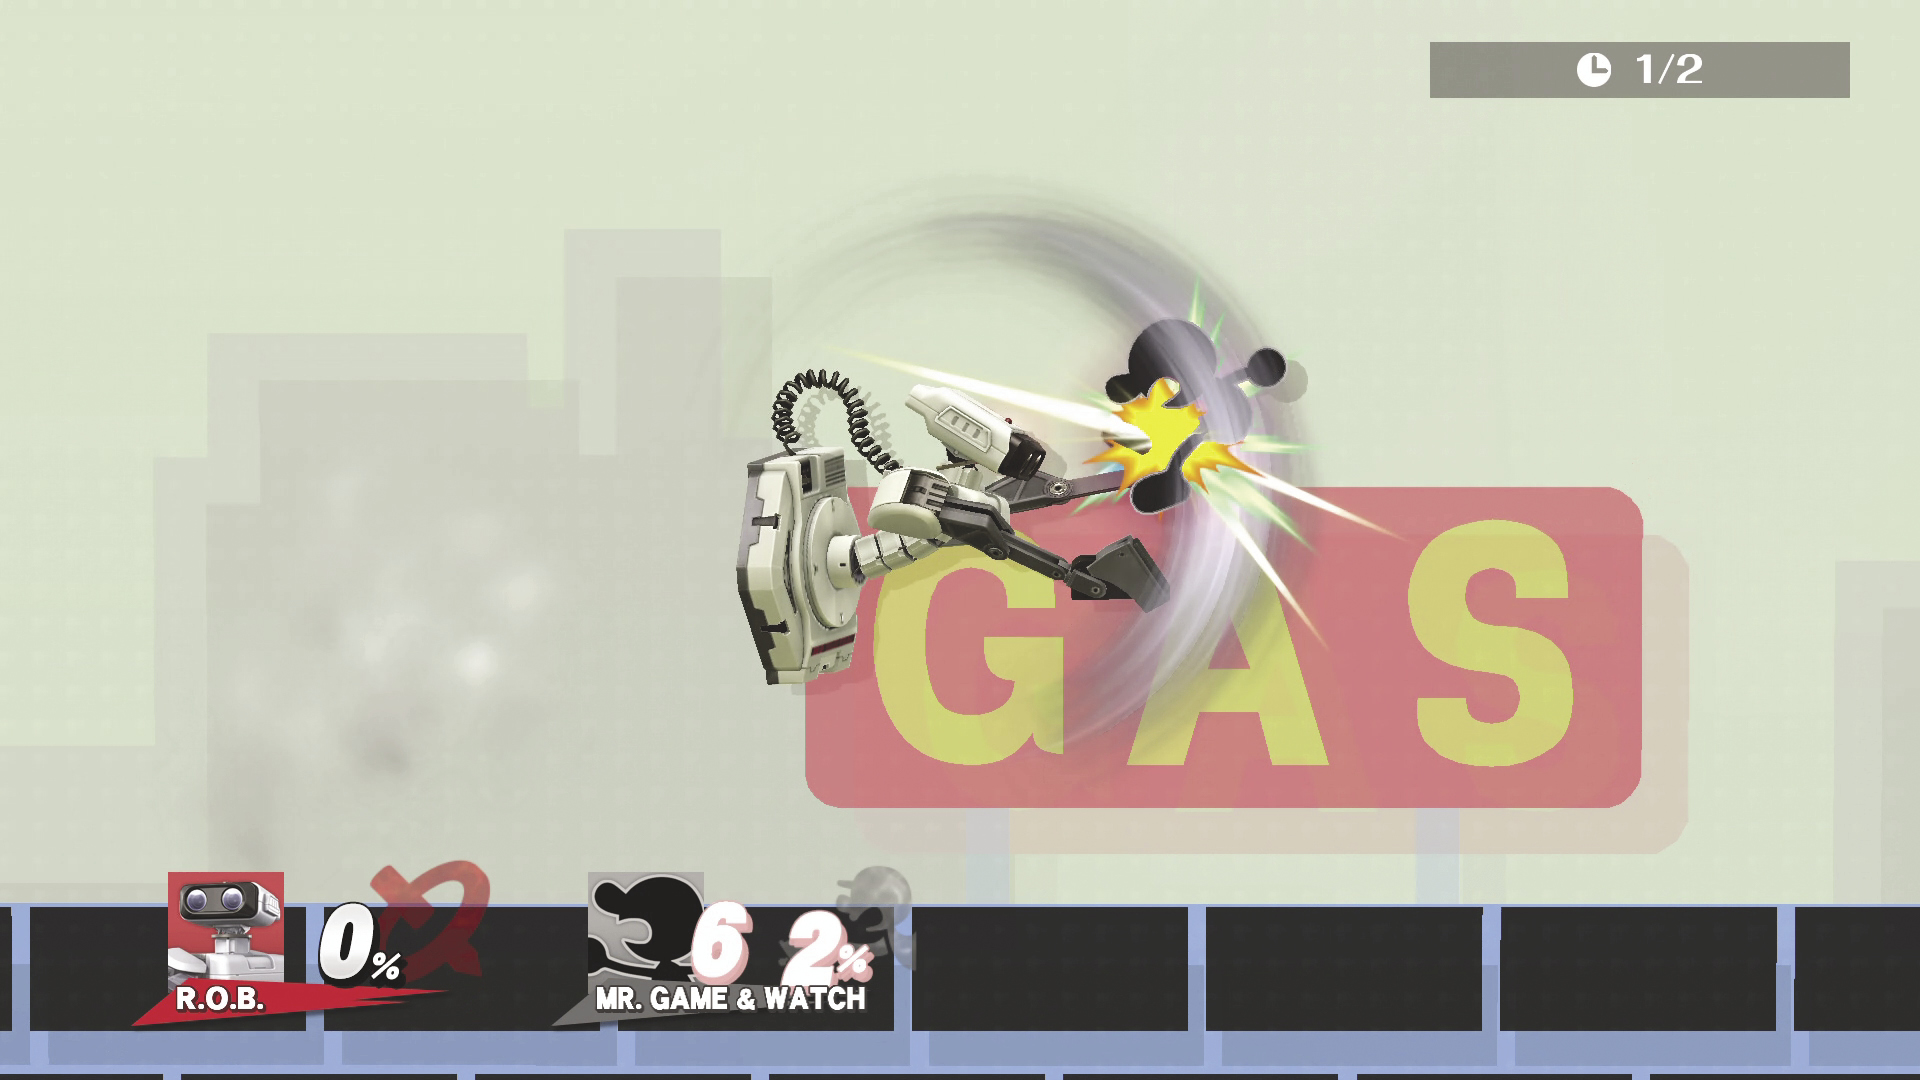
Forward Air Attack DAMAGE 7%
R.O.B. swings both arms forward in a clobbering downward strike that knocks opponents diagonally away.
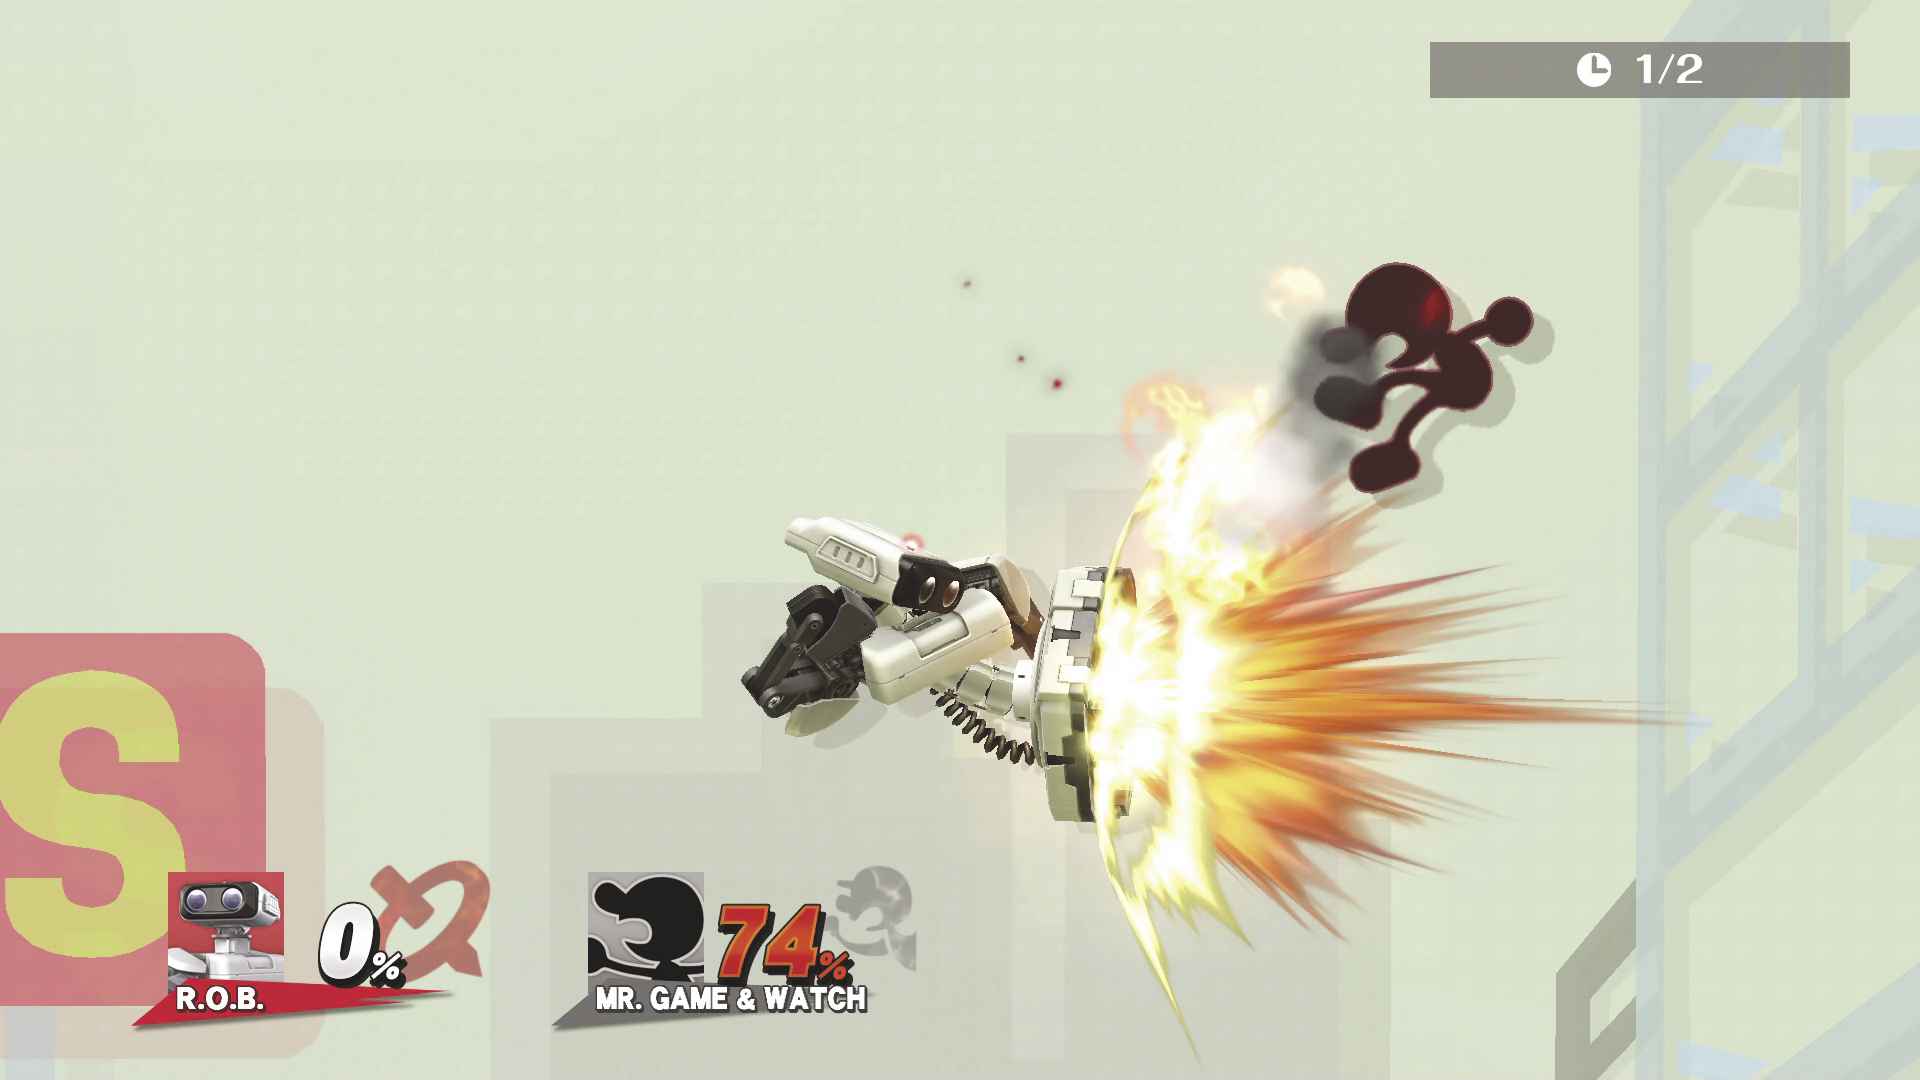
Back Air Attack DAMAGE 4.5~12%
R.O.B. briefly tucks in before extending and exploding the blaster on his rocket base behind him. Note that using this attack boosts R.O.B. forward.
Special Attacks
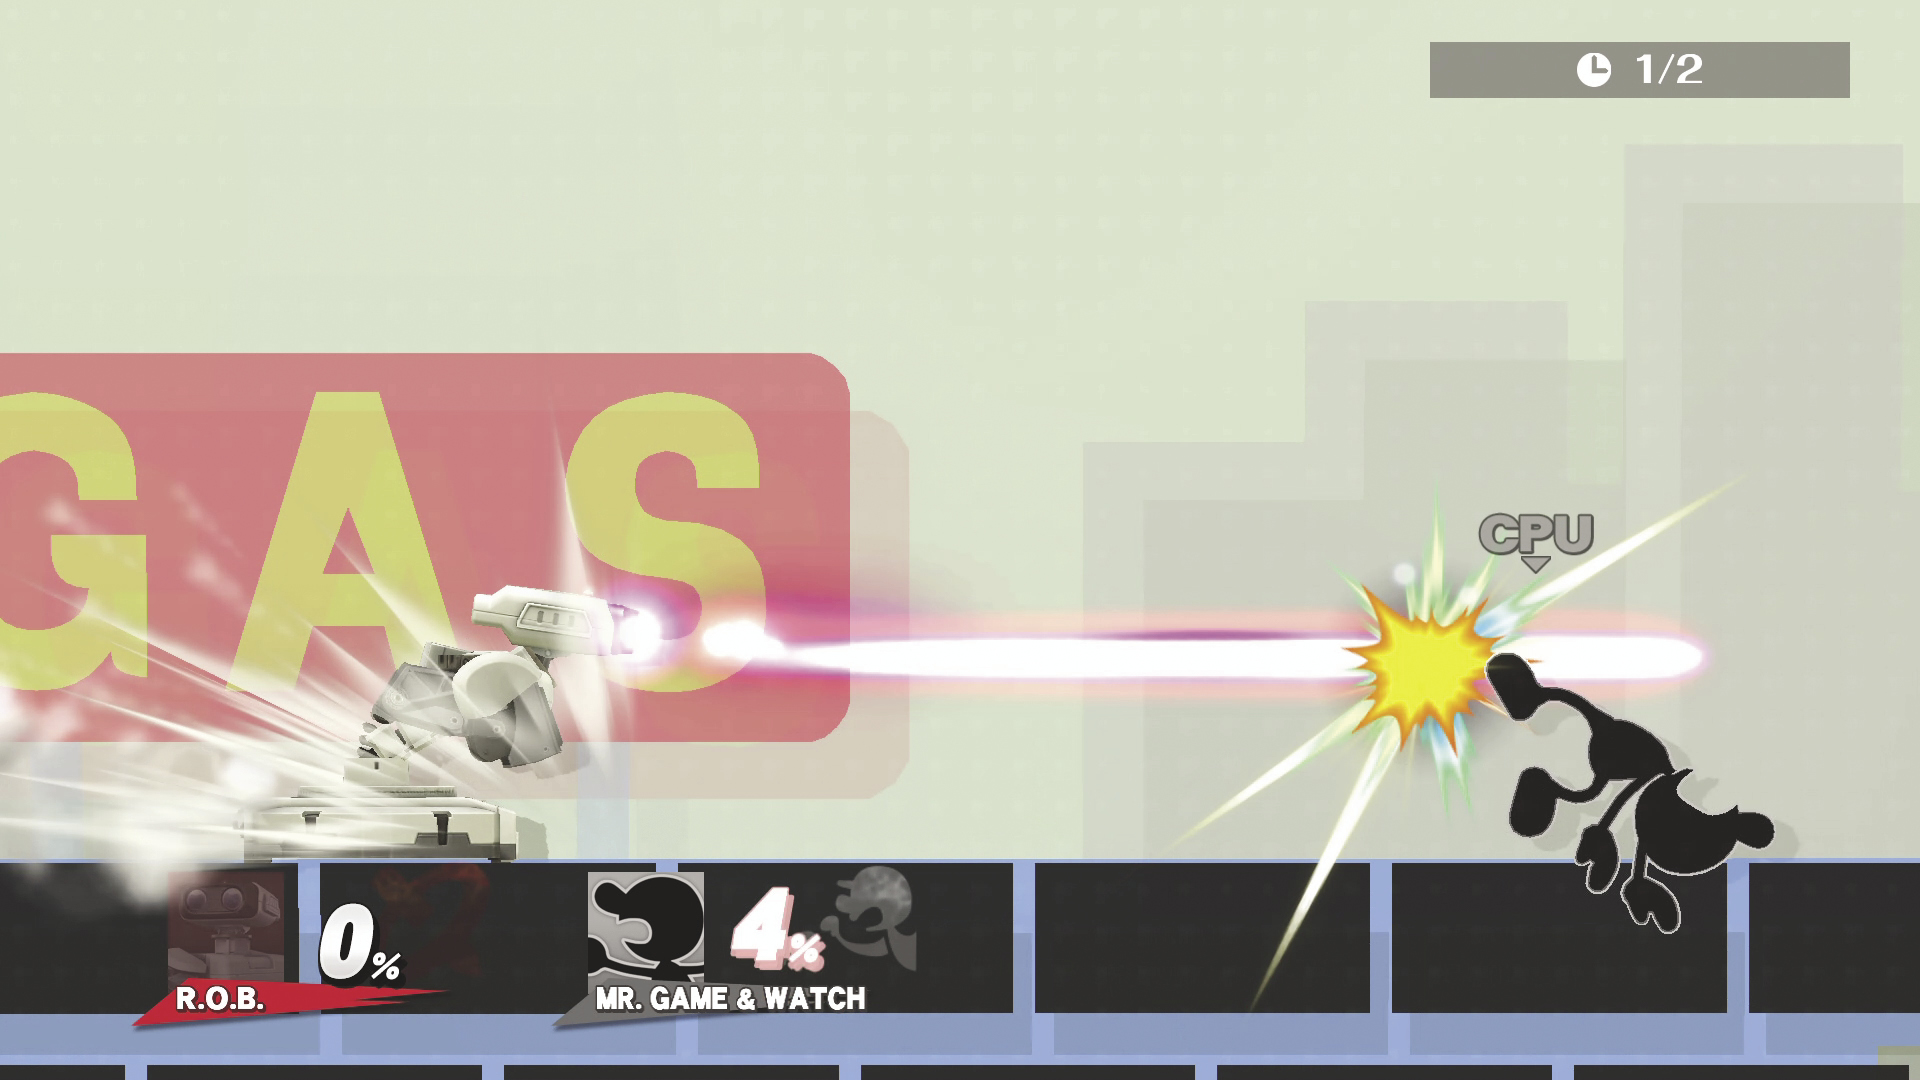
Robo Beam (Neutral Special)
NO CHARGE 4.5~7% MAX DAMAGE 11.5% : 2 Hits
FULL CHARGE 7~10% MAX DAMAGE 17% : 2 HitsMISFIRE 7%
R.O.B. fires a laser beam from his eyes. This beam can be angled up or down and can bounce off the floor. After using the beam, you need time to recharge before it regains its full range. R.O.B.’s charge level is indicated by the flashing light on top of his head. Once the light is pulsating, you can fire a massive beam for more DAMAGE.
Wide-Angle Beam
NO CHARGE 3.5~7% MAX DAMAGE 10.5% : 2 Hits
FULL CHARGE 7~8% MAX DAMAGE 15% : 2 Hits MISFIRE 7%
This beam can be aimed in a much wider range, but the DAMAGE is a little bit lower. Charging up between levels is slightly faster, as is the beam itself.
Infinite Robo Beam
NO CHARGE 2~4% MAX DAMAGE 7% : 2 Hits
FULL CHARGE 4~10% MAX DAMAGE 14% : 2 Hits
This laser beam never runs out of charge, so you can keep firing it. The range is shorter, the DAMAGE is lower, and you can’t change the angle of the shot as much. This version does not bounce off the floor, and it doesn’t pierce opponents like the regular version. The laser itself is a bit slower, and it takes longer to charge to maximum.
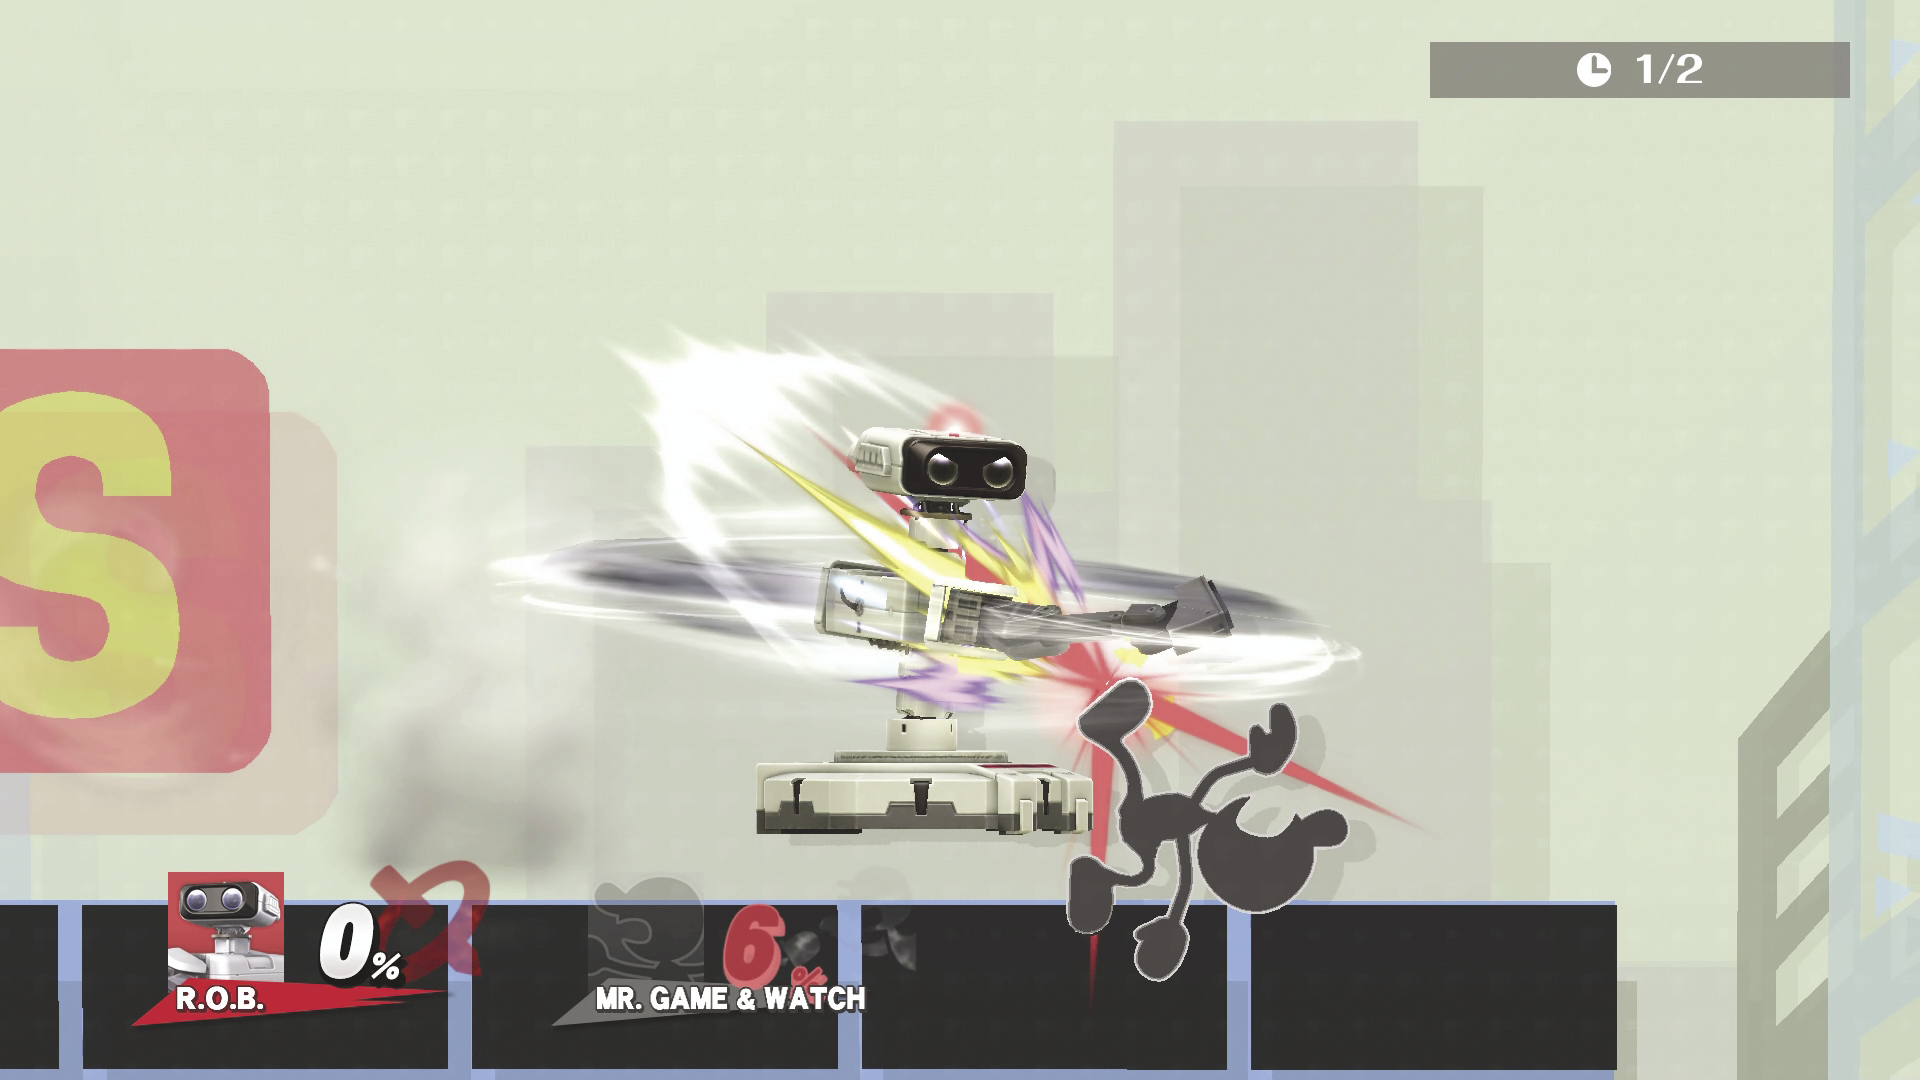
Arm Rotor (Side Special) DAMAGE 0.7~3% MAX DAMAGE 13.4% : 12 Hits
R.O.B. spins with arms outstretched and finishes with an uppercut attack. You can tilt and control R.O.B. left or right during this attack. While spinning, this also reflects projectiles. Repeatedly hit the button for extra hits, DAMAGE, and farther travel distance.
Reflector Arm DAMAGE 2~4%
R.O.B. spins with a longer arm extension, making it easier to reflect projectiles. You can’t move R.O.B. left or right during this version of the move. This version starts reflecting much sooner than other versions.
Backward Arm Rotor DAMAGE 2~4% MAX DAMAGE 6% : 2 Hits
R.O.B. spins opponents around while knocking them away. The duration of this attack is less, and it doesn’t slow your fall when used in the air.
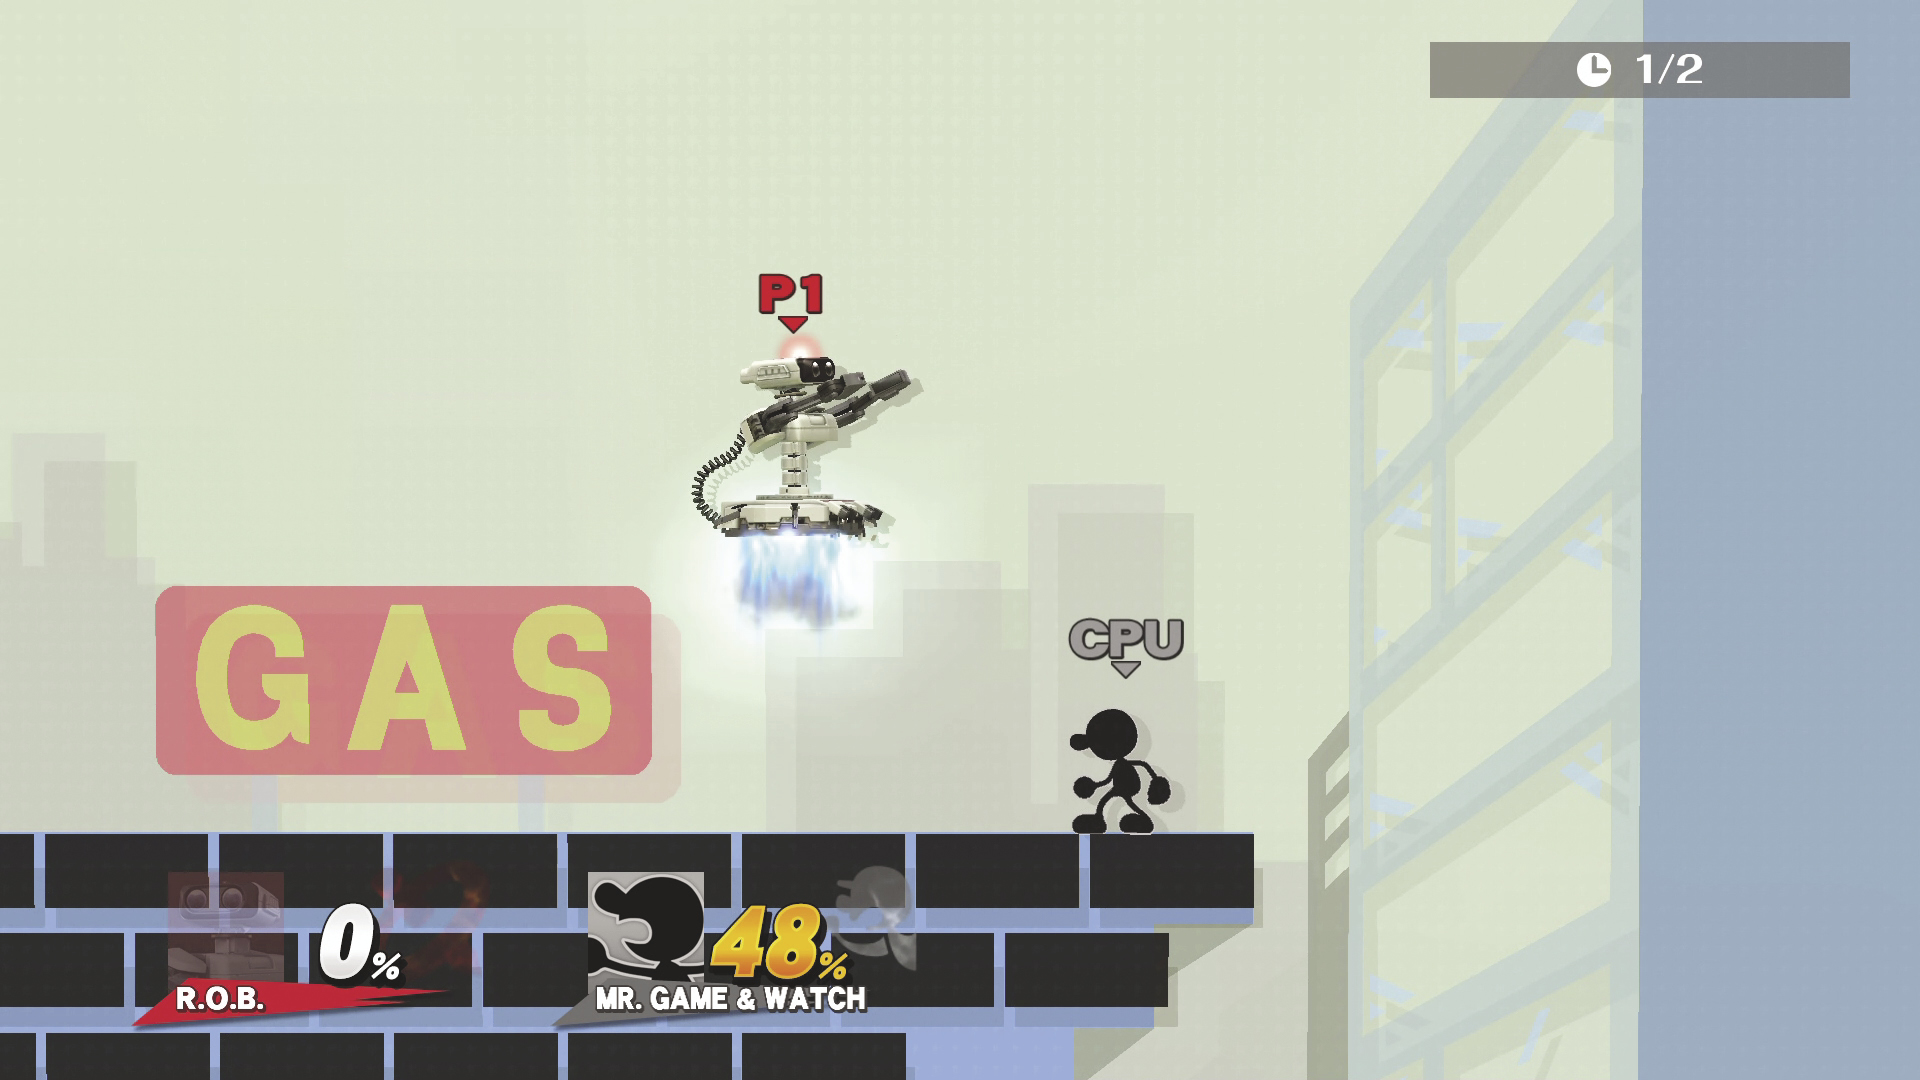
Robo Burner (UpSpecial) DAMAGE 0%
Use your thrusters to boost up into the air. After the initial input, tap Up to use the thrusters intermittently and hover until your next attack. R.O.B. can only use Robo Burner when he has enough fuel, and fuel only recharges when R.O.B. is on the ground.
Robo Rocket DAMAGE 5~8%
This variation launches you high into the air, but you can’t hover. Fuel recharges much faster when you are on the ground. After takeoff, there is a small attack from the thrusters that has a meteor effect on it.
High-Speed Burner DAMAGE 0%
This allows R.O.B. to fly around much quicker, but it uses up fuel extremely fast. This means the amount of time you can spend flying is considerably less.
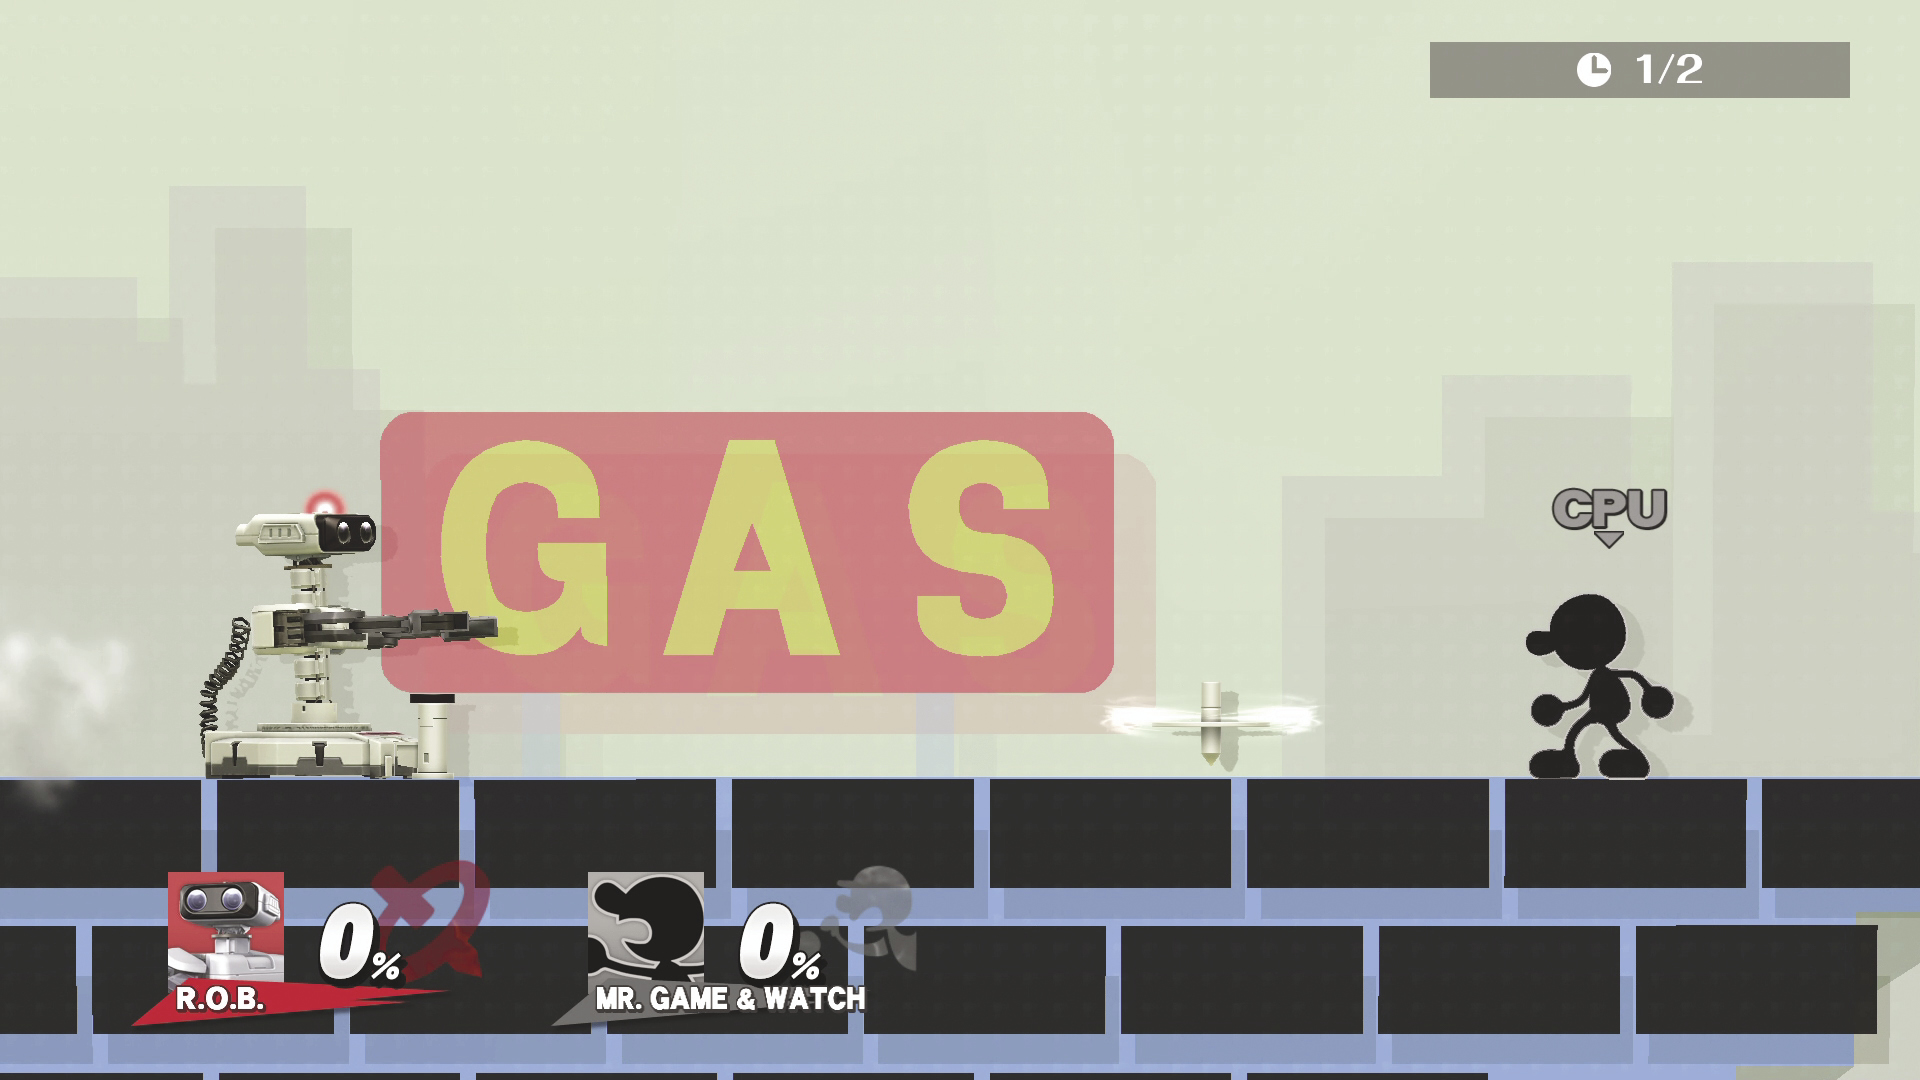
Gyro (Down Special) NO CHARGE 2~8.3% FULL CHARGE 2~10.7%
R.O.B. fires a spinning top at the opponent. The longer you charge the button, the stronger the top is if it hits an opponent, the farther it flies, and the longer it spins. The spinning top can be picked up to throw. Only one top can be out at a time.
Fire Gyro NO CHARGE 3~9.2% FULL CHARGE 3~12.4%
R.O.B. fires a flaming top that deals more DAMAGE but doesn’t travel as far. The top’s spin time is also shorter than normal.
Slip Gyro NO CHARGE 1~4.8% MAX DAMAGE 5.8% : 2 Hits FULL CHARGE 1~7% MAX DAMAGE 10% : 2 Hits
R.O.B. fires a slippery top that slides around instead of bouncing. The speed of the top is much faster, and if it hits an opponent, it continues sliding.
| Reflection Data | Startup | Duration | DAMAGE Scaling | Speed Scaling |
|---|---|---|---|---|
| Arm Rotor | 16th frame | 30 frames | 1.5x | 1.3x |
| Reflector Arm | 9th frame | 20 frames | 1.8x | 1.5x |
| Backward Arm Rotor | 12th frame | 5 frames | 1.5x | 1.3x |
Final Smash
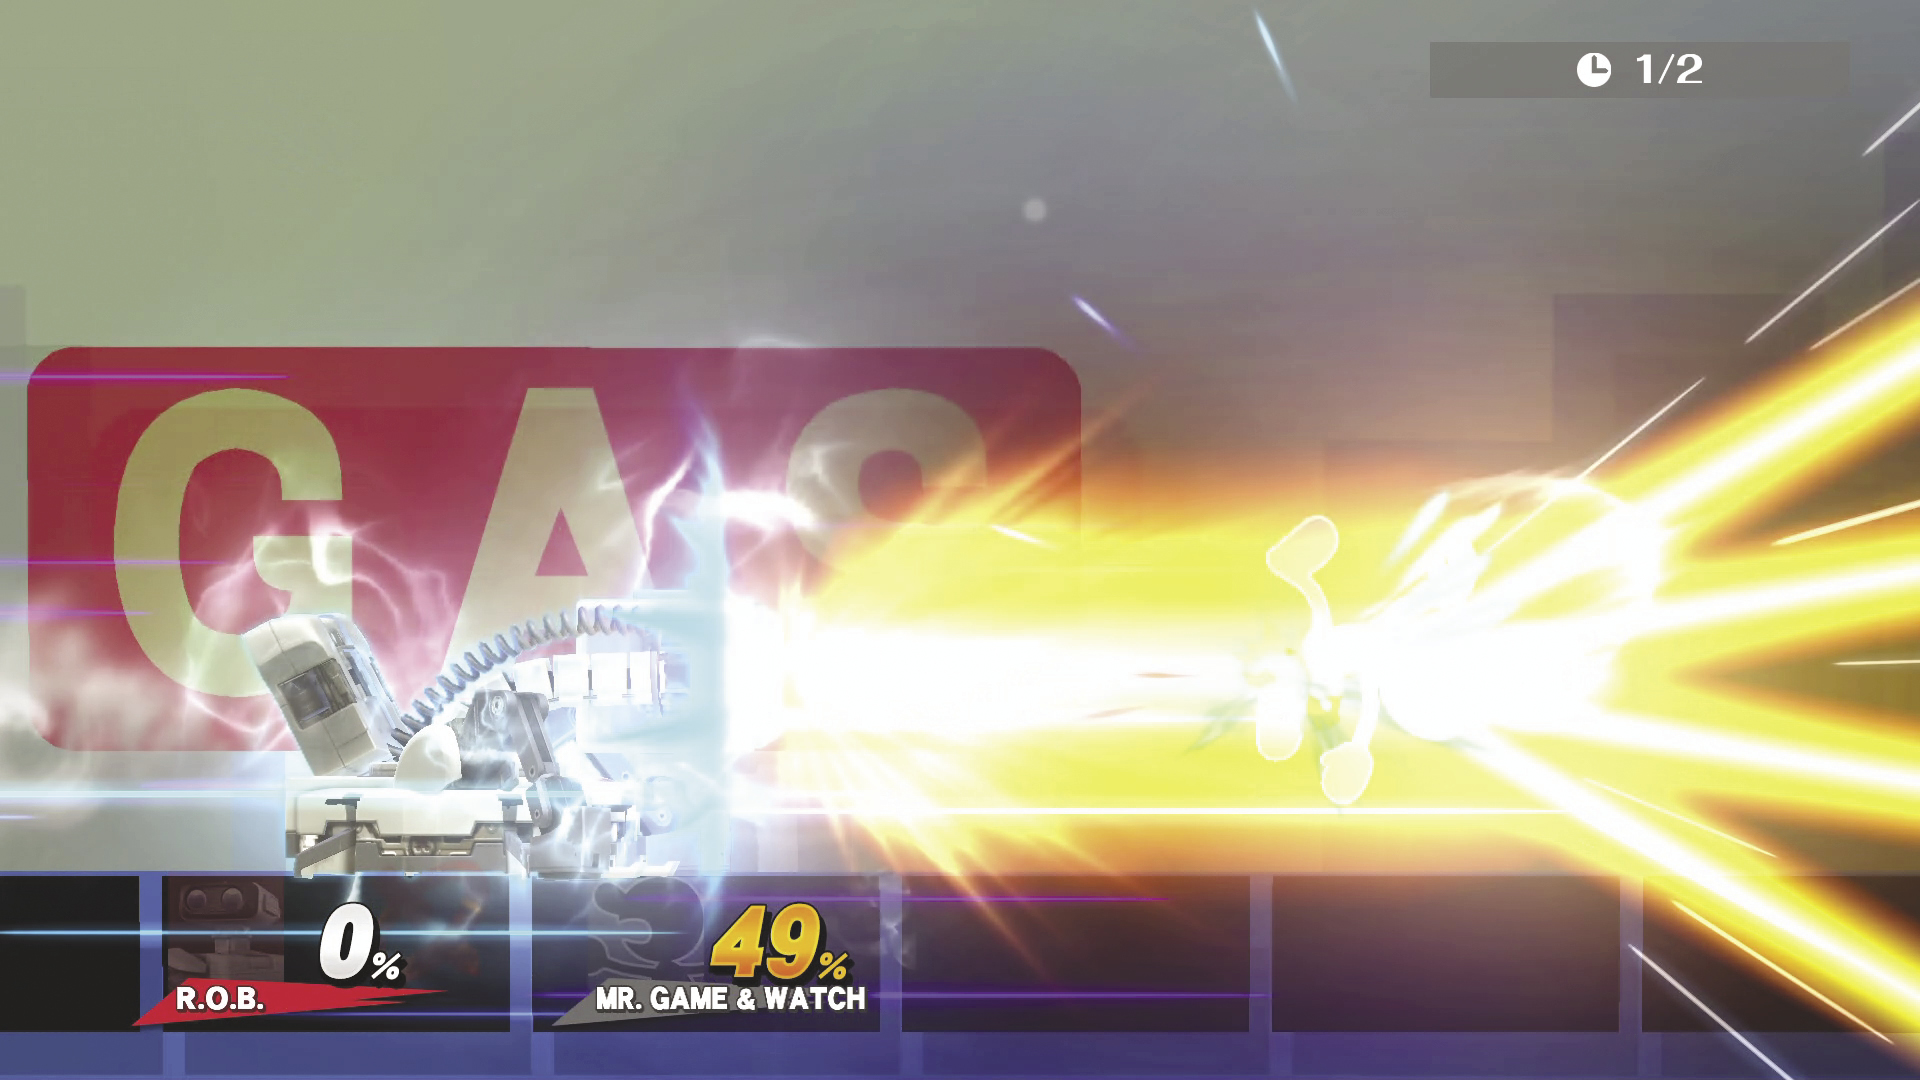
Super Diffusion Beam
Fires a huge beam that branches into four smaller beams at the end. You can slightly move the beams up or down. If an opponent is caught in one of the smaller beams, that opponent is sucked into the bigger beam. After the beam charges to max power, it fires an additional shot that has much more vertical range. For optimal DAMAGE, catch an opponent in the area where the beam branches. Doing so gets you 5–10% more DAMAGE.
Strategy
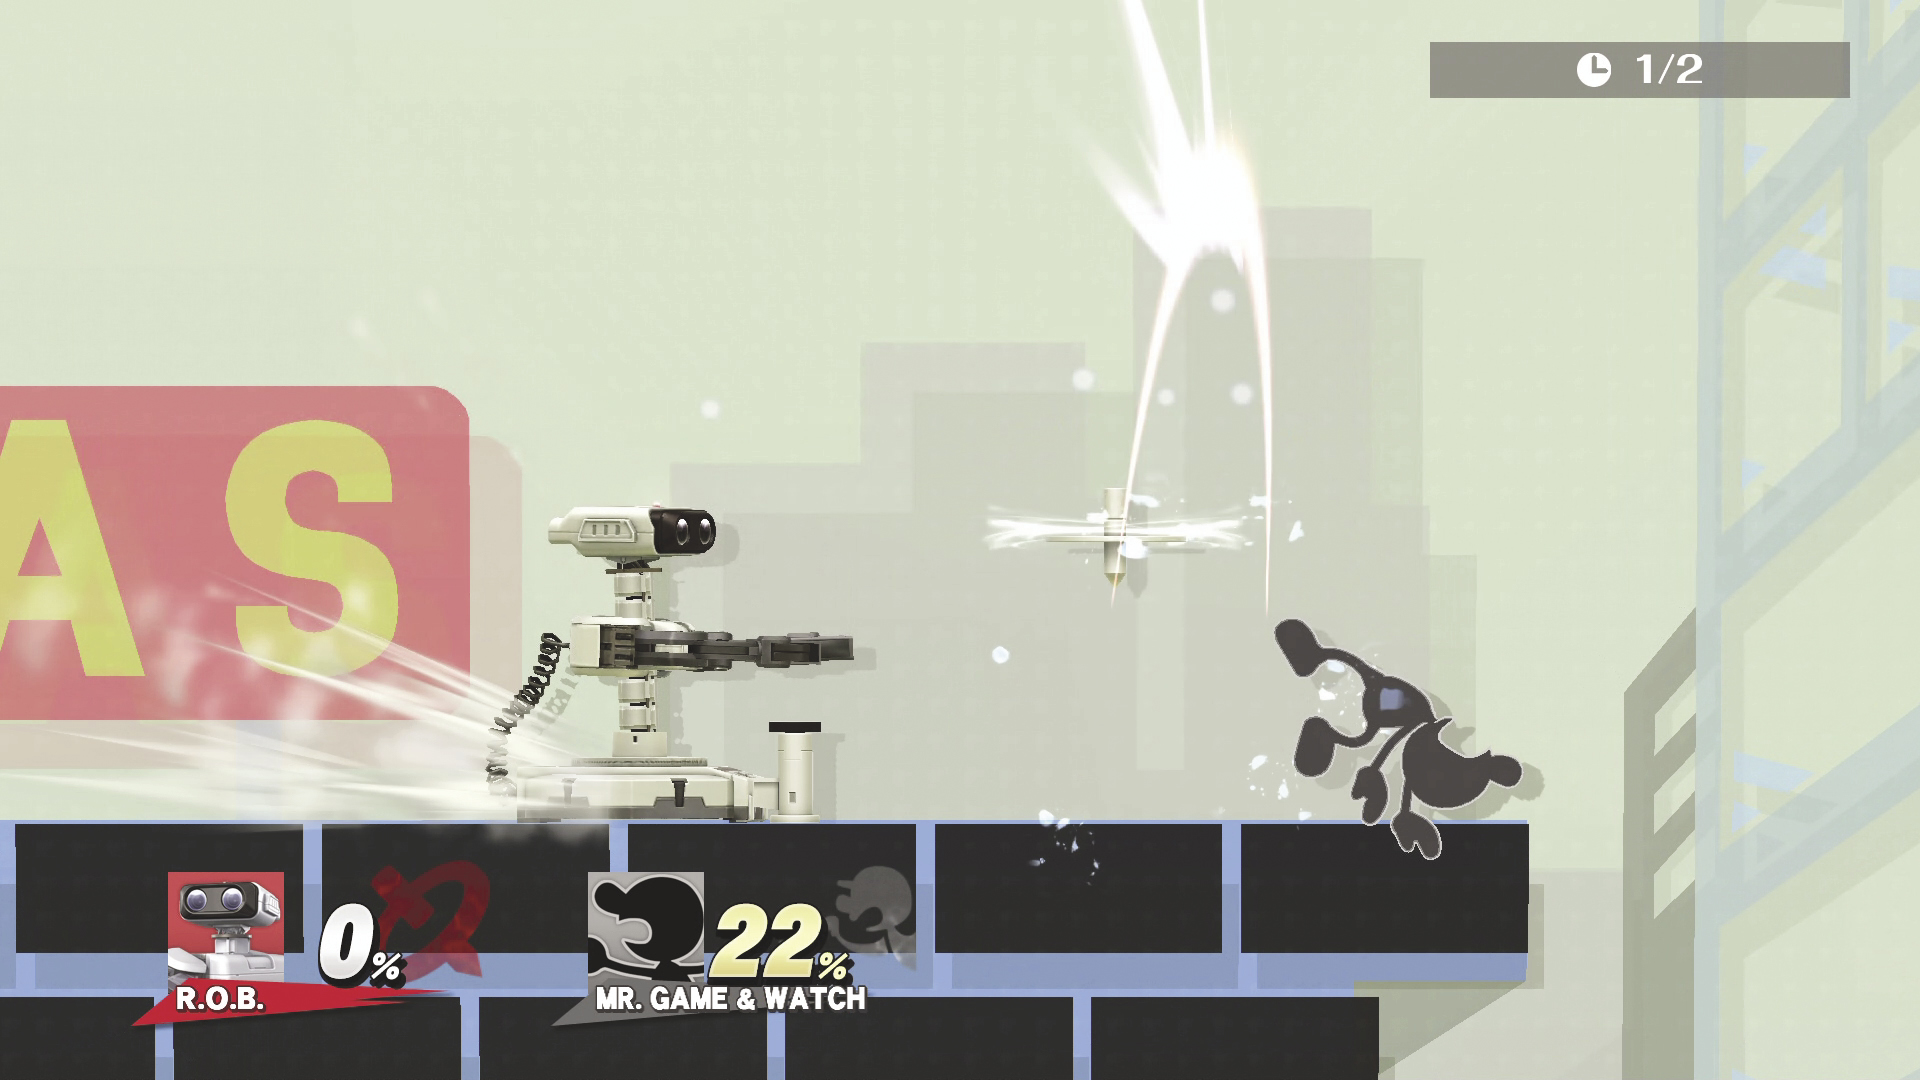
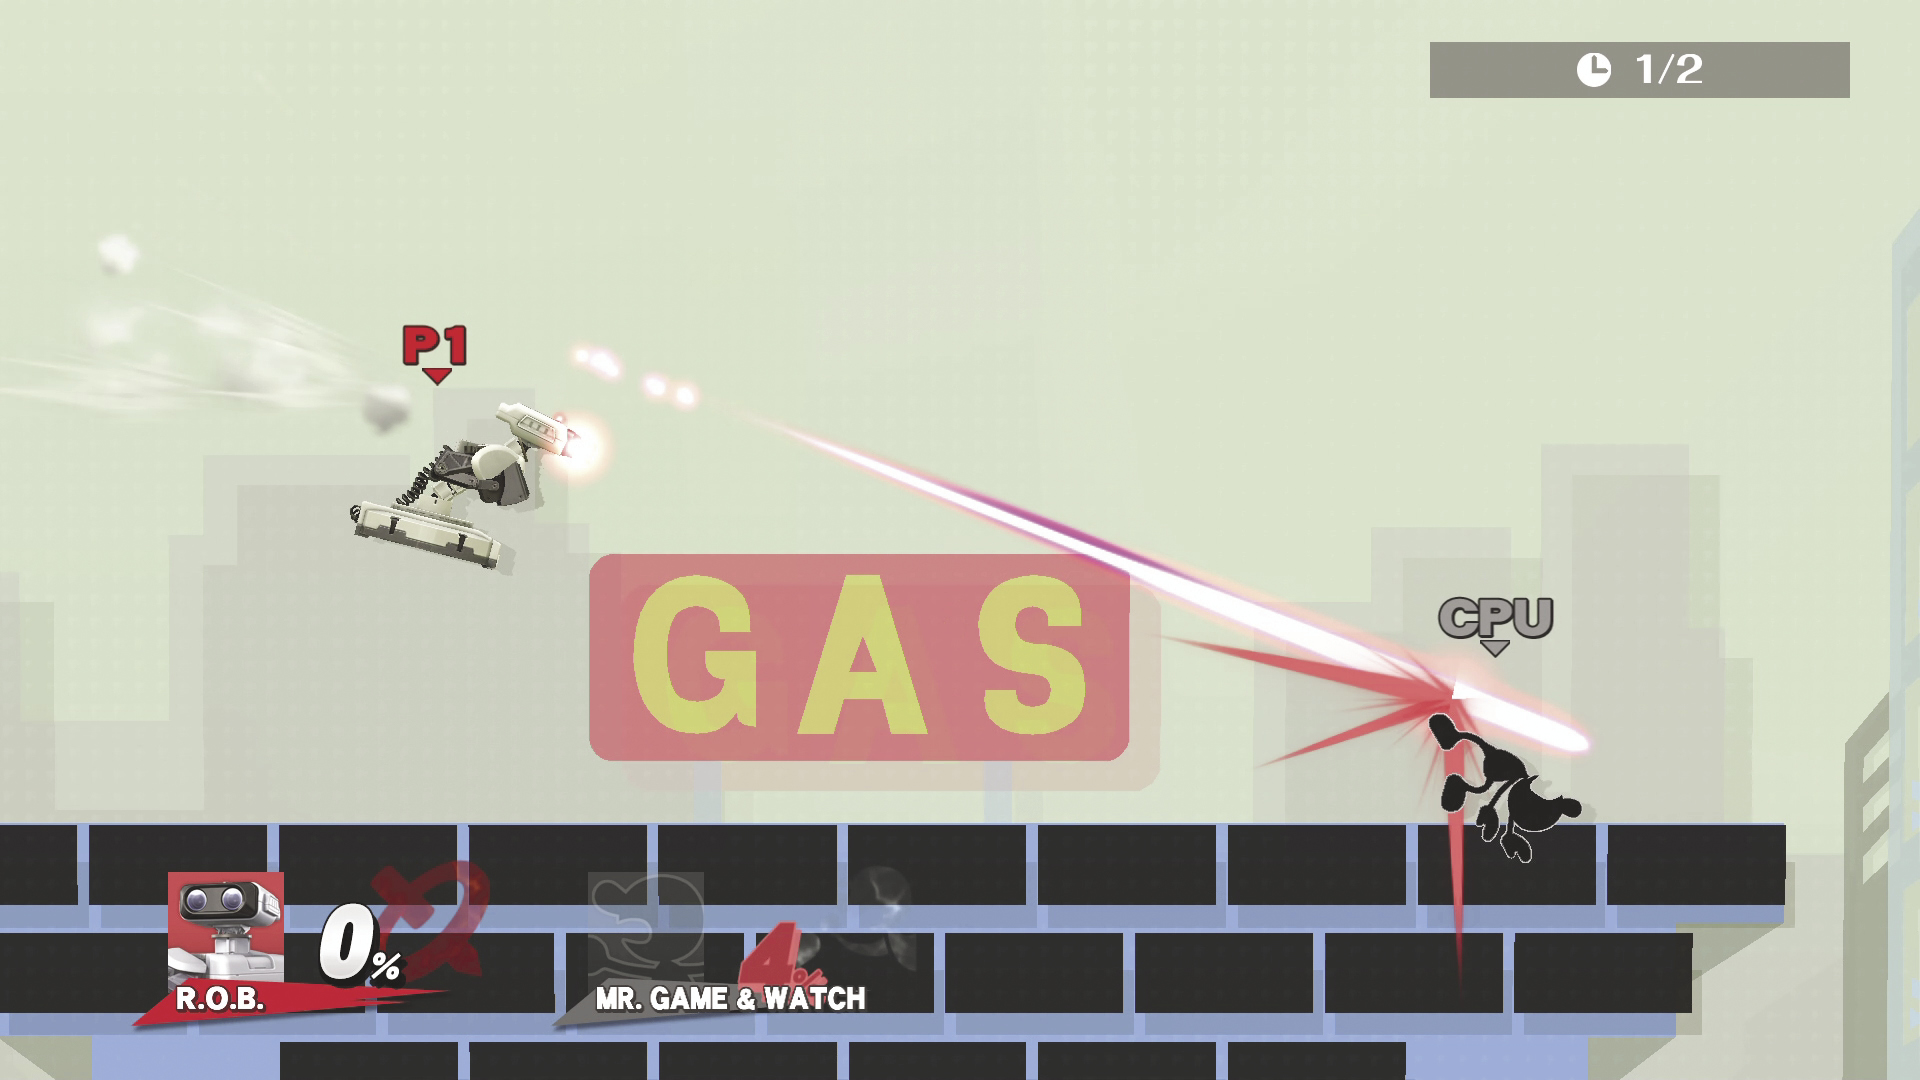
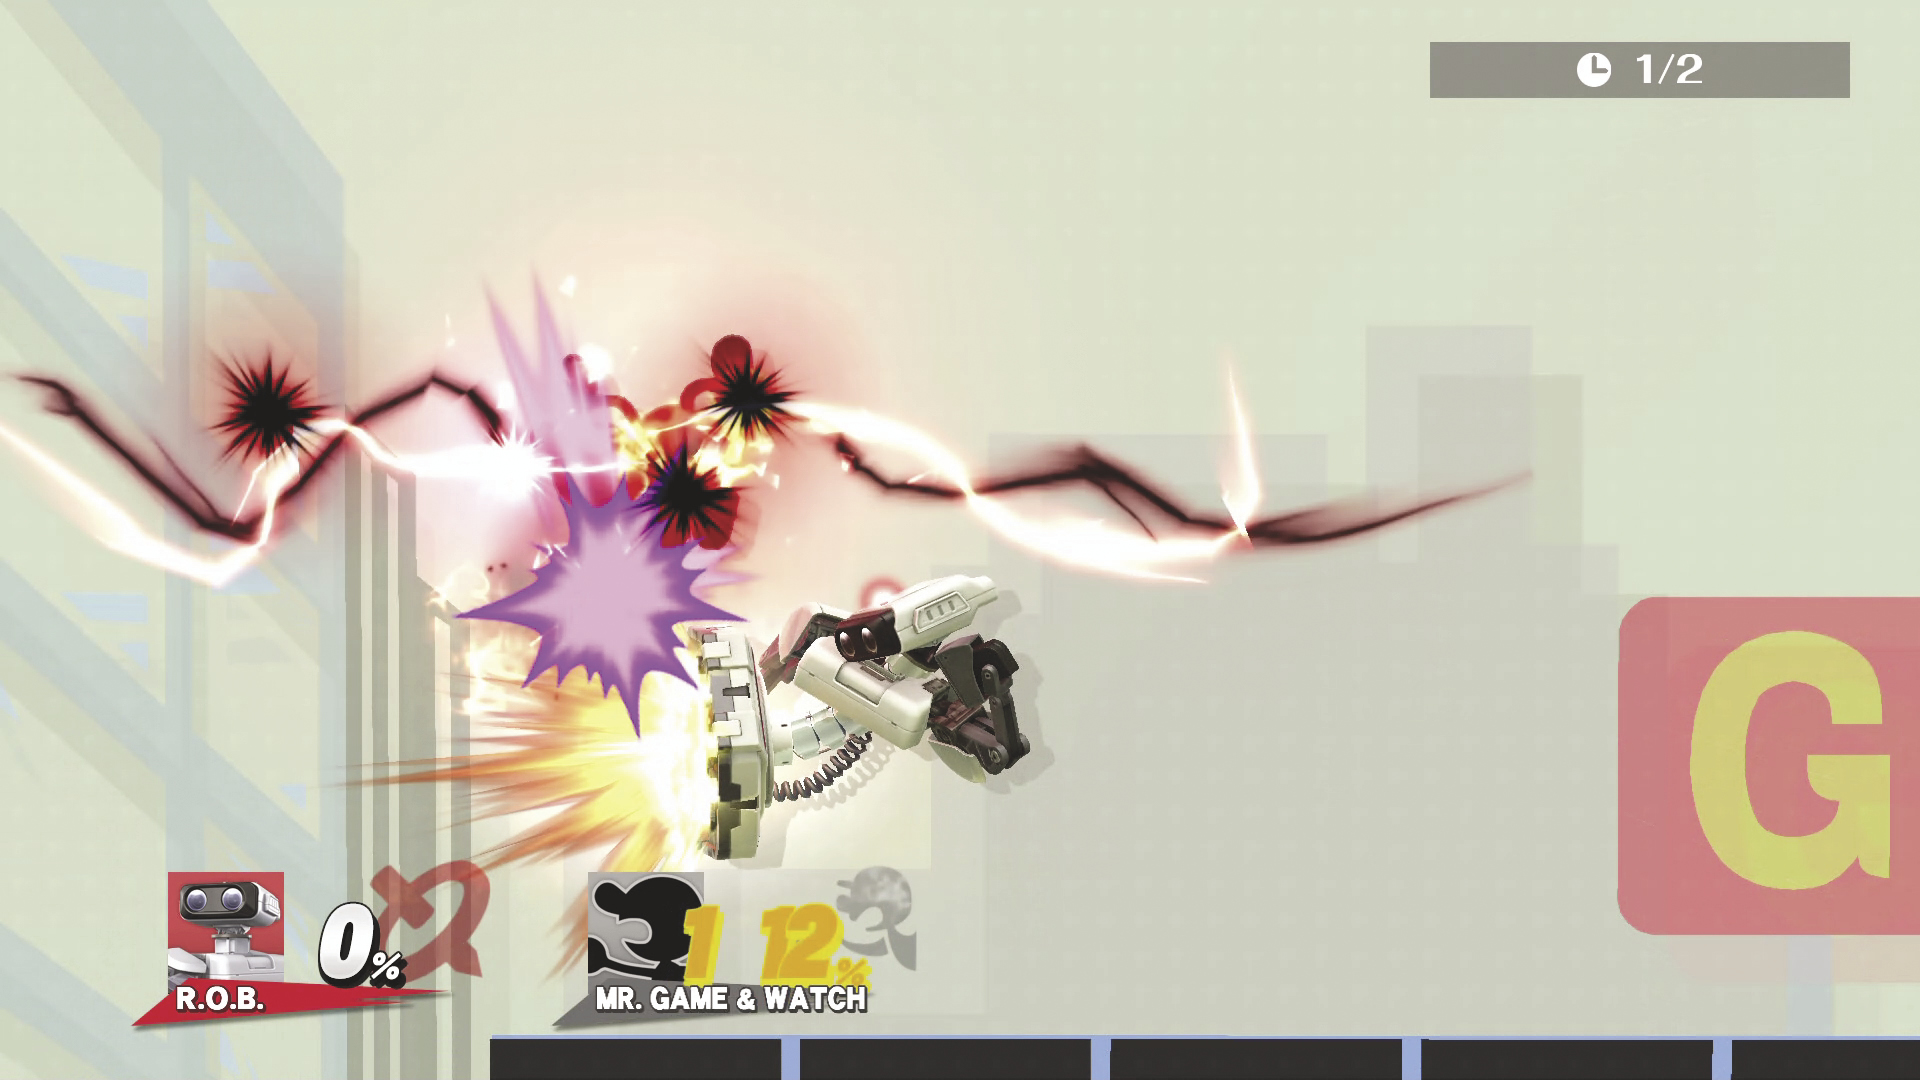
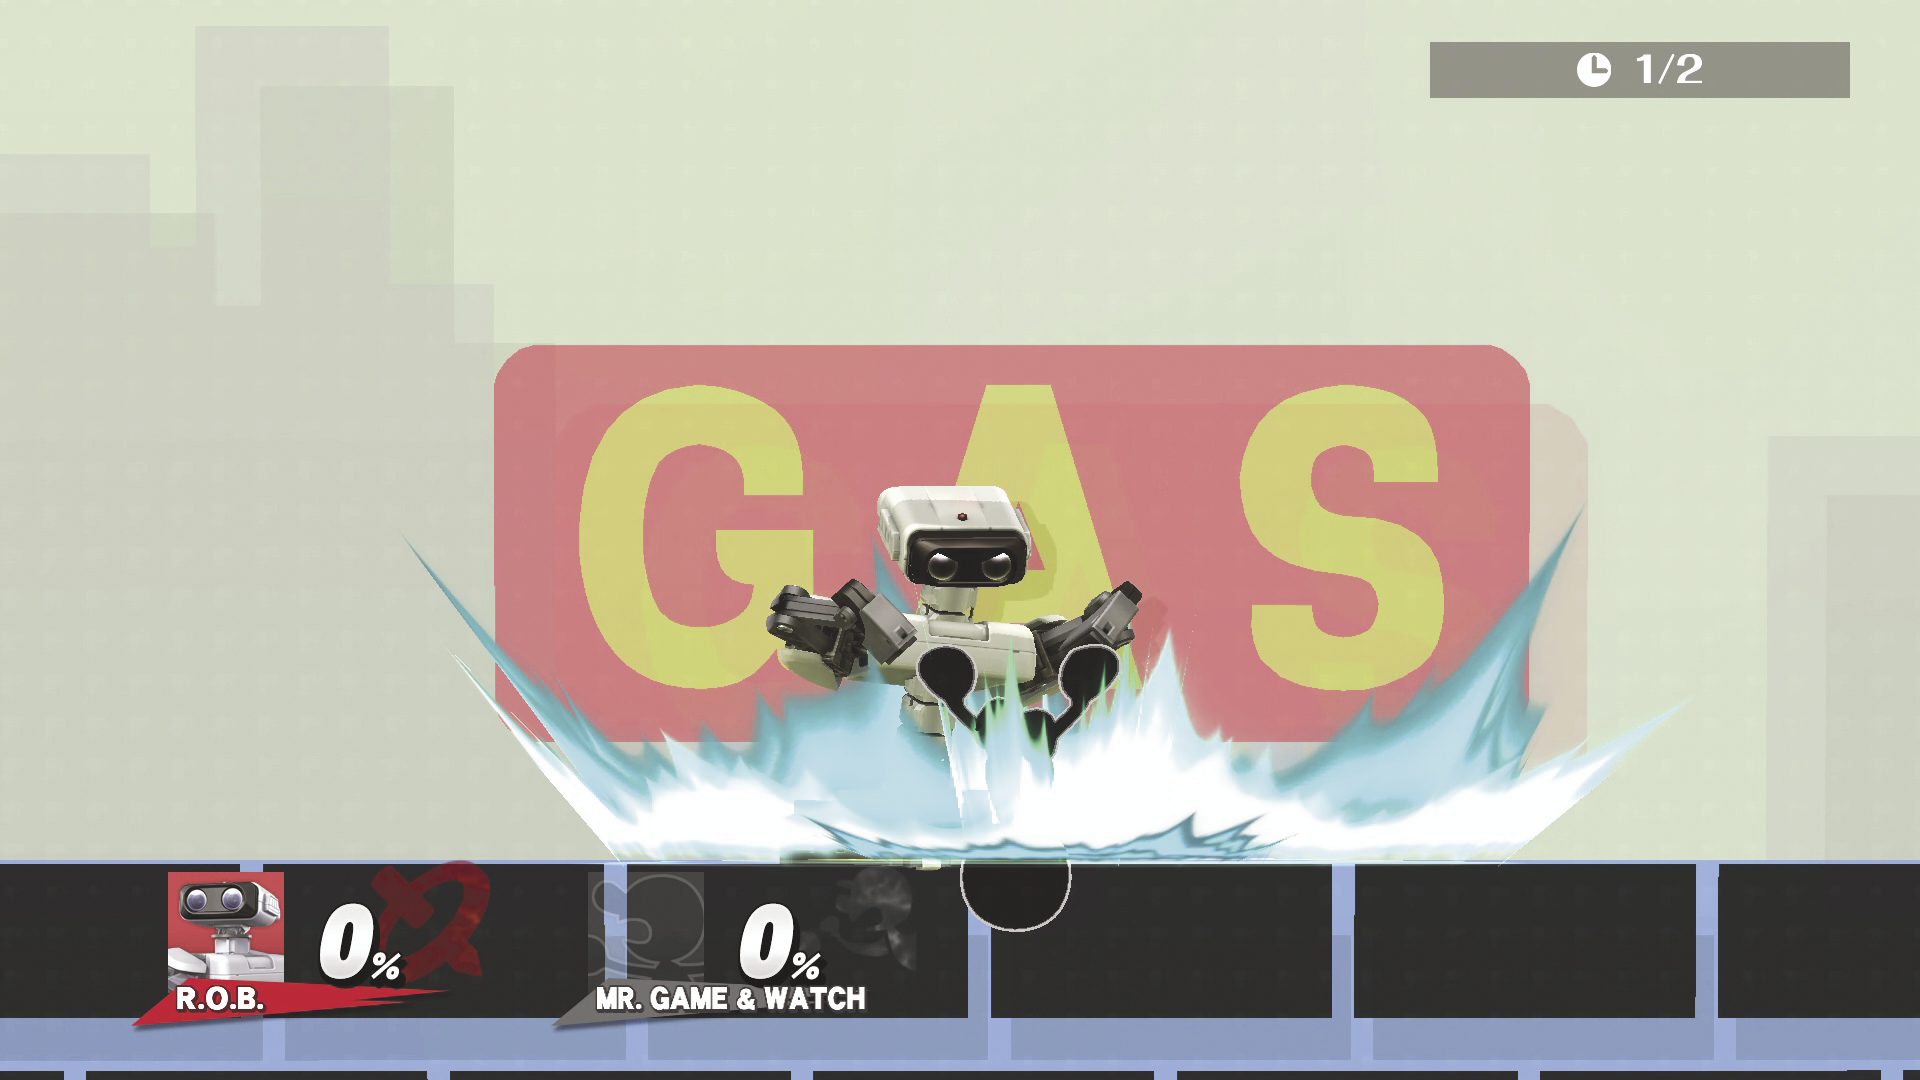
As a heavier character, R.O.B. has heavier attacks with slower startup in addition to a couple of strong projectiles to keep opponents at bay. His long robotic arms give him excellent range for his tilt attacks, Smash attacks, and Arm Rotor. While he has a good number of aerial attacks, his weakness is that his stronger options tend to start up slower. So, while he can do massive amounts of DAMAGE and blast opponents off-stage, it requires good timing and spacing. Given his heavy weight, he has fantastic recovery options with Robo Burner and his Back Air attack; however, Robo Burner’s duration shortens with consecutive uses, requiring recharge time in order to be most effective. His projectiles are useful and deal decent DAMAGE, but Robo Beam requires recharge time as well. As you can see, R.O.B. has a lot of great tools, but they generally have some sort of drawback. This means minimizing drawbacks and maximizing strengths is even more important to play R.O.B.
The Robo Beam is R.O.B.’s main projectile attack in which he fires a laser beam from his eyes. You need to pace yourself when using this attack because its strength lies in how long it’s not used. The LED flashing on R.O.B.’s head shows how far along he is in recharging the beam. When fully charged, the beam passes through other beams and projectiles, so use it whenever you have a good opportunity to land it. R.O.B.’s other projectile attack is his Gyro. Charging this attack allows you to throw it farther and allows the top to spin longer. You can cancel out of the charging animation while maintaining the charge by rolling, shielding, or grabbing. Attack opponents with this directly, or set it as a trap on-stage. If you try to use it again while it’s already out, R.O.B will go through an animation in which he tries to throw one out, leaving him vulnerable. Arm Rotor is a good tool to hit opponents multiple times with its long range, so use it to rack up DAMAGE on opponents. It can also be used to reflect projectiles, but the reflection window does not start up immediately, This comes in handy against projectile-heavy characters.
For KOs in the air, Back Air is your best choice. Down Air is useful for meteor smashes, and Up Air is useful for racking up DAMAGE and launching opponents vertically. Forward Air is decent at knocking opponents away diagonally and forward because of its speed. For ground attacks, R.O.B.’s Side Tilt is particularly quick for its range, and Up Tilt is good for combos. For KOs on the ground, Side Smash and Up Smash are your best options. When edge-guarding, use your Gyro as a trap to make opponents’ returns more difficult. If you have Robo Beam available, the higher the charge, the better. You can also chase opponents off-stage with your Robo Burner and Back Air or Forward Air. Just make sure you have enough fuel before attempting this!
Recovery
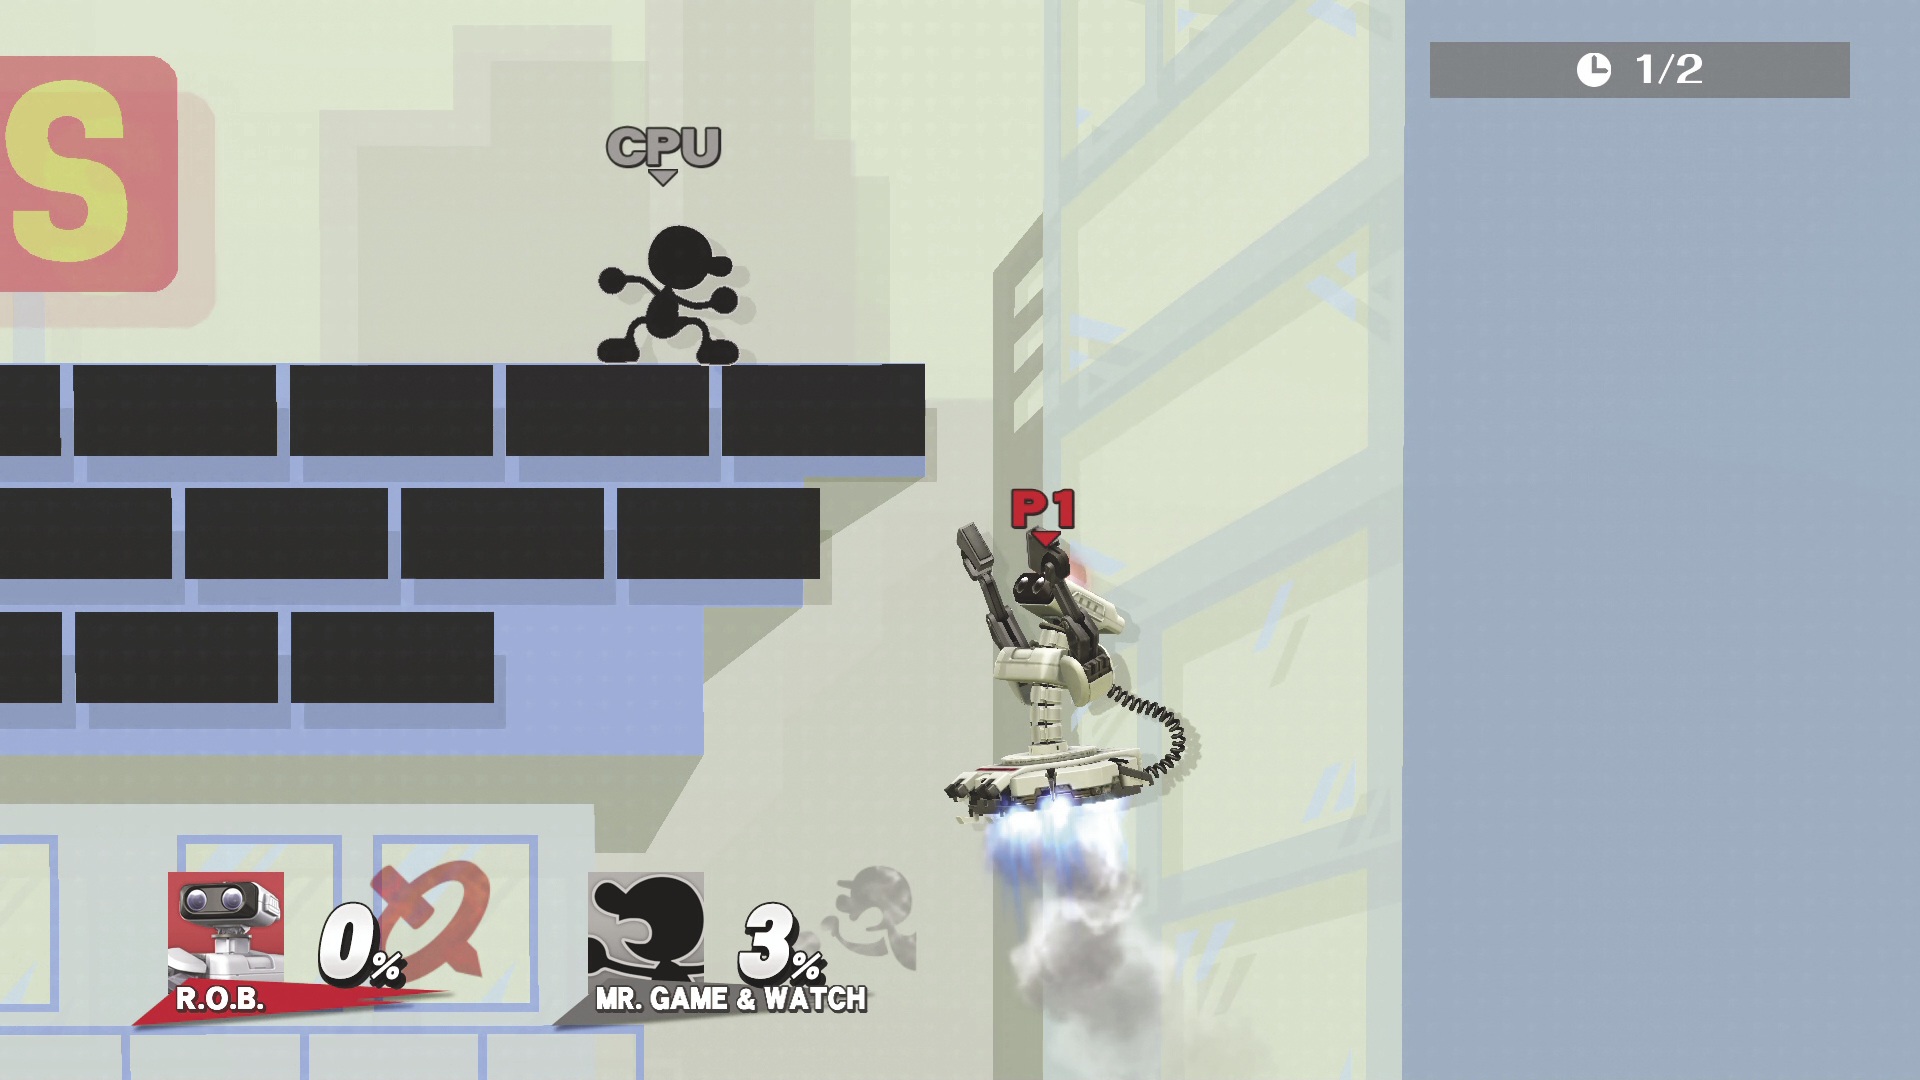
R.O.B. has quite a few options for recovery. For vertical recovery, use his Robo Burner thrusters to boost into the air. Using Robo Burner leaves you in a fall state, so be sure to use your double jump beforehand. Once you’ve started Robo Burner, press the Special button to use R.O.B.’s thrusters. This also allows you to move R.O.B. horizontally by hitting Left or Right, making Robo Burner good for horizontal recovery as well. You can only use thrusters if R.O.B. has enough fuel, so don’t stay up there too long! Additionally, fuel only replenishes when R.O.B. is on the ground, so don’t jump too much if you think you might need fuel. For horizontal recovery, you can also use R.O.B.’s Back Air attack to move forward. Finally, when you use his Arm Rotor in the air, R.O.B. gets a bit of height and moves forward. Don’t expect to grab the edge after this spin, though, because of the uppercut after the spin! The best way to use this is to land on the edge of the stage while attacking.