
Super Smash Bros. WiiU/3DS Guide STAGES
Wii U Stages
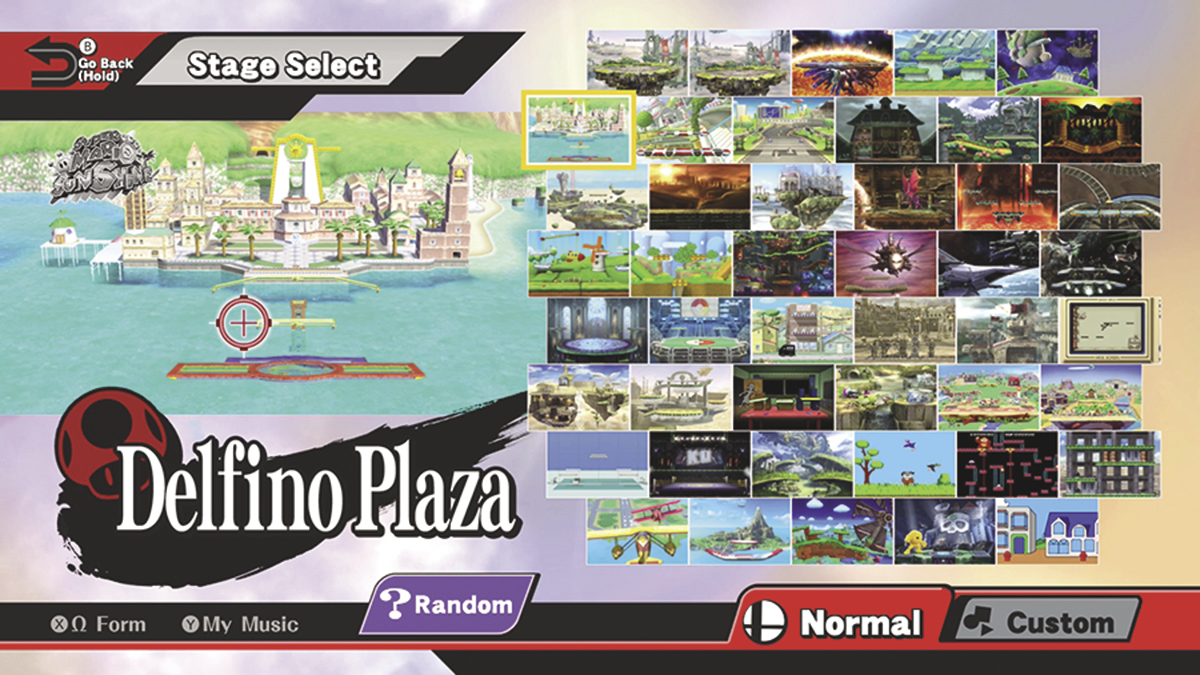
During stage selection, you can toggle between each stage’s normal and Final Destination (Ω) forms. Before you confirm your selection, you can also use the “My Music” command to adjust the chances of a specific song playing during each battle. Any custom stages you’ve created in the game’s Stage Builder mode can be accessed through the “Custom” tab.
Unlocking Hidden Stages
Super Smash Bros. for the Nintendo Wii U contains 46 selectable stages, but only 40 of them are available by default. To unlock the six hidden stages, you must complete each of the corresponding Challenges.
| Hidden Stages | |
|---|---|
| Stage | How to Unlock |
| Duck Hunt | KO more than one opponent in a single game of Cruel Smash. |
| Flat Zone X | Play as Mr. Game & Watch and destroy 100 or more blocks in a single game of Solo Trophy Rush. |
| Kongo Jungle 64 | Clear the Event “The Original Heavyweights.” |
| PAC-LAND | Play all of the maps in Smash Tour. |
| Pokémon Stadium 2 | Clear the Event “When Lightning Strikes.” |
| Smashville | Clear the Event “Playing Tricks.” |
Secret Stage Options
During stage selection, you can input secret commands to activate special features for Boxing Ring or Orbital Gate Assault.
Secret Stage Options: Boxing Ring
The player selecting the stage can choose to battle on special a Smash Bros. version of Boxing Ring or a Punch Out!! version of the Boxing Ring.
| Stage Selection Commands | ||
|---|---|---|
| Controller | For Smash Bros. Boxing Ring | For Punch Out Boxing Ring |
| Standard Controllers | ZL +  during stage selection during stage selection |
ZR +  during stage selection during stage selection |
| Wii Remote: |  + +  during stage selection during stage selection |
 + +  during stage selection during stage selection |
| Wii Remote + Nunchuck |  + +  during stage selection during stage selection |
 + +  during stage selection during stage selection |
| GameCube Controller |  + +  + +  during stage selection during stage selection |
 + +  + +  during stage selection during stage selection |
| Nintendo 3DS |  + +  during stage selection during stage selection |
 + +  during stage selection during stage selection |
Secret Stage Options: Orbital Gate Assault
During stage selection, players can vote to trigger special dialogue options on Orbital Gate Assault. All players must input their choice at the same time. Votes that are input too early or too late will not be counted. In the event of a tie, one of the dialogue options will be selected at random.
| Stage Selection Commands | ||
|---|---|---|
| Controller | For Stage-Related Dialogue | For Fight-Related Dialogue |
| Standard Controllers | ZL +  during stage selection during stage selection |
ZR +  during stage selection during stage selection |
| Wii Remote: |  + +  during stage selection during stage selection |
 + +  during stage selection during stage selection |
| Wii Remote + Nunchuck |  + +  during stage selection during stage selection |
 + +  during stage selection during stage selection |
| GameCube Controller |  + +  + +  during stage selection during stage selection |
 + +  + +  during stage selection during stage selection |
| Nintendo 3DS |  + +  during stage selection during stage selection |
 + +  during stage selection during stage selection |
Stage Descriptions
Battlefield
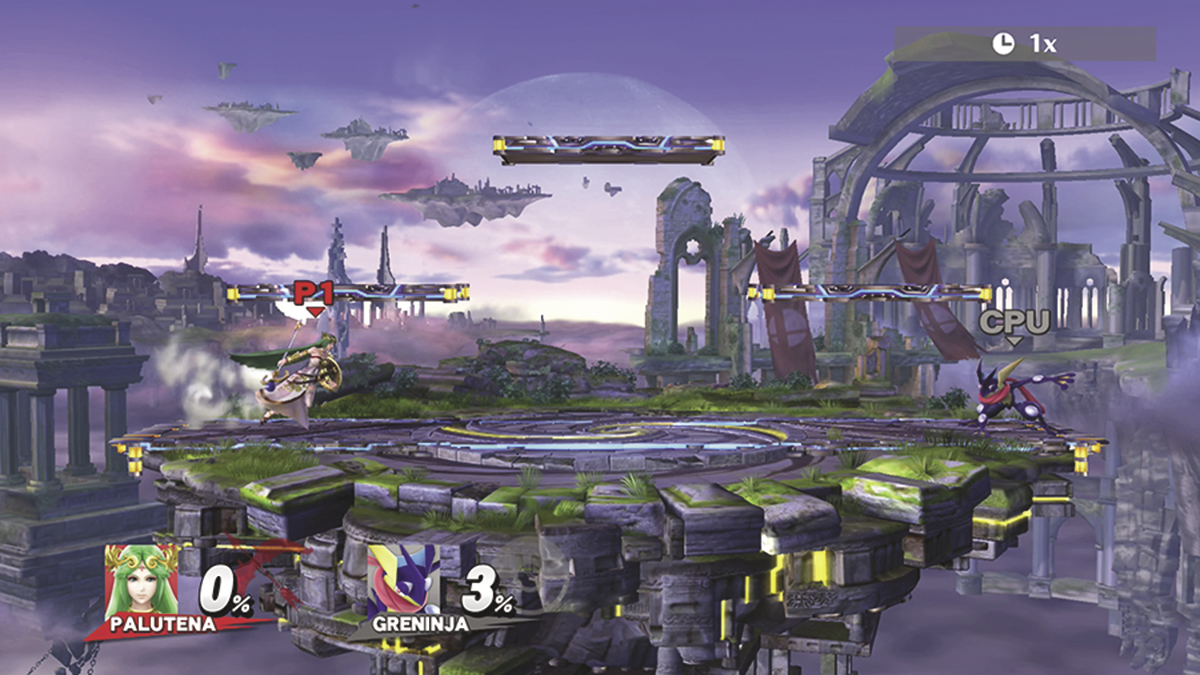
- Inspired by: Super Smash Bros.
Battlefield is one of the game’s more straightforward stages. All of the available platforms are static and permanent, offering a few tactical options without the distractions of the more complicated stages. Aside from a subtle (but constant) shift between day and night, this stage remains unchanged for the duration of a battle.
Big Battlefield
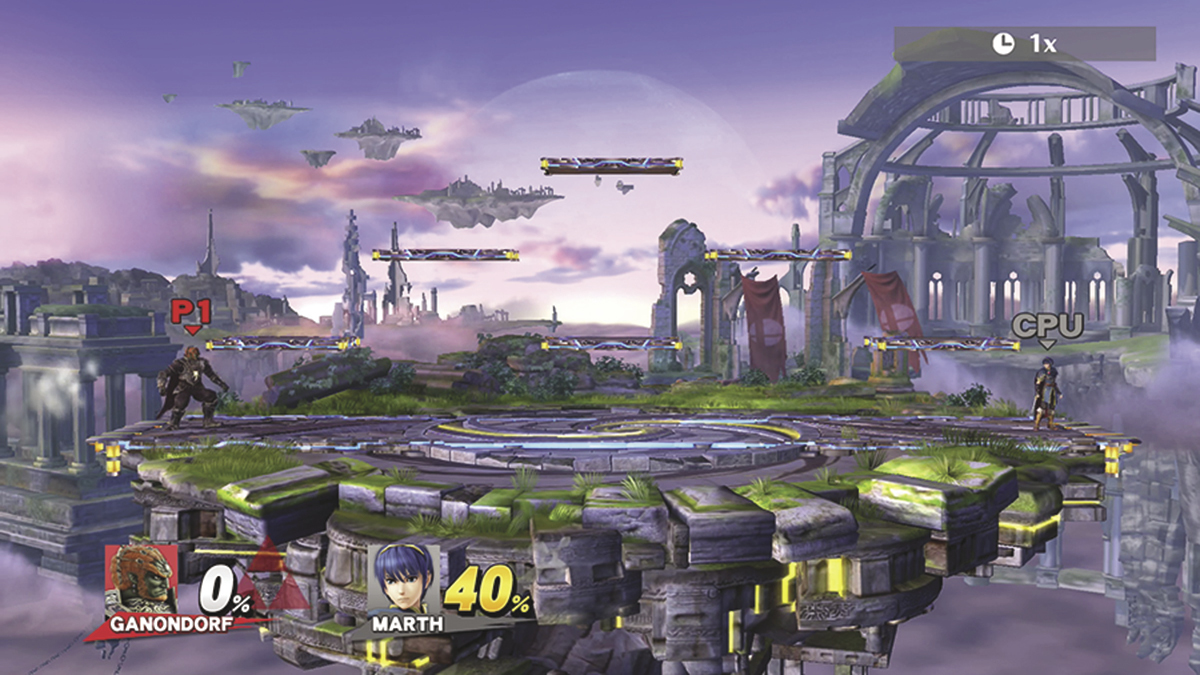
- Inspired by: Super Smash Bros.
Like its smaller counterpart, Big Battlefield offers a few tactical options without the transitions and hazards of more complicated stages. With its sheer size and additional platforms, however, this stage is a great option for larger battles or for fighters who favor a more elusive playstyle.
Boxing Ring
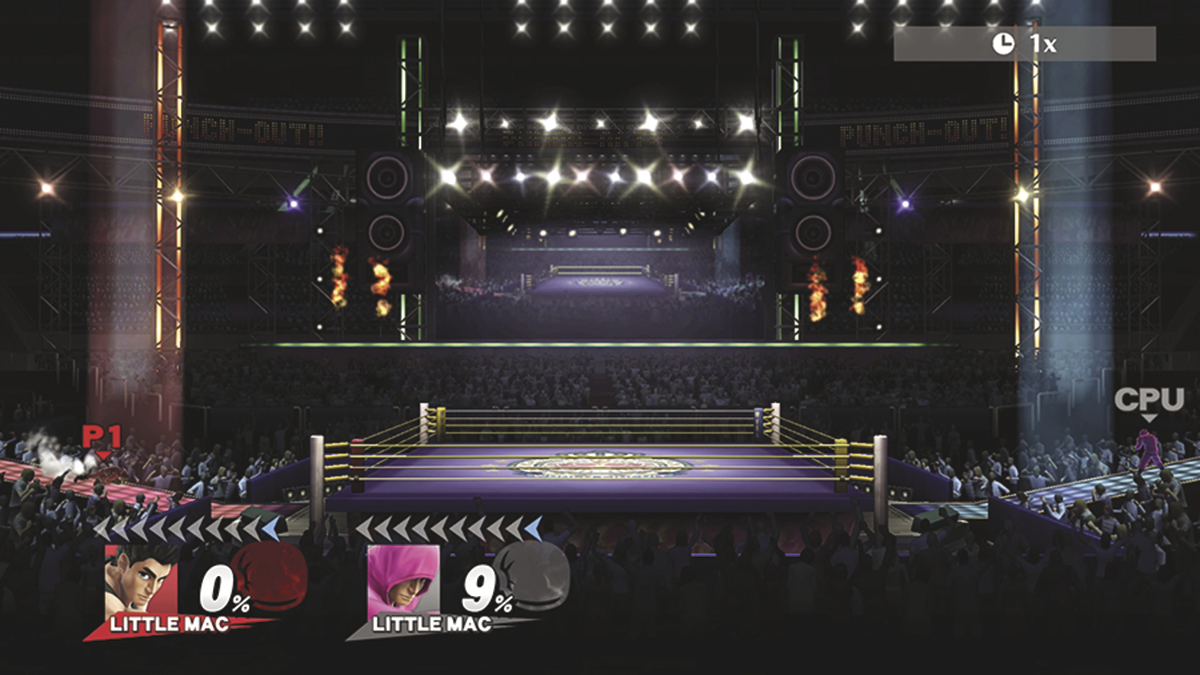
- Inspired by: Punch-Out!!
This stage consists of a boxing ring at the center of an indoor arena. While the ring provides a nice, open space to battle your opponents, this stage offers a surprising number of tactical options.
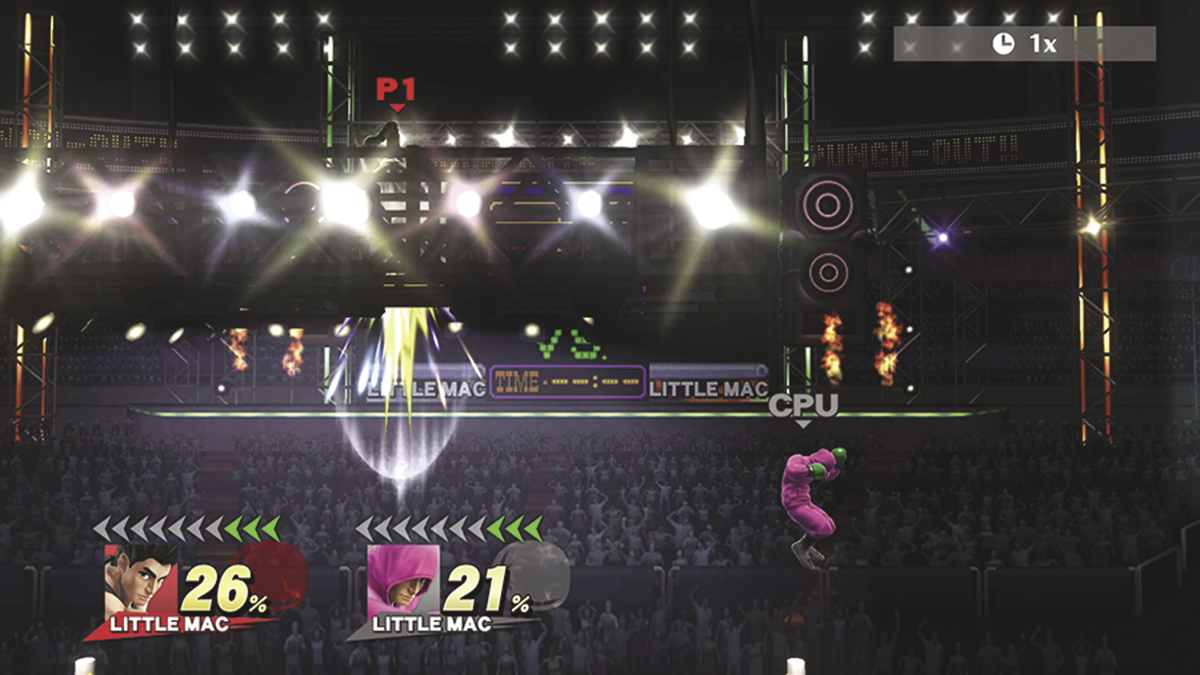
There are entrance ramps located on both sides of the stage, meaning you’ll have to launch an opponent well past the ropes to score a knockout. Jumping on the ropes launches you into the air, allowing you to reach the lights hanging above the ring. These lights can serve as an additional platform or as a fighter-activated hazard—dealing damage to the hanging lights will cause them to break loose and fall on any fighters beneath them.
Bridge of Eldin
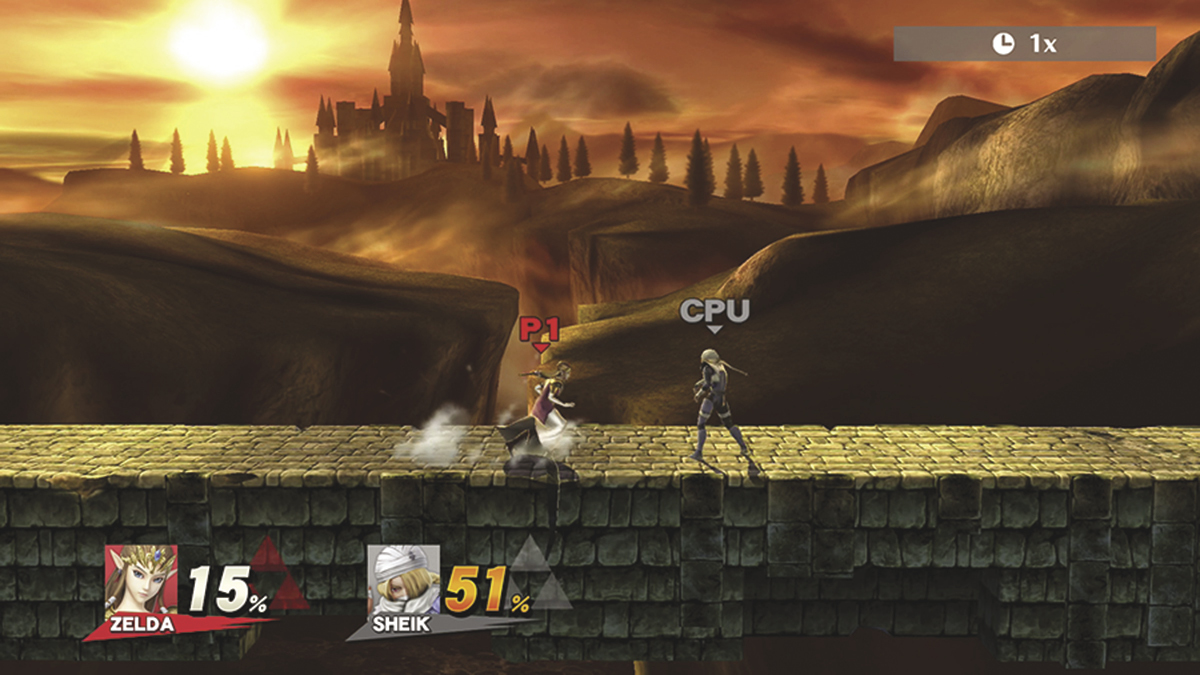
- Inspired by: The Legend of Zelda: Twilight Princess
Initially, you’ll find only a single platform running the length of the stage. Every so often, however, the stage undergoes a temporary transformation.
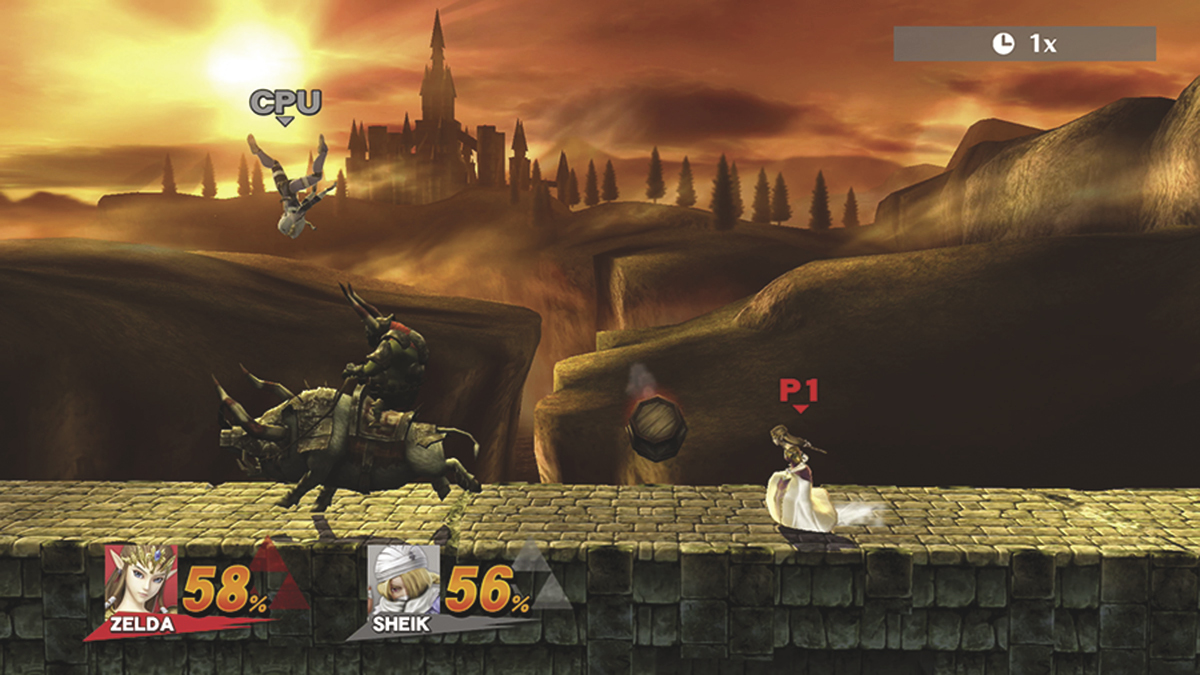
Each time King Bulblin appears, he charges across through the area and drops an explosive barrel near the center of the stage. Jump out of his path to avoid being trampled, and make sure you stay clear of the barrel he leaves behind. When the barrel detonates, a large section of the bridge is destroyed. The resulting hole is a significant, but temporary, hazard. After a short time, the bridge is patched and the cycle repeats.
Castle Siege
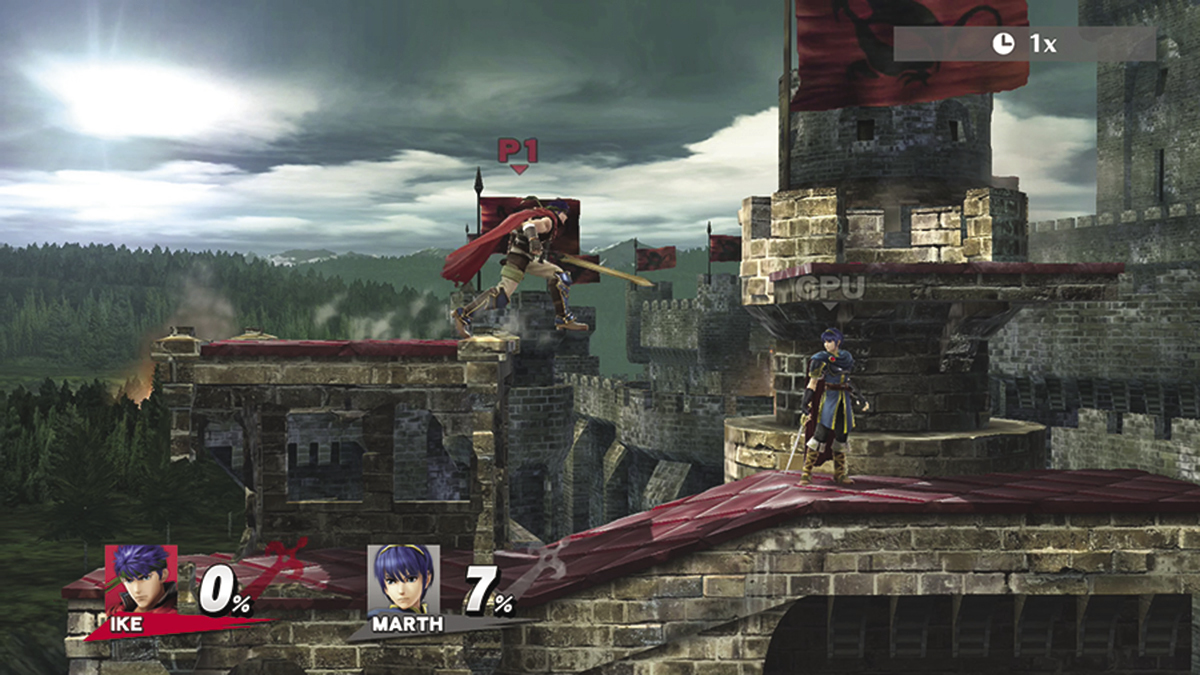
- Inspired by: The Fire Emblem series
This stage features frequent transitions, moving the action through a cycle of three sets. The first set consists of a castle wall. This area contains a simple cluster of fixed platforms, so plan your strategy accordingly.
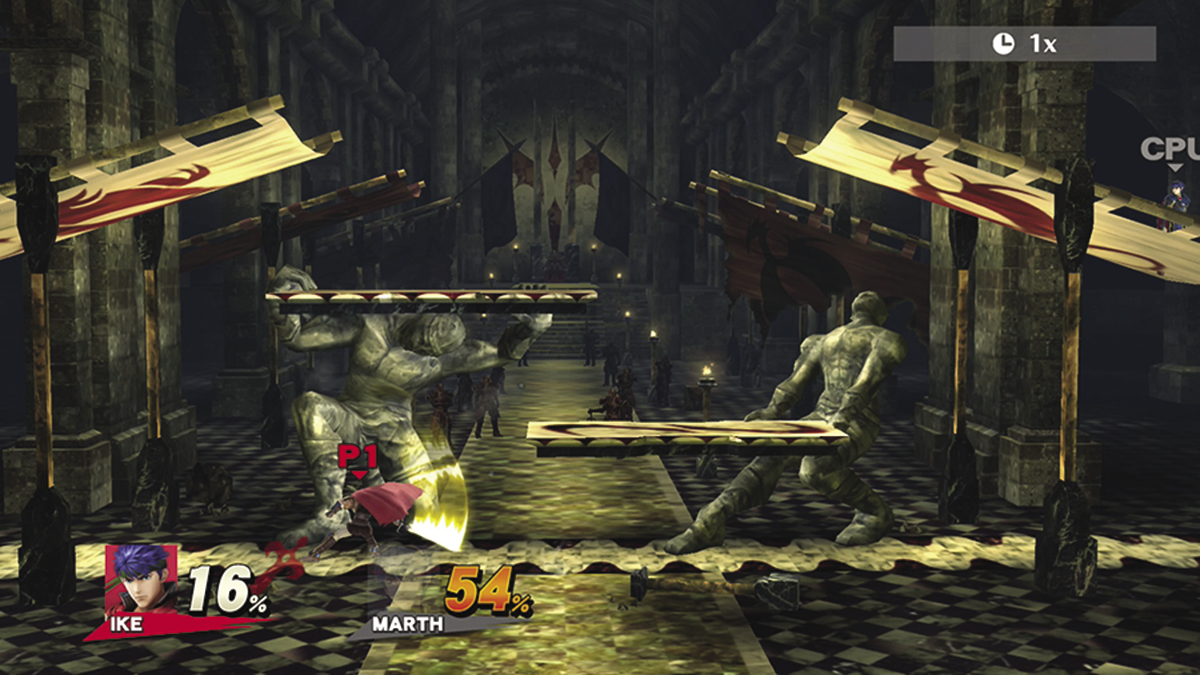
In the castle hall, fighters are able to affect the available terrain. The statues near the center of the area can be destroyed, clearing the attached platforms from the area. This stage also features an underground area with a large, teetering platform. Transitions occur fairly frequently, so try to adapt your tactics to take advantage of the available platforms.
Coliseum
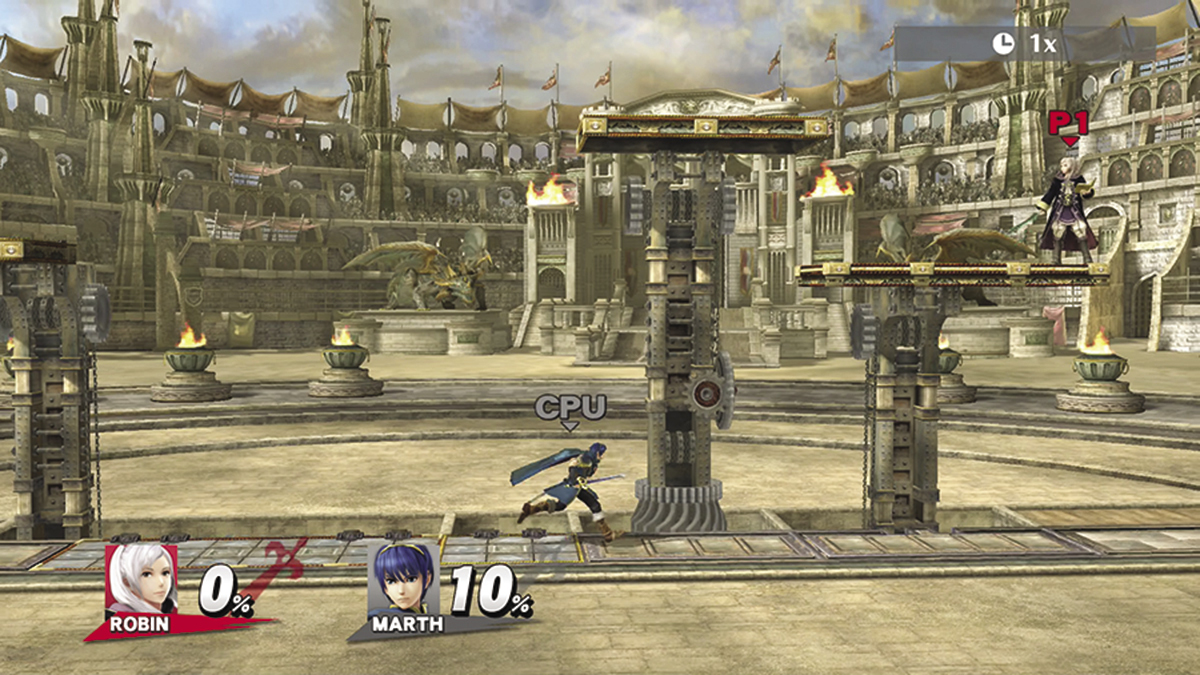
- Inspired by: The Fire Emblem series
This stage uses several mechanical platforms to provide frequently shifting terrain. These transitions aren’t as dramatic as those found on some stages, but you’ll find new tactical options with each platform arrangement.
Delfino Plaza
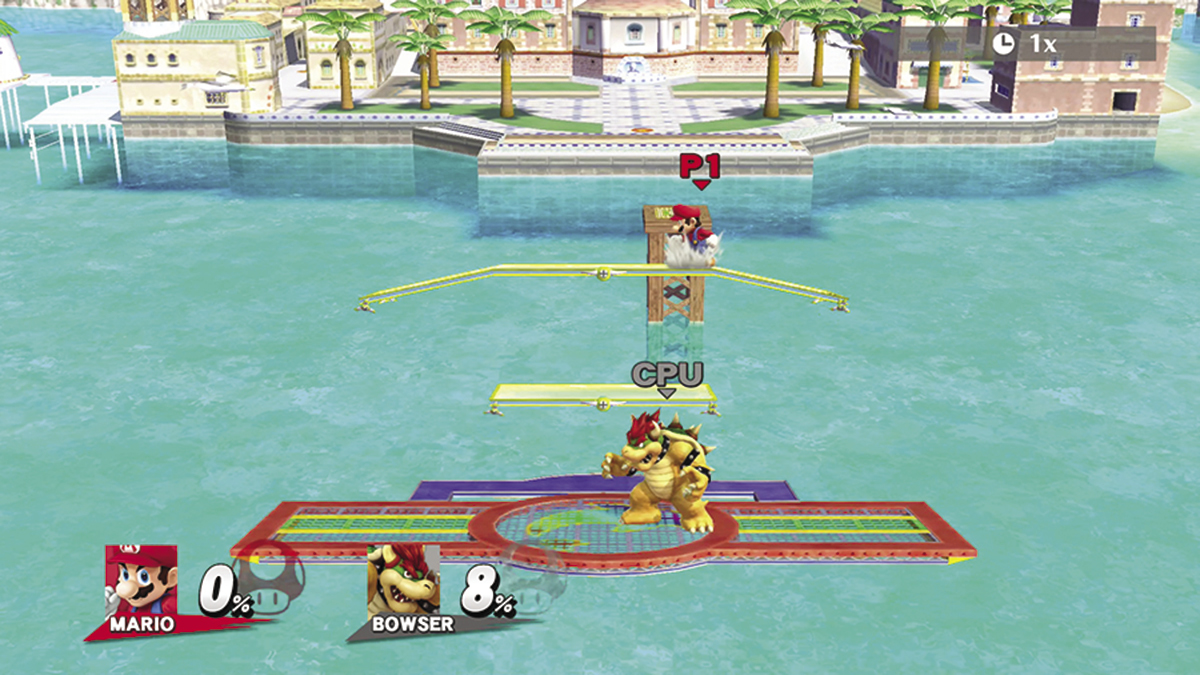
- Inspired by: Super Mario Sunshine
On this stage, fighters are carried to different locations around Delfino Plaza. The platforms provided during each transition vary, so consider the current arrangement and adapt your strategy accordingly.
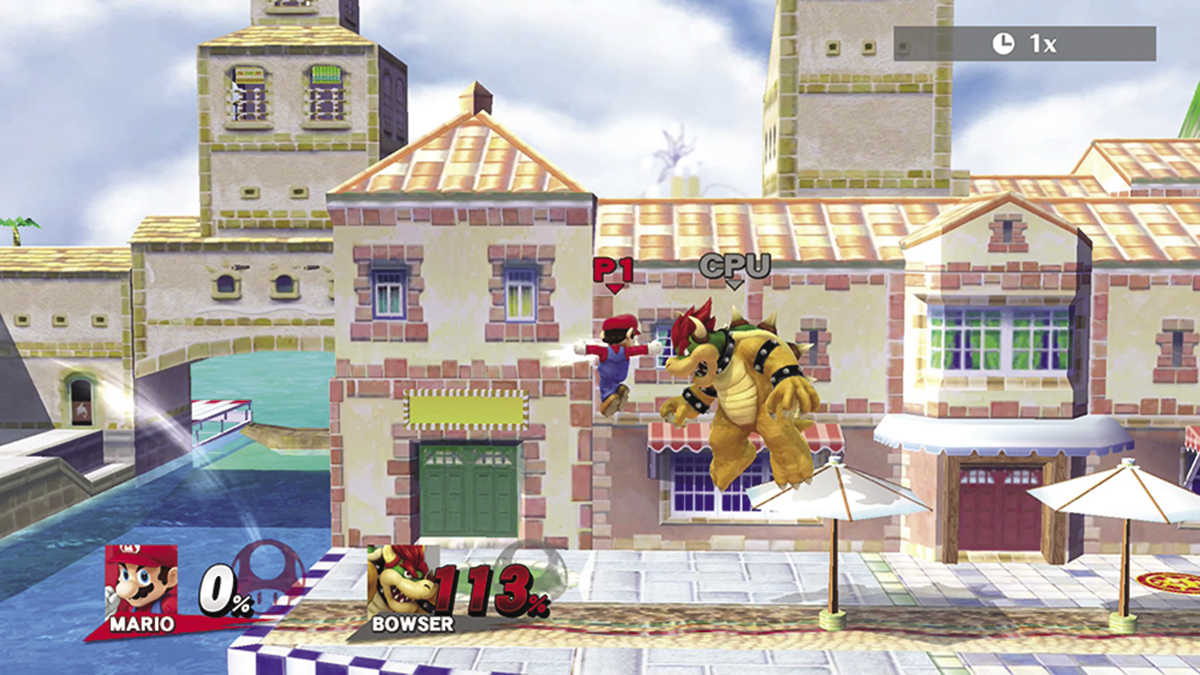
As the battle moves to each location, use the available terrain to your advantage. You’ll only spend a short time in any given area, however. Each time a new cluster of platforms appears, hop on to avoid being left behind.
Duck Hunt
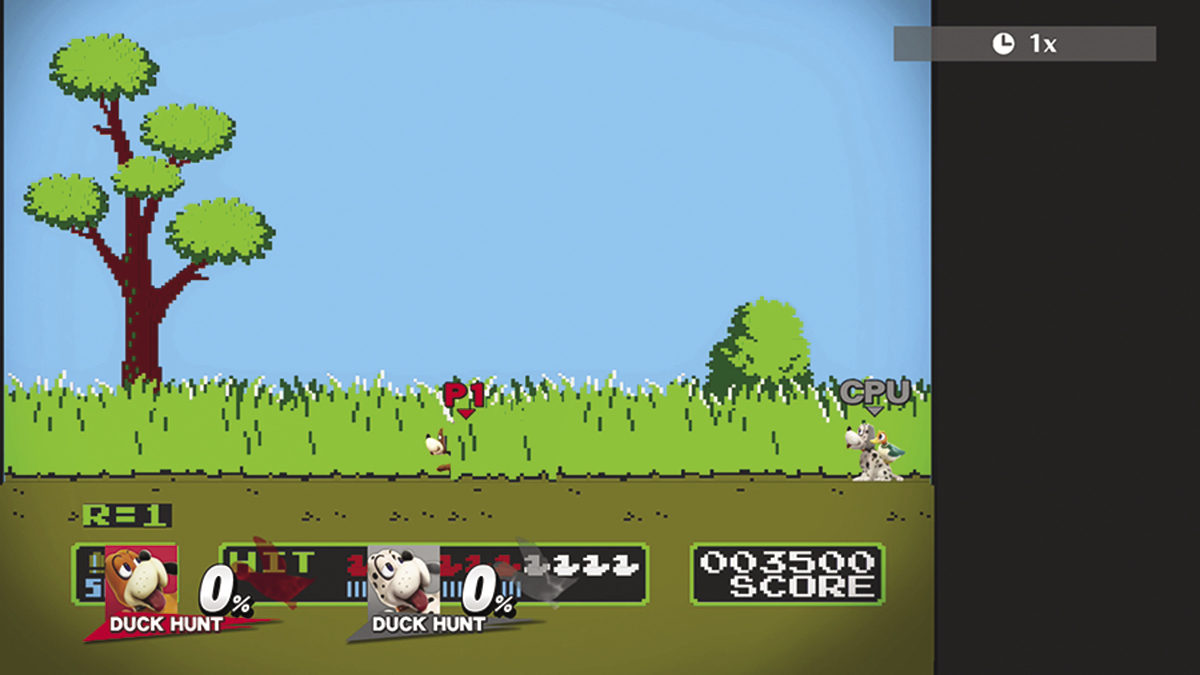
- Inspired by: Duck Hunt
This relatively small stage contains some interesting elements. The bush and tree branches can be used as small platforms, as can the large dog that frequently appears in the background. New patches of tall grass sometimes emerge from the ground—clever fighters can slip behind temporary cover to lay traps or charge powerful attacks to use on distracted opponents.
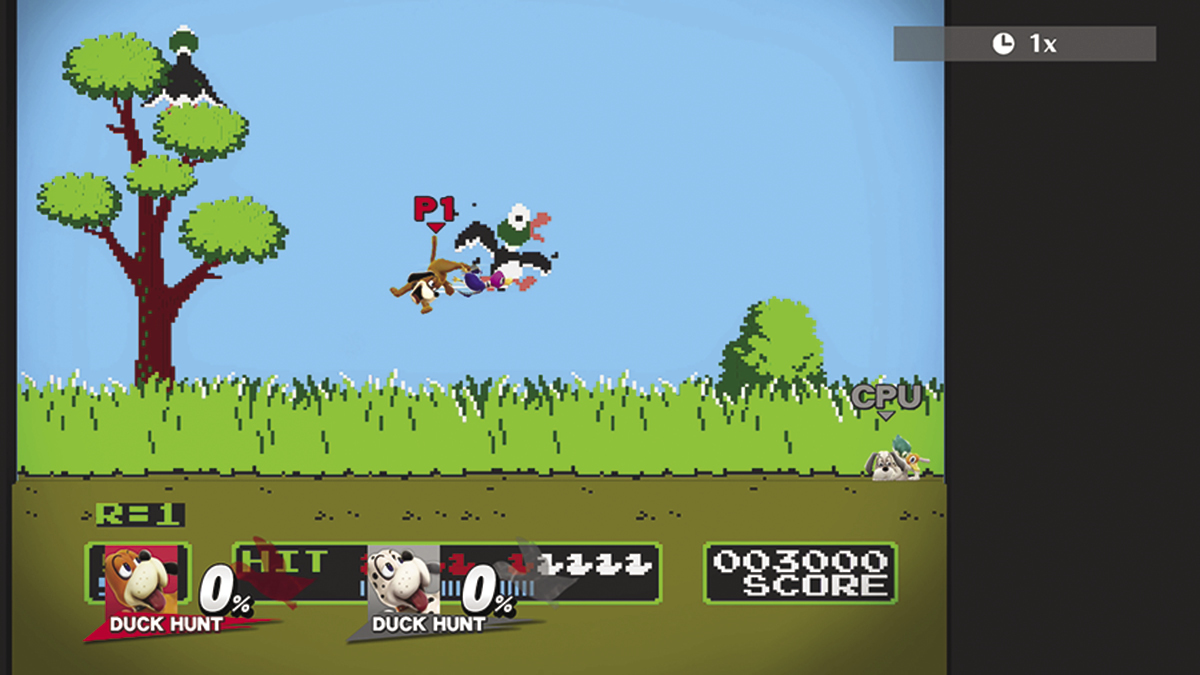
Attacking the flying ducks increases the score displayed near the bottom of the screen. This score doesn’t have any effect on the battle, but attacking a duck sometimes causes it to drop a useful item.
Final Destination
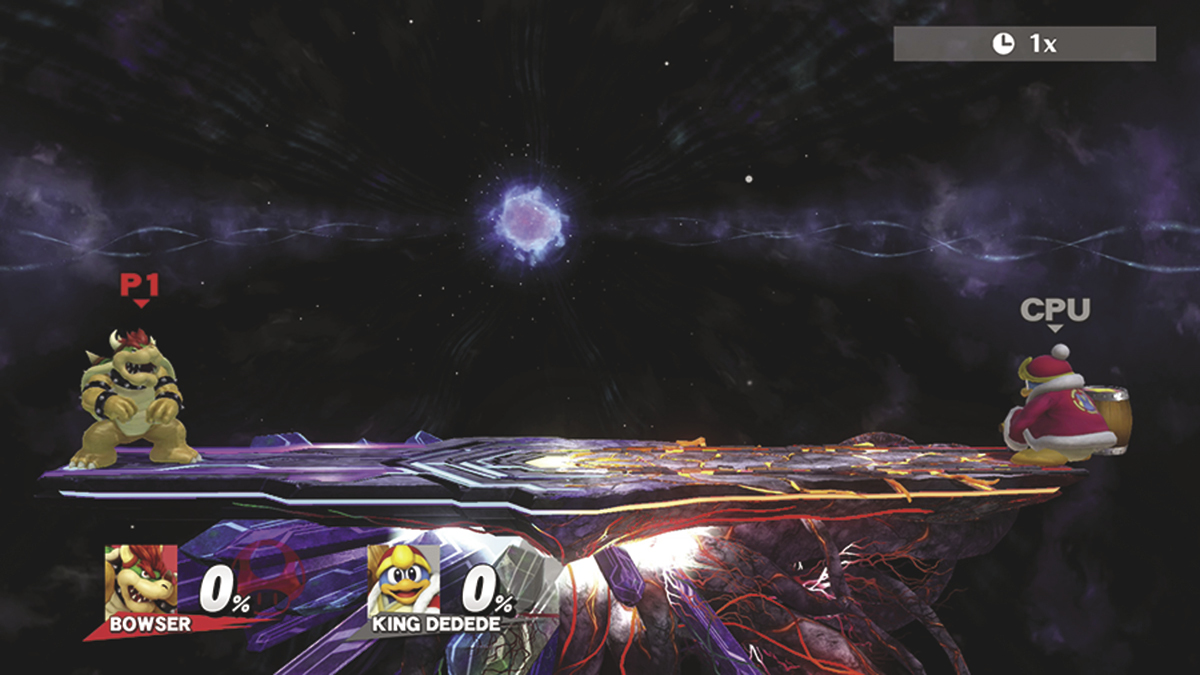
- Inspired by: Super Smash Bros.
Final Destination is the game’s most straightforward “normal” stage. It features one large platform at the center of the area, eliminating any of the terrain advantages found in other stages. Aside from the cycling background transitions, this stage remains unchanged over the course of a battle.
Flat Zone X
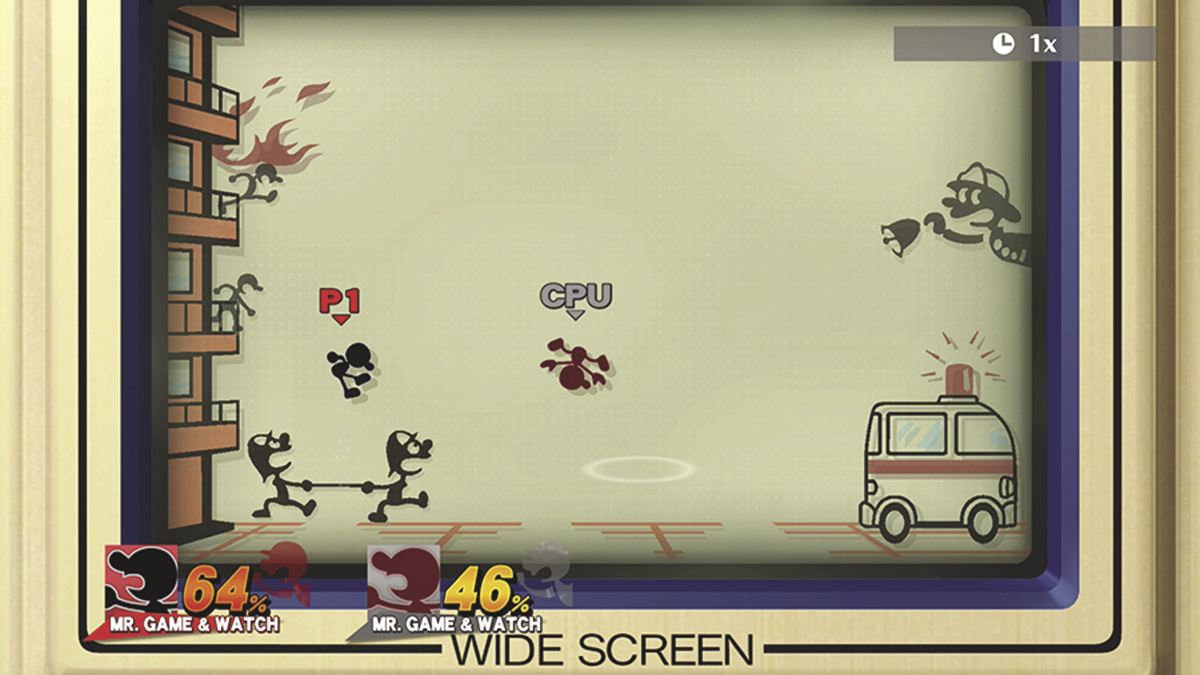
- Inspired by: The Game & Watch series
This stage features dramatic scene changes, and each of the available sets is inspired by a different game from the Game & Watch series. Over the course of a single battle, the frequent transitions place fighters in various randomly selected environments.
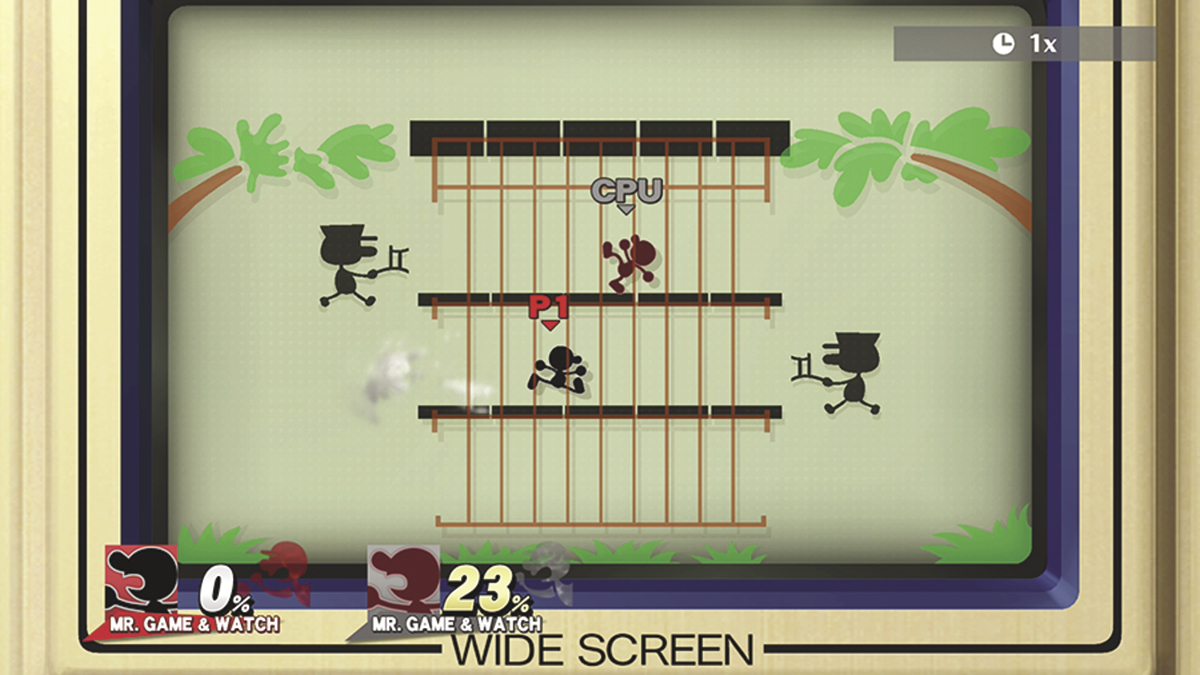
While some sets contain harmless elements like trampolines, shifting platforms, and a slippery oil spill, others feature unique hazards. Be particularly wary of the falling food items found in the kitchen and the chair-wielding animal tamers that guard the lion cages. Each time the battle moves to the kitchen, however, you can defeat the Chef to trigger a faster stage transition!
Gamer
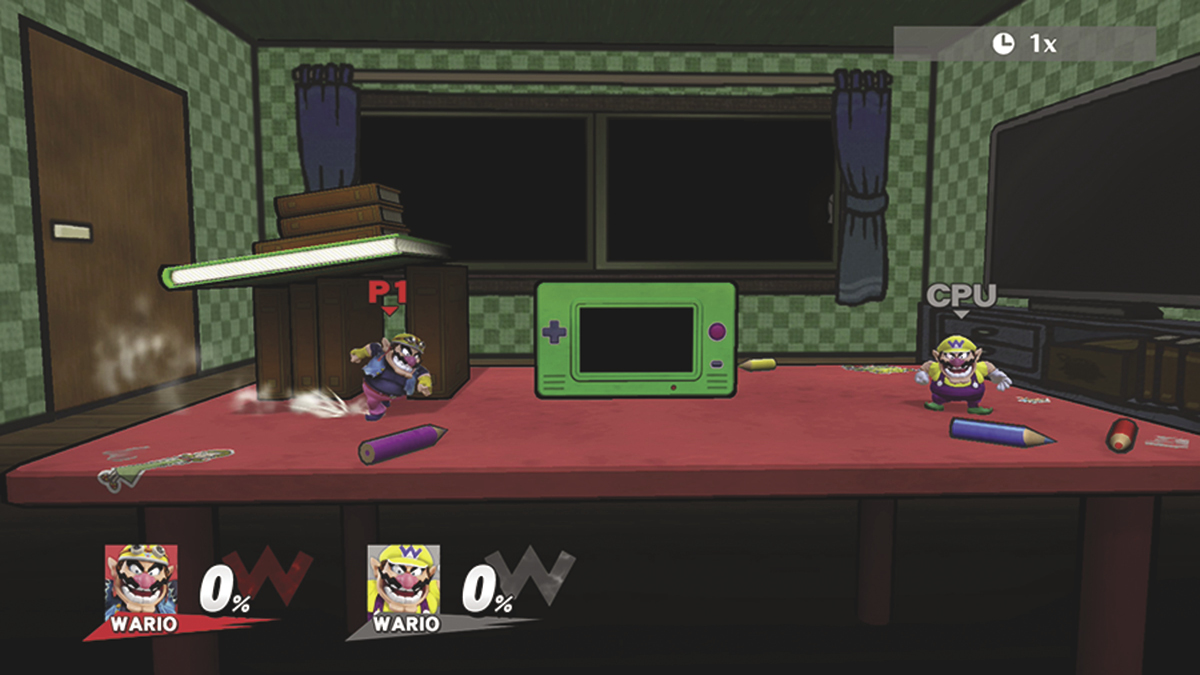
- Inspired by: Game & Wario
This stage contains a large table with a random selection of platforms. Every so often, a strict mother appears in the room. At the very least, you can expect the mother to emerge from the room’s door, the windows along the background, and the nearby television screen. The table occasionally contains a small gaming console on which the mother can also appear.
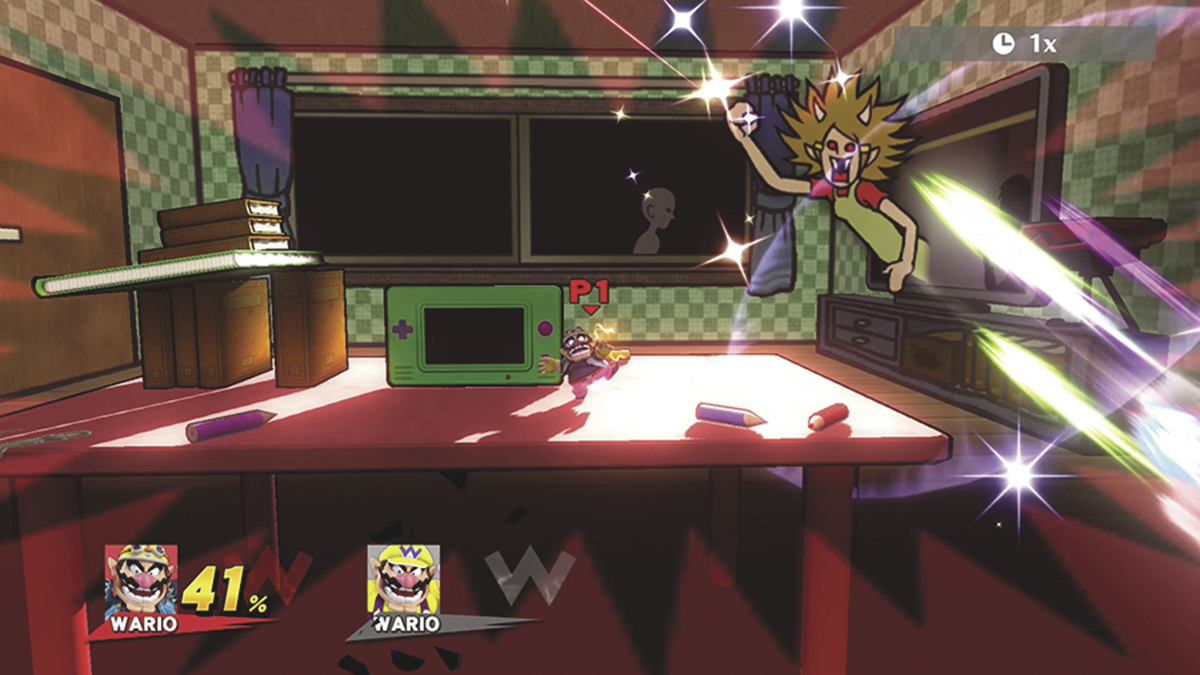
Each battle is sure to have a few false alarms. When the door opens, for example, there’s a chance that a cat will briefly poke its head into the room. When the mother does appear, however, any fighters caught in her gaze will take heavy damage. Each time you spot the mother, move toward one of the available platforms and take cover in the shadows to avoid her wrath.
Garden of Hope
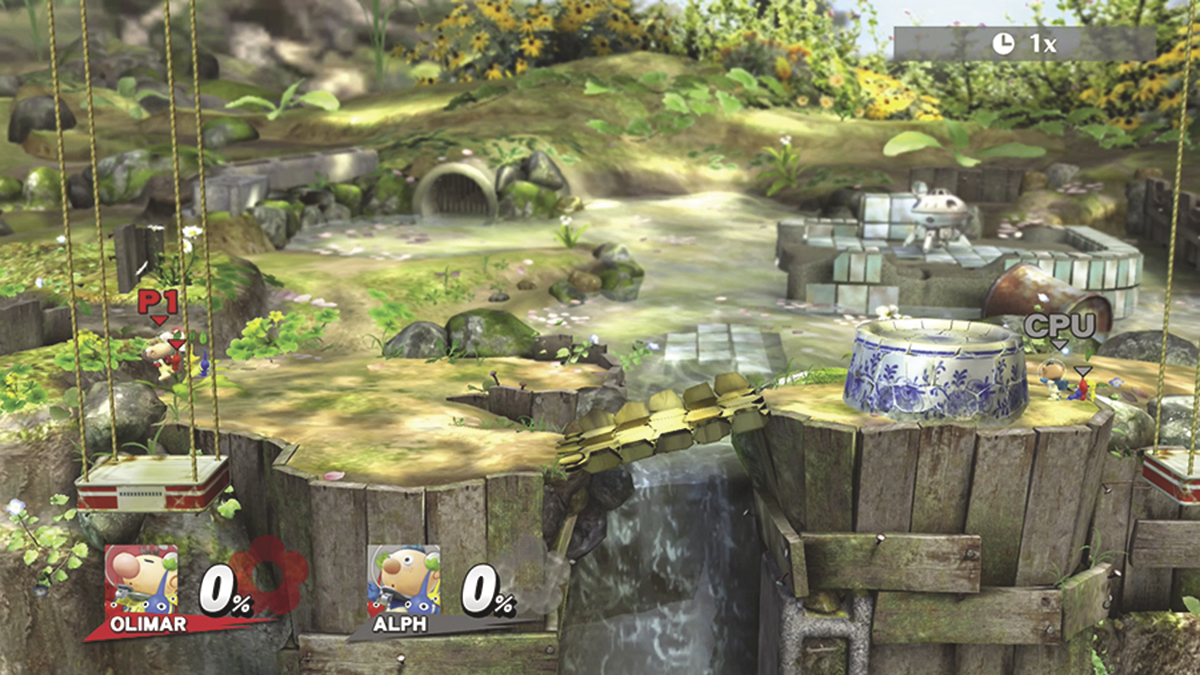
- Inspired by: Pikmin 3
This stage features a tiled bridge and a cracked pot flanked by two suspended tins. The tins are connected to each other—adding weight to one tin will force it toward the bottom of the screen as the opposite tin moves upward. Staying on a tin for too long will cause it to drop clear out of the stage. Fighters can also attack the bridge and the pot. When one of these objects sustains enough damage, it will be destroyed for a short time.
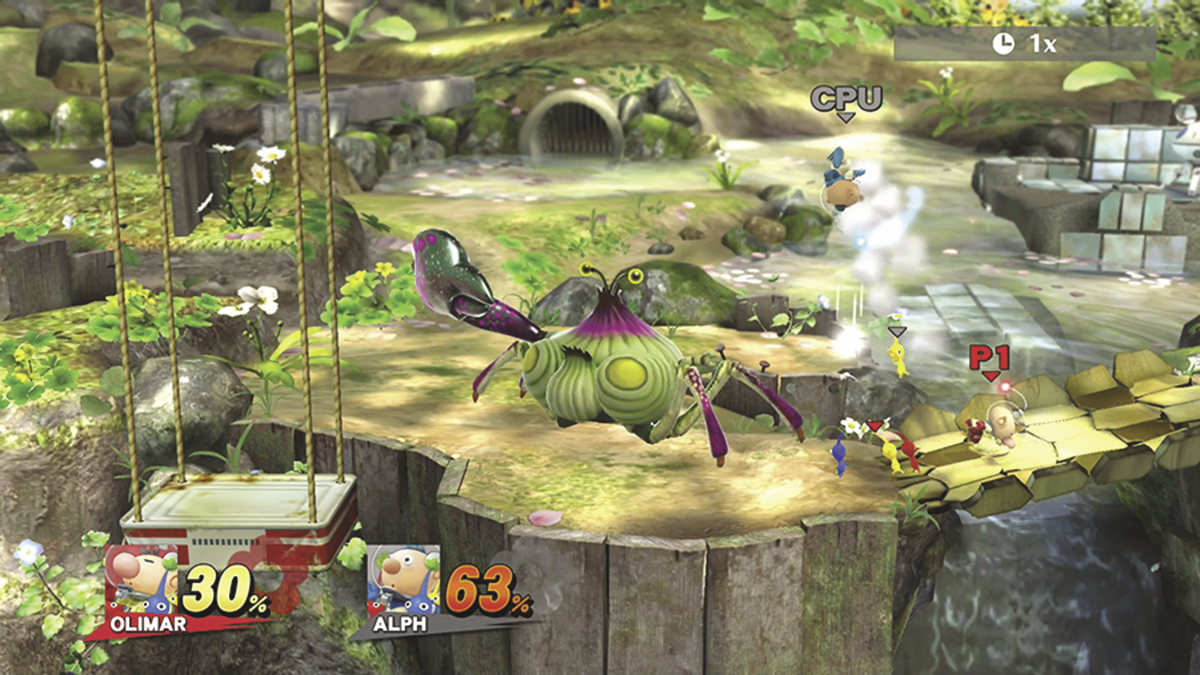
Every so often, a Peckish Aristocrab scuttles through the area. Jump out of this creature’s path to avoid being trampled. If the bridge is destroyed, the Peckish Aristocrab simply falls through the gap. Otherwise, it moves across the length of the stage.
Gaur Plain
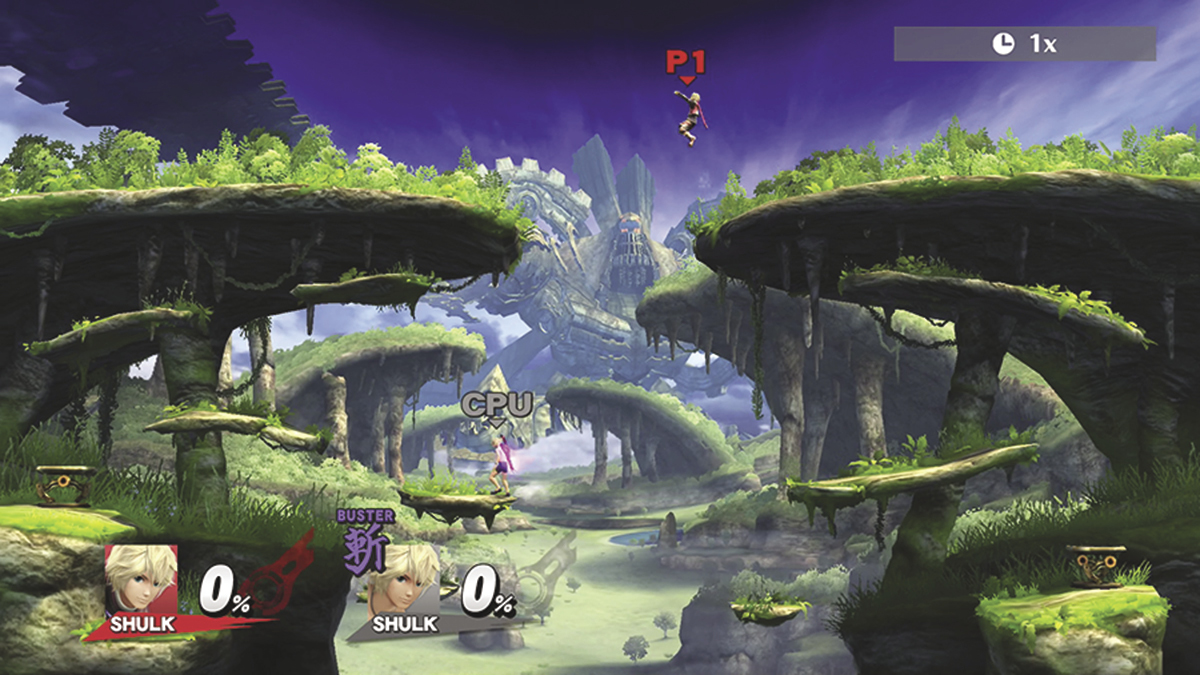
- Inspired by: Xenoblade Chronicles
This stage features clusters of small platforms below two large ledges. It can be tricky to traverse the available footholds in the heat of battle, so be careful! When you want to cover a lot of ground quickly, use the spring-loaded platforms to launch yourself toward the top of the stage.
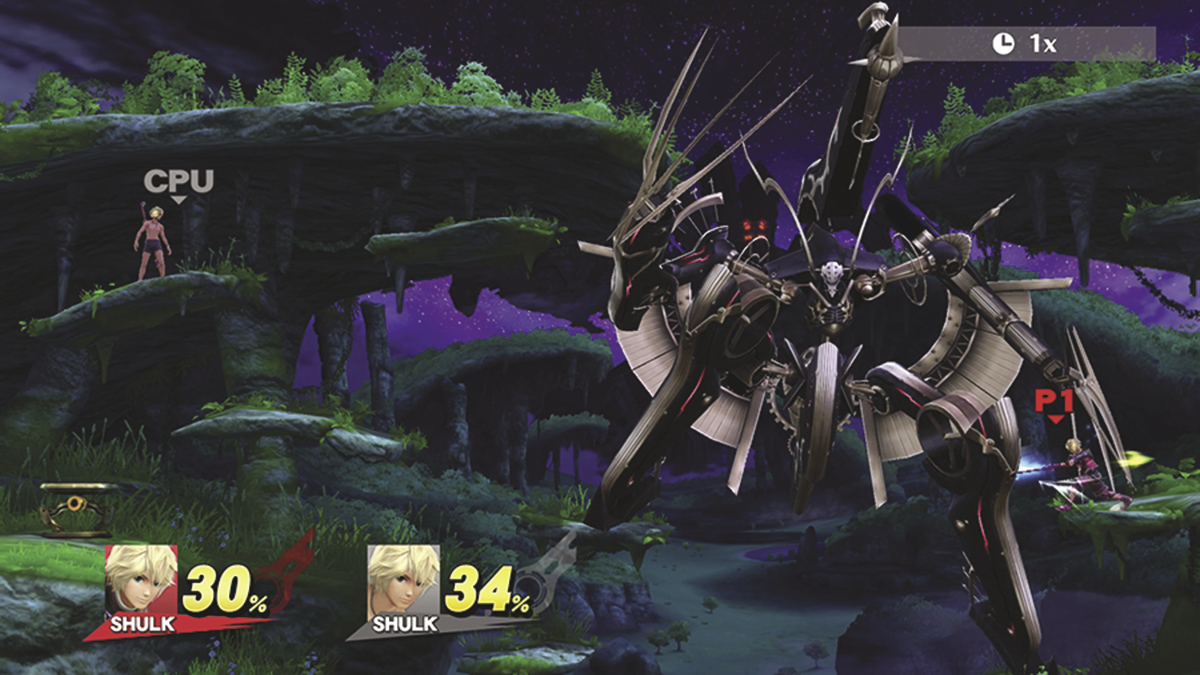
During extended battles, Metal Face will occasionally appear. This large enemy spends most of his time perched near the center of the stage, using his large claws to swipe at nearby fighters. If left to his own devices, Metal Face eventually leaves his perch and charges across the stage, damaging any fighters caught in his path. You can attack Metal Face while he’s near the center of the stage, however—if you deal enough damage, Metal Face will be destroyed before he can complete his attack.
The Great Cave Offensive
- Inspired by: Kirby Super Star
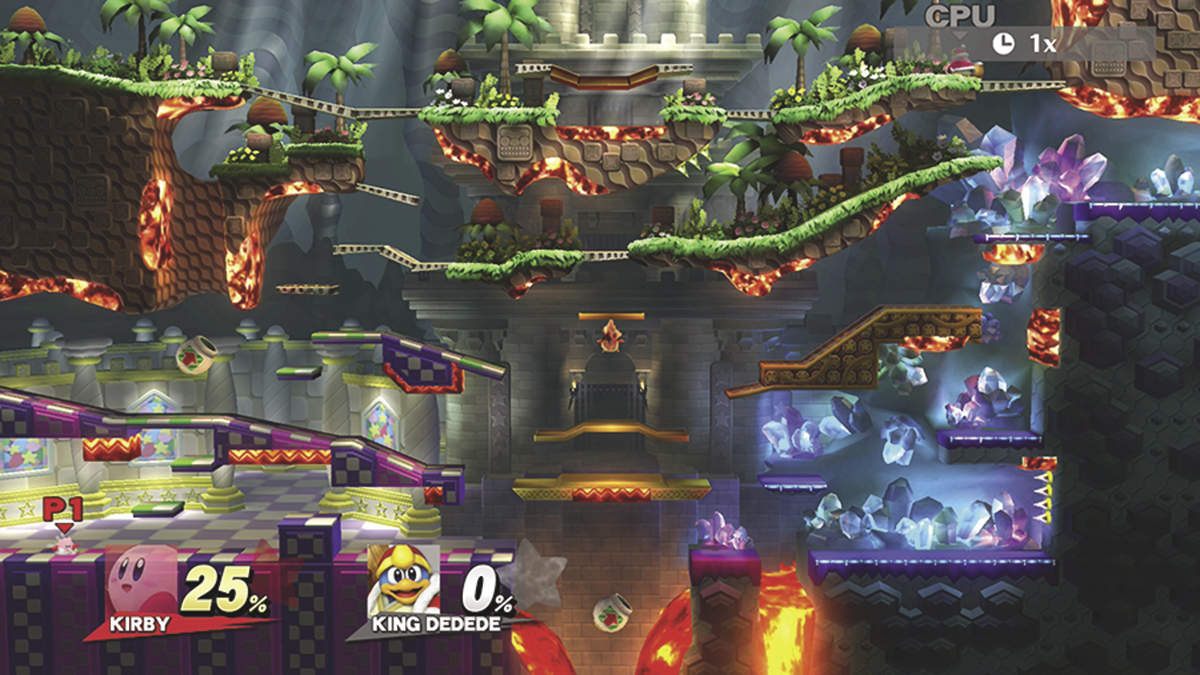
This massive stage features multiple paths between visually distinct areas. Watch your step! You’ll find plenty of hazards scattered throughout the stage. Fiery hazards are particularly common, and touching one will result in heavy damage. If your damage is above 100%, touching a fiery hazards results in an instant KO! Keep your distance, but try to knock an opponent or two into a hazard when the opportunity presents itself.
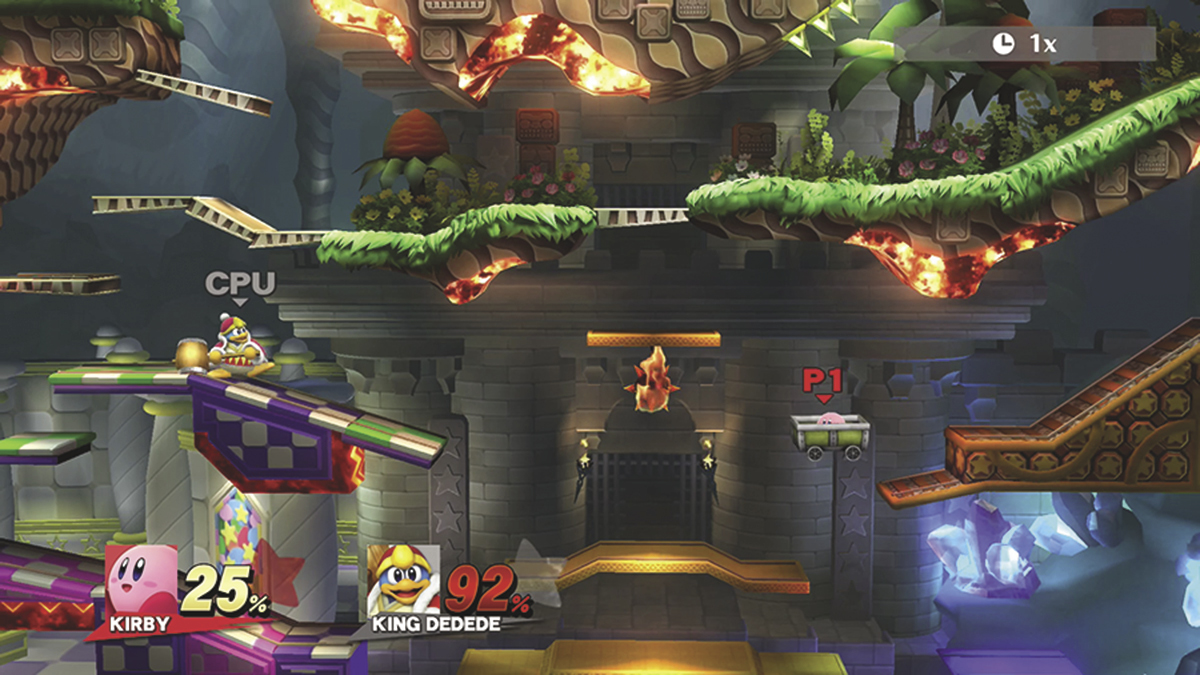
In addition to obvious hazards, this stage contains a few useful—but potentially dangerous—items. Rotating cannons can be great for making a quick retreat, but timing is important. A poorly aimed shot can send you into a hazard or straight out of the stage! Hopping into a mine cart allows you to take a short ride, but remember to jump out before you crash. If one of your opponents beats you to a mine cart, move out of its path to avoid taking damage!
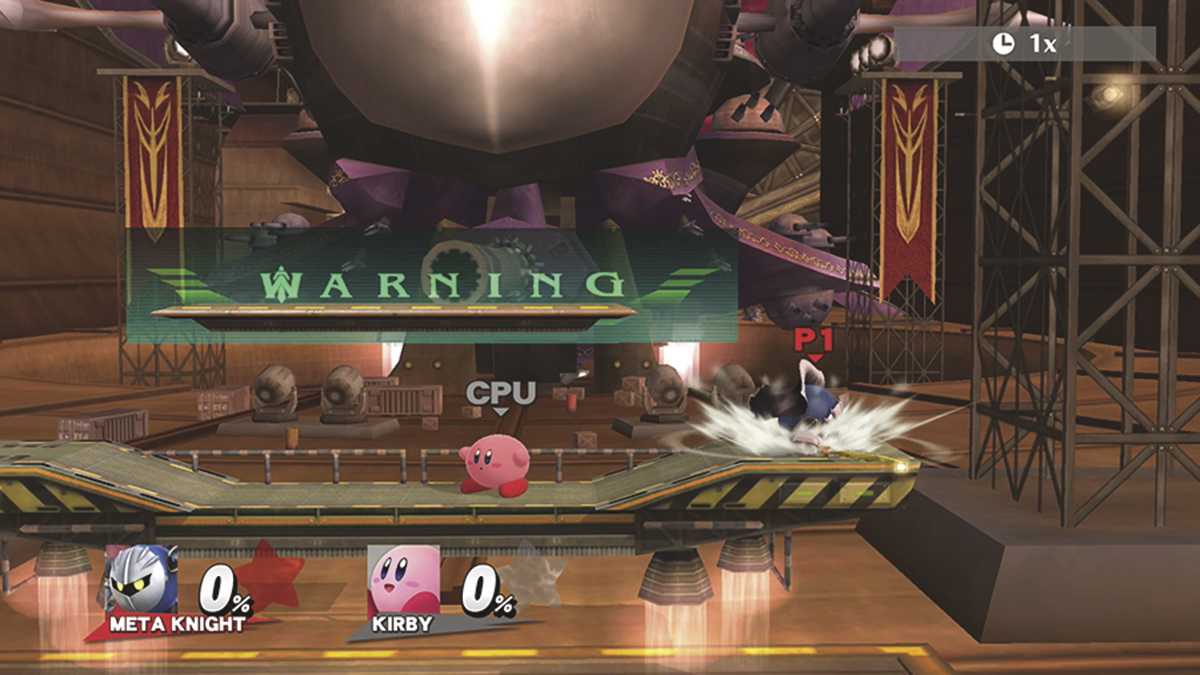
Halberd
- Inspired by: Kirby Super Star
This level features platforms that carry fighters to and from the deck of Meta Knight’s ship. Each time the larger of the two platforms appears, hop on to avoid being left behind.
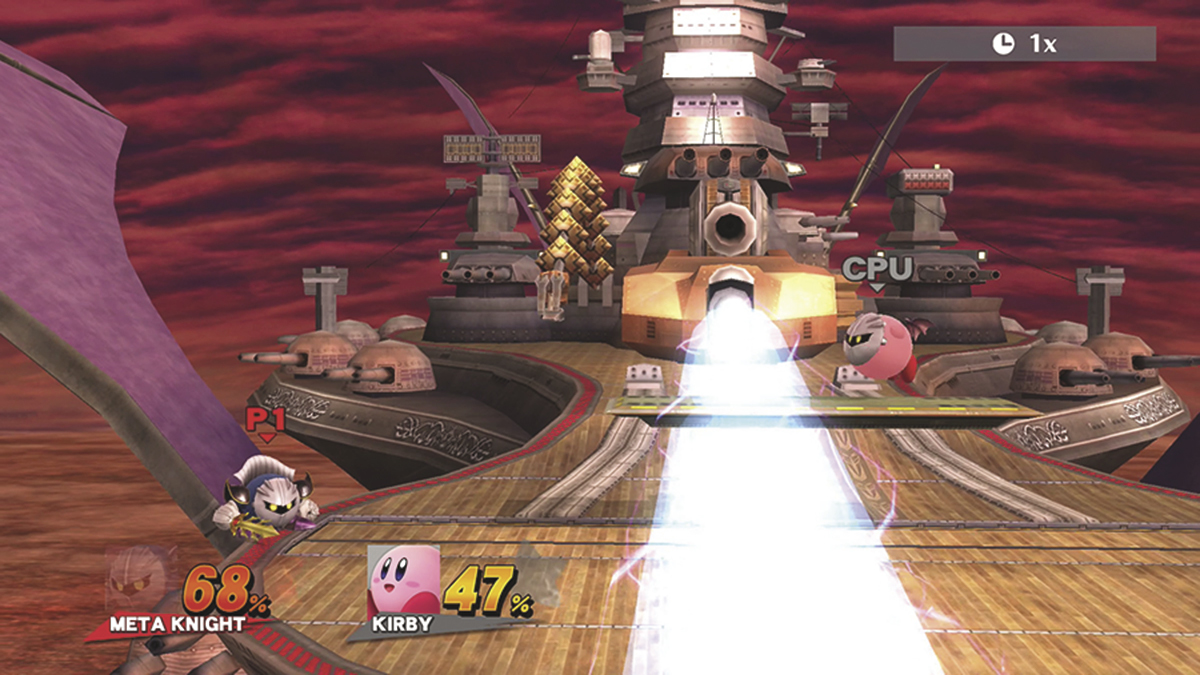
The deck of the Halberd contains additional hazards, so be particularly careful when the battle moves to this area. Keep one eye on the turrets and the mechanical arm in the background. One turret fires a slow-moving projectile; this attack is easy enough to avoid if you’re paying attention. When a reticle appears near one of the fighters, it signals an incoming beam attack. Dash away from the reticle to avoid the impending blast. The robotic arm occasionally lunges into the foreground, so look for signs of movement to get clear of the strike.
Jungle Hijinxs
- Inspired by: Donkey Kong Country Returns
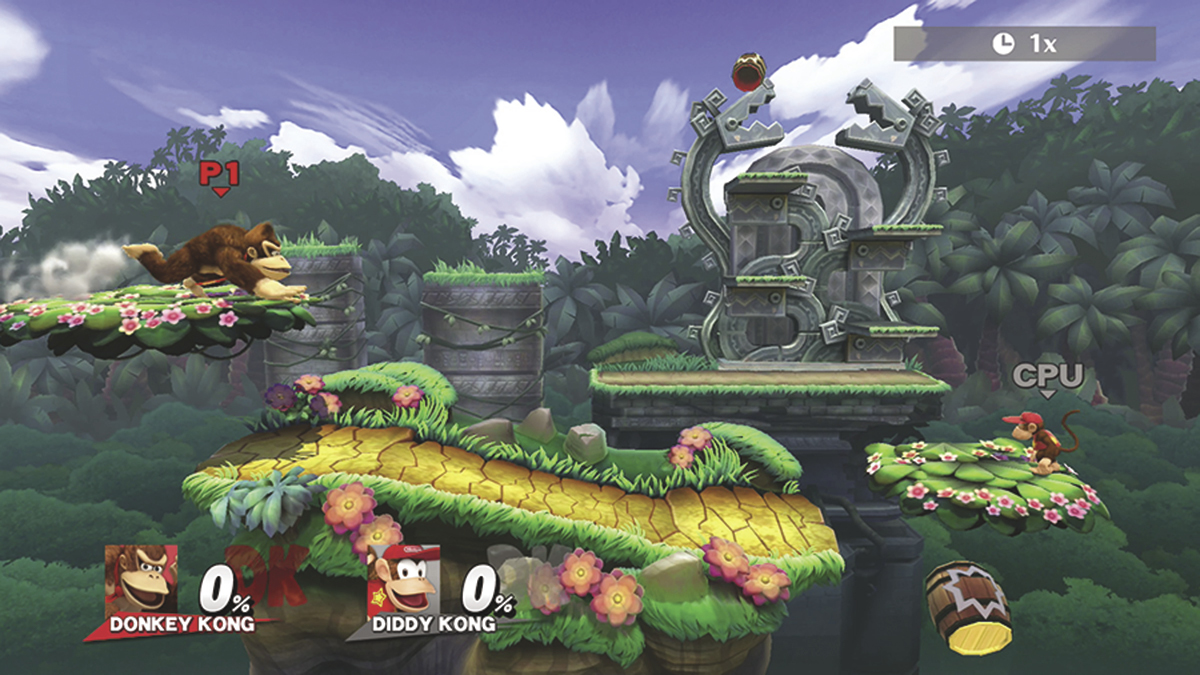
In this stage, fighters can use the available Barrel Cannons to move between the platforms in the foreground and those in the background. Barrel Cannons appear and disappear over the course of a battle, so it’s important to plan your movements accordingly. Keep an eye out for columns that sometimes appear between the two areas—launching yourself into one of these columns prevents you from reaching your intended landing spot.
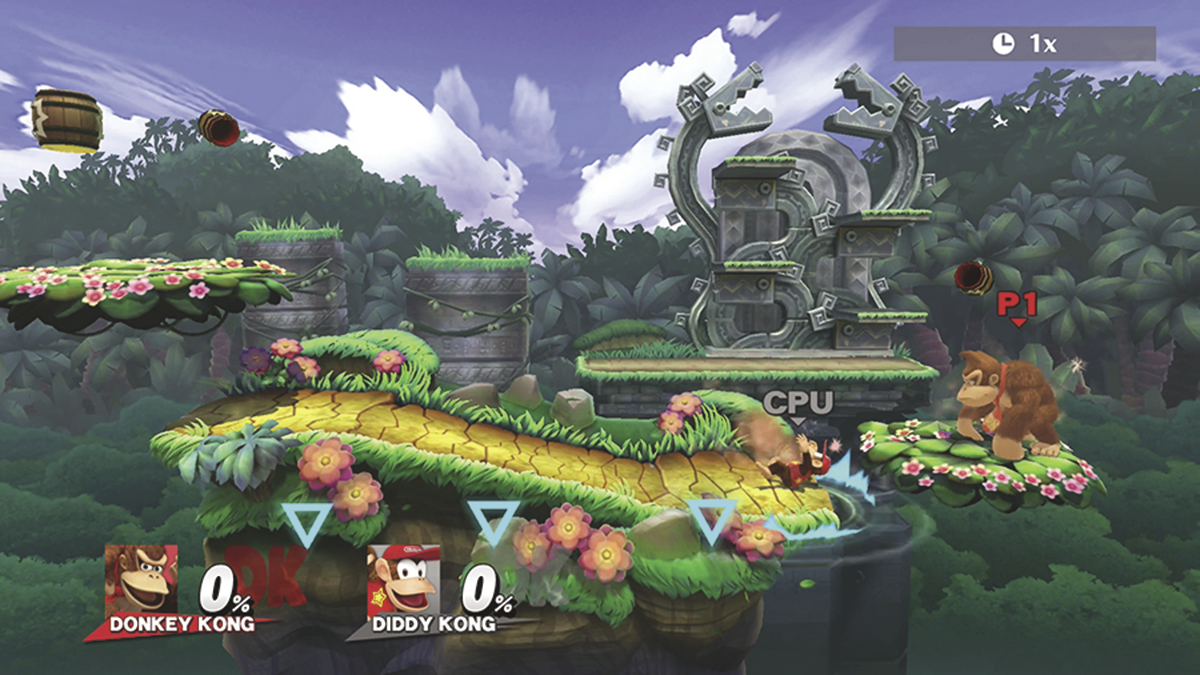
When blue arrows appear in the area, it means the indicated platform is about to vanish. Luckily, each arrow also indicates the future location of an incoming Barrel Cannon. If you find yourself near these arrows, move to a nearby platform or use a Barrel Cannon to launch yourself to safety. After a short time, the missing platform will reappear.
Kalos Pokémon League
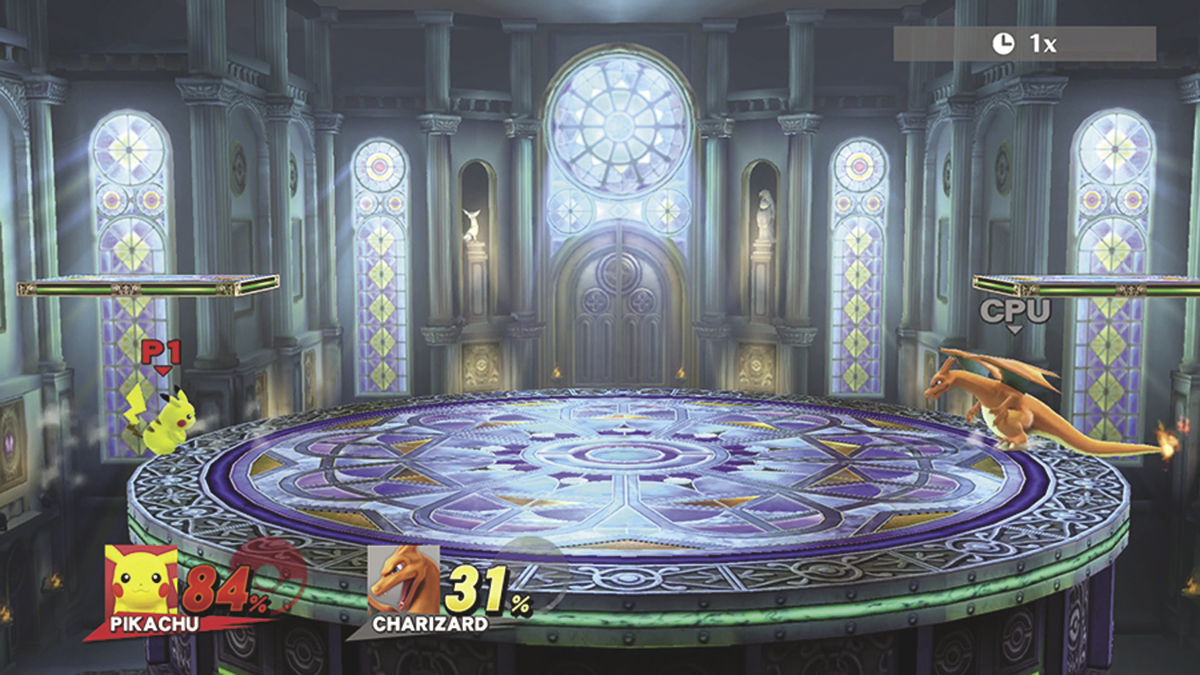
- Inspired by: Pokémon X and Pokémon Y
This stage features frequent transitions. Over the course of a single battle, the default platform will incorporate elements of various Pokémon. Along with new platforms, each of these sets contains a hazard related to the type of Pokémon that appears in the area.
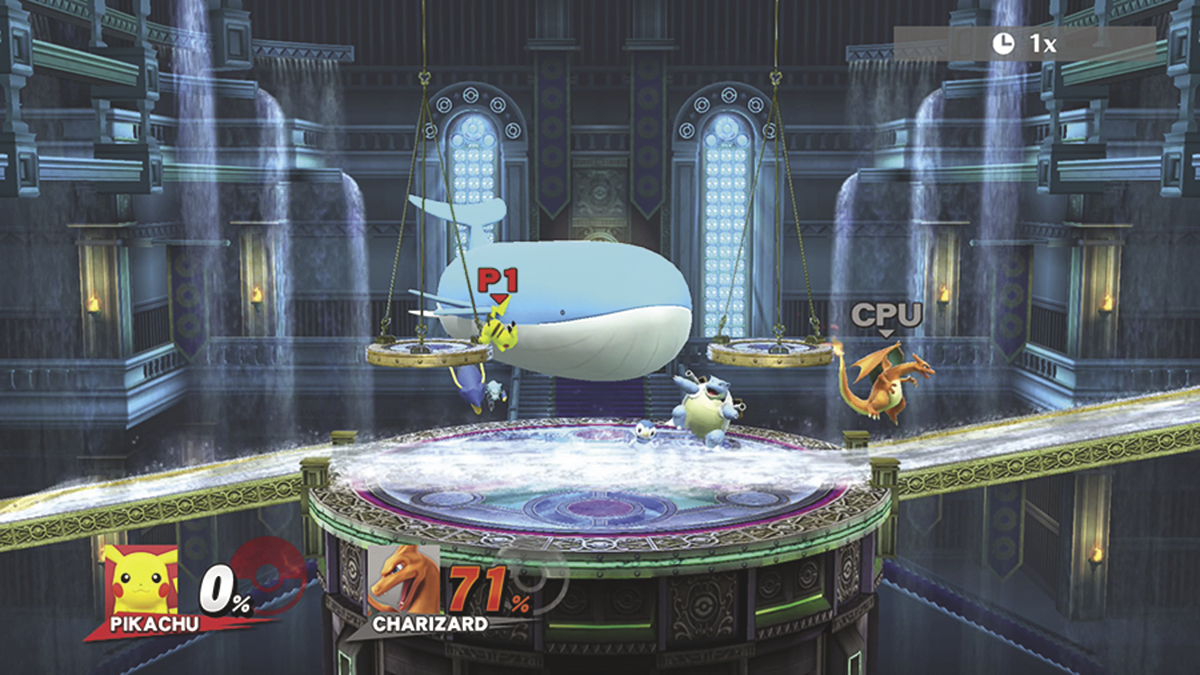
The stage shifts between four distinct Pokémon types: Fire, Water, Dragon, and Steel. Each of these types has a standard form and a legendary form. The standard Water-type set, for example, features a powerful stream of water that can carry unsuspecting fighters out of the stage, and the legendary Water-type set transforms the central platform into one large water hazard. Whenever a hazard is in play, it’s often best to stick to the smaller platforms—just make sure you hop back off before the next transition!
Kongo Jungle 64
- Inspired by: Donkey Kong Country
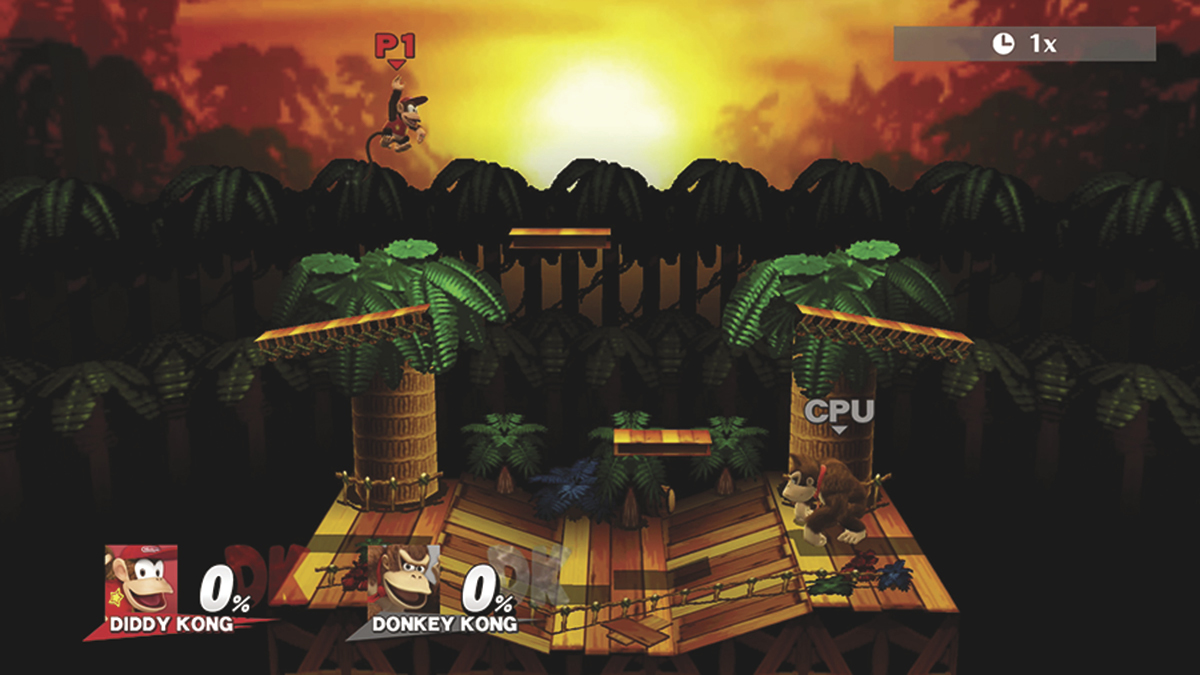
This small stage features several platforms, some of which are constantly moving. The Barrel Cannon hidden below the main platform, however, offers some particularly interesting tactical options.
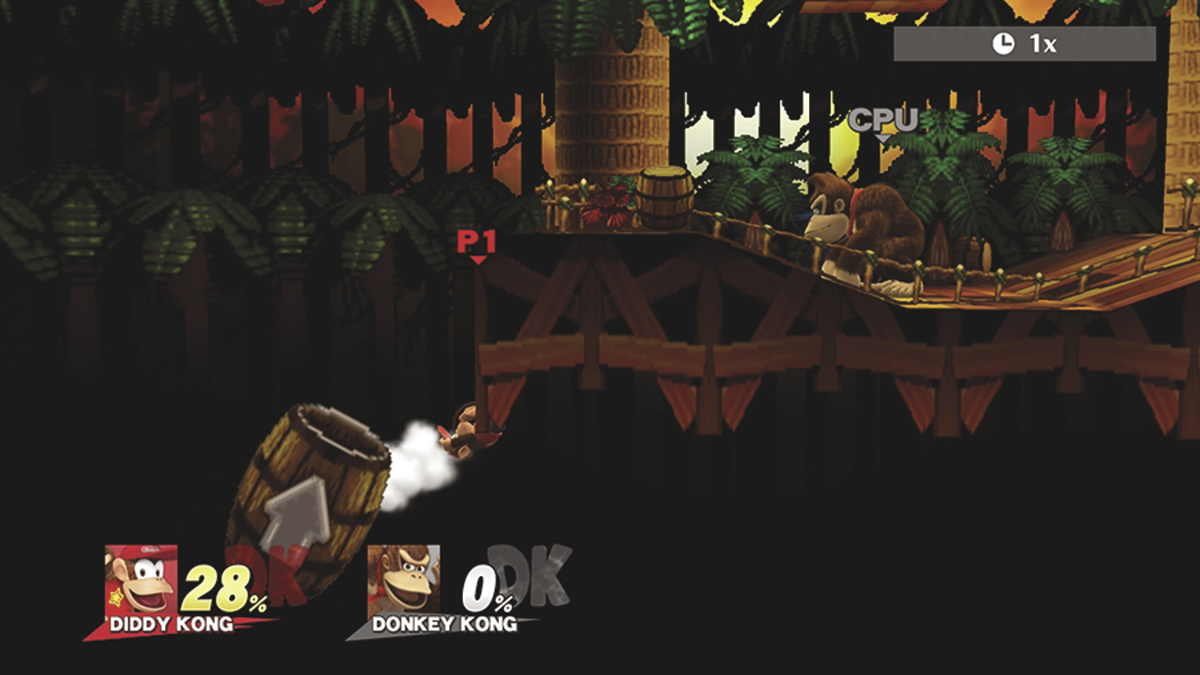
During battle, the Barrel Cannon slides back and forth across the stage. Most of the time, the Barrel Cannon is out of view, making it fairly difficult to track its position. Still, it can often be used to recover from a sudden fall. Once you’ve made it into the Barrel Cannon, use it to launch yourself back up to the main platform—a well-aimed shot will even damage any opponents unfortunate enough to be in your path!
Luigi’s Mansion
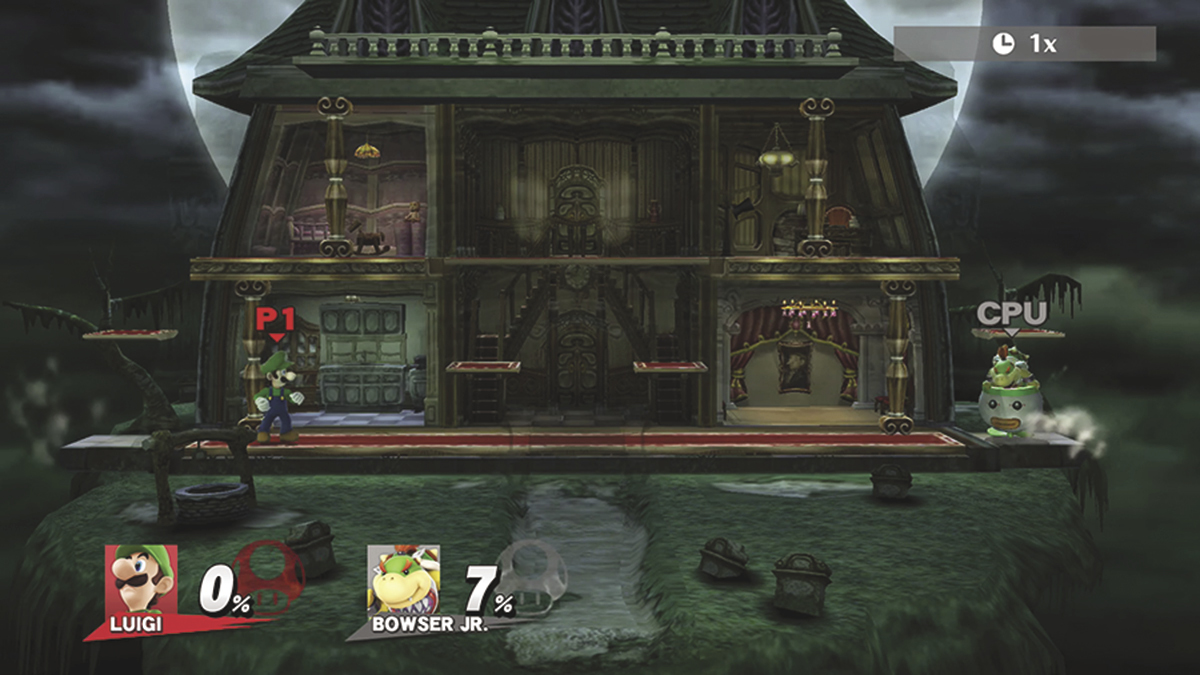
- Inspired by: Luigi’s Mansion
This stage features a variety of platforms within a large, fully destructible mansion. Additionally, the main structure is often flanked by small, slowly moving platforms; occasionally, however, these platforms vanish for a short time.
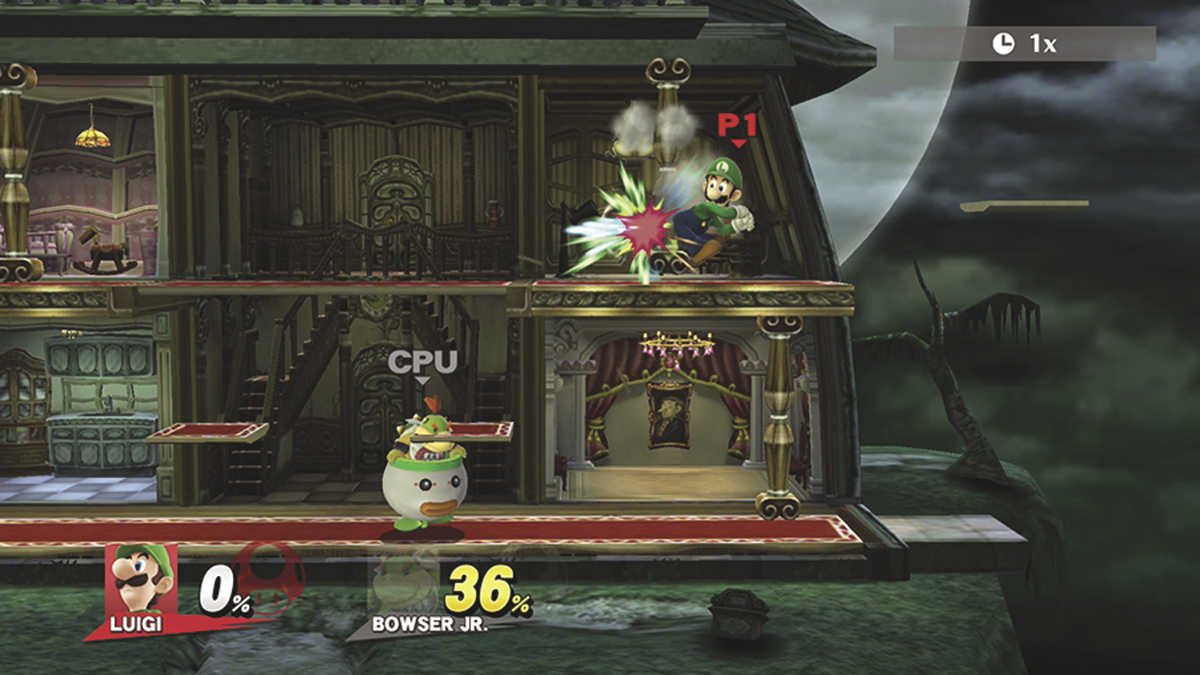
The mansion’s interior contains four columns. Once a column is destroyed, the surrounding area crumbles. The columns on the lower floor can’t be damaged while the areas above them are intact. If you intend to level the structure, make sure you destroy the upper columns first. Shortly after the mansion is completely destroyed, it will reappear in the stage.
Lylat Cruise
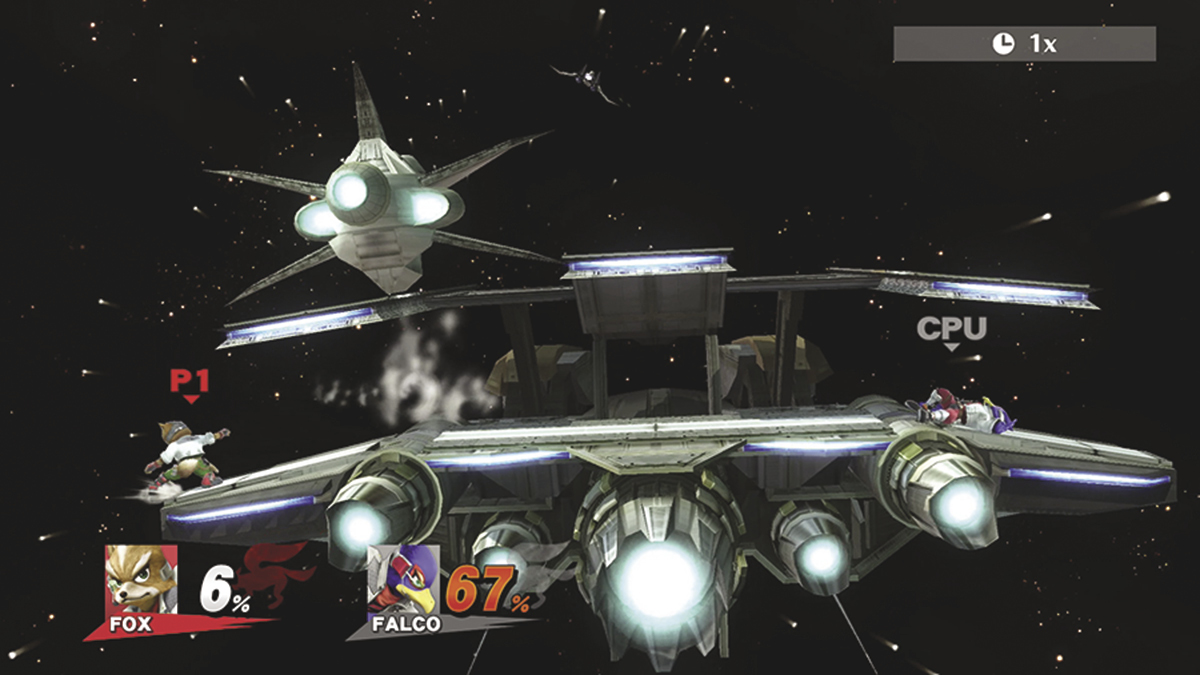
- Inspired by: The Star Fox franchise
This stage features a simple cluster of tilting platforms and some fairly dramatic background elements. The ever-changing scenery doesn’t have any effect on the battle, however. As long as you keep your footing, you’re free to focus on your opponents.
Mario Circuit
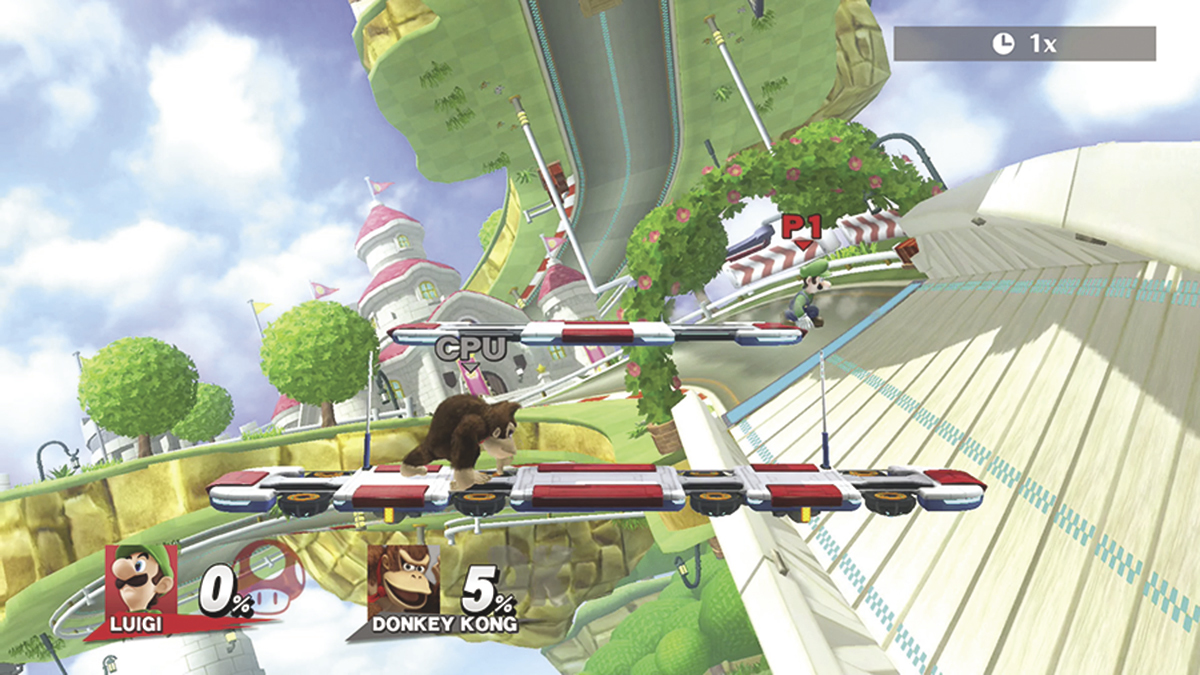
- Inspired by: Mario Kart 8
On this stage, moving platforms carry fighters to different points along a race track. The terrain varies between locations, but the platforms that appear during each transition are always the same.
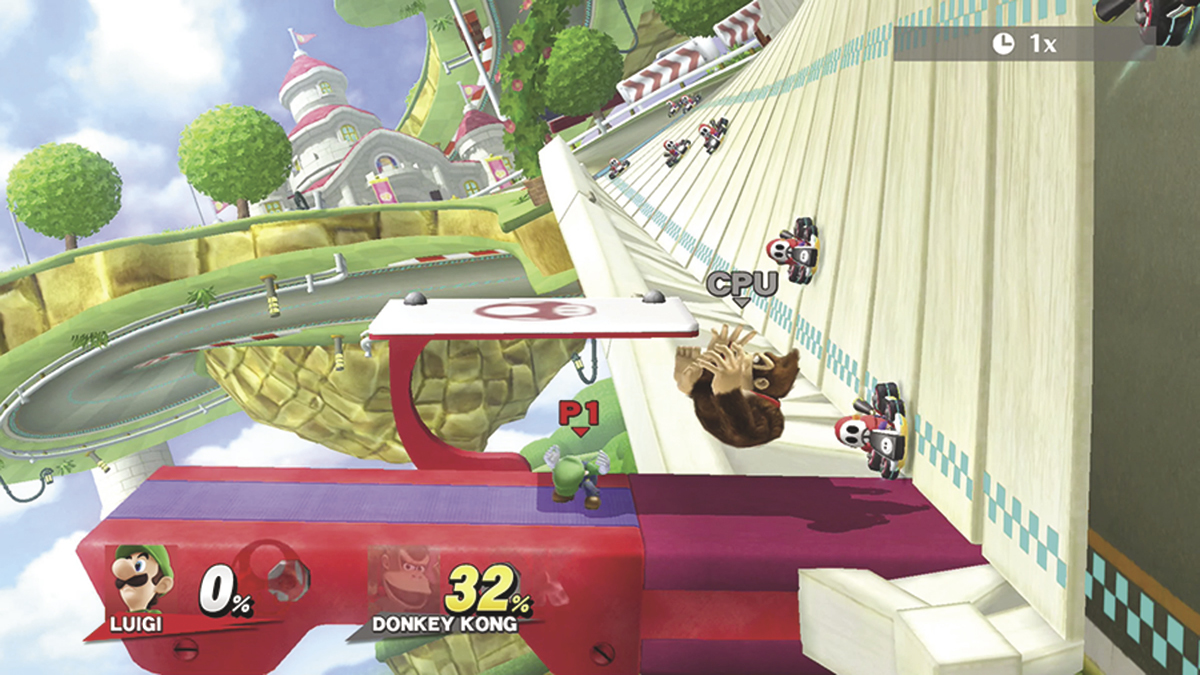
Many of the stops along the track contain additional hazards—particularly when the racers speed through the area. Watch for the alerts that signal incoming karts to avoid taking unnecessary damage. Whenever possible, launch your opponents into oncoming racers to deal heavy damage and increase the chances of a fast KO.
Mario Circuit (Brawl)
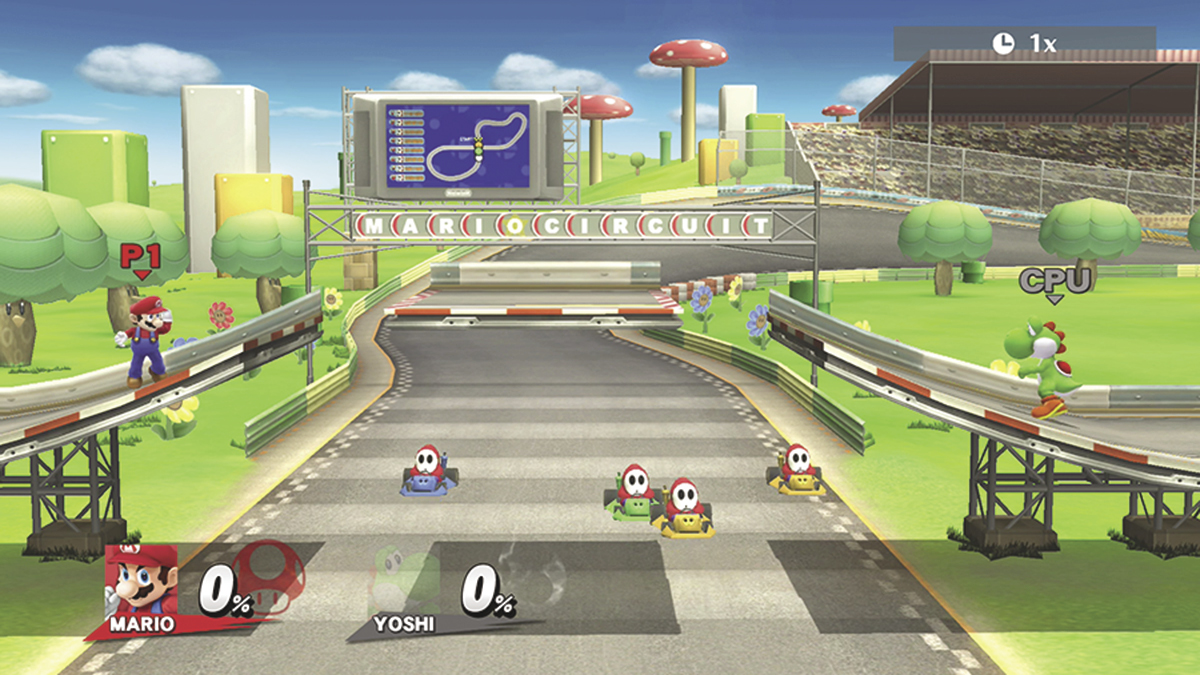
- Inspired by: The Mario Kart series
This stage places fighters at the raised intersection of a figure-eight race track. Throughout a battle, racers speed through the area, striking any fighters in their path. Use the monitor in the background to keep track of kart positions, and move to a safe location each time they approach. The racers alternate between the upper and lower paths each time they appear, so you shouldn’t have trouble avoiding them as long as you’re paying attention.
Mario Galaxy
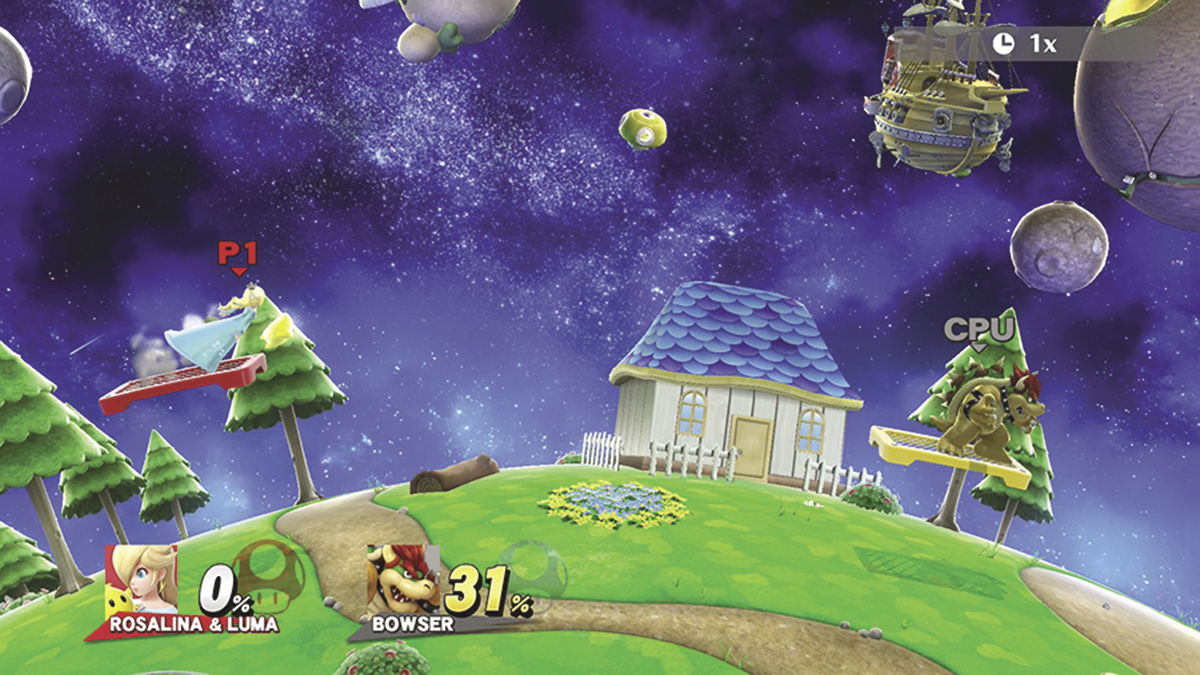
- Inspired by: Super Mario Galaxy
This relatively simple stage features two small platforms above a large, rounded patch of land. There’s a special gravity effect that causes most projectiles to follow the stage’s curved shape. Some projectiles, however, will still travel in straight lines.
Mushroom Kingdom U
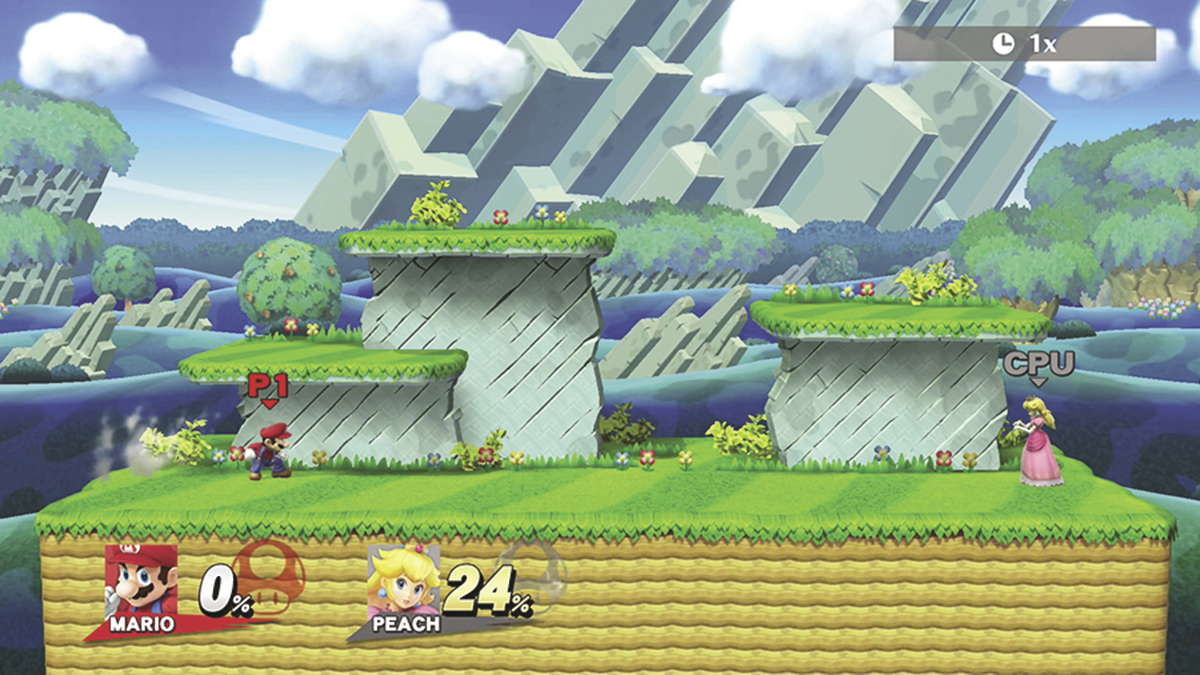
- Inspired by: New Super Mario Bros. U
This stage features frequent transitions and various hazards that appear and vanish over the course of a battle. Each set offers a unique platform arrangement, but elements like sprouting beanstalks, falling icicles, and erupting geysers can often be used as temporary platforms.
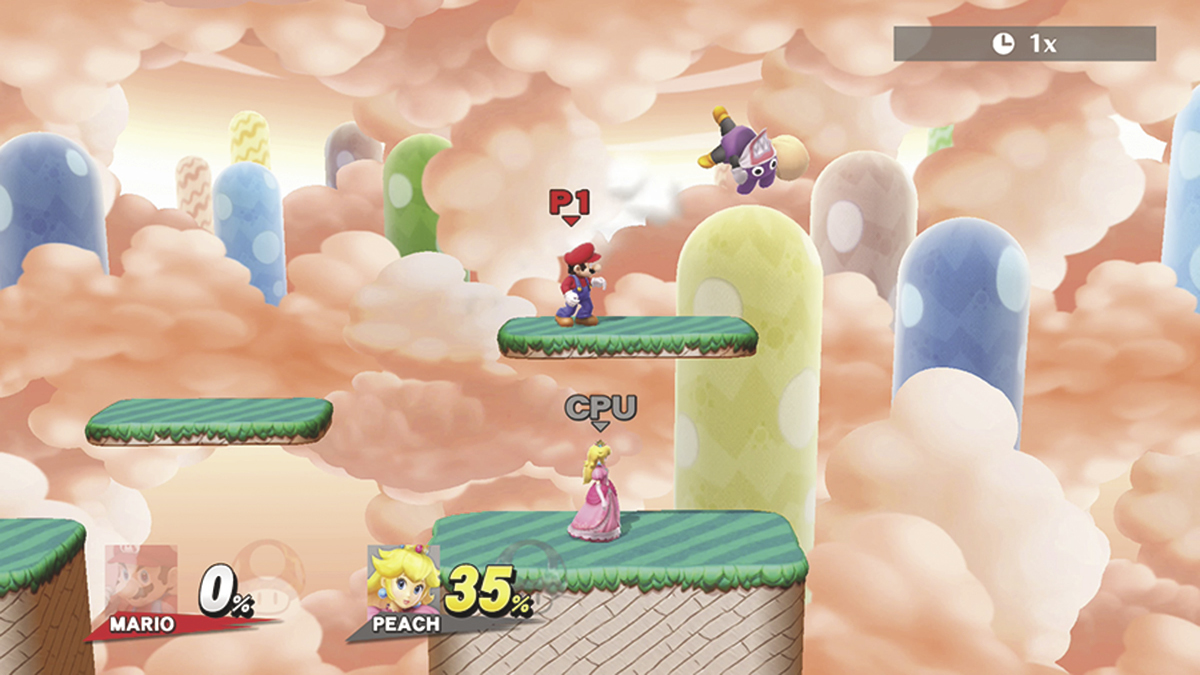
Kamek appears in the area just before each transition; when you spot him, prepare yourself for the impending change. Once you’ve found safe footing in a new set, watch out for any new hazards. If you notice falling drops of water, move away to avoid the incoming icicle. Make sure you keep an eye out for Nabbit—this sneaky pest will attempt to capture fighters and toss them off of platforms. Keep your distance, or move in to defeat this pest before he has a chance to attack you.
Norfair
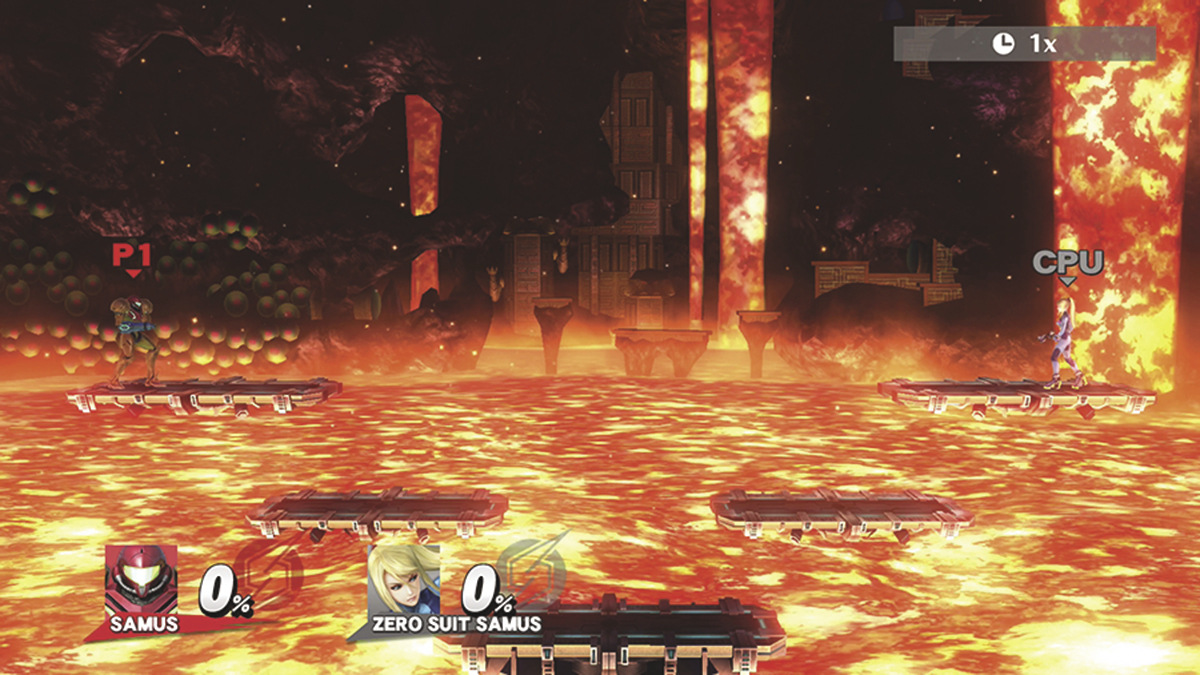
- Inspired by: The Metroid series
This stage contains a cluster of five small platforms in a large, lava-filled cavern. Throughout a battle, waves of lava can rise up from below the platforms or come rushing in from either side, rendering any submerged platforms unusable. During these events, simply move the action away from the lava to avoid being launched.
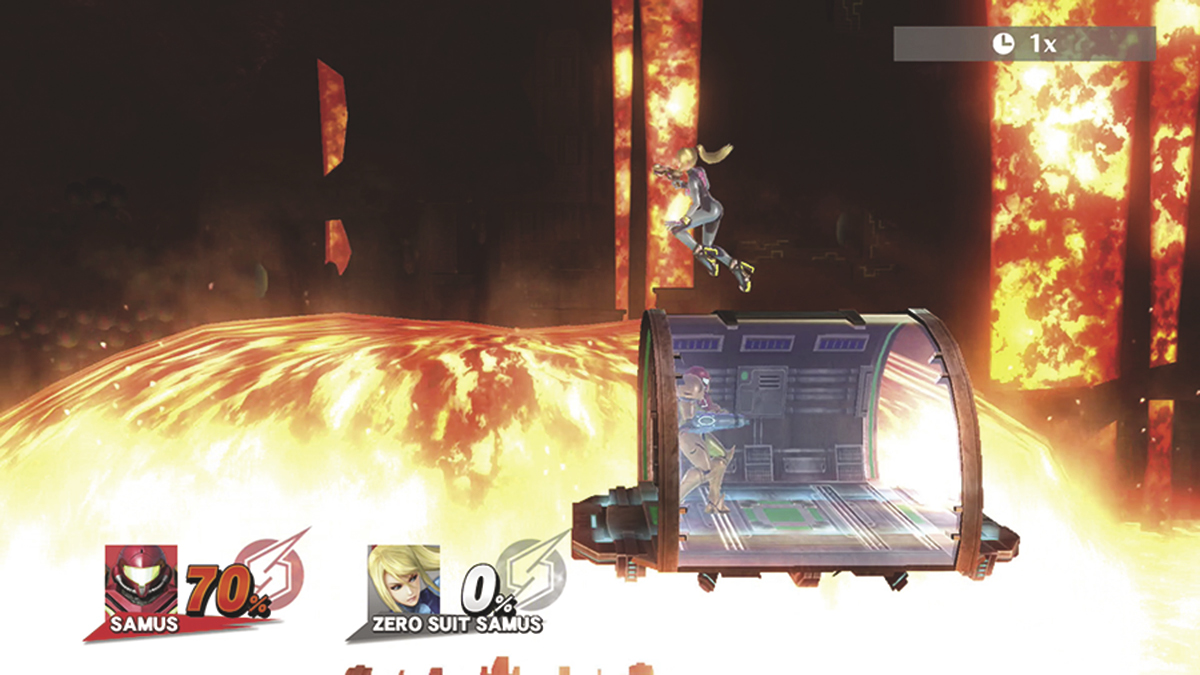
Occasionally, a giant wave of lava approaches from the background. Each time this happens, a temporary shelter appears on one of the platforms. Attack the shelter to open it, then slip inside to protect yourself from the lava as it passes through the area. Move quickly, though! You won’t have much time to react, and it can be difficult to enter a shelter once another fighter has claimed it. In addition, if you fail to get into the shelter in time, a properly timed dodge can be used to avoid damage from the lava wave.
Onett
- Inspired by: EarthBound
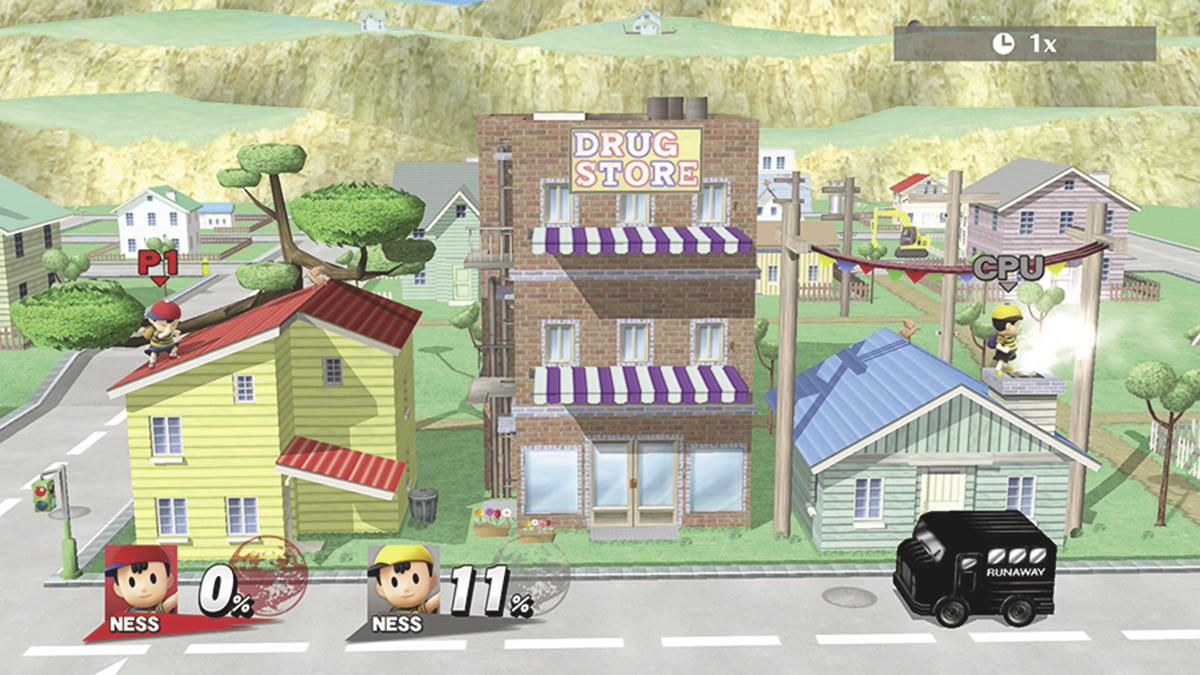
This small stage offers enough platforms to accommodate any number of strategies. During a battle, however, the drugstore’s sign can come loose, temporarily destroying the awnings below it. The most important feature on this stage, however, is the traffic on the street. Watch for alerts about incoming cars! If you’re on the ground when one of these warnings appears, move to an available platform as quickly as possible.
Orbital Gate Assault
- Inspired by: Star Fox Assault
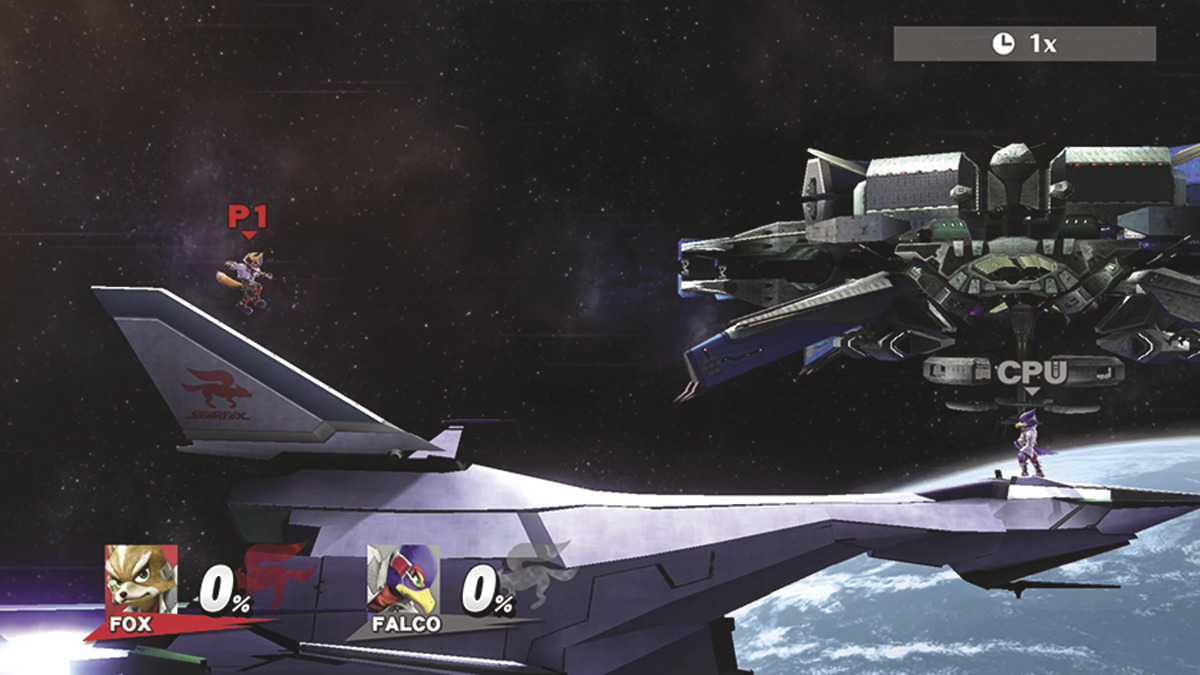
This stage features frequent transitions, some of which can be fairly confusing for new players. Fighters must use the available ships as temporary platforms. Each ship only stays in the area for a short time, so take note of new vessels as they appear, and watch for signs that existing ships are about to vanish.
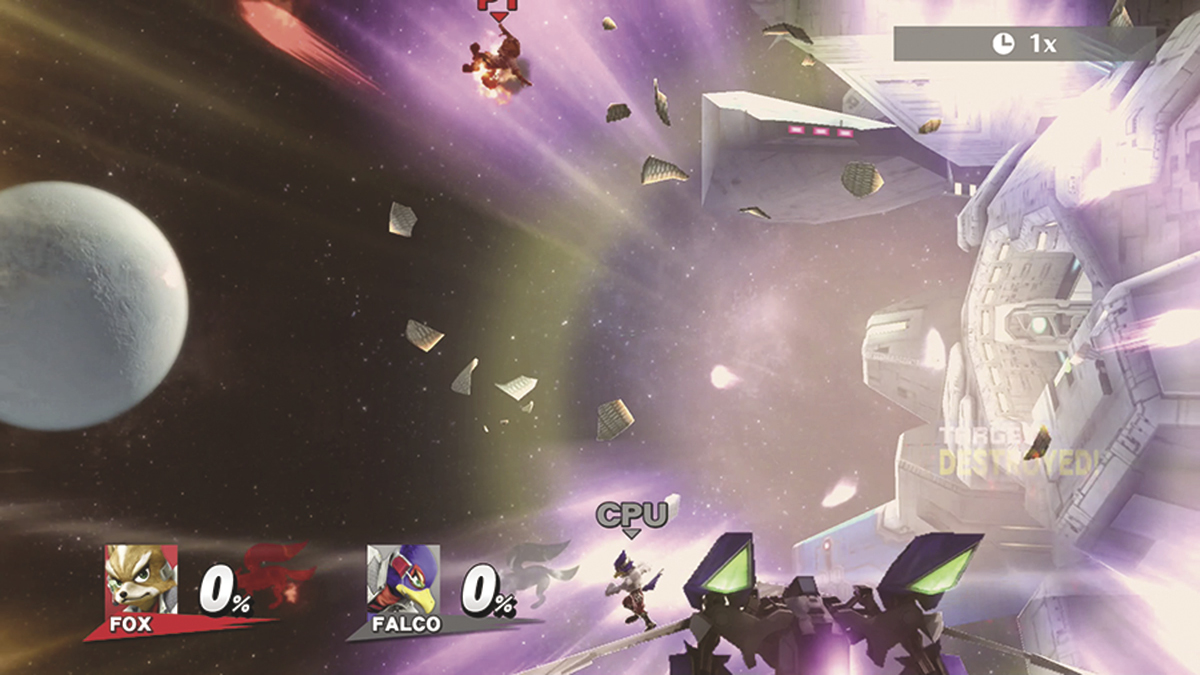
Some transitions are harder to navigate than others. Be particularly careful when a ship explodes, scattering the fighters through the area. The blast can make it very difficult to identify an available platform while you still have enough time to reach it.
PAC-LAND
- Inspired by: PAC-LAND
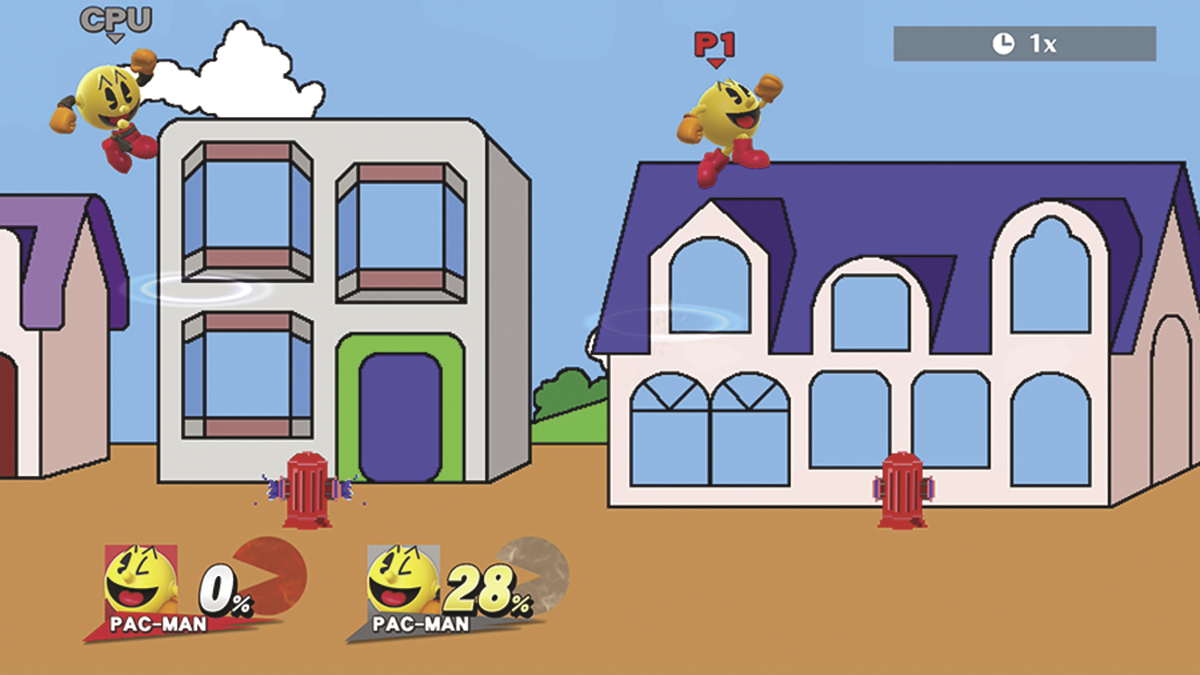
This scrolling stage forces fighters to keep pace with the moving scenery. Each area contains its own platforms, obstacles, and hazards, so it’s important to pay attention to your surroundings. Near the beginning of the stage, be particularly wary of the fire hydrants scattered along the ground. A small burst of water can be enough to knock a straggling fighter right off of the screen.
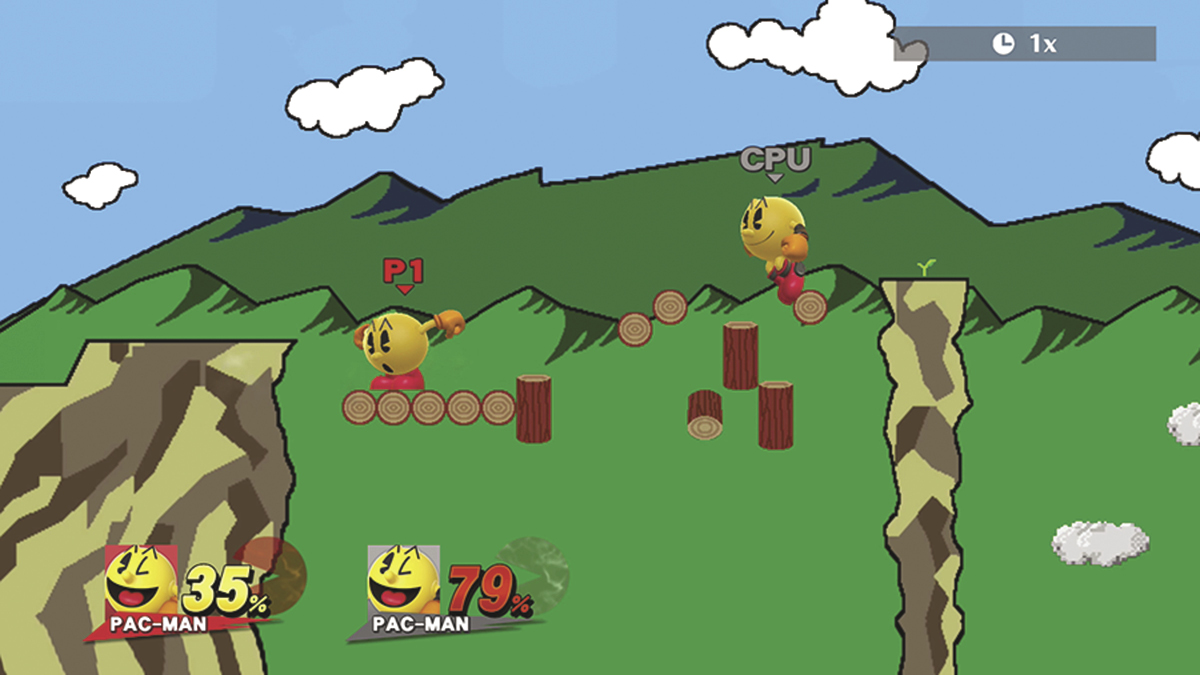
As the battle moves through the stage, you’ll encounter geysers, crumbling bridges, and hazardous pools of water. If you’re not sure whether or not an item or surface is safe, it’s usually best to avoid it. Try to stick to solid ground, and hop over any obstacles in your path to keep the battle moving.
Palutena’s Temple
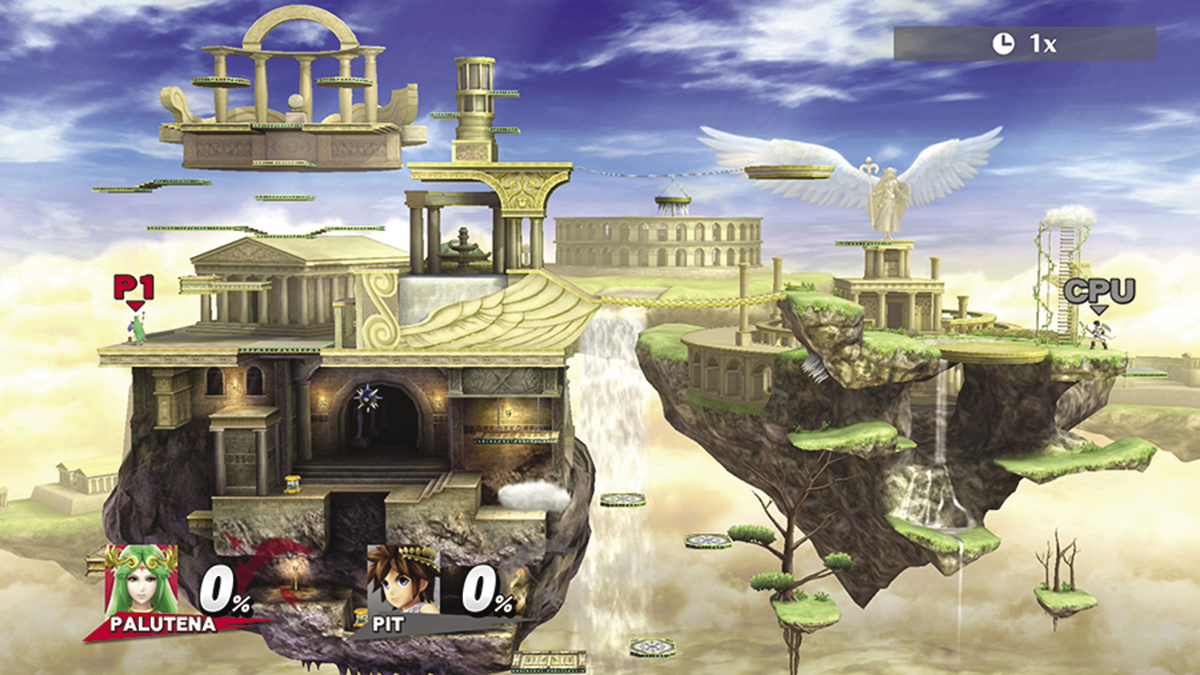
- Inspired by: Kid Icarus: Uprising
This expansive stage offers enough platforms and paths to accommodate even the largest battles. You’ll find varied terrain and plenty of fixed platforms, so try to move the battle to a spot that favors your playstyle. If you need to withdraw from a dangerous situation, look for a nearby ladder or spring-loaded platform.
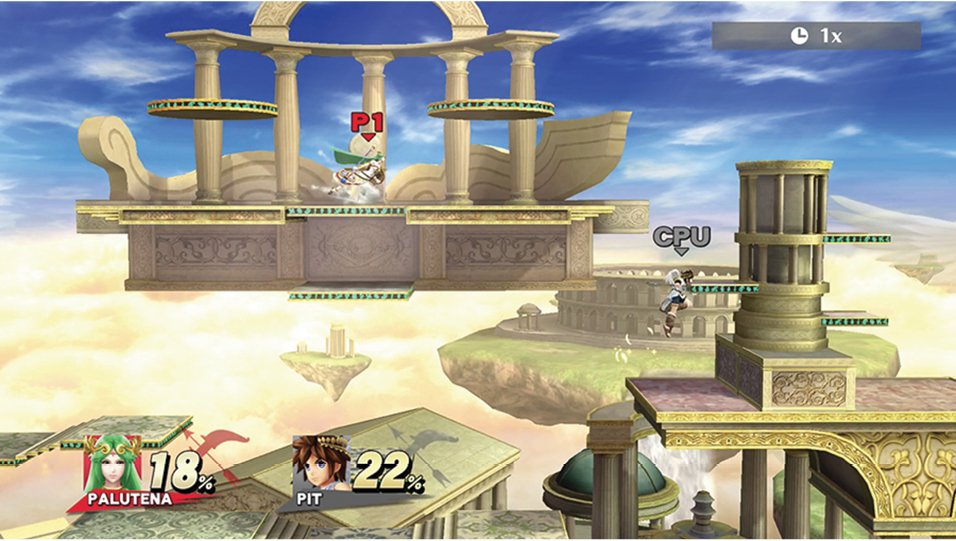
This stage doesn’t feature any actual transitions, but it does contain a large structure that occasionally vanishes. The altar floating near the top of the stage sometimes moves out of the area—make sure you’re safely on solid ground when it does!
Pilotwings
- Inspired by: Pilotwings
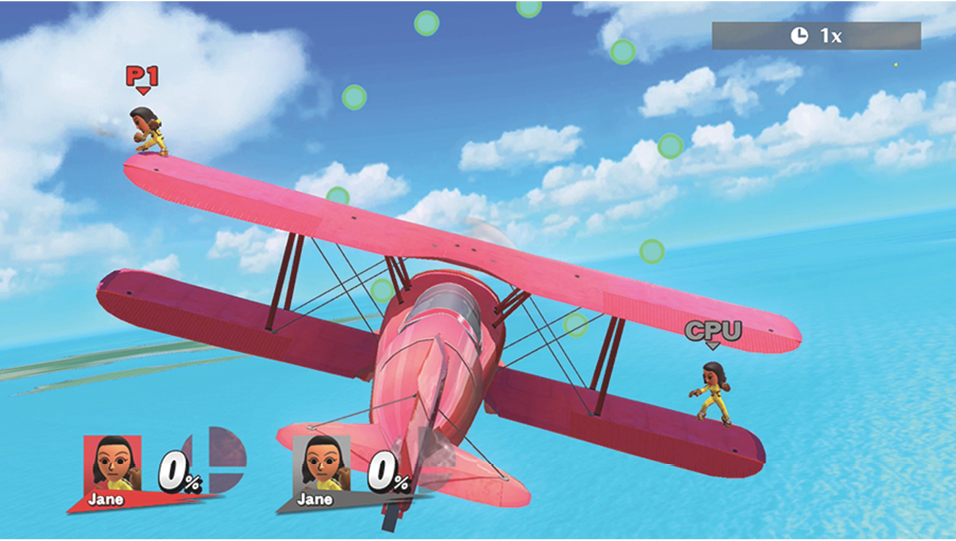
On this stage, the battle takes place high above the ground, moving back and forth between two different airplanes. While on the biplane, fighters can make use of three separate areas. The upper wings serve as one long platform, while the lower wings are divided by the plane’s body. The seaplane offers one main platform, but particularly agile fighters can use its pontoons as hard-to-reach footholds.
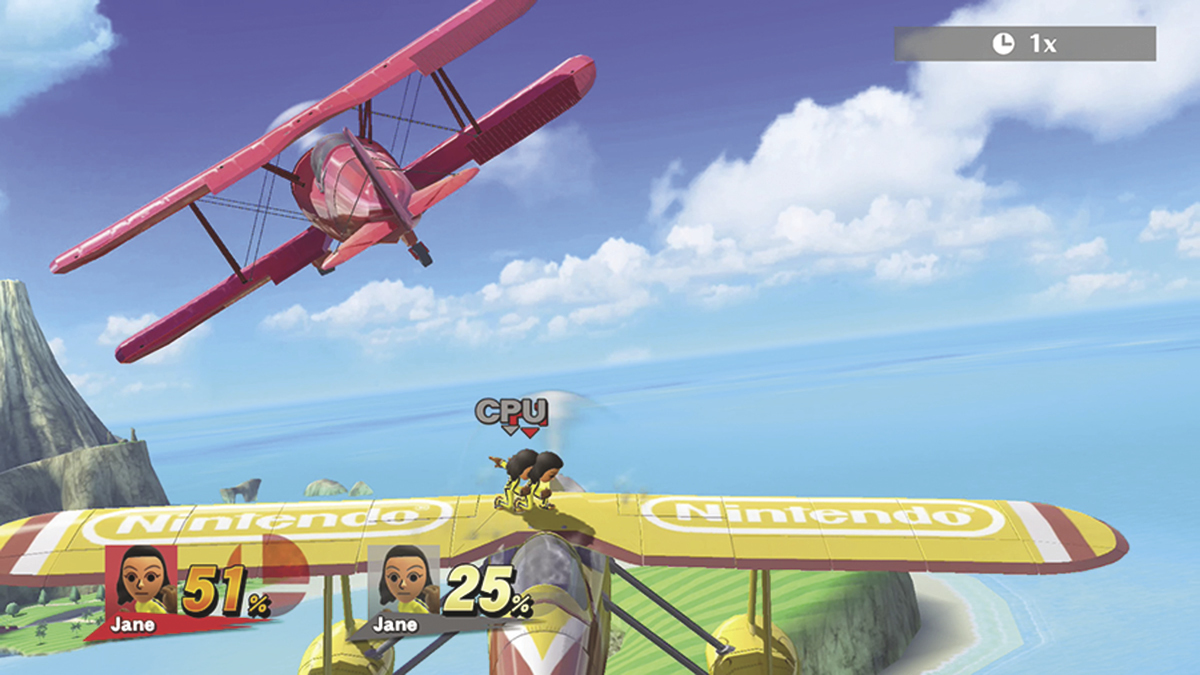
Both planes tilt back and forth, often moving in and out of the foreground as they fly through the area. You may have to make small adjustments to maintain your position and avoid slipping off of the available platforms. Over the course of the battle, fighters are automatically moved back and forth between the planes. These transitions are easy to anticipate, however—when one plane flies over the other, fighters are dropped into position.
Pokémon Stadium 2
- Inspired by: Pokémon series
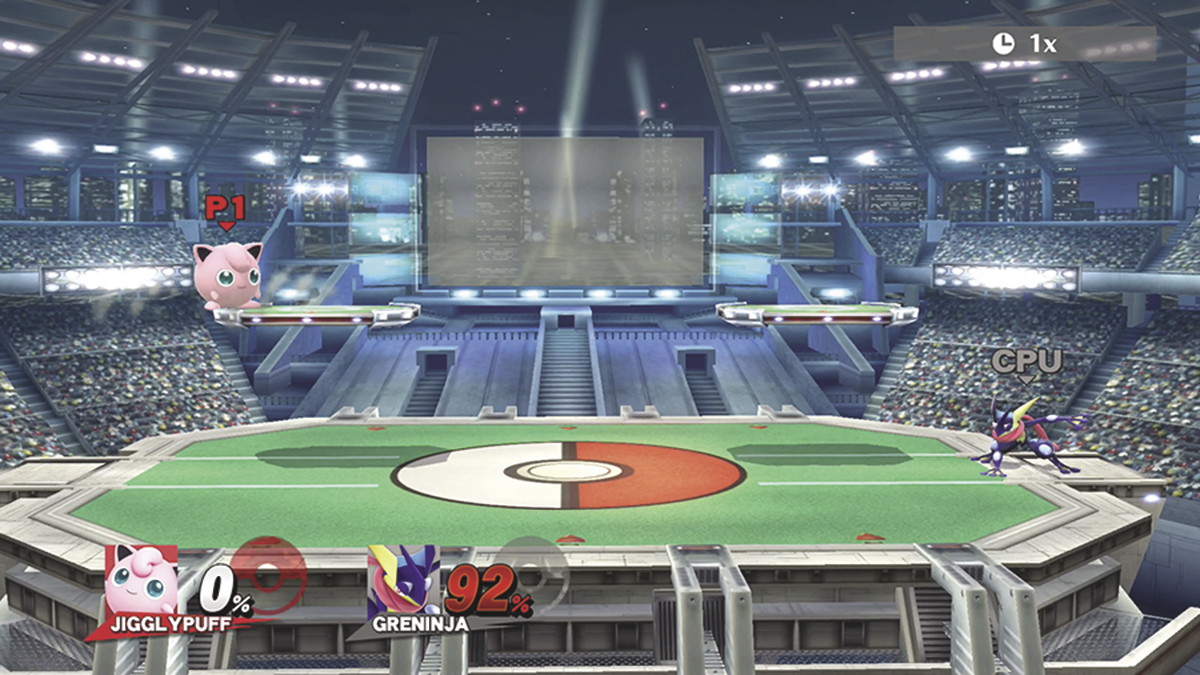
This stage features frequent transitions. In addition to the default platforms, fighters must deal with various sets inspired by different Pokémon types. Watch the monitor in the background for clues about when a transition is about to occur and which set will appear.
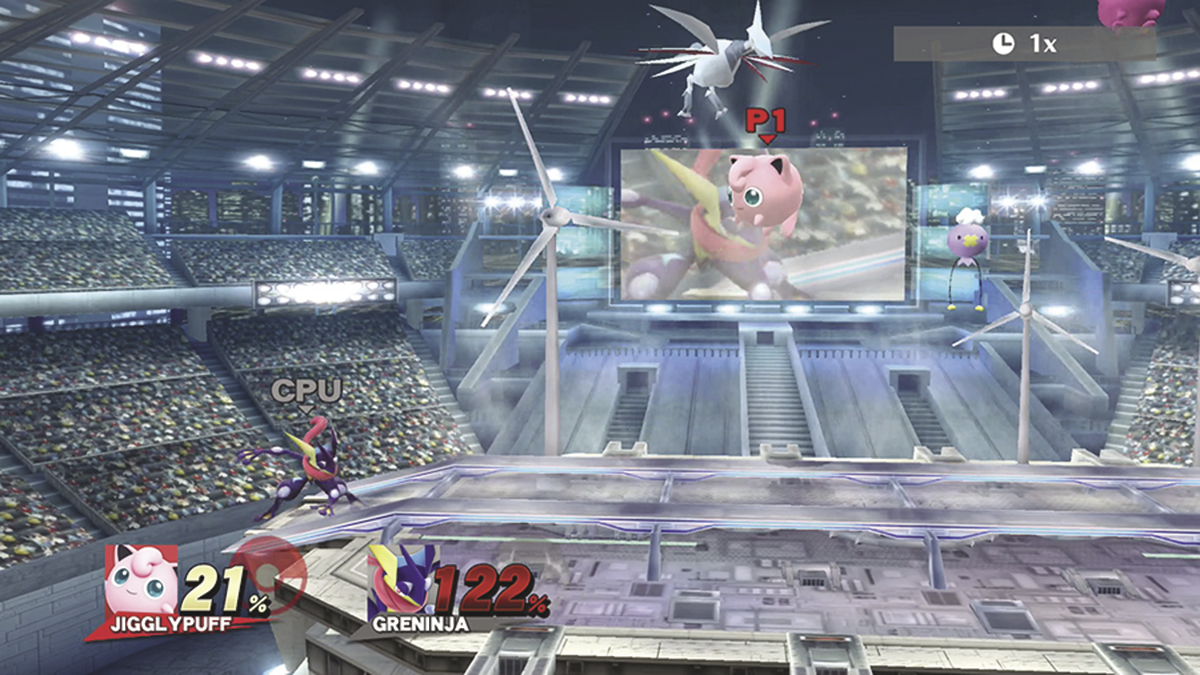
Each alternate set is inspired by one of four Pokémon types. The Flying-type set features heavy winds that add a floating effect to fighters’ jumps. The Ground-type set includes additional platforms and obstacles. The Electric-type set offers new platforms and conveyor belts. And the Ice-type set features slick surfaces with minimal traction.
Port Town Aero Dive
- Inspired by: F-Zero
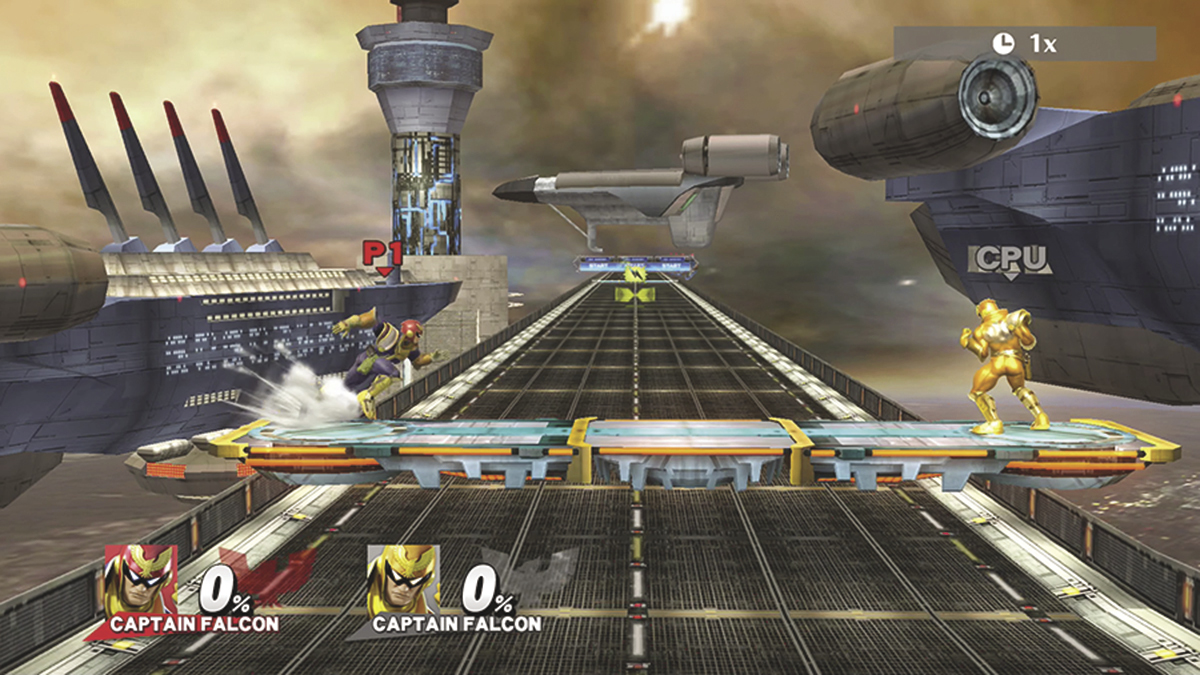
On this stage, fighters are carried to various points on and around an F-Zero track. While the platforms are in motion, any fighters who fall onto the track are launched into the air. Keep your footing to avoid taking unnecessary damage!
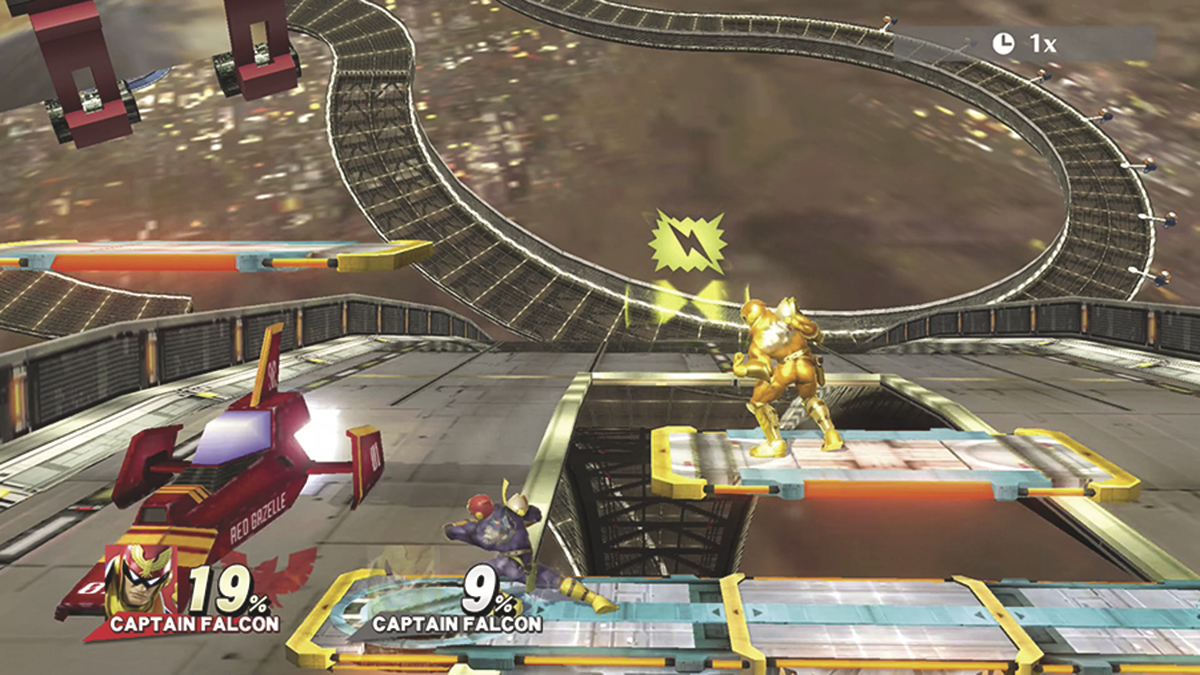
Each stop along the route offers different platforms and hazards, so try to use the terrain to your advantage. When the battle stops near the track, it’s also important to watch out for any racers that might come speeding through the area.
Pyrosphere
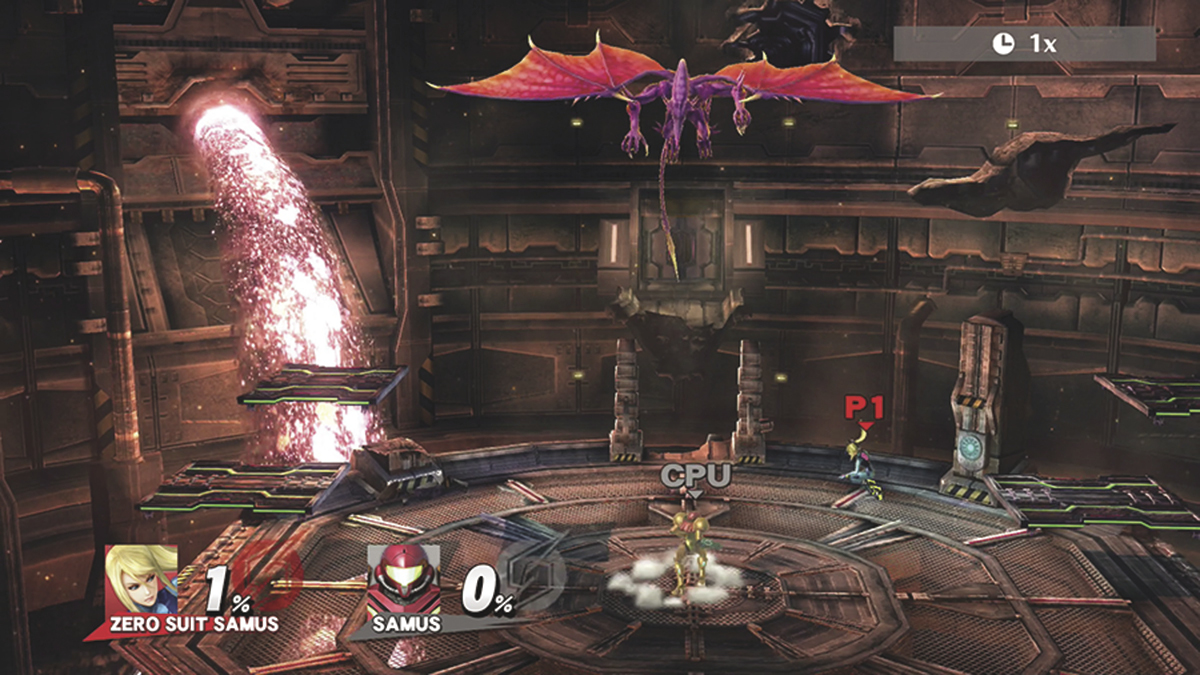
- Inspired by: Metroid: Other M
This relatively small stage features several unique elements—the most important of which is a large dragon-like creature named Ridley. When Ridley appears, he attacks fighters, often destroying smaller platforms in the process. Although it’s possible to simply evade this powerful enemy, attacking him can yield some surprising results.
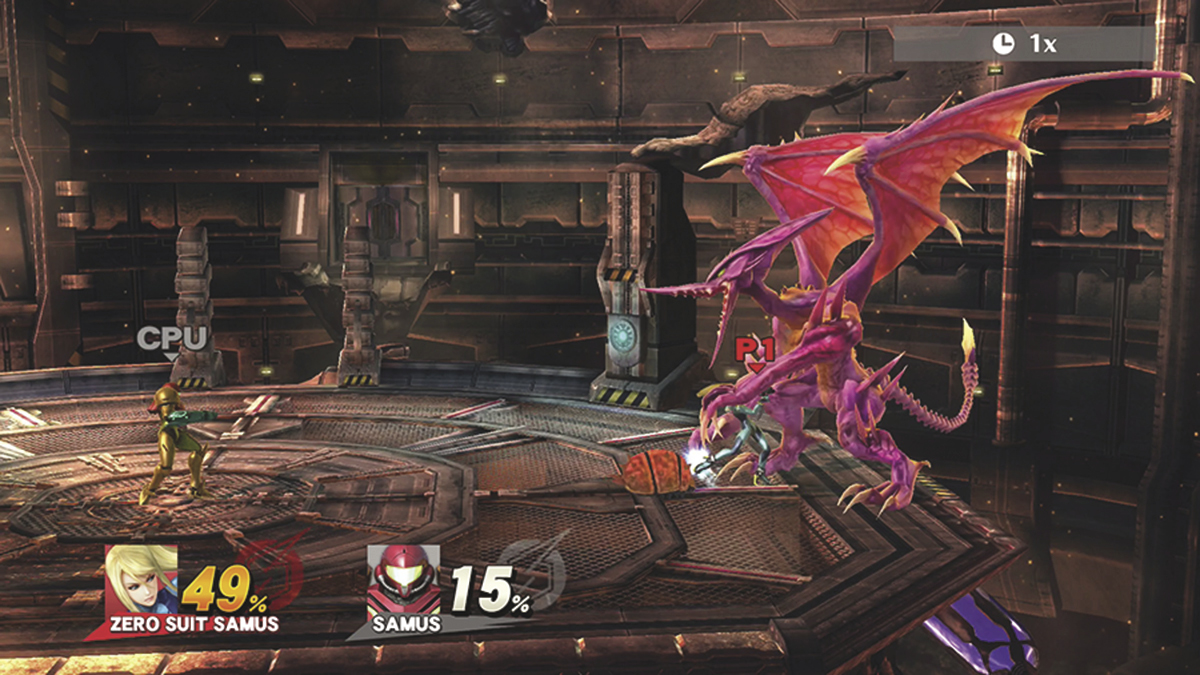
As Ridley takes damage, each fighter’s contribution is recorded. If and when Ridley absorbs enough damage, he fights alongside the player who dealt the most damage. After this happens, however, fighters can continue to damage Ridley in an effort to change his allegiance. It’s also important to note the slug-like creatures that sometimes appear can be thrown at Ridley to deal heavy damage, attacking floating turrets cause them to fire, and defeating a hovering Joulion causes it to explode.
75 m
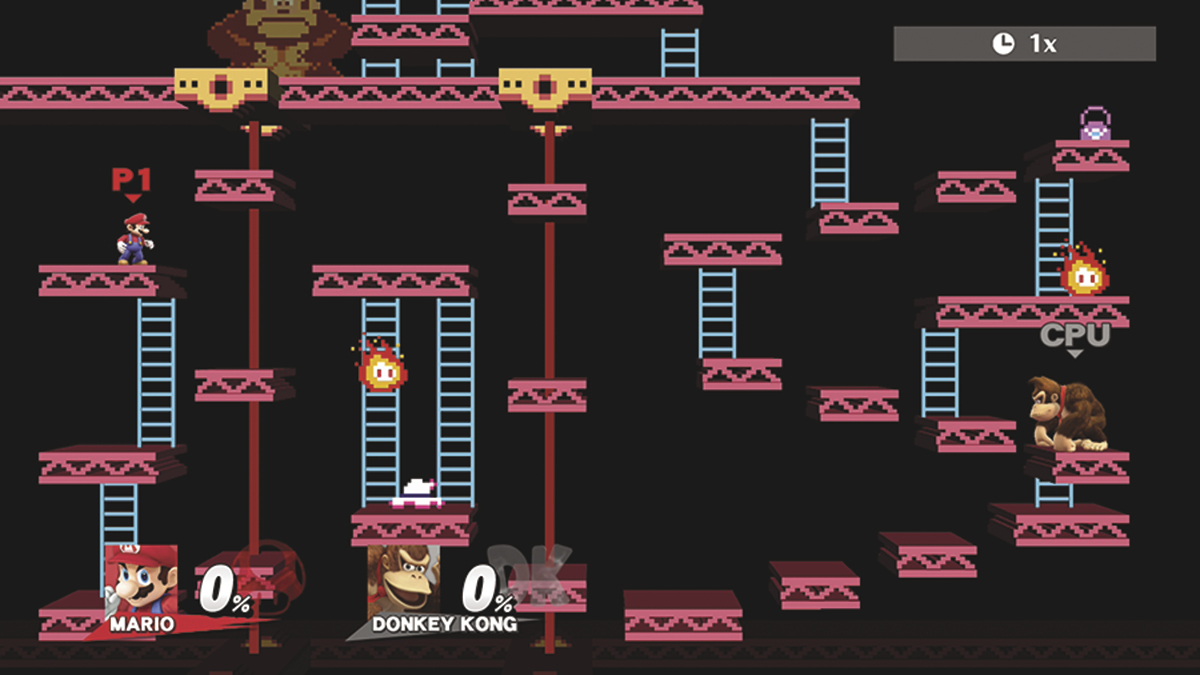
- Inspired by: Donkey Kong
This compact level offers climbable ladders and a variety of small platforms, along with a few persistent hazards. It’s important to avoid the slow-moving fireballs, but items like the umbrella and purse can be collected. Doing so increases the score displayed near the top of the stage, but it has no effect on the battle.
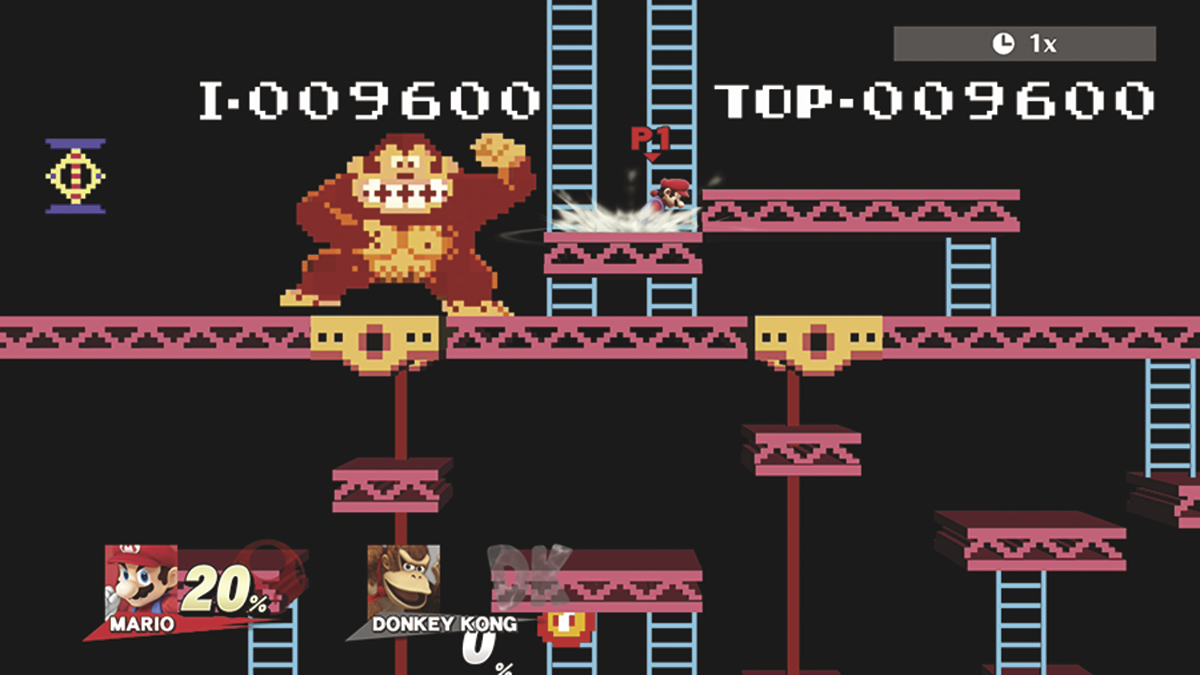
During battle, watch the Donkey Kong figure near the top of the stage. Soon after the figure steps out of the shadows, fast-moving springs begin bouncing across the stage. Touching a spring is likely to result in a KO, so stay out of the way until the figure steps back into the shadows.
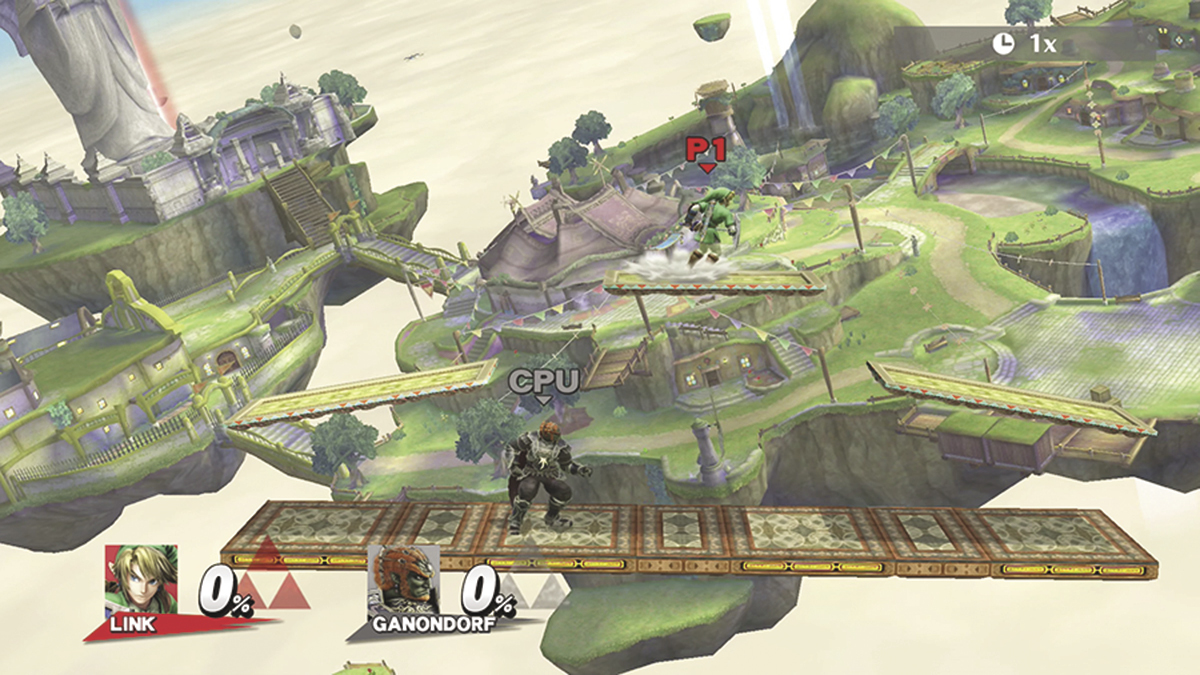
Skyloft
- Inspired by: The Legend of Zelda: Skyward Sword
This stage features clusters of moving platforms that transport fighters to different spots thought the area. The specific formation of platforms varies during each transition, so adapt your strategies accordingly.
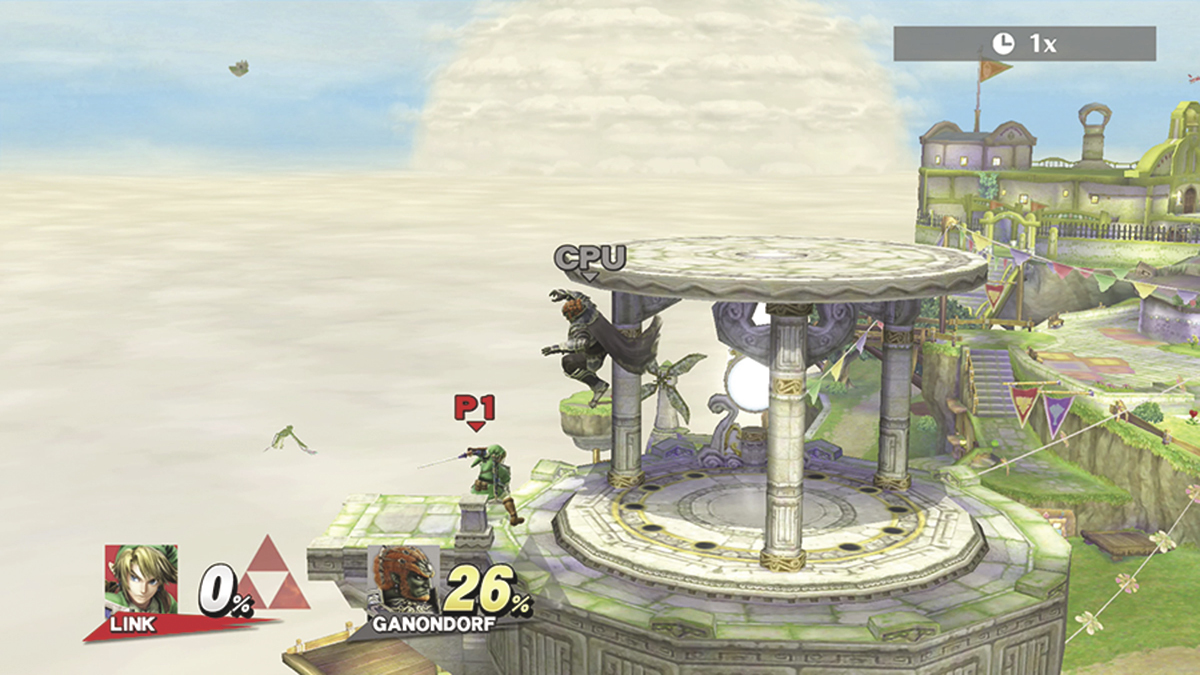
Each time the battle moves to a new location, use the available terrain to your advantage. Whenever a new cluster of moving platforms appears, hop on to avoid being left behind.
Skyworld
- Inspired by: Kid Icarus
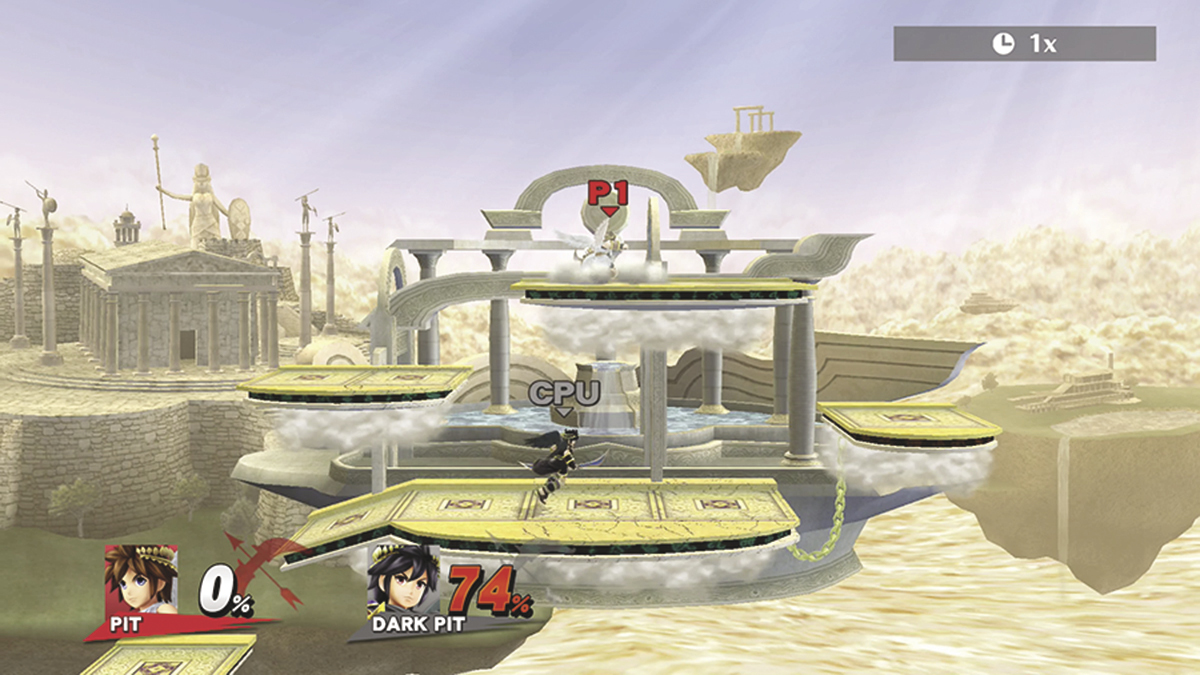
This small stage features a tight cluster of platforms and an additional platform that occasionally moves across the bottom of the area. Each fixed platform is composed of one or more stone segments resting on a cloud. Attacking a stone segment eventually causes it to shatter. Once this happens, fighters can jump or drop through the exposed cloud, making it a bit easier to move around the area. This effect is temporary, however; stone segments regenerate fairly quickly.
Smashville
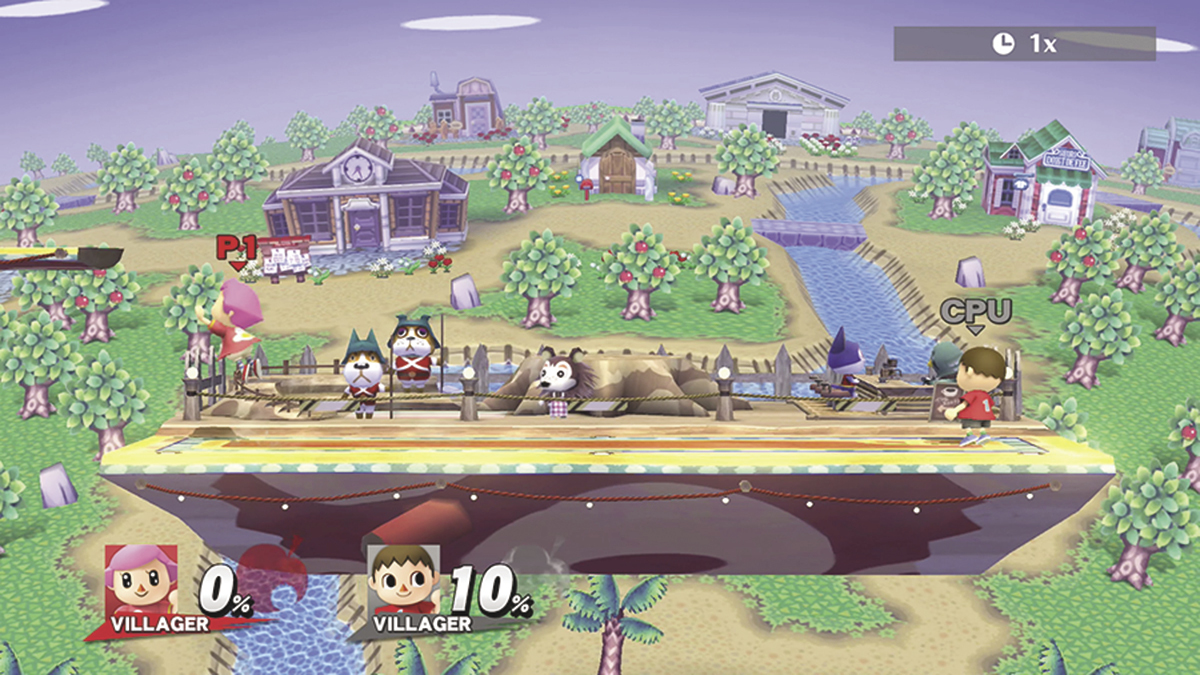
- Inspired by: Animal Crossing
This simple stage features a large platform floating high above the ground. Smaller platforms frequently float through the area, but they move relatively quickly. Small balloons sometimes appear near the top of the stage. If you like, you can attack them to free any attached items or to clear the area to help ensure that your projectile attacks are able to reach your intended targets.
Temple
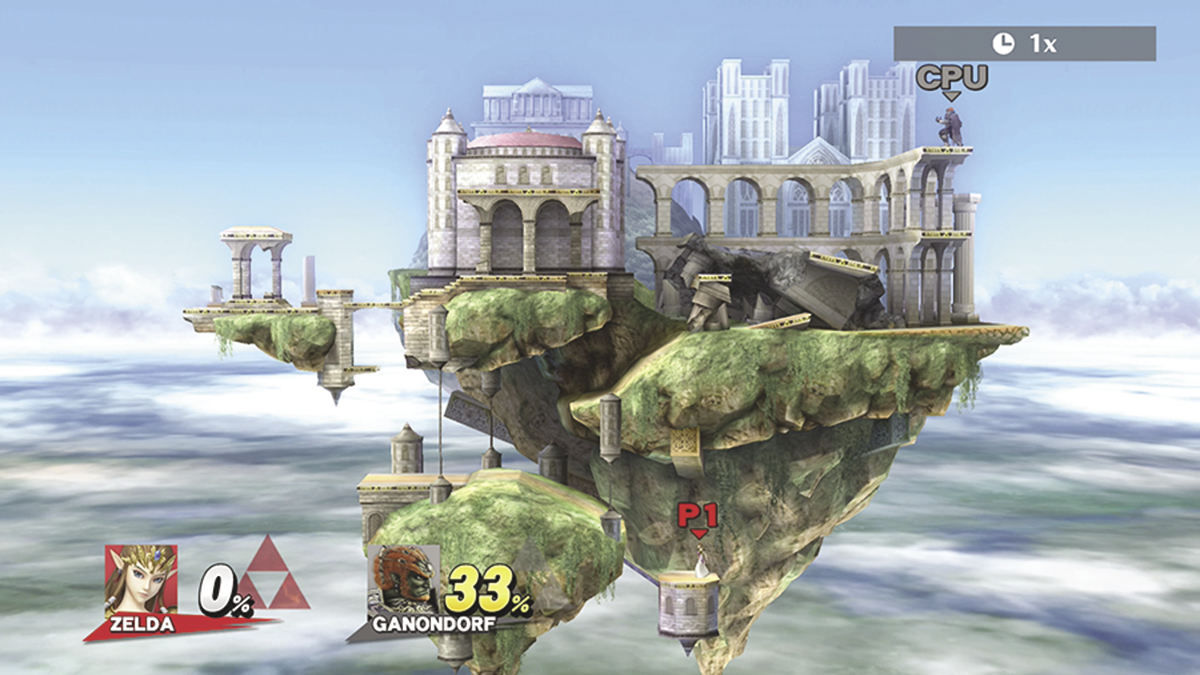
- Inspired by: The Legend of Zelda
This sizable stage features numerous platforms and a variety of terrain, making it another good choice for larger battles. While the upper platforms provide plenty of open space, the lower platforms are a bit more confined. Whenever possible, move the battle to an area that favors your personal playstyle.
Town and City
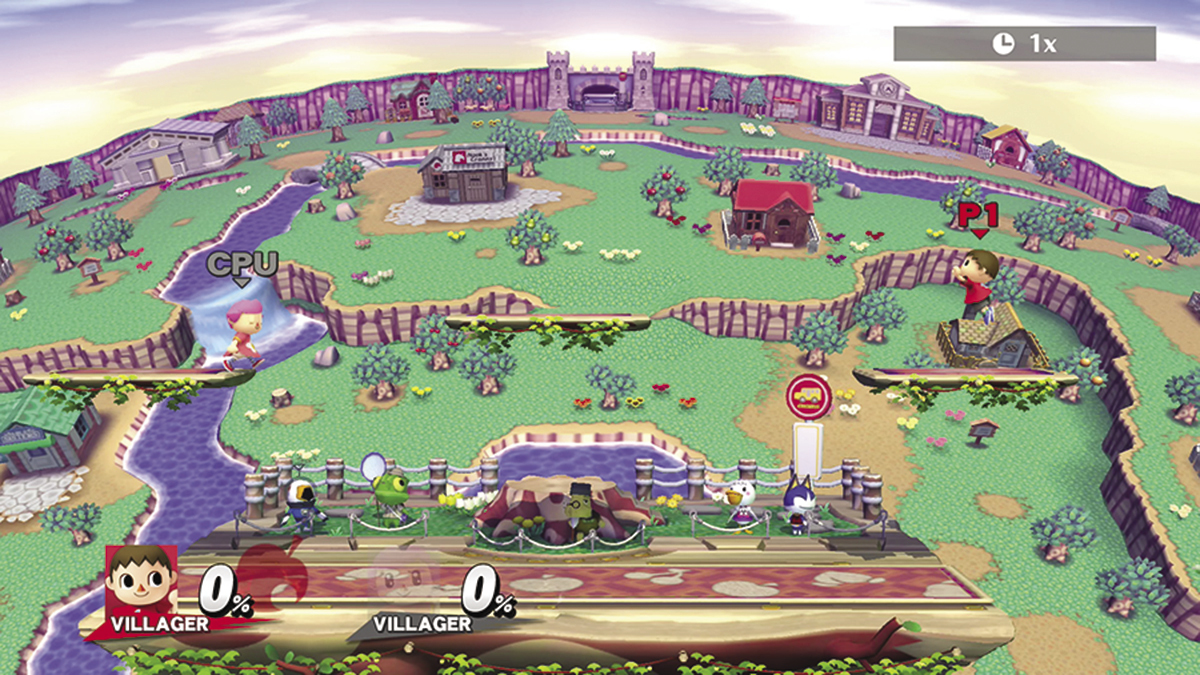
- Inspired by: Animal Crossing: City Folk
This stage features a large platform that carries fighters back and forth between two different locations. Each location has its own set of additional platforms, so be sure to take advantage of the available terrain—just make sure you return to the main platform before it moves out of the area.
Wii Fit Studio
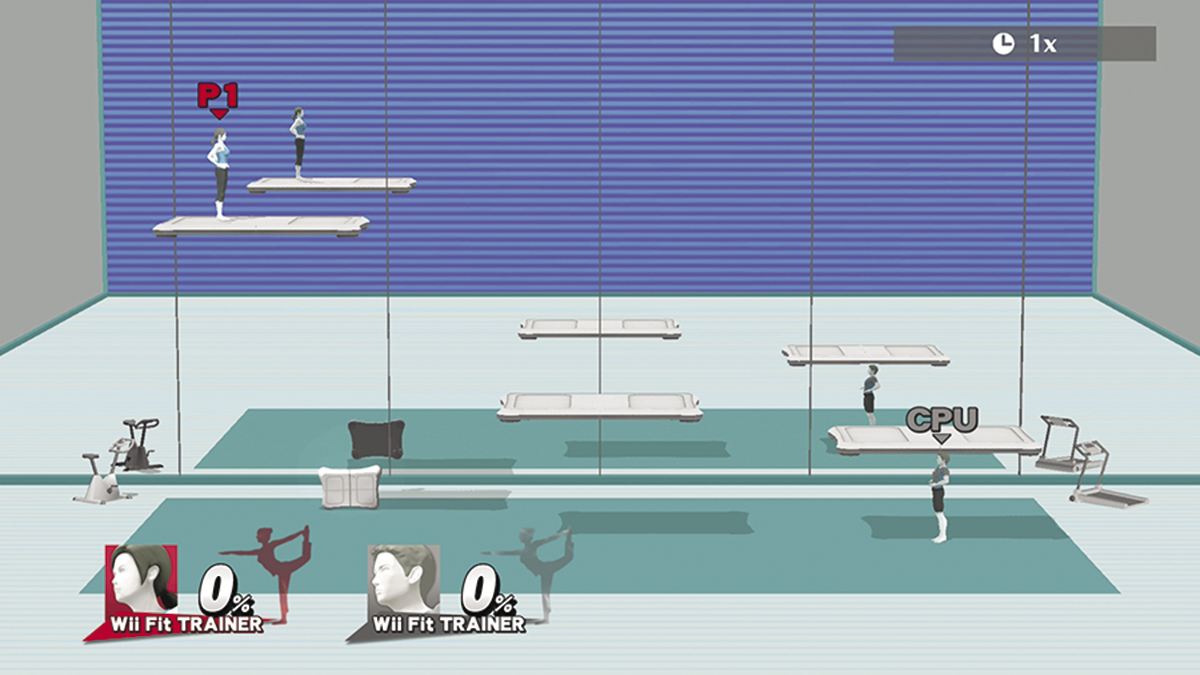
- Inspired by: Wii Fit
This stage frequently transitions between two relatively simple sets. The first set contains a number of randomly placed platforms floating in front of a mirrored wall. Jumping onto one of these platforms causes it to lower slightly, but all of the platforms remain relatively still until the scene changes.
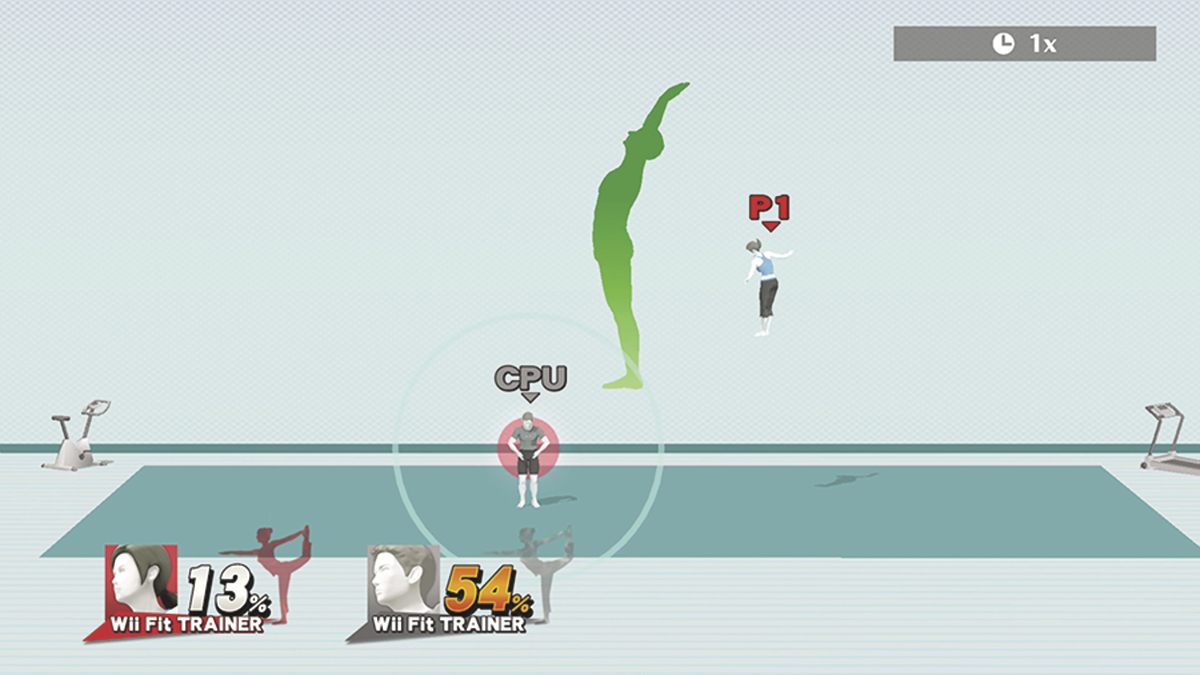
The second set is an empty room with nothing but a yoga pose displayed in the background. Each time you transition back to the first set, you’re given a new platform arrangement. Each time you transition back to the second set, a new yoga position appears on the wall.
Wily Castle
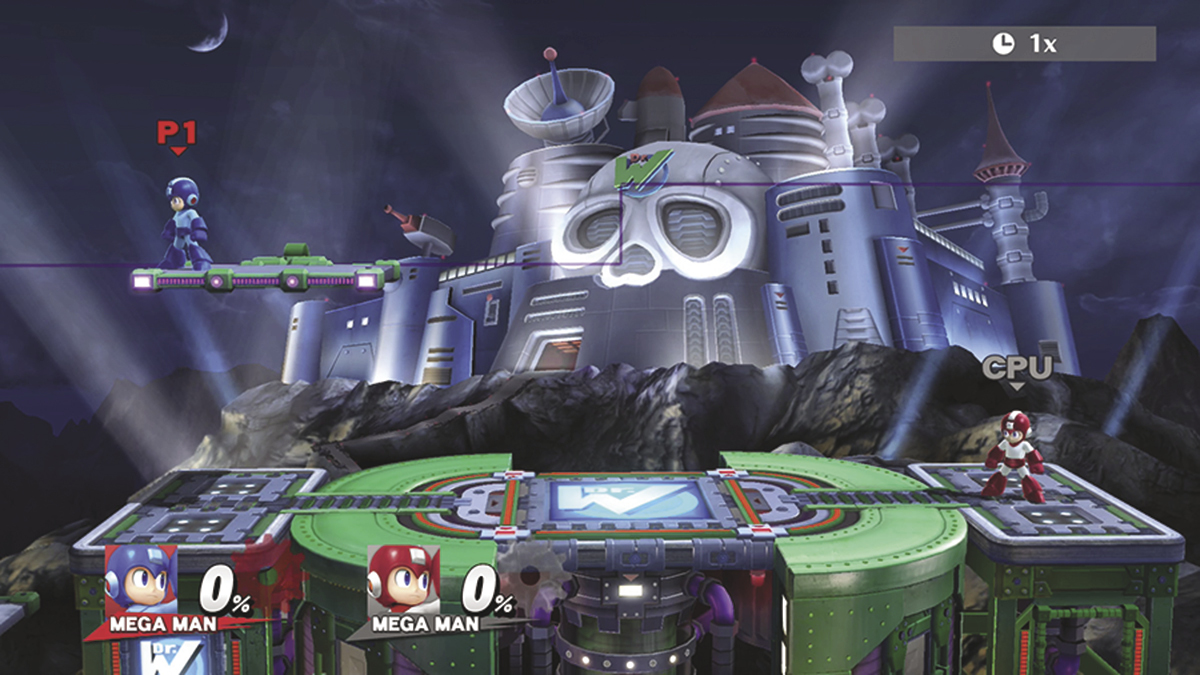
- Inspired by: The Mega Man series
This stage contains a single fixed platform, but additional temporary platforms appear over the course of a battle. These platforms move along visible tracks. When one of these platforms reaches a dotted section of track, it flips down, dropping anyone it might be carrying. More important, however, this stage features the Yellow Devil—a massive robot that occasionally emerges from the castle in the background.
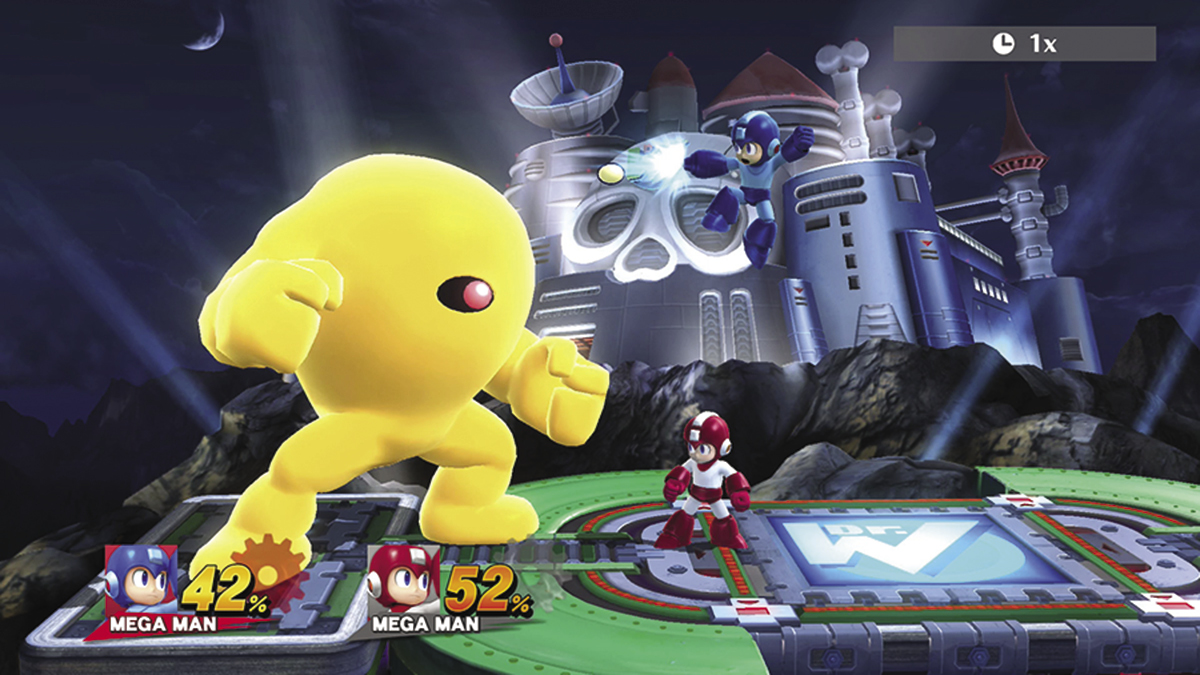
While the Yellow Devil is in the area, it fires a series of projectiles across the stage. After a few attacks, the robot usually moves to the opposite edge of the main platform and fires projectiles in the other direction. Fighters can dodge these projectiles or take cover behind the Yellow Devil until it leaves the area. Alternatively, fighters can attack the robot until it explodes—if you manage to deliver the finishing blow, the resulting explosion counts as your attack, damaging all nearby opponents.
Windy Hill Zone
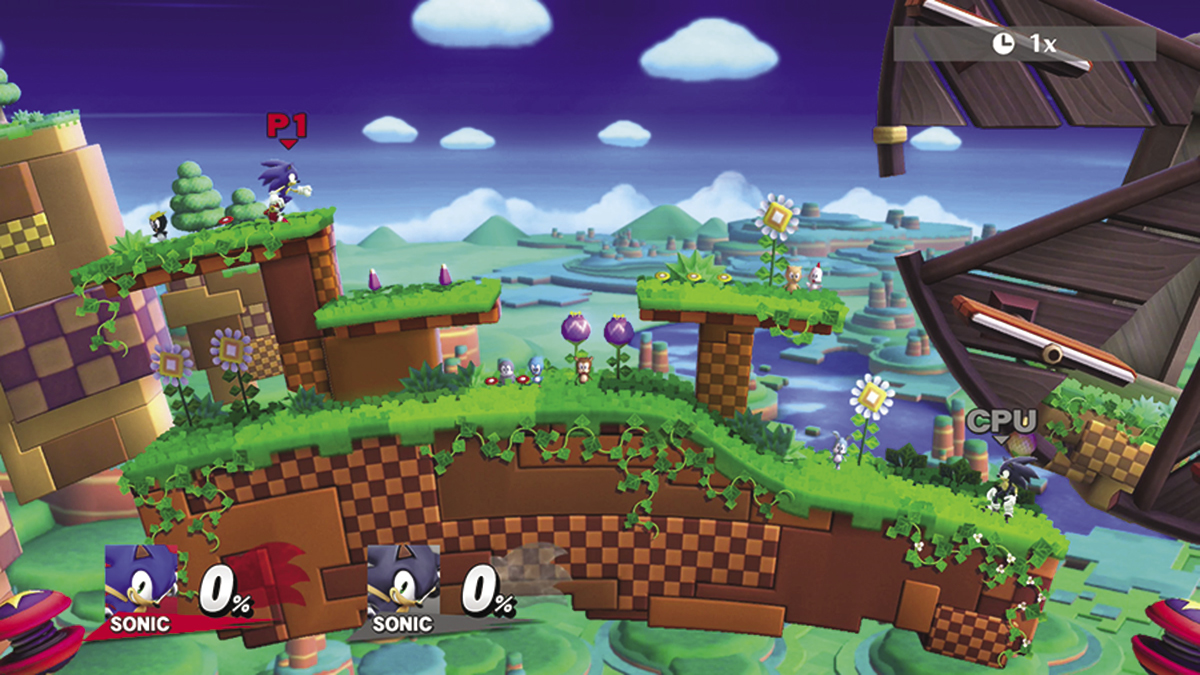
- Inspired by: Sonic Lost World
This stage features a large, curved mass of land surrounded by a number of smaller platforms. Most of the time, you’ll find a spring floating on each side of the main platform. They’ll occasionally vanish, however, so make sure you look before you leap! The windmill near the right edge of the stage has a platform attached to each of its blades. Each of these platforms can only be used for a short time, however, before they move out of the area.
Woolly World
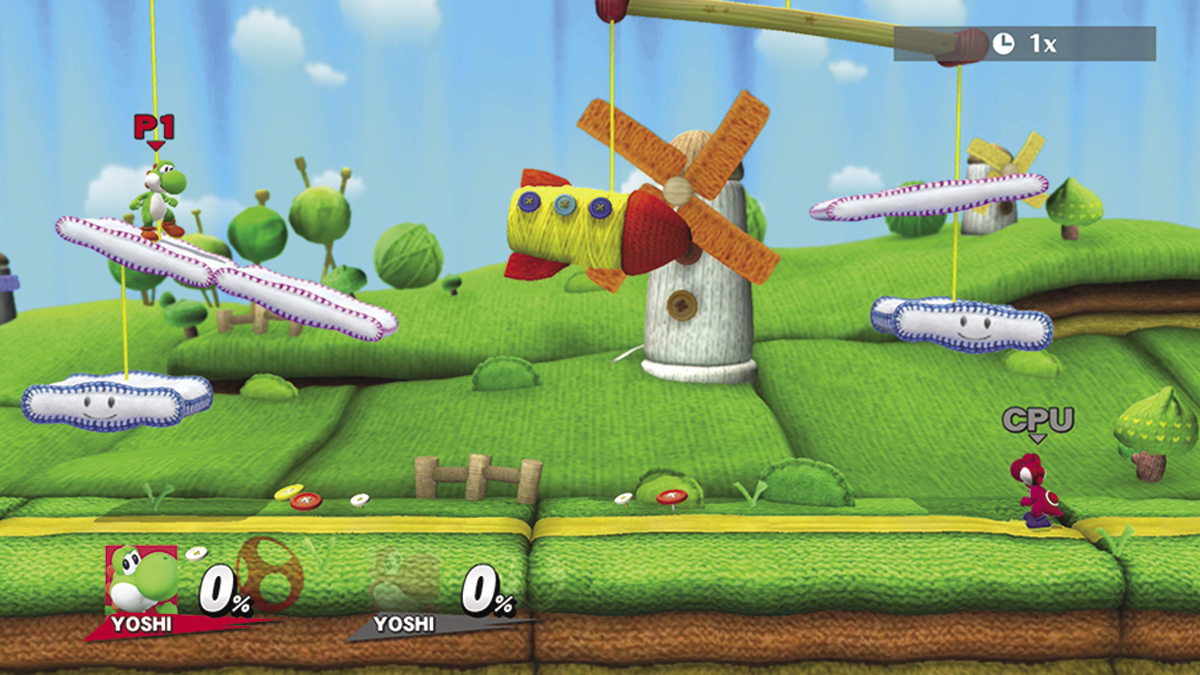
- Inspired by: Yoshi’s Woolly World
This stage contains two seemingly separate clusters of suspended platforms. When you interact with these platforms, however, it’s clear they’re all connected to each other—placing weight on one platform will have a subtle effect on all of them.
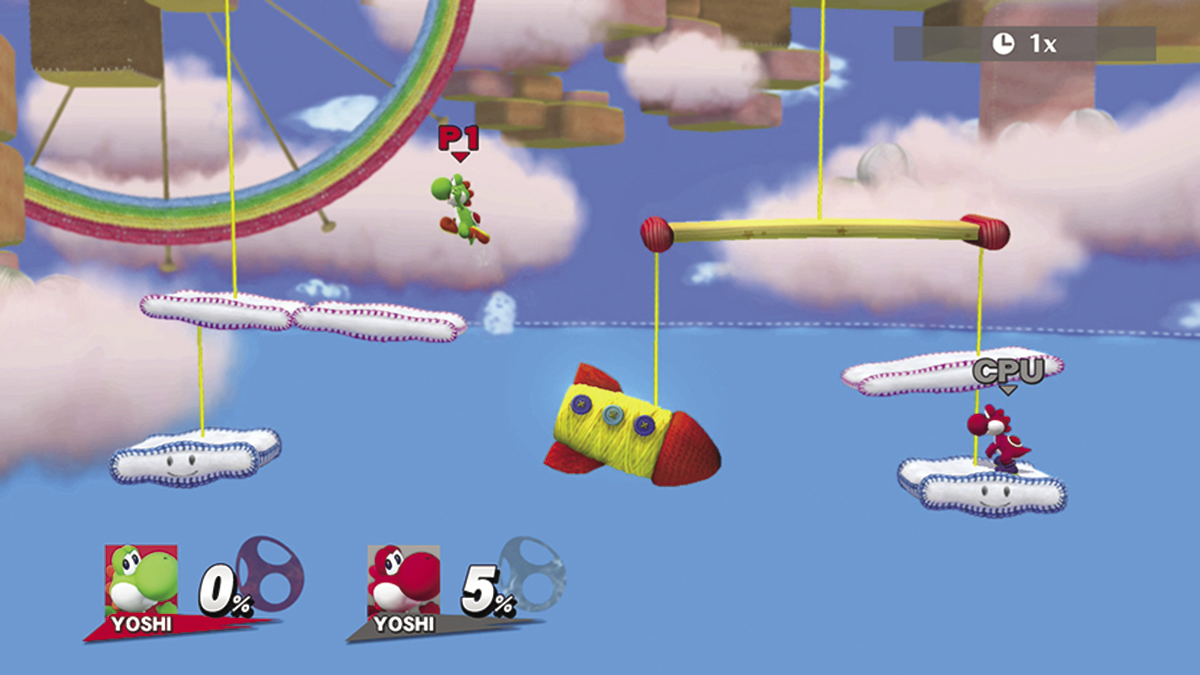
Every so often, the floor drops out from the bottom of the stage. Watch for the arrows that signal the impending transition, and move to one of the available platforms to avoid falling off-screen. After a while, the floor returns and the cycle starts over.
Wrecking Crew
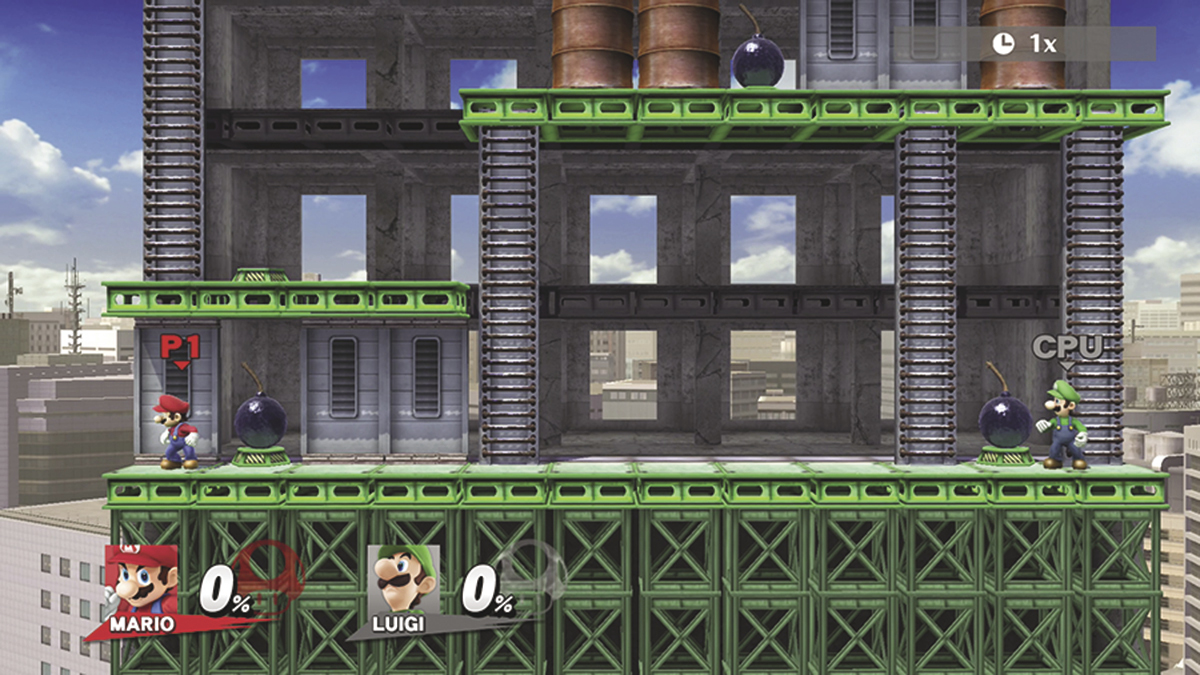
- Inspired by: Wrecking Crew
This stage features a large building with an endless stack of randomly selected floors. The available ladders can be used to climb between any visible floors, and fighters can slip behind metal cans to reach areas that might otherwise be inaccessible. Most important, however, the bombs scattered throughout the building can be used to destroy nearby supports. With enough damage, the entire floor will collapse, dropping a new selection of platforms into the area. Watch out! Fighters can be caught inside of falling barrels. Attack trapped fighters to deal heavy damage until they manage to free themselves.. To trigger an explosion, simply attack an available bomb.
Wuhu Island
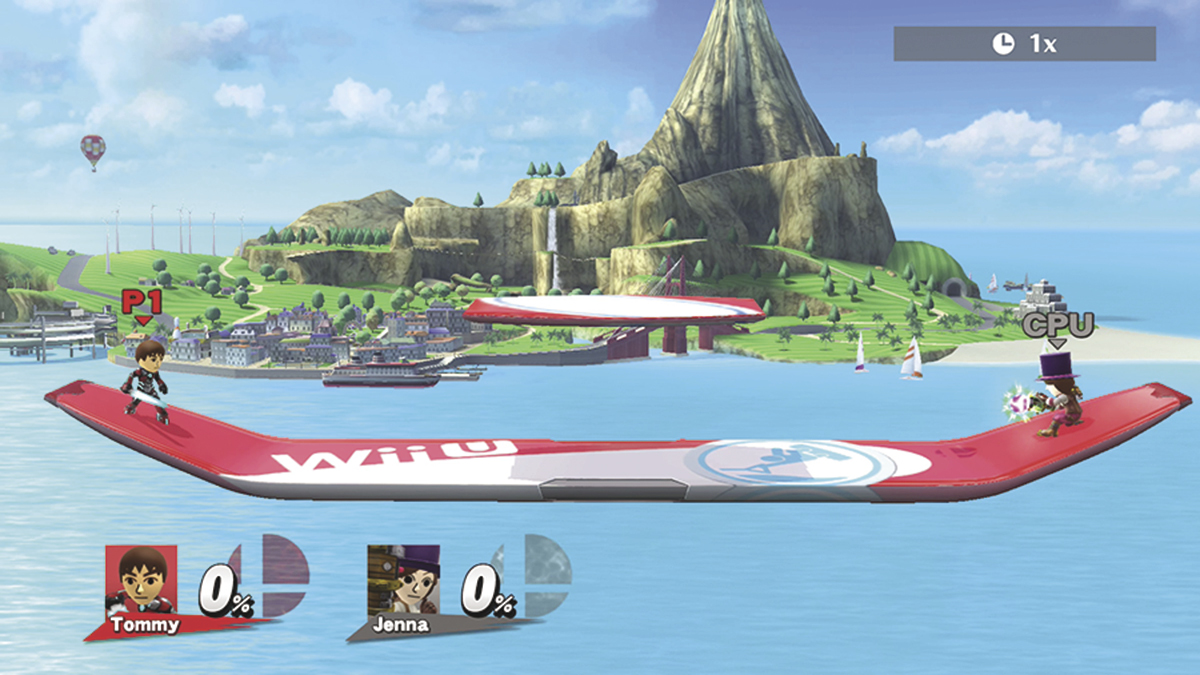
- Inspired by: Wii Sports Resort
On this stage, moving platforms carry fighters to various spots scattered throughout the area. Different platforms appear during each transition, so be prepared to adjust your tactics as needed.
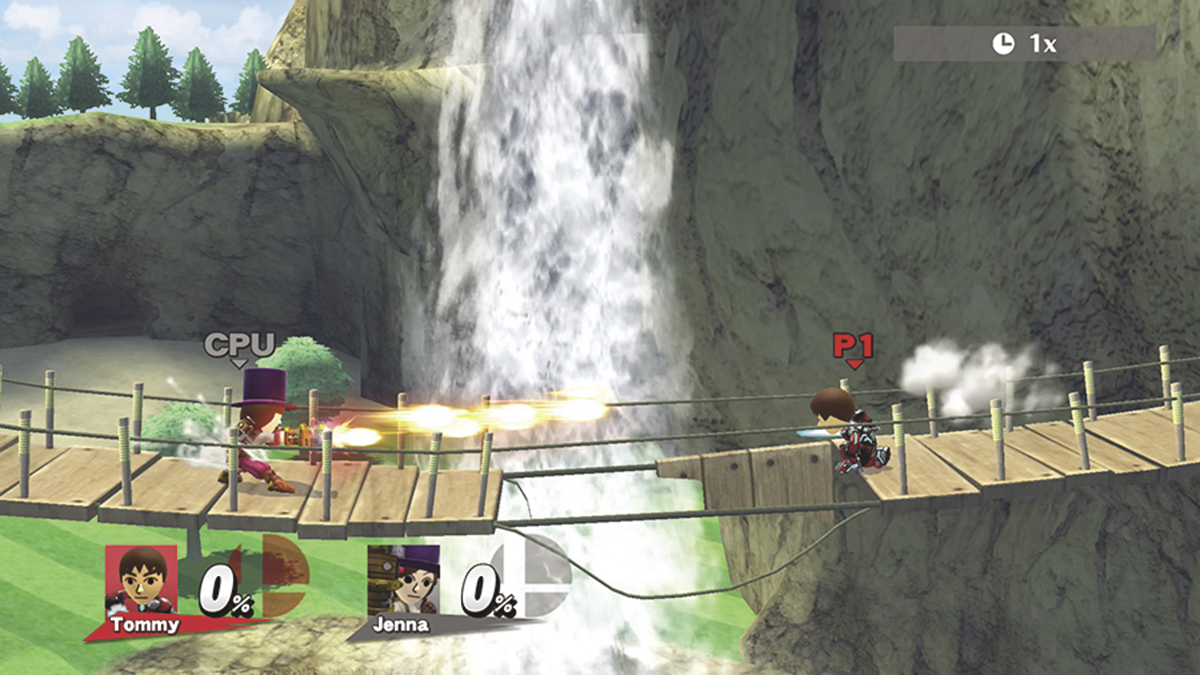
Wuhu Island offers plenty of exciting locations, and you’ll find yourself constantly adjusting to new hazards. You’ll never spend long in one spot, however. Each time a set of moving platforms appears, hop on to avoid being left behind.
Yoshi’s Island
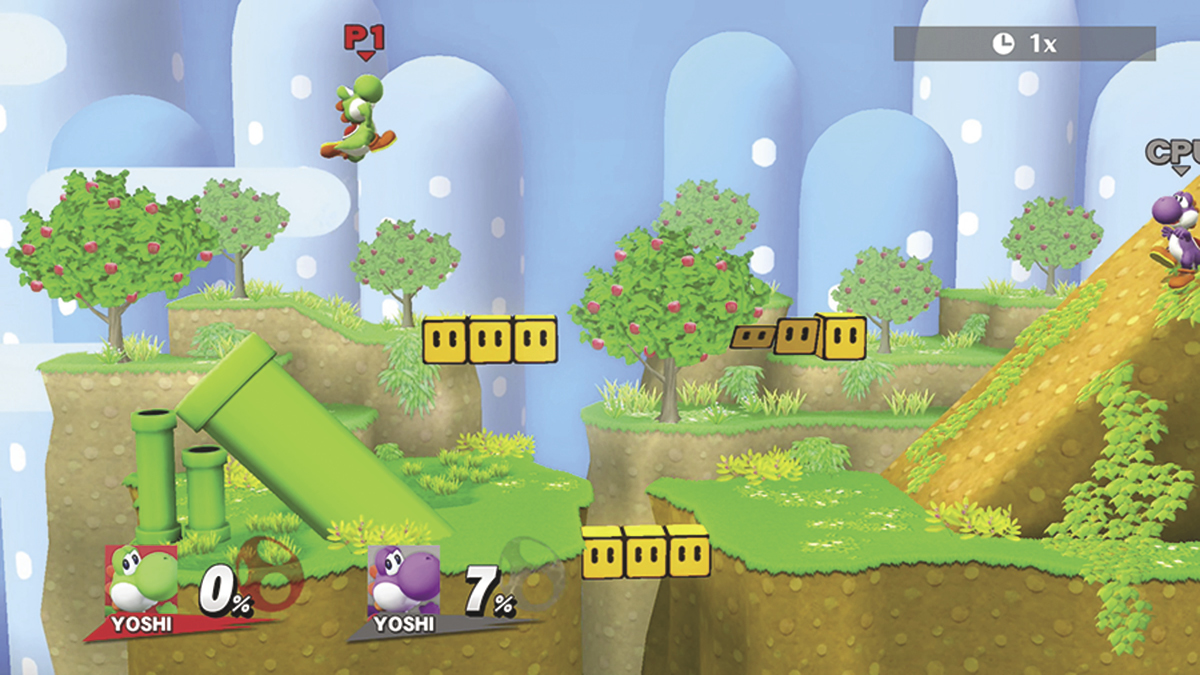
- Inspired by: Super Mario World
This small stage features relatively little level ground. The sharp inclines on each side of the area can make it difficult to line up effective attacks, and the Turn Block platforms can be rendered temporarily unusable if a fighter attacks them. Of course, you can also use this against your opponents. The Turn Blocks covering the gap at the center of the stage are particularly dangerous, as an unexpected fall could easily result in a KO!