Little Big Planet 3 Signature Series Strategy Guide Adventure: The Ziggurat
Tutu Tango
Toggle is back, and he’s tough as ever! He’s ready to take on Newton as both big Toggle and little Toggle. After a brief but awesome display of his might to shake off the cobwebs, it’s time to regroup. However, the upkeep around the Ziggurat is not what it used to be, and a broken gate cuts off Toggle and Papal Mache from Oddsock and your sack person. Fortunately, getting out of here is no sweat for an old pro like Toggle.
Size is Everything
Literally Little Big
First off, make sure you get nice and comfortable exercising Toggle’s special skill. Tap  to switch between little Toggle and big Toggle.
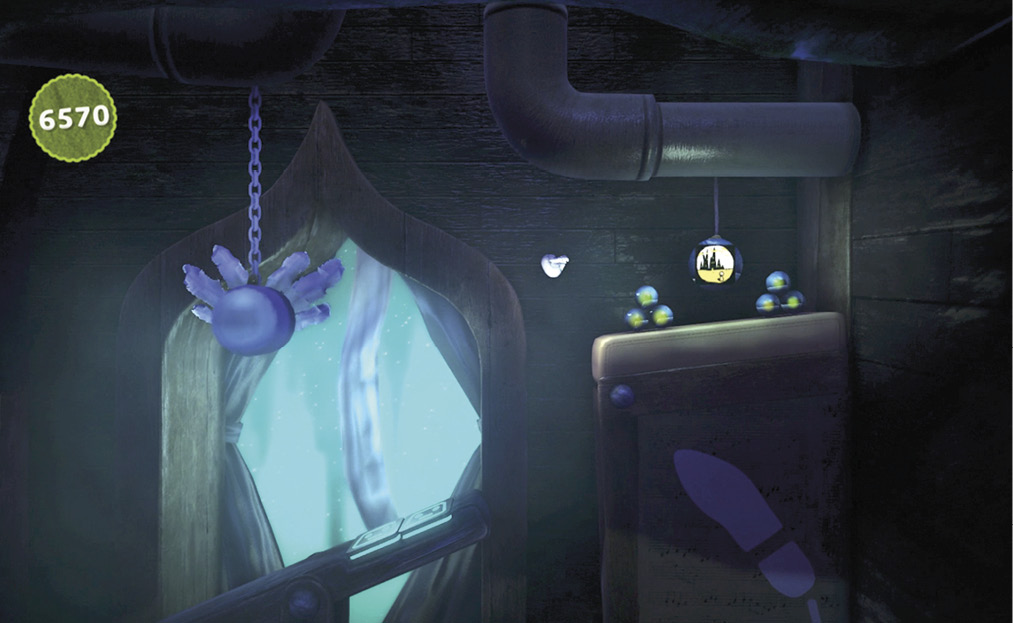
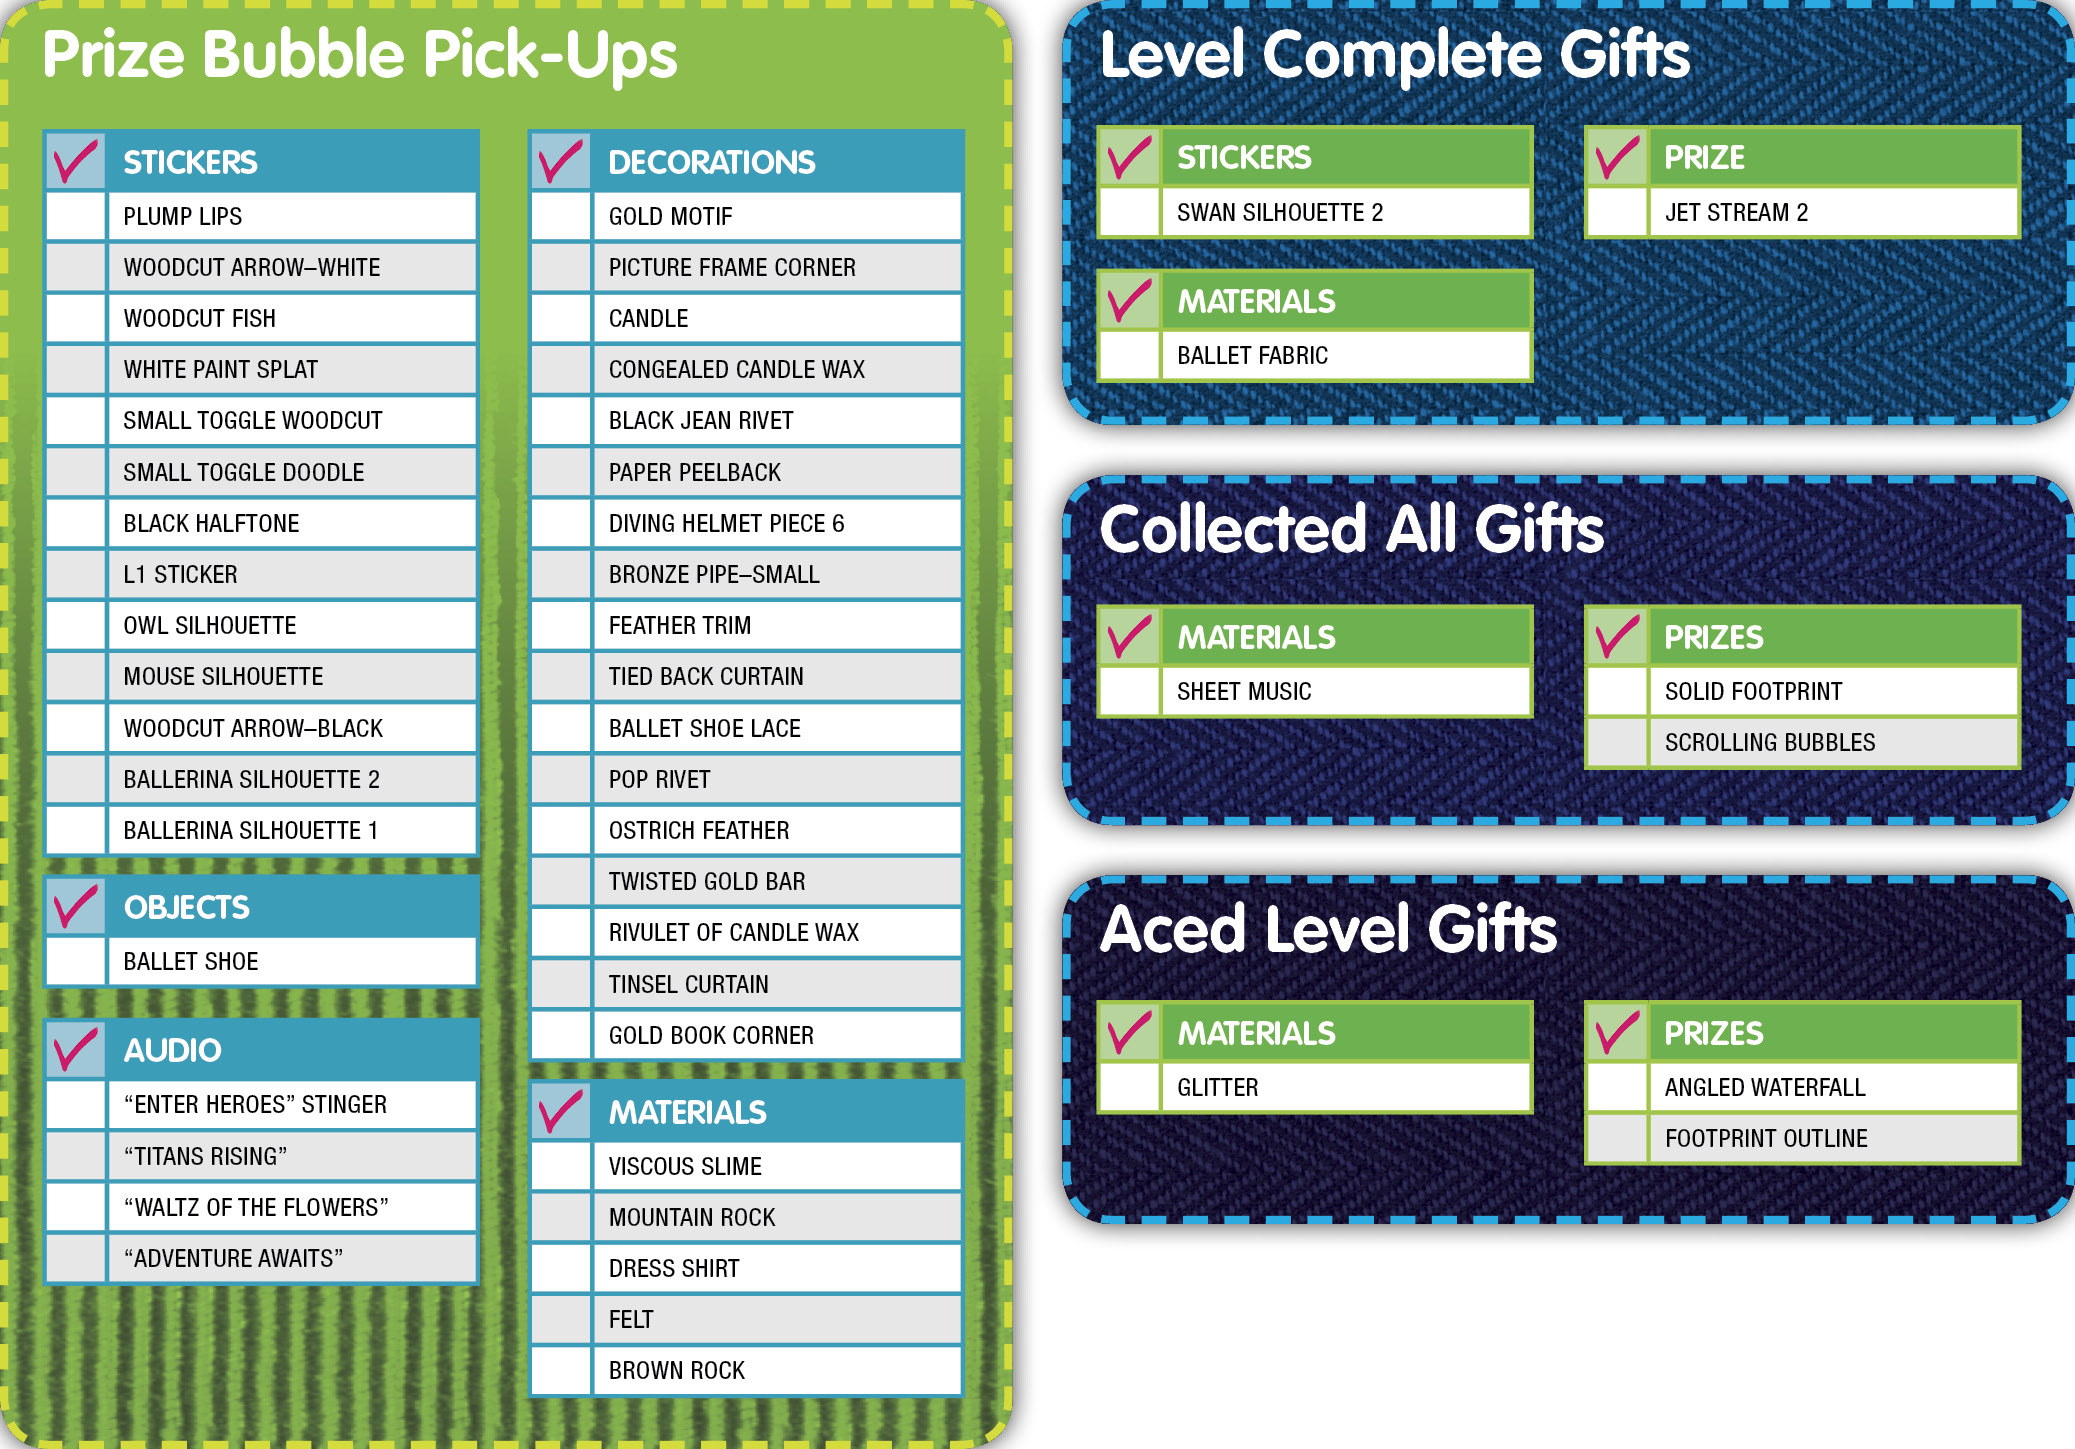
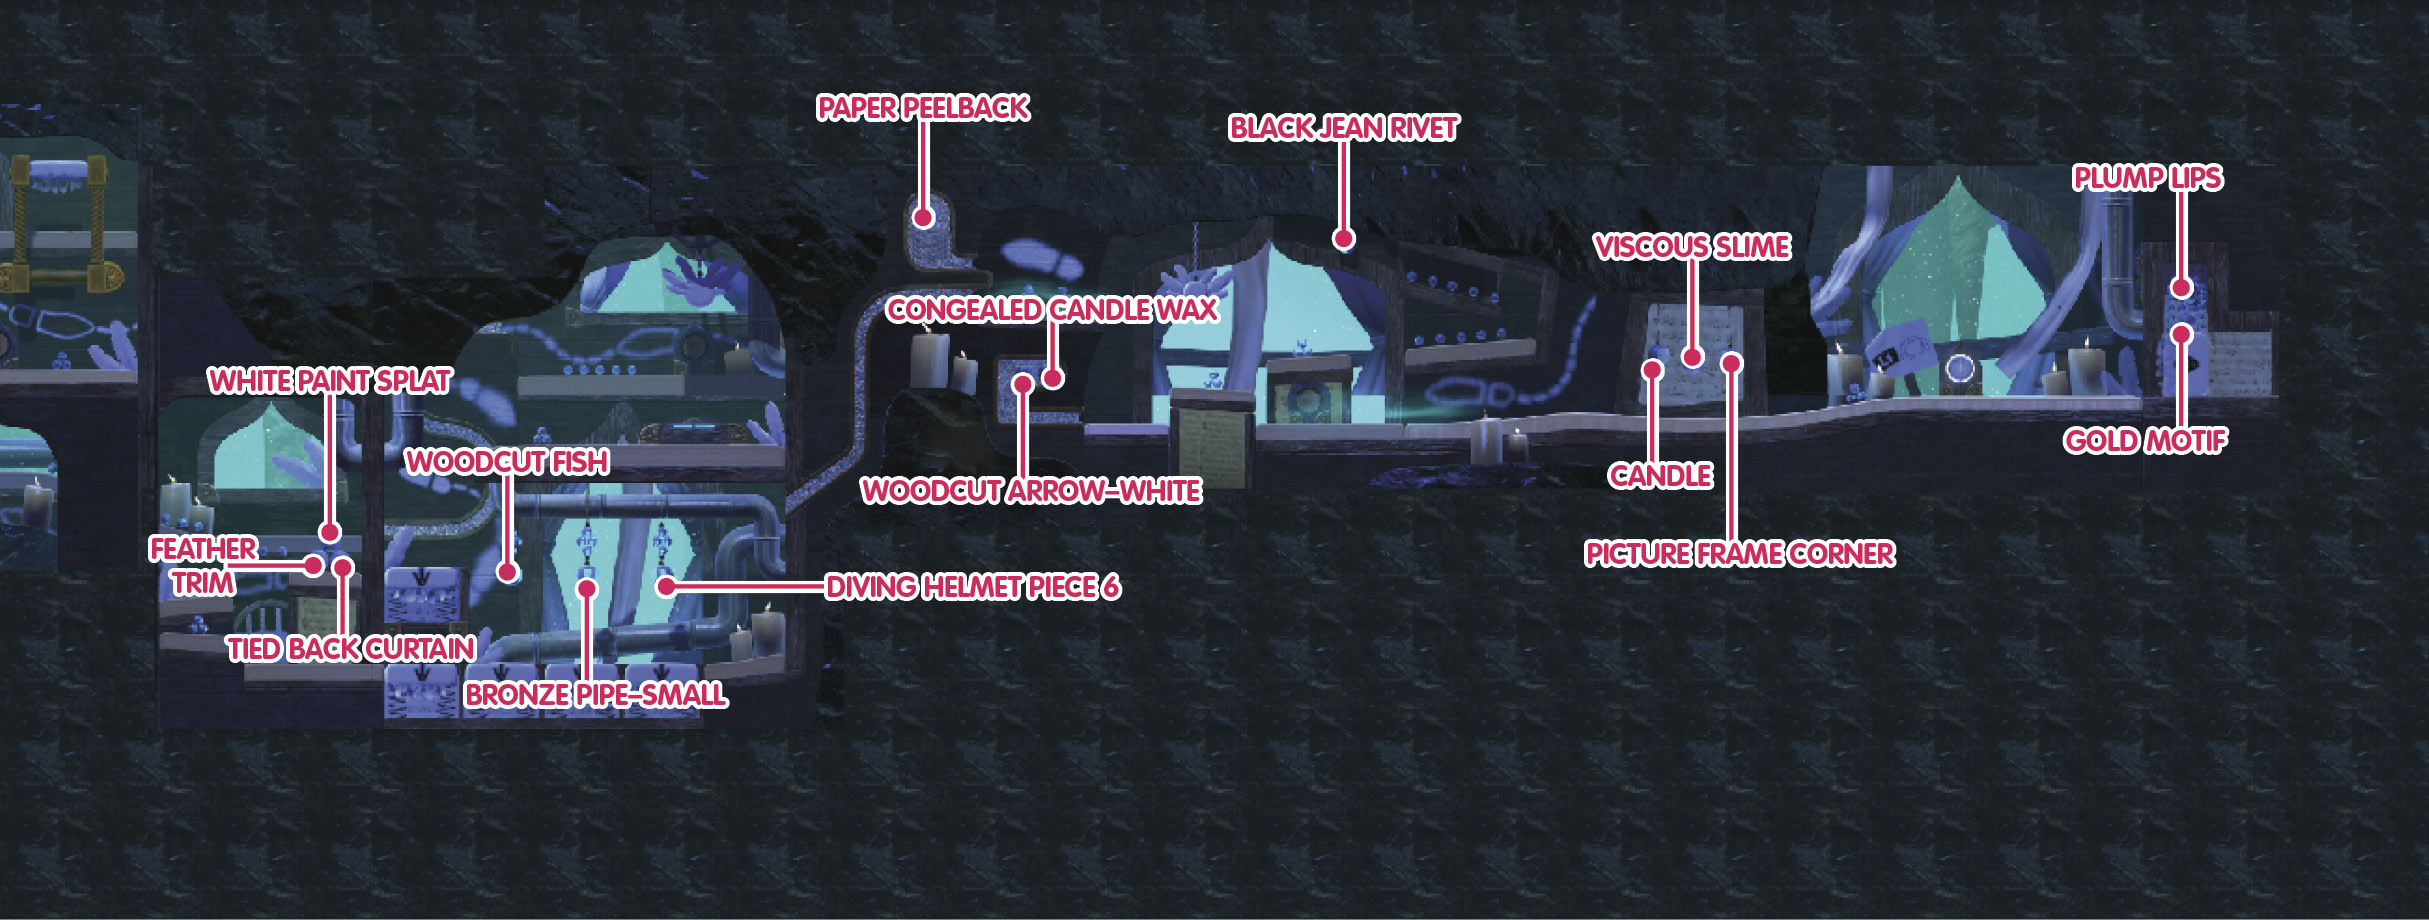
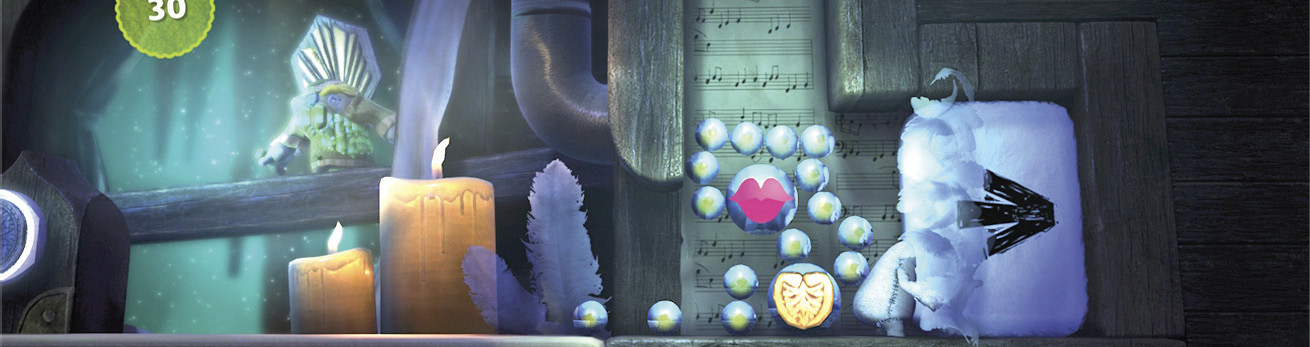
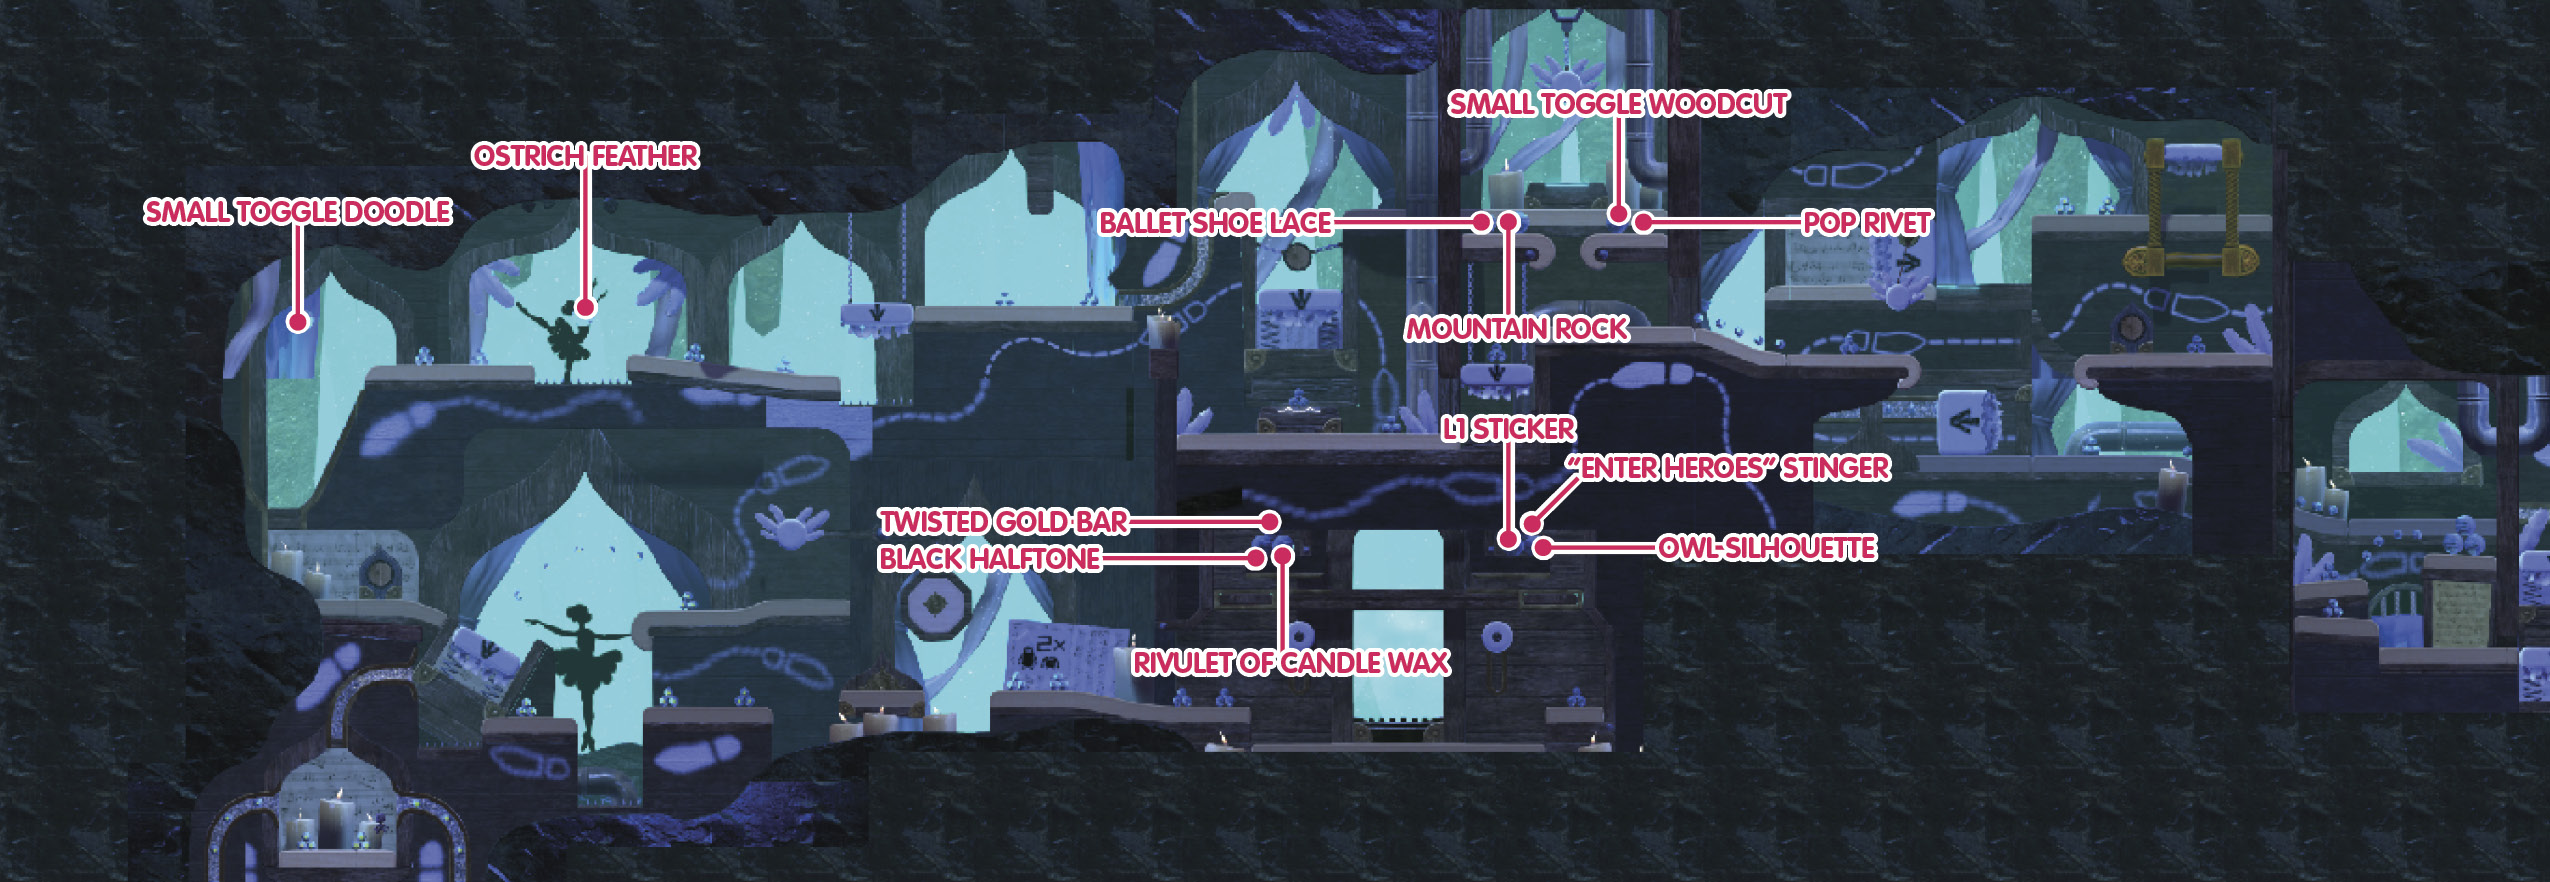
Big Toggle can push large objects that little Toggle can’t. Go to the right, and shove aside the block with the arrow painted on it. This releases two trapped Prize Bubbles from above that give the Gold Motif Decoration and Plump Lips Sticker.
Backtrack, and then head to the left. Casually step into the background to pop the Prize Bubbles containing the Picture Frame Corner Decoration, Viscous Slime Material, and Candle Decoration.
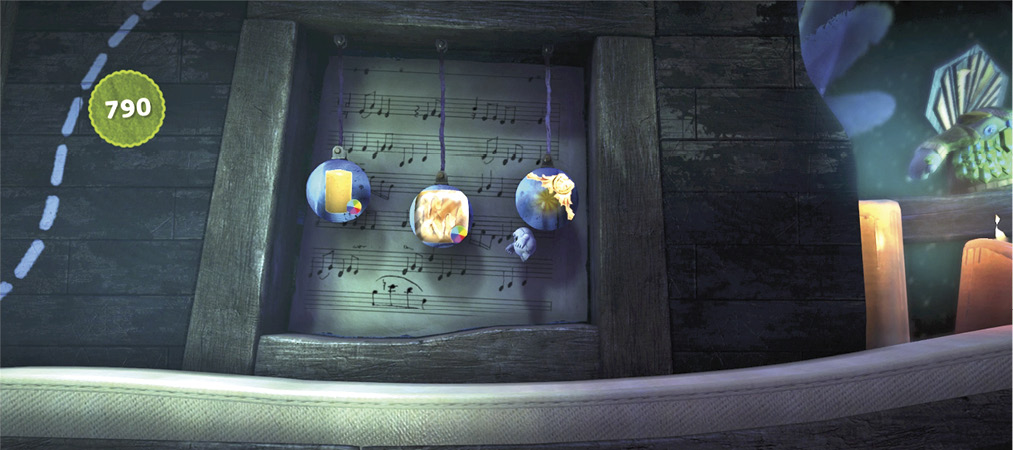
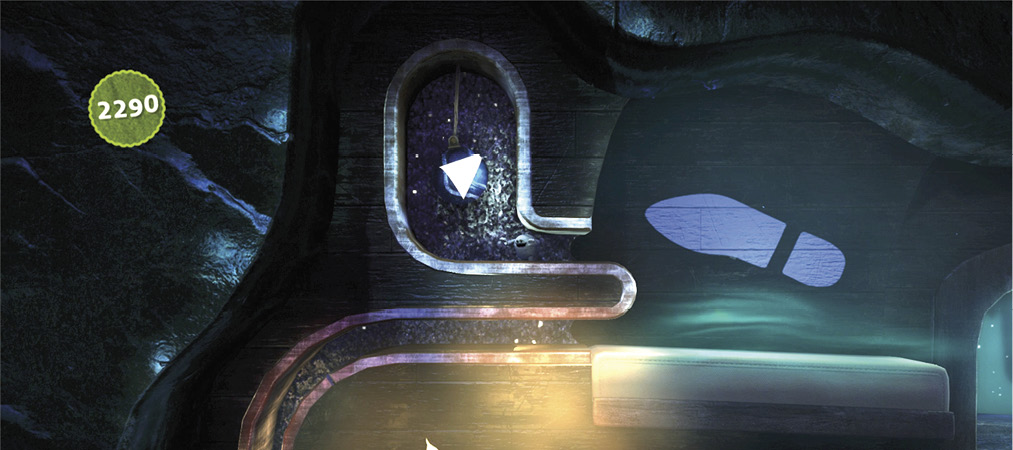
Keep going past the next Checkpoint, and shrink down to squeeze into a tiny opening. Scurry inside, where you can burst Prize Bubbles for the Congealed Candle Wax Decoration and Woodcut Arrow–White Sticker.
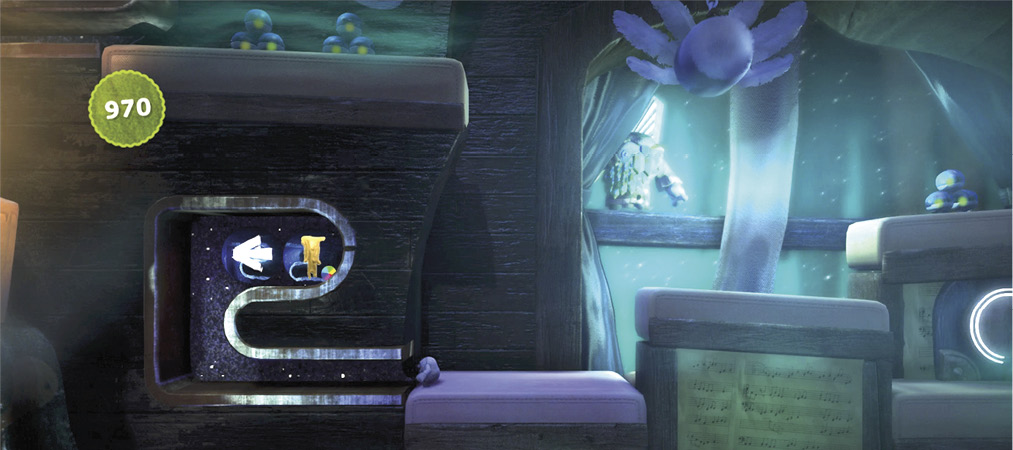
Head back out, and ascend the sloped ramps to the right. They cut back to the left and lead to a lone Prize Bubble that surrenders the Black Jean Rivet Decoration.
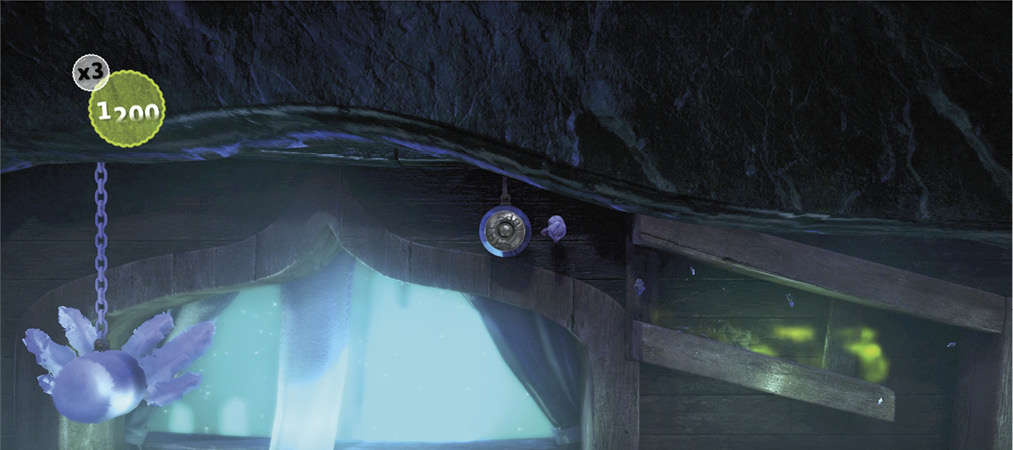
Grab the winged sponge, and swing onward. Take the higher of the two tiny openings to first reach a Prize Bubble nestled away. Its Paper Peelback Decoration is now yours.
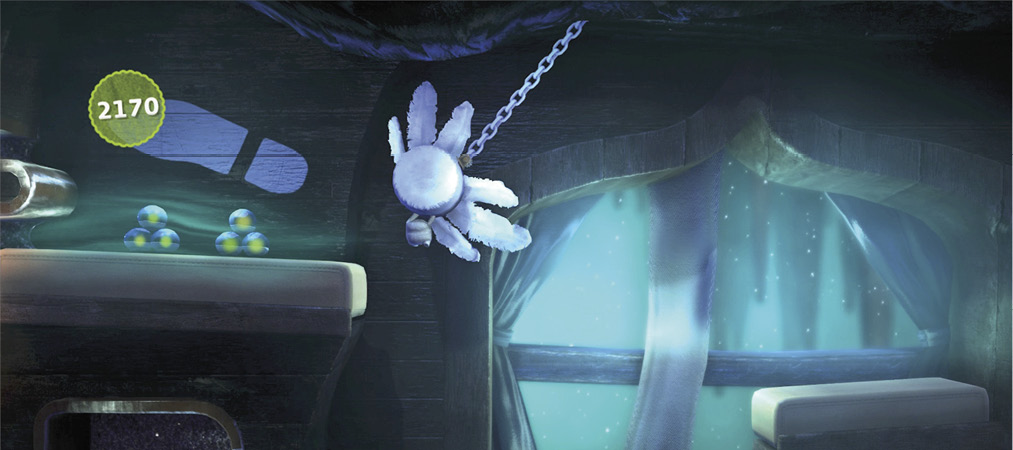
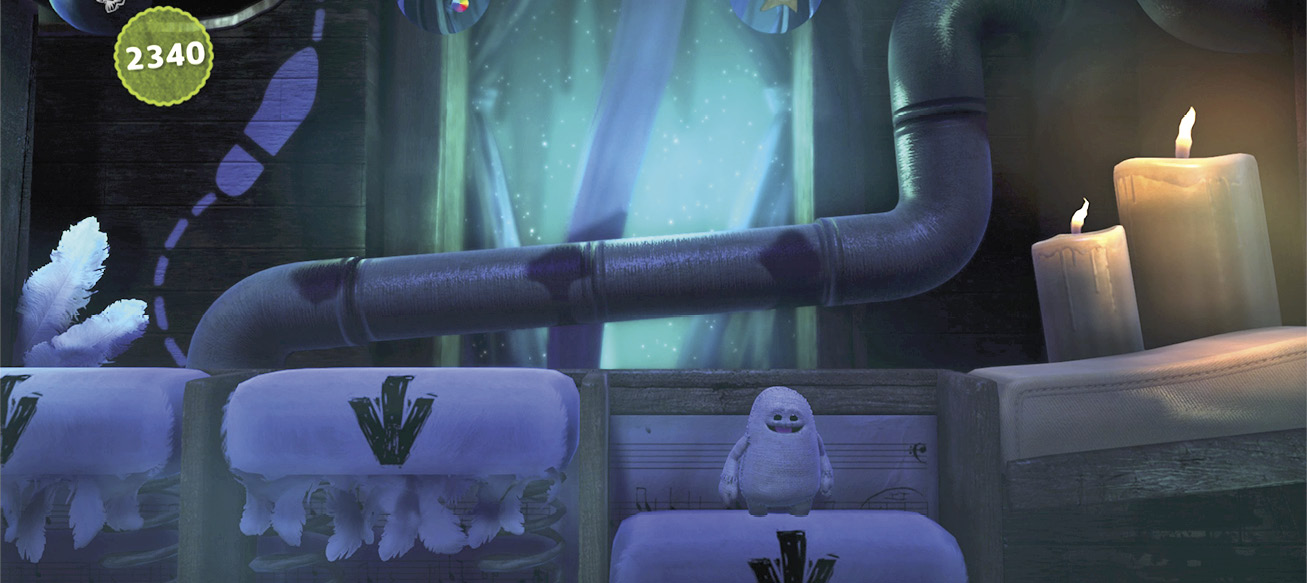
Somewhat high above the white platforms here are single Prize Bubbles. Stand on a white platform, and transfer to big Toggle. This added weight pushes down the spring-mounted platforms.
Switch back to little Toggle. The decrease in weight causes the platform to spring back into position and fling Toggle way up. Use this to pop three different Prize Bubbles here. They provide the Diving Helmet Piece 6 Decoration, Bronze Pipe–Small Decoration, and Woodcut Fish Sticker.
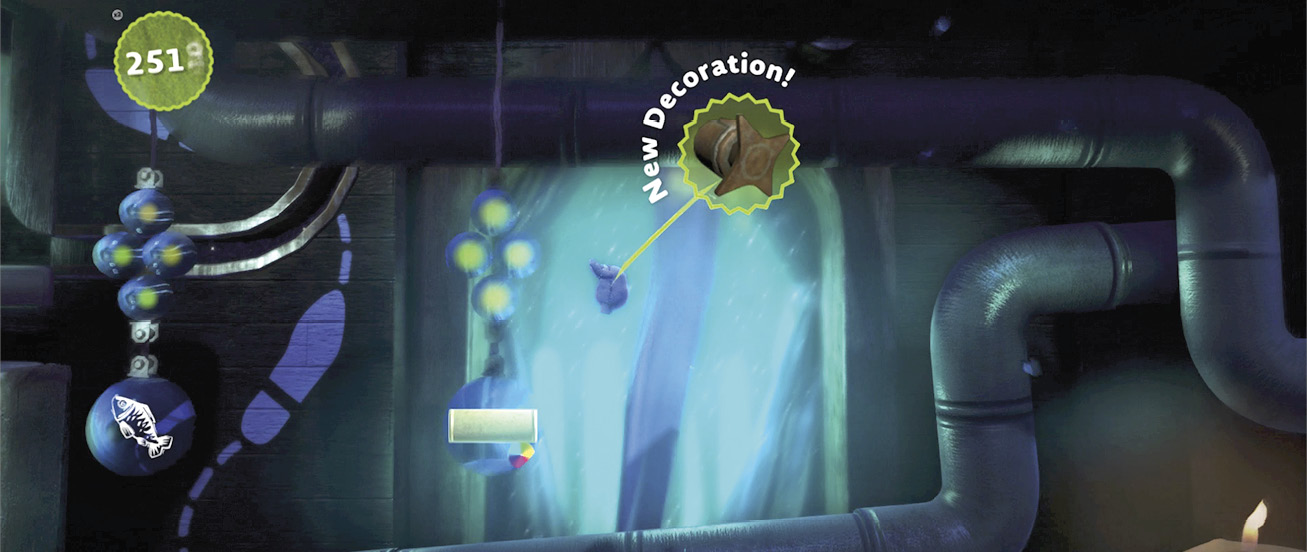
A tucked-off area to the left is well worth your time before moving on. Climb up to easily reach three Prize Bubbles for the Feather Trim Decoration, Tied Back Curtain Decoration, and White Paint Splat Sticker.
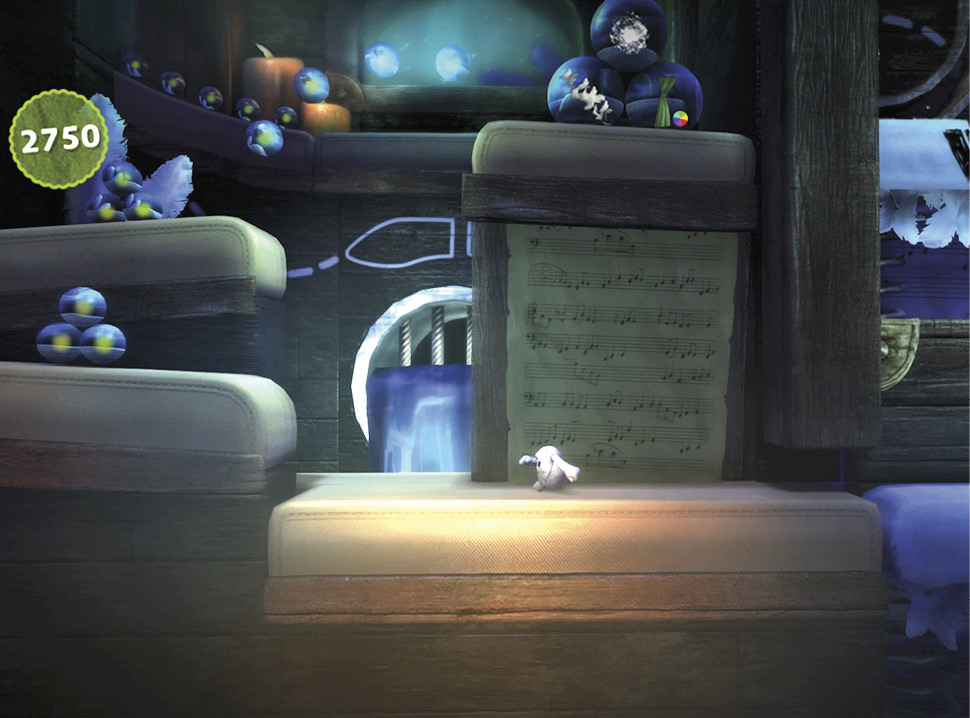
Return to the far left white platforms. Spring from the lower to the higher one, and then vault from the higher one to a solid platform.
Use the Blue Bounce Pads so Toggle can reach up and grab the sponge. Transform into big Toggle, and he falls into the background layer.
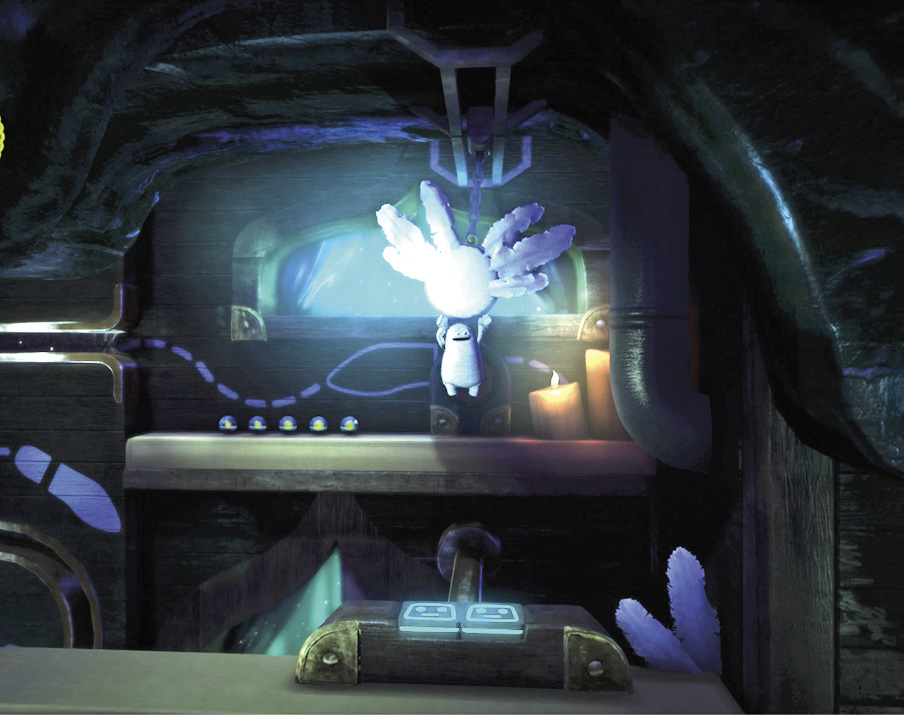
Head to the left, and push the white cube obstacle out of the way. Little Toggle can fit into the revealed passage in the wall.
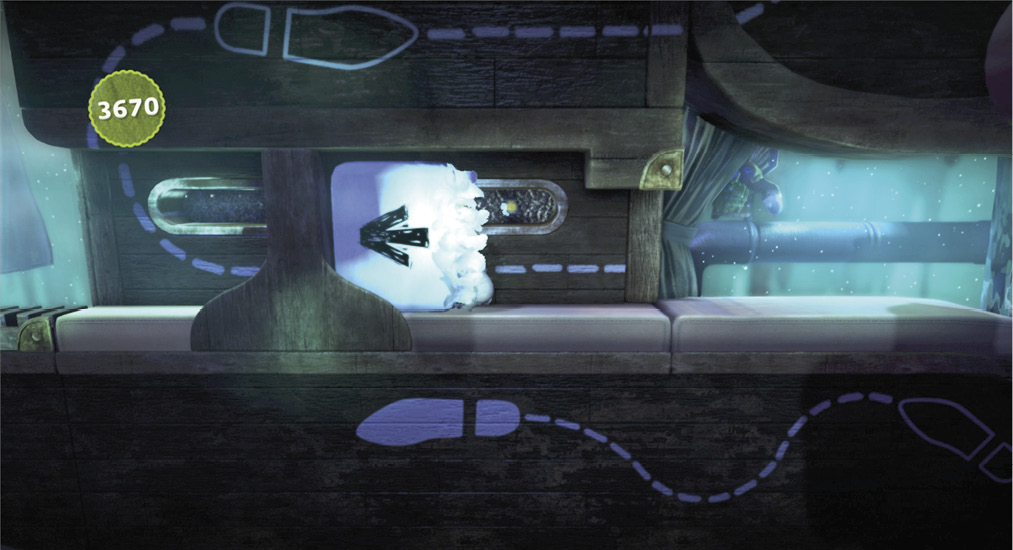
Climb up, and push another white block out of the way as big Toggle. Push it all the way to the right, and take the blue Bounce Pads to go over the top. Moving to the right, jump up and grab the giant handle before turning into big Toggle to pull it down.
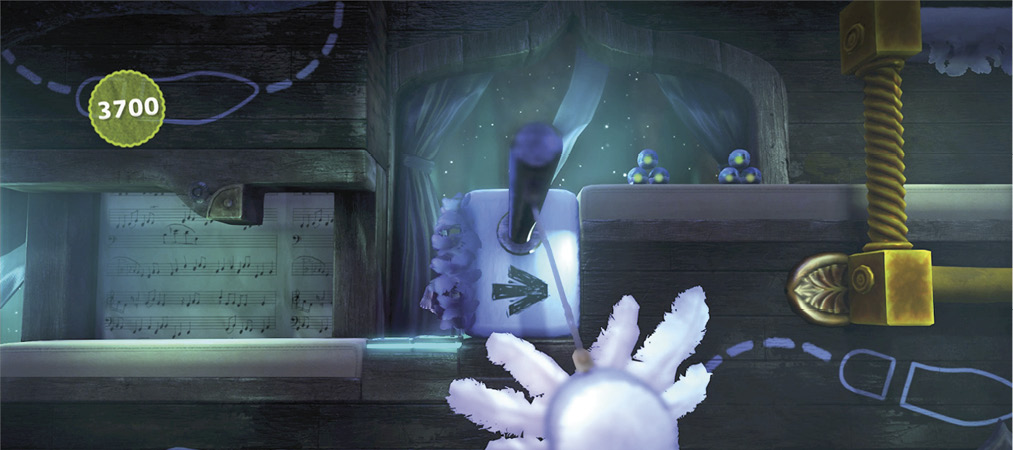
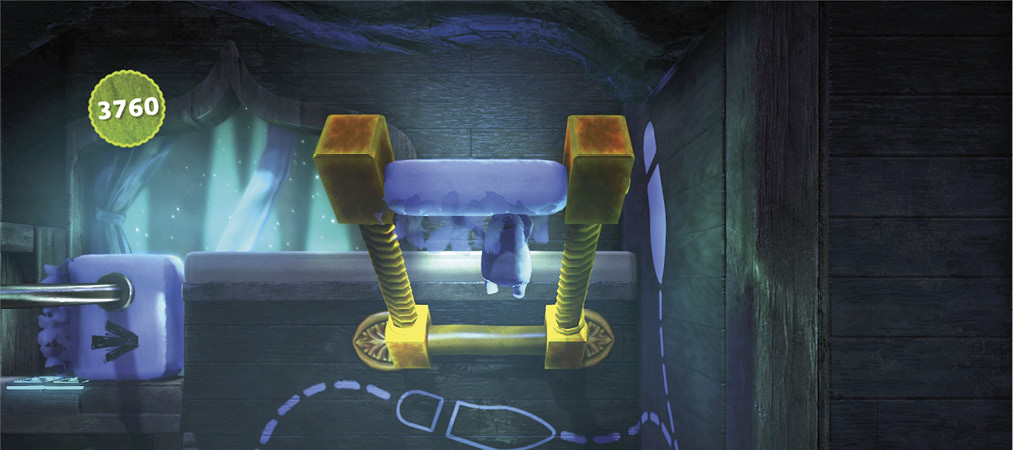
Grab and swing on the sponge to the left, and then weigh down the white platform there as big Toggle.
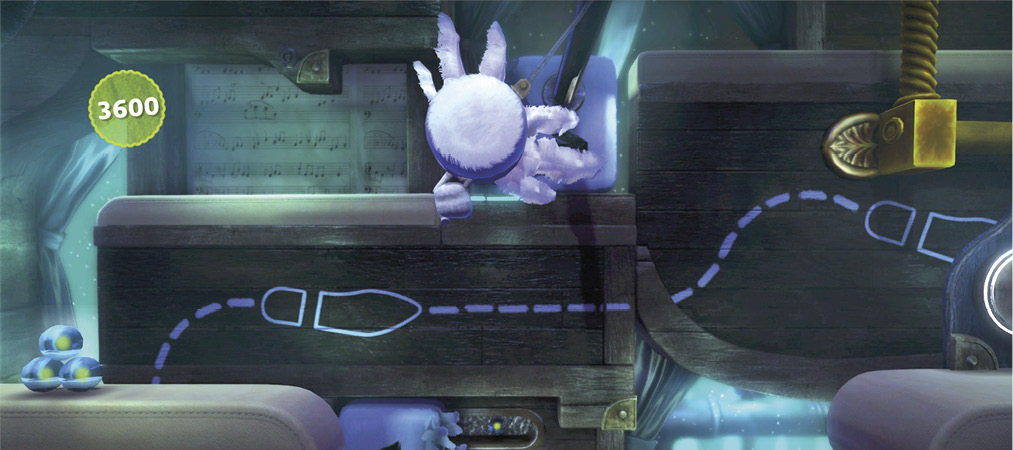
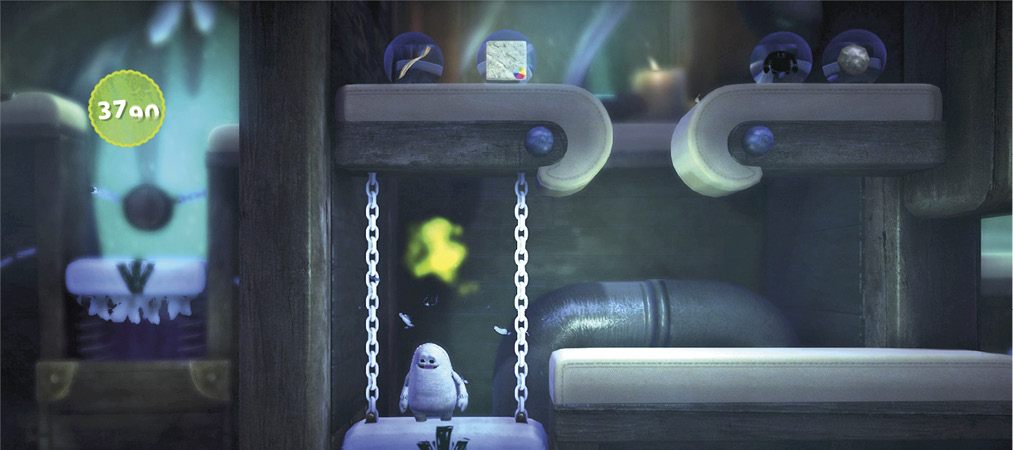
As Toggle proceeds to the left, a pair of Layer Launchers is ready to shoot him to the next Checkpoint.
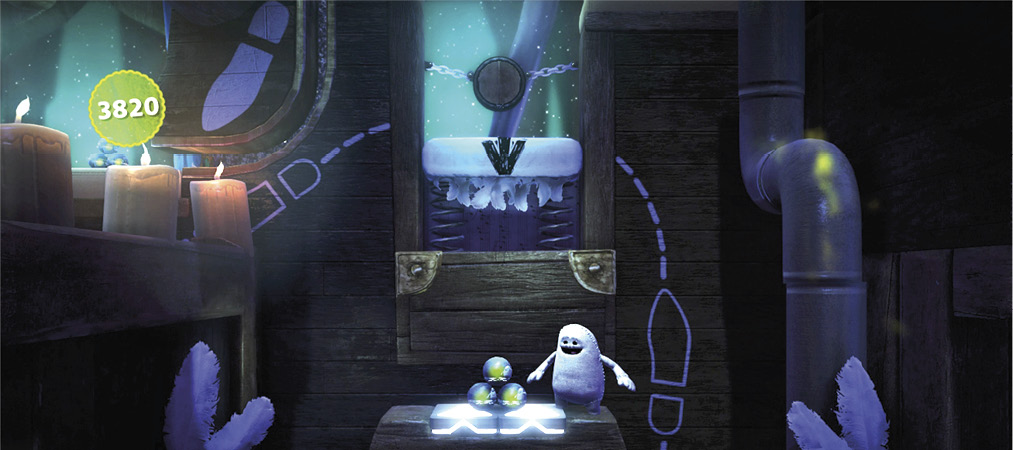
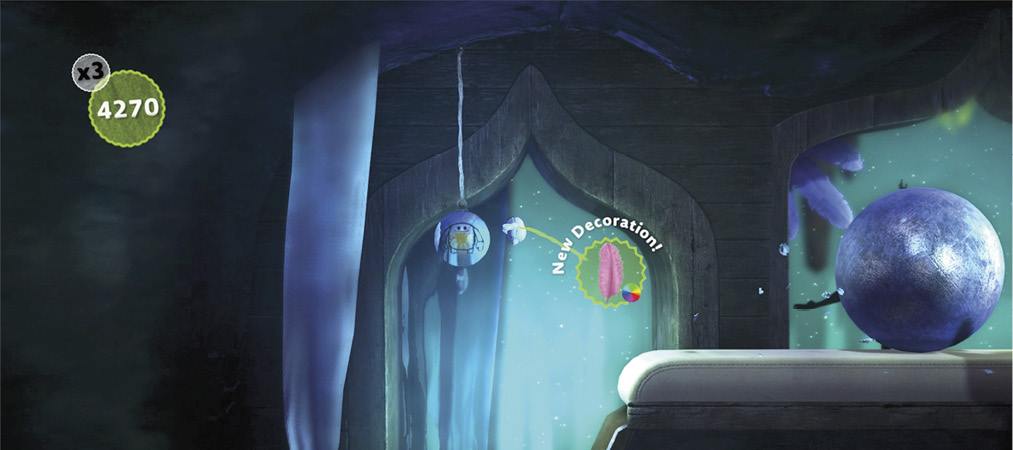
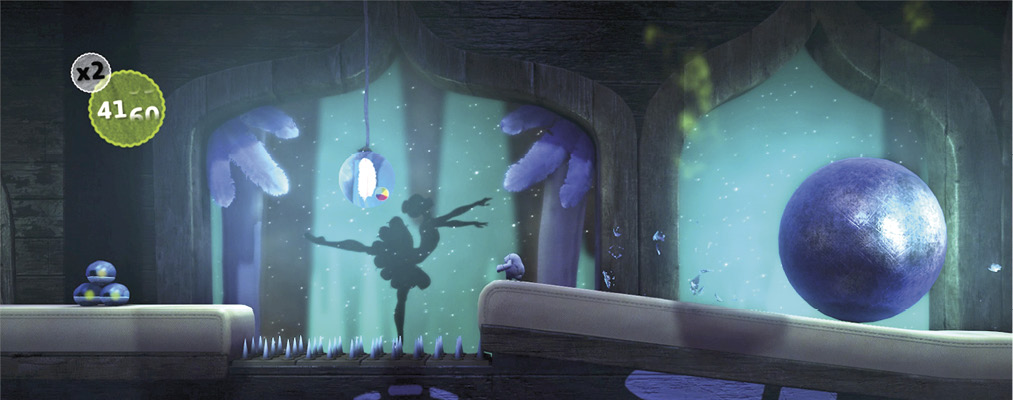
From the Checkpoint, launch Toggle up, and head left. A speedy boulder drops into place behind him, but the key to survival is keeping a cool head. Run over the spikes, and pop the Ostrich Feather Decoration Prize Bubble. Then, anticipate another Prize Bubble just ahead that holds the Small Toggle Doodle Sticker.
Grab the sponge, and dangle from it as big Toggle. The counterweight rises, and a platform slides into place below.
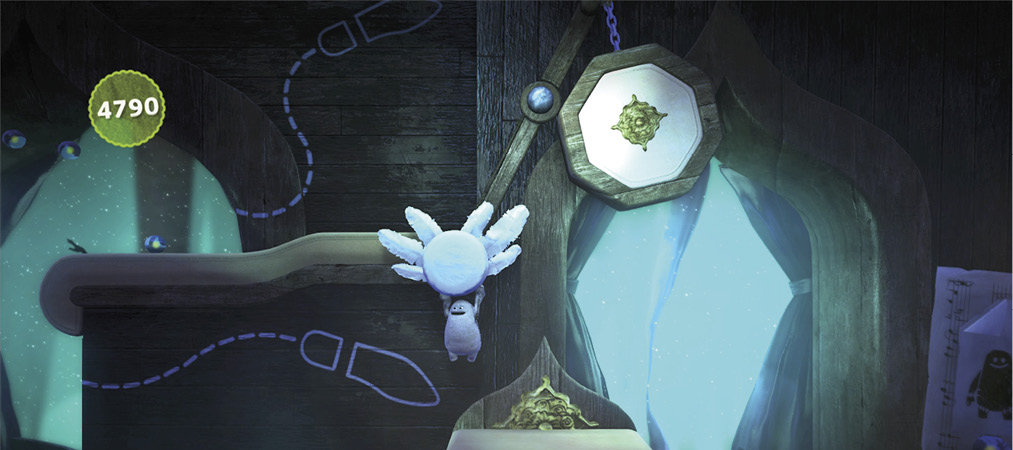
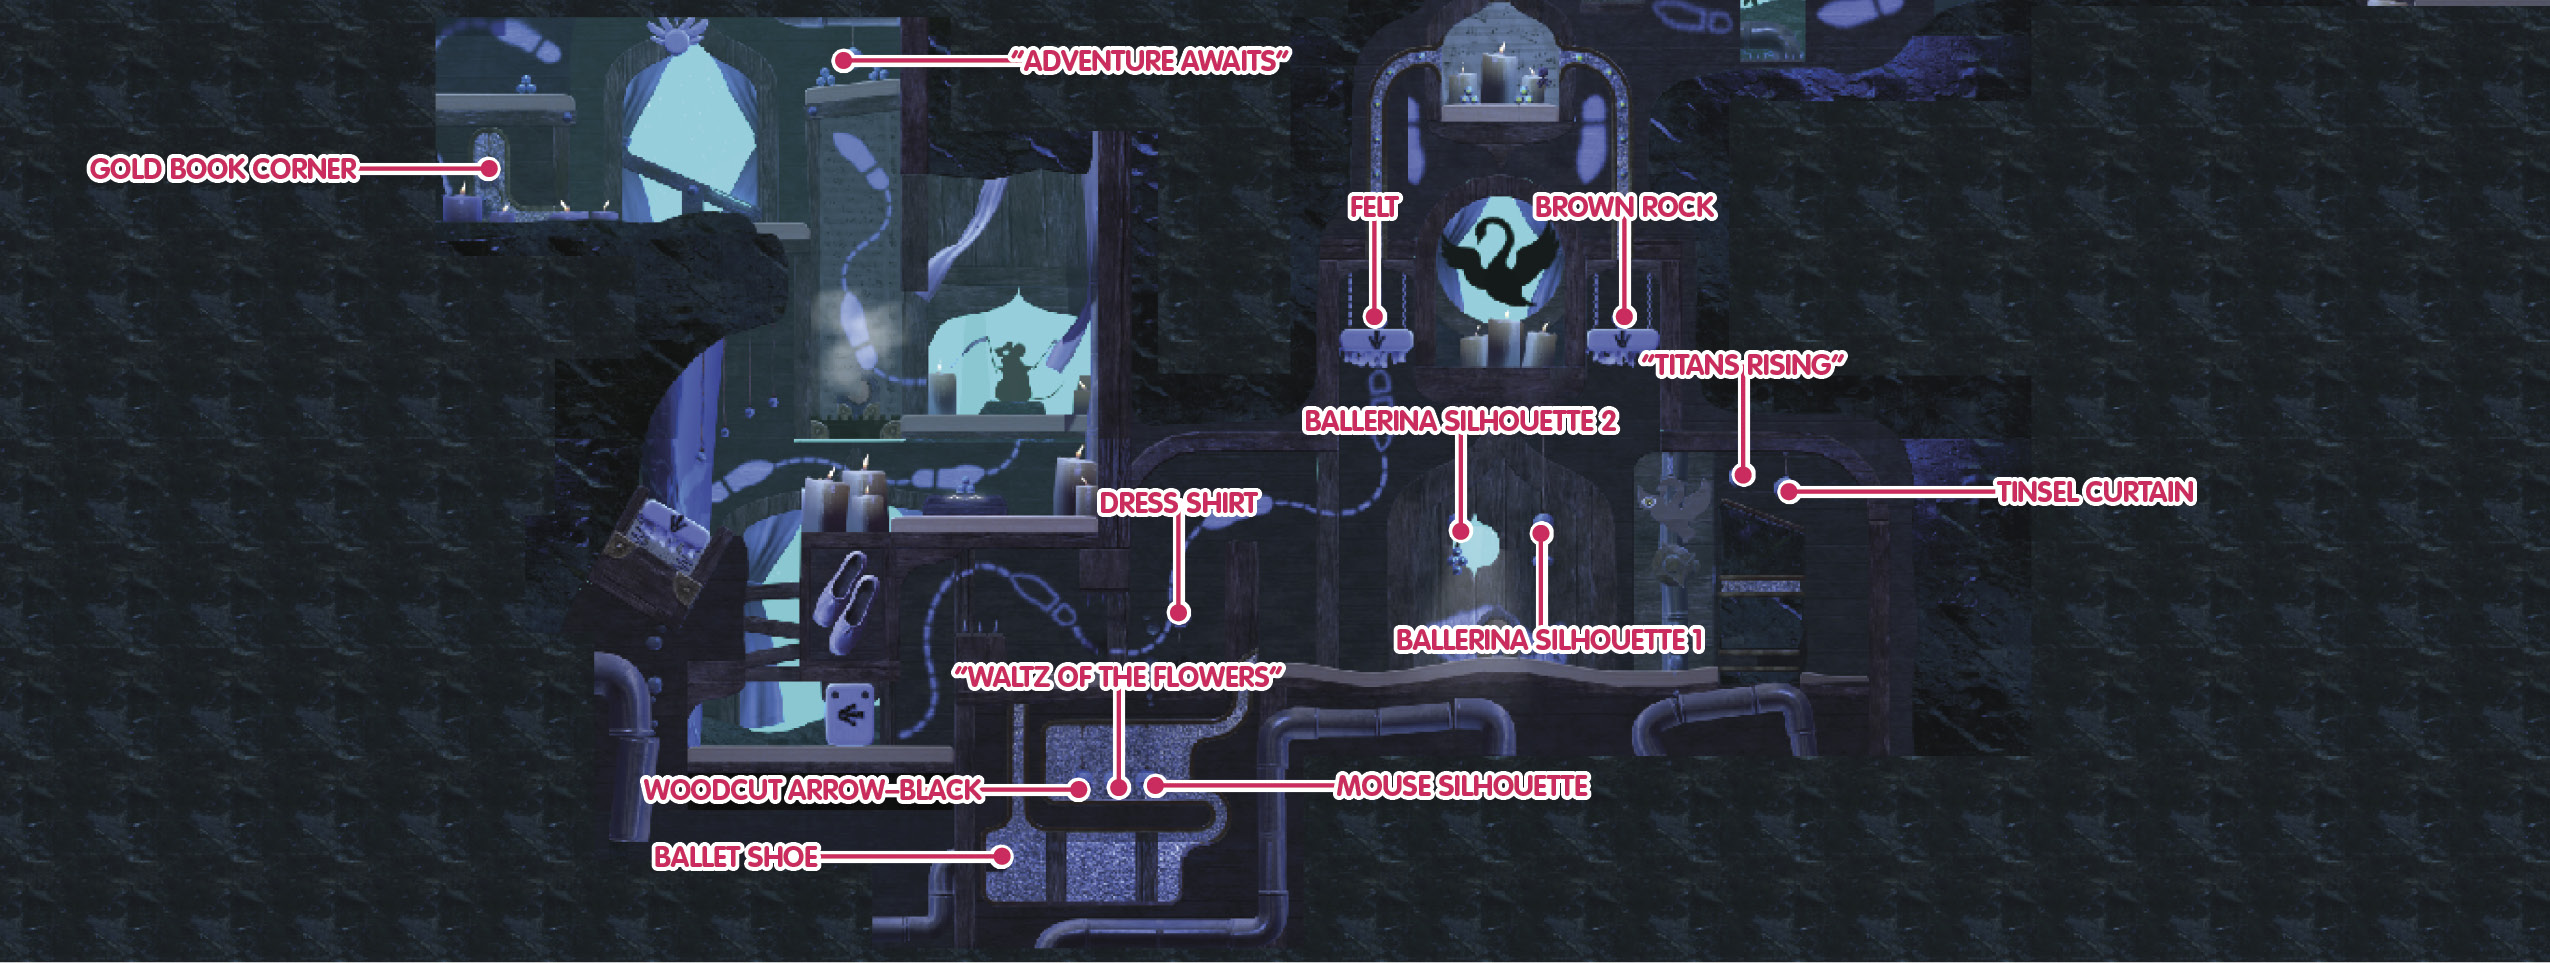
Run to the left, and take a jump that clears the spikes. Nimbly moving through the narrow passage, Toggle hits a fork with a different Prize Bubble down each side. Drop to the left, and receive the Felt Material. Fall down the right side, and the Brown Rock Material is yours.
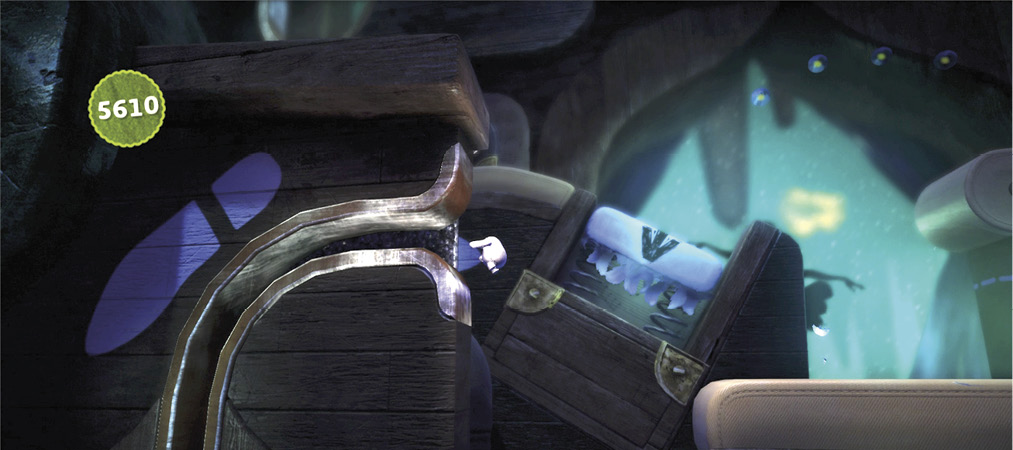
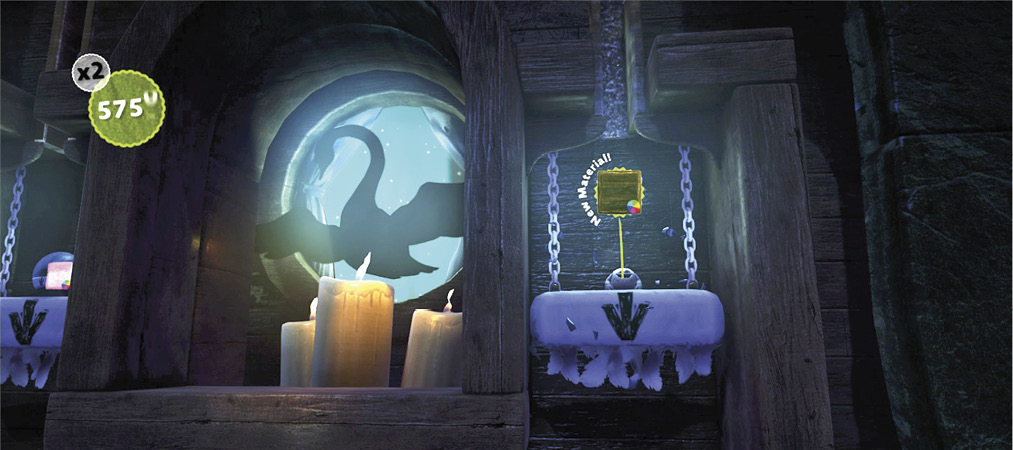
No matter which way you choose, Toggle winds up in the water below. Blow him up to sink, and then shrink down to cause him to fly up. This action ought to be enough to reach the two overhead Prize Bubbles that bear the Ballerina Silhouette 2 Sticker and Ballerina Silhouette 1 Sticker.
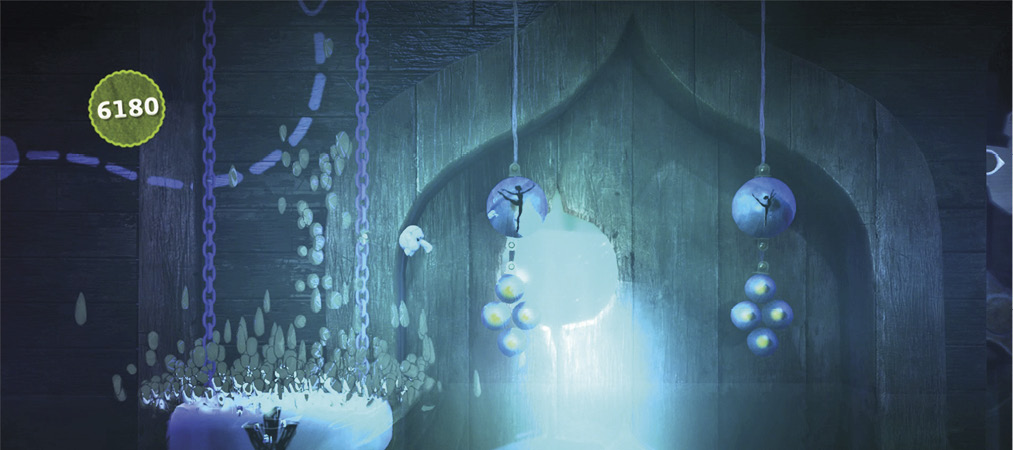
Go from big to little Toggle, and fly through the air. Safely on the other side of the wall, it’s easy to pop an isolated Prize Bubble there and see what the Dress Shirt Material was really like.
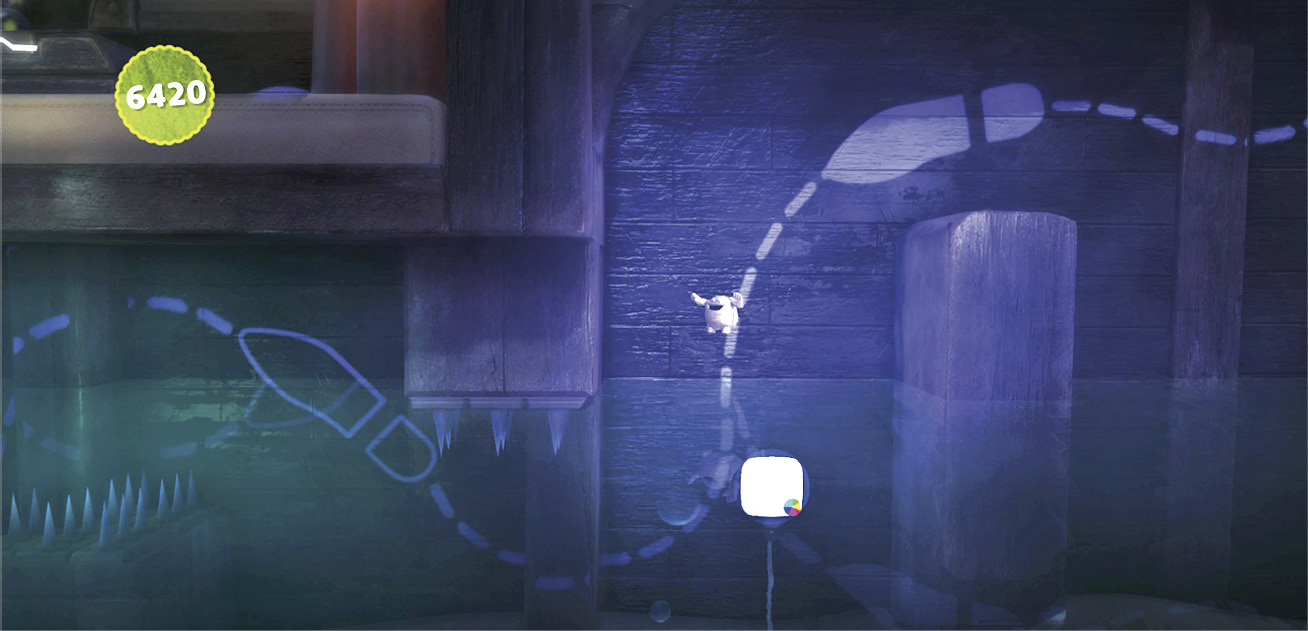
Push the white block out of the way, clearing room for a vertical channel. Switching to little Toggle shoots him straight up out of the water here.
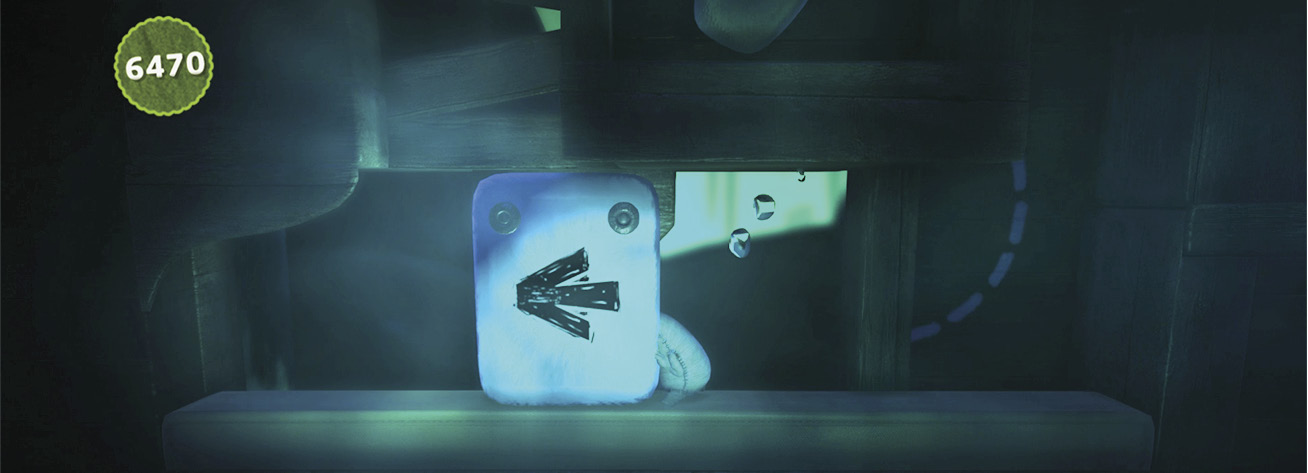
Launch Toggle with the white platform to Layer Launchers. Head left to catch an elevator higher up.
Go left past the seesaw, and squeeze into the tiny pocket of space in the wall. It’s got just enough room for a single Prize Bubble that has the Gold Book Corner Decoration.
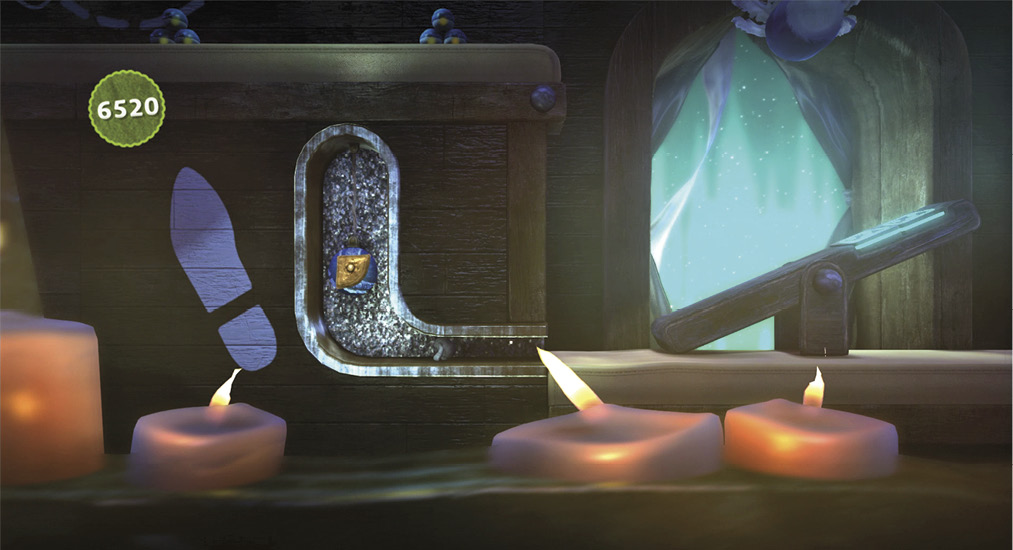
Weigh the seesaw down to the left as big Toggle, then use little Toggle to fly up with the Blue Bounce Pads. The final Prize Bubble in the level, awarding the ”Adventure Awaits” Audio, is right there for the taking.