
Little Big Planet 3 Signature Series Strategy Guide Adventure: The Ziggurat
Furry Soles, Hot Coals
Toggle’s first marble is mired deep within the icy expanses of a frozen wasteland. Temperatures here vary wildly from completely freezing on the snowy stretches to unbearably hot where exposed coals burn unchecked. Neither your sack person nor Papal Mache can venture there unprotected. Fortunately, you can call upon the assistance of a very friendly yeti! Its can stand the heat.
View from the Top
Rising Heat, Cold Feet
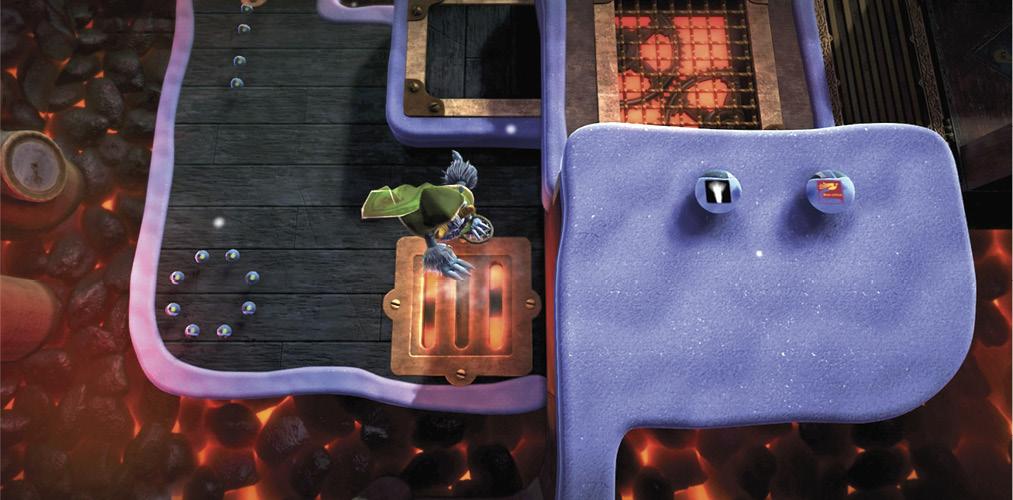
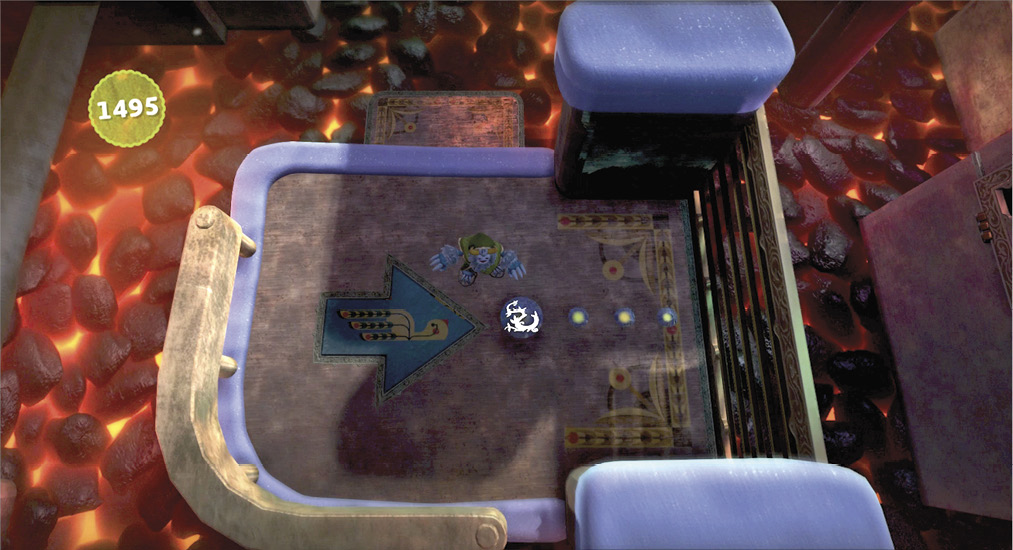
To keep an eye on the yeti, you are treated to a top-down view that gives a nice wide perspective on the landscape. Controlling the yeti isn’t too difficult: use the left stick to move, and press  to jump. It’s that easy!
Guide the yeti to the left and against the barrier, shoving it down to bridge the gap over the coals.
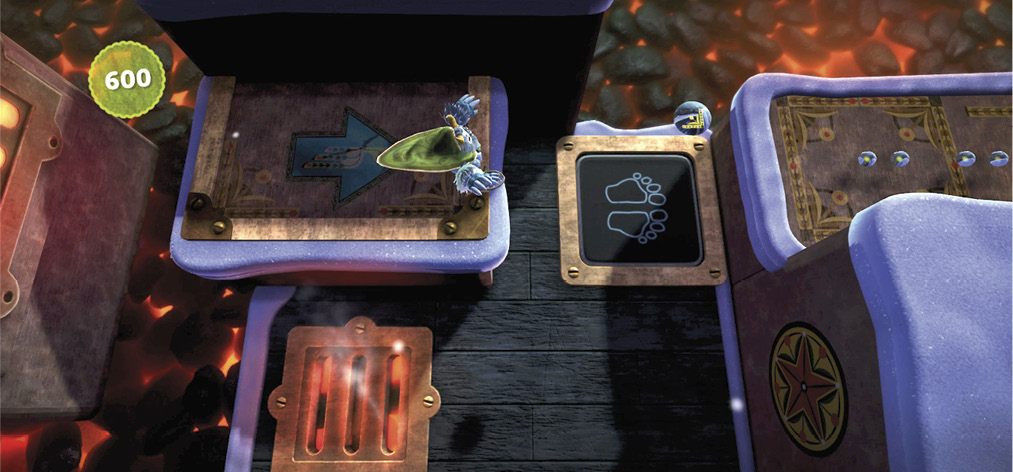
The yeti wears a very smart-looking cape that’s designed for more than just show. When standing on top of the grates emitting heated air, the yeti can ride the hot air up upward.
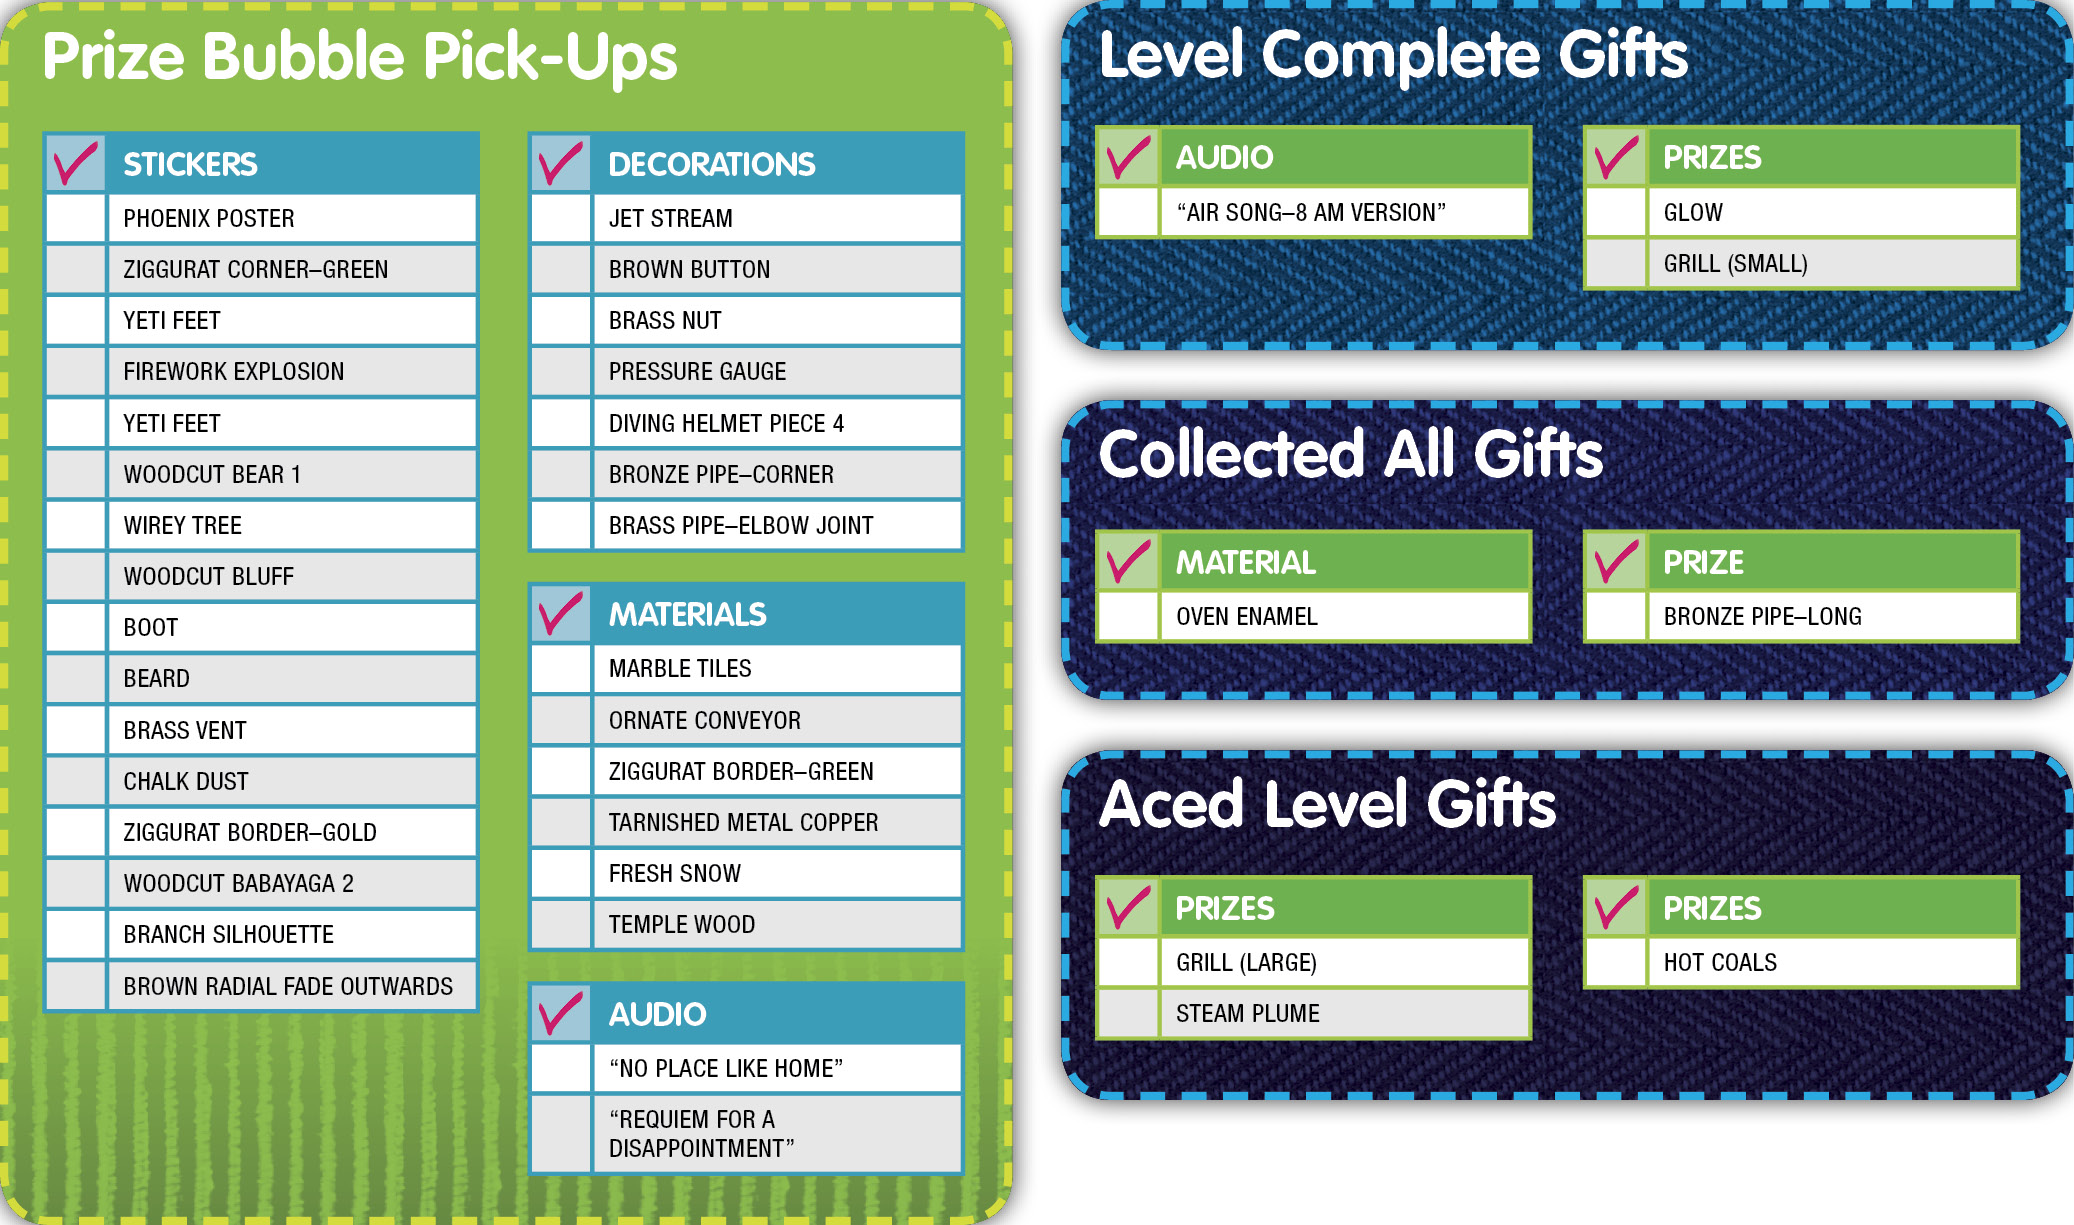
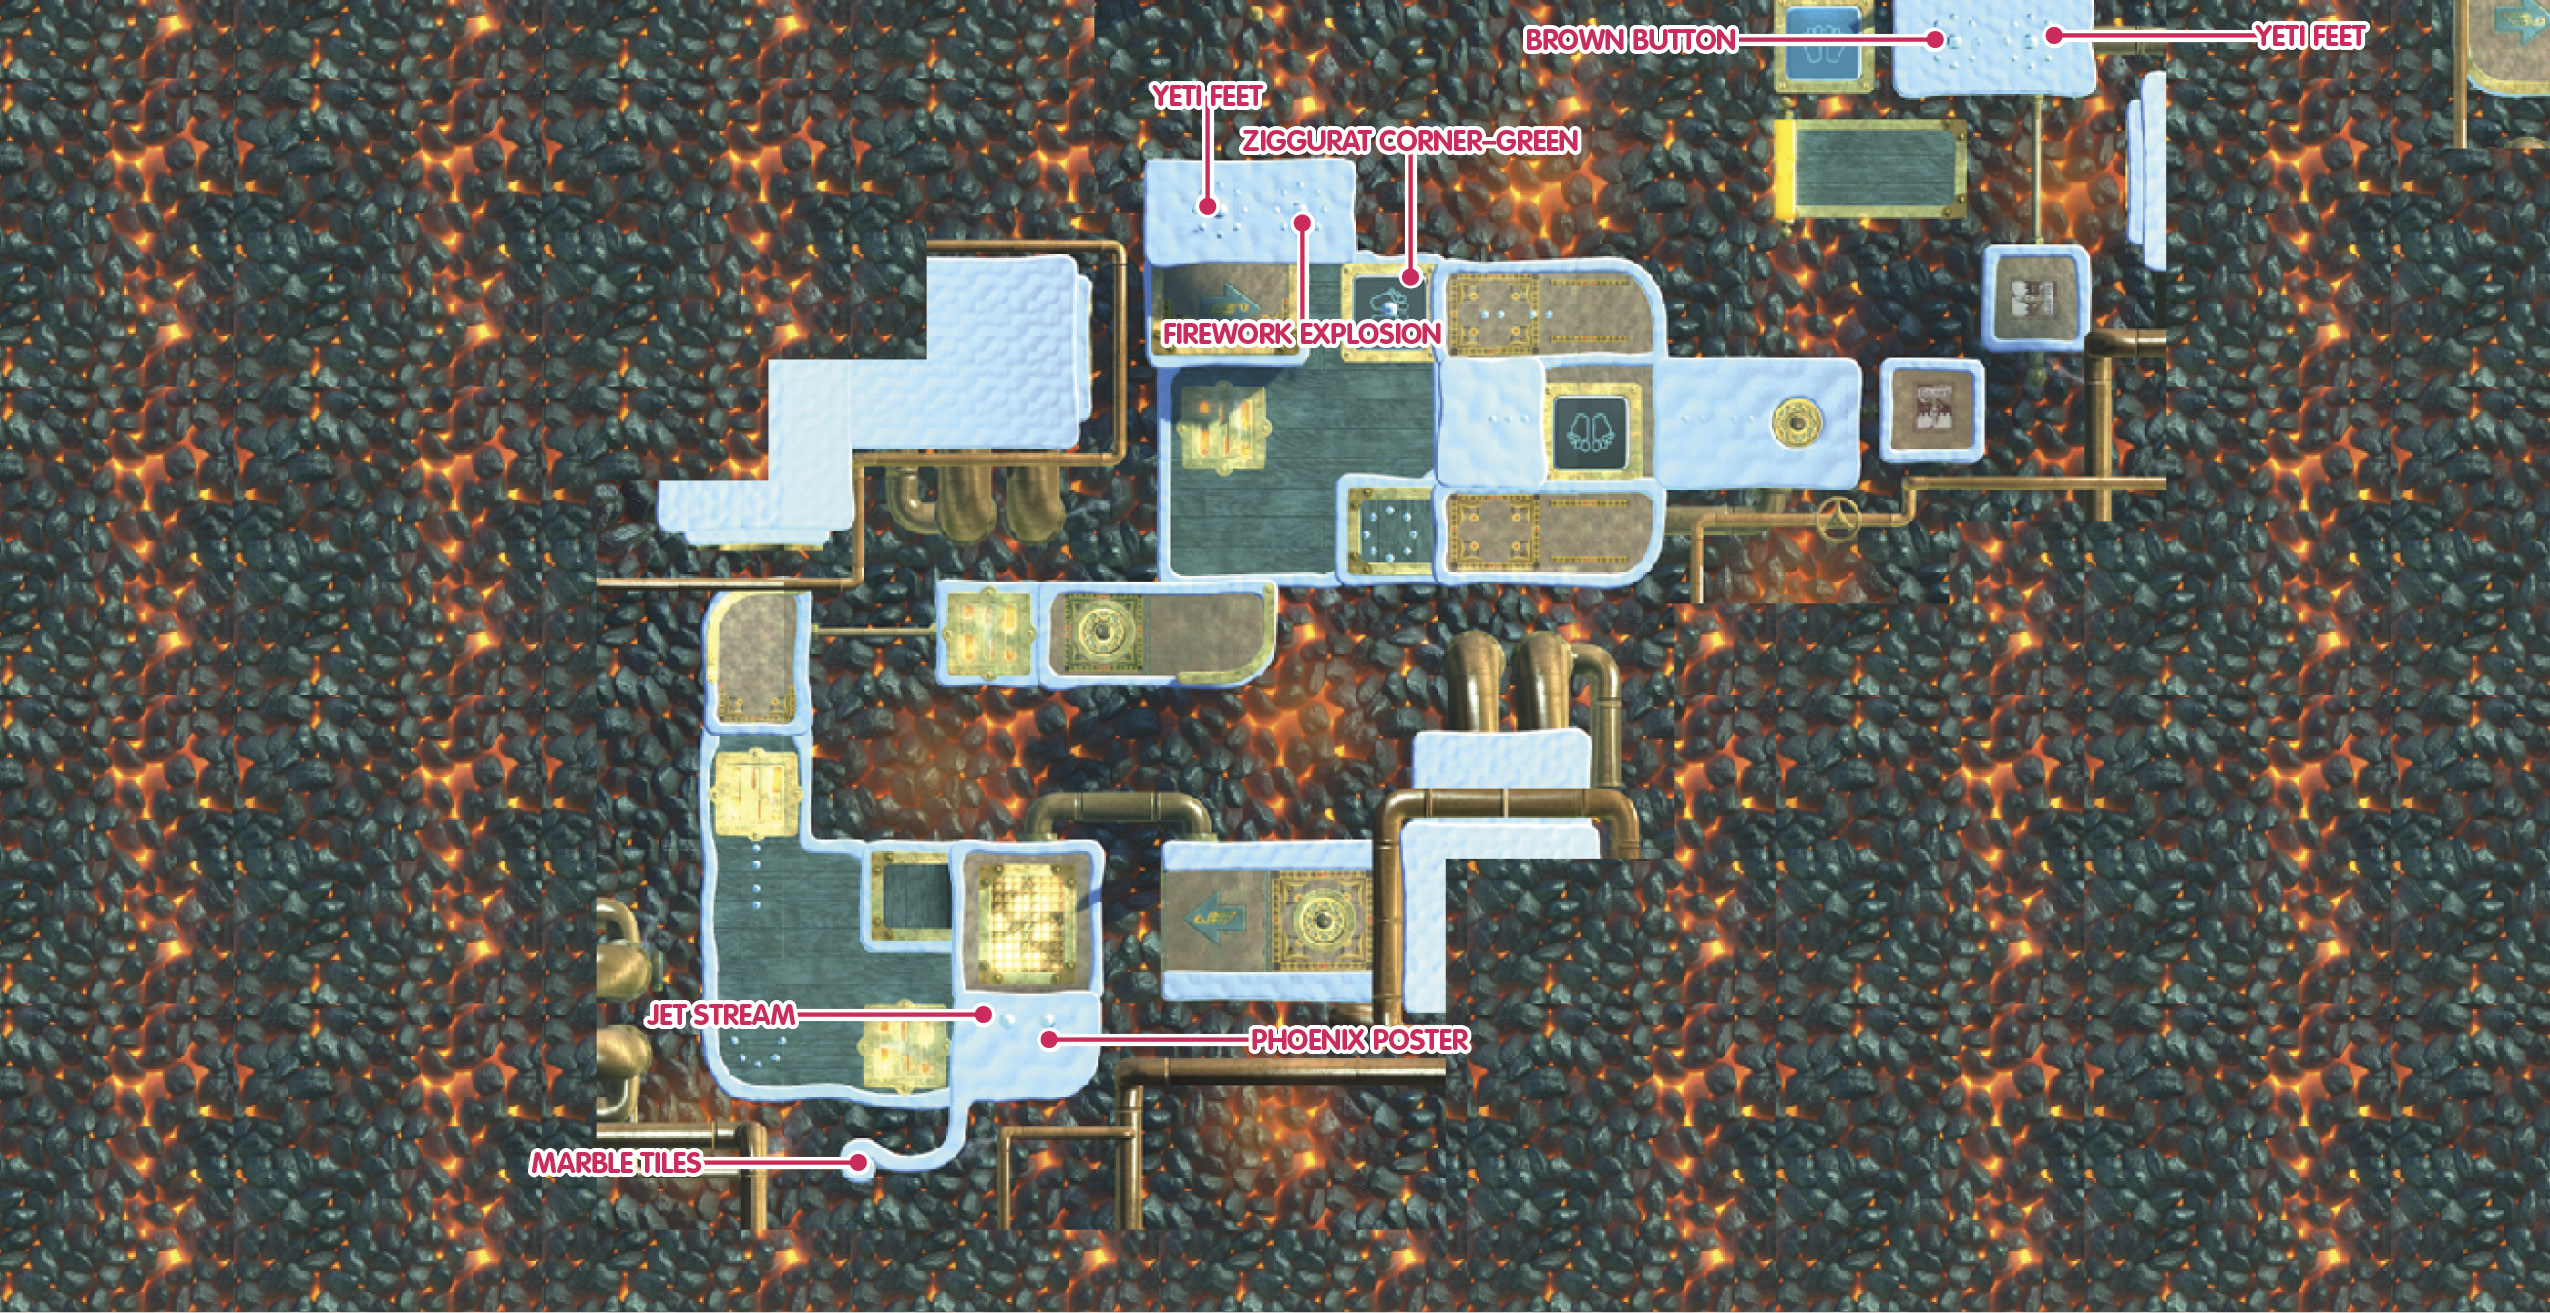
Use the grates to reach two Prize Bubbles that give the yeti—and by extension, you—the Jet Stream Decoration and Phoenix Poster Sticker. Follow the narrow strip of ground to the left, and find another Prize Bubble with the Marble Tiles Material within.
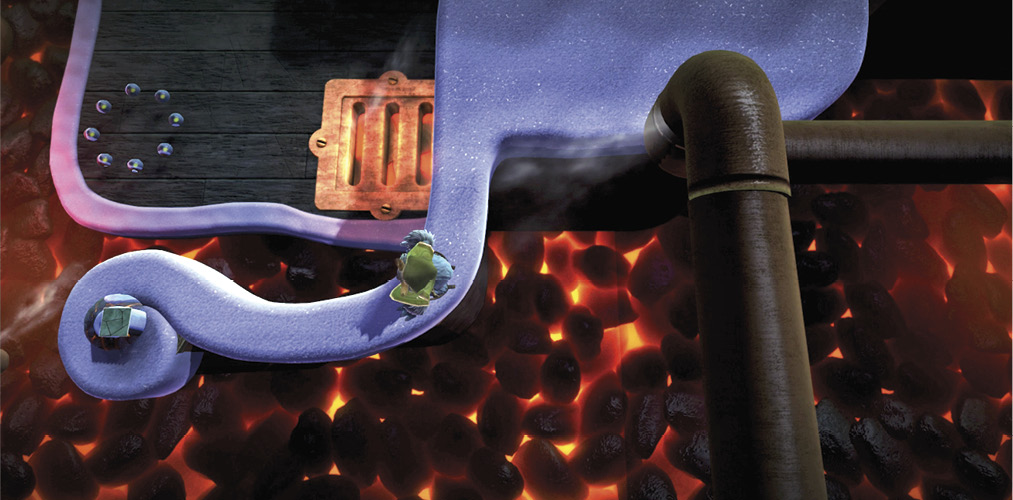
Head north and hop up onto the elevated area with a corner railing, then catch a lift—in more ways than one—across the hot coals via a moving hot air platform to the next Checkpoint.
Terrific Trampolining!
Proceeding ahead, a Prize Bubble merrily bounces atop a footprint-marked trampoline. Follow its example by climbing up the left platforms and dropping down to burst it for the Ziggurat Corner–Green Sticker.
Falling from this height gives the yeti enough momentum to bounce up to the next platform. Circle around to the south, bouncing off another trampoline, and then climb the left platform.
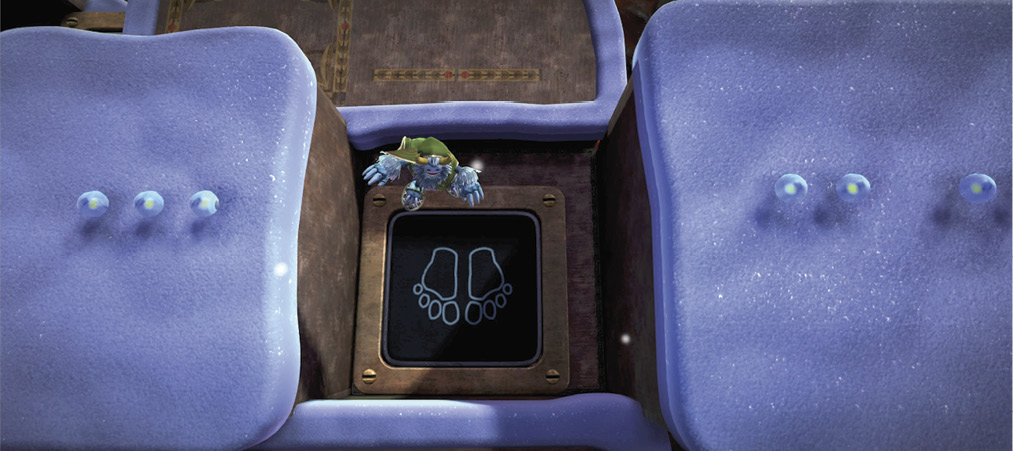
Repeat your steps, but this time, bounce off the trampoline to the right.
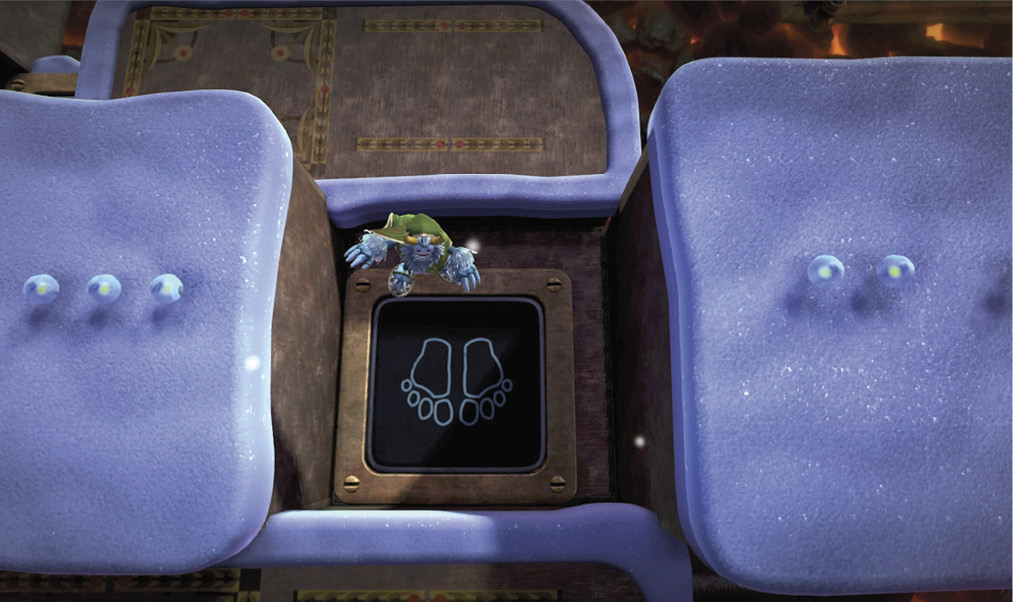
Retracting platforms pulsate ahead. Leap between them to safely cross this area. Forge onward north, and jump over the burning metal bar sweeping back and forth.
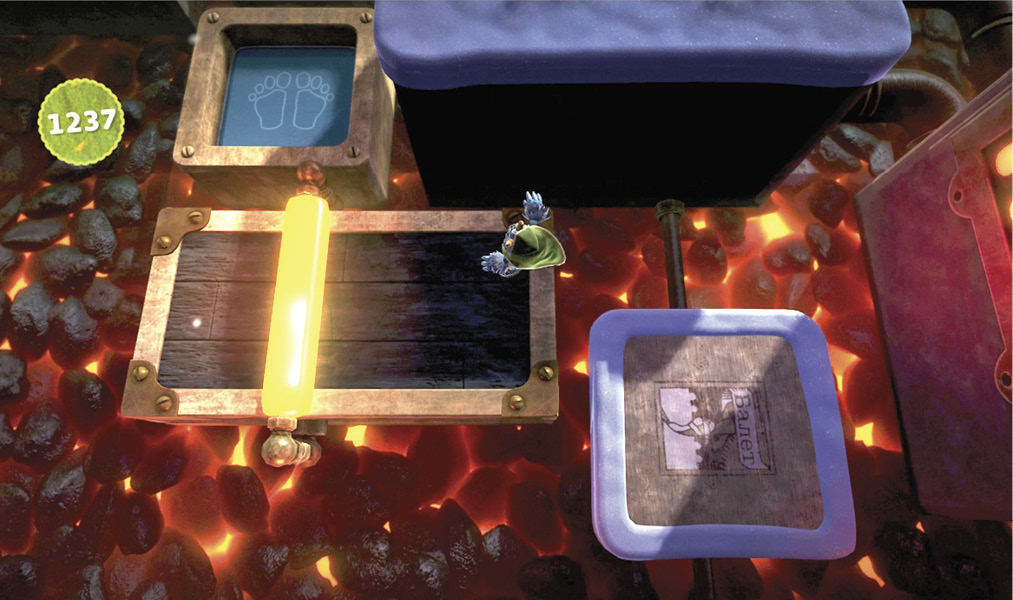
Conveyor Crossings
Bouncing between two trampolines, your yeti can reach a platform covered with a vertically scrolling conveyor belt. Don’t let it sweep your yeti down into the coals!
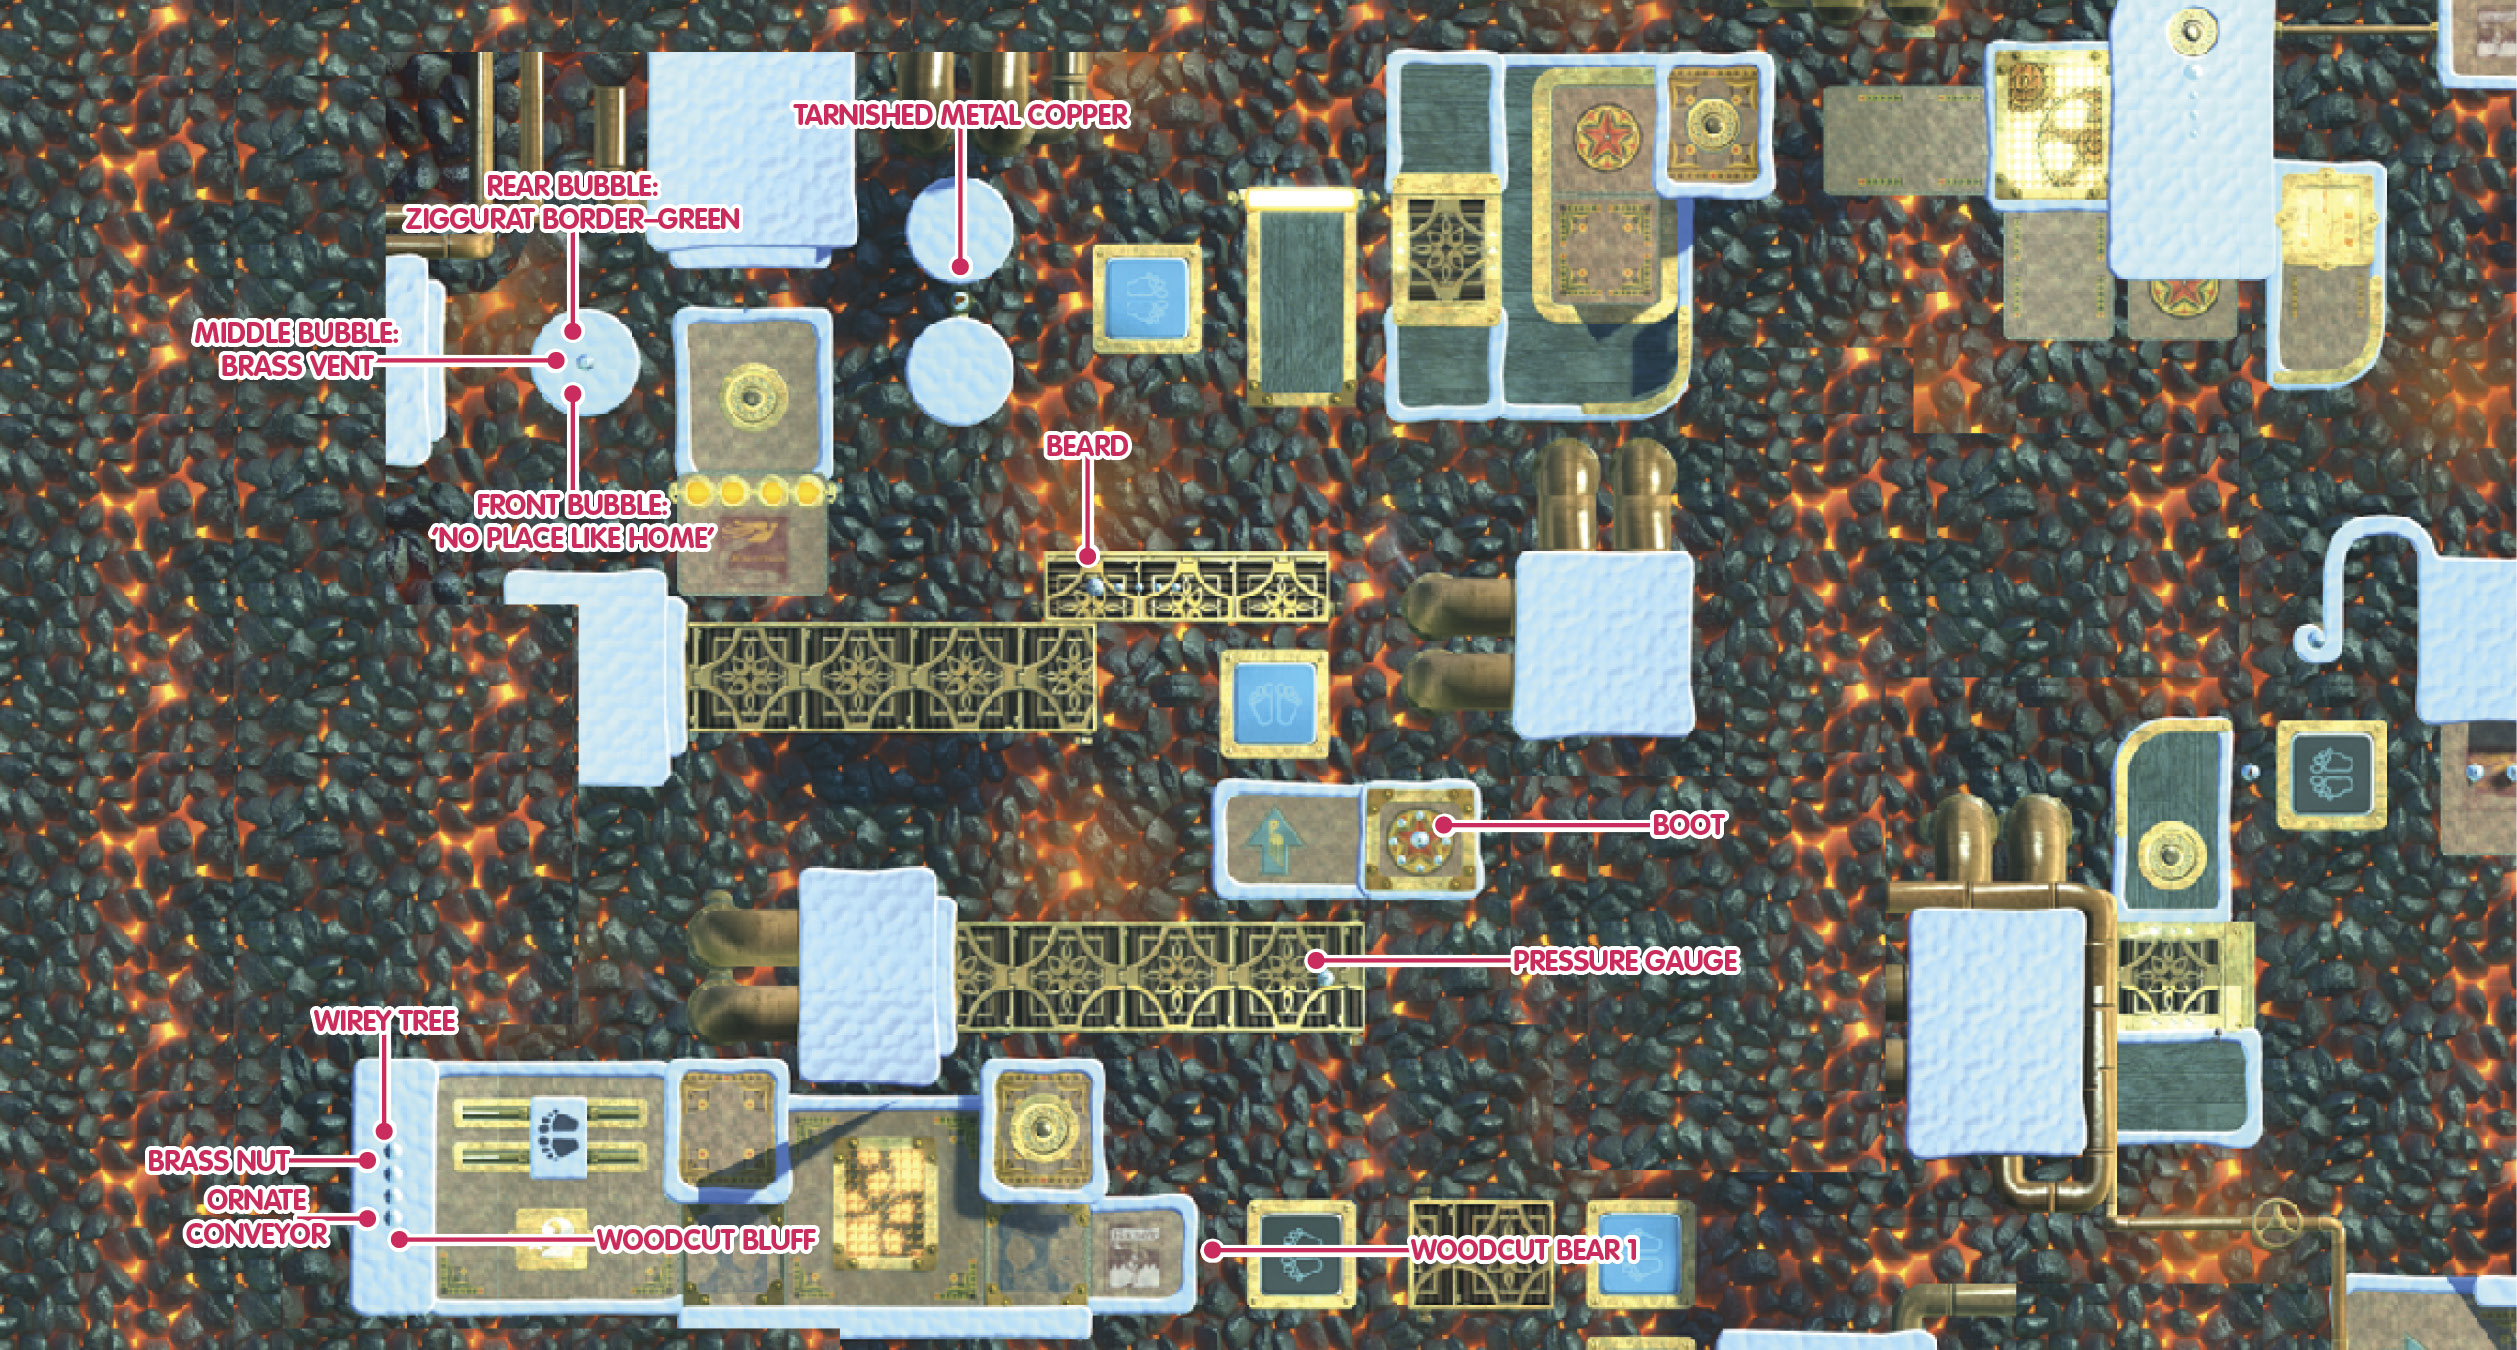
Run off the left side of the conveyor, and bounce down off the trampoline to soar through a mid-air Prize Bubble offering the Woodcut Bear 1 Sticker.
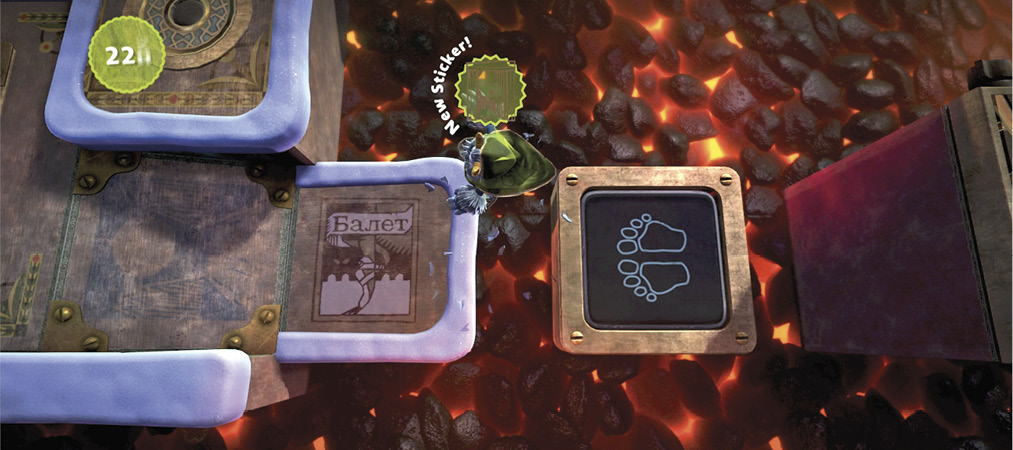
Keep heading north past a conveyor dotted with molten metal bars. When safely to the next platform, hop up to the right for a Prize Bubble there giving the Boot Sticker. Jump off from here back to the conveyor to burst the floating Prize Bubble holding the Pressure Gauge Decoration.
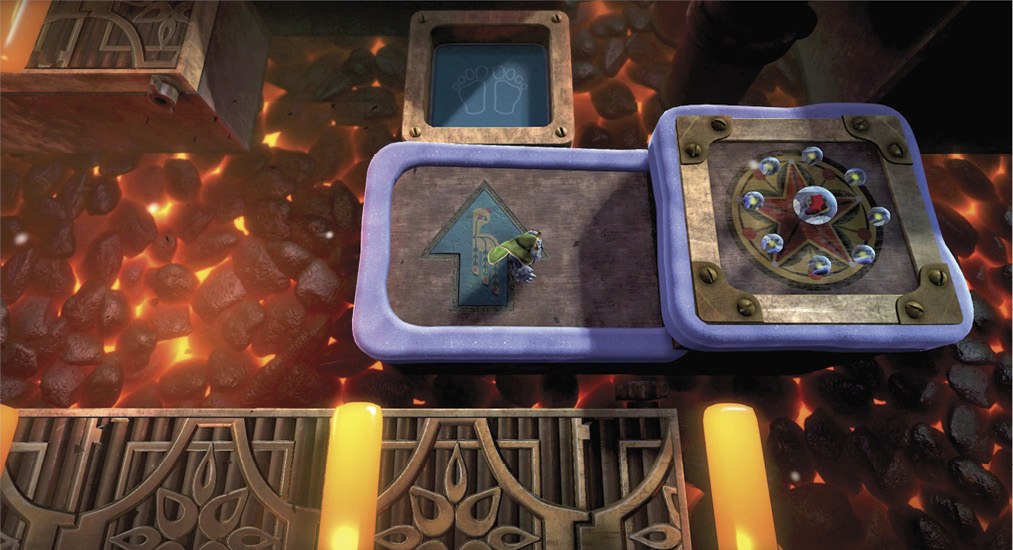
Move north and then west along the conveyor that scrolls downward. Maintain steady footing, and pop the Prize Bubble at its far end for the Beard Sticker.
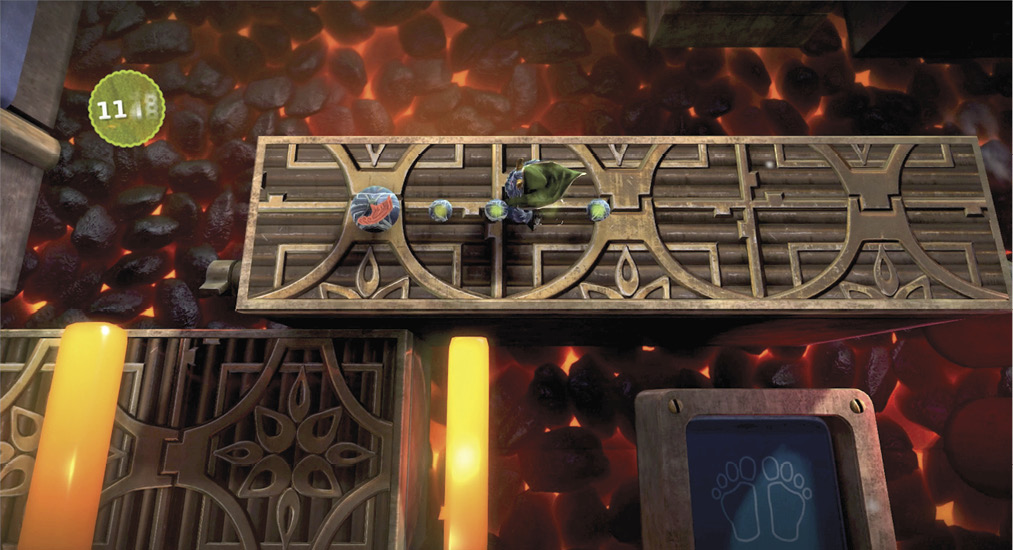
Past another danger-laden conveyor is a row of four pounding pistons. Scurry under their scorching cores and past to the next Checkpoint.
Bounce to the Beat
Round platforms lie to the left and right. The left bounces the yeti up through Prize Bubbles that give the Brass Vent Sticker, Ziggurat Border–Green Material, and ”No Place Like Home” Audio.
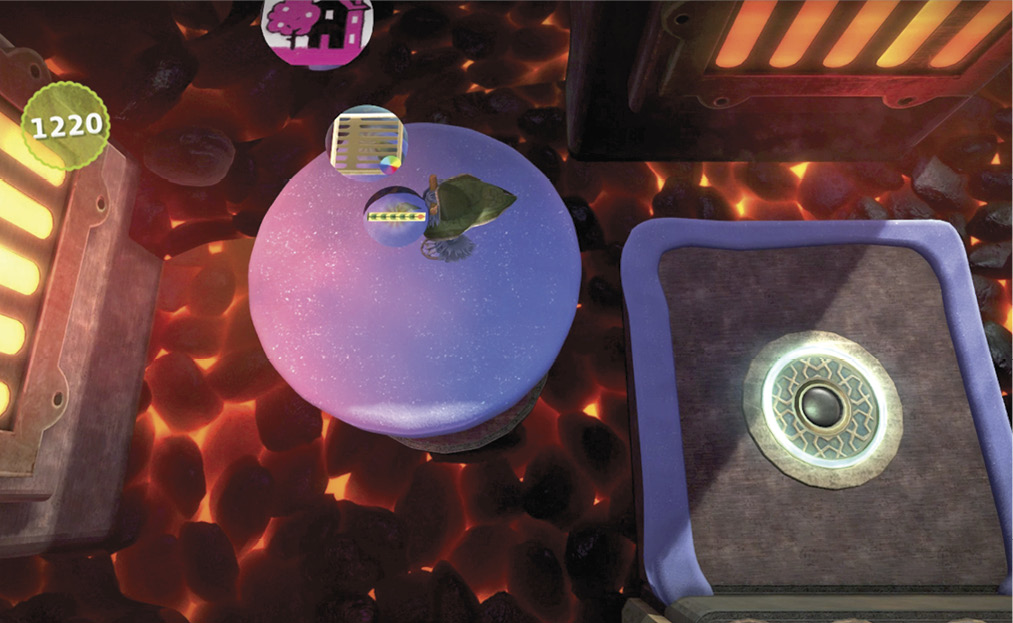
To the right is a rotating pair, forever spinning opposite each other. Jump between to rupture the mid-air Prize Bubble that coughs up the Tarnished Metal Copper Material.
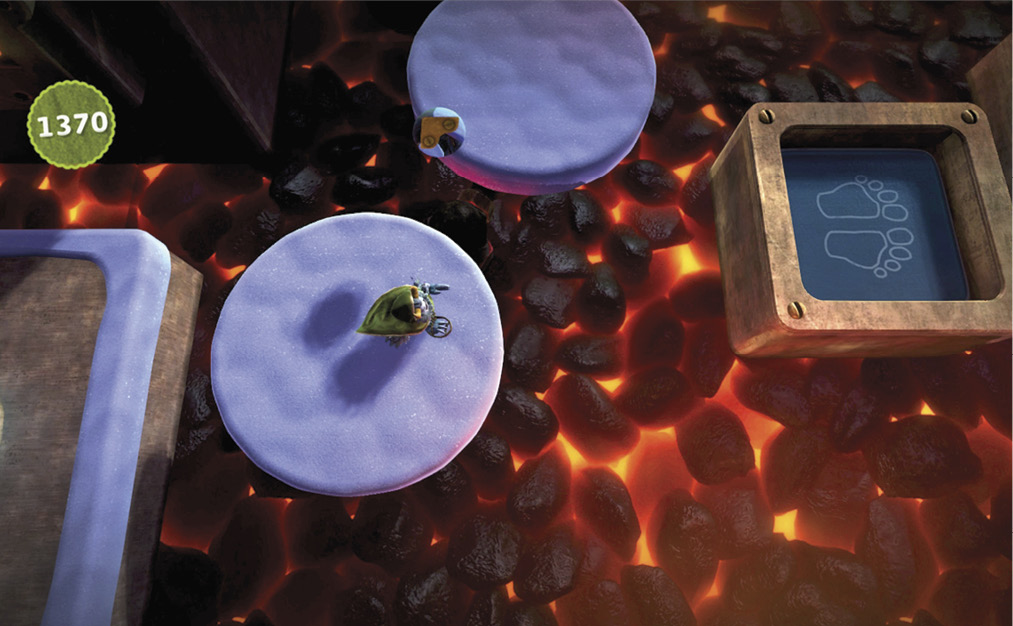
Keep going right off the trampoline, the hazardous platform, and onto a somewhat hidden conveyer. Run in the direction of the arrows, and the yeti’s mighty legs engage the mechanism to raise the necessary platforms on the right side. Hop up the platforms to the next Checkpoint.
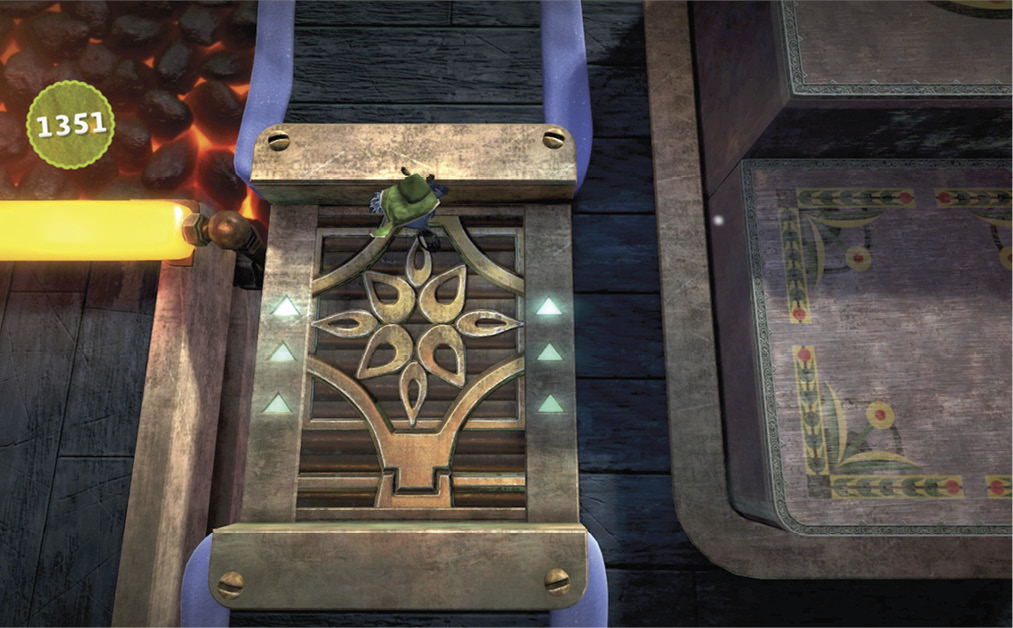
Wait for the retracting platform down below to emerge before dropping down safely. Hop up to the right and then back down to the platform expanding southward.
It only seems like there’s no place to go. Once the yeti’s footing starts sliding back, an opportunity to leap up presents itself to the right.
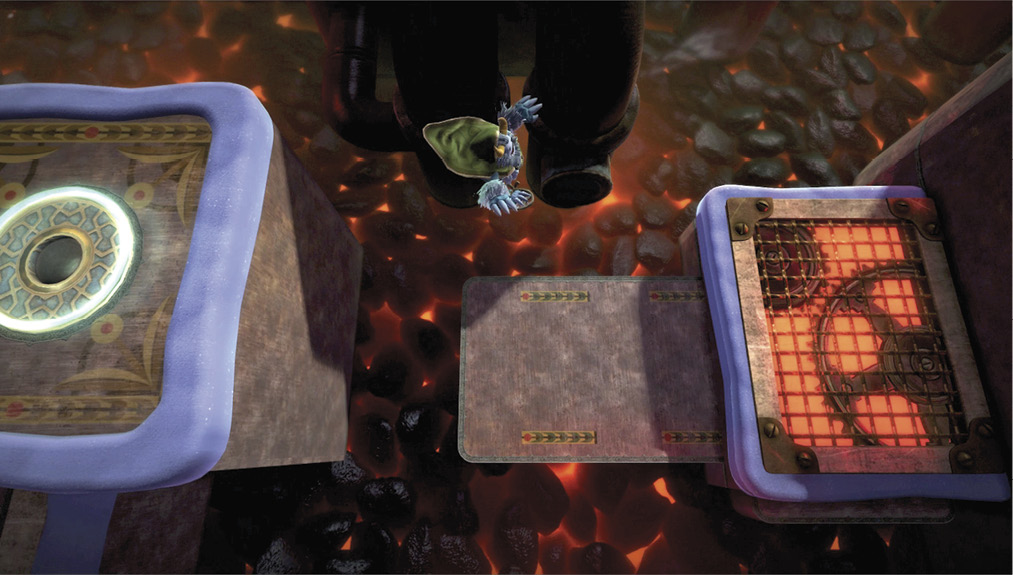
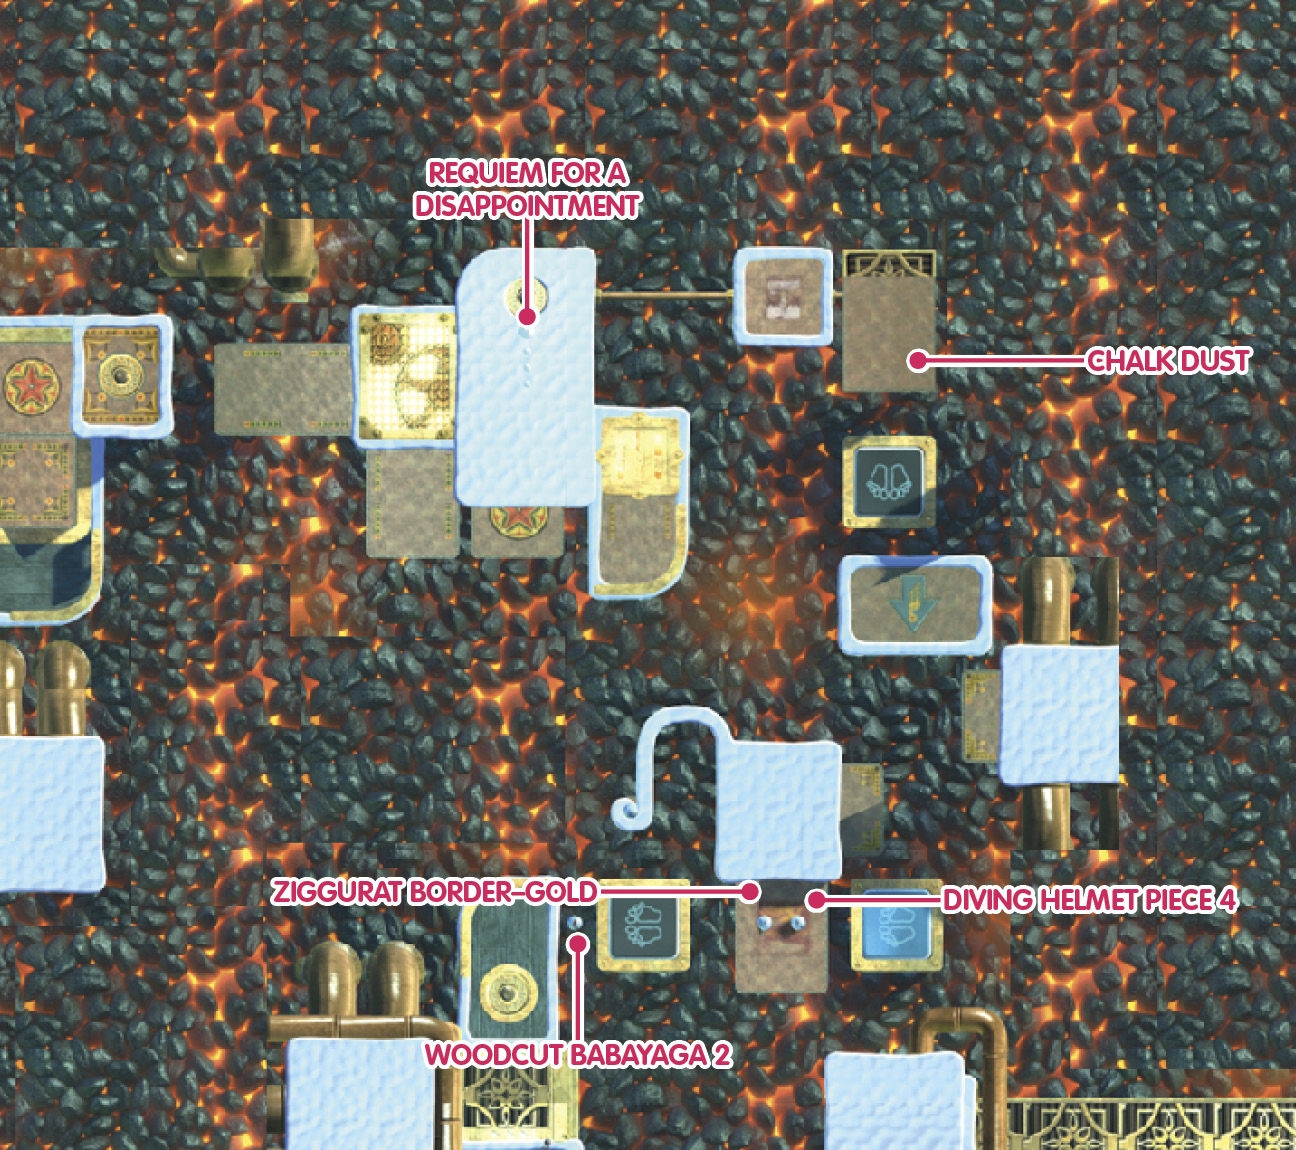
Moving from there and floating up, a string of Score Bubbles leads to the ”Requiem for a Disappointment” Audio Prize Bubble guiding you to the next Checkpoint.
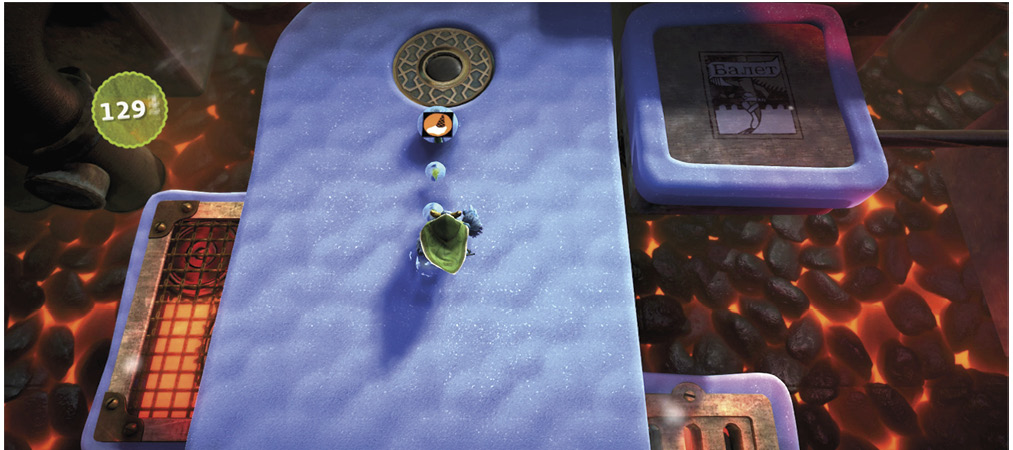
Run to the right from the moving platform to a conveyor, through a Prize Bubble that nets you the Chalk Dust Sticker, and down onto a trampoline.
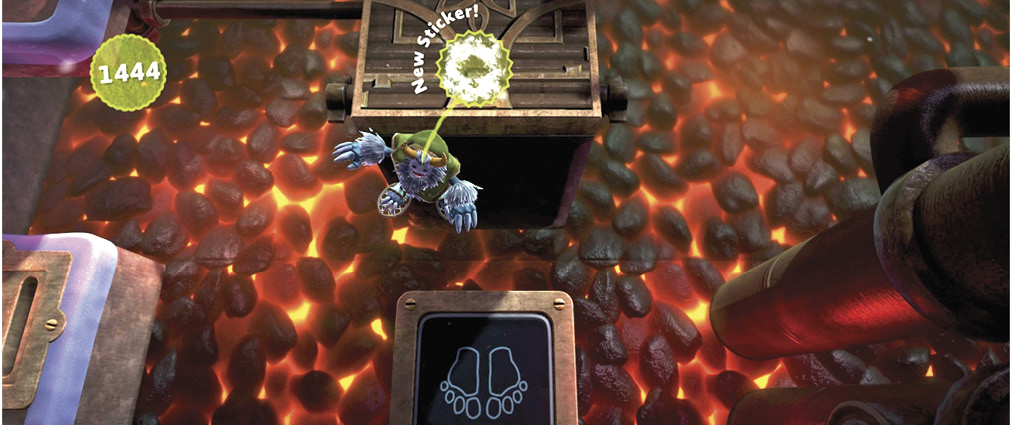
A series of retracting platforms poses little challenge to a veteran like you. Move past them, and use a trampoline to bounce up to two aerially situated Prize Bubbles holding the Diving Helmet Piece 4 Decoration and Ziggurat Border–Gold Sticker.
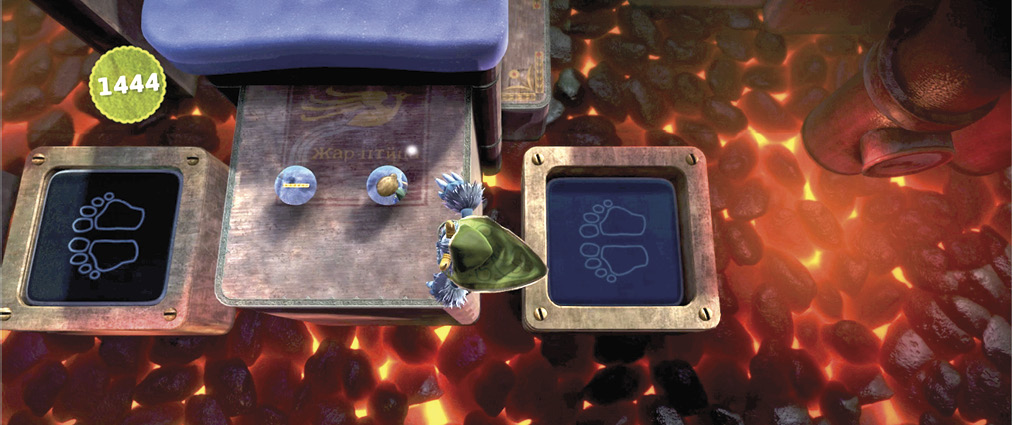
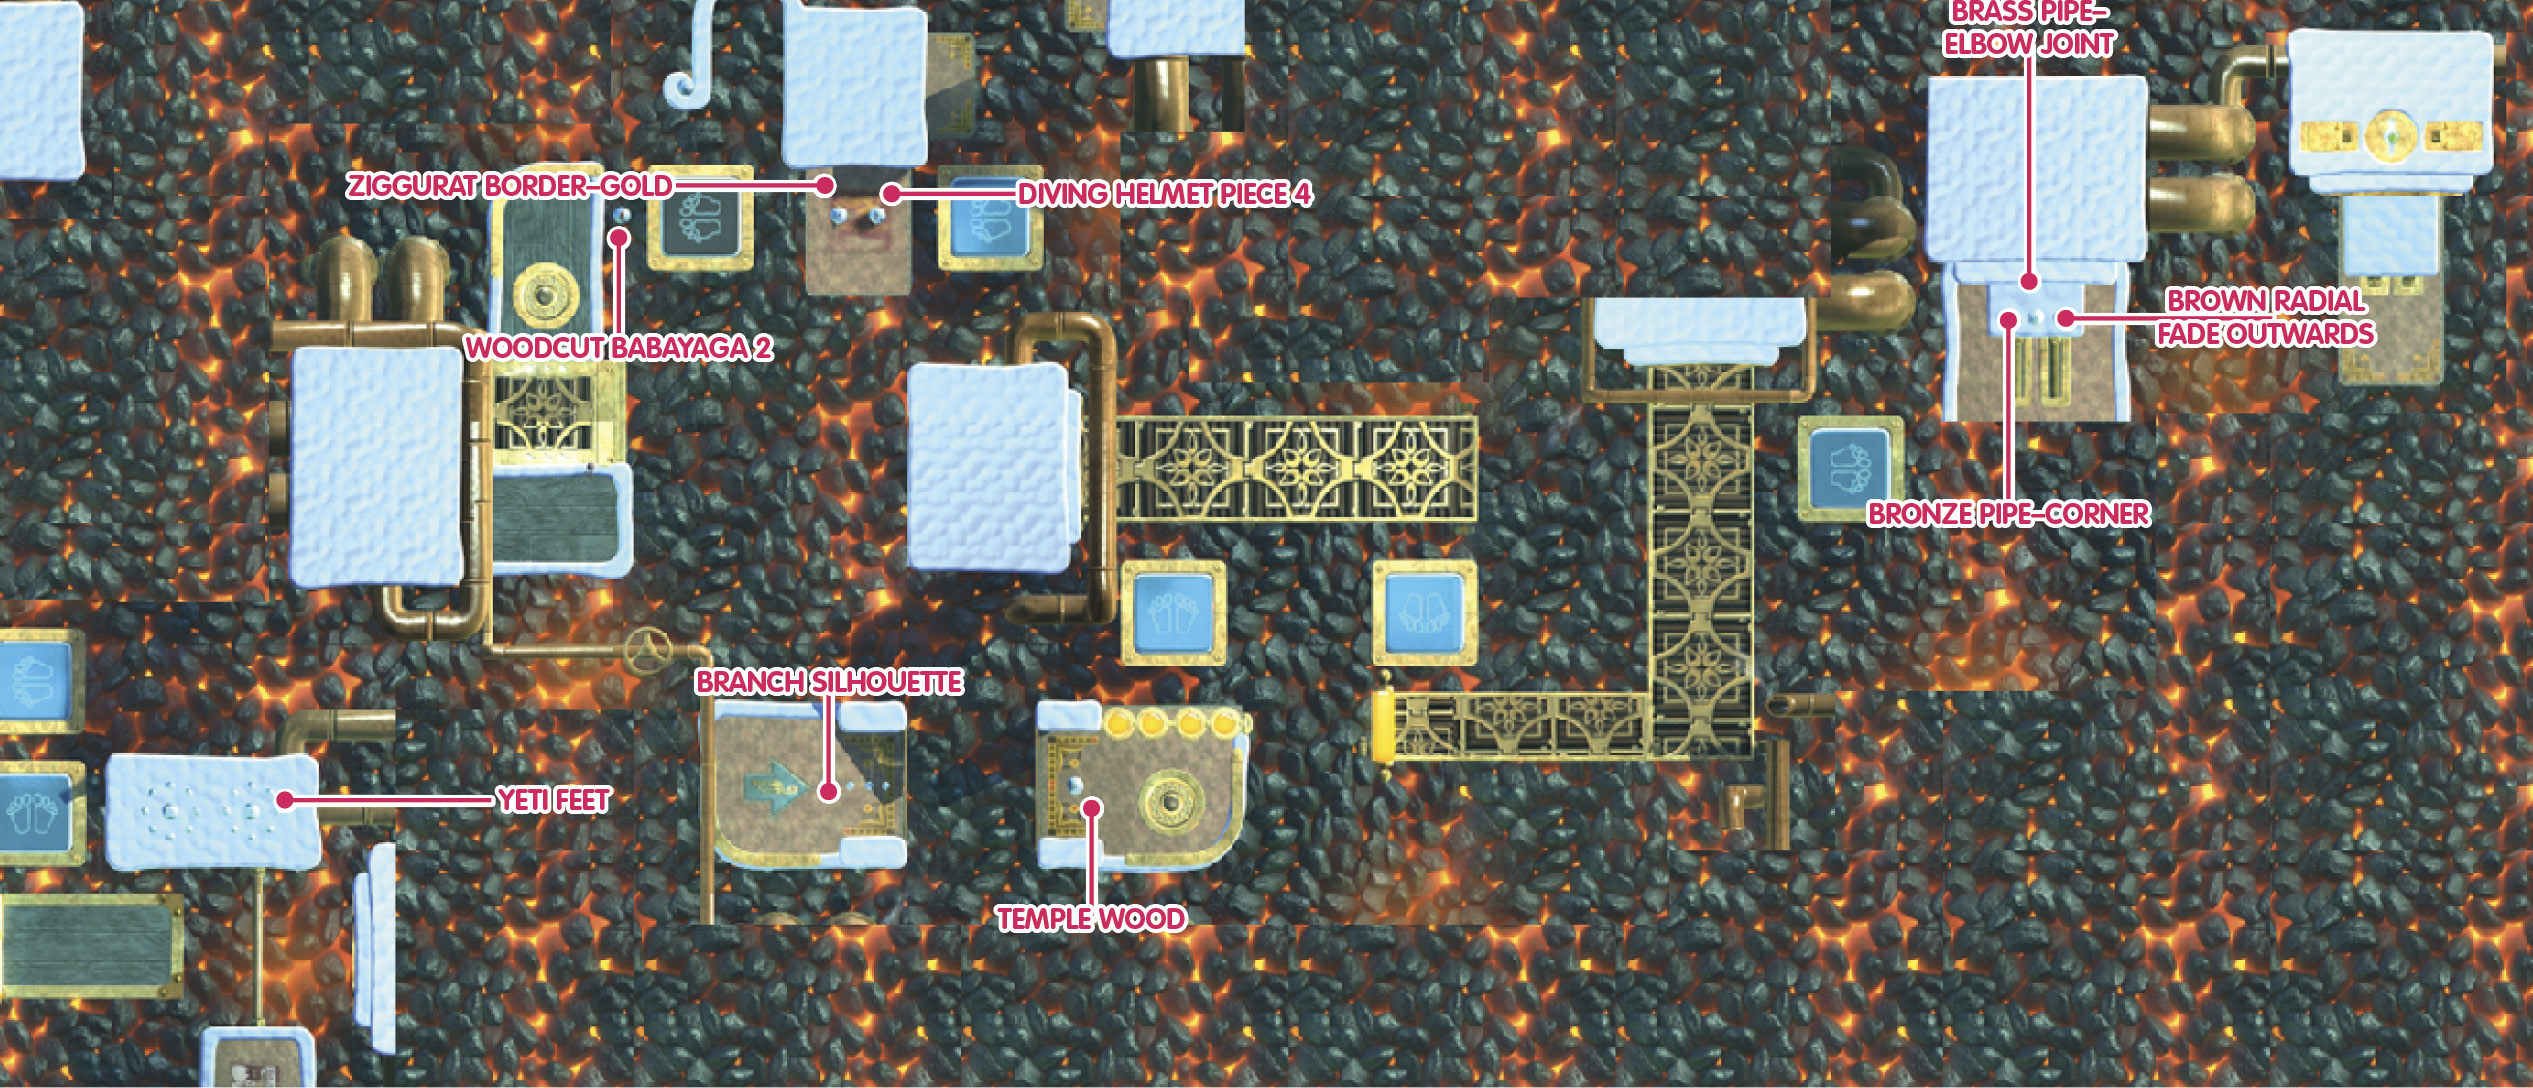
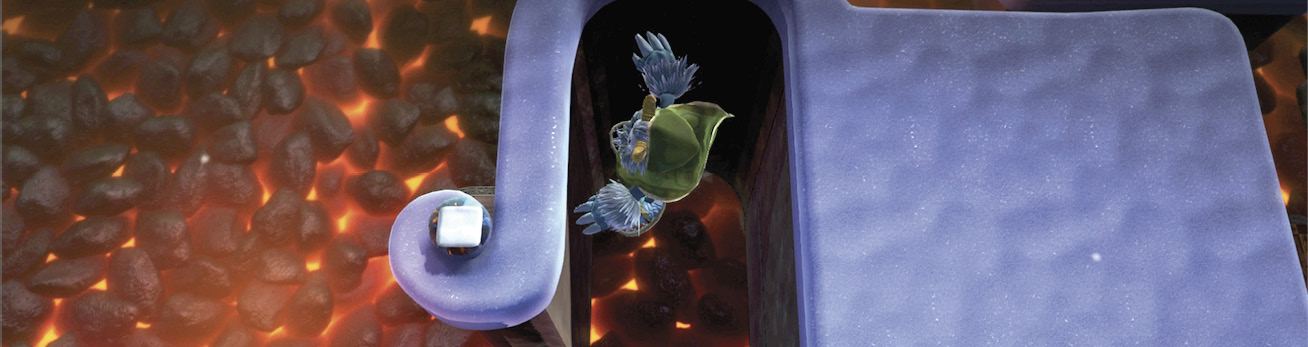
Before the platform retracts, jump up to the snow-topped area north. From there, you can reach an isolated Prize Bubble keeping the Fresh Snow Material.
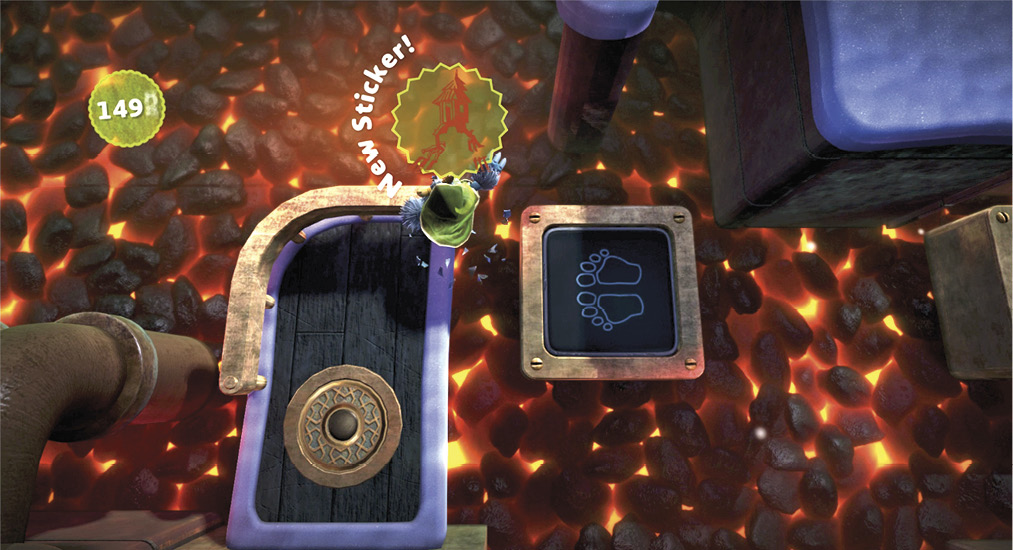
Bounce off the trampoline, and pirouette through the Prize Bubble above on the way to the next Checkpoint to snag its Woodcut Babayaga 2 Sticker.
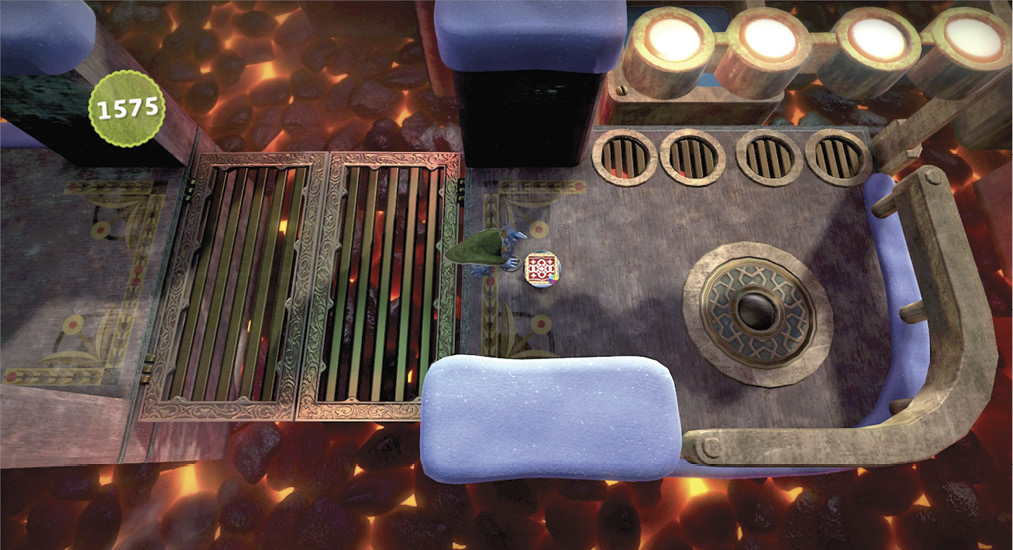
Push forward through the flimsy wall to turn it into a bridge that leads to the next Checkpoint and a Prize Bubble gifting the Temple Wood Material.
Keep to the right on this next conveyor to expand the necessary platform to cross the fiery coals. Hop between the platforms before they disappear to reach safety and the next Prize Bubble, which gives the Branch Silhouette Sticker.
Duck under the pistons, and navigate over several more conveyors.
Reaching the next Checkpoint positions the yeti just a heartbeat away from Toggle’s marble.
Duck under the line of pistons, bounce off the trampoline, and then head north. Push the white wall with all of your yeti’s might to free the marble!