Little Big Planet 3 Signature Series Strategy Guide Adventure: Bunkum Lagoon
The Great Escape
Cornering Newton, the heroes seem to have the upper hand. But as he feigns weakness, it turns out to be a trap! Your sack person is at the mercy of the power-mad Newton. Trapped within suspended animation, the skills of all three reawakened heroes are required to break the bonds of captivity. Use Oddsock’s speed to strike at the heart of Newton’s fiendish forcefield and clear the way for the other heroes to do the same.
Triggering the Trap Trifecta
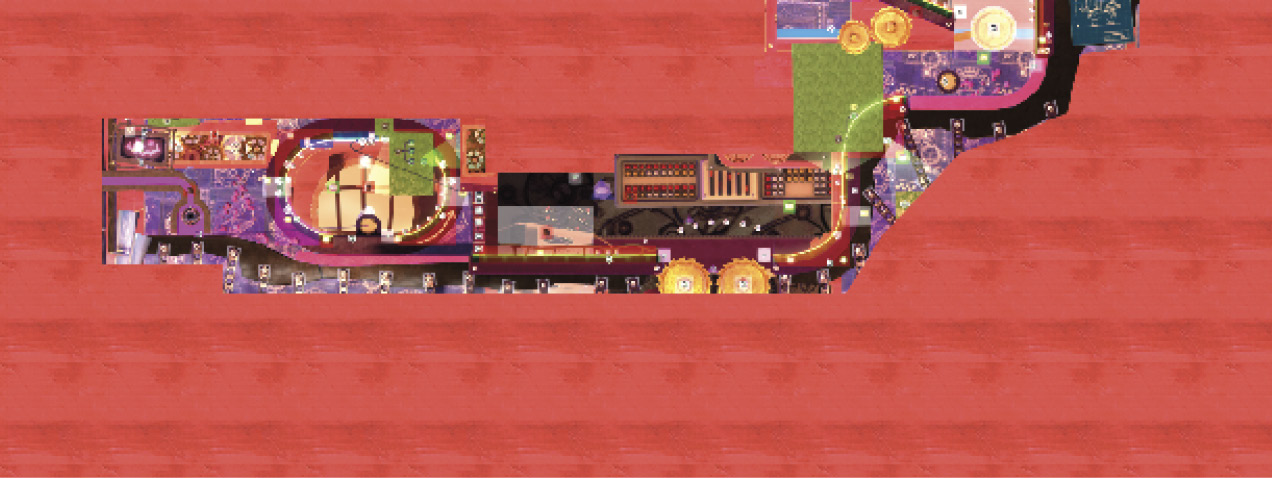
Starting off as Oddsock, scurry to the right. Run up the wall, and jump between them to reach the Level Link.
Race to Release
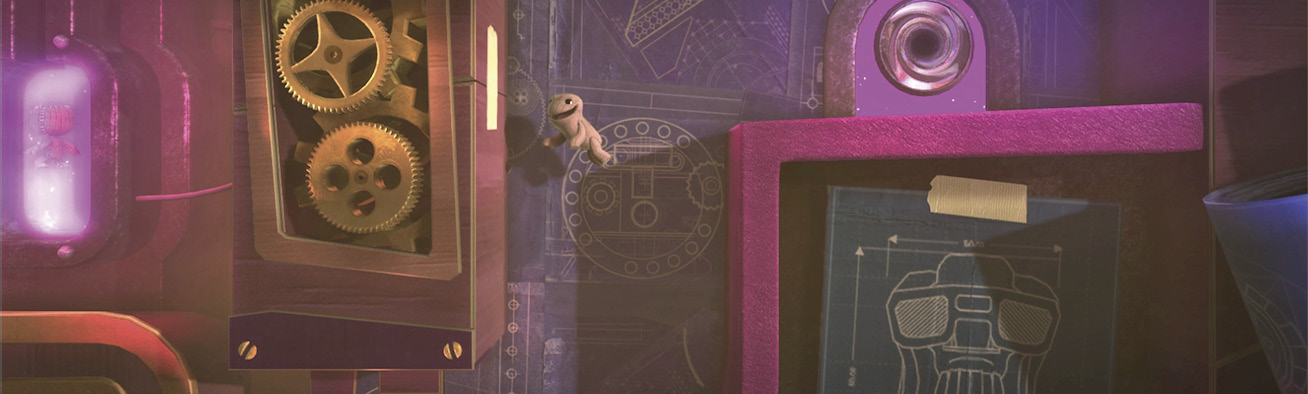
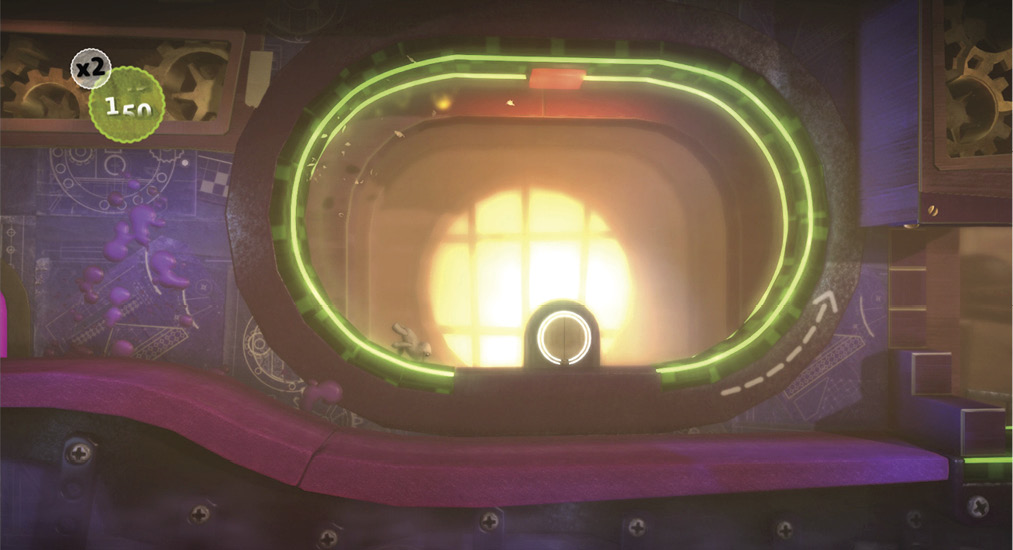
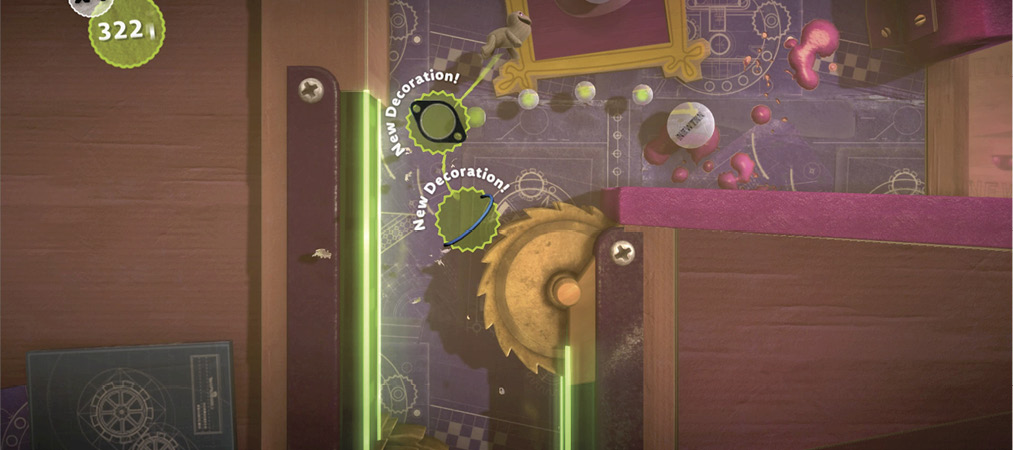
Oddsock’s speed makes it natural for him to take point in saving your sack person. It gets put to the test right away. To get past the first area, Oddsock must hit a ceiling-mounted button by running up the shimmering green floors. Let the green floors guide the way. Keep running up, past a Checkpoint, and up another wall where Oddsock can wall jump between spinning saw blades.
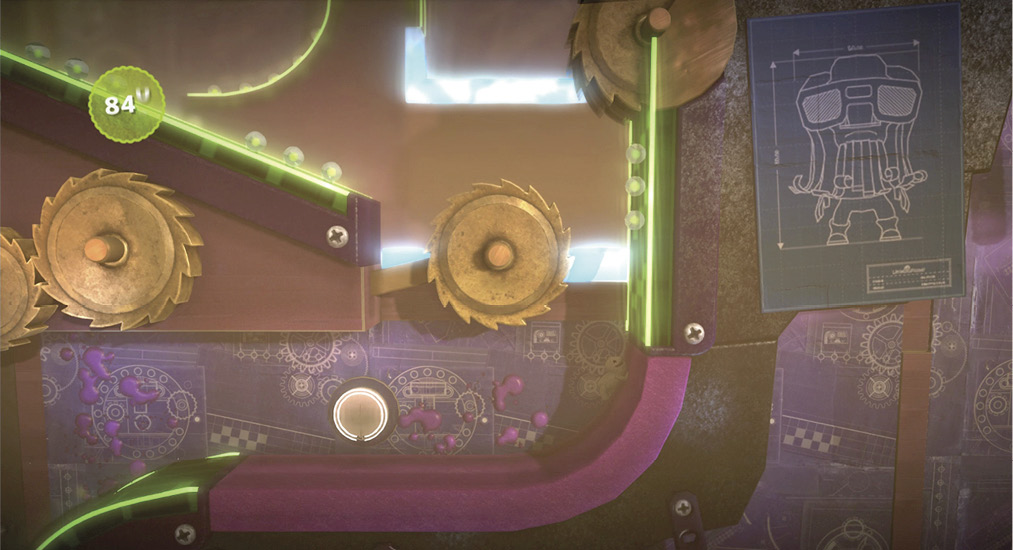
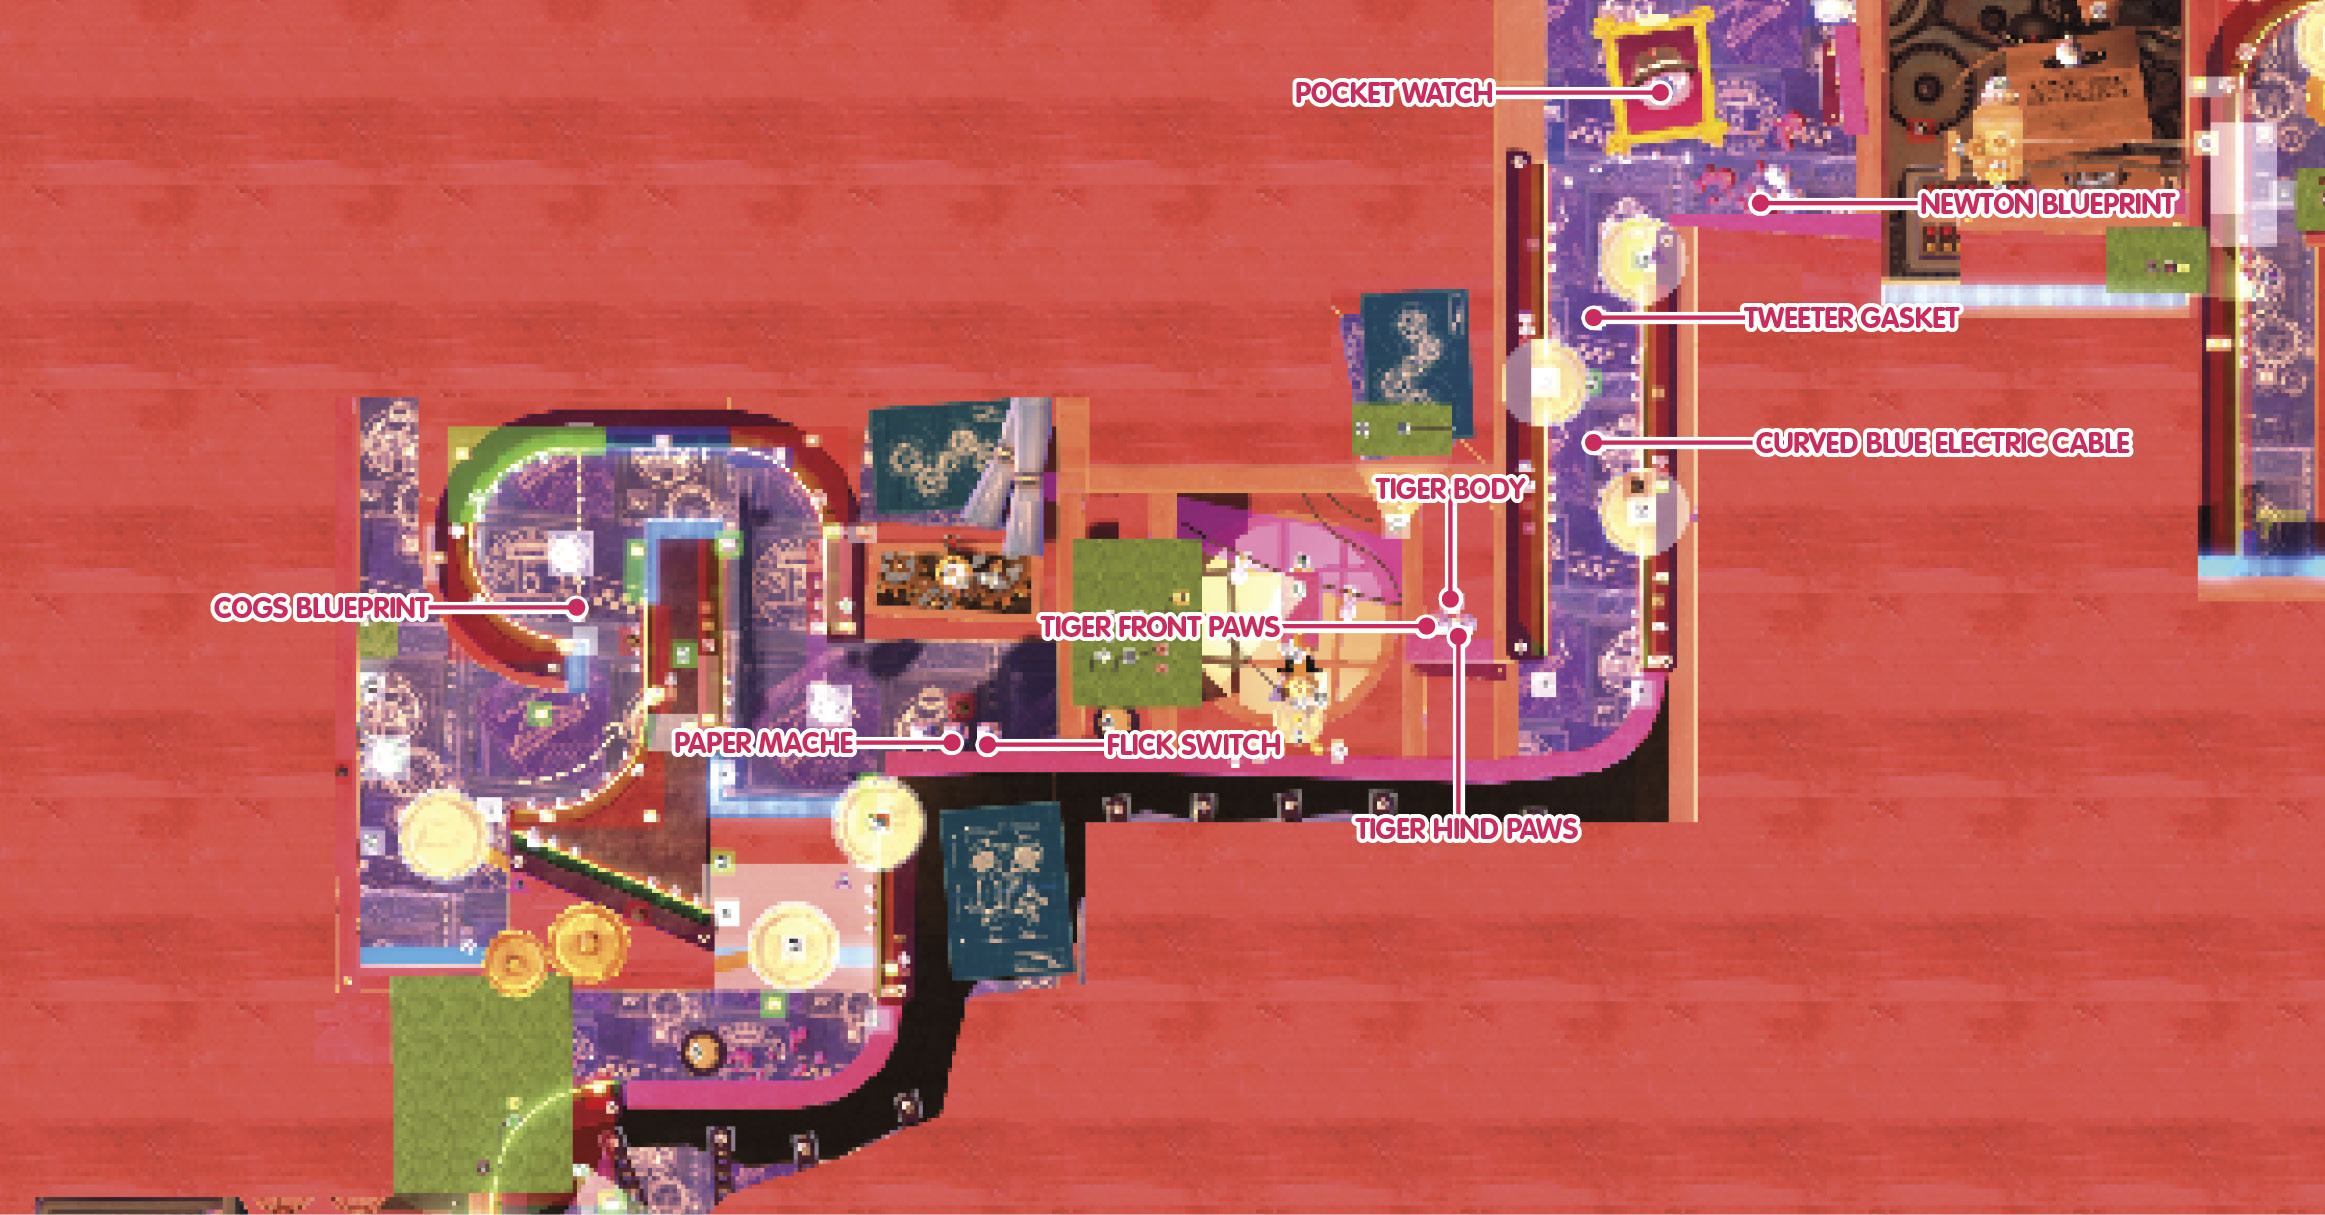
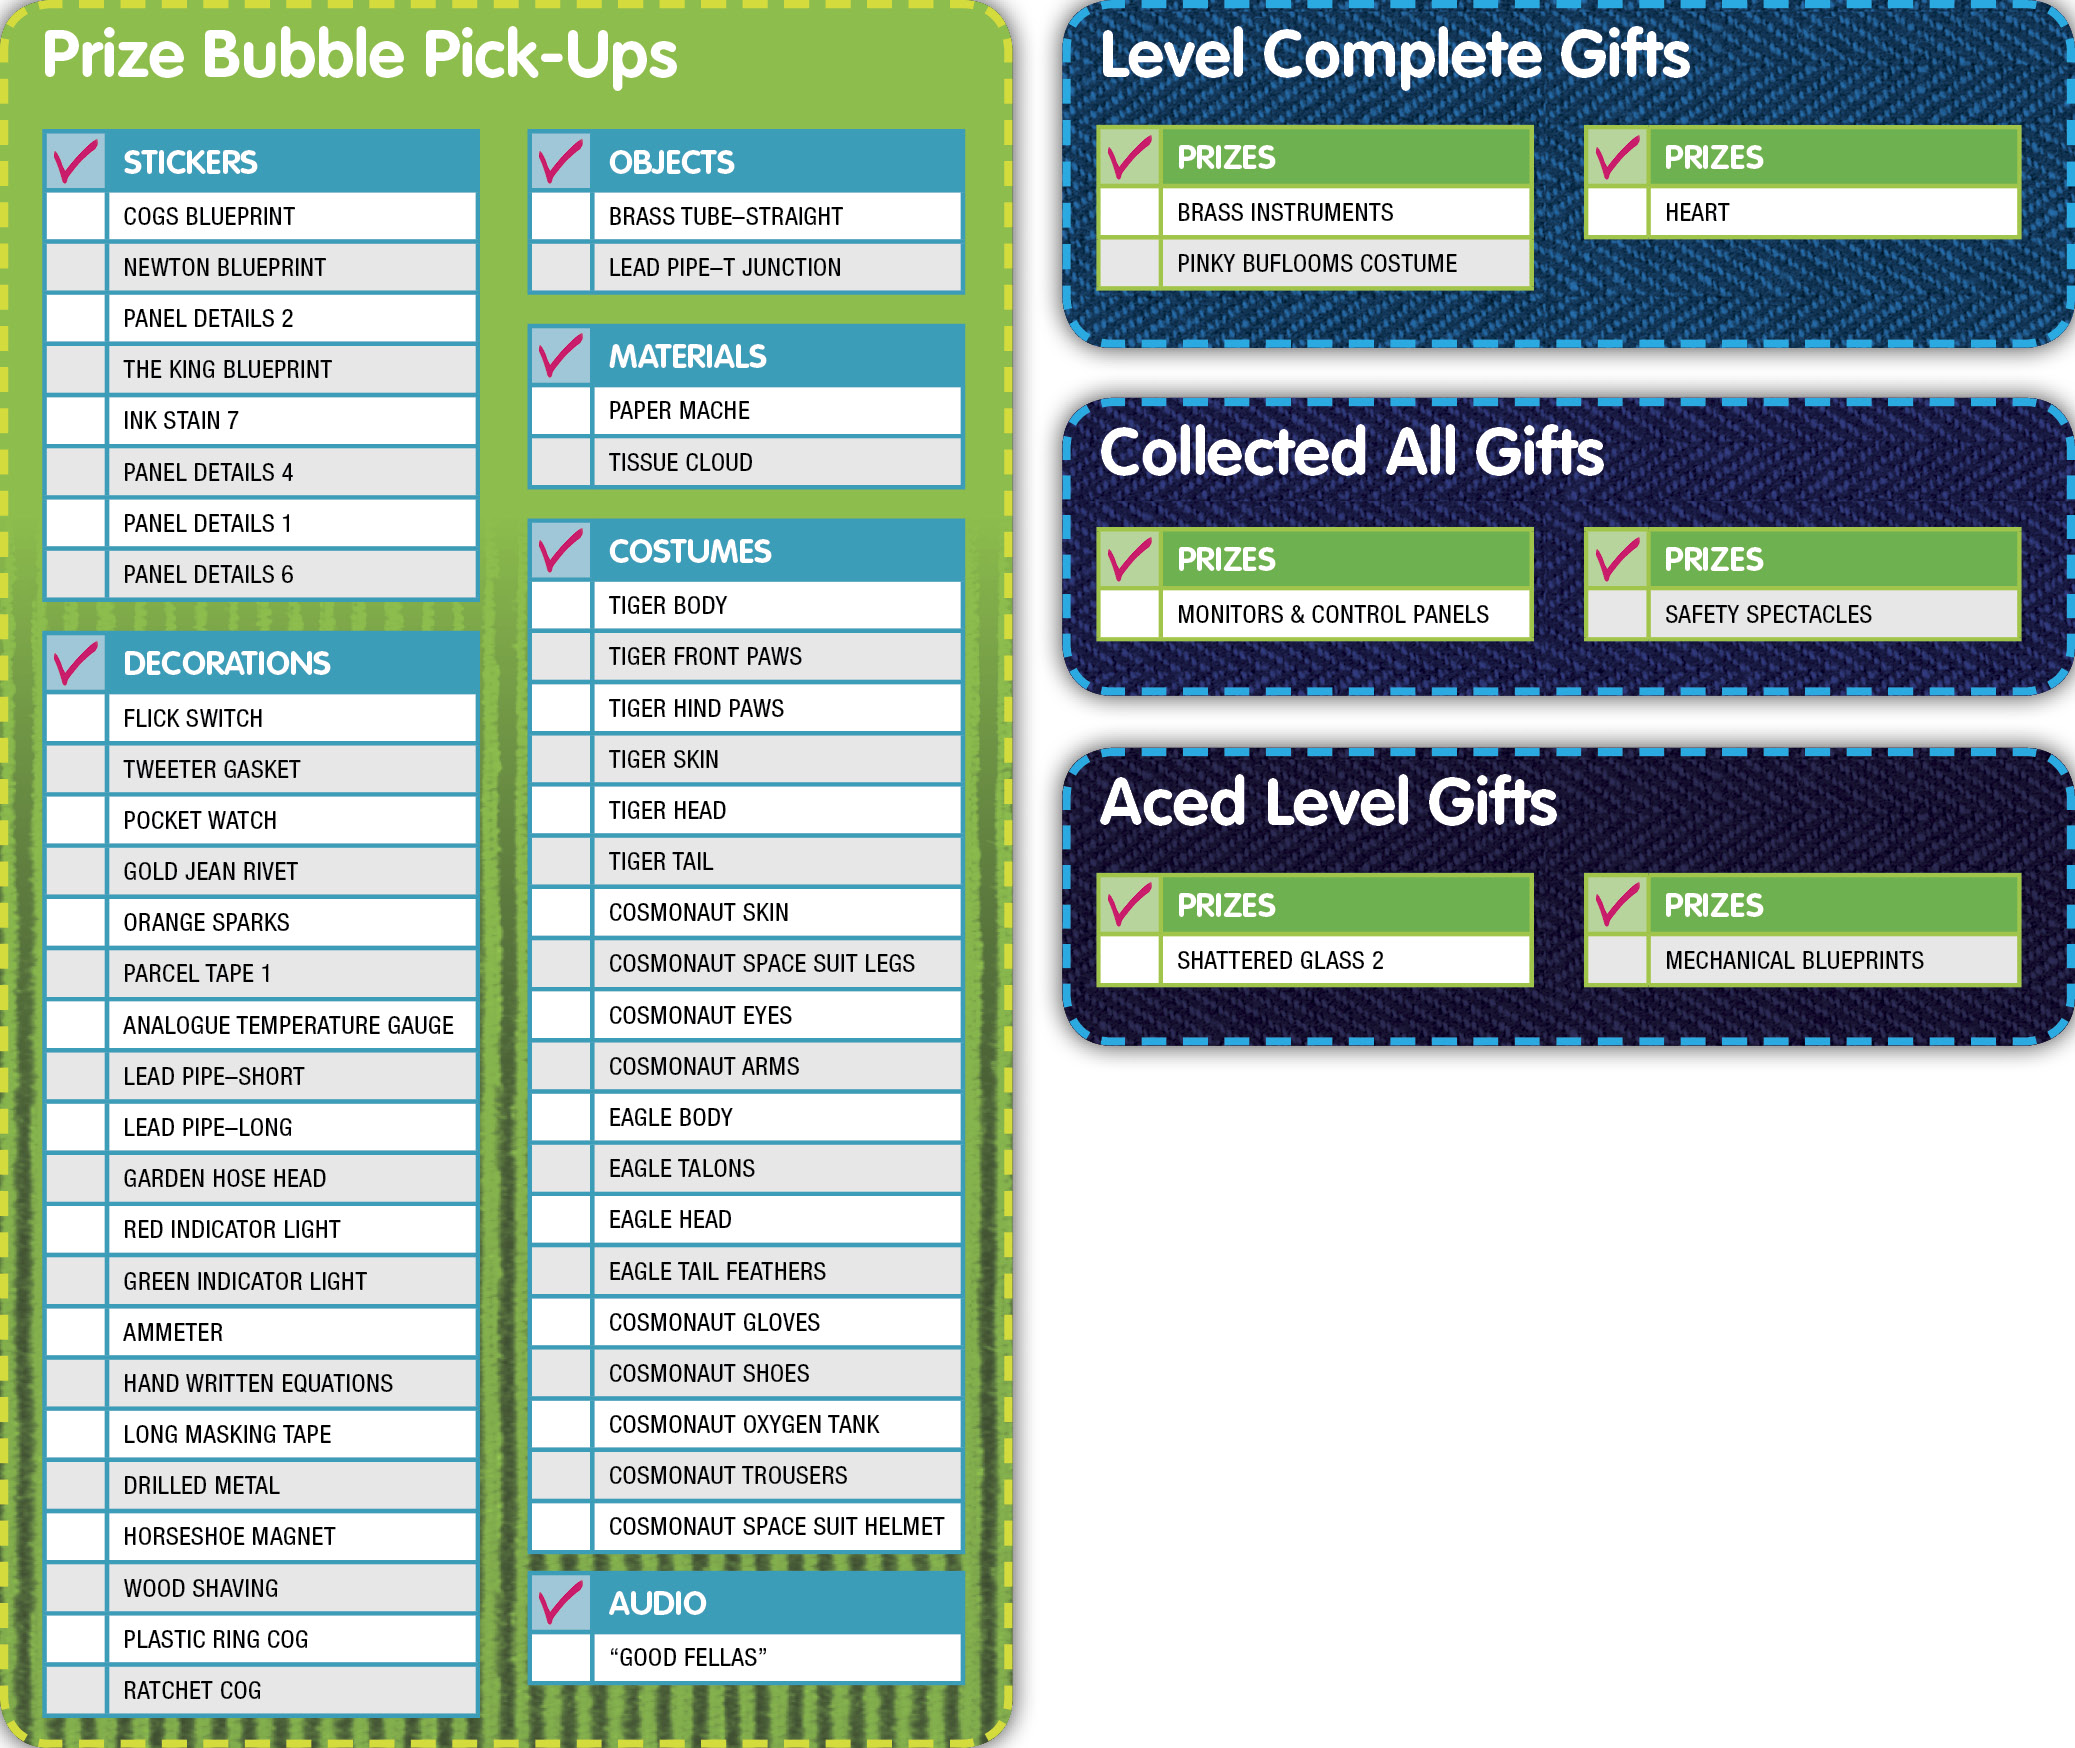
Running to the left, jump over more saw blades into a grind against the wall into the background. Wall jump again and run up, making sure to wall jump before hitting the electrified section. This jump should pass through the Prize Bubble holding the Cogs Blueprint Sticker.
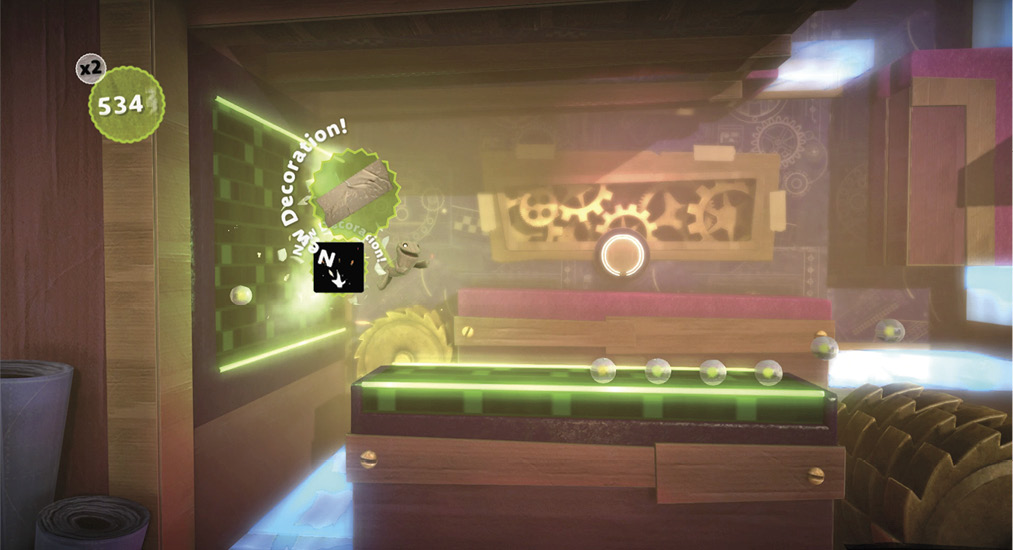
After running across the ceiling, two quick wall jumps land Oddsock on Layer Launchers. They send him forward to two Prize Bubbles that give the Paper Mache Material and Flick Switch Decoration.
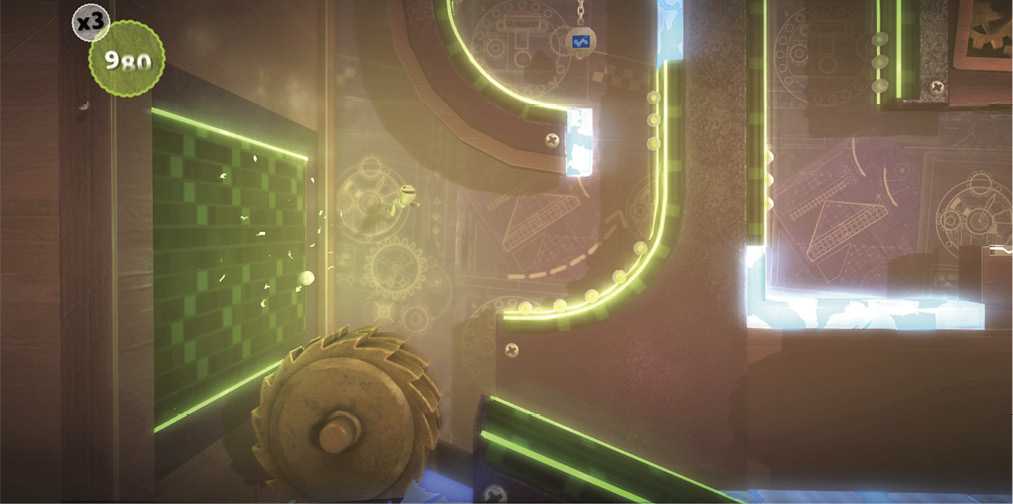
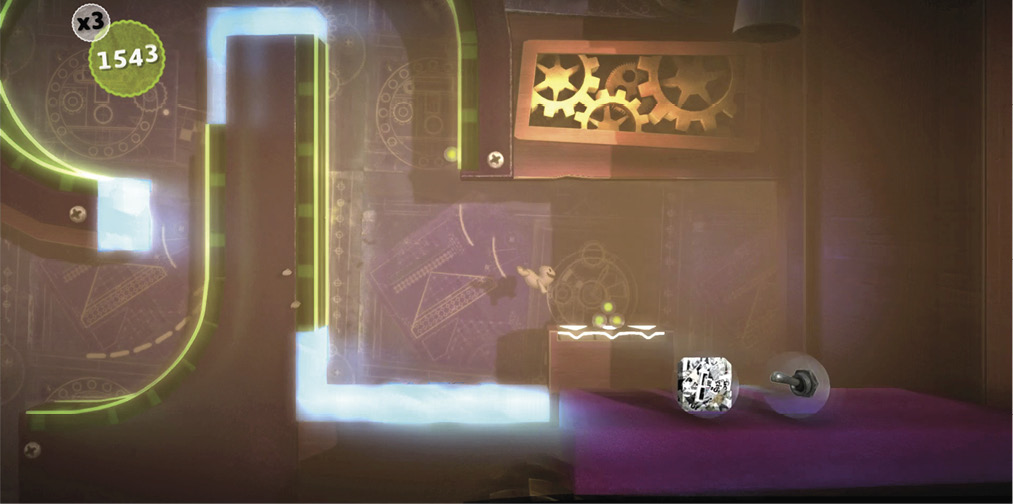
A top-hatted sentry alternately slams spikes to its front and back. Wall jump off the purple blocks to land on top of the guard. Then, leap from there to the trio of Prize Bubbles on the ledge that surrenders the Tiger Body Costume, Tiger Front Paws Costume, and Tiger Hind Paws Costume.
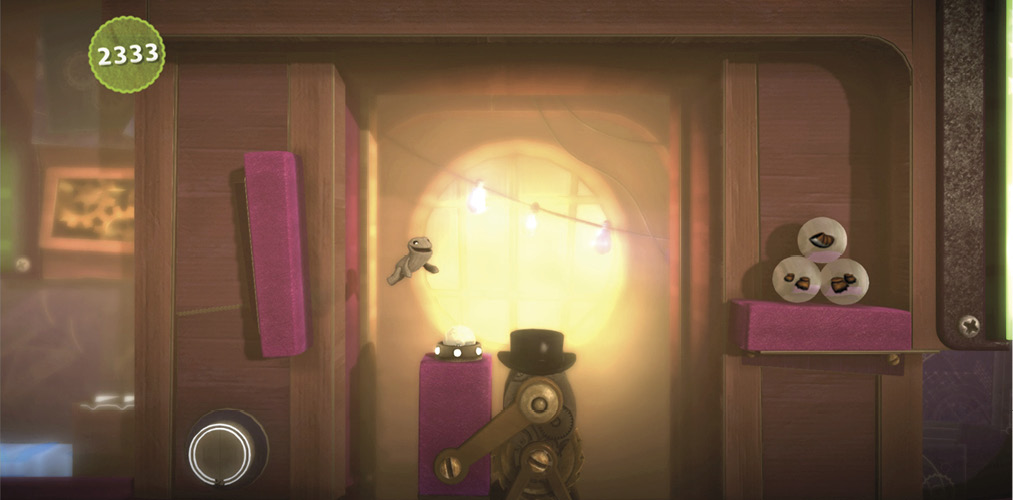
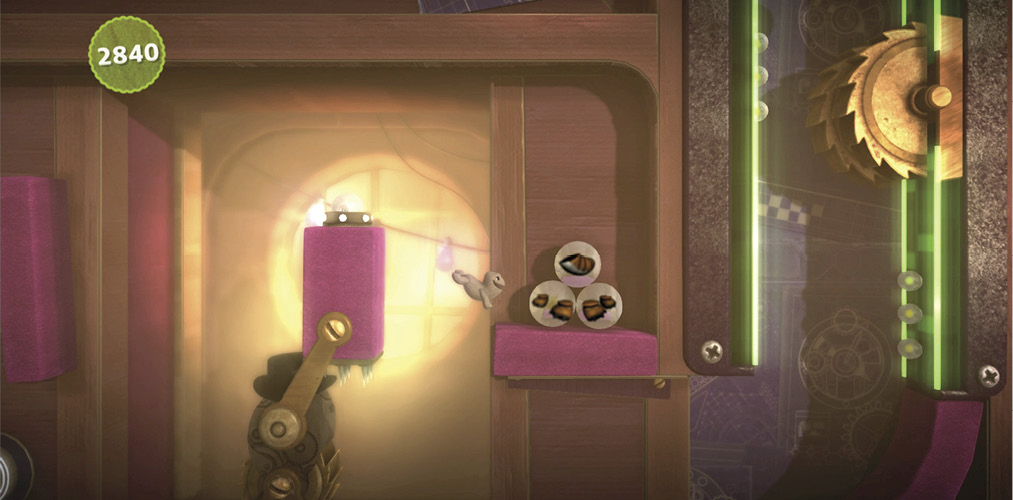
Run up the green walls, and wall jump to avoid the stationary saw blades and pop Prize Bubbles. By the time Oddsock reaches the top, the Curved Blue Electric Cable Decoration and Tweeter Gasket Decoration are all yours.
At the very top, the last wall jump takes Oddsock through the Newton Blueprint Sticker Prize Bubble. Wall jump again off the left wall to get even higher, and then snag the Pocket Watch Decoration from its Prize Bubble.
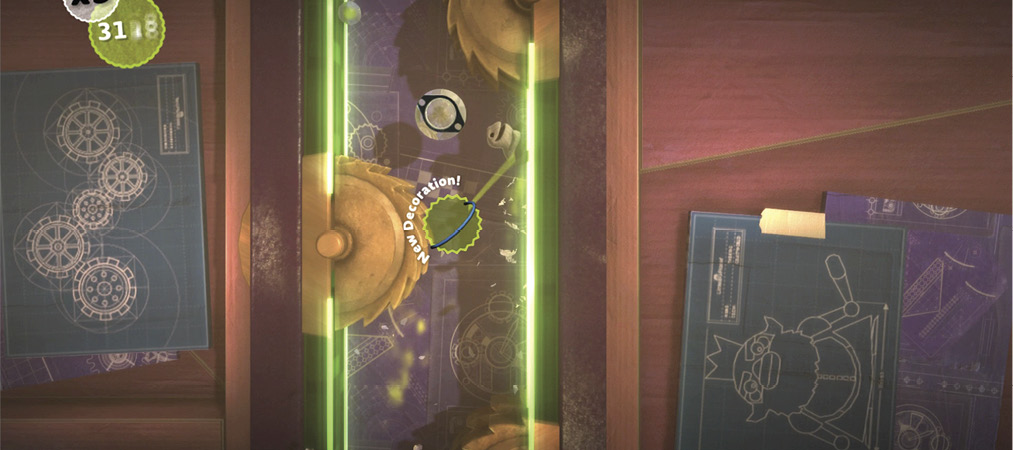
A different kind of hostile guards the next area. It rolls side to side while holding up a spiked barrier. Run away from it, and then wall jump back to leap off the top of its head and into the Brass Tube–Straight Object Prize Bubble.
A giant saw blade endlessly circles the place where Oddsock needs to be. Wait for it to pass, and use Oddsock’s speed to run up the wall and back down around.
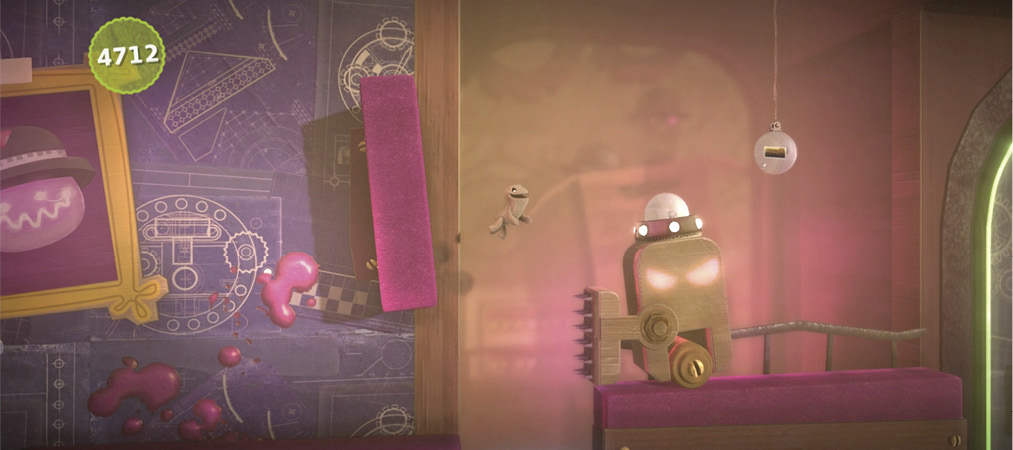
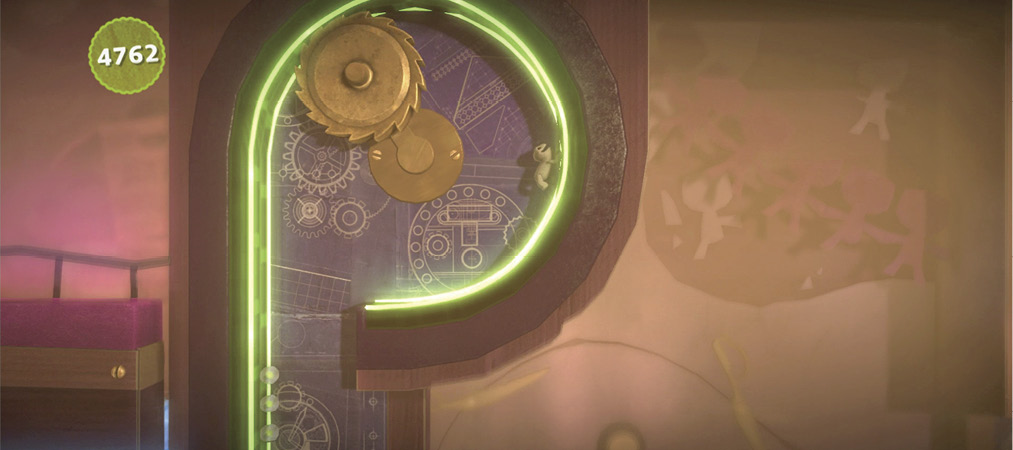
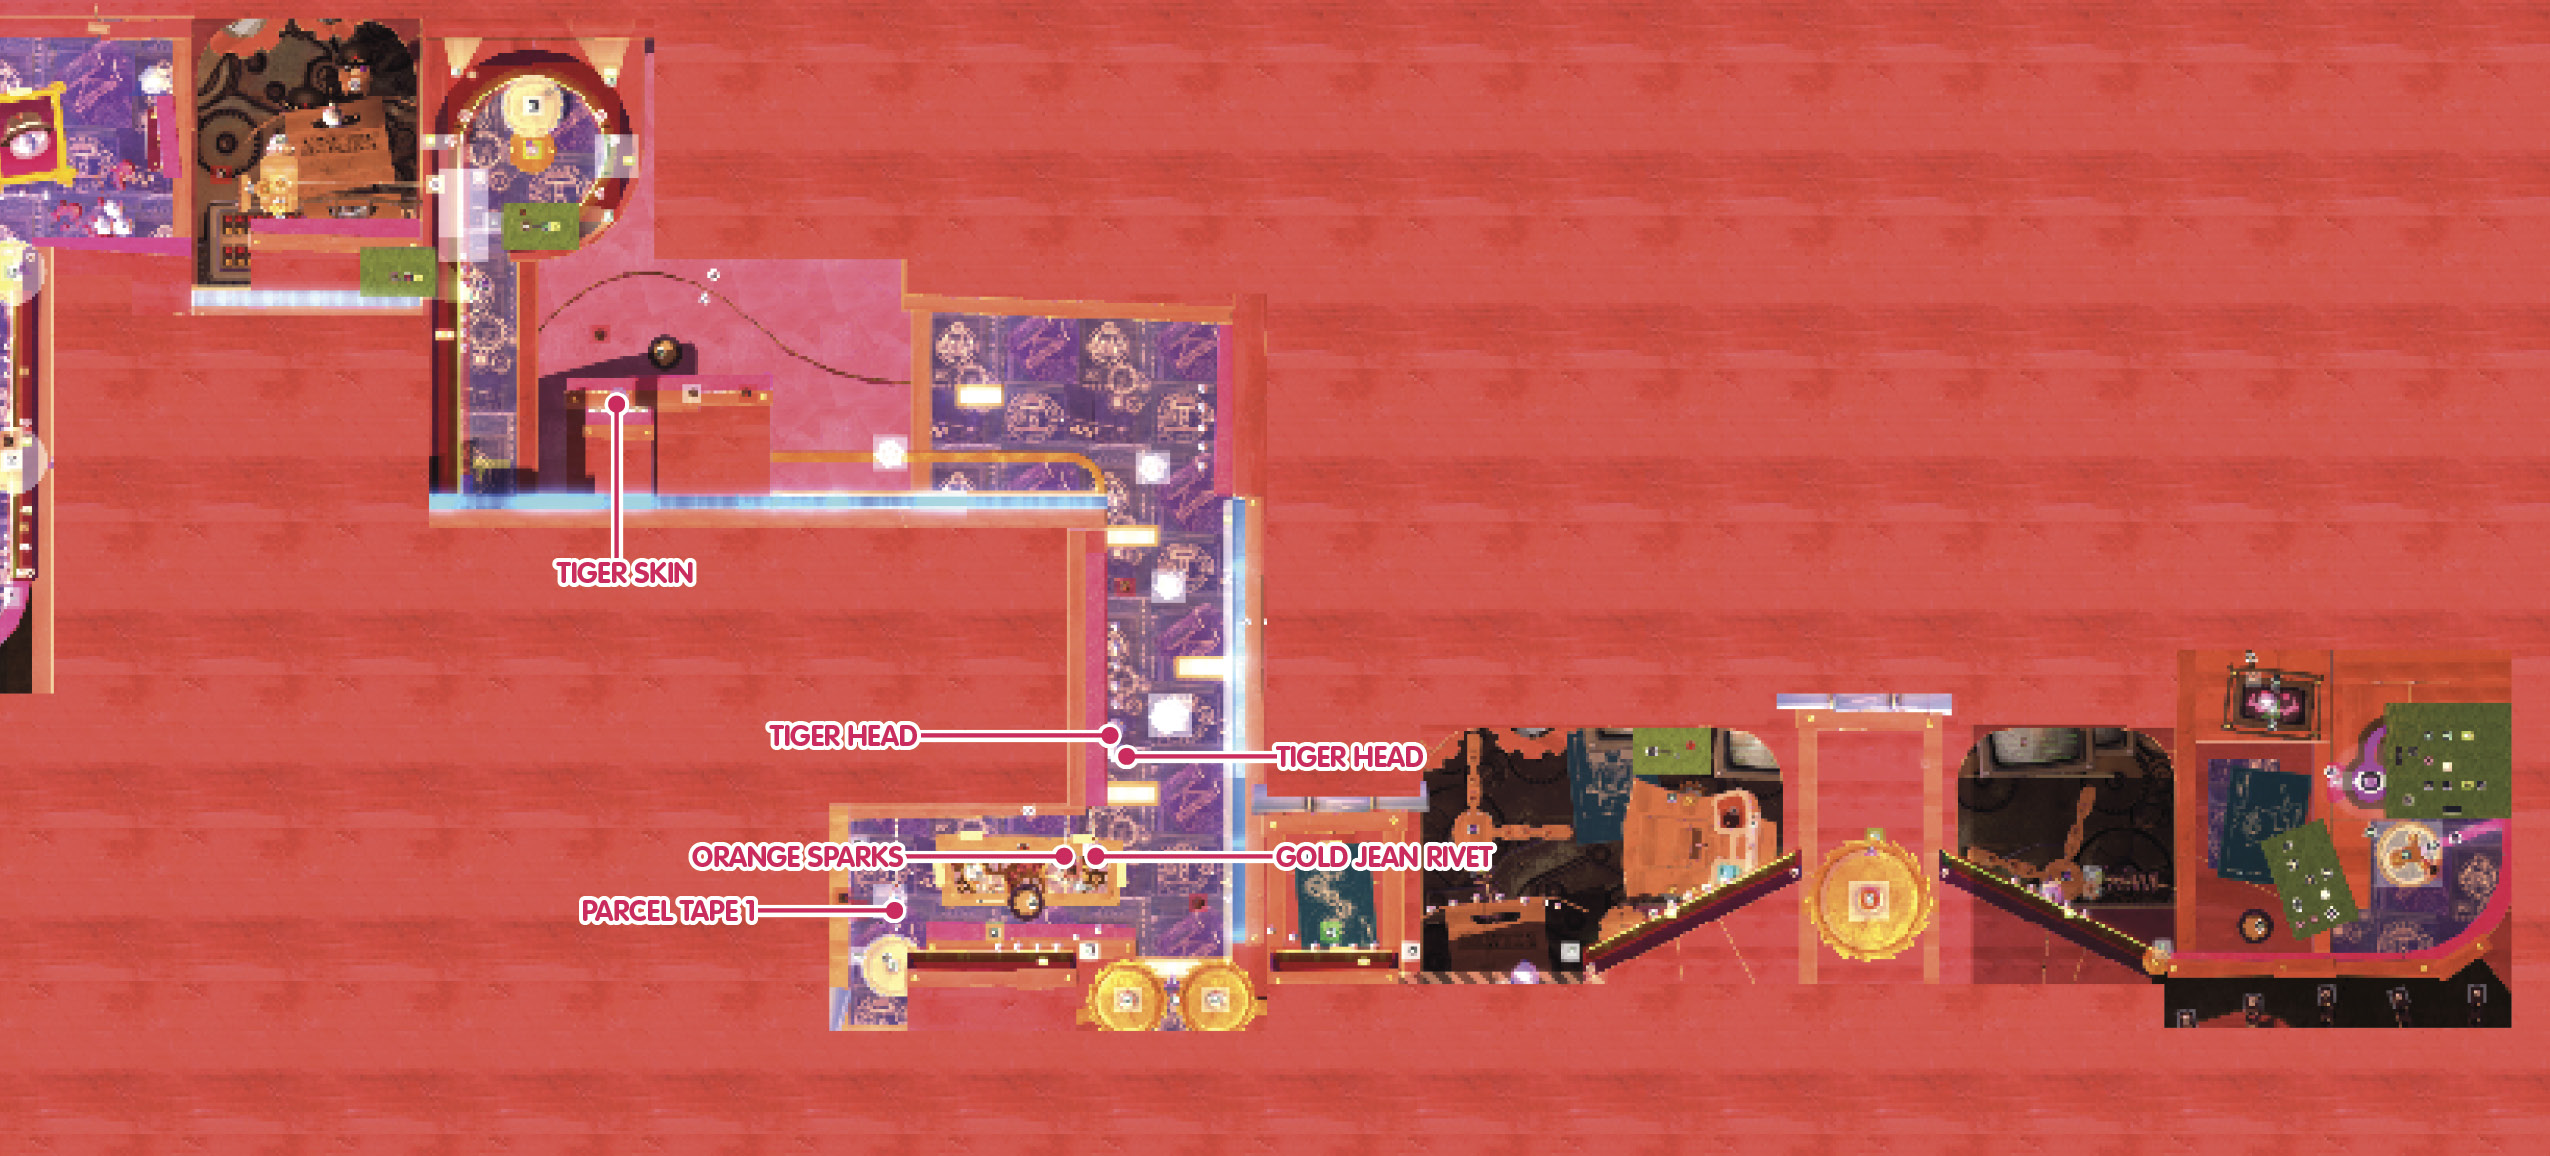
Wall jump before hitting the bottom to land on the Layer Launchers and the Prize Bubble there offering the Tiger Skin Costume.
Purple blocks navigate down an electric obstacle-laden route ahead. Ride it, and then wall jump to avoid a shocking fate. As Oddsock slides down the wall, he pops the Prize Bubbles containing the Tiger Head Costume and Tiger Tail Costume.
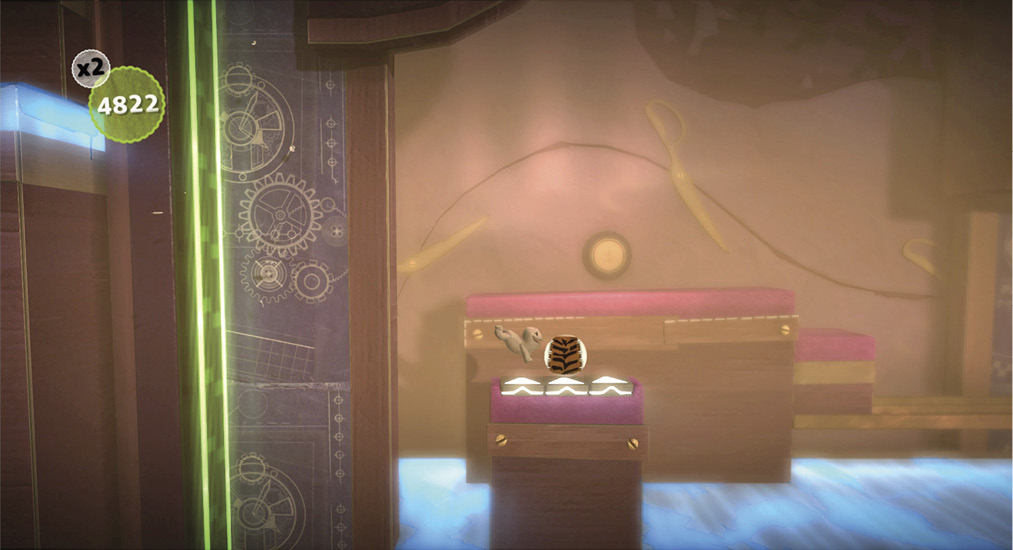
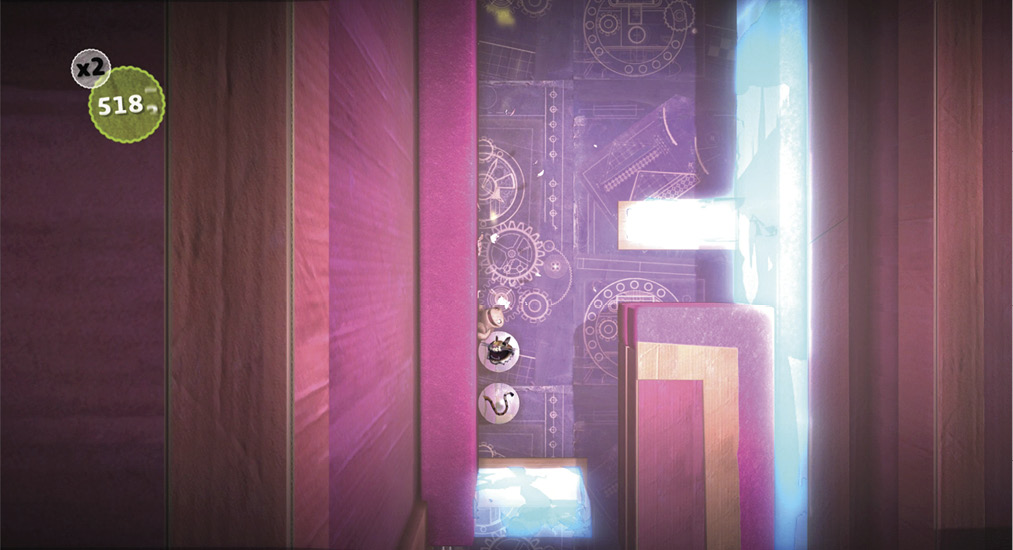
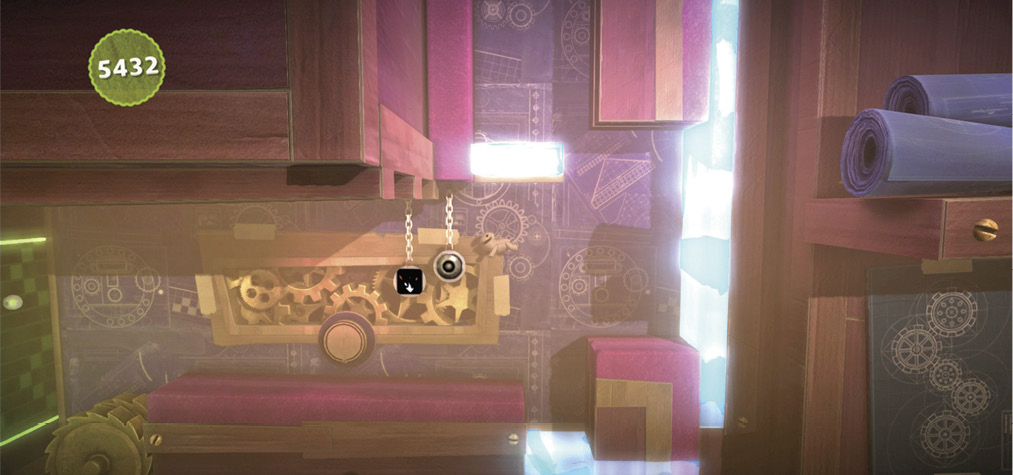
Arriving at the bottom, leap off to the left, and pop the Gold Jean Rivet Decoration and Orange Sparks Decoration Prize Bubbles.
Grinding along the left wall to the foreground, wall jump off to pop the Parcel Tape 1 Decoration Prize Bubble.
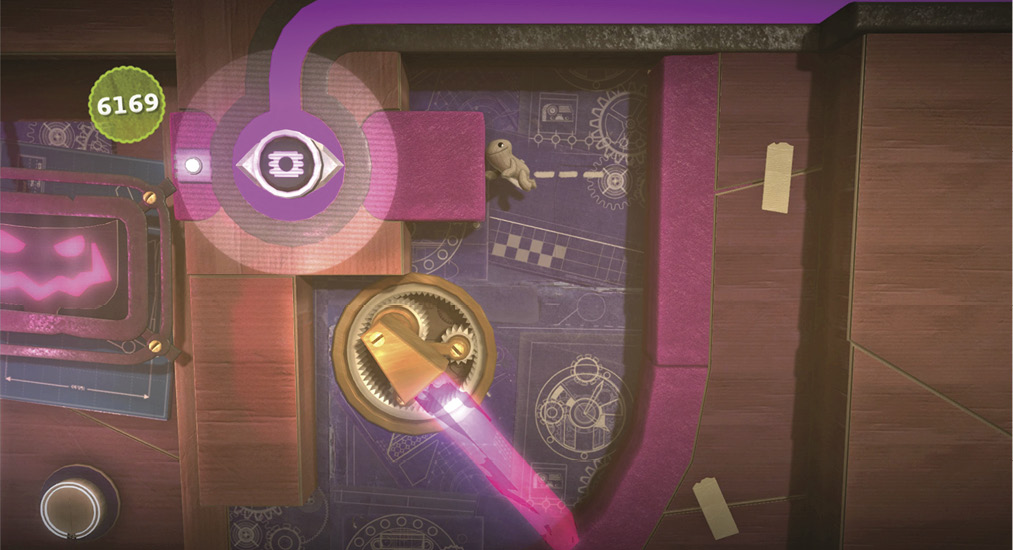
Keep on running to the right, bounding over dangers and obstacles. At the very end, you find the switch connected to the force field. Wait for the pink laser to pass, run up the curved wall, and wall jump into the switch to activate it.
Resize Rescue
Now it’s time to tag in Toggle. Go to the glowing doorway, and press  to switch characters.
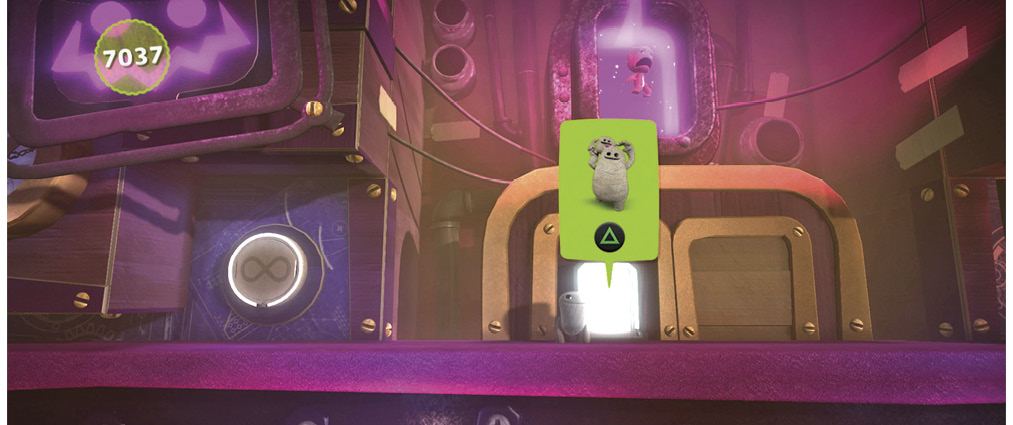
Head to the left as small Toggle, and turn into big Toggle to weigh down the red platform. Switch to small Toggle to get launched up to the Level Link.
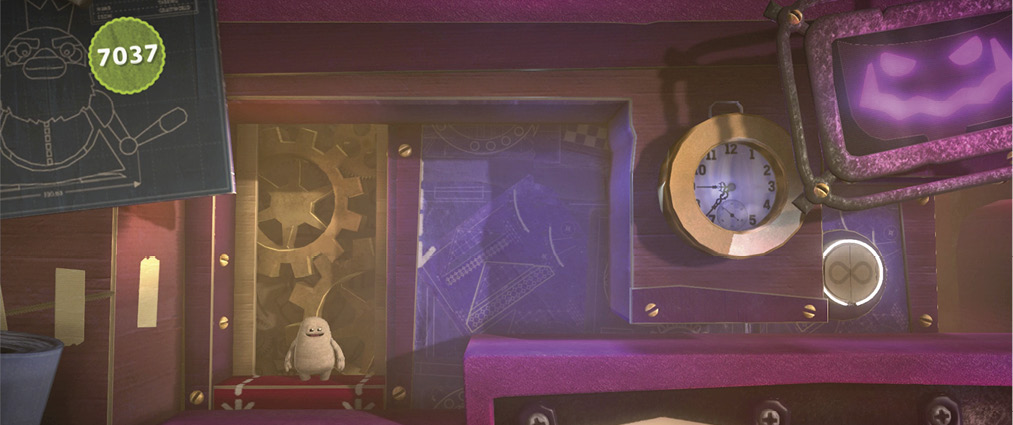
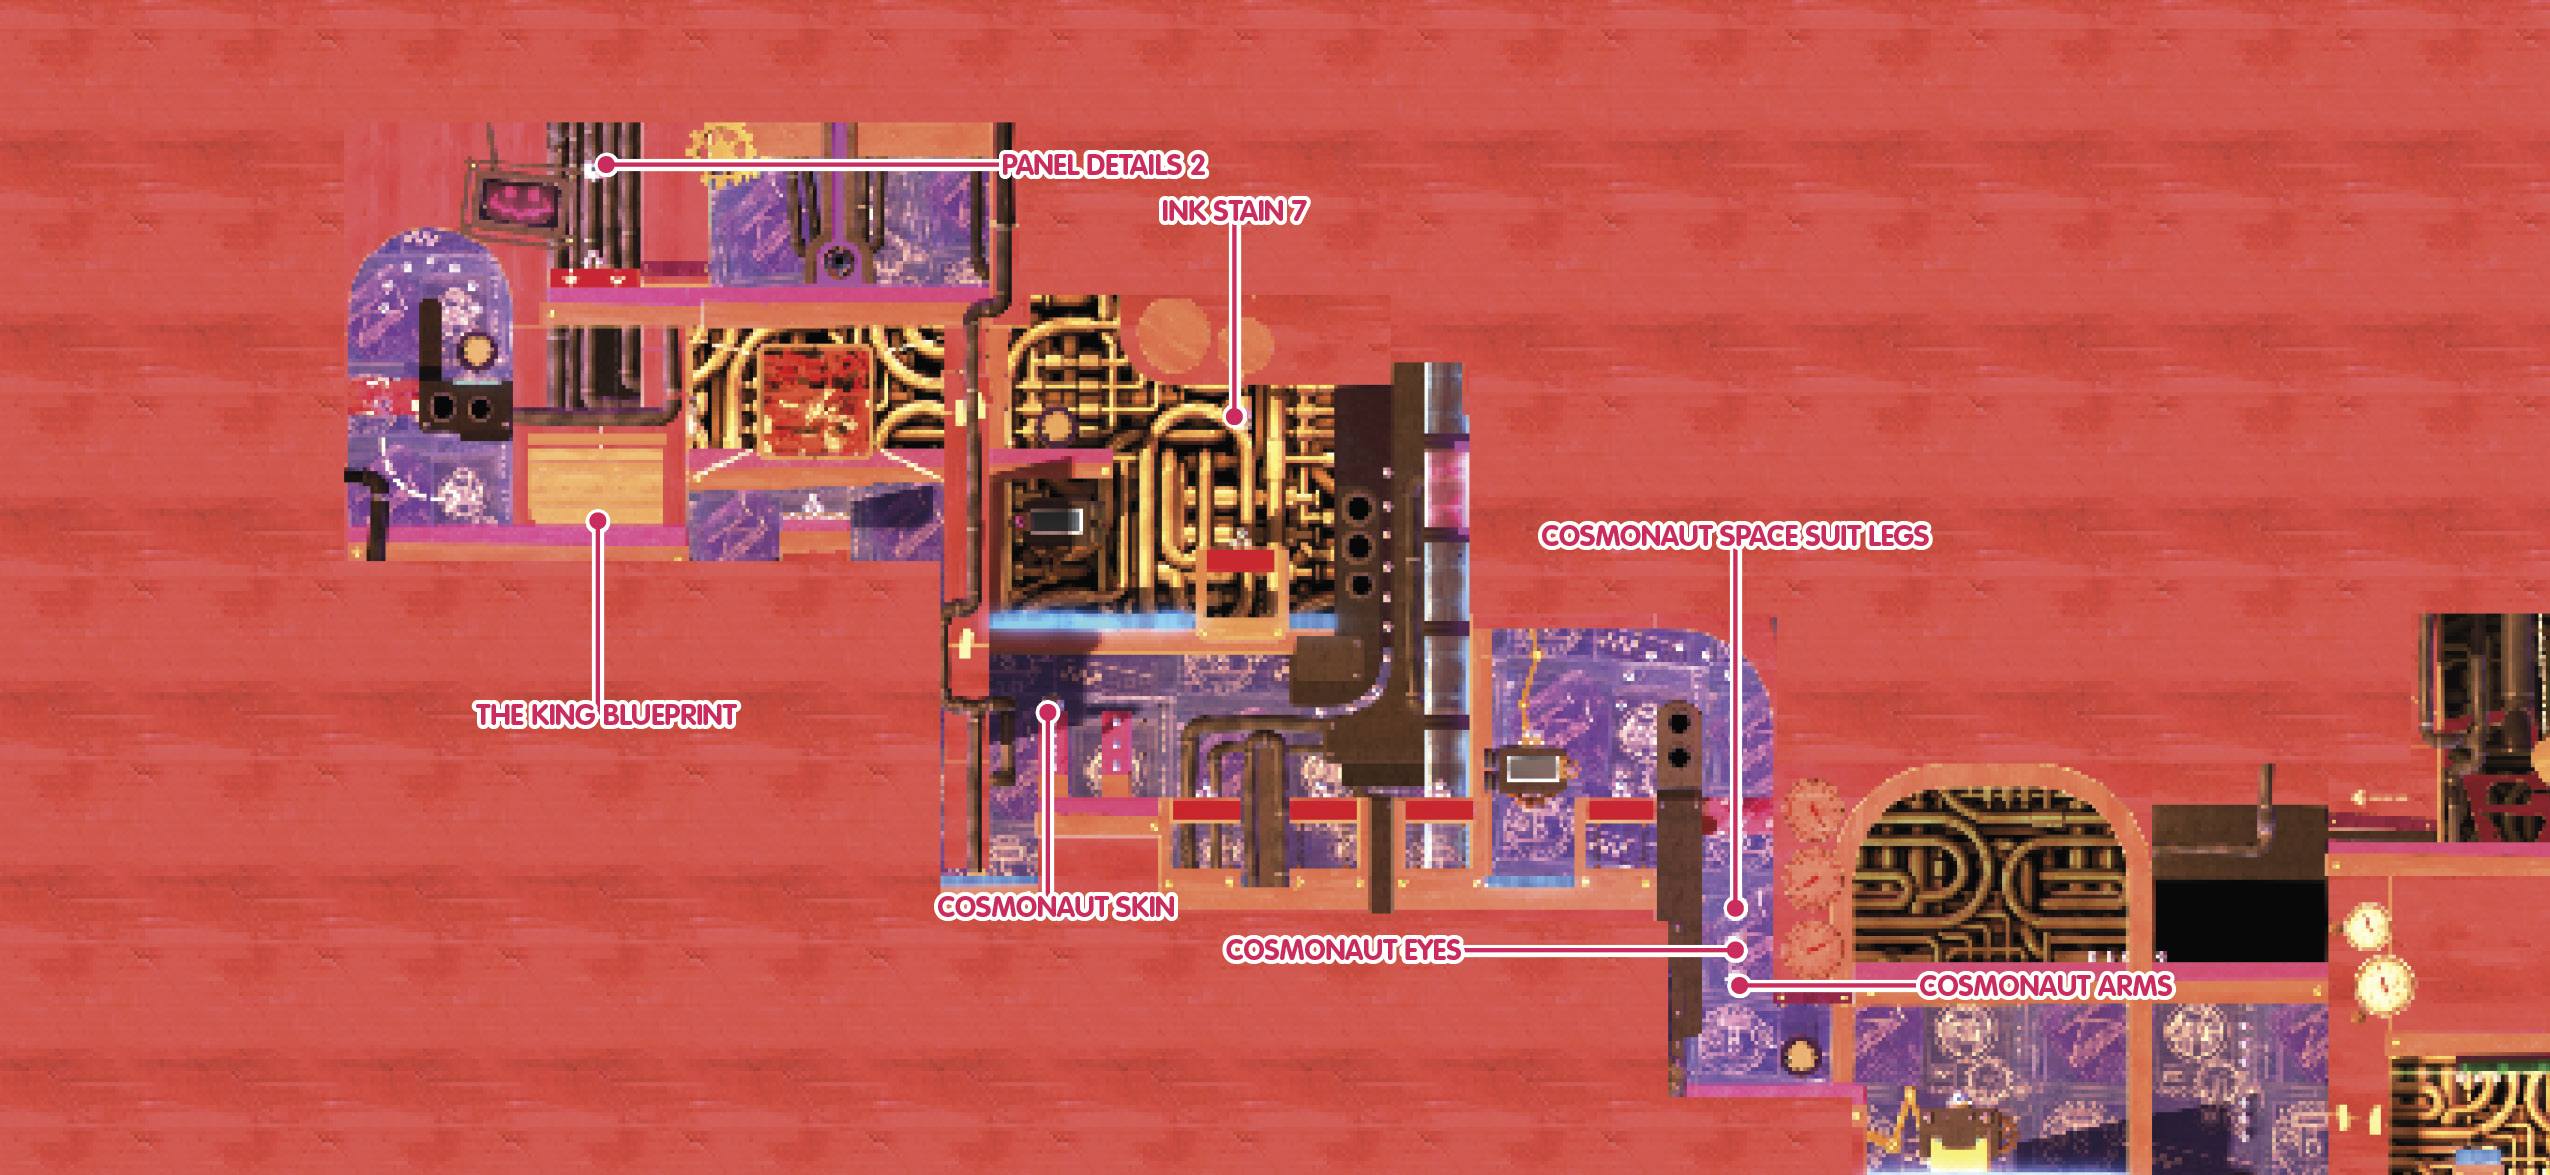
Immediately within this area, head to the left. Another red platform needs weighing down. Use it to spring straight up and pop a Prize Bubble for the Panel Details 2 Sticker.
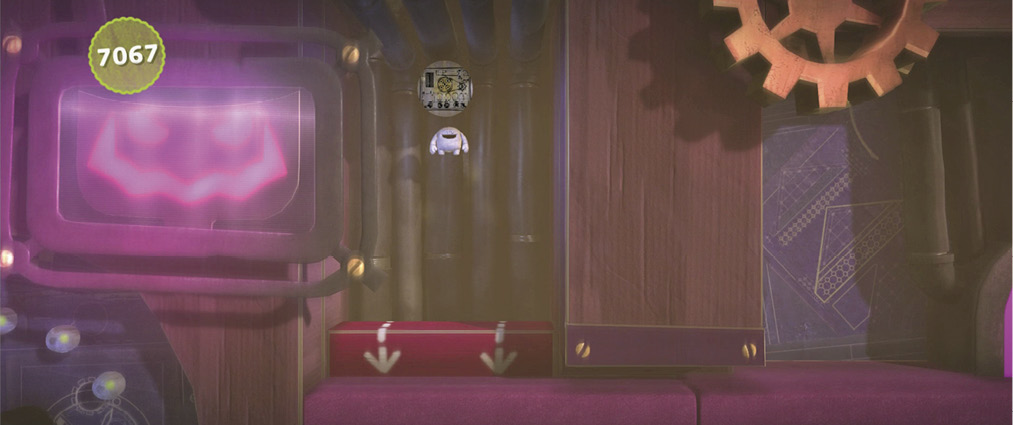
Drop down from the platform, and head to the left. Using the Bounce Pads, launch Toggle, and then grow in size to smash through the red glass barrier.
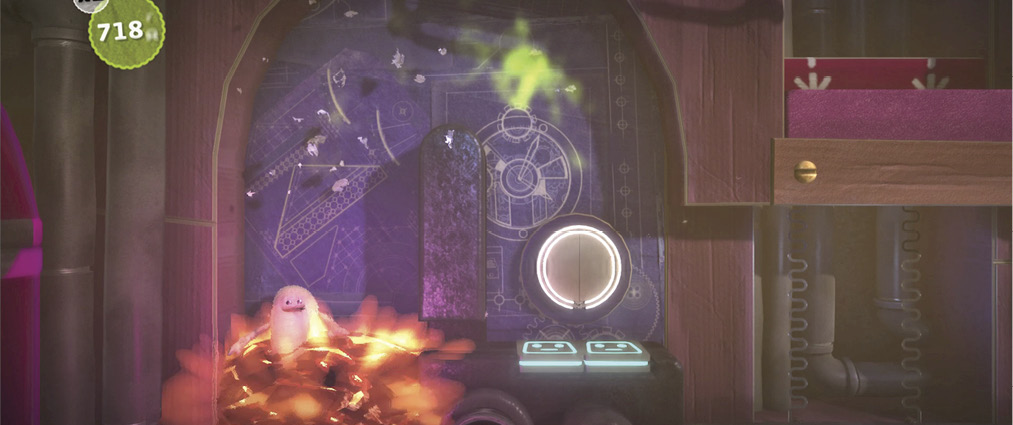
Landing safely below, shrink down. This keeps Toggle safe from the charging hostile that emerges from the garage door. Pop the Prize Bubble in its underbelly to claim the The King Blueprint Sticker.
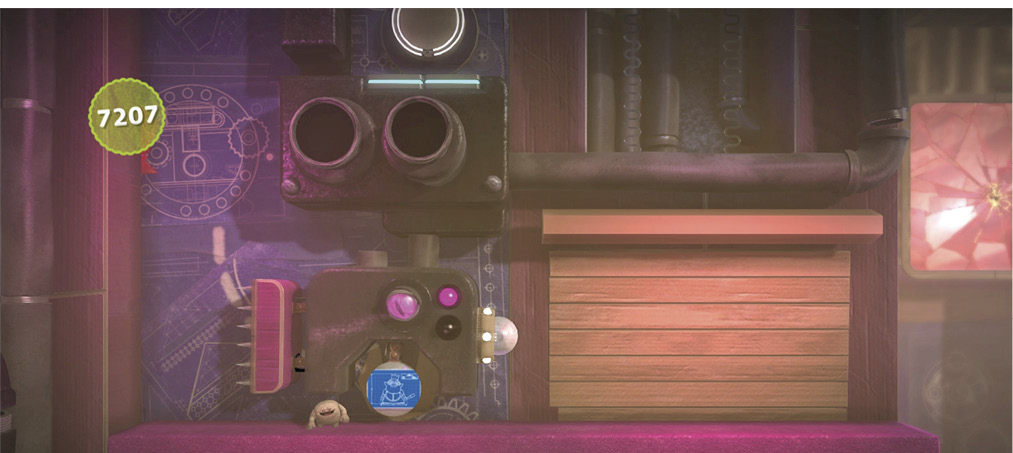
Head to the left, using the Layer Launchers to send big Toggle crashing through a pane of red glass.
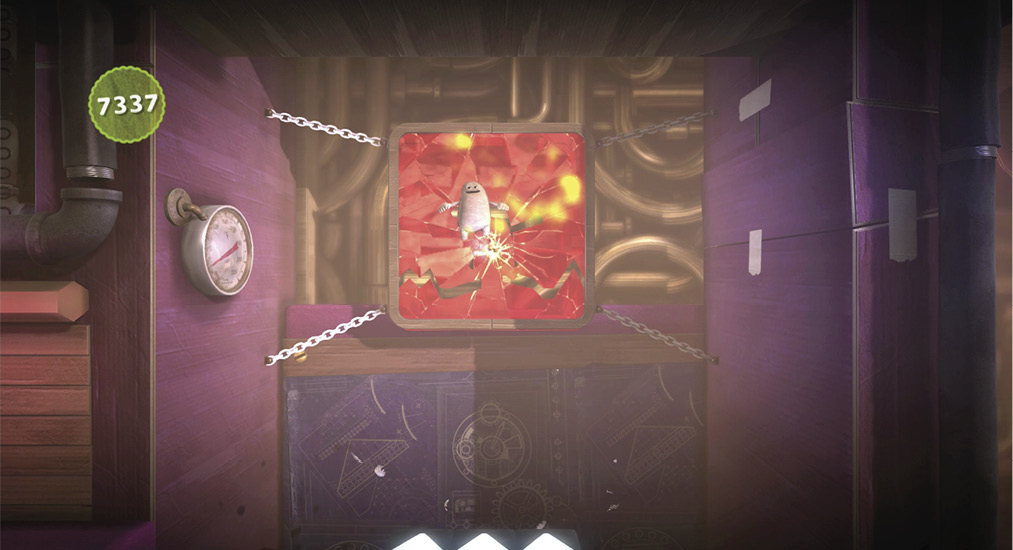
Moving onward to the right, the floor is electrified all over. On the left, a twin-barreled cannon fires purple plasma. Jump onto the red platform, and weigh it down as big Toggle to avoid the danger above. Switch to small Toggle to fly straight up into the Ink Stain 7 Sticker Prize Bubble. With that done, launch Toggle again, and follow the arrow into the narrow channel along the right wall.
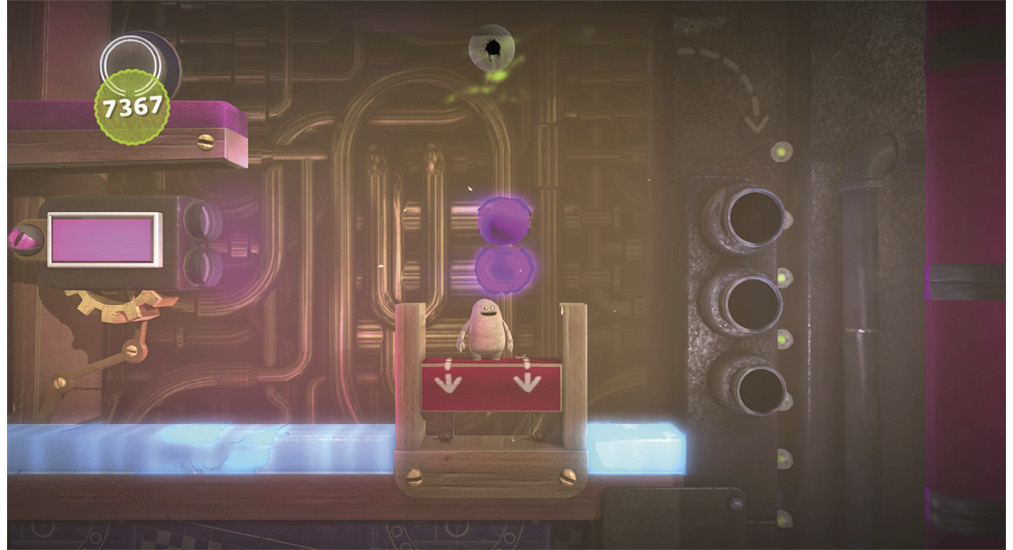
Run to the left across the pipes, and take a forceful jump to the far side. It’s worth it for the Cosmonaut Skin Costume Prize Bubble there.
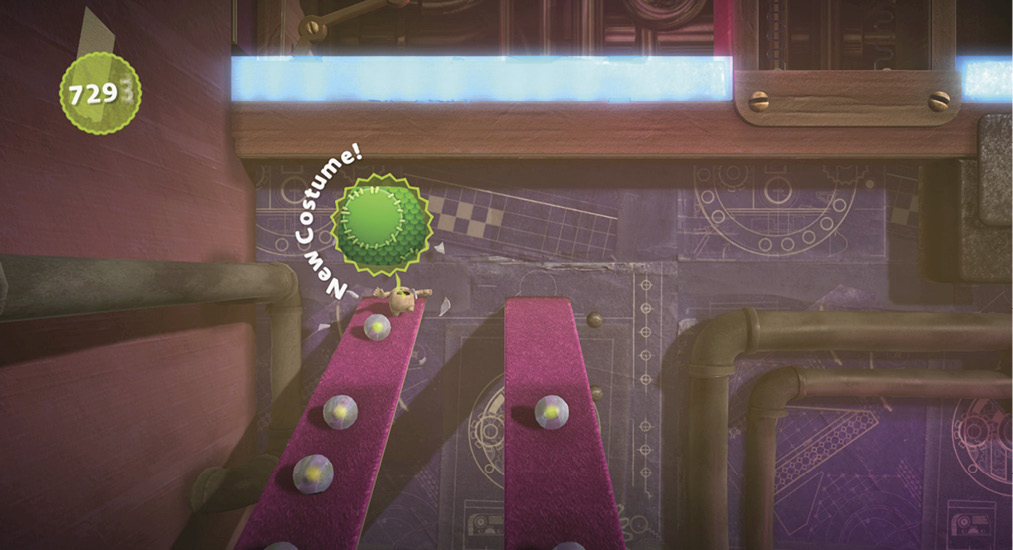
Heading right once more, a familiar sight greets you. Once again, use big Toggle to push down red platforms and avoid the plasma. Turn small to be launched and pop the plasma cannon’s brain.
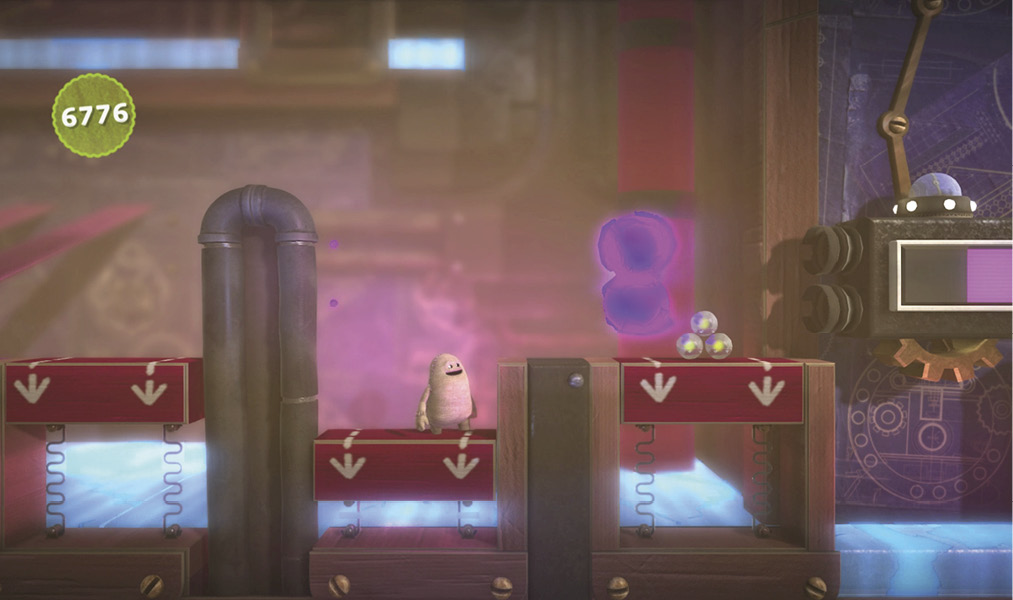
Past the danger, use another red platform launcher to arc over the obstacle and mash the red glass as big Toggle.
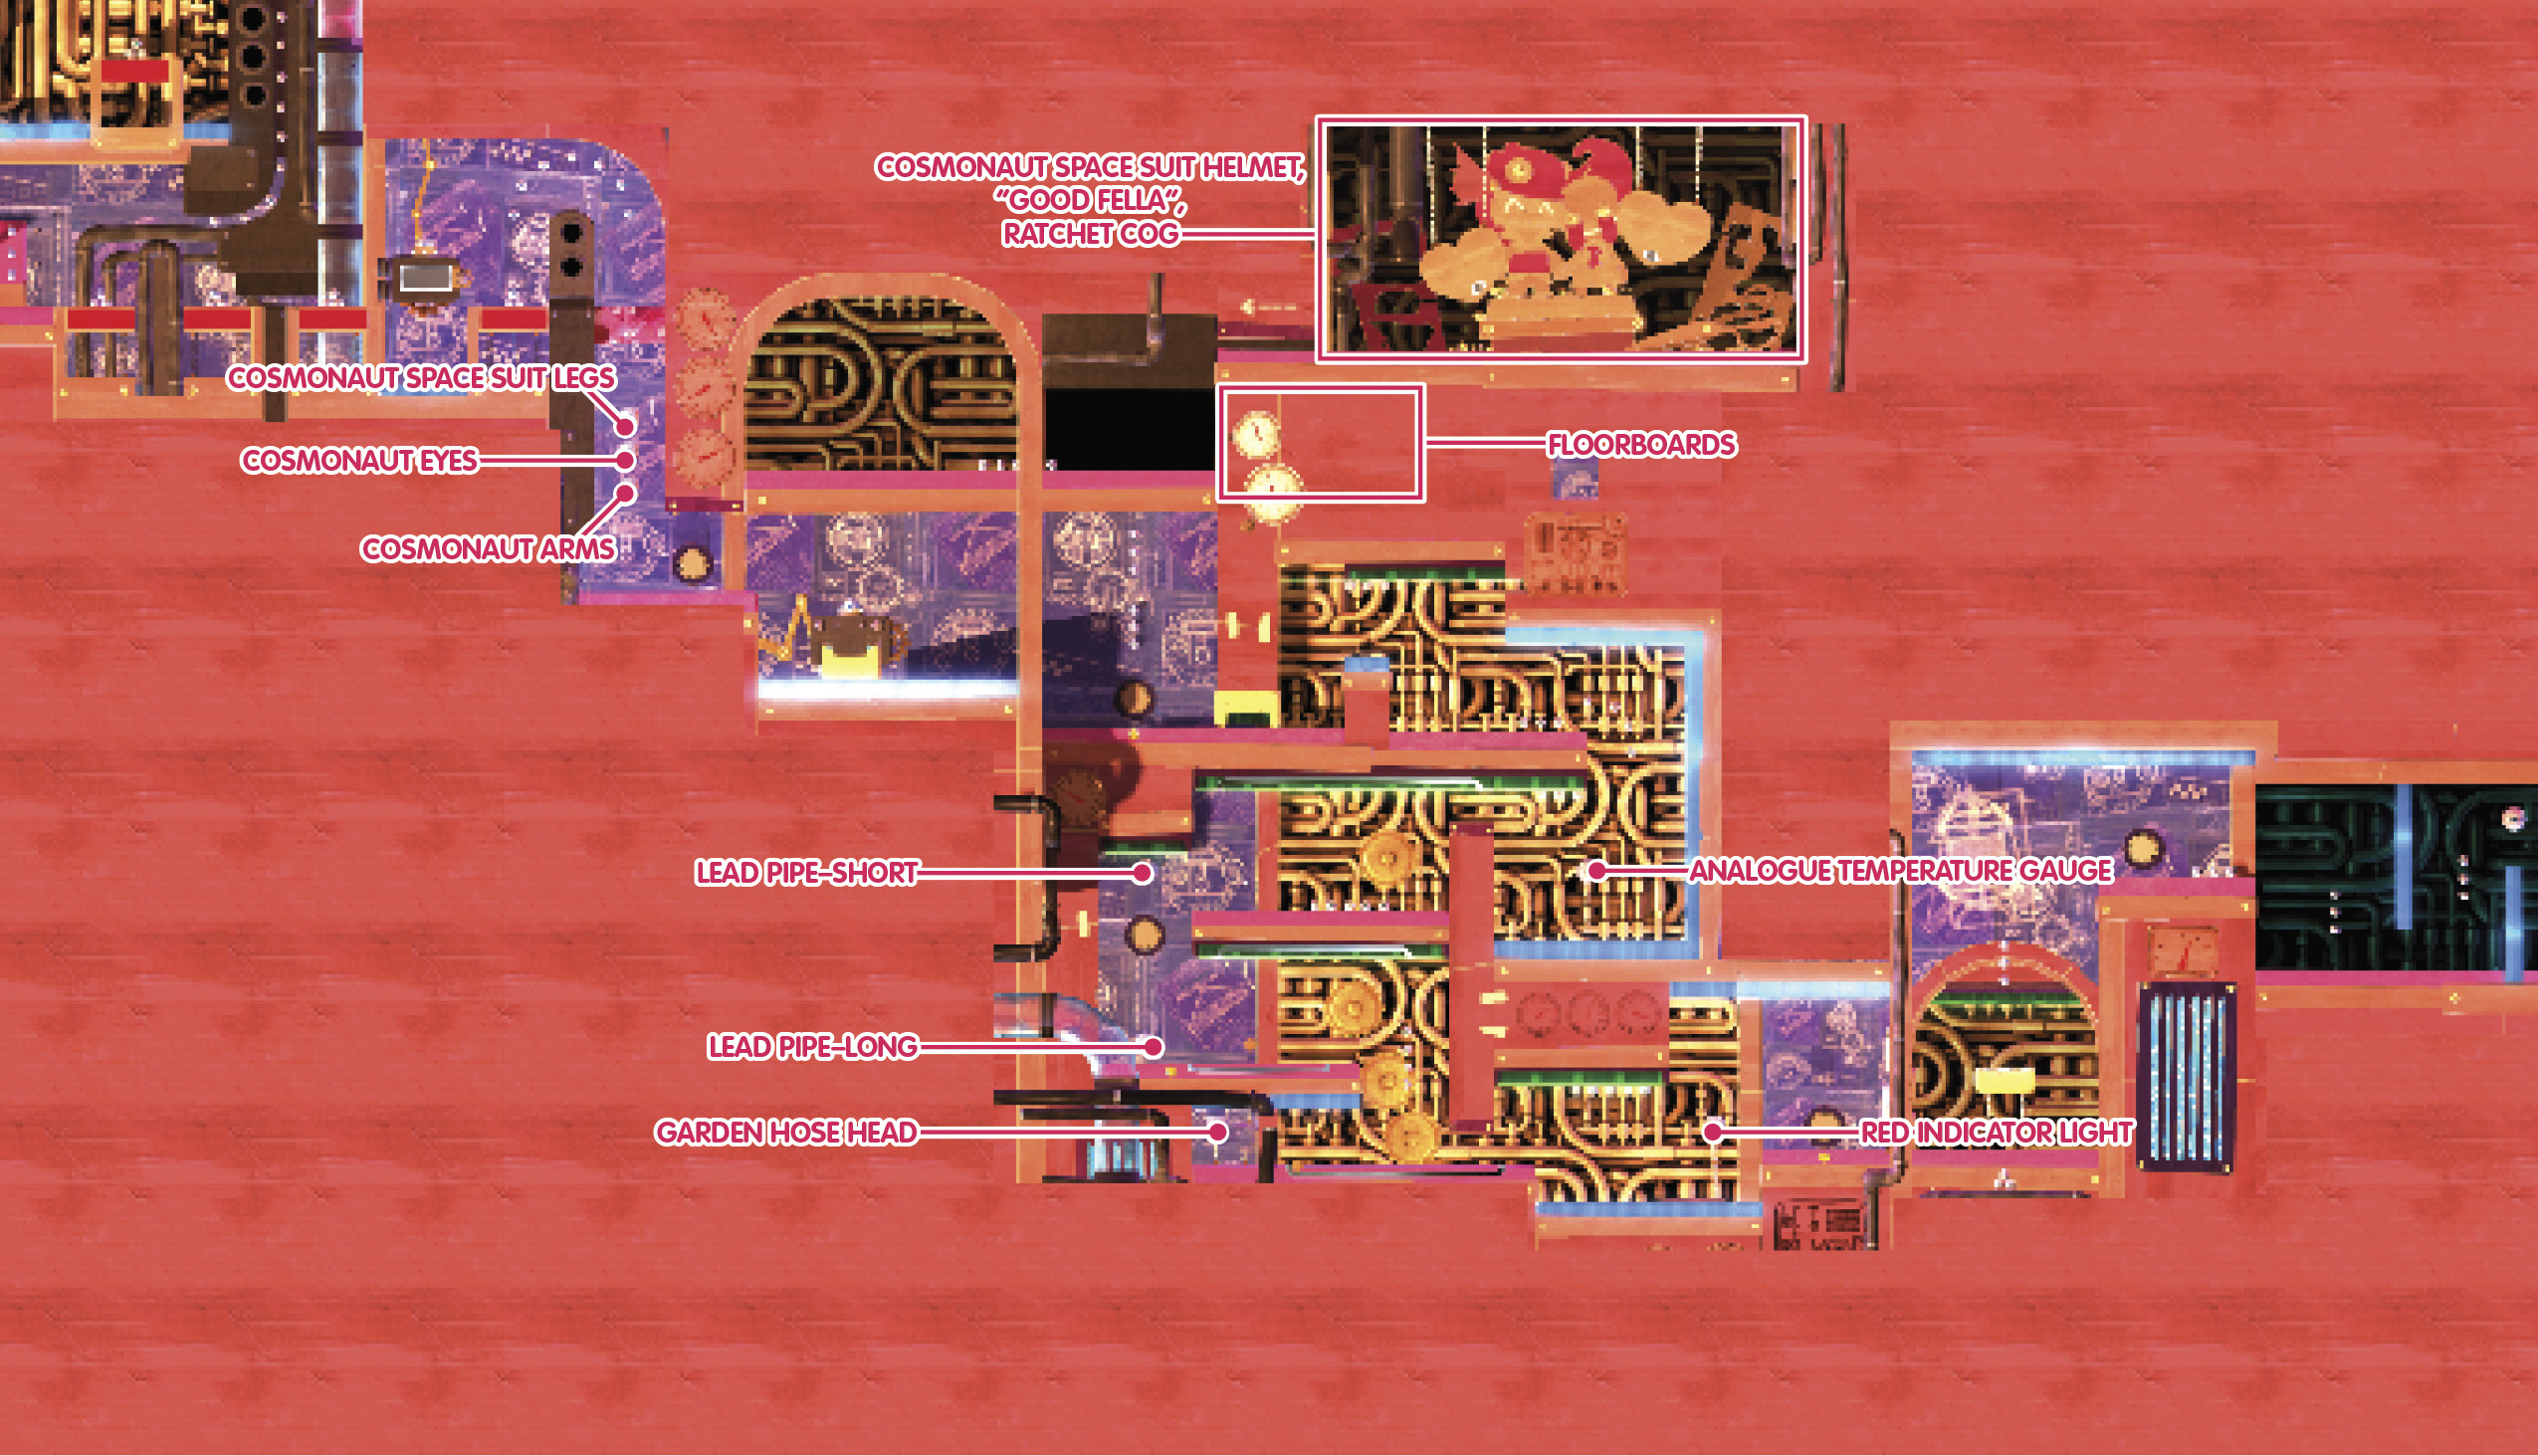
Toggle goes splashing into the water and through three Prize Bubbles that provide the Cosmonaut Space Suit Legs Costume, Cosmonaut Eyes Costume, and Cosmonaut Arms Costume.
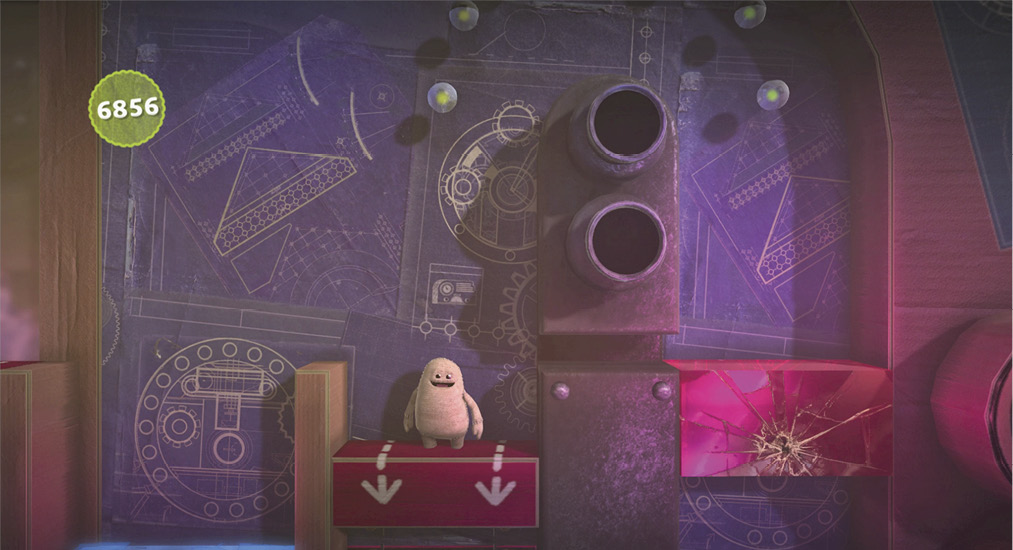
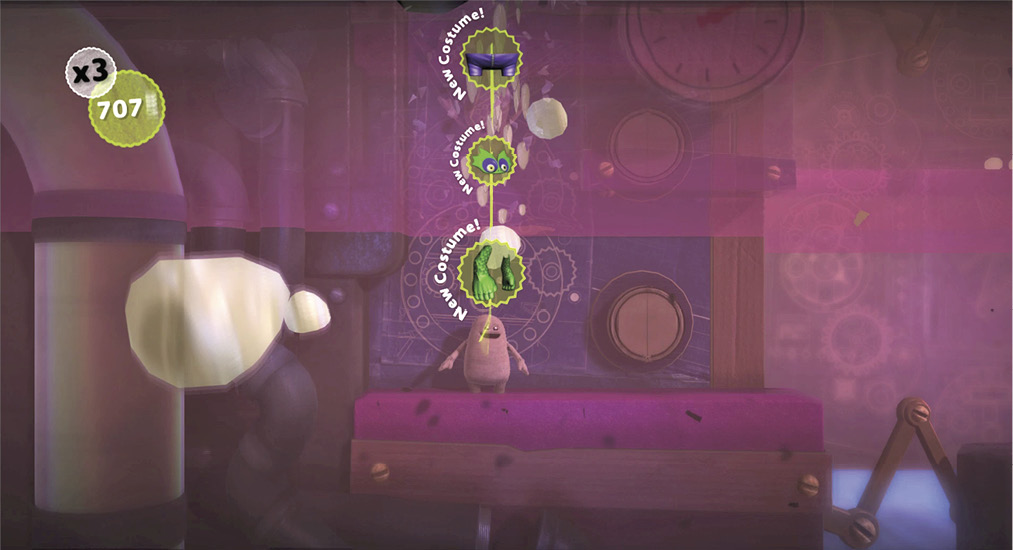
Jump onto the sideways-moving underwater creature to the right and pop its brain. This releases the Blue Layer Launchers you need to forge ahead.
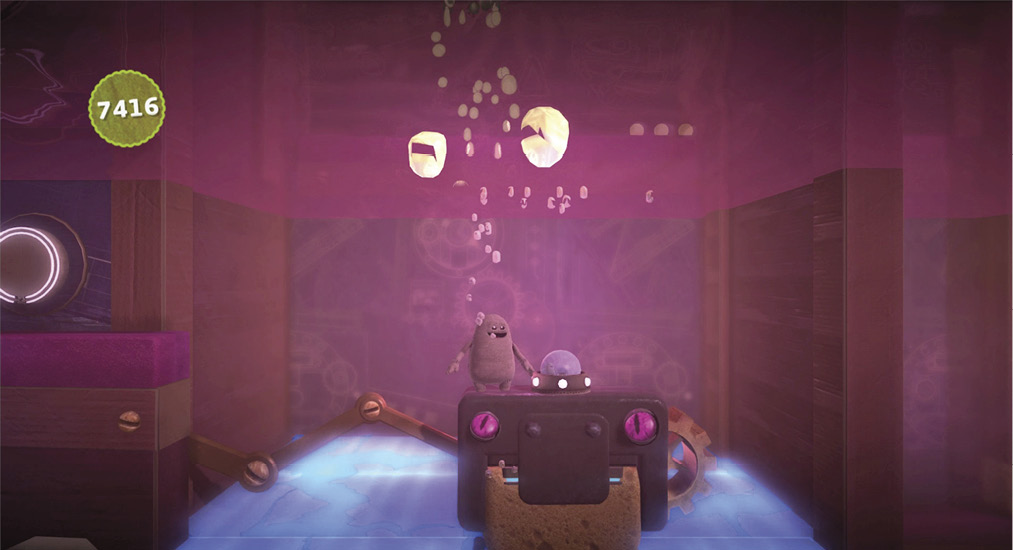
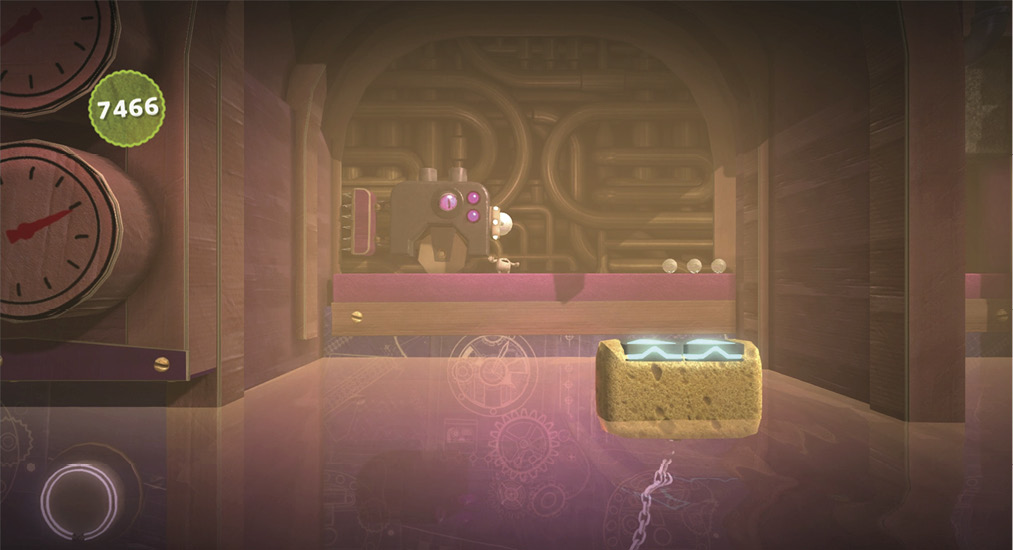
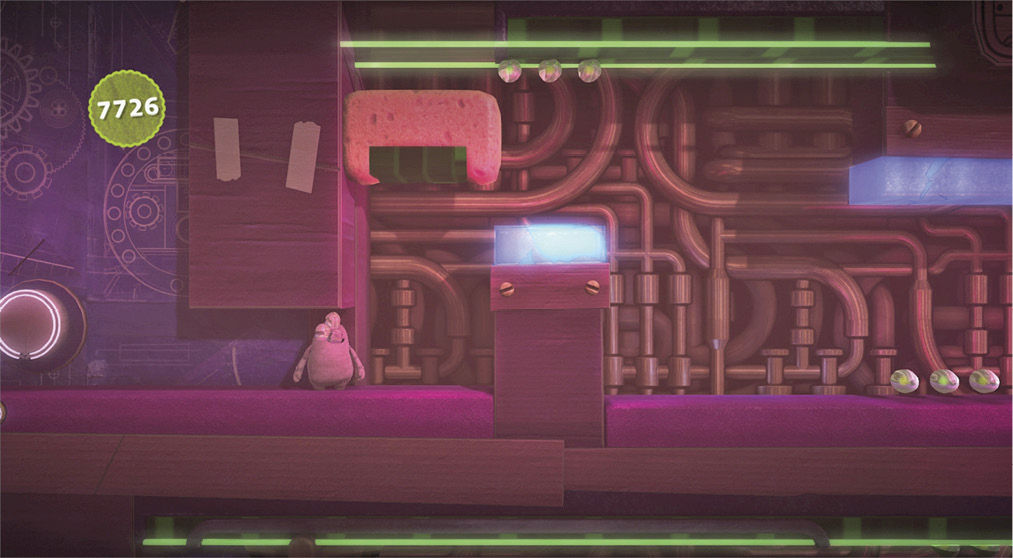
Avoid another charging aggressor by shrinking down. Keep going to the left, and then drop back down into the water.
Plenty of oxygen awaits by the next Checkpoint, courtesy of a bubble machine. Push the yellow sponge blocking progress to the right, where it floats up. Alternate between small Toggle and big Toggle to avoid the electrified areas here.
Walk along the ceiling as small Toggle, then turn into big Toggle to sink down. Before hitting the electrified floor, switch back to small Toggle to float up through a Prize Bubble and land on the lower ceiling. Proper timing nets you the Analogue Temperature Gauge Decoration.
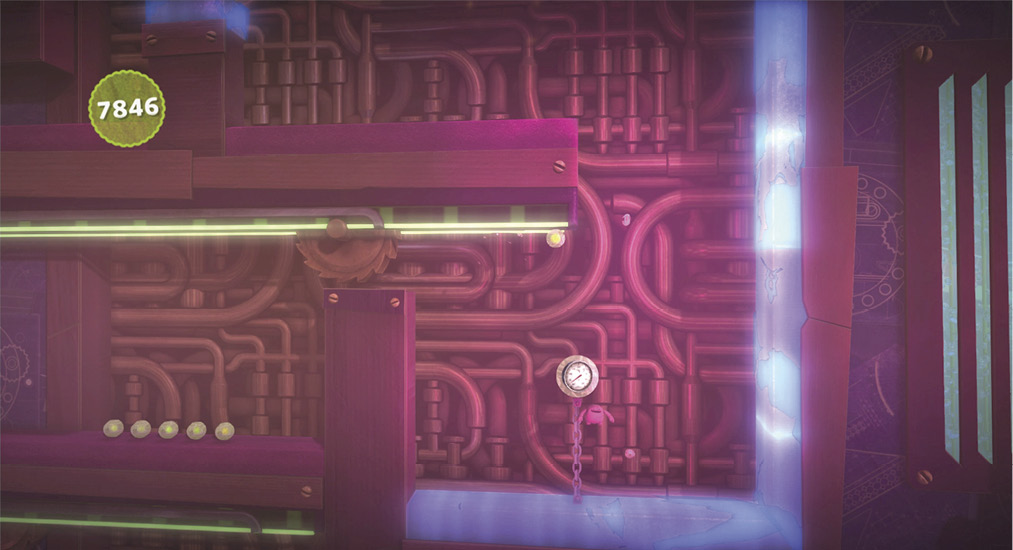
Wait for the saw along the ceiling to retreat, then head left and drop down as big Toggle. Keep going left, where two Prize Bubbles rest near the Checkpoint: one above and one below. Pop them both for the Lead Pipe–Short Decoration and Lead Pipe–Long Decoration.
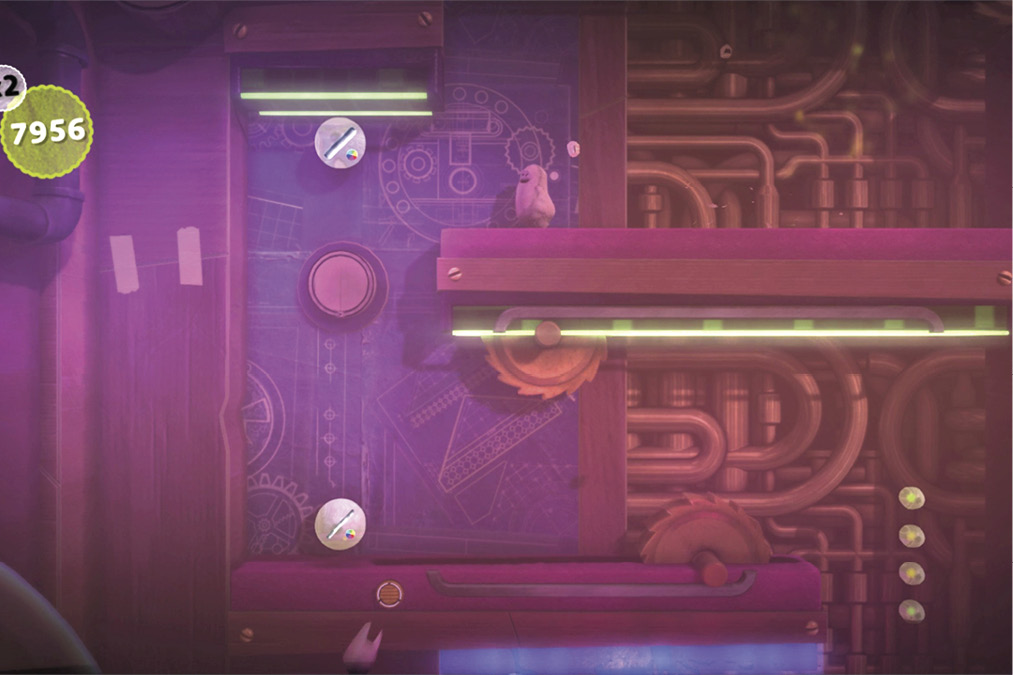
Saw blades spin on both the ceiling and floor. Alternate between floor and ceiling as big Toggle and small Toggle, respectively, to avoid them.
Drop down below, where another saw blade oscillates. Wait for it to pass to the right to drop down as big Toggle, and run left into the corner housing the Garden Hose Head Decoration Prize Bubble.
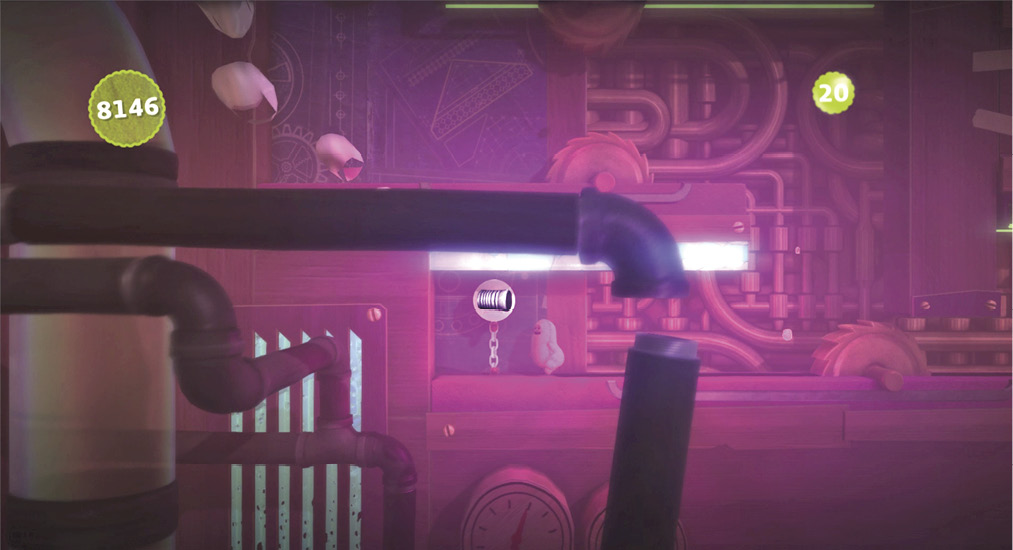
Maneuver past that saw blade again, and keep on going to the right. Run along a short stretch of ceiling as small Toggle, and then leap off into the Red Indicator Light Decoration Prize Bubble. Before Toggle can slam into the shocking ceiling, switch to big Toggle, and land safely at the next Checkpoint below.
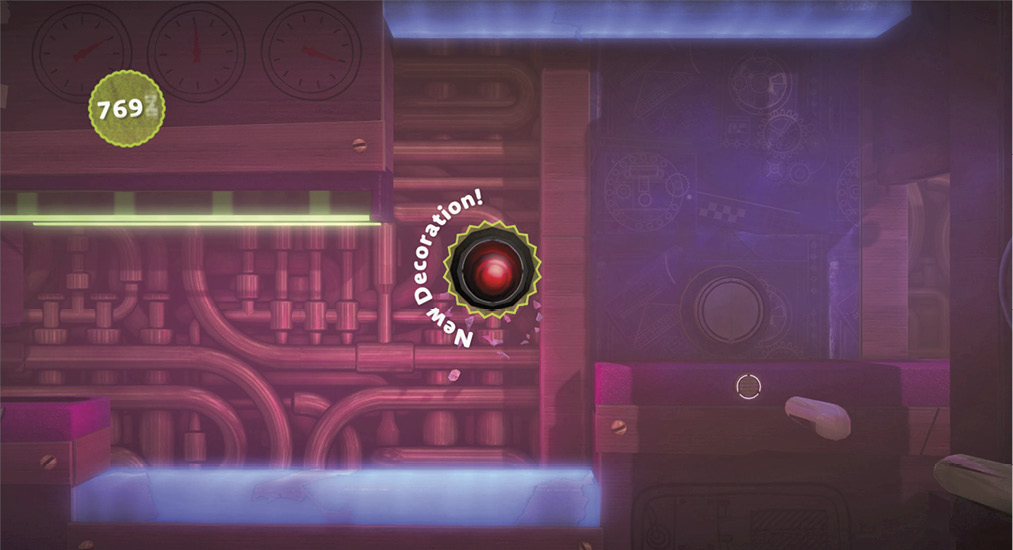
Swimming into the right chamber, Toggle needs to get small to reach the ceiling above the Layer Launchers. Expand Toggle’s size to drop down on them and be sent to the foreground. Once there, turn small again to fly up to the next Checkpoint.
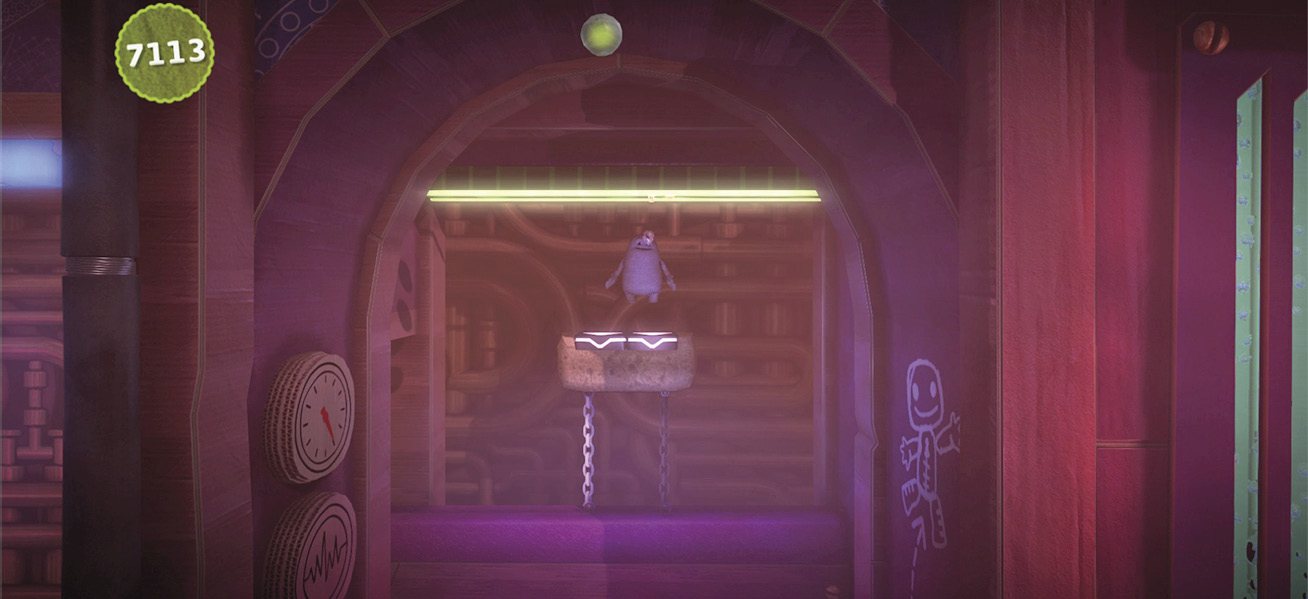
Wall-to-wall electric fields sweep along the path ahead, where water rises partway up. Worse still, electrical pillars protrude from both floor and ceiling.
To make it through, you must walk along the watery floor as big Toggle, and then switch to little Toggle to be launched over each scary barrier.
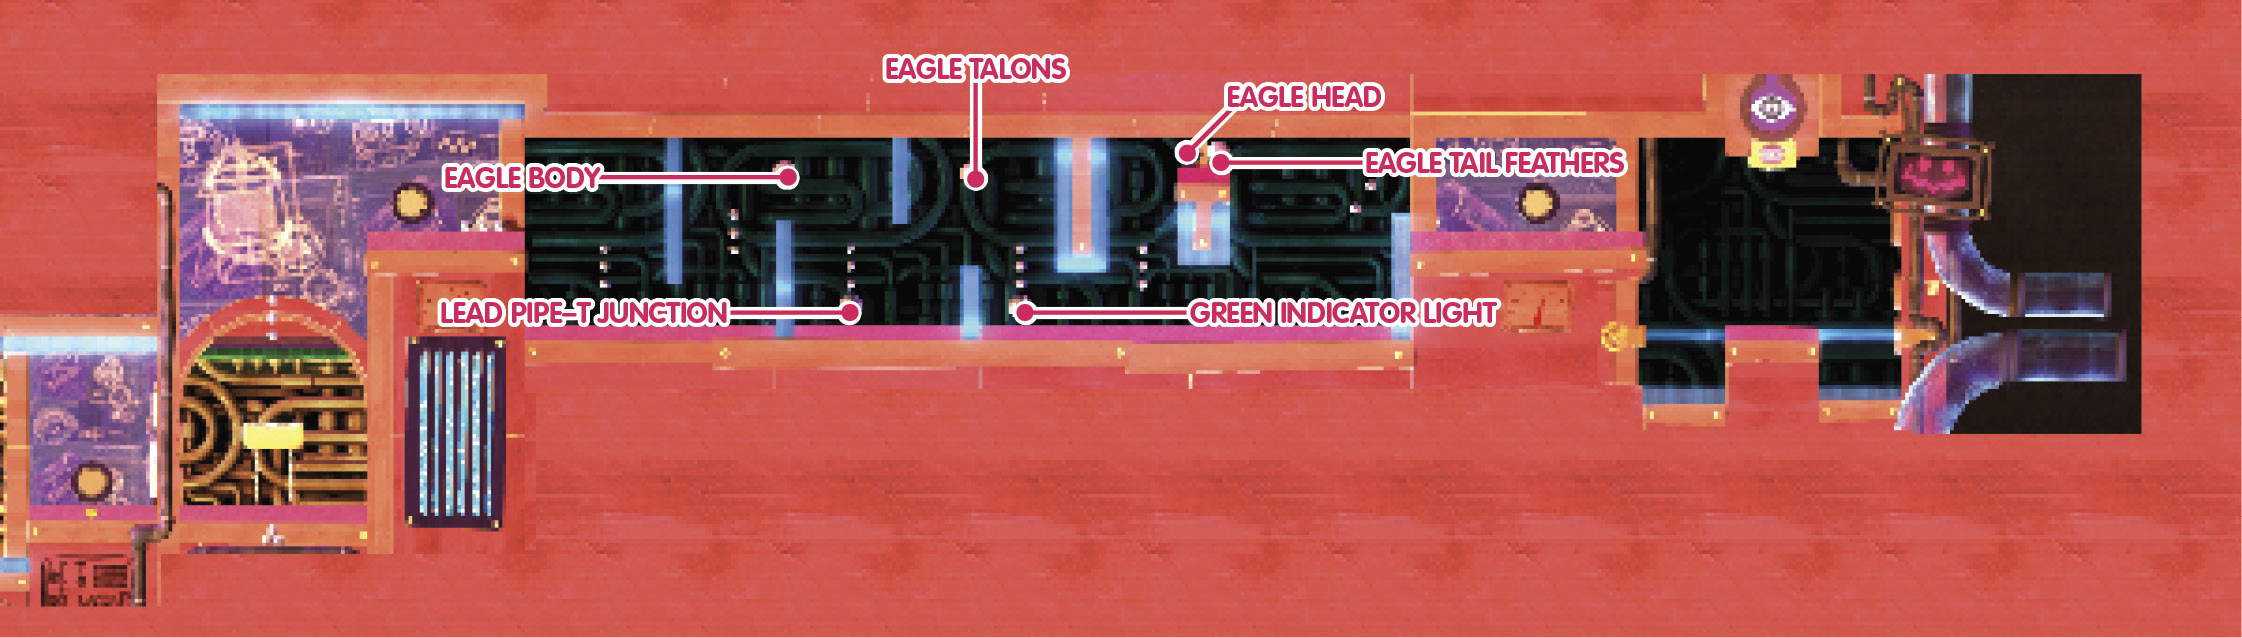
Doing so also provides the necessary height to reach some Prize Bubbles. Use this technique to collect the Eagle Body Costume and Lead Pipe–T Junction Object from their Prize Bubbles.
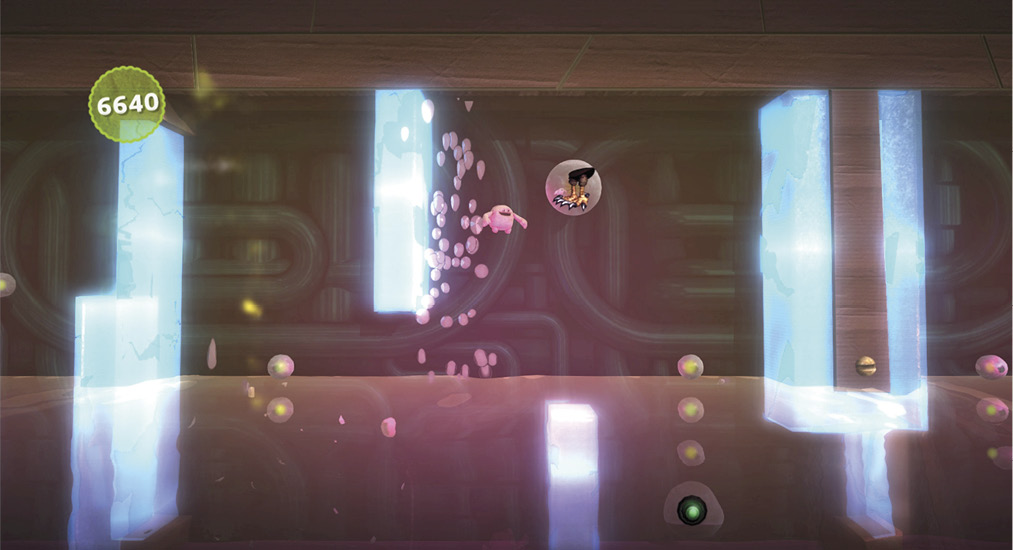
Repeat the maneuver once again to fly through the Prize Bubbles for the Eagle Talons Costume and Green Indicator Light Decoration.
The toughest maneuver yet is up next. Press  to jump as soon as the rising small Toggle breaks the surface of the water to get high enough to reach the two Prize Bubbles tucked away. Nabbing the Eagle Head Costume and Eagle Tail Feathers Costume completes the outfit. Switch to big Toggle while dropping back into the water and turn into small Toggle one last time to emerge safely past the electric hazards.
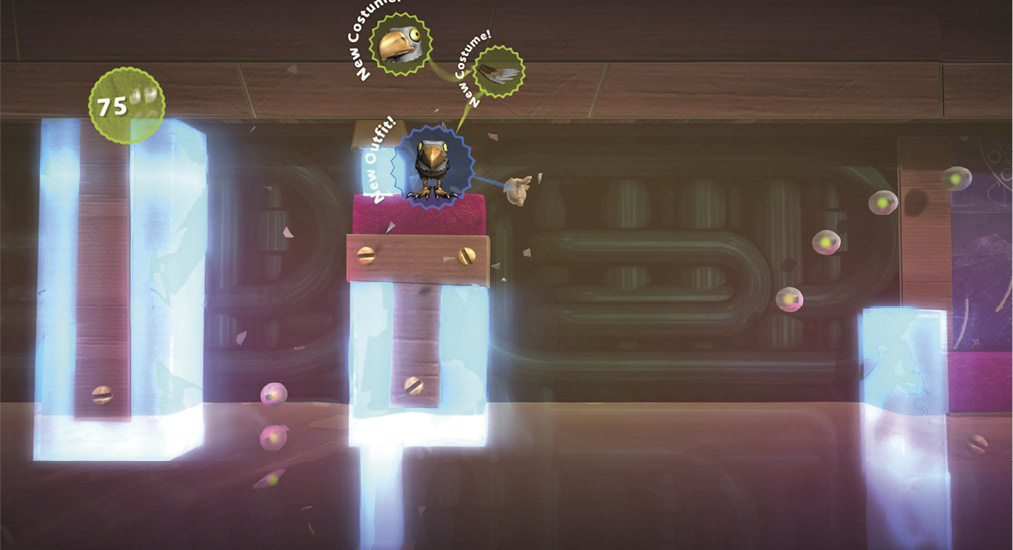
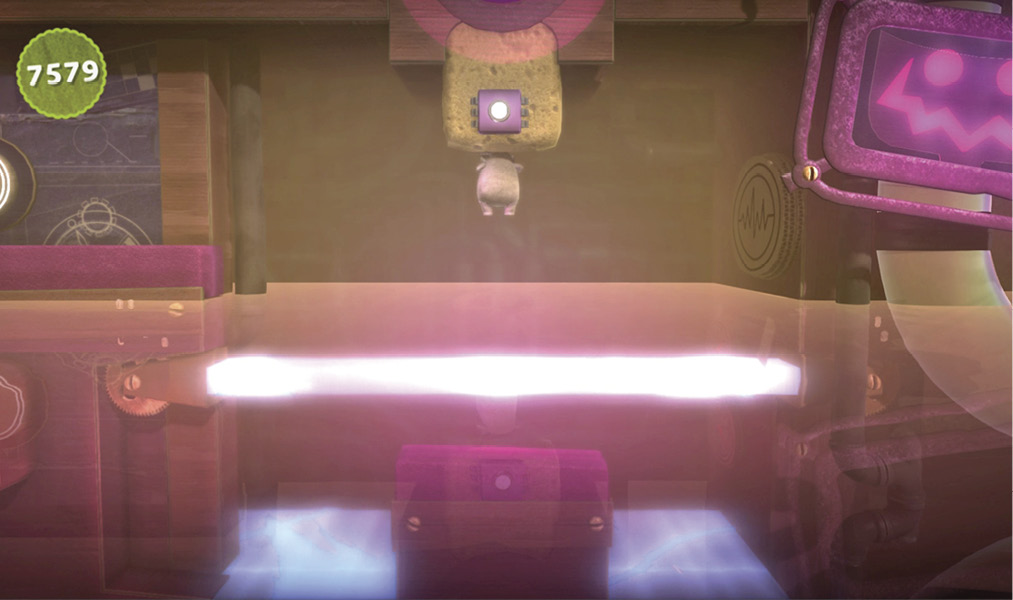
Drop onto the water as small Toggle. When the deadly horizontal laser beam drops down, turn into big Toggle and sink. Turn back into small Toggle, and fly up to grab the sponge. Finally, switch to big Toggle one last time to pull down the switch to the forcefield.
Putting on Airs
Back where your sack person is trapped, go to the second glowing door and change to Swoop. Flap your wings, and go straight up to the next Level Link.
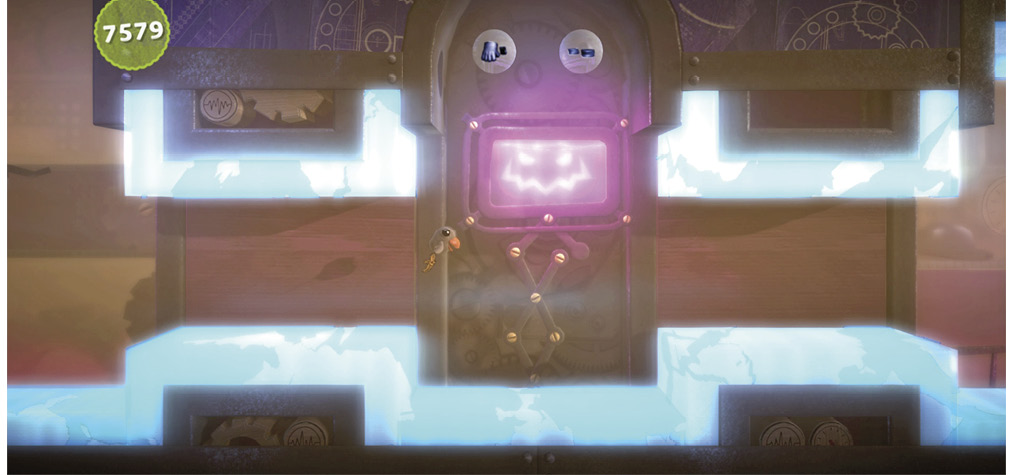
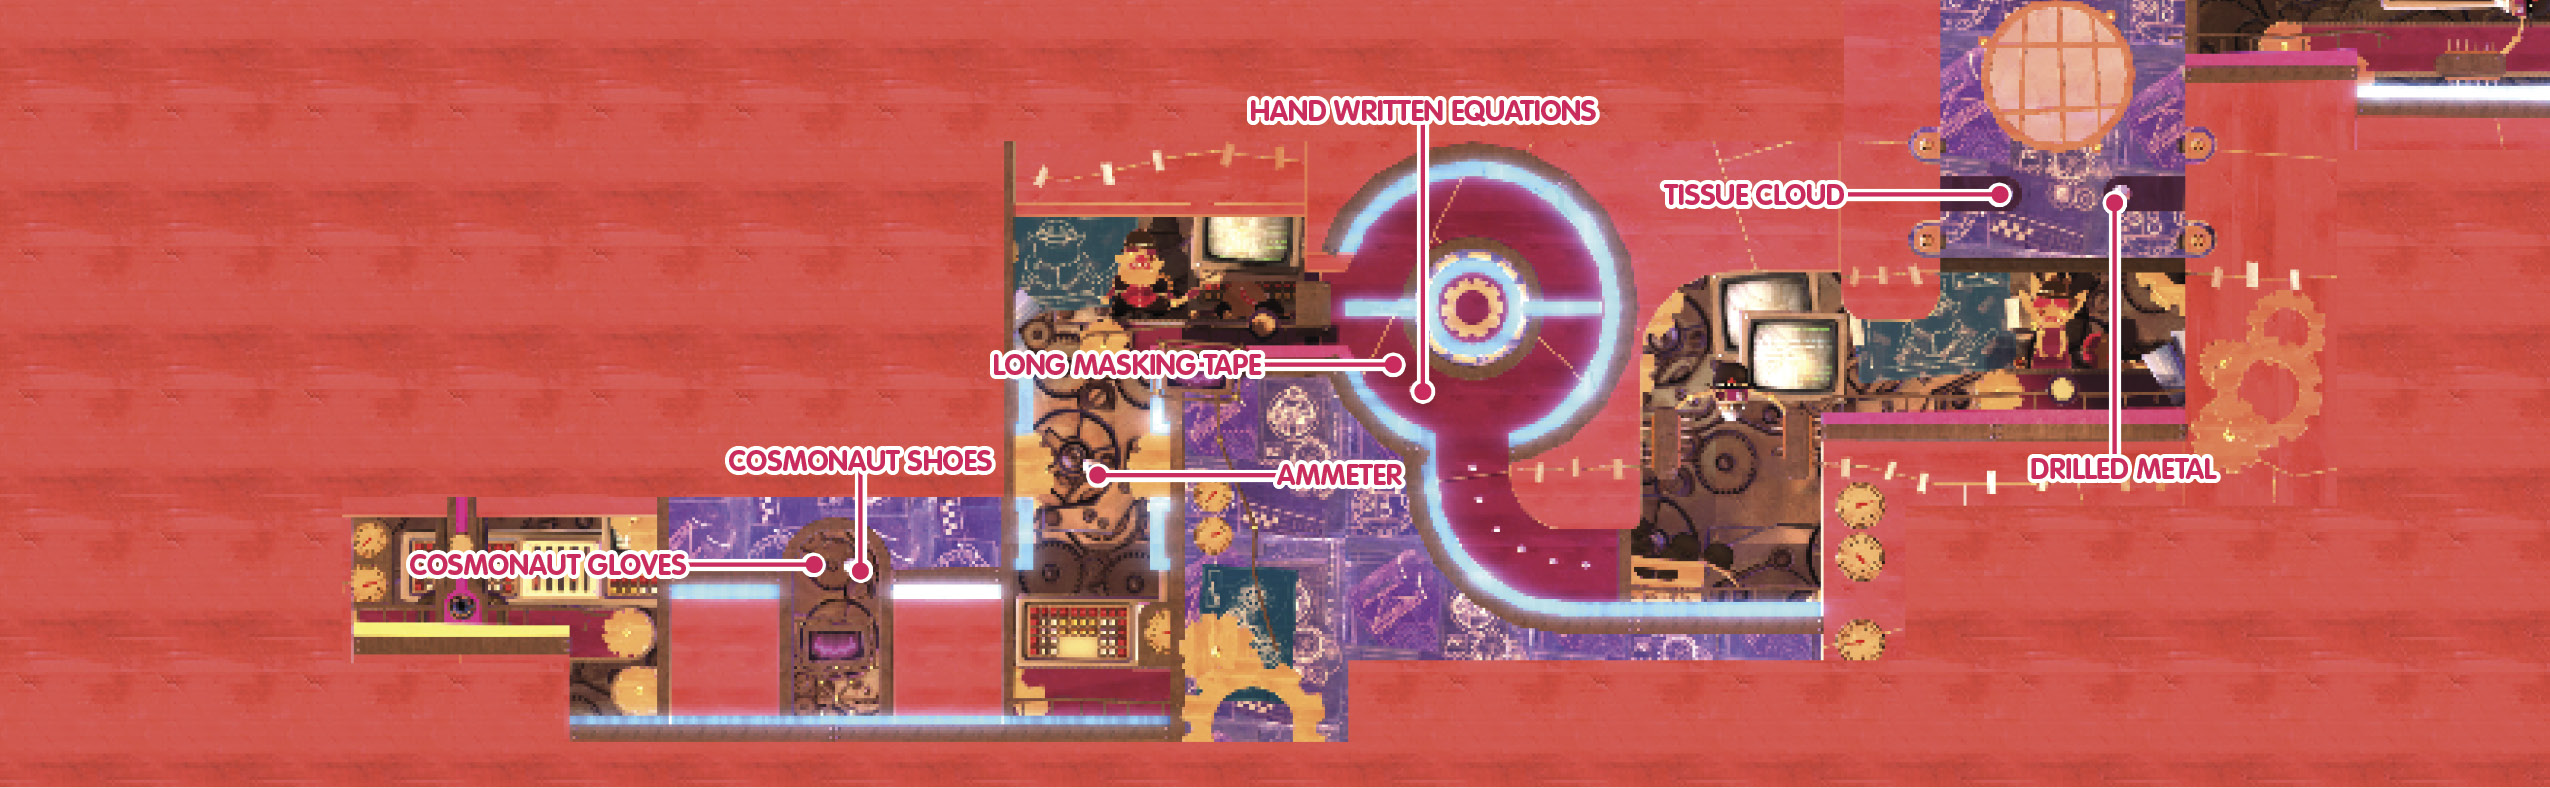
Fly off to the right, where a fully electrified floor and majorly electrified ceiling demand skilled navigating. Parts of the ceiling and floor mash together periodically. Wait for them to retract, and fly between them for a breather. While you’re there, grab the Cosmonaut Gloves Costume and Cosmonaut Shoes Costume from their Prize Bubbles.
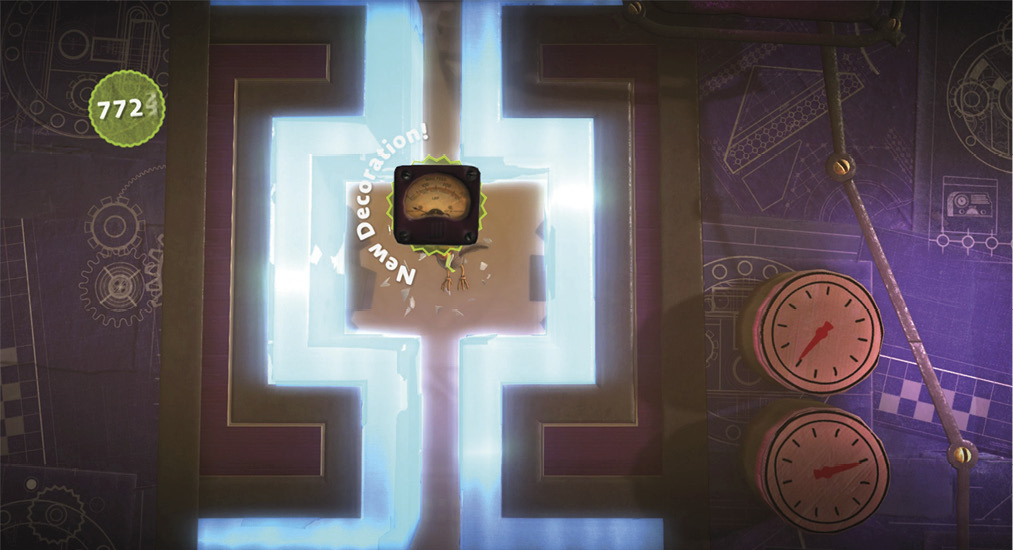
Fly to the right again, and prepare to go straight up. A small square of safe space is your only option when the walls close in from the sides. Fortunately, Swoop shares the space with the Ammeter Decoration Prize Bubble.
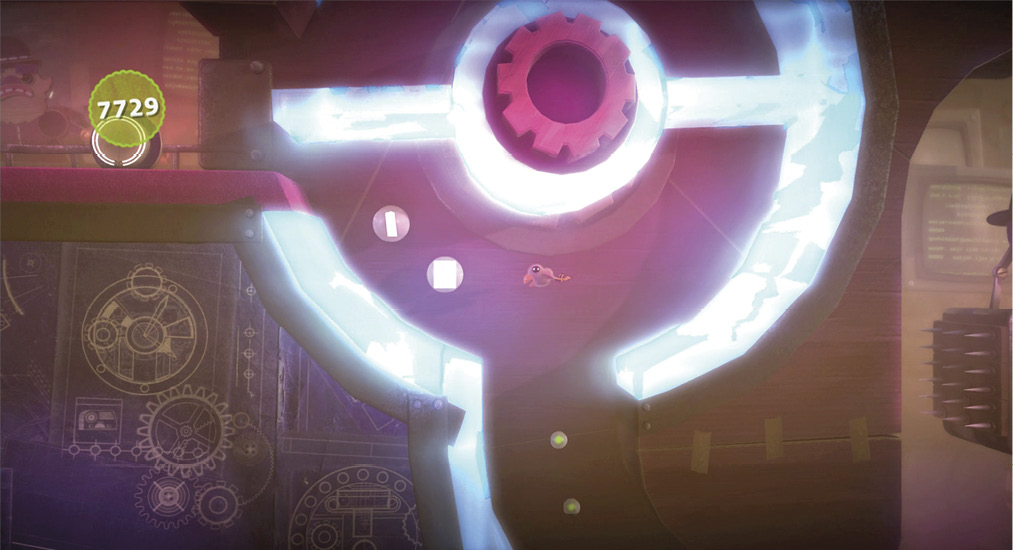
Reach the top, and fly right. A fully electrified passage ahead deserves some consideration. To get the two Prize Bubbles there, fly over the top of the spinning electric arms, and come down the right side with a high-speed swoop. Pull up and to the left in time to pop the Prize Bubbles for the Hand Written Equations Decoration and Long Masking Tape Decoration before the arm comes back around.
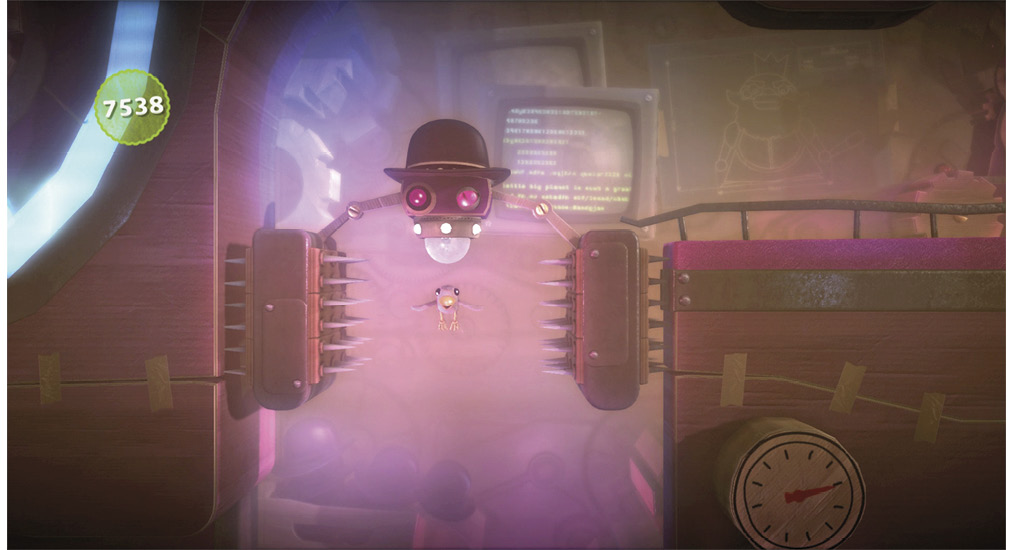
Fly up, where a mean-looking mechanical monster is fashioned after Newton’s appearance. Its spiked walls slam together, so time it carefully, and fly through when they part to pop its brain.
It’s a blizzard of purple plasma. Carefully fly through the crossfire to pop the two Prize Bubbles there and take the Drilled Metal Decoration and Tissue Cloud Material.
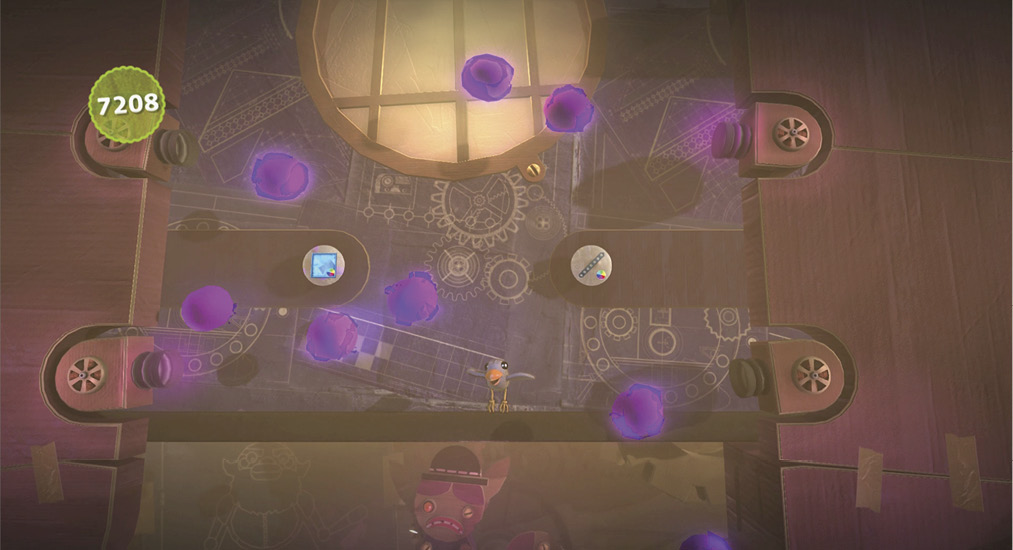
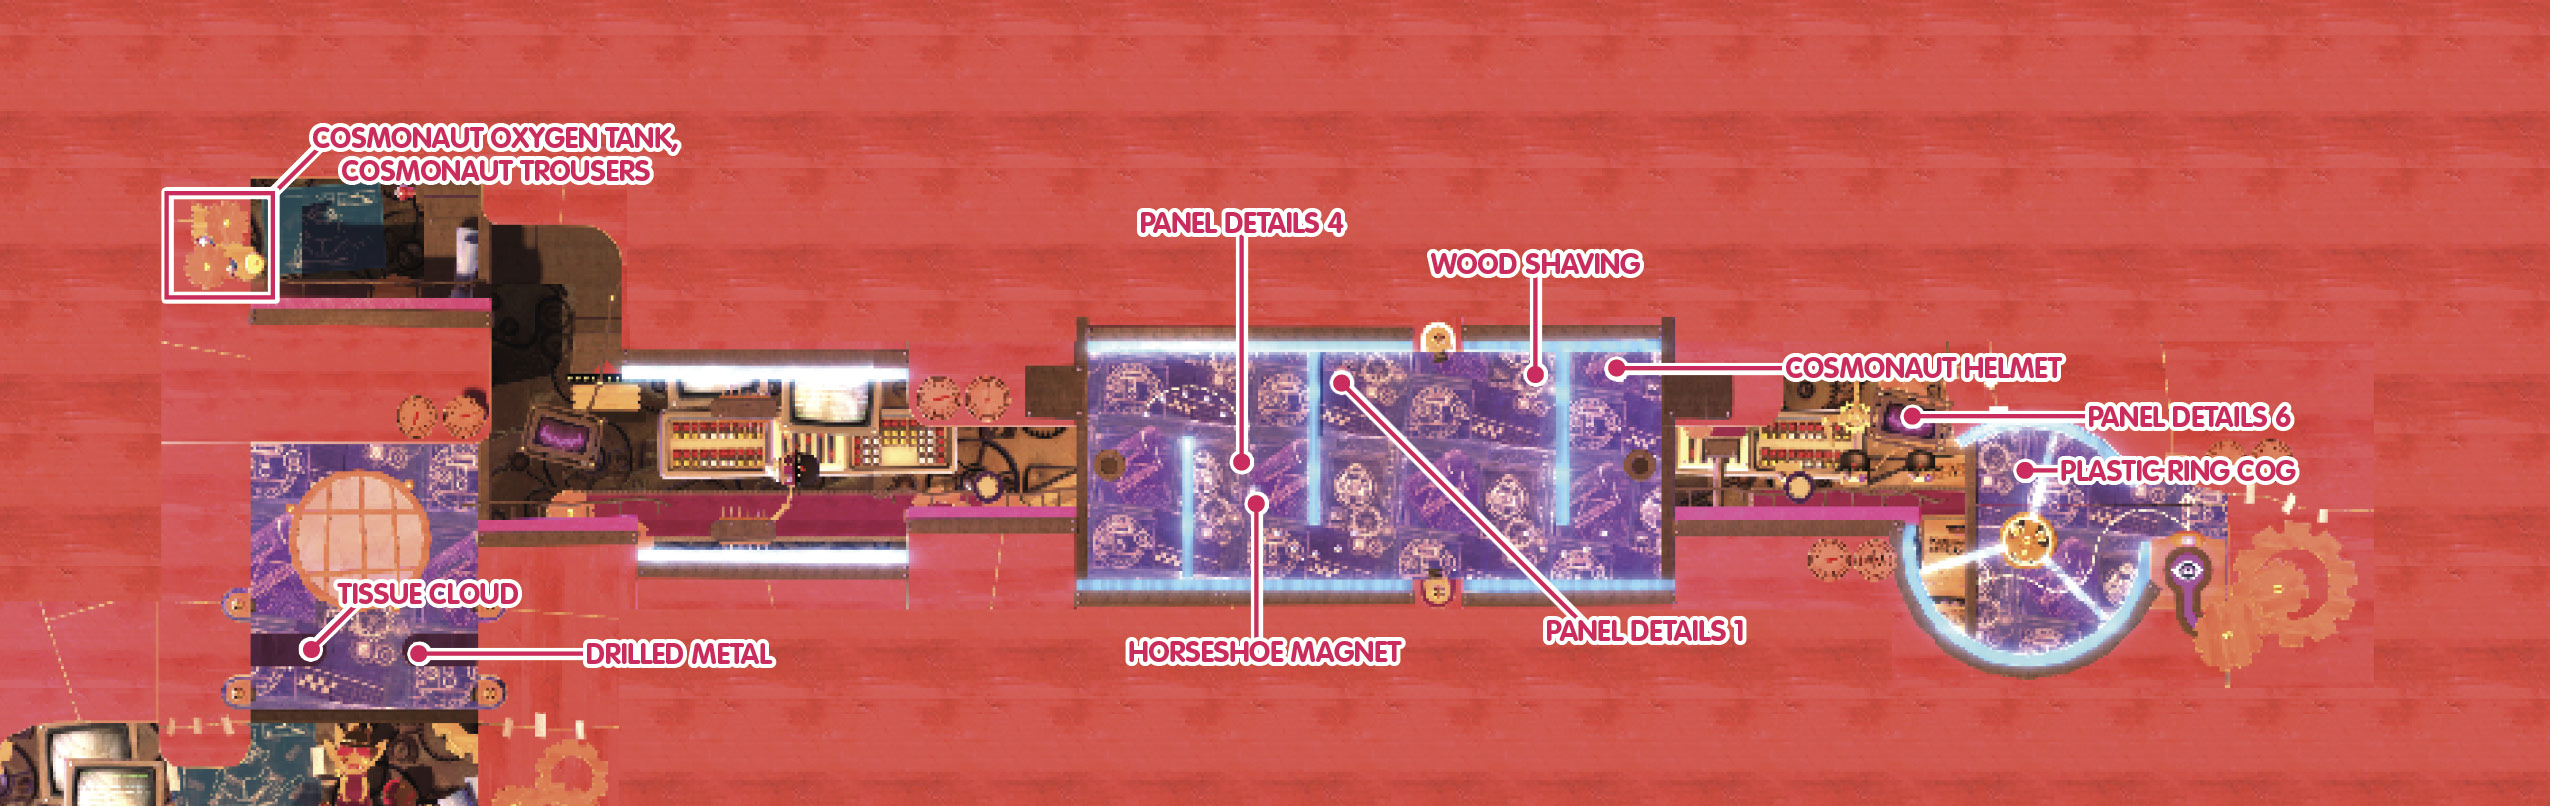
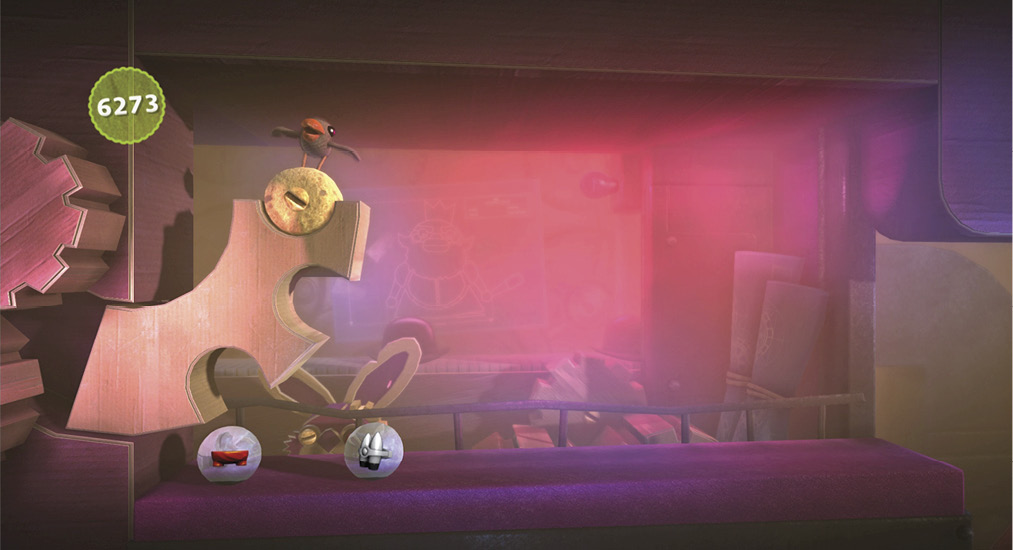
Fly straight up into the sky before moving on. Grab the sponge in the far left of the room up here, and pull it out. This releases two Prize Bubbles that yield the Cosmonaut Oxygen Tank Costume and Cosmonaut Trousers Costume.
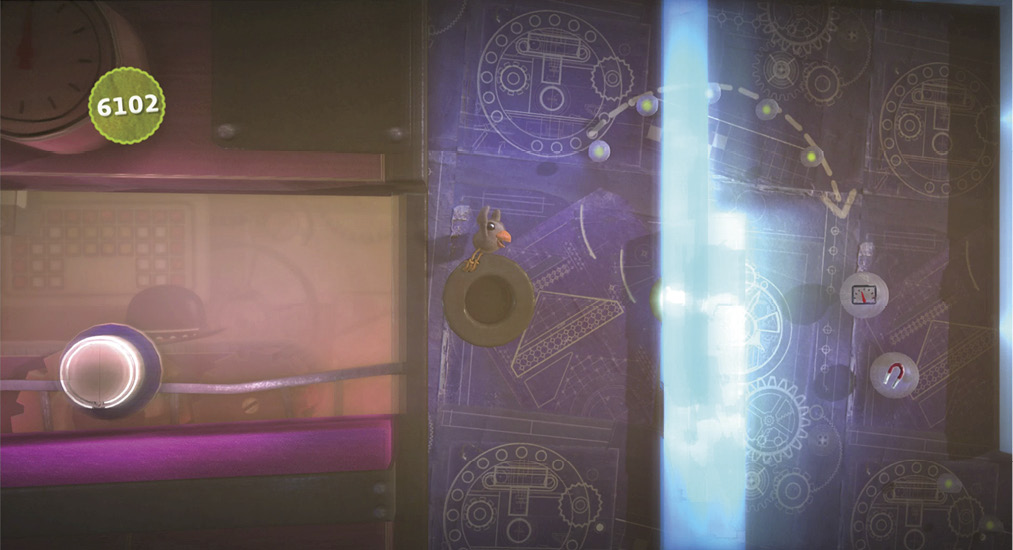
Starting at a round opening in the wall, vertical beams of electricity sweep across the area ahead. Swoop must move quickly to avoid getting caught by one. Avoid the electric stalagmites and stalactites protruding from the floor and ceiling. As you maneuver through, pop the first two Prize Bubbles for their Panel Details 4 Sticker and Horseshoe Magnet Decoration.
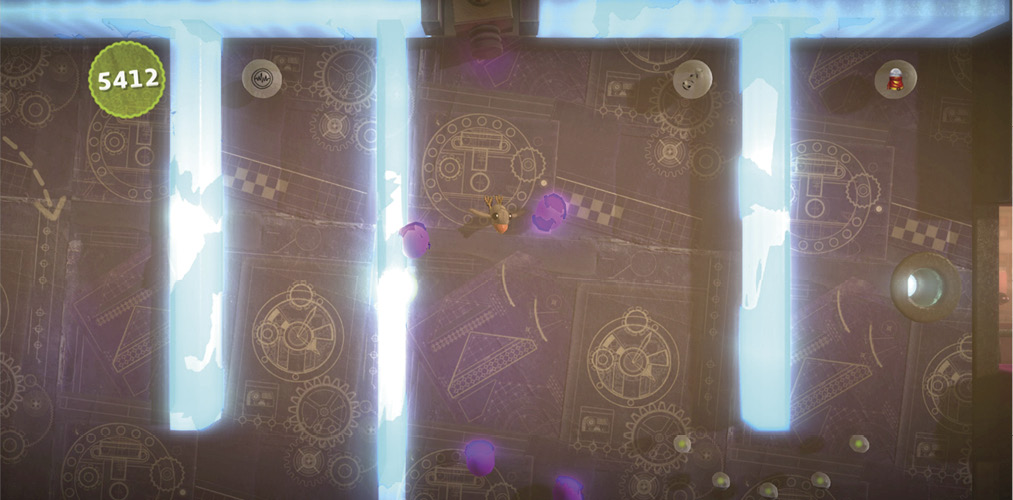
Prize Bubbles containing the Panel Details 1 Sticker and Wood Shaving Decoration are tucked into corners. To get them, Swoop must glide perfectly from the other side, rising up under the electric stalactites quickly enough to pop them before the next wave comes.
The Cosmonaut Helmet Costume Prize Bubble is squished in the last corner. Don’t feel too pressured to get it, as you can always backtrack from the next Checkpoint easily.
The best way to get the Plastic Ring Cog Decoration amid these three arms of electric death is to swoop below to the other side. Once safely there, you can wait for your window to have Swoop fly back left and pop the Prize Bubble in the same smooth motion as he keeps ahead of the spinning arm.
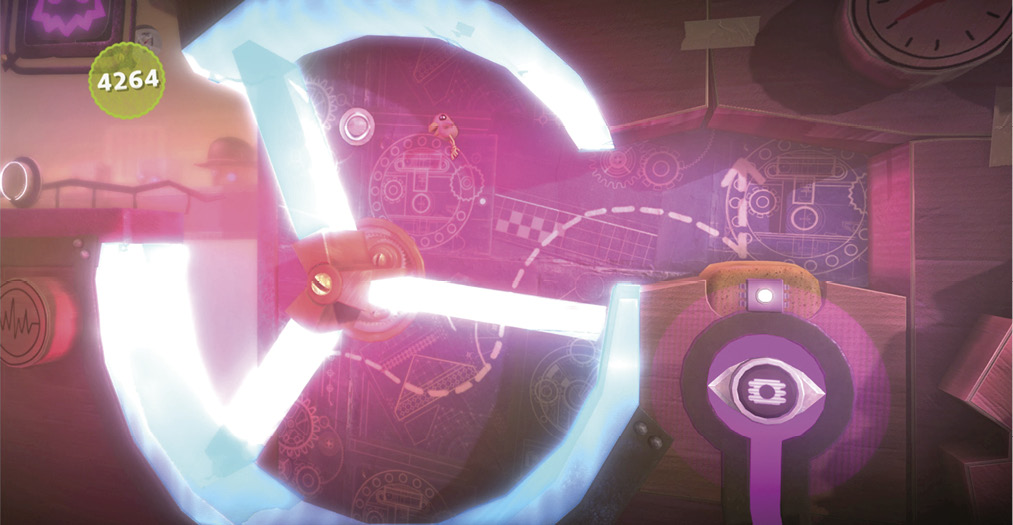
Now, it’s just a matter of pulling up on the switch to finally kill all power to the field holding your sack person prisoner.