Little Big Planet 3 Signature Series Strategy Guide A Second Term at Popit Academy
Emitters
Emitters actually allow materials that you place in a level to create other objects. They can build platforms or spit out balls, whatever you desire in the imaginative new worlds you design in Create Mode.
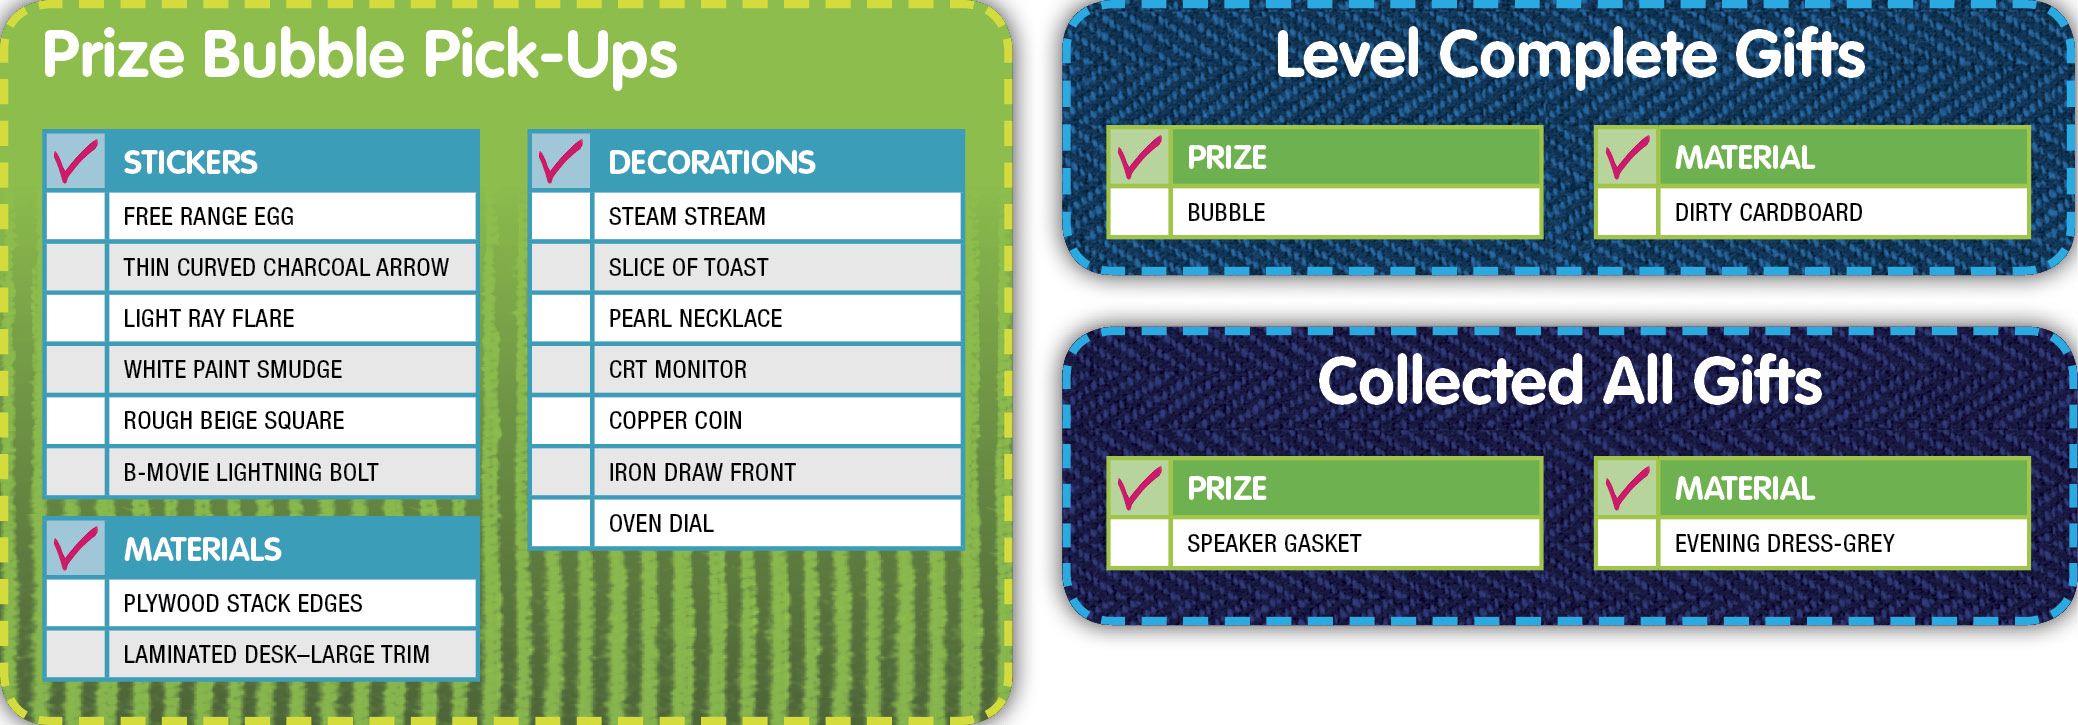
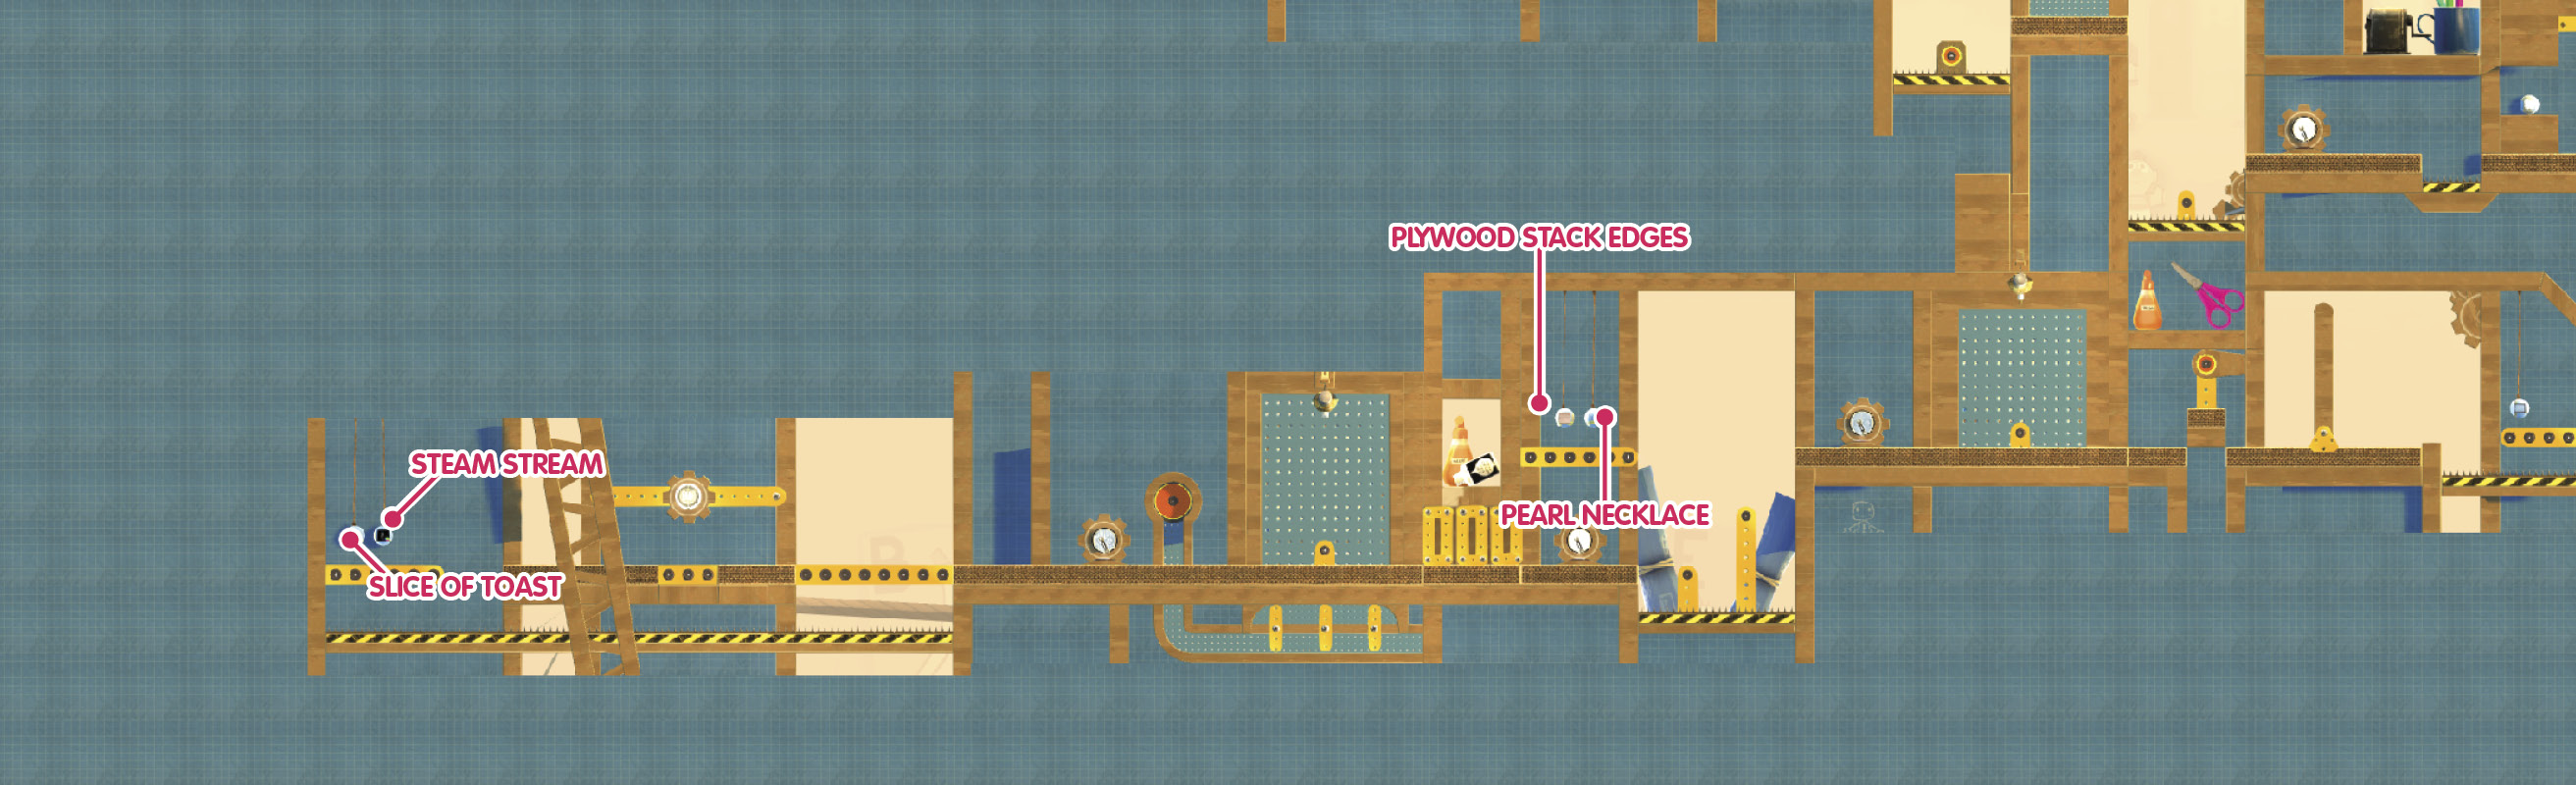
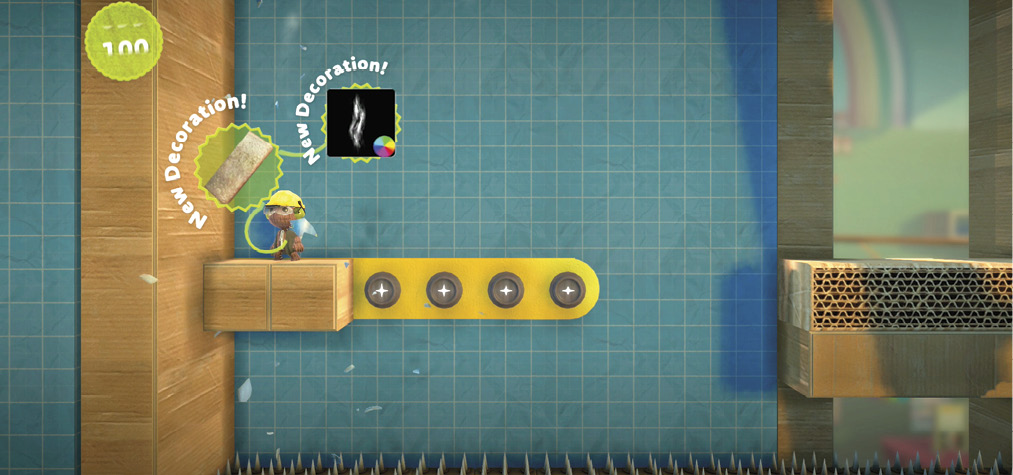
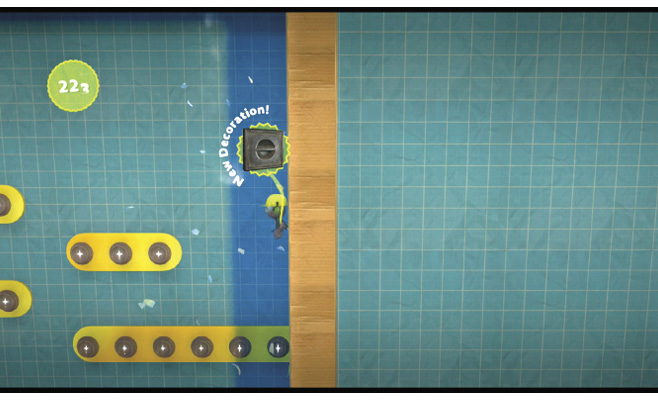
You’re probably eager to get started with this lesson, but before you move to the right, go left to find two hidden Prize Bubbles for the Steam Stream Decoration and Slice of Toast Decoration. Then, proceed to the right to start your Popit Academy learning. Don’t be afraid of those leaps your sack person needs to make here. Paths appear beneath your sack person’s feet thanks to Emitters, so you don’t have to worry about falling. That’s what this level is all about, after all!
After your first brief lesson about what Emitters are, it’s time to try things out for yourself. Open your Popit by pressing  or the touch pad button, and then select your Popit Cursor. Now, use it to select the Emitter (see it up there in the orange circle?) and then choose an object to emit. In this case, it’s going to be a ball.
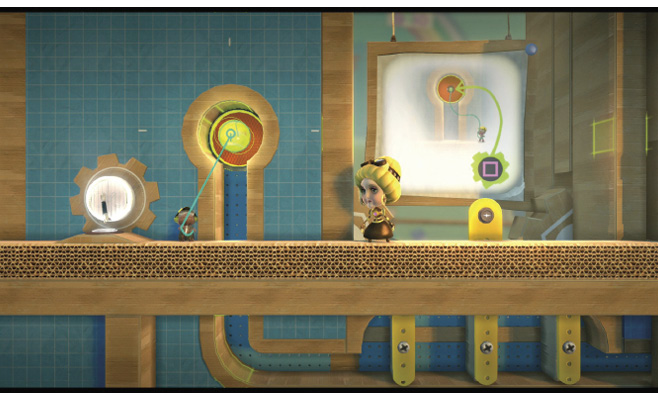
Now you should see the balls rolling from the Emitter. Where are they going?
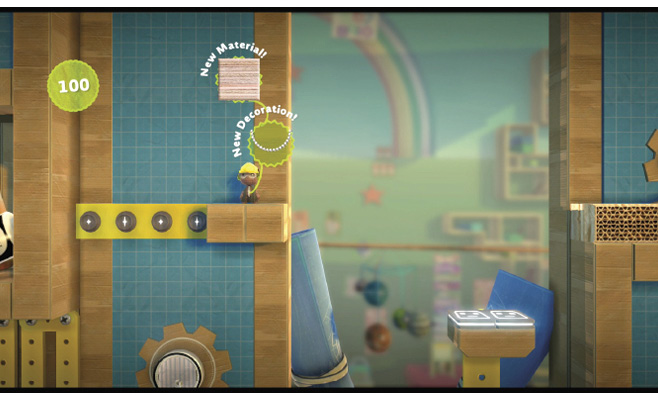
Continue onward, and use the Bounce Pads to launch your sack person onto the platform up to the right. Bounce back onto the upper pad, and hold  to jump over to the Prize Bubbles hanging to the left. Don’t worry: the Emitters provide a makeshift platform for your sack person when they get there. Pop the bubbles for the Pearl Necklace Decoration and Plywood Stack Edges Material.
How Fast Can They Go?
Return to the platform on the right to continue with your lesson. Now, it’s all about speed. Adjusting this setting for your Emitters changes how rapidly things come out of them.
Dash forward, and notice the Emitter spitting out those balls from earlier. They need to go a little faster if they’re going to knock down the obstacle in the way. Select the Emitter with your Popit Cursor, and press to tweak its Linear Velocity—that’s fancy speak for “speed.”
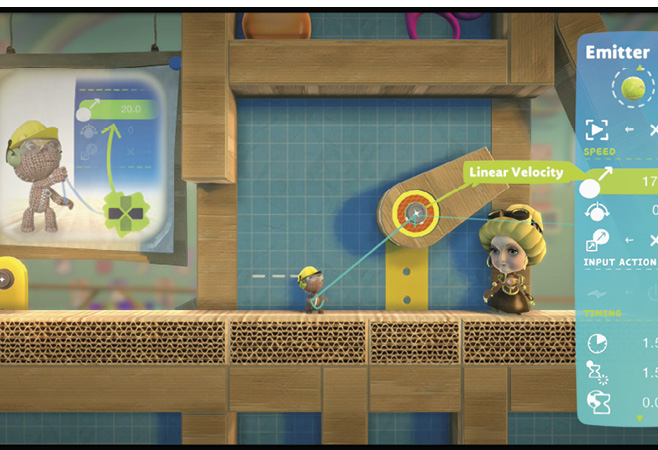
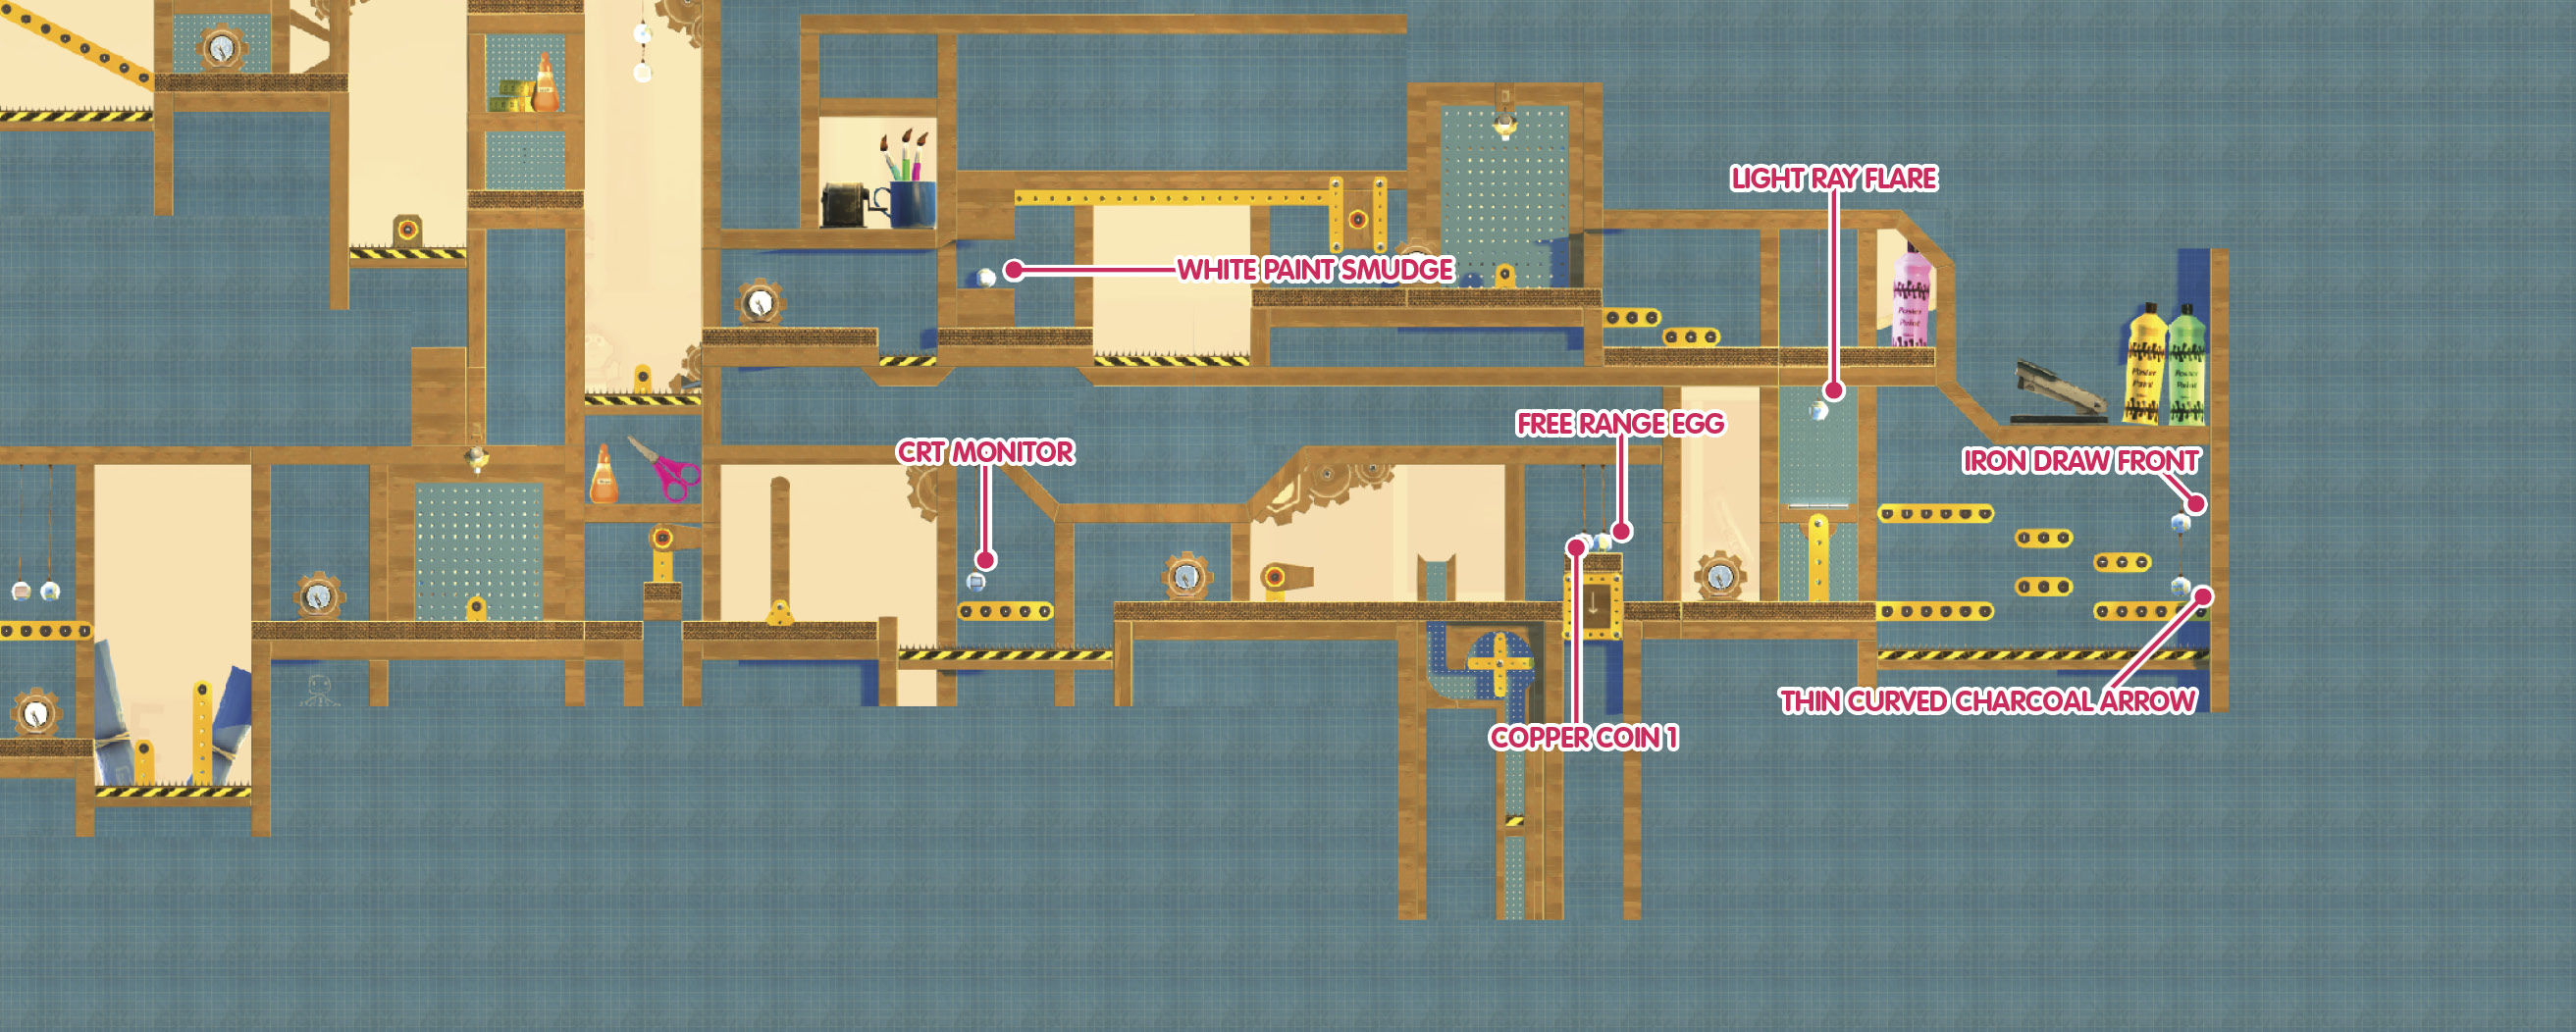
Once you have increased the Linear Velocity enough, the platform blocking the way falls down so your sack person can progress onward. As you go jumping from platform to platform, sometimes before they even appear, pop the Prize Bubble for the CRT Monitor Decoration.
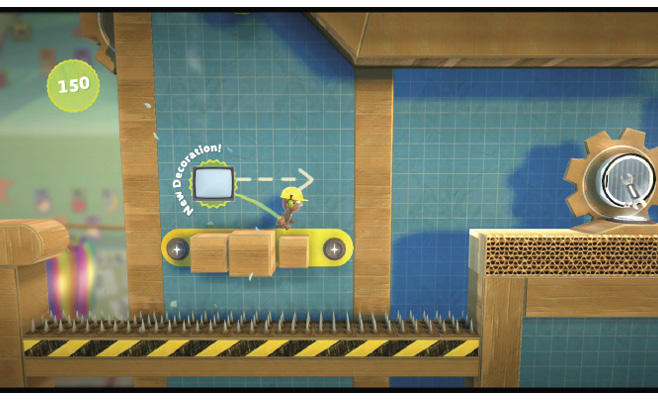
Next up, adjust the Linear Velocity of the next Emitter so it spits the balls into the tunnel ahead. A setting of 8.0 should do the trick.
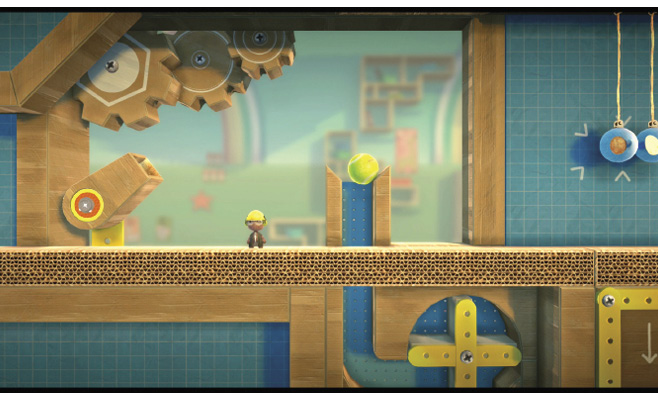
Each time a ball lands in this tunnel, the platform to the right lowers. Once it’s low enough for your sack person to jump onto it, hop aboard, and then jump to burst the Prize Bubbles for the Copper Coin Decoration and Free Range Egg Sticker.
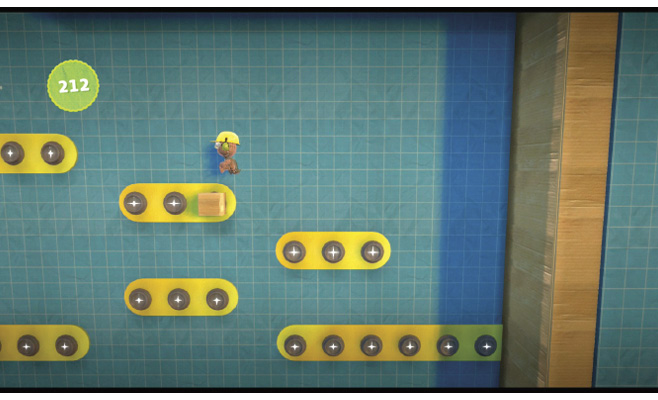
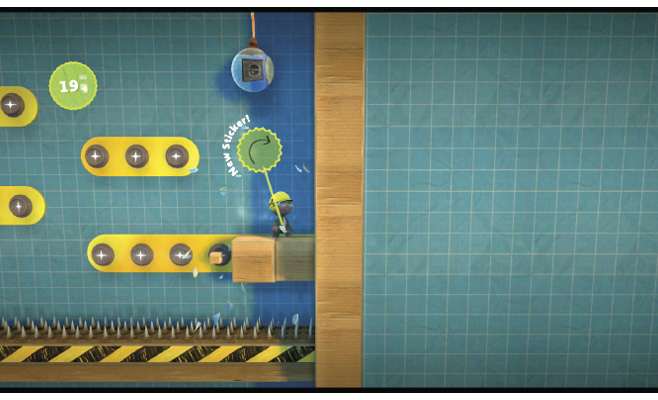
Up ahead, a challenge area shows you several Emitters. Use them to jump upward until your sack person makes it to the platform above their current level. Collect the Thin Curved Charcoal Arrow Sticker and Iron Draw Front Decoration from the Prize Bubbles as you go.
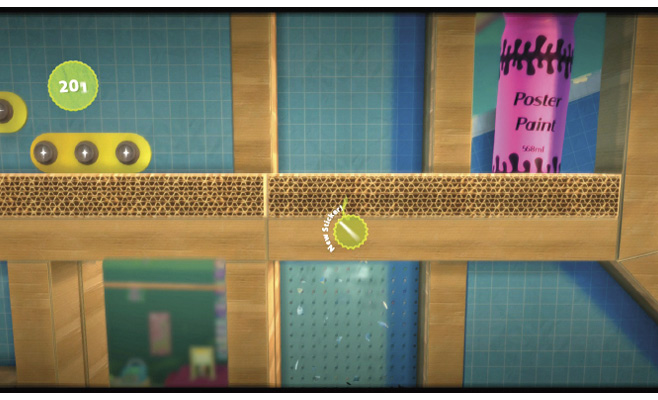
Now, use the Bounce Pad to launch your sack person up. Be sure to hit the Light Ray Flare Sticker Prize Bubble along the way.
Timing is Everything
There are other ways to fine-tune your Emitters, like specifying the intervals at which they should spit out objects and how long those objects should remain in the level before disappearing. After all, you don’t want a cluttered level just because of an overzealous or long-forgotten Emitter.
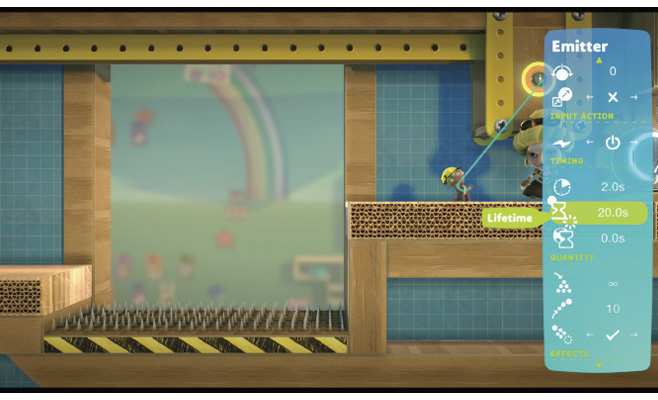
Proceed forward to see sponges that are disappearing much too quickly. This means your sack person won’t be able to use them to get across the gap. Select the Emitter with your Popit Cursor, and press to adjust the Lifetime of the sponges to something more appropriate. Then, grab ahold of a sponge and travel across the gap to the platform on the right. Hang on until the very end to jump and catch that White Paint Smudge Sticker Prize Bubble.
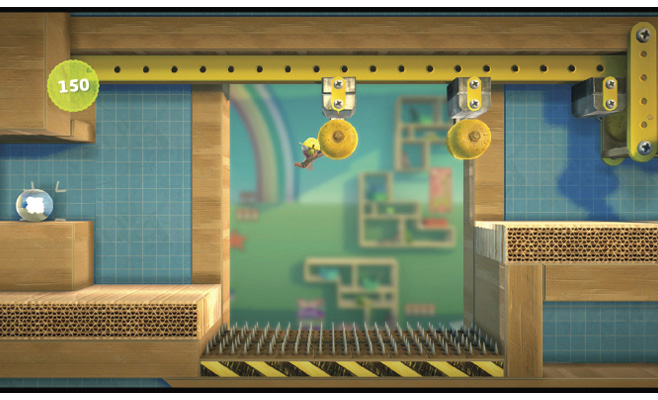
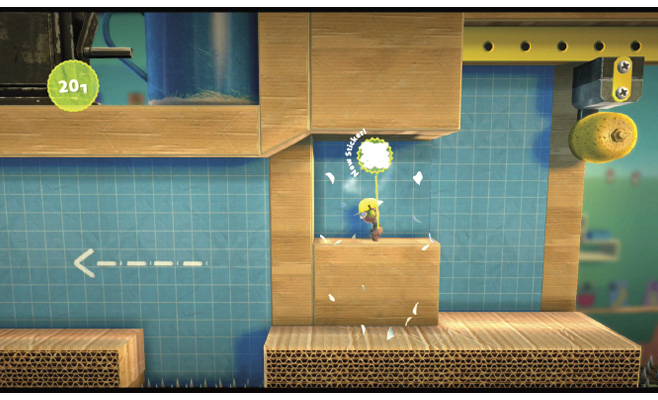
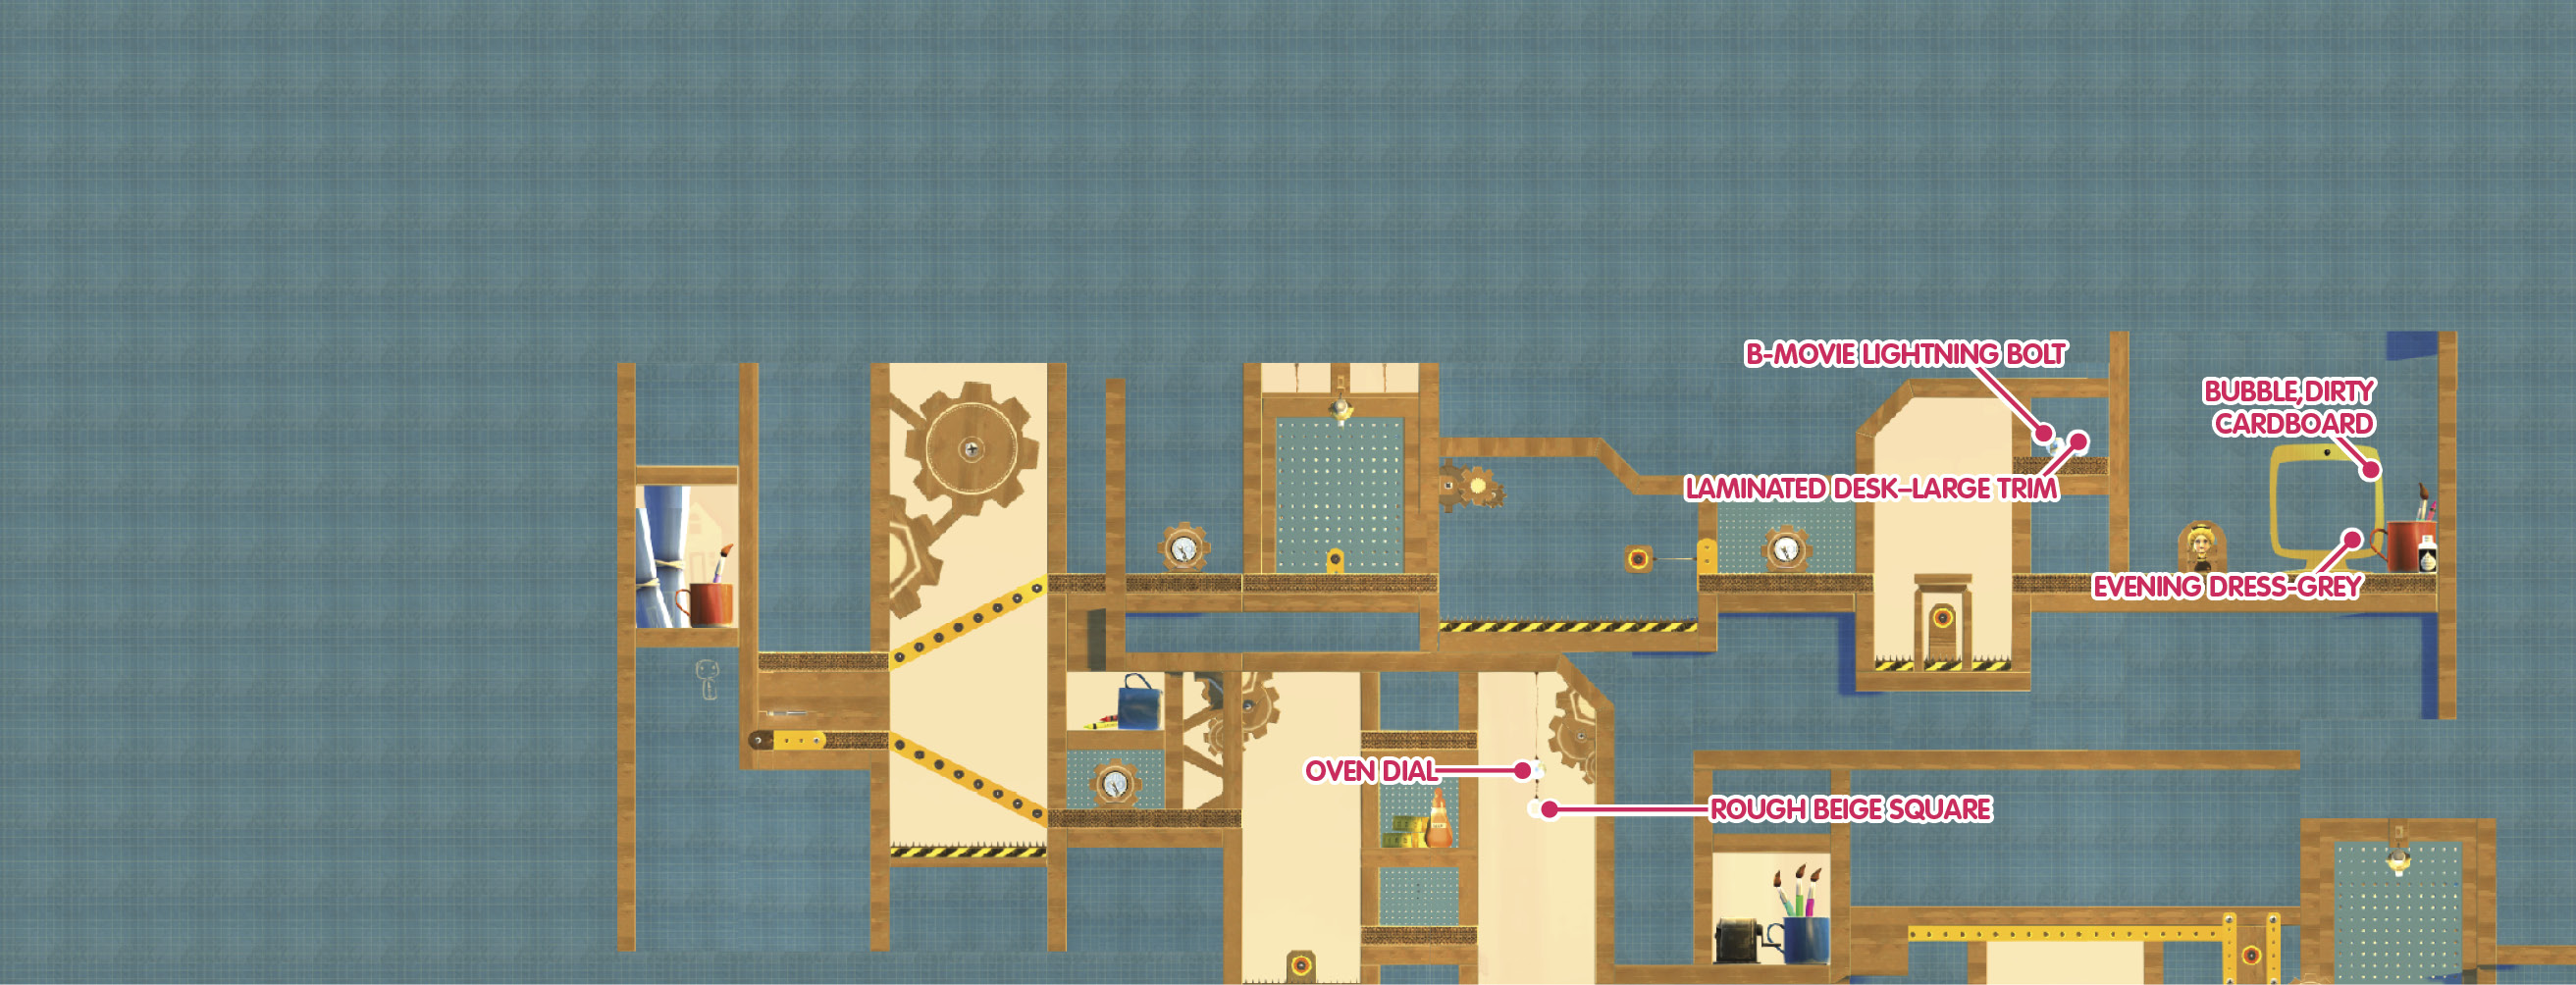
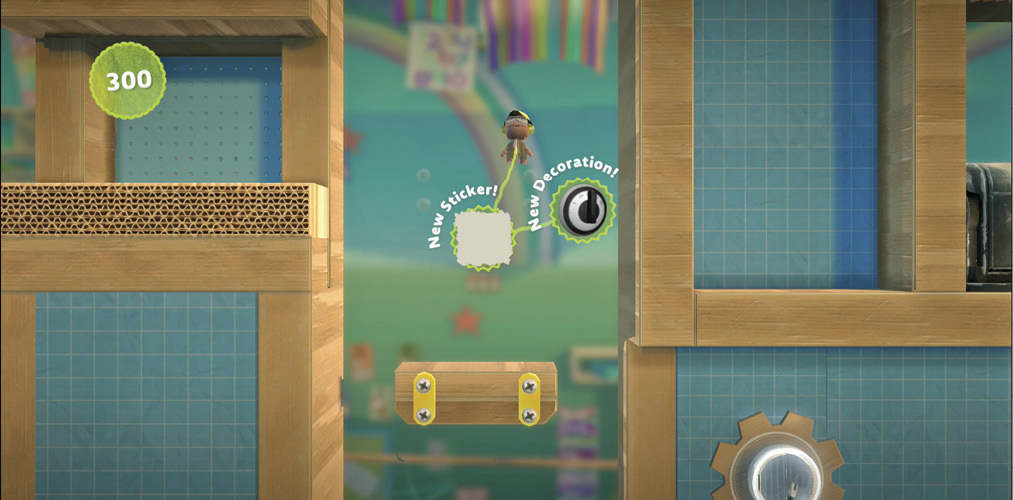
Take the moving platforms up to higher levels. You need to adjust the Frequency of the second set. But make sure you don’t get off that one too soon. Take it all the way to the top and disembark on the right, then jump to burst the Prize Bubbles for the Oven Dial Decoration and Rough Beige Square Sticker on your sack person’s way down.
When you go back the way you came a second time, emerge to the left this time, where you see the Popit Powerup. Proceed up the ramps that appear from the Emitters, but be careful of their very specific timings.
When Enough is Enough
An Emitter can create many of the same object, but you can set how many exist at any single time so there aren’t too many—unless you want there to be lots at once. That’s what the Max Emitted At Once setting is for in the Tweak menu. If set to “one,” whenever an Emitter creates a new object, the old one is destroyed. If set to more than that, then that many number of emitted objects can exist together in time and space, so long as the other settings allow.
In the next puzzle, use your Popit Cursor to select the Emitter that’s creating the platforms up ahead. See how it’s only allowing one at a time? You need more than that if your sack person is going to make it across the gap. Increase the Max Emitted At Once setting to help.
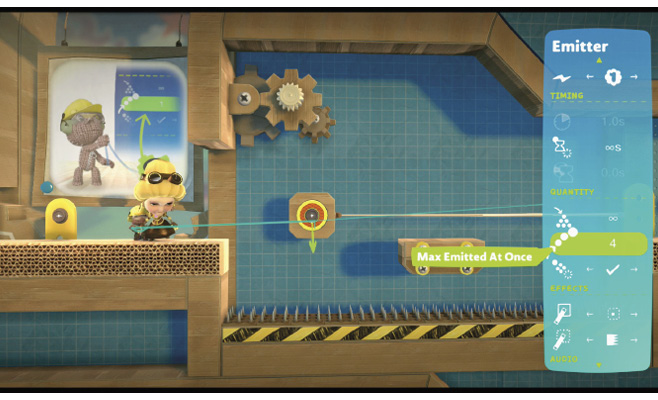
Jump across the platforms to the next section. Now, you must adjust the Emitter to only allow one at a time so your sack person can jump on this platform to cross.
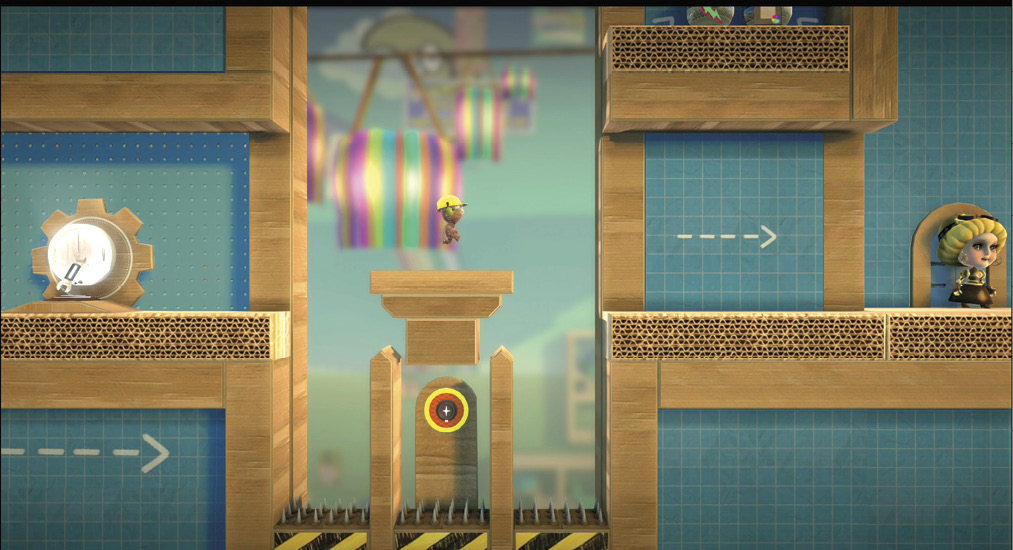
But wait! When your sack person is on the platform, adjust the setting to allow more at a time. This raises the platform higher, so your sack person can jump to the right to collect the Laminated Desk–Large Trim Material and B-Movie Lightning Bolt Sticker Prize Bubbles on the high-up platform there.
Head back down and to the right to complete the level.