Prima Games eGuides
primagames.com Browse Redeem a code Help
Call of Duty: WWII eGuide
Sign in My Guides

Sign in or create an account

We'll email you a link. No password needed, and if you don't have an account yet, the link makes one.

By creating an account or signing in, you agree to our Terms of Service and Privacy Policy.

Have a password?

Had an account on the old eGuides site, or a code from a printed guide? Help and troubleshooting

Sign in with a password

By signing in, you agree to our Terms of Service and Privacy Policy.

Check your email

A sign-in link is on its way. It works once and expires in 15 minutes. Open it and you're in, with an account if you didn't already have one.

Contents

  • Multiplayer Maps and Modes
    • Game Modes
    • Aachen
      • Overview
      • Domination Tactics
      • Hardpoint Tactics
      • Capture the Flag Tactics
      • Search & Destroy Map
    • Ardennes Forest
      • Overview
      • Domination Tactics
      • Hardpoint Tactics
      • Capture the Flag Tactics
      • Search & Destroy map
    • U.S.S. Texas
      • Overview
      • Domination Tactics
      • Hardpoint Tactics
      • Capture the Flag Tactics
      • Search & Destroy Map
    • London Docks
      • Overview
      • Domination Tactics
      • Hardpoint Tactics
      • Capture the Flag Tactics
      • Search & Destroy Map
    • Gustav Cannon
      • Overview
      • Domination Tactics
      • Hardpoint Tactics
      • Capture the Flag Tactics
      • Search & Destroy Map
    • Carentan
      • Overview
      • Domination Tactics
      • Hardpoint Tactics
      • Capture the Flag Tactics
      • Search & Destroy
    • Flak Tower
      • Overview
      • Domination Tactics
      • Hardpoint Tactics
      • Capture the Flag Tactics
      • Search & Destroy Map
    • Gibraltar
      • Overview
      • Domination Tactics
      • Hardpoint Tactics
      • Capture the Flag Tactics
      • Search & Destroy Map
    • Pointe du Hoc
      • Overview
      • Domination Tactics
      • Hardpoint Tactics
      • Capture the Flag Tactics
      • Search & Destroy Map
    • Sainte Marie du Mont
      • Overview
      • Domination Tactics
      • Hardpoint Tactics
      • Capture the Flag Tactics
      • Search & Destroy Map
  • Multiplayer Introduction
    • Overview
    • Movement
    • Making a Class
    • Scorestreaks
    • Combat
    • Firing Range
      • Overview
      • Primary Weapons
      • Attachments
      • Secondary Weapons
      • Lethal Equipment
      • Tactical Equipment
      • Basic Training
      • Scorestreaks
    • Divisions
      • Overview
    • Headquarters
      • Overview
  • Achievements & Trophies
    • Single-Player Campaign
    • Multiplayer
    • The Final Reich
    • Platinum Trophy
  • The Campaign
    • Mission 01: D-Day
      • Overview
      • Under Deck
      • D-Day
    • Mission 02: Operation Cobra
      • Overview
      • Objective: Reach the AA Gun
    • Mission 03: Stronghold
      • Overview
      • Objective: Clear the Church
      • Objective: Protect Zussman
      • Objective: Destroy the Final AA Gun
    • Mission 04: S.O.E.
      • Overview
      • Objective: Stop the Train
    • Mission 05: Liberation
      • Overview
      • Objective: Search for Officer Fischer
      • Objective: Place Explosives on North Gate
      • Objective: Place Explosives on South Gate
      • Objective: Assault the Garrison
      • Objective: Defend the Garrison
    • Mission 06: Collateral Damage
      • Overview
      • Objective: Use the Field Phone
      • Objective: Reach the Theater
      • Objective: Clear the Square
      • Objective: Reach the Hotel
      • Objective: Secure the Hotel
      • Objective: Help Aiello Start the Truck
      • Objective: Find Anna
      • Objective: Return Anna
      • Objective: Defend Your Position
    • Mission 07: Death Factory
      • Overview
      • Objective: Defend the Bridge
      • Objective: Eliminate the Enemy Mortar Camp
      • Objective: Find Your Squad
      • Objective: Find the Assembly Point
      • Objective: Capture the Mill
      • Objective: Defend the Mill
    • Mission 08: Hill 493
      • Overview
      • Objective: Capture the Hill
      • Objective: Destroy the Artillery
      • Objective: Disable the Tank
    • Mission 09: Battle of the Bulge
      • Overview
      • Objective: Protect the Convoy
      • Objective: Protect the Bombers
      • Objective: Destroy the Tanks
    • Mission 10: Ambush
      • Overview
      • Objective: Ambush the German Transport
      • Objective: Infiltrate the Airbase
      • Objective: Provide Overwatch for Pierson
      • Objective: Rescue Zussman
    • Mission 11: The Rhine
      • Overview
      • Objective: Assault the Bridge
      • Objective: Secure the Tower
      • Objective: Follow Pierson
      • Objective: Secure the Second Tower
      • Objective: Capture the AA Gun
      • Objective: Rally With Your Squad
  • Basic Training
    • Welcome, Private!
  • Introduction
    • Welcome back to World War II!
  • Foreword
    • Glen, Michael, and the Sledgehammer Games Team
  • War Maps
    • Overview
    • Objectives
    • Operation Breakout
      • Overview
    • Operation Griffin
      • Overview
  • Nazi Zombies
    • Introduction
    • Characters
    • Loadouts
    • Power-Ups
    • Scoring & Jolts
    • Blitzes
    • Arsenal
    • The Zombies
    • Walkthrough
      • Overview
      • Part One: Open the Bunker
      • Part Two: Explore the Salt Mines
      • Part Three: The tesla Gun
      • Interlude: The Upgrade Machine
      • Part Four: The Right Hand of God
      • Part Five: The Left Hand of God
      • Part Six: The Voice of God
      • Part Seven: Defeat the Panzermorder
    • Gameplay, Tips & Strategies
      • Overview

Call of Duty: WWII Guide › War Maps

Overview

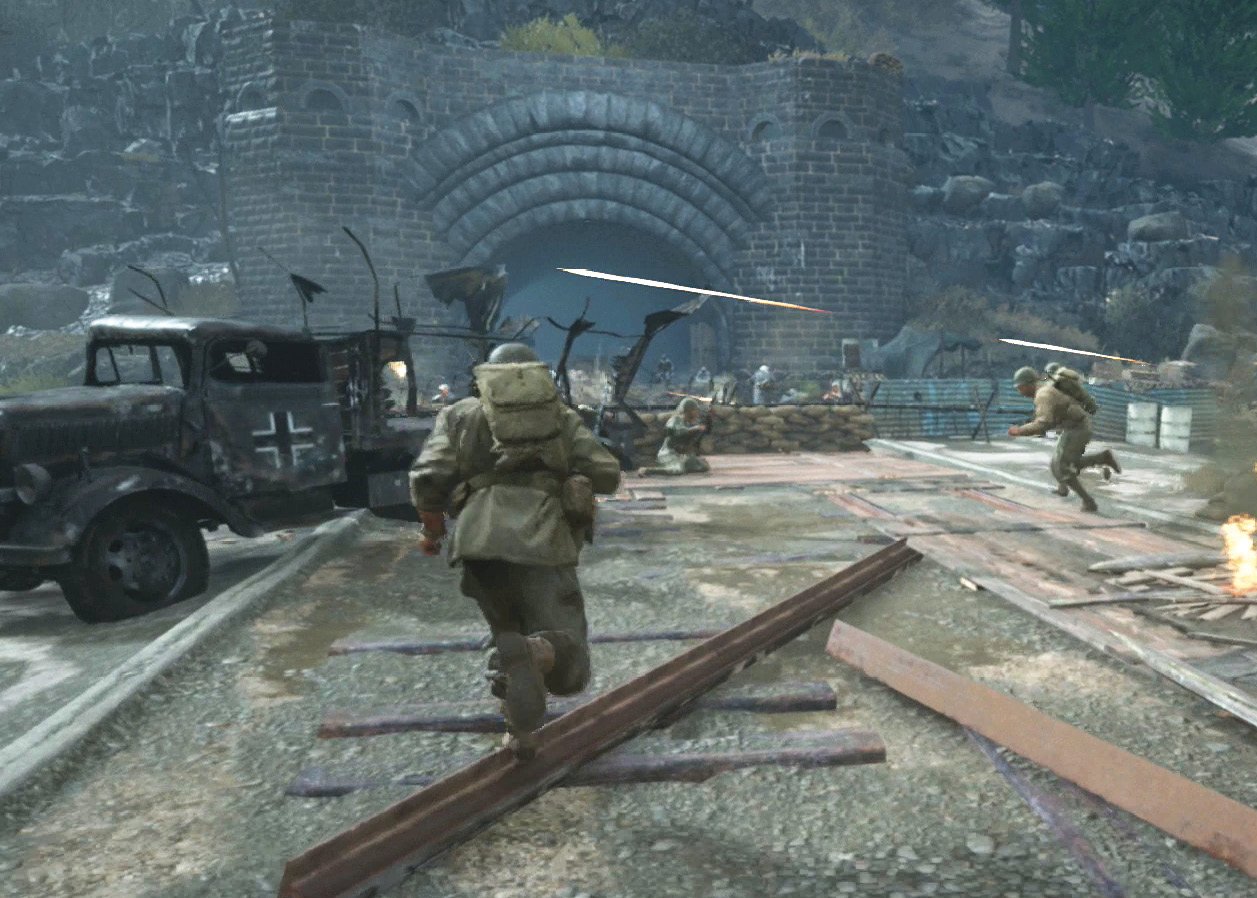
War is an objective-based game mode with multiple objectives to complete or prevent from being completed, depending on which side of the conflict you’re on. If you’re attacking, your job is to complete objectives until you’ve taken the territory and won the round. As the defender, you must prevent attackers from accomplishing their goals at every turn. During most games of War, you’ll find that one side does the attacking while the other side does the defending, but this is definitely not exclusive. There are times where the roles will reverse on an objective and your job will be the opposite of what you might have expected.

Regardless of which side you’re on, the timer for each objective is short and the gameplay tense. The objectives are fixed on each map, so read through this section of the book to learn about each objective beforehand; it will go a long way in keeping you from getting caught with your pants down once a proper War match begins.

One last note about War: Scorestreaks are not allowed. You must fight just like your grand pappy and his pappy before him. You’ll find some Scorestreaks (such as the Flamethrower) in Care Packages that are occasionally dropped onto the map, but you should go in expecting to only find support from your firearm and your comrades on the battlefield.

Keep reading with a free account

The first 3 sections of Call of Duty: WWII are open to everyone. An account opens the rest of it, and every other guide in the archive. It's free, and there's nothing to buy.

Bought guides on the old Prima Games site? Your account and every guide you own moved here, so there's nothing to buy again. Sign in.

Create a free account Or browse our free guides

PreviousGlen, Michael, and the Sledgehammer Games Team NextObjectives