
Call of Duty: WWII Guide Multiplayer Maps and Modes Flak Tower
Overview
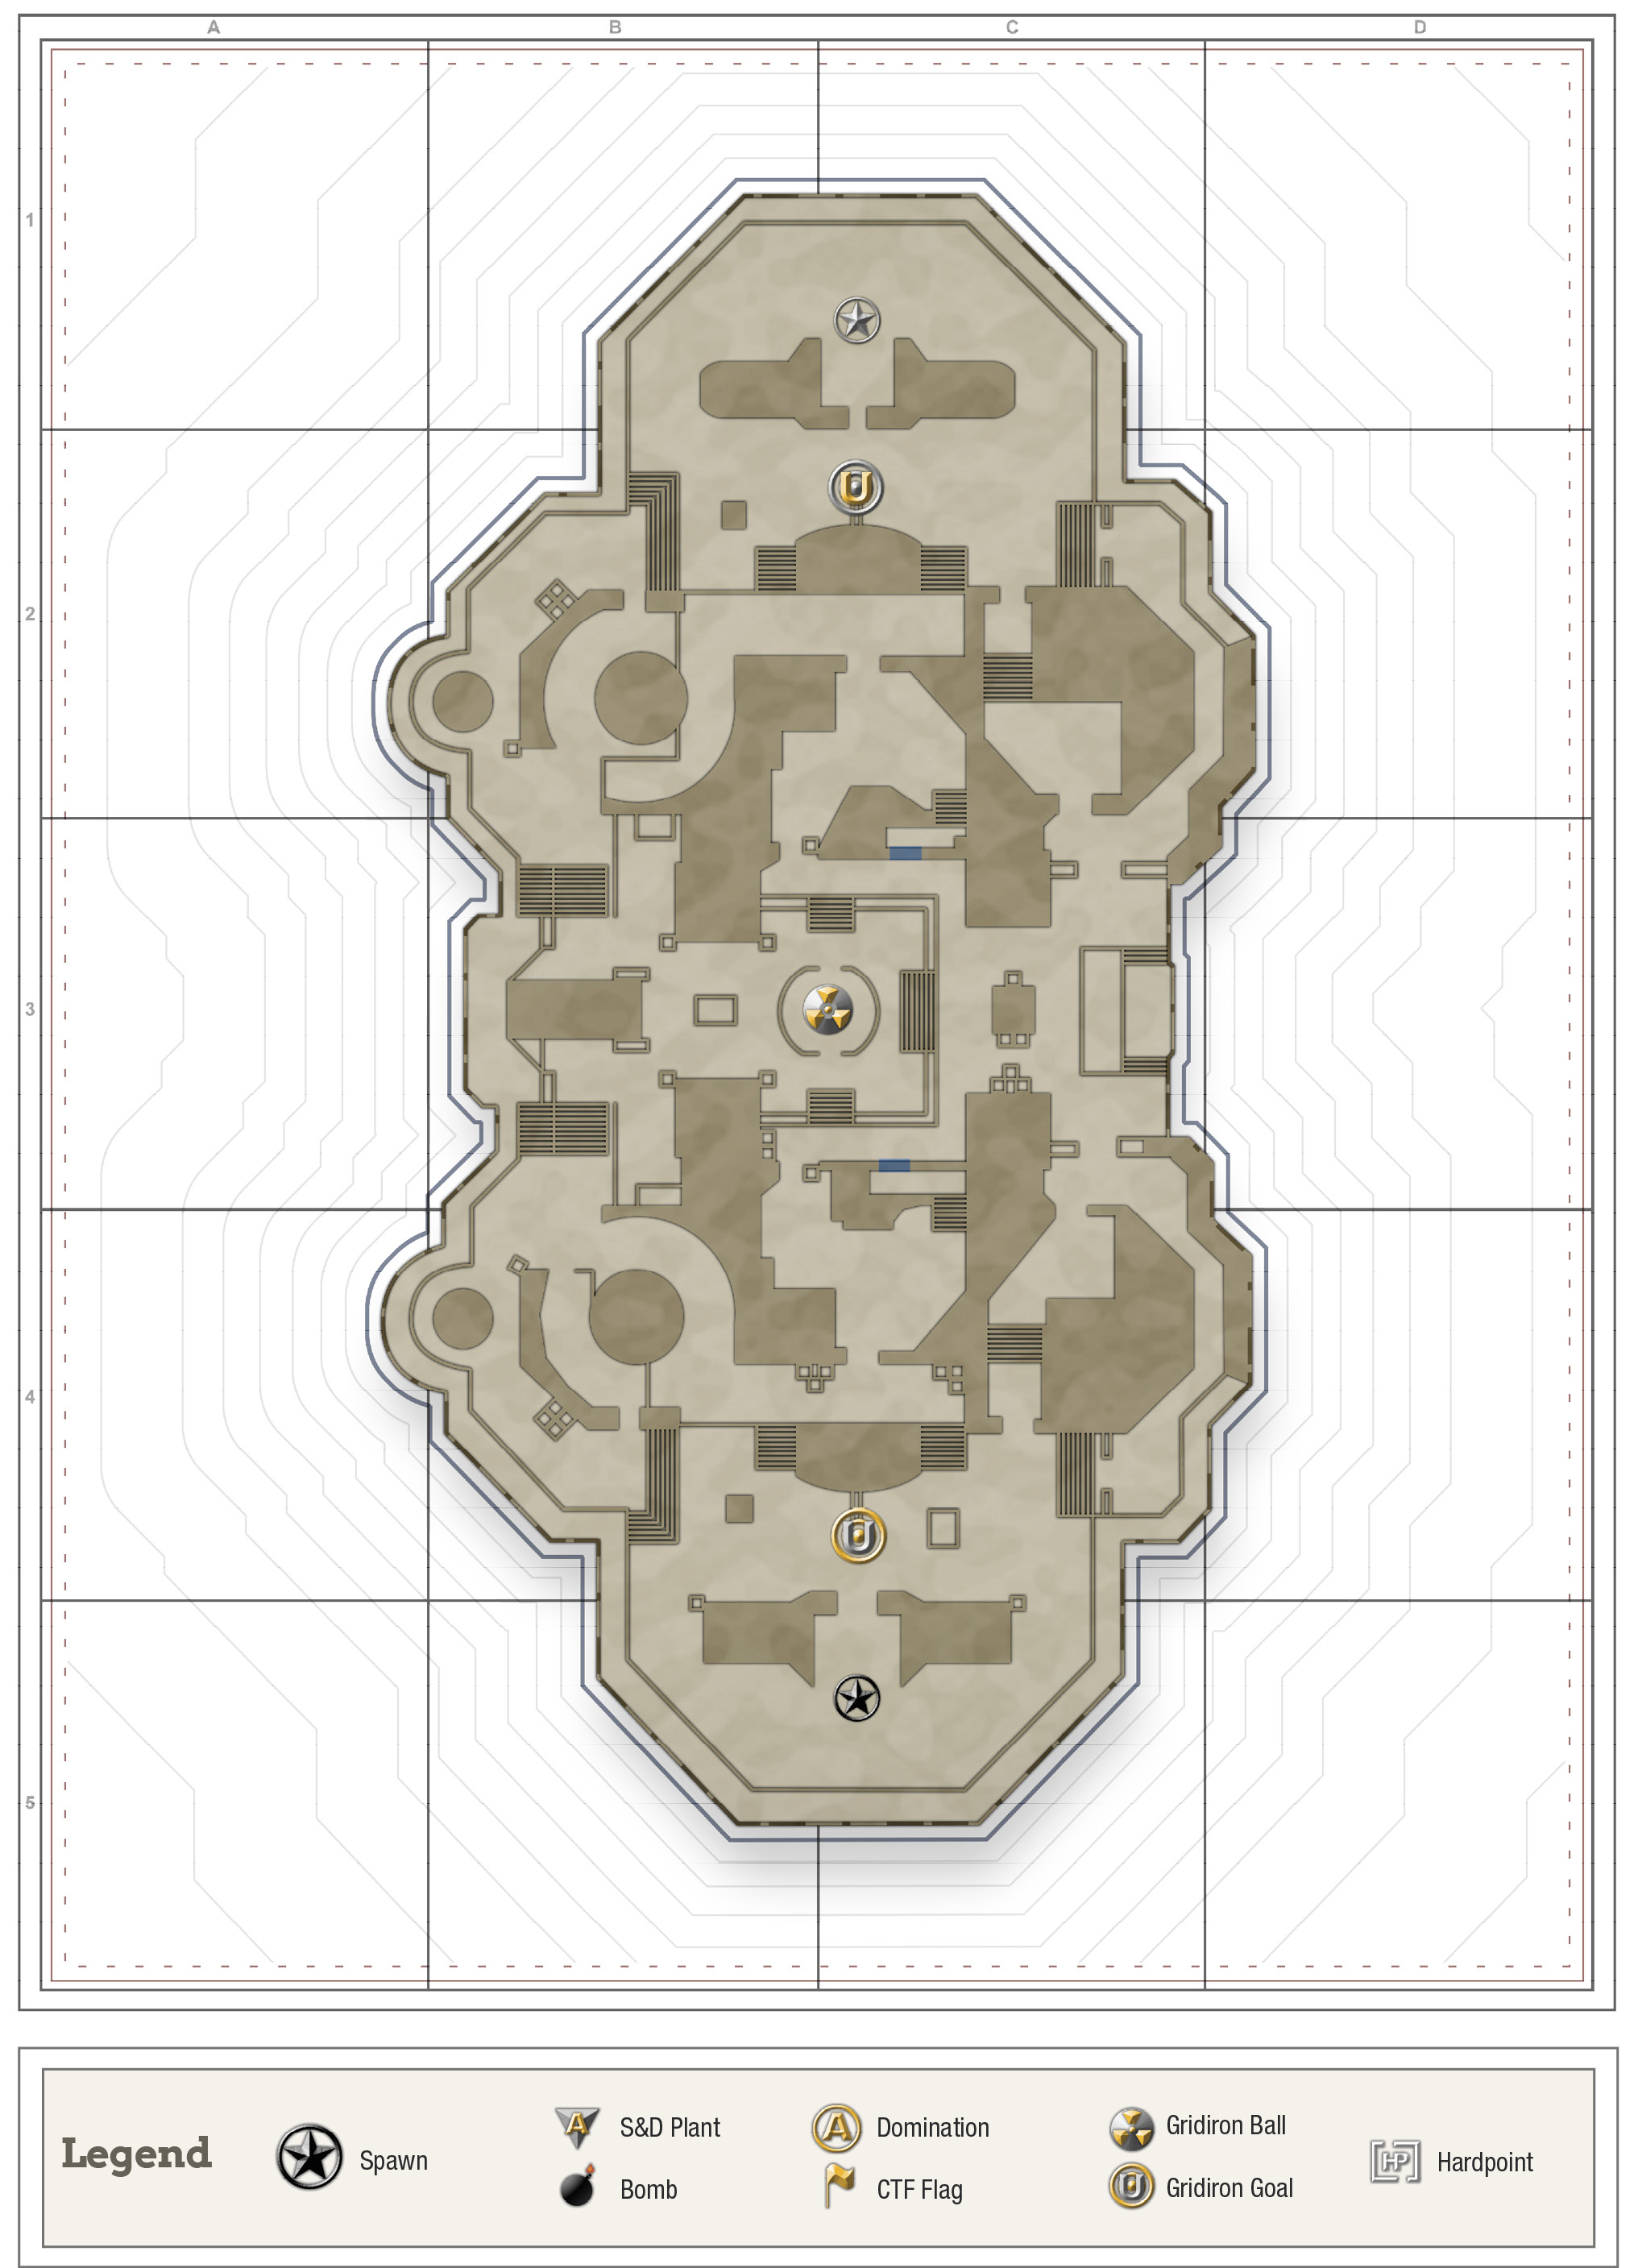
Flak Tower is an anti-air emplacement with multiple paths to anywhere you want to go. Close-quarters players will feel at home here with all of the easy flanks and rotations available to your team.
Mid-Range Loadout Tactics
This map perfectly suits anyone playing with a mid-ranged loadout. There are very few open areas, but there is plenty of cover to hide behind.
Short-Range Loadout Tactics

Short-range loadouts are as viable here as mid-range ones. The interior locations are your safest bet, but it’s also advisable to move from cover through the exterior locations. Try to avoid the center of the map if at all possible. If any enemy players stand at the windows in the buildings on either side of the map’s center, you’ll have a very hard time escaping.
Long-Range Loadout Tactics

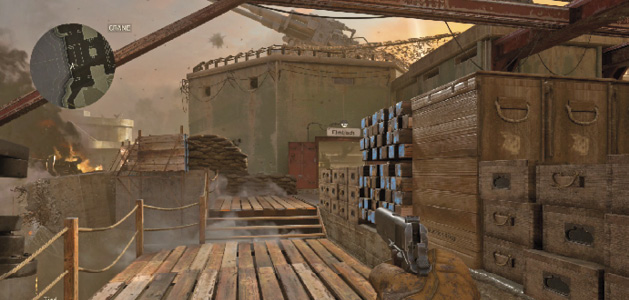
This is a tough map to play long-range. There are windows in the center of the map that might look like good sniping locations, but it’s best to leave them for LMGs. If you absolutely must snipe, stick to the sides of the map. You can either fire straight down the side of the map, or try and catch an angle of the map’s center for more options.

All in all, we suggest only sniping on this map if you want a challenge or are a veteran sniper. All others should stick to mid and short-range loadouts.