
Call of Duty: WWII Guide Multiplayer Maps and Modes Ardennes Forest
Overview
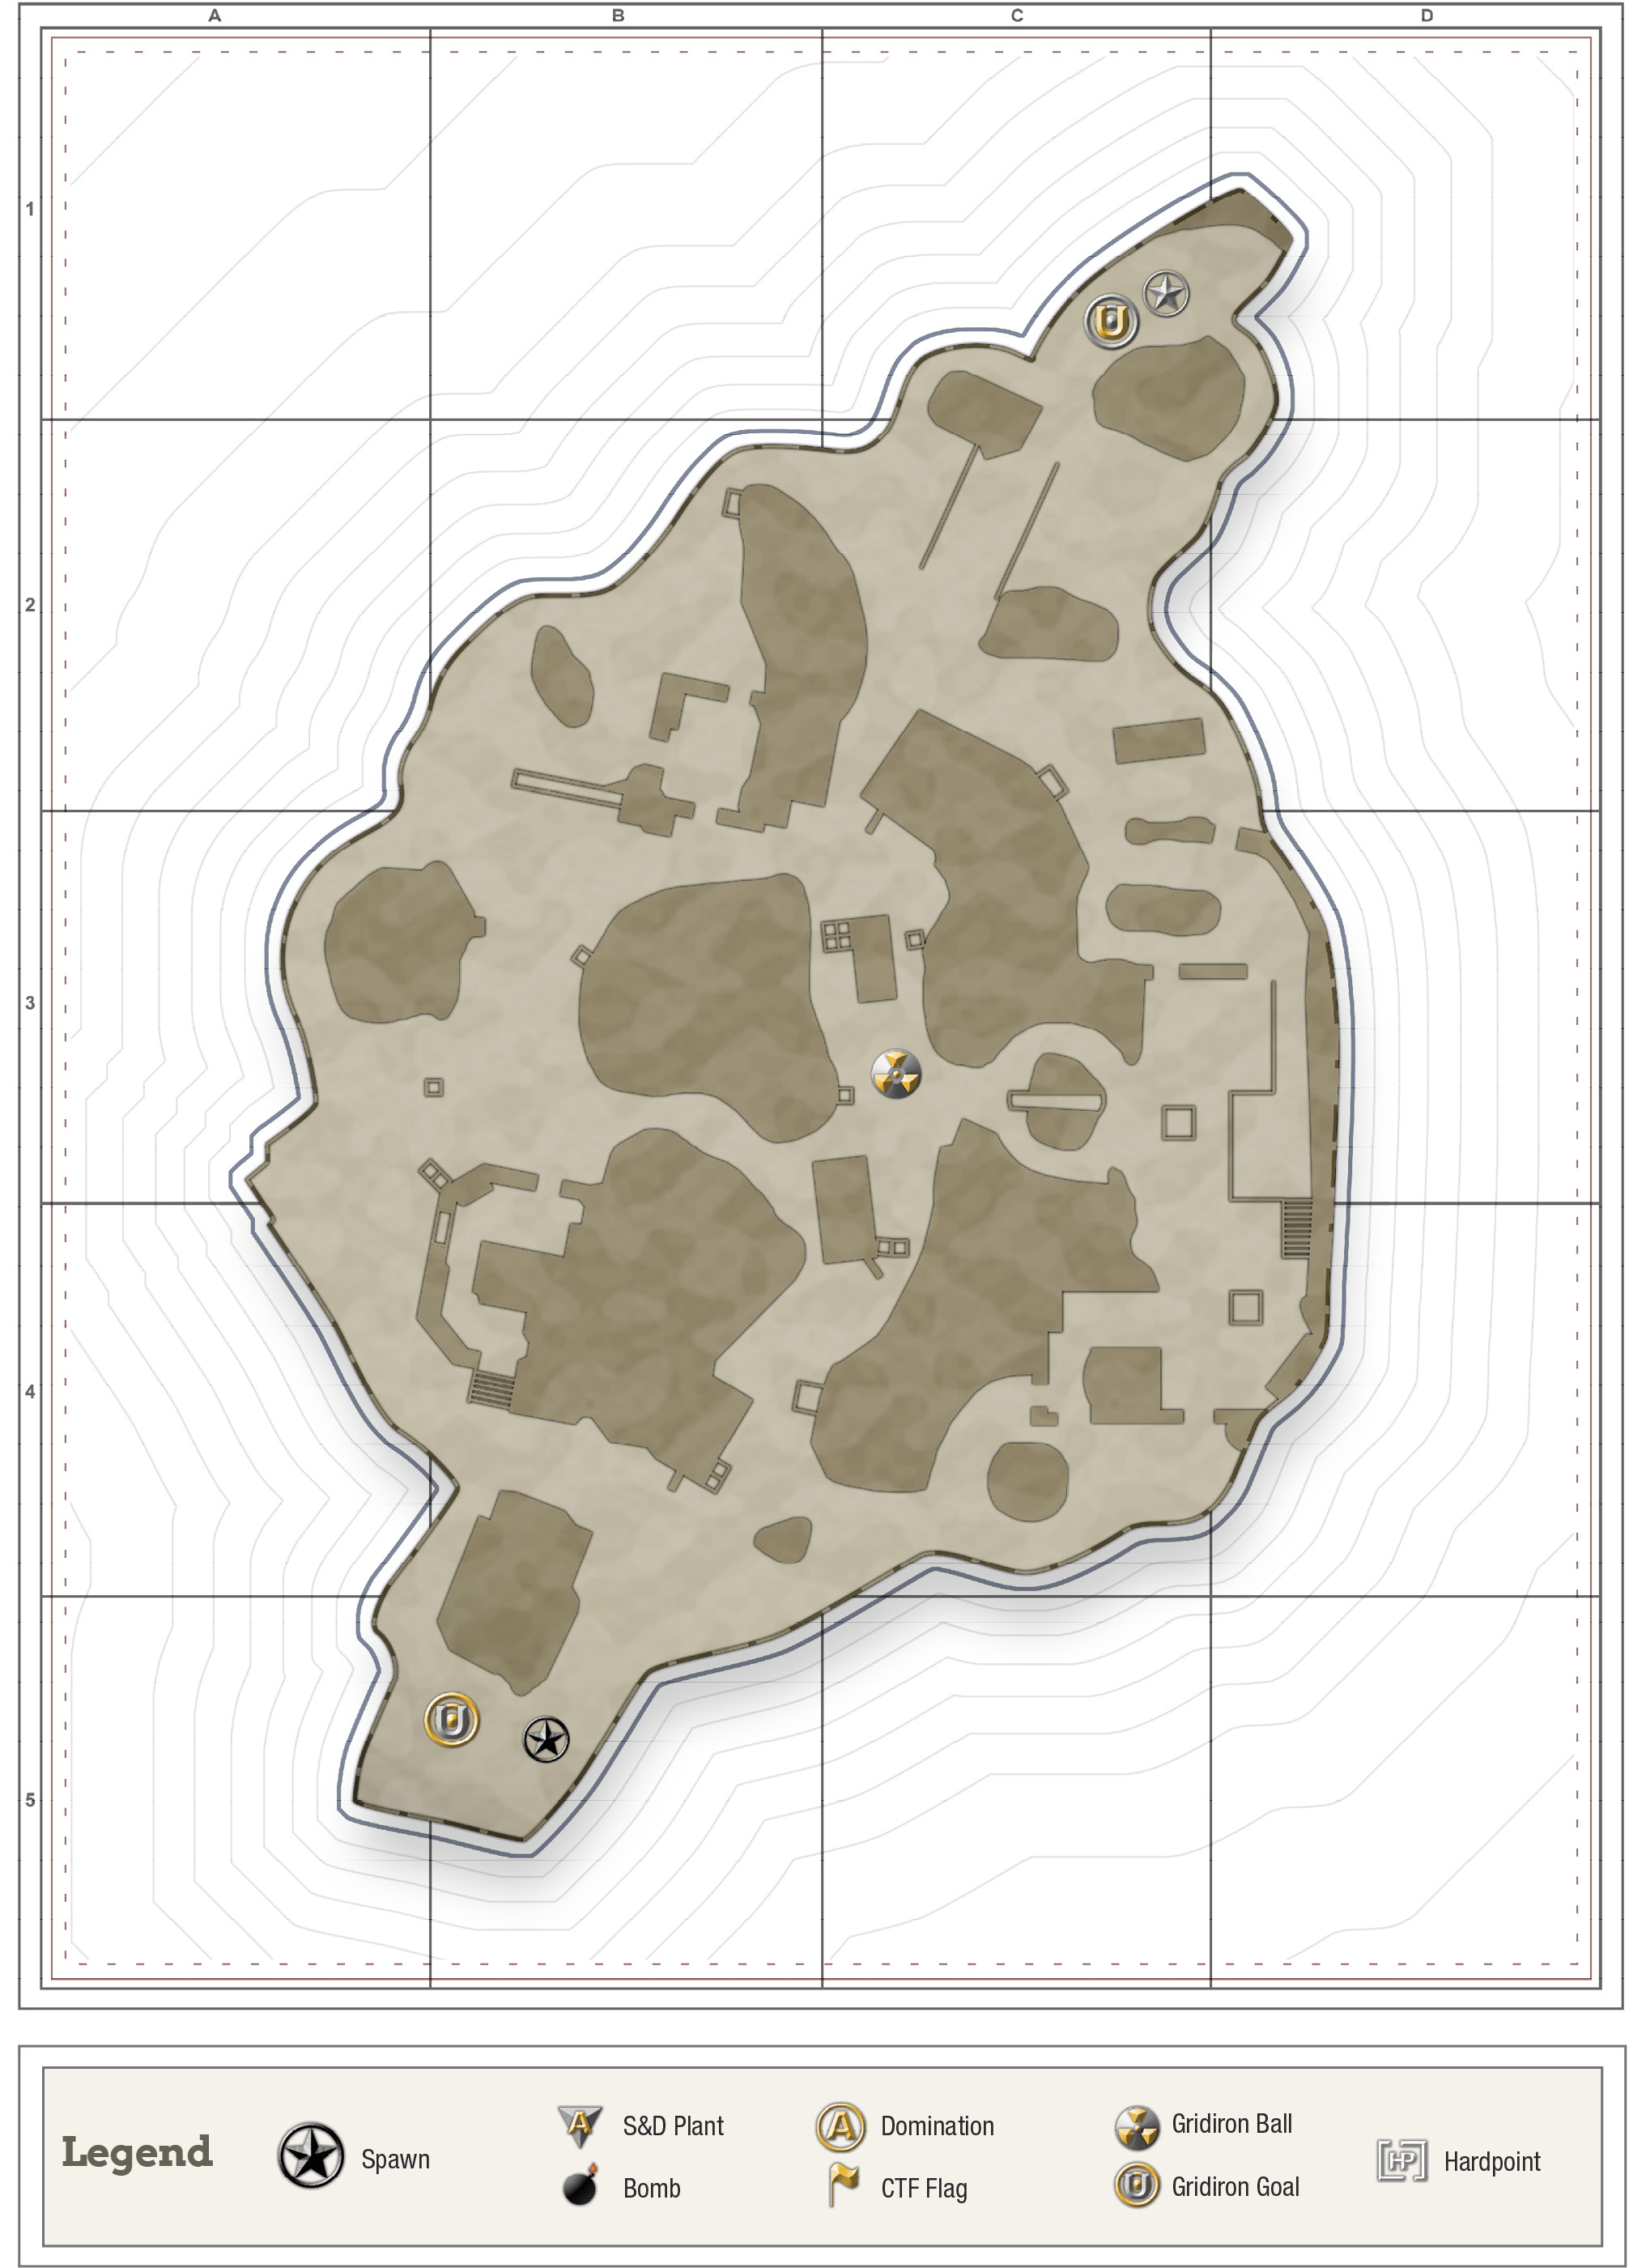
A snowy forest scene showered in the debris and destruction of war. It’s not a big map, but there are plenty of ways to flank and outmaneuver your opponents. Take care when at the extreme ends of the map. They’re wide open and favor the team that spawns in them.
Mid-Range Loadout Tactics

Mid-ranged weapons fare very well on this map, although it’s not without its tricky spots. The center lane will favor short-range players more than any others, so don’t get ambushed from behind the rubbish or from the connectors to the outer areas of the map.

The extreme ends of the map can also be dangerous, but if you’re using a rifle, you should have a fair shot at challenging any enemy head-to-head. It’s best if you avoid the ends of the map whenever possible, as they have more favorable conditions for those who spawn in them.
Short-Range Loadout Tactics

This isn’t a great short-range loadout map, but there are still areas that you can fight in that will offer outs during disadvantageous combat situations and allow you to duck in close for a shotgun kill or two. Namely, the center lane of the map will be your best friend. Enter it, possess it, and make all who pass through it pay the toll. Ruins on the south side of the map also offer enough cover, provided you play it smart.

There are a couple of buildings and interior areas on both sides of the map and Forest (on the north side of the map) also has a couple of narrow alcoves, one on its north side and one on its southeastern side, near the cabin.
Avoid the extreme ends of the map. There are long stretches on both ends that completely lack cover and there will usually be at least one enemy hiding in them, unless your team is currently spawning there. You likely won’t win
exchanges here, so unless it’s absolutely necessary, don’t enter them at all with a short-range loadout.
Playing short-range on this map won’t be easy, but you can still walk out of a kill-based game mode having supported your team if you play smart and stay away from the open areas.
Long-Range Loadout Tactics


The extreme ends of the map play in a long-range player’s favor. Lots of open space and very little cover will make these locations yours to hold. Forest (on the north side of the map) also heavily favors long-range players with open space and limited cover. You can play Ruins on the north side of the map as well, but you must be clever. You’re welcome to take the overlook near the center of the ruins, but know going in that it’s not hard to flank a player on that landing. Plant an S-Mine 44 below the ramp you aren’t facing to avoid getting attacked from behind.