
Call of Duty: WWII Guide Multiplayer Maps and Modes Pointe du Hoc
Overview
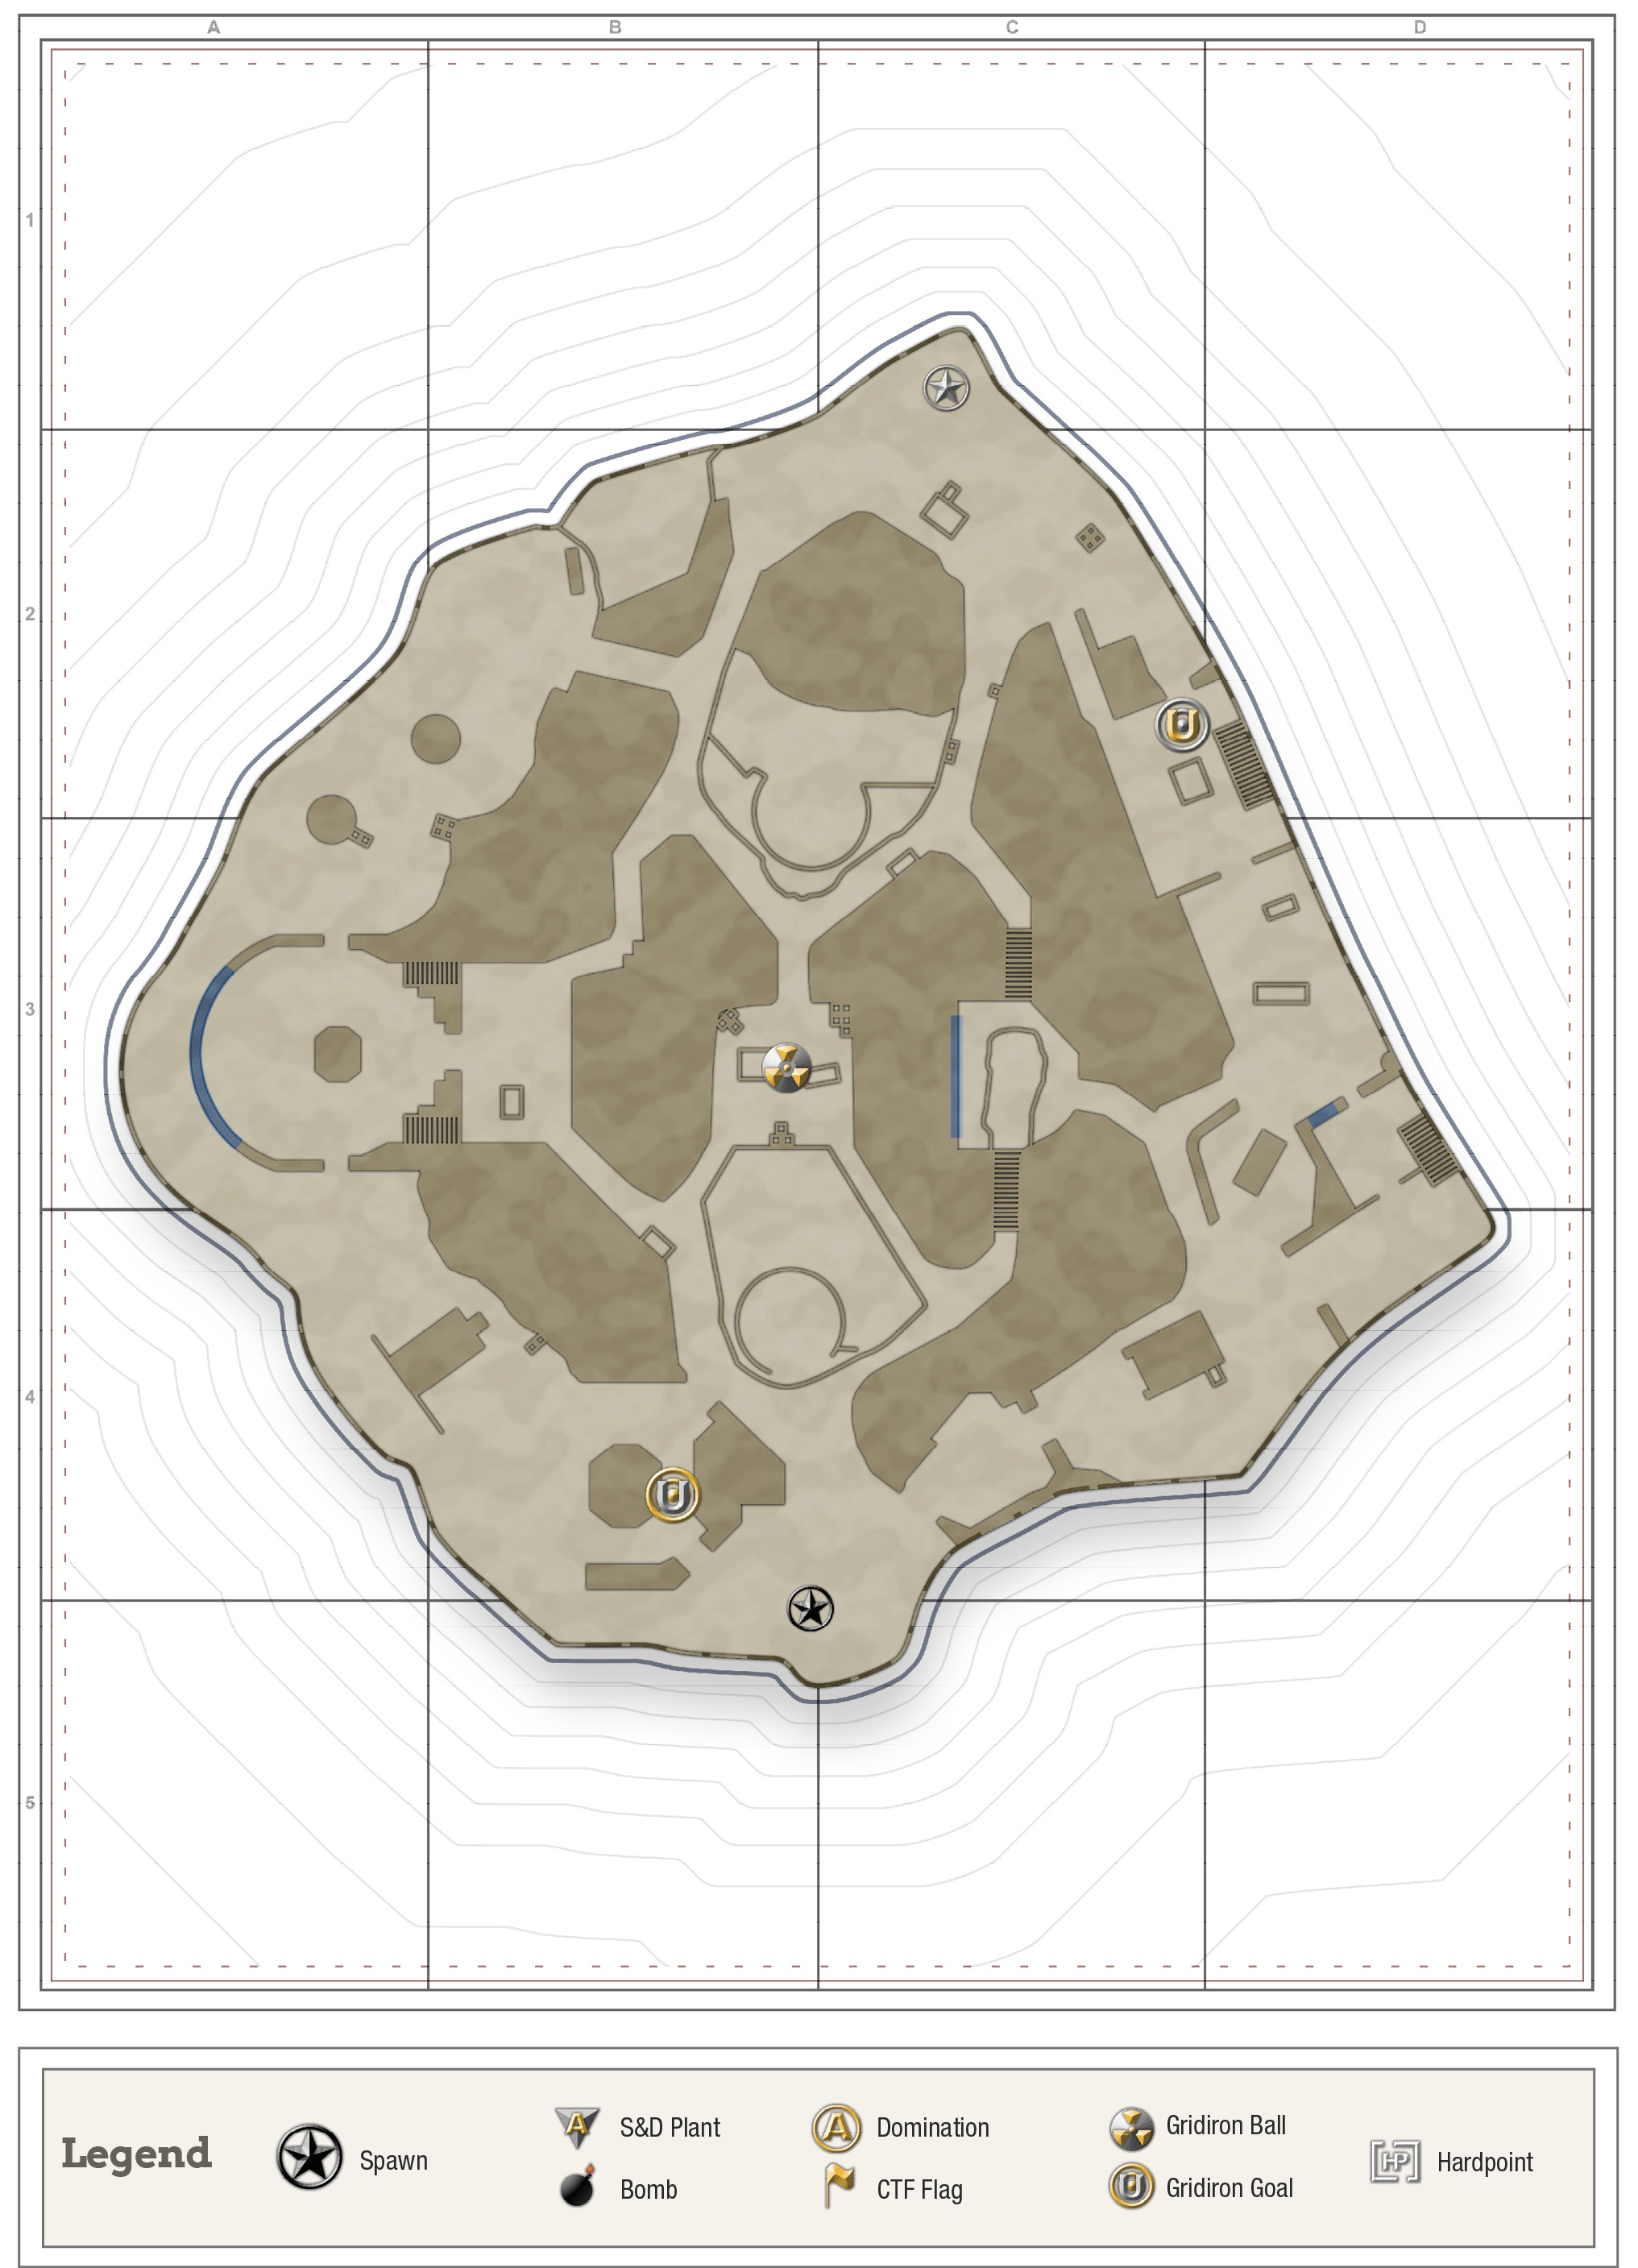
Pointe du Hoc is a devastated, coastal fortification with open areas surrounding enclosed trenches and bunkers. SMG and close-range players will find a lot to love on this map.
Mid-Range Loadout Tactics

The trenches are really dangerous for rifle users. There are plenty of flanking opportunities and enough twists and turns to allow short-range players to get in close before you have a chance to aim down your sights. Stick to the outside of the map and only go through the trenches if there are no other options. If you end up in the trenches, rely on your bayonet more than your weapon. Hip fire on most rifles isn’t reliable and the time it takes to aim is about same amount of time it takes for a short-range enemy player to blast you into another dimension. Bayonets are quick and effective. Play your cards right and you’ll get a lot done with a bayonet.

Most SMGs are effective on this map, especially with Quickdraw and Steady Aim as your Attachments. If an enemy gets the jump on you, fire from the hip; otherwise, encounters should be dealt with in the usual fashion. There are few places on this map that don’t favor SMGs: the long, coverless stretches of land, like those seen outside Farmhouse and Barn.

If you’re using LMGs, the rules for long-range players apply in a very similar fashion. Find a spot, drop the bipod, and hold the line. There aren’t a lot of paths into the buildings on the outer edges of the maps, and most buildings work well as chokepoints. If you’re sporting an S-Mine 44 or are proactive in watching your flanks, you can avoid getting attacked from behind a lot easier compared to other maps.
Short-Range Loadout Tactics
This is an excellent map for shotgun and melee loadouts. Short-range SMGs like the Waffe 28 perform well in the trenches, and the Airborne Division’s increased stamina helps even more.

The trenches are generally friendly for close-quarters fighting, but you must avoid the long, straight, and narrow parts of the trenches. If you enter a long trench and see an enemy at the opposite end, back off and reroute. There’s no glory in dying in battle because you charged down an enemy who clearly had the upper hand. Playing short-range loadouts is about finesse, not slamming against enemies until they die.
Stay away from the outer edges of the maps. While they’re not entirely dangerous, the conditions are not favorable to a short-range player, which will make any encounter more unpredictable than it needs to be. The bunkers are friendly, however, so don’t be afraid to use them.
Long-Range Loadout Tactics

This is not a sniper-friendly map, but there are some locations that favor long-range loadouts. You’ll want to stick to East Bunker, Barn and Farmhouse as your main sniping locations. They have the best views and generally favor long-range over short-range play. Standing outside of the northwestern end of Farmhouse provides a nice view through the bunker ahead and beyond, but you’ll be completely exposed. Wherever you set up shop, use S-Mine 44s to block off your rear or flanks, and then wait patiently for poor fools to pass your crosshairs.