
Call of Duty: WWII Guide The Campaign Mission 01: D-Day
D-Day
 Mission Intel
Operation: “Neptune”
Date: 6/6/1944
Location: Omaha Beach, Normandy, France
Journal Entry: Ever since I could hold a rifle, I wanted to be like you Paul. You’ve always been a tough act to follow. But I’m damn sure gonn a try.
Objective: Take the Beach
After the shocking beach landing, you regain control of Daniels in the water. There’s not much you can do but trudge forward. Follow Turner out of the water and onto the beach.
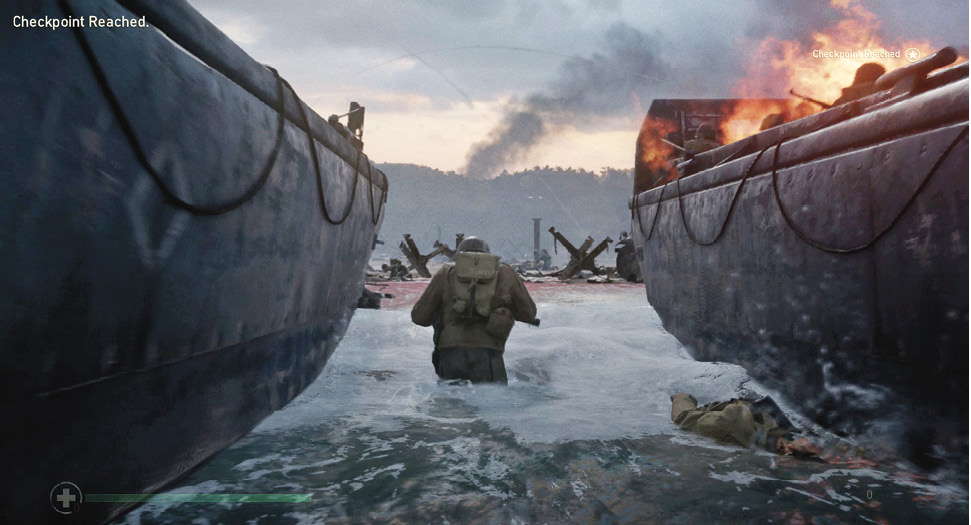
Objective: Reach the Seawall
Your mission and squad are in tatters and you have new orders: Get the Bangalore Torpedo demolitions equipment and transport it to the seawall.
Armed with the torpedo, press the Sprint button to charge forward to the next group of low hedgehogs on the beach. When the game instructs to do so, hold down the Crouch button to go prone and avoid the incoming machine gun fire. Move around the left side of the cover and follow Turner up the devastated beach.
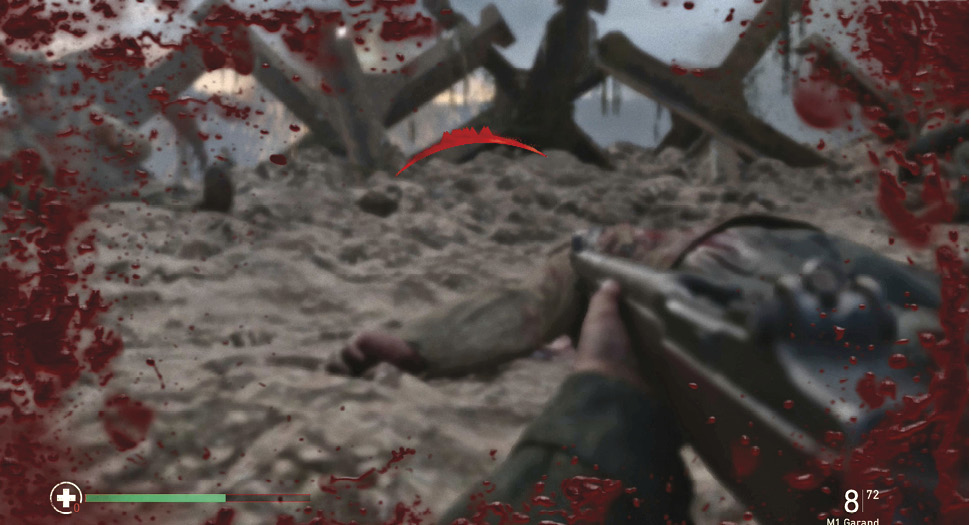
Stay low and close to Turner as he scrambles from one hedgehog to another. When he stops, go prone to avoid the incoming fire.
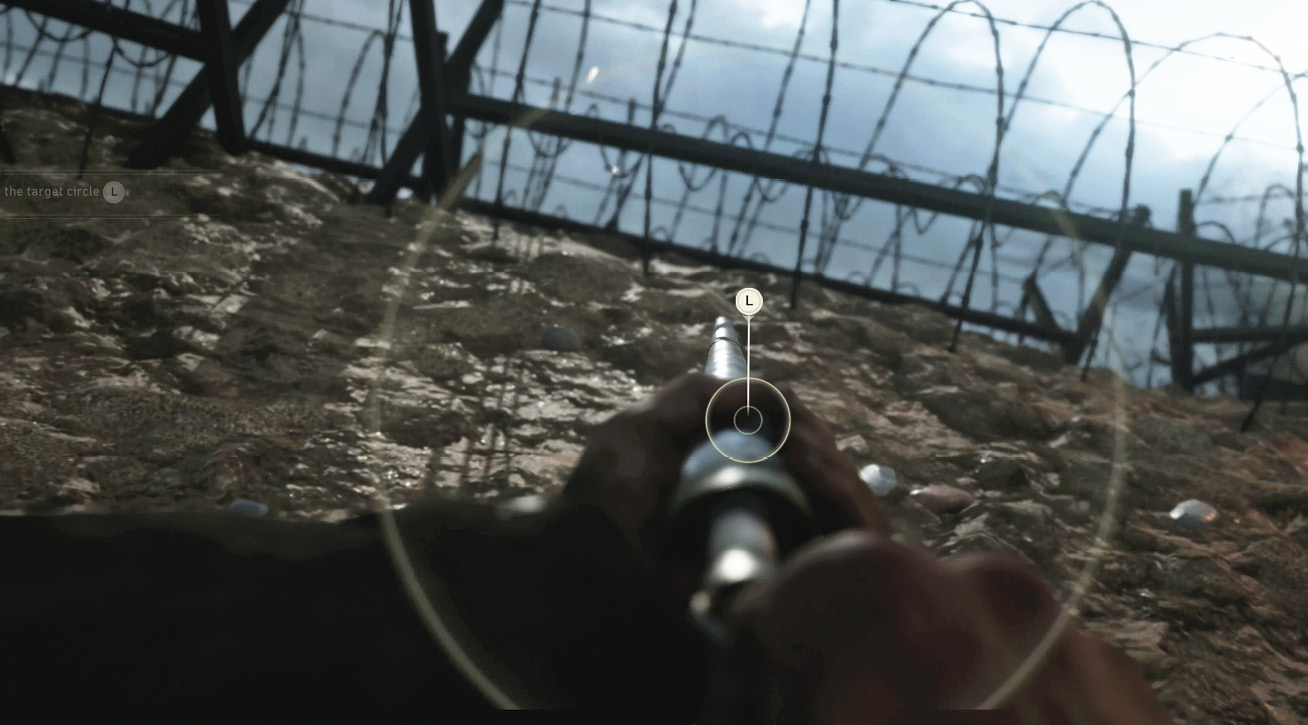
Eventually, you’ll make it to the seawall. Zussman helps setup the Bangalore. Use the Movement analog stick to align the line with the circle, then press the Fire button to complete the objective.
One of the Lucky Few
Make it to the seawall in less than two minutes without getting hit by the Machine Gun. (The tutorial prompt for crouching doesn’t count against this achievement.) To achieve this, you must cut your own path down the right side of the beach as quickly as possible.
Objective: Ascend the Bluffs
With a giant hole in the seawall, your squad begins charging for the bunkers. Crouch down and shoot the two guards firing at your squad from the left and right. Next, move up to the edge of the trench. Once there, you see several Germans fighting with GIs in the trench. Shoot the Germans to save your fellow soldiers and move up through the trench.
Zussman tosses you a med pack. You probably need the med pack after your advance up the beach, so go ahead and use it now.
Stay crouched and advance through the trench. Nazis are littered throughout this bunker. Advance carefully behind Zussman and mow them down. Search the downed GI for an upgrade for your current weapon. If it’s to your liking, pick it up.
Continue to crawl forward and grab the med pack on the crates ahead. Explore down the right passage to find another med pack inside the bunker. Stay crouched, and return to the main path.
More Germans are waiting as you proceed down the path. Use the narrow path to stay behind obstacles and unload on the Germans as they emerge from their own cover.
Charge up the stairs after your squad and use the blasted concrete wall on the right for cover. Wait for Pierson to call for an artillery strike on the hill, then sprint to the sandbags at the top. Three infantry arrive and attack at the top of the bluff. Kill them and advance to the second trench.
Objective: Clear the First Bunker
This bunker area is a maze. You can move through on either the left or right side. Before making that decision, though, use your rifle to pick off the few enemies taking pot shots at you from the back of the bunker.
When most of the enemies on the opposite side are disposed of, crawl through the left path to secure a med pack. Continue along the trench and cautiously approach the bunker door. Several Nazis reside inside. Toss a grenade into the bunker, grab a MP40 off the dead guards, and clear out any survivors.
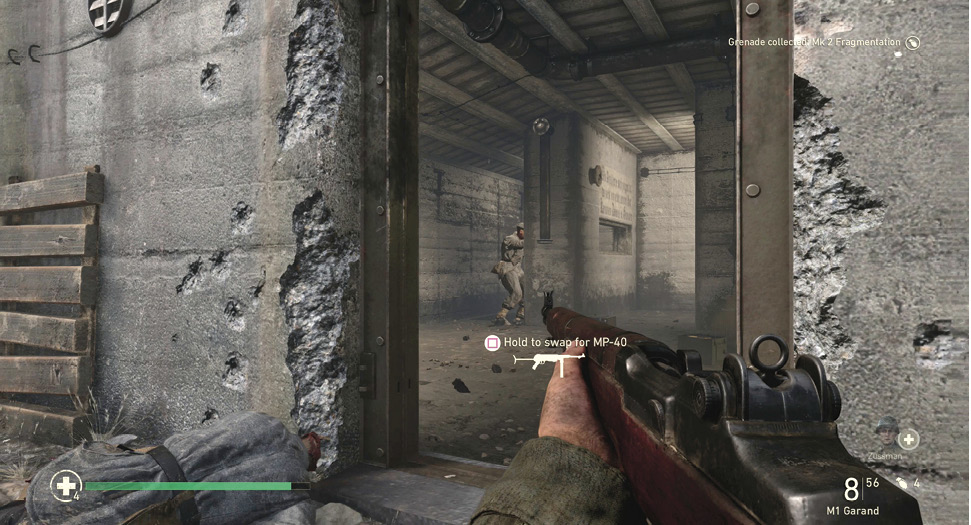
Objective: Clear the Second Bunker
The first bunker is now clear. Search it for extra med packs and an MG42.
Once back outside, look for an opening in the trench near your squad. Proceed to the opening to find a GI struggling with the Nazi. Kill the Nazi to score your first Heroic Action. Advance to make your squad follow you. A door on the right leads to the next bunker.
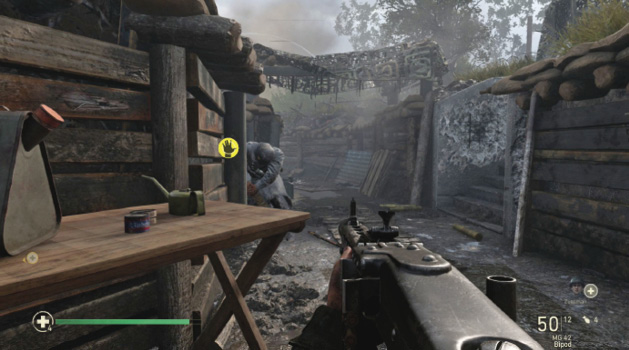
Once inside, locate the grenade crate on the right side. Refill your grenades and press the Tactical Grenade button to toss smoke into the doorway ahead. Wait for the smoke to fill the hall, then sprint toward the machine gun.
Watch out! There are several Germans defending the MG nest, so toss a smoke grenade or two to flush them out. Stay with your squad as they move from room to room to clear out the bunker. Switch out your MG42 when it runs low on ammo with another emplaced nest.
Objective: Clear the Third Bunker
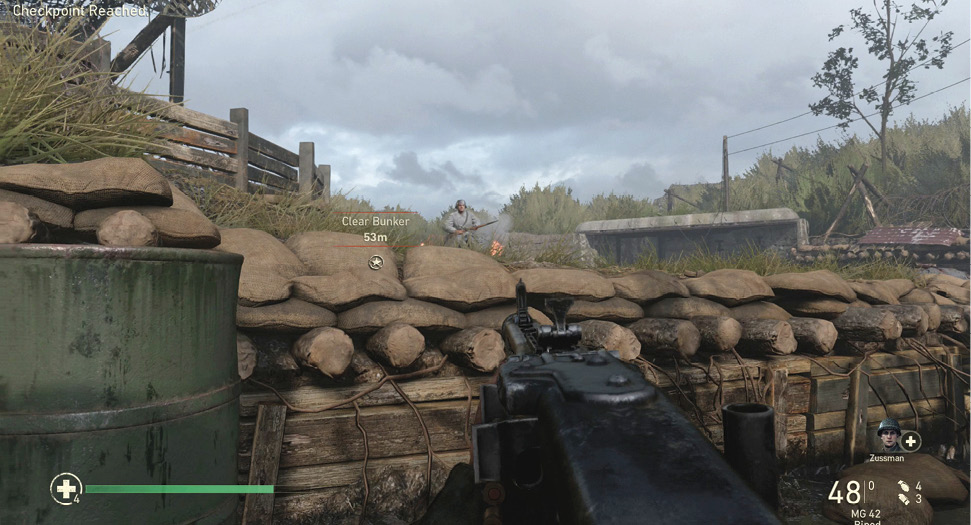
Emerging back outside, you rejoin your squad in the trench. Proceed forward and then when the path starts to curve to the right, pop your head up and mow down the Nazis charging the grassy hill above the trench on the left. Next, turn your gun up the trench, crouch down, and walk forward. More Germans are defending ahead; target them when they leave cover and press forward to the third bunker.
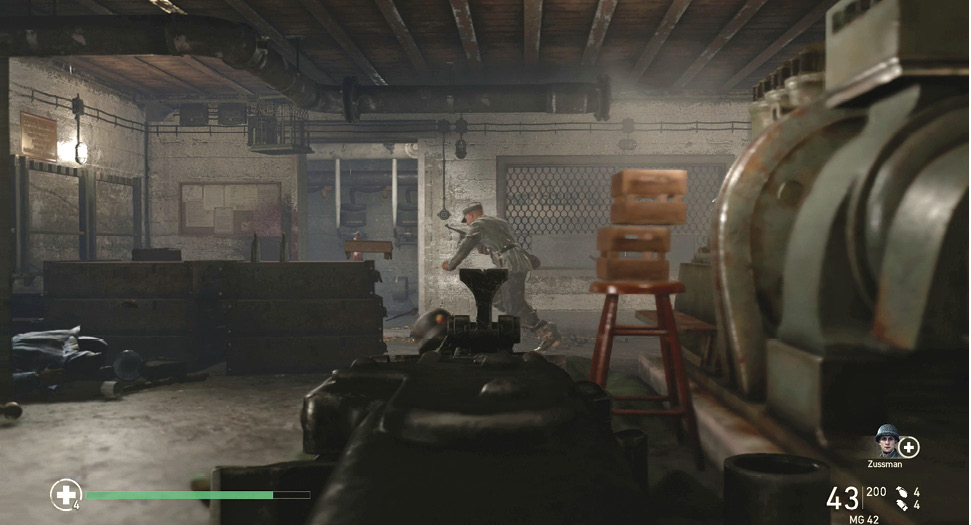
Daniels is on point, so enter the building when you are ready. This generator area is a trap and the Germans are waiting behind cover. Peek through the chicken wire and shoot them as soon as they appear.
When the generator is clear, climb the stairs at the back and kill the last remaining Nazi. He is defending another machine gun nest and a health pack. You will get the all-clear once the coast is clear.
Unfortunately, the all-clear call is premature, as German reinforcements arrive from the rear of the bunker. Use the giant engine for cover and toss grenades to the corridor they are attacking from.
Objective: Clear the Fourth Bunker
When the objective updates, you are done here. Return the way you came. Once outside again, another Heroic Action opportunity arises as German and American soldiers wrestle over a rifle. Shoot the German to earn the accolade.
Your squad points the way to the fourth bunker. This bunker’s opening section is mostly empty. Let your squad take point and follow closely behind.
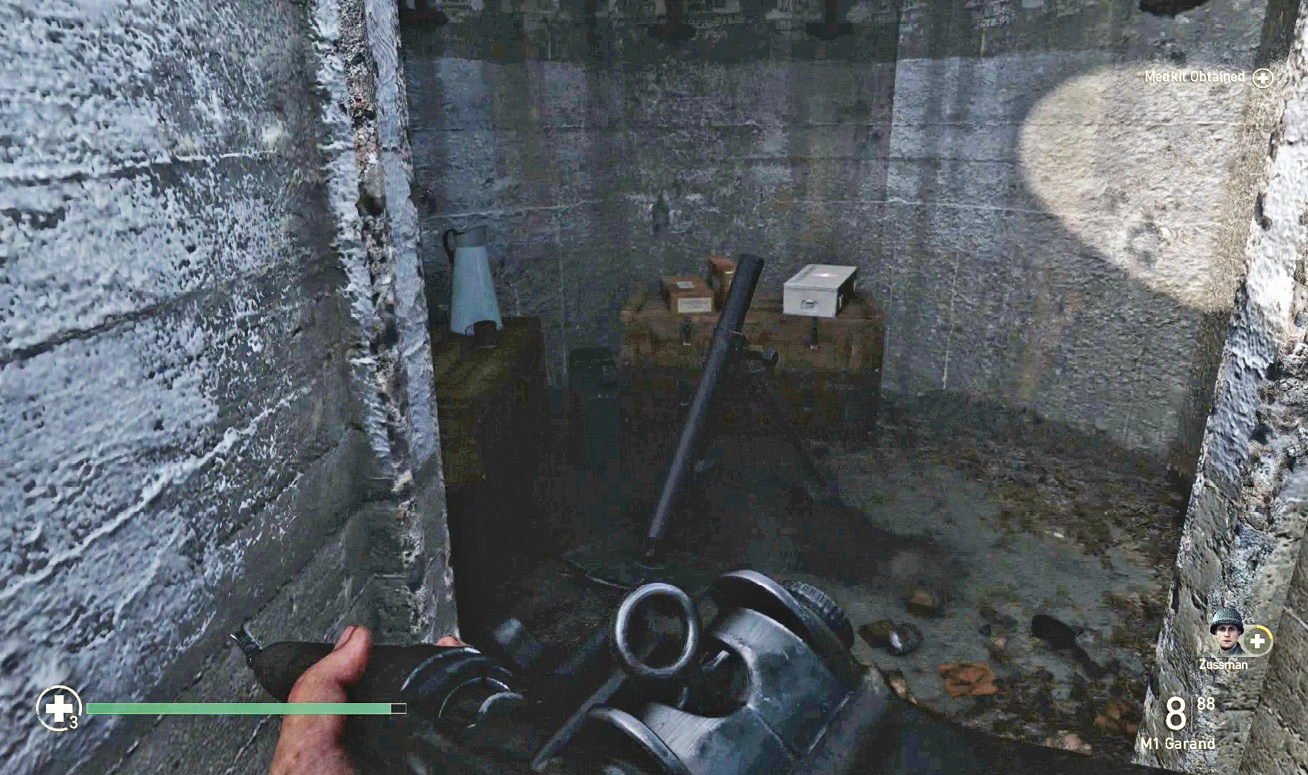
The bunker’s last room contains a mortar emplacement. Use grenades to flush the room out. Once clear, search the corners for some bonus med packs. When you’re ready to move on, look for Zussman and activate the door next to him.
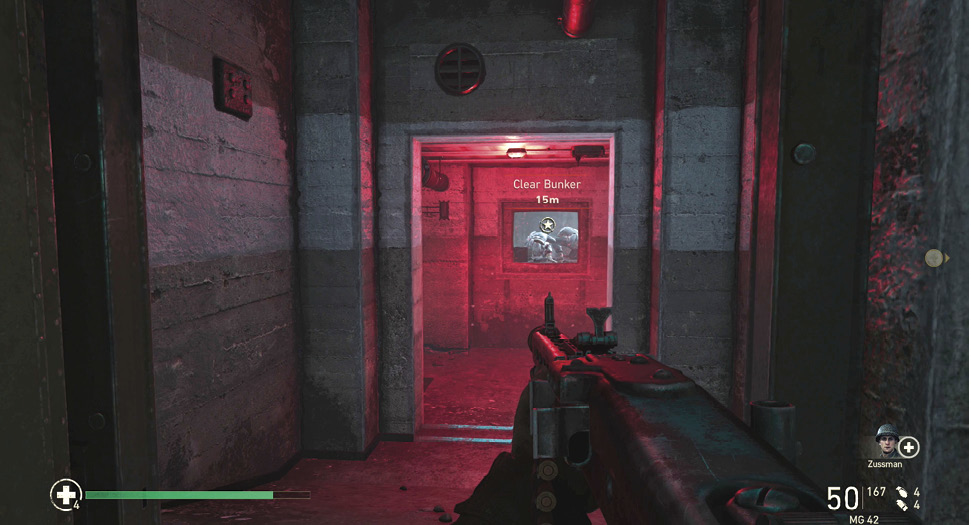
Objective: Clear the Fifth Bunker
Back outside, you can choose either the left or right path. Whichever one you choose, keep your gun aimed high and pick off the enemies firing down from the top of the next bunker.
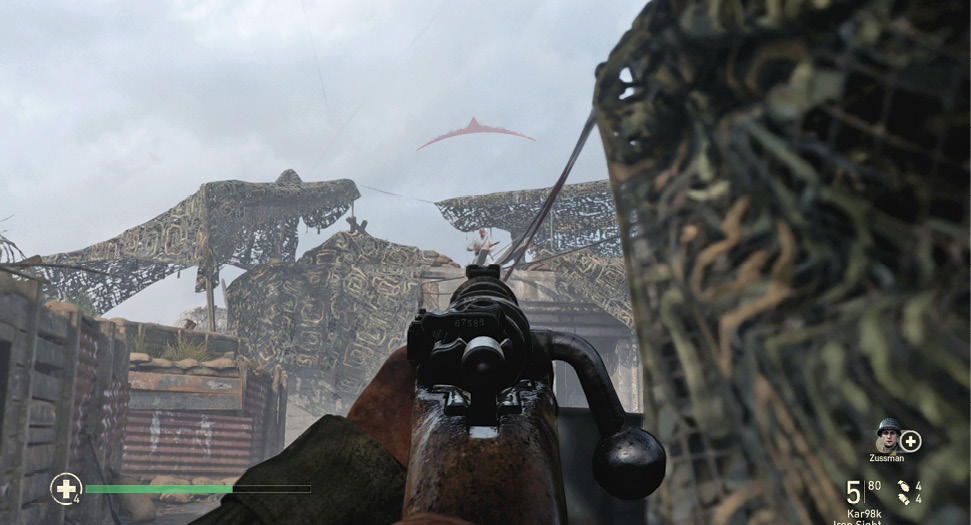
Watch for reinforcements hiding behind the sandbags on the lower area. When it’s safe to do so, advance to the bunker’s lower doorway. Inside, a German attacks from out of nowhere. Follow the on-screen prompts to win the impromptu wrestling match for your rifle. Zussman arrives just in time, but the fight isn’t over yet! Be ready for more quick-time events after Zussman takes one for the team.
Objective: Save Zussman
Drag Zussman back out to the trenches. When the view returns to your weapon, take careful aim and pick off the Germans before they can cause harm to you or Zussman. Remember to use med packs while dragging Zussman, as it makes this section a bit easier. Just do NOT use a med pack while enemies are actively shooting at you.
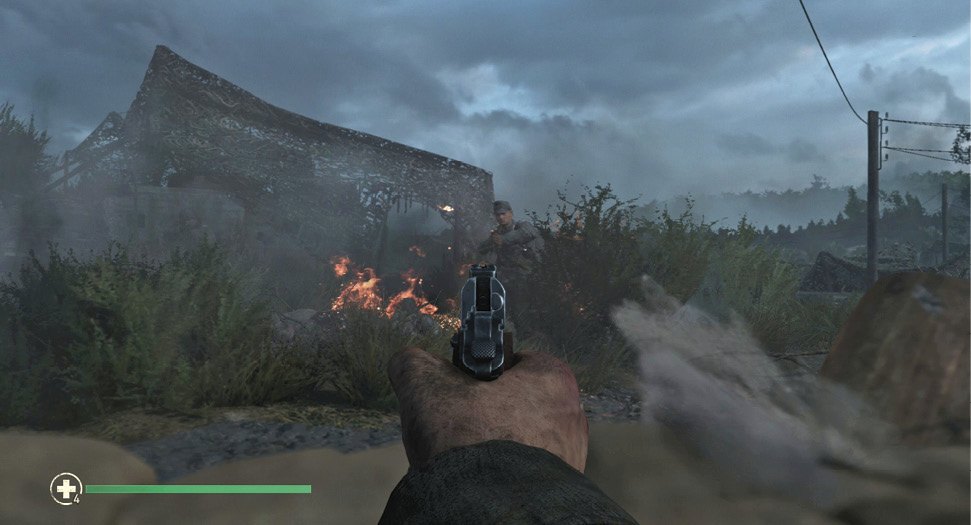
Score headshots on the Germans as soon as they appear by using Aim Down Sight on your pistol. You can only drag in one direction, so don’t worry about getting lost.
Have your finger on the Lethal Grenade button to ensure you’re ready to toss back incoming enemy grenades.
Objective: Destroy Artillery
Your commanding officer, Turner, arrives with orders to destroy a nearby enemy artillery. Turner can give you ammunition in the same way Zussman refilled you with health packs, so keep him close and his morale high. Before leaving the medic’s area, though, search it for an M1 Garand. You’ll need a long-range rifle for this next section.
Locate the artillery regularly firing rounds into the air between two farmhouses. While proceeding up the road, be on the lookout for the machine gunner on the second floor. Take cover behind the spilled cart and use the weapon’s muzzle flash to pinpoint the gunner and pick him off.
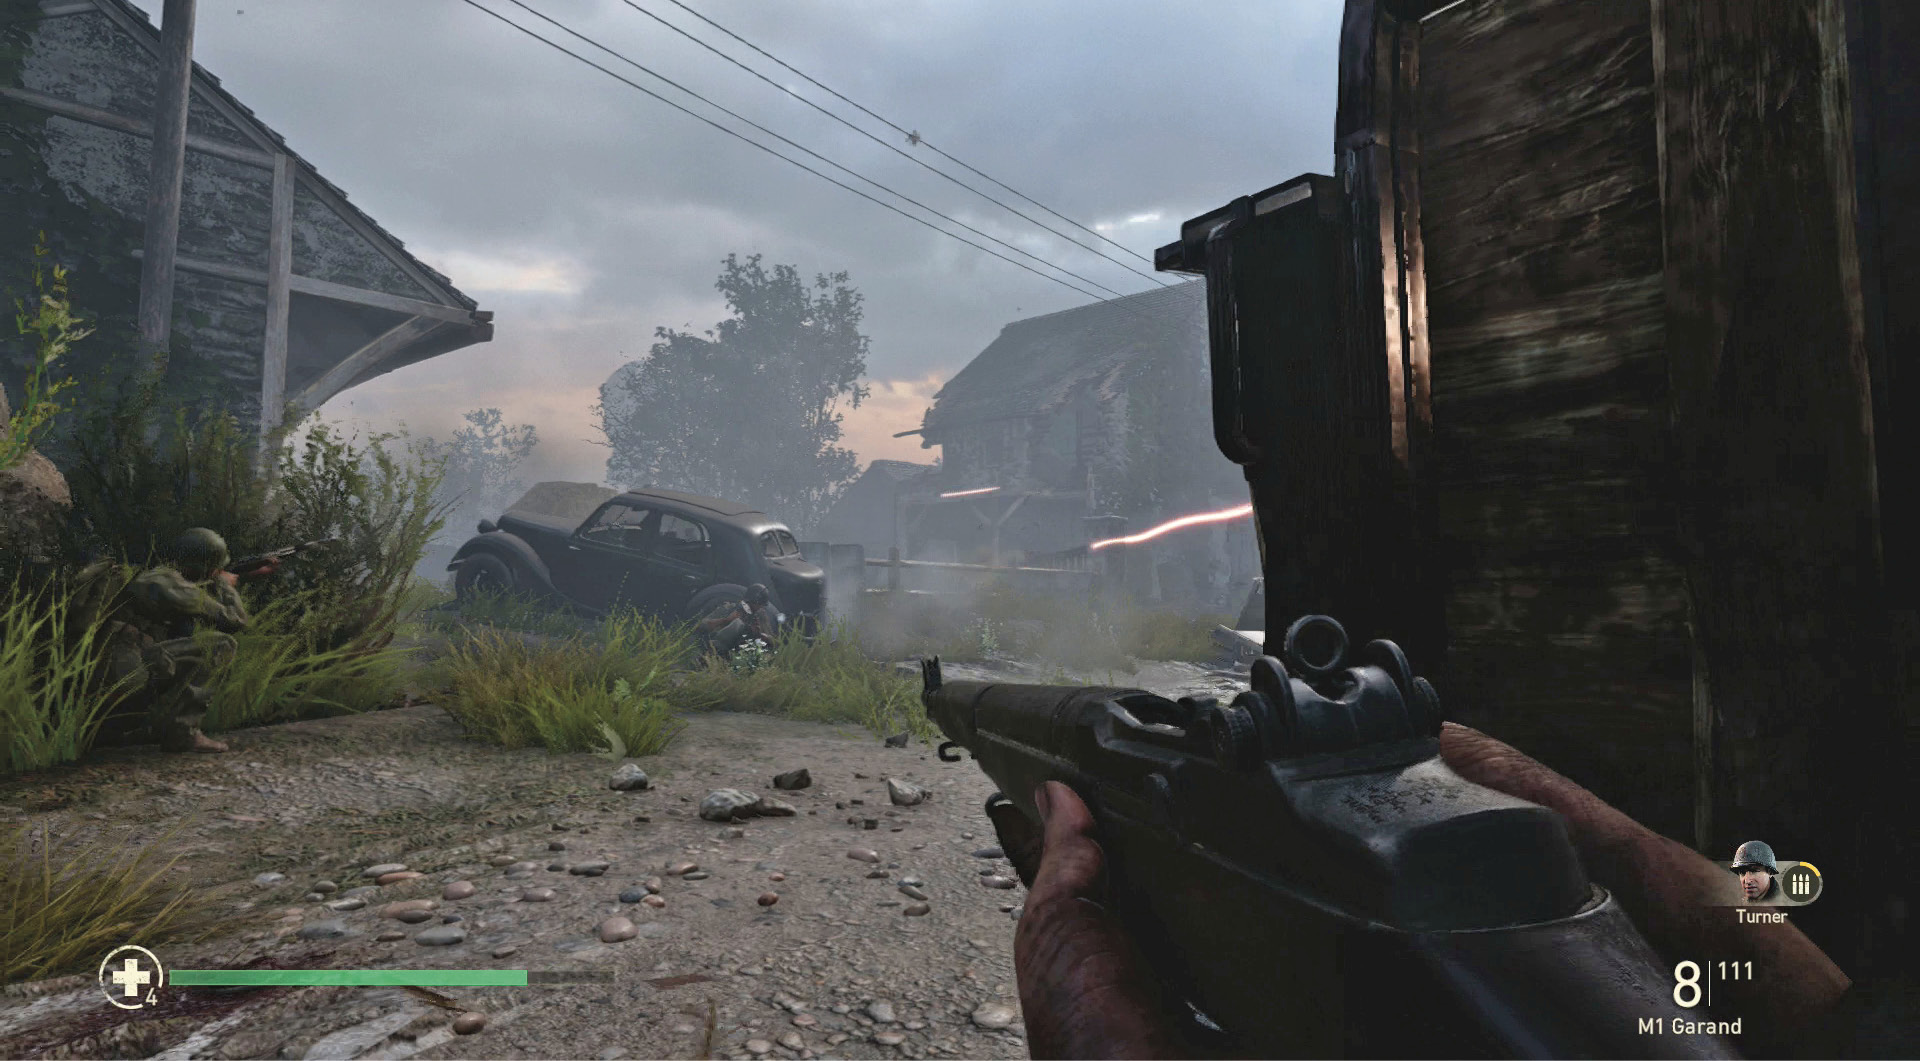
Continue up the road but watch out for more soldiers on the gun, as well as more Germans firing from behind the wooden fence at the entrance to the property. When you make it to the fence, locate the mortar position. Next, toss a grenade at it to flush out the Nazis and start clearing the area of the German defenders. When most of the enemy resistance is history, you get a brief respite before the Germans mount a counterattack.
Objective: Defend the Area
There are a lot of Germans in this push. Instead of trying to take them head-on, though, just find a good area of cover and only fire at them when they attempt to advance to your position in the open.
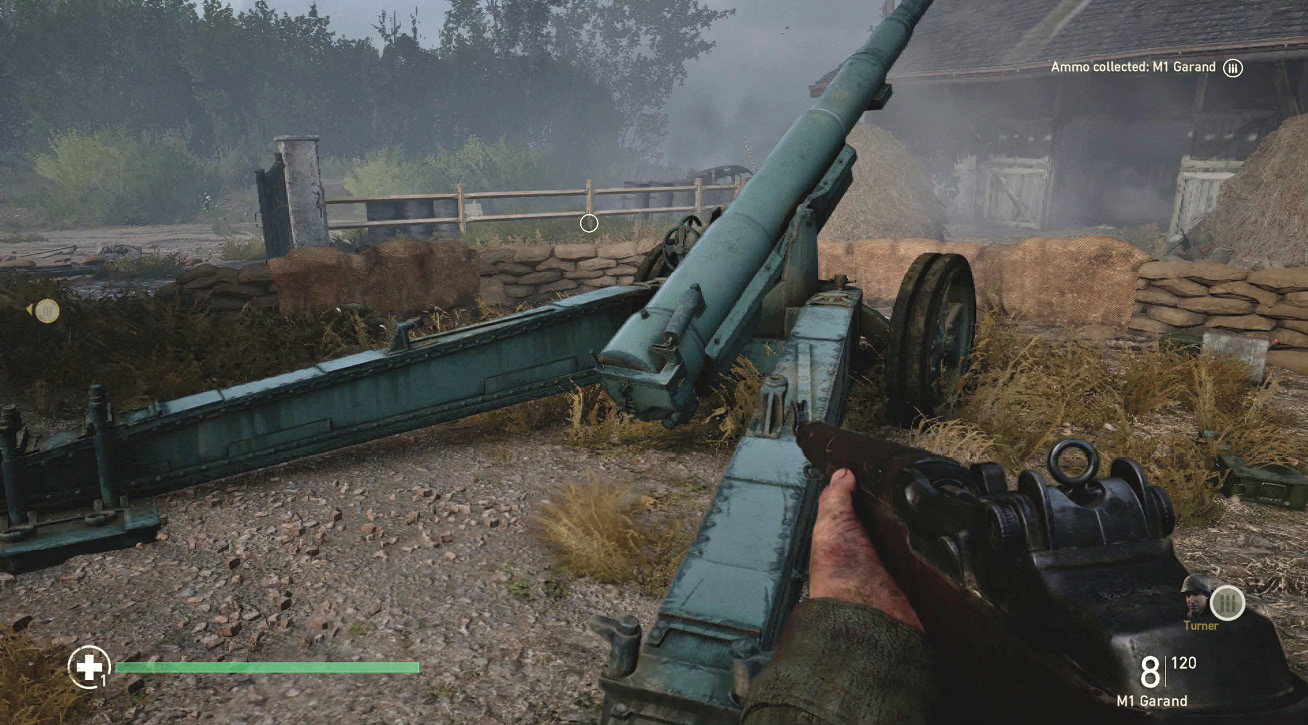
The Allied Sherman tanks eventually arrive and take out the backbone of the German attack. Once complete, you will get a new objective to destroy the artillery. Approach the artillery to activate it and use a thermite charge to destroy it.
Objective: Return to Rally Point
Use the Objective button to find the Rally Point back to Zussman. First mission complete!
Long Way From Texas
You earn this achievement by completing Normandy.