
Call of Duty: WWII Guide Multiplayer Maps and Modes Aachen
Domination Tactics
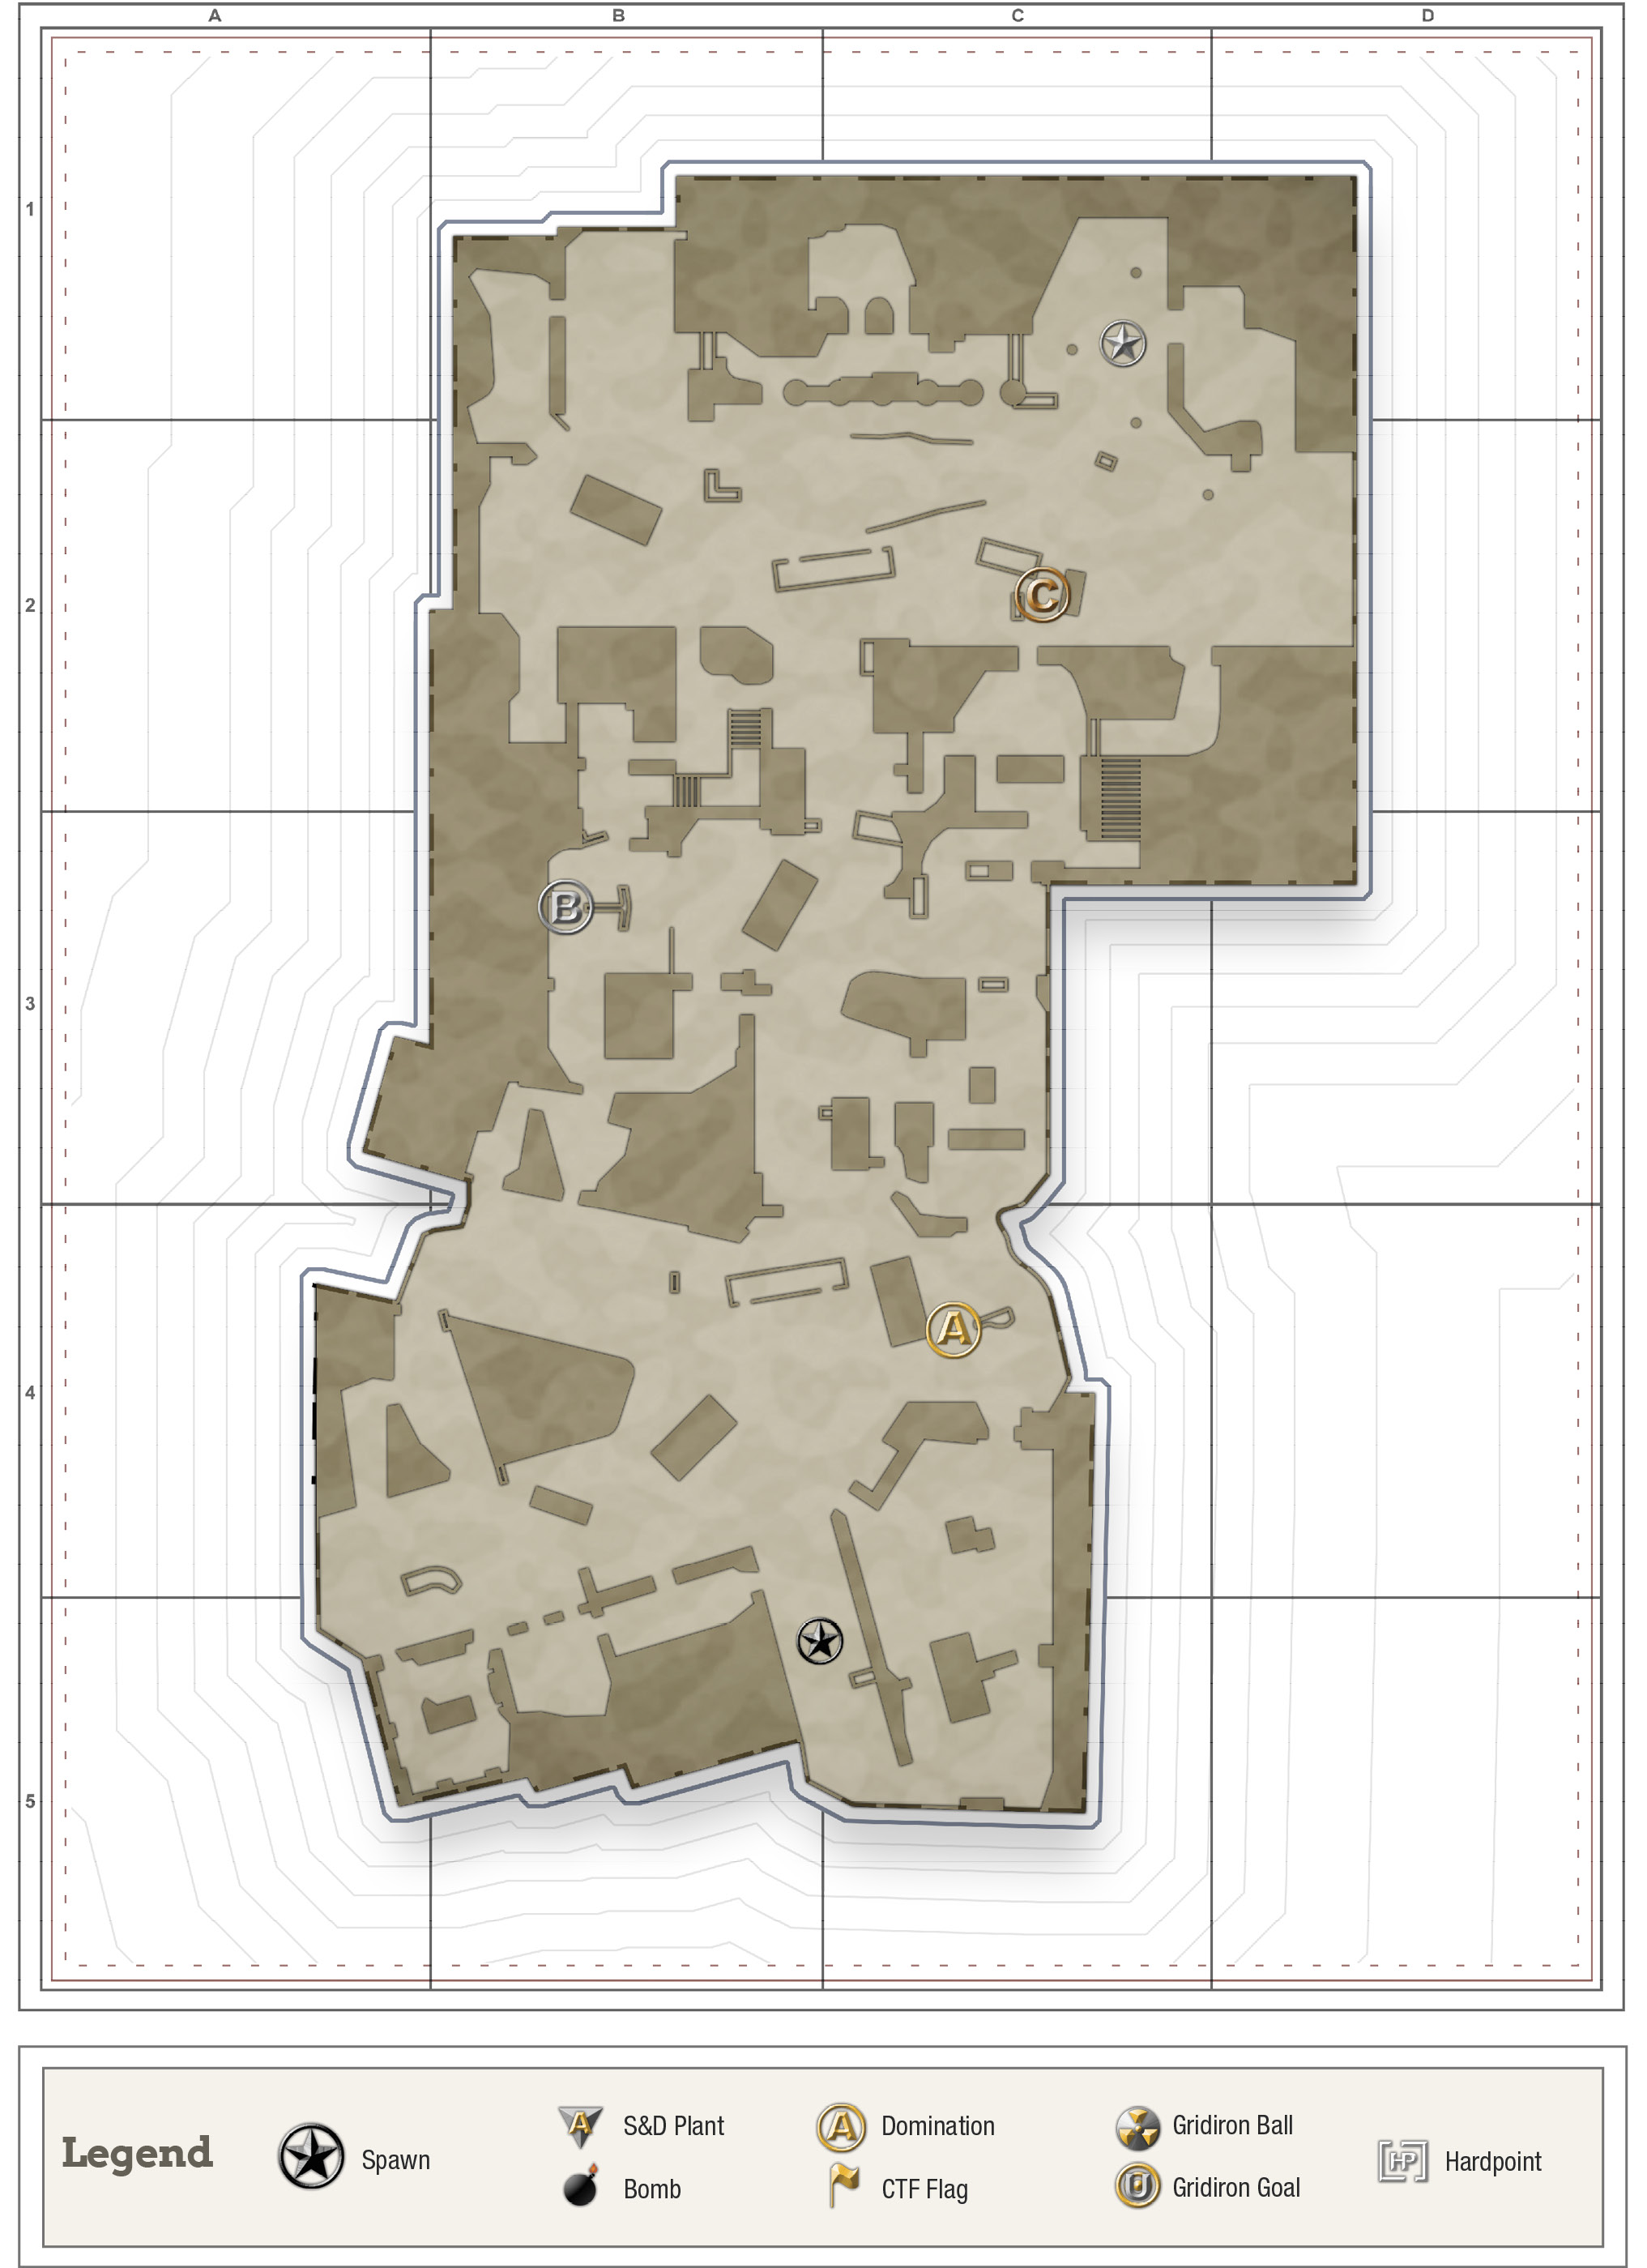
Point A
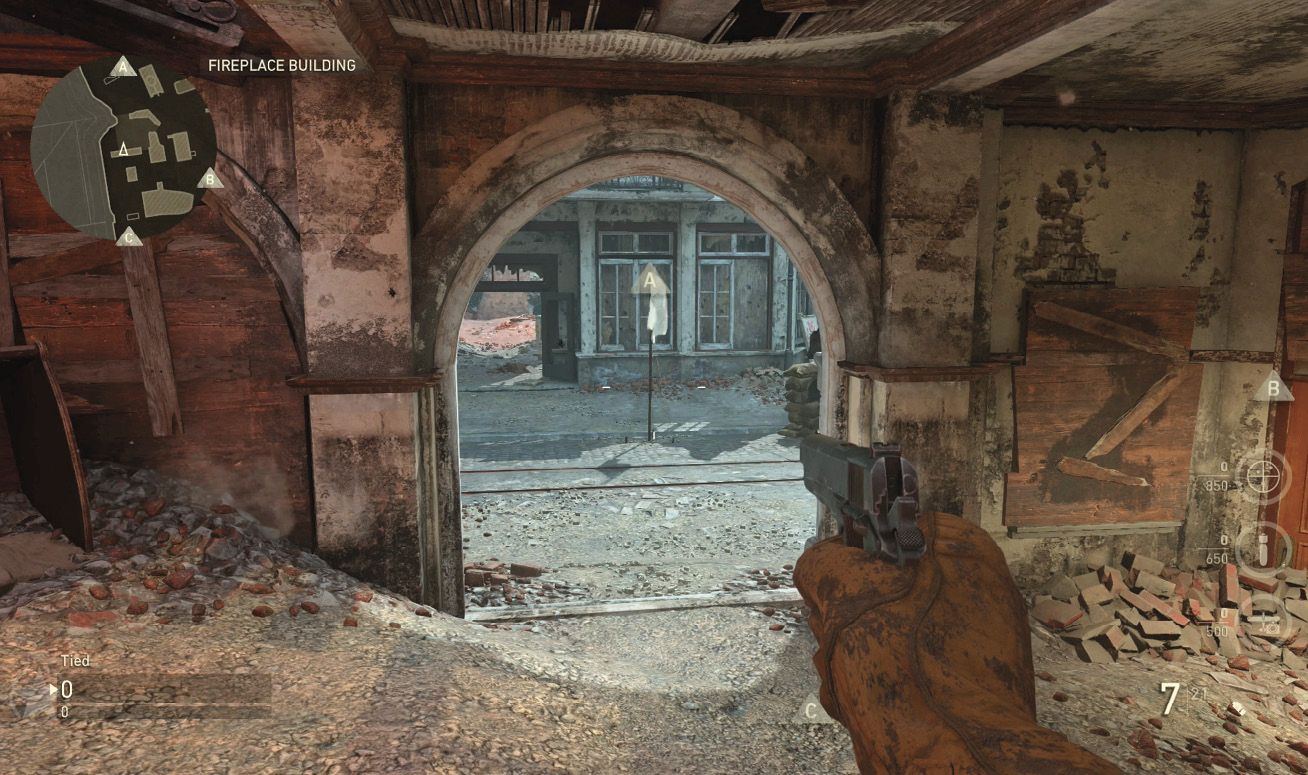
The easiest way to reach this point is to head through the Fireplace building on the east side of the map. It’s the most direct way, which will likely put you in front of a lot of enemy players, but it also has a good amount of cover that you can use to work your way up to the point. You can also try going through the west building and emerge from the Slanted Apartments, then work your way around the outside of the map. Note that this will take you right past Point B, which will no doubt be a serious point of contention.
Point B

This point is undoubtedly going to be where a majority of fights break out. It’s near the center of the map and is largely exposed, but surrounded by sections of the building that provide a nice bit of cover for either team. Flank from the middle of the map to catch the enemy team unaware. You can jump into the window on either side (one leading to the Bakery and one leading to the Elevator Room) for a sneak attack, but expect the enemy to be ready for it.
Point C

This is a challenging point to take. It’s in an elevated position in a mostly open area. Anyone using long-range weapons will shoot you from a mile away. To help mitigate that, use the east building and emerge from the Bookstore Apartments. You’ll be below the point’s hill and can slowly crawl up to it without fear of getting sniped. You can make the capture from behind the charred bench, which will keep you from getting exposed to sniper fire. Although it won’t give you a chance to fight back if anyone runs up to defend the point, it will prevent you from being a target the moment you step foot on the point. Smoke grenades on the flag can also keep enemies from drawing a bead on you.